About Gourmet Nun
There are actually two of us under the title of "Gourmet Nun!" One of us came at age 13, the other in her 30s. We have been sisters for 43 and 38 years respectively. One of use came with her mother (who felt called to this community), the other drove down in a red Carmen Ghia, leaving behind a job in a flower shop in Boston. Between us we have almost a century of cooking experience (that actually sounds kind of frightening!) having cooked since we were young. We have been in choir, wind ensemble, orchestra, painted, made quilts and both have been or are executive chefs in our events kitchen. We both love food; but especially the relationship between hospitality and the dining room, the Eucharistic table and the banquet table. Nothing makes either of us happier than a well-planned and well-executed meal that speaks of the love of God.
I often make salmon cakes in a big batch and freeze them for later use to serve for lunch with a nice salad of tomatoes and cucumbers or even citrus and avocado. They can be eaten at room temperature or crisped up in the oven before serving – whatever your preference. This is a simple recipe where all the ingredients are mixed together and then lightly fried in some olive oil. I’ve found that using an old fashioned ice cream scoop does such an excellent job shaping your patties that you don’t even have to get your hands dirty! Just scoop the mixture directly into your skillet and pat down with your metal spatula. It’s a cost-effective recipe that can be made gluten-free as well. A great healthy way to start your year!
Print Recipe
Votes: 4
Rating: 4
You:
Rate this recipe!
Simply Delicious Salmon Cakes
SERVINGS12Salmon cakes
|
COOK TIME20mins |
PREP TIME20mins |
READY IN45mins - 1 hr |
Ingredients
Instructions
- Drain the salmon and pick through and discard excess bones and skin
- Mix all the ingredients together and form into patties using an ice cream scoop for uniform size
- Heat a skillet with oil (enough to cover the bottom of the skillet) and fry in olive oil, about 2-3 min per side until golden
- Remove patties to a metal cooling rack set over a sheet pan lined with paper towel to catch any excess oil. Serve warm or at room temperature or cool then freeze in an airtight container.
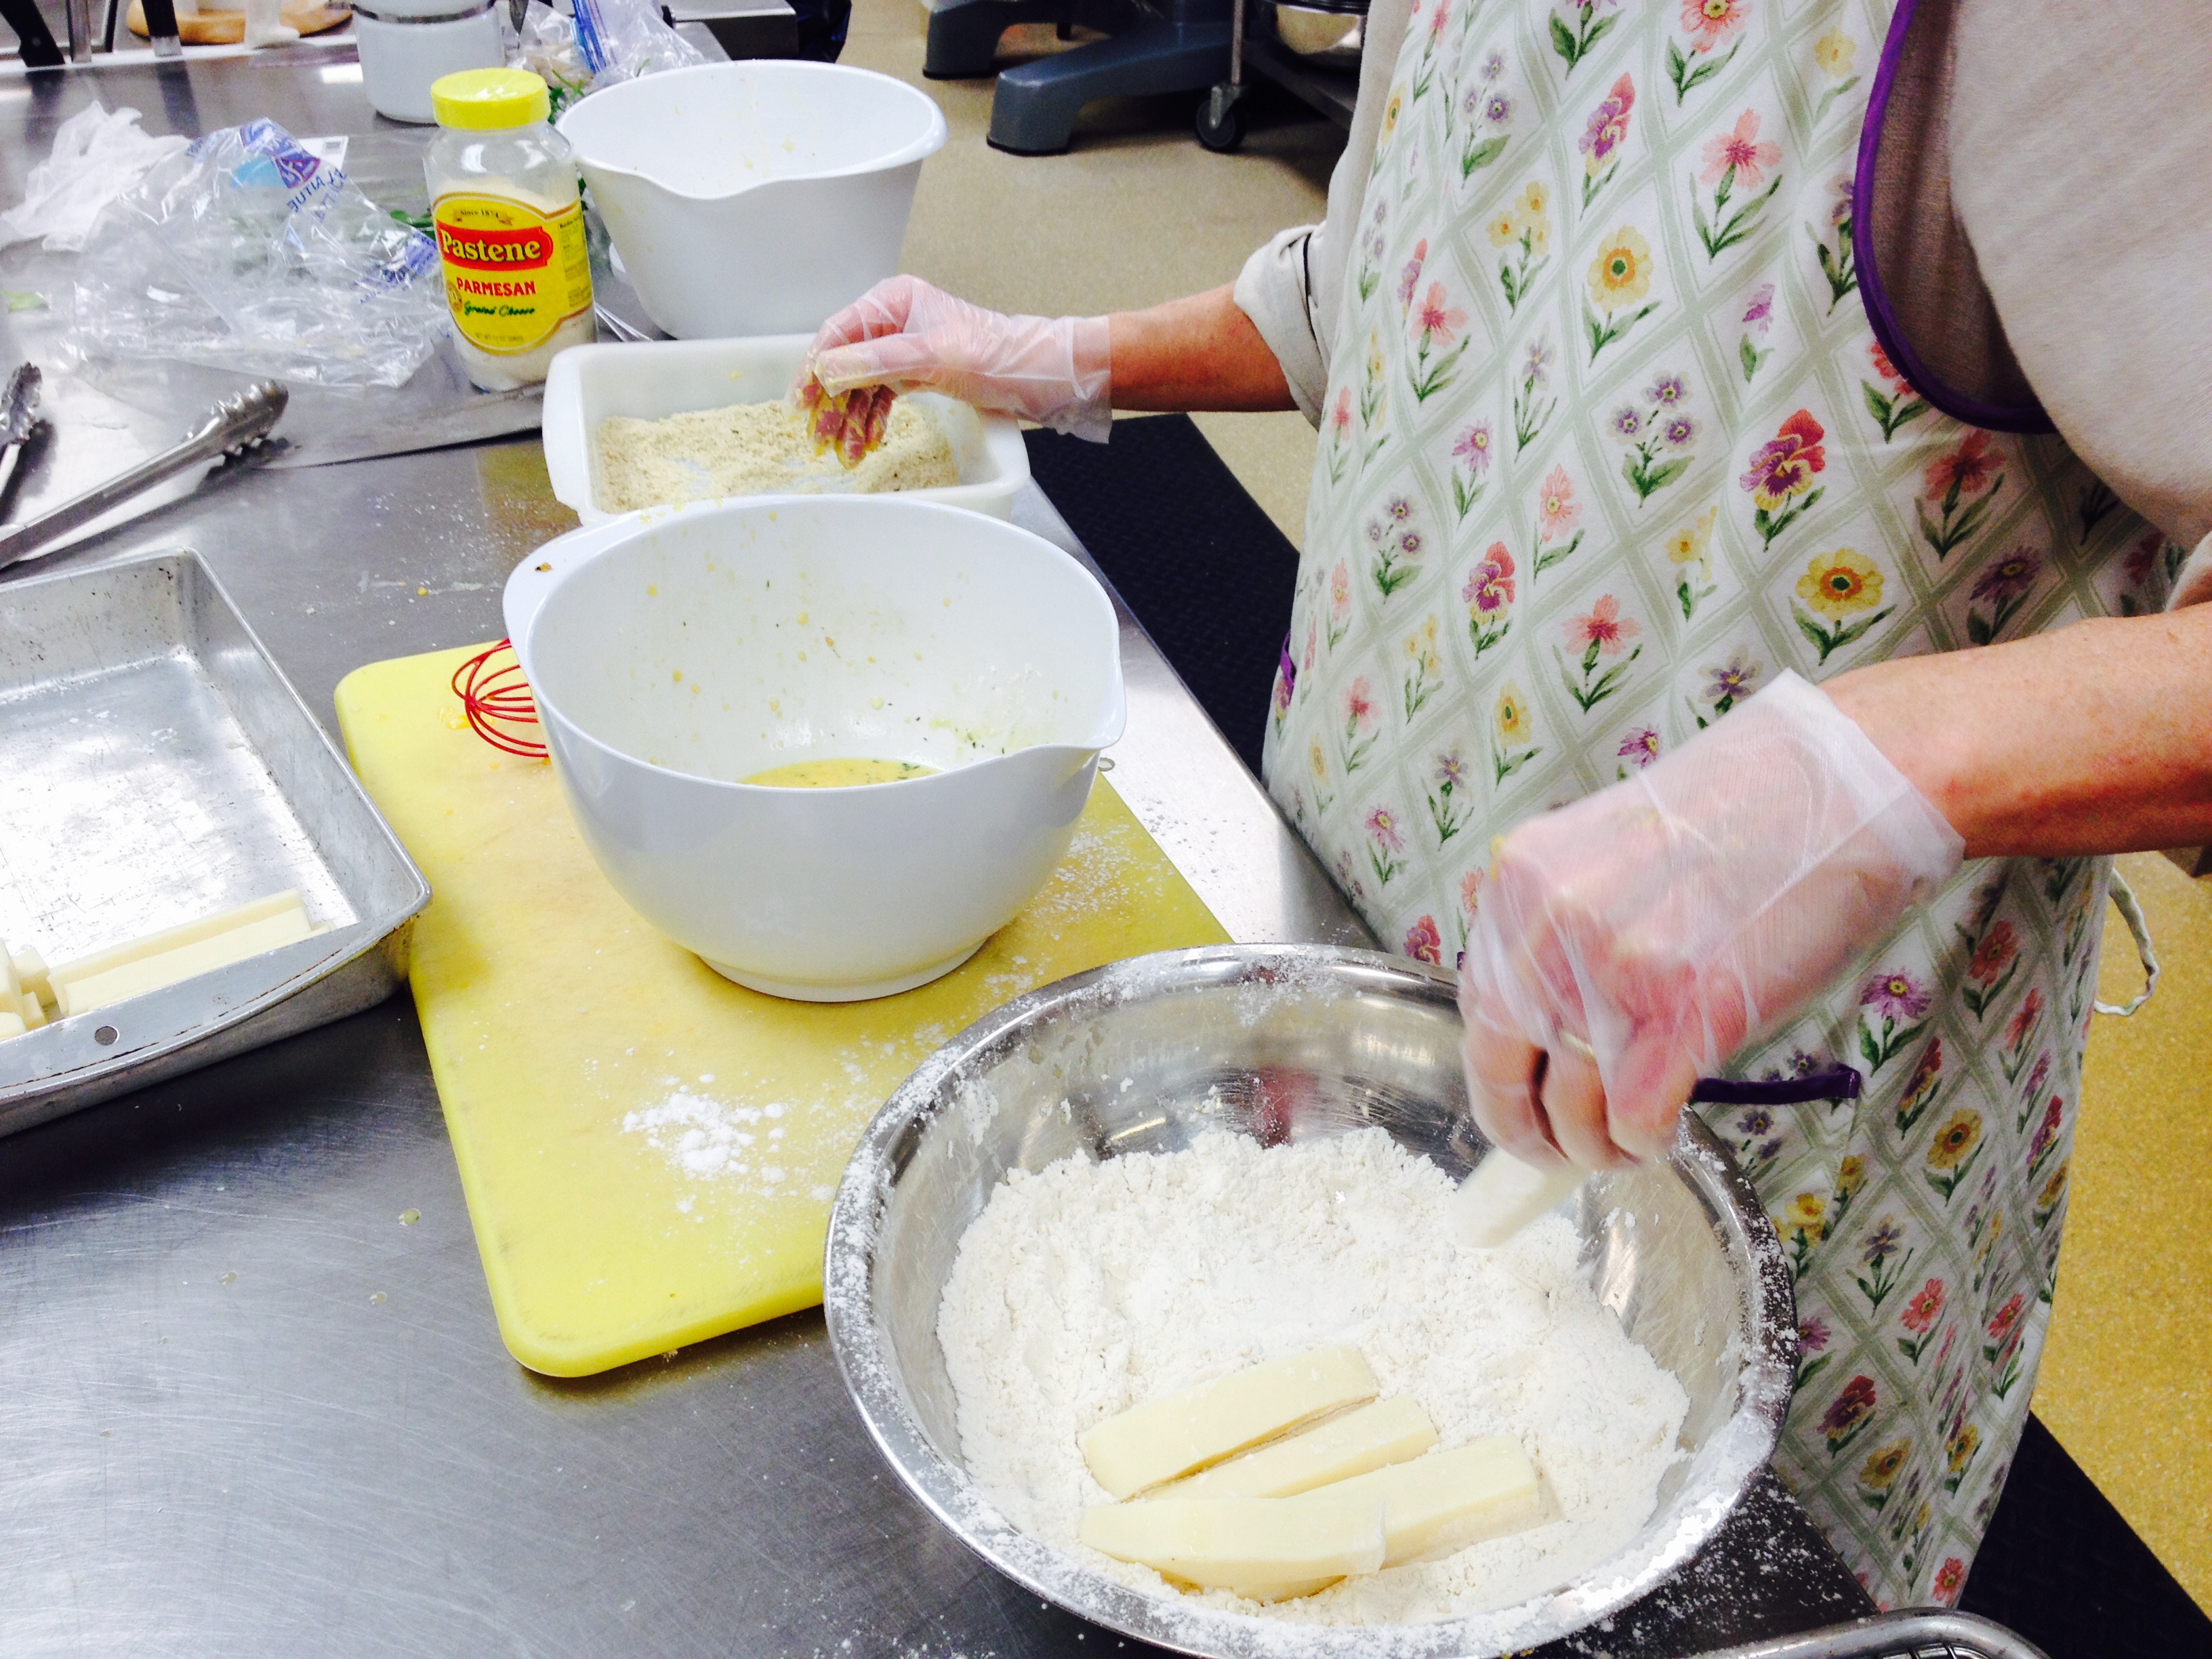
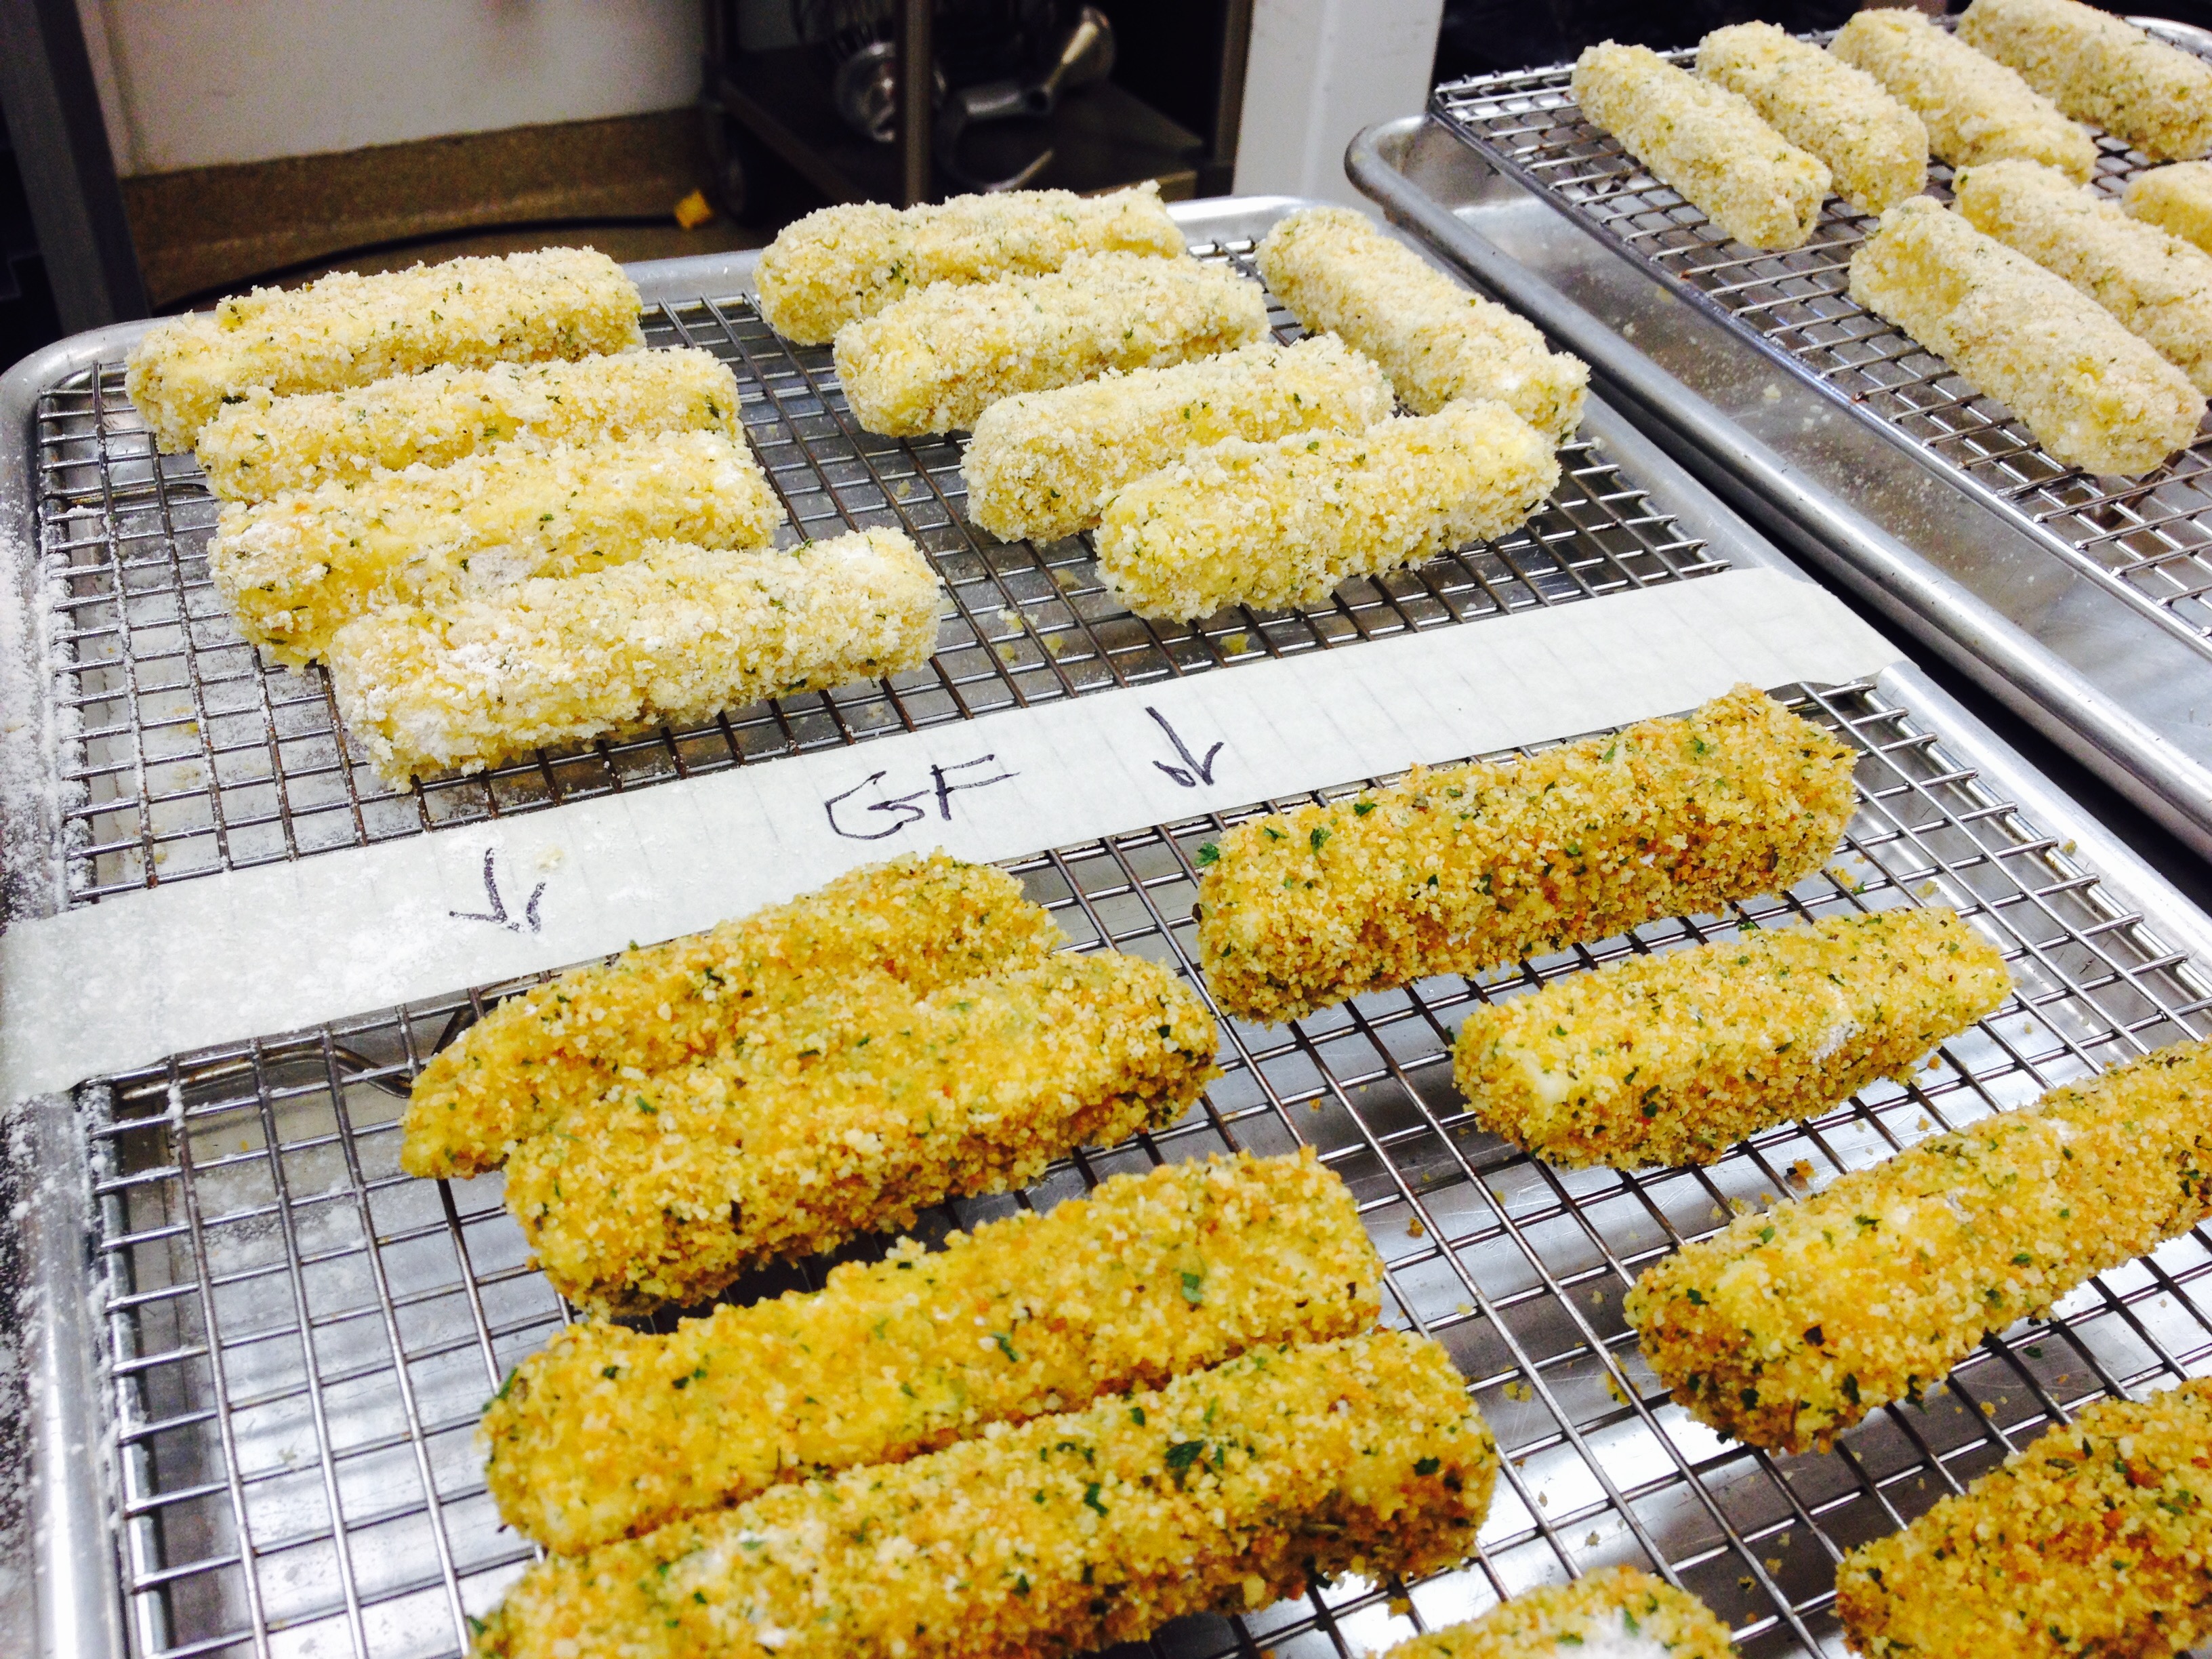
Looking for the perfect game day snack? How about warm and yummy Fried Mozzarella Sticks. For some reason, I always thought these to be a daunting task until I served them at several Christmas occasions that we catered. In reality, they were quite simple and fun, even when serving for twenty-five guests. I decided to try a gluten-free version so that everyone could enjoy them. They came out more golden and beautiful than the regular ones! Take time to prep them well and give them a good freeze and you’ll be happy with the results. (See tip below for other uses for this recipe.) For that next Big Game, consider trying these out with your favorite marinara sauce.
Print Recipe
Votes: 1
Rating: 5
You:
Rate this recipe!
Gluten Free Golden Fried Mozzarella Sticks
SERVINGS4servings
|
COOK TIME30mins |
PREP TIME20mins |
READY IN2hrs |
Ingredients
Instructions
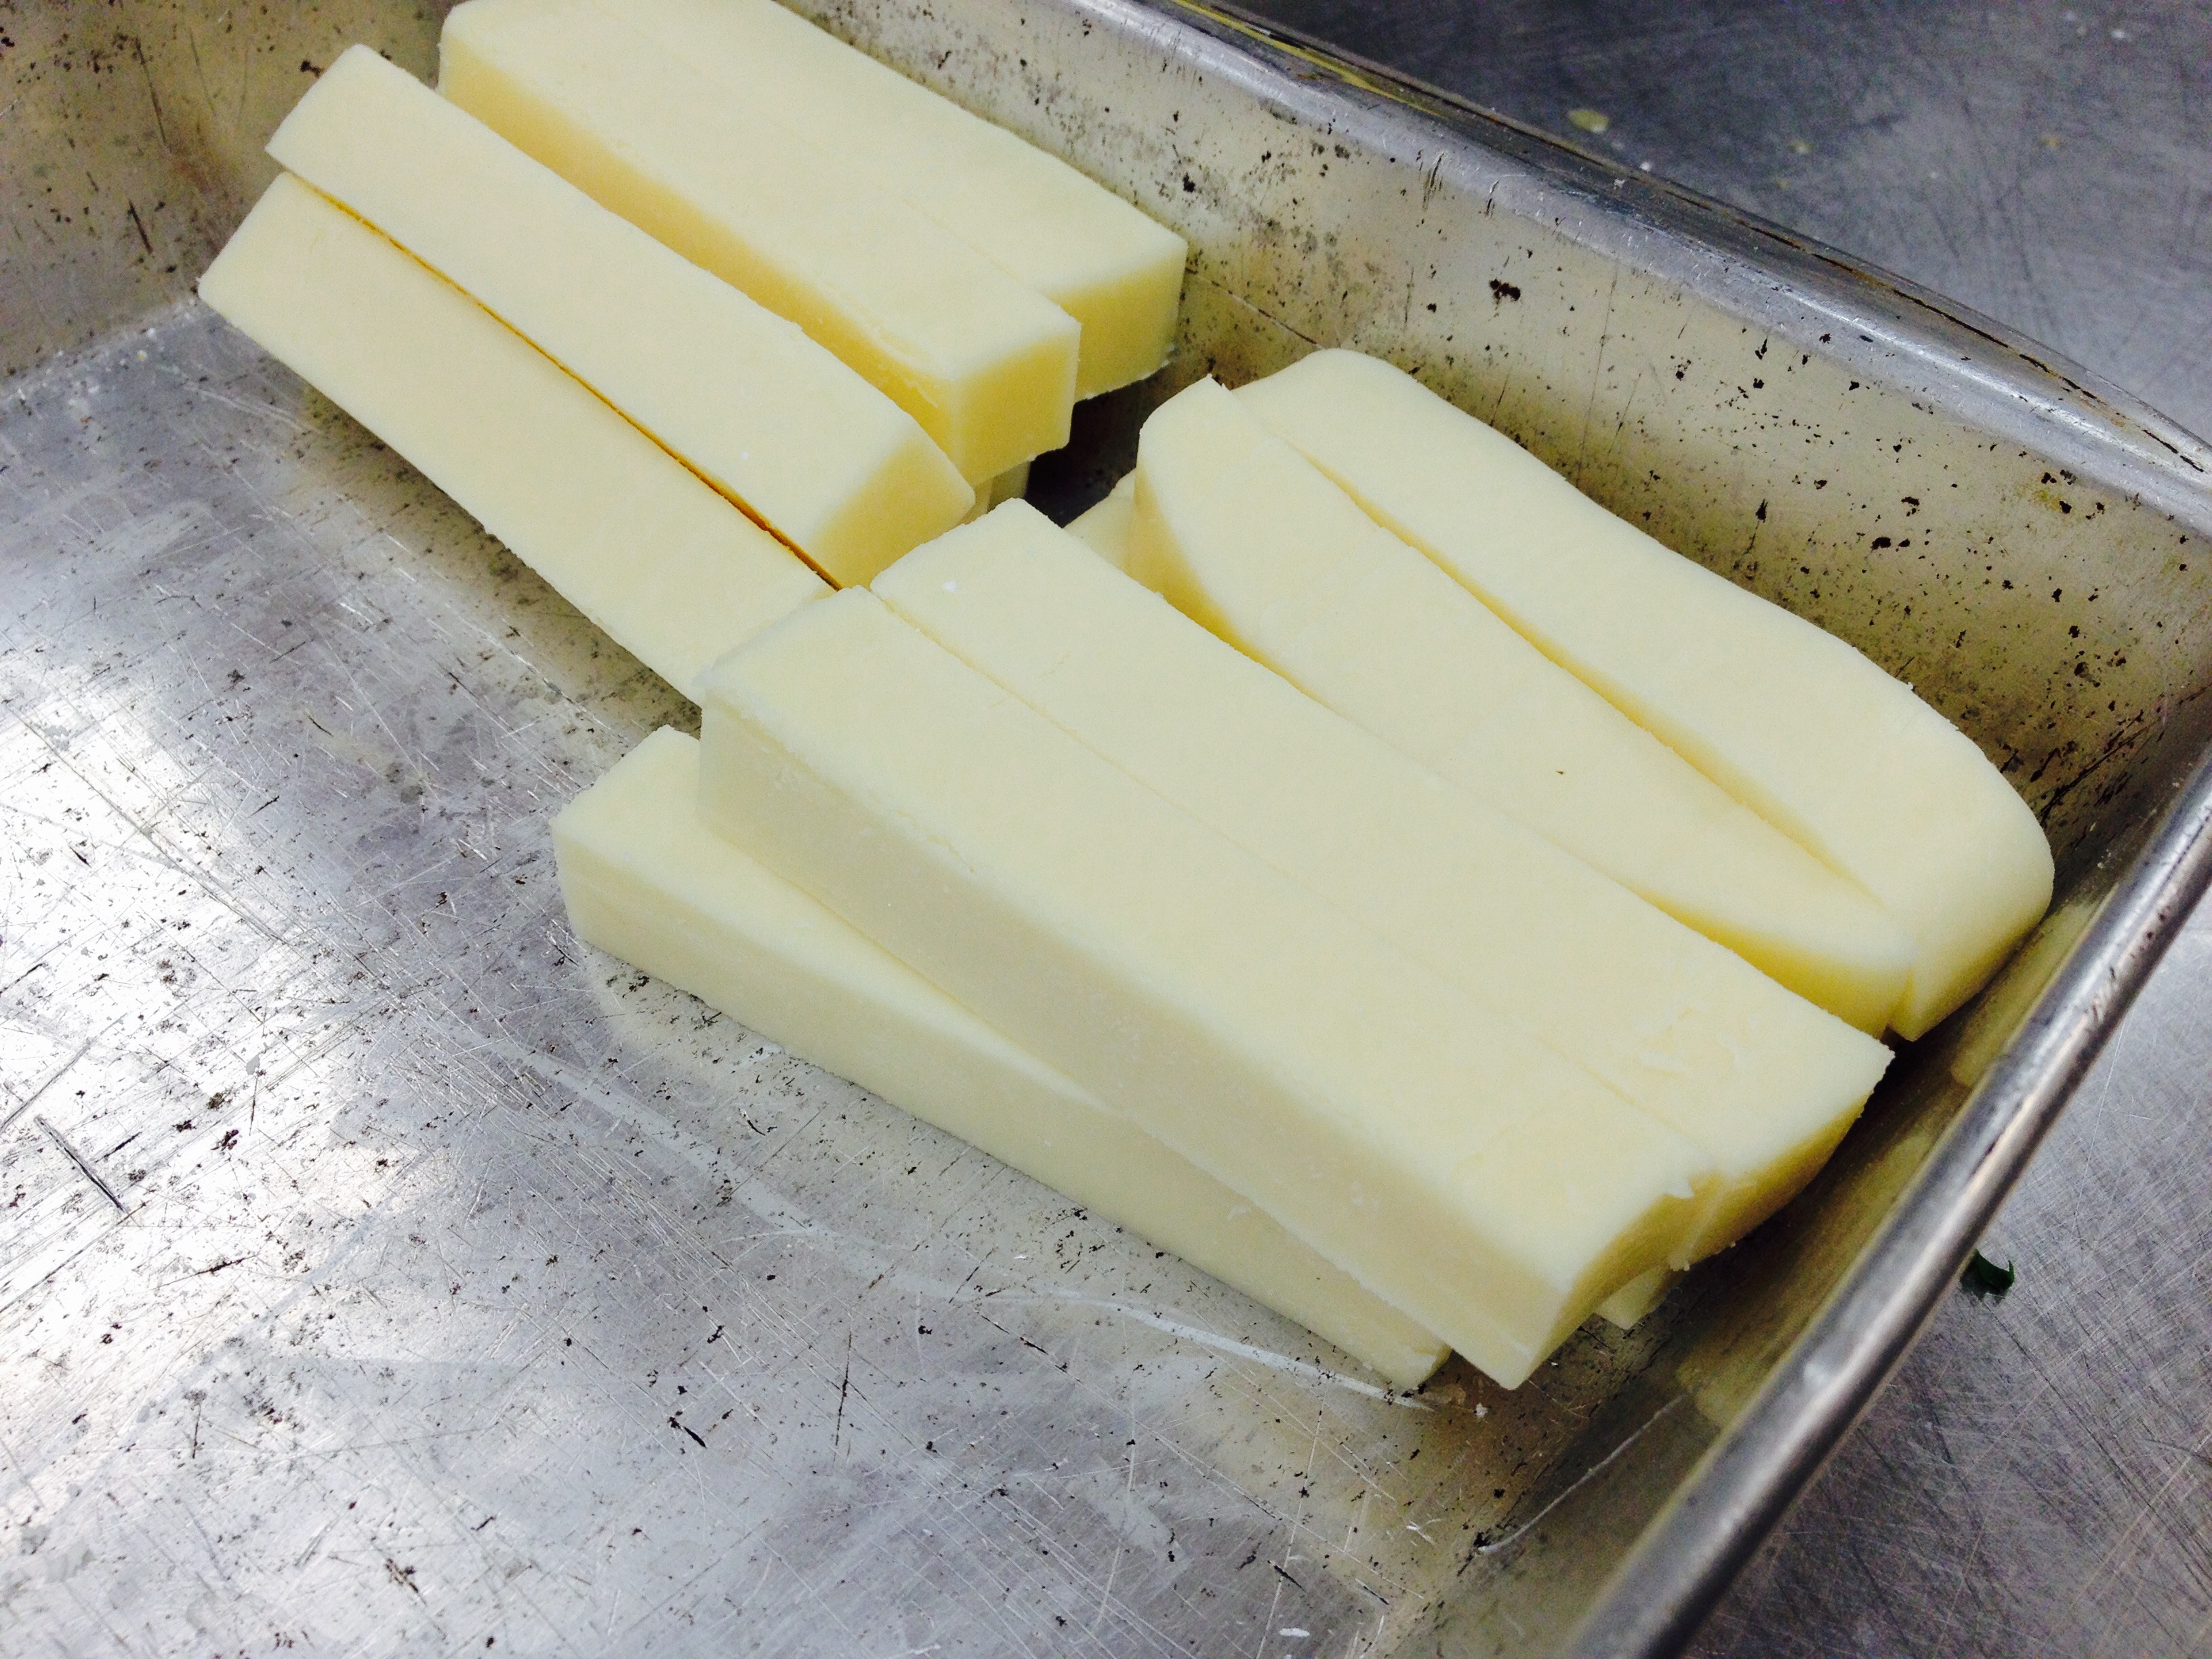
- Cut mozzarella into 3 x½" pieces. Place gluten-free flour in a shallow dish and add some salt and pepper to season. Whisk eggs and milk in another shallow dish. Put 1/2 gluten-free breadcrumbs (or panko) in a third shallow dish (refilling dish as needed with crumbs).
- Working with one piece of mozzarella at a time, dredge in flour, shaking off excess. Dip in egg mixture, then coat in breadcrumbs, pressing to adhere. (Tip: Keep one hand clean to transfer from one dish to the next to avoid clumping or keep a bowl of water handy to dip into a bowl between dipping) Repeat steps for a second coating. Transfer to a wire rack set inside a rimmed baking sheet. Repeat with remaining mozzarella. Transfer rack with mozzarella to freezer and freeze at least 1 hour and up to 3 days.
- Using a fry-daddy or a large pot pour in oil to come 2" up sides. Heat over medium-high until a deep-fry thermometer registers 350°. Working in batches (don't overcrowd the pan!), fry mozzarella, occasionally turning, until golden brown and crisp, 2–2½ minutes. Transfer to a paper towel-lined plate and season with salt while still hot. Serve with Marinara Sauce.
**Tip: This is a basic "dredging" technique that can be used for chicken, veal or pork cutlets as well. Simply follow the same steps going from seasoned flour to egg/milk mixture to panko or bread crumbs and fry. Delicious!
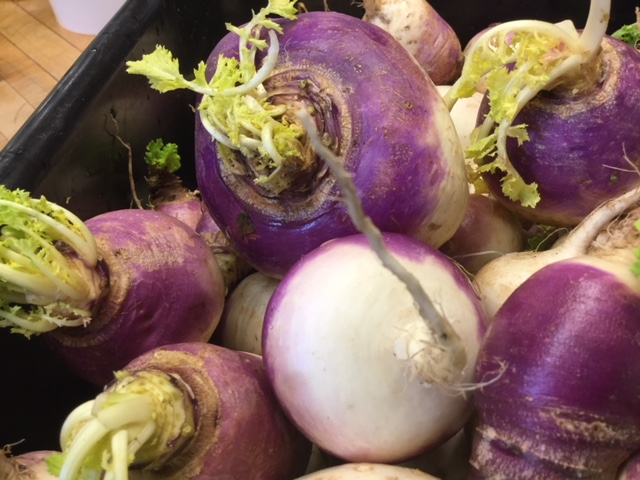
I’ve come to sing the praises of the famous Eastham Turnip: legendary bulbous taproots that some Cape Codders value even more than turkey at Thanksgiving! Whether one prefers them boiled, roasted and buttered the old fashioned way or chooses to have them roasted with bacon and scallions in a more upscale manner, their distinctive flavor is almost always addictive!
Print Recipe
Votes: 1
Rating: 5
You:
Rate this recipe!
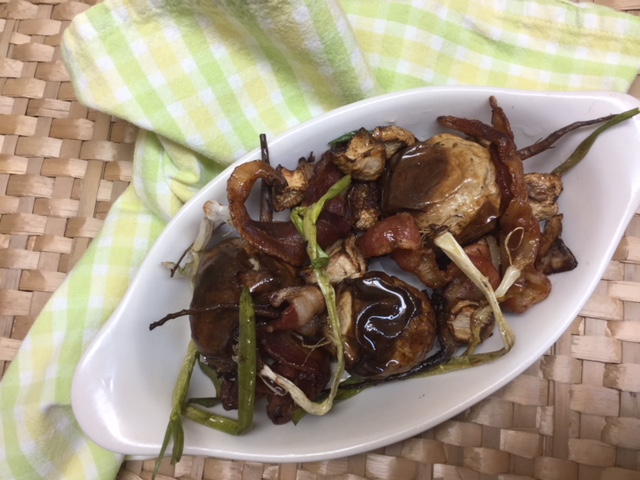
Roasted Garden Turnip with Bacon and Scallions
SERVINGS4servings
|
COOK TIME20mins |
PREP TIME10mins |
READY IN30mins |
Ingredients
Instructions
- Put whole turnips into a shallow baking pan with an inch of water. Salt the water beforehand if desired.
- Cover the pan and bake the turnips until they begin to soften and the water is absorbed, about 10 minutes.
- Spread slices of bacon and scallions over the turnips and cook uncovered until the turnips are soft and the bacon is crisp.
- Remove turnips, bacon and scallions and serve as a tasty side dish with your meal!
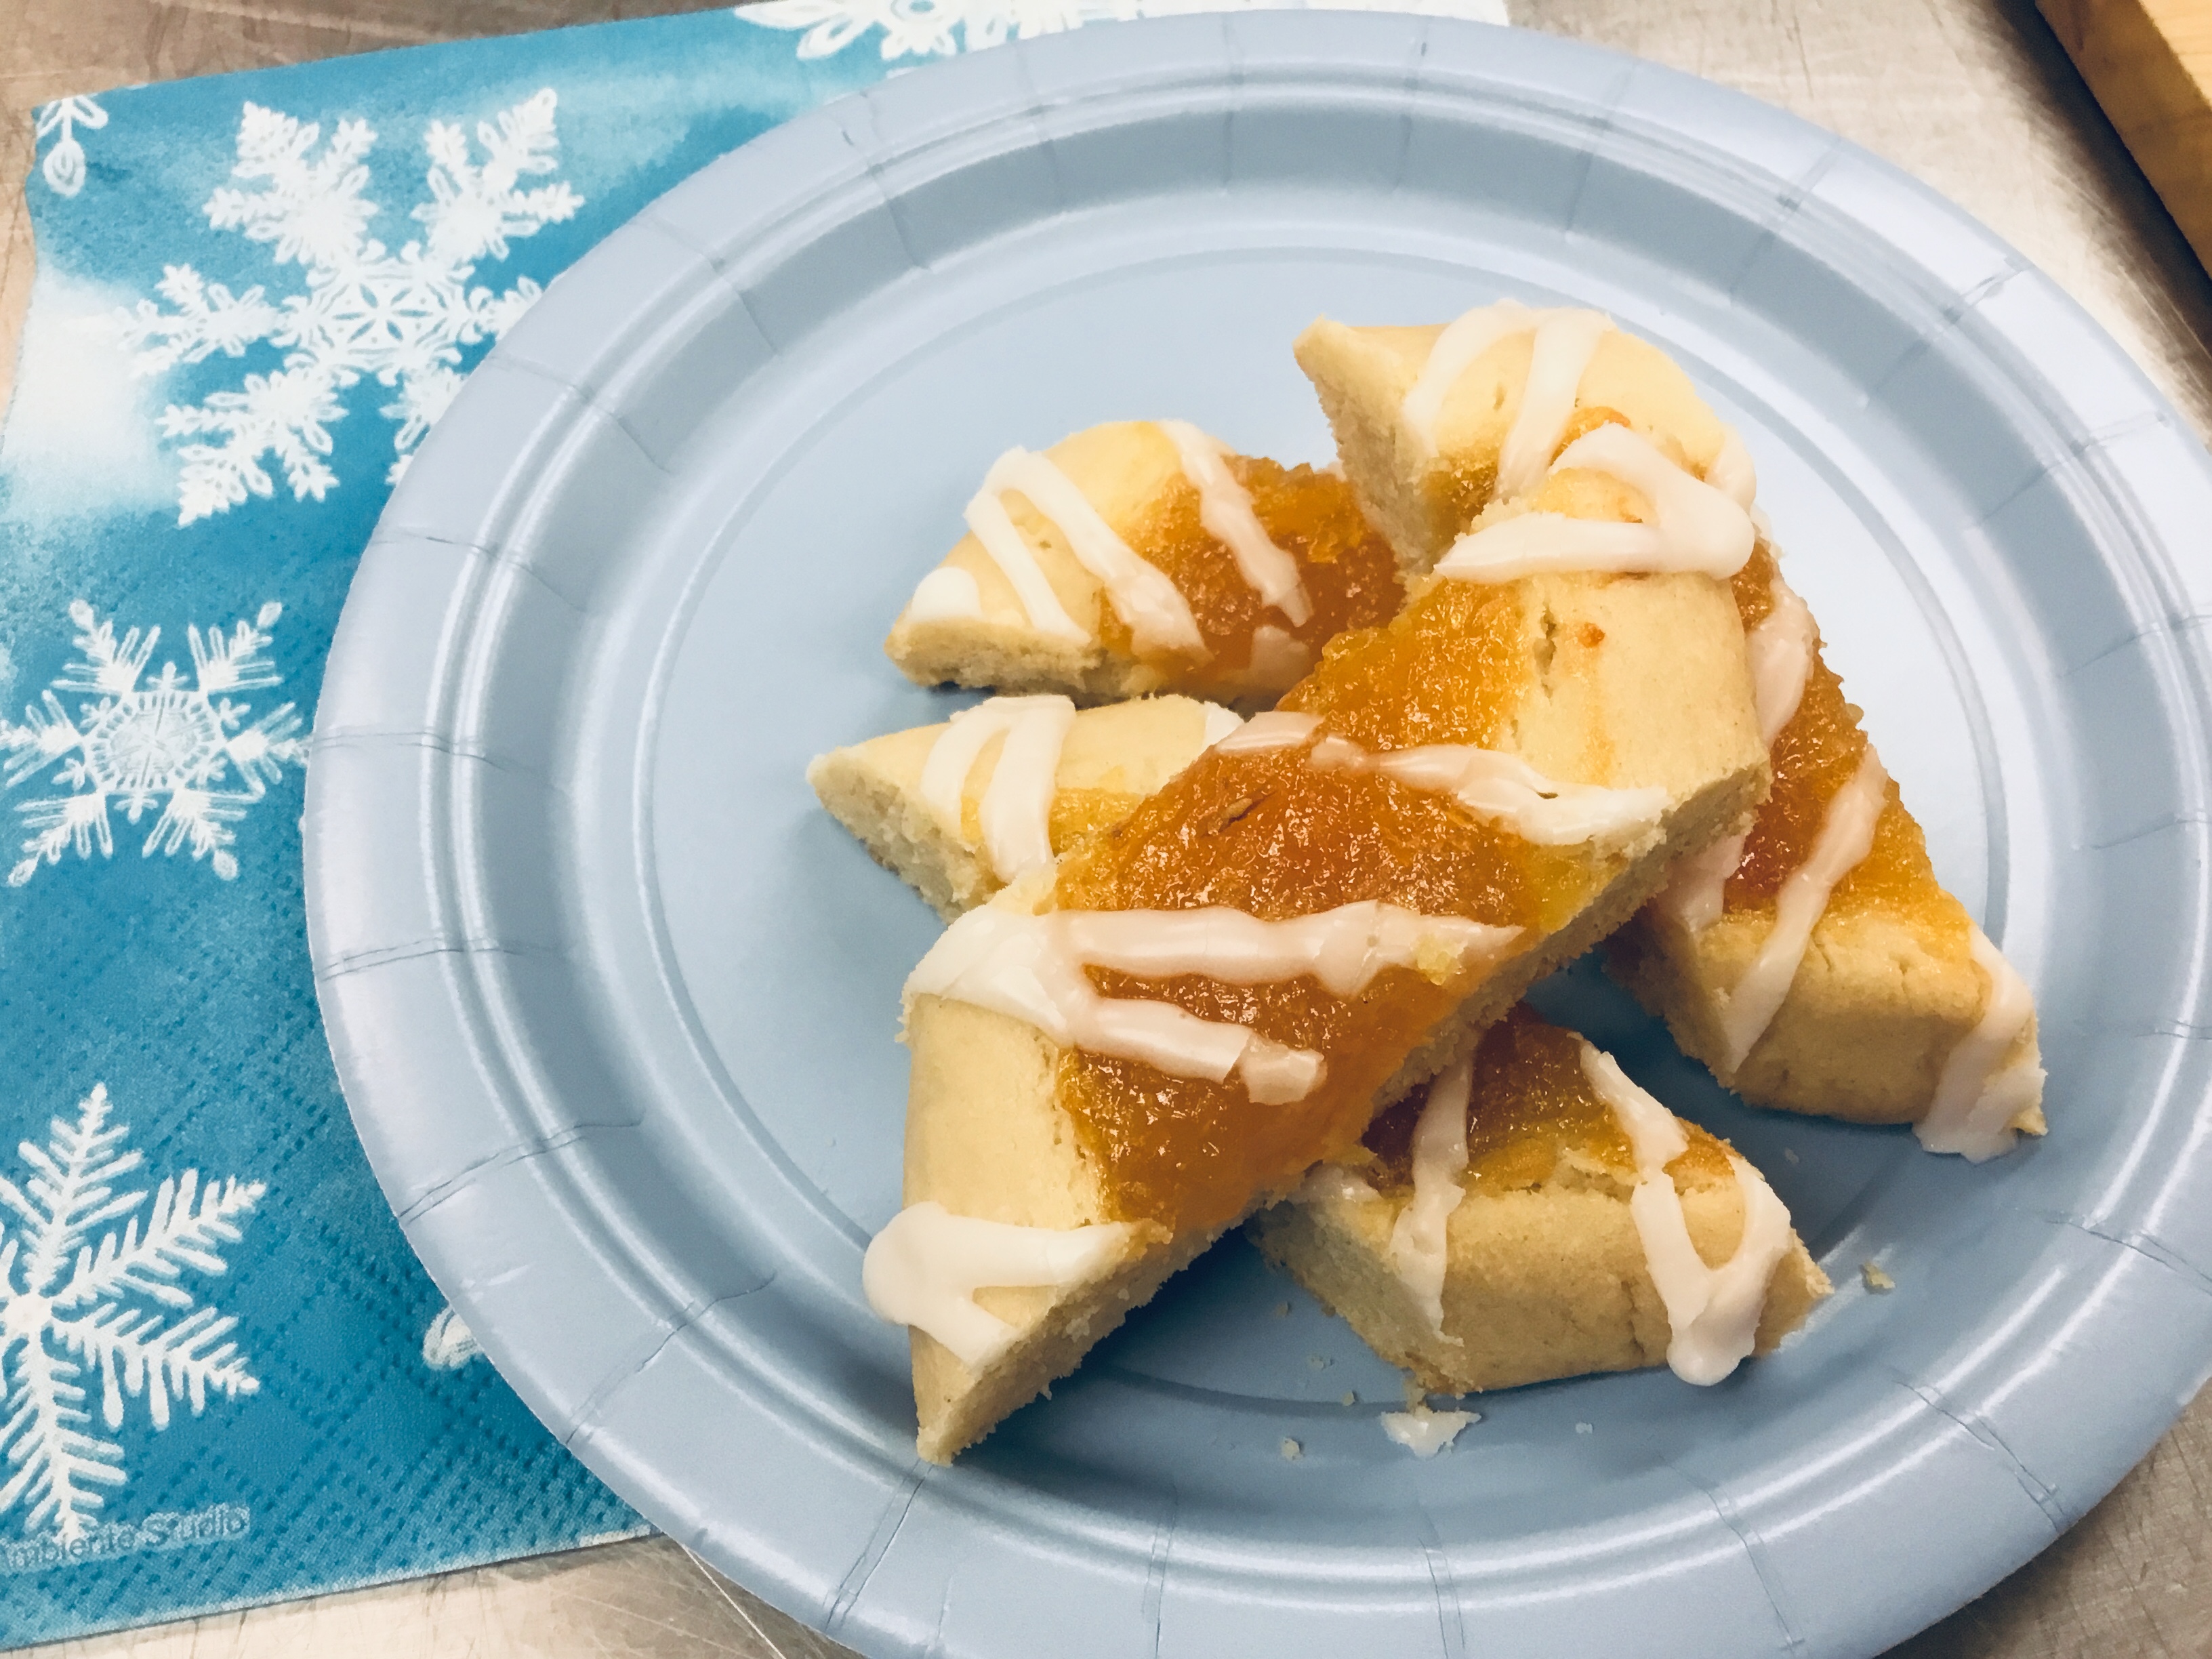
Tonight, our Convent was humming with Christmas cheer as we readied our home for Christmas. Some wrapped presents to send to families, other Sisters spent time catching up with old friends as they penned their lovely cards. In the kitchen, we turned on Bing Crosby and poured over old fashioned family recipes as we pondered which cookies we would make this year. The royal icing was prepared and crispy butter cookies were being decorated with sprinkles covering every surface. I remembered a cookie that I hadn’t baked in years and a favorite to be sure. In fact, you won’t find this anywhere else on the internet, at least I couldn’t. Cut from an old magazine, pressed onto an index card and covered in plastic, this shows how treasured this recipe is. Sometimes baking can restore wonderful memories of times past and other times it just puts a smile on your face, honey in your belly and much joy for the adventures ahead. I love Christmas. The beauty, the magic and most of all the precious gift that is awaiting us in the form of a little baby on Christmas morning.
May the season of light be yours this year. Blessed Christmas!
Print Recipe
Votes: 1
Rating: 5
You:
Rate this recipe!
Apricot Butter Cookies
SERVINGS32cookies
|
COOK TIME30mins |
PREP TIME10mins |
READY IN1 1/2hr |
Ingredients
Instructions
- To make the filling: In a small saucepan, combine the apricots, sugar and water and simmer for 15-18 min. or until the liquid is reduced by half and add the rum or brandy. Let the mixture cool slightly and in a food processor or blender, puree it.
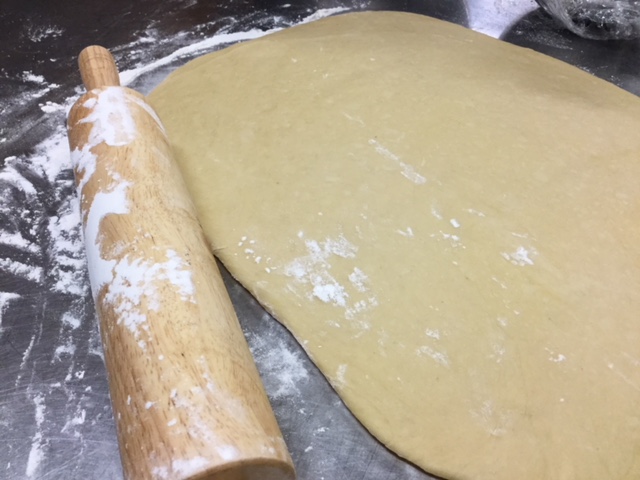
- Make the shortbread cookie dough. In a bowl, whisk together the flour, baking powder and salt. In a separate standing mixer, beat together the butter, sugar, and brown sugar until the mixture is light and fluffy. Beat in the vanilla and the egg, beating the mixture until it is well combined. Slowly, add the flour mixture in stages and mix until just combined, but don't over mix or your shortbread will be tough.
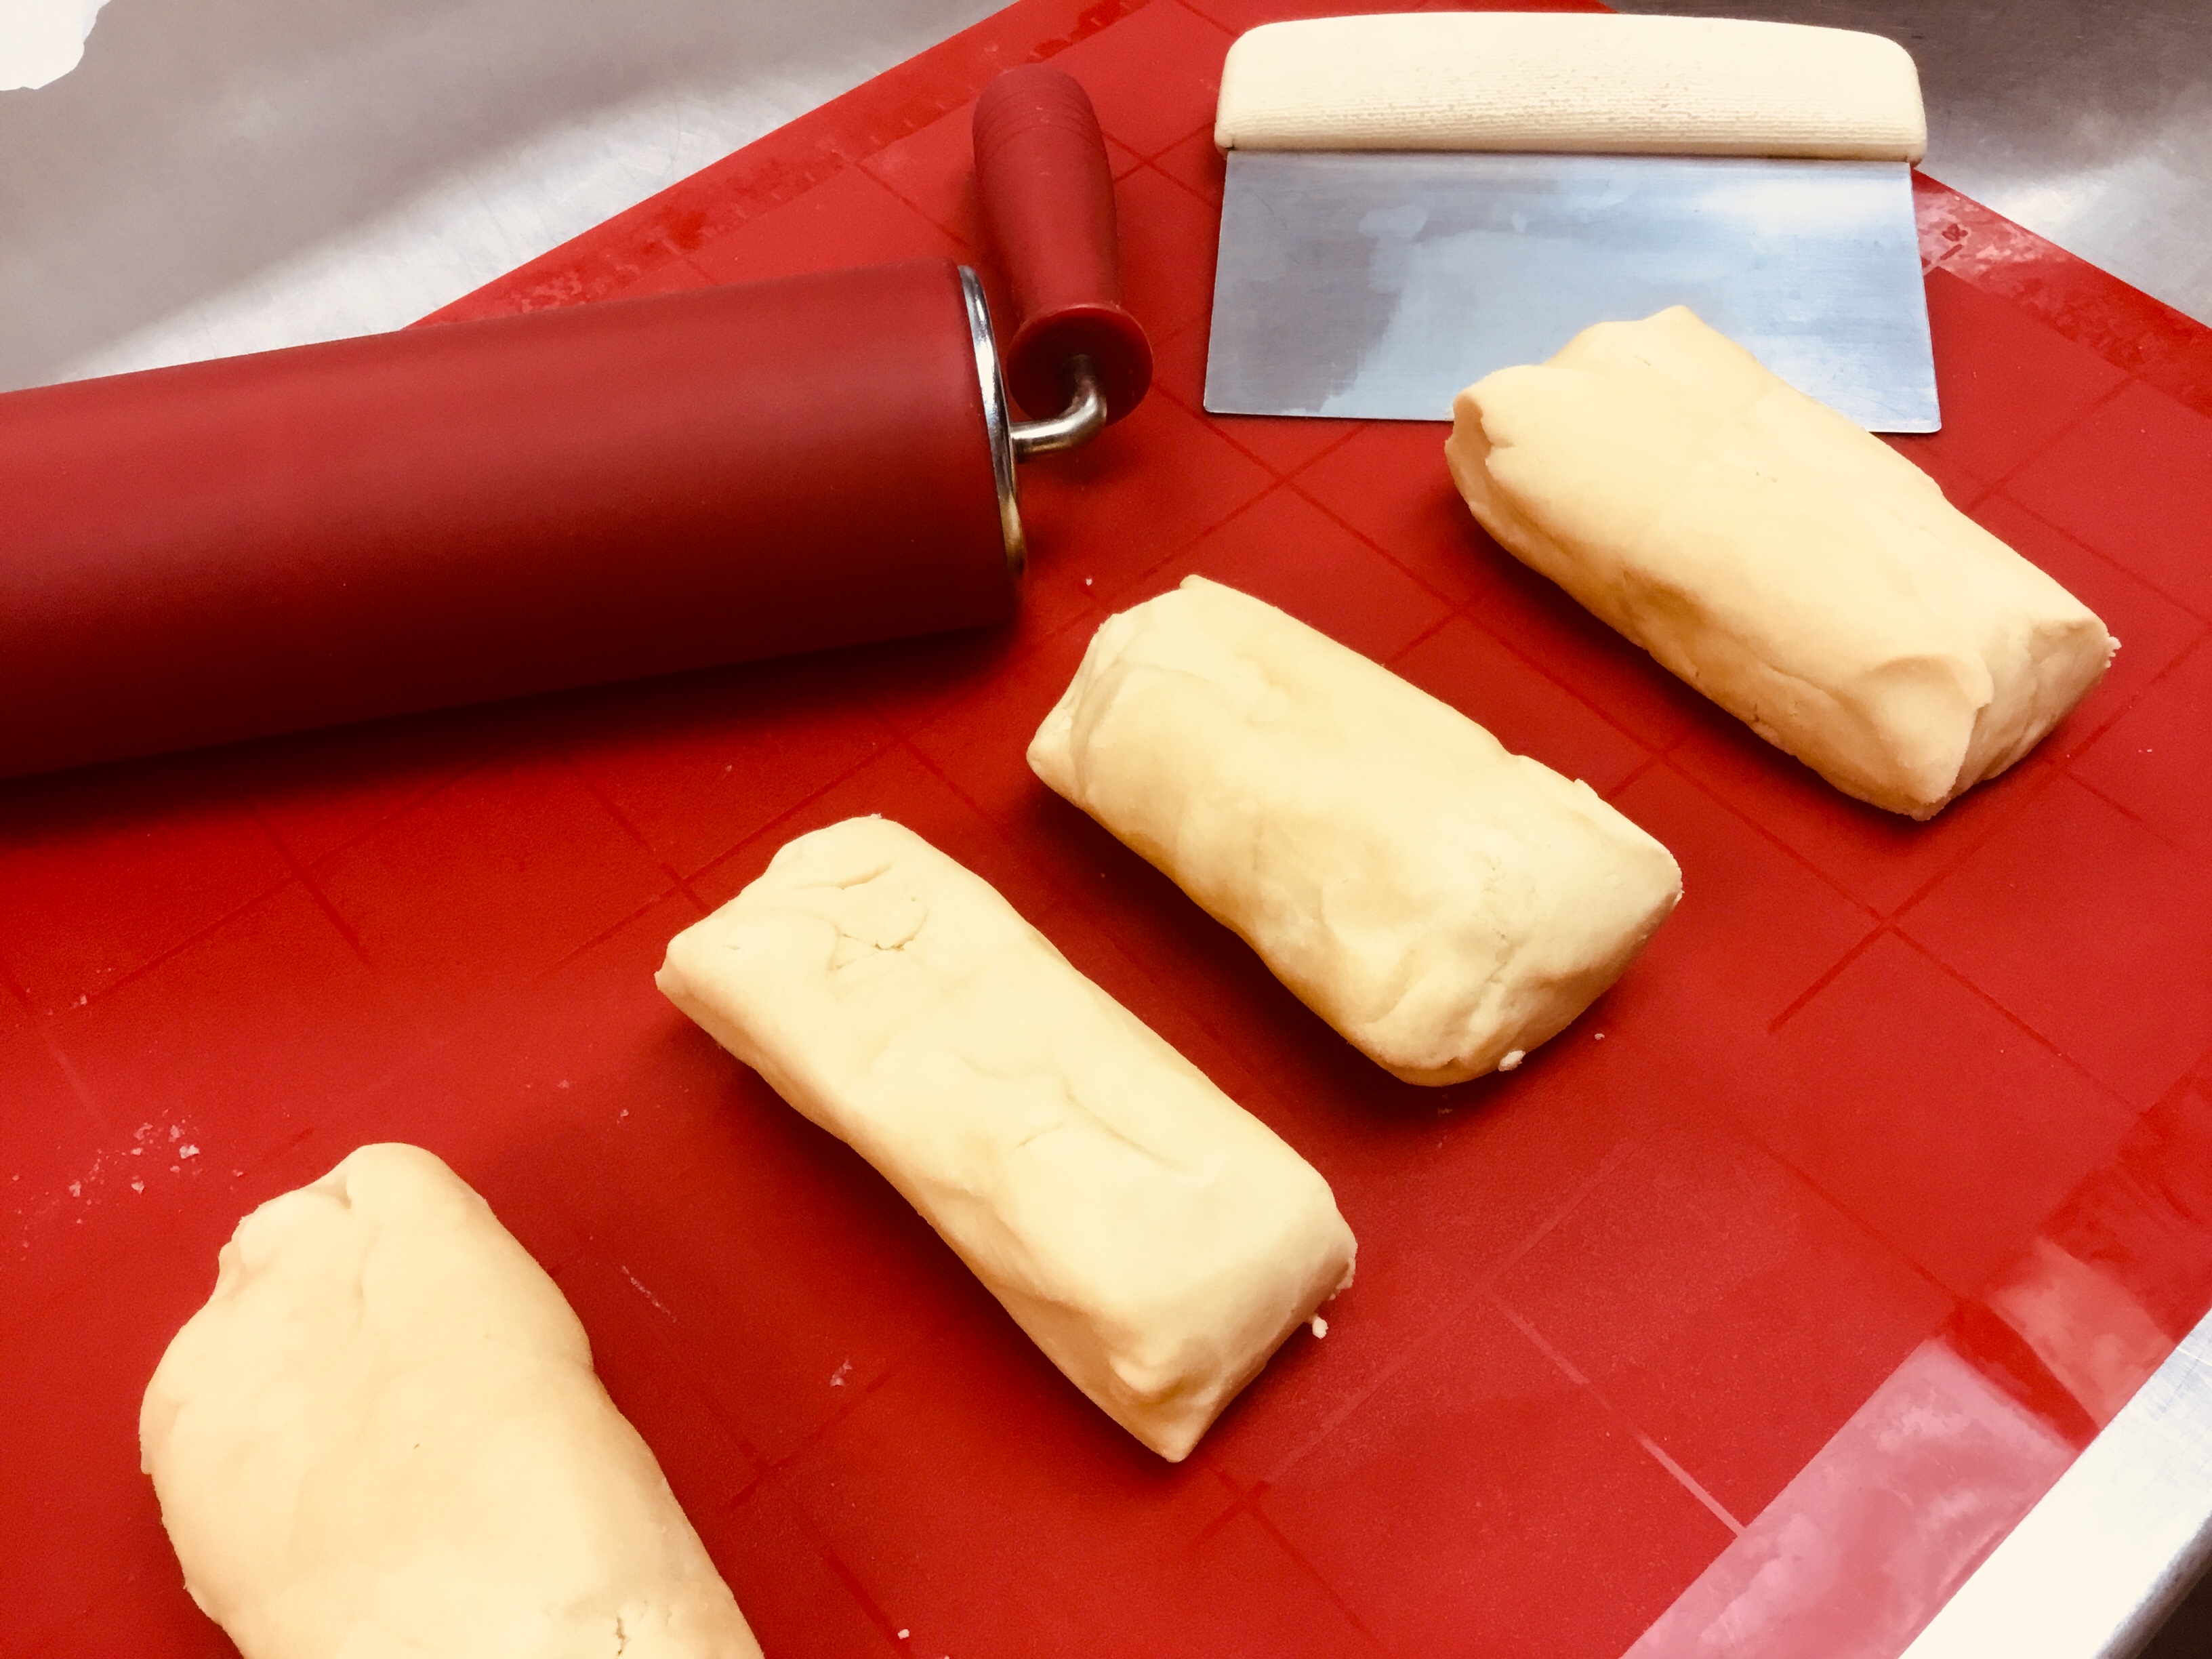
- Form the dough into a log, wrap well in plastic wrap and chill for 1 hr. Divide the log into 4 pieces.
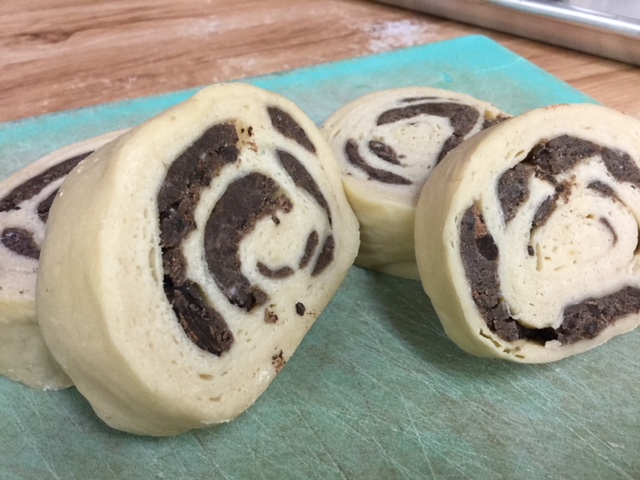
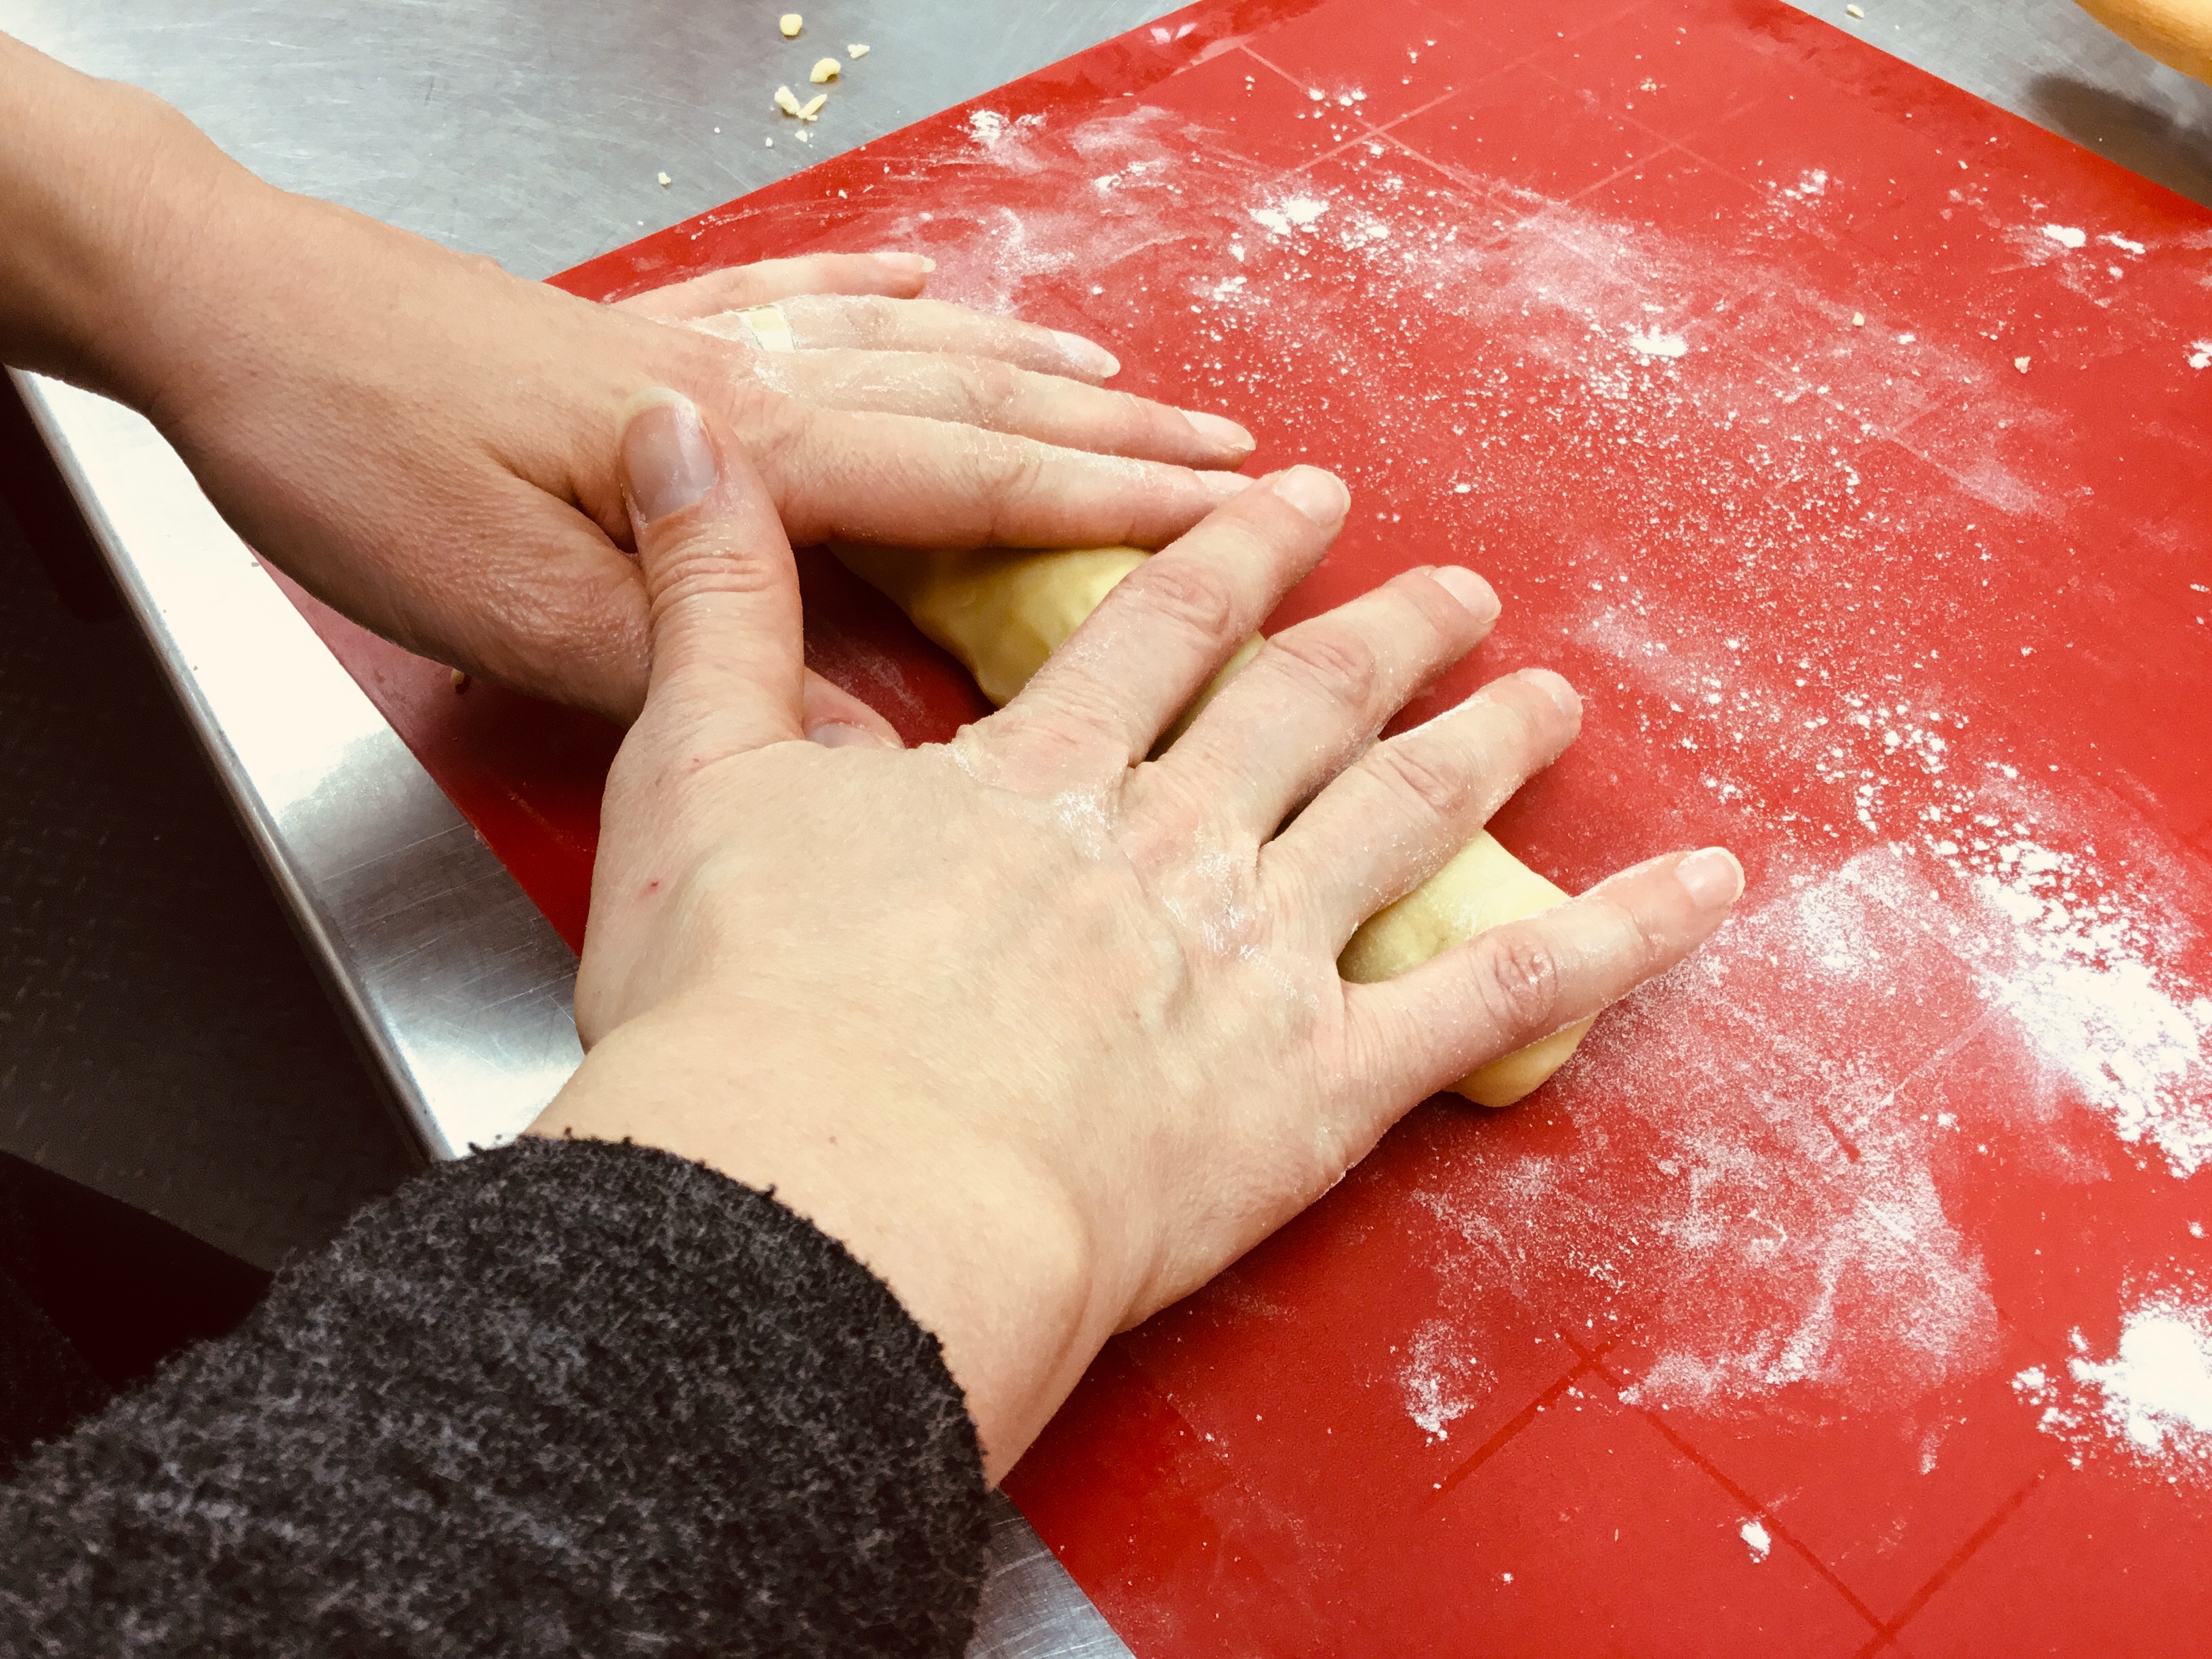
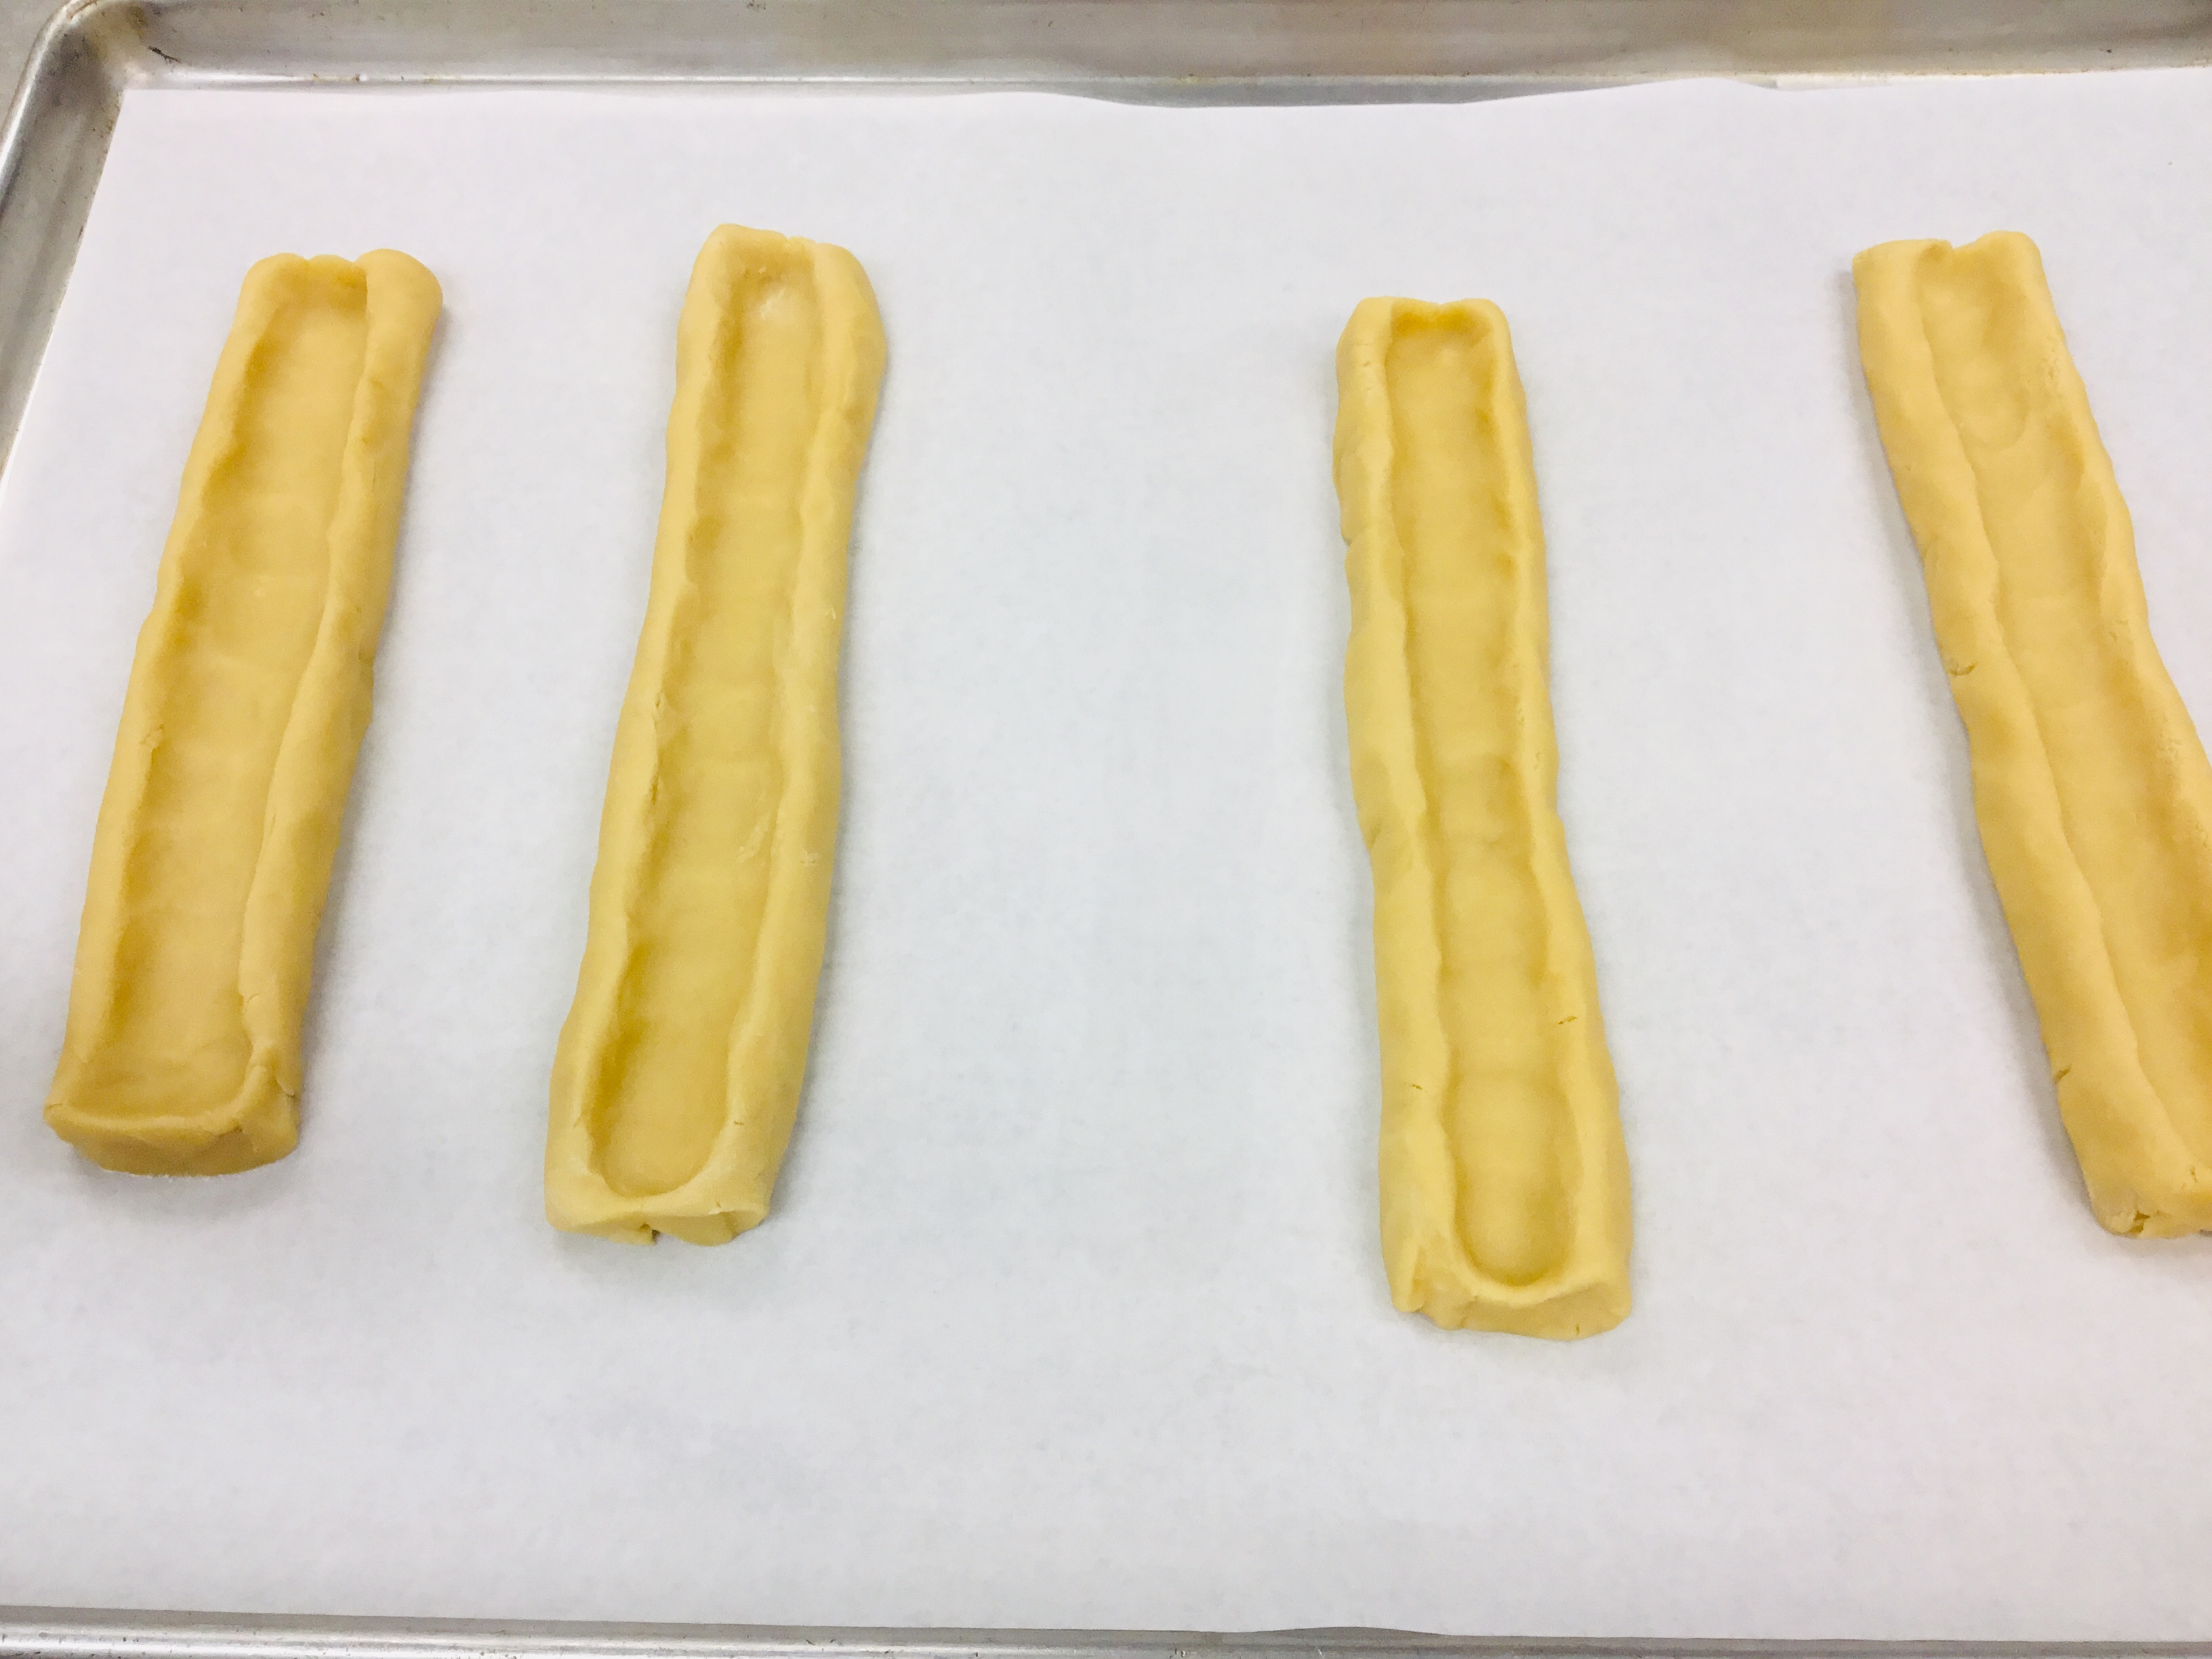
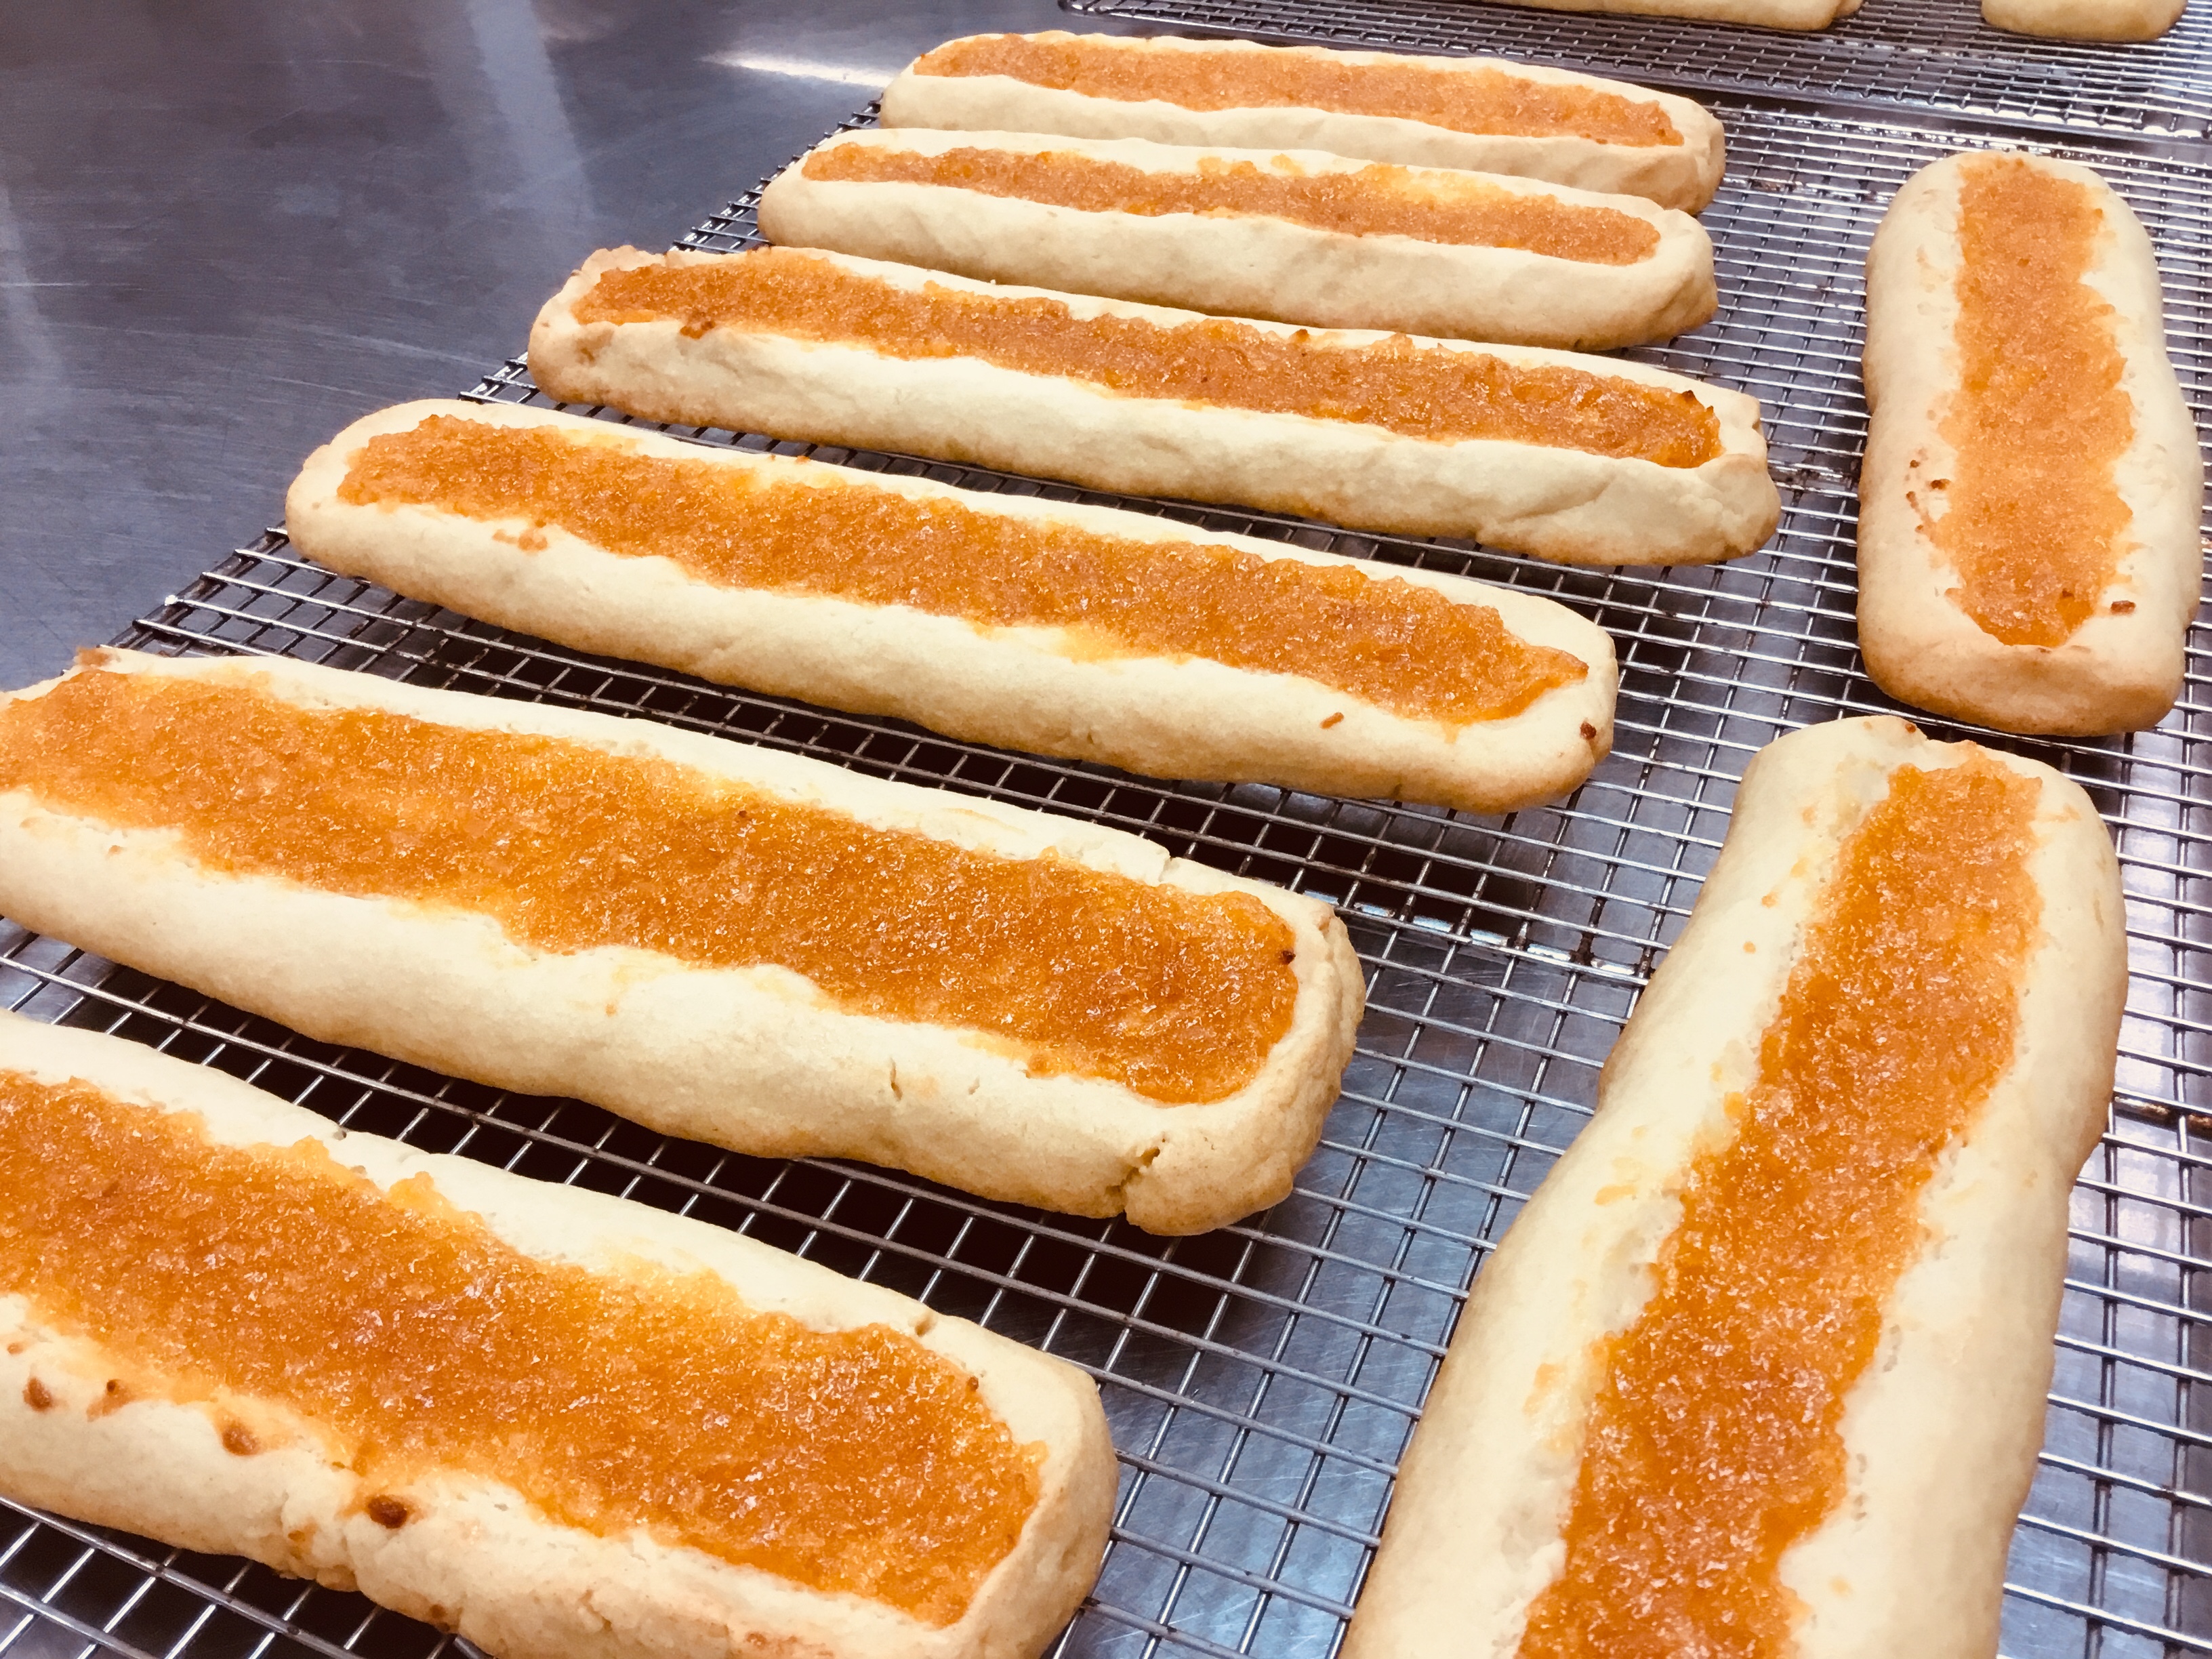
- Working with one piece of dough at a time, place the dough in plastic wrap and roll into an 8 inch long rope - place on a parchment covered sheet pan and make a canal down the center with your finger so the log becomes a 8 x 2" rectangle with a channel in the middle.
- Spread the apricot puree in the canals.
- Bake the cookie sticks in a 350 degree oven for 18-20 min. until the edges are slightly golden.
- Transfer to a rack and let them cool.
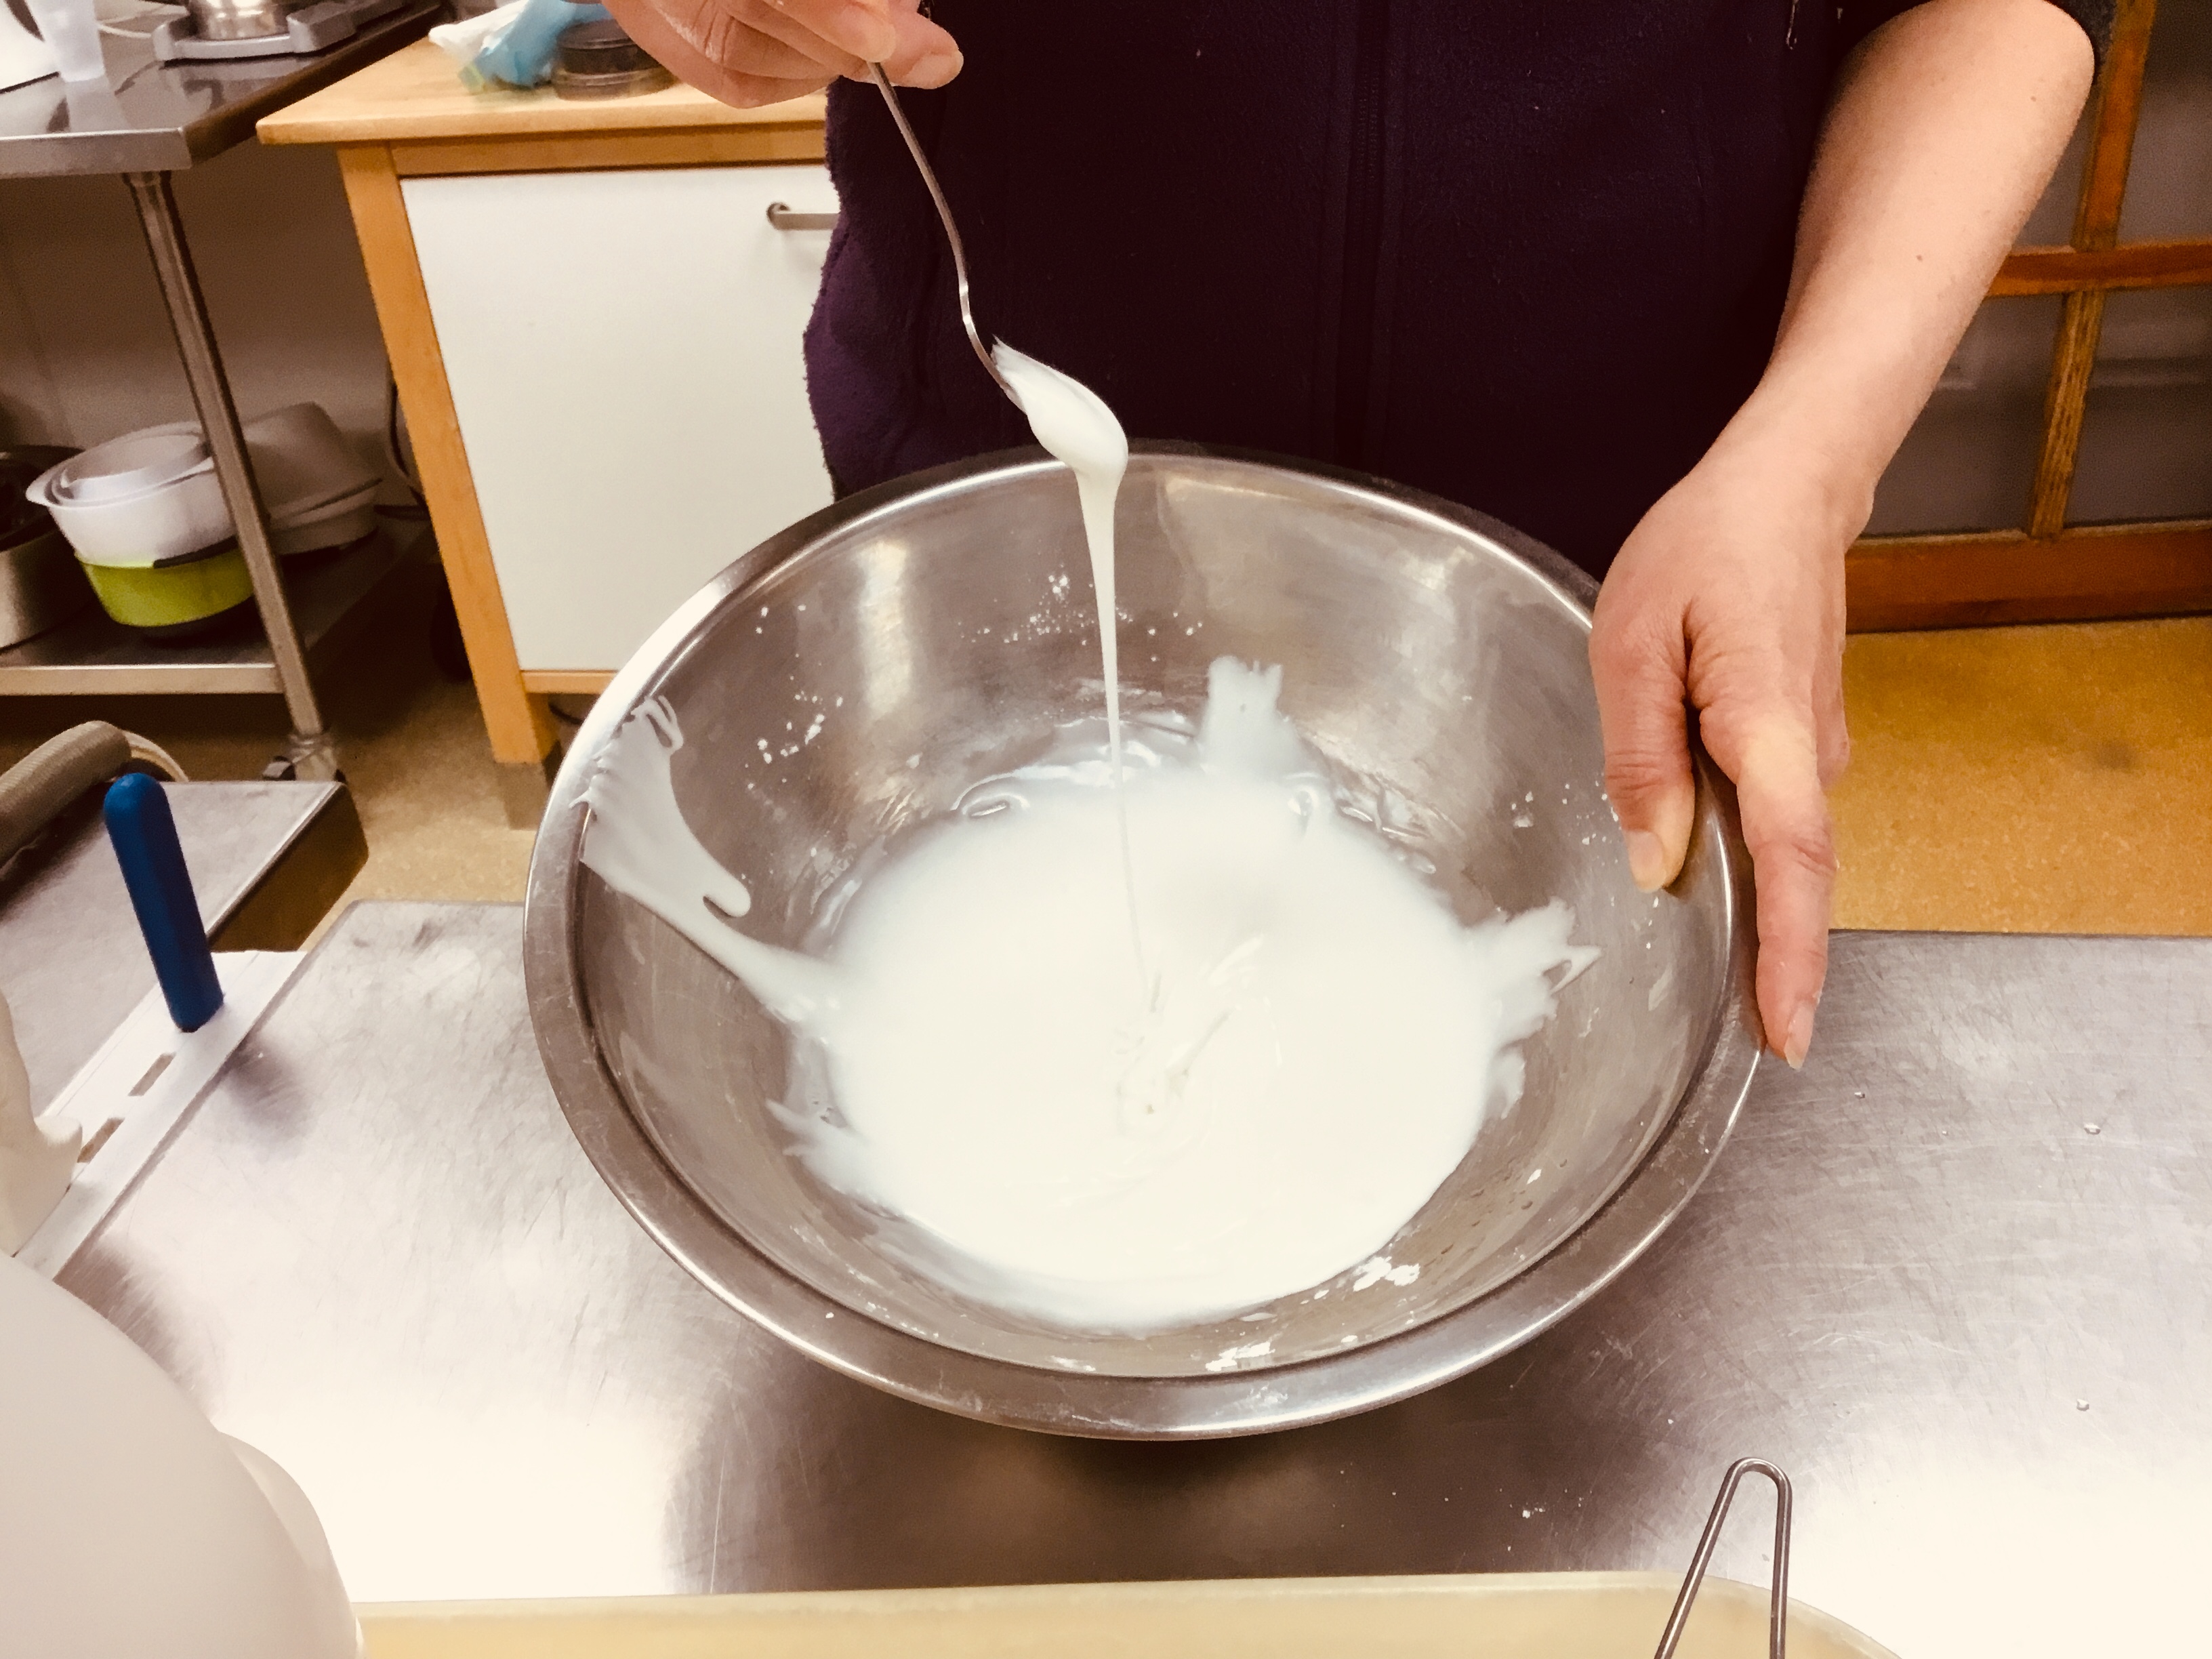
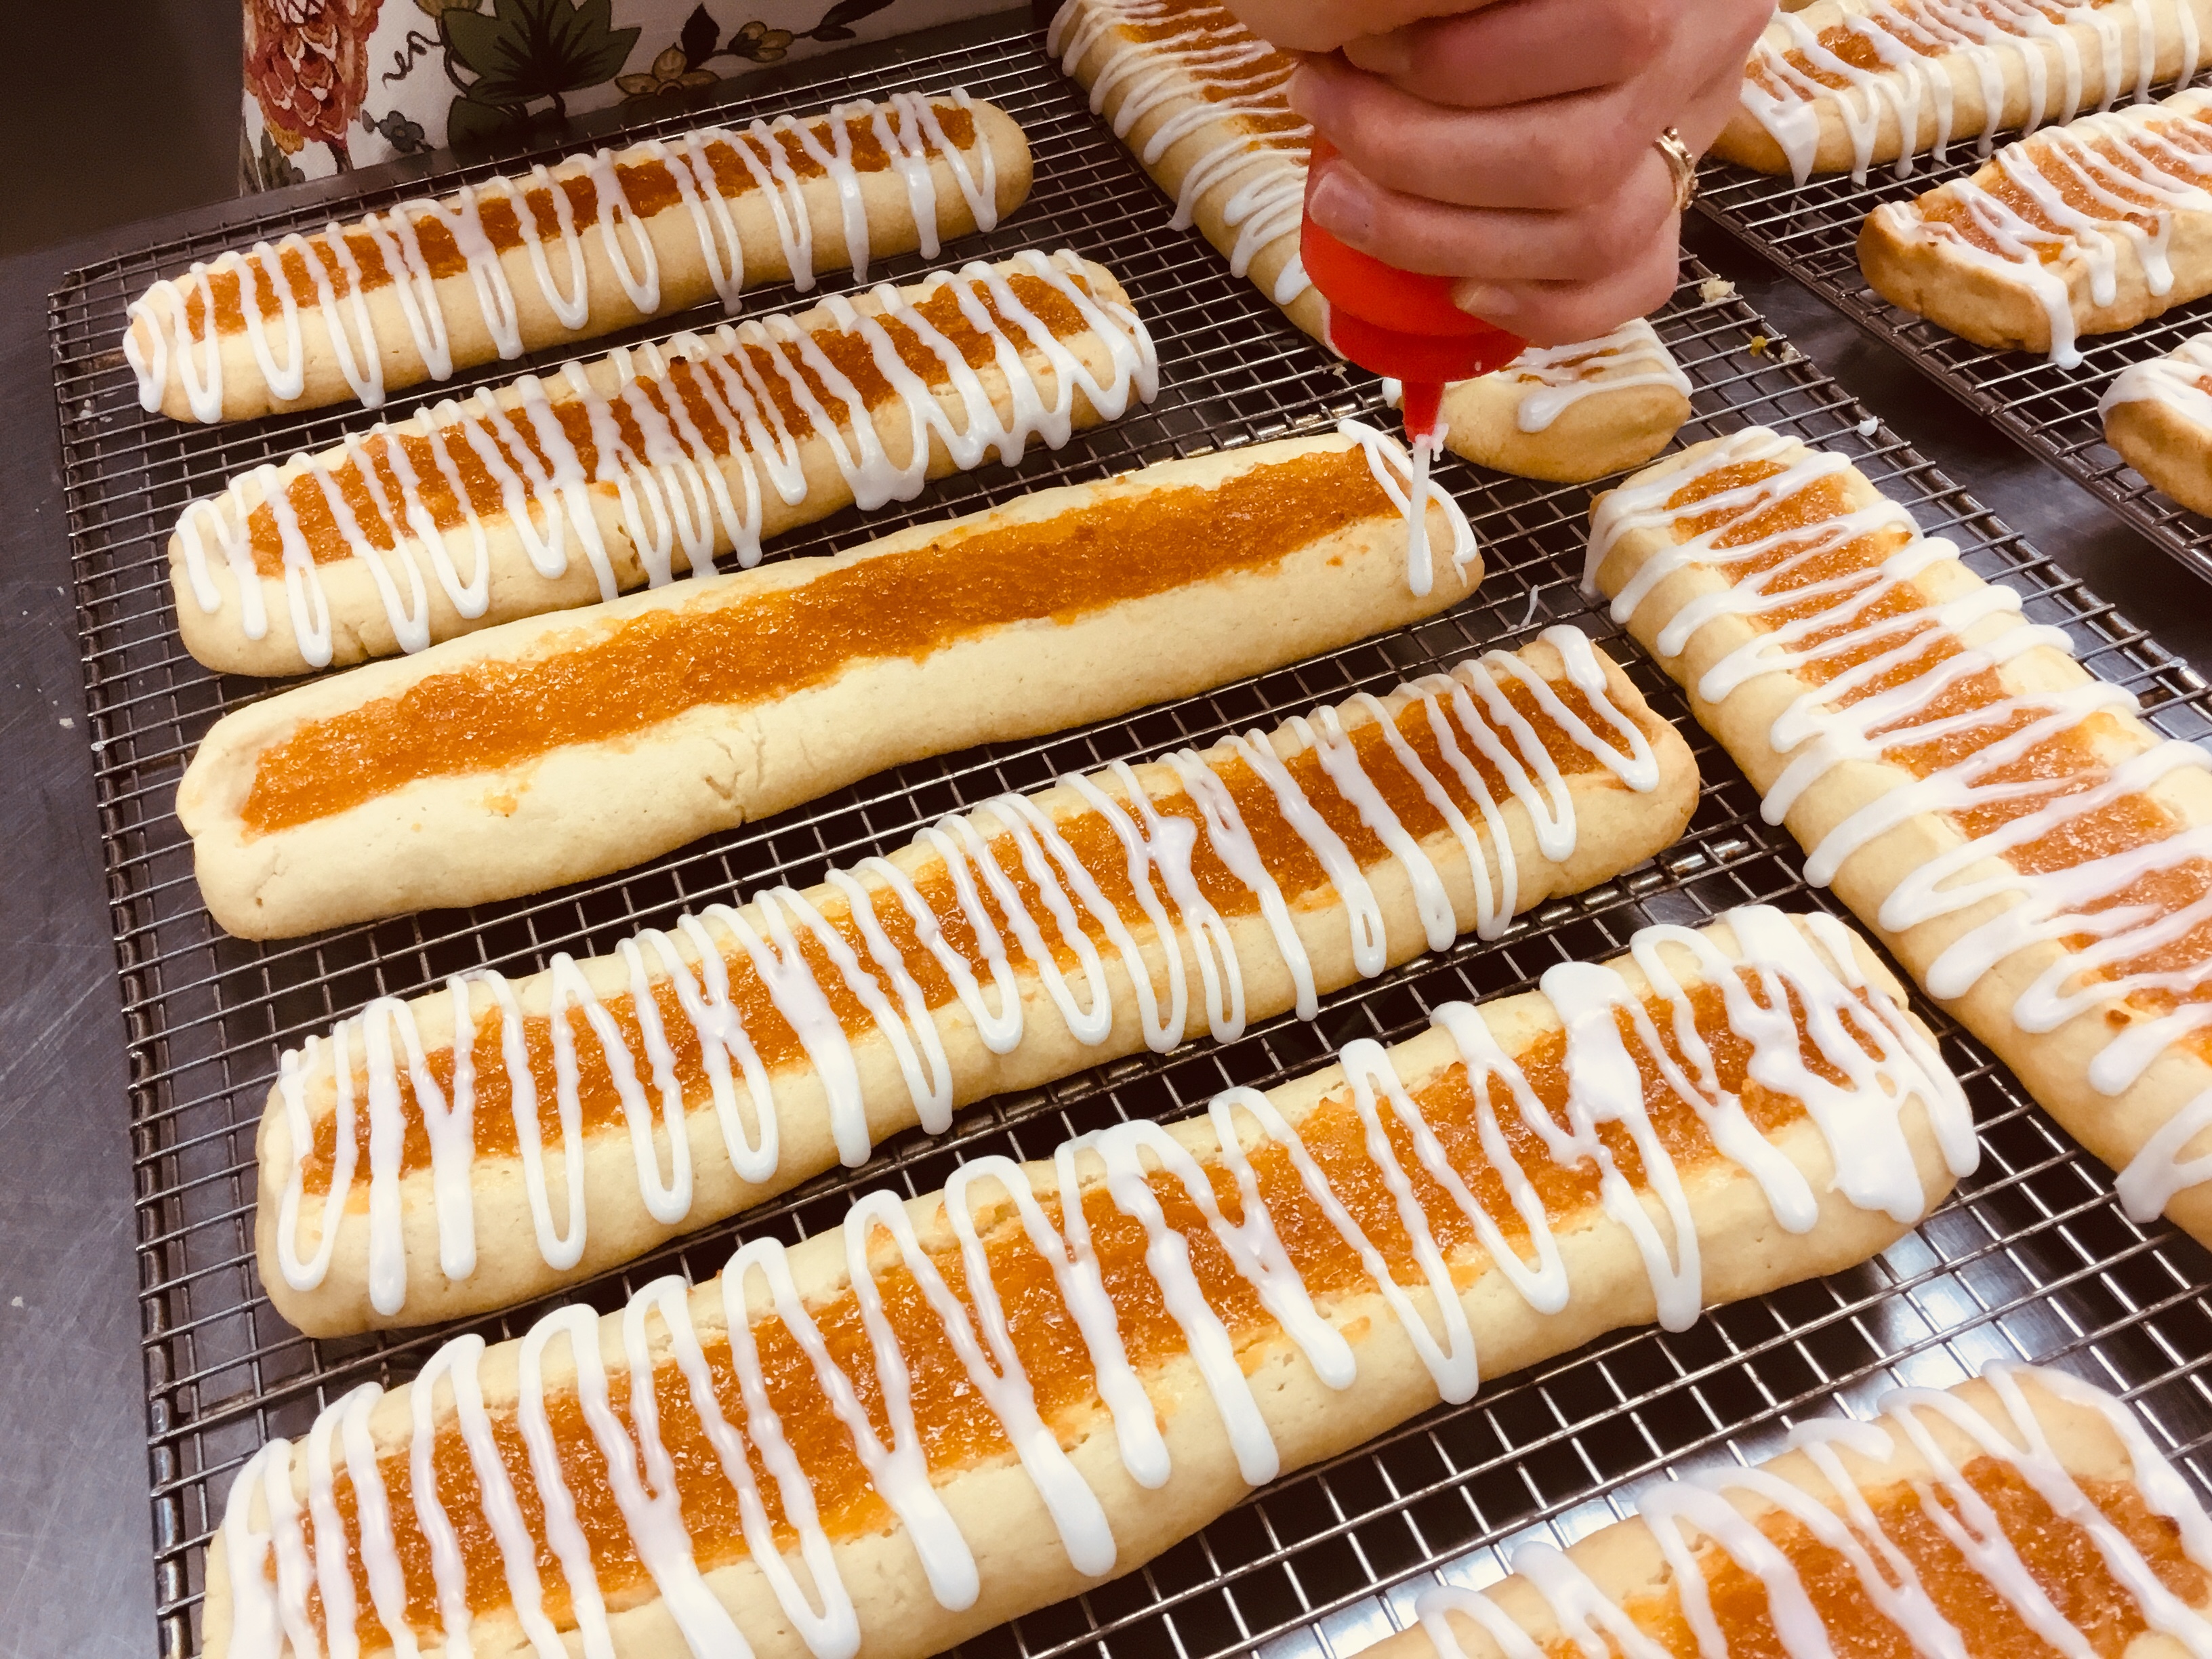
- In a small bowl, whisk together the glaze ingredients and add just enough water to make a thick but pour-able icing - you want it to be on the thick side.
- If desired, transfer the glaze to a squeeze bottle or piping bag and drizzle the icing over the cookies.
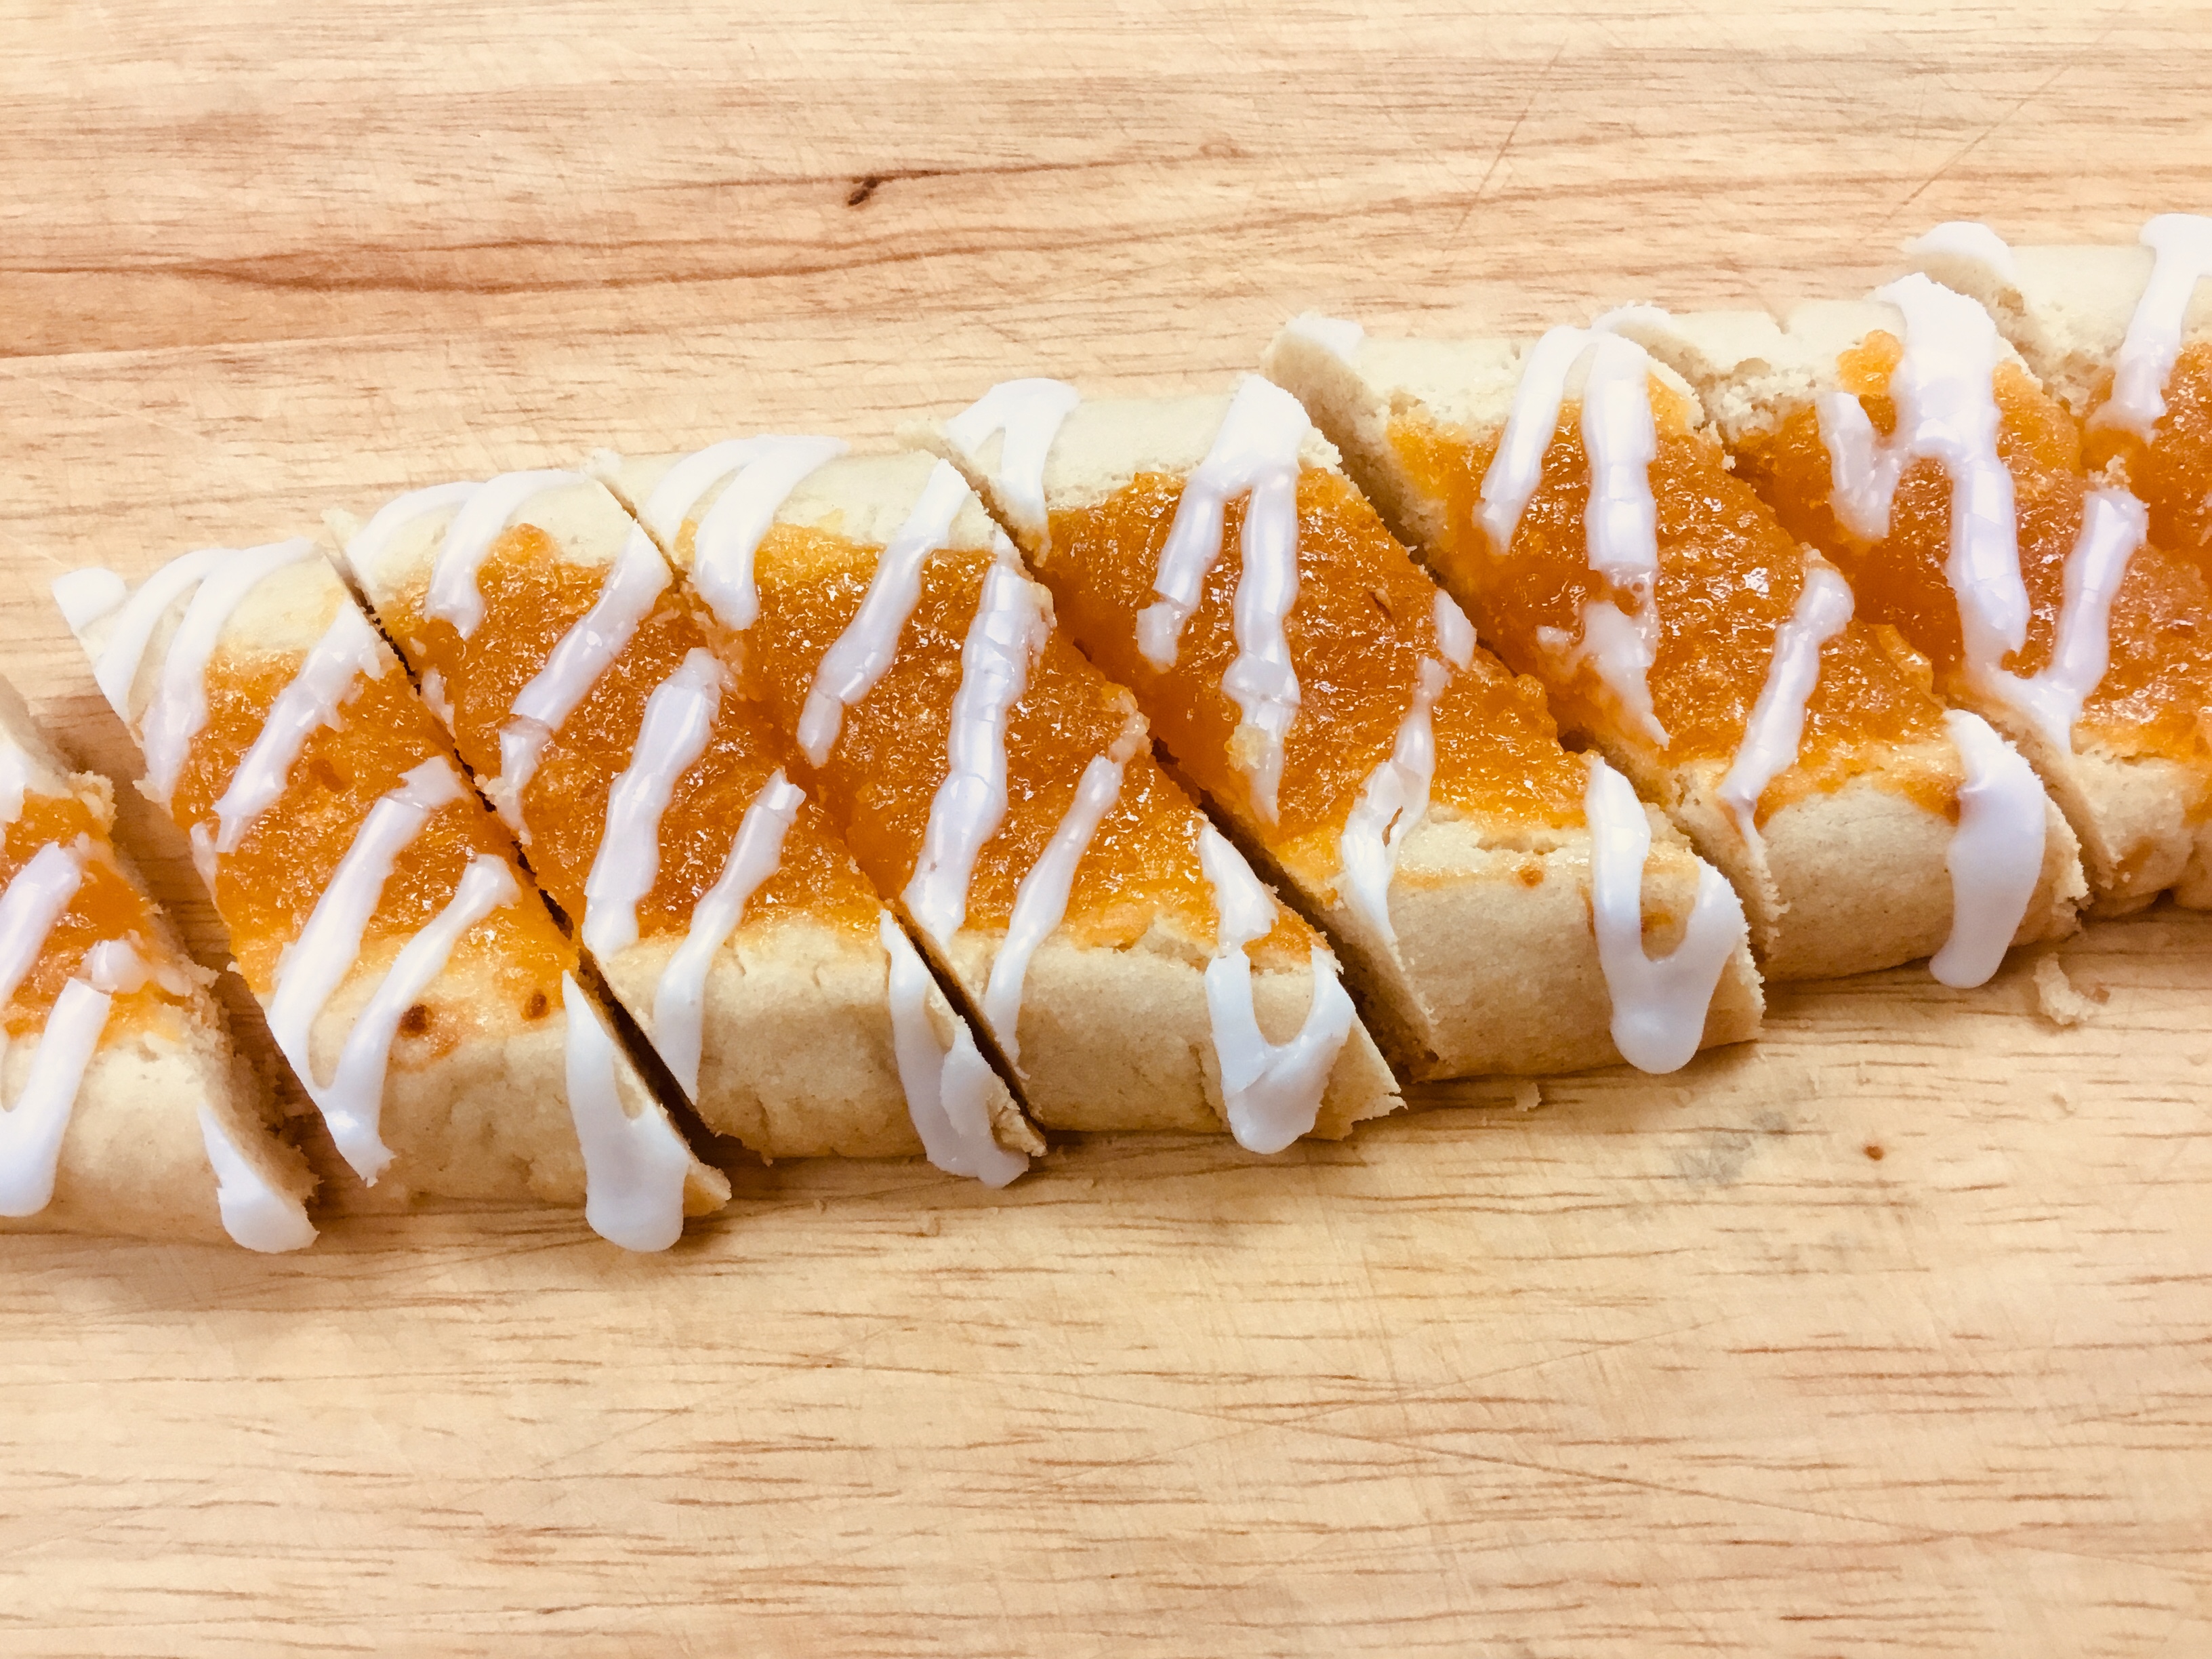
- Cut the rectangles diagonally into 1" strips.
- The cookies will keep in the freezer or in an airtight container for 1 week.
Merry Christmas from our home to yours!