Serving our mission in Italy has allowed me to learn about local dishes, and today’s blog features a favorite! Thanks to the generosity of Laura, co-owner of a local ristorante kitchen located in the historical center of Barga, I have been learning about traditional regional dishes during my time in Italy.
This white lasagna is different than anything I had ever made, as it showcases artichokes as the main flavor in this Italian classic. Rather than eat the outer leaves as we do in the States, the more tender inner leaves and heart are selected. Tasty and oh-so delizioso, this has become a surprise favorite on our table!
Ingredients and directions for the béchamel sauce are listed below, but you may also refer to our Baked Cauliflower Pie blog. That recipe is doubled below for this lasagna.
Print Recipe
Votes: 0
Rating: 0
You:
Rate this recipe!
Lasagne al Carciofo - Tuscan White Artichoke Lasagna
Melt butter in a small, heavy saucepan over medium heat until foaming. Add shallots (if using) and sauté 2 minutes. Do not let brown.
Reduce heat to low, add flour, and whisk until smooth and raw taste is cooked off, about 1 minute. Gradually whisk in milk. Add bay leaf and cook until just thickened, stirring often, about 10 minutes.
Stir in nutmeg and salt. Season with ground white pepper. Cool sauce slightly. Discard bay leaf before using.
Lasagna
Preheat oven to 375 degrees.
Prepare the artichokes by cutting off the tops, about 2 inches. Chop the stem, leaving the leaves attached and cut the whole artichoke in half.
Thinly slice the artichoke in half vertically and set aside.
Drizzle the bottom of a pan with olive oil and add the slices of artichoke. Season with salt and pepper and cook until tender. Remove from heat.
Gently combine the cooked artichoke with béchamel sauce and set aside
Thinly coat the bottom of a casserole dish with the béchamel sauce and begin layering the lasagna, beginning with the noodles, béchamel, and mozzarella. Continue layering for 3 layers, ending with a topping of mozzarella cheese.
Bake in the oven approximately 45 minutes or until the noodles are fully cooked, and the lasagna is bubbling around the edges.
Merry Christmas from Bethany Convent! This year, the Sisters enjoyed this lovely Grilled Ceasar Salad with our Christmas meal. It was so easy and delicious, we wanted to share it with you. Our prayers are with each one of you as we close out 2019 and look forward with hope and expectation to a new year together!
Prepare the dressing: In a bowl, add the mayonnaise, Worcestershire, lemon juice, Dijon, vinegar and garlic and whisk until combined. Slowly whisk in the olive oil. Add the Parmesan and continue to whisk. Season the dressing with salt and pepper. This can be made ahead and kept refrigerated until ready to use
Preheat a grill to medium-high heat.
Brush olive oil on the romaine hearts and season with salt and pepper. Place the romaine cut-side down on the grill and cook until nicely marked, 2 to 3 minutes.
Brush the lemon halves with olive oil and grill cut sized down until you have grill marks on the lemons and they are soft and golden
Preheat an oven to 375 degrees. Prepare croutons: tear up the bread into bite sized chunks and drizzle with olive oil. Toss until the oil is well distributed. Toss with Italian seasoning, garlic powder and salt until well seasoned to your liking. Spread on a baking sheet and bake until crispy and golden about 10-15 min. Remove from oven and let cool.
With a vegetable peeler, flake your Parmesan cheese into large pieces.
To assemble: lay your grilled romaine hearts on a platter, drizzle with the dressing and finish off with croutons, flakes of Parmesan cheese and the grilled lemon halves. Enjoy!
The message came to our Guest House cooks: Luncheon for two on Friday—and they would prefer to have no meat.
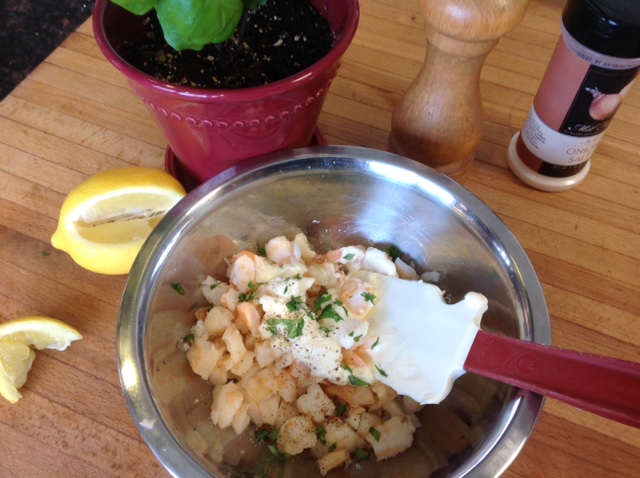
With Spring on the way, the first thing that came to me was a Shrimp Salad plate—quick, easy, delicious!
I often make salmon cakes in a big batch and freeze them for later use to serve for lunch with a nice salad of tomatoes and cucumbers or even citrus and avocado. They can be eaten at room temperature or crisped up in the oven before serving – whatever your preference. This is a simple recipe where all the ingredients are mixed together and then lightly fried in some olive oil. I’ve found that using an old fashioned ice cream scoop does such an excellent job shaping your patties that you don’t even have to get your hands dirty! Just scoop the mixture directly into your skillet and pat down with your metal spatula. It’s a cost-effective recipe that can be made gluten-free as well. A great healthy way to start your year!
Drain the salmon and pick through and discard excess bones and skin
Mix all the ingredients together and form into patties using an ice cream scoop for uniform size
Heat a skillet with oil (enough to cover the bottom of the skillet) and fry in olive oil, about 2-3 min per side until golden
Remove patties to a metal cooling rack set over a sheet pan lined with paper towel to catch any excess oil. Serve warm or at room temperature or cool then freeze in an airtight container.
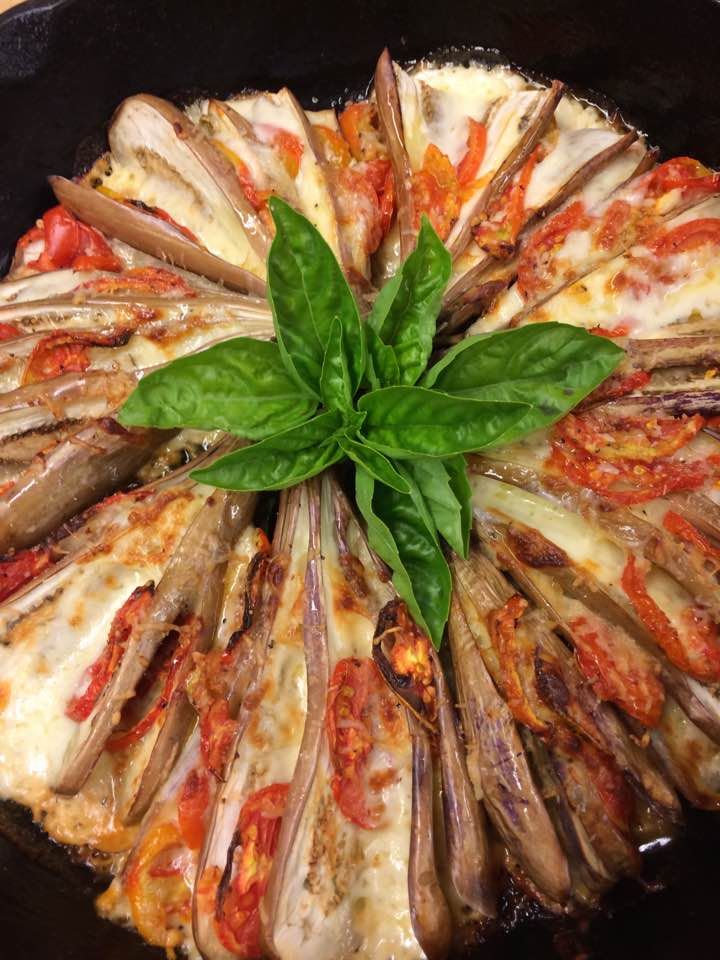
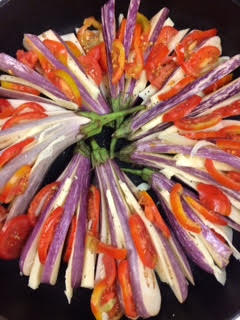
This lovely and simple dish can be made with any size of eggplant! The inspiration for this dish came from a Facebook recipe video (with Russian directions) shared on Facebook by Peter Jermihov, the conductor for the recently released All Night Vigil, a collaborative recording between our choir, Gloriæ Dei Cantores, and members of three additional choirs. Facebook and Pinterest offer a wonderful way to connect with friends and to find recipes from different countries and cultures.
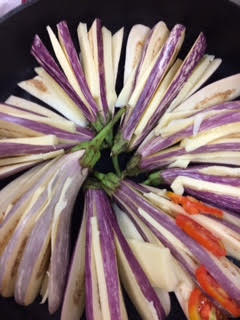
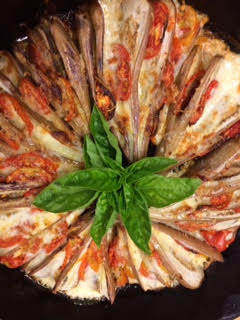
At this time of year, our garden is bursting with mini eggplants. Earlier in the season at planting time we received a donation of seeds for this specialty vegetable and it has indeed been a bumper crop. This dish can be prepared with a single eggplant for a personal size serving, or in a cast iron or ovenproof dish for a family as you see below. You may enjoy watching the video below which offers three additional ways to serve eggplant. Although the directions are in Russian, the pictures are universal! Once you have made the dish, you may want to share your picture with your Facebook fans and friends!
Print Recipe
Votes: 0
Rating: 0
You:
Rate this recipe!
Fairy Tale Eggplant Fans
SERVINGS
4servings
CHANGE SERVING SIZE
servings
COOK TIME
25mins
PREP TIME
15mins
READY IN
40mins
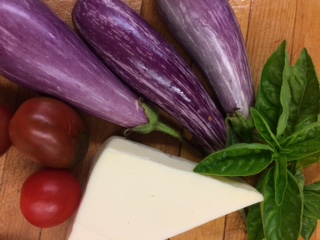
Ingredients
2eggplant(s)medium/large, or 6 fairy tale eggplant
Spring on the Cape is at its peak this week, with trees budding, boats going back into the water, gardens being cultivated, summer cottages being opened and the pungent smell of salt water filling the air. Clamming licenses are being renewed, and fishermen are painting and repairing their boats – it’s an exciting time to live on Cape Cod!
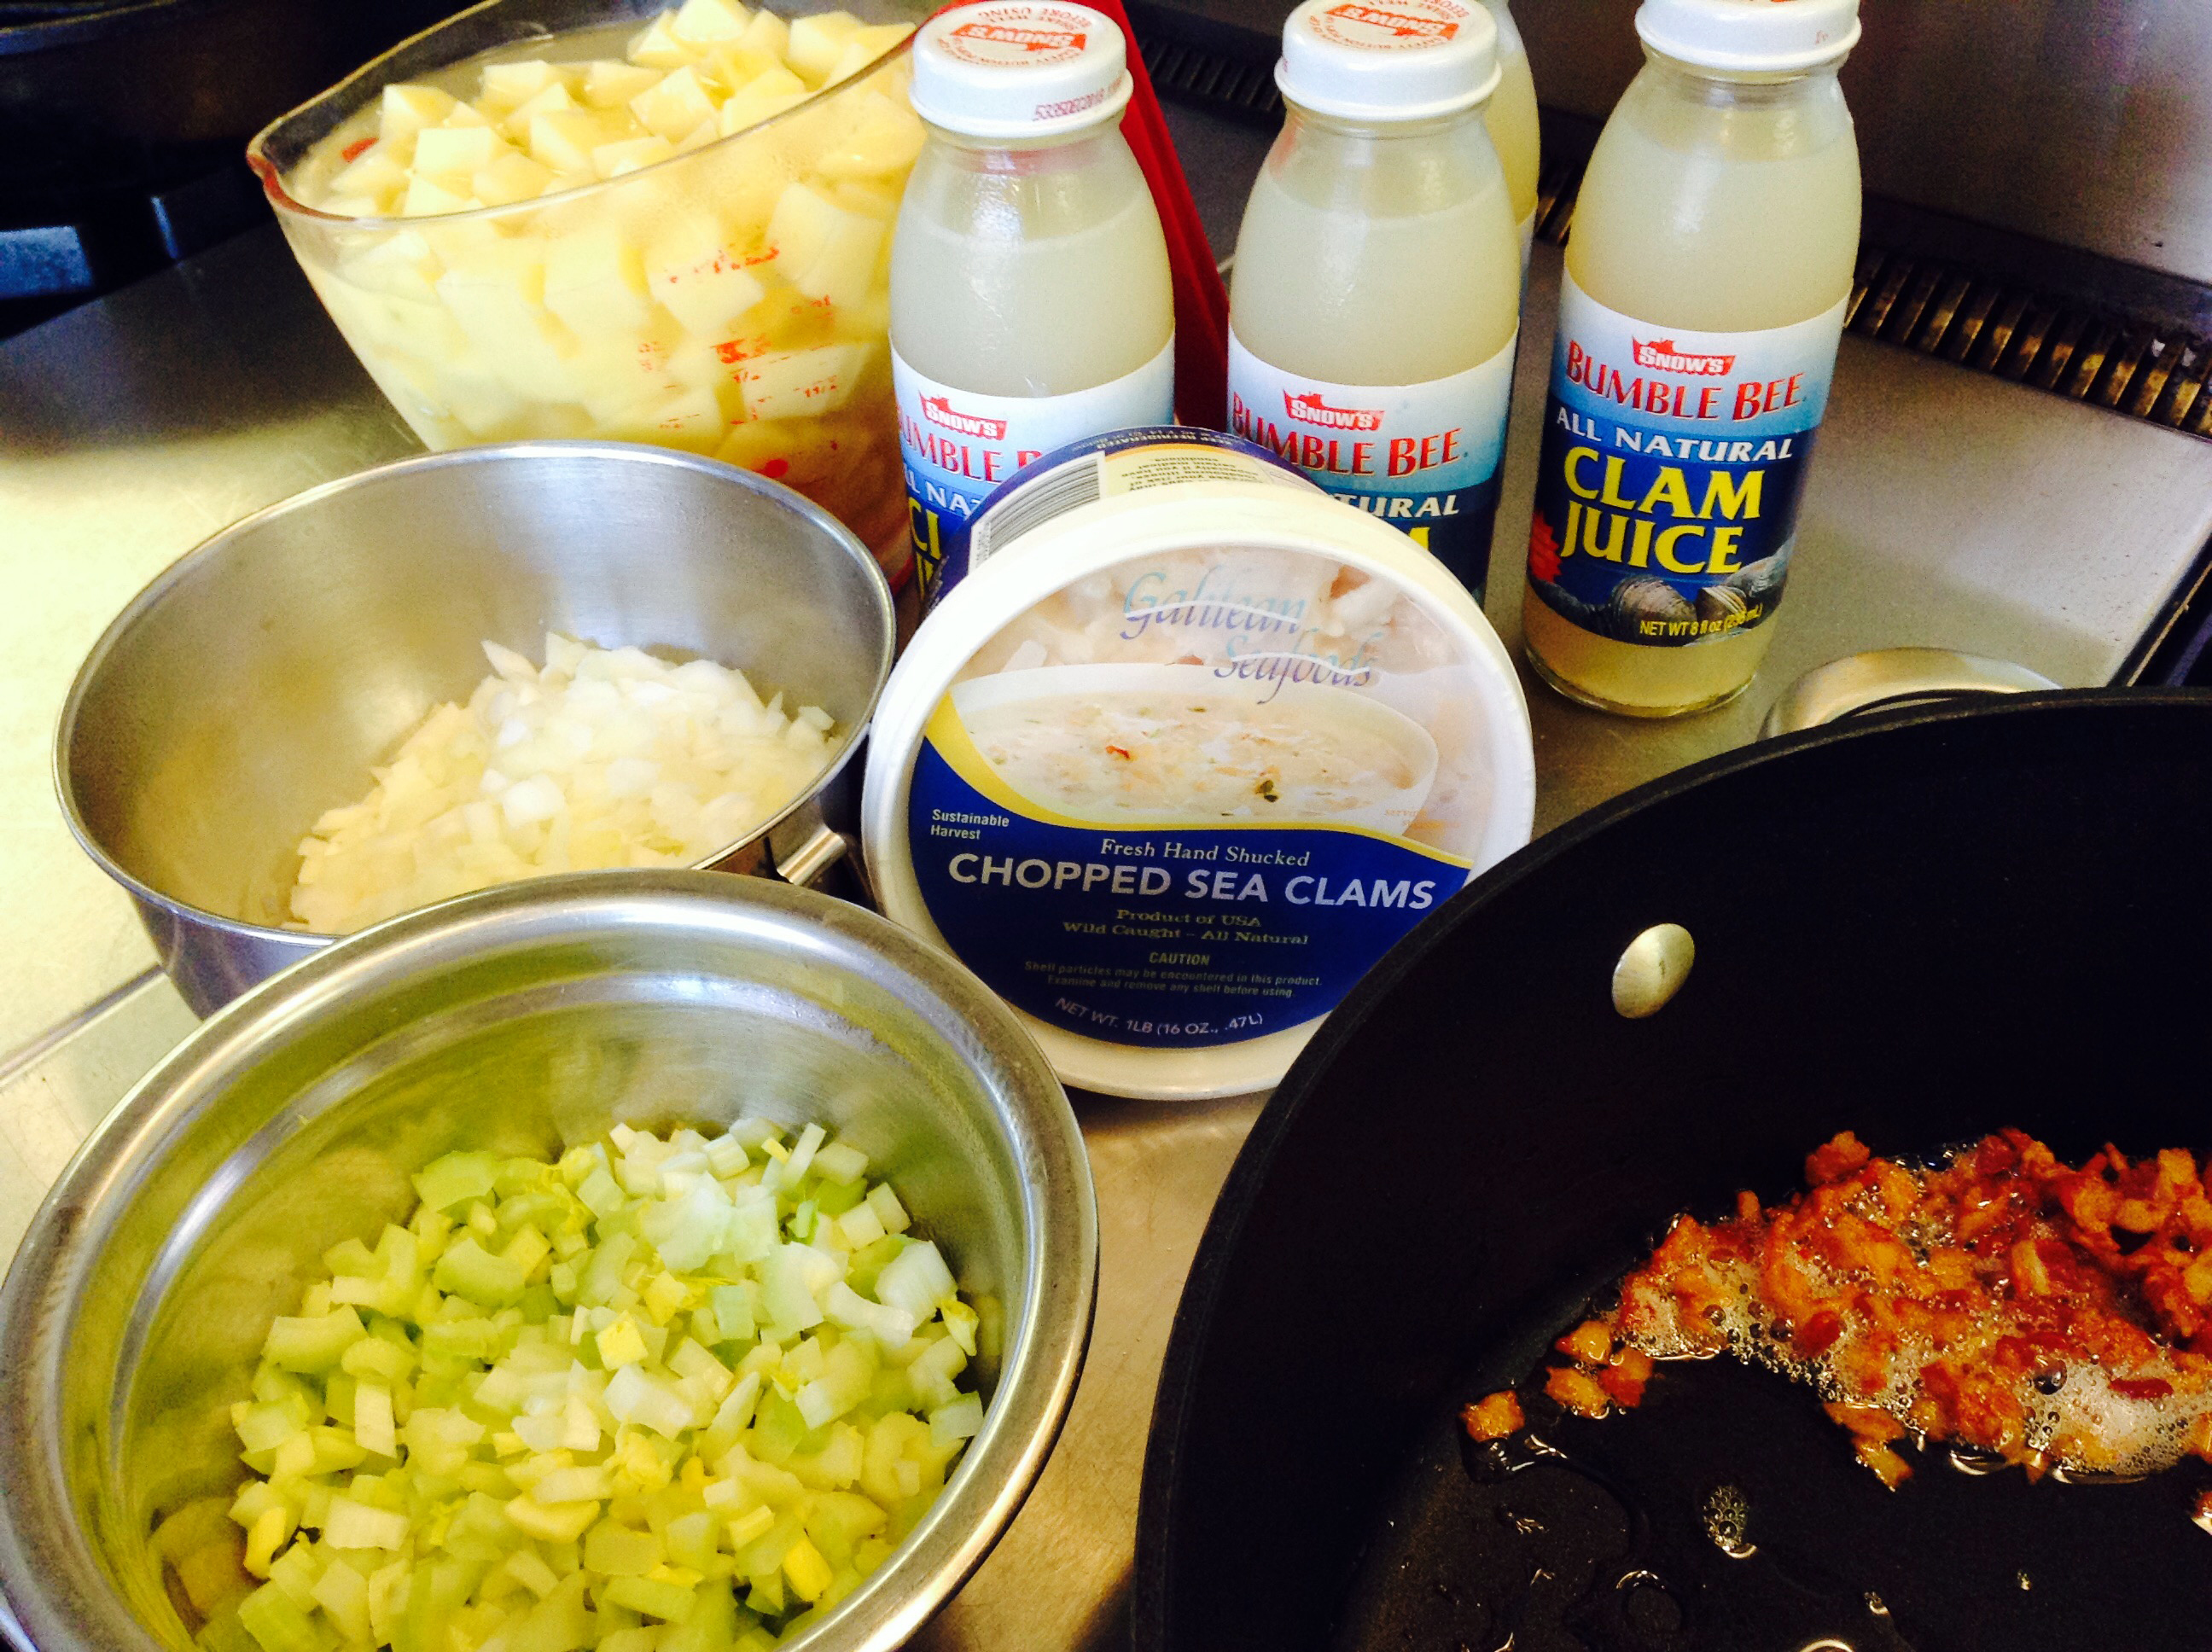
The beauty and stillness that I found as I walked along the harbor boardwalk yesterday was palpable. “It’s time to make chowder”, I thought to myself. A visit to Cape Cod just isn’t complete without a steaming bowl of chowder. If you can’t get to the beach this summer, try this recipe to bring the beach to you!
Print Recipe
Votes: 0
Rating: 0
You:
Rate this recipe!
Cape Cod Clam Chowder
SERVINGS
8
CHANGE SERVING SIZE
COOK TIME
30minutes
PREP TIME
15minutes
READY IN
1hour
Ingredients
3ouncessalt porkor 3 slices of thick slab bacon, diced (extra bacon for garnish if desired)
1onion(s) large, yellow, sweet, peeled and chopped
Place the salt pork or bacon in a heavy 5 quart sauce pan and set over medium heat. Cook, stirring occasionally, until the bacon is brown and crisp (don’t burn!). Remove the bacon bits w/ a slotted spoon and reserve.
Add the onion, celery, bay leaf and thyme to the drippings and sauté until they are wilted and golden.
Add the flour and cook for about 1 minute, then add the potatoes and clam juice (both the bottle juice and the liquid reserved from the clams). Set the kettle over medium high heat and bring to a rapid simmer, then reduce the heat and cook for 15-20 min until the potatoes are tender.
Remove the bay leaf. Stir in the cream and heat, uncovered, without allowing the mixture to boil.
When the mixture is hot, add the clams and the bacon bits and cook for another 5 minutes without boiling. Season with kosher salt and pepper, to taste.
Serve immediately, putting a pat of butter on the top of each bowl of chowder w/ a small piece of bacon and a sprinkling of paprika to garnish. Don’t forget the chowder crackers!
Enjoy!


")