Since St. Lucia’s Day (or St. Lucy’s Day) is just around the corner on December 13th, we thought we’d share this special Swedish bread with you – fantastic for the Holidays. The celebration of the day comes from stories that were told by Monks who first brought Christianity to Sweden. “St Lucia was a young Christian girl who was martyred, killed for her faith, in 304. The most common story told about St Lucia is that she would secretly bring food to the persecuted Christians in Rome, who lived in hiding in the catacombs under the city. She would wear candles on her head, so she had both her hands free to carry things. Lucy means ‘light’ so this is a very appropriate name.” (see note below**)
December 13th was also the Winter Solstice, the shortest day of the year, in the old ‘Julian’ Calendar and a pagan festival of lights in Sweden was turned into St. Lucia’s Day. It is now celebrated by a girl dressing in a white dress with a red sash around her waist and a crown of candles on her head. Thus, the wreath of bread dotted with candied “berries.” If you’d like you can also add small candles to the cake as well for a more festive look.
** read more at https://www.whychristmas.com/cultures/sweden.shtml
Print Recipe
Votes: 0
Rating: 0
You:
Rate this recipe!
St. Lucia Bread
SERVINGS2loaves
|
COOK TIME20-25mins |
PREP TIME30mins |
READY IN2-3hrs |
Ingredients
Instructions
- In a large mixer, soften the yeast in the warm water
- Heat the milk until warm. Add the oil and sugar and stir to dissolve.
- Add this mixture to the yeast mixture in the mixer
- Add salt and saffron
- Add the 3 slightly beaten eggs and mix with dough hook.
- Add the lemon zest, citron and almonds and continue mixing
- One cup at a time, add the flour and mix well after each addition. Stop adding the flour when the dough starts pulling away from the side of the bowl. Adding more flour if necessary.
- Turn the dough out onto a floured board and knead for 5 min, or until dough becomes smooth and elastic; adding flour as necessary.
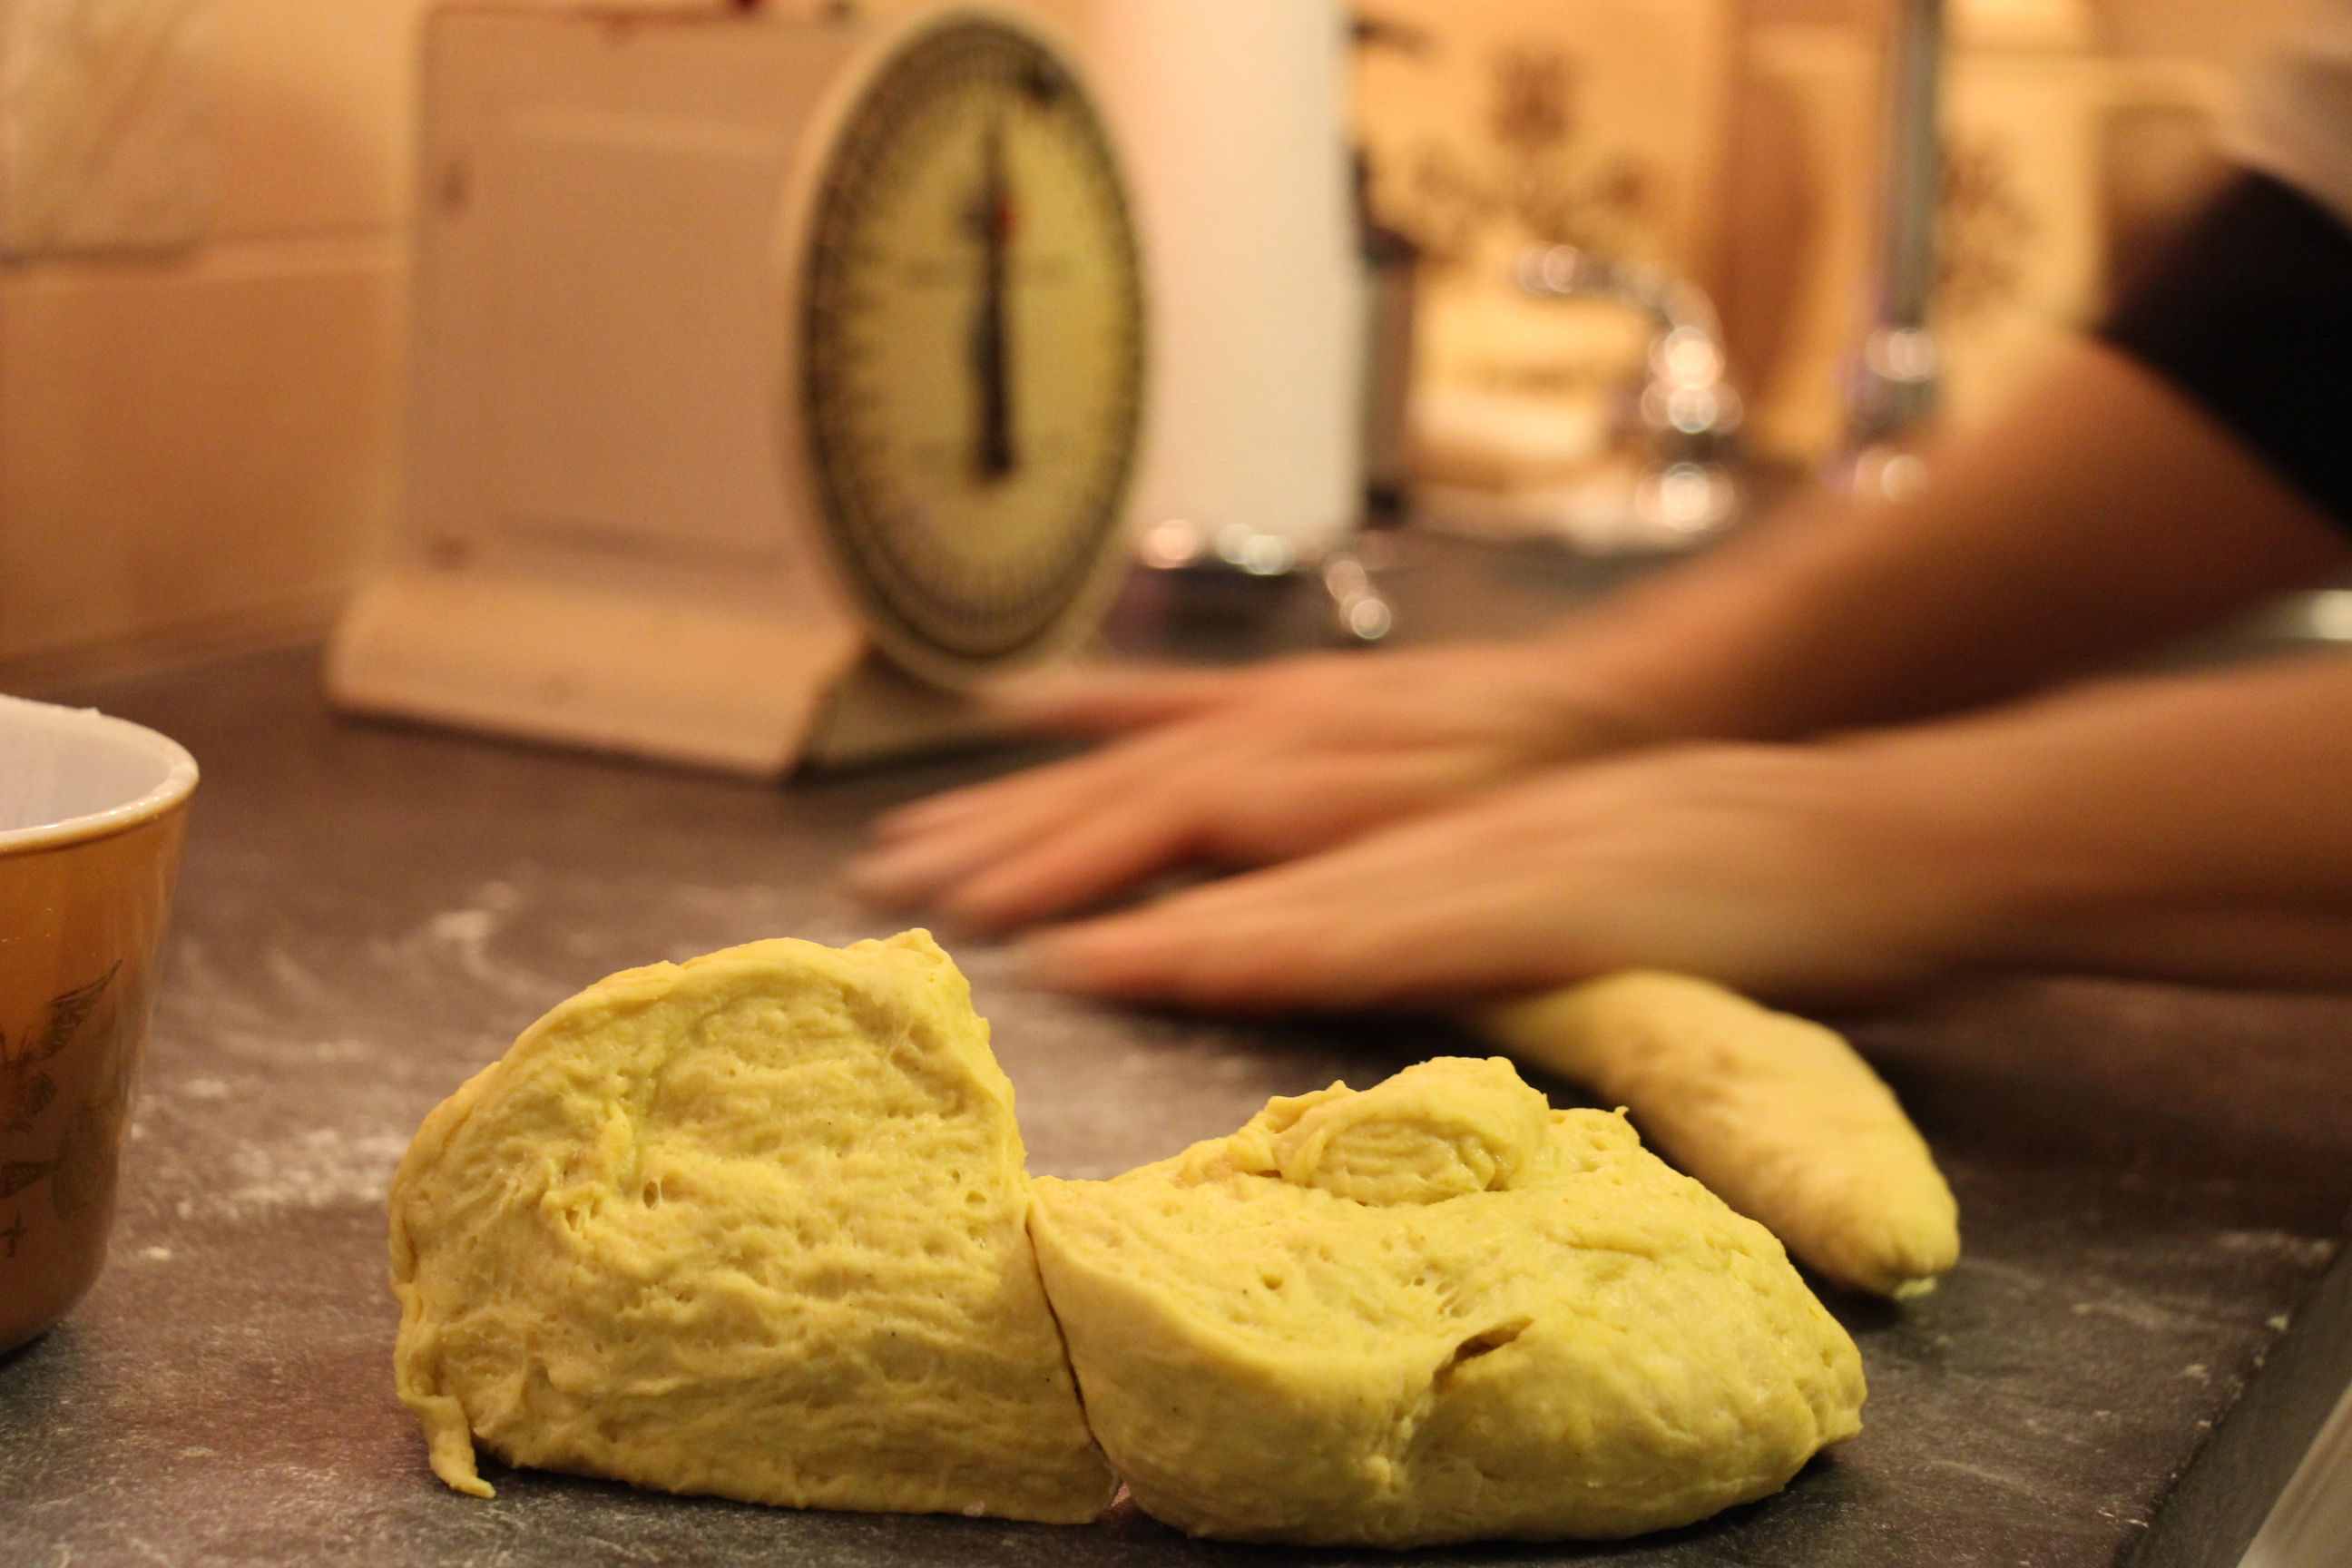
- Place the dough in a greased bowl, cover, and let rise in a warm place until almost doubled in size, about 1 hr. (At this point, you can refrigerate the dough, if you want to work with it later).
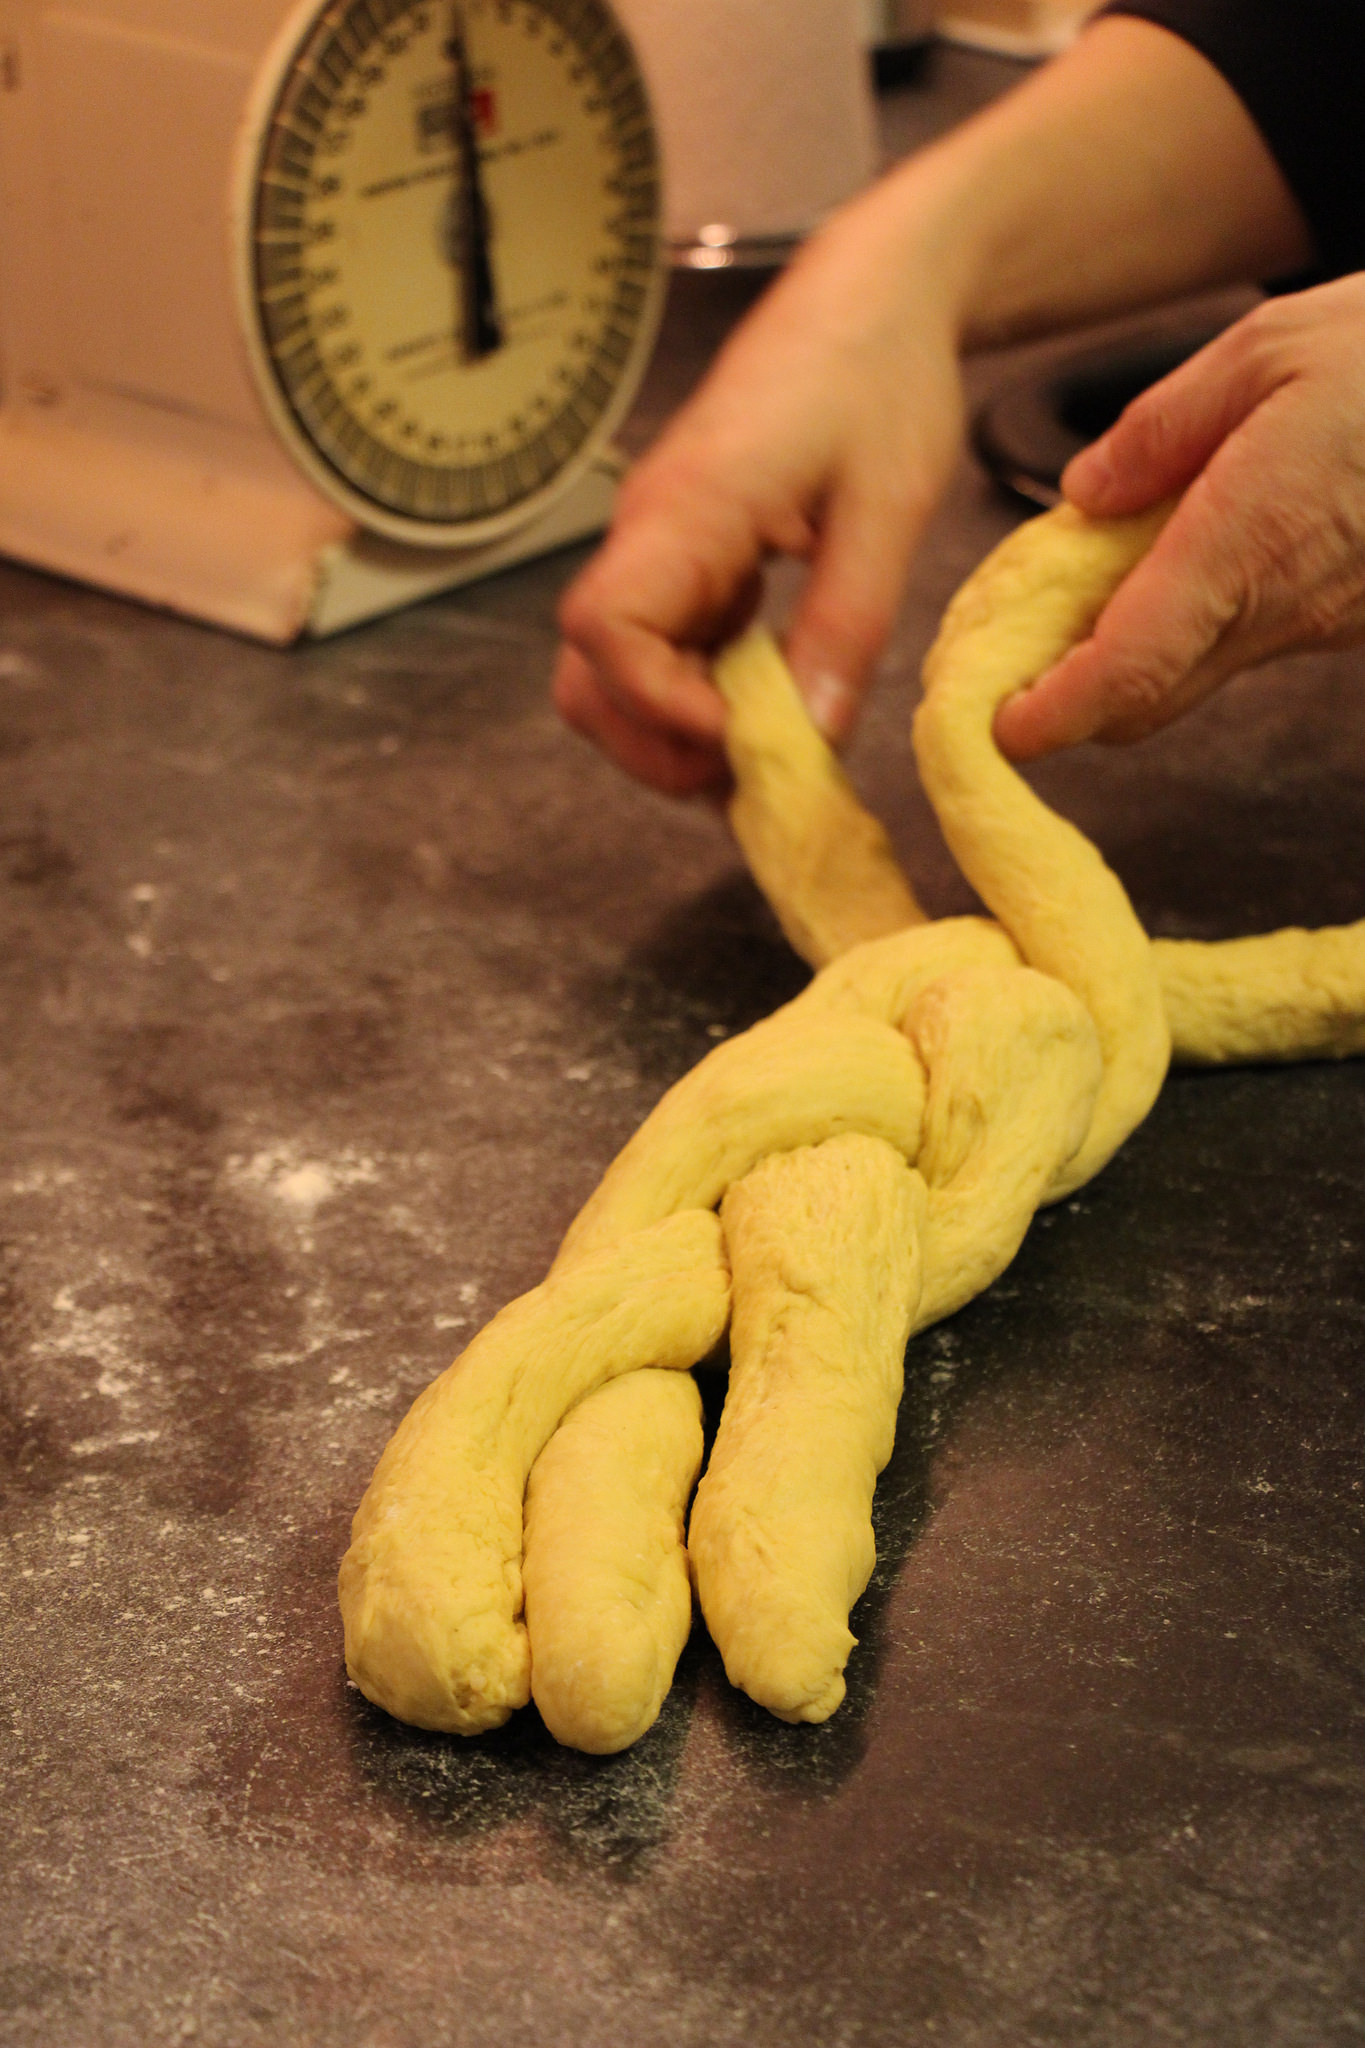
- Divide the dough into six equal balls and roll into large ropes and then braid three together, making two braids.
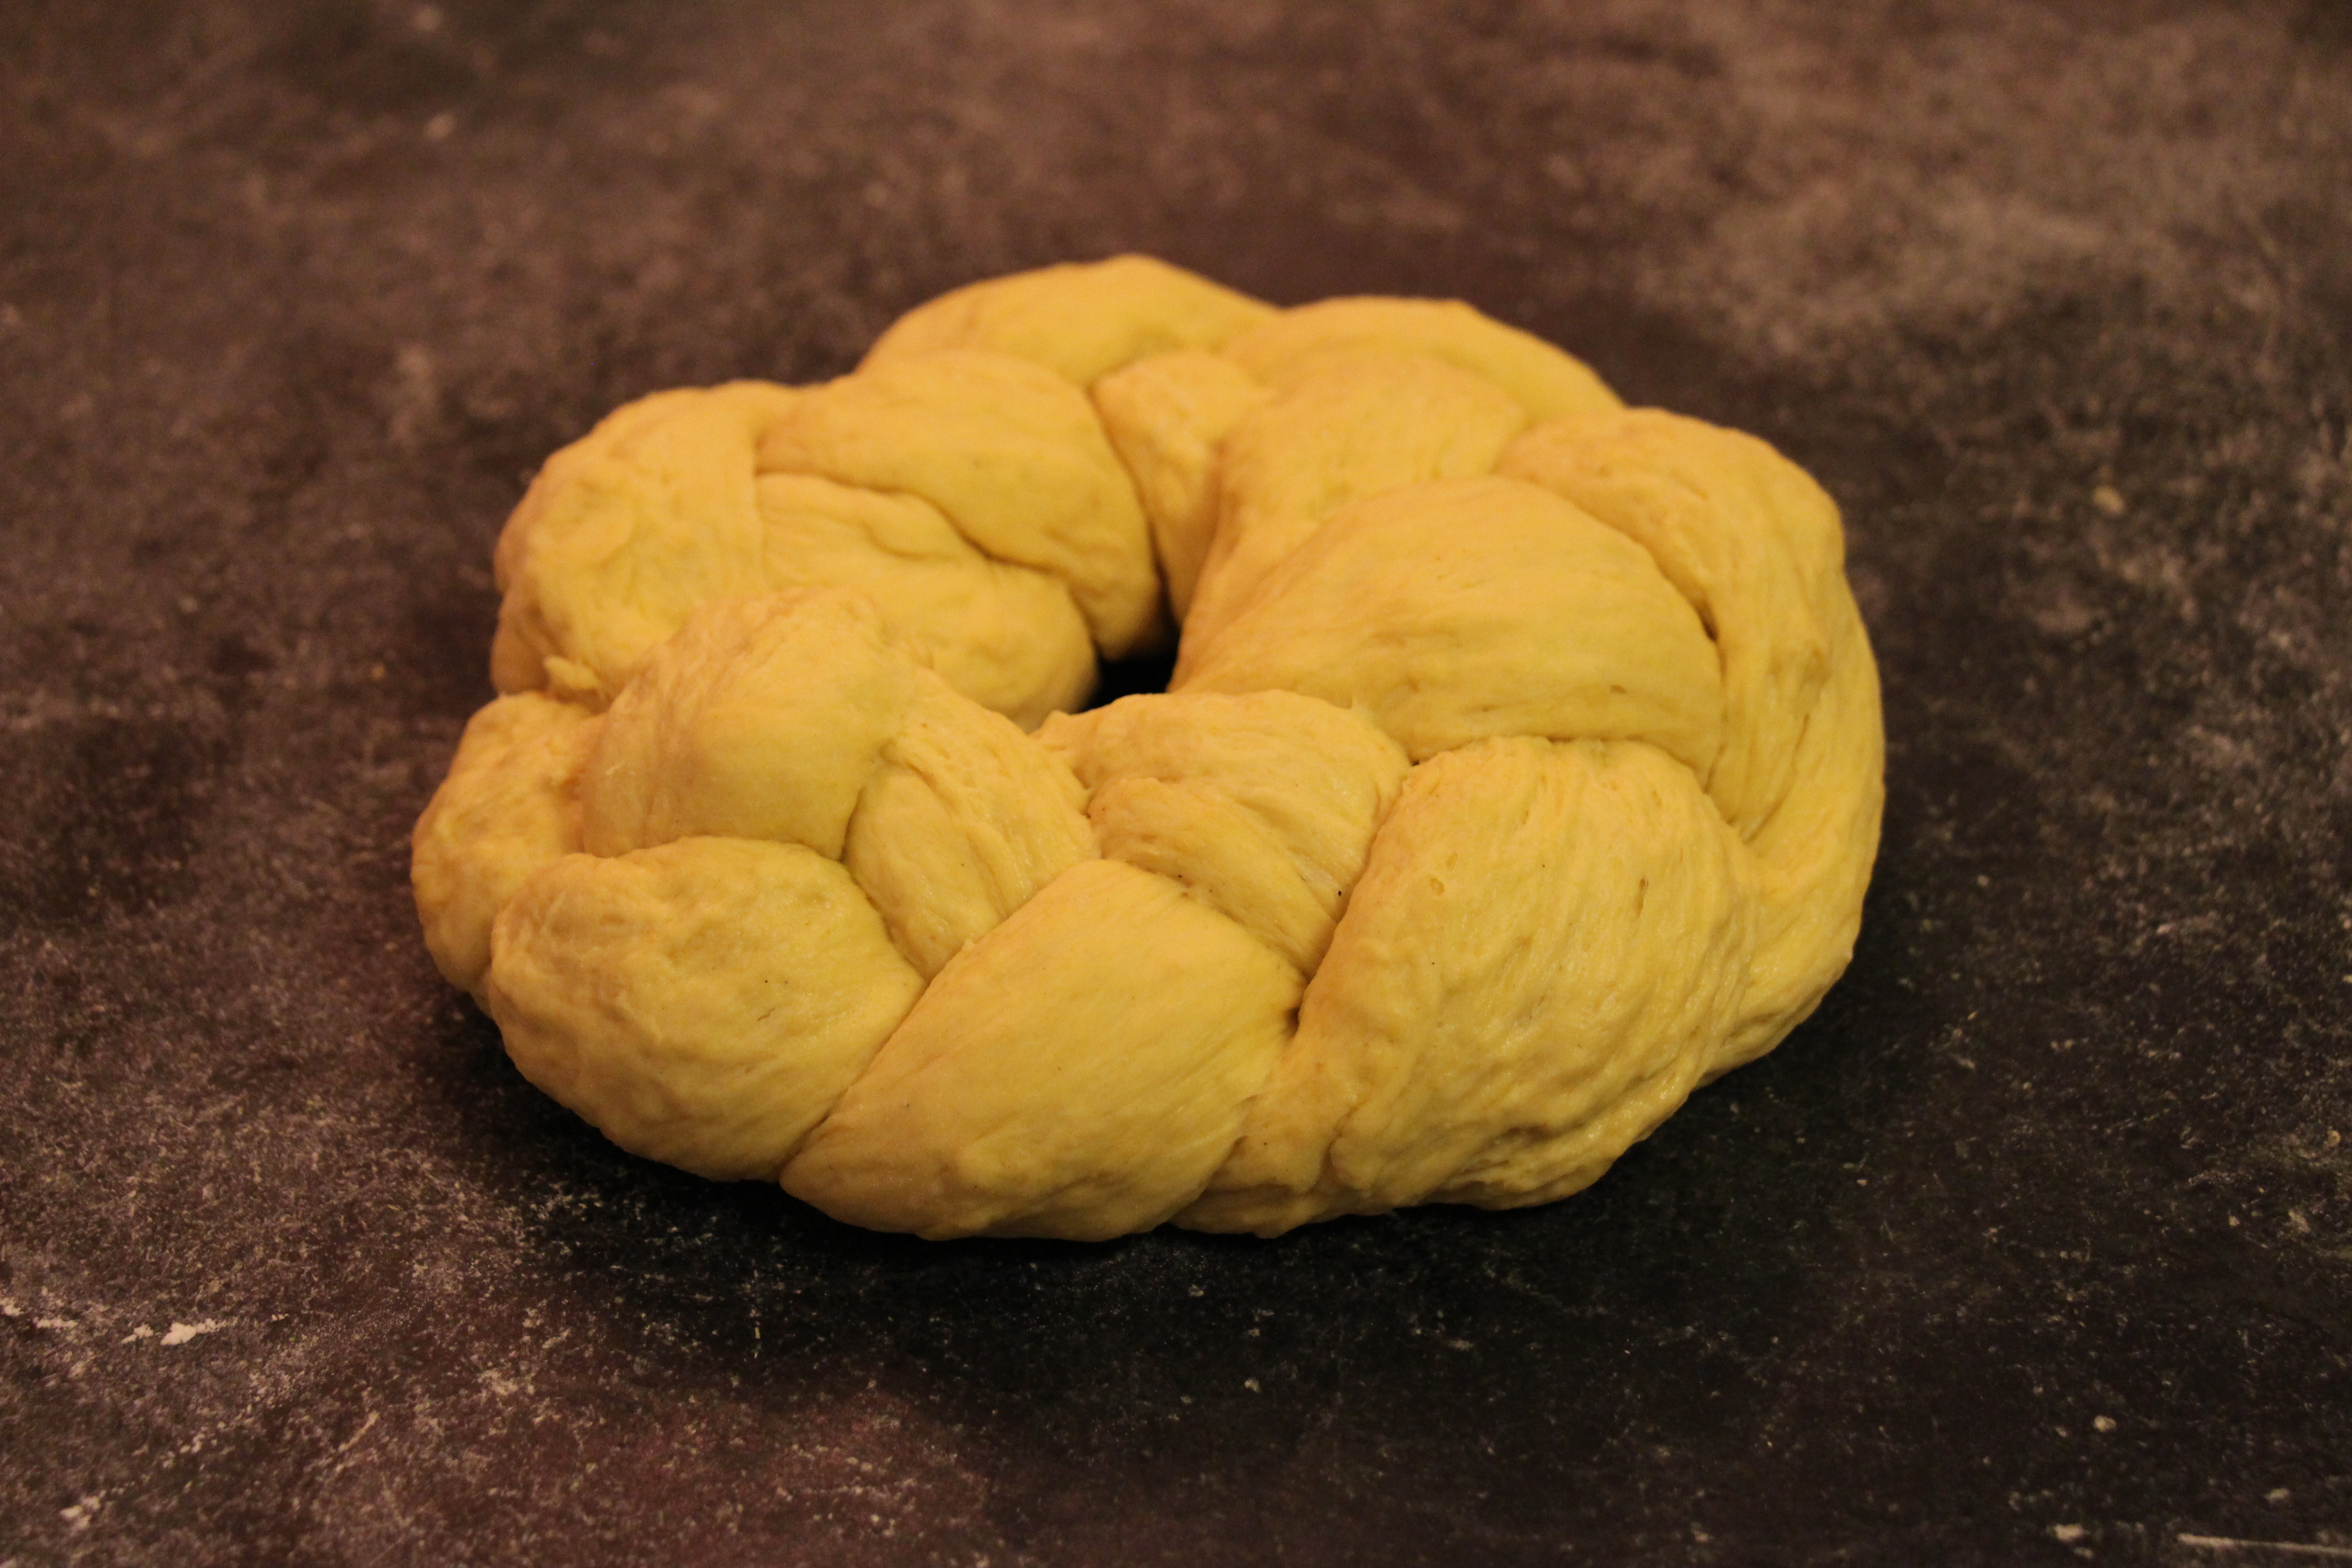
- Pinch the two ends together and tuck under, forming two circular loaves.
- Preheat oven to 325 degrees. Line two sheet pans with baking paper, or grease, and put a braided loaf on each pan.
- Cover and let rise in a warm place, until doubled.
- Combine the remaining egg with a tablespoon of water to make an egg wash, and brush on the braids.
- Bake for about 20-25 min or until the loaf feels firm to the touch. If you would like to use a thermometer, the internal temperature should read about 190 degrees.
- While the bread is baking, prepare your frosting, mixing all ingredients until smooth and on the thicker side. Cut your cherries in half.
- Remove bread from the oven and cool slightly, then decorate, using the green cherries as leaves, and the red as berries.
There’s just something about the aroma of freshly baked bread that brings one back to their childhood – but a torture when allergic to yeast!
I was baking for a friend recently, and this was their story. So, I did a little experimenting to see what I could come up with besides biscuits and quick breads – I really wanted something they could enjoy as a sandwich bread. I never thought pita bread would rise without the presence of yeast, but in this easy and quick recipe, it surely does, AND creates a wonderful pocket of joy that can be filled with your favorite sweet or savory fillings.
Print Recipe
Votes: 150
Rating: 2.99
You:
Rate this recipe!
Yeast-Free Homemade Pita Bread
SERVINGS8pita pockets
|
COOK TIME6-8mins |
PREP TIME5mins |
READY IN30-40mins |
Ingredients
Instructions
- In a medium bowl, whisk the flour, salt and baking powder. Stir in the water and olive oil and knead to form a moist dough. Form into a ball. Cover with a kitchen towel and let rest for 5-30 min.
- Preheat oven to 450 degrees F.
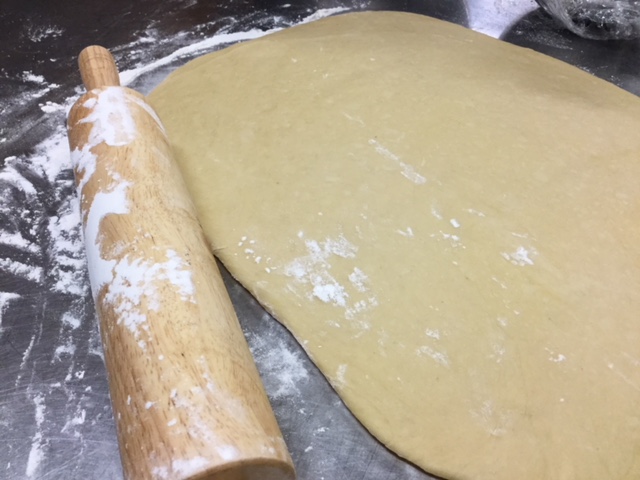
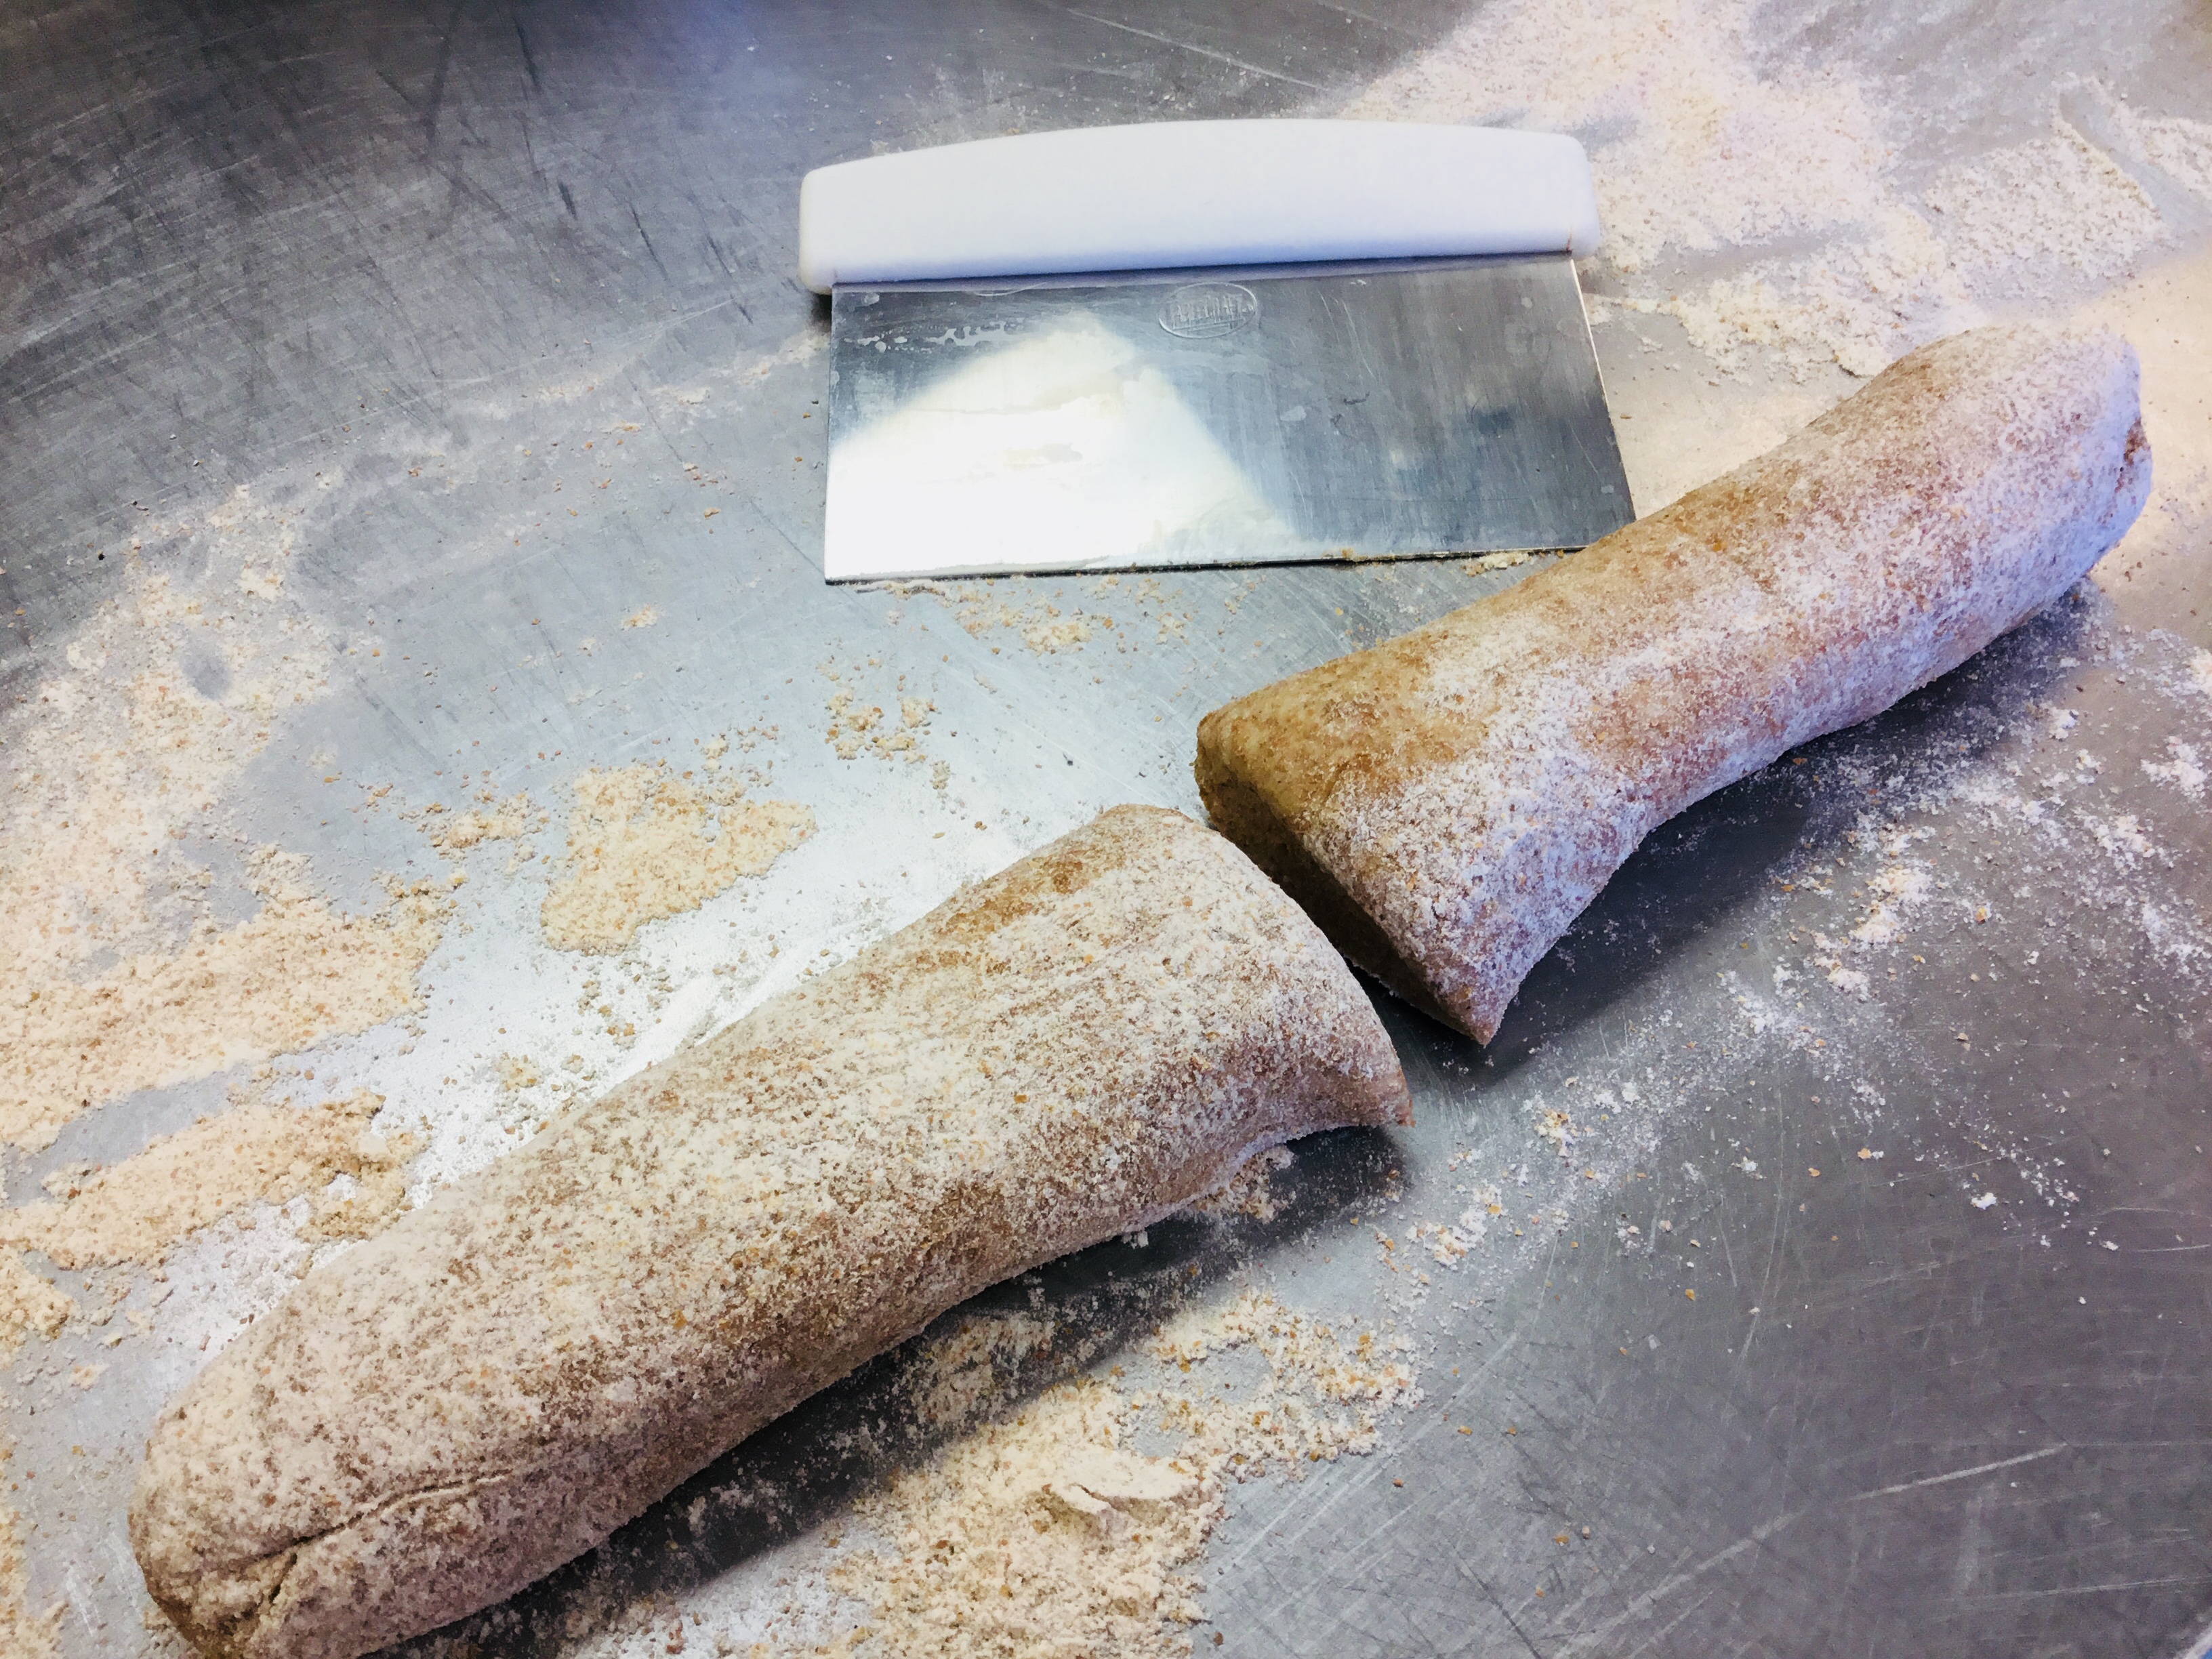
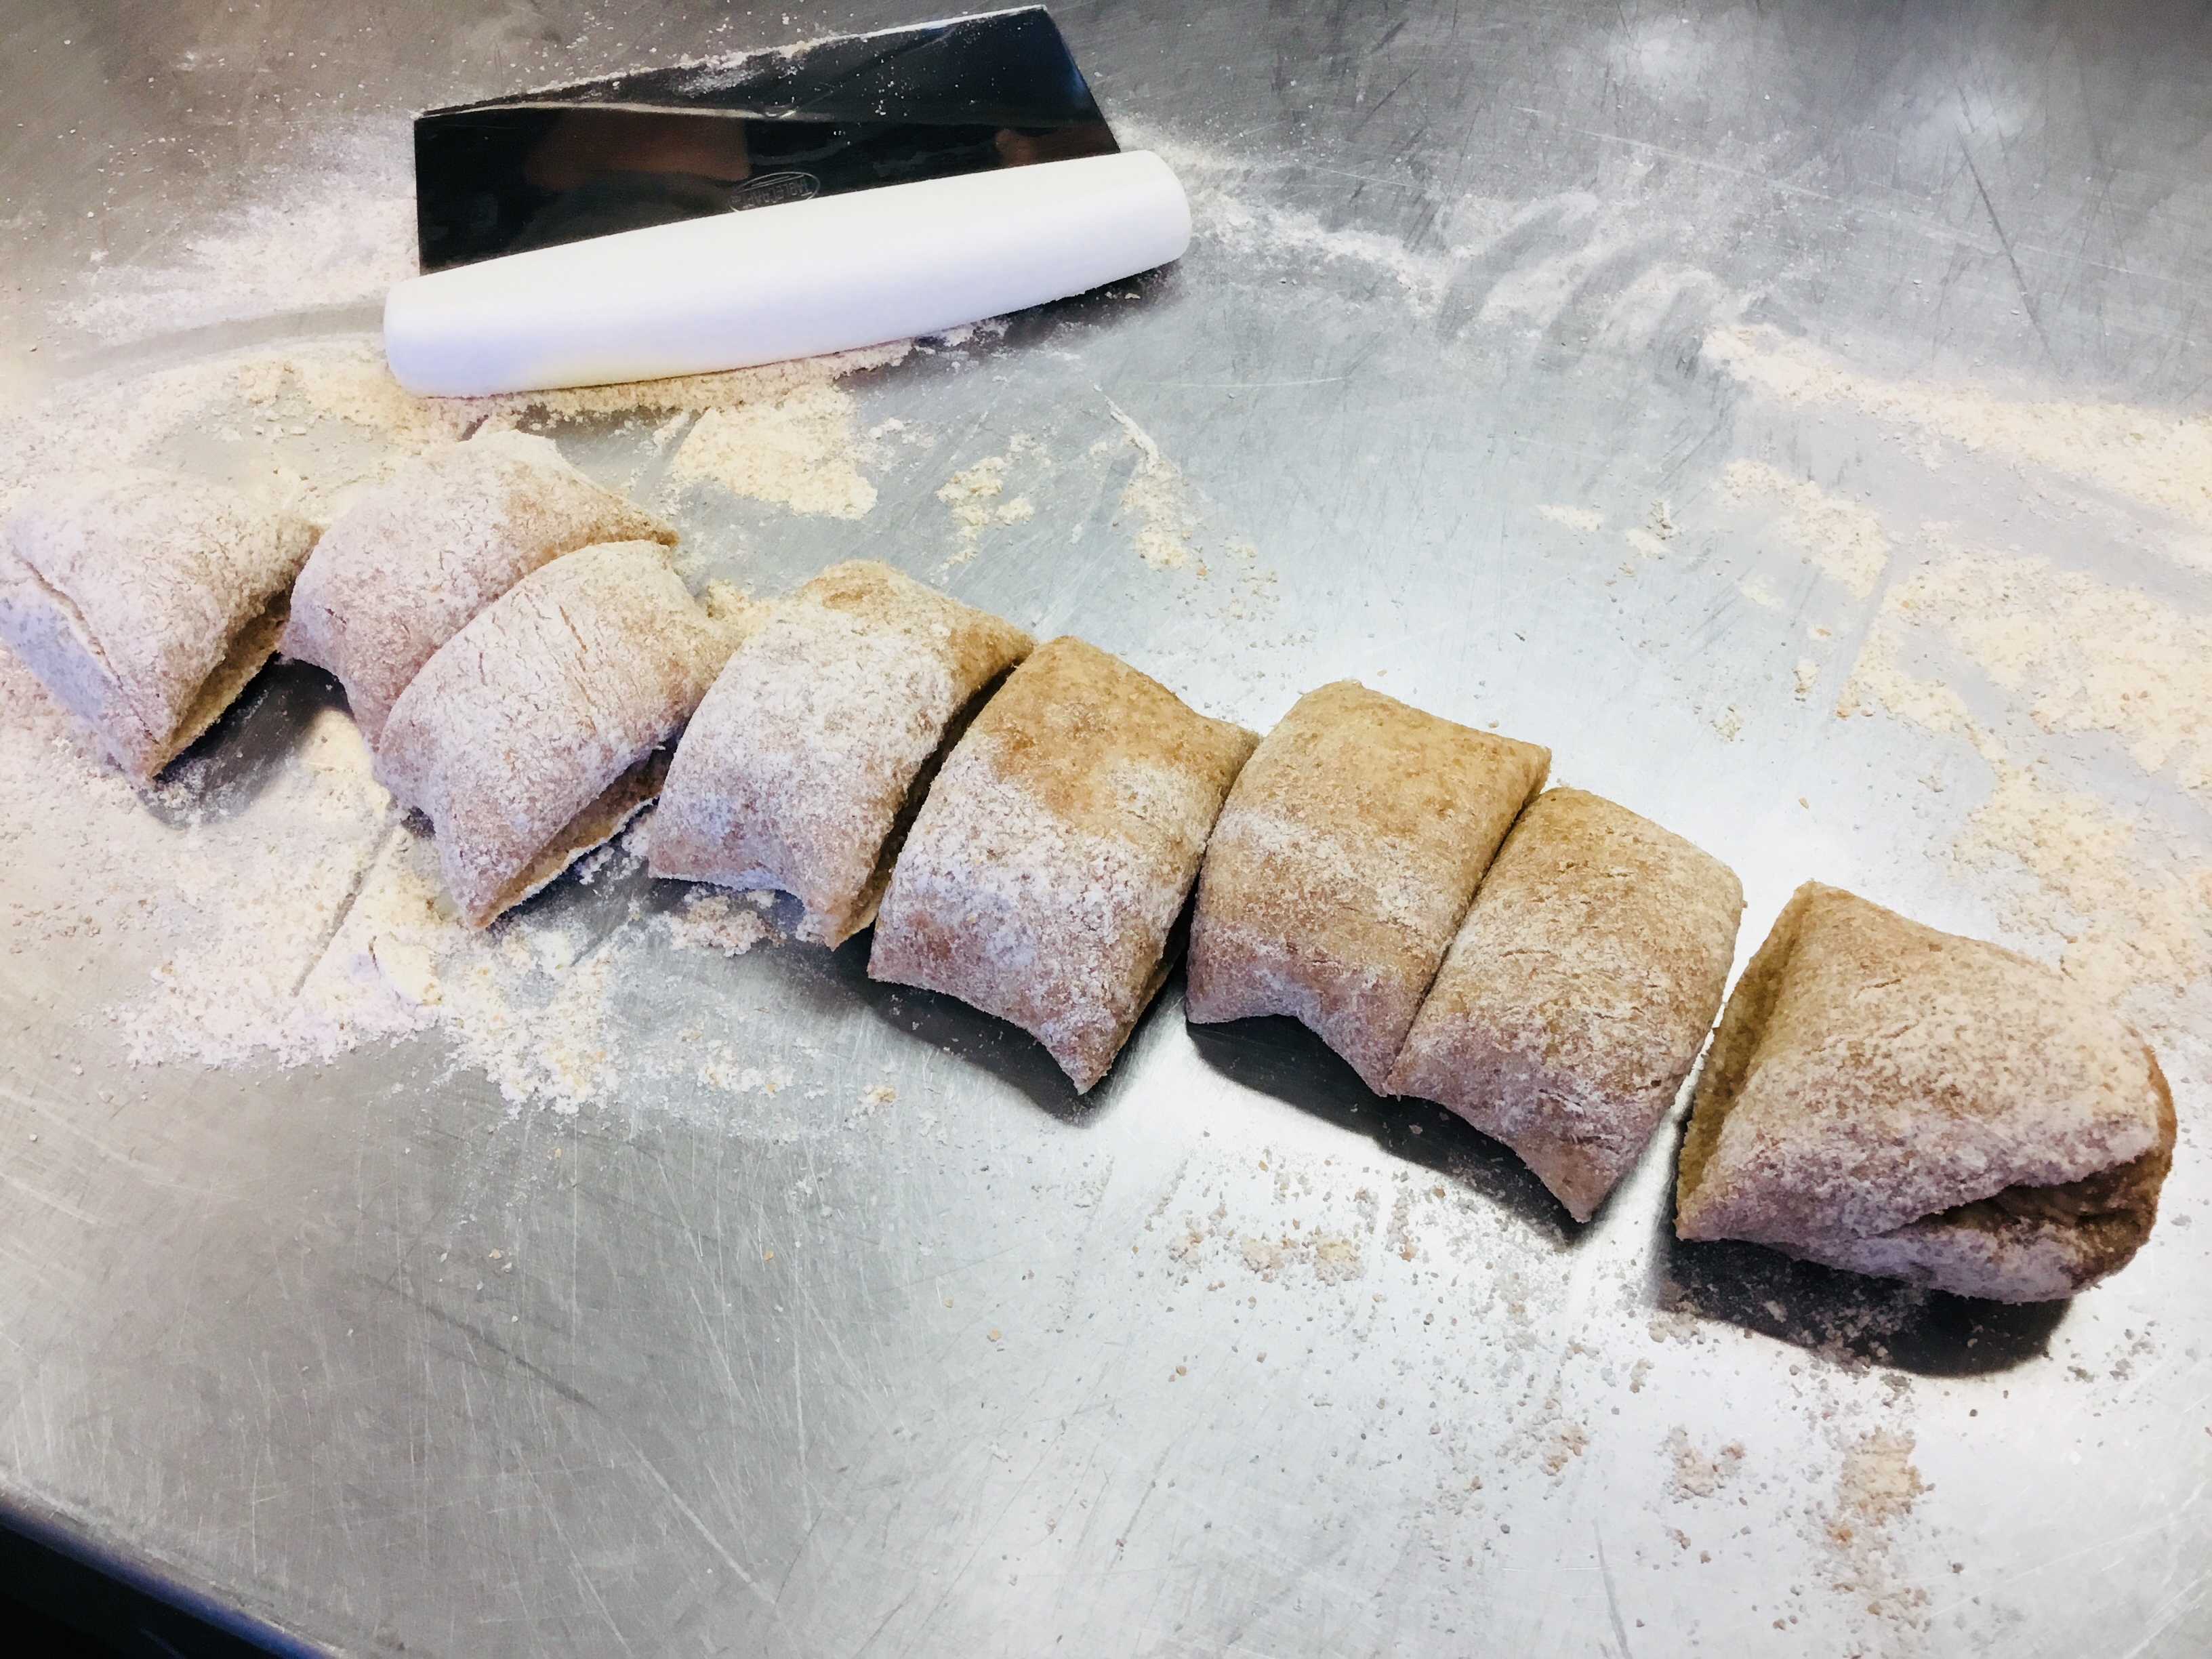
- Roll out the dough into a long log on a very lightly floured work space.
- Cut the dough into 8 equal parts and form 8 balls.
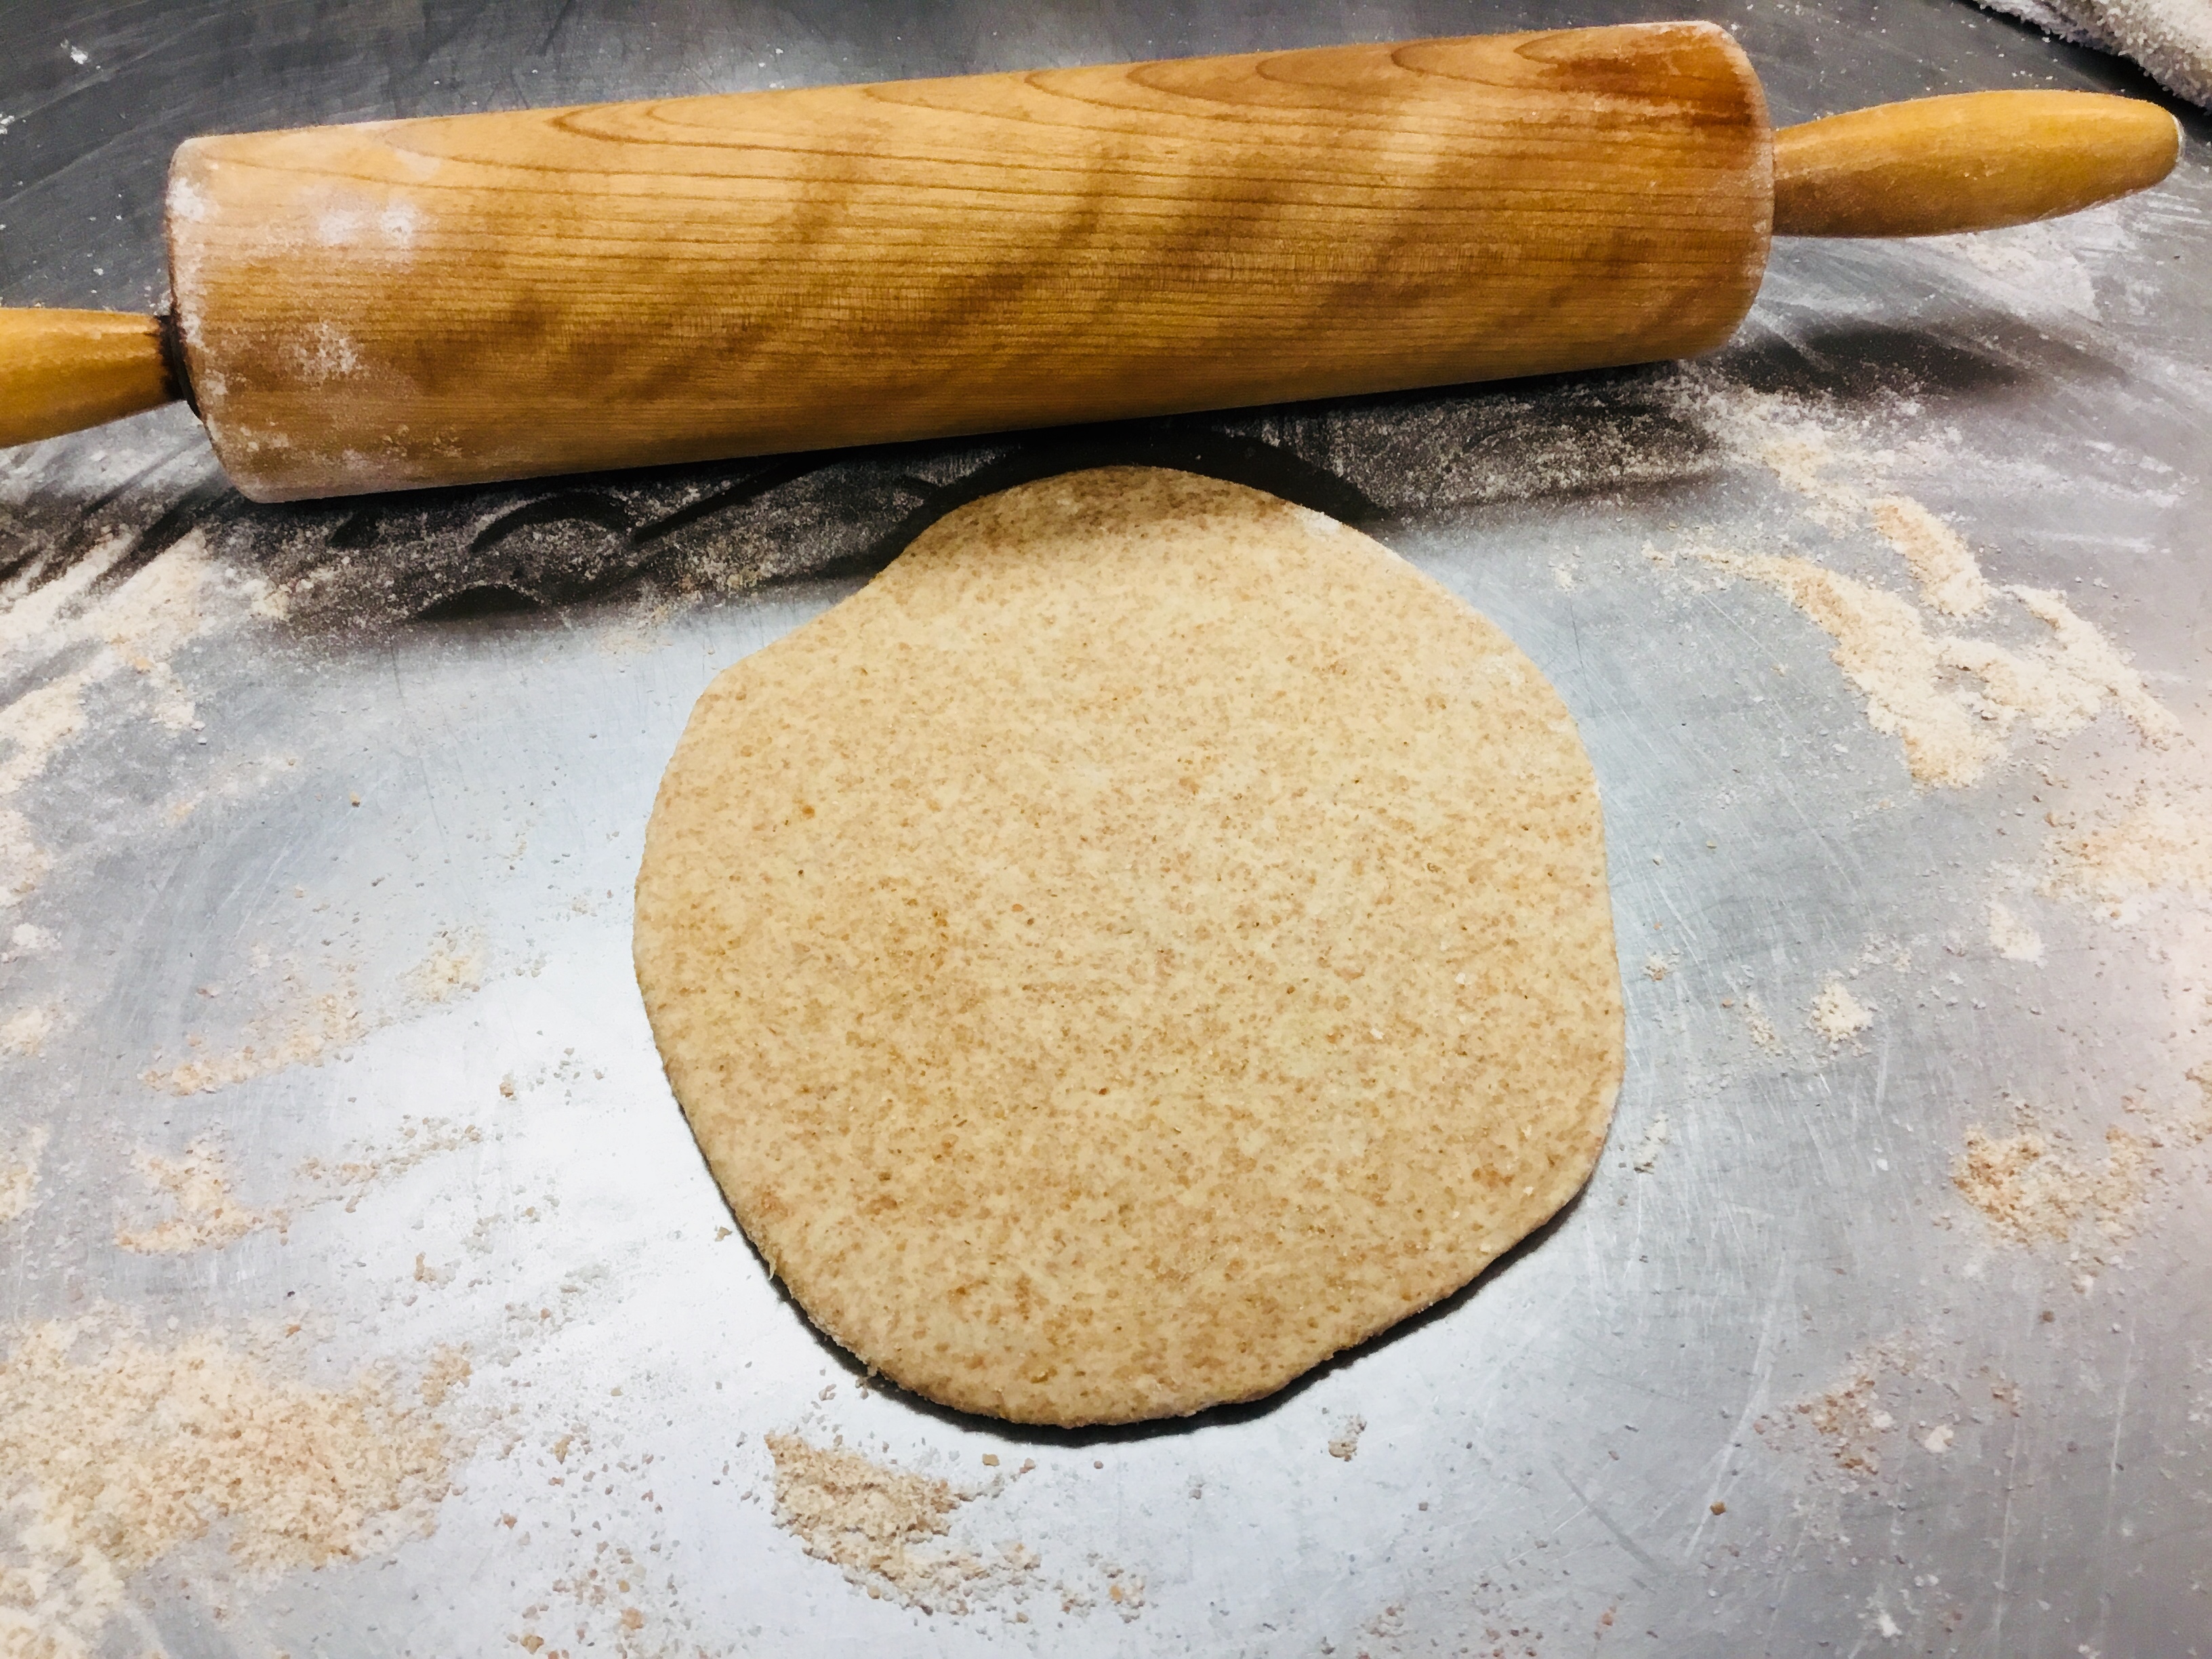
- Using a lightly floured rolling pin, flatten each into an 1/8" high flat disk
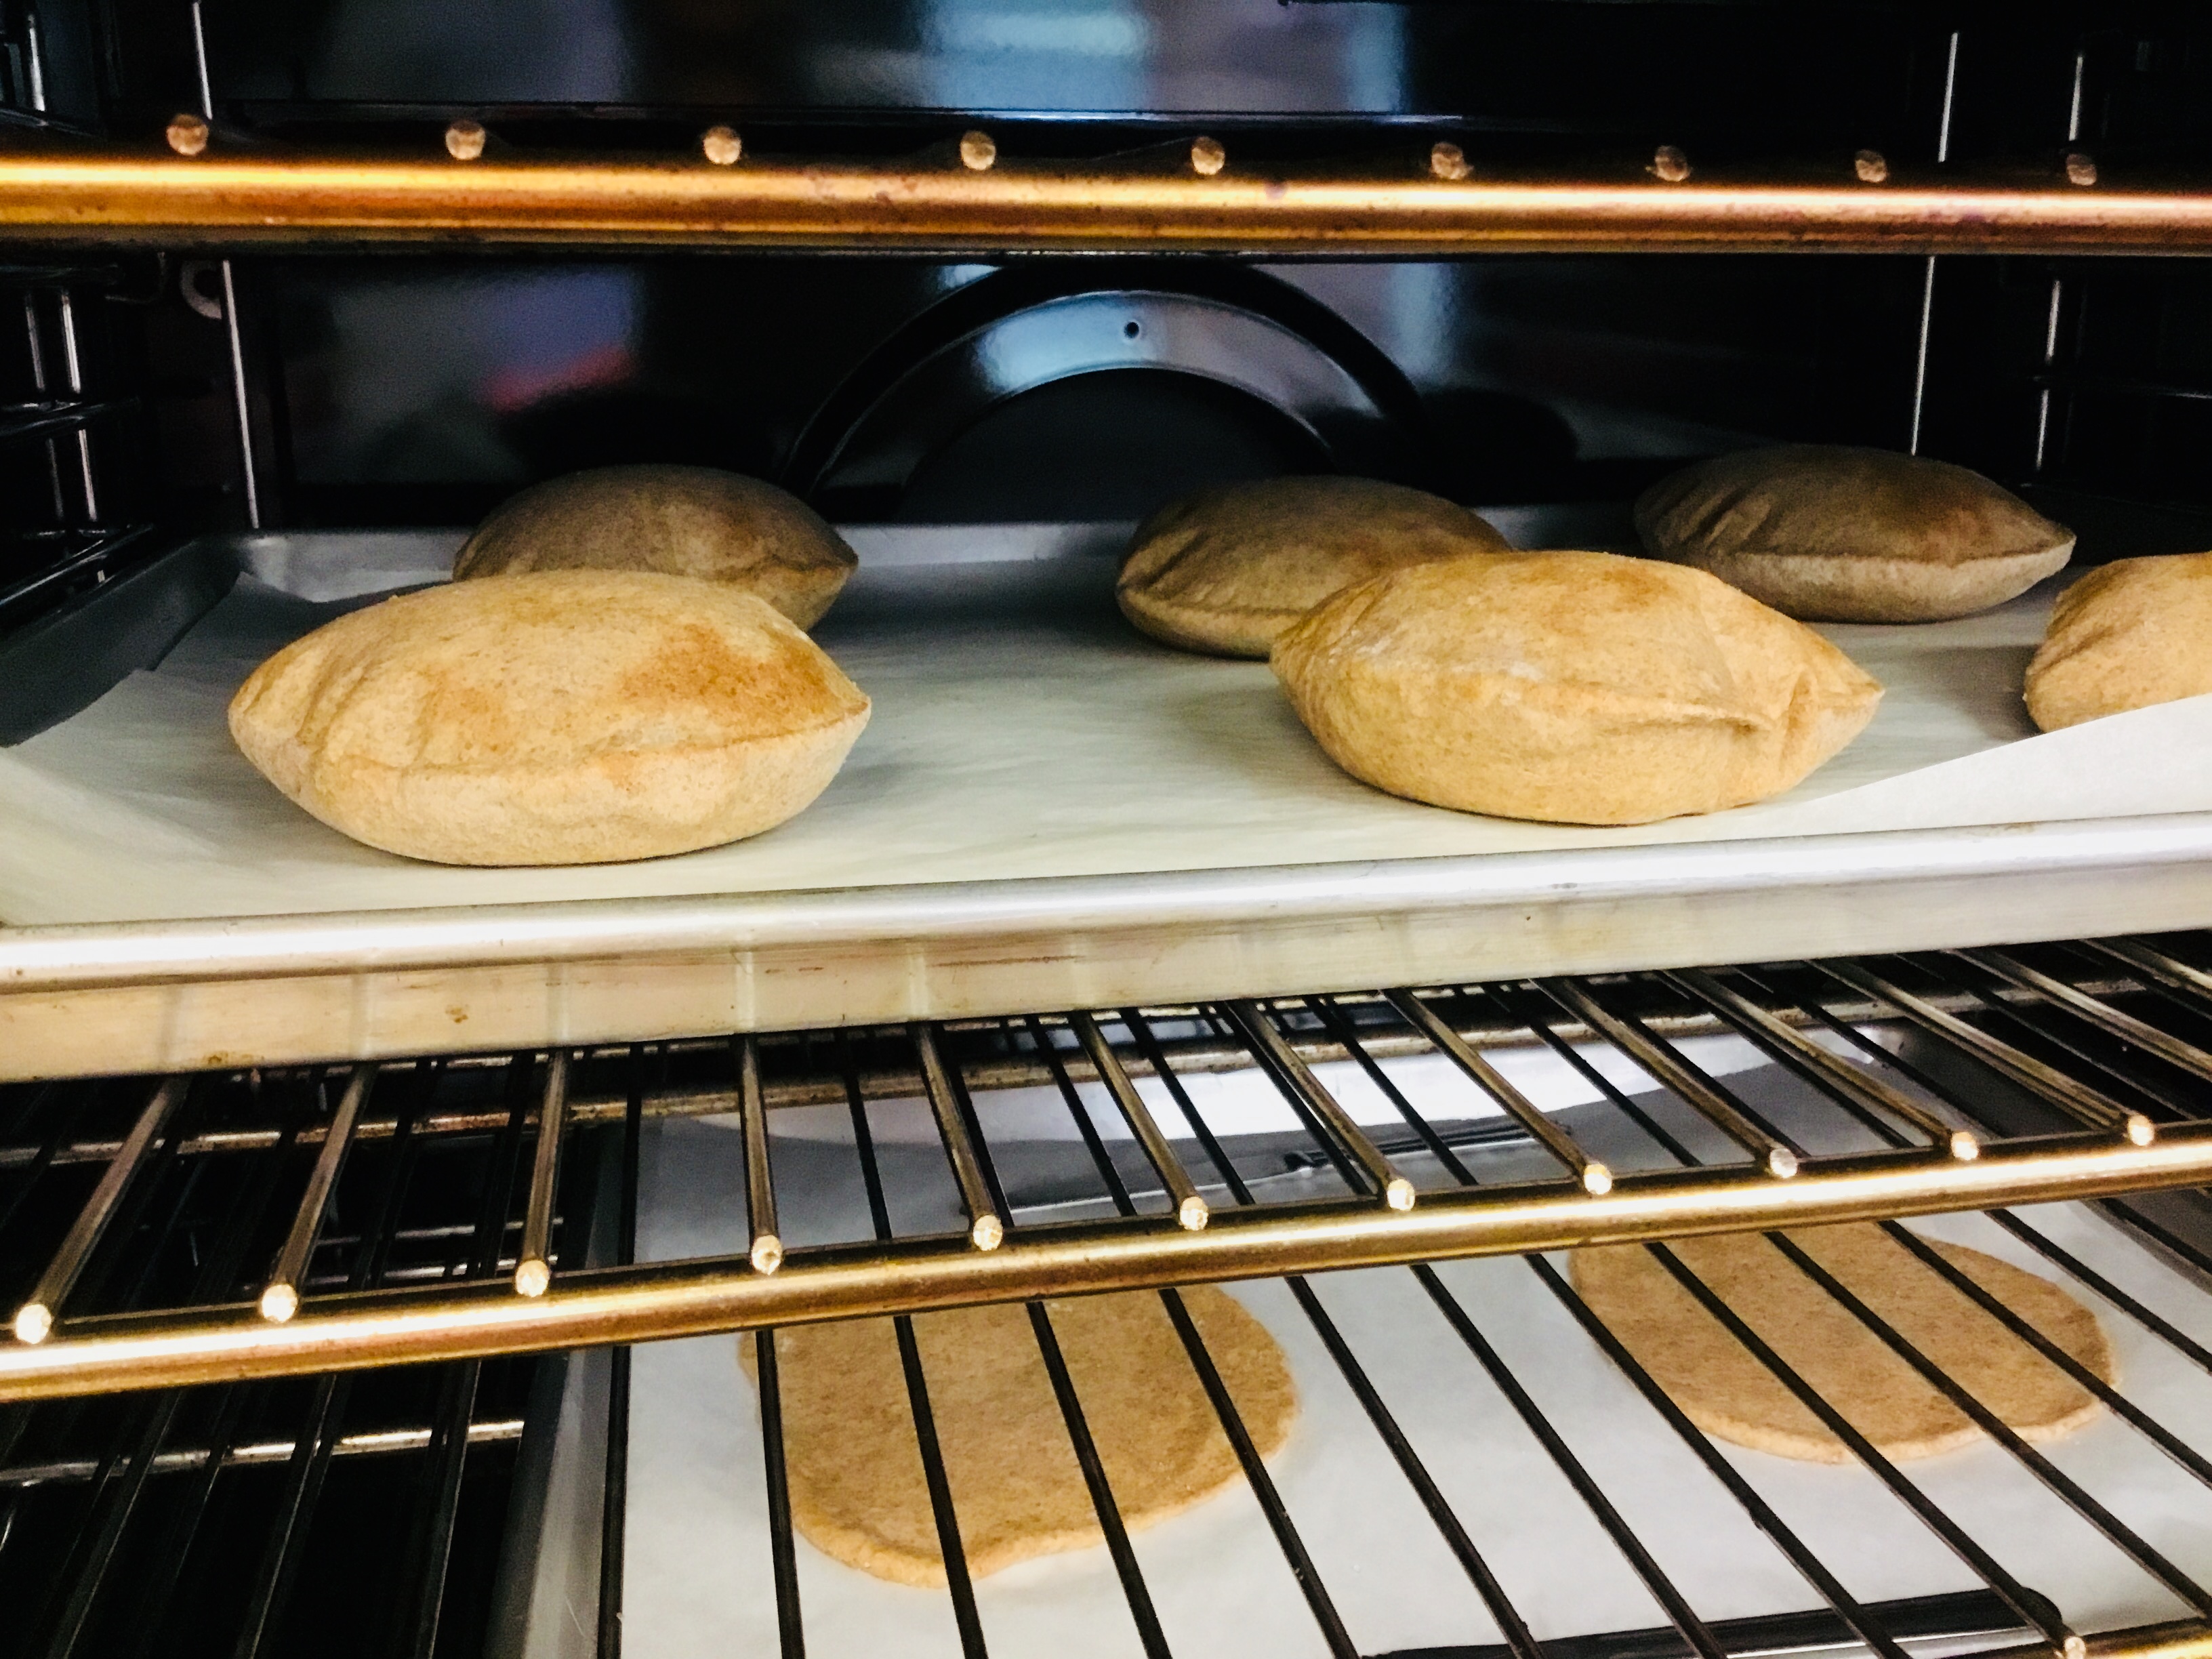
- Lay pita bread on two sheet pans lined with baking paper - spacing the disks apart from each other.
- Spray lightly (or brush) with water and bake immediately for 6-8 min. or until puffed and golden.
8. Remove from oven and serve immediately or allow to cool to store for later. Store in a zip lock bag or air tight container.
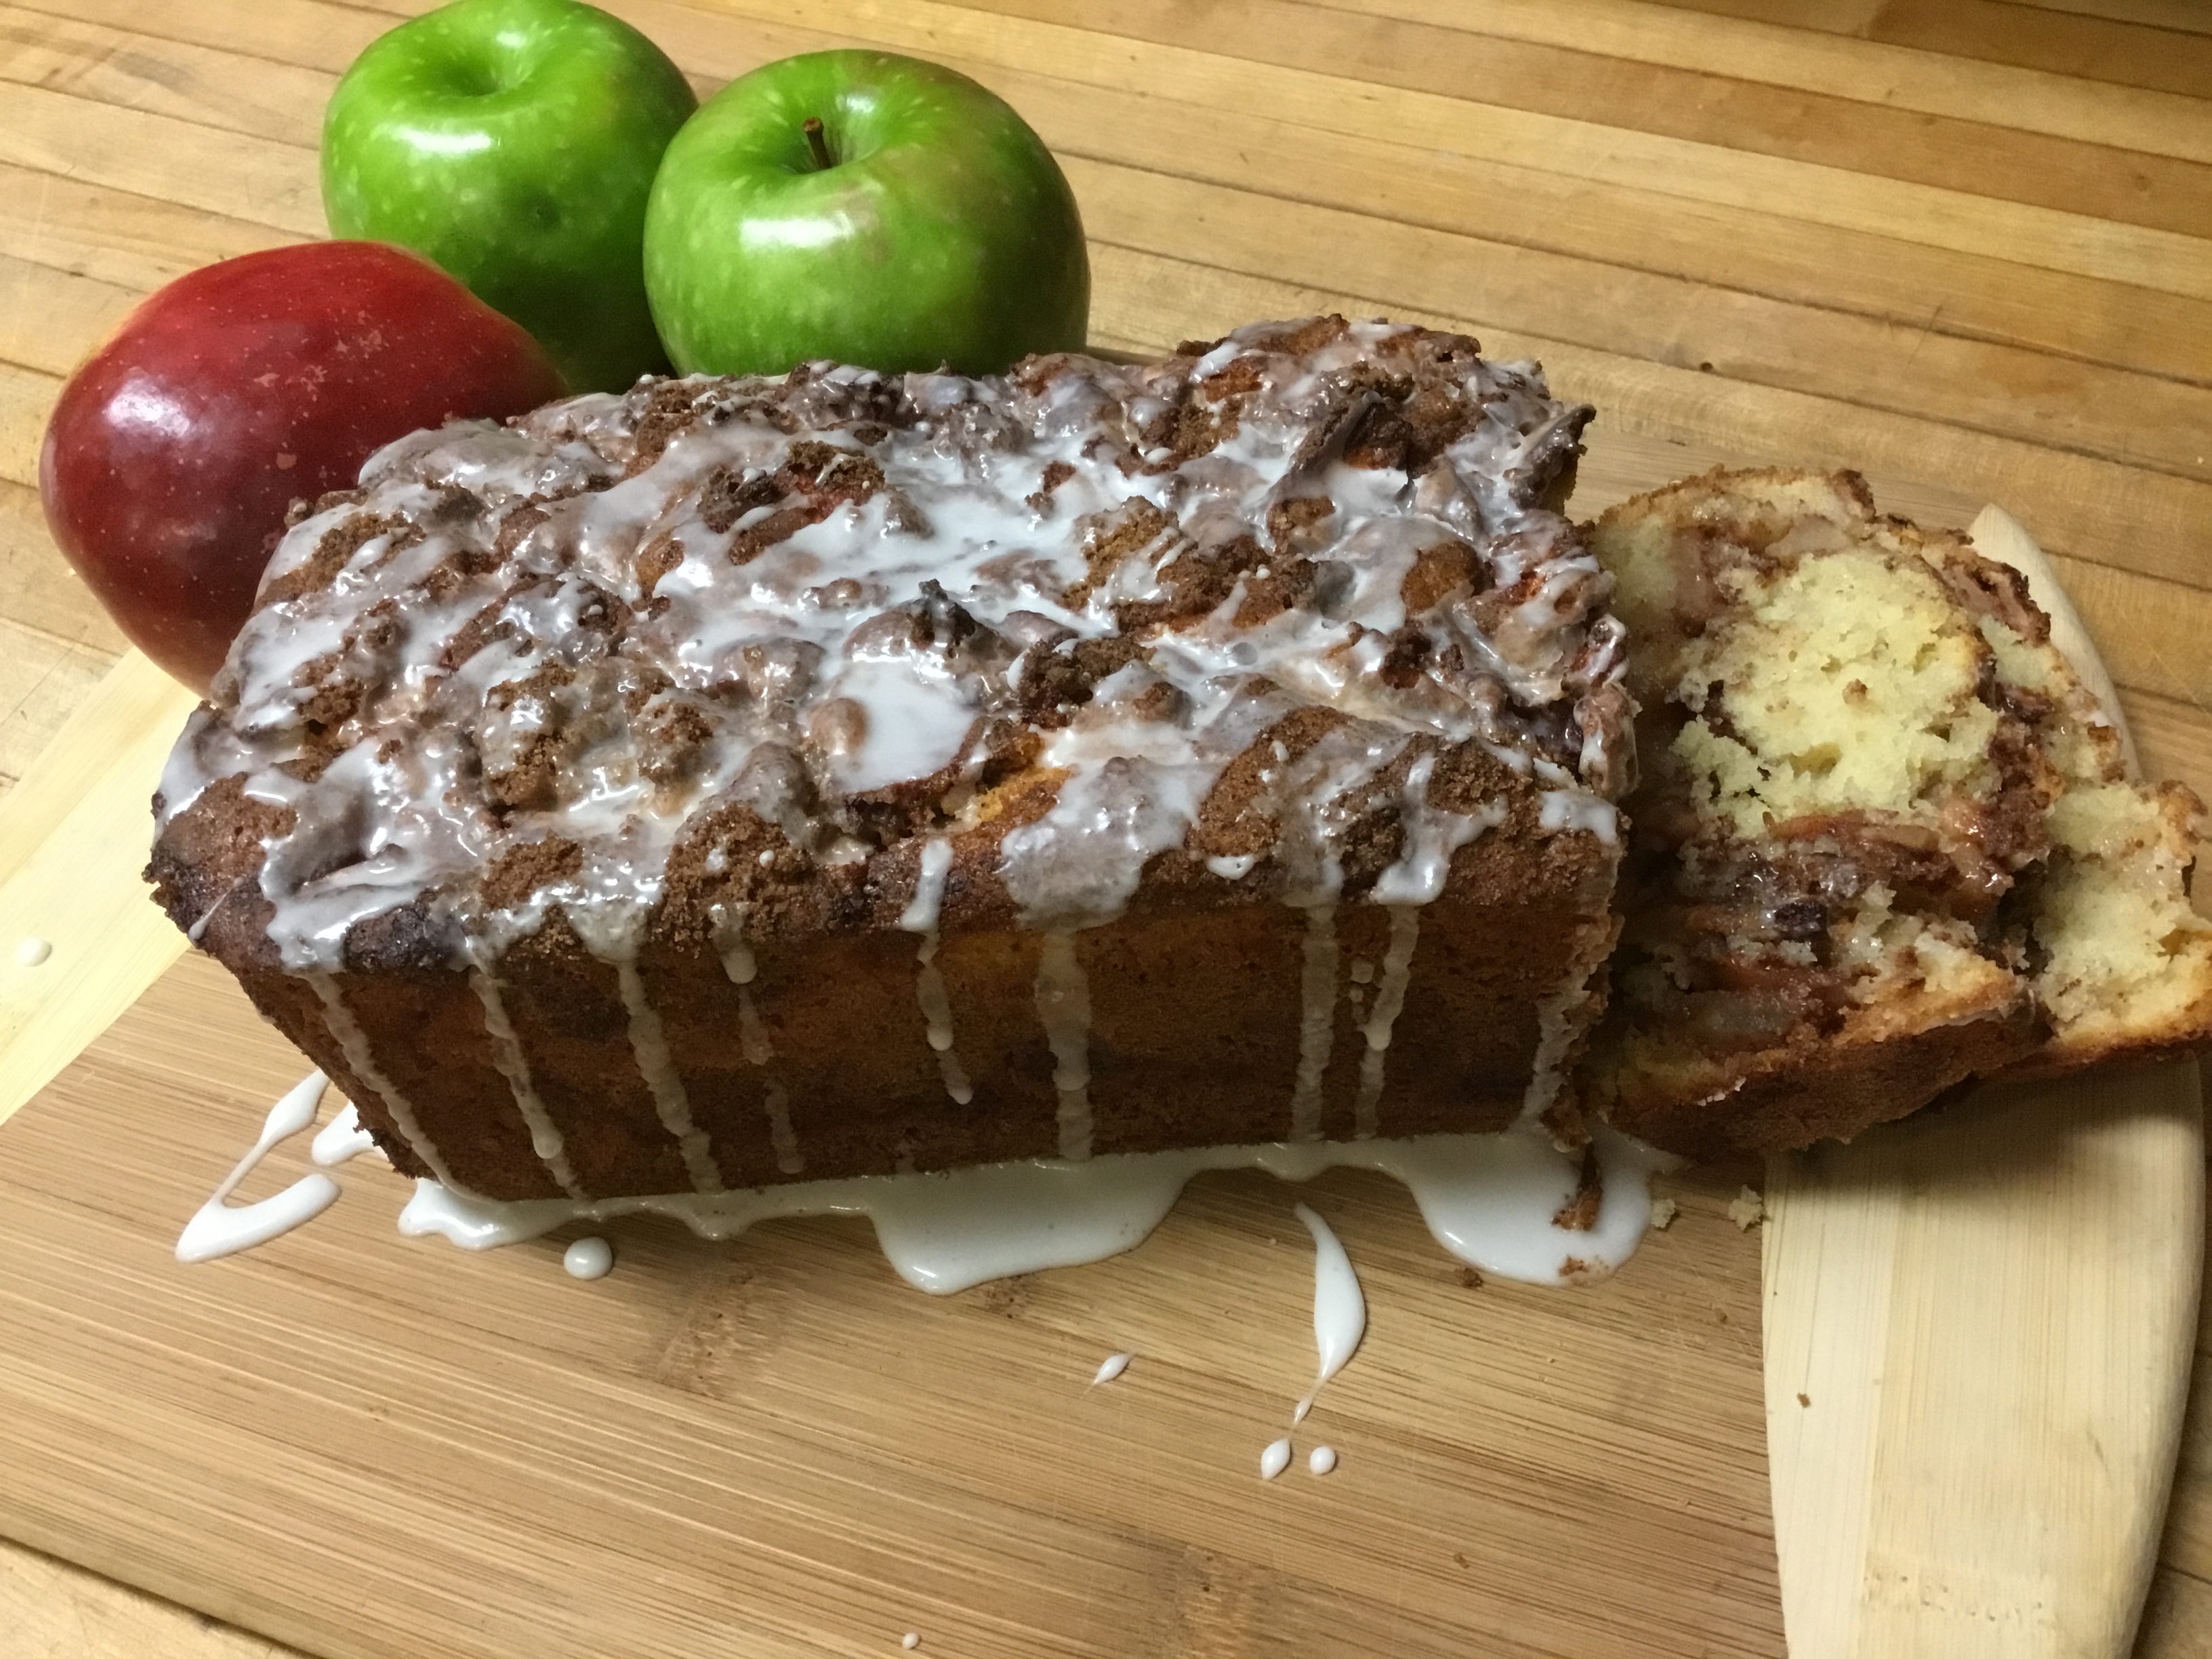
There’s a crispness to the air, a welcome relief to the humidity and heat of our 2018 Cape Cod summer! This past Saturday, our entire community joined in a “beehive” of activity as we
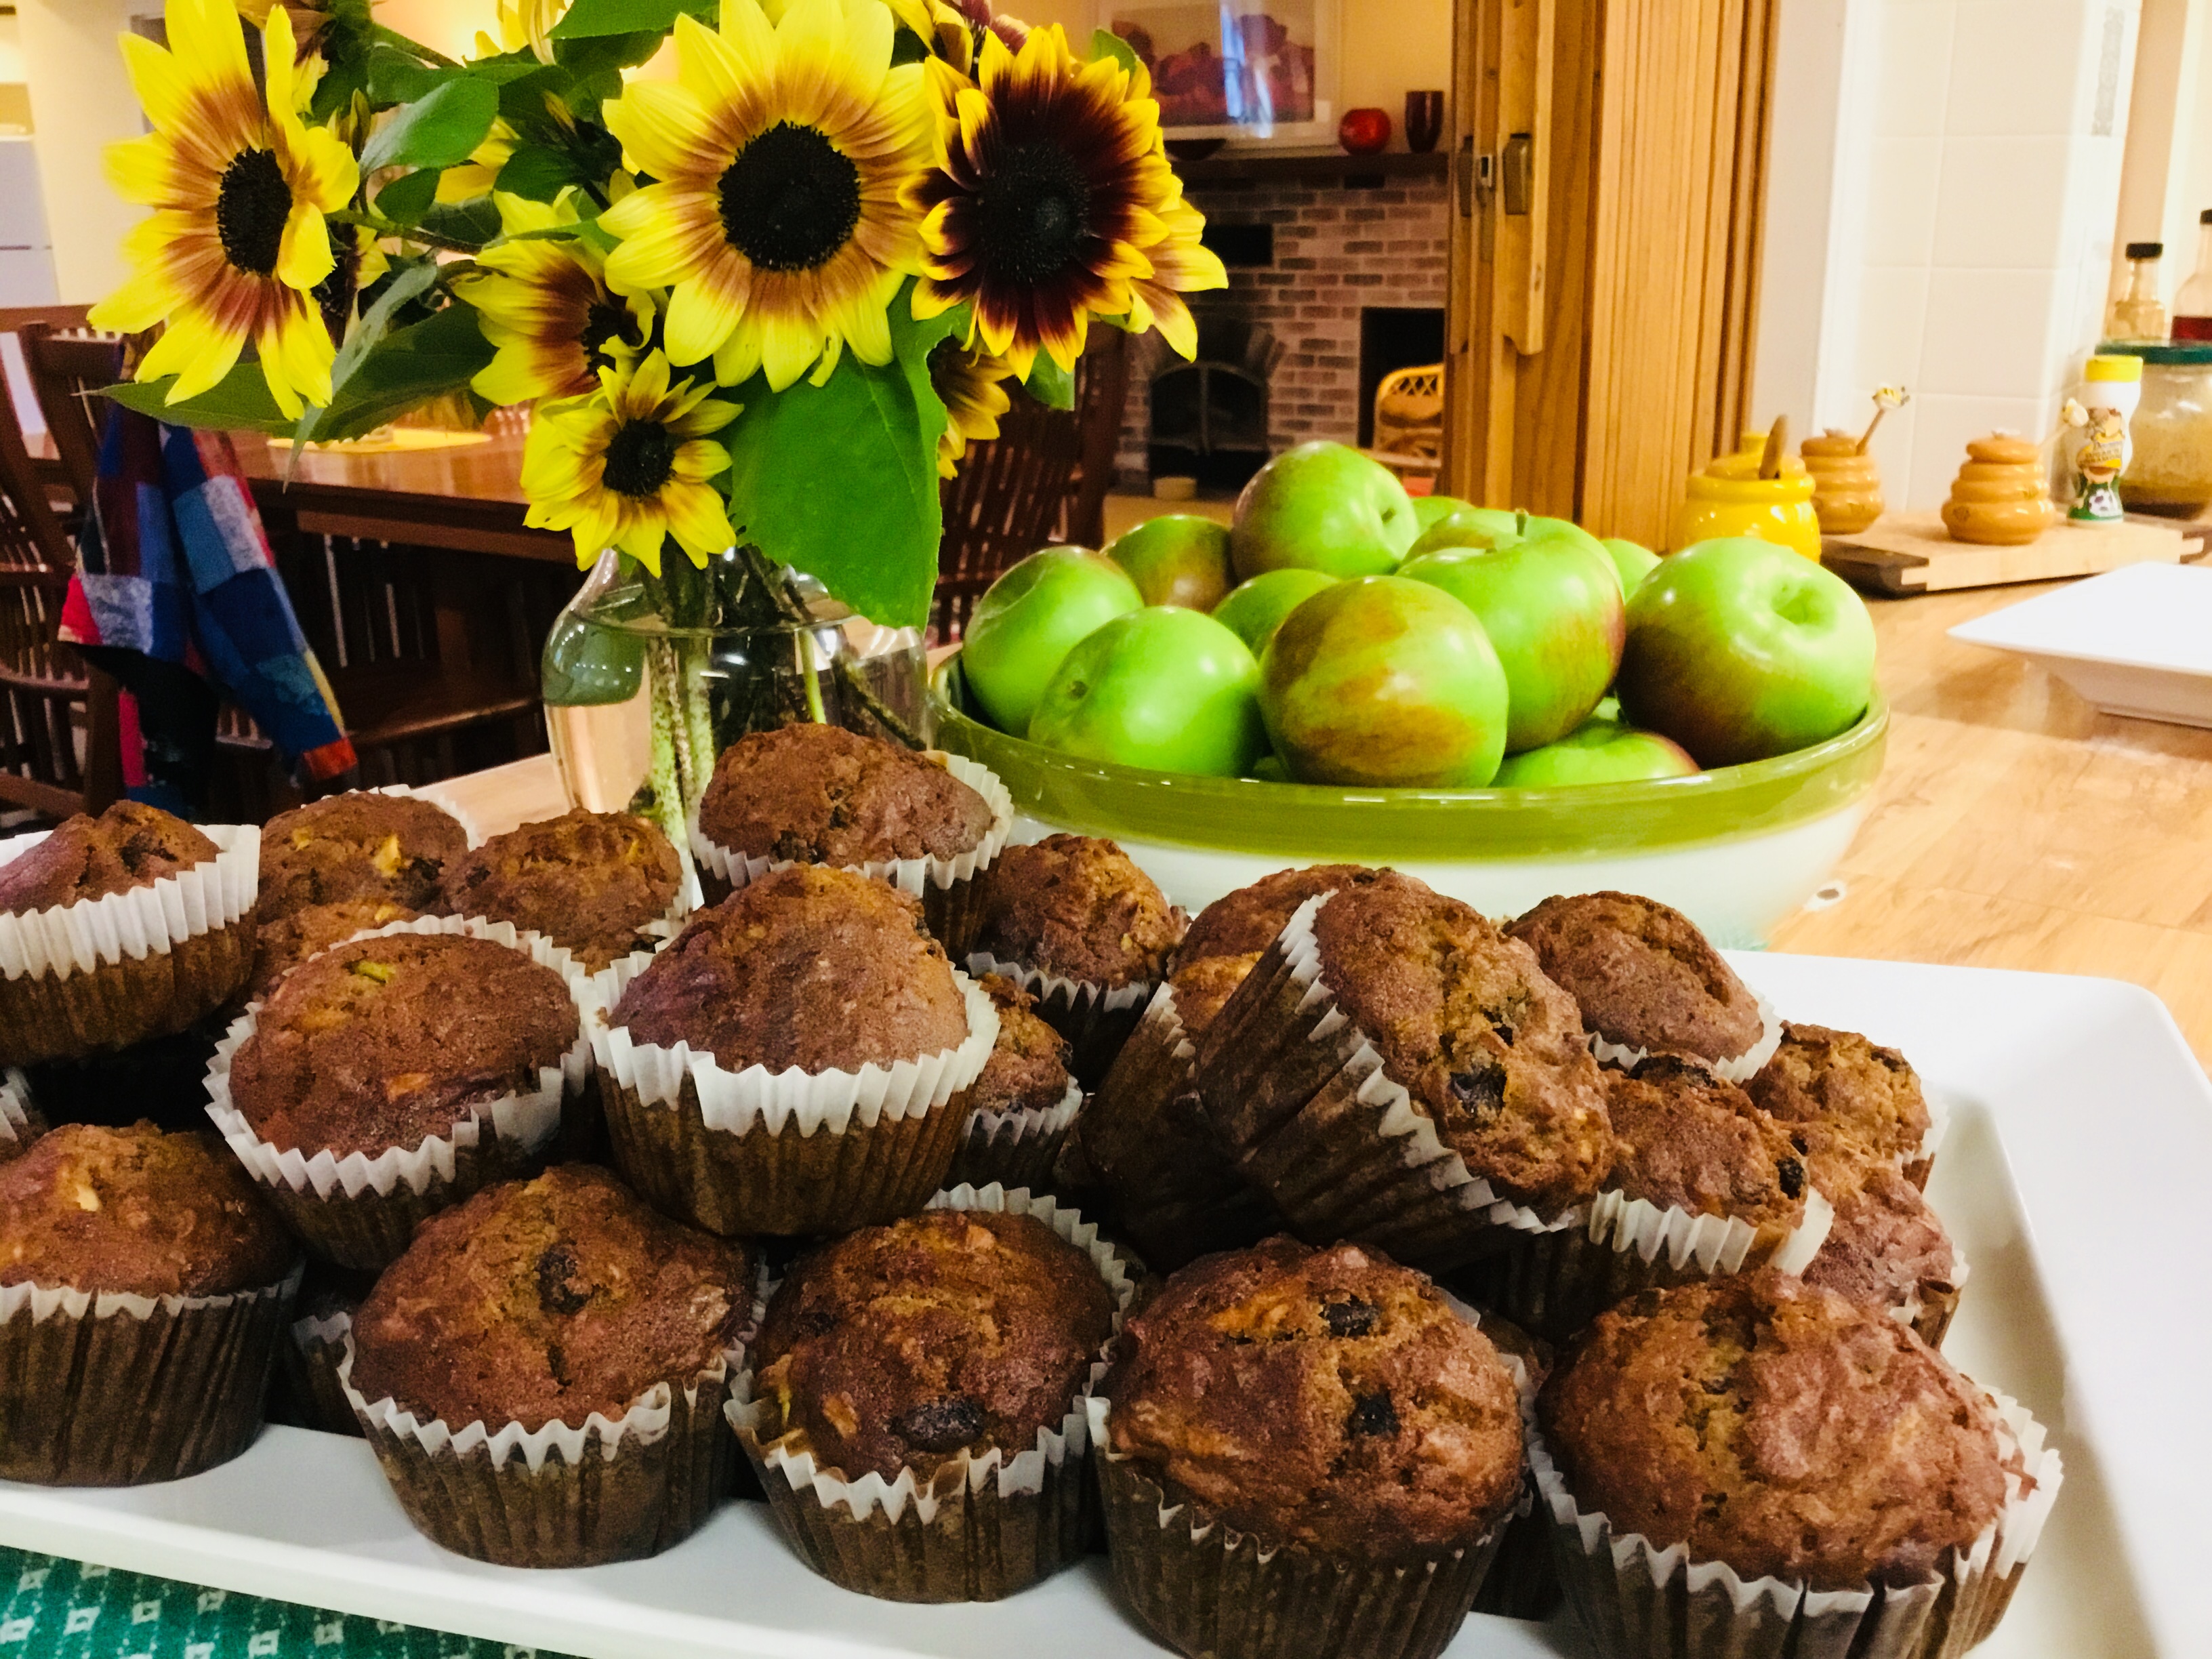
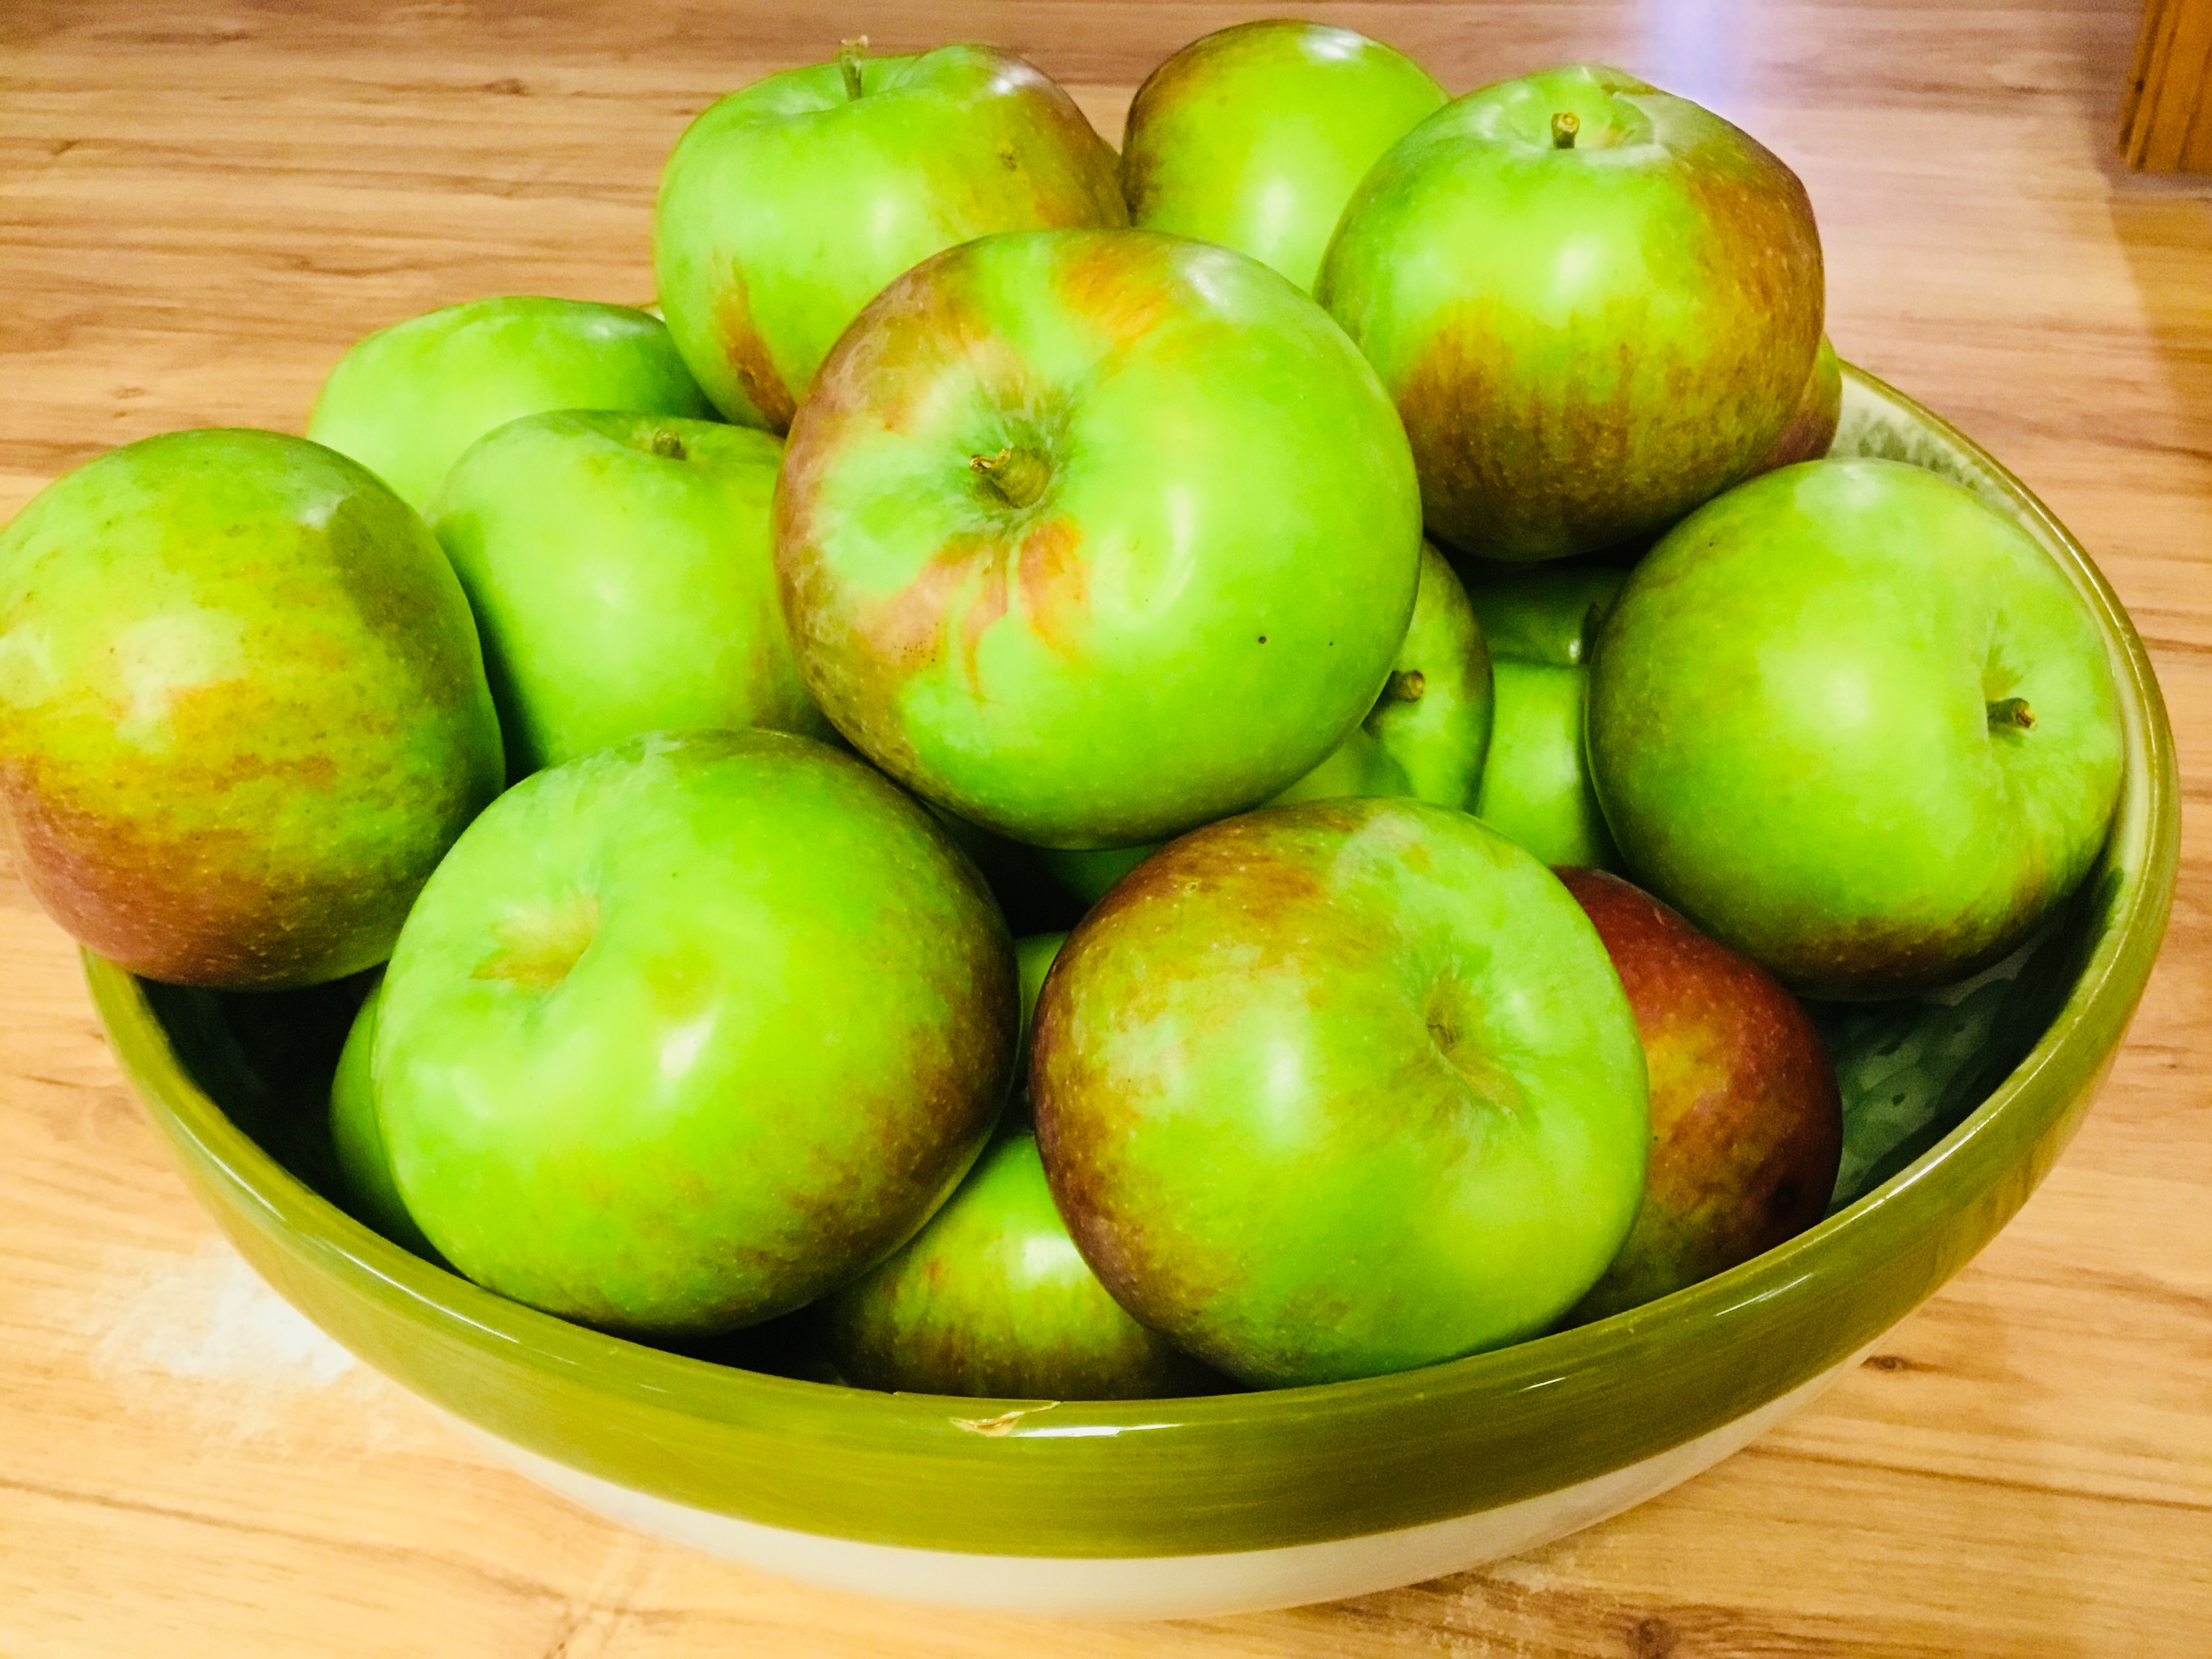
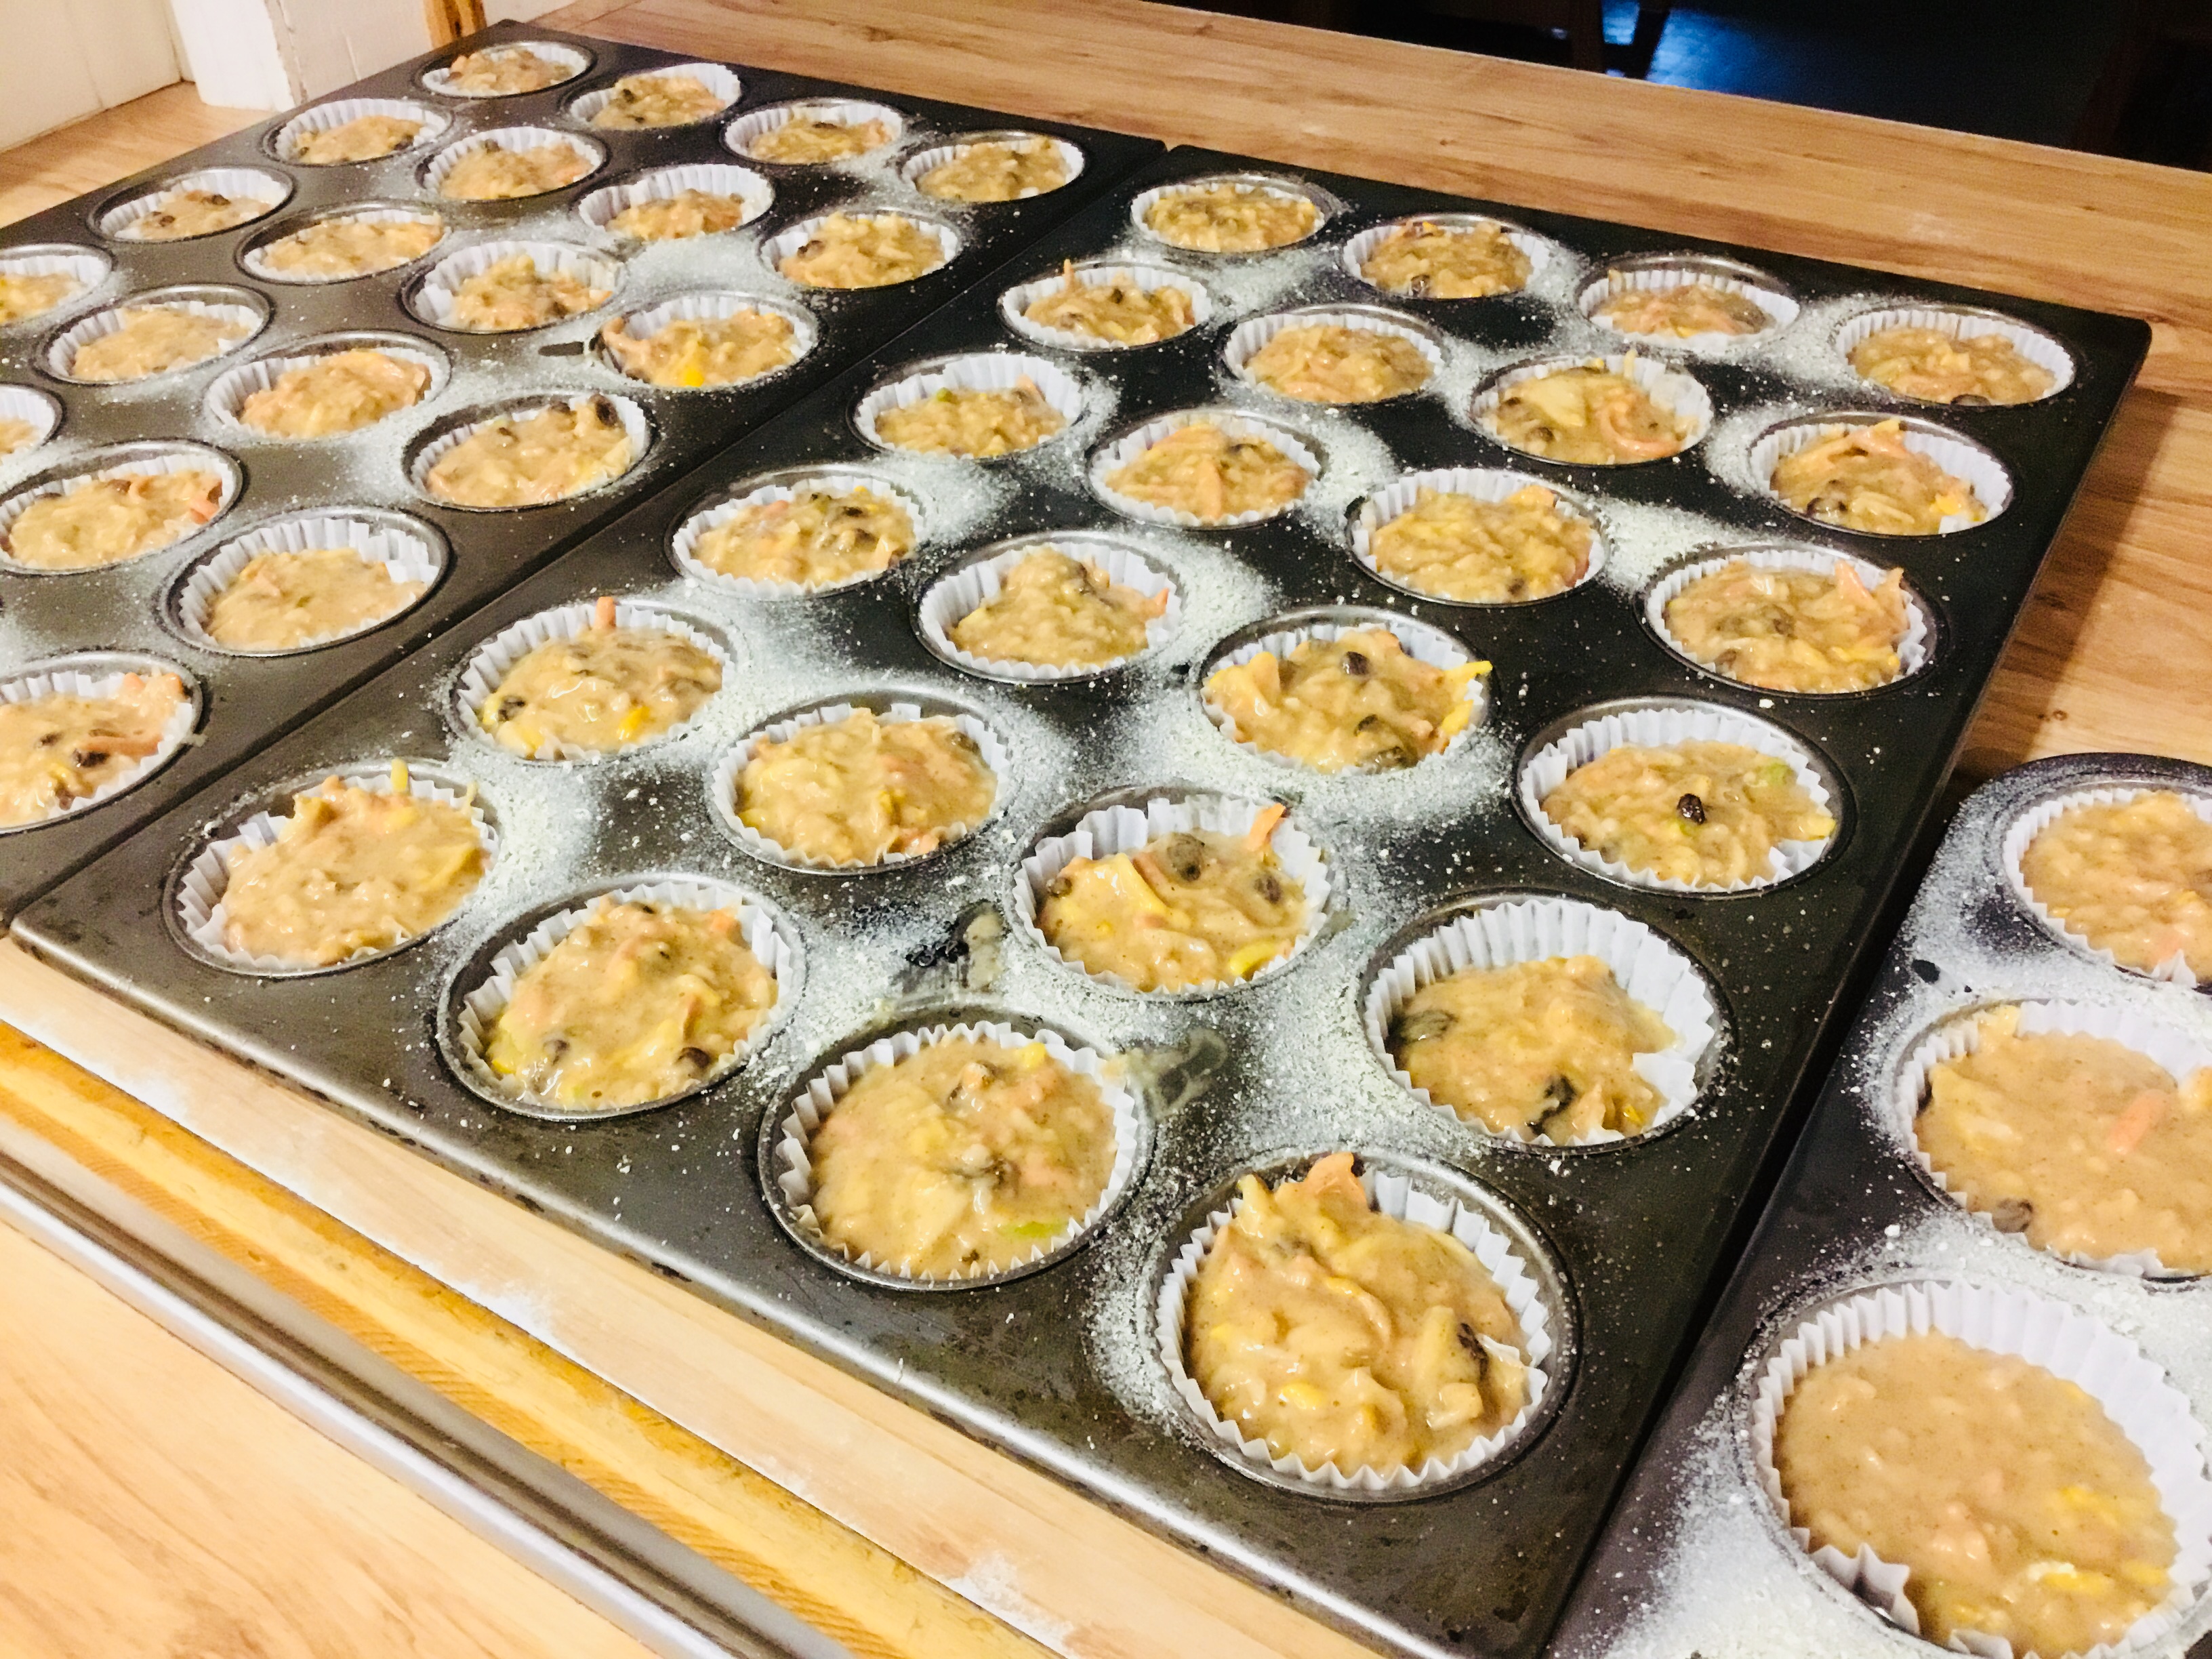
tackled a daunting list of tasks and projects, left in the wake of a busy summer. Digging out attic spaces, weeding gardens, scrubbing the bell tower floor, getting the barn clean and ready to house animals for winter, and cooking meals ahead for an upcoming choir recording were some of the projects accomplished last weekend. But it was also the beginning of harvest time. We culled apples and pears and gratefully recognized what a bountiful harvest it was going to be. The Sisterhood celebrated with brunch on Sunday. And since I was “in the mood,” I whipped up some ingredient-packed muffins that had all the essence of Fall – complete with cinnamon!
Print Recipe
Votes: 1
Rating: 2
You:
Rate this recipe!
Harvest Muffins
SERVINGS20muffins (approx.)
|
COOK TIME20-25mins |
PREP TIME15mins |
READY IN35mins |
Ingredients
Instructions
- Preheat oven to 375 degrees F.
- Grease muffin cups with non-stick spray and line with muffin papers
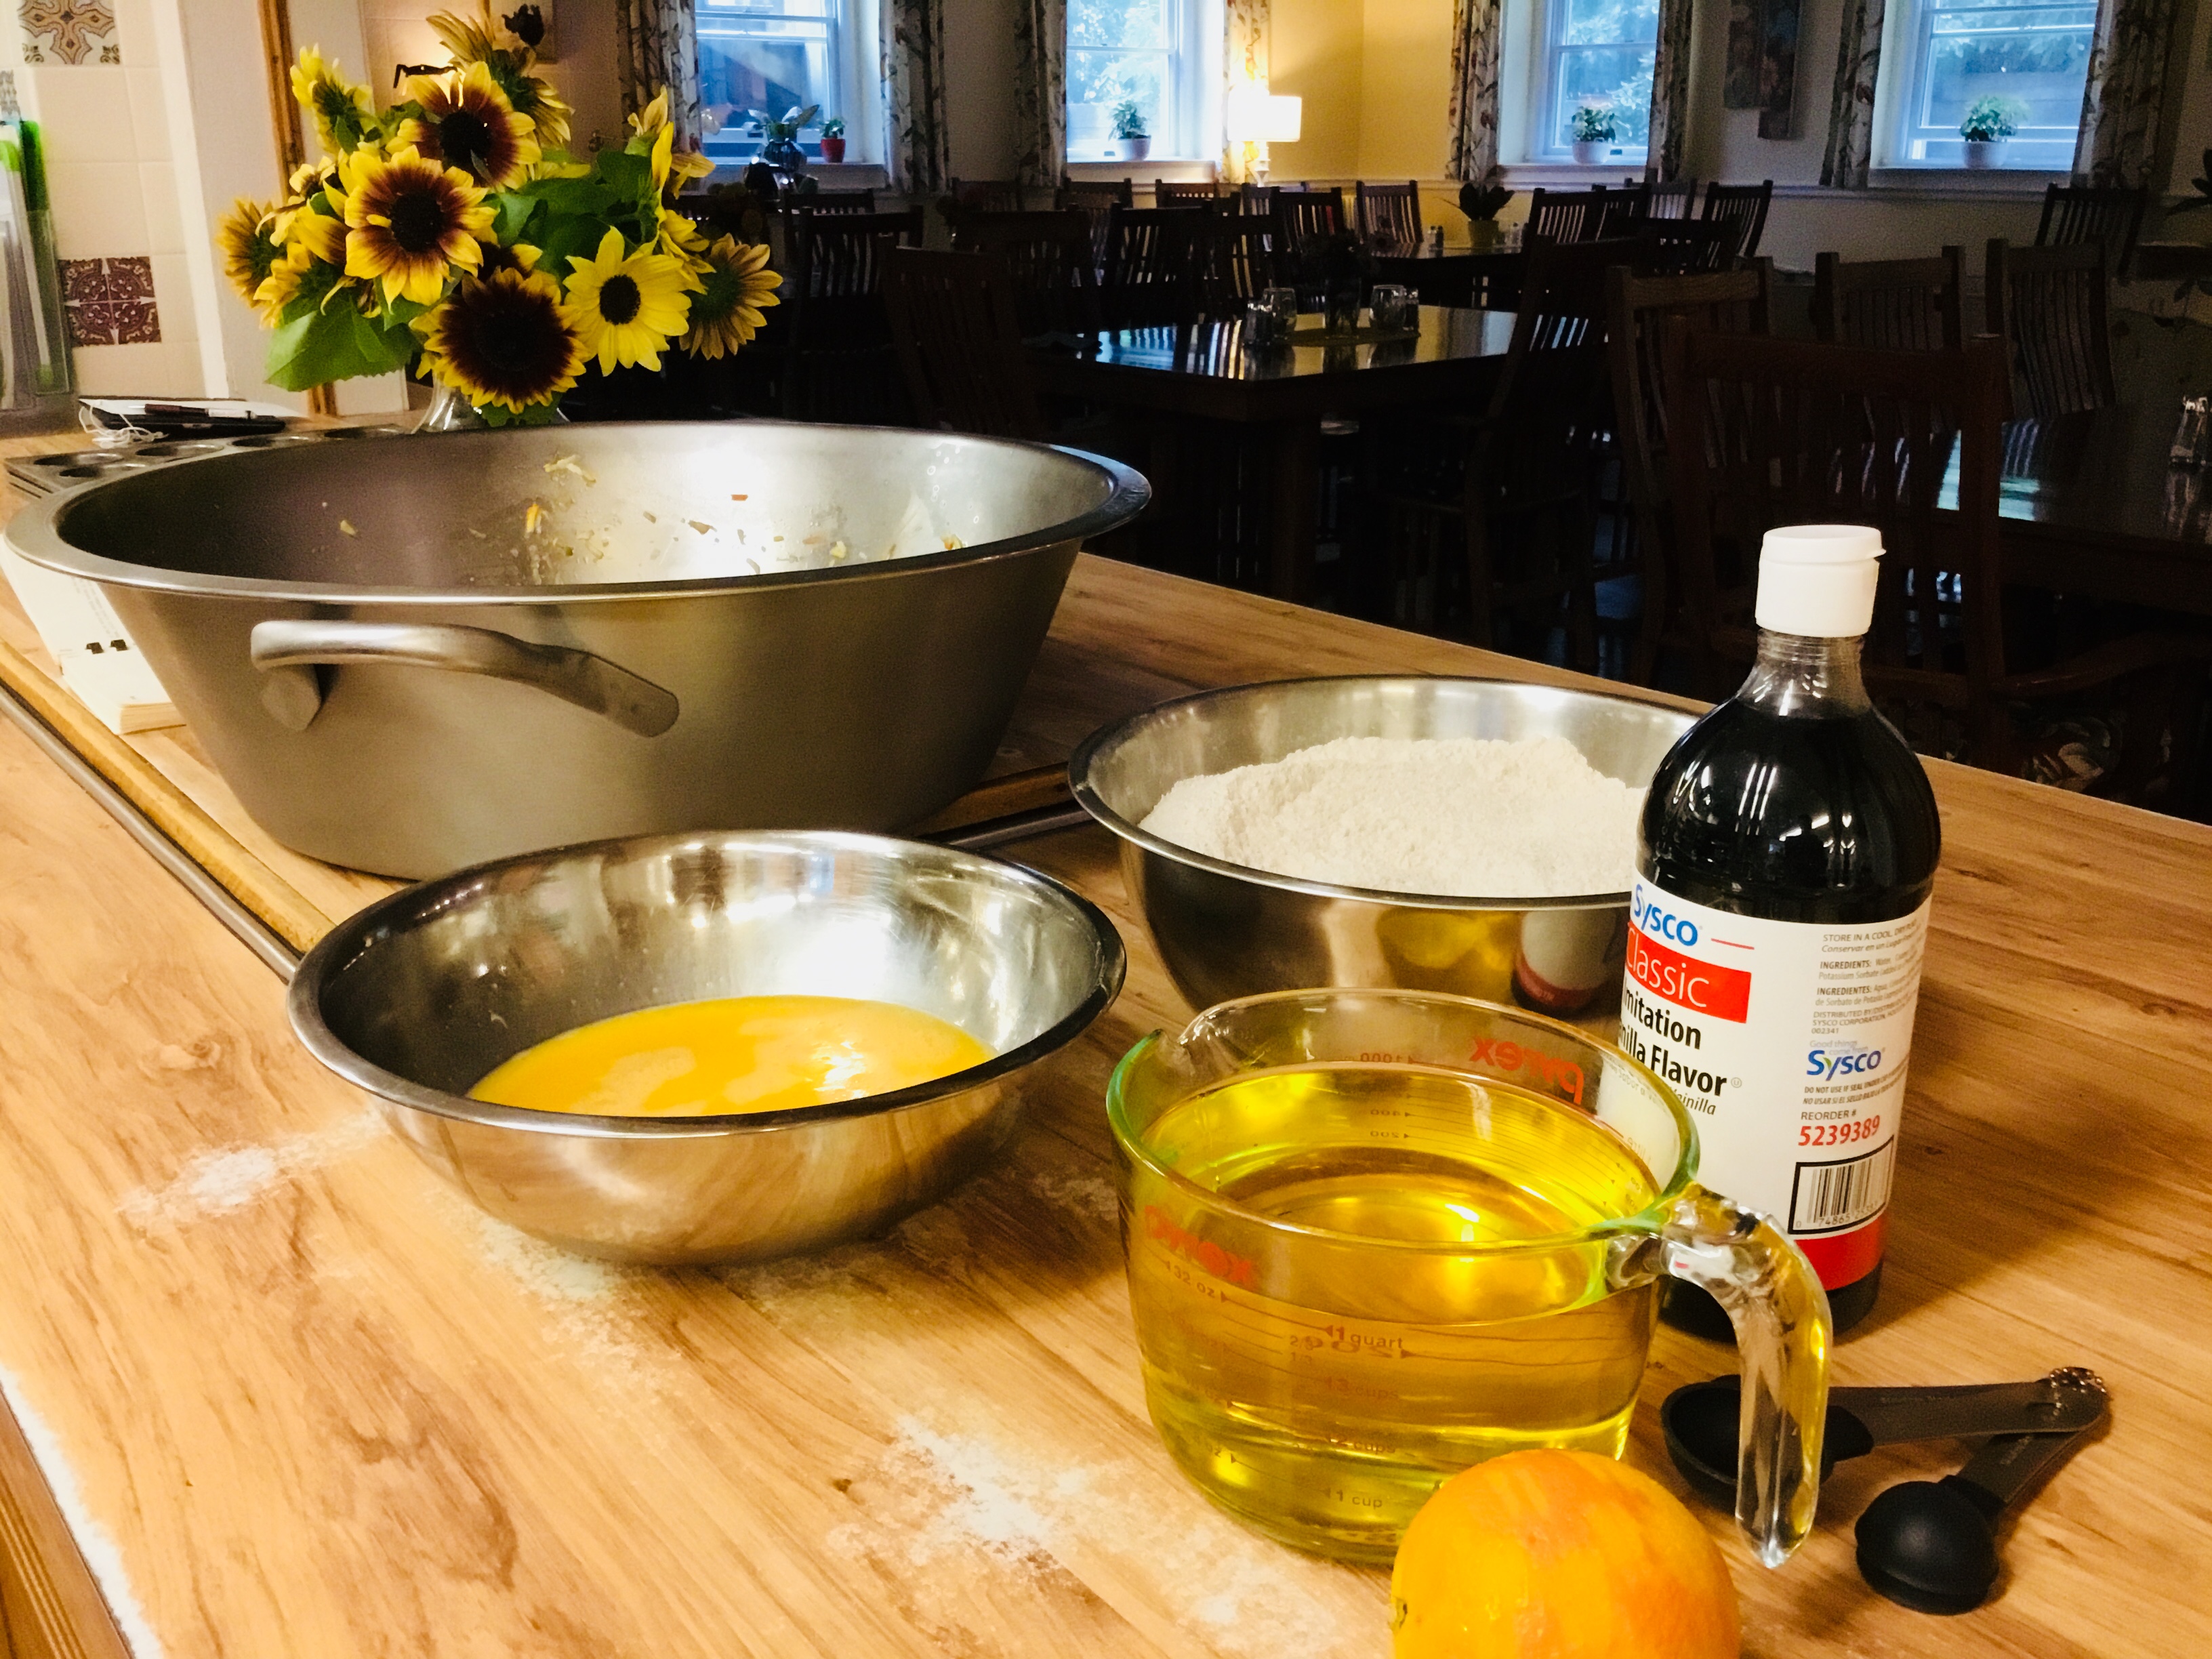
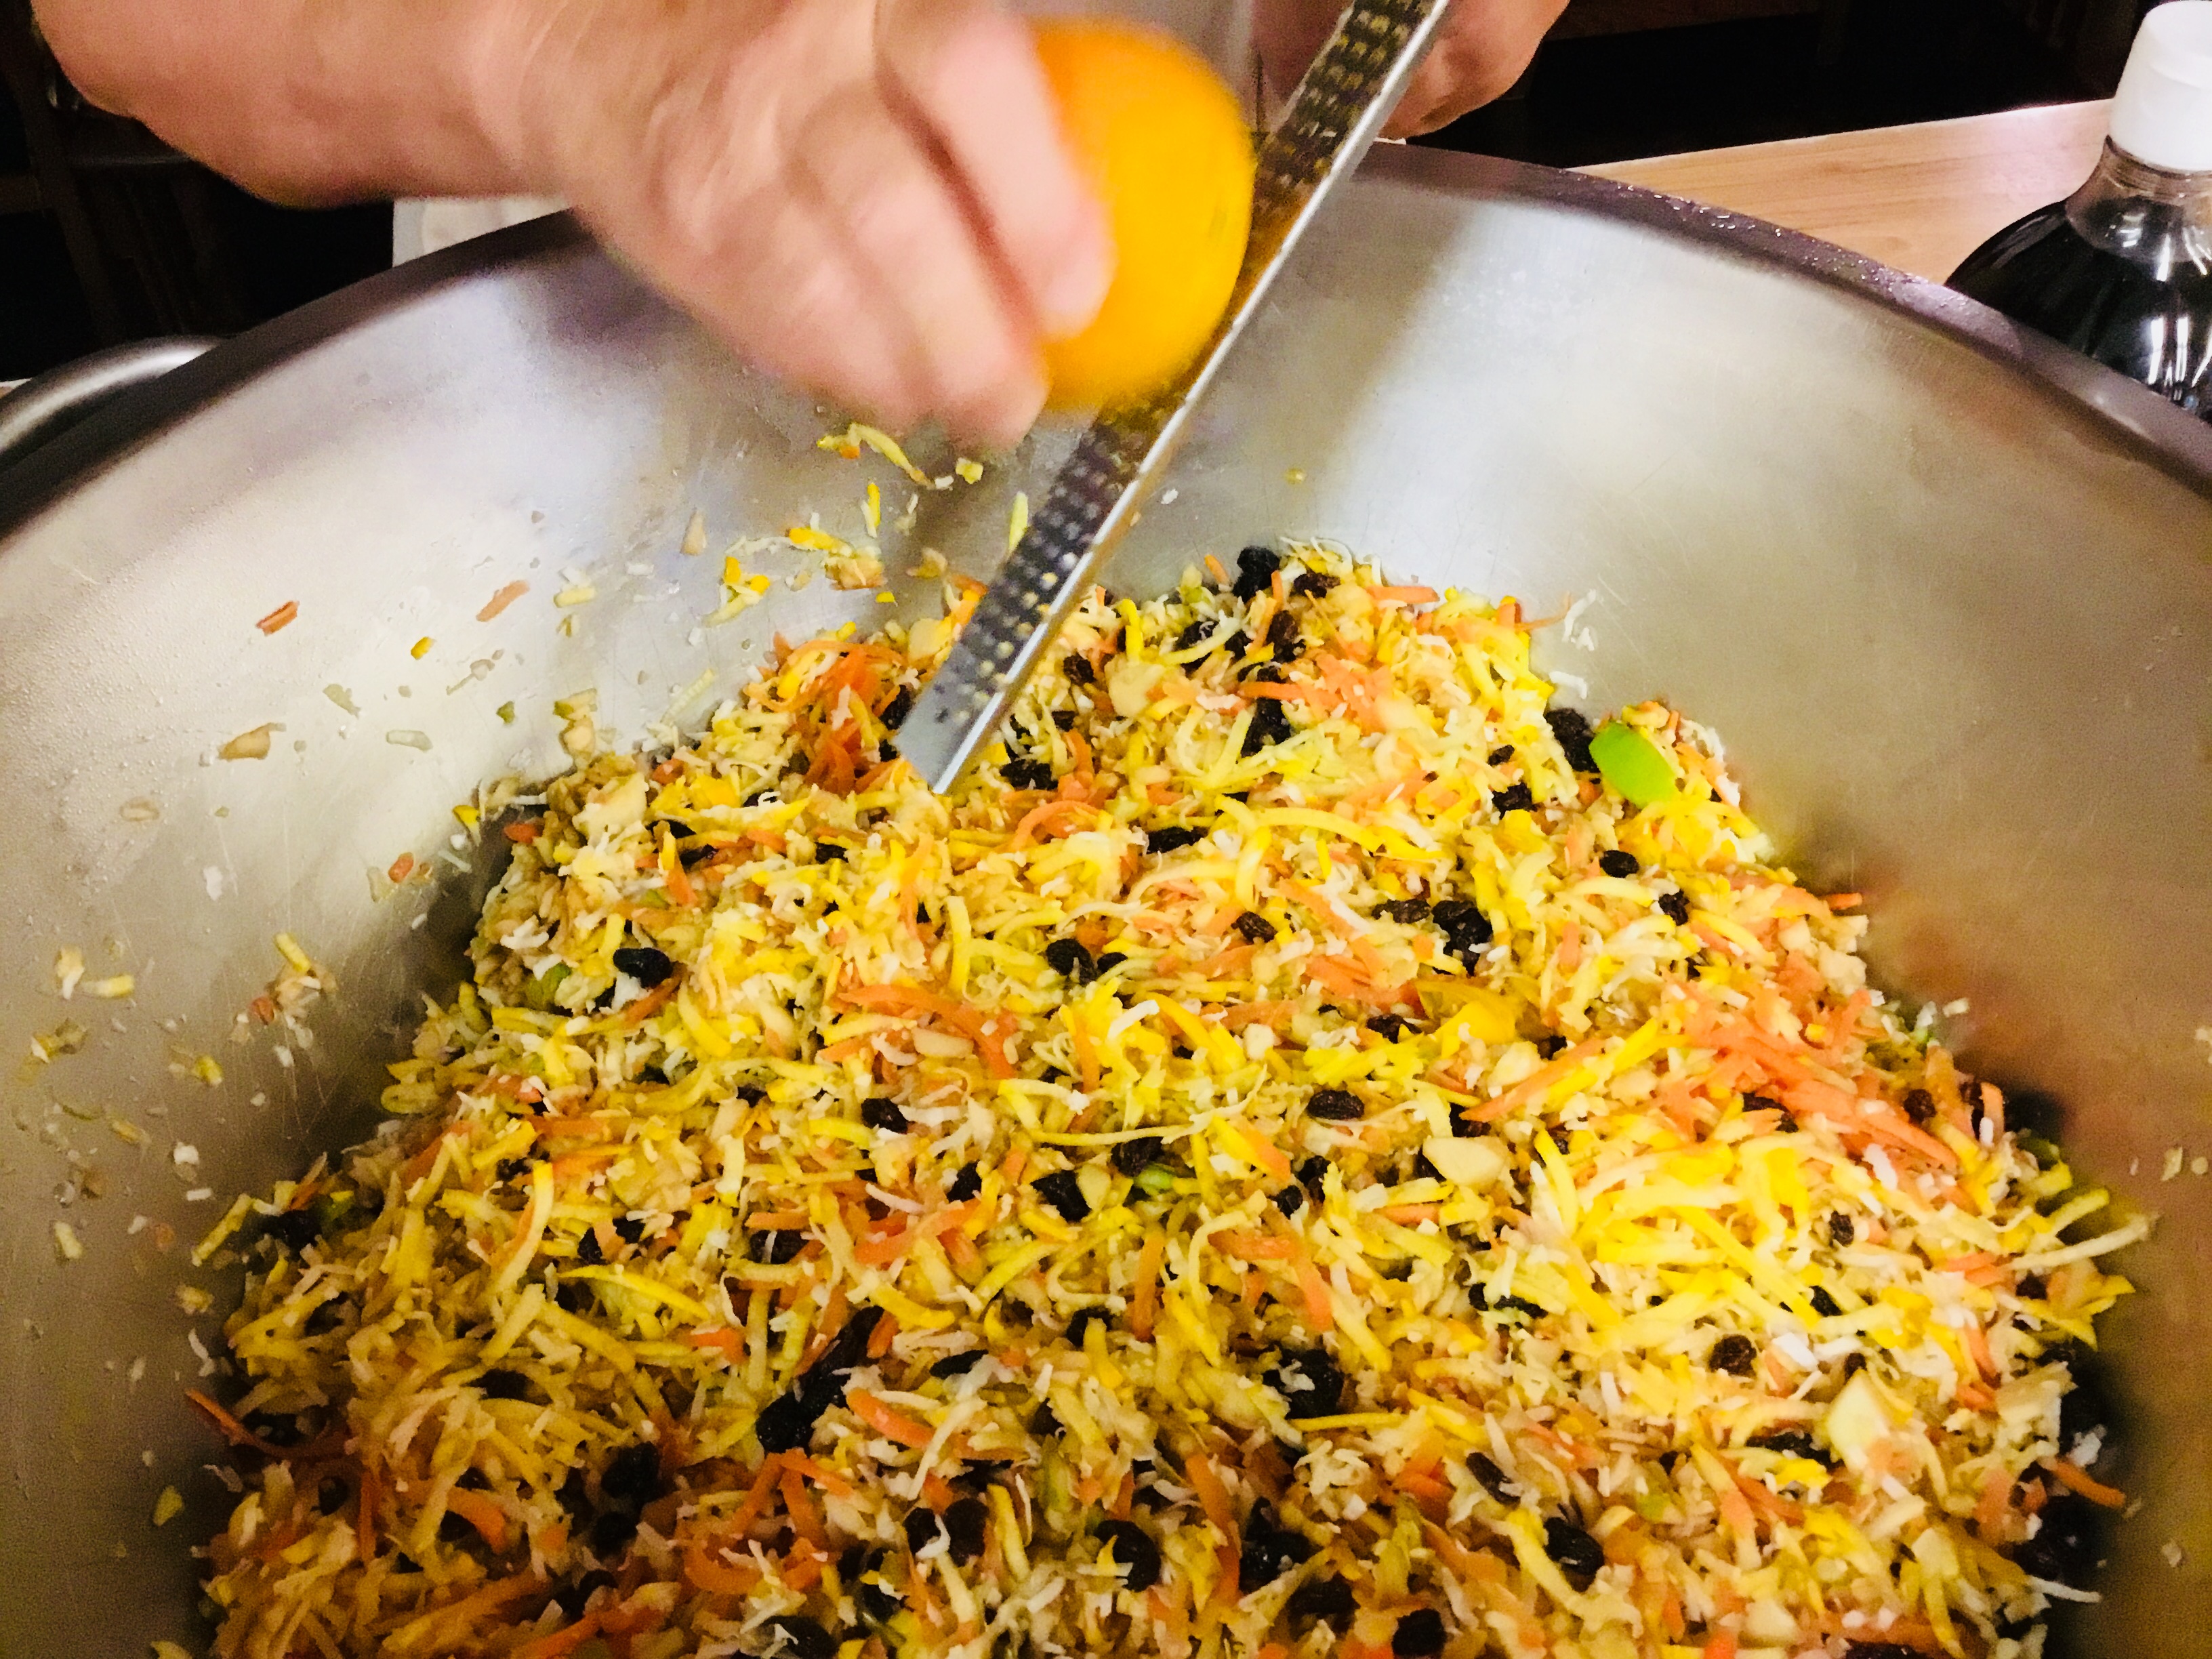
- Beat eggs, oil, orange zest and vanilla in a bowl to blend
- Combine flour, sugar, baking soda, cinnamon and salt together in a bowl
- Separately, mix carrots, zucchini, apple, raisins, coconut, and almonds together - add the egg and oil mixture
- Sift flour mixture into the vegetable mixture and mix all together by hand until well blended.
- Using an ice cream scoop, fill each muffin cup with one scoop of batter.
- Bake until center of muffin springs back to touch - about 20-25 min.
- Serve warm or at room temperature.
This year Good Friday and the start of Passover were on the same day—-a rare occurrence given the difference between the Gregorian calendar used by most Western countries and the lunar calendar observed by the Jewish faith. Indeed, the Seder plate used during the first night of Passover tells the dramatic story of the Israelites’ exodus from slavery in Egypt and includes reminders of their captivity: bitter herbs to signify the bitterness of slavery, haroset which is a reminder of the mortar used between bricks, a shank bone to remember the Passover sacrifice and an egg which represents the new life promised to them after the Red Sea crossing.
Borrowing from our Jewish roots, our own Good Friday dinner was a cross-section of the Judeo-Christian traditions that mark this holy season of the year. Beginning with a candle lighting and blessing at 6:45—the official start of the eight-day Passover festival—and continuing with the meal which included some dishes found at a traditional Passover Seder table including Matzo ball soup, roasted chicken (with haroset stuffing), marinated green beans, Israeli couscous and tabouleh salad. Also gracing our table was one of our year-round favorites: fresh Challah bread baked that afternoon. While Challah—and dishes containing yeast—are not eaten during Passover, we couldn’t help ourselves! This braided bread is so delicious and beautiful to look at and made an honorary appearance on our Good Friday Passover table. Best when eaten fresh, this versatile bread is also wonderful toasted the next morning day. Try out the recipe below and see for yourself!
With wishes for a joyful conclusion for the Passover and Easter seasons, we look forward to the promise of new life this spring!
Print Recipe
Votes: 0
Rating: 0
You:
Rate this recipe!
Challah Bread
SERVINGS3loaves
|
COOK TIME30mins |
PREP TIME15mins |
READY IN1 hr15 mins |
Ingredients
Instructions
- Combine the first three ingredients to dissolve the yeast. Let sit for 5 min. or until foamy.
- Add the next 4 ingredients and then the flour and salt, adding as much flour as you need for the dough to start pulling away from the side of the bowl.
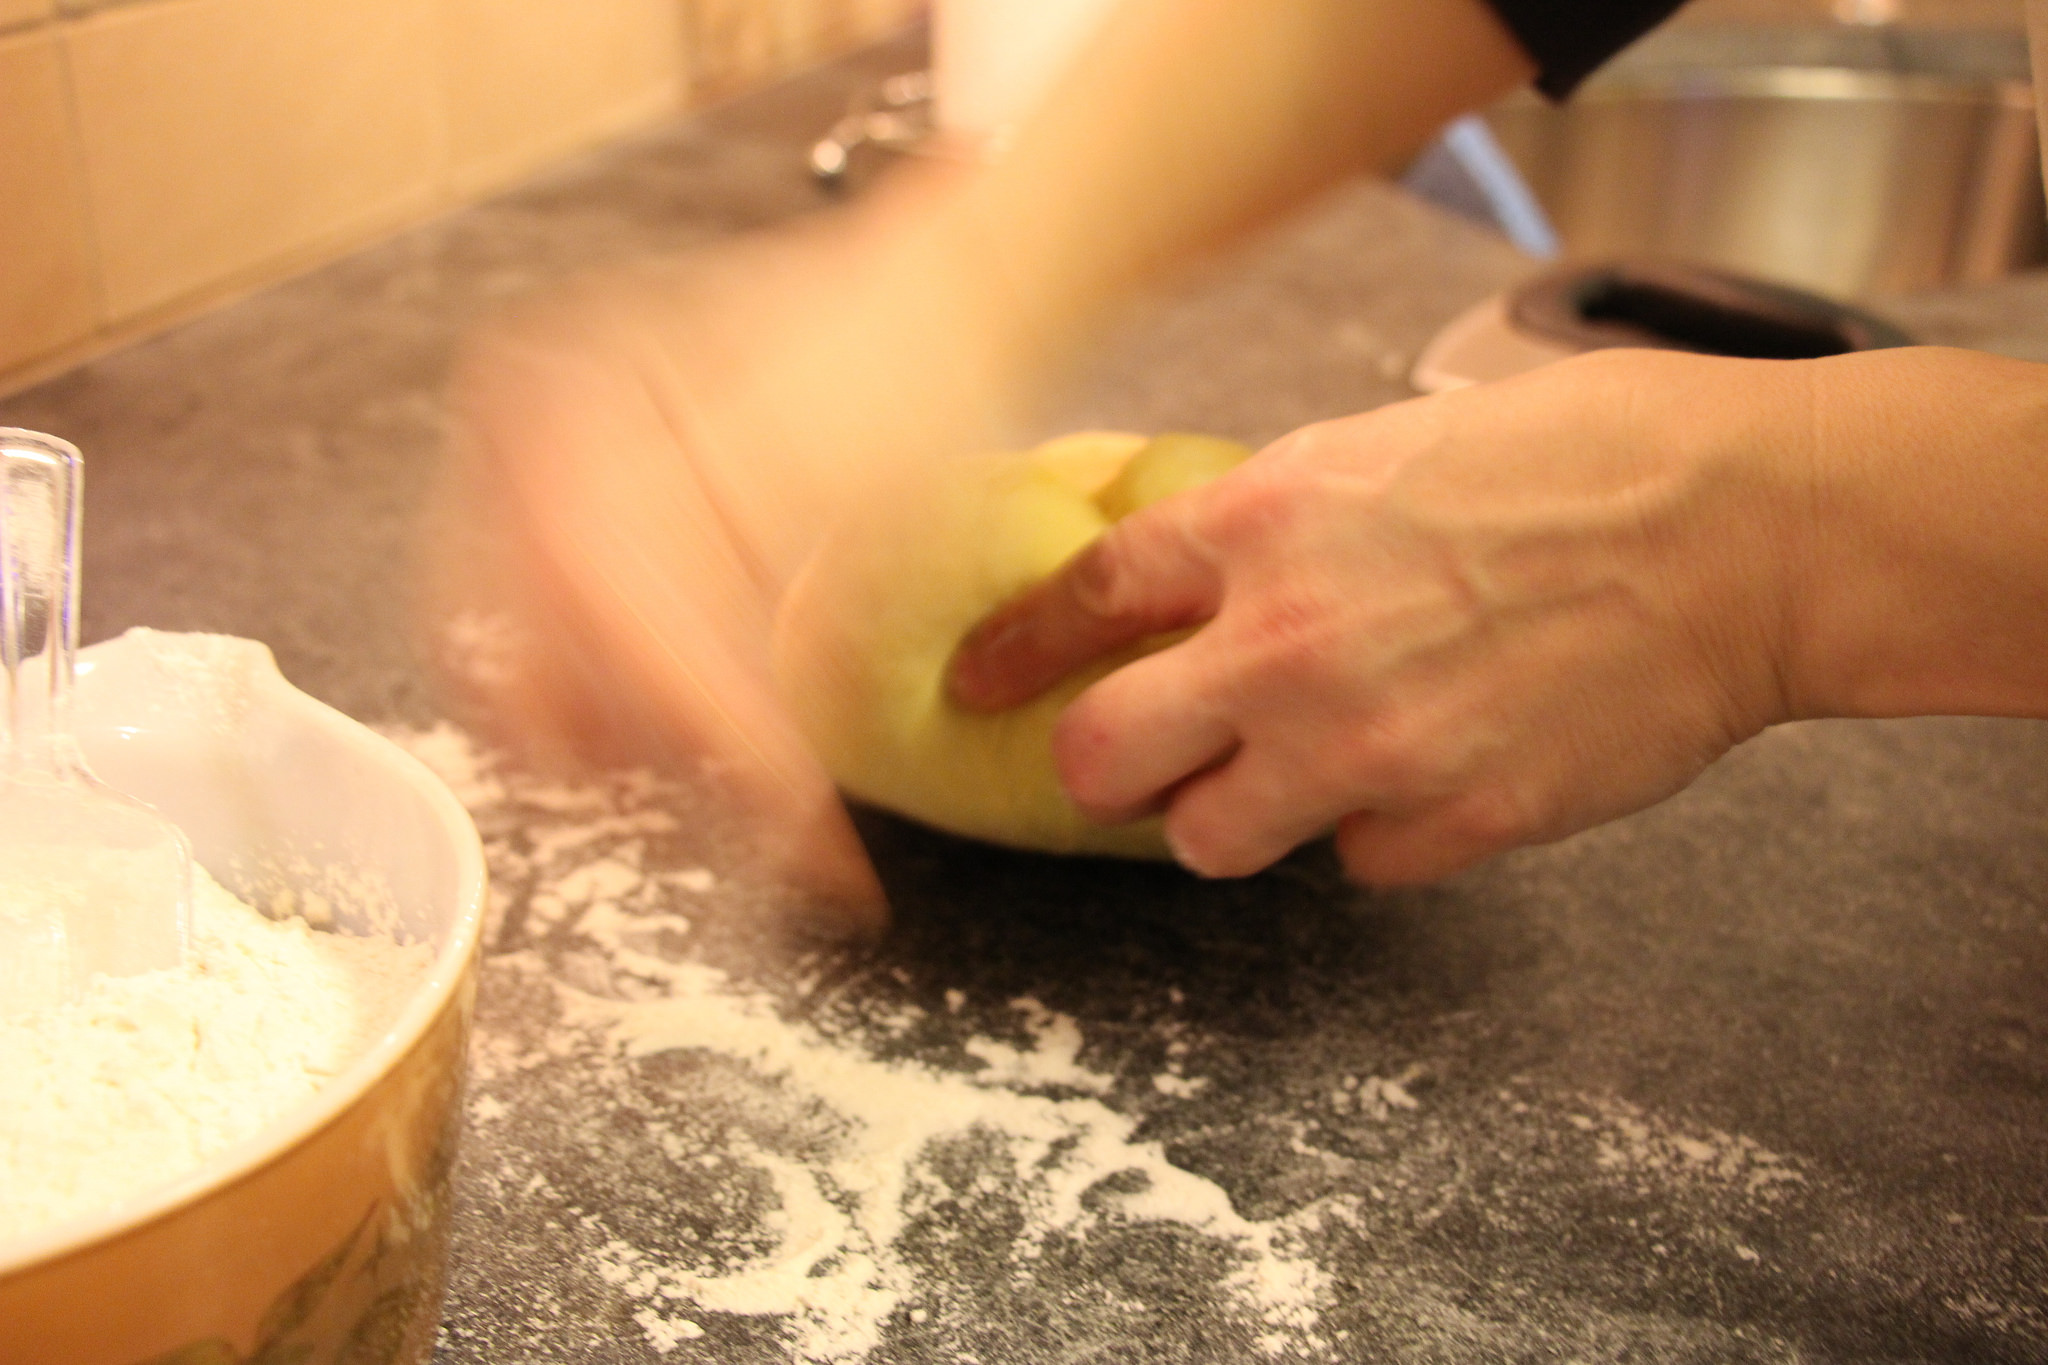
- Remove to a floured surface and knead until the dough is no longer sticky.
- Place in an oiled bowl, turn over once, cover and let rise until doubled in bulk.
- Divide dough into 9 balls and roll each ball into a “rope” using your hands.
- Braid 3 ropes together into 1 braided loaf of bread and continue with the other 6 ropes, making 3 loaves in all.
- Let the bread rise again.
- Make an egg wash and brush on the bread and bake in a 325º oven until golden and cooked through, about 30 min.