There’s such a wonderful versatility to shrimp, and I think that’s why so many cooks love to work with it. It’s appropriate for luncheons, dinners, hors d’oeuvres. It’s great served on a hot summer day as a salad or in a Tuscan cheesy wine sauce with pasta on a chilly fall evening. It lends itself to being sautéed, broiled, stewed, roasted, boiled—and to me, the best of all: deep fried, having been dipped in egg, and then flour and panko crumbs. You’ll find it’s perfect for a special occasion!
This year, I’ve been doing some teaching where cooking is concerned, and along with that comes learning on my part. Testing new recipes, experimenting with foods of different cultures and also trying my hand at a healthier way of cooking and eating. As I was working with a friend, we decided we’d like to try to find a recipe for a really good veggie burger. First of all, I wasn’t sure those four words really went together… “really good” and “veggie burger”. But, once again, I was wrong. This vegetable and grain-based patty is delightful. It’s bursting with flavors – we commented to each other that you could truly taste each vegetable in it and the bonus is, it’s packed with protein. Even my most lovable meat craving Sister thought it was delicious. That was a real surprise.
So, as we head into Lent, I thought this might be a good time to share this recipe. I really don’t think you’ll be disappointed.
Make the herb mayo: In a blender, combine all the herb mayo ingredients. Blend until smooth, then transfer to a bowl.
Make the veggie burgers: In a 2-quart saucepan, bring the water and quinoa to a boil. Reduce the heat to a simmer and cook, covered, until the quinoa is tender and all the water is absorbed, 15 to 18 minutes. Transfer to a large bowl and let cool. Or cook the quinoa in a rice cooker, following manufacturer directions (I used 2 cups quinoa/2 cups water). You will be using 3 cups of cooked quinoa in this recipe.
Meanwhile, in a large skillet, heat 2 tablespoons of the olive oil over medium-high heat. Add the mushrooms, broccoli, carrots, parsley and onion, and cook, stirring often, until the veggies are tender and lightly caramelized, 8 to 10 minutes. Then add the baby spinach to wilt along with the corn. Transfer to the bowl with the 3 cups of cooked quinoa - let cool and add the two beaten eggs.
Once the vegetables-and-quinoa mixture has cooled, mix in the remaining veggie burger ingredients until incorporated. Form into 8 - ½ cup patties and shape. Lay out on a piece of wax paper.
In a large nonstick skillet, heat the remaining 2-3 tablespoons of olive oil over medium-high heat. Working in batches, cook the veggie burgers until golden brown and crisp, 3 minutes per side.
To assemble: Top each veggie burger with some of the herbed mayo and top with tomato and avocado. Serve while the burger is still warm with a side of sweet potato fries.
Merry Christmas from Bethany Convent! This year, the Sisters enjoyed this lovely Grilled Ceasar Salad with our Christmas meal. It was so easy and delicious, we wanted to share it with you. Our prayers are with each one of you as we close out 2019 and look forward with hope and expectation to a new year together!
Prepare the dressing: In a bowl, add the mayonnaise, Worcestershire, lemon juice, Dijon, vinegar and garlic and whisk until combined. Slowly whisk in the olive oil. Add the Parmesan and continue to whisk. Season the dressing with salt and pepper. This can be made ahead and kept refrigerated until ready to use
Preheat a grill to medium-high heat.
Brush olive oil on the romaine hearts and season with salt and pepper. Place the romaine cut-side down on the grill and cook until nicely marked, 2 to 3 minutes.
Brush the lemon halves with olive oil and grill cut sized down until you have grill marks on the lemons and they are soft and golden
Preheat an oven to 375 degrees. Prepare croutons: tear up the bread into bite sized chunks and drizzle with olive oil. Toss until the oil is well distributed. Toss with Italian seasoning, garlic powder and salt until well seasoned to your liking. Spread on a baking sheet and bake until crispy and golden about 10-15 min. Remove from oven and let cool.
With a vegetable peeler, flake your Parmesan cheese into large pieces.
To assemble: lay your grilled romaine hearts on a platter, drizzle with the dressing and finish off with croutons, flakes of Parmesan cheese and the grilled lemon halves. Enjoy!
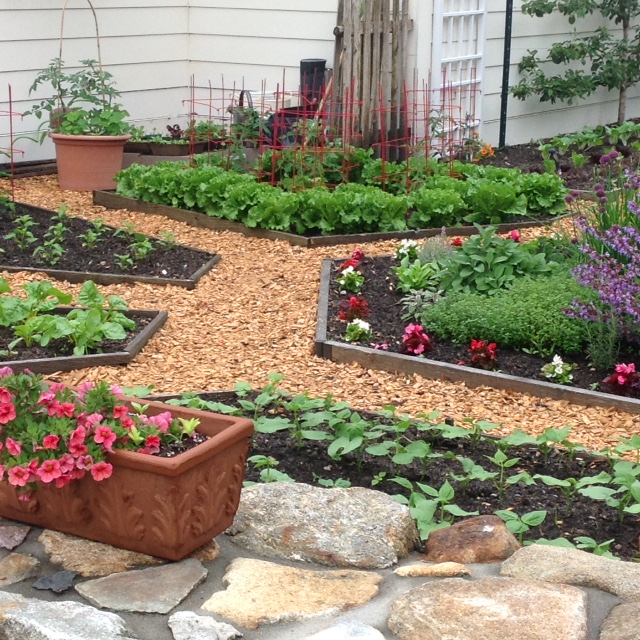
So requested a lady on Personal Retreat in our guesthouse. To be honest, I actually was planning something a little more elaborate such as zucchini lasagna, Caesar salad, and herb-buttered Italian bread. But I replied, “Of course!” and conceived a plan. As I picked fresh lettuce from our kitchen’s “Chef's Garden”, ideas came– what about fried eggplant and deviled eggs to add a special little touch! Some avocado slices, sliced ham or chicken, olives, cherry tomatoes.
Once again, the Holy Spirit came alongside and brought ideas fresh and new. Our retreatant was very blessed…as was I!
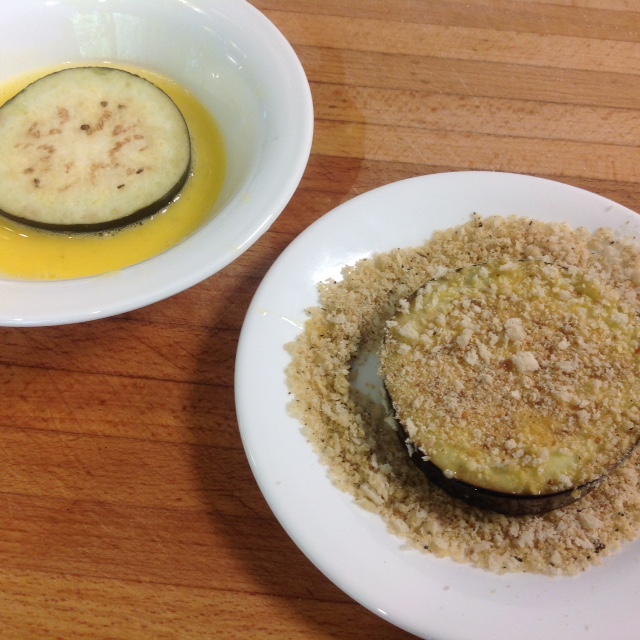
Lay a slice of eggplant on paper towel and sprinkle with salt on both sides. After a few minutes, press with the paper towel to extract any excess moisture
Beat the egg with a fork and a little water, thoroughly immerse the eggplant slice
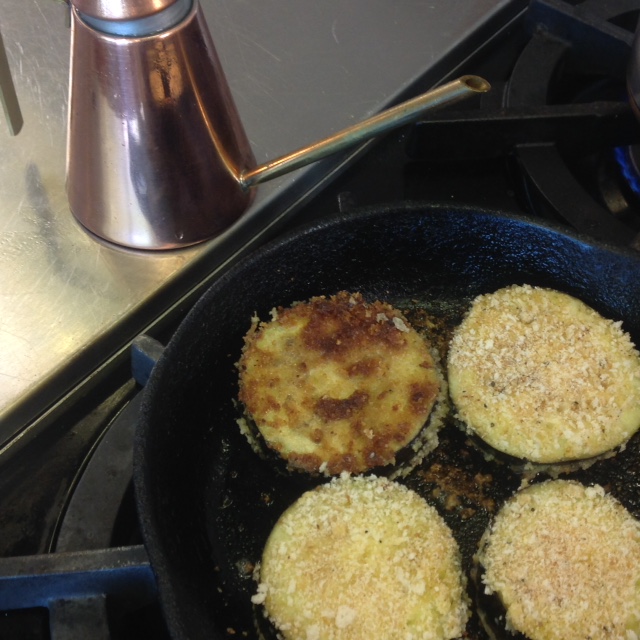
Dredge the slice in bread/panko crumbs while heating butter and oil in frying pan
When butter mixture is hot, add eggplant and fry until soft and golden brown; lower heat if
necessary so as not to get too brown too fast – about 10 minutes. Drain on a paper towel
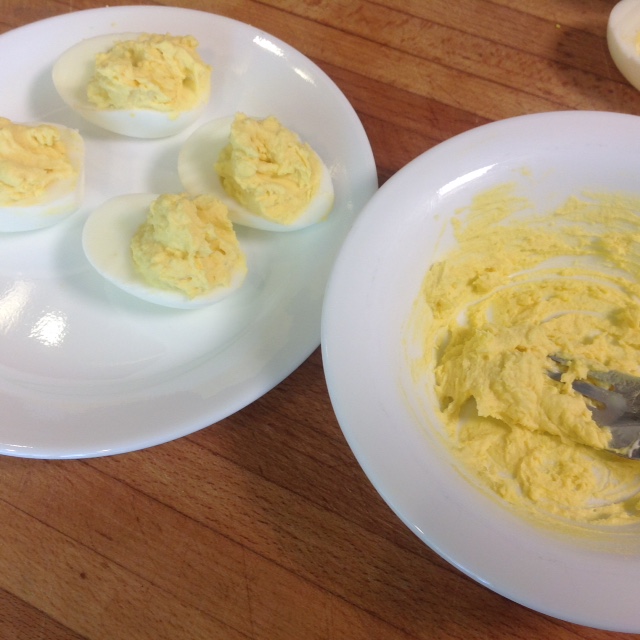
Deviled Egg
Place 2 eggs in boiling water, boiling for 10 minutes
Cool under cold water and peel
Gently slice in half, and carefully remove yolks, placing in a bowl and crush with a fork; the extra egg is good to have for more yolk filling
Add mayonnaise and mustard, more if needed, mix until creamy and smooth
The message came to our Guest House cooks: Luncheon for two on Friday—and they would prefer to have no meat.
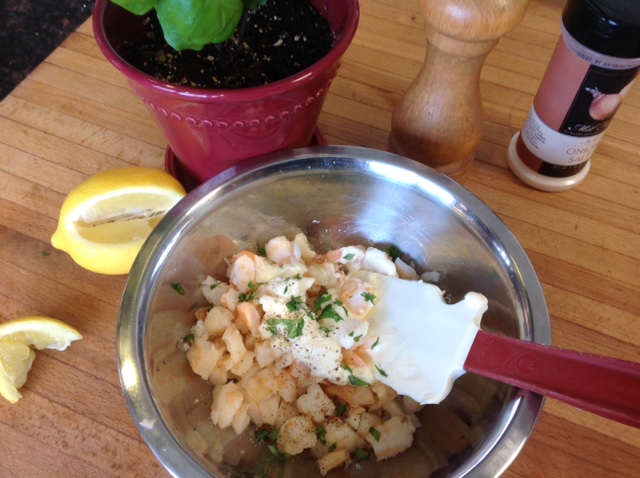
With Spring on the way, the first thing that came to me was a Shrimp Salad plate—quick, easy, delicious!
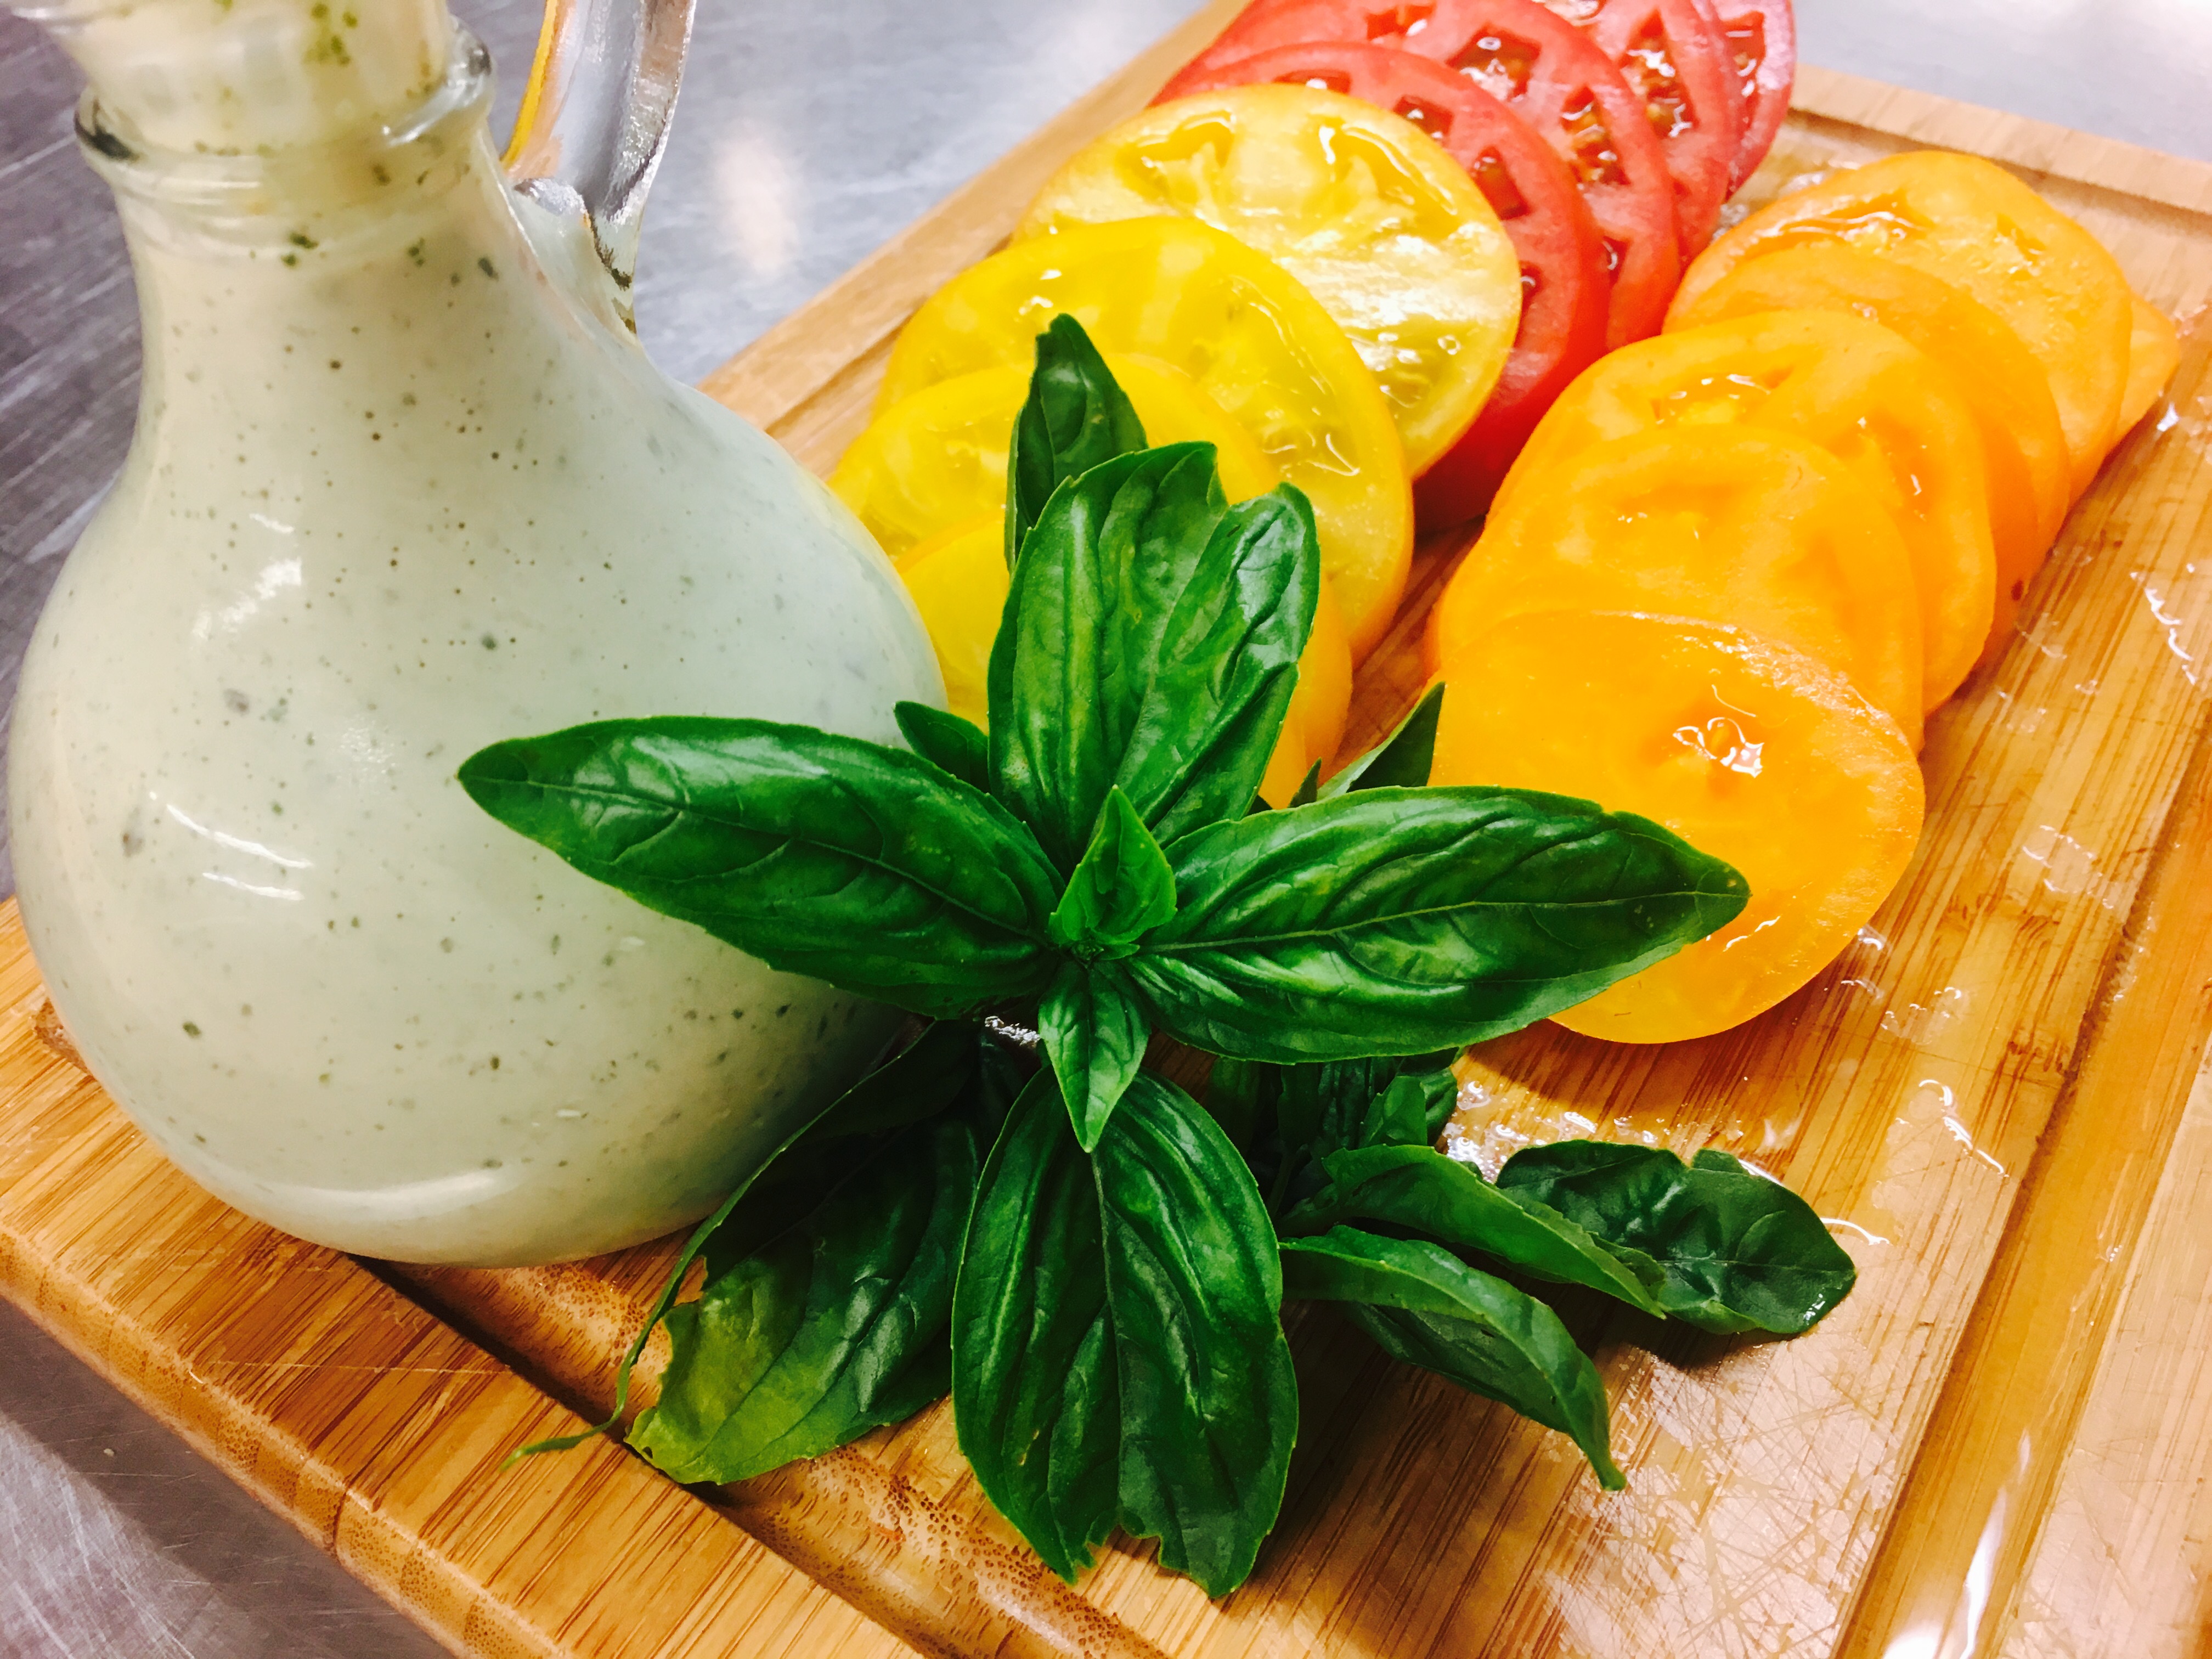
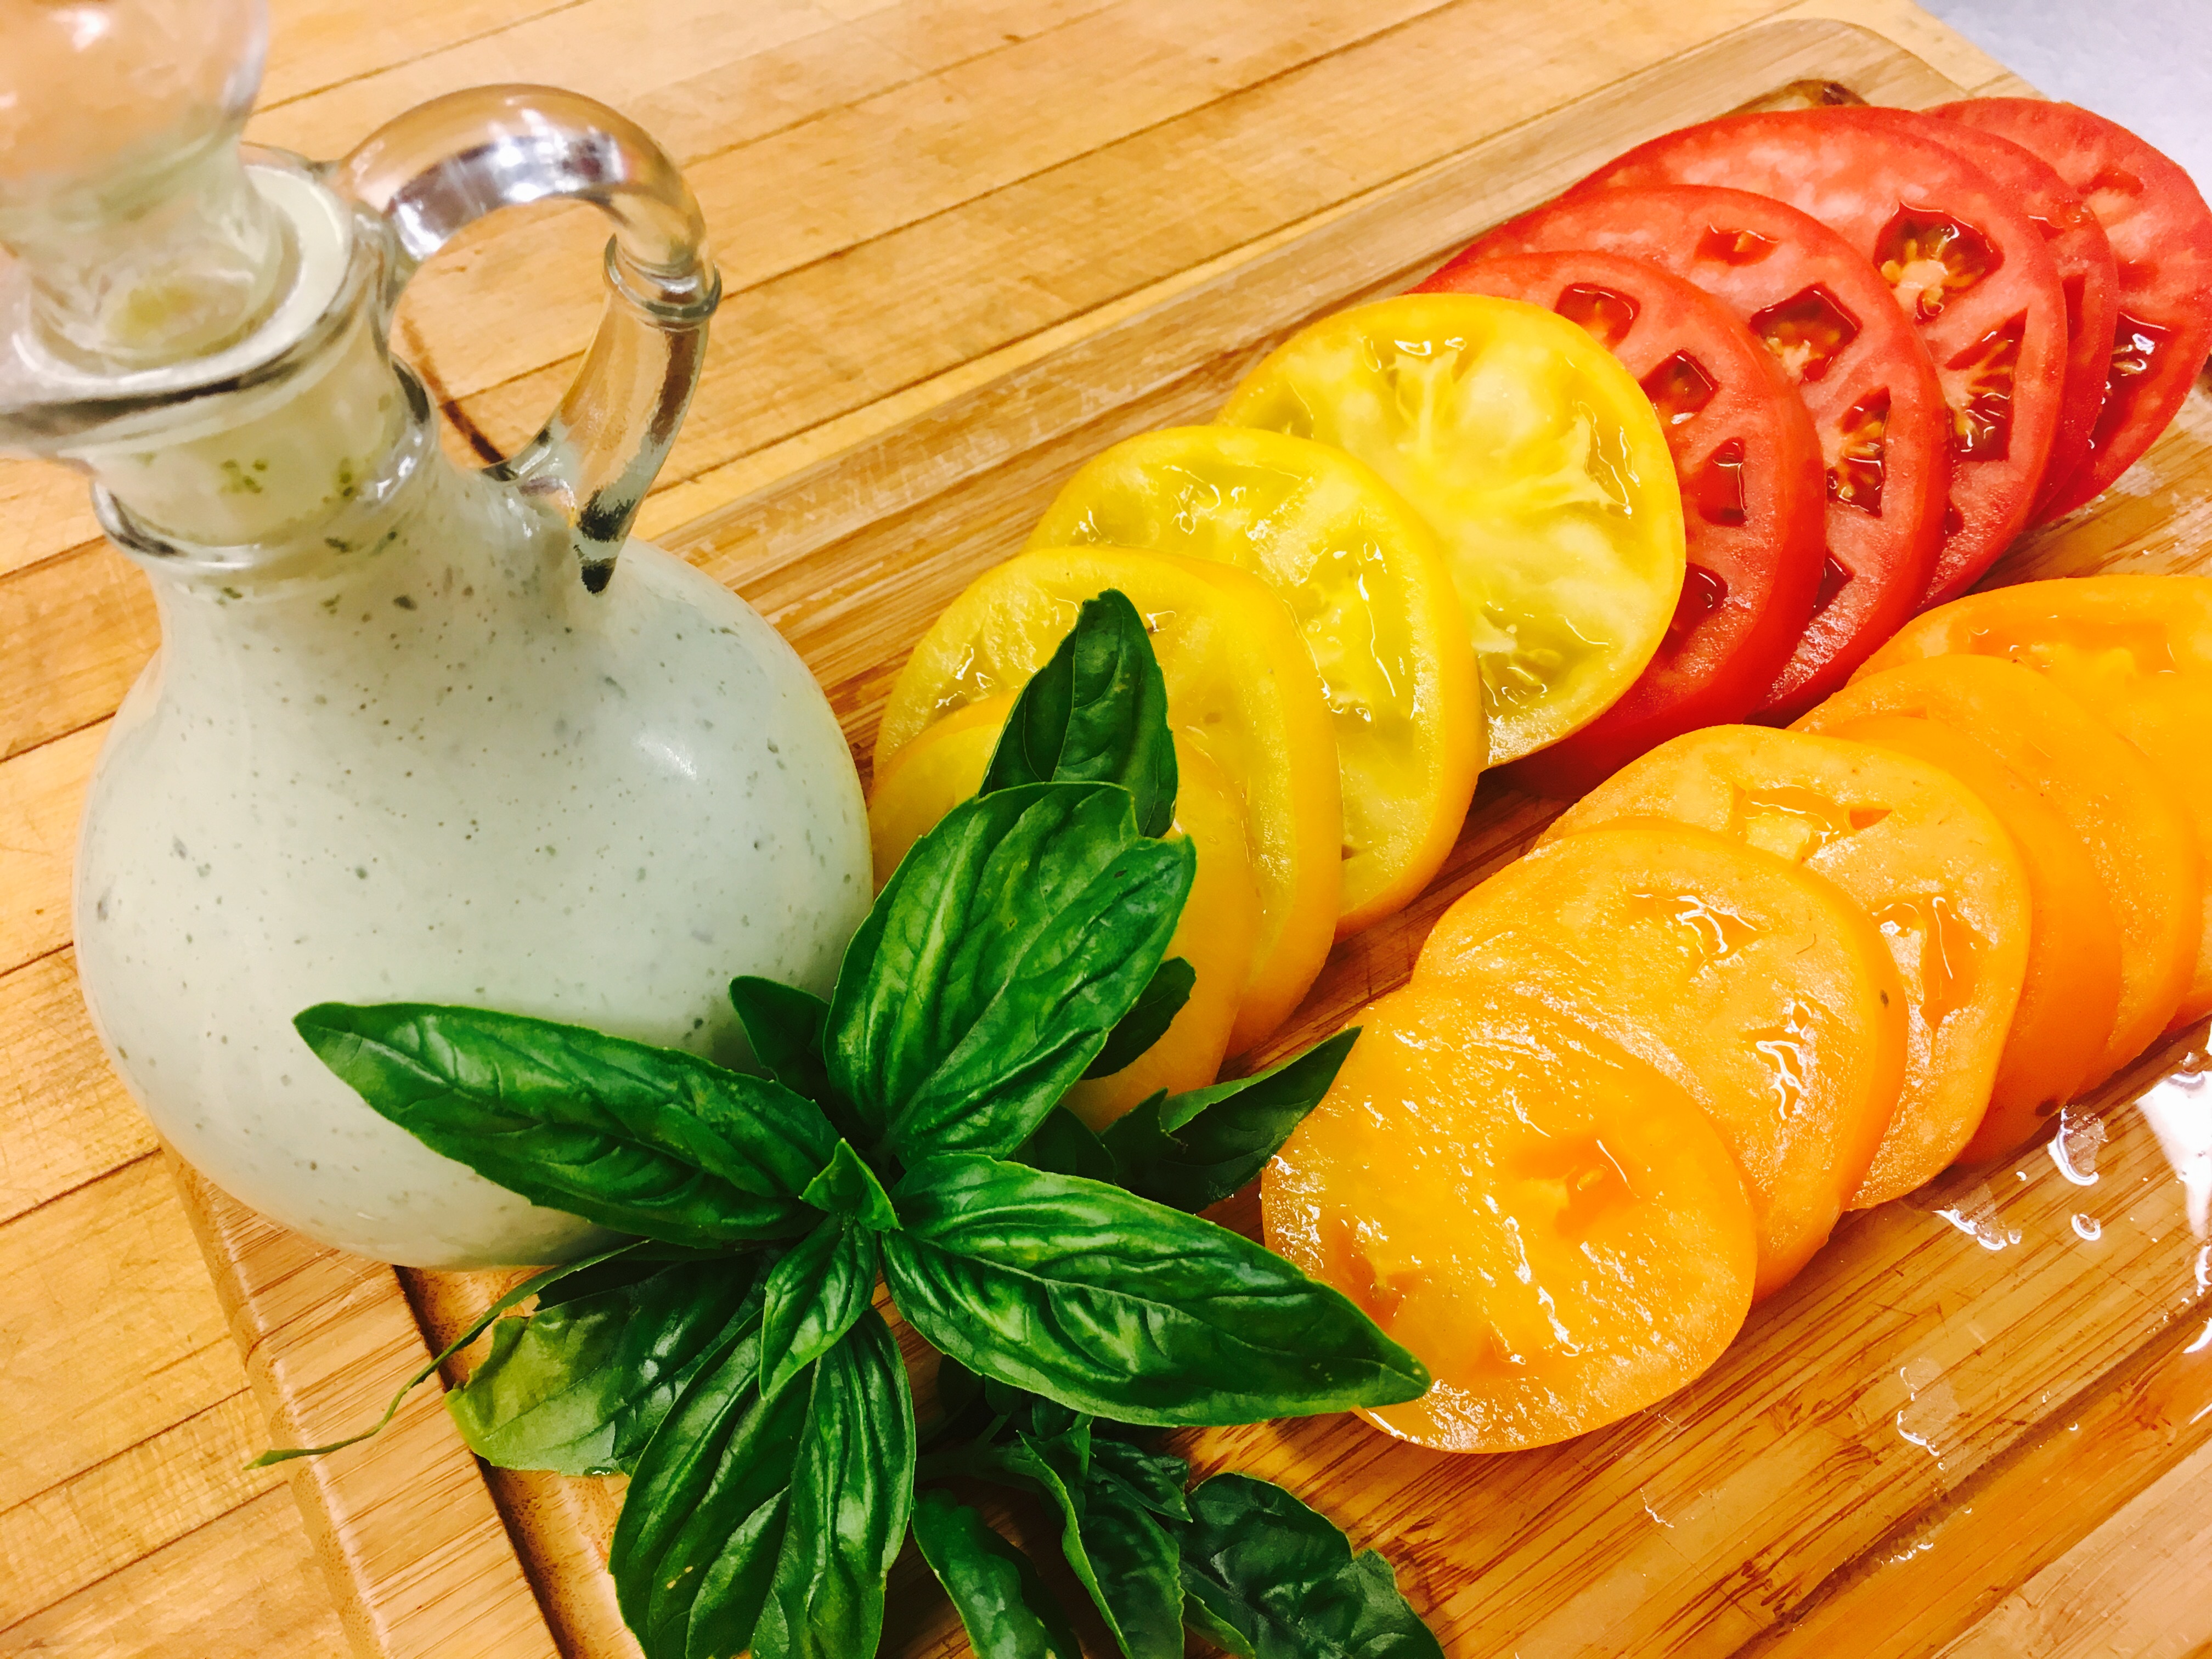
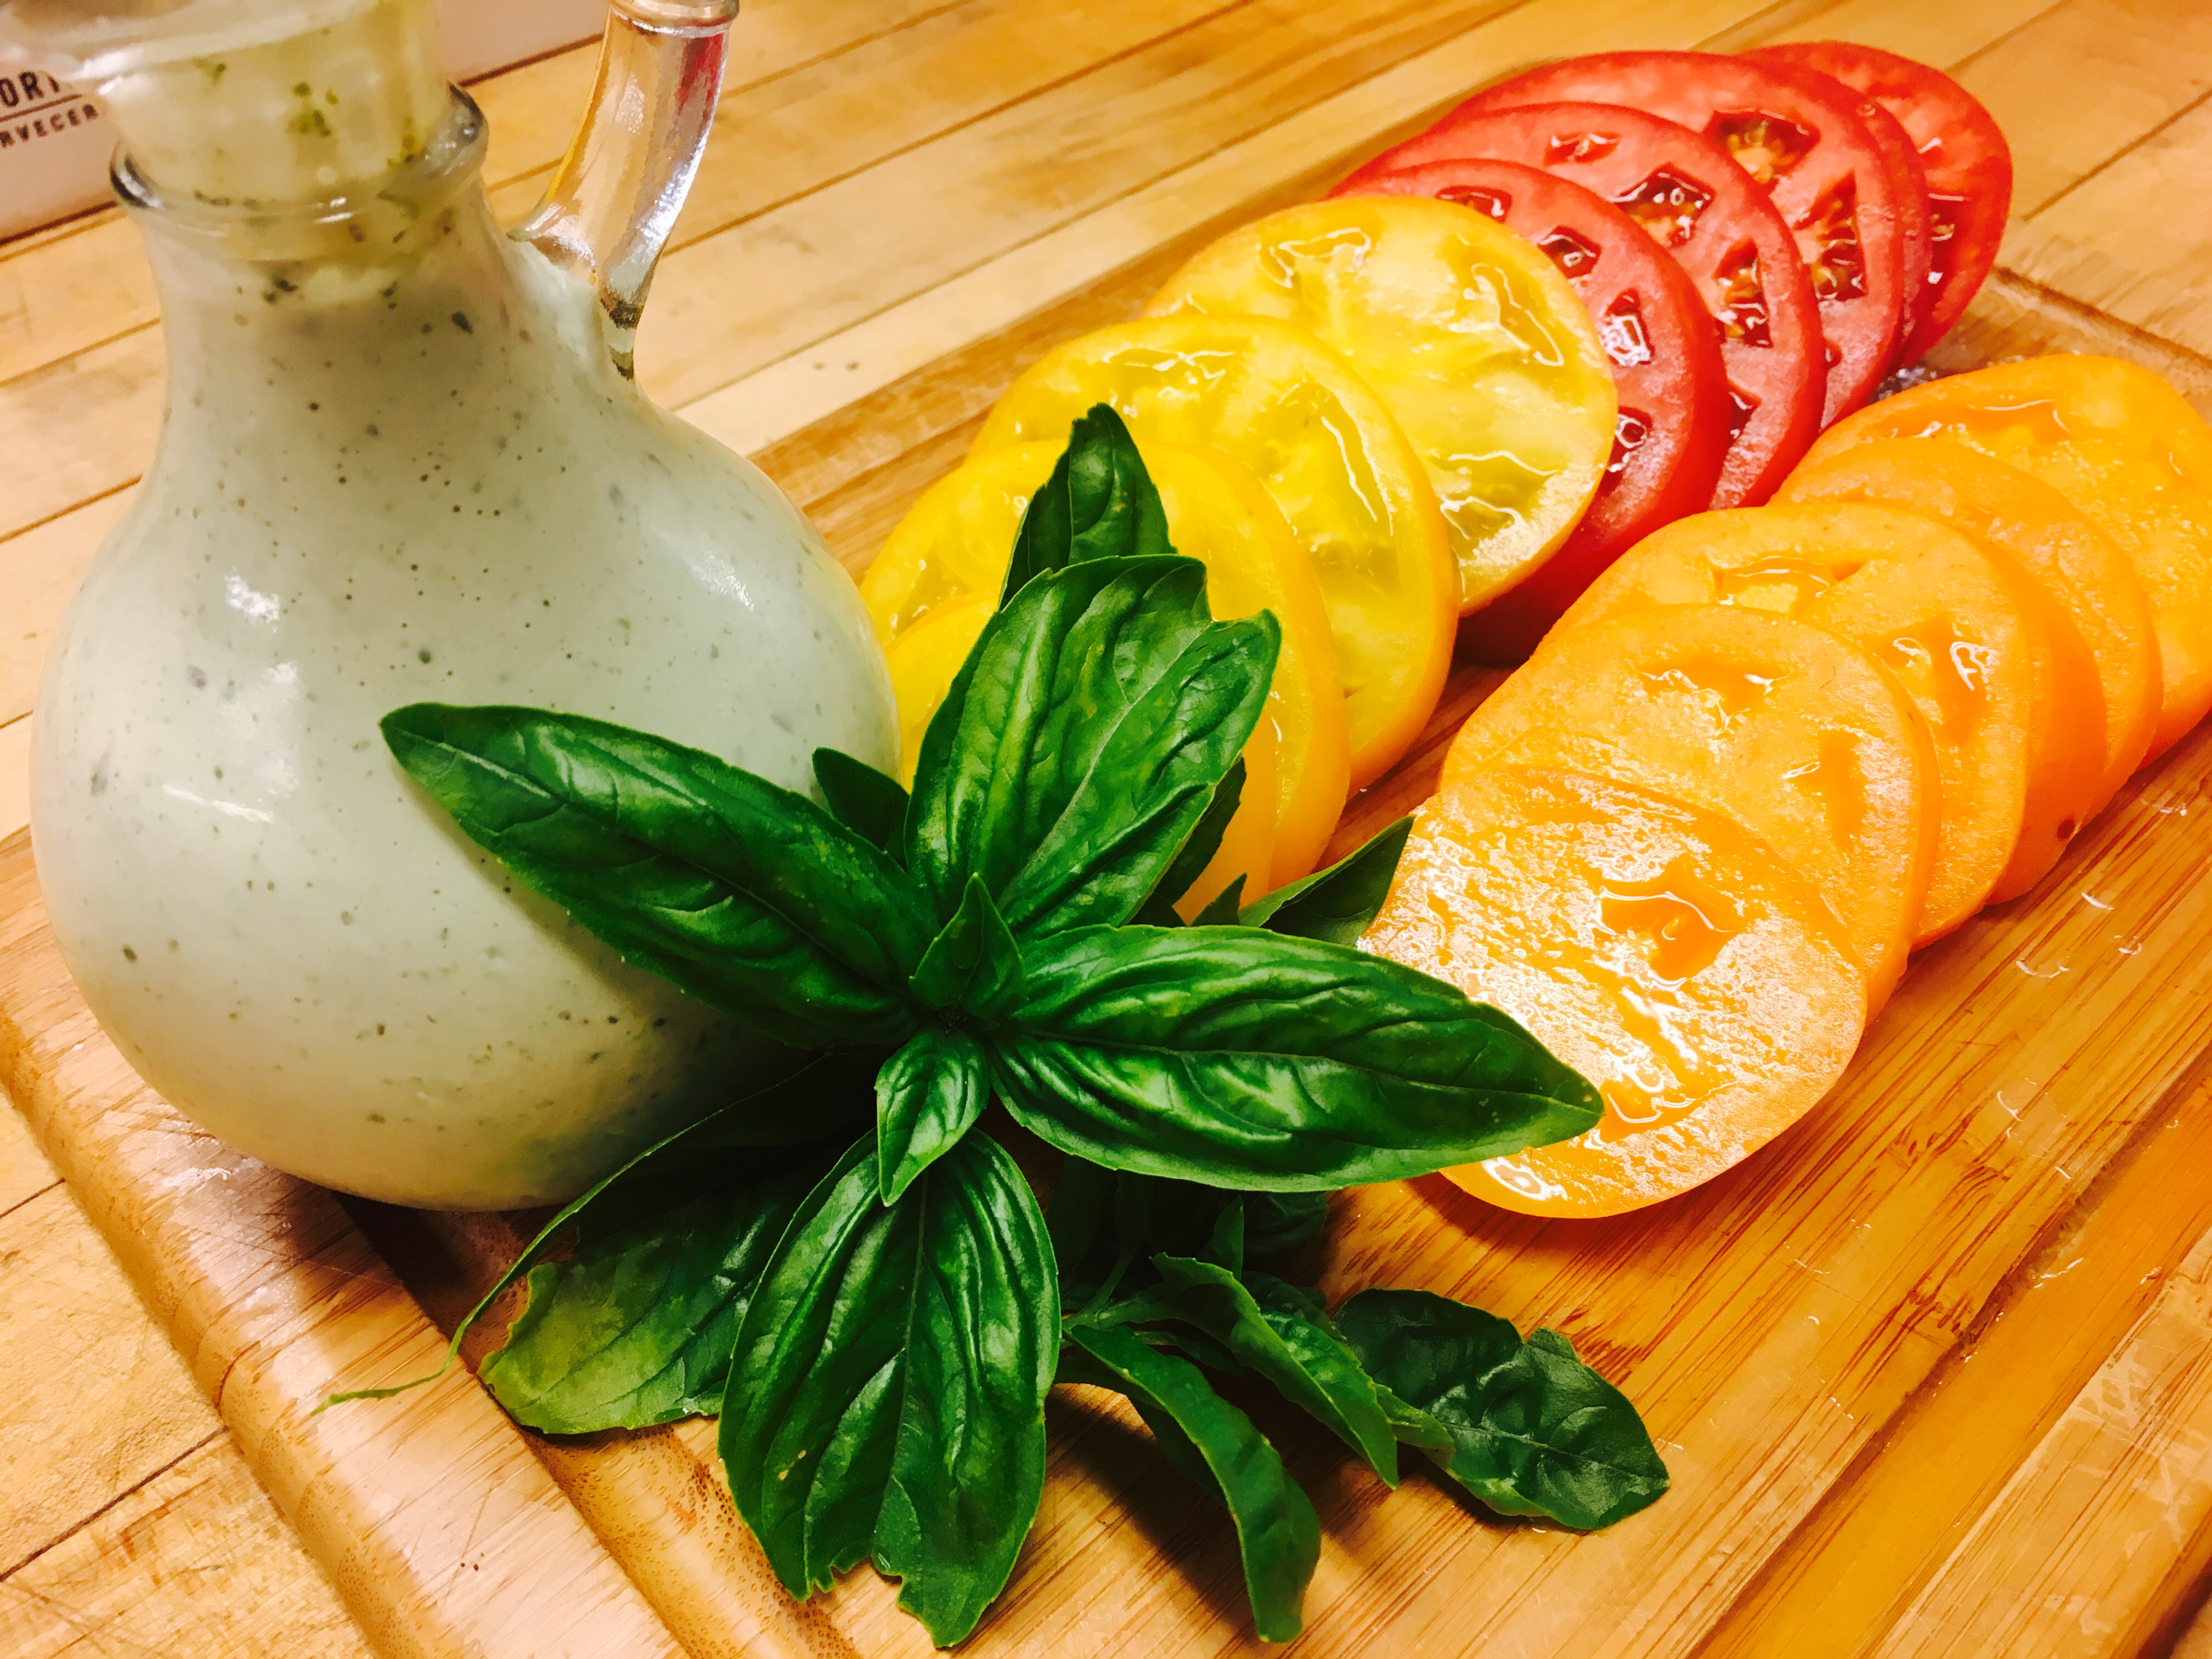
Summer may officially be over, but some of our garden vegetables happily are refusing to acknowledge it as they continue to provide us with a daily abundance of fresh produce. Among our favorites are beautiful multi-colored tomatoes, not only gorgeous to behold but luscious to enjoy.
Likewise our herb gardens continue to thrive producing sturdy plants of vibrant green flavorful offerings to enhance our food. Basil a favorite of so many has become the ingredient of choice along with a few other seasonings to combine with fresh buttermilk as a special dressing for lovely sliced tomatoes.
A winner with many of our sisters and special guests, why not give it a try?


")
")
")
")


")