The crispness of fall is all around us. This past Monday, the Sisters rose early to put our gardens to bed for the winter. It’s always bittersweet for me, as working in the earth, getting my hands dirty and seeing the fruits of our labor and God’s creative act are moments that I treasure. We decided not to put our “chef garden” to bed, as the tomatoes, chard, beets and kale are still growing, and a late crop of peas is sprouting their heads above the earth. So, as a tribute to summer, I wanted to share this wonderful recipe with you. You can use any vegetables for grilling, so don’t feel limited by the ingredients here. If you’re anything like me, your grill stays outside until it snows! Take advantage of the beautiful fall weather and enjoy.
Print Recipe
Votes: 0
Rating: 0
You:
Rate this recipe!
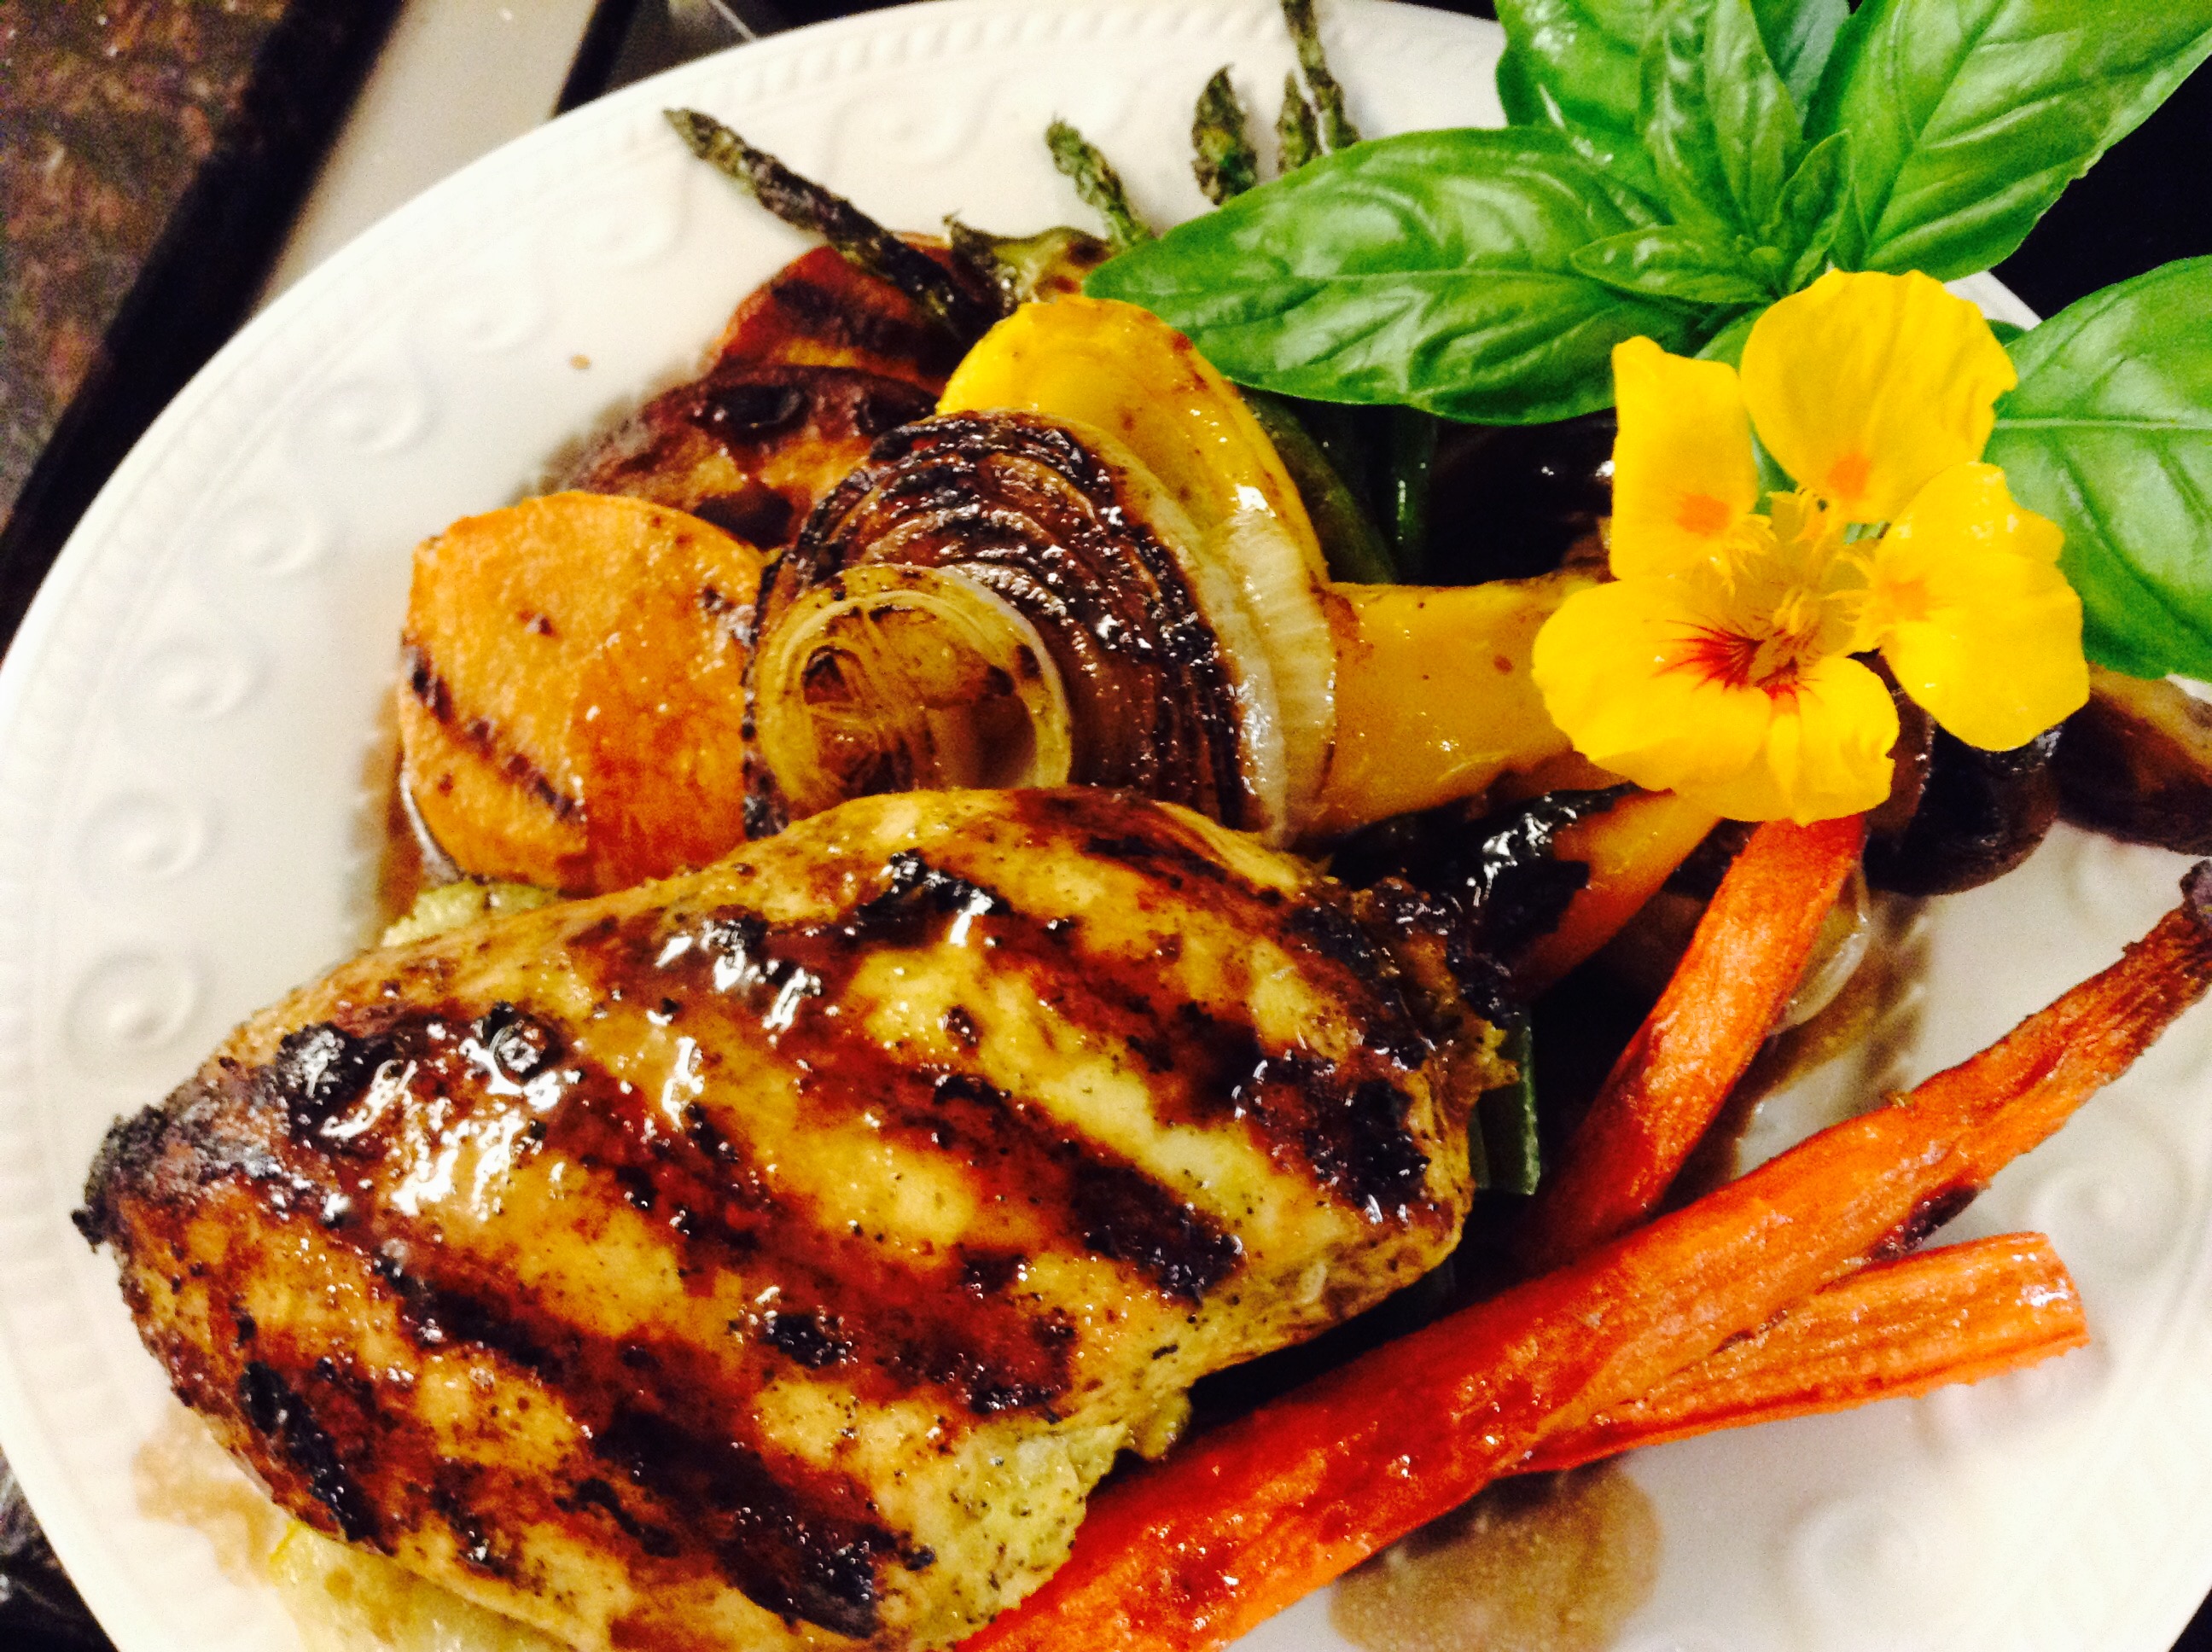
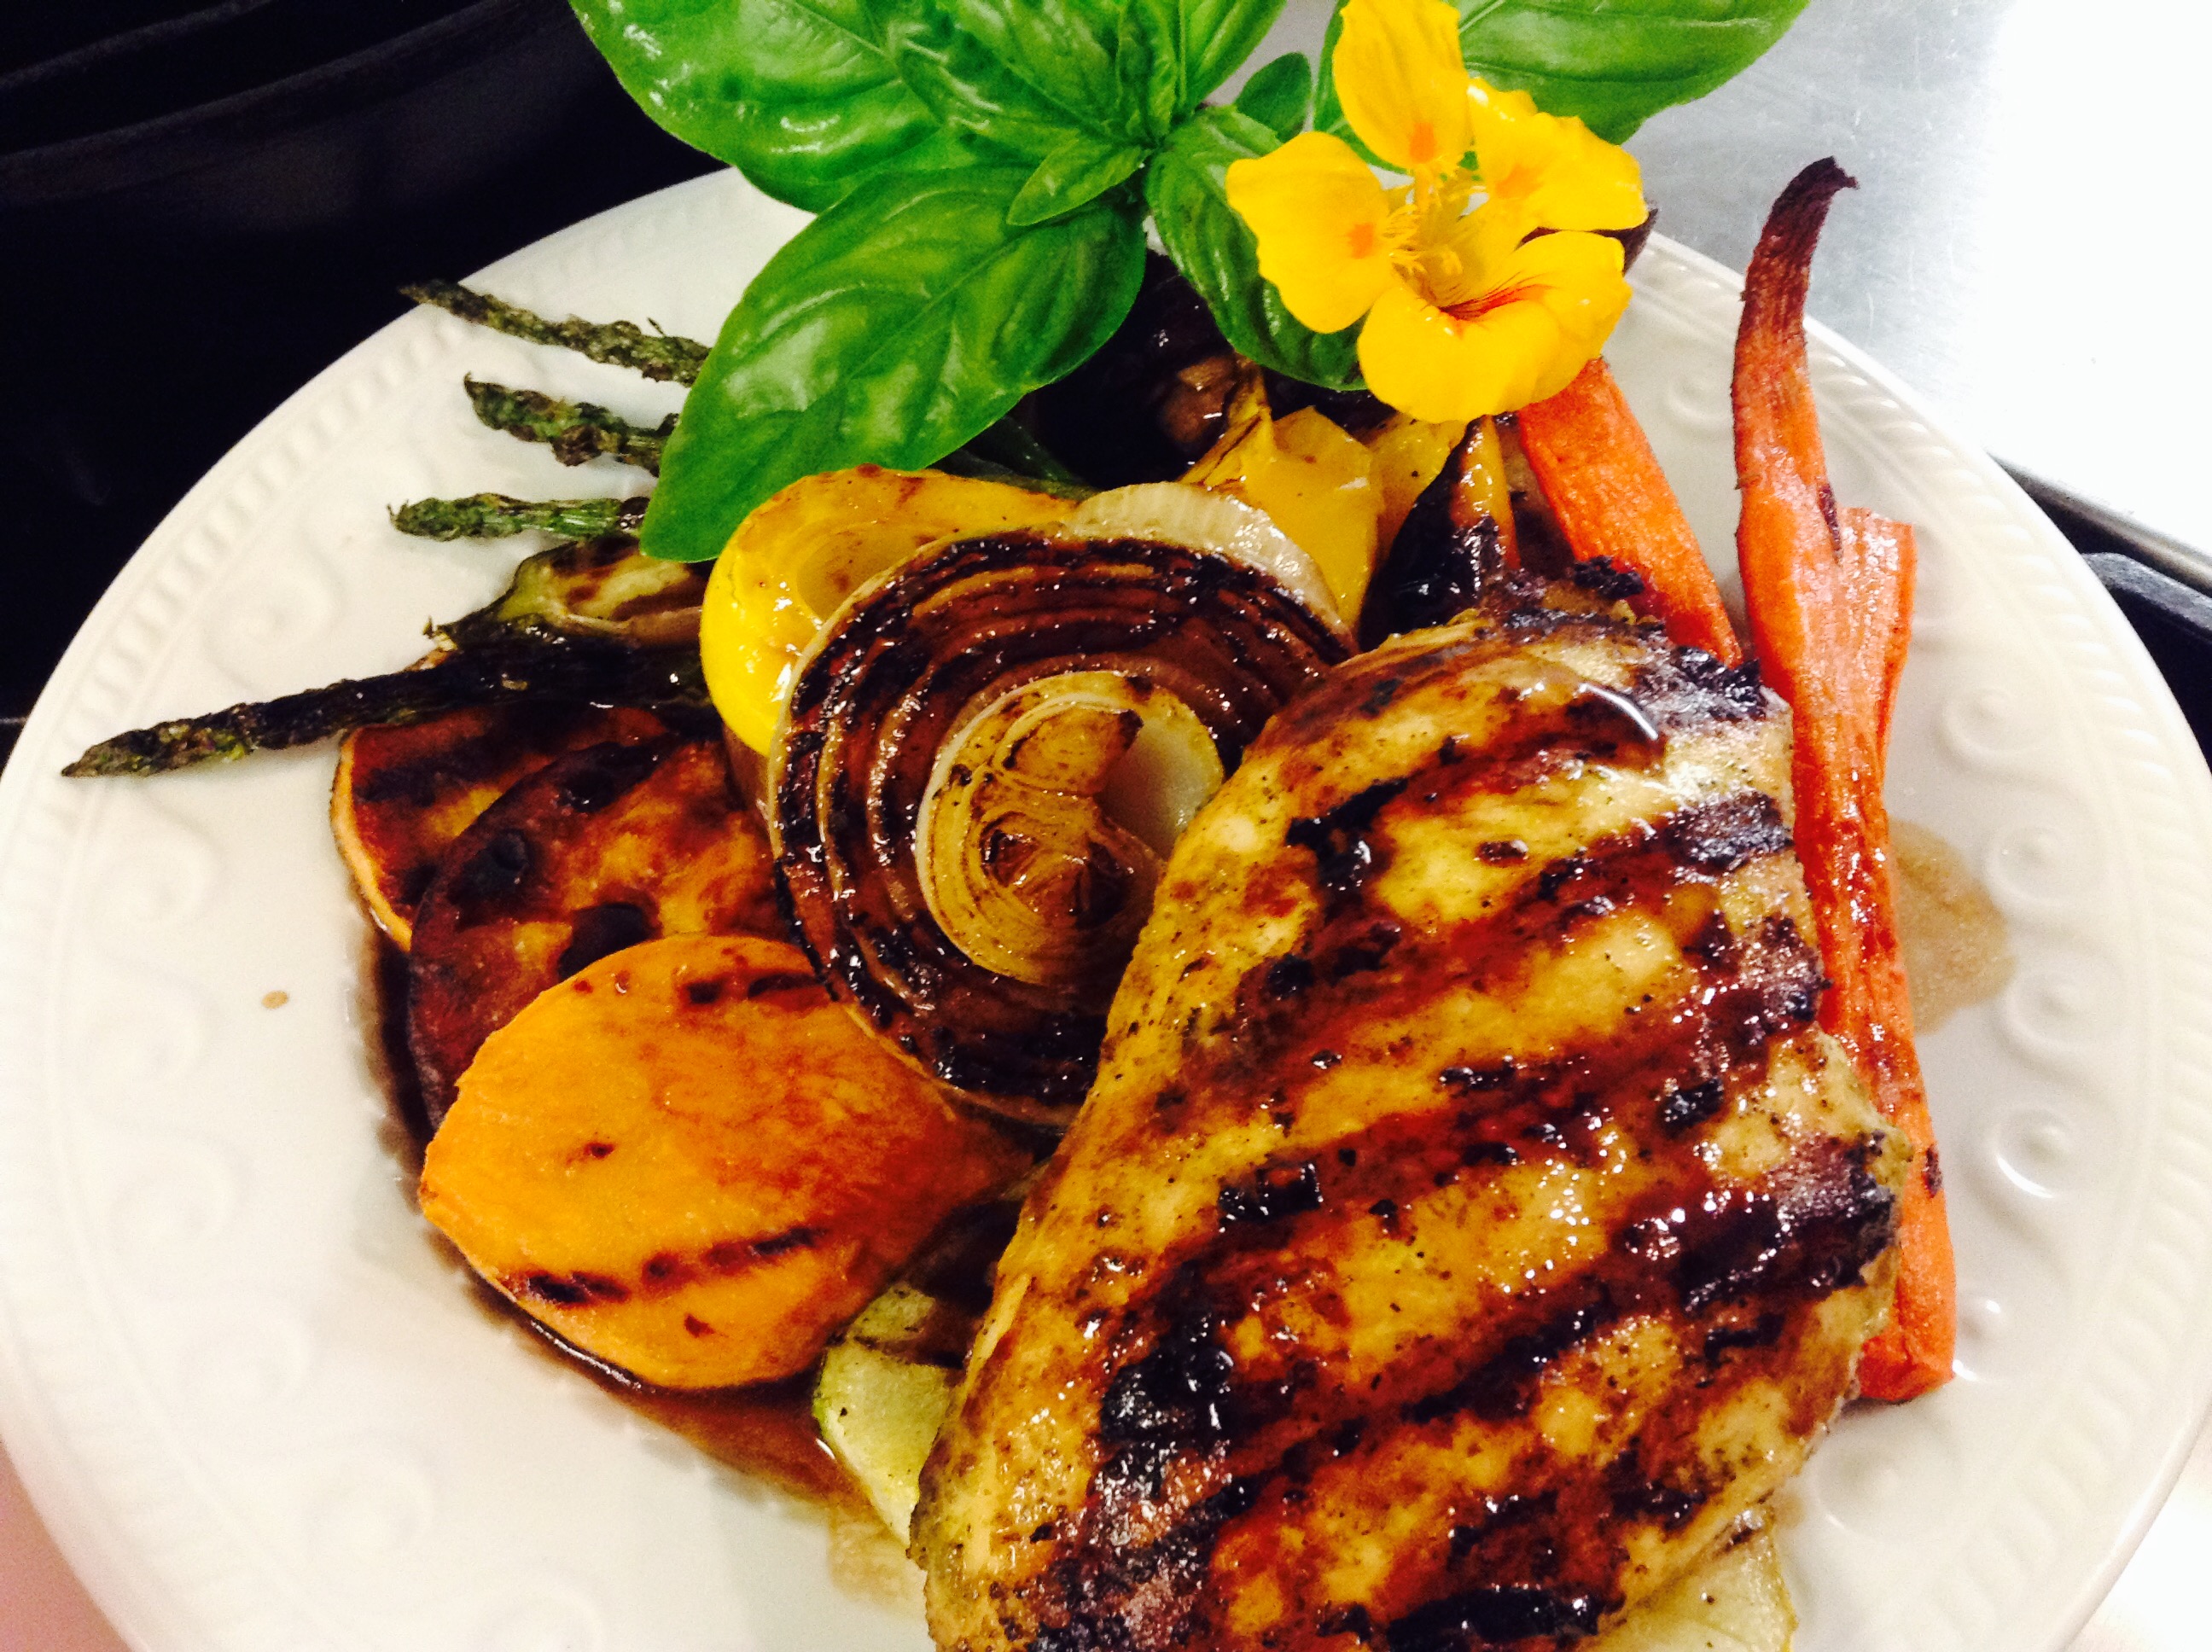
Honey Balsamic Grilled Chicken with Grilled Vegetables
SERVINGS6servings
|
COOK TIME45mins |
PREP TIME15mins |
READY IN1hr |
Ingredients
Instructions
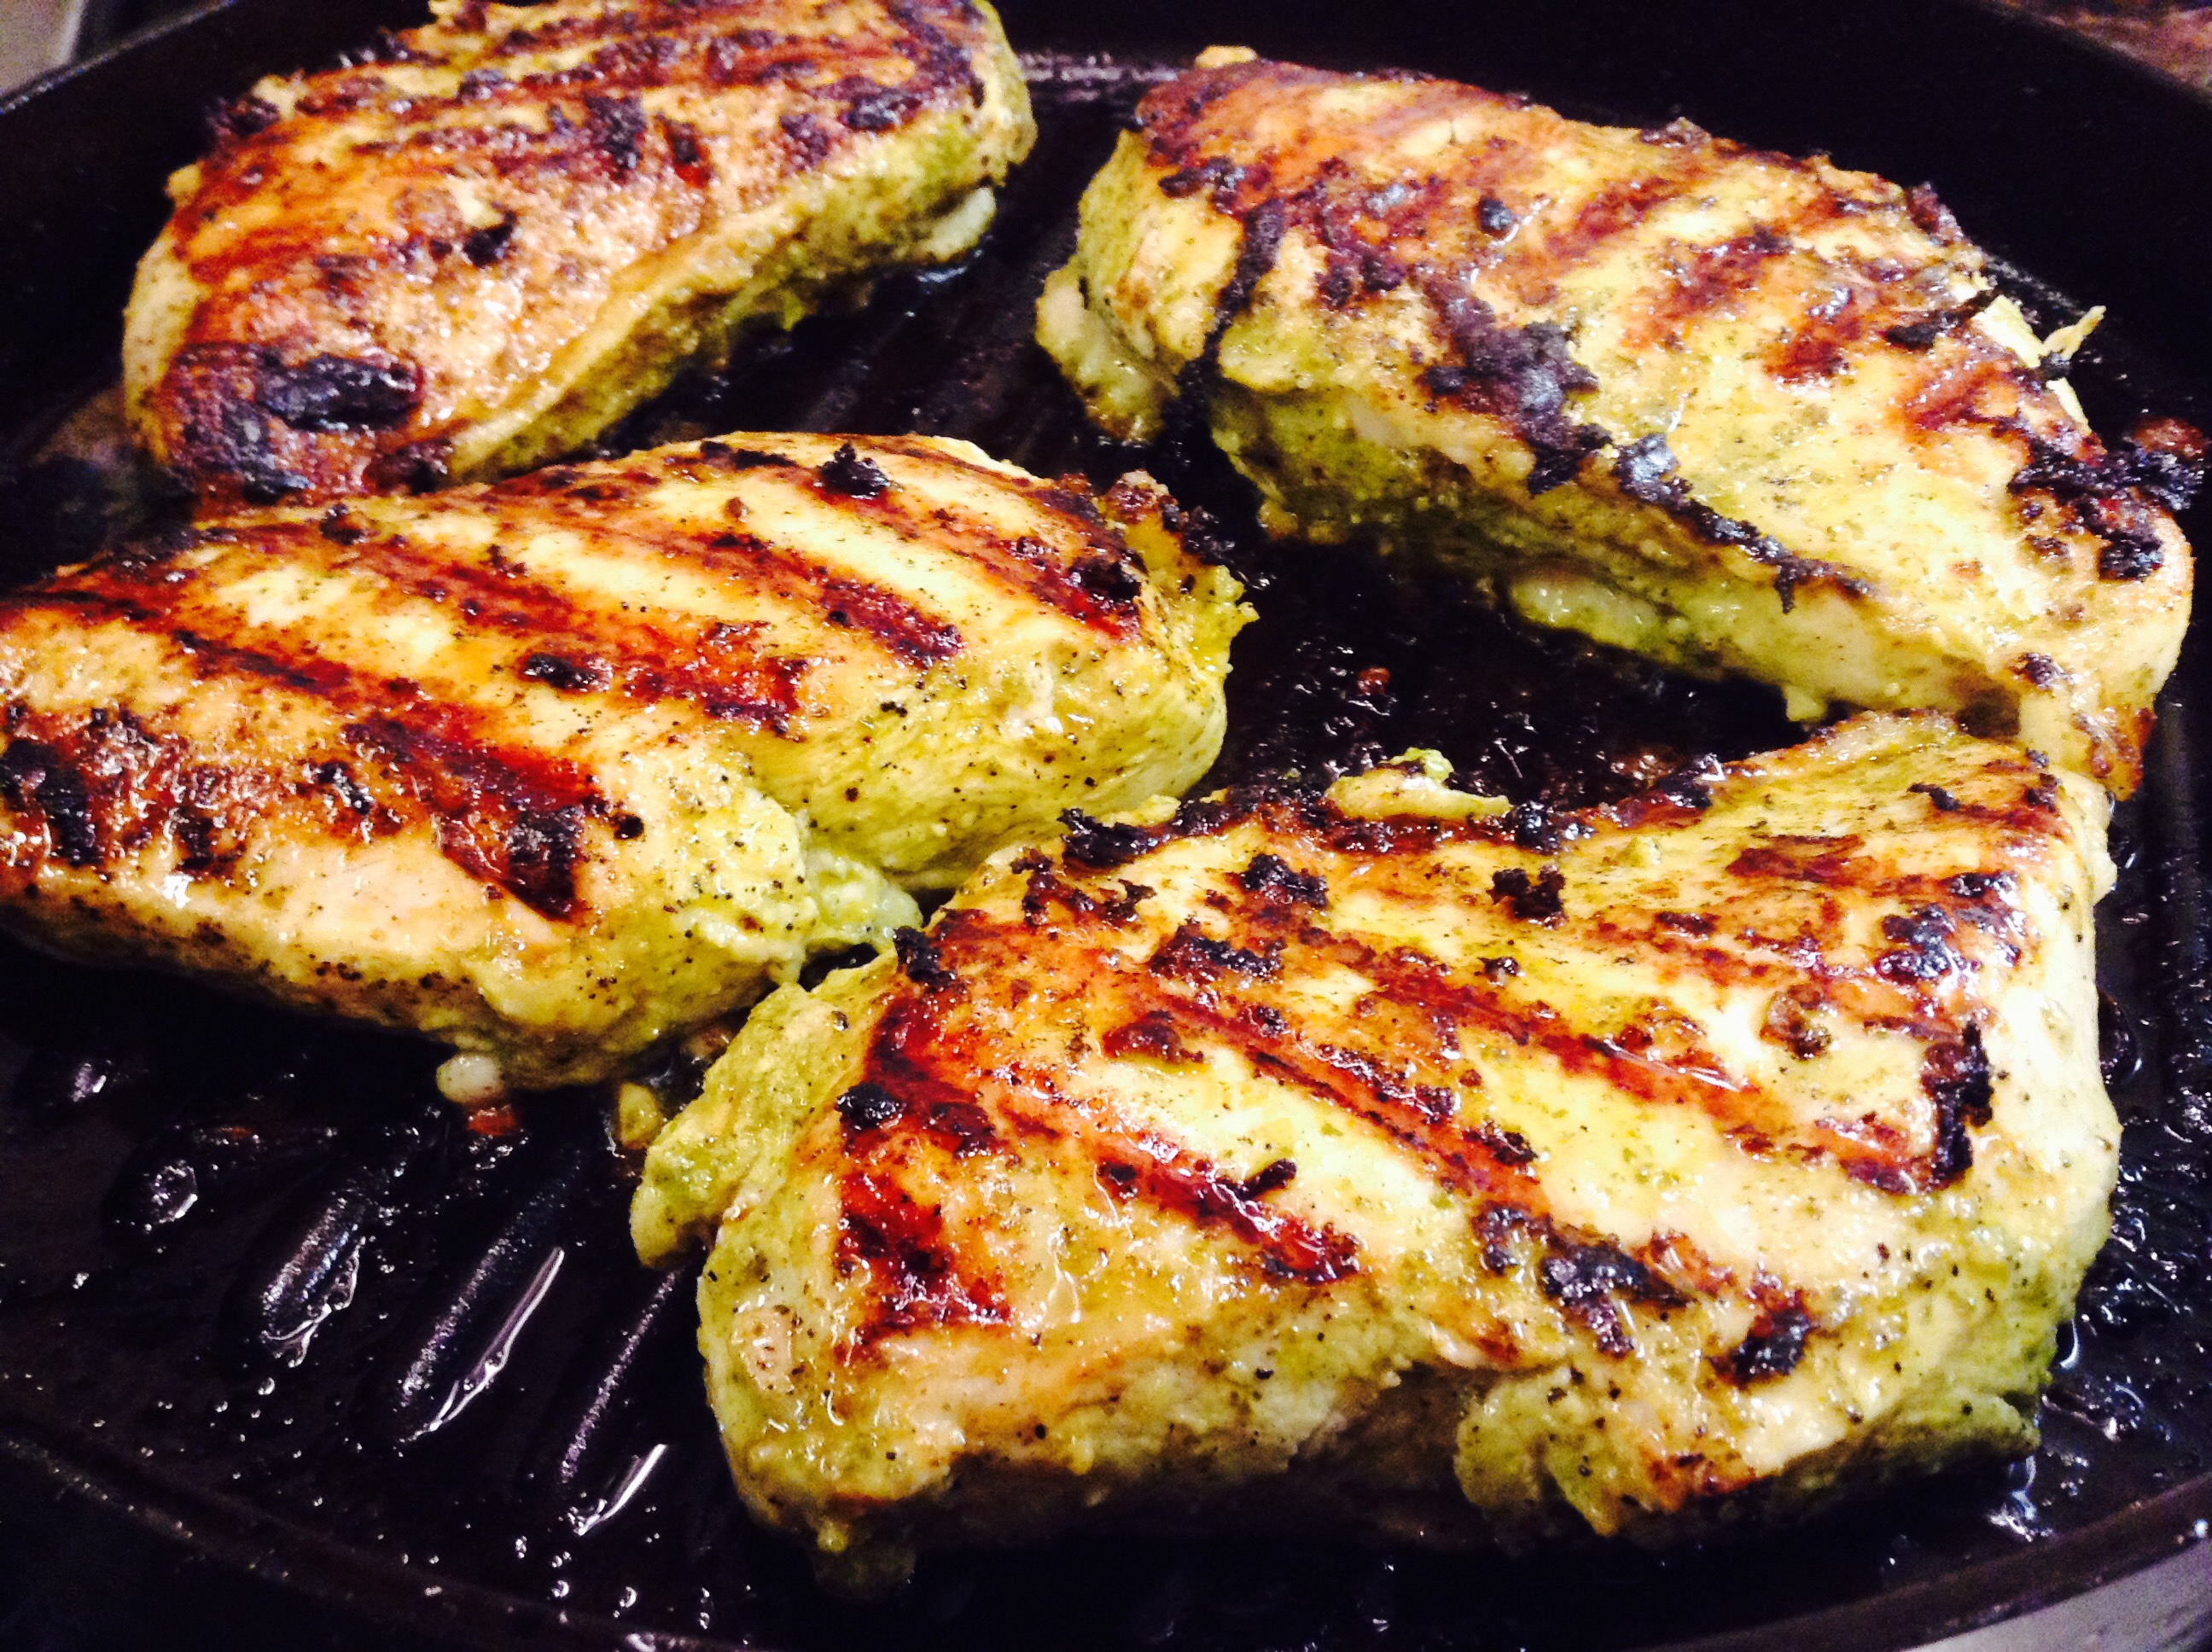
- Marinate chicken with pesto, garlic, red pepper flakes, lime juice and 1/2 teaspoon salt at least 1 hour, or overnight for best results.
- Mix oil, balsamic vinegar, honey and 1/4 tsp salt in a small bowl.
- Heat a grill over medium-high, be sure grates are clean and well oiled to prevent sticking.
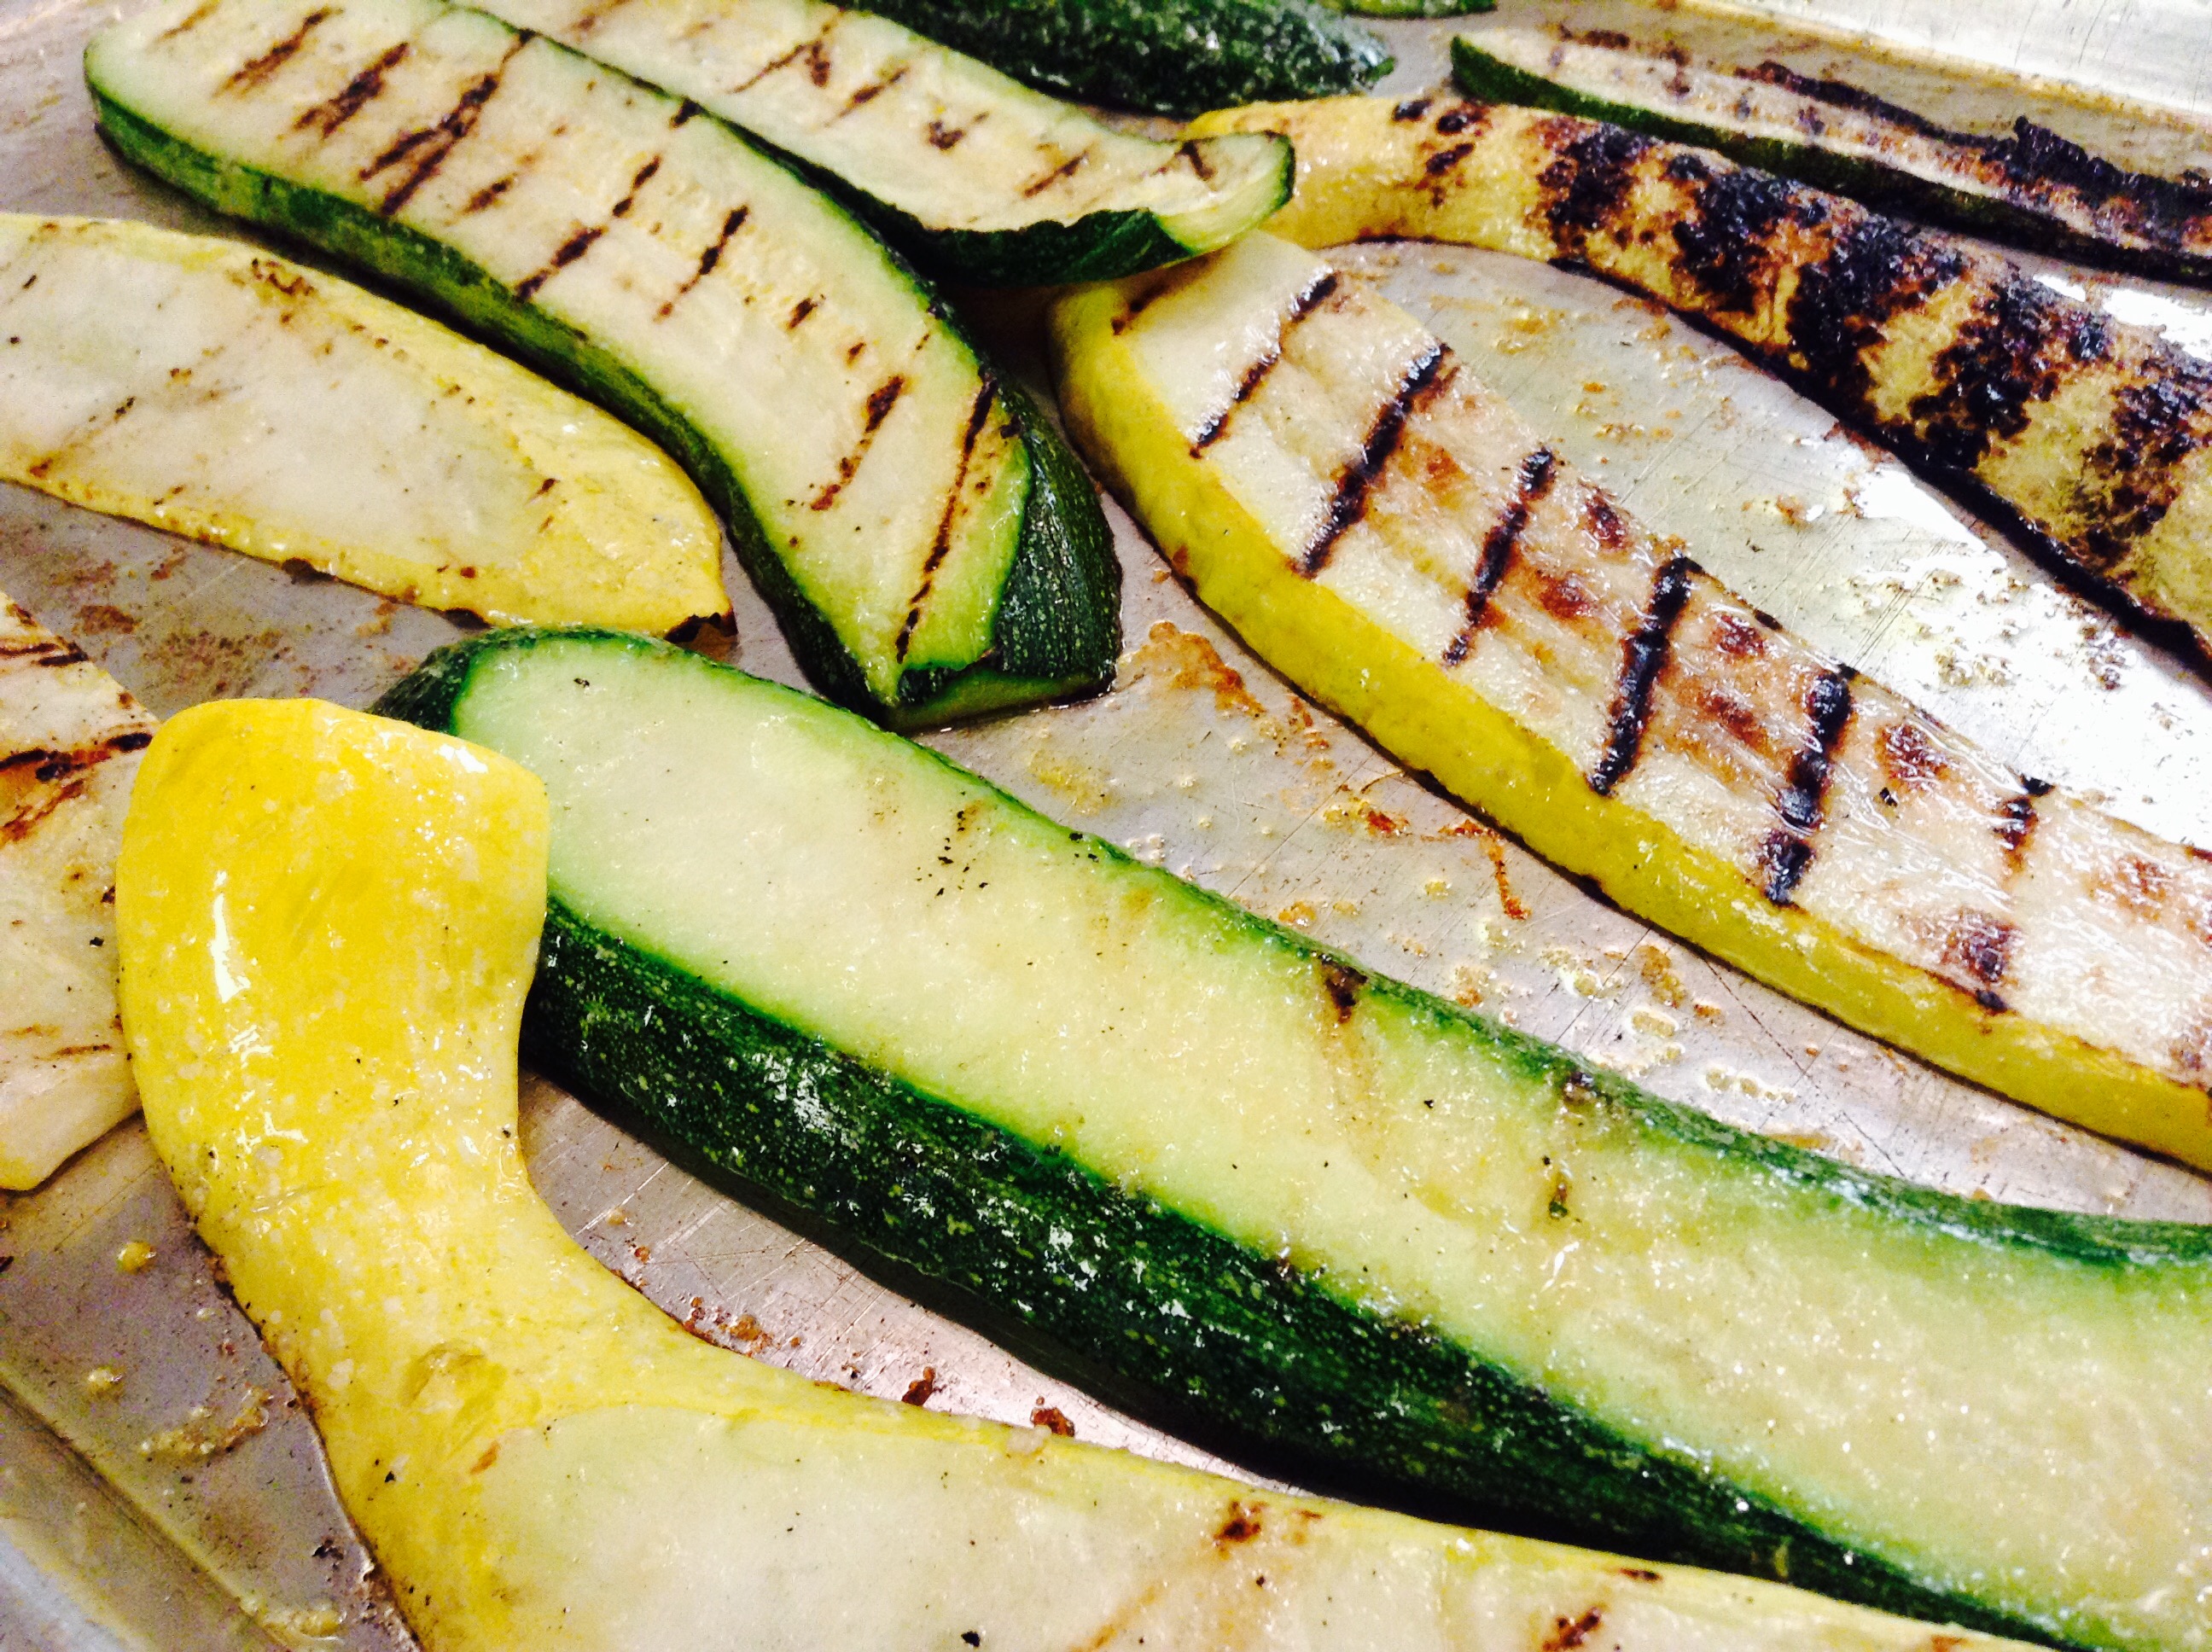
- Brush oil on each side of the vegetables and sprinkle with salt and pepper
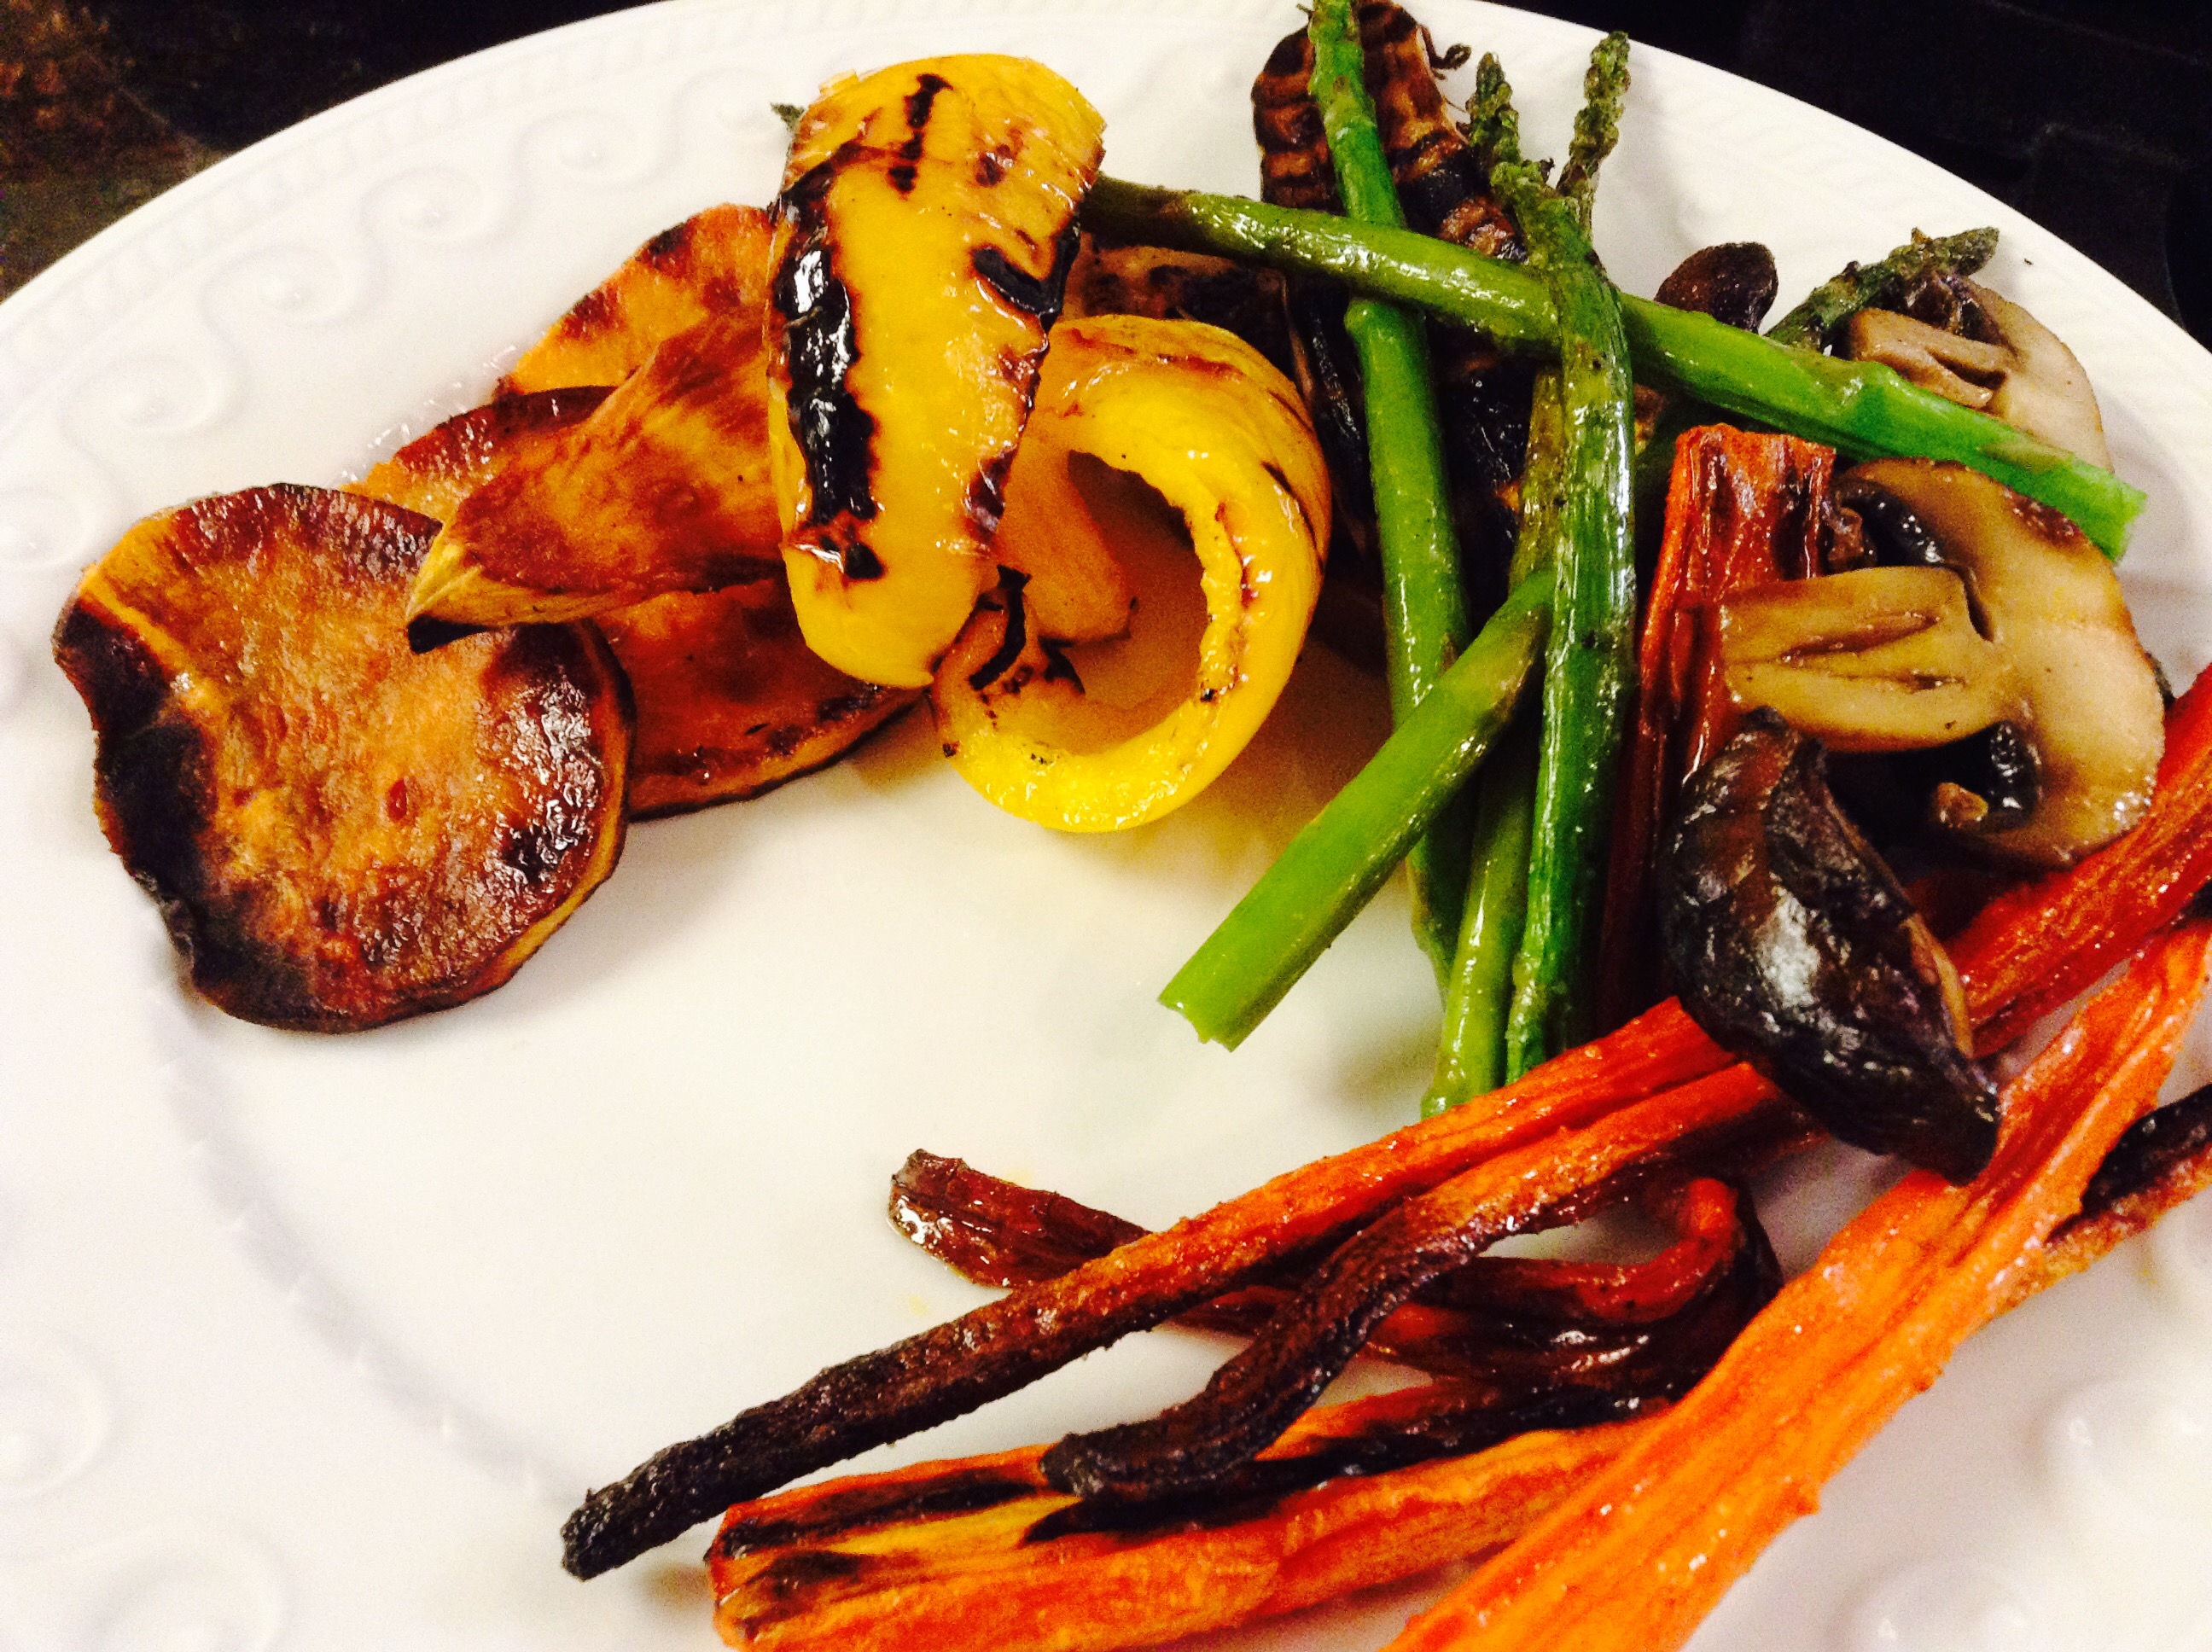
- Put vegetables on 1 large grill tray or directly on grill, and cook, turning constantly until the vegetables are cooked and golden, about 6 to 10 minutes. Set aside on a dish.
- Put the chicken on the grill and cook about 4 to 5 minutes on each side until grill marks appear and the chicken is cooked through. If you prefer to finish them off in the oven, I suggest a grill pan or cast iron skillet - cook until the internal temperature reaches 160 degrees.
- Transfer the chicken to a platter with the vegetables and pour the balsamic dressing over everything and serve.
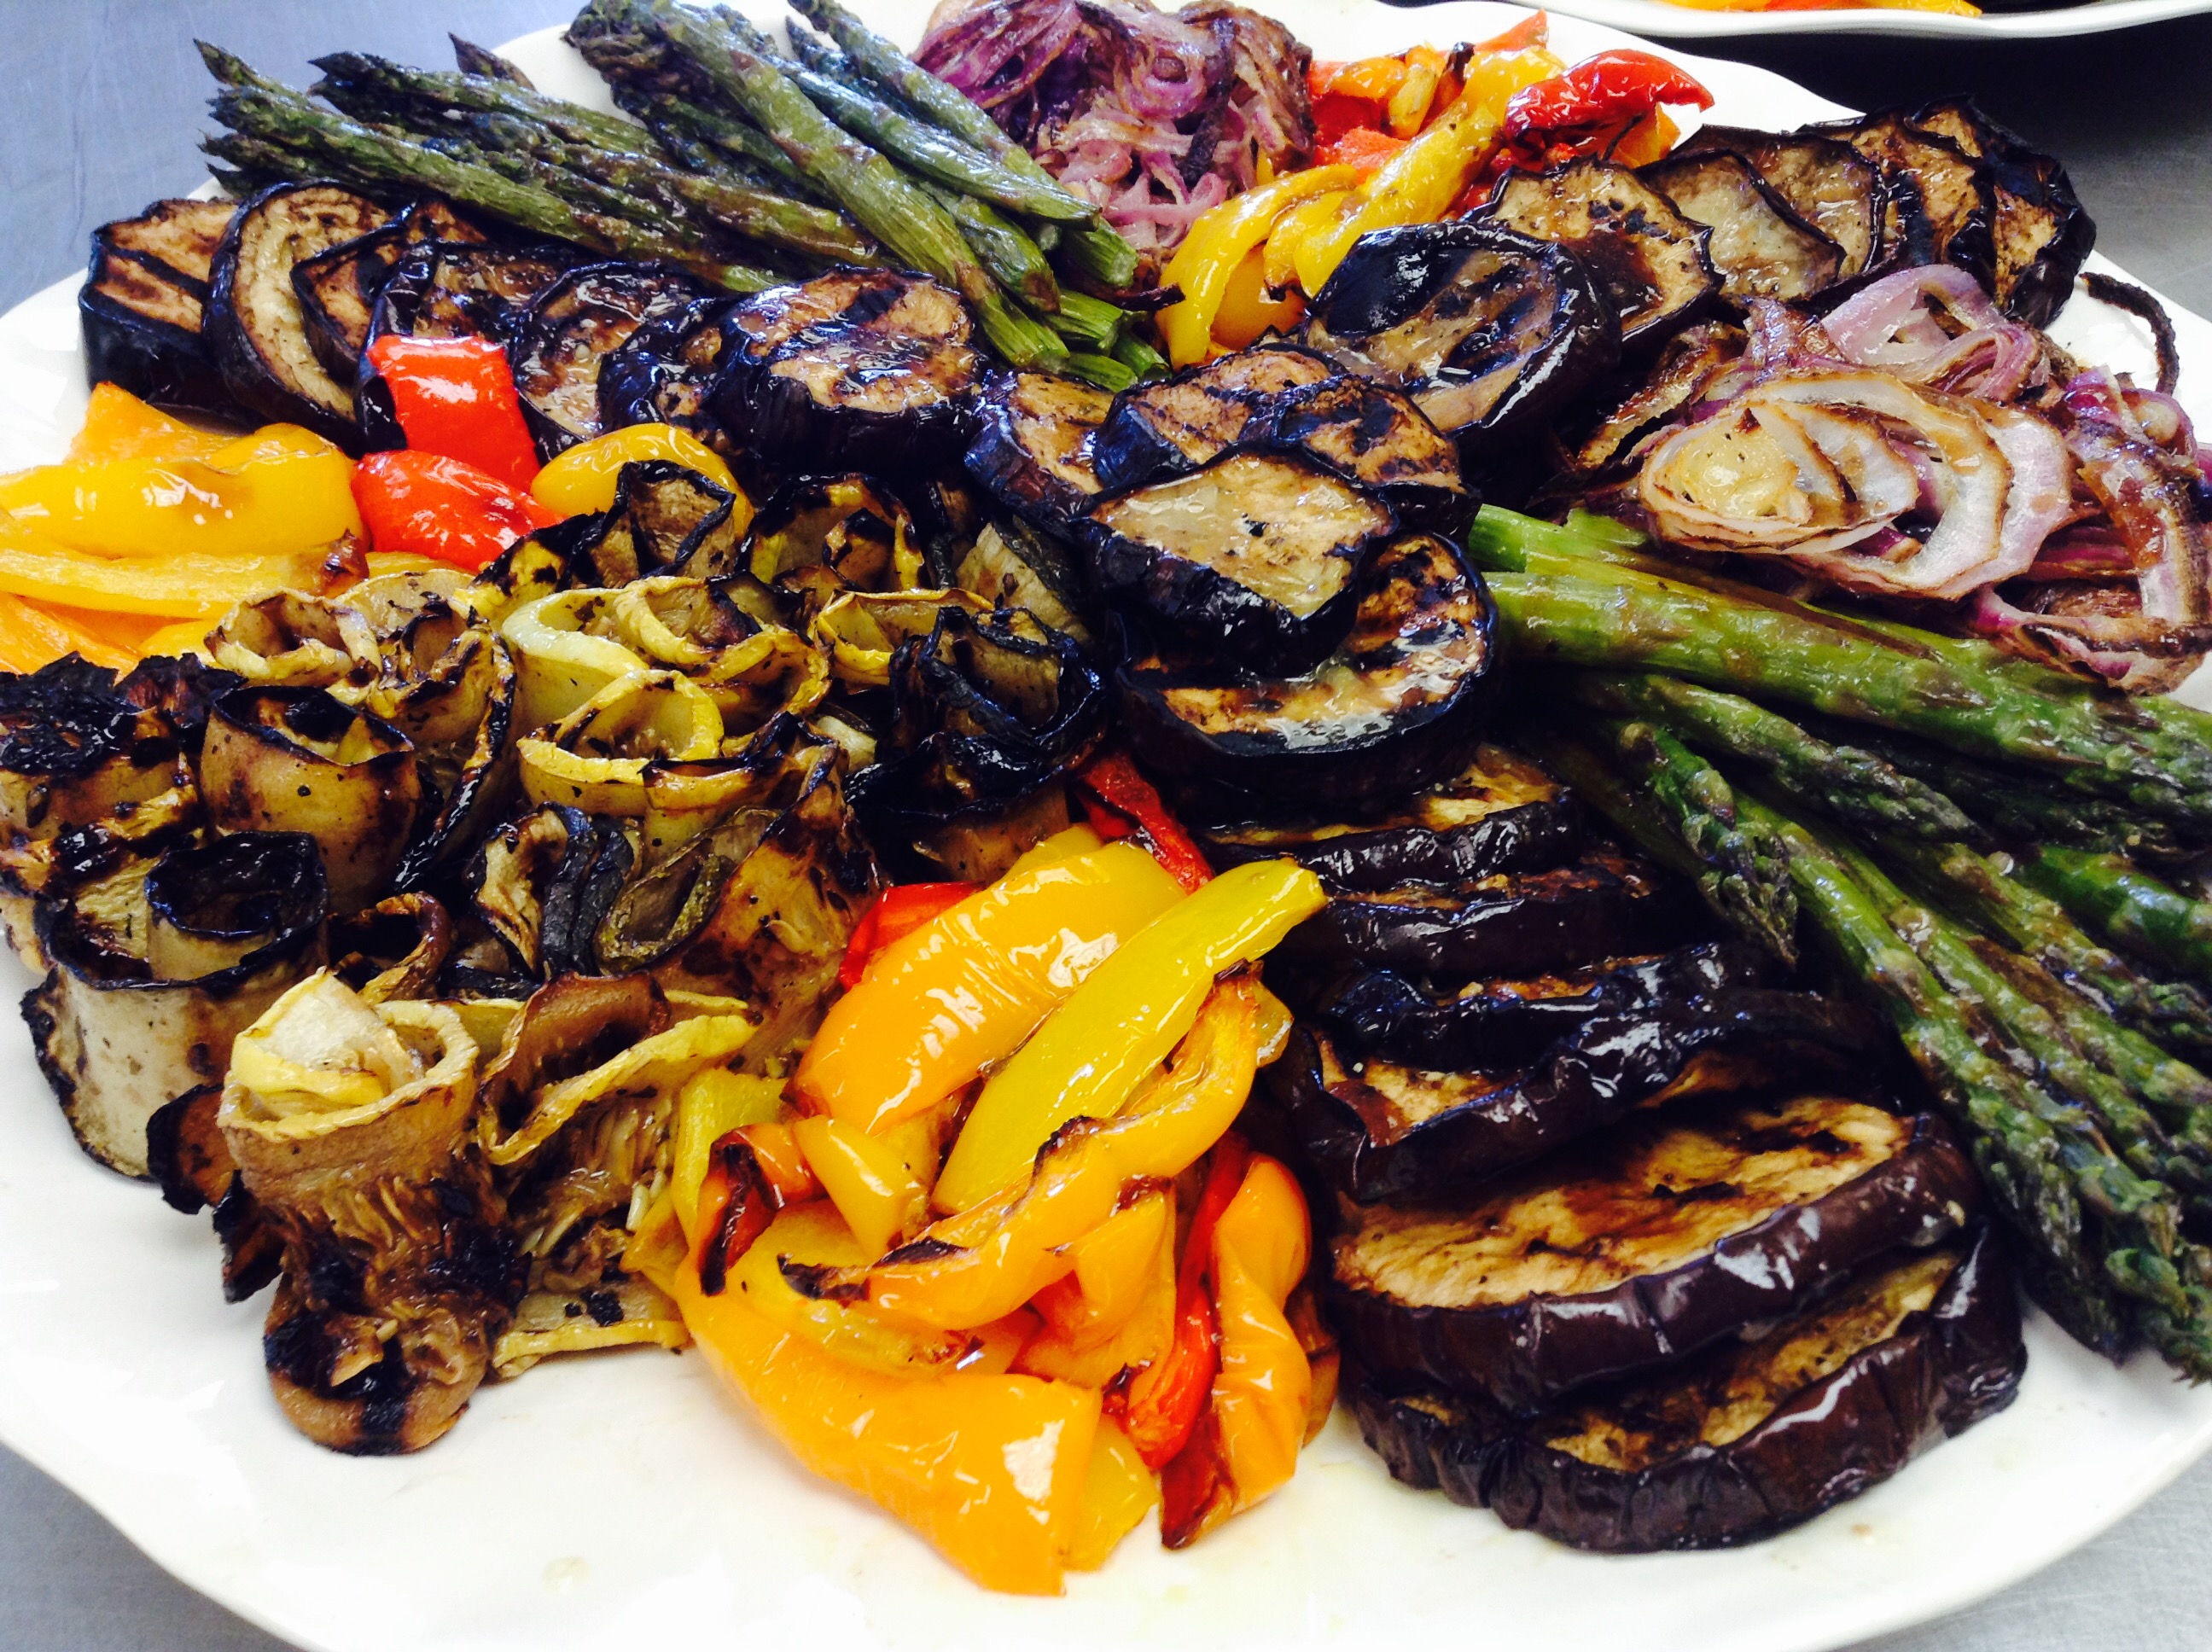
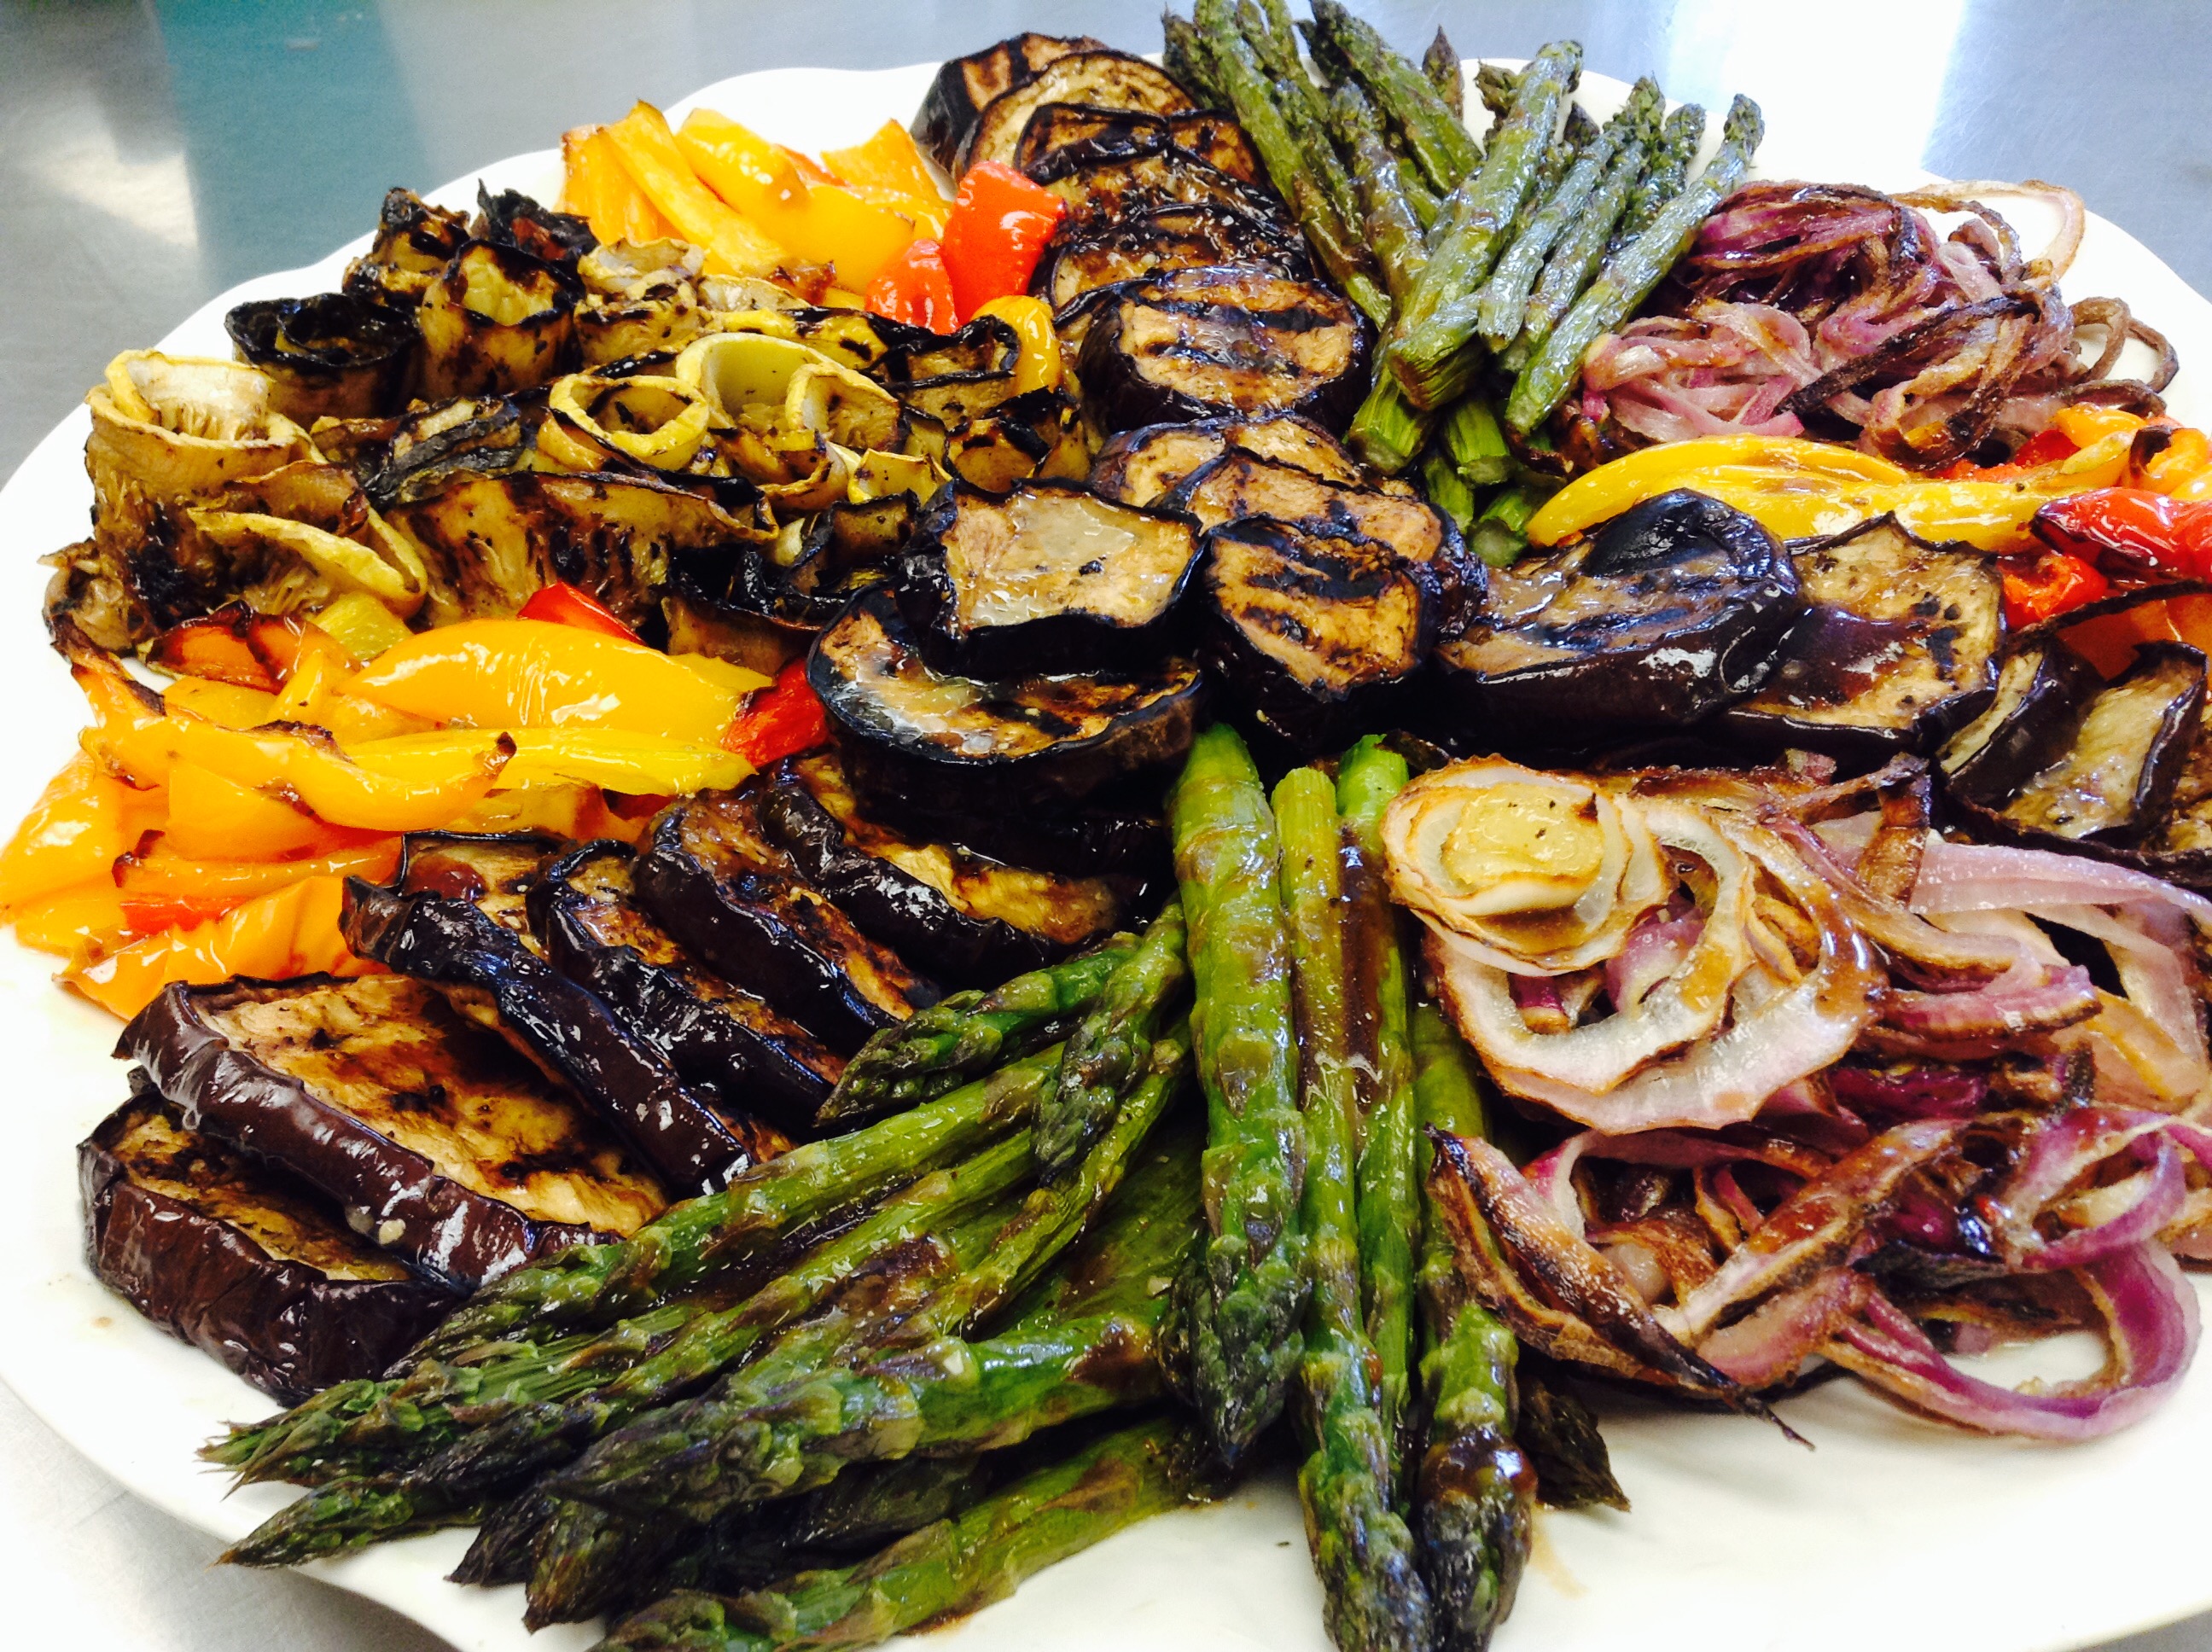
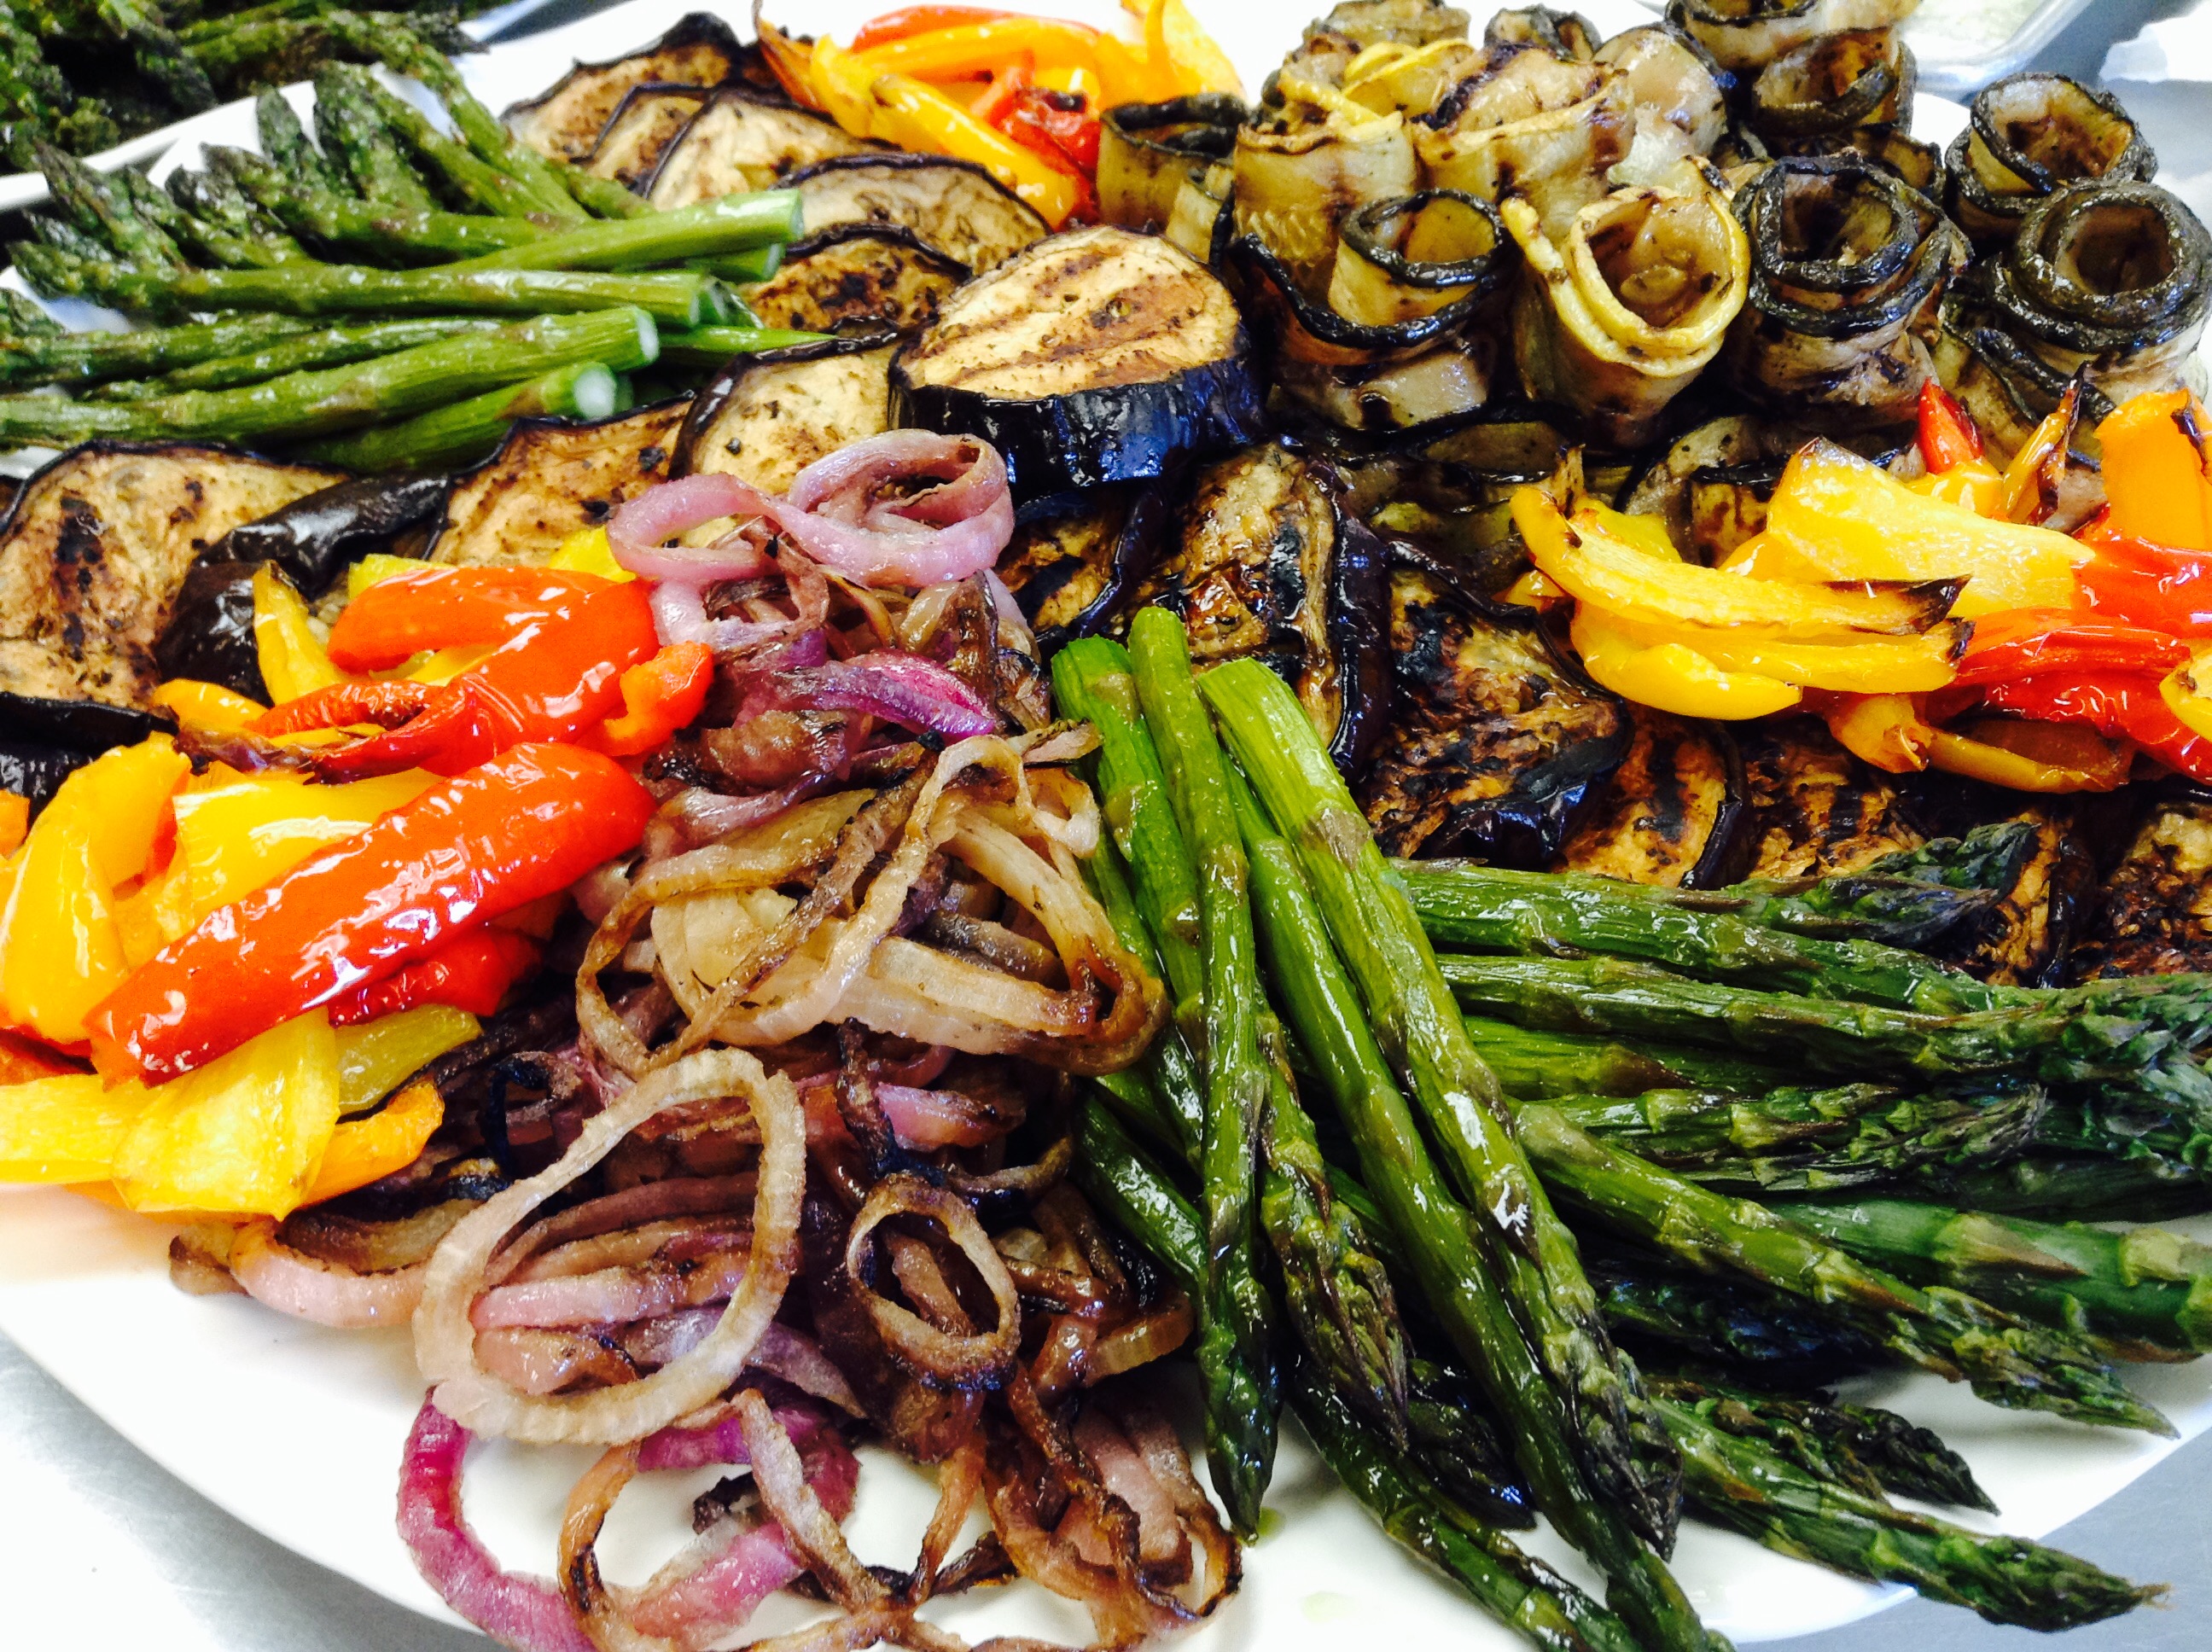
Time to get out the grill and put those fresh garden veggies to good use. This is a terrific recipe that makes a lovely party platter in a matter of minutes.
Eggplant, peppers, zucchini, asparagus, and red onions – marinated and grilled till soft on the inside and charred on the outside, then doused in garlicky marinade, and served with whipped goat cheese on the side.
Print Recipe
Votes: 0
Rating: 0
You:
Rate this recipe!
Marinated Grilled Vegetable Platter with Whipped Goat Cheese
SERVINGS8-10servings
|
COOK TIME20mins |
PREP TIME20mins |
READY IN40mins |
Ingredients
Instructions
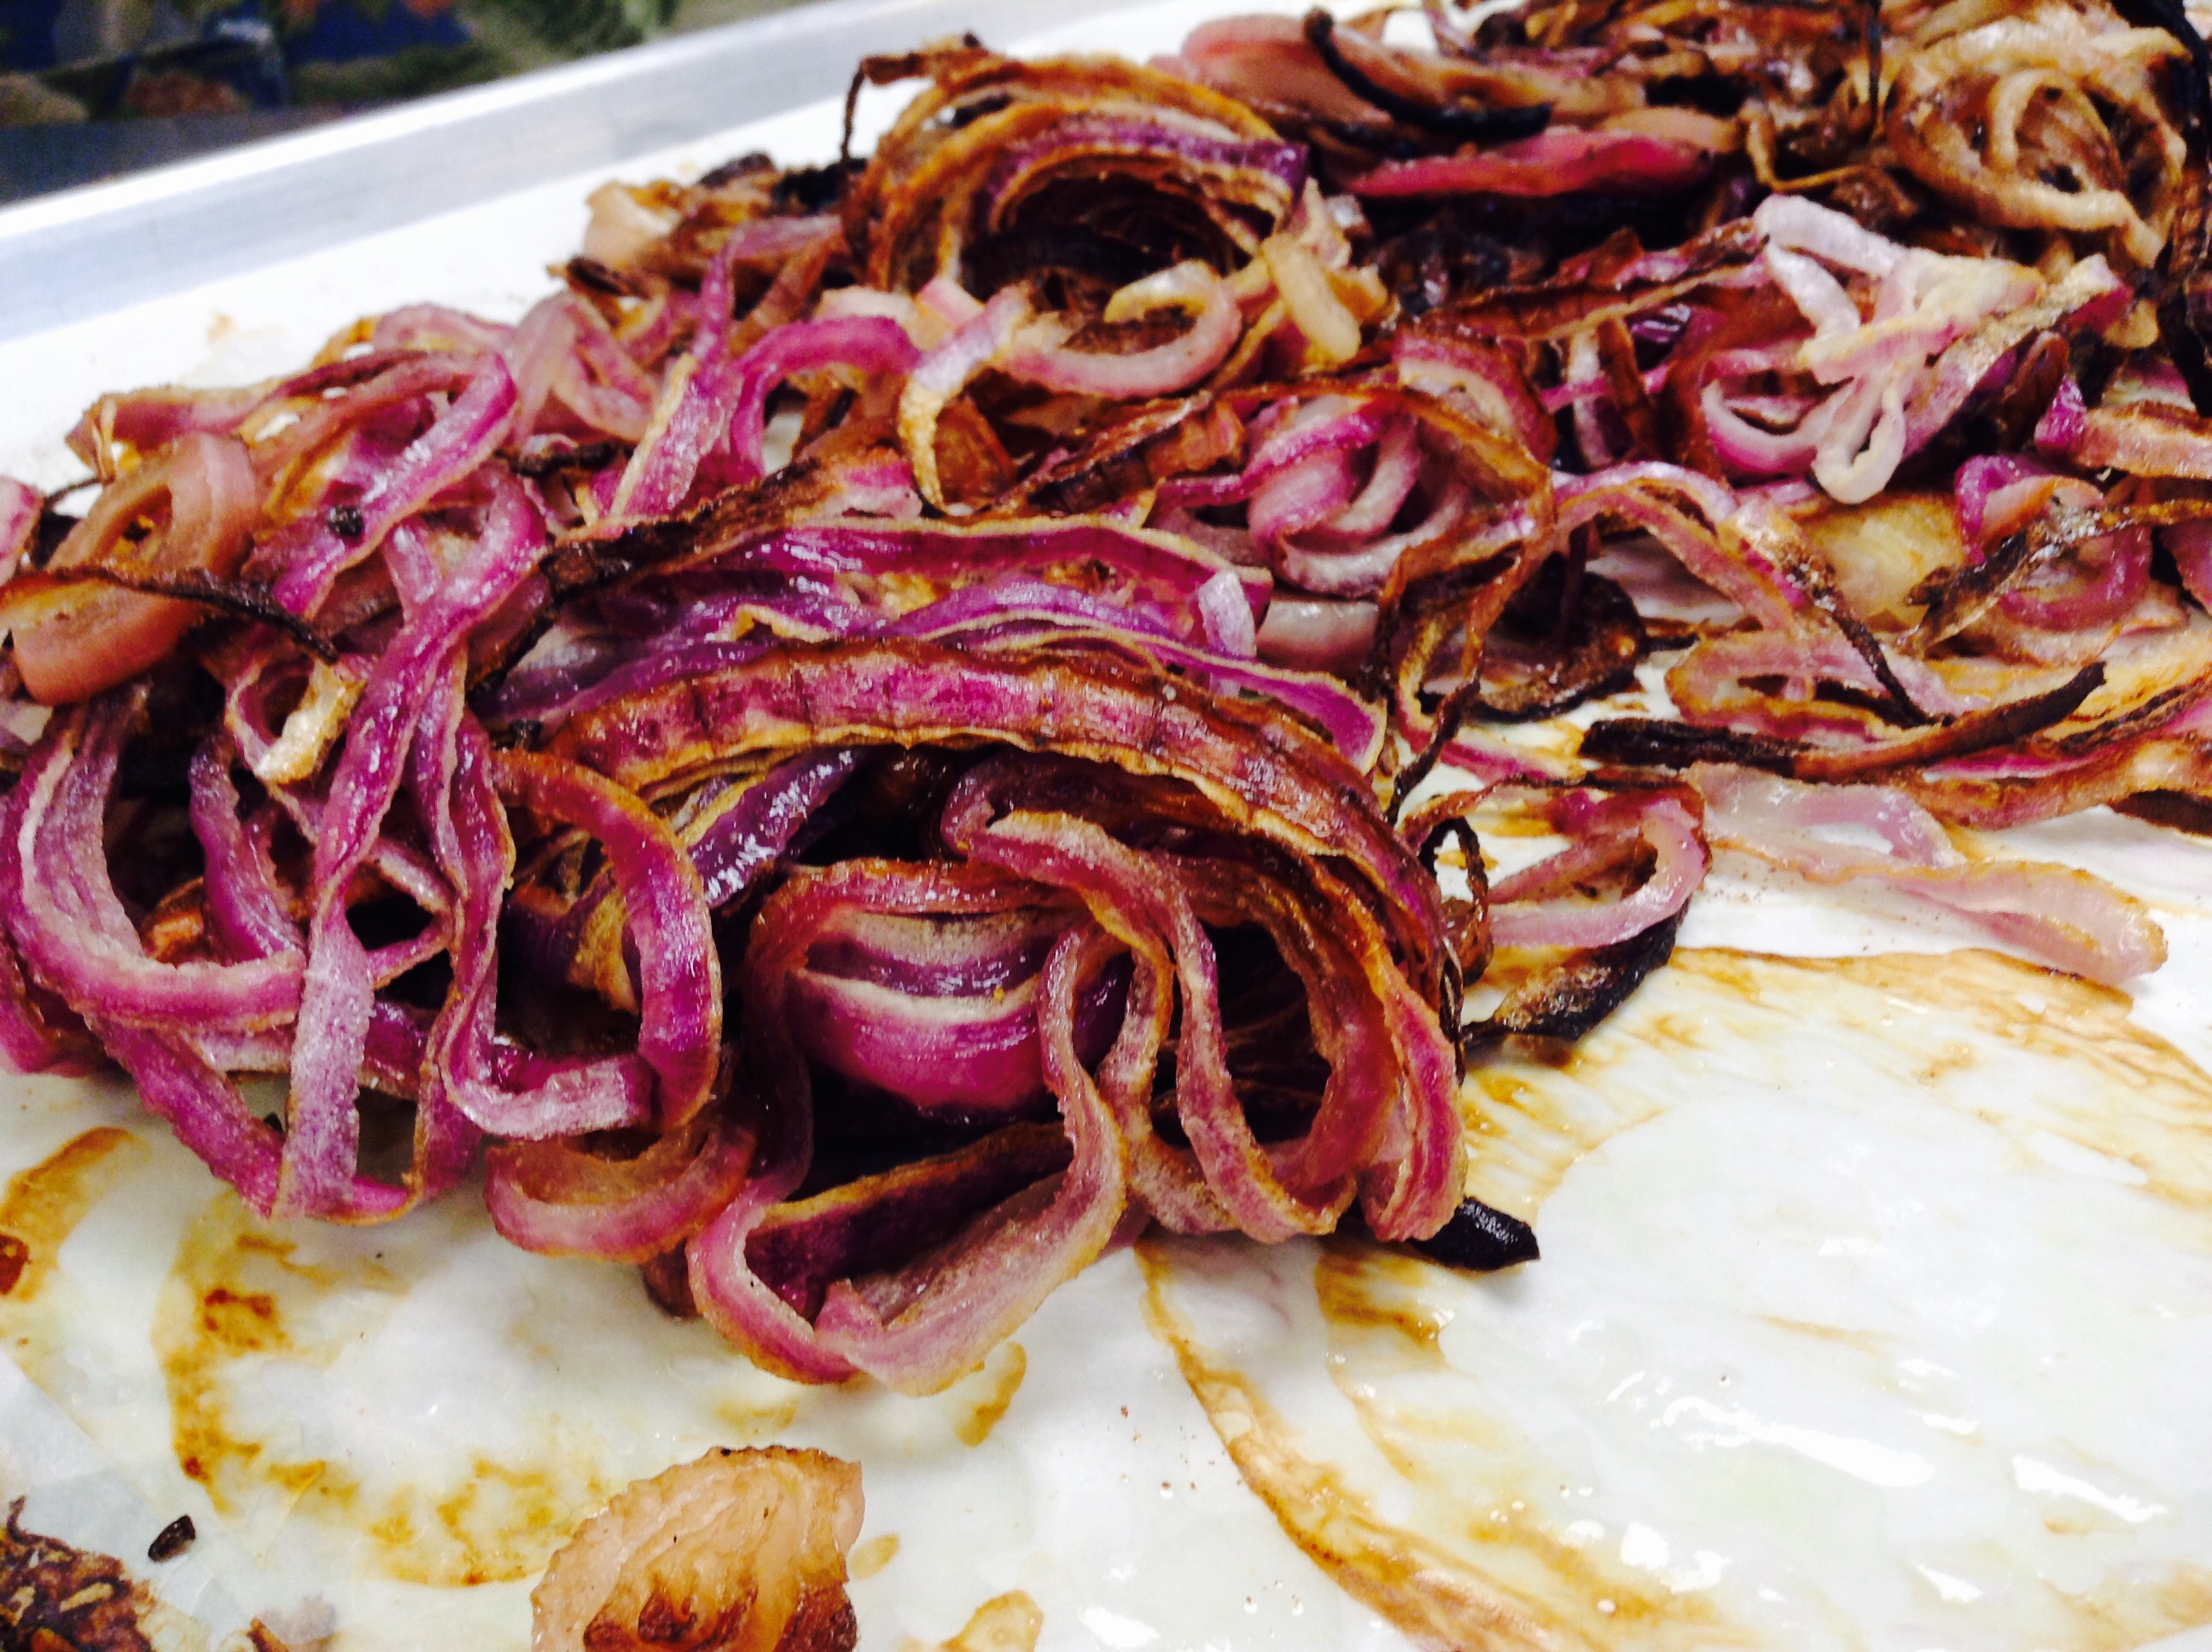
- Cut eggplants, onions, and zucchini in 1/4-inch thick slices.
- Salt the eggplant slices, and leave in a colander for 20 minutes so the bitter juices drain out. Rinse and pet dry.
- Wash the peppers, and leave whole.
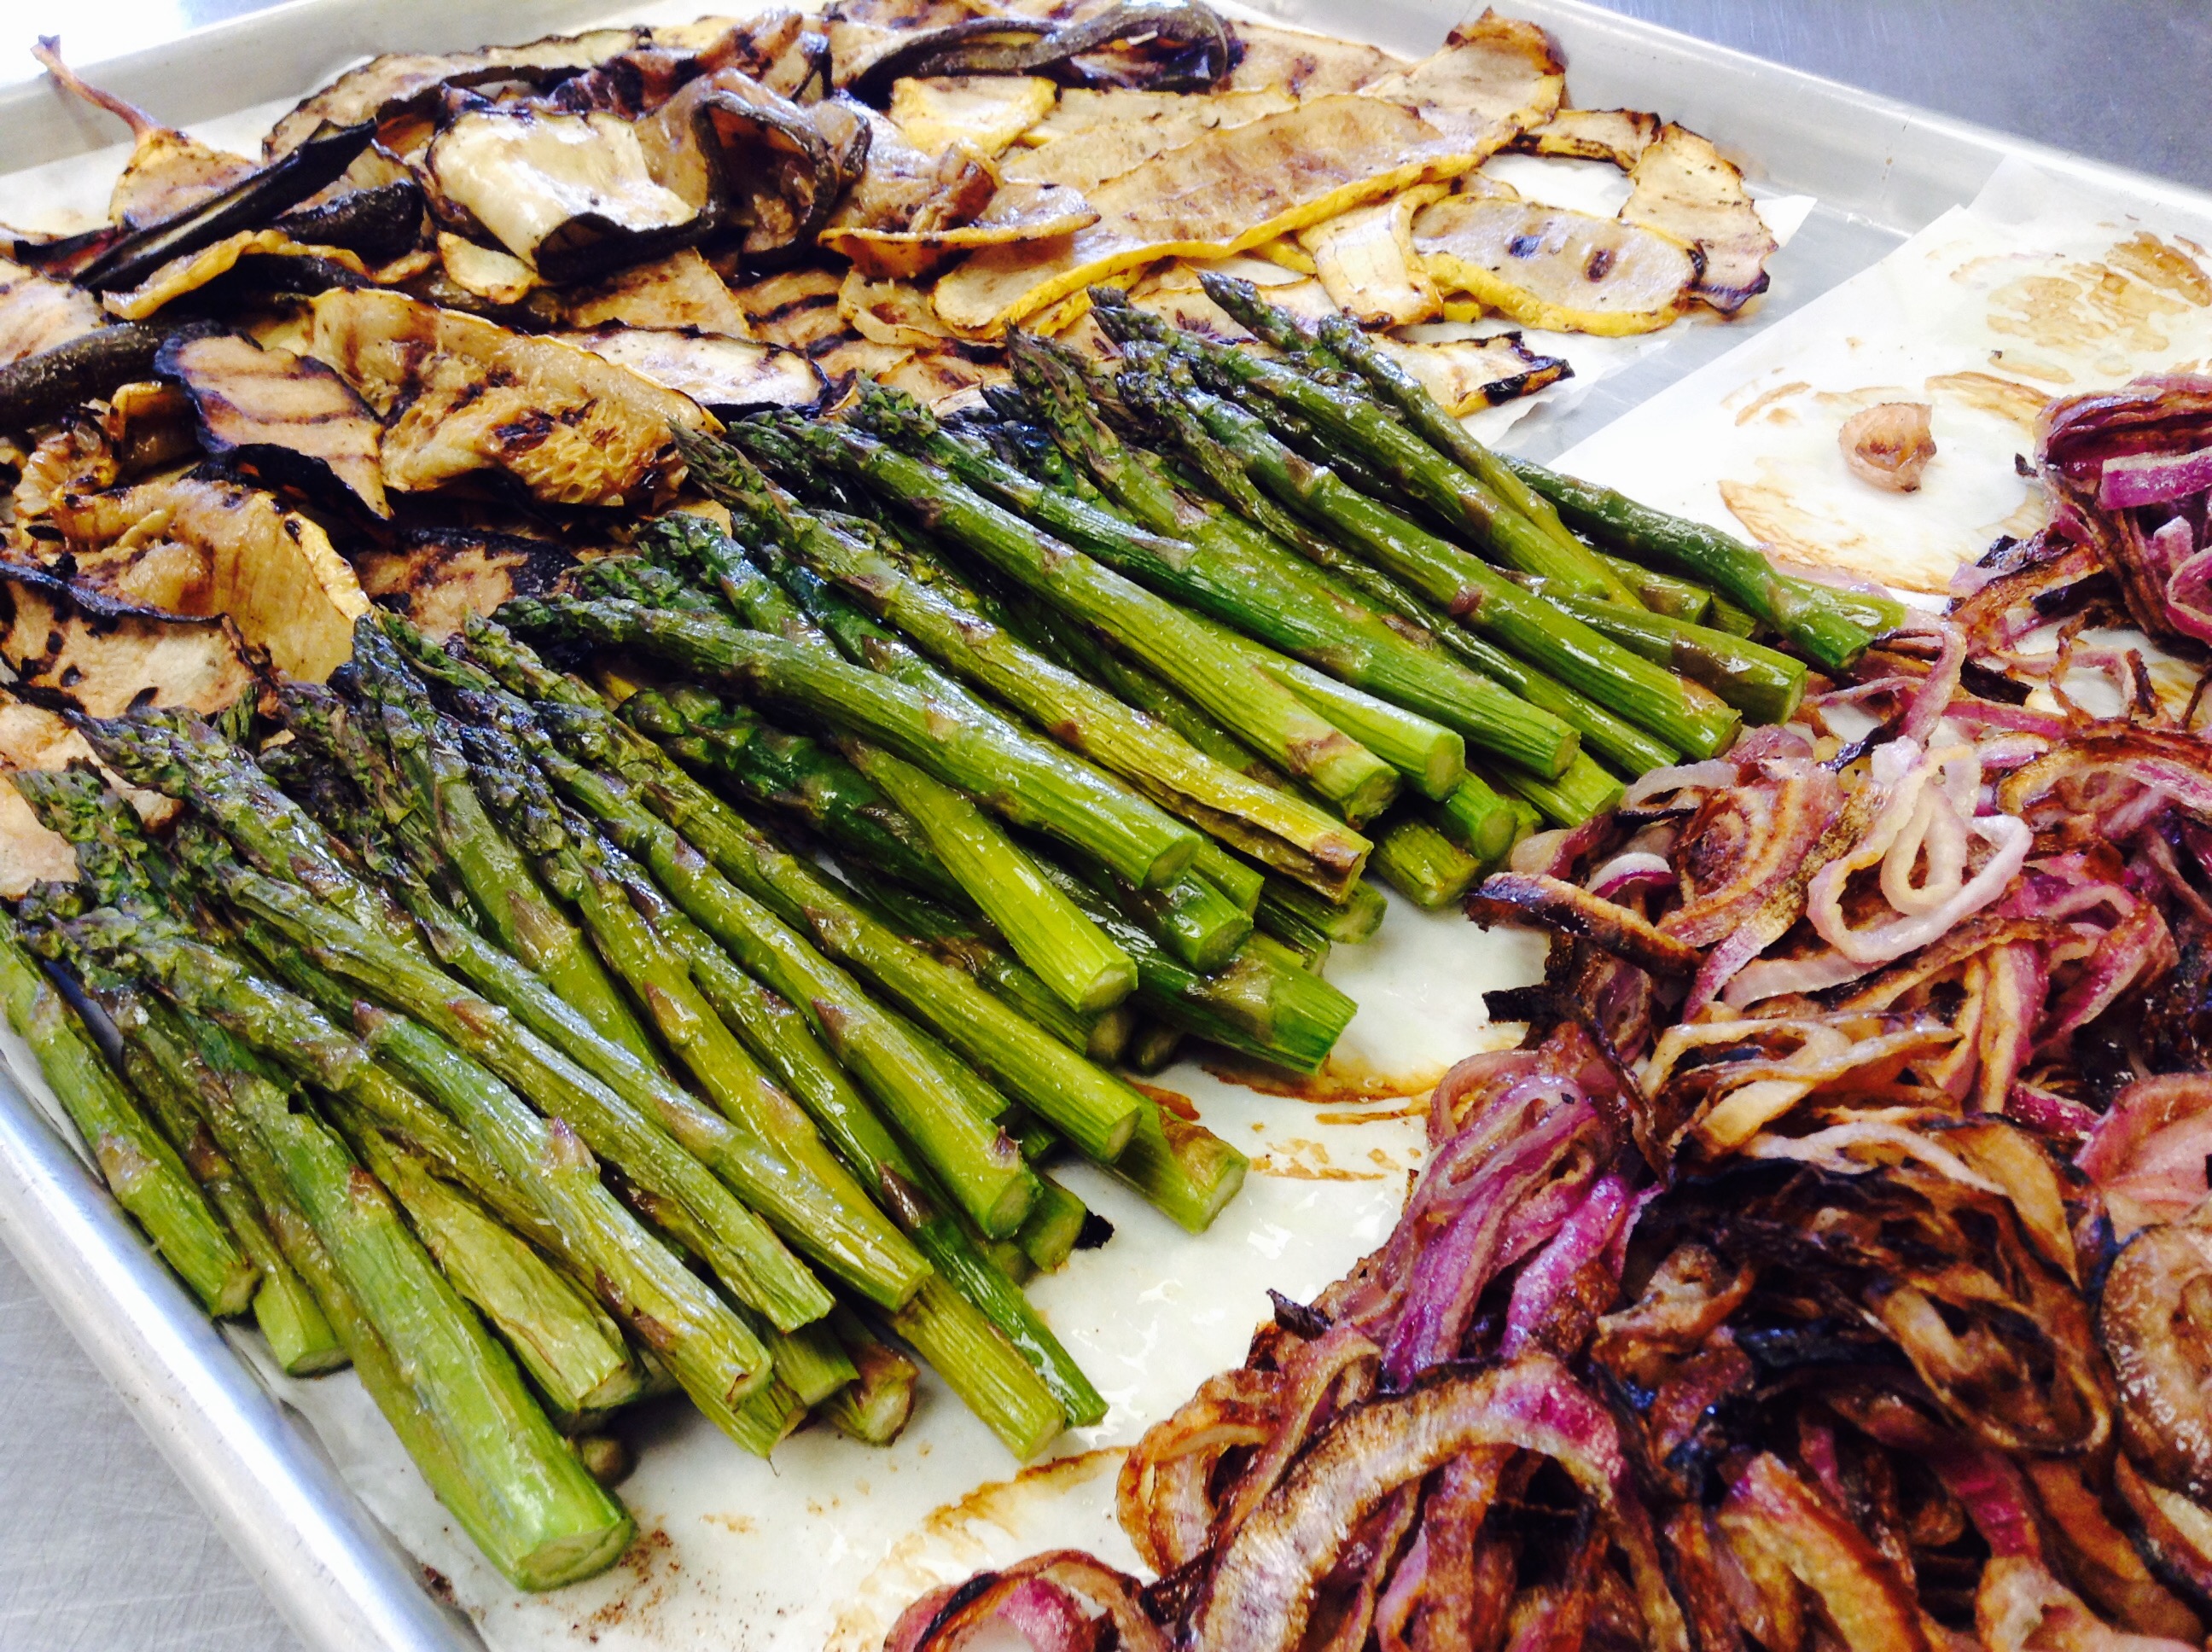
- Wash the asparagus, and cut the woody ends.
- Mix olive oil, balsamic vinegar, apple cider vinegar, garlic and chopped oregano, with onion salt and black pepper, and brush all vegetables liberally with the marinade.
- Grill veggies on medium heat, turning them over once or twice.
- Remove the charred outer skin from the peppers by rubbing off- slice the pepper in half, remove seeds and then continue slicing the peppers lengthwise into 1” slices. Set aside until ready to assemble.
- Remove the remaining vegetables to a plate and drizzle with the remaining marinade and more fresh oregano. Add more garlic if needed - they should have a distinct garlicky, tangy taste.
- With an electric mixer beat the whipping cream until soft peaks form. Add the goat cheese, and smashed garlic, and a pinch of salt, then beat until fluffy.
- Arrange the vegetables decoratively on a platter and serve with the whipped goat cheese on the side.
Place left over veggies in a container and pour over a marinade of equal parts apple cider vinegar and olive oil, plus lots of pressed garlic and salt. They will taste great the next day, and will keep in the fridge for a long time.
Recipe adapted from www.victoriastable.com
“When one has tasted watermelon, he knows what the Angels eat.” —Mark Twain
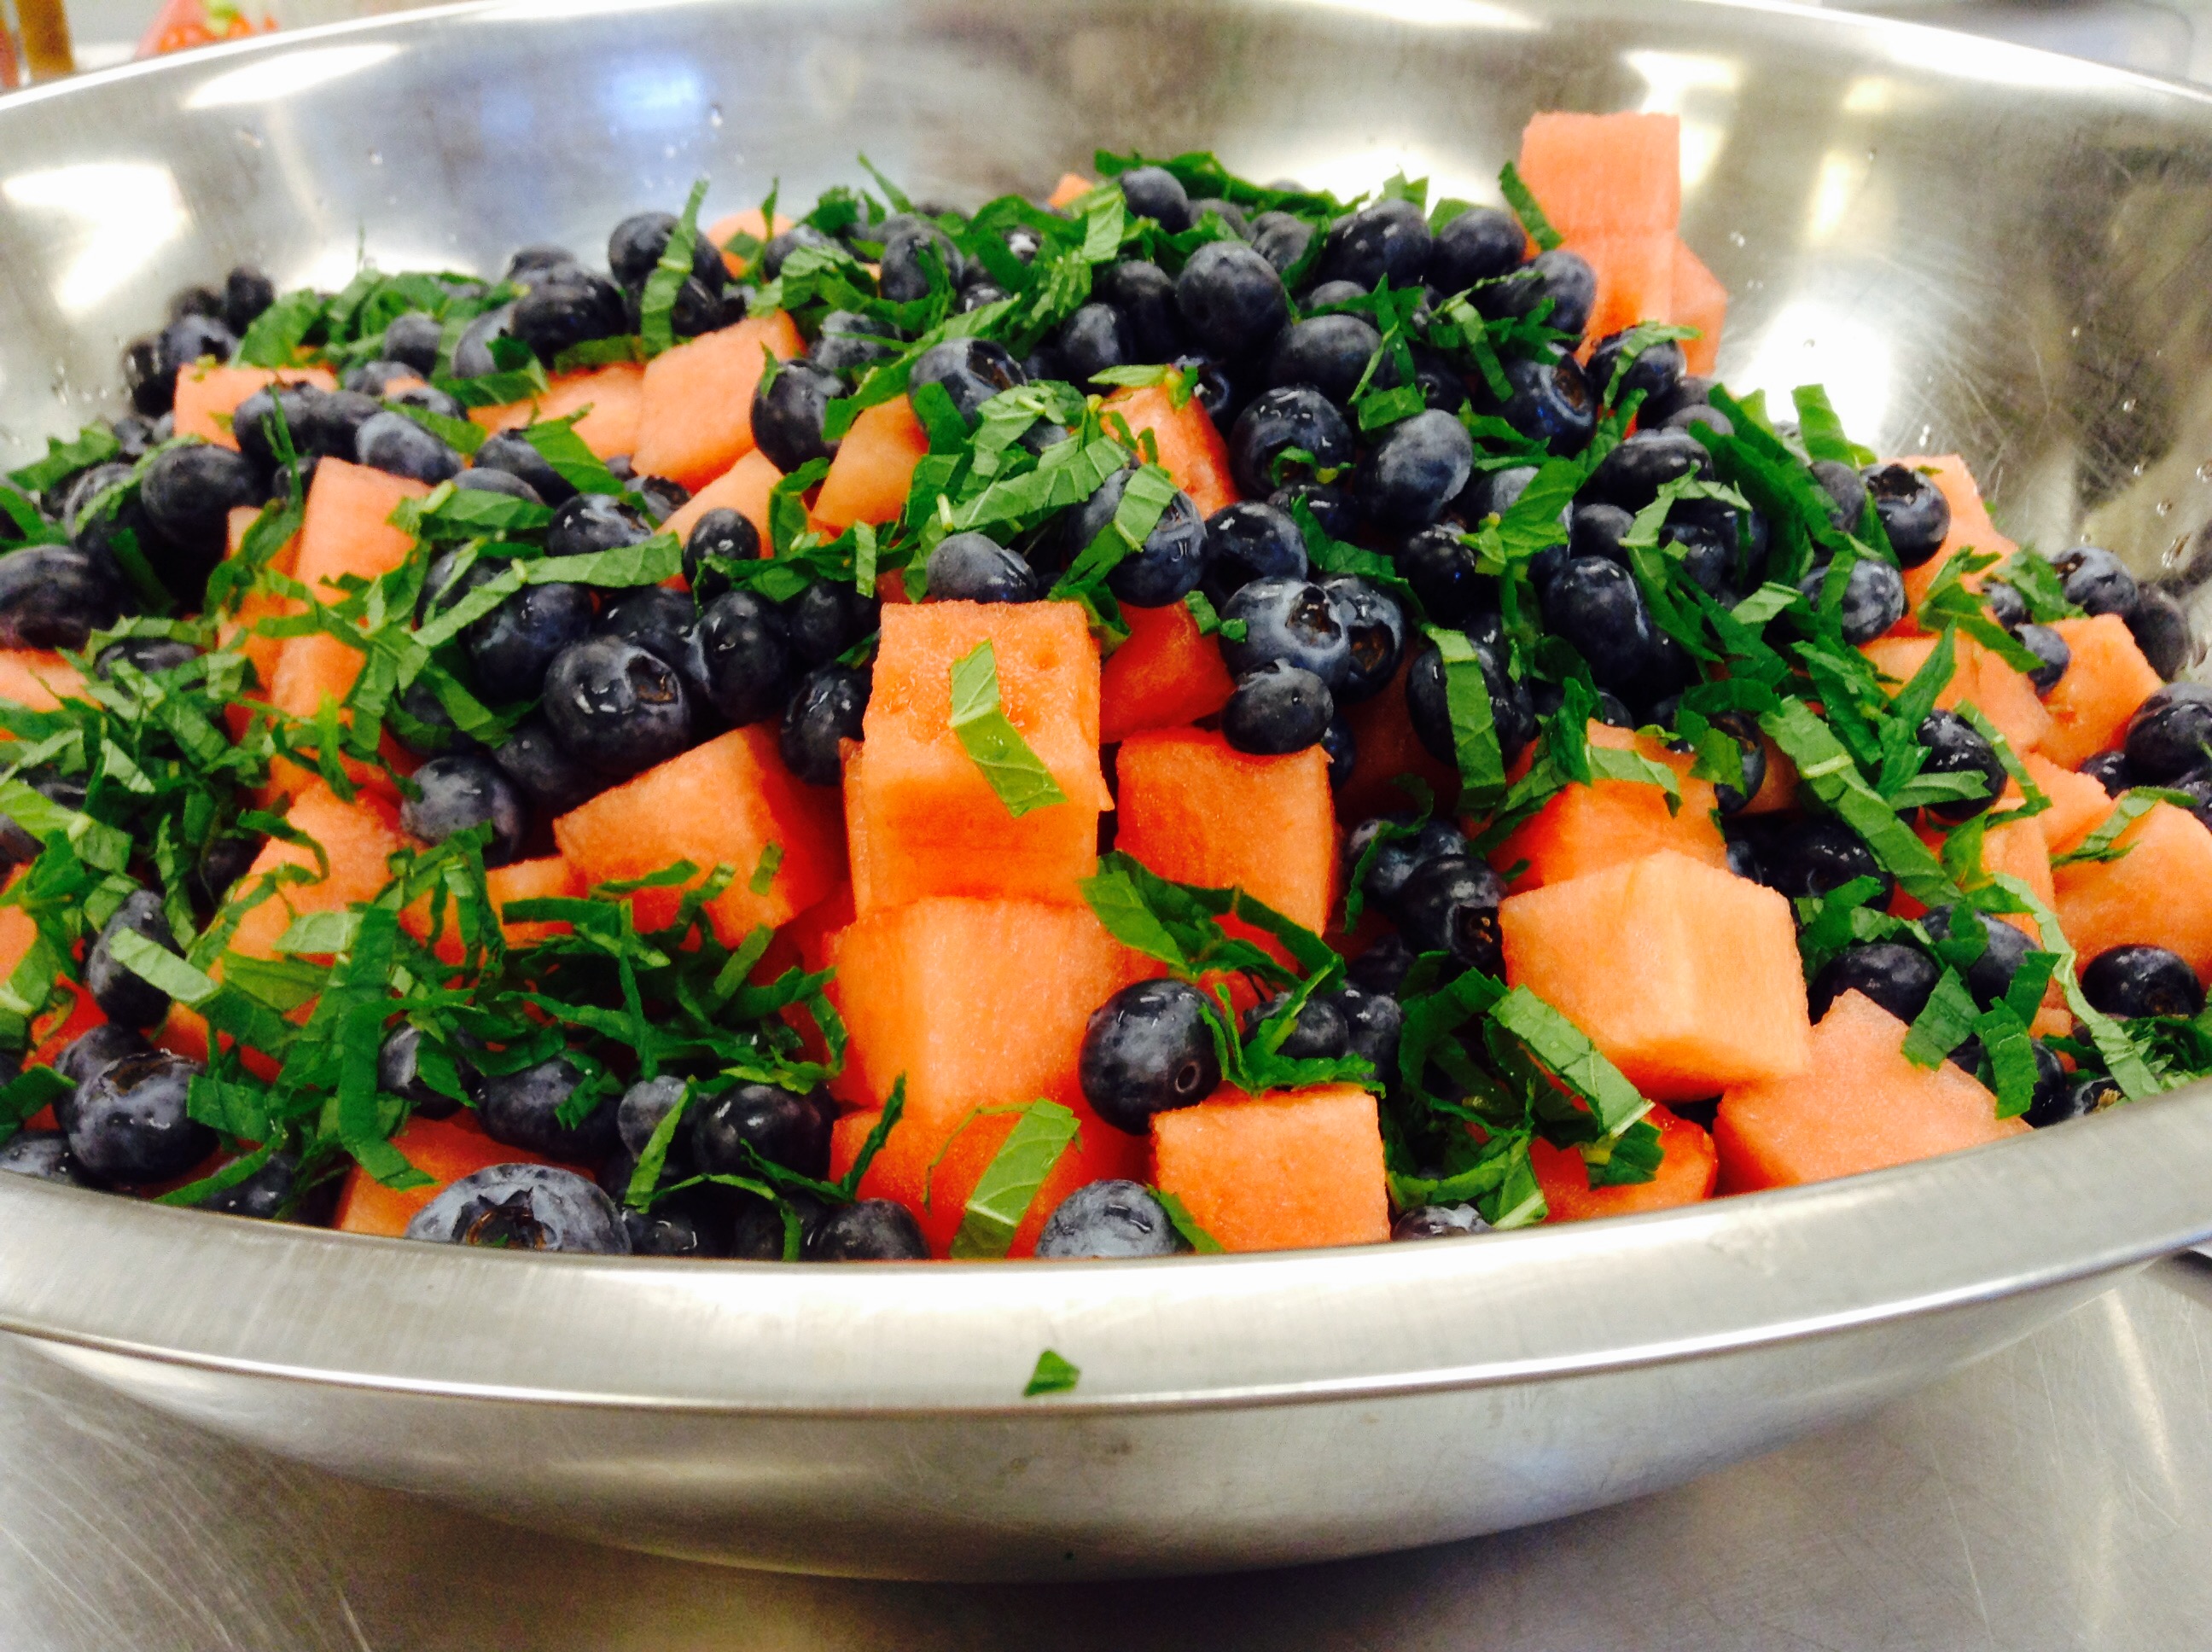
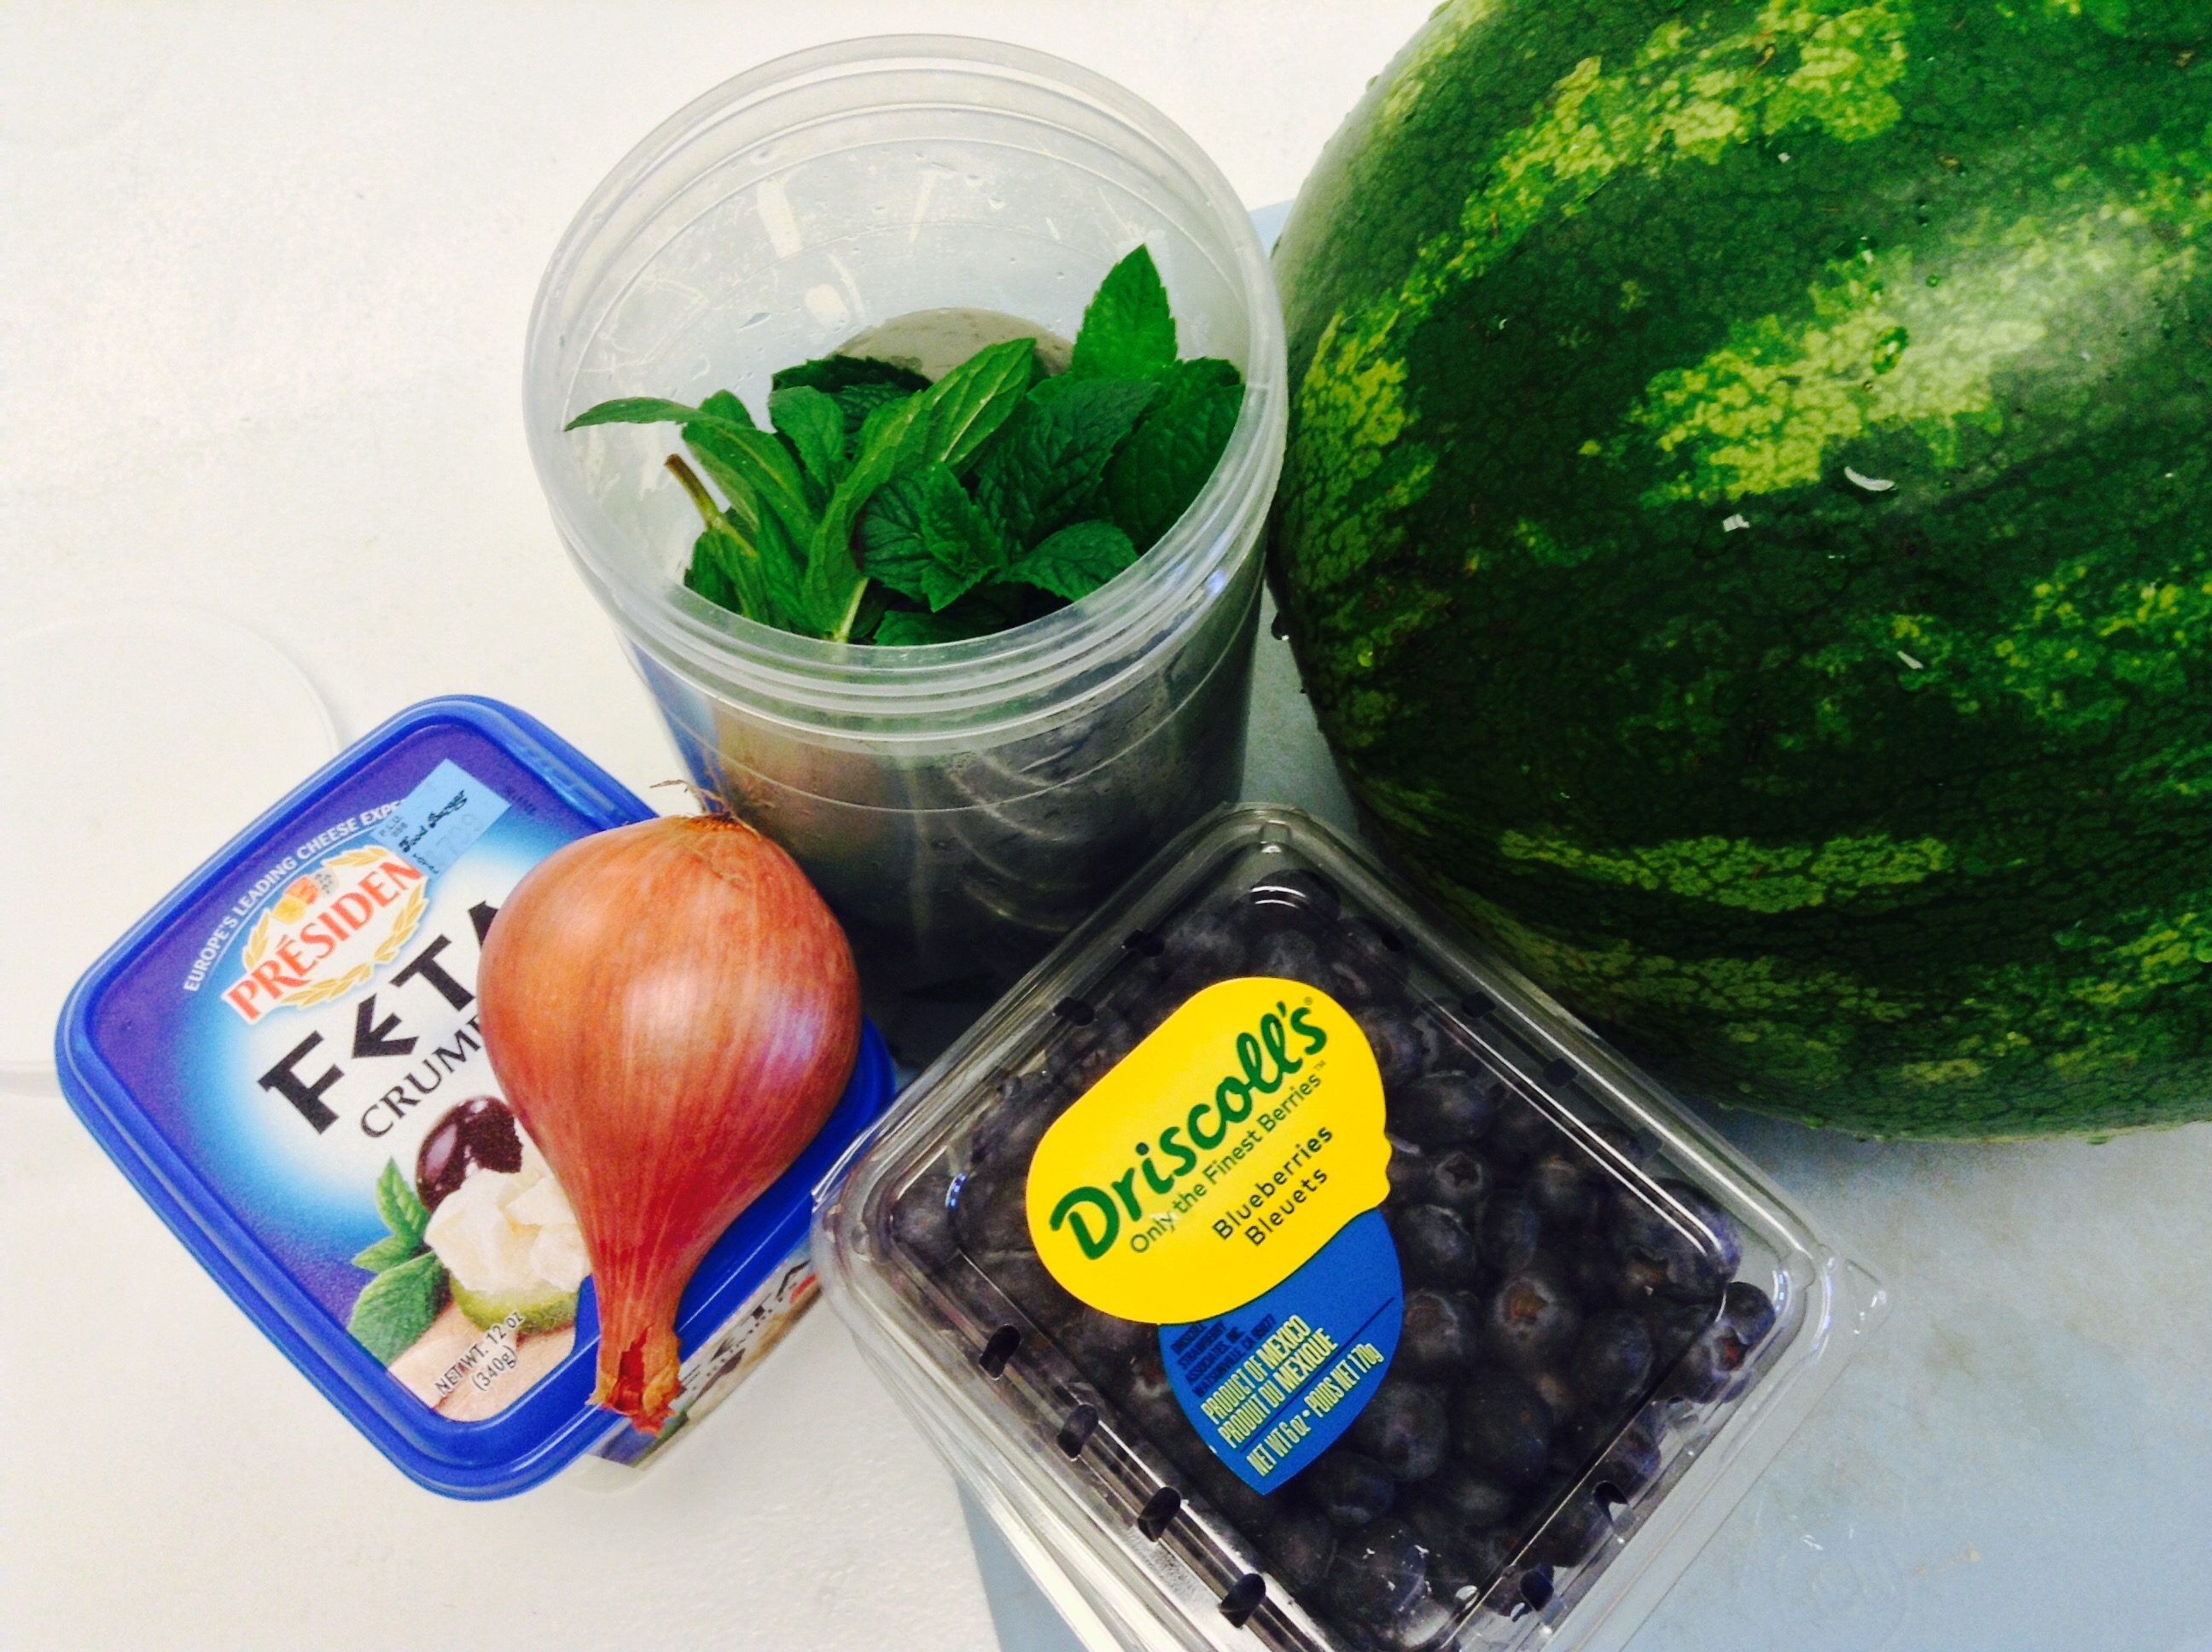
Have you ever wondered how to pick that perfect watermelon? Well, I have! Faced with a bin of green striped beauties, I never quite know where to start. Let me share some tips with you that I recently discovered, and then go andmake this delicious and refreshing Watermelon, Mint, Blueberry and Feta Salad — a great side dish for a hot summer day.
1. When viewing watermelons, the first thing that sticks out are those weird white spots. However, these spots, called field spots, are quite natural. The field spot is the area where the watermelon rested on the ground. While every watermelon has a field spot, the best watermelons have creamy-yellow or even orange-yellow spots. Go for the gold.
2. The webbing of a watermelon indicates the amount of times that bees touched the flower. The more pollination, the sweeter the watermelon is.
3. Watermelons have genders. The “girl” watermelons are more round and stout — theseare the sweeter ones. The male are oblong and tend to be more watery.
4. The best watermelons are average-sized. Don’t go for too small or too big, but just right.
5. The tail of a watermelon indicates its ripeness. Go for the watermelons that have dried tails for the best taste.
6. Tap the underbelly of the watermelon. A ripe one will have a deep hollow sound. Under-ripe or over-ripe melons will sound dull.
Print Recipe
Votes: 0
Rating: 0
You:
Rate this recipe!
Blueberry, Watermelon, Feta and Mint Salad
SERVINGS8servings
|
COOK TIME |
PREP TIME20mins |
READY IN20mins |
Ingredients
Instructions
- In a large bowl, whisk together olive oil, balsamic vinegar, salt, pepper and diced red onion.
- Add the diced watermelon, blueberries, mint and feta cheese to bowl. Gently toss to coat. Serve immediately.
This past week at Via Sacra, we have been thanking God for His incredible protection over us. The earthquake that hit a large portion of central Italy was only about 2 hours from us. Our community reached out to the Monks of Norcia to inquire of their safety. They told us that, miraculously, the monks had been up early for prayer on the morning of the earthquake (3 am) since it was a solemn feast day. When the tremors started, most of the town fled to the piazza where there is a statue of St. Benedict. The townspeople knew they would be safe there with Benedict’s prayers protecting them. An update on the monastery can be found here.
Restaurants all over Italy (and all over the world) have been serving a dish that is traditional to Amatrice, one of the towns destroyed. It is called Pasta all’Amatriciana, and proceeds from this dish are going to the recovery efforts. Last weekend would have been the celebration in Amatrice for their annual food festival. You’ll find many different versions of the traditional dish; some use onions and garlic and some don’t. We decided to and loved the results.
Join us in prayer by creating this delicious and spicy pasta dish in your home and if you do, use this hashtag to join millions of others who are as well: #unamatricianaperamatrice
Print Recipe
Votes: 0
Rating: 0
You:
Rate this recipe!
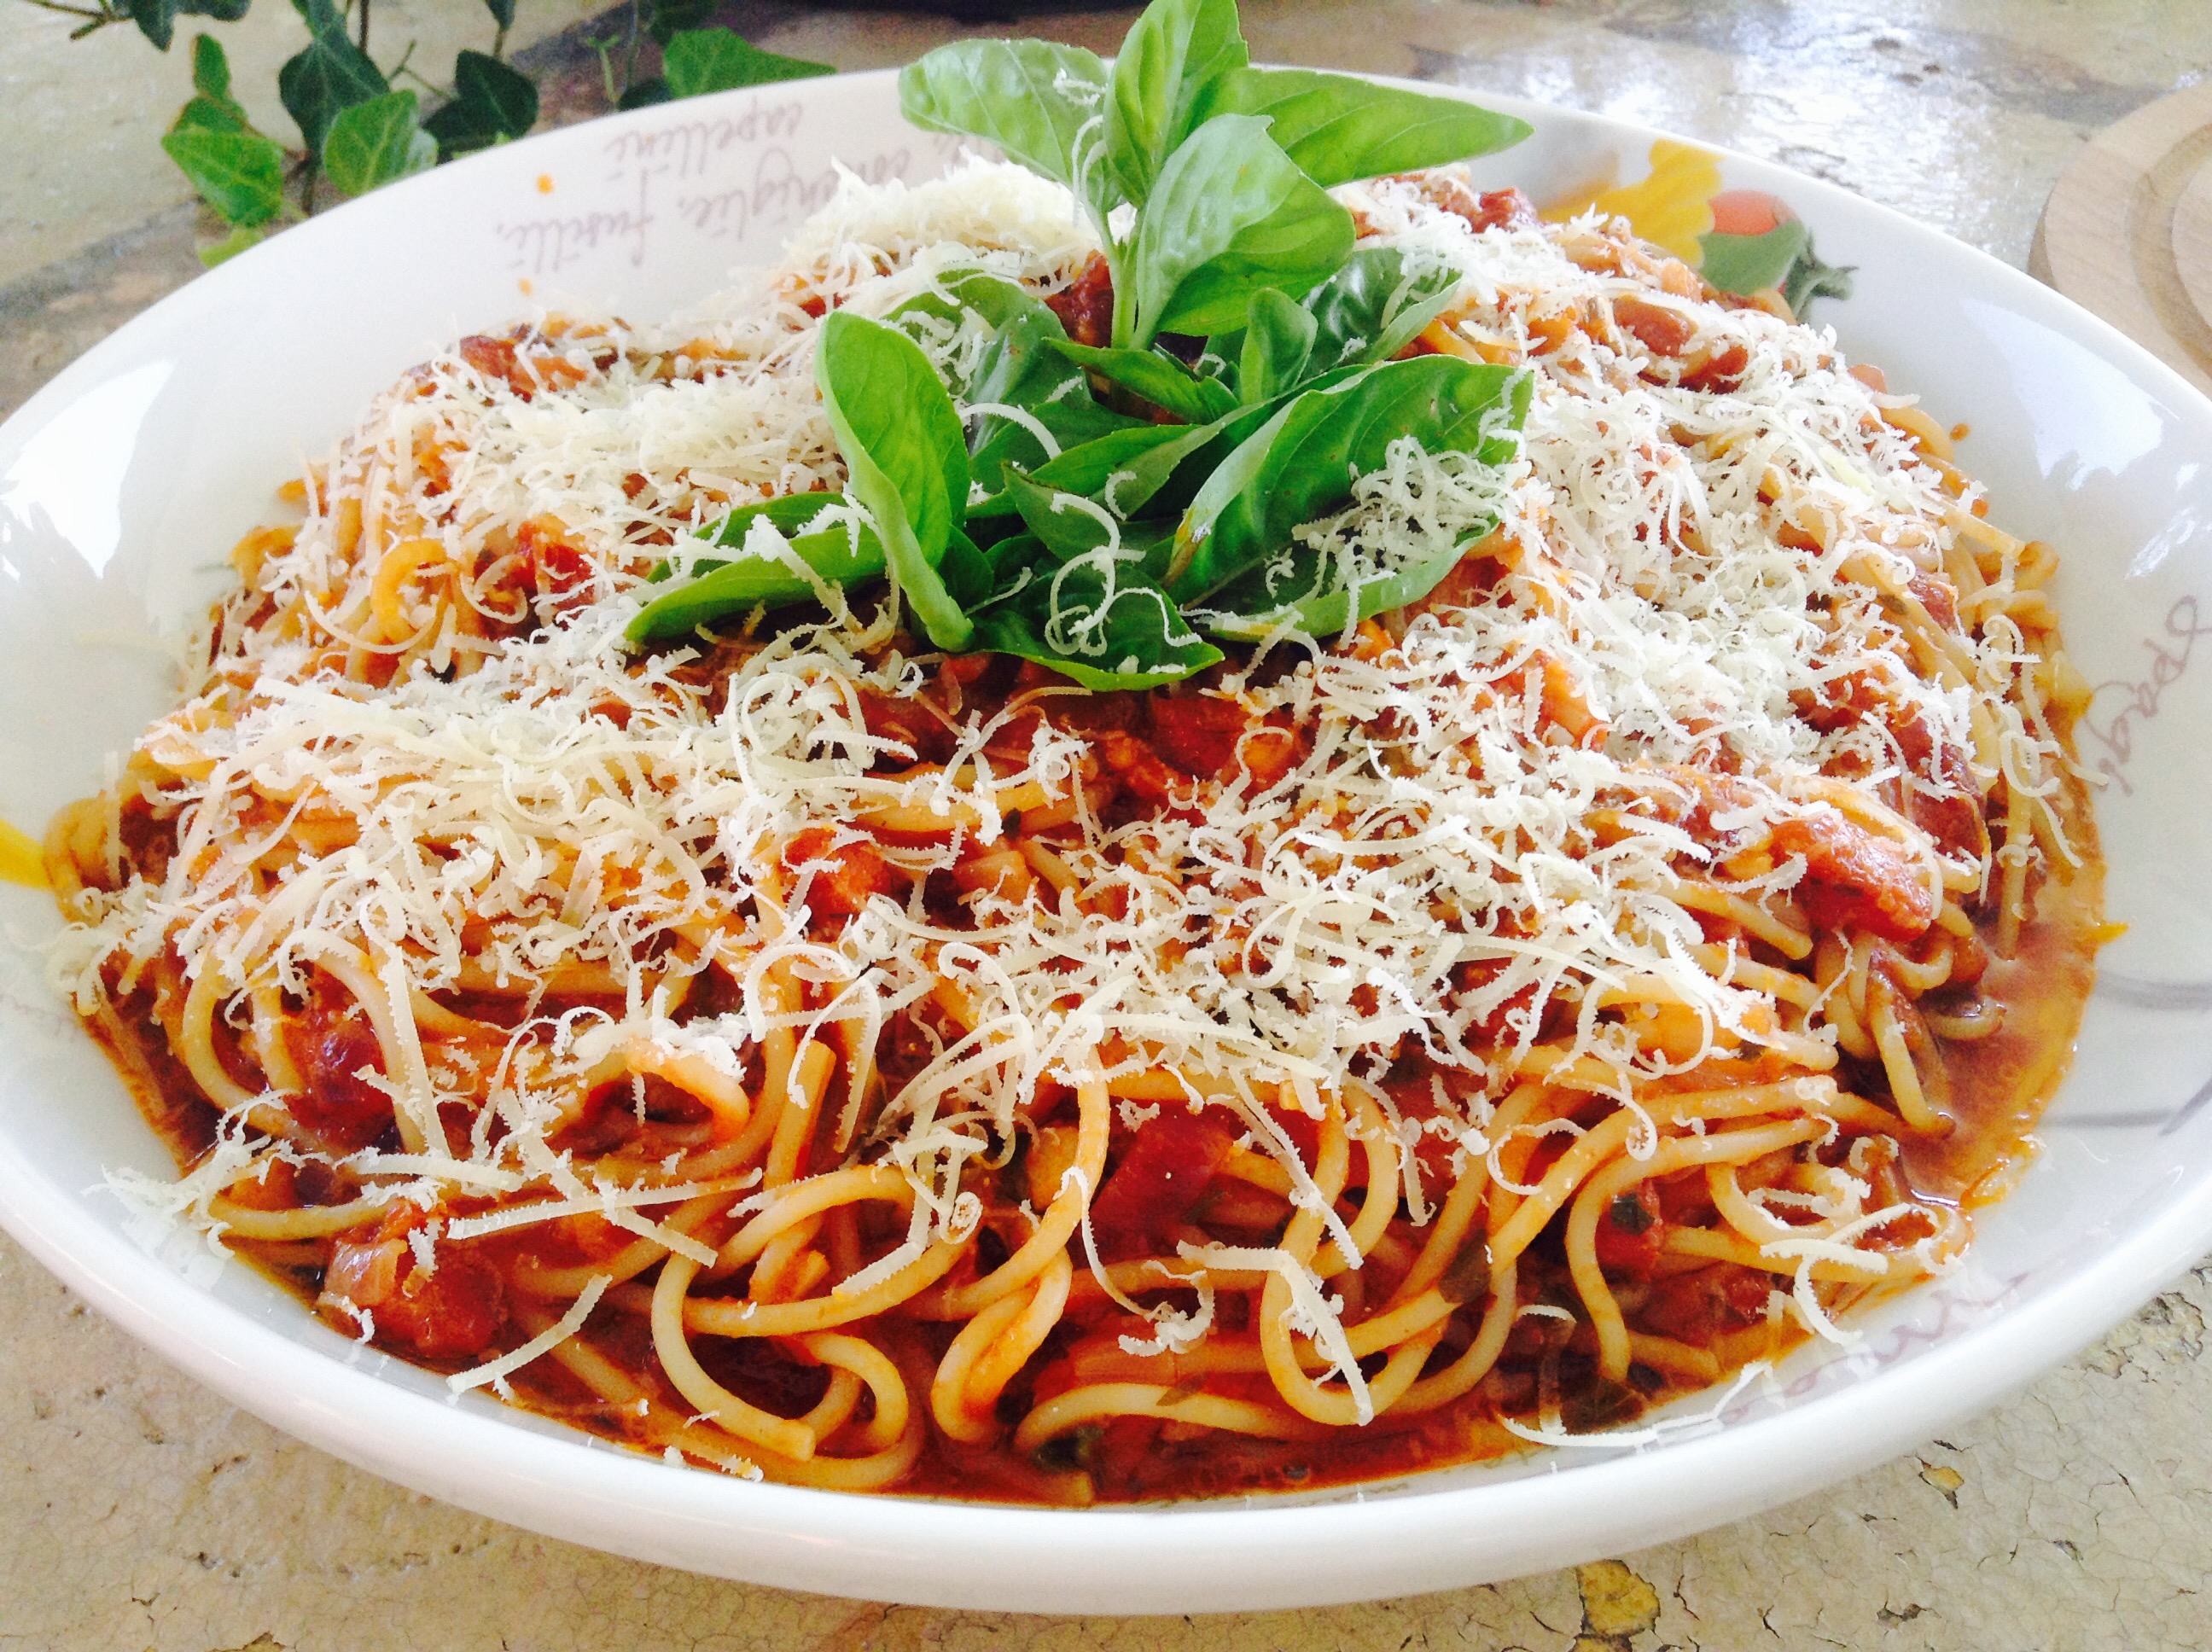
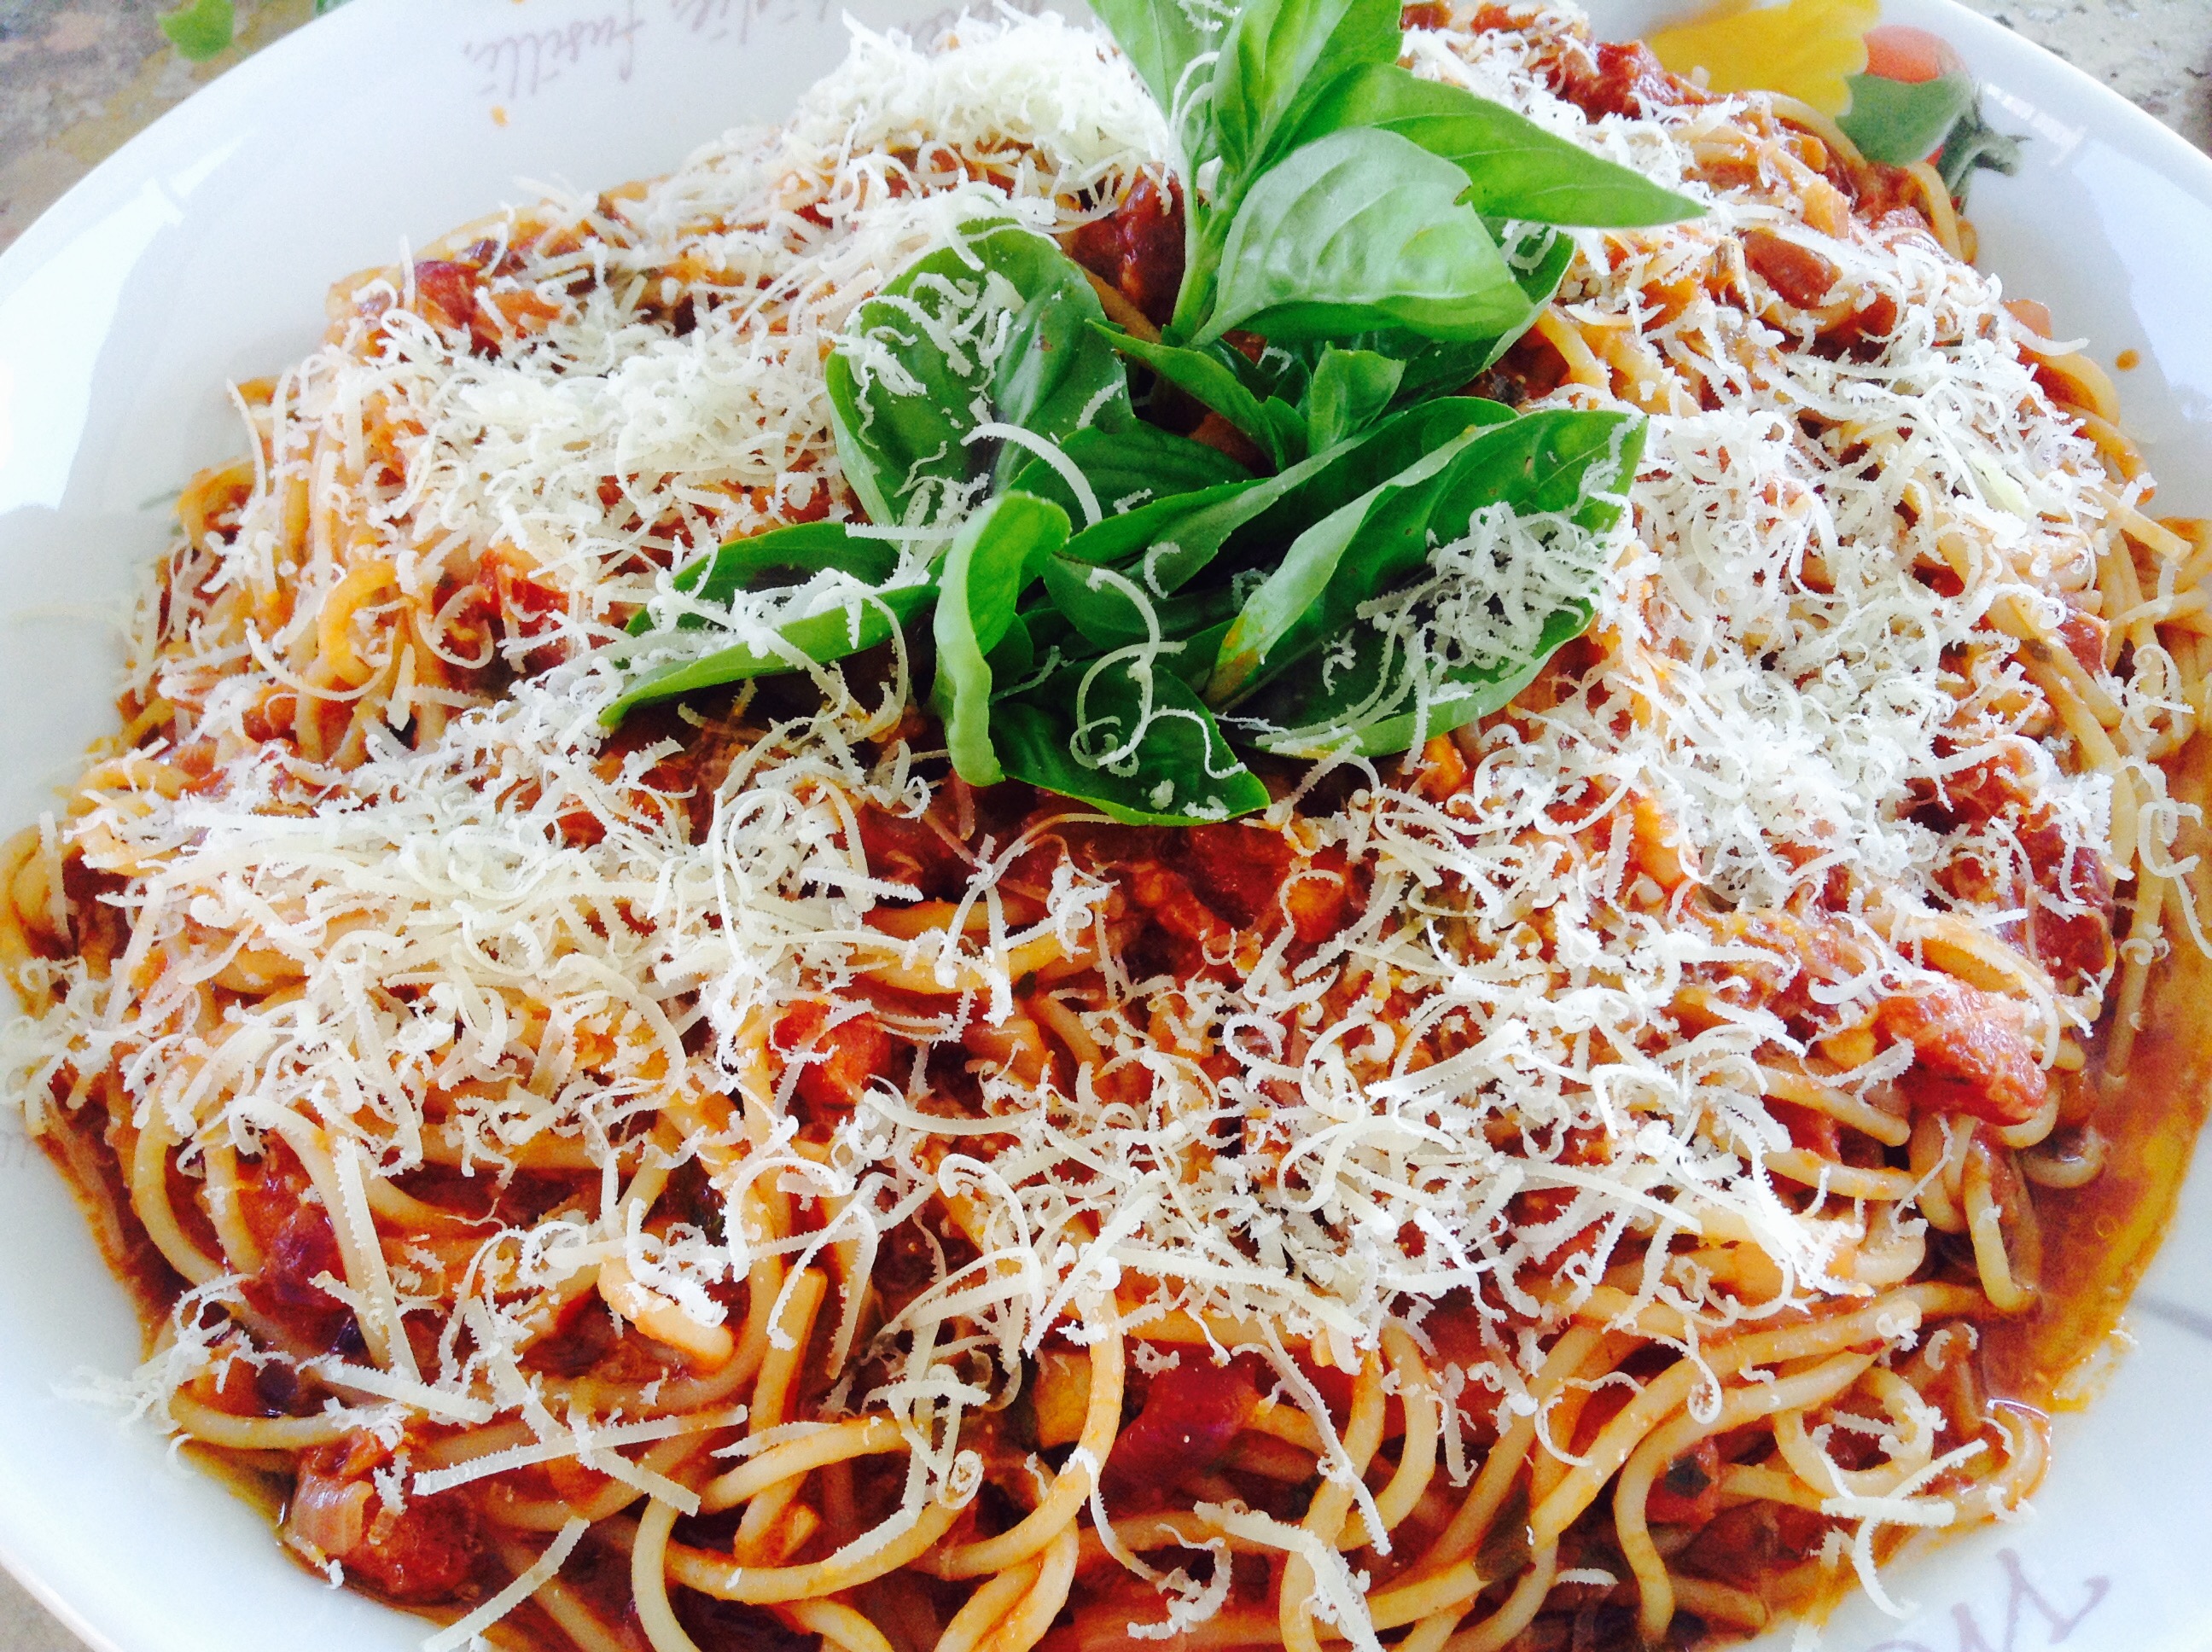
Pasta all'Amatriciana
SERVINGS4people
|
COOK TIME45 minutes |
PREP TIME20minutes |
READY IN1hour |
Ingredients
Instructions
- Bring 6 quarts of water to a boil in a large pot, and add 2 tablespoons salt.
- Meanwhile, in a 10- to 12-inch saute pan or dutch oven make the sauce.
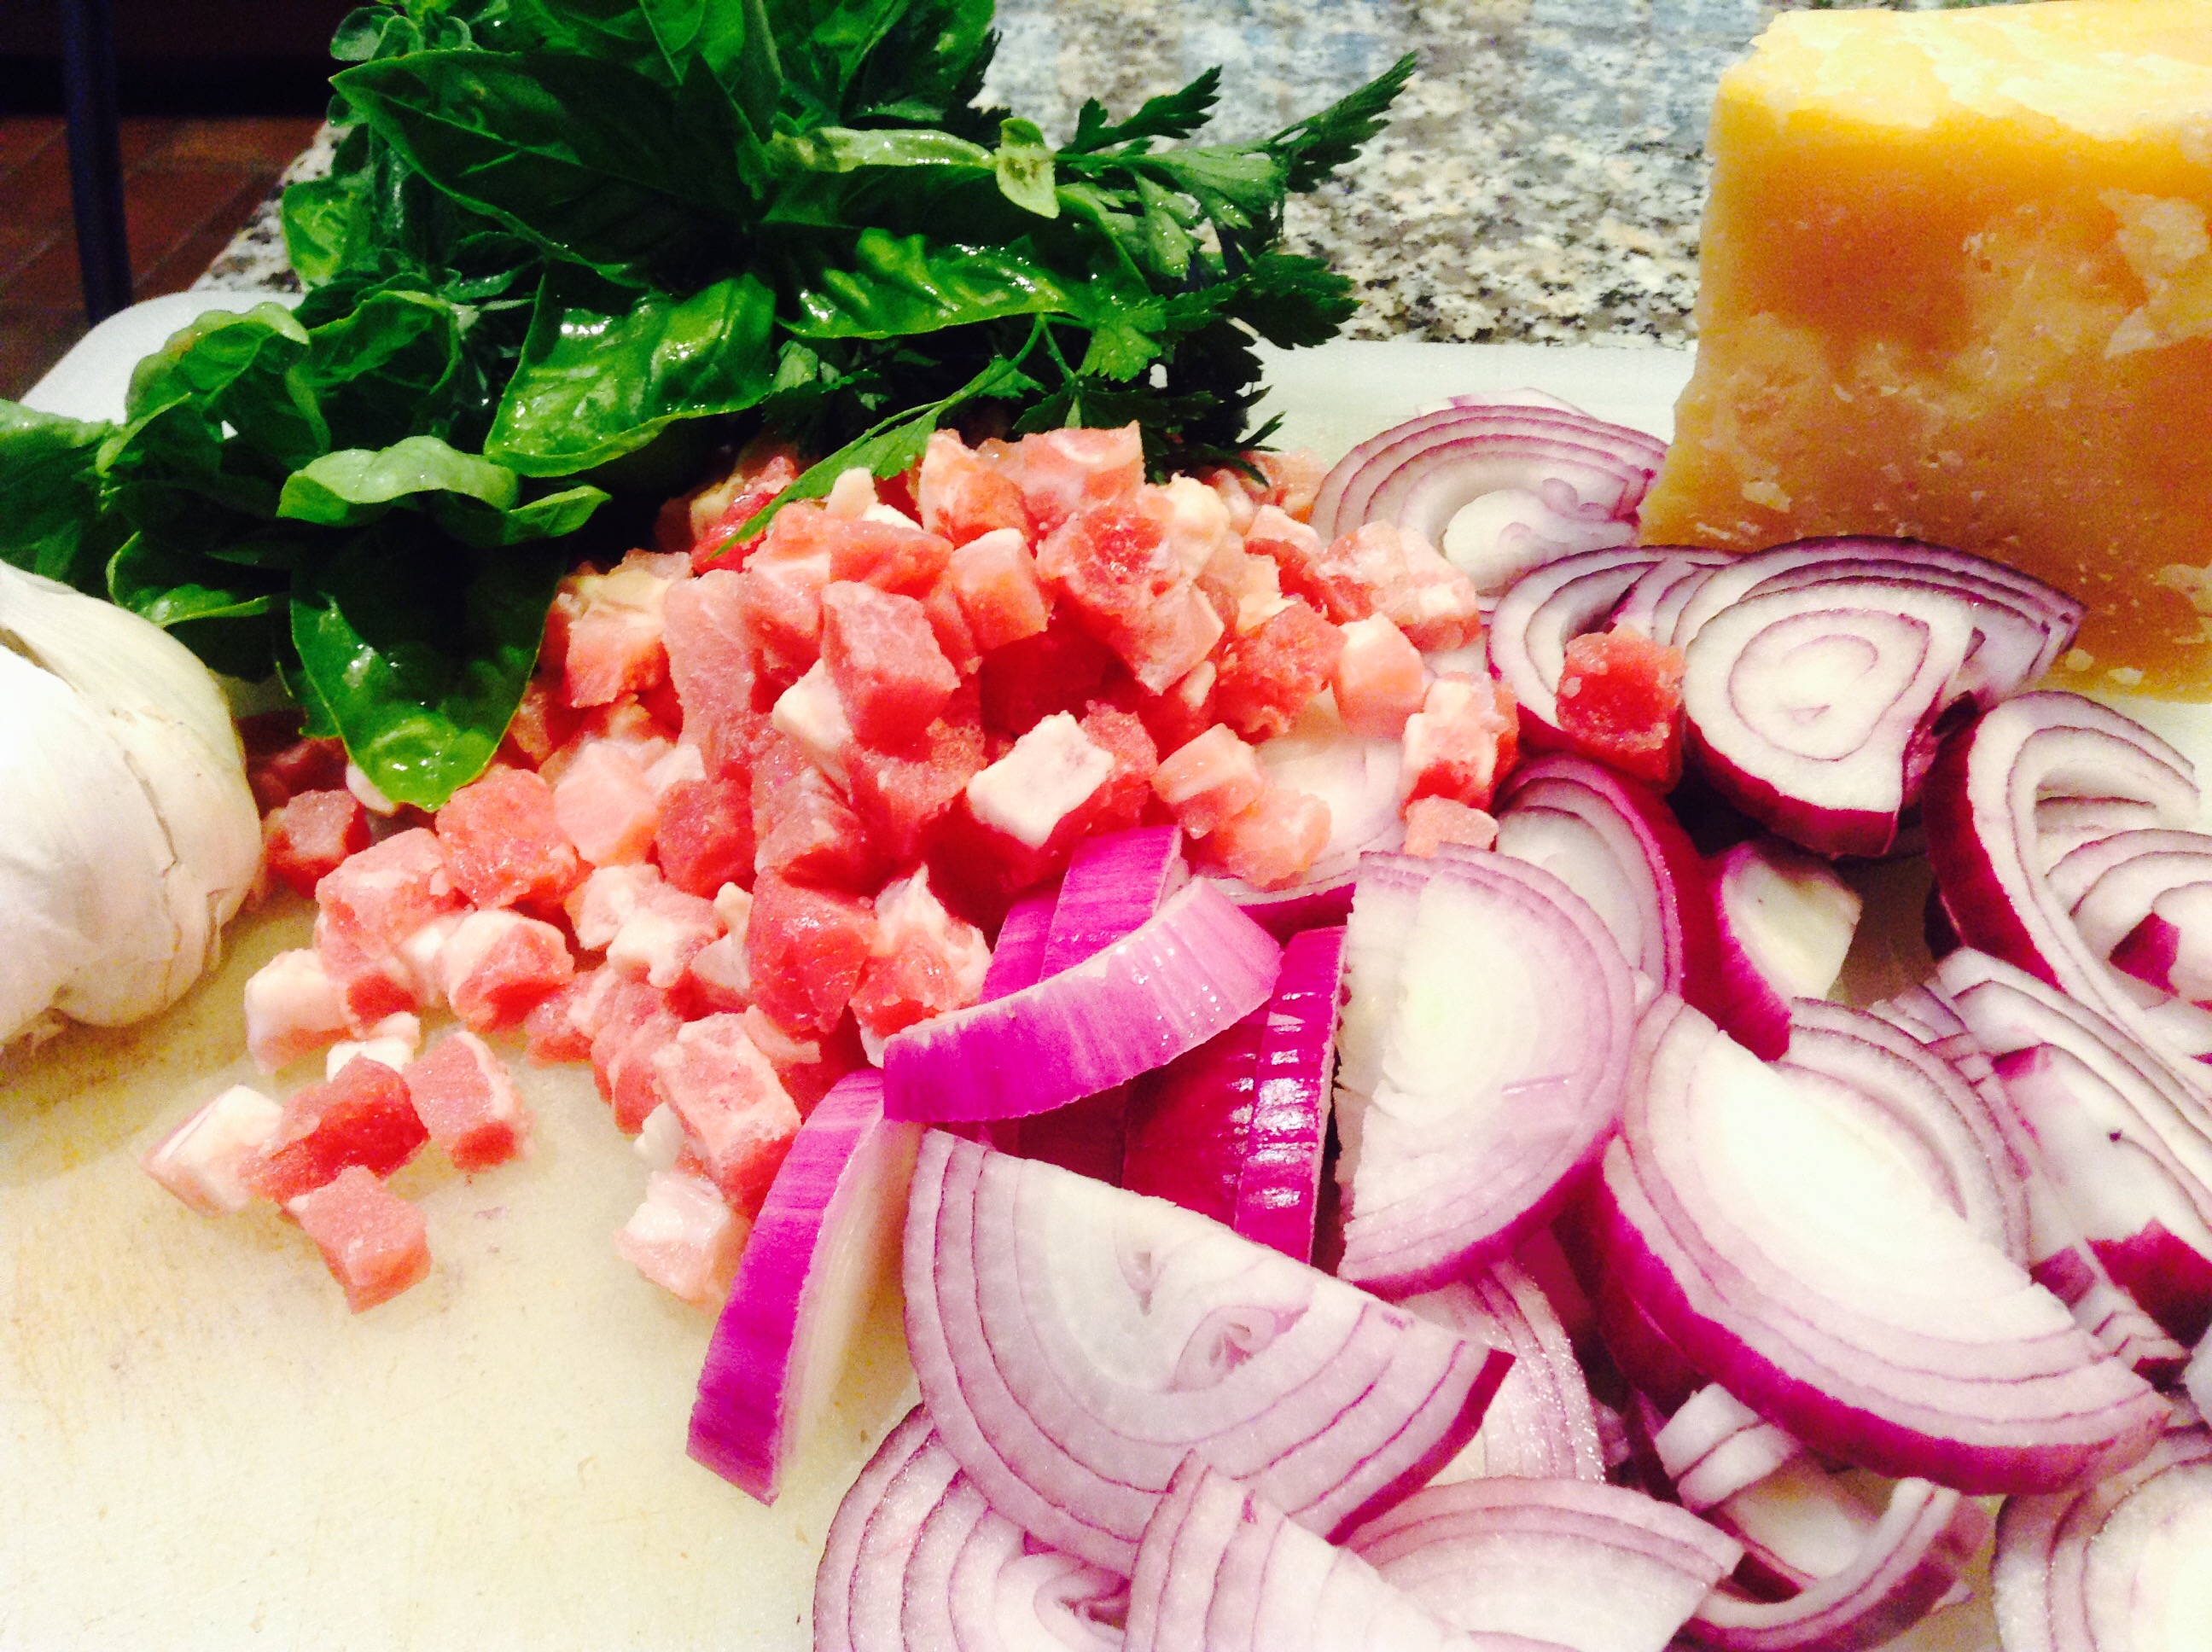
- Combine the olive oil, pancetta, onion, garlic, and red pepper flakes; set over low heat and cook until the onion is softened and the pancetta has rendered much of its fat, about 12 minutes.
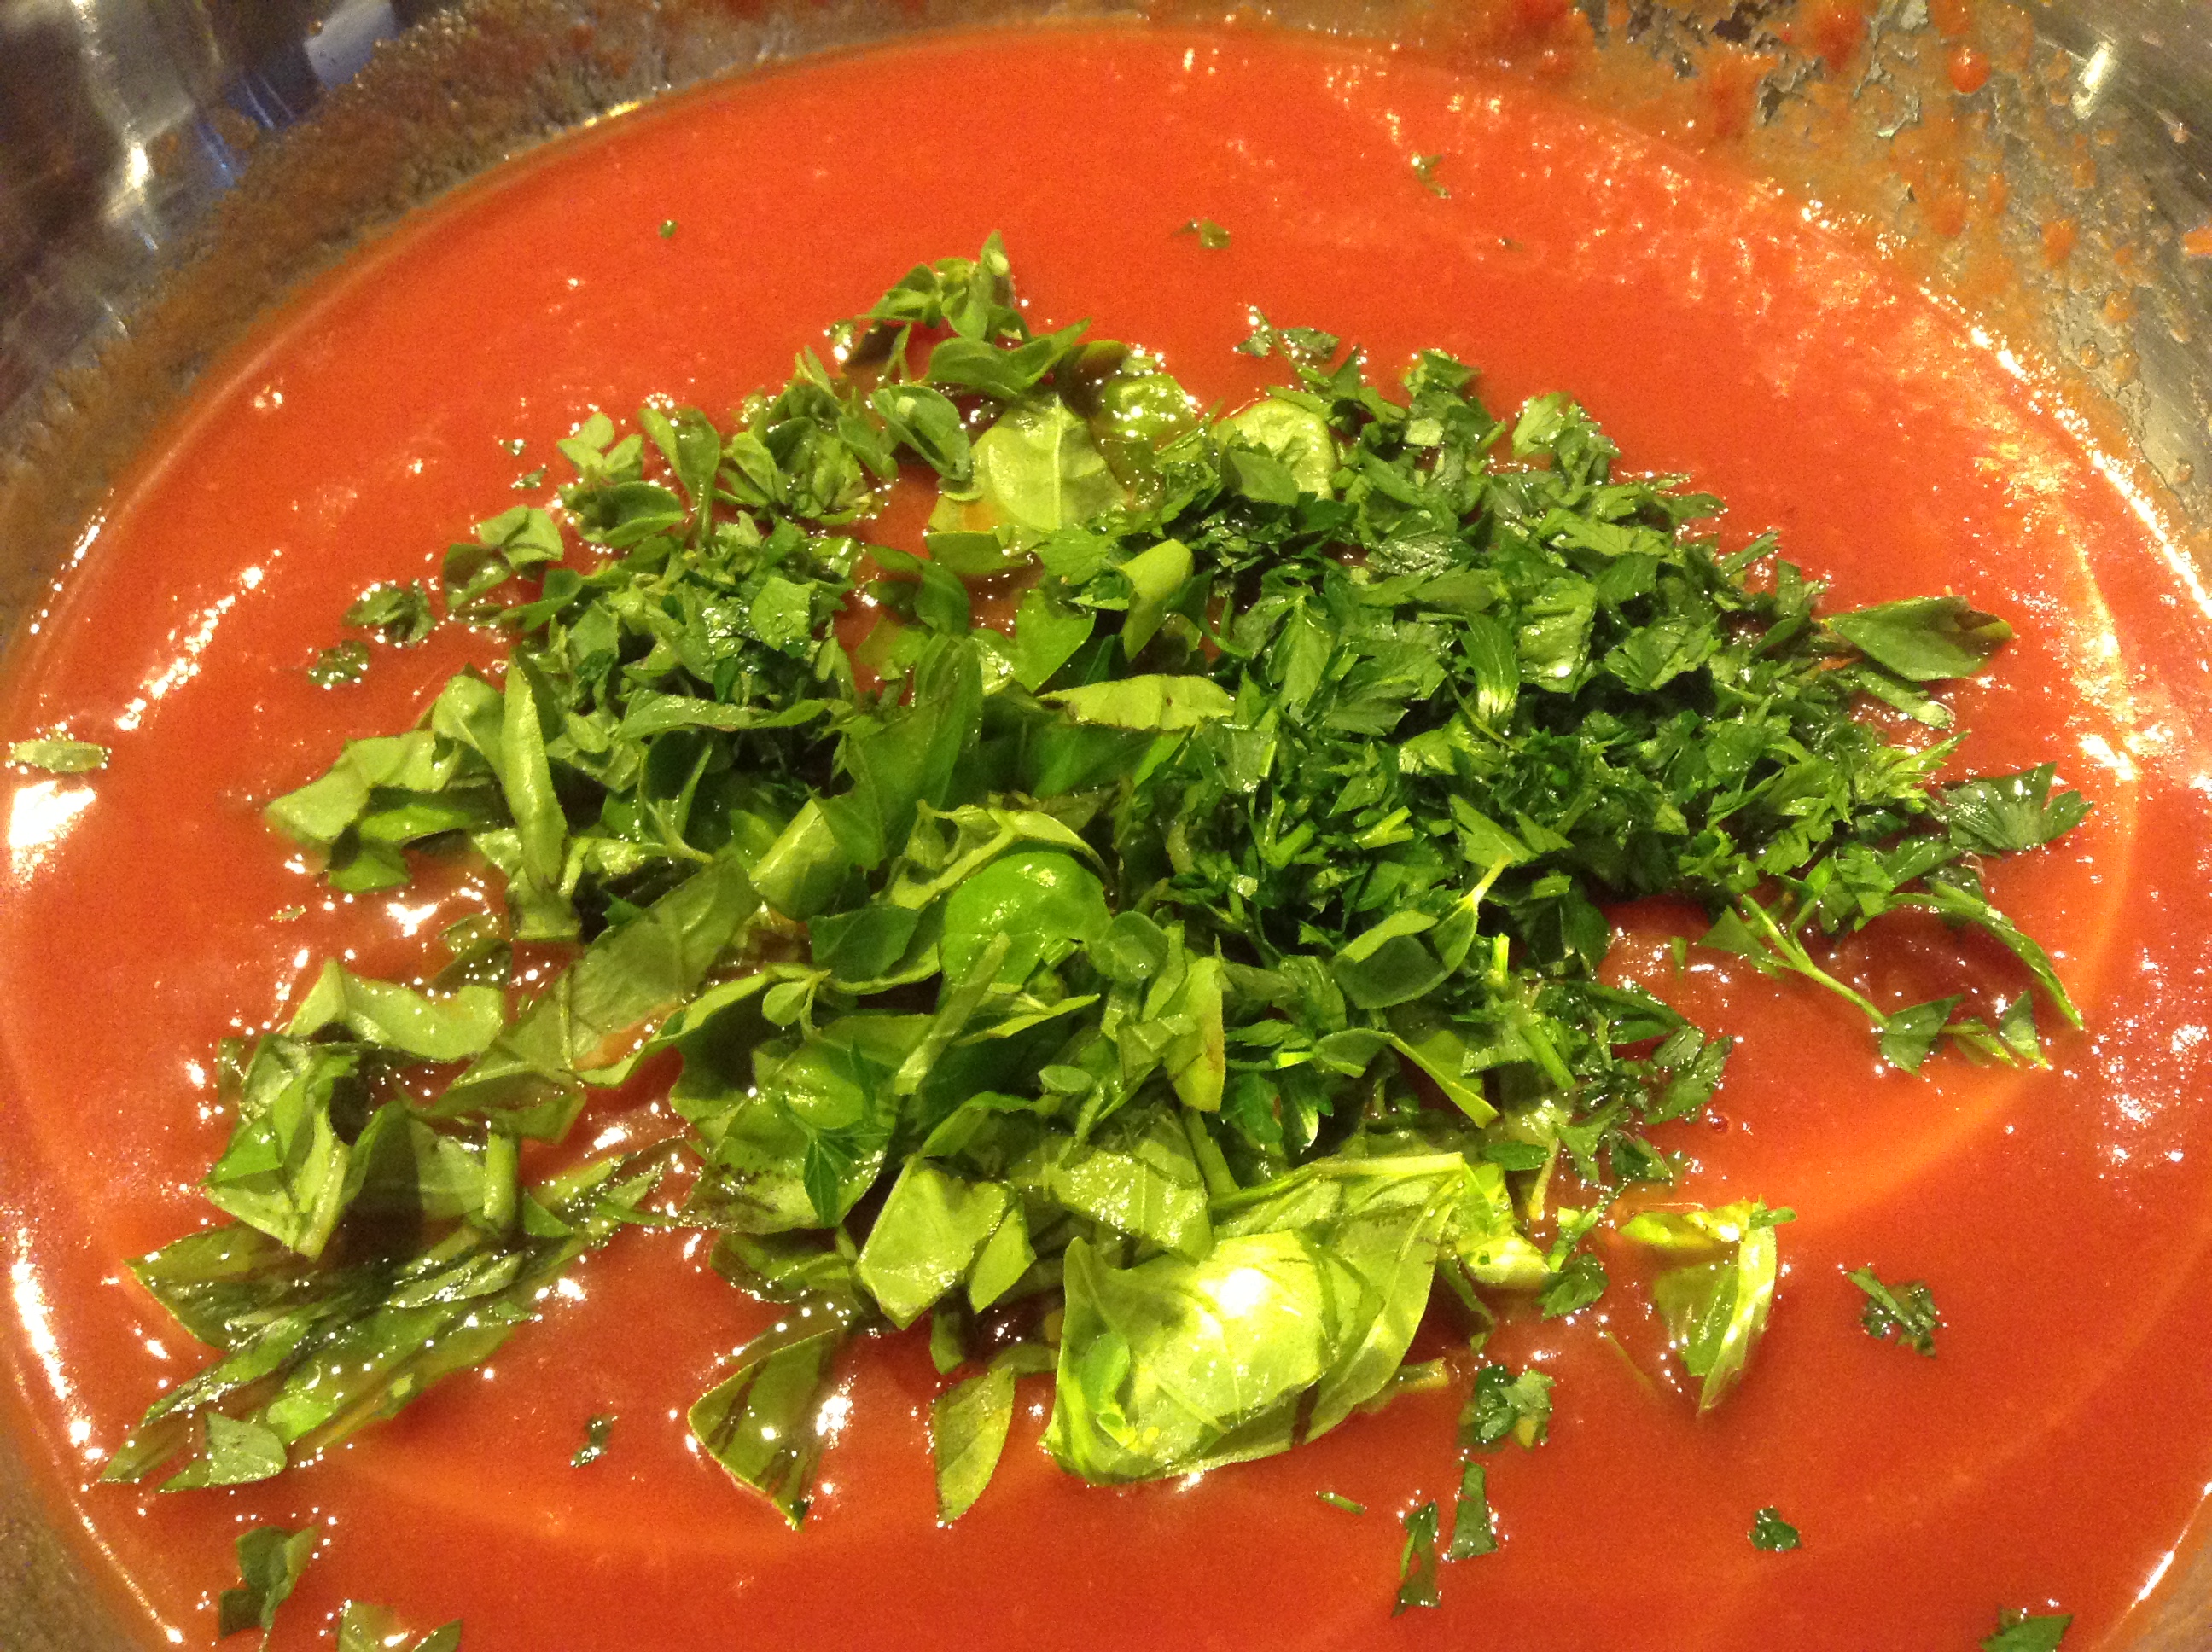
- Leaving about 1/2 cup fat in the pan, add the pureed tomatoes, basil, parsley, oregano and balsamic vinegar.
- Turn up the heat, and bring to a boil, then lower the heat to a simmer and allow to bubble for 10 min to 1/2 hr (the longer it cooks the better it tastes!). Adjust seasonings if needed.
- While the sauce simmers, cook the pasta in the boiling water for about a minute less than the package directions, until al dente; drain, reserving about 1 cup of the pasta water (if needed later).
- Add the pasta to the simmering sauce and toss for about 1 minute to coat (add some of the pasta water if the sauce is too thick). Divide the pasta among four heated bowls and serve immediately, topped with freshly grated pecorino, a dash of olive oil if desired, and a sprig of fresh basil to garnish.
- Andiamo mangiare!
Once we opened Villa Via Sacra, our mission house in Barga Italy, it
took no time for warm friendships to spring up between our Community
family and the locals. Their interest in Gregorian chant resulted in
weekly gatherings at the villa where, over foaming mugs of Cappuccino
and crunchy biscotti, together we studied studied Latin neums and
learned how to sing authentic Gregorian chant. In return the local
women invited the sisters into their kitchens where they
generously shared their own secrets to preparing authentic Tuscan
food.
Since then our menus at the Convent, Bethany retreat house and
Paraclete retreat house definitely reflect our close association
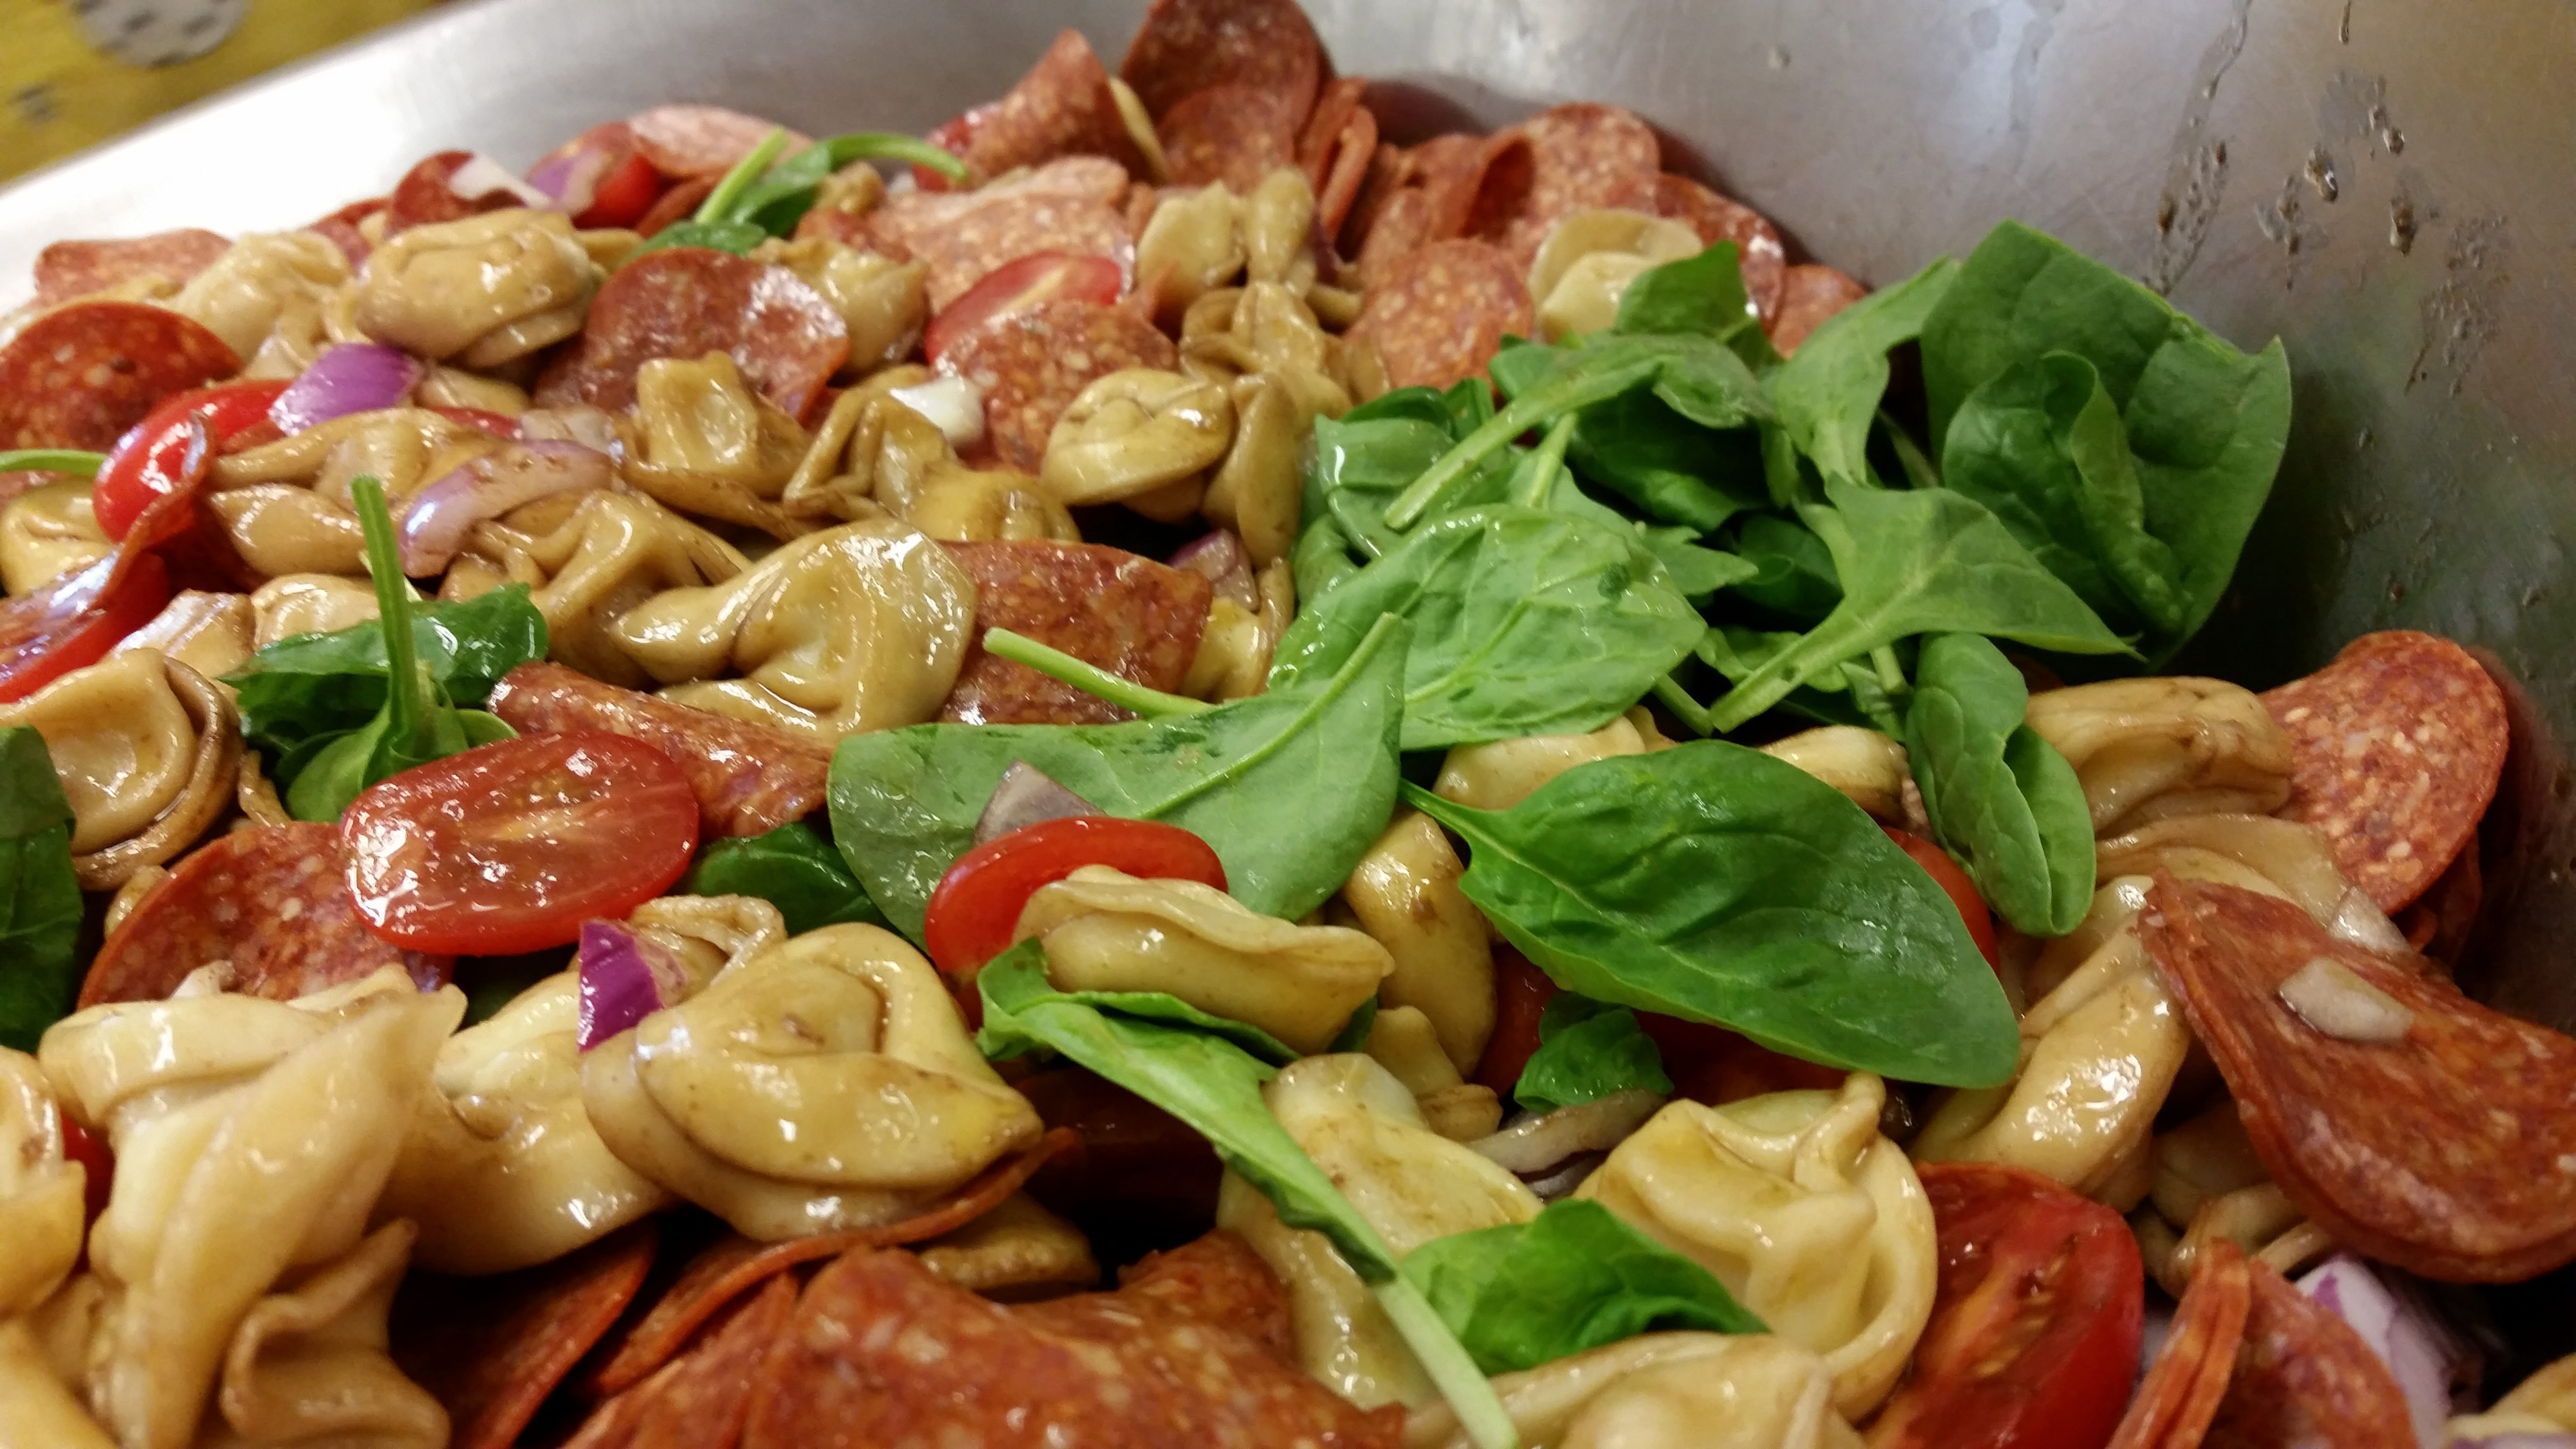
with the life in Barga. This summery salad, although it involves
little cooking, incorporates many of the typical Tuscan flavors and is generously flavored with many of the seasonings regularly used there.
Print Recipe
Votes: 8
Rating: 2.88
You:
Rate this recipe!
Tuscan Tortellini Salad
SERVINGS6People
|
COOK TIME10-11minutes |
PREP TIME10minutes |
READY IN20-21 minutes |
Ingredients
Instructions
- In a large pot of salted boiling water, cook tortellini according to package directions. Drain and transfer to large serving bowl.
- Make dressing: Whisk together olive oil and balsamic vinegar and season with salt and pepper.
- To bowl, add prosciutto, spinach, cherry tomatoes, and dressing and toss until well combined.
- Garnish with Parmesan.
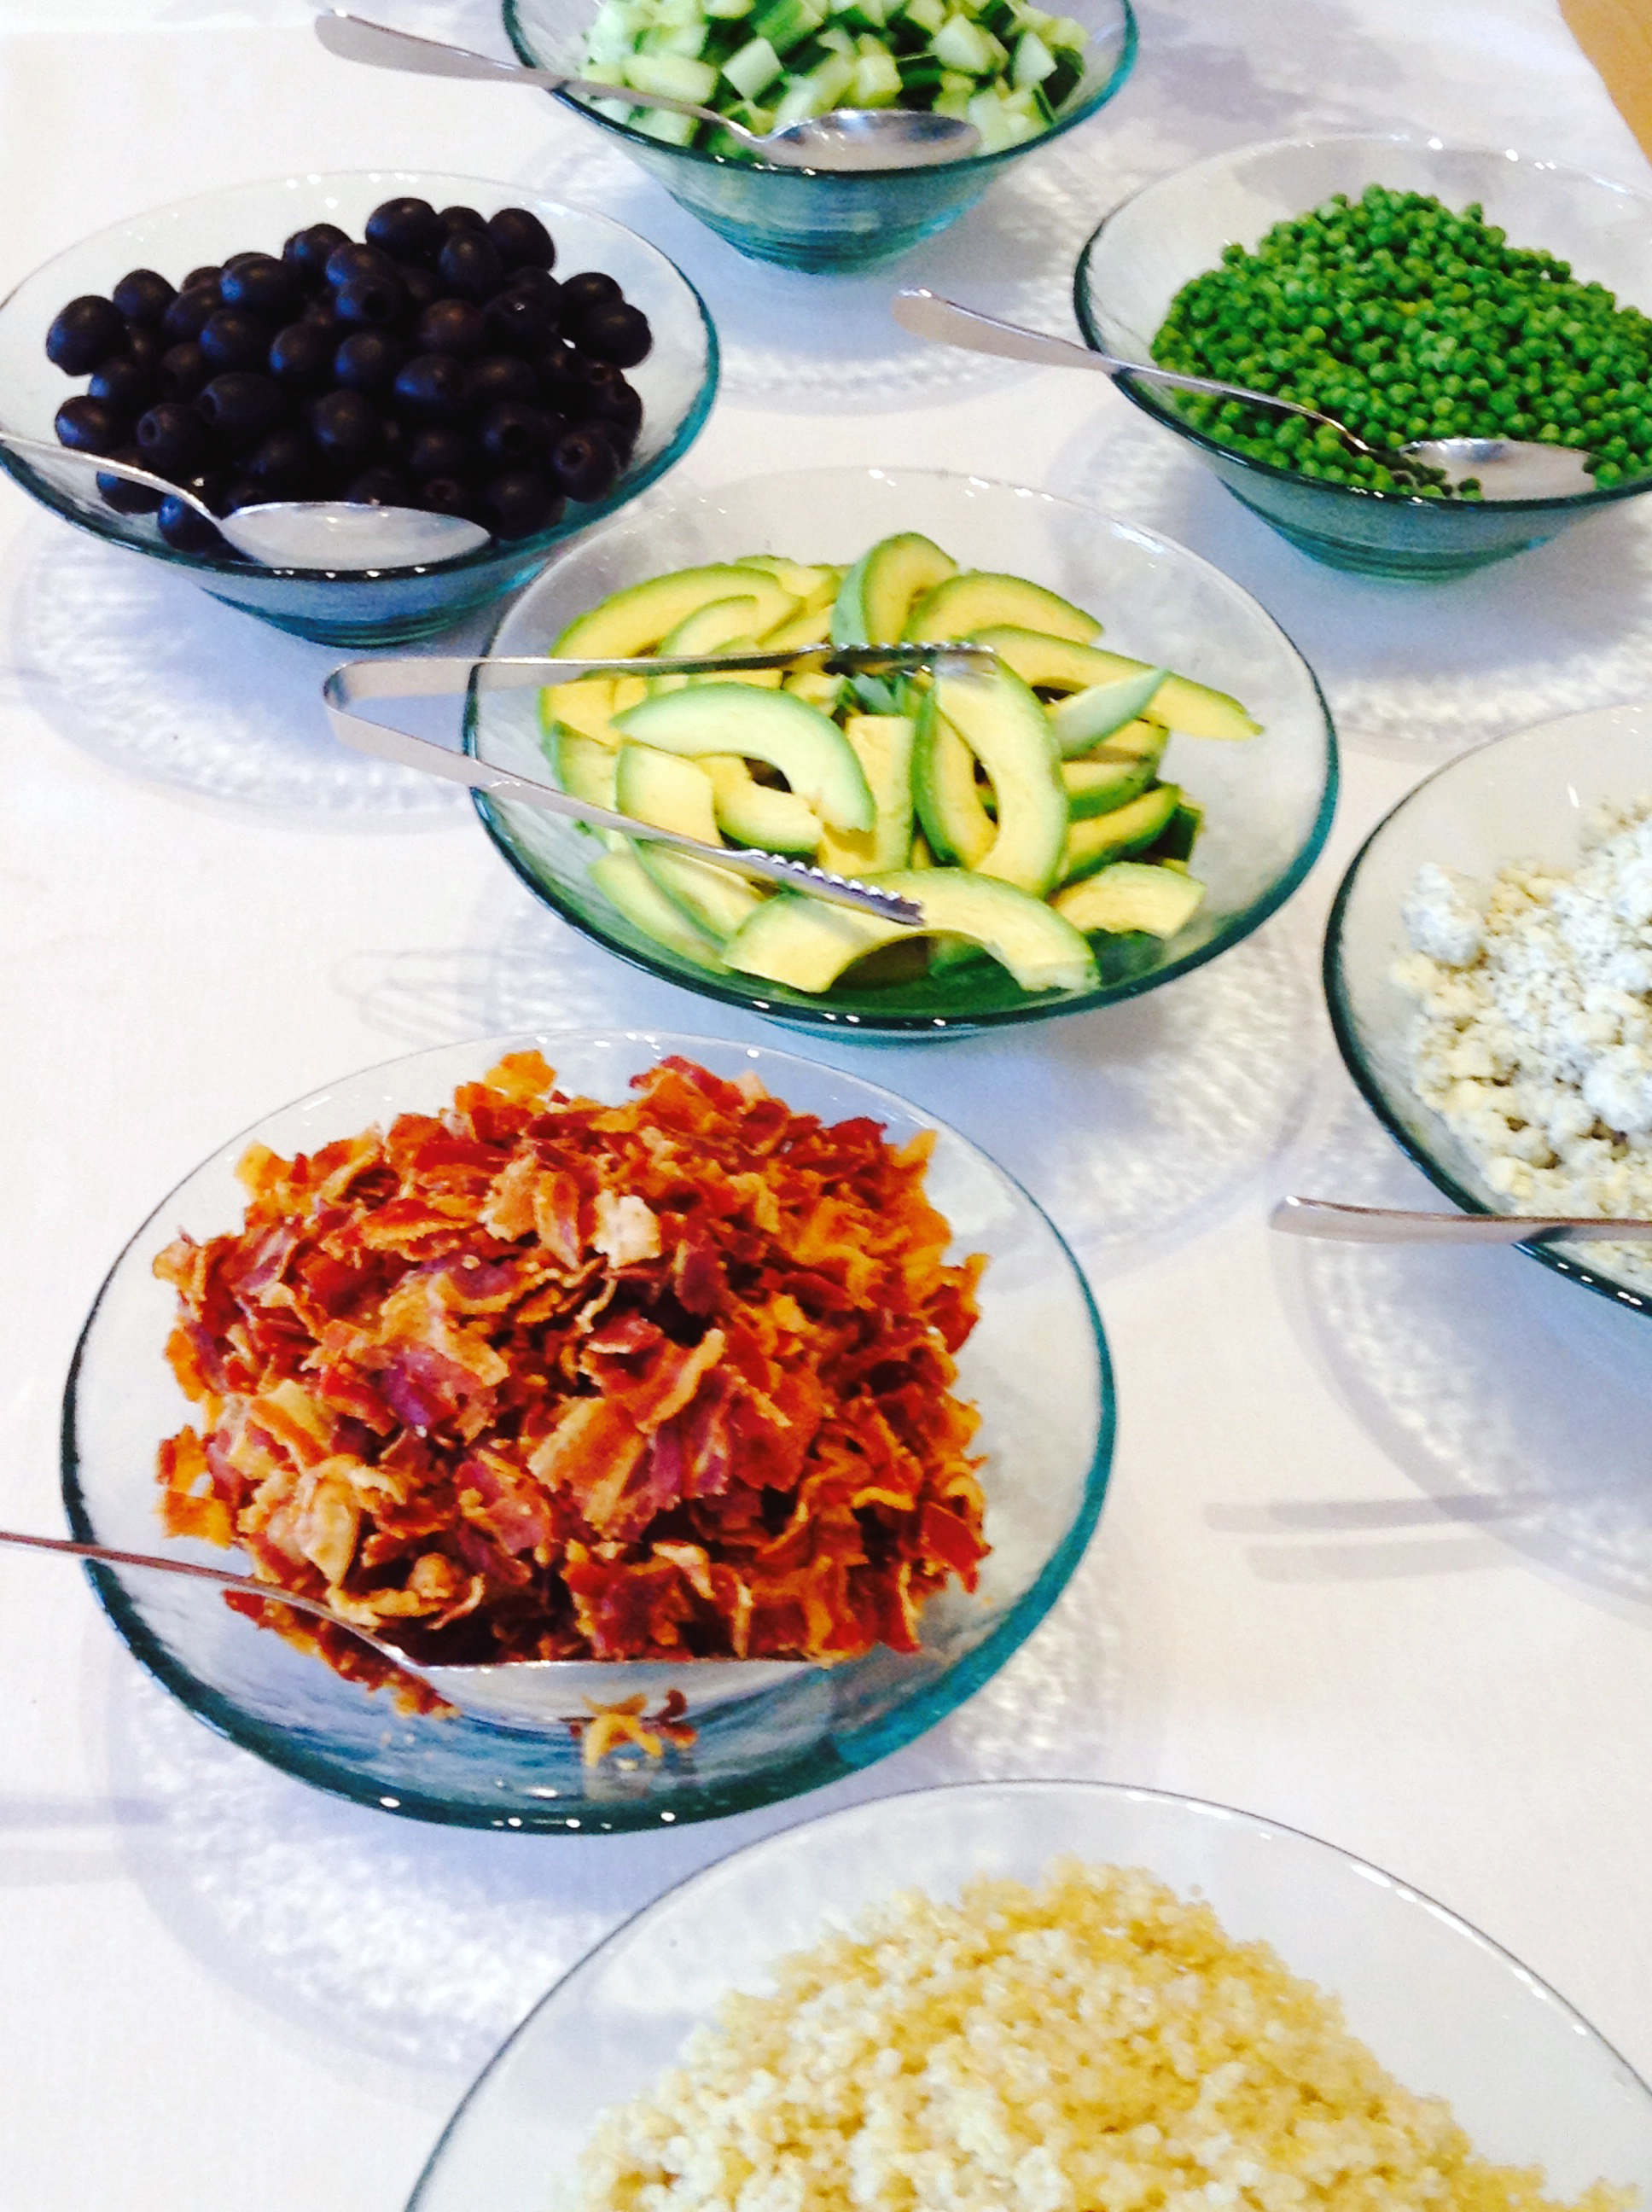
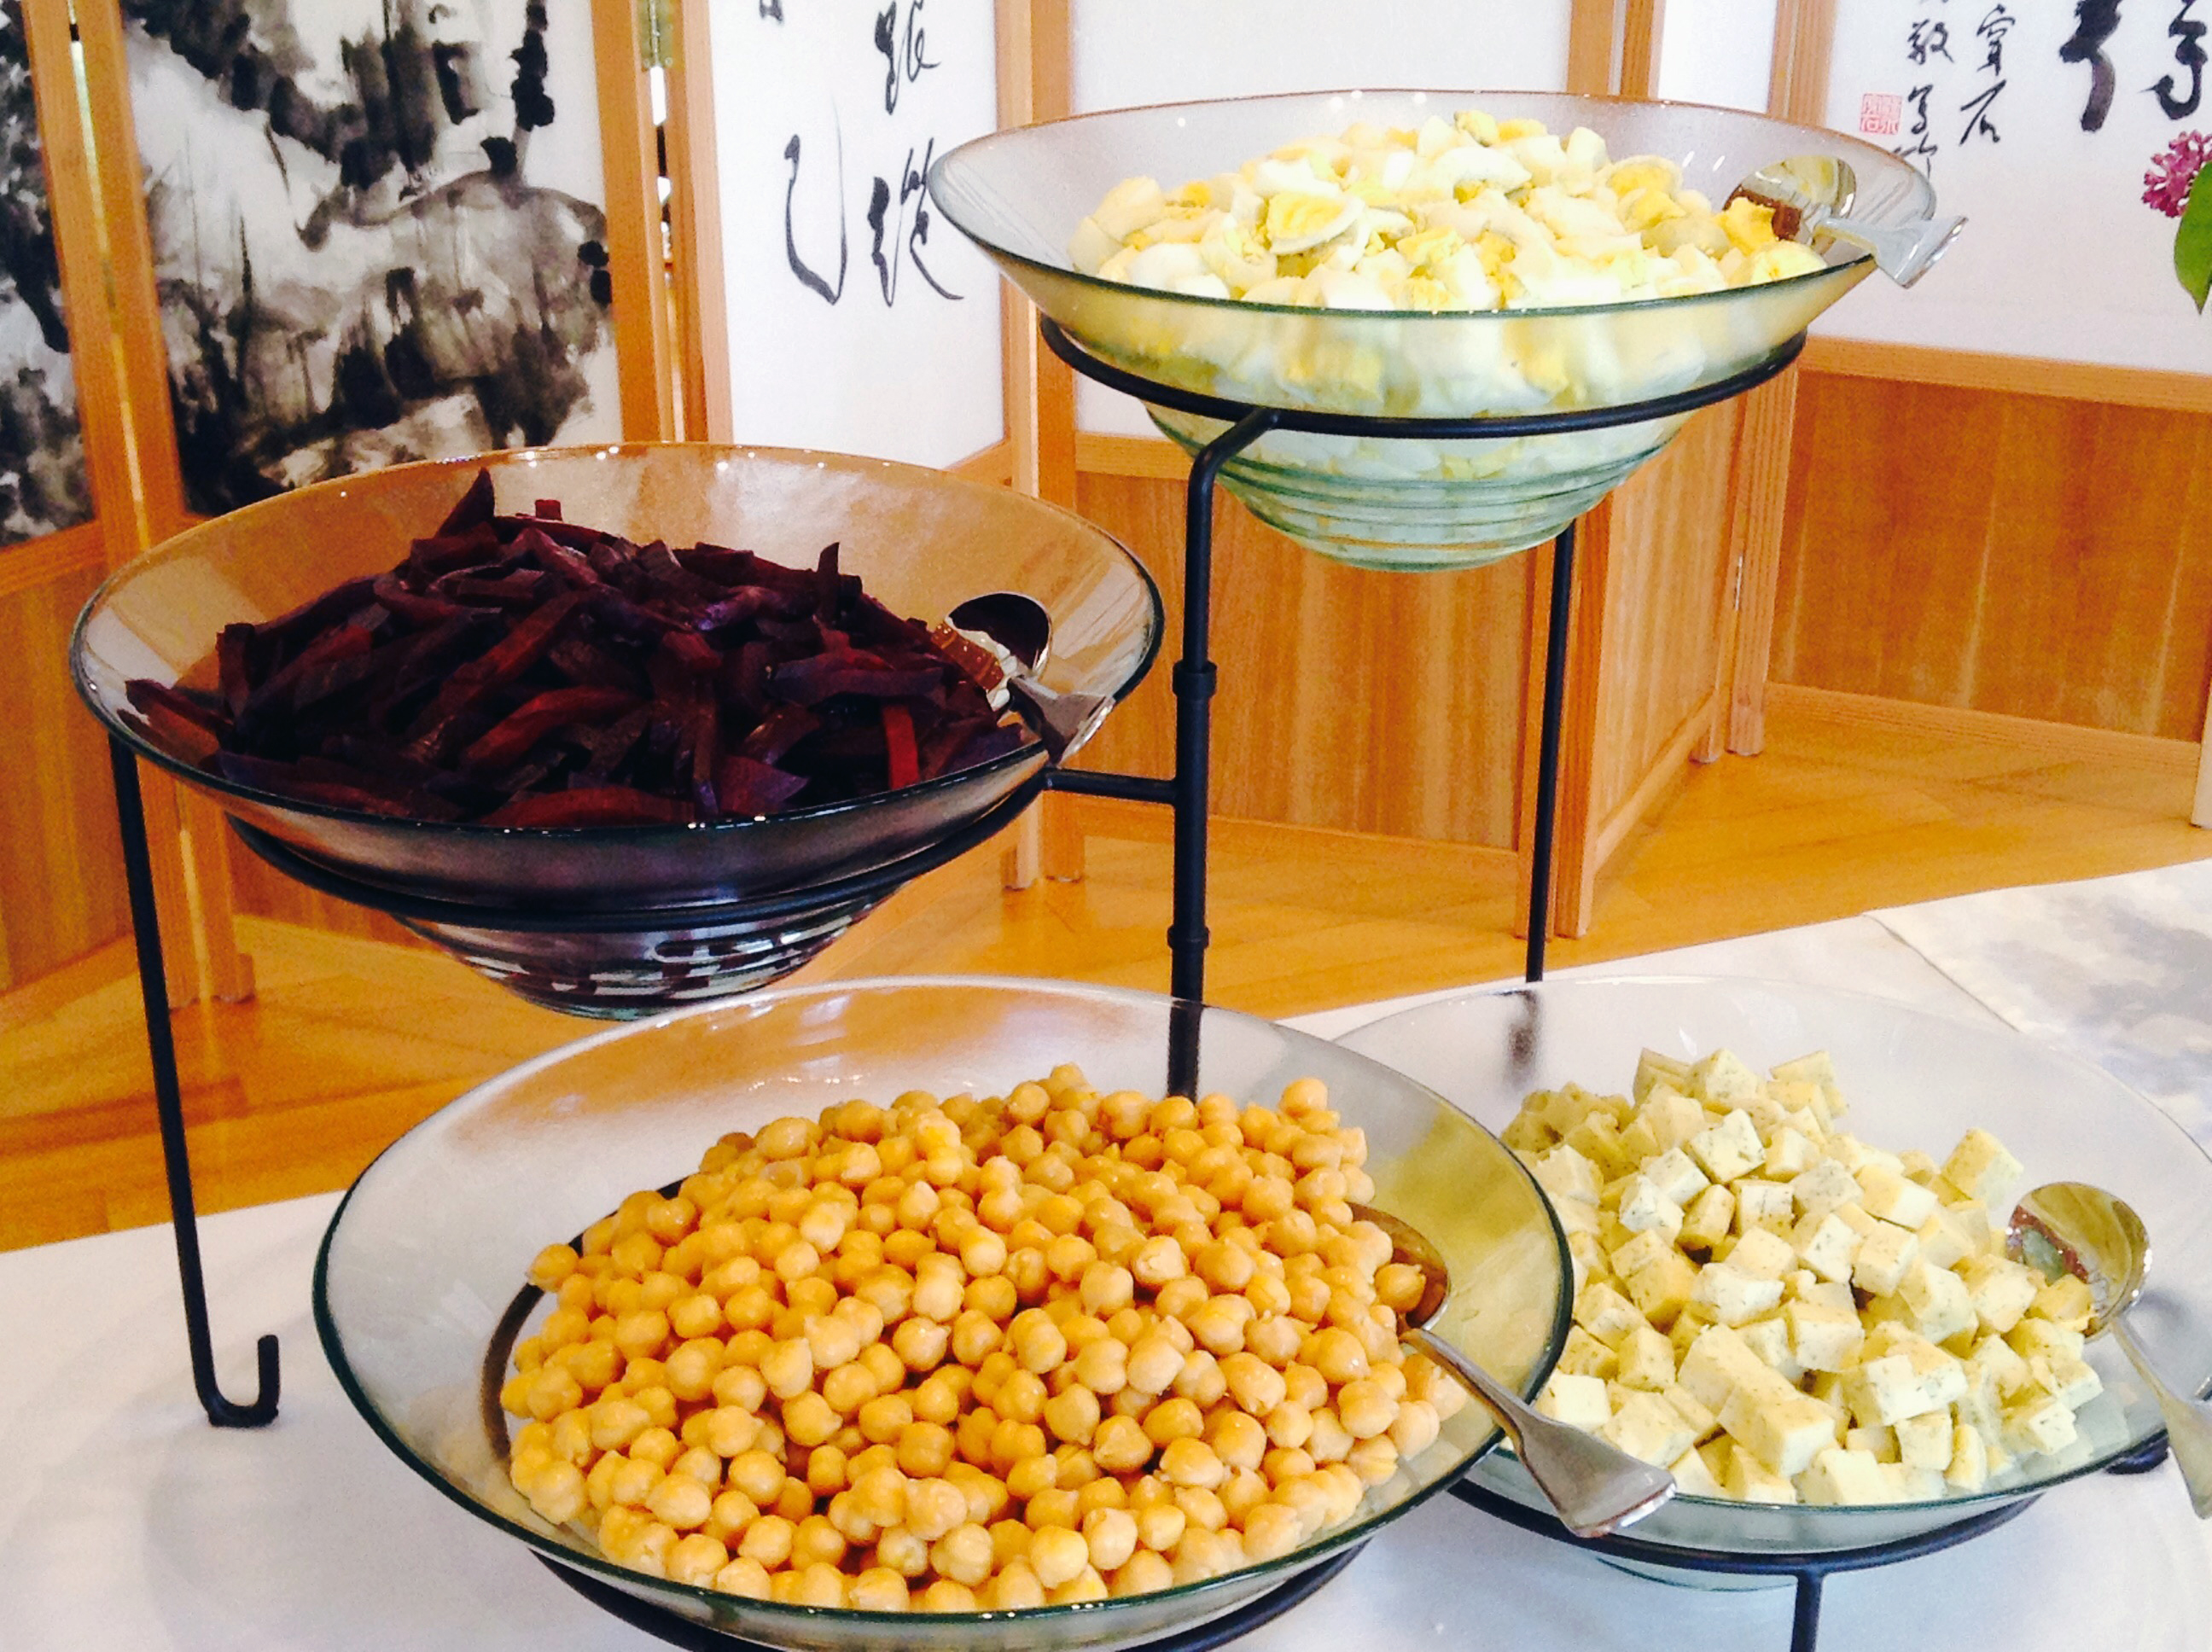
Who doesn’t want to sit down to a fresh, colorful and crispy salad topped with your favorite dressing? The simplicity, the beauty, the different textures all combine to make this lunch time treat such a pleasing and healthy option.
Recently we served this for a retreat, and it received such rave reviews that we thought we’d share our salad bar ideas with you. We haven’t included amounts, because you can make as little or as much as you want. As a guide, people would probably want to plan on 1 Tbsp. of toppings per person. It’s also the perfect “to go” meal – just prep all the toppings, throw them in zip-lock bags or containers and then dish up before serving.
We hope you enjoy some of these ideas as much as we do.
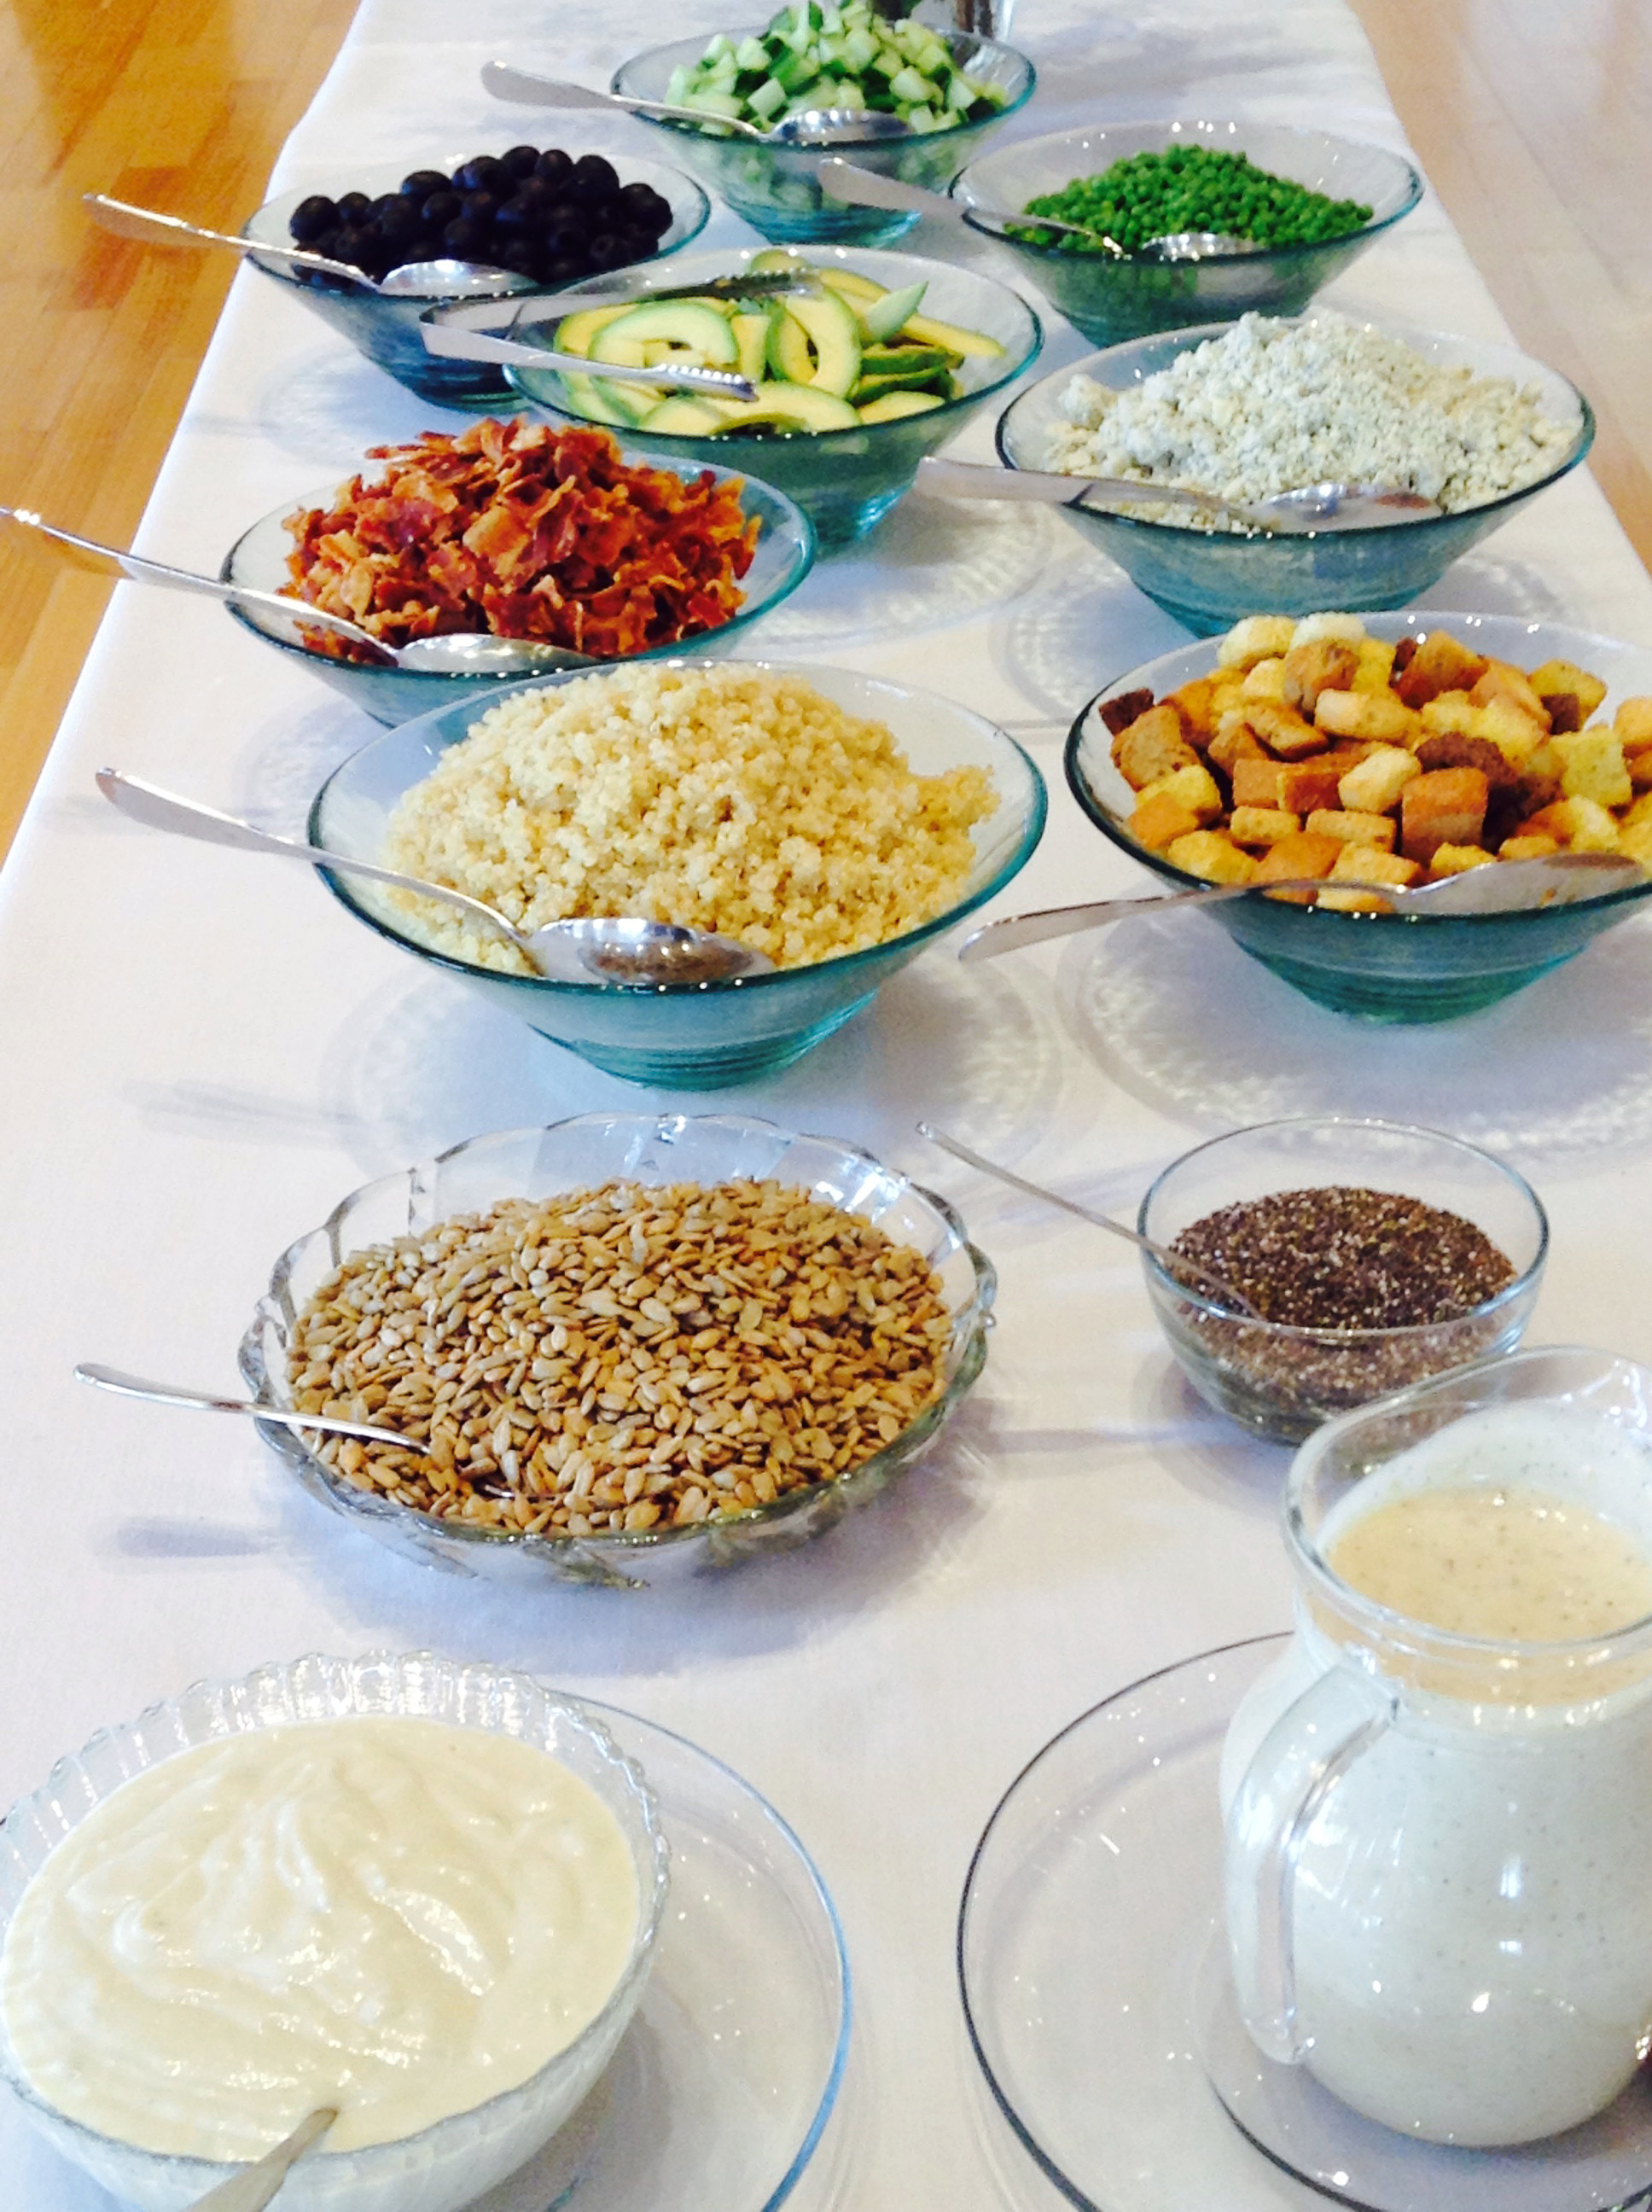
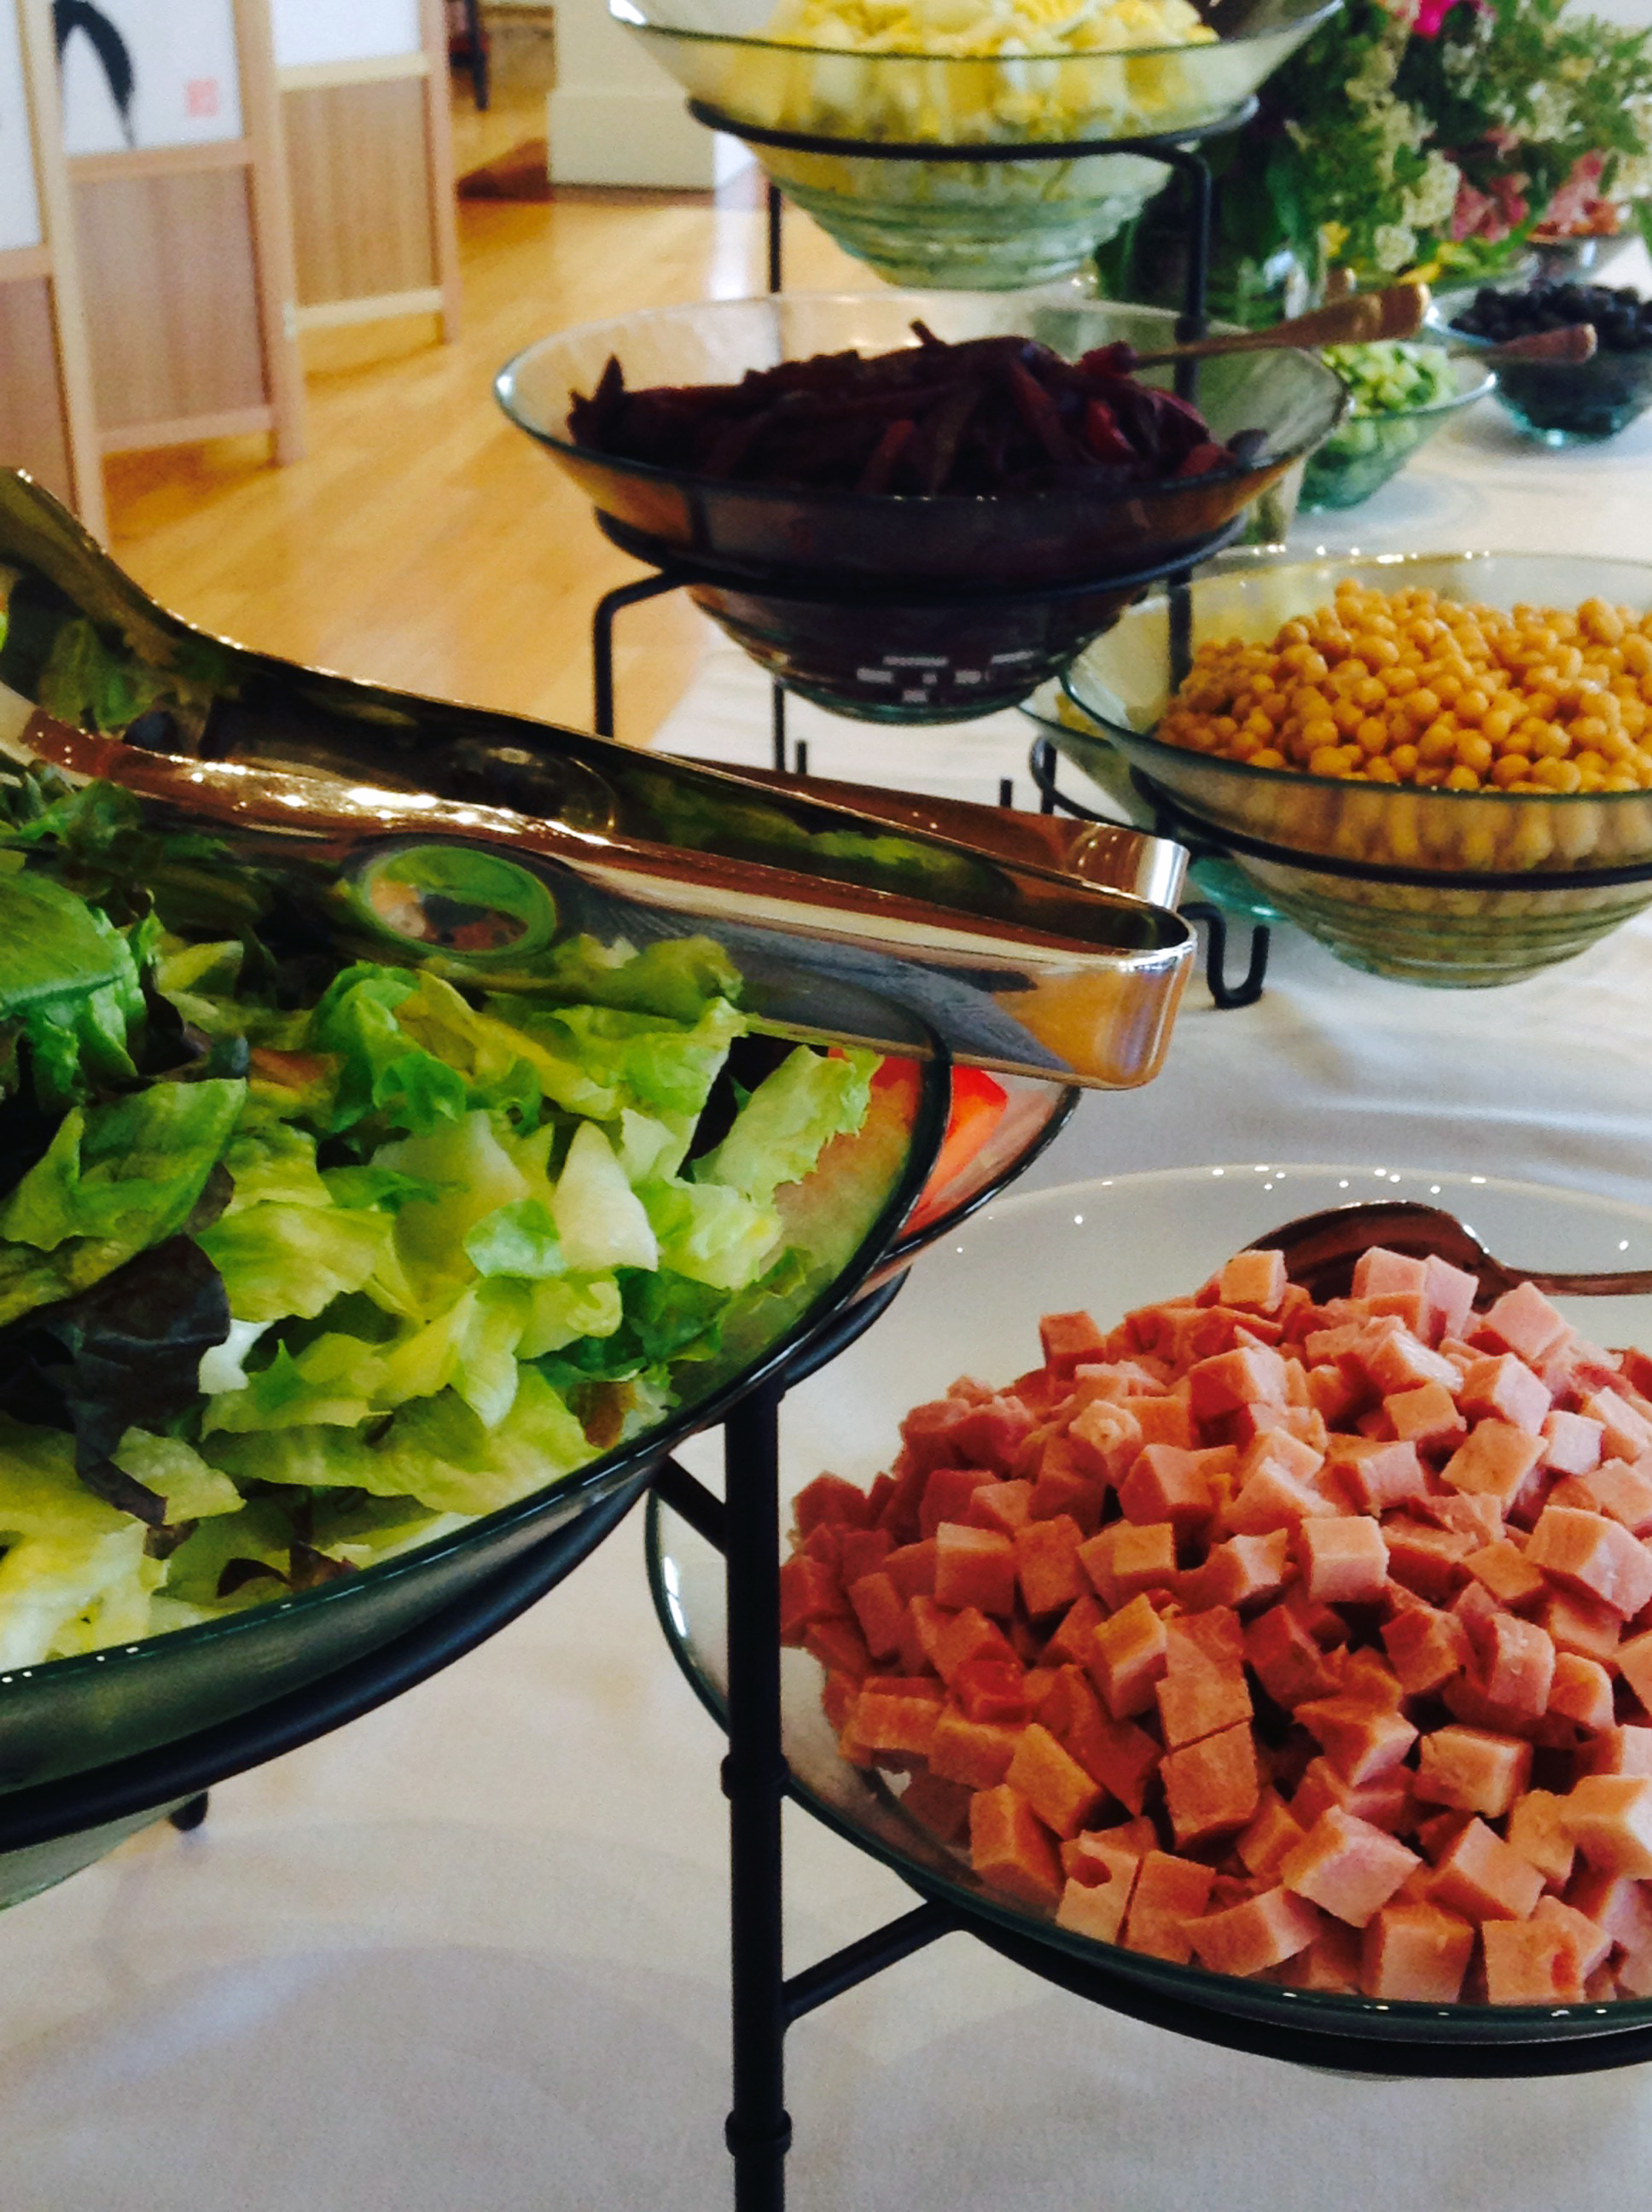
Salad Bar Suggestions:
Lettuce – a blend of iceberg, romaine, bibb and red leaf is nice
diced ham
diced turkey or chicken
hard boiled eggs
cheese – Havarti, swiss, cheddar – all recommended
crumbled gorgonzola
tomatoes, wedged or grape or cherry tomatoes
roasted beets, julienned
avocado
cucumber
celery
olives
grated carrot
broccoli and/or cauliflower flowerets
peas
chopped scallions
sliced red onion
colored peppers
garbanzo beans
cooked lentils
diced cooked bacon
cooked quinoa
sunflower seeds, roasted and salted
chia seeds
toasted nuts – such as walnuts or pecans
croutons
An Assortment of Homemade Dressings – click on the link for the recipes
Homemade Bleu Cheese Dressing
Green Goddess Salad Dressing
English Garden Salad Dressing
Balsamic Vinaigrette
Print Recipe
Votes: 0
Rating: 0
You:
Rate this recipe!
Salad Bar!
SERVINGSHowever much you want
|
COOK TIME0 |
PREP TIME1 hour (or less) |
READY IN1hour |
Ingredients
Instructions
Homemade Bleu Cheese Dressing
- Makes 1 cup (250ml), about four servings
If you can’t get buttermilk, mix one part milk (whole or lowfat) with one part plain yogurt (regular or lowfat) to approximate the taste. Any kind of blue cheese, domestic or imported, should work well.
- In a medium bowl, mash the blue cheese with the salt and pepper with the back of a fork until the pieces of cheese are finely broken up.
- Stir in the chives, sour cream, buttermilk, and lemon juice or wine vinegar until well mixed.
- Add a few drops of red wine vinegar. Taste, and adjust any of the seasonings to your liking and if the dressing too thick, add a bit more buttermilk.
*Recipe adapted from David Lebovitz
Green Goddess Salad Dressing
- Place the mayonnaise, scallions, basil, lemon juice, garlic, anchovy paste, salt and pepper in a blender and blend until smooth.
- Add the sour cream and process just until blended. Refrigerate the dressing until ready to serve.
English Garden Salad Dressing
- Combine all but the oils in a bowl and whisk. Slowly whisk in the oils to combine.
Balsamic Vinaigrette
- Combine the olive oil, balsamic vinegar, honey, Dijon mustard, shallot, garlic, salt, and black pepper together in a glass jar with a lid.
- Replace lid on the jar and shake vigorously until thoroughly combined.