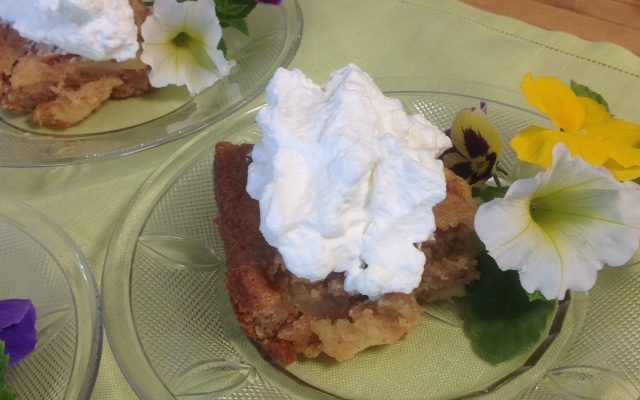
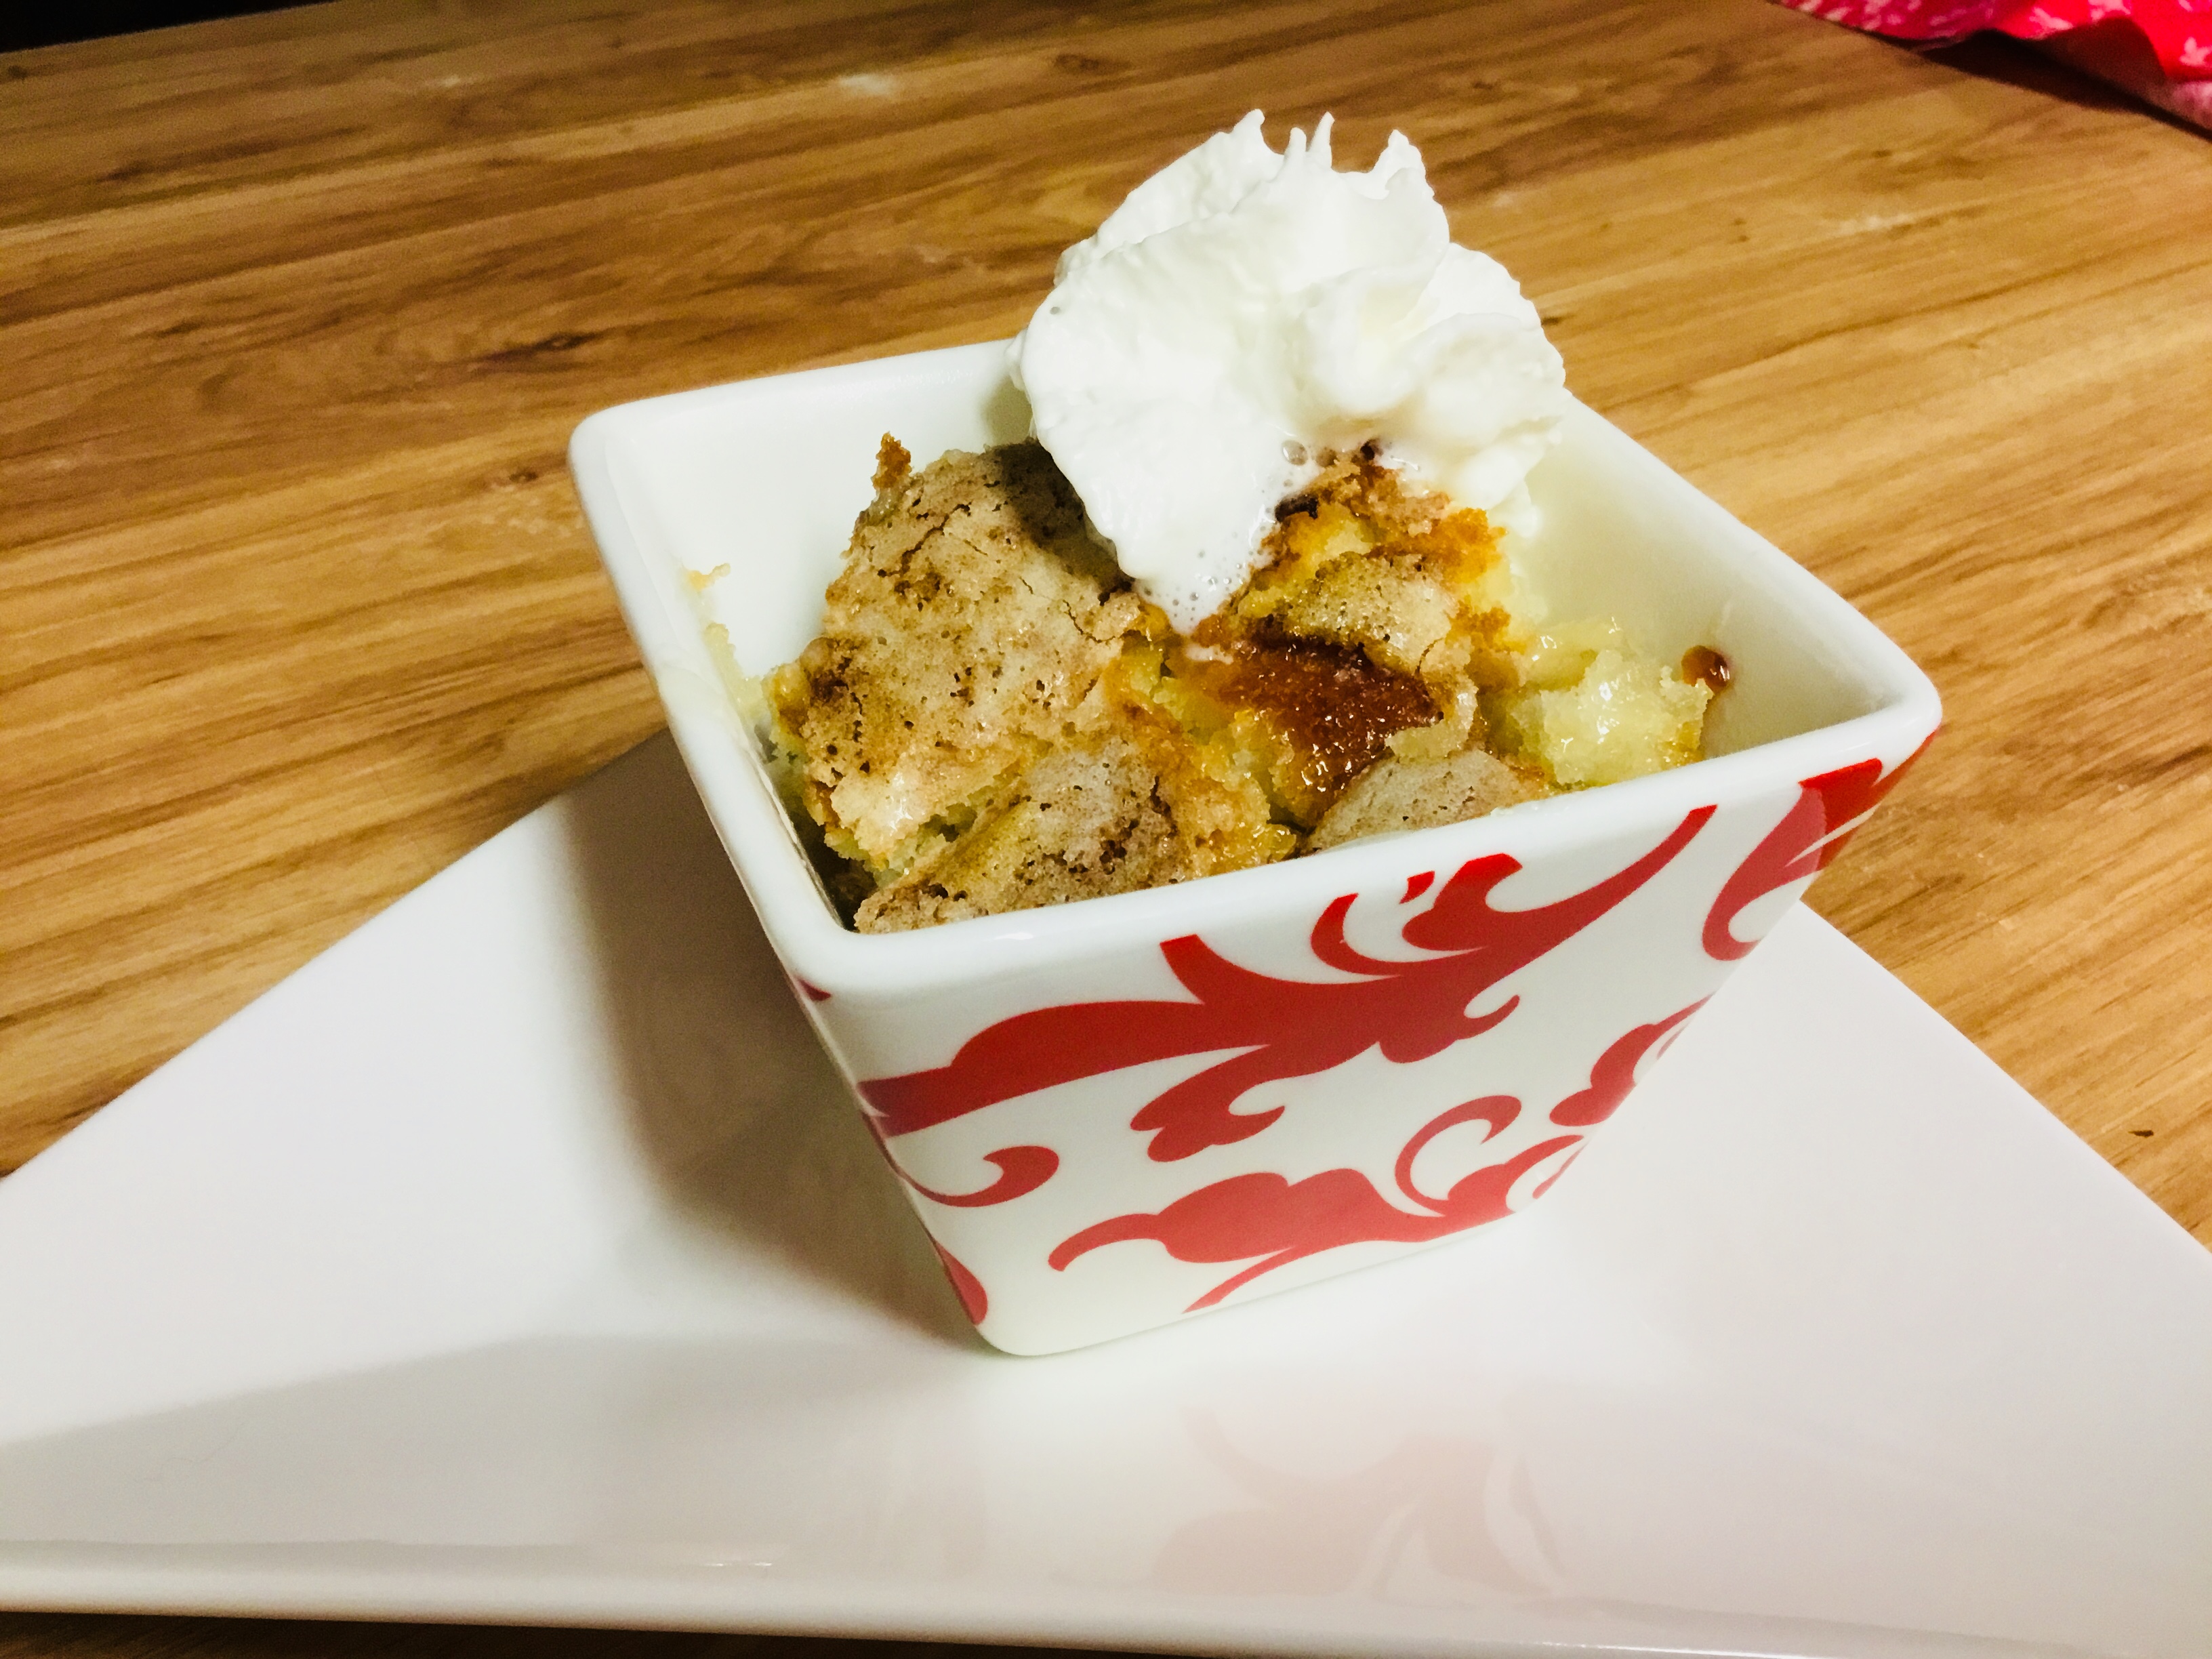
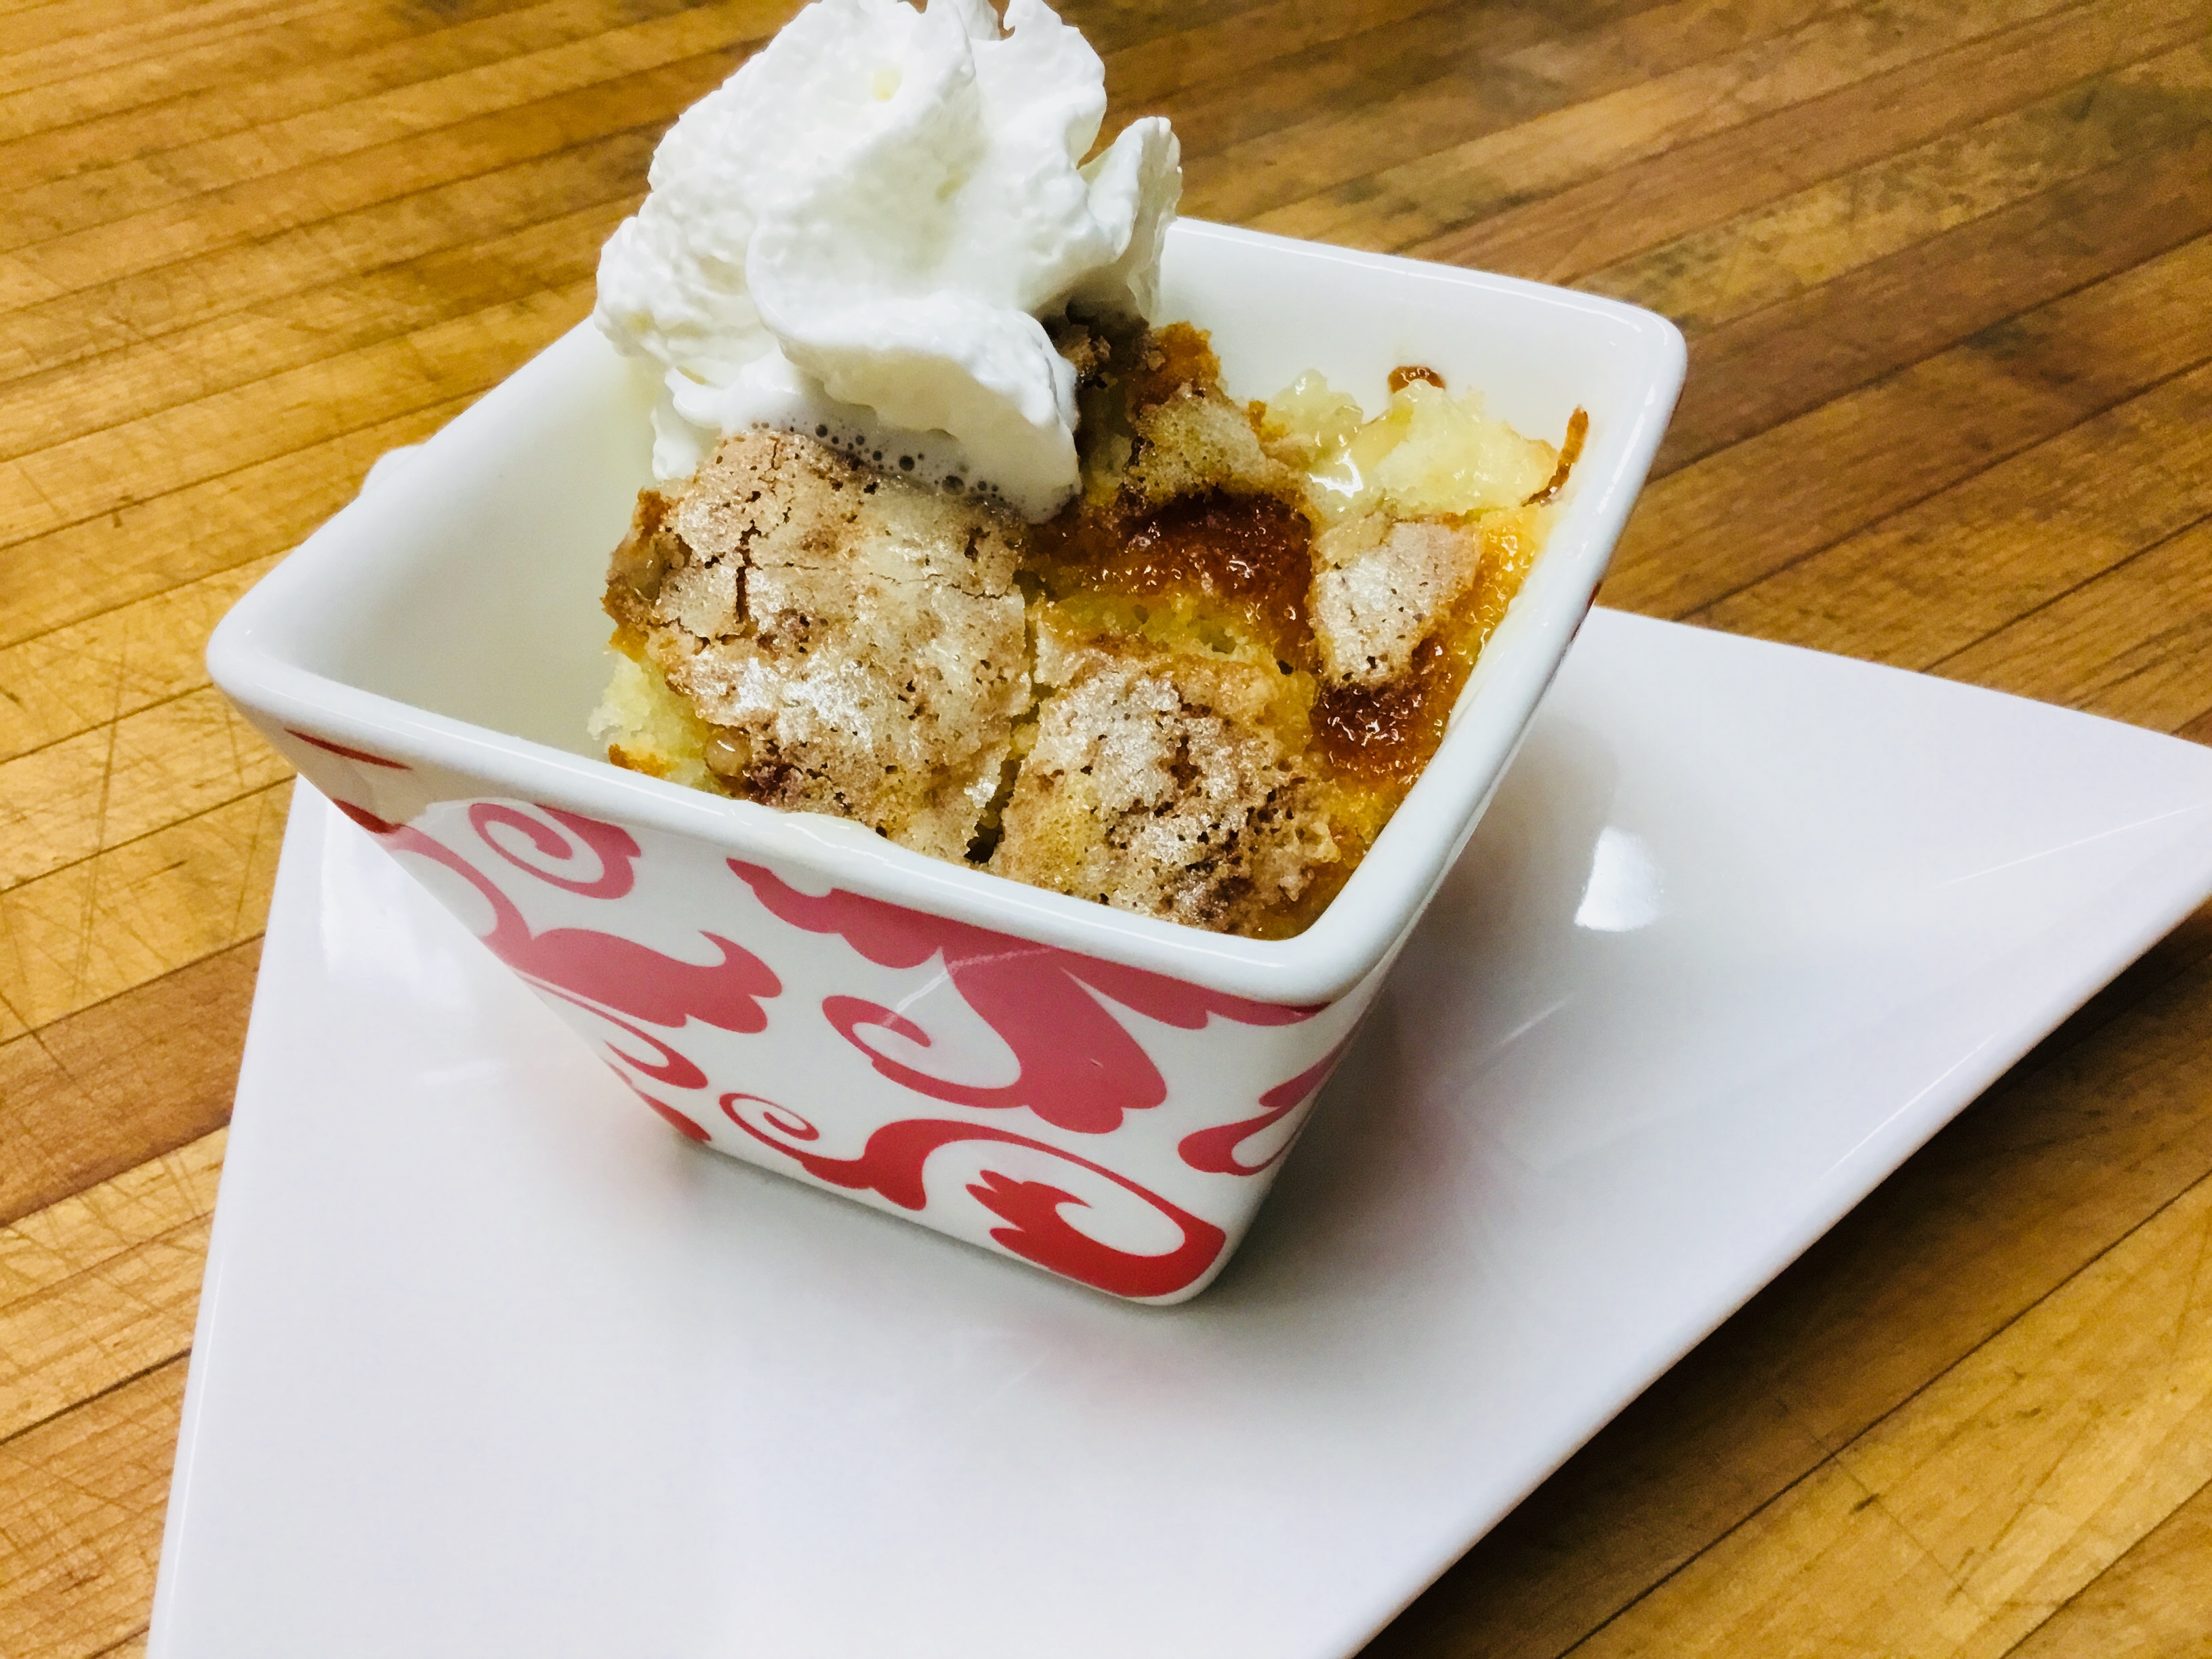
I love the way God slips blessings into our lives—sometimes in the most unexpected, unusual, personal ways. Perhaps it would mean nothing to someone else, but somehow you know He did that, and He did it just for you! Decades ago, I was walking the beach after a hurricane, checking out the damage, and as I looked down I spotted what looked like a 3×5 recipe card—roughed up a bit and written in a scrawl, it read Simple Apple cake. Being not much of a cook in those days, the work “simple” jumped out and decades later I’m still using it—simple, delicious, quintessential comfort food!
Print Recipe
Votes: 2
Rating: 5
You:
Rate this recipe!
Hidden Blessing
SERVINGS6-8servings
|
COOK TIME30mins |
PREP TIME12mins |
READY IN45mins |
Ingredients
Instructions
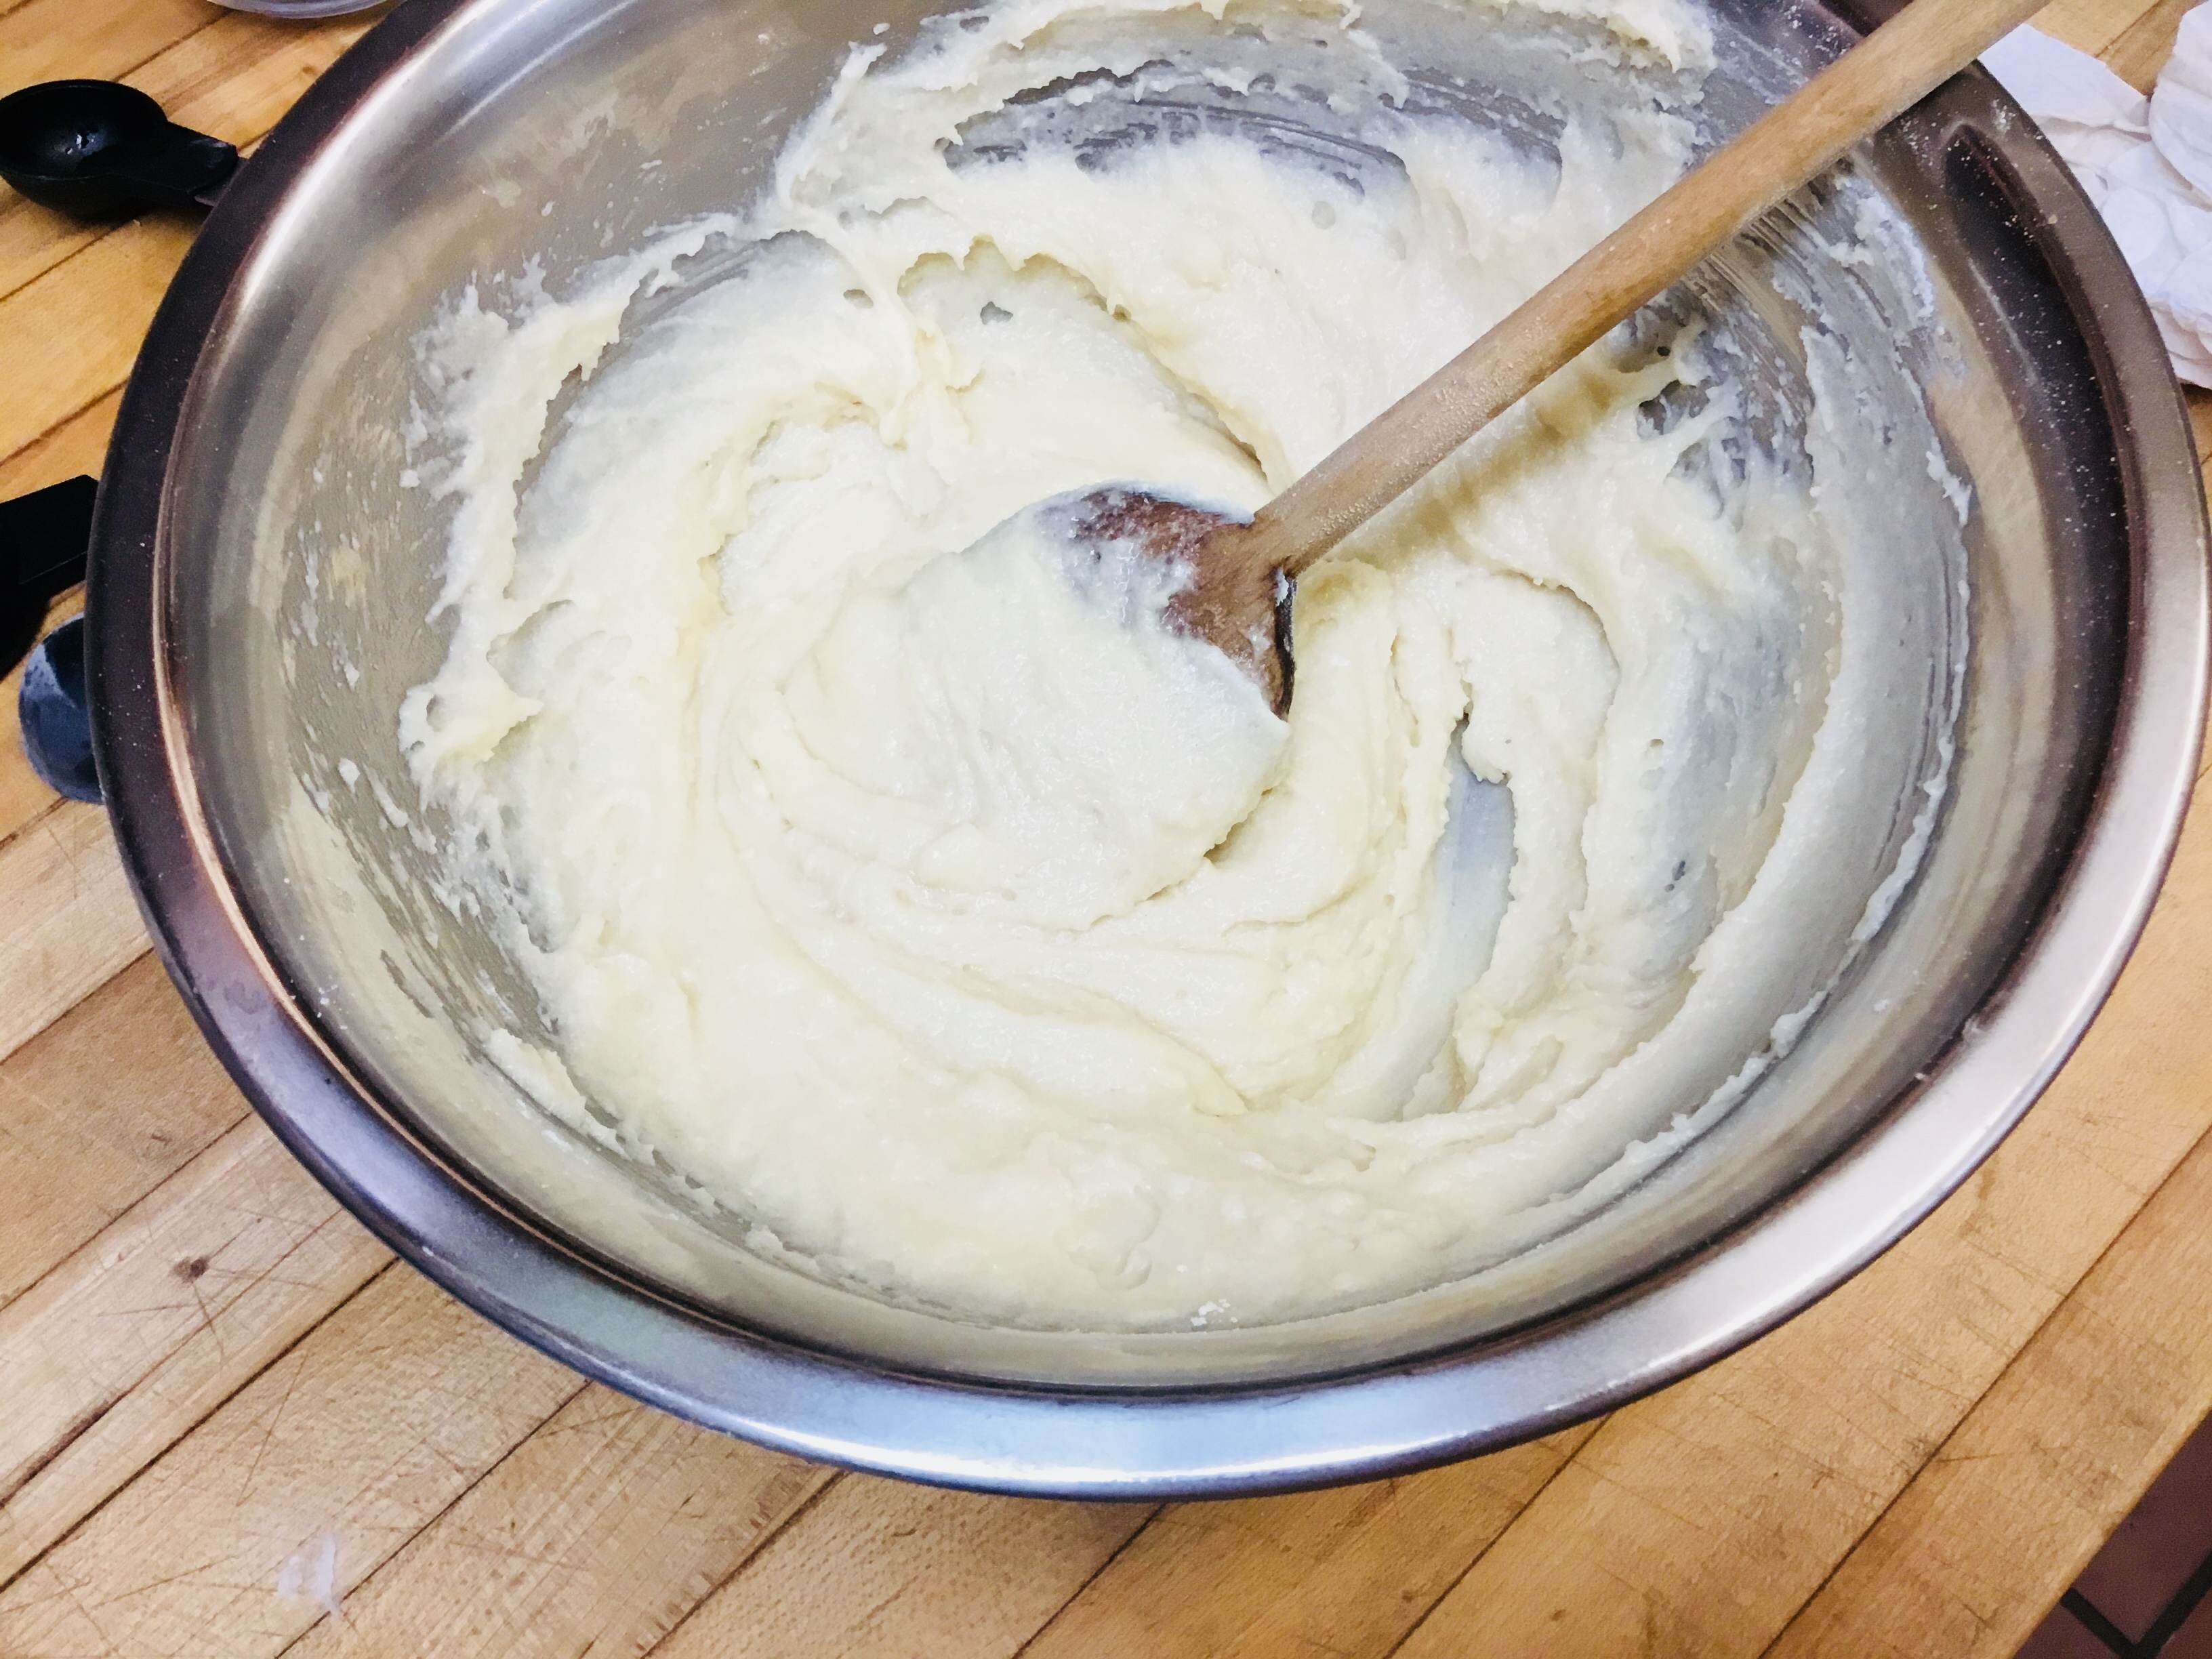
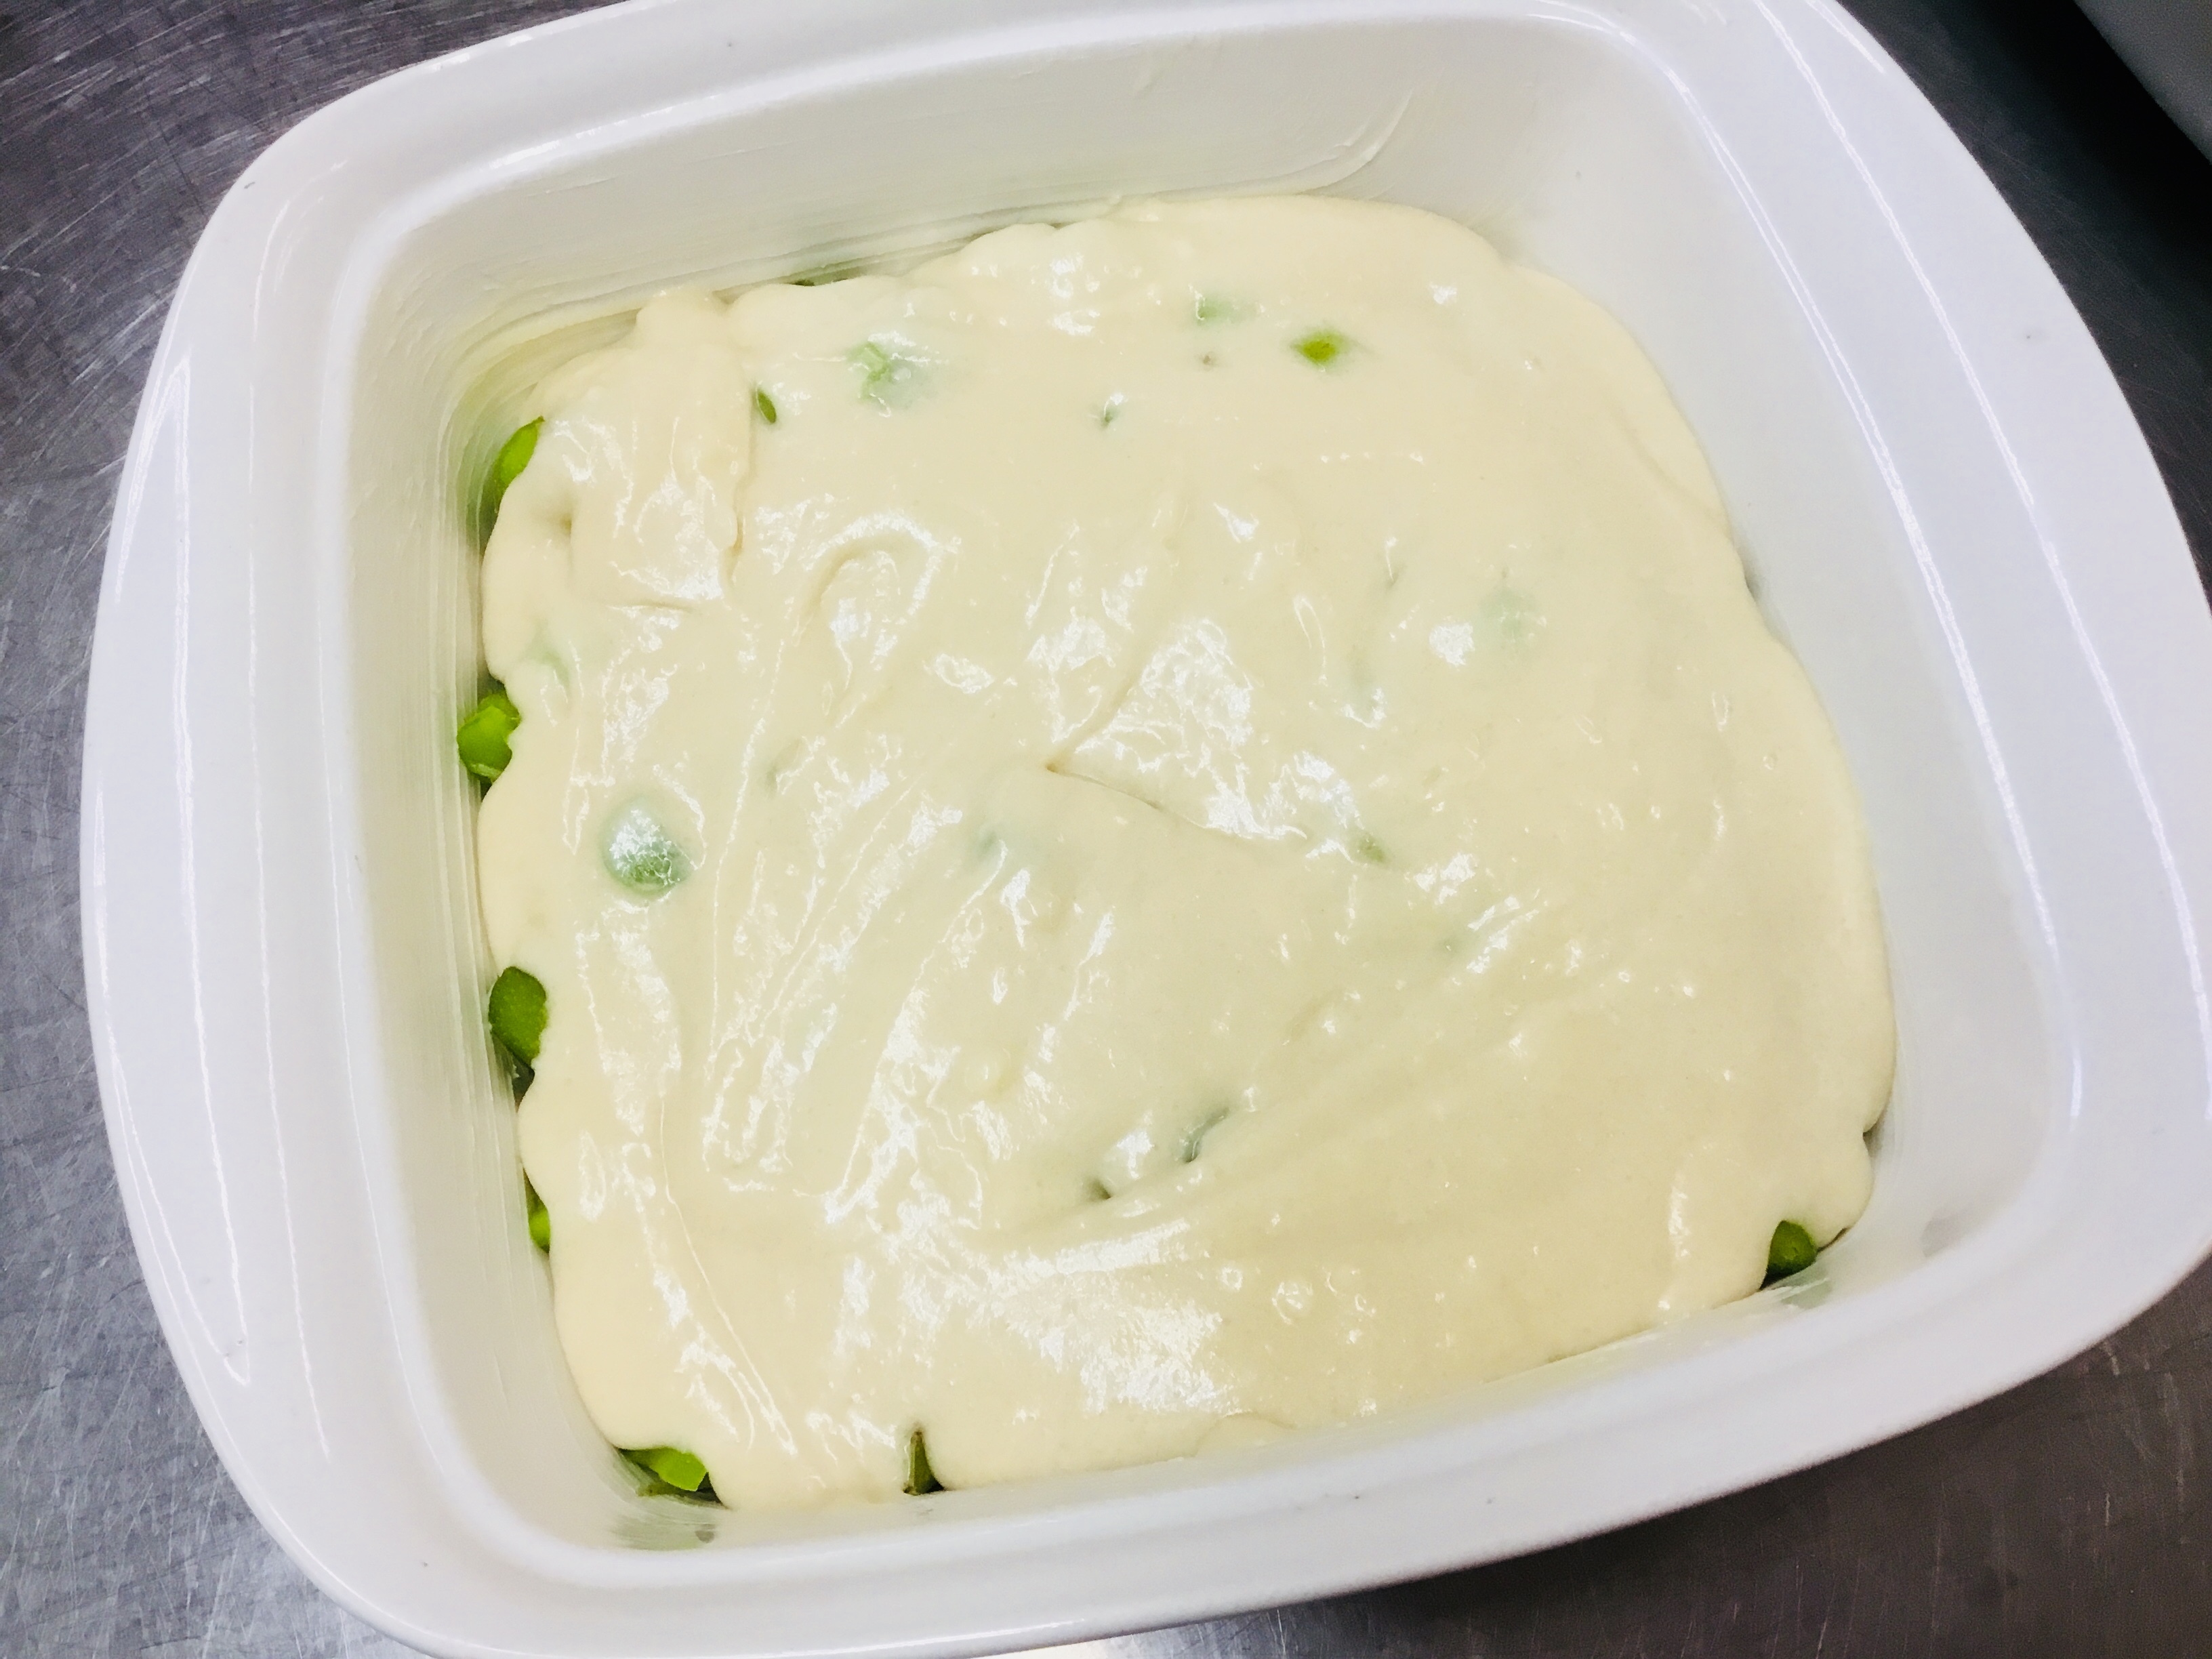
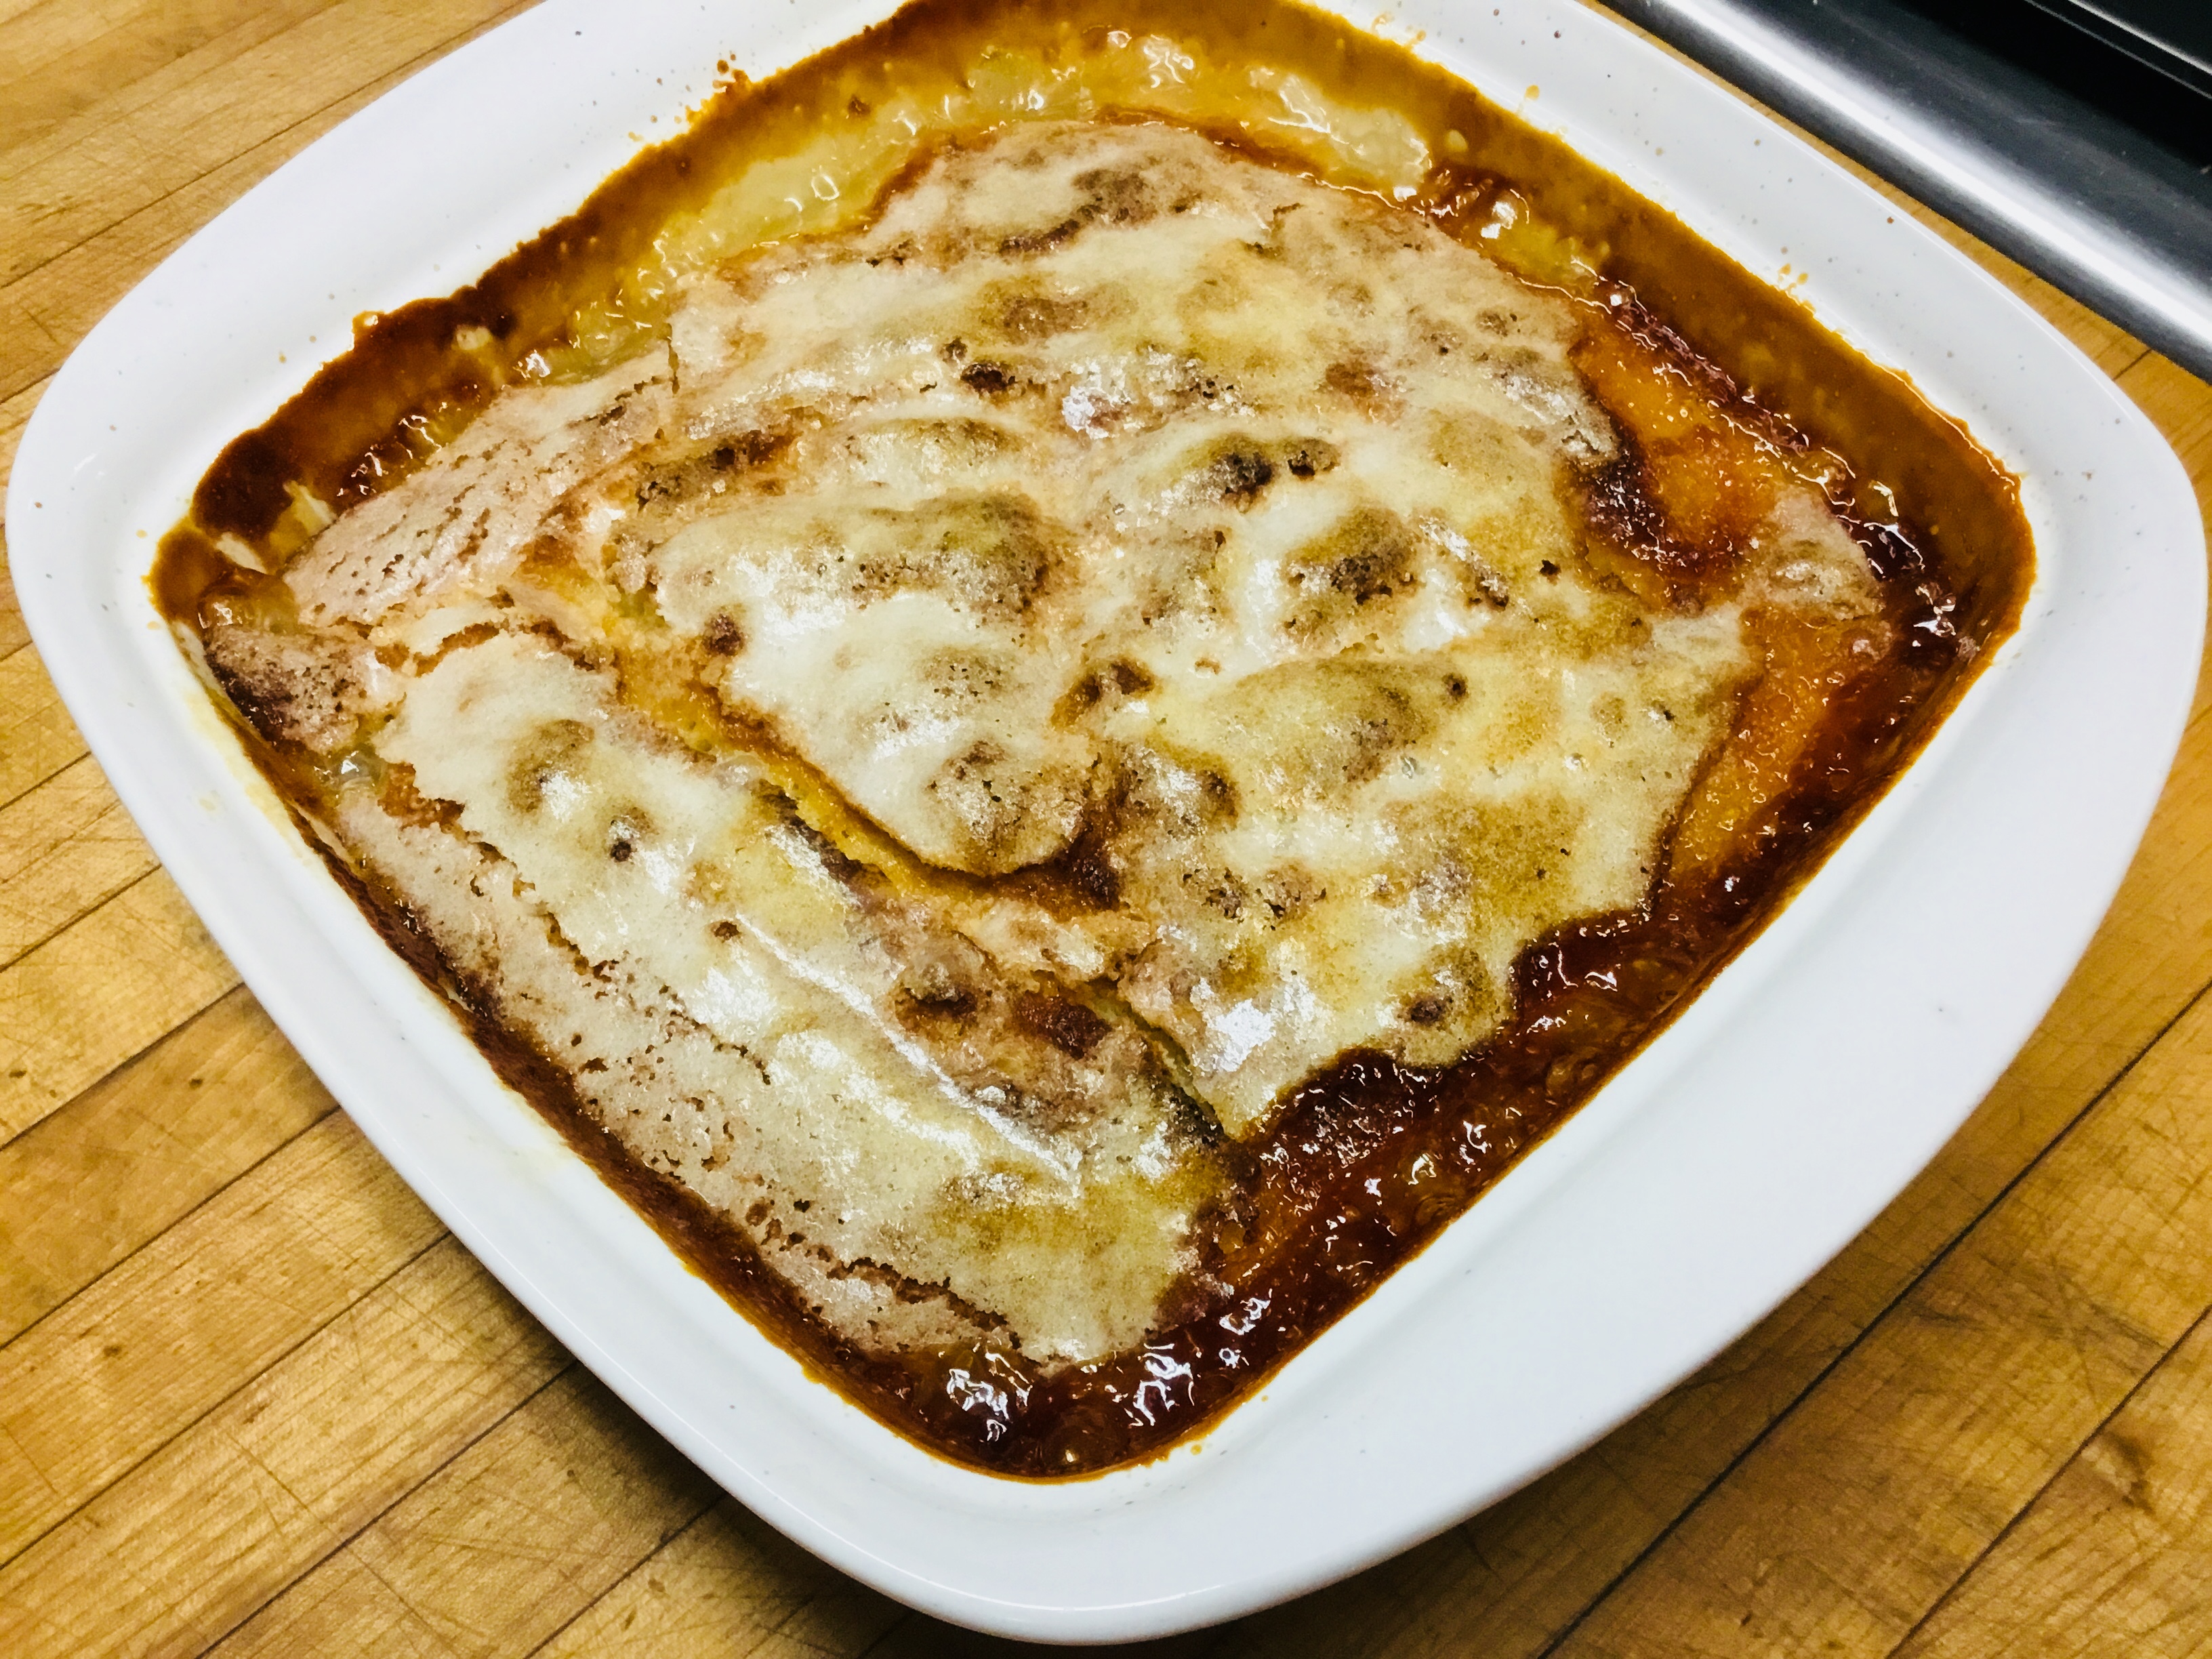
- Mix all together in a bowl.
- Bake in a greased and floured 9” pan for 30 minutes at 350.
- Serve warm with a generous dollop of whipped cream!
Years ago, we were asked by the local Episcopal church to help them with their annual Devonshire Tea, a lovely traditional English tea served every summer in the church gardens.
The lady who for many years had been responsible for them, met with me to discuss the details. The simple menu consisted of three items: biscuits, coddled cream, and strawberry preserves. Her main concern was the size and shape of the biscuits. To ensure their correctness, she carefully sketched them on a page from her personal notebook and gave the page to me.
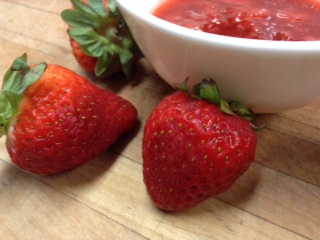
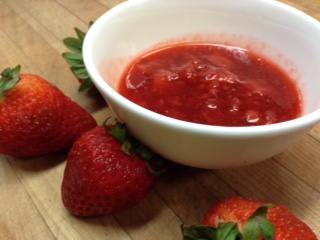
The biscuits’ size and shape were of utmost importance! She was certain I would make the cream perfectly, and as far as the preserves were concerned, any I chose would be fine. My choice was a vibrant colored fresh strawberry jam sometimes referred to as “freezer jam”, although none I’ve ever made stayed around long enough to reach the
freezer!
Perfect for the occasion, it met with great applause and added a most beautiful touch to this splendid event.
Print Recipe
Votes: 1
Rating: 5
You:
Rate this recipe!
Strawberry Freezer Jam
SERVINGS
|
COOK TIME5mins |
PREP TIME10mins |
READY IN25mins (plus 24 hr setting time) |
Ingredients
Instructions
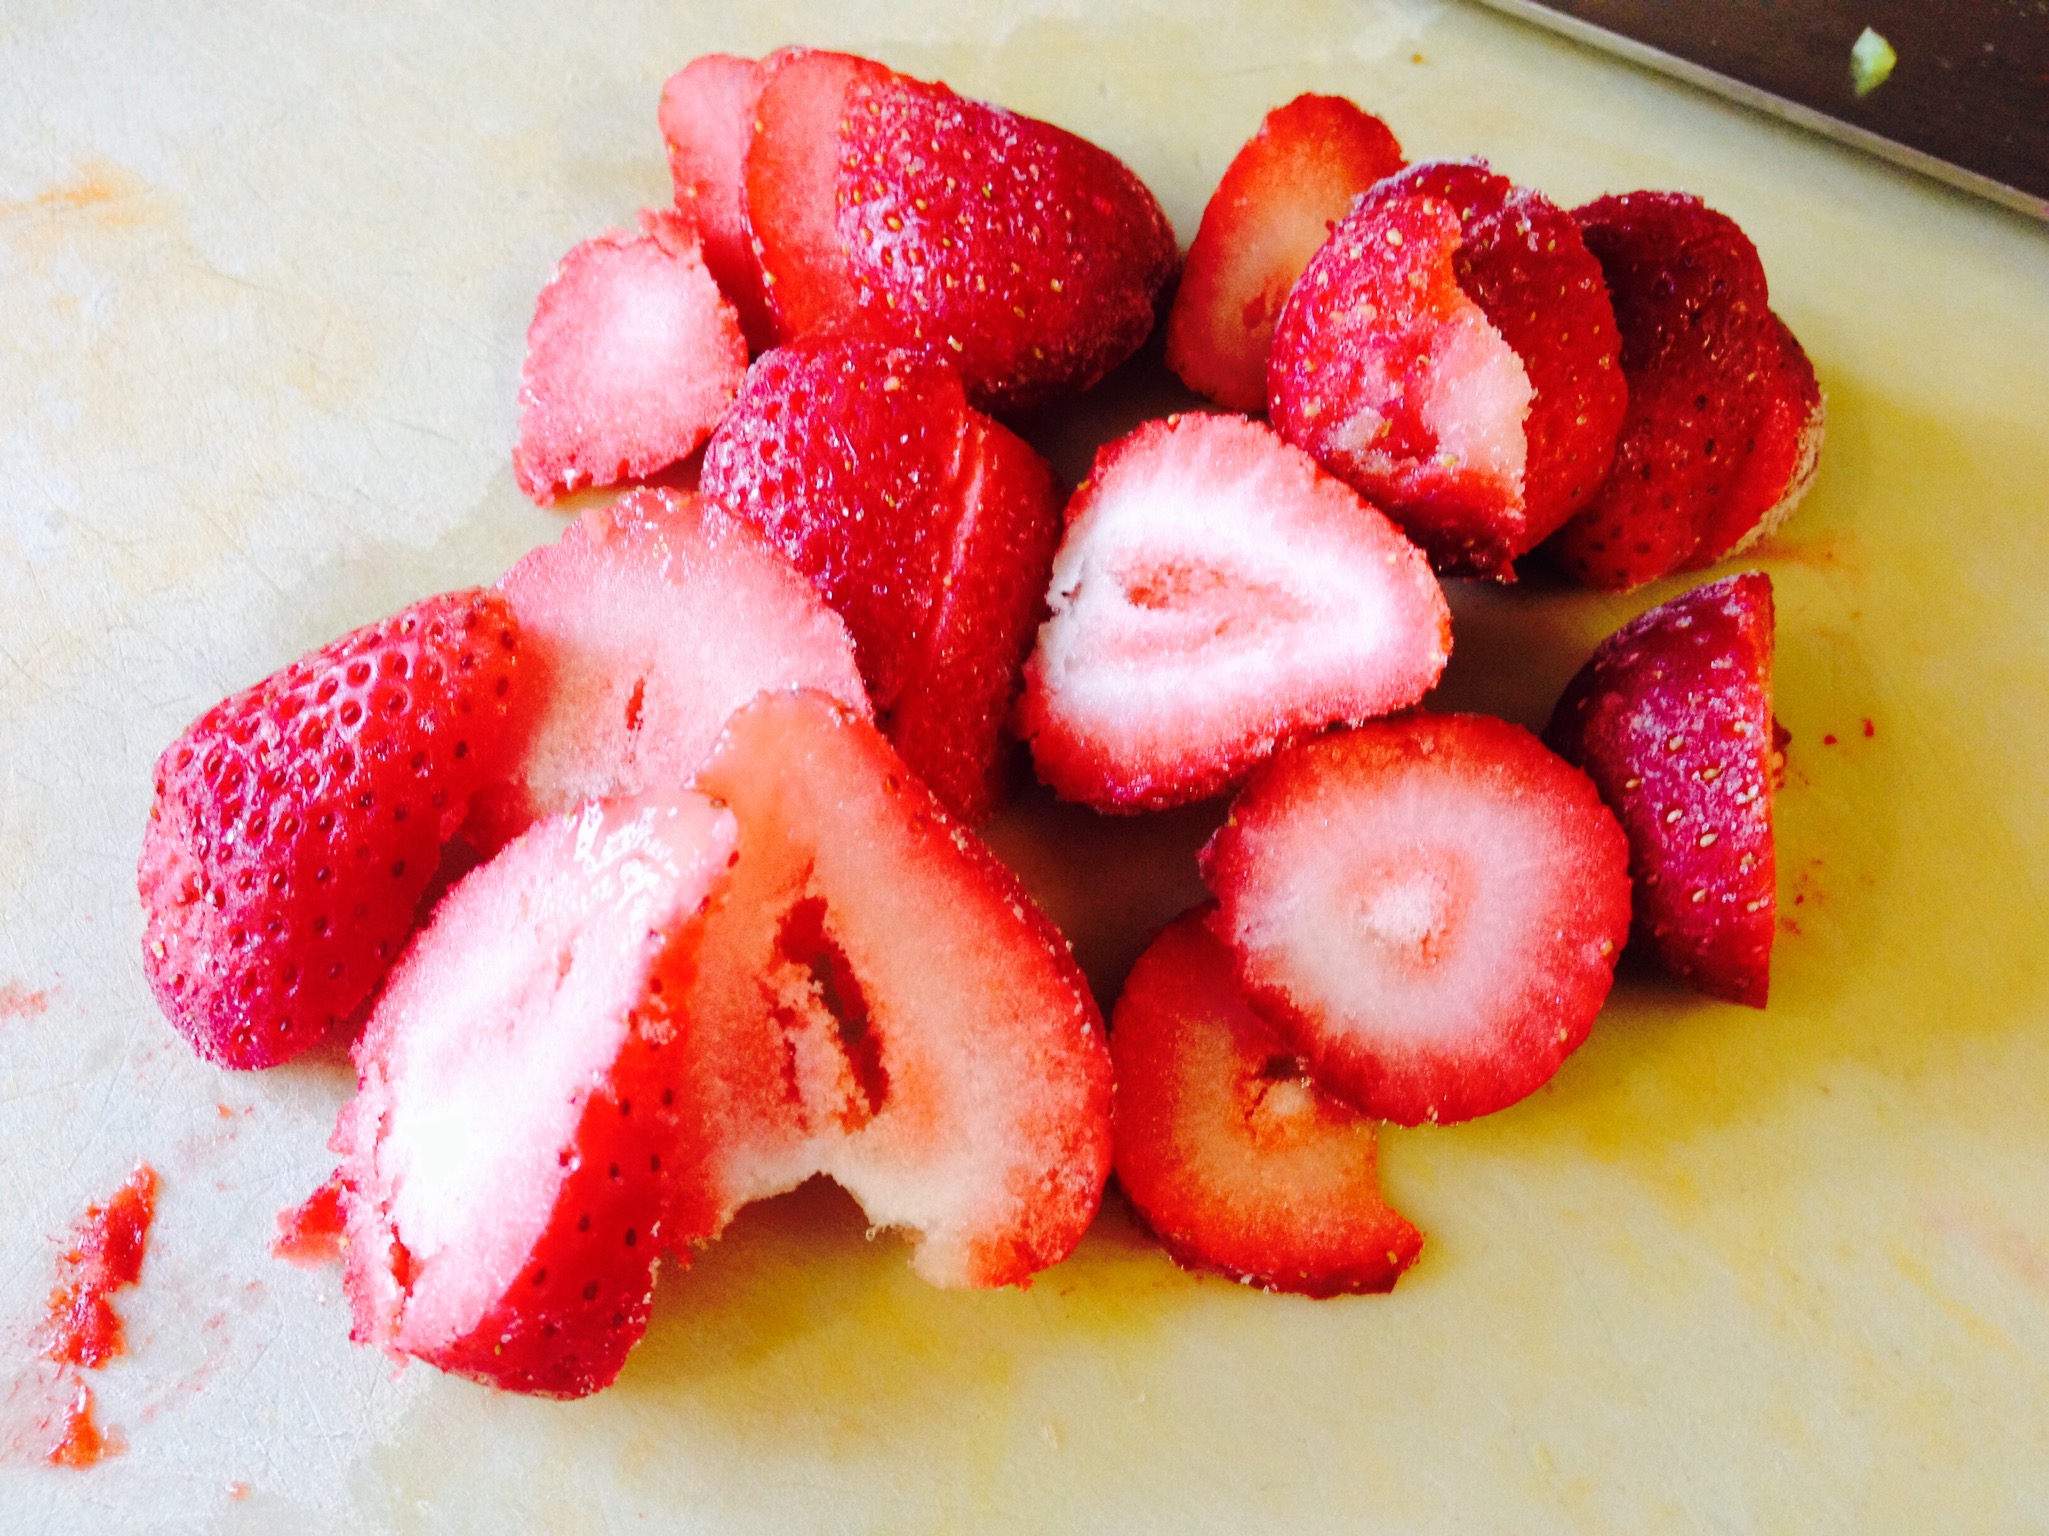
- Combine crushed strawberries with sugar, and let stand for 10 minutes.
- While the strawberries sit, dissolve the pectin into the water in a small saucepan and bring to a boil over medium-high heat and boil for 1 minute.
- Remove from heat and add the salt and lemon juice to the saucepan.
- Stir the boiling water into the strawberries and allow to stand for 3 minutes.
- Pour jam into containers and let set overnight or for 24 hours.
Enjoy with coddled cream and biscuits or as an ice cream topping, in a milkshake, or on toast...the possibilities are endless!
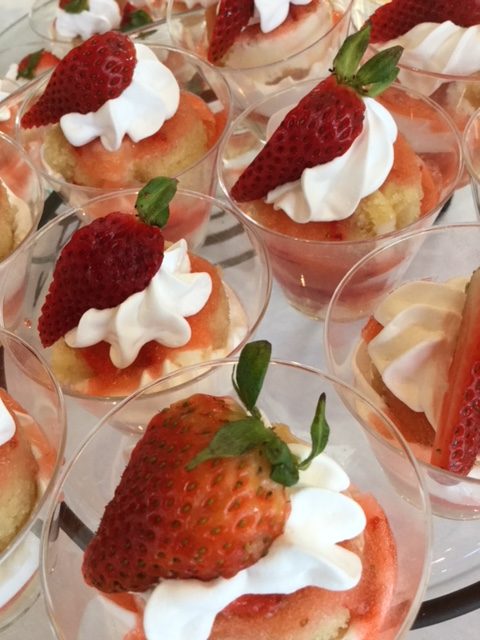
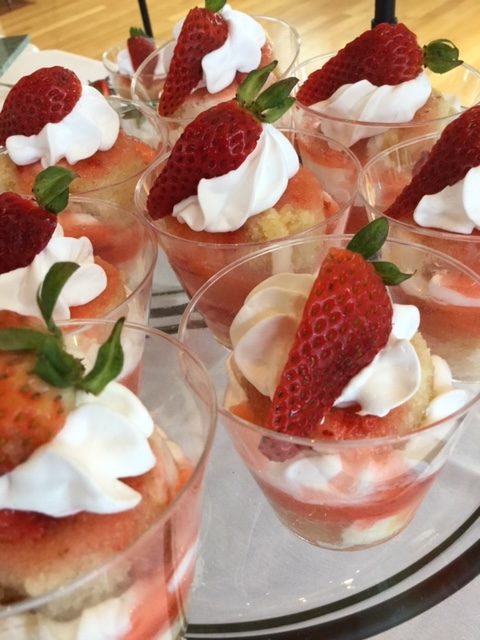
Birthdays are joyous occasions, and with so many Sisters in the Convent, there are bound to be several birthday celebrations each month. This is especially true with what we refer to as “big birthdays”, birthdays that mark a new decade in the life of a sister. Over the weekend, we celebrated the 70th birthday of one of our sisters with a beautiful dinner for all. The meal ended with one of our most favorite desserts: Vanilla Bean Panna Cotta. While not a traditional birthday cake, this was no less festive as it also featured a delicious mango puree.
Dense, creamy and with minimal ingredients you most likely already have in your kitchen, this is a great way to mark special occasions this summer. Served chilled with fresh berries, this may well become a favorite with you and your guests!
Print Recipe
Votes: 0
Rating: 0
You:
Rate this recipe!
Vanilla Bean Panna Cotta with Mango Puree
SERVINGS6-8servings
|
COOK TIME15mins, plus chilling time (overnight/6hours) |
PREP TIME15mins |
READY IN30mins, plus chilling time |
Ingredients
Instructions
- Place the cream in a saucepan and scrape out the seeds of the vanilla bean with a knife, adding the seeds to the cream.
- Add the sugar and bring to a simmer over medium-low heat, stirring occasionally.
- In a separate bowl, sprinkle the gelatin over the milk and let stand until the gelatin softens, about 5 minutes.
- Pour the gelatin mixture into the cream and vanilla bean mixture and stir until dissolved.
- Add the yogurt and stir to thoroughly incorporate.
- Pour evenly into six to eight ramekin and cover with plastic wrap. Chill for 6 hours or overnight for the panna cotta to set.
- As this is chilling, prepare the mango puree by combining the fruit, sugar, lemon juice and salt in a blender or food processor. Chill in a bowl until panna cotta is ready to serve.
To Serve
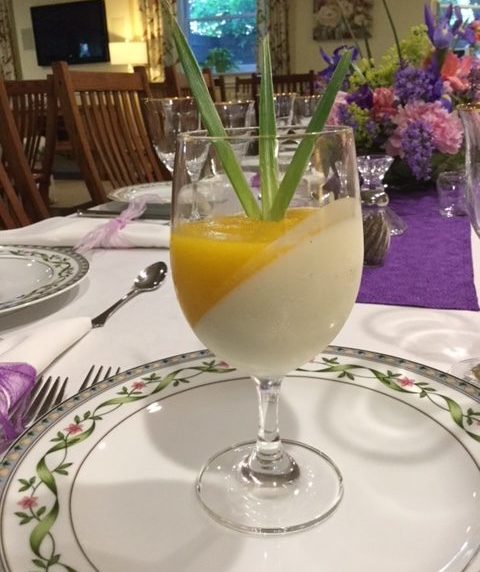
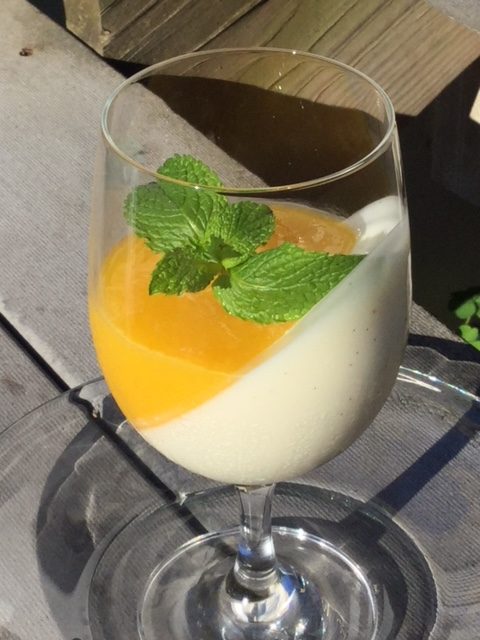
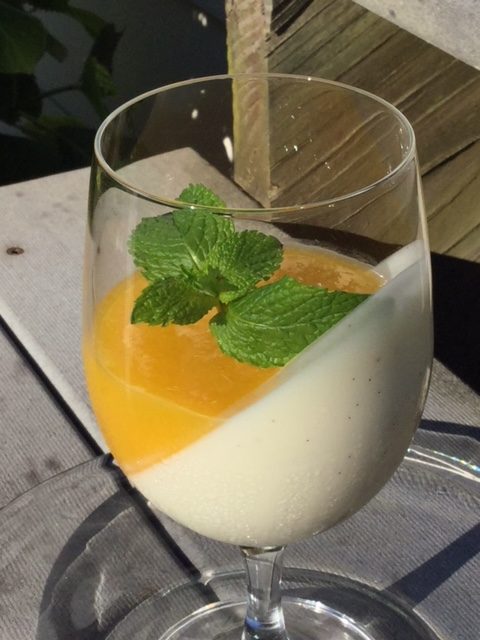
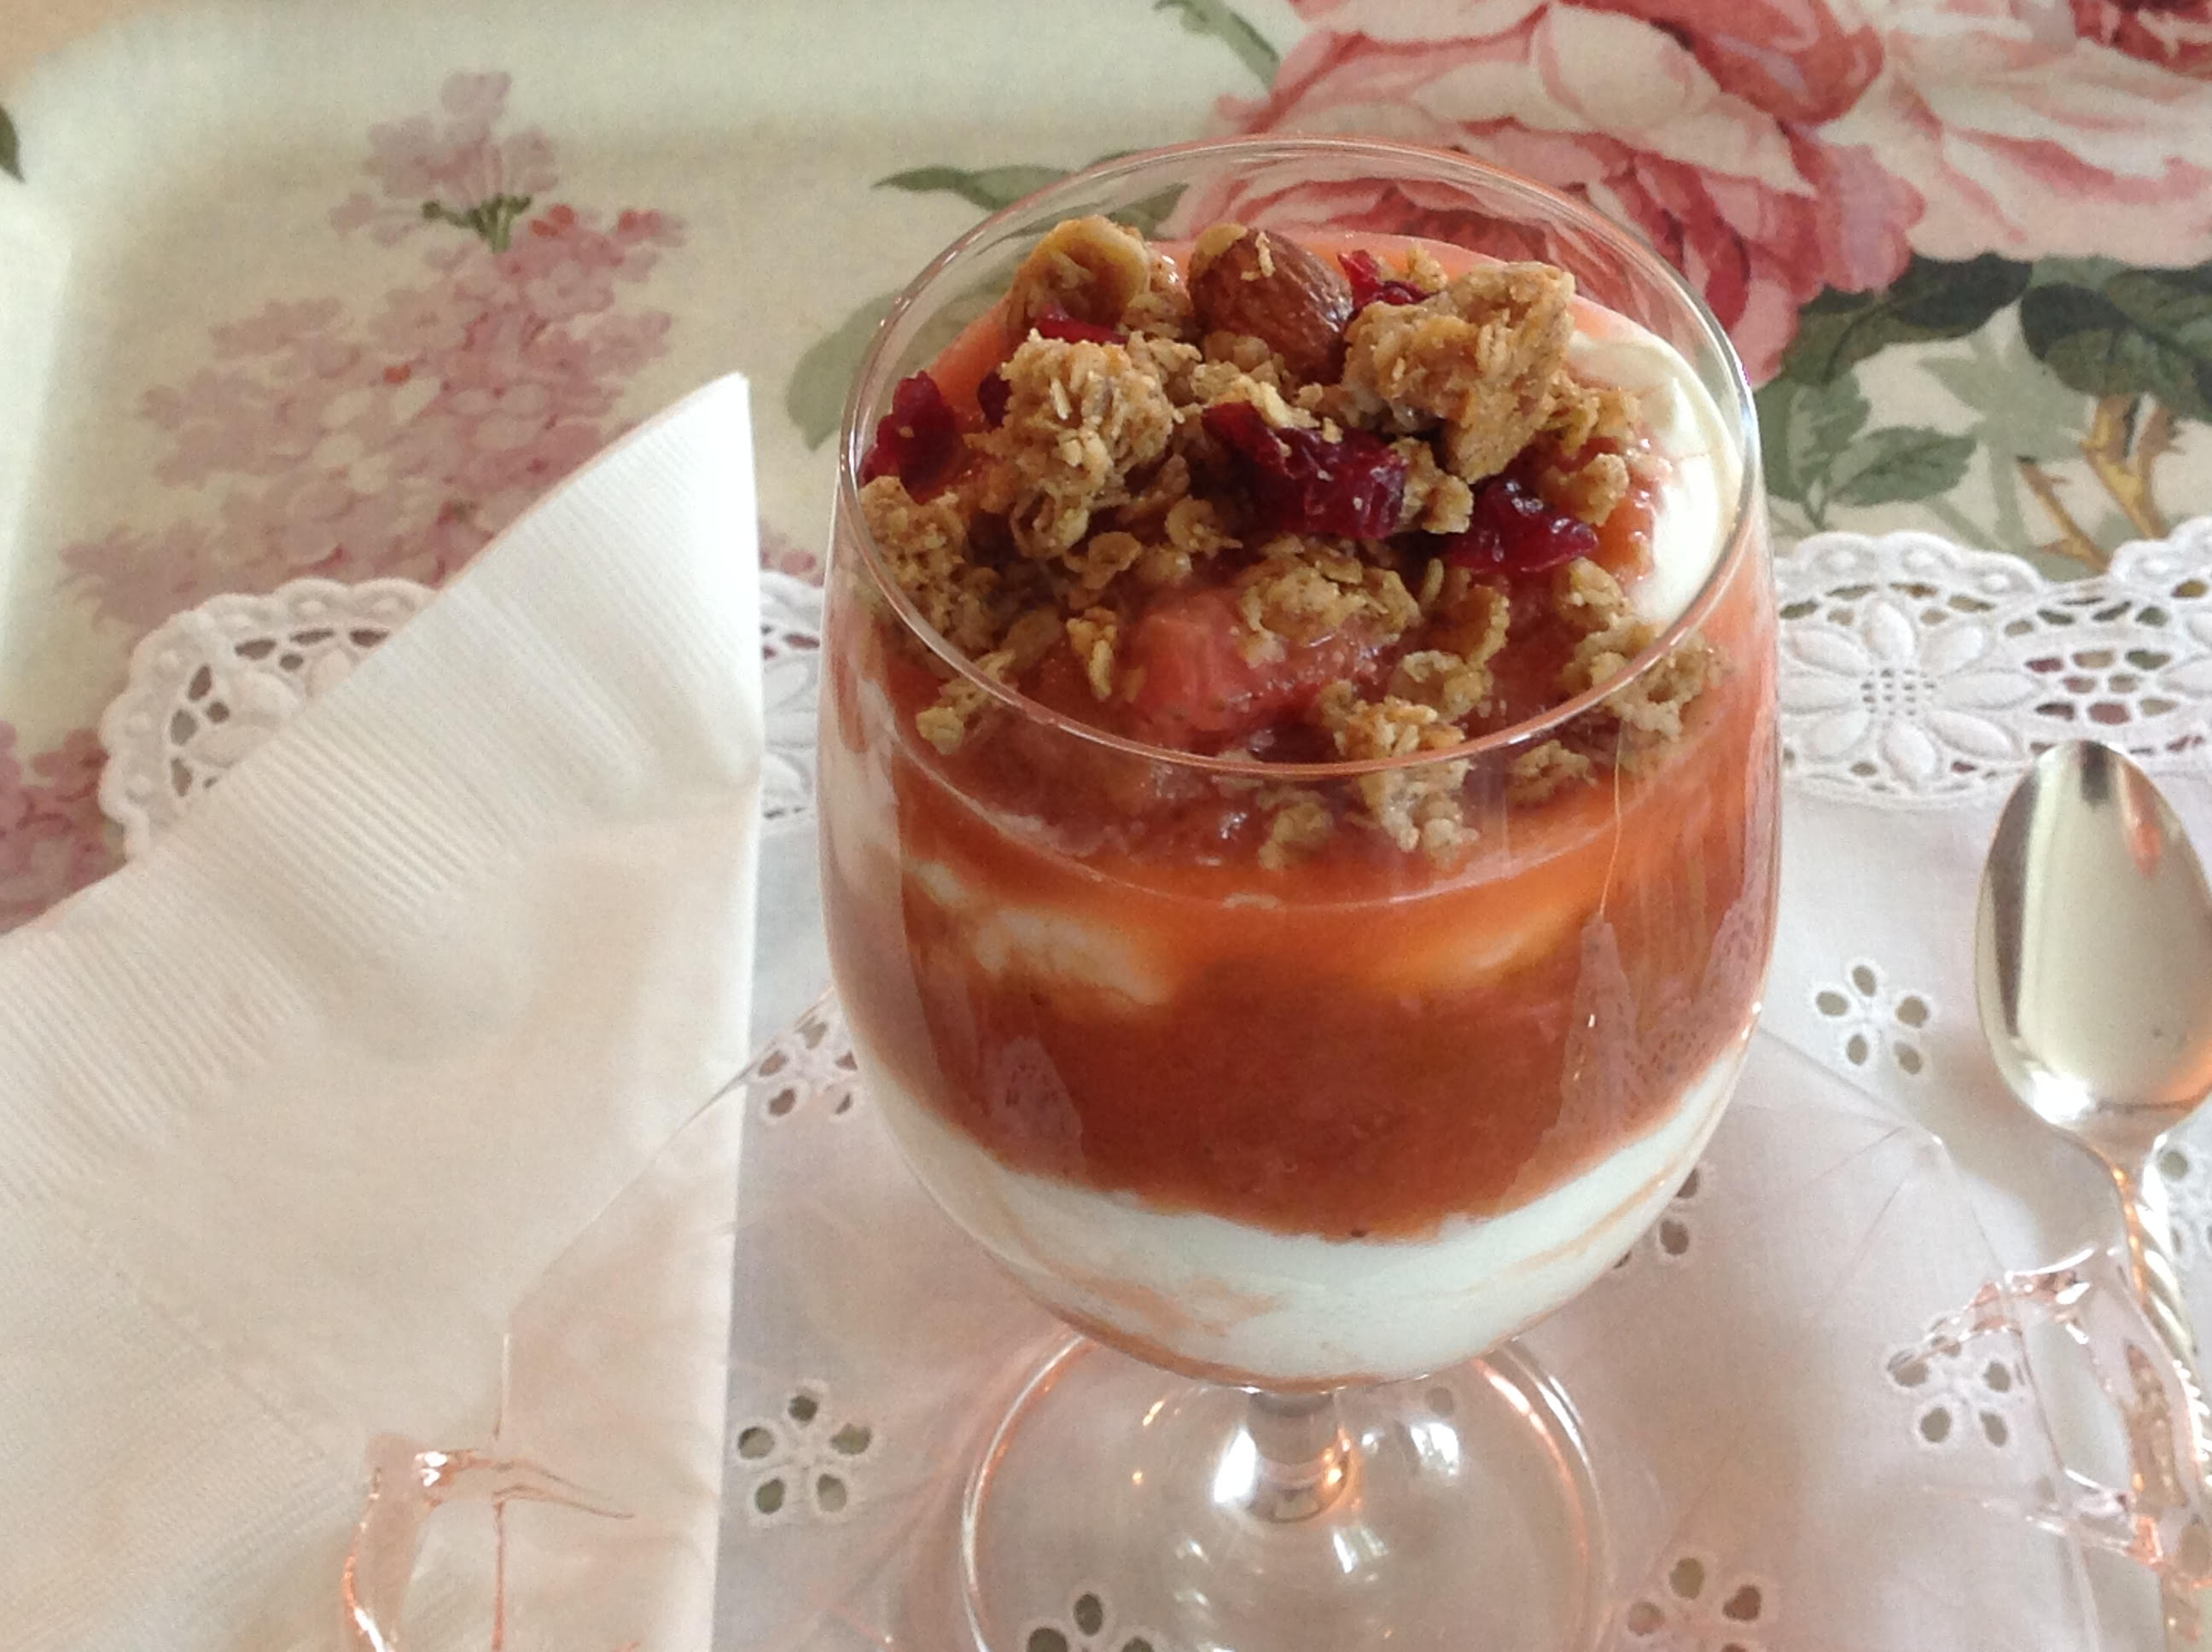
Note: There are several ways to serve this dessert. As shown, we chose to chill the panna cotta at an angle and serve in a clear water goblet for a pleasing visual effect. For the more ambitious, panna cotta can be served inverted on a plate, similar to flan. Below are two methods of serving this dessert--both are equally impressive!
Inverted Method
- Once the panna cotta has set, place each ramekin in warm water--the water should be halfway up the sides of the ramekin.
- Once this has been in the water bath 1-2 minutes, put your serving plate on top of the ramekin and invert the panna cotta onto the plate.
- Spoon the puree over the top and garnish with fruit and fresh mint as desired.
Angled Method
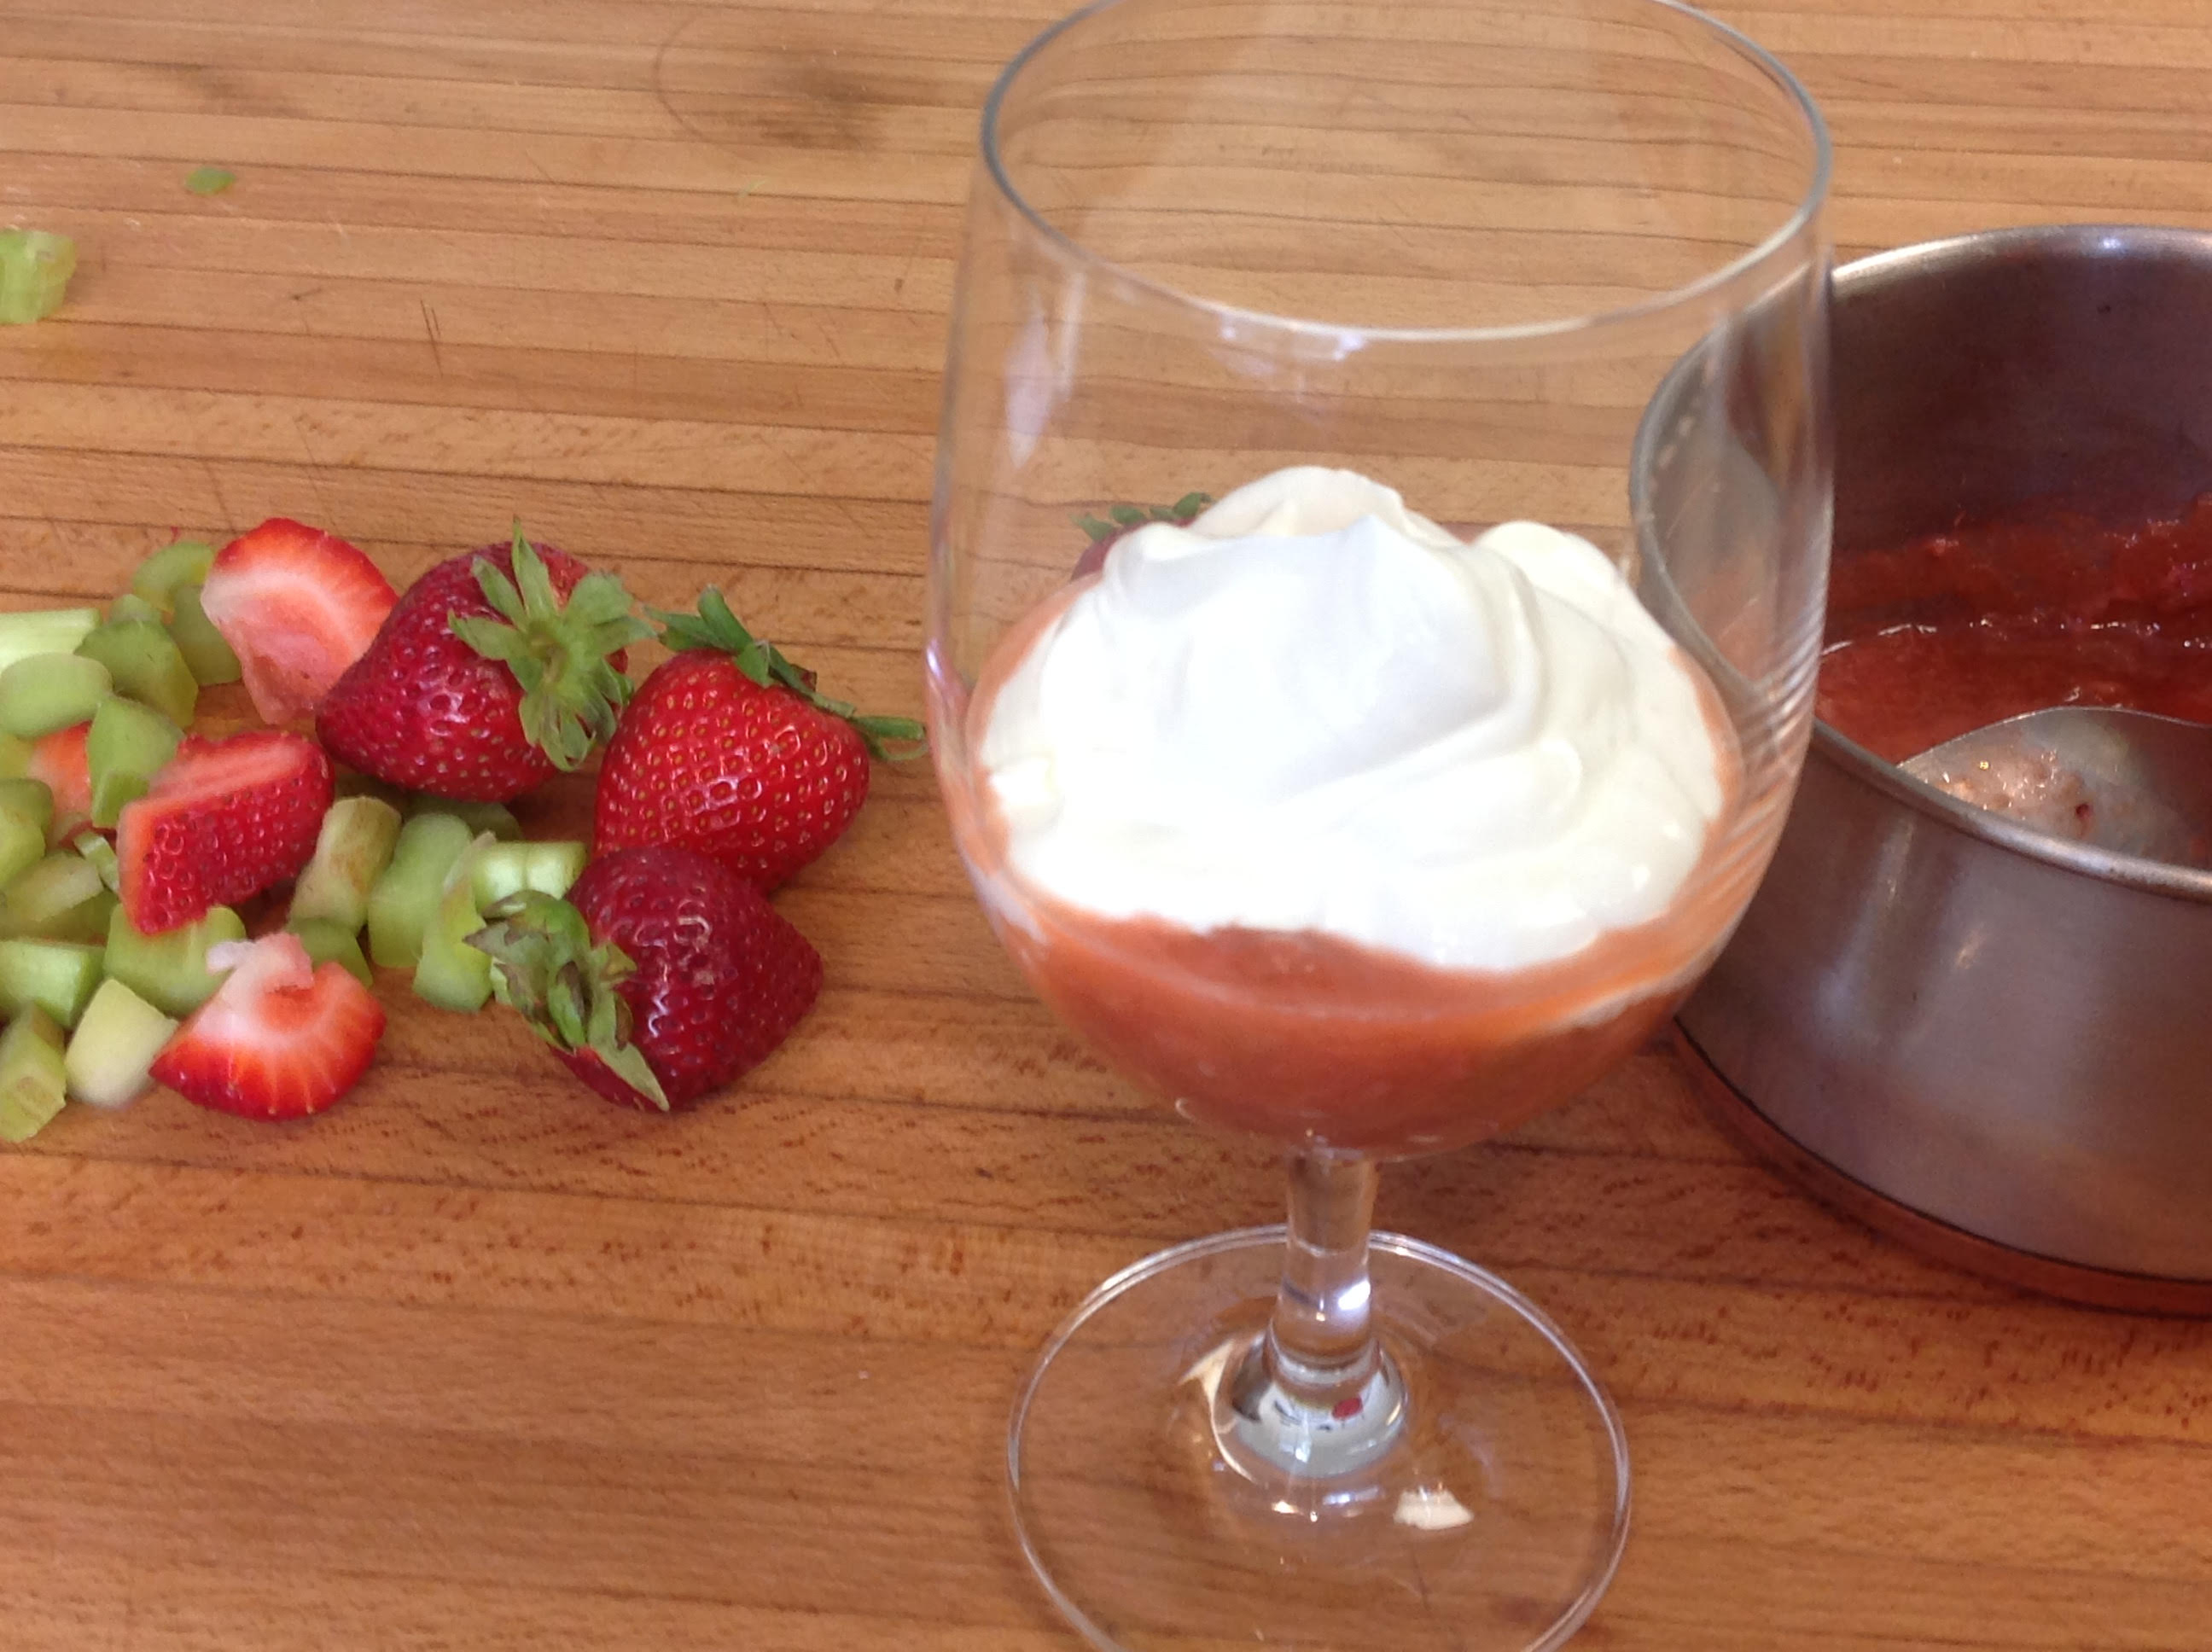
- Before making the panna cotta, prepare the glasses you will be serving in, tilting them securely at an angle on a tray. An egg carton works well for this.
- When pouring panna cotta mixture, use a funnel and gently fill the tilted glasses to the desired height.
- Carefully transfer the tray into the refrigerator, taking care not to bump or jostle the tray, as this will leave a milky residue on the side of the glass.
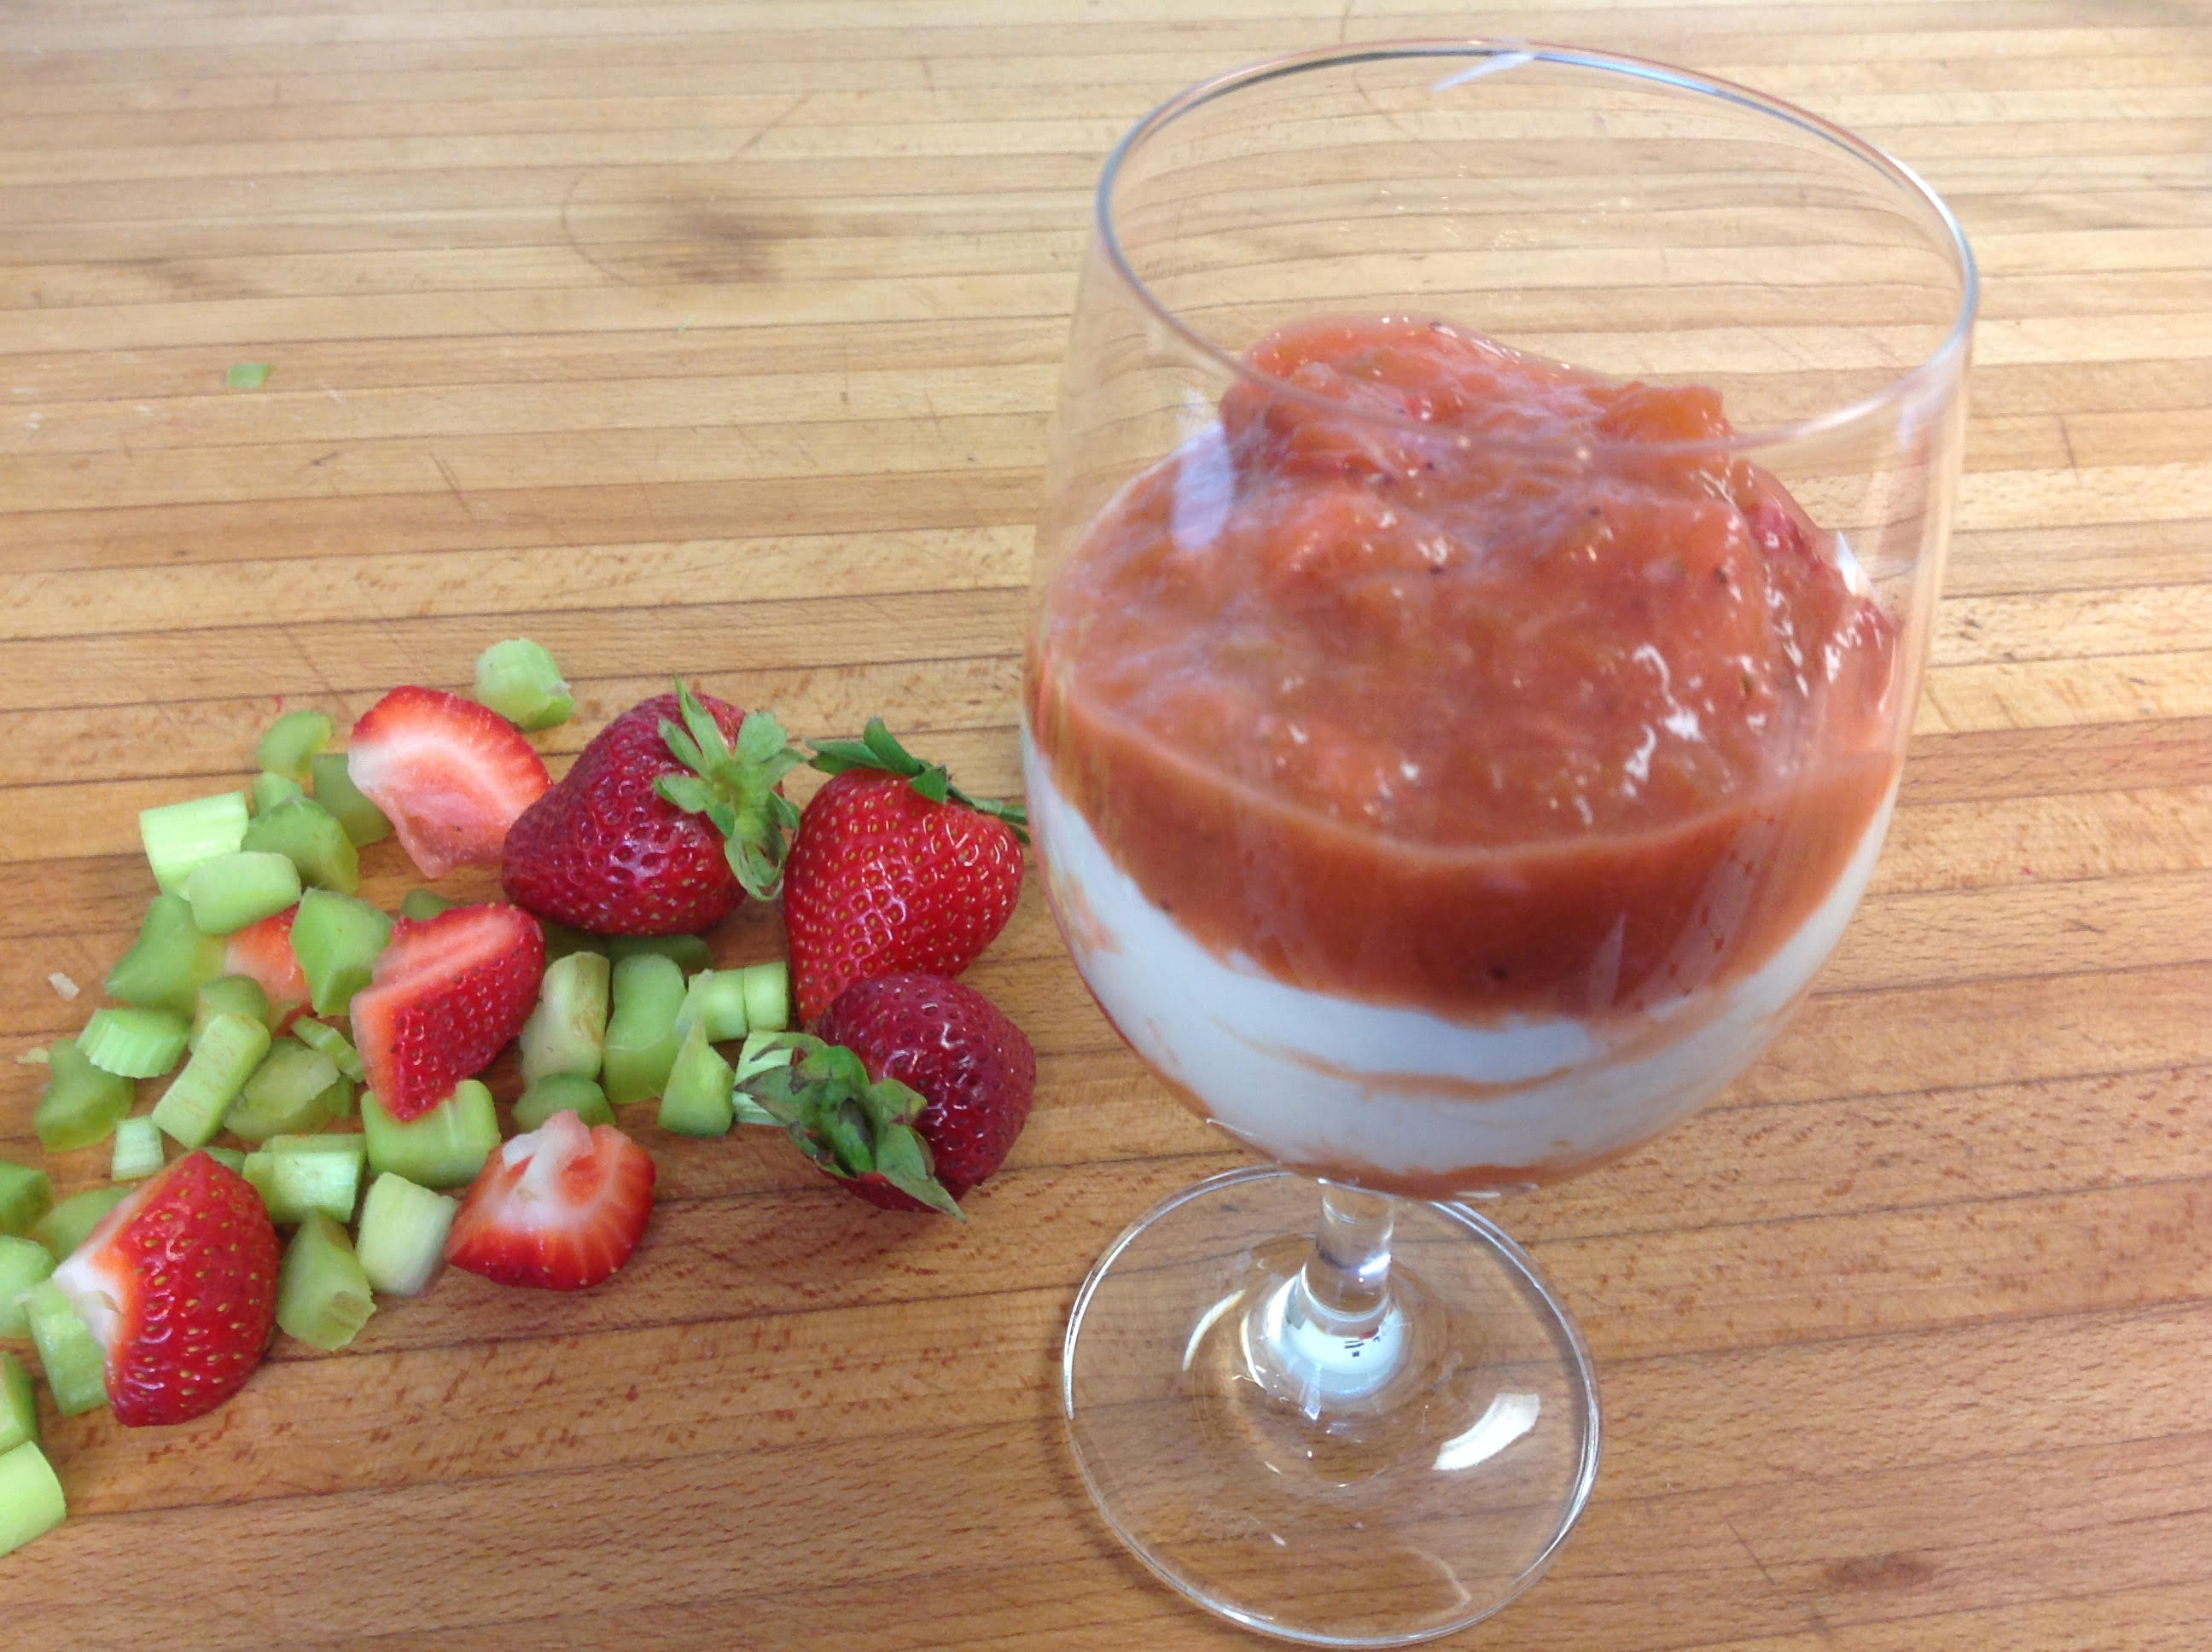
- When fully set (6 hours or overnight) stand the glasses upright and pipe in the mango puree. Piping helps control the puree and keep it from smearing on the glass.
- Garnish with fruit or mint and serve.
What shall we make for Easter Dinner dessert??? This is the question I kept asking myself all week. I have an idea, and someone else has offered me theirs, but before making the final choice, I decided to take a poll. I randomly asked six different sisters to answer this question. What immediately comes to mind when you think of choosing a most favorite Easter dessert?
Five out of six said “…something light and fluffy.” Four out of six said “…cool and creamy.” Three out of six said “…something lemony.” Two out of six said “…white or light yellow.” Interestingly enough, each of our desserts fit these descriptions, so we ingeniously combined them into one spectacular creation which we hope that many will enjoy!
Print Recipe
Votes: 0
Rating: 0
You:
Rate this recipe!
Springtime Lemony Angel Food Meringue Torte
SERVINGS12servings
|
COOK TIME45mins |
PREP TIME1hr |
READY IN2hrs |
Ingredients
Instructions
To Make the Angel Cake:
- Preheat the oven to 350 F and arrange an oven shelf in the bottom third of the oven. Sift the flour and 3½oz of the sugar together in a bowl and set aside.
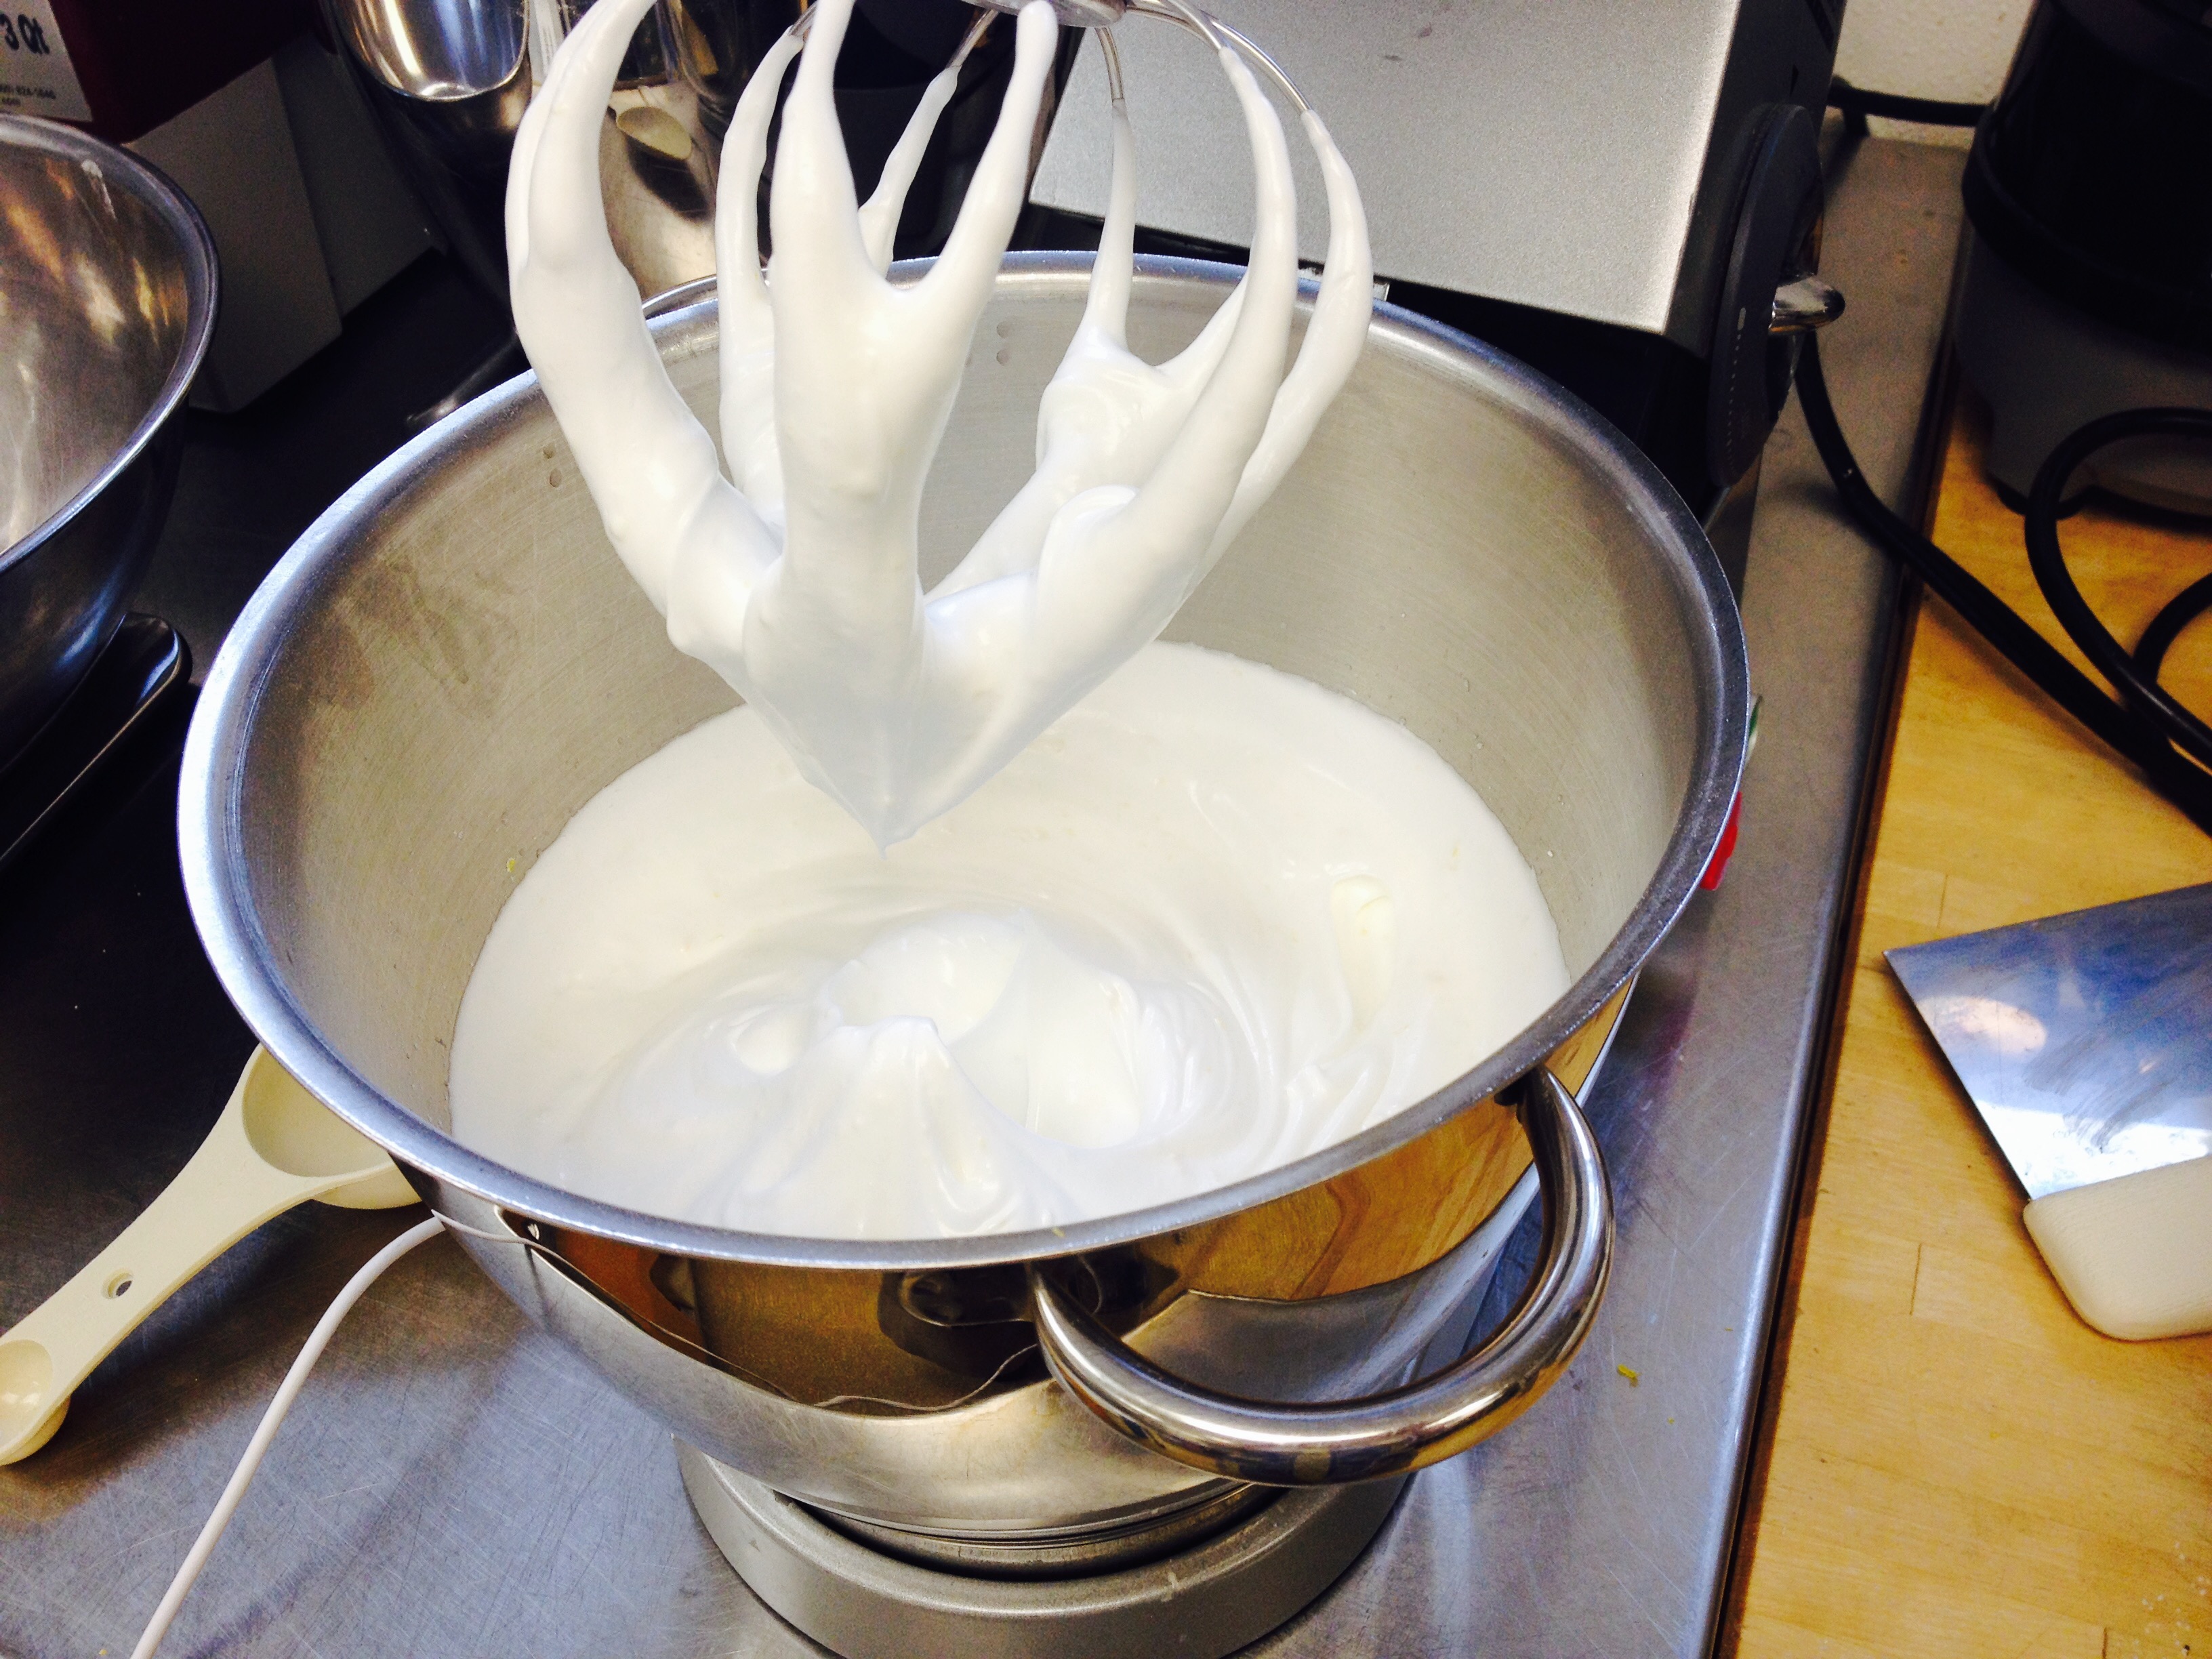
- Whisk the egg whites in a large bowl with an electric hand whisk or mixer on a high speed for one minute until frothy. Add the lemon zest, lemon juice, cream of tartar and salt and continue whisking for 2-3 minutes, or until soft peaks form when the whisk is removed from the bowl. Increase the speed and add the remaining 7oz of sugar, one tablespoon at a time to form firm, but not stiff peaks.
- Sprinkle over one-third of the flour mixture and fold gently to combine. Repeat with the remaining two-thirds of the flour mixture folding gently to keep as much air in the mixture as possible.
- Transfer the batter to a 10 inch angel food cake pan. Gently run a knife through the center of the batter to remove any pockets of air. Cook for 45-50 minutes, or until a skewer inserted into the center comes out clean.
- Remove from the oven and immediately turn upside down onto the tin’s cooling legs, or place over the neck of a wine bottle. Leave to cool for at least one hour.
Run a knife around the inner and outer edges of cake to remove it from the pan. Invert onto a plate. Carefully use a palette knife to separate the cake from the base of the pan. Leave to cool on a wire rack.
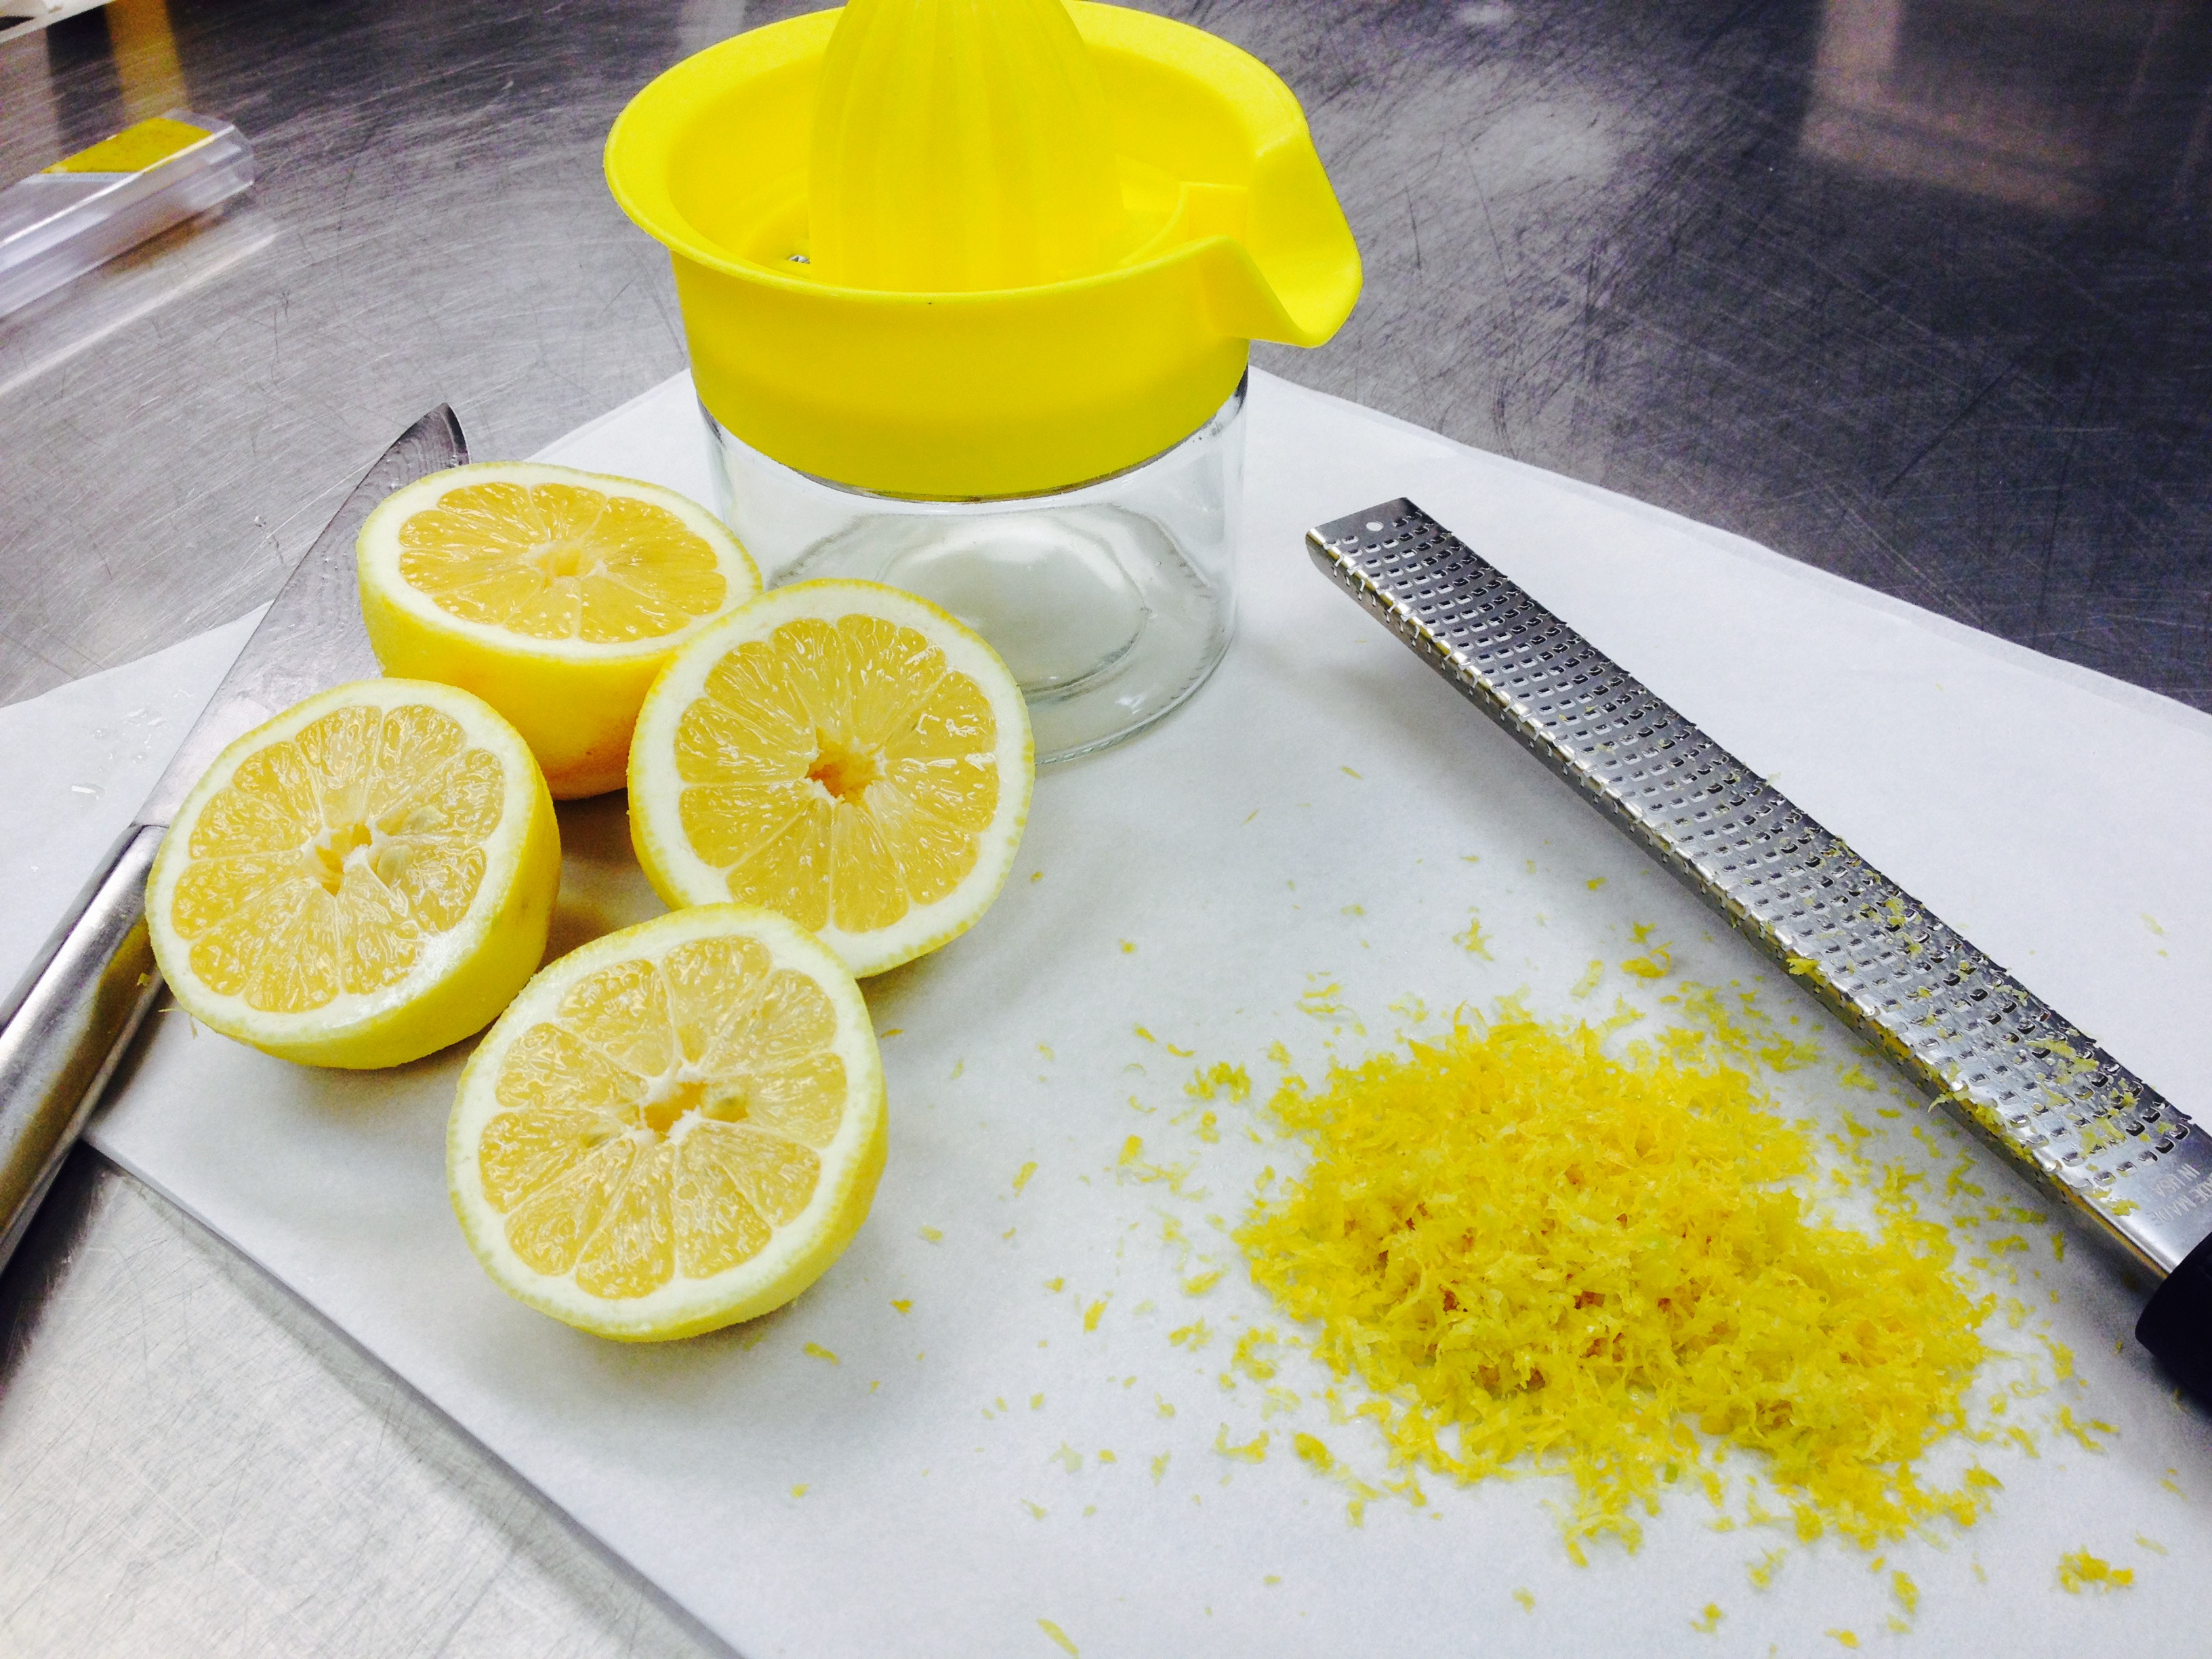
To Make the Lemon Curd:
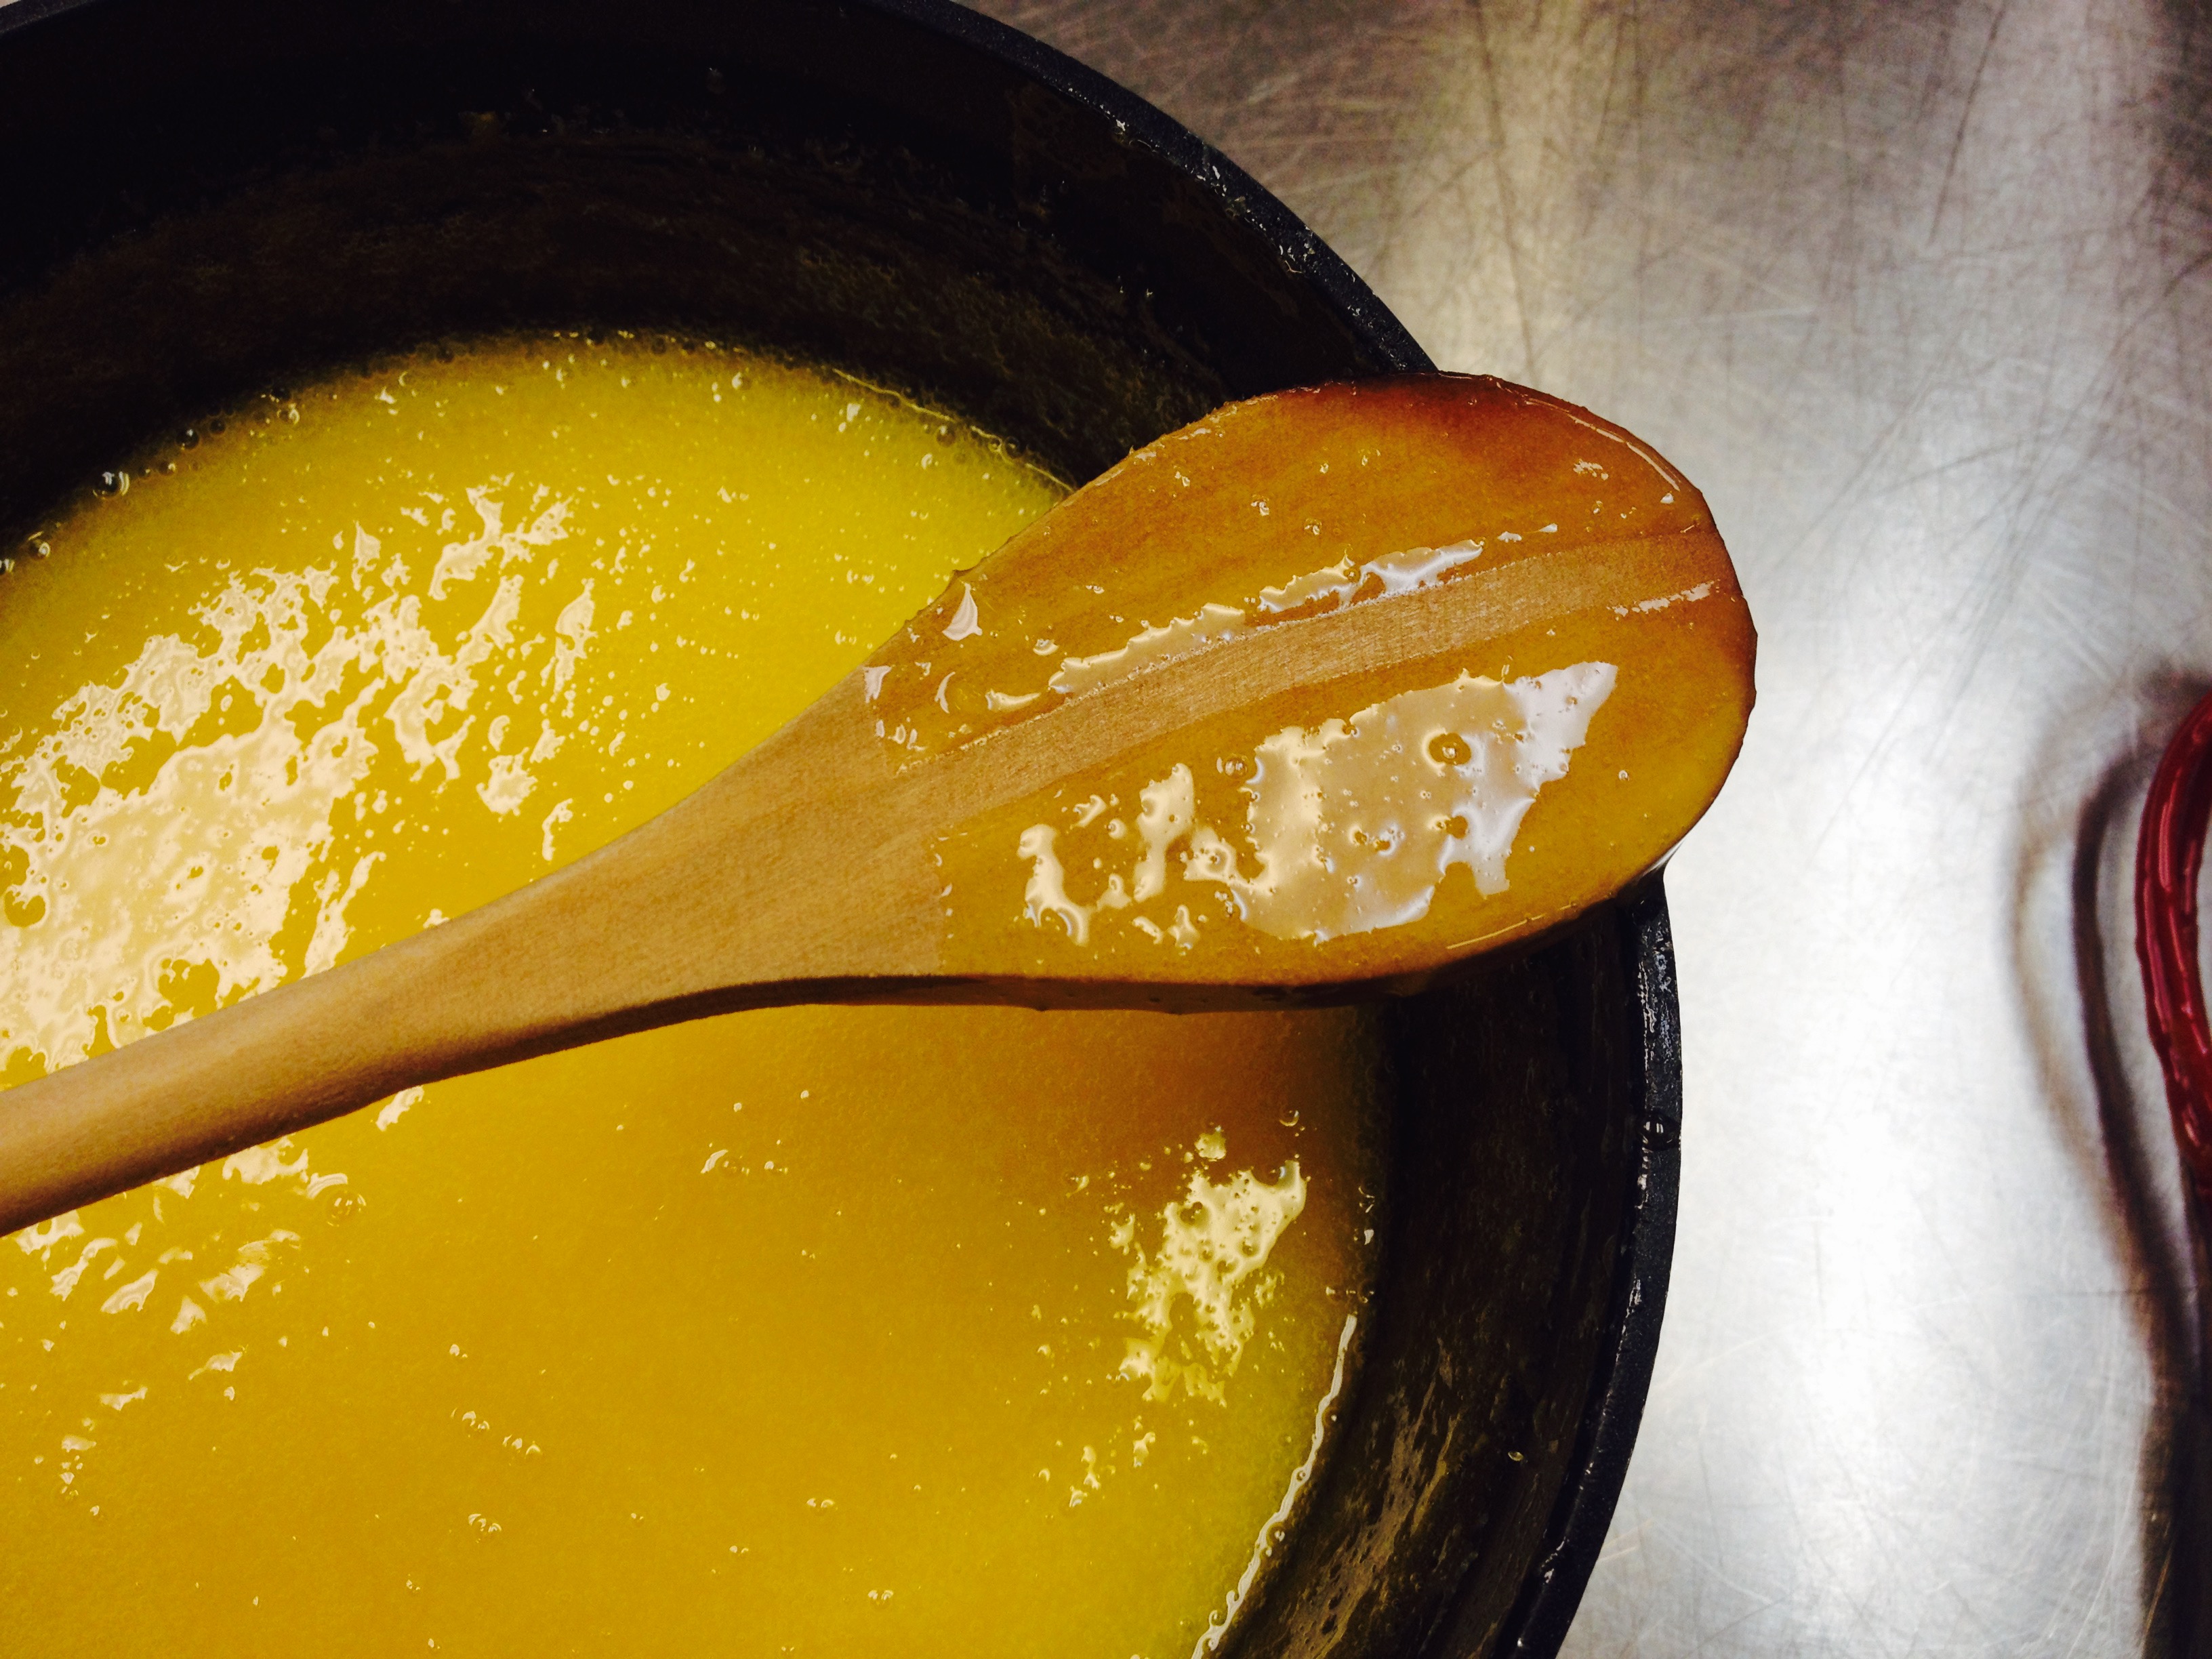
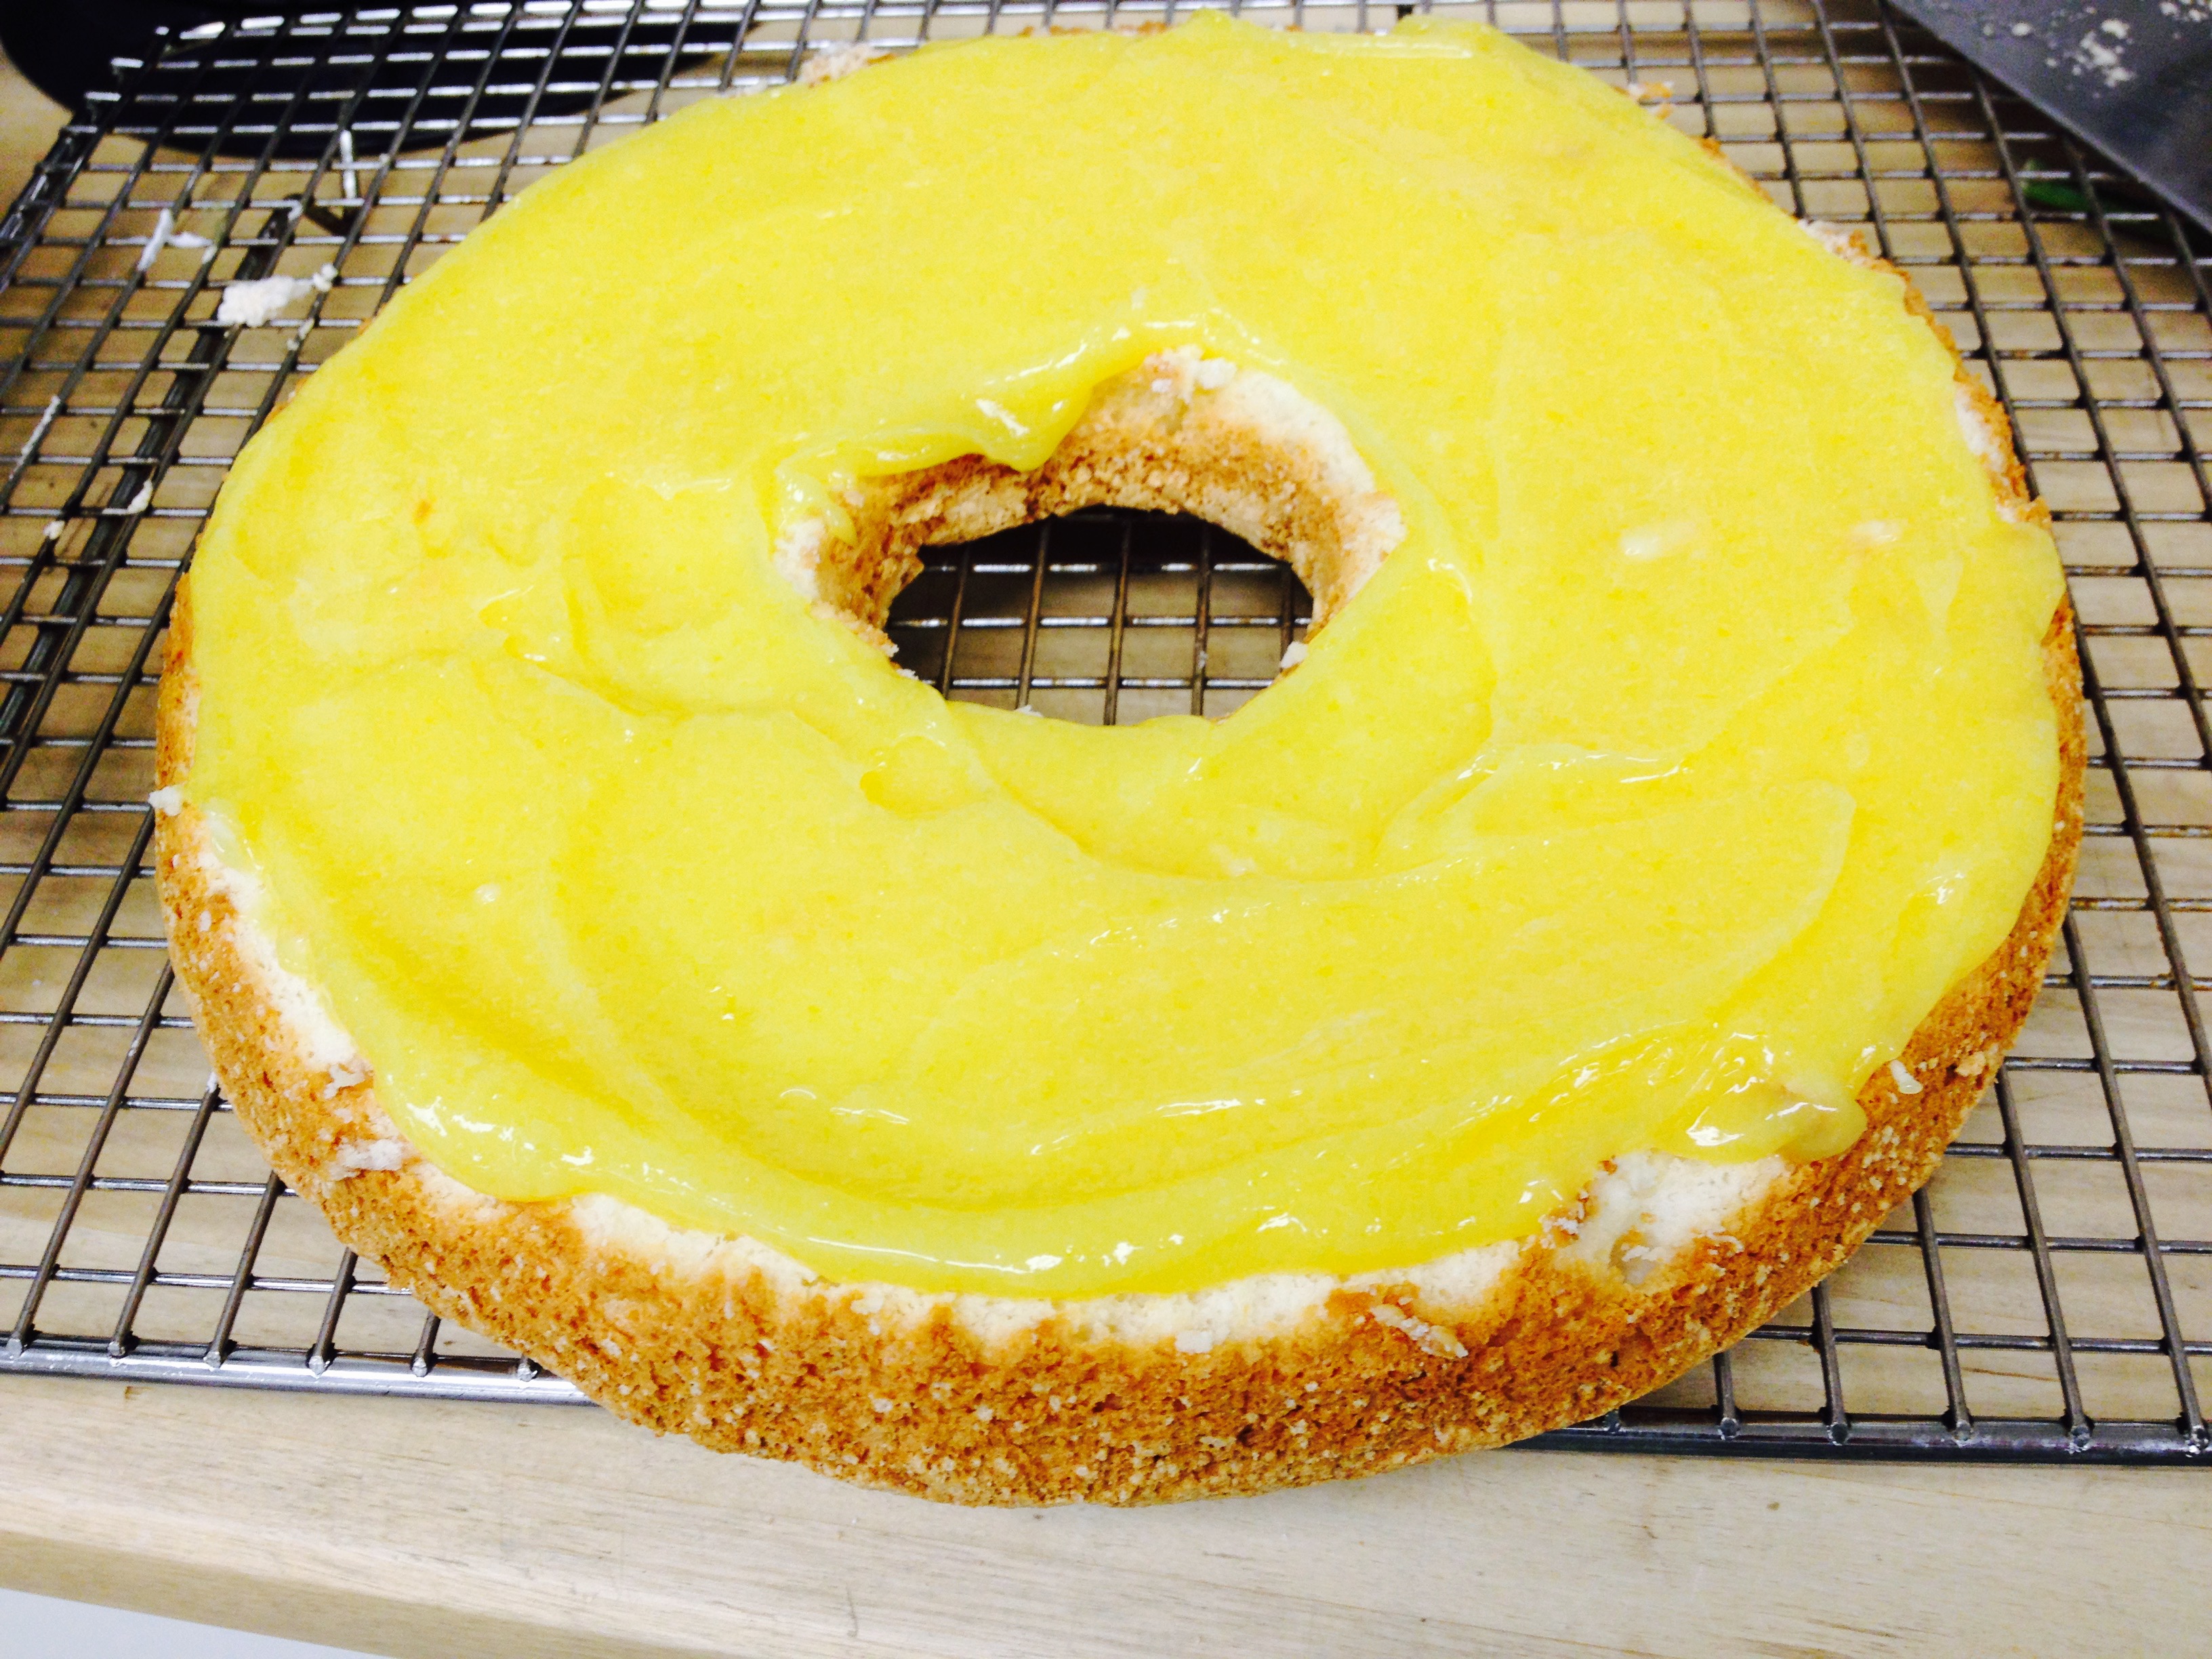
- Mix the egg yolks, sugar, lemon juice and lemon zest together in a large pan. Cook over a low heat, stirring with a wooden spoon, making sure to stir the sides and base of the pan.
- Cook for 5-7 minutes, or until the mixture coats the back of a spoon. Remove from the heat and stir in the butter. Pass through a sieve into a large jug. Fill two 12 oz glass jars with the lemon curd and seal with lids. Cover the remaining curd with cling film and leave to cool.
To Make the Meringue Layers:
- Preheat oven to 275. In a mixer, beat the egg whites on medium speed until foamy. Switch to high speed and gradually beat in the sugar until stiff and glossy peaks form and sugar is dissolved. Add the vanilla.
- Remove beater whisk and by hand, gently fold in 1/2 cup sliced almonds.
- Line two sheet pans with baking paper and trace two circles of the base of the angel food cake pan - 10" diameter on each. Divide meringue between the two circles and form into rounds - staying 1/4" within the border - they will be about 3/4" high. Sprinkle with the additional 2 Tbsp of sliced almonds.
- Bake at 275 degrees for 3-35 min. or until golden and crisp. Remove from oven and cool on a rack.
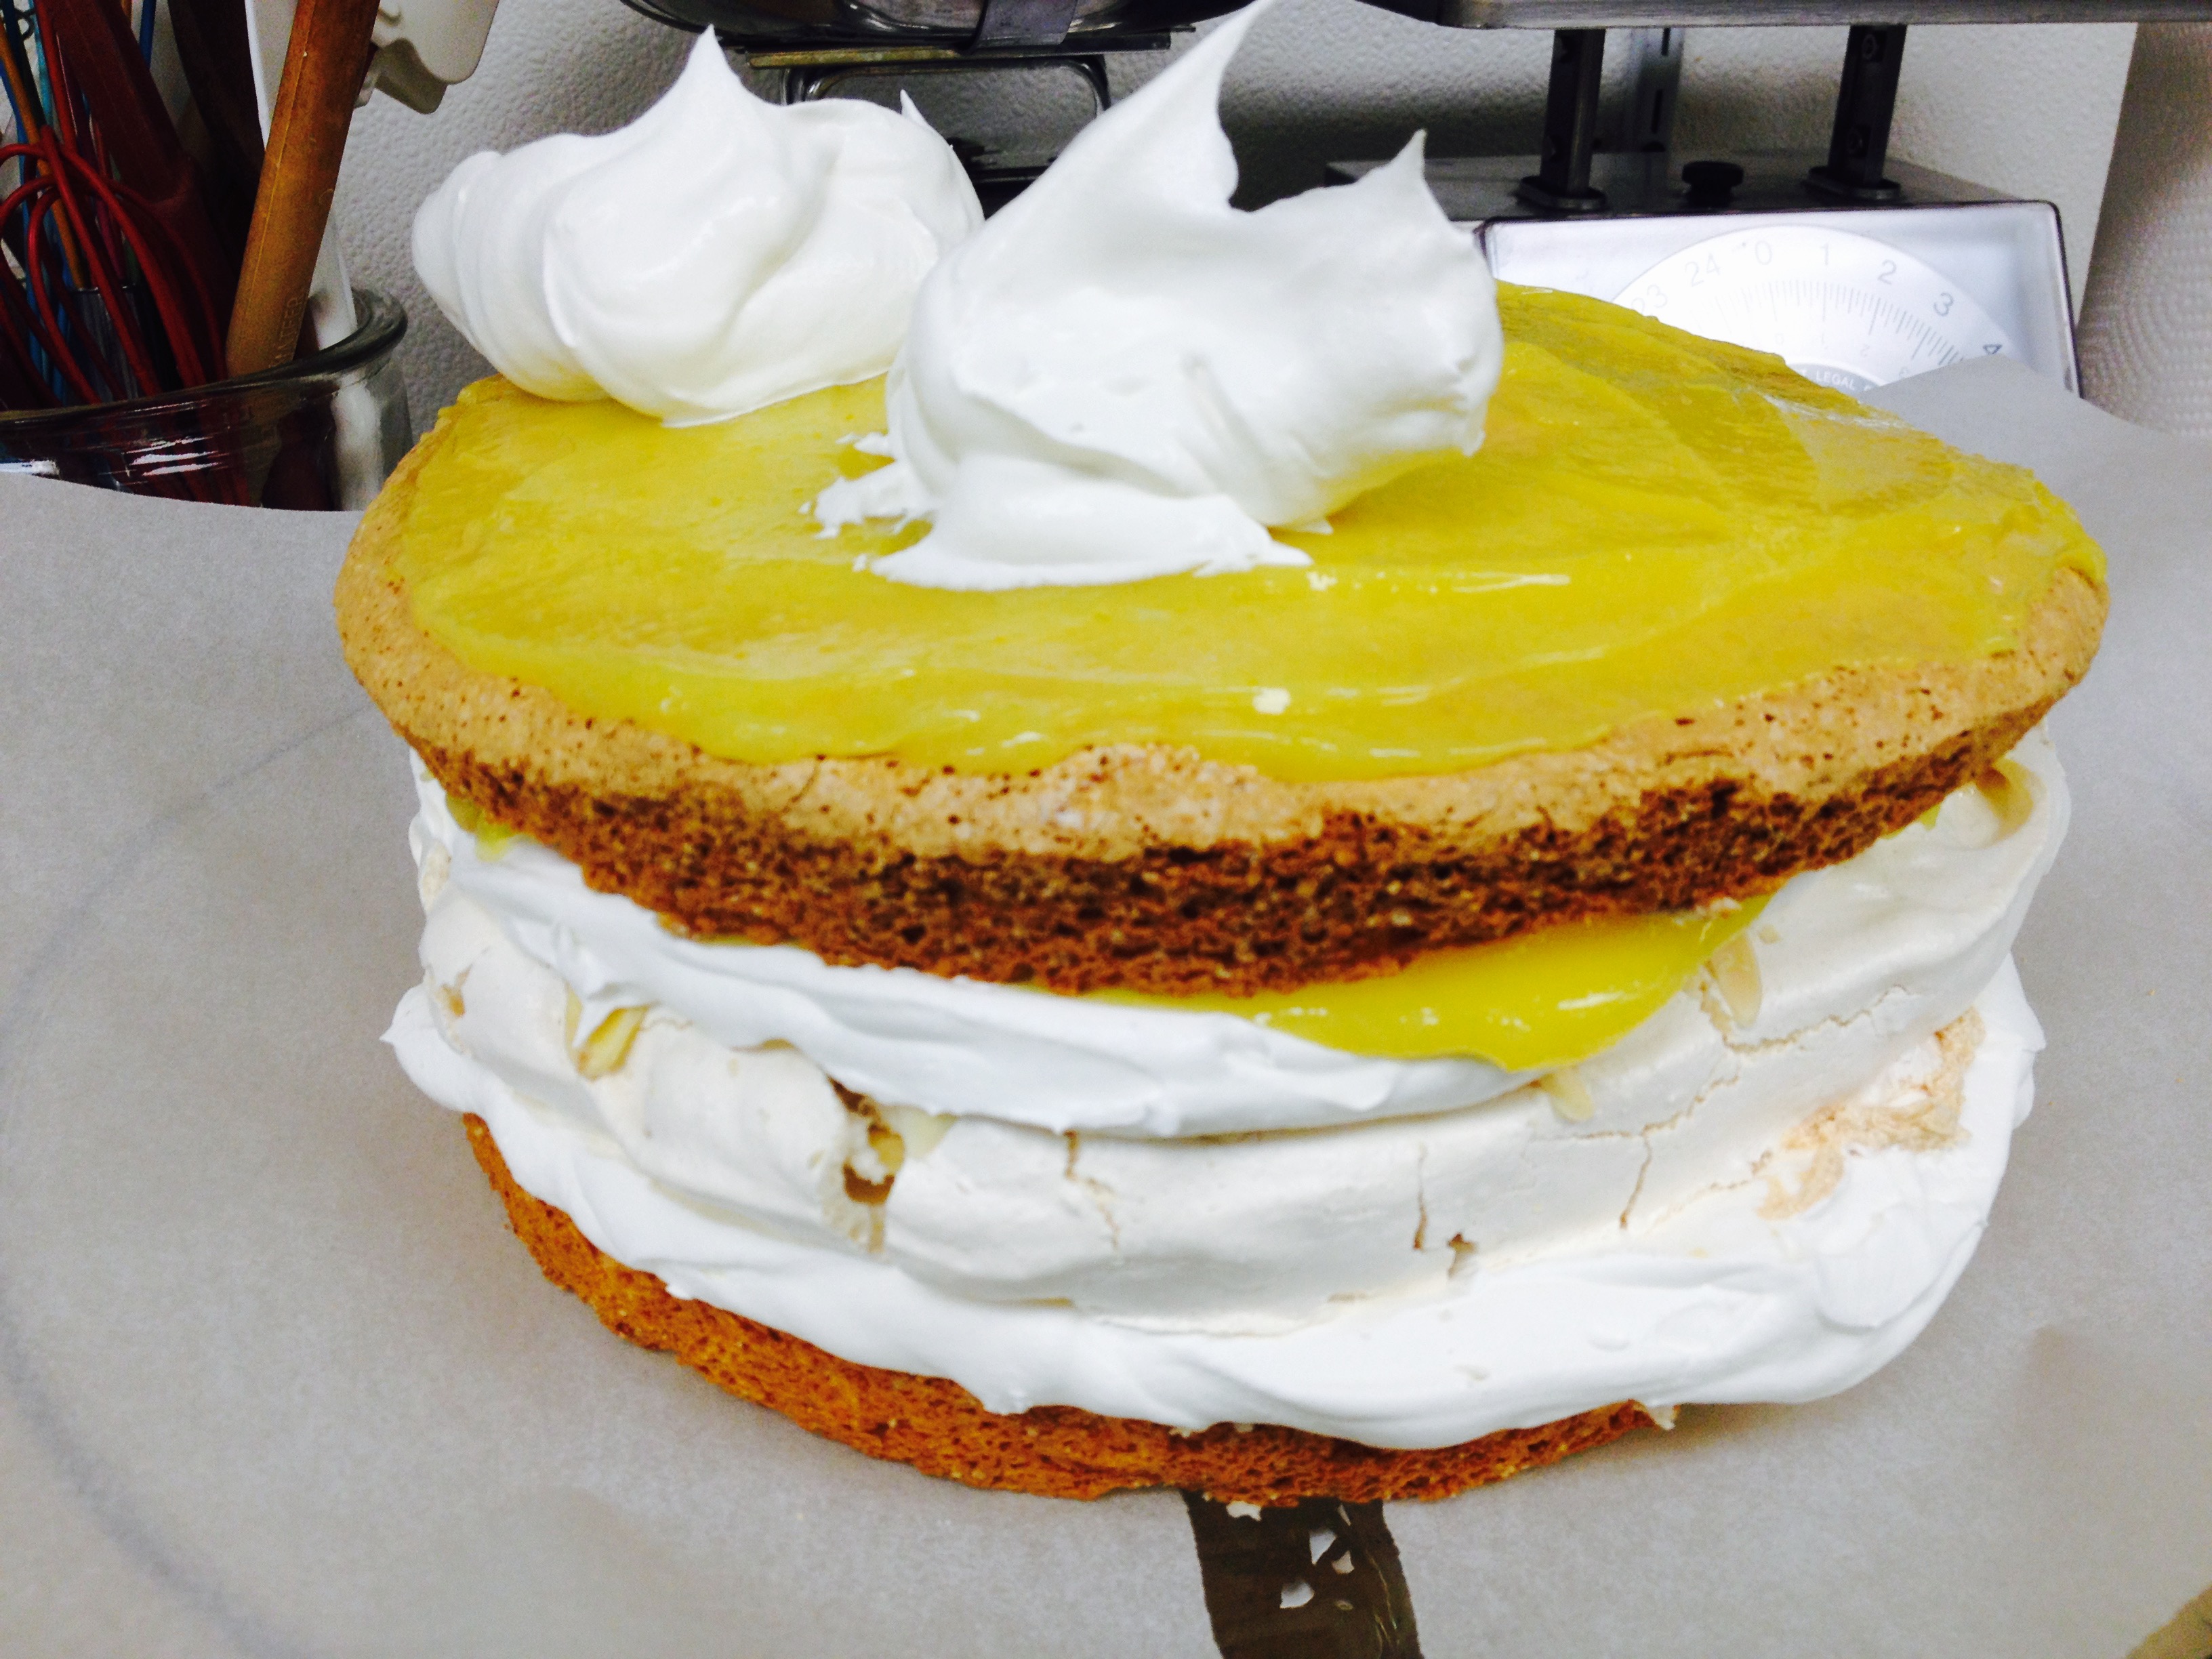
To Assemble:
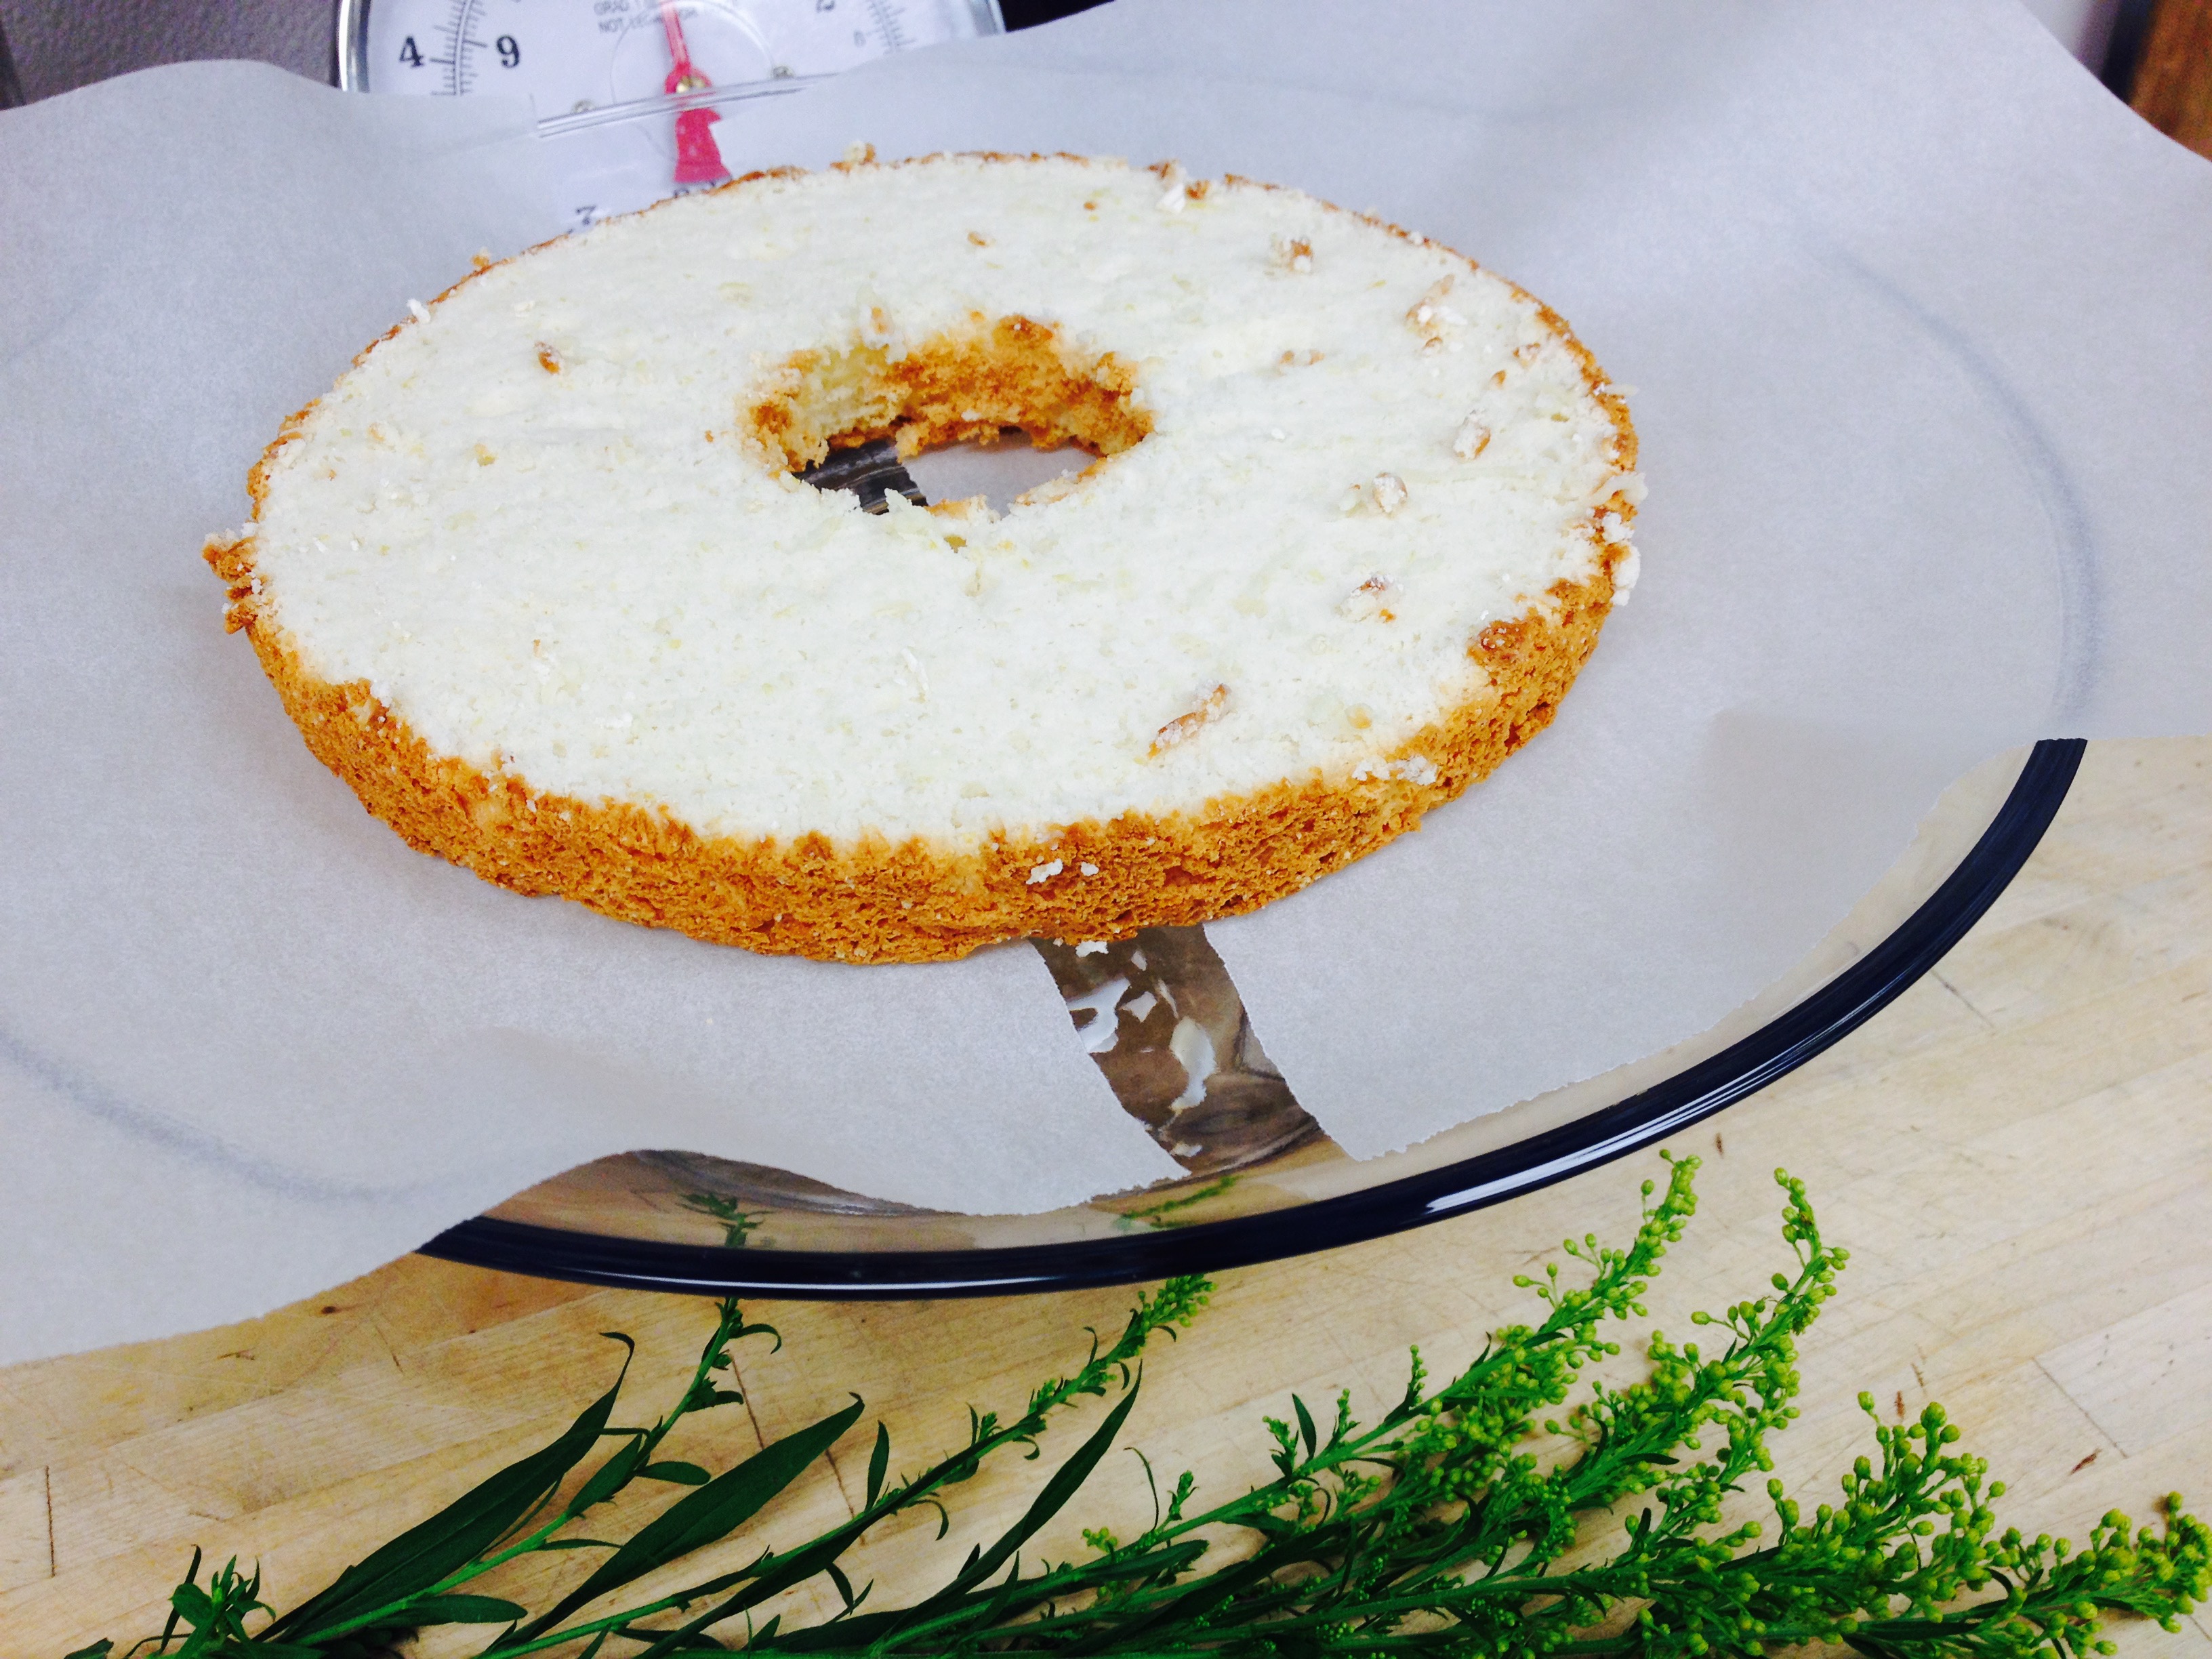
- Cut the Angel food cake in half horizontally
- On the bottom layer, spread some lemon curd, followed by cool whip, meringue layer, then the top of the angel cake spread with lemon curd, cool whip and then the top meringue layer.