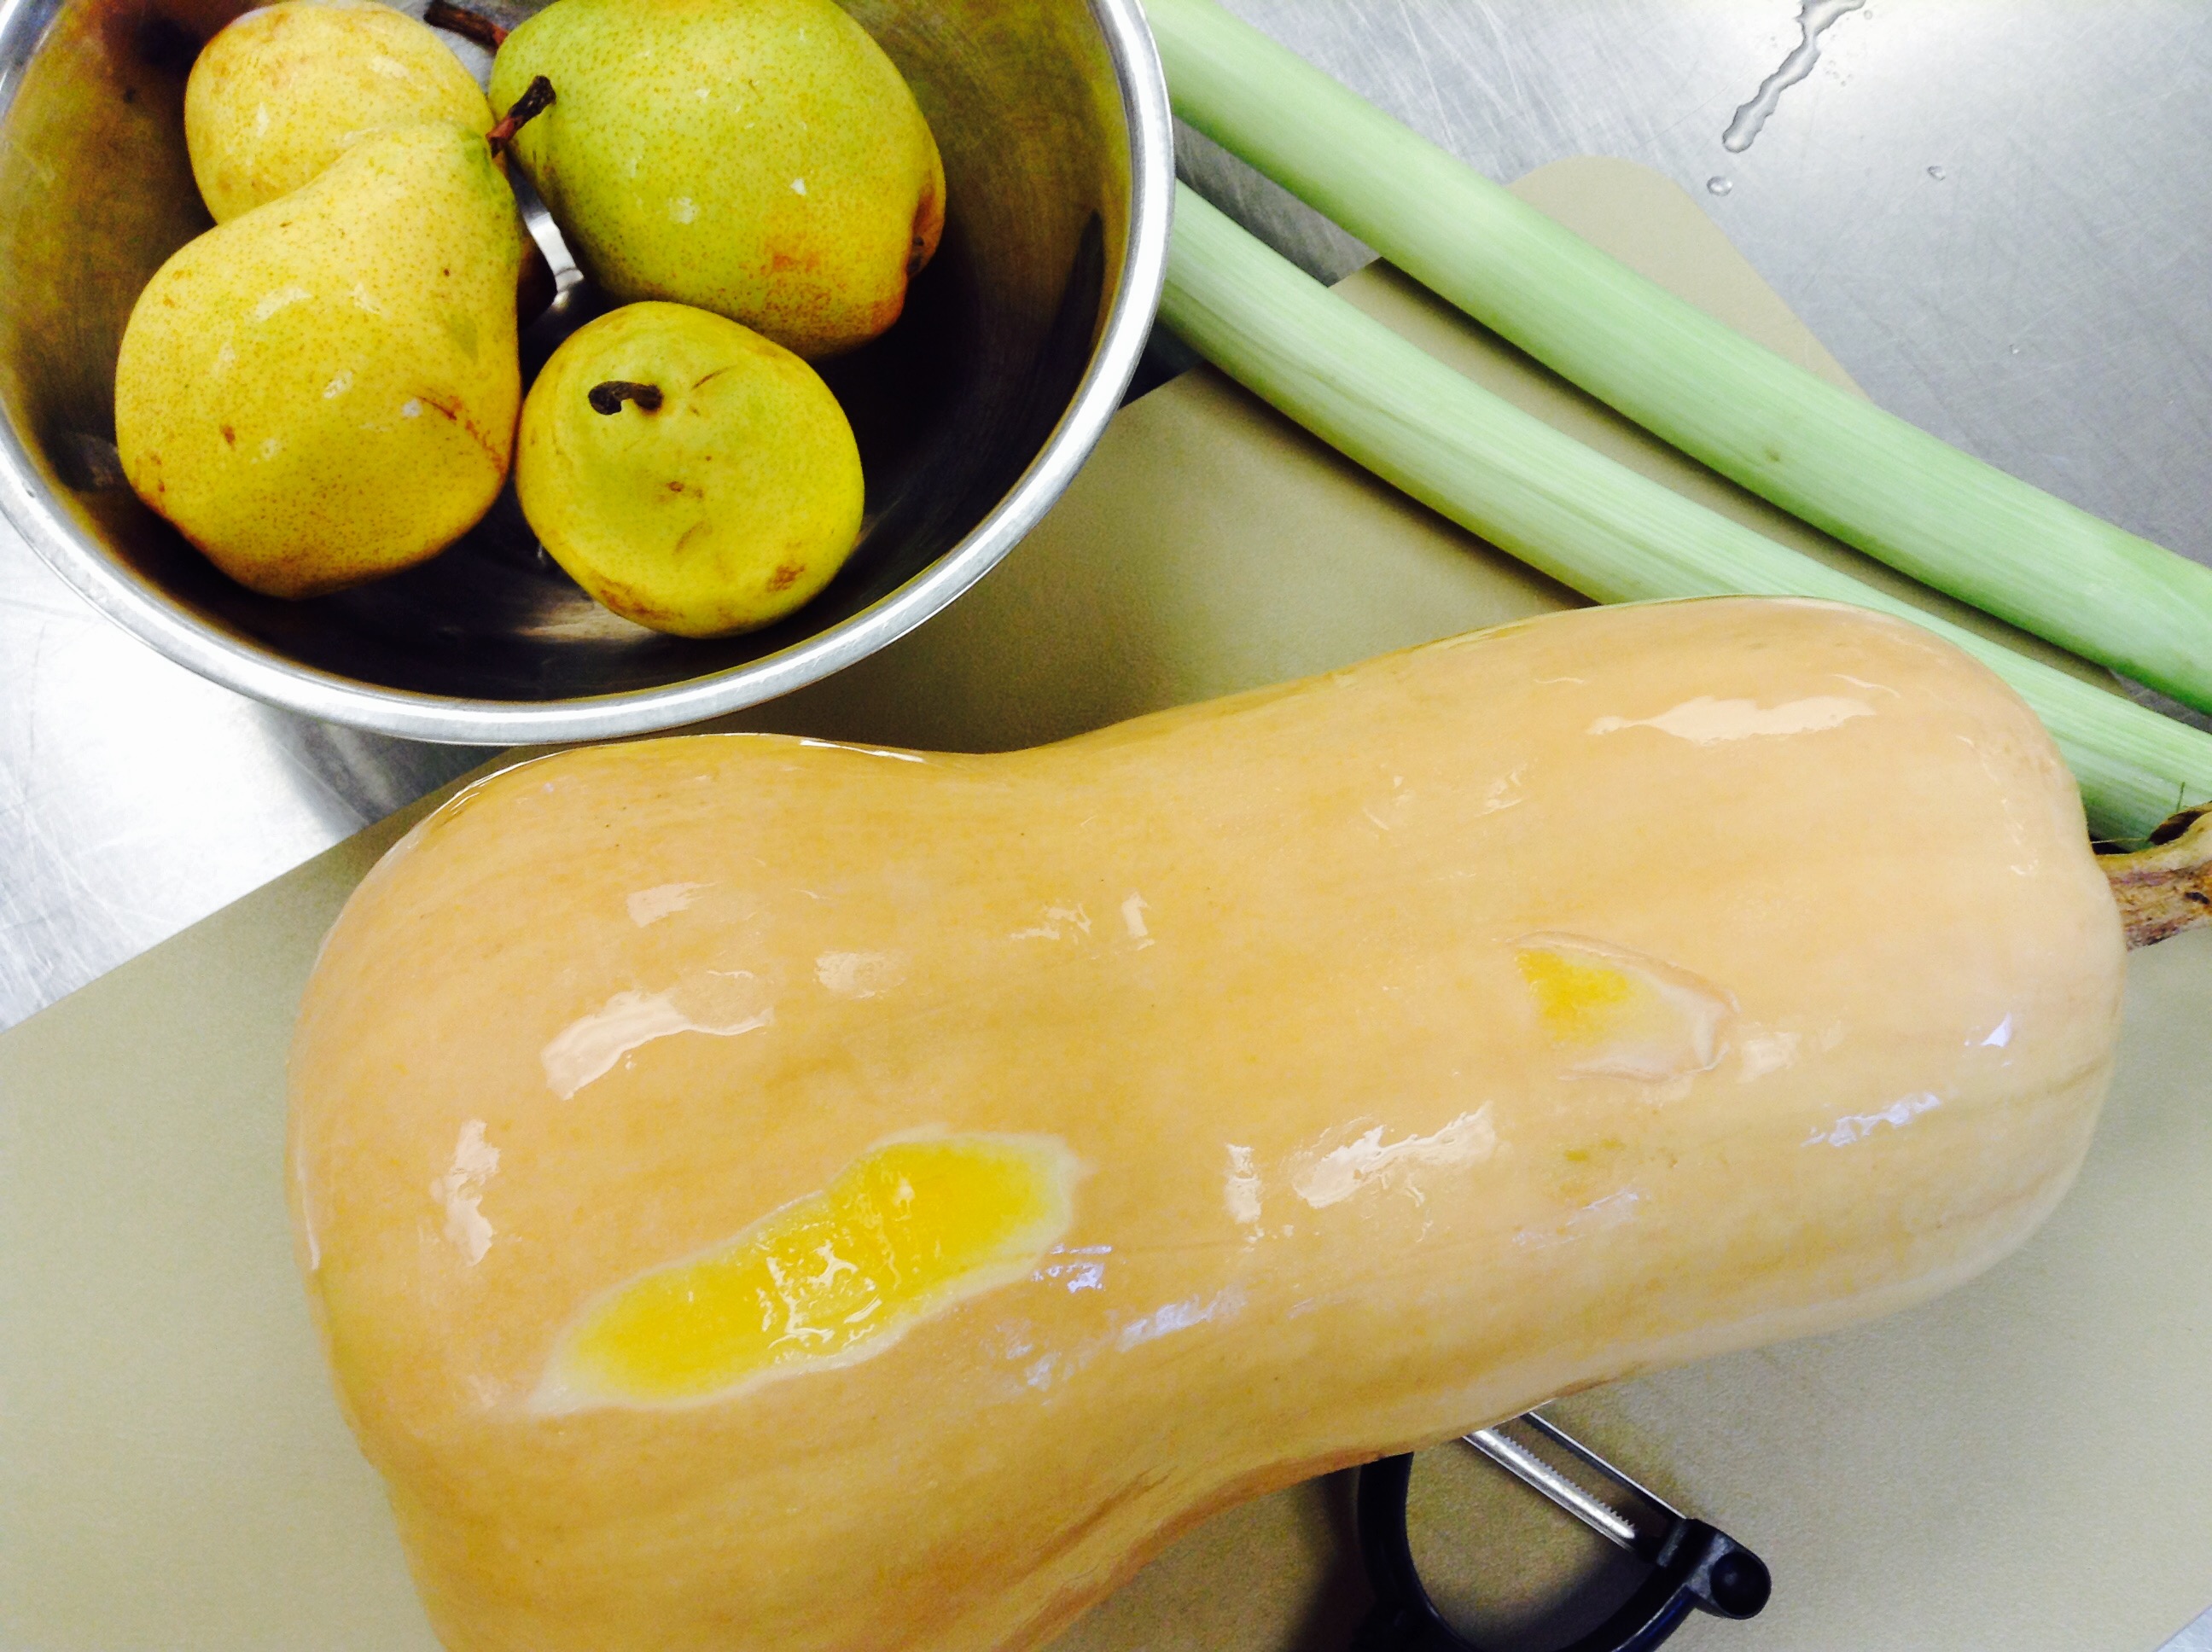
As we finished harvesting all of our winter squash for the season, it only felt appropriate to take a few inside and enjoy a lovely, warm bisque that has all the flavors of fall. By roasting the squash along with all the spices and sugar in this recipe, you’ll bring alive the essential oils buried in them and caramelizing the squash at the same time—achieving a depth of flavor you can’t get by starting this on the stove top.
We are busy bustling around and getting ready for our Arts in Celebration weekend, but remembering how important it is to balance our life with the simple pleasures that God gives us. We do hope you will consider joining us over this next week to experience beauty and the arts, as we commemorate the 500th anniversary of the Reformation.
Print Recipe
Votes: 2
Rating: 4.5
You:
Rate this recipe!
Roasted Butternut Squash and Pear Ginger Bisque
SERVINGS16cups (8 servings)
|
COOK TIME45mins |
PREP TIME15mins |
READY IN1hr |
Ingredients
Instructions
- Preheat oven to 375 degrees F.
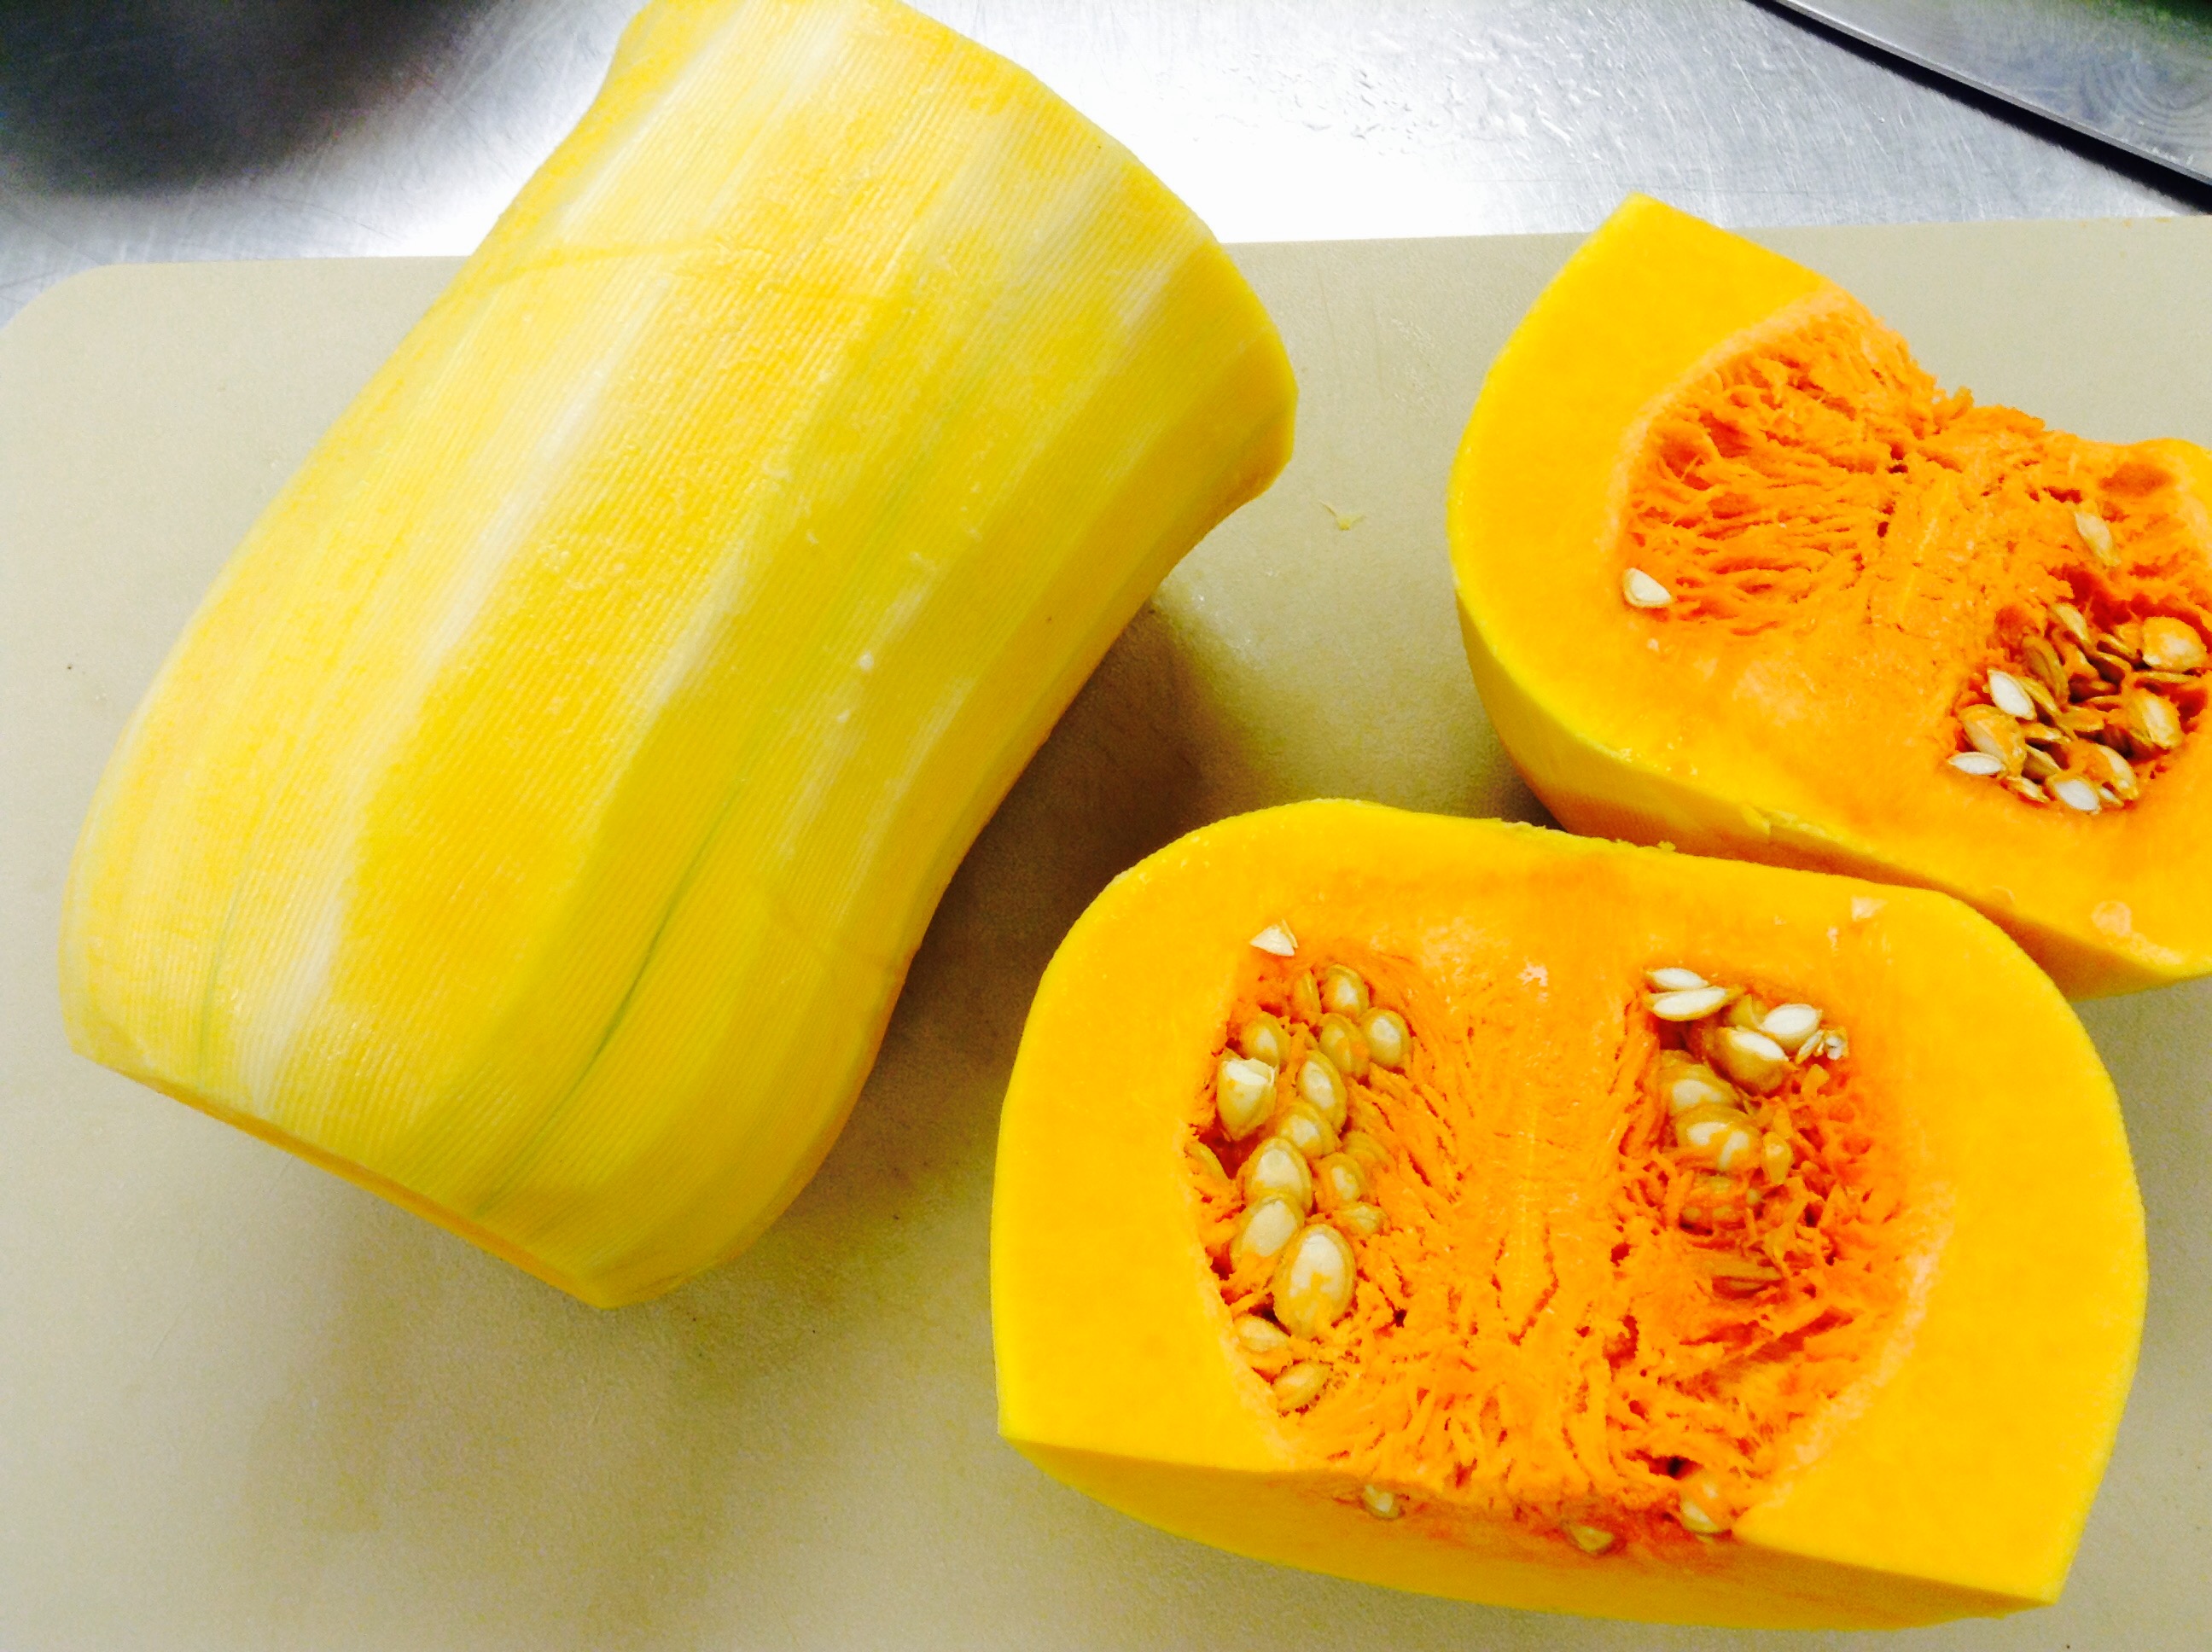
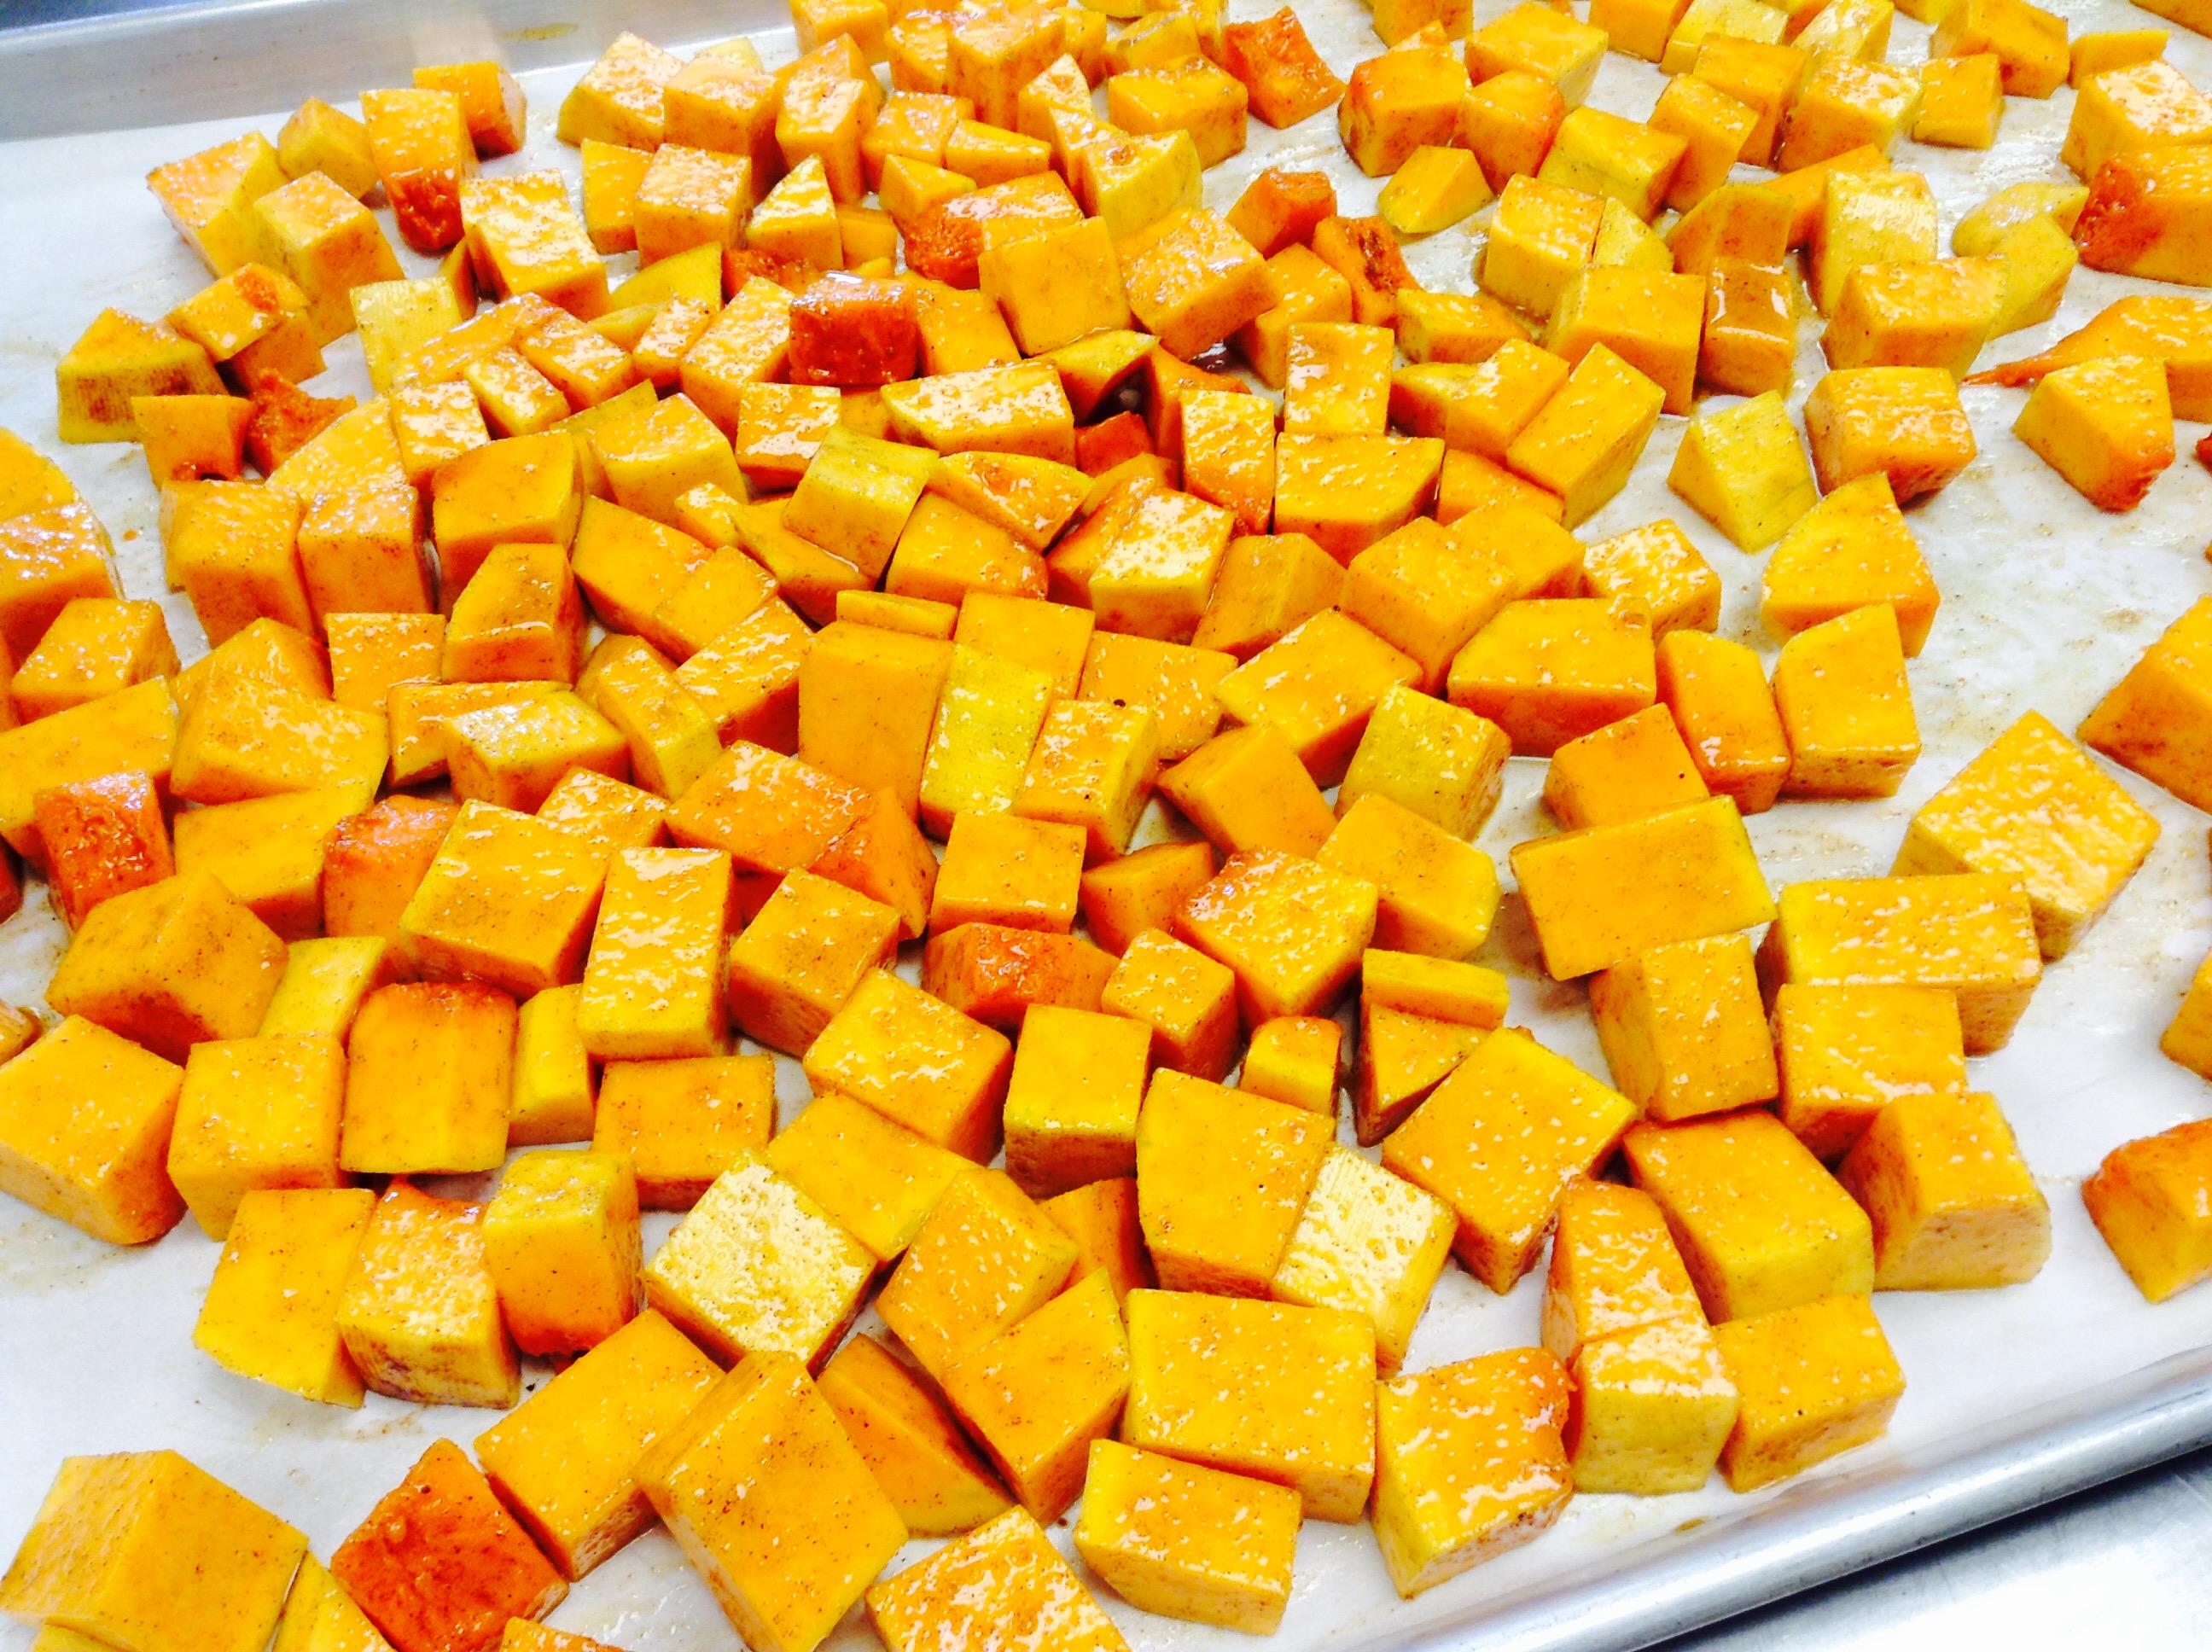
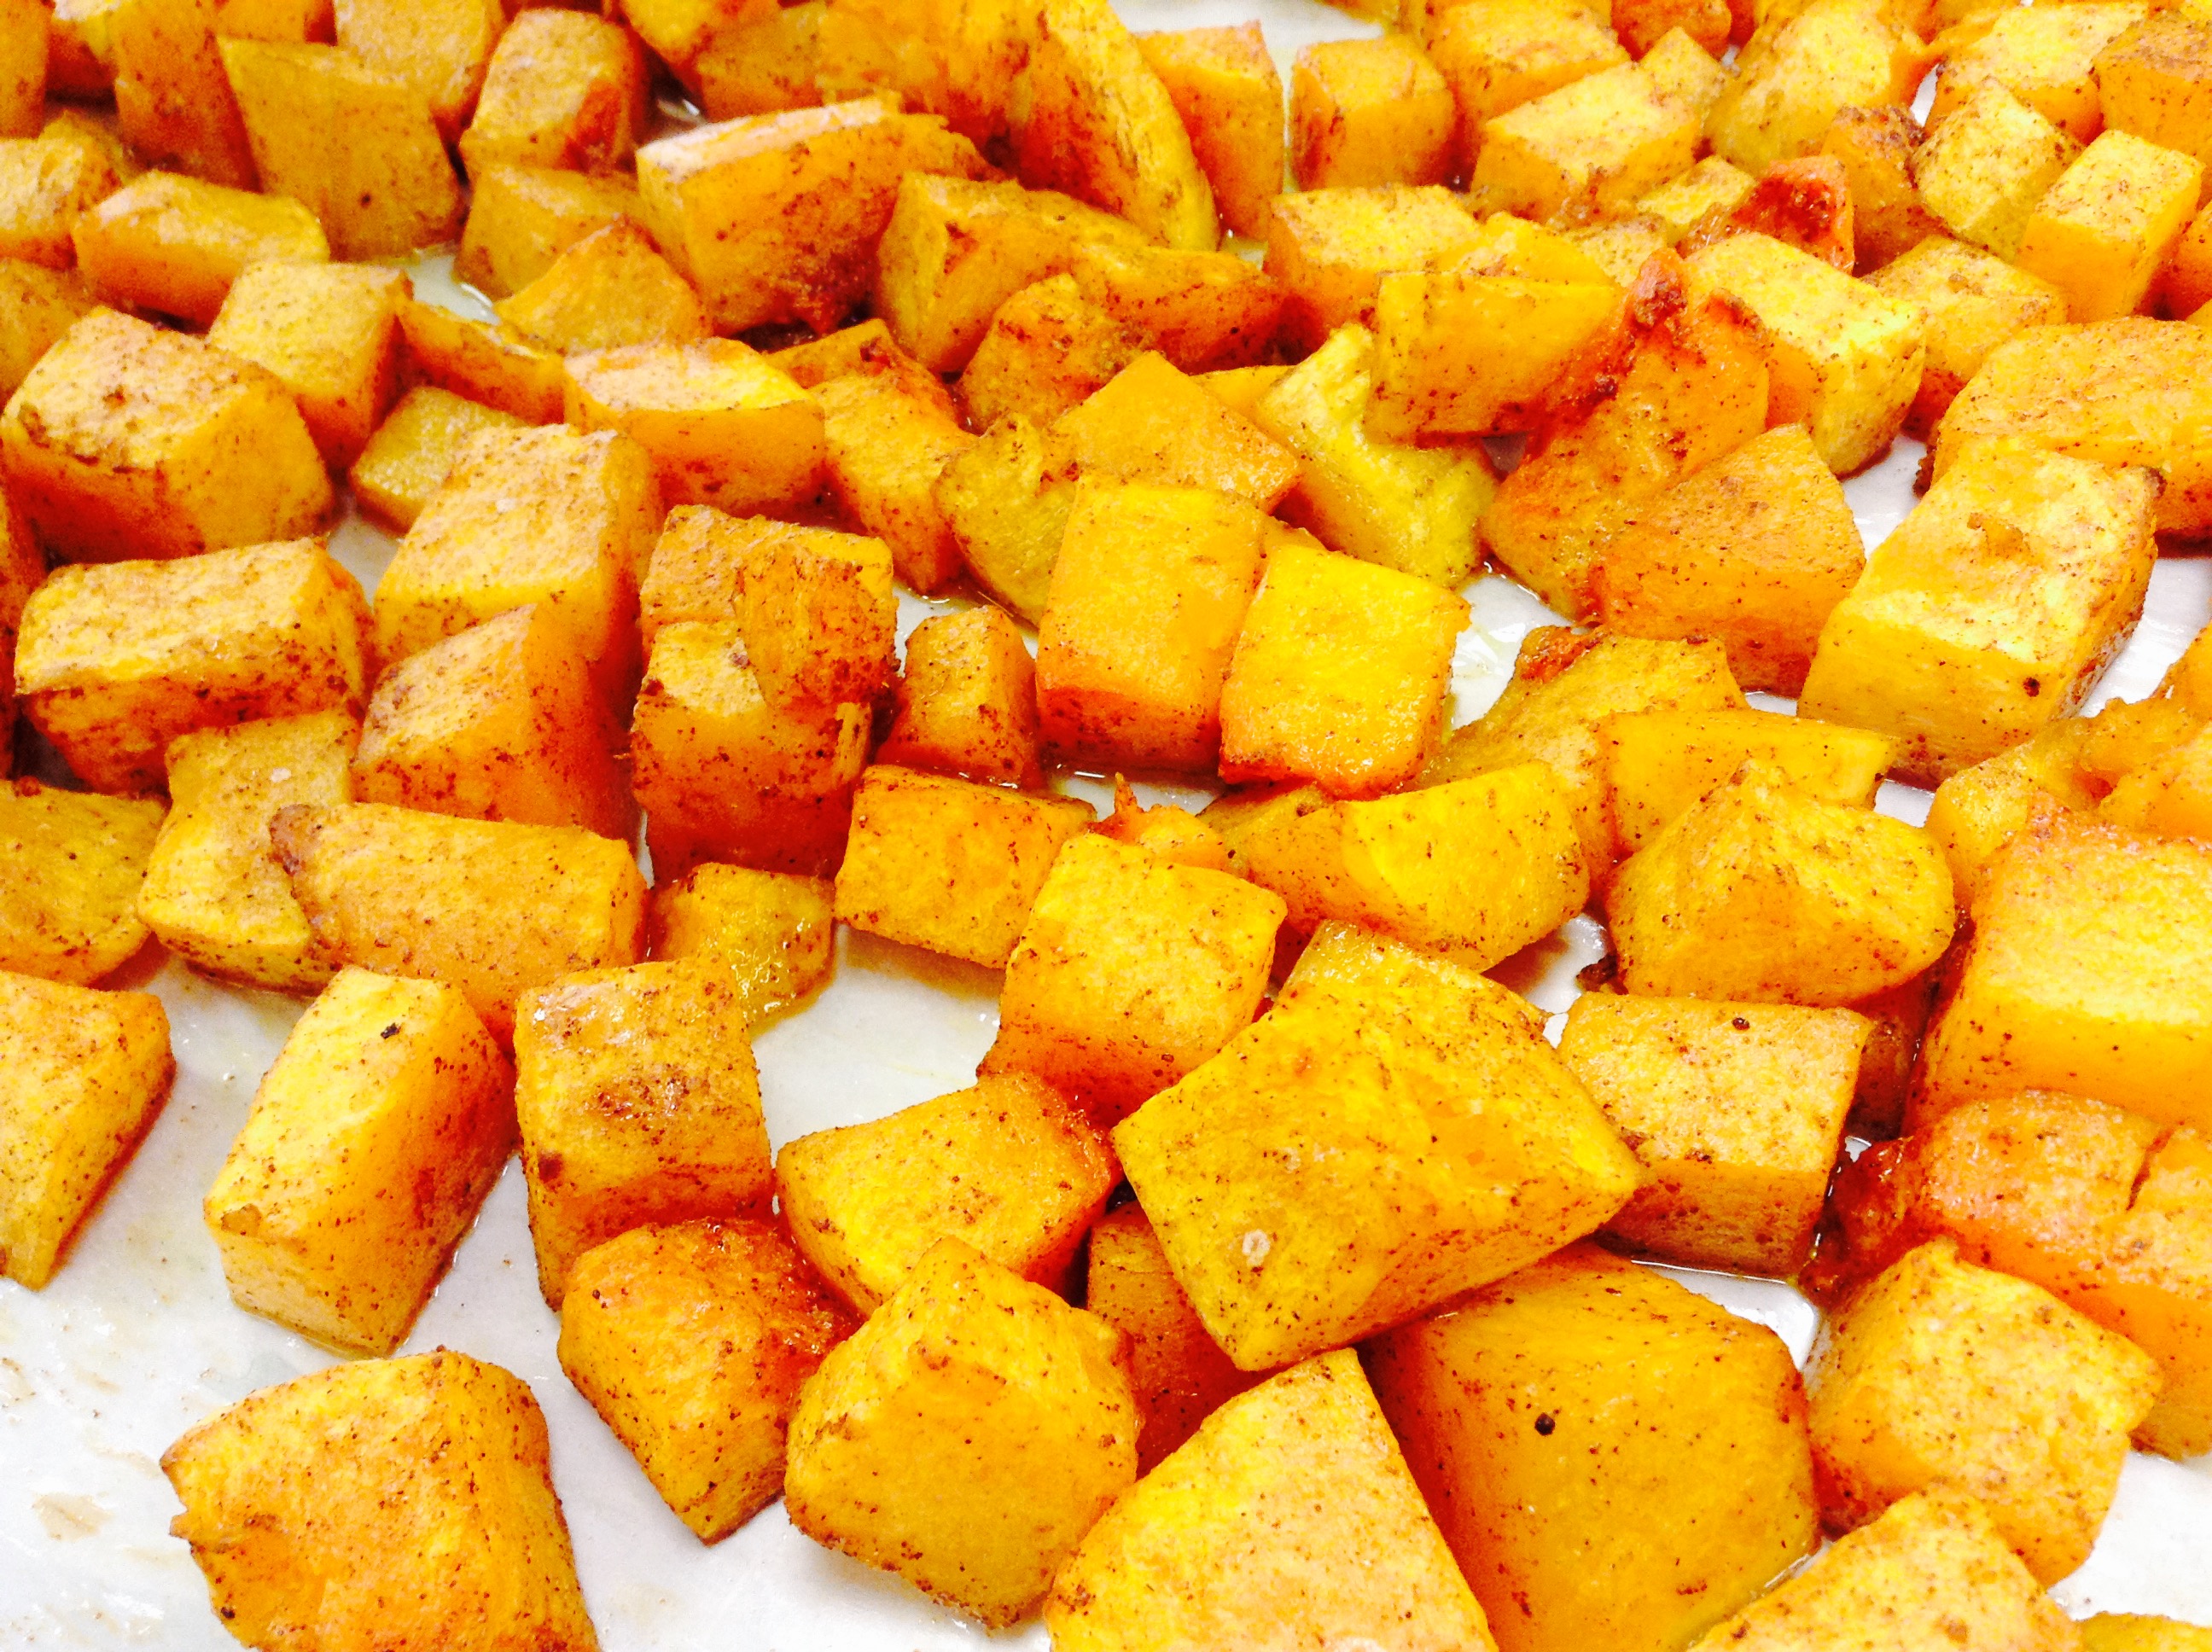
- Prepare butternut squash and toss in a bowl with 6 Tbsp. olive oil, 1 Tbsp Kosher salt, cinnamon, nutmeg, ginger and brown sugar
- Spread squash on two parchment or foil lined baking trays and roast in oven for 30 - 35 min. or until tender when pierced with a fork (stirring occasionally).
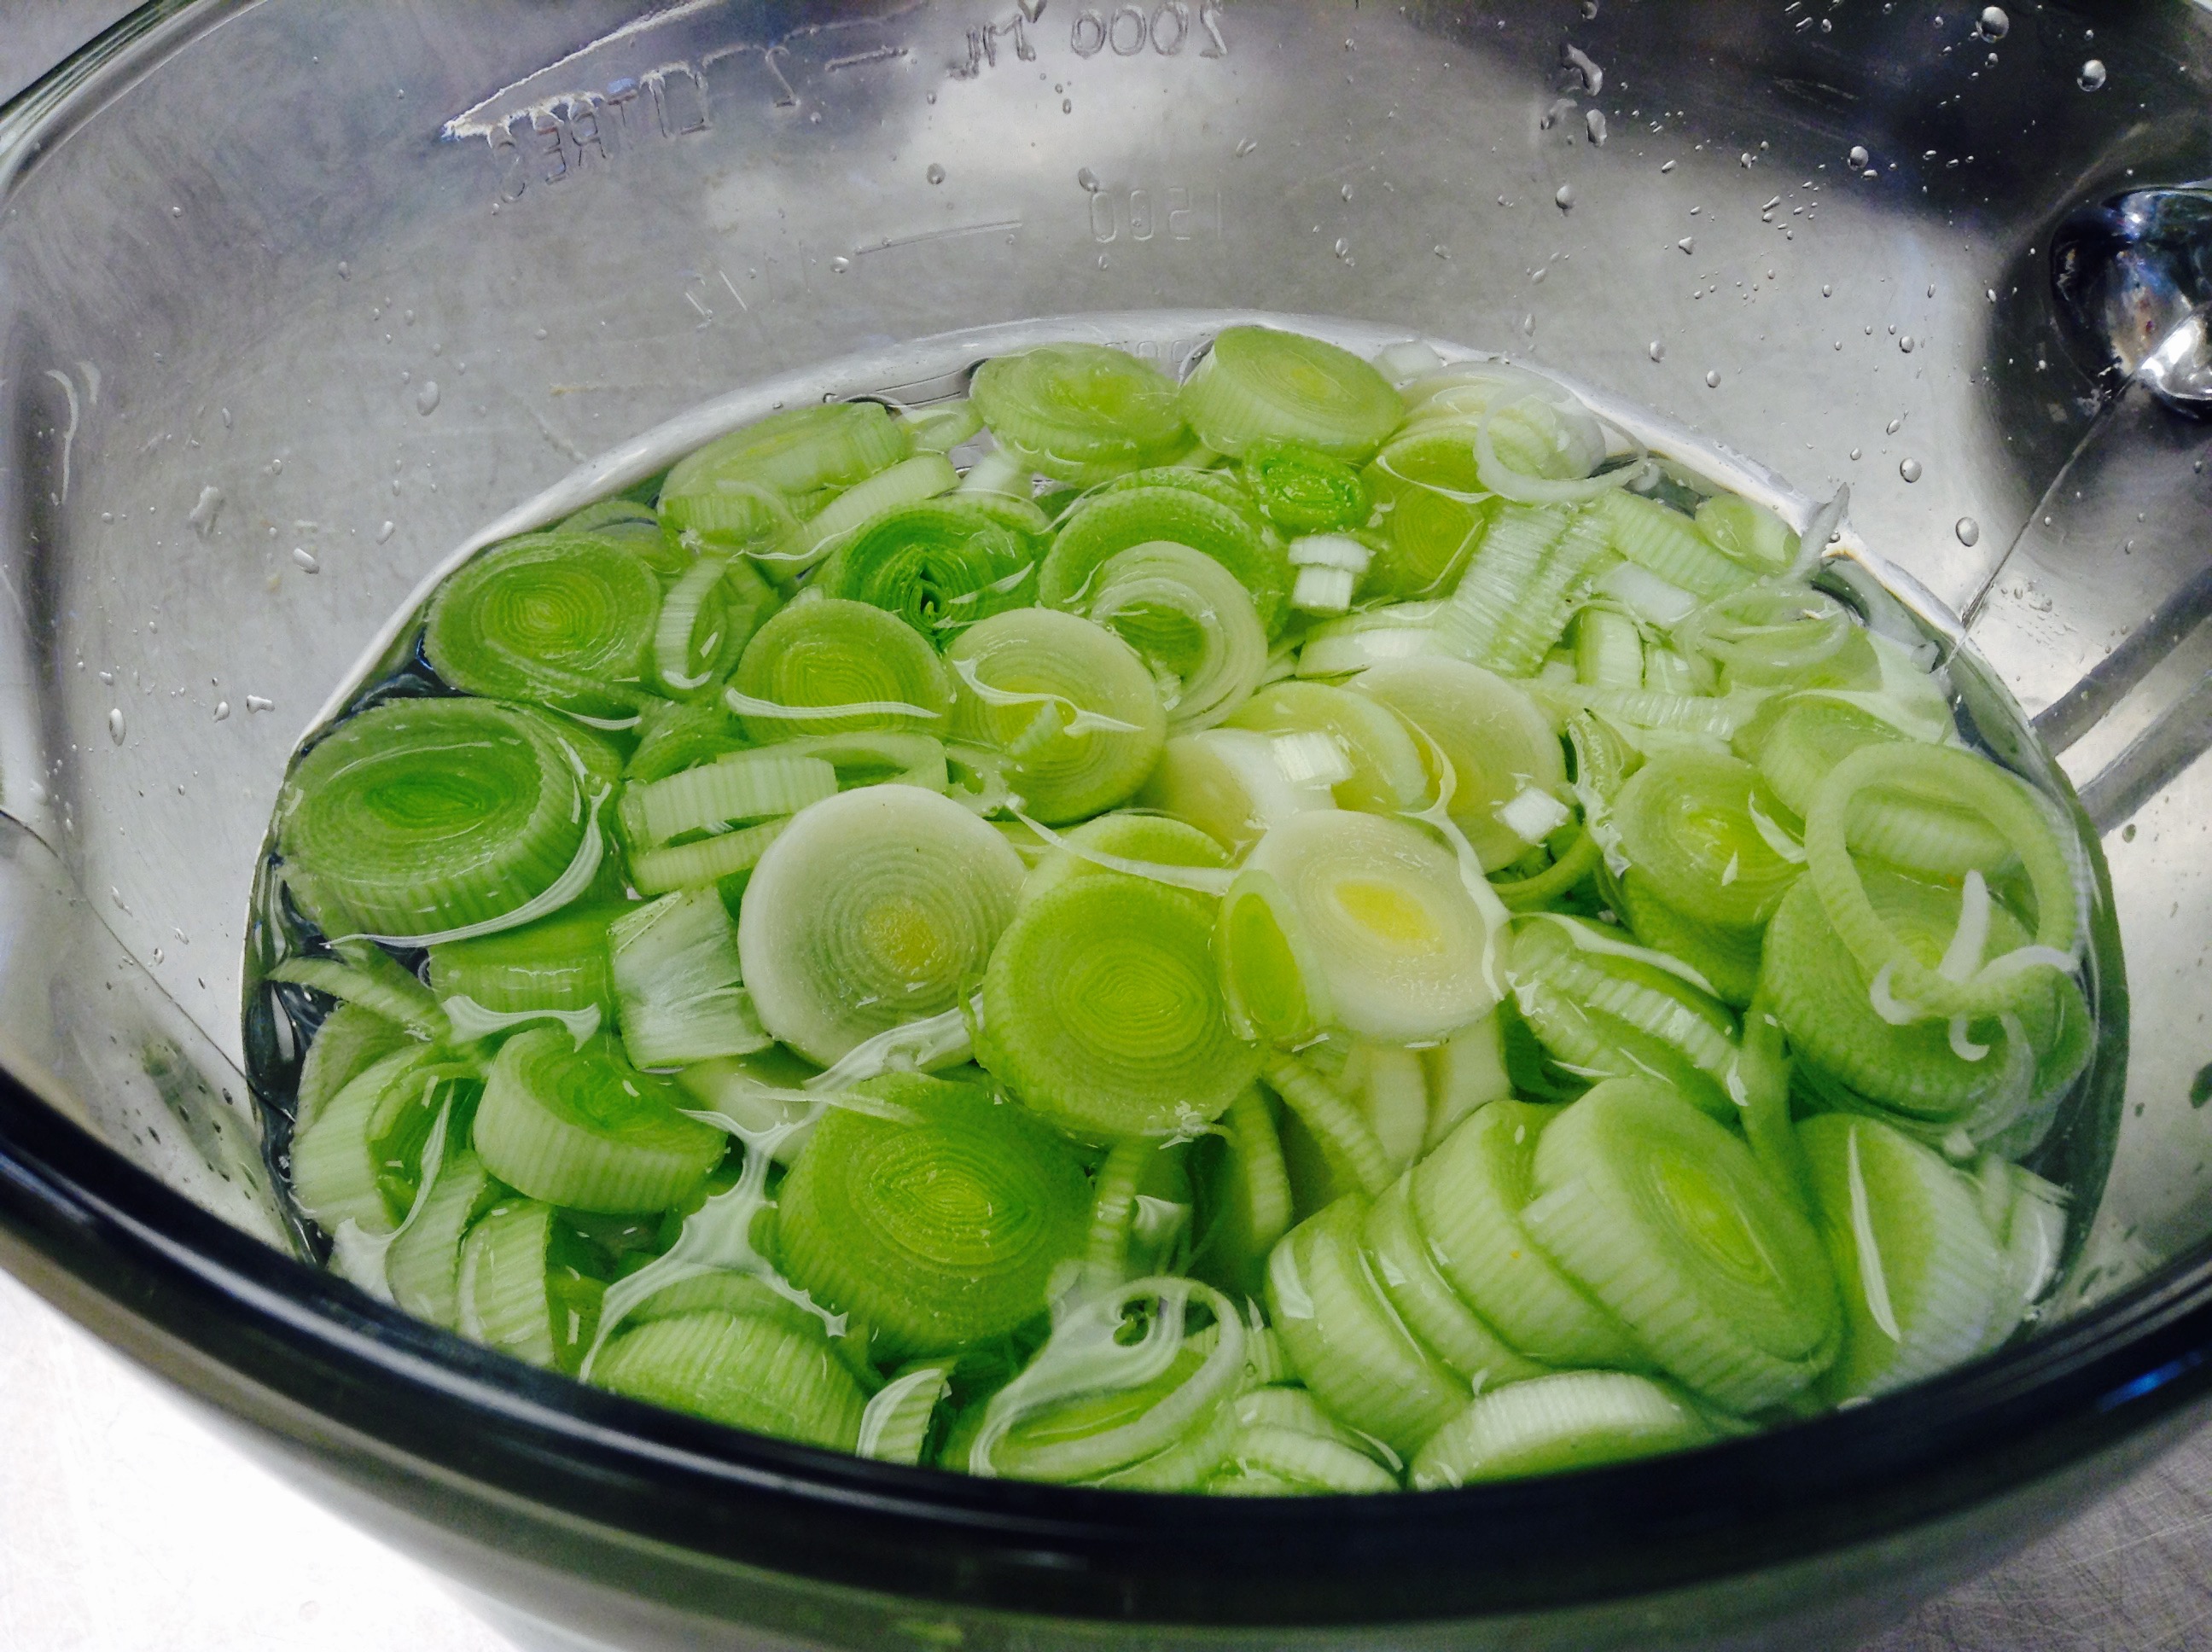
- While the squash is roasting, prepare your leeks and pears. Place the sliced leeks in a bowl of cold water to remove any excess dirt, then remove.
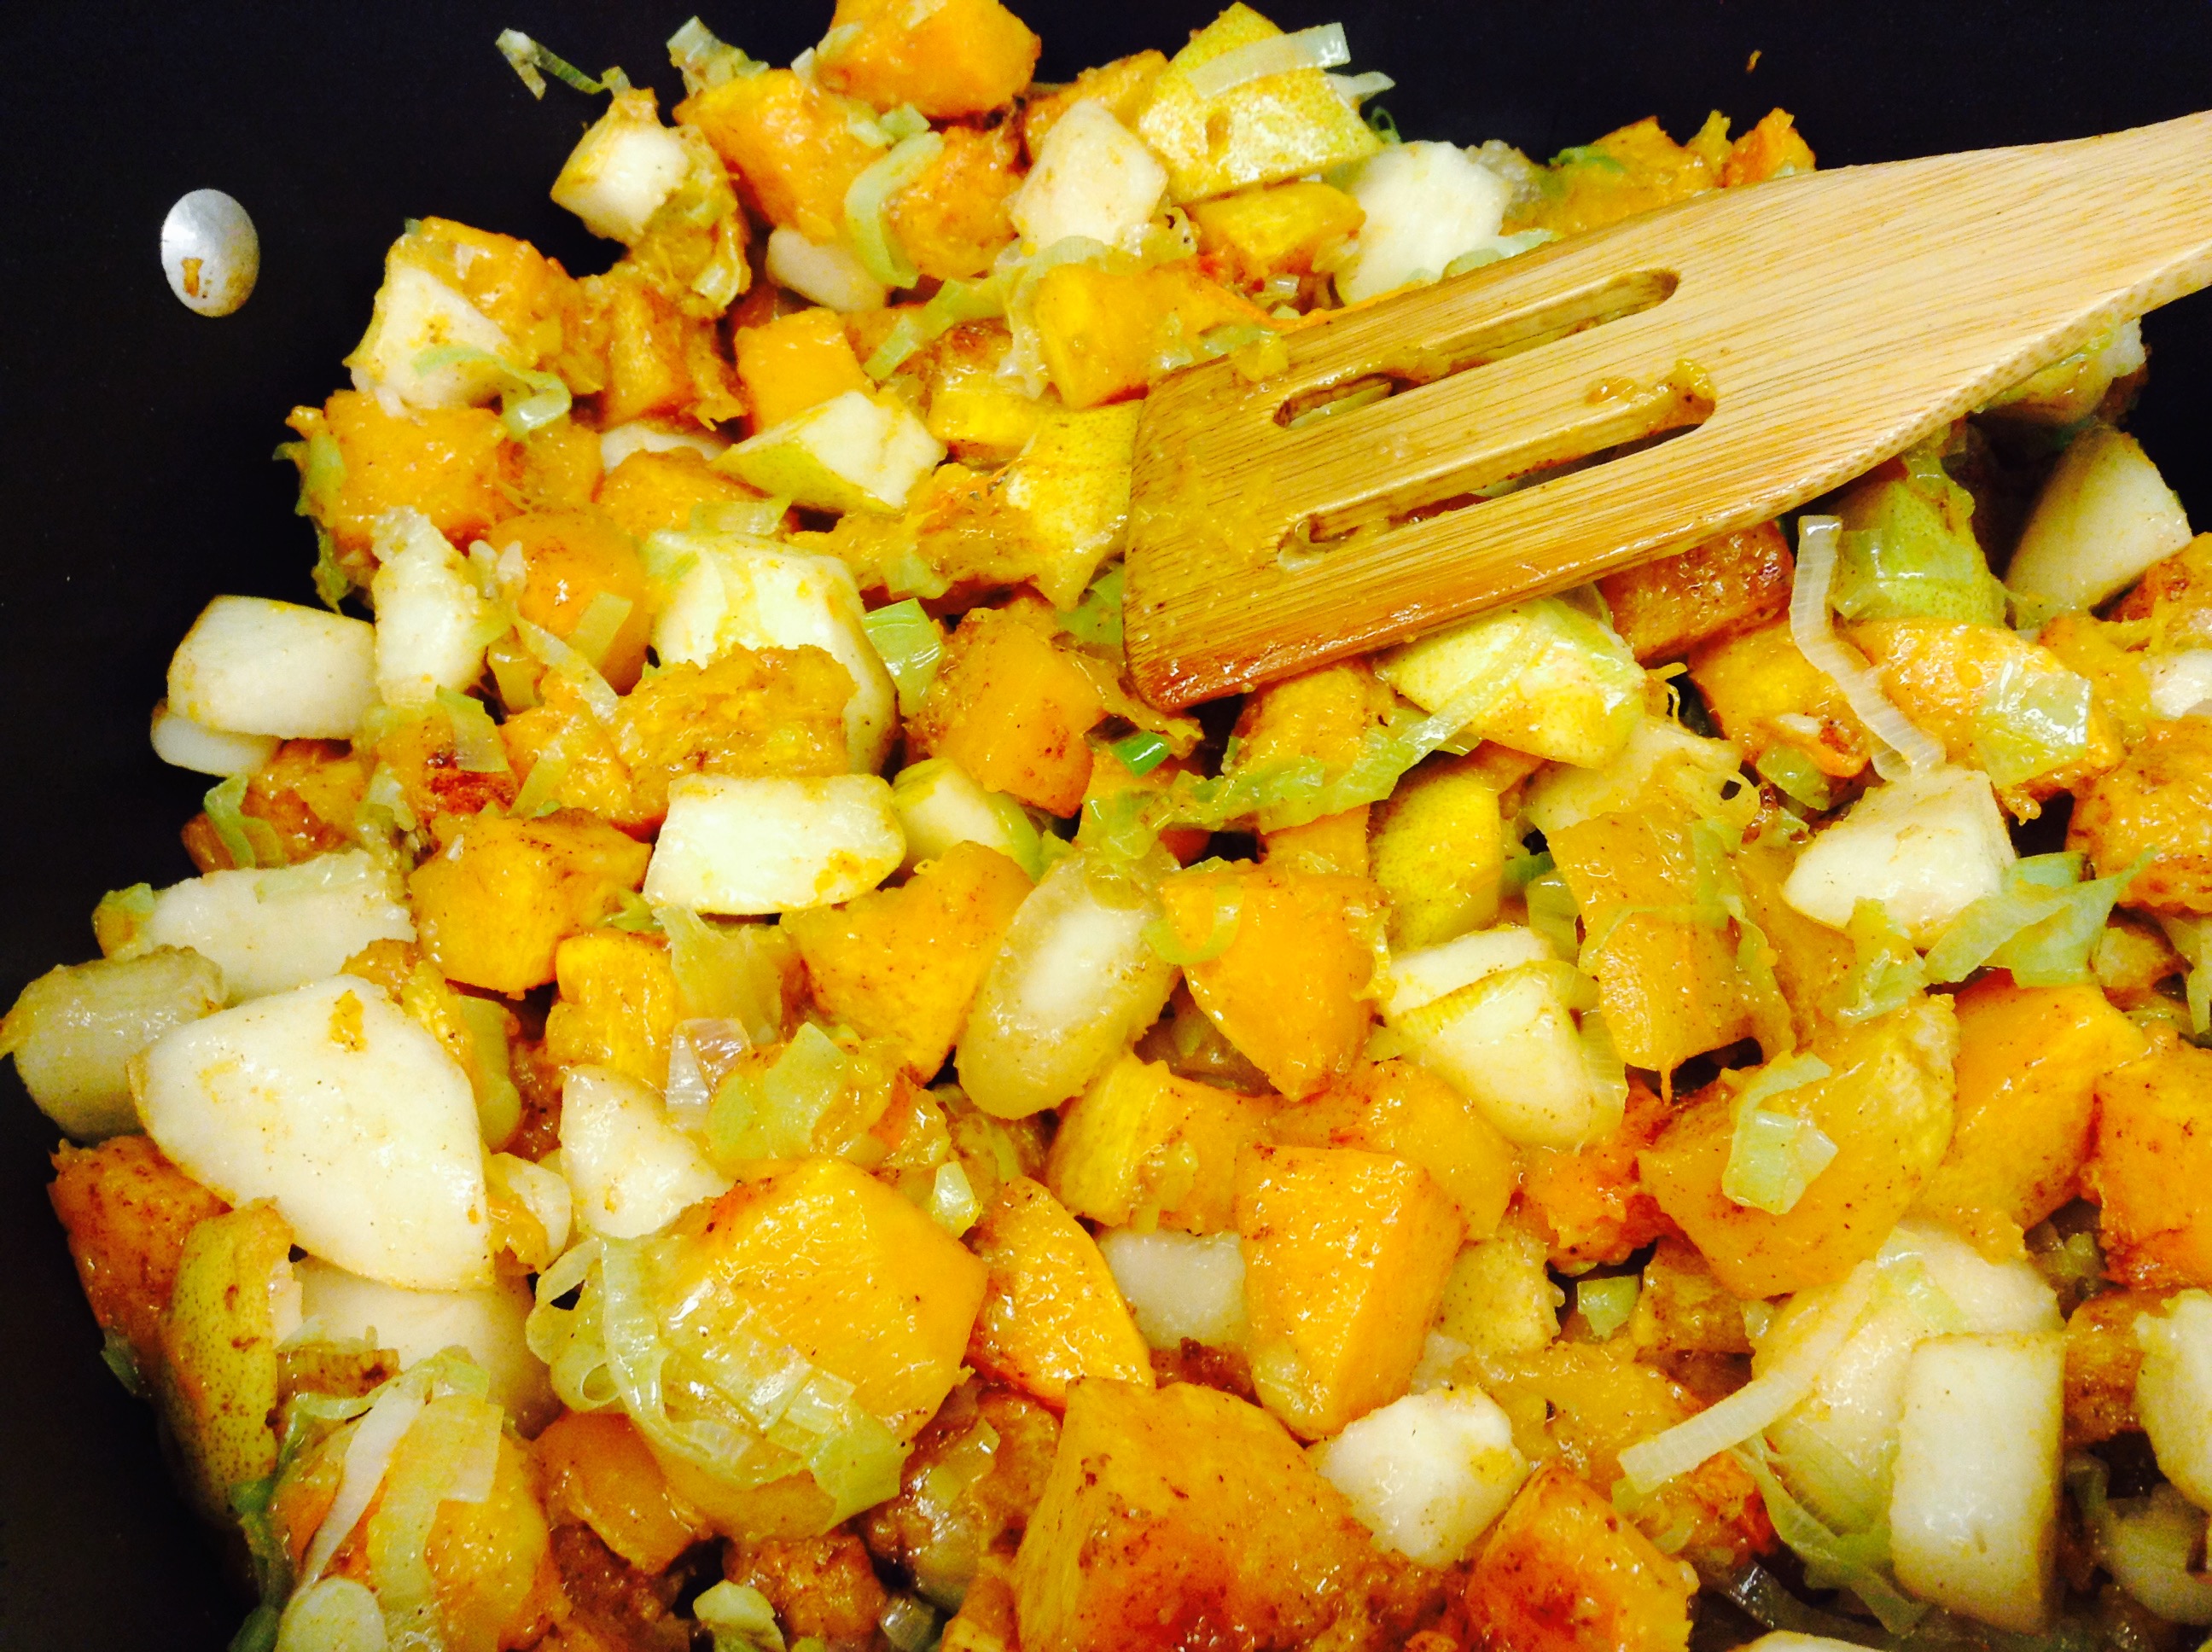
- Heat a large dutch oven with the remaining 2 Tbsp of olive oil and 1 Tbsp of butter. Saute leeks over medium heat until golden and soft. Add pears and then the roasted butternut squash, scraping all the goodness off the pan.
- Add the broth and bring to a simmer, cover and cook until all the vegetables are tender, about 10 min.
- Remove from heat, and puree with an immersion blender, until completely smooth.
- Adjust seasonings (add additional 1 tsp. salt) and cream, milk (or additional stock) to the consistency you prefer.
- Serve warm, enjoying the flavors of fall!
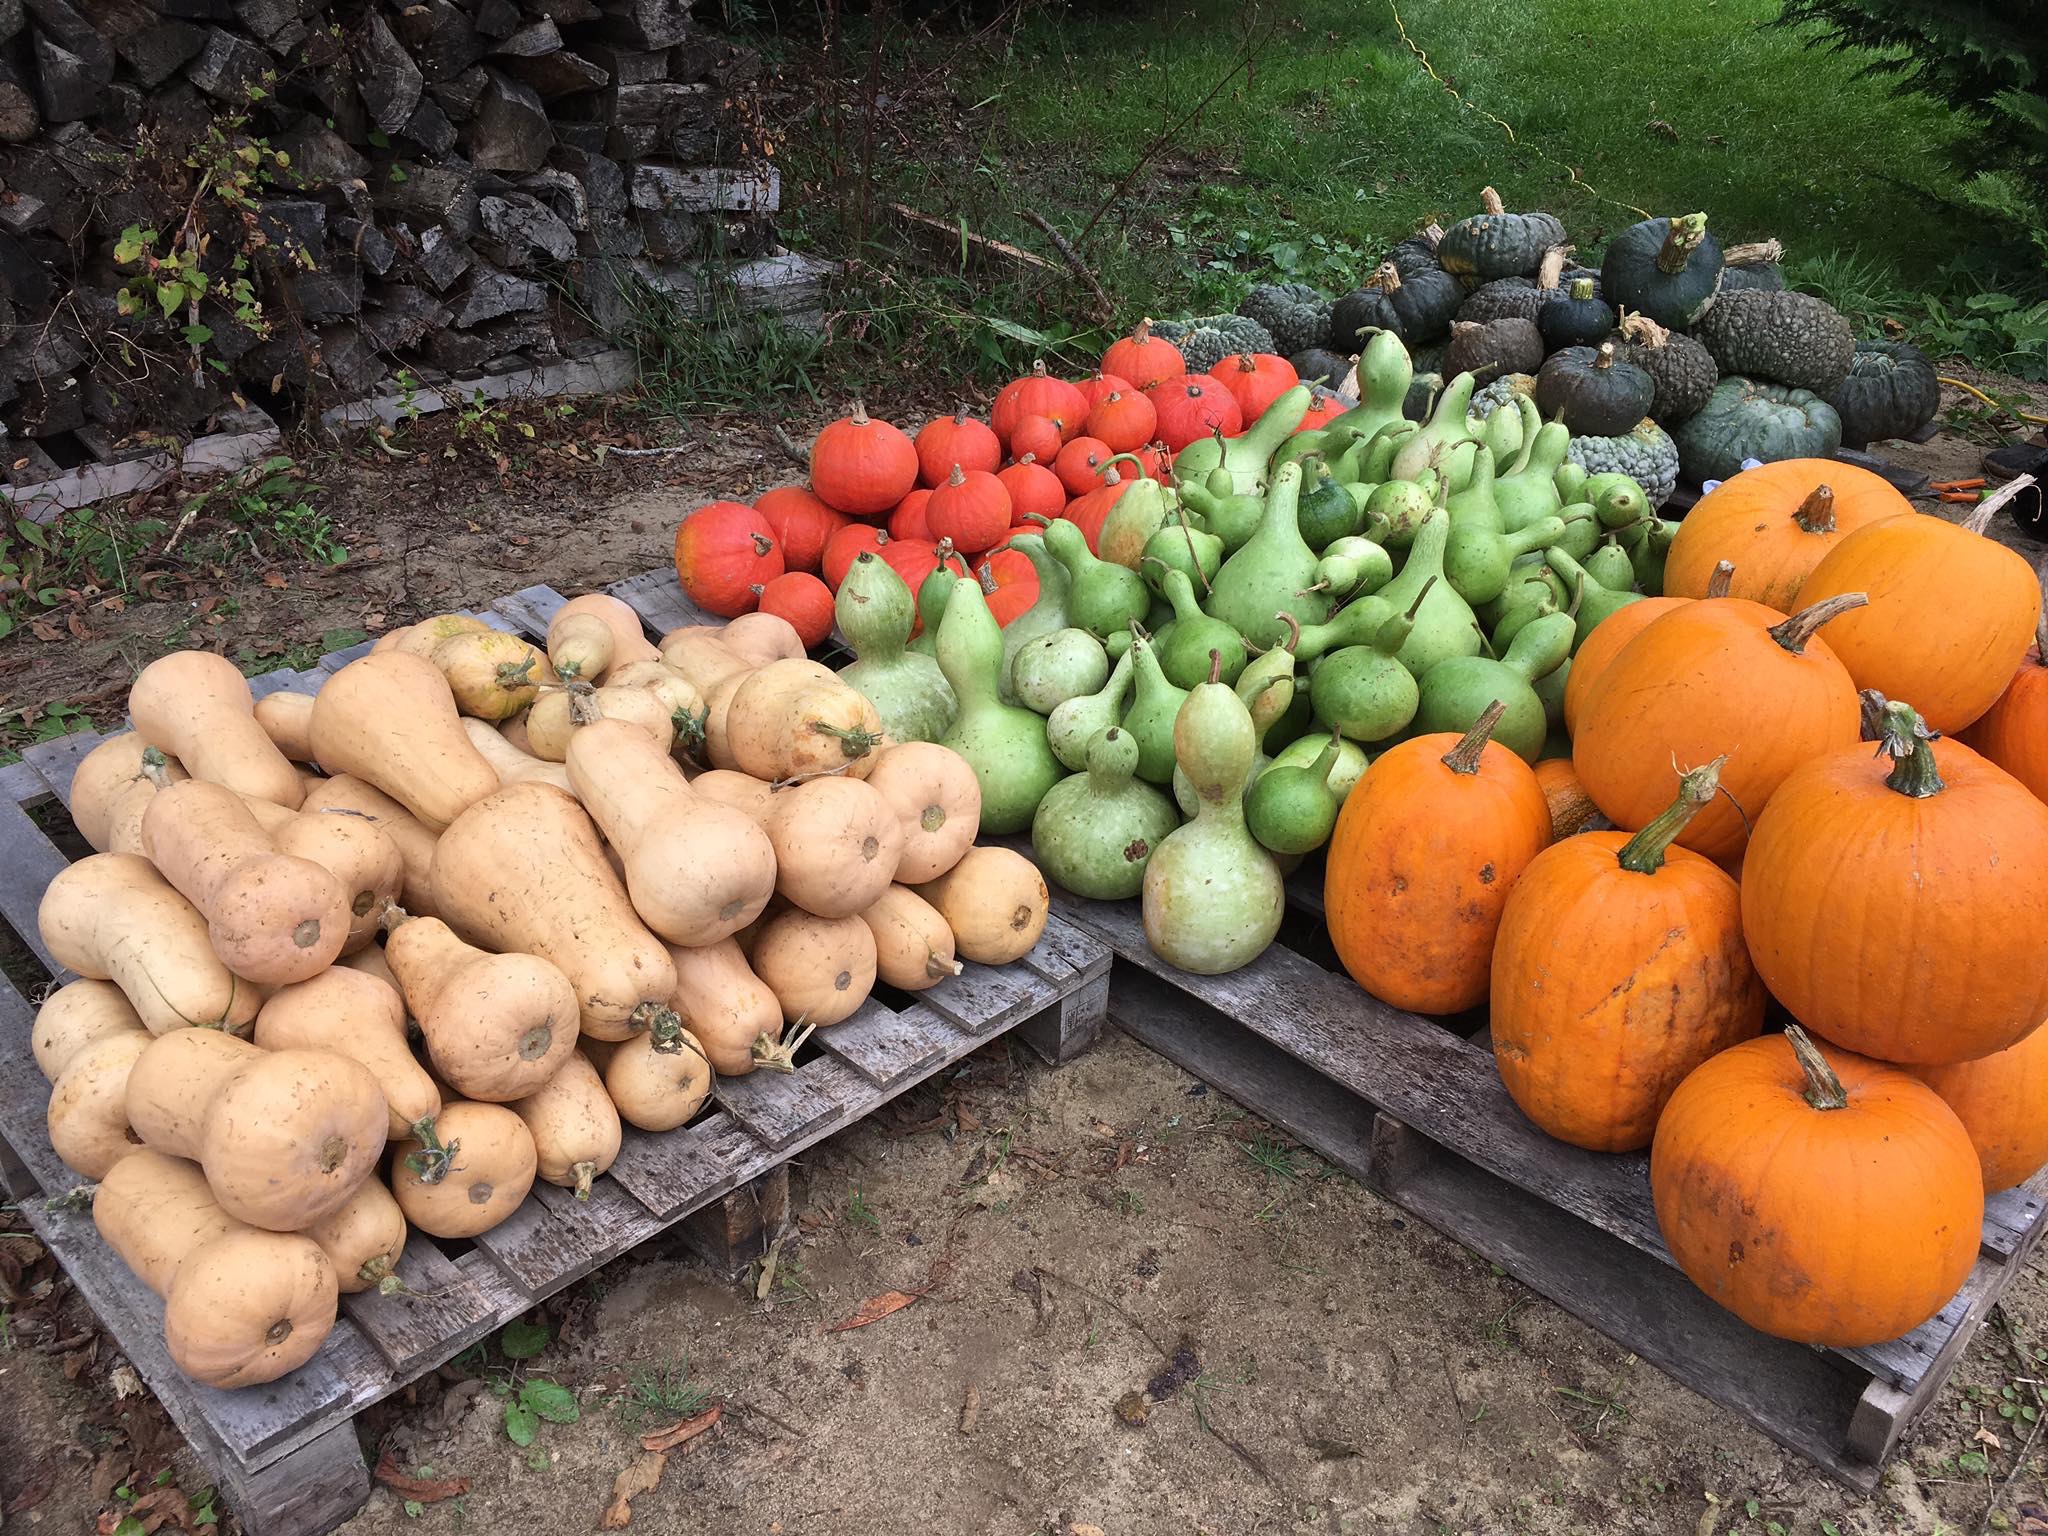
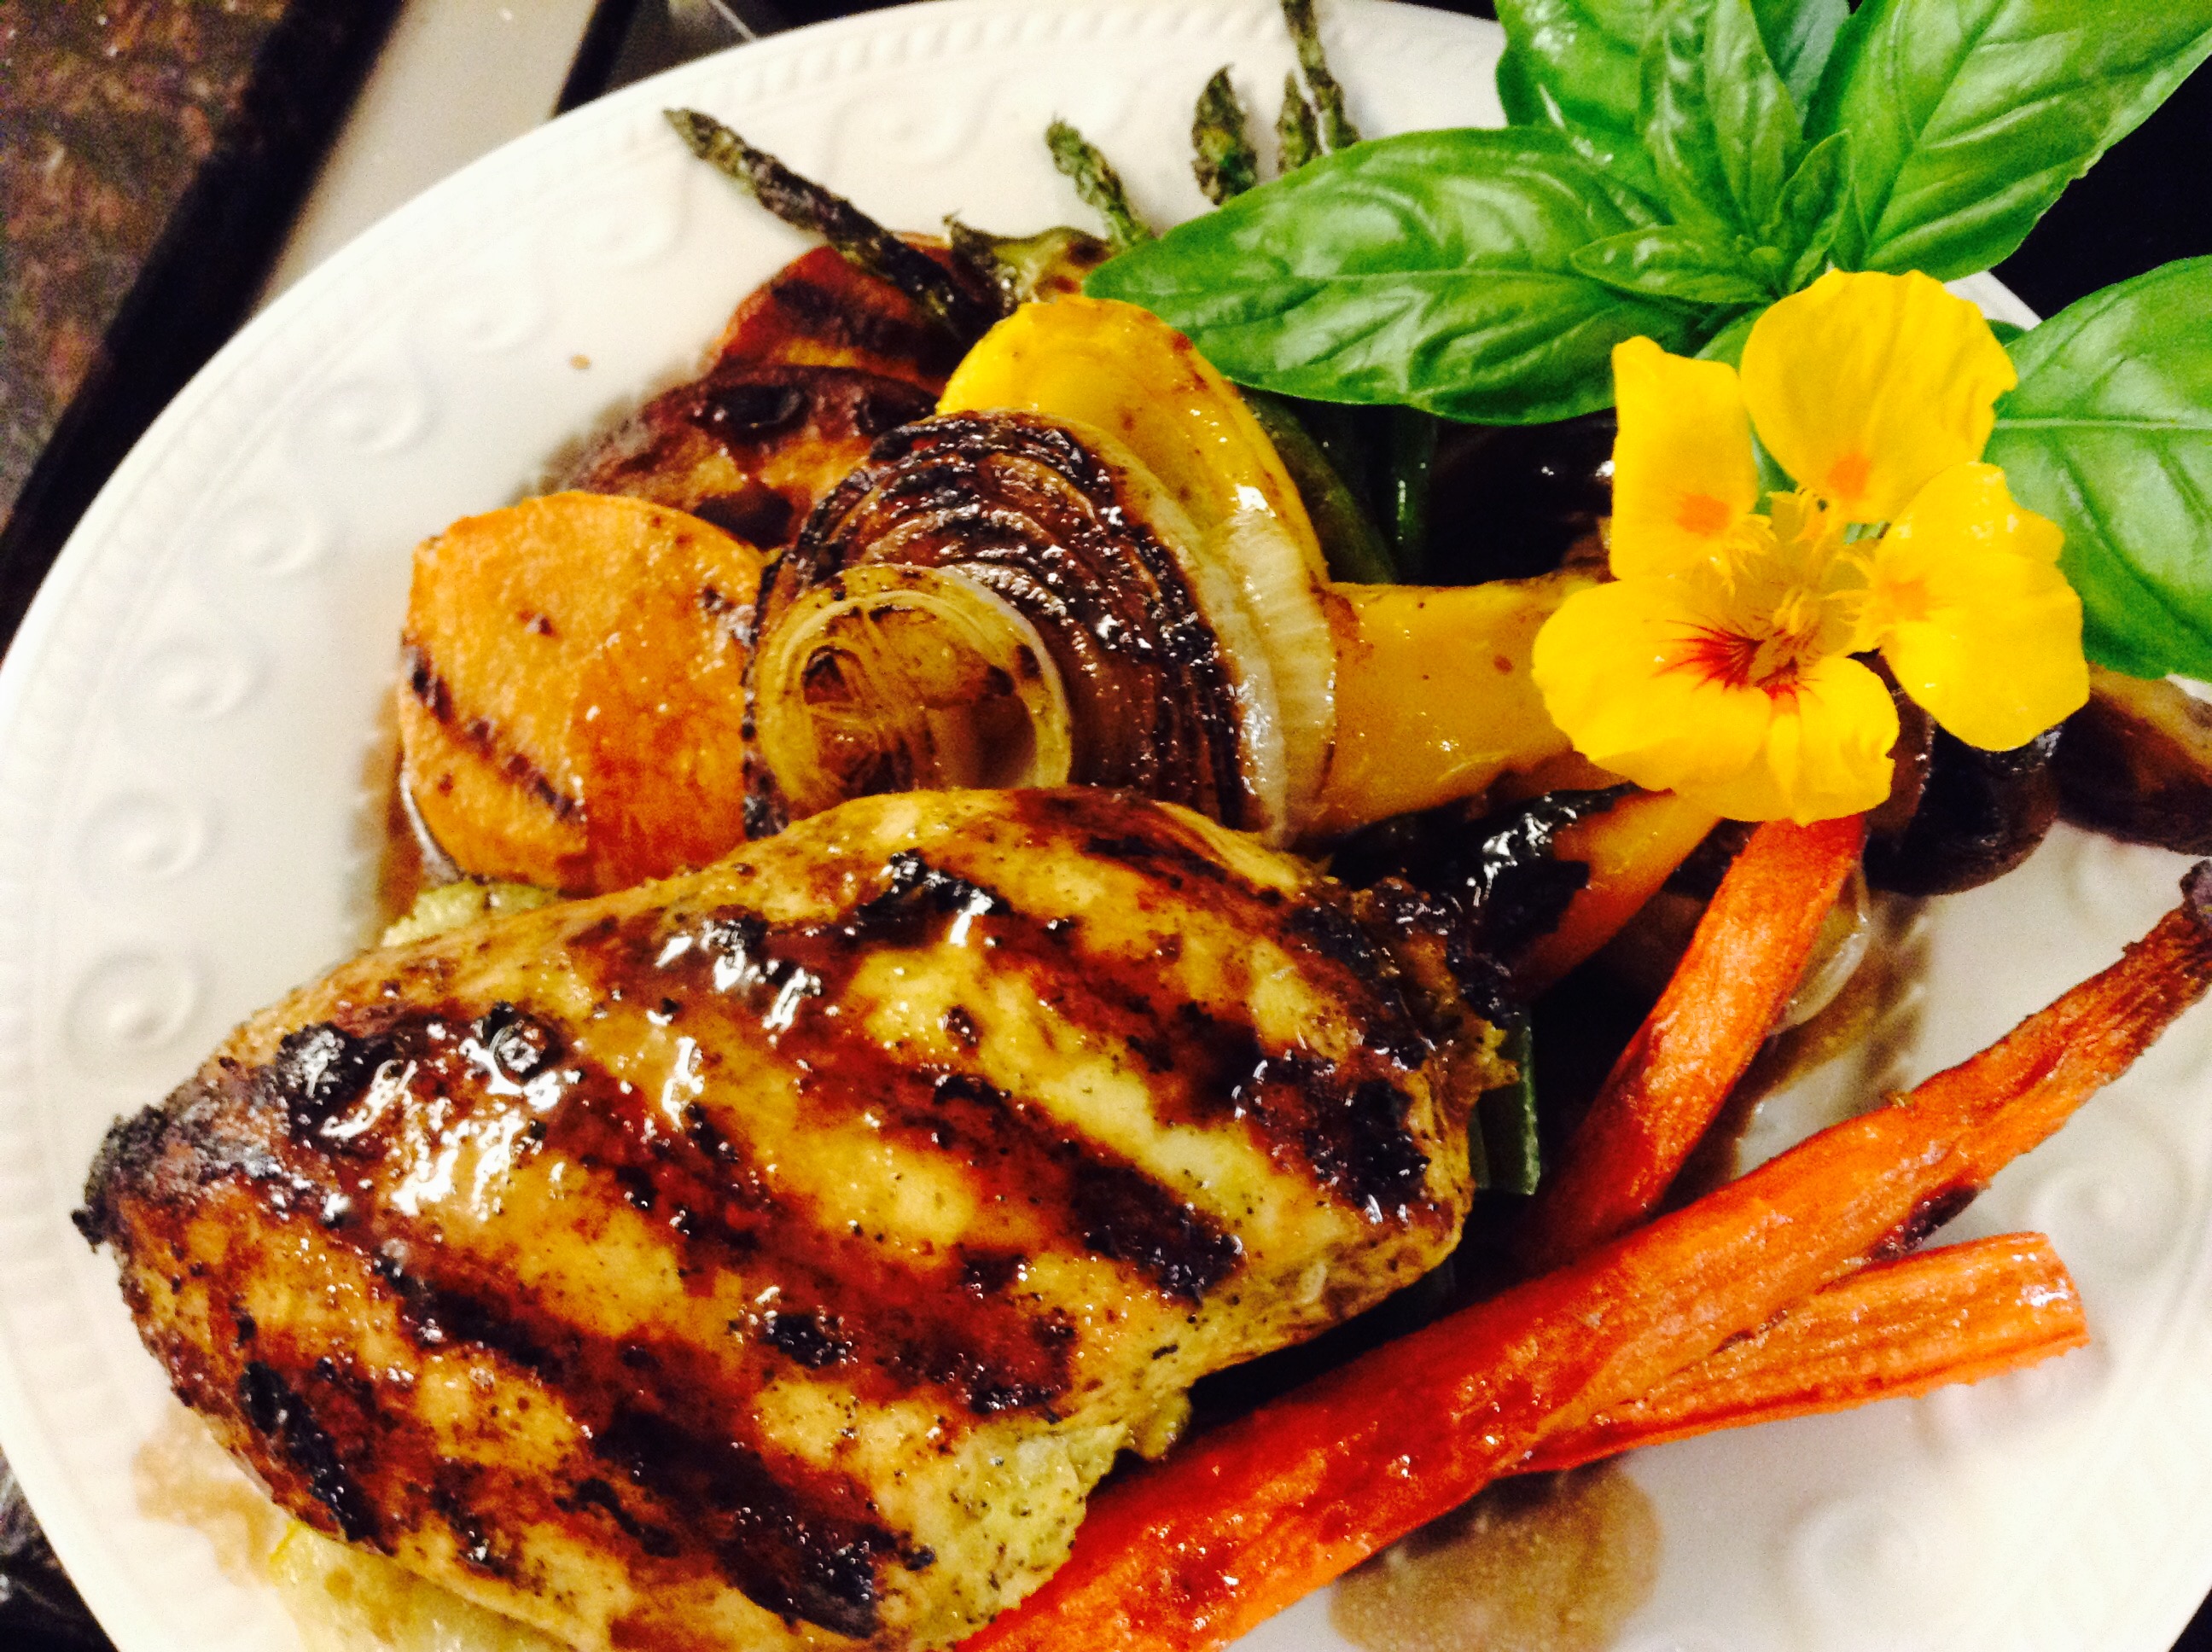
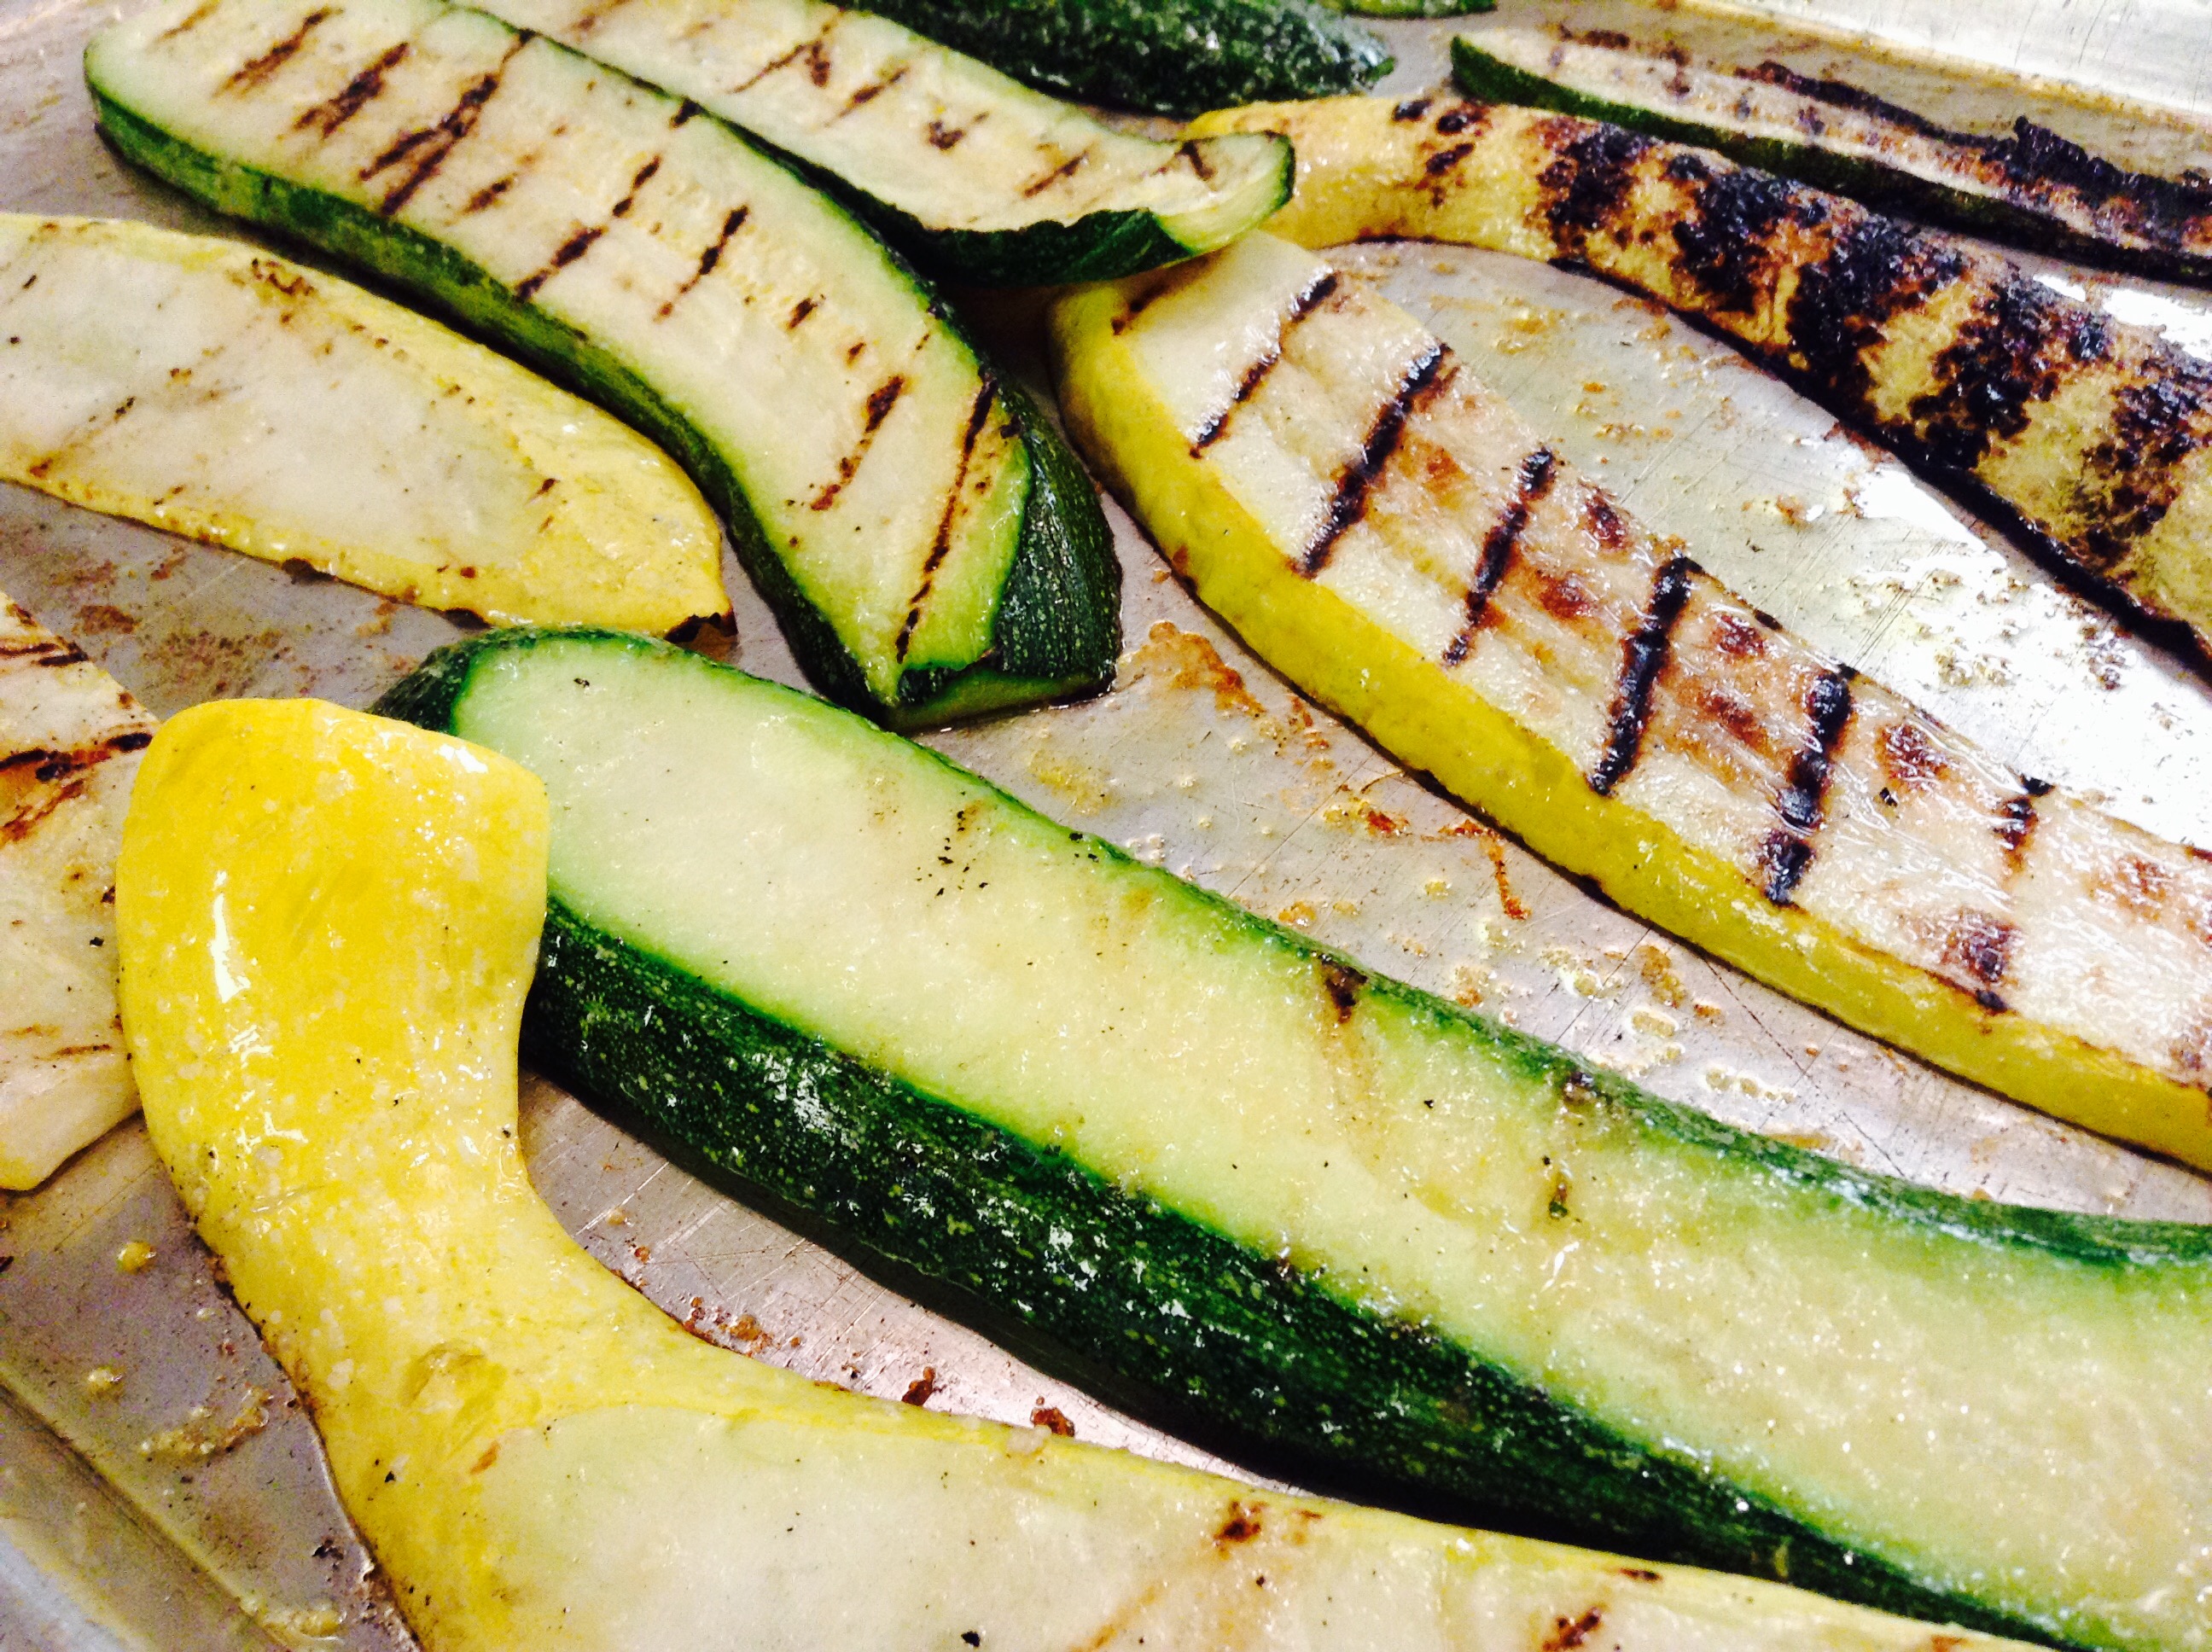
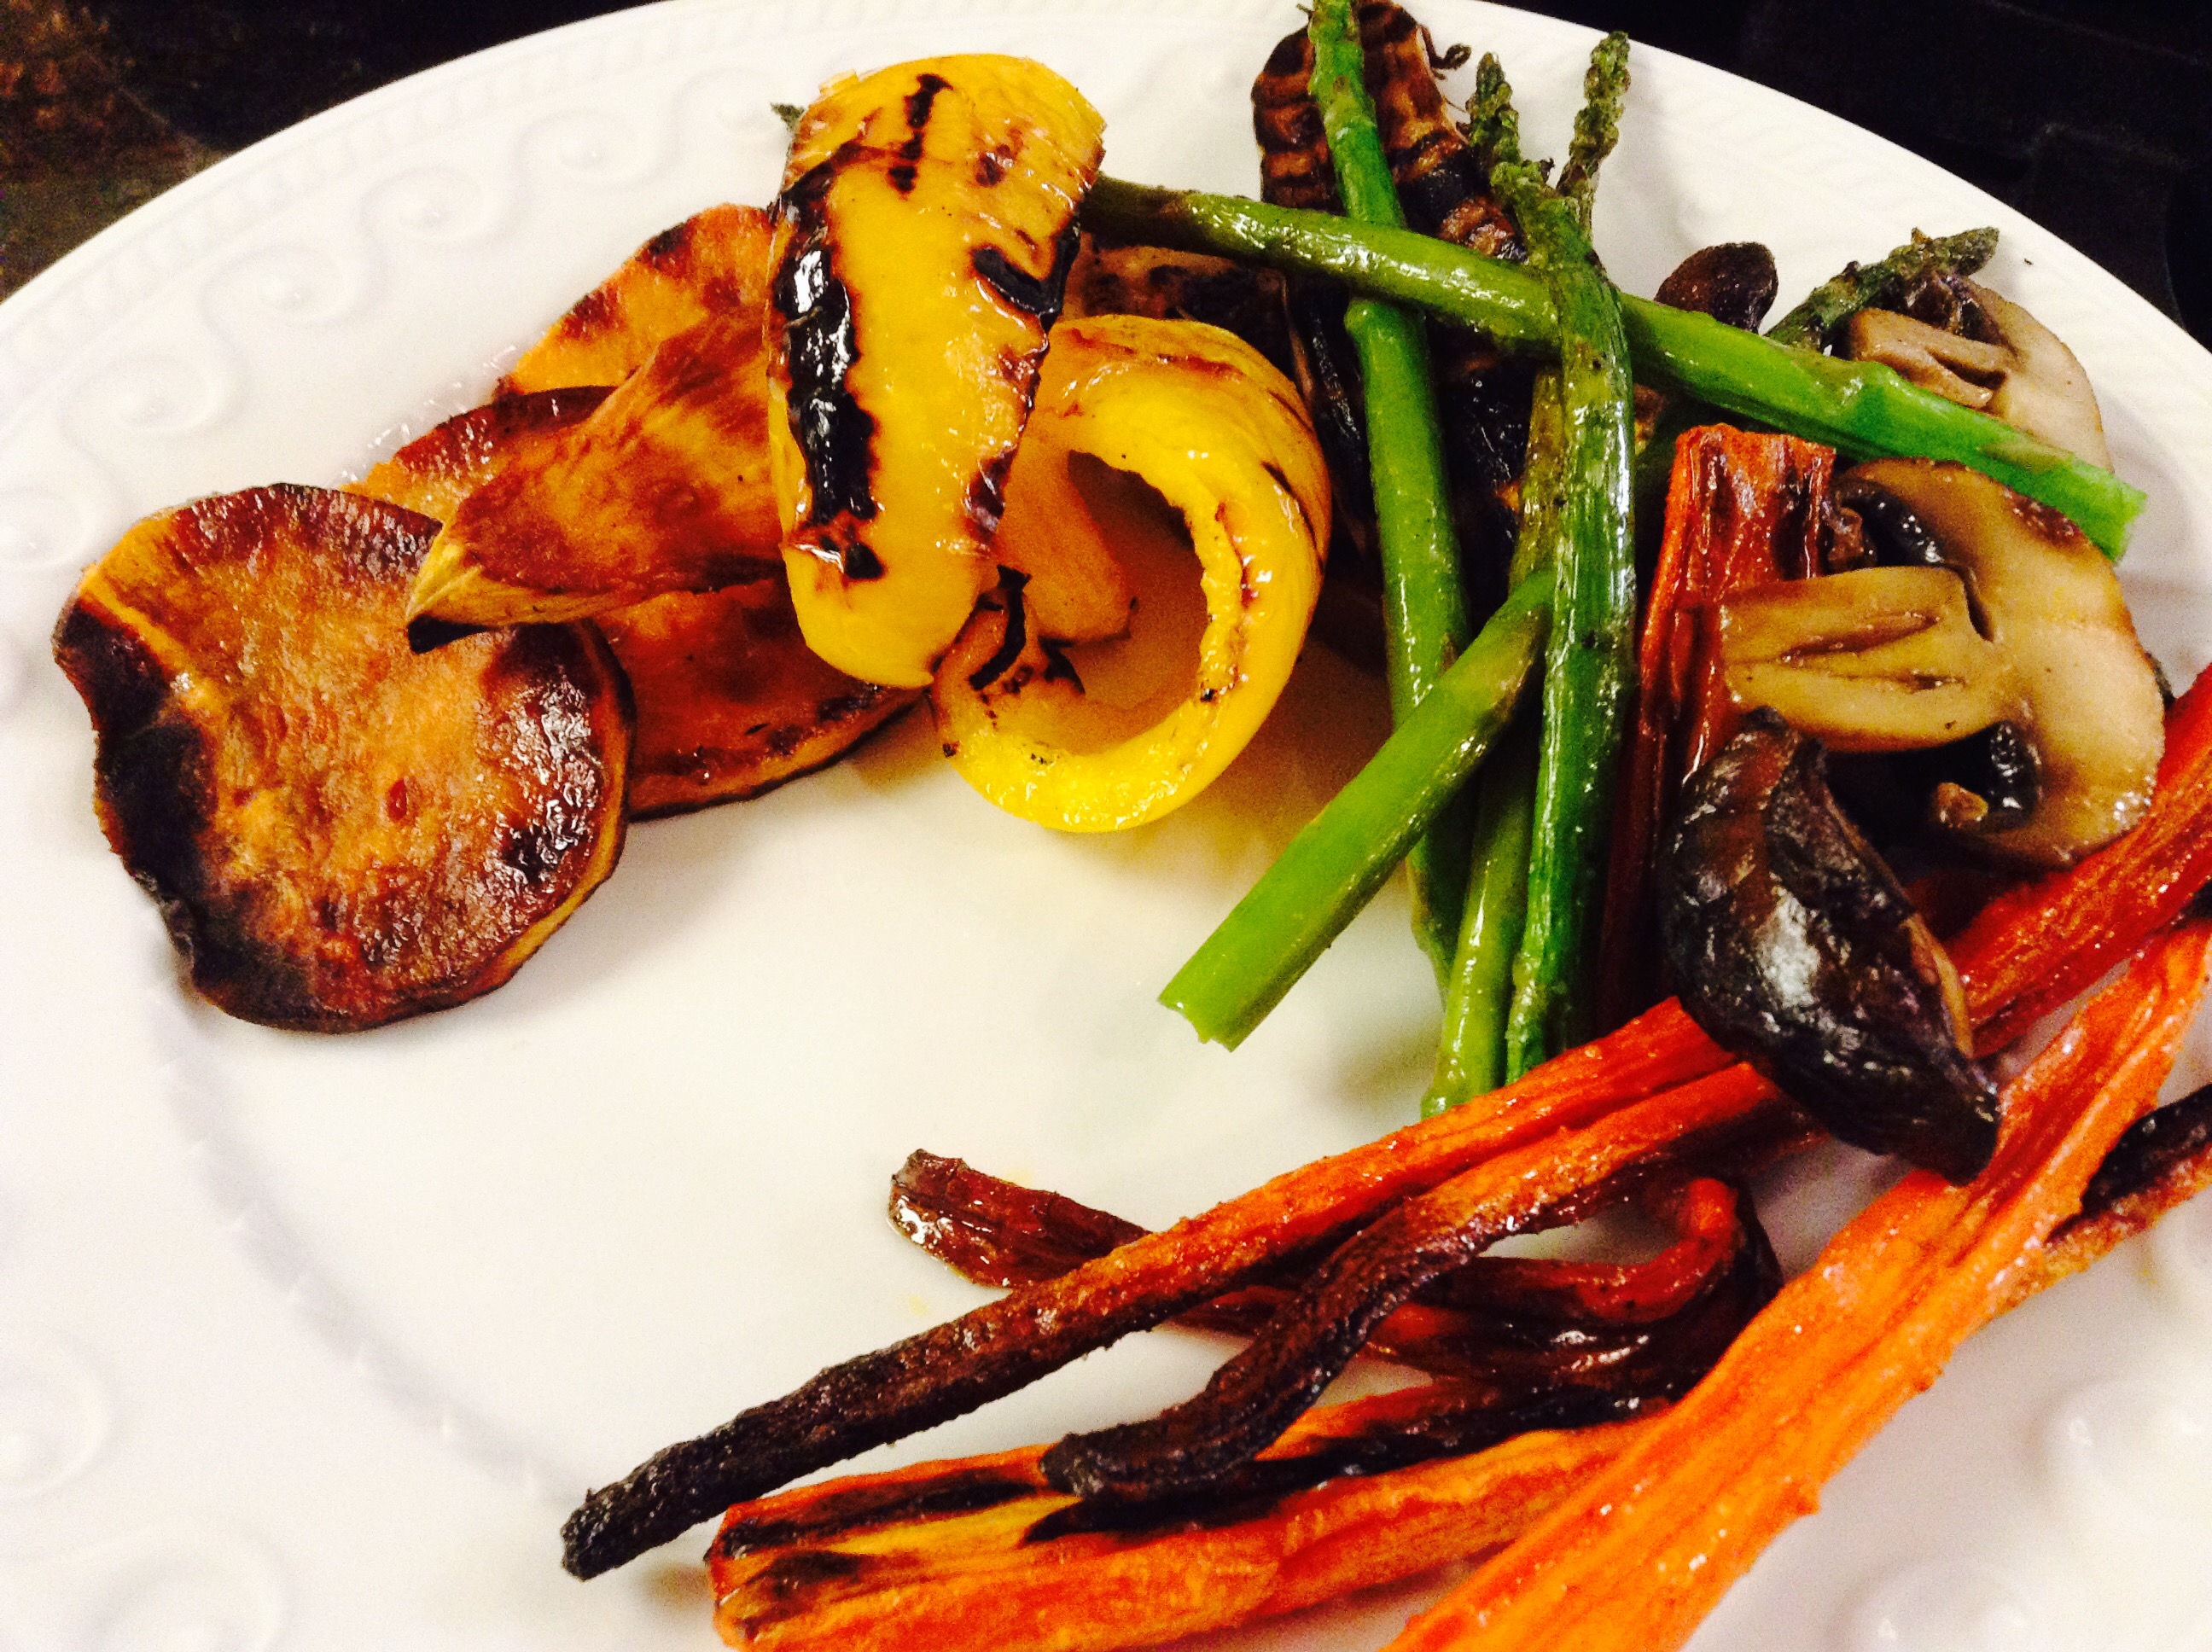
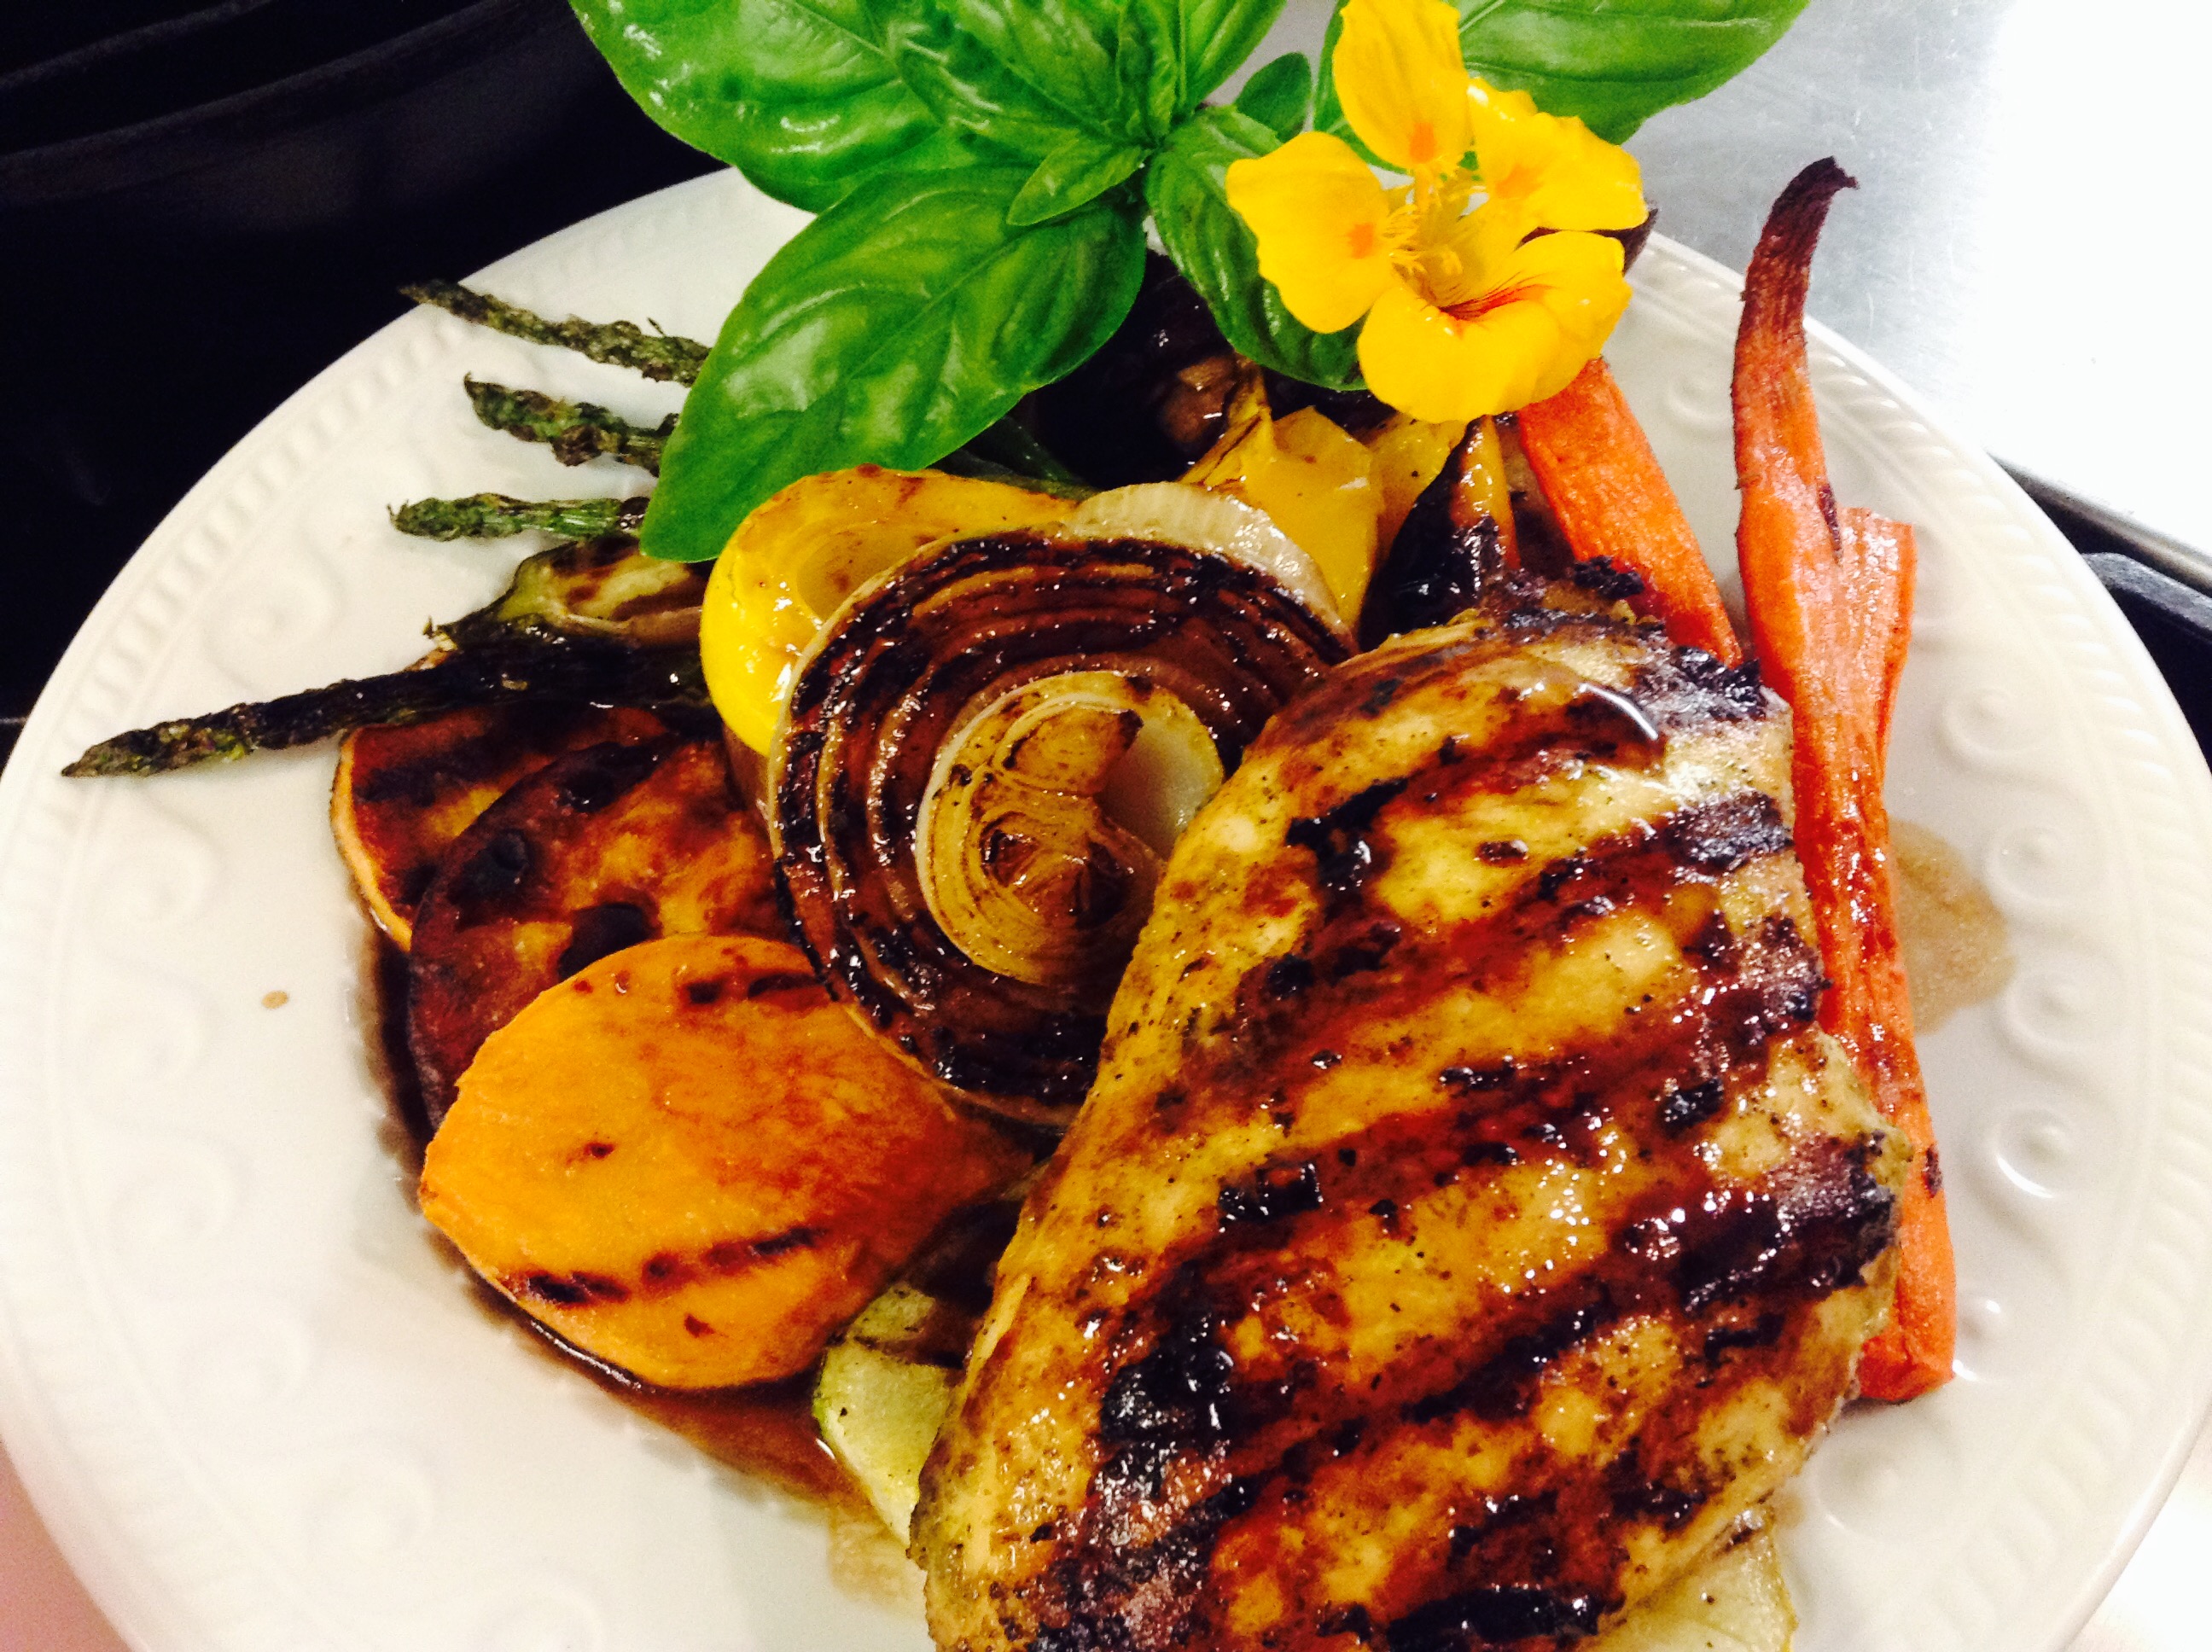
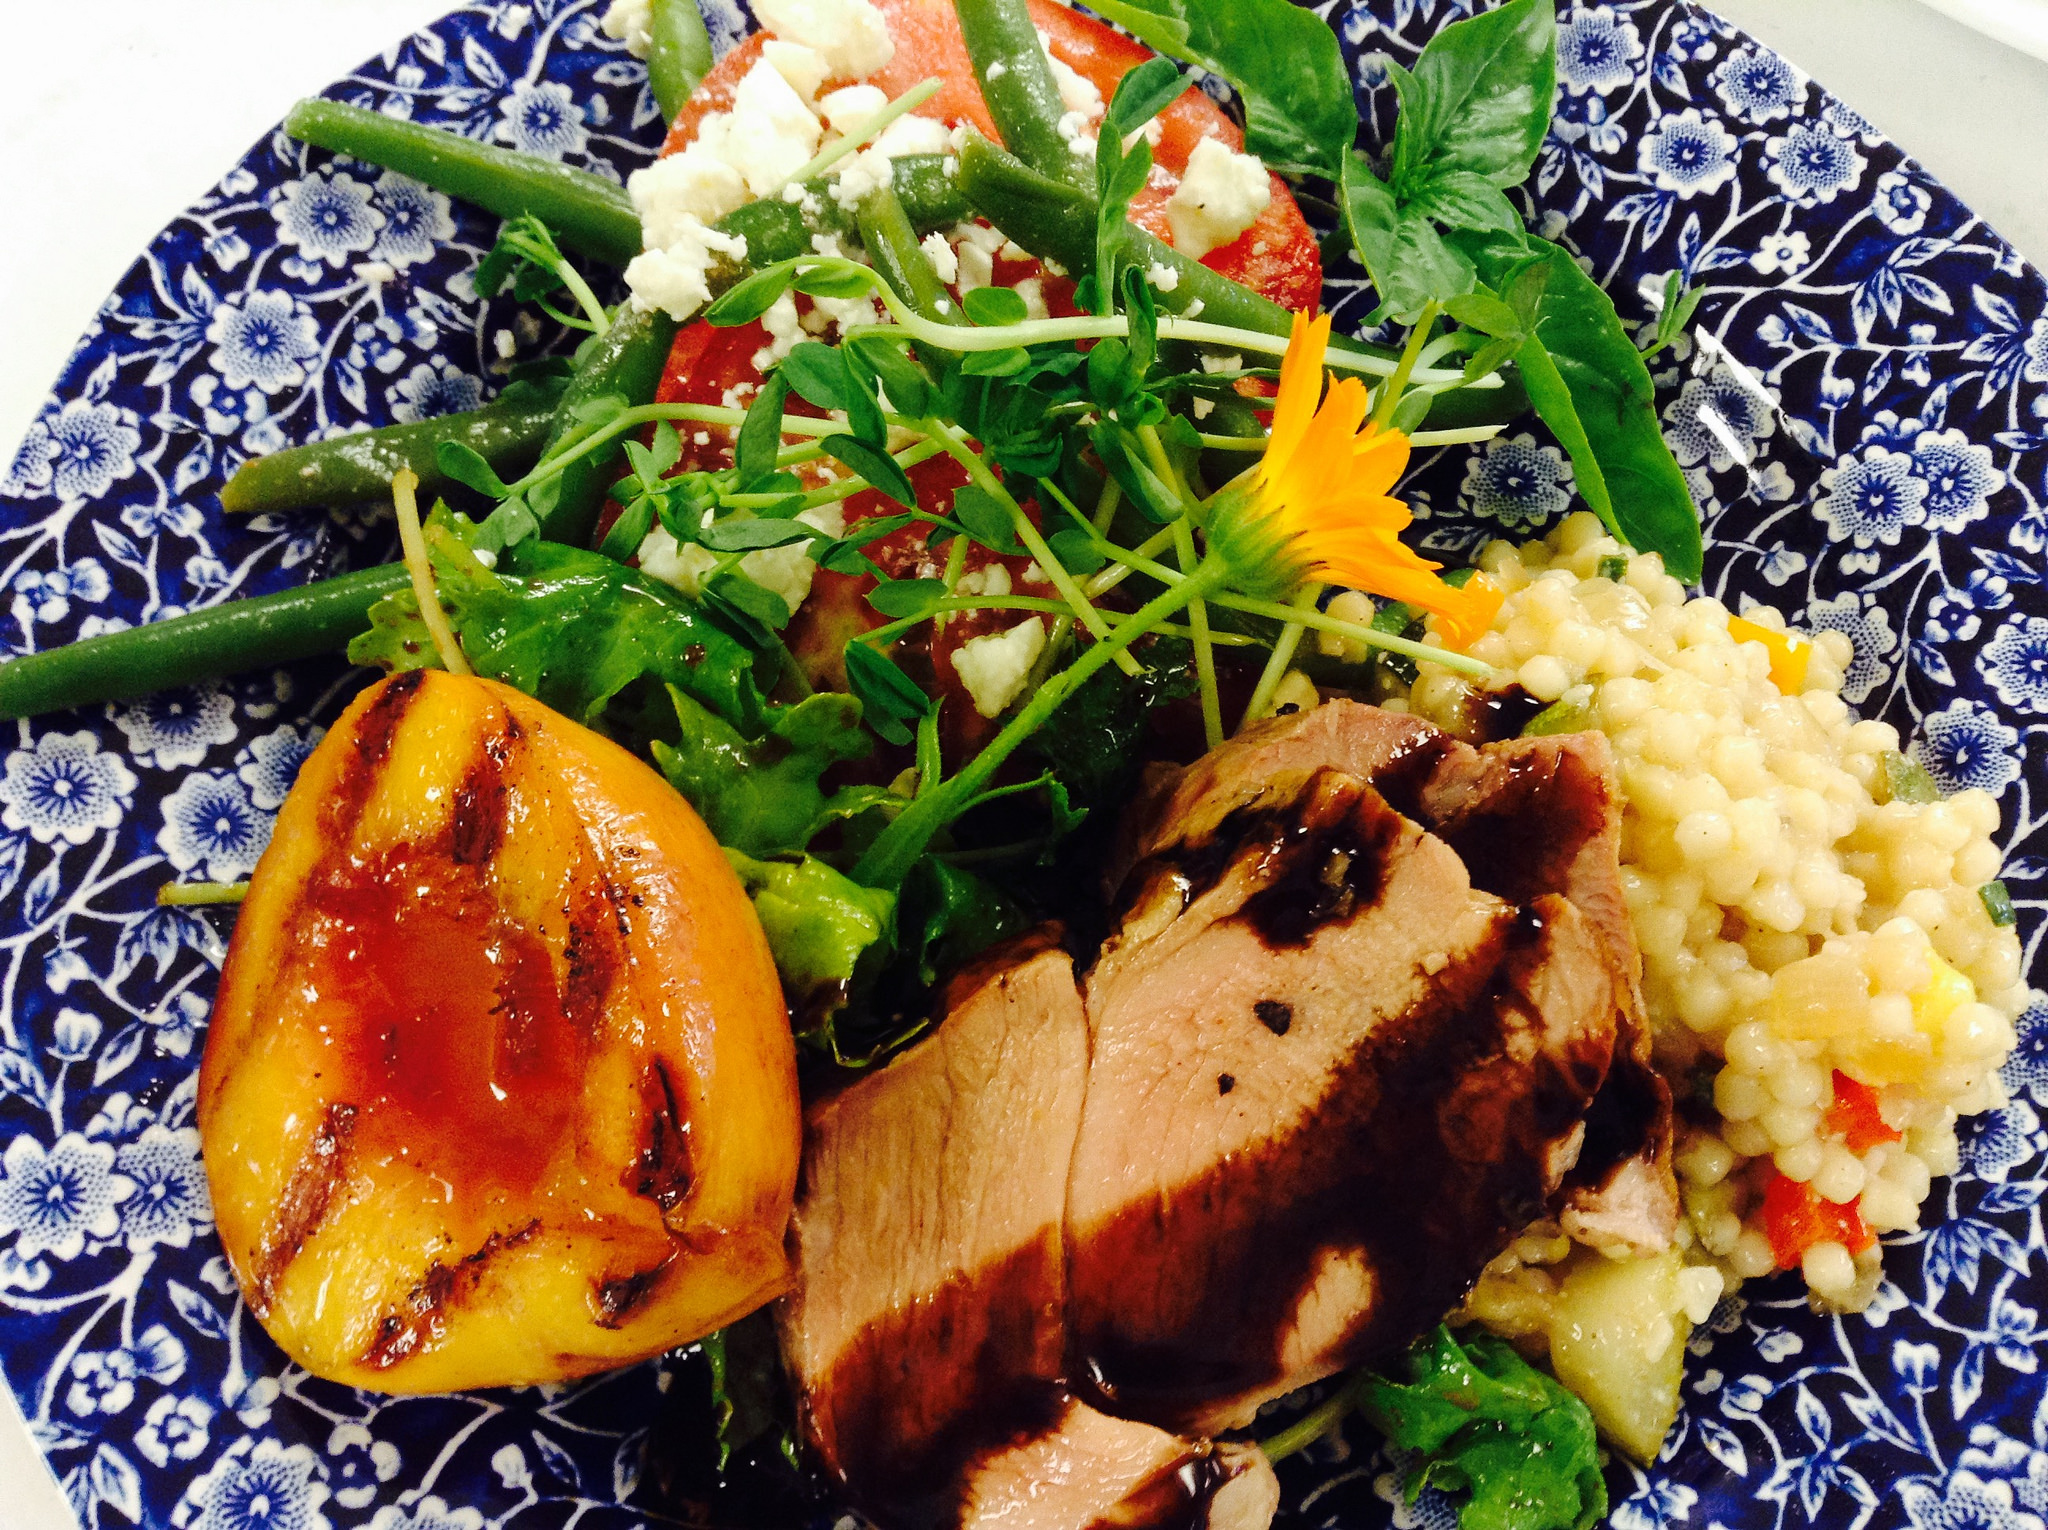
The crispness of fall is all around us. This past Monday, the Sisters rose early to put our gardens to bed for the winter. It’s always bittersweet for me, as working in the earth, getting my hands dirty and seeing the fruits of our labor and God’s creative act are moments that I treasure. We decided not to put our “chef garden” to bed, as the tomatoes, chard, beets and kale are still growing, and a late crop of peas is sprouting their heads above the earth. So, as a tribute to summer, I wanted to share this wonderful recipe with you. You can use any vegetables for grilling, so don’t feel limited by the ingredients here. If you’re anything like me, your grill stays outside until it snows! Take advantage of the beautiful fall weather and enjoy.
Print Recipe
Votes: 0
Rating: 0
You:
Rate this recipe!
Honey Balsamic Grilled Chicken with Grilled Vegetables
SERVINGS6servings
|
COOK TIME45mins |
PREP TIME15mins |
READY IN1hr |
Ingredients
Instructions
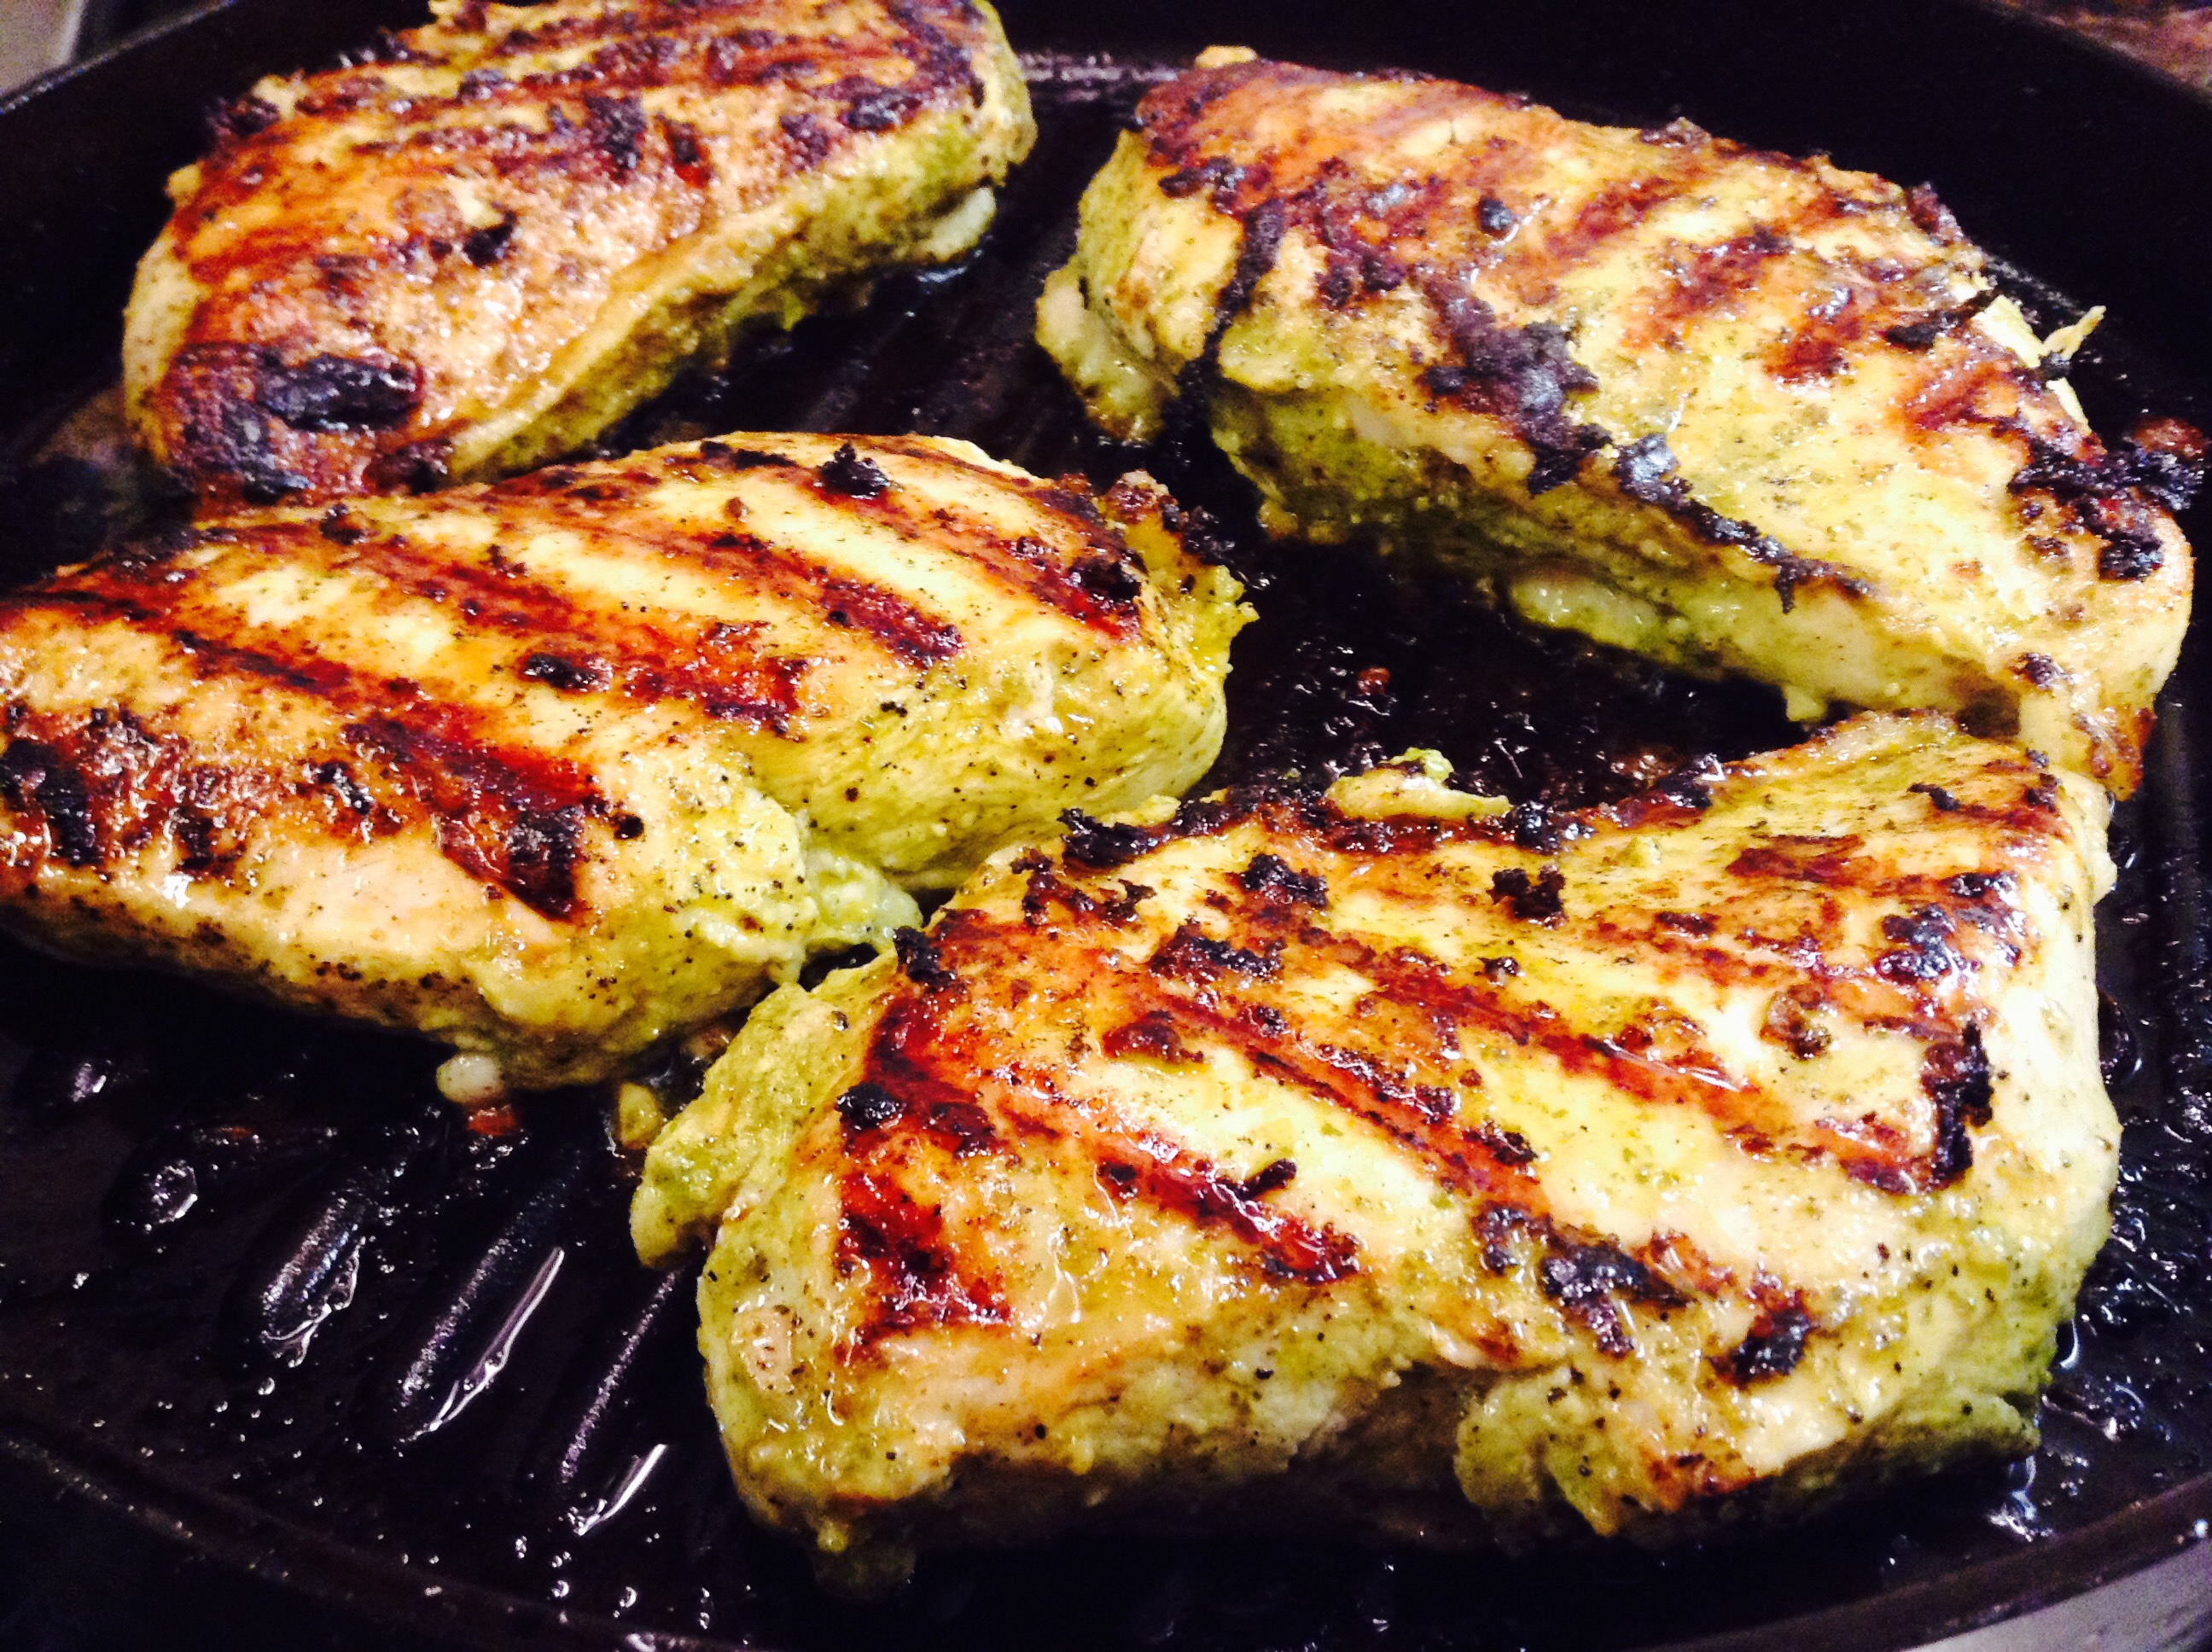
- Marinate chicken with pesto, garlic, red pepper flakes, lime juice and 1/2 teaspoon salt at least 1 hour, or overnight for best results.
- Mix oil, balsamic vinegar, honey and 1/4 tsp salt in a small bowl.
- Heat a grill over medium-high, be sure grates are clean and well oiled to prevent sticking.
- Brush oil on each side of the vegetables and sprinkle with salt and pepper
- Put vegetables on 1 large grill tray or directly on grill, and cook, turning constantly until the vegetables are cooked and golden, about 6 to 10 minutes. Set aside on a dish.
- Put the chicken on the grill and cook about 4 to 5 minutes on each side until grill marks appear and the chicken is cooked through. If you prefer to finish them off in the oven, I suggest a grill pan or cast iron skillet - cook until the internal temperature reaches 160 degrees.
- Transfer the chicken to a platter with the vegetables and pour the balsamic dressing over everything and serve.
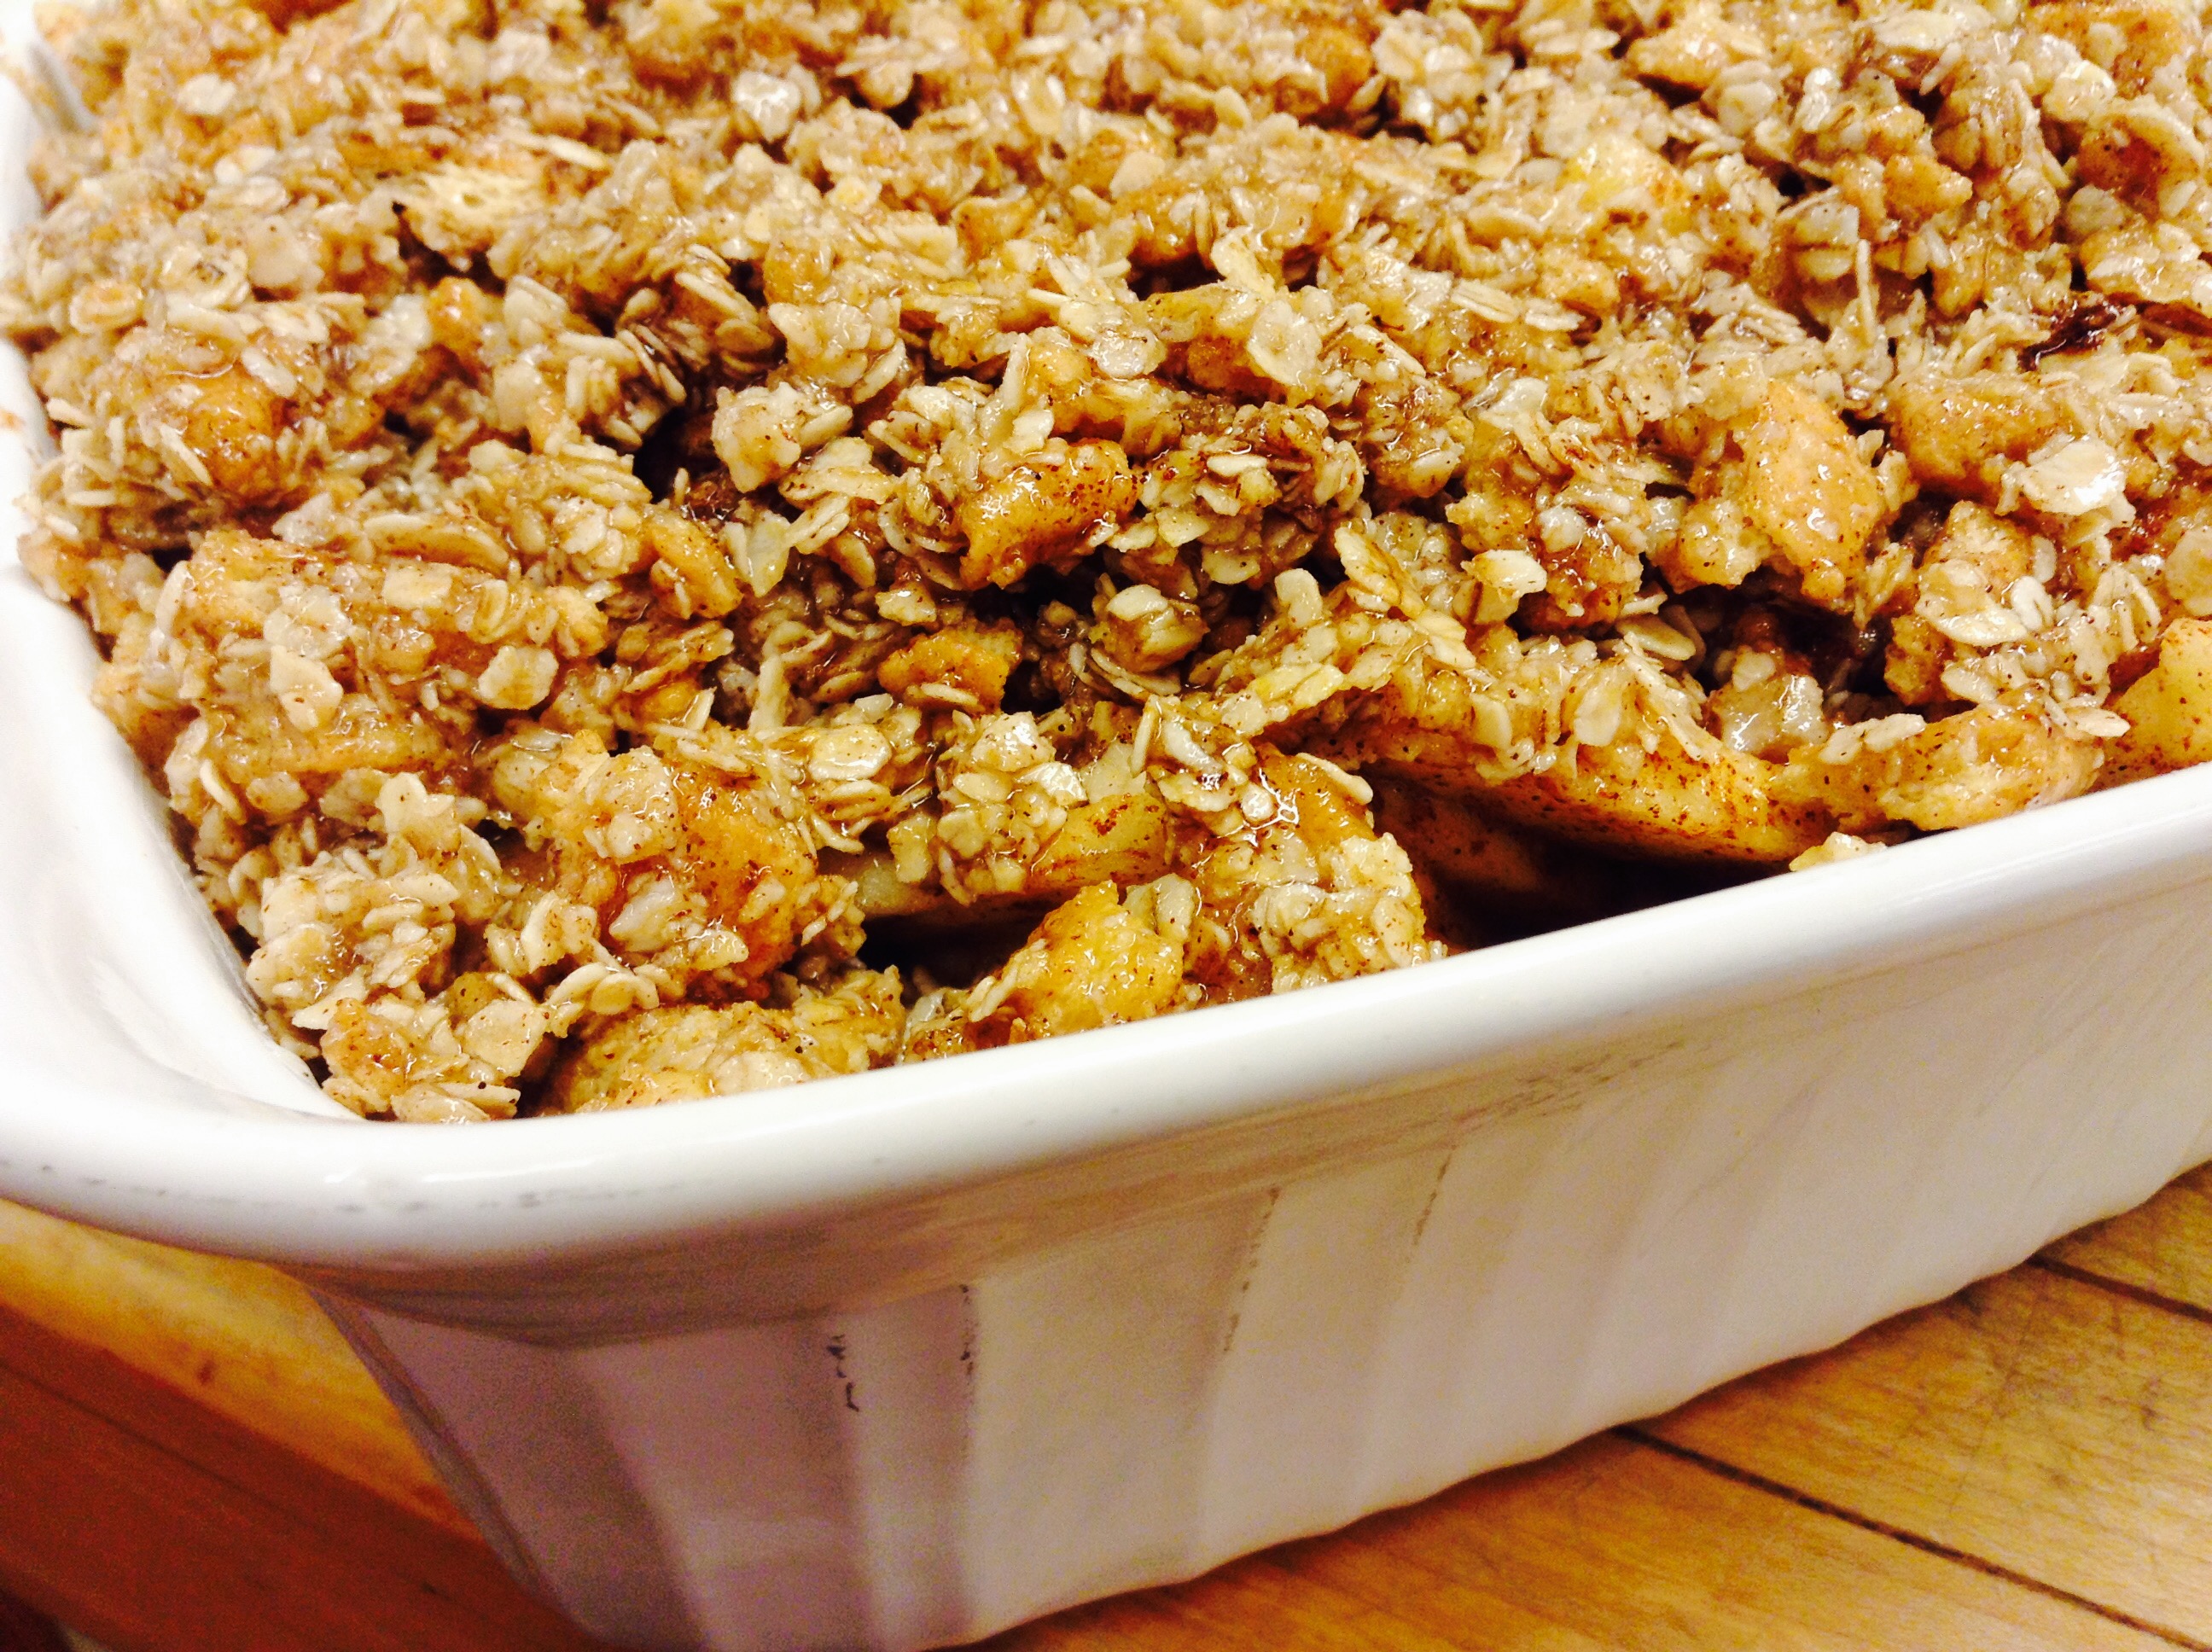
Many years ago, we had a cookbook from Maine that had the most extraordinary apple pie recipe. It had a layer of crushed graham crackers and caramel sauce underneath the apples. We lost that cookbook in the move to our new kitchen, but every fall when the apples are being harvested I think back to this recipe. This year, I decided to re-create it in an apple crisp. It sure took less time than making a pie, but the flavor combination was there.
For gluten-free cooking, try substituting gluten-free cookies for the graham crackers and brown rice flour for the flour. I think you might be pleased.
Print Recipe
Votes: 0
Rating: 0
You:
Rate this recipe!
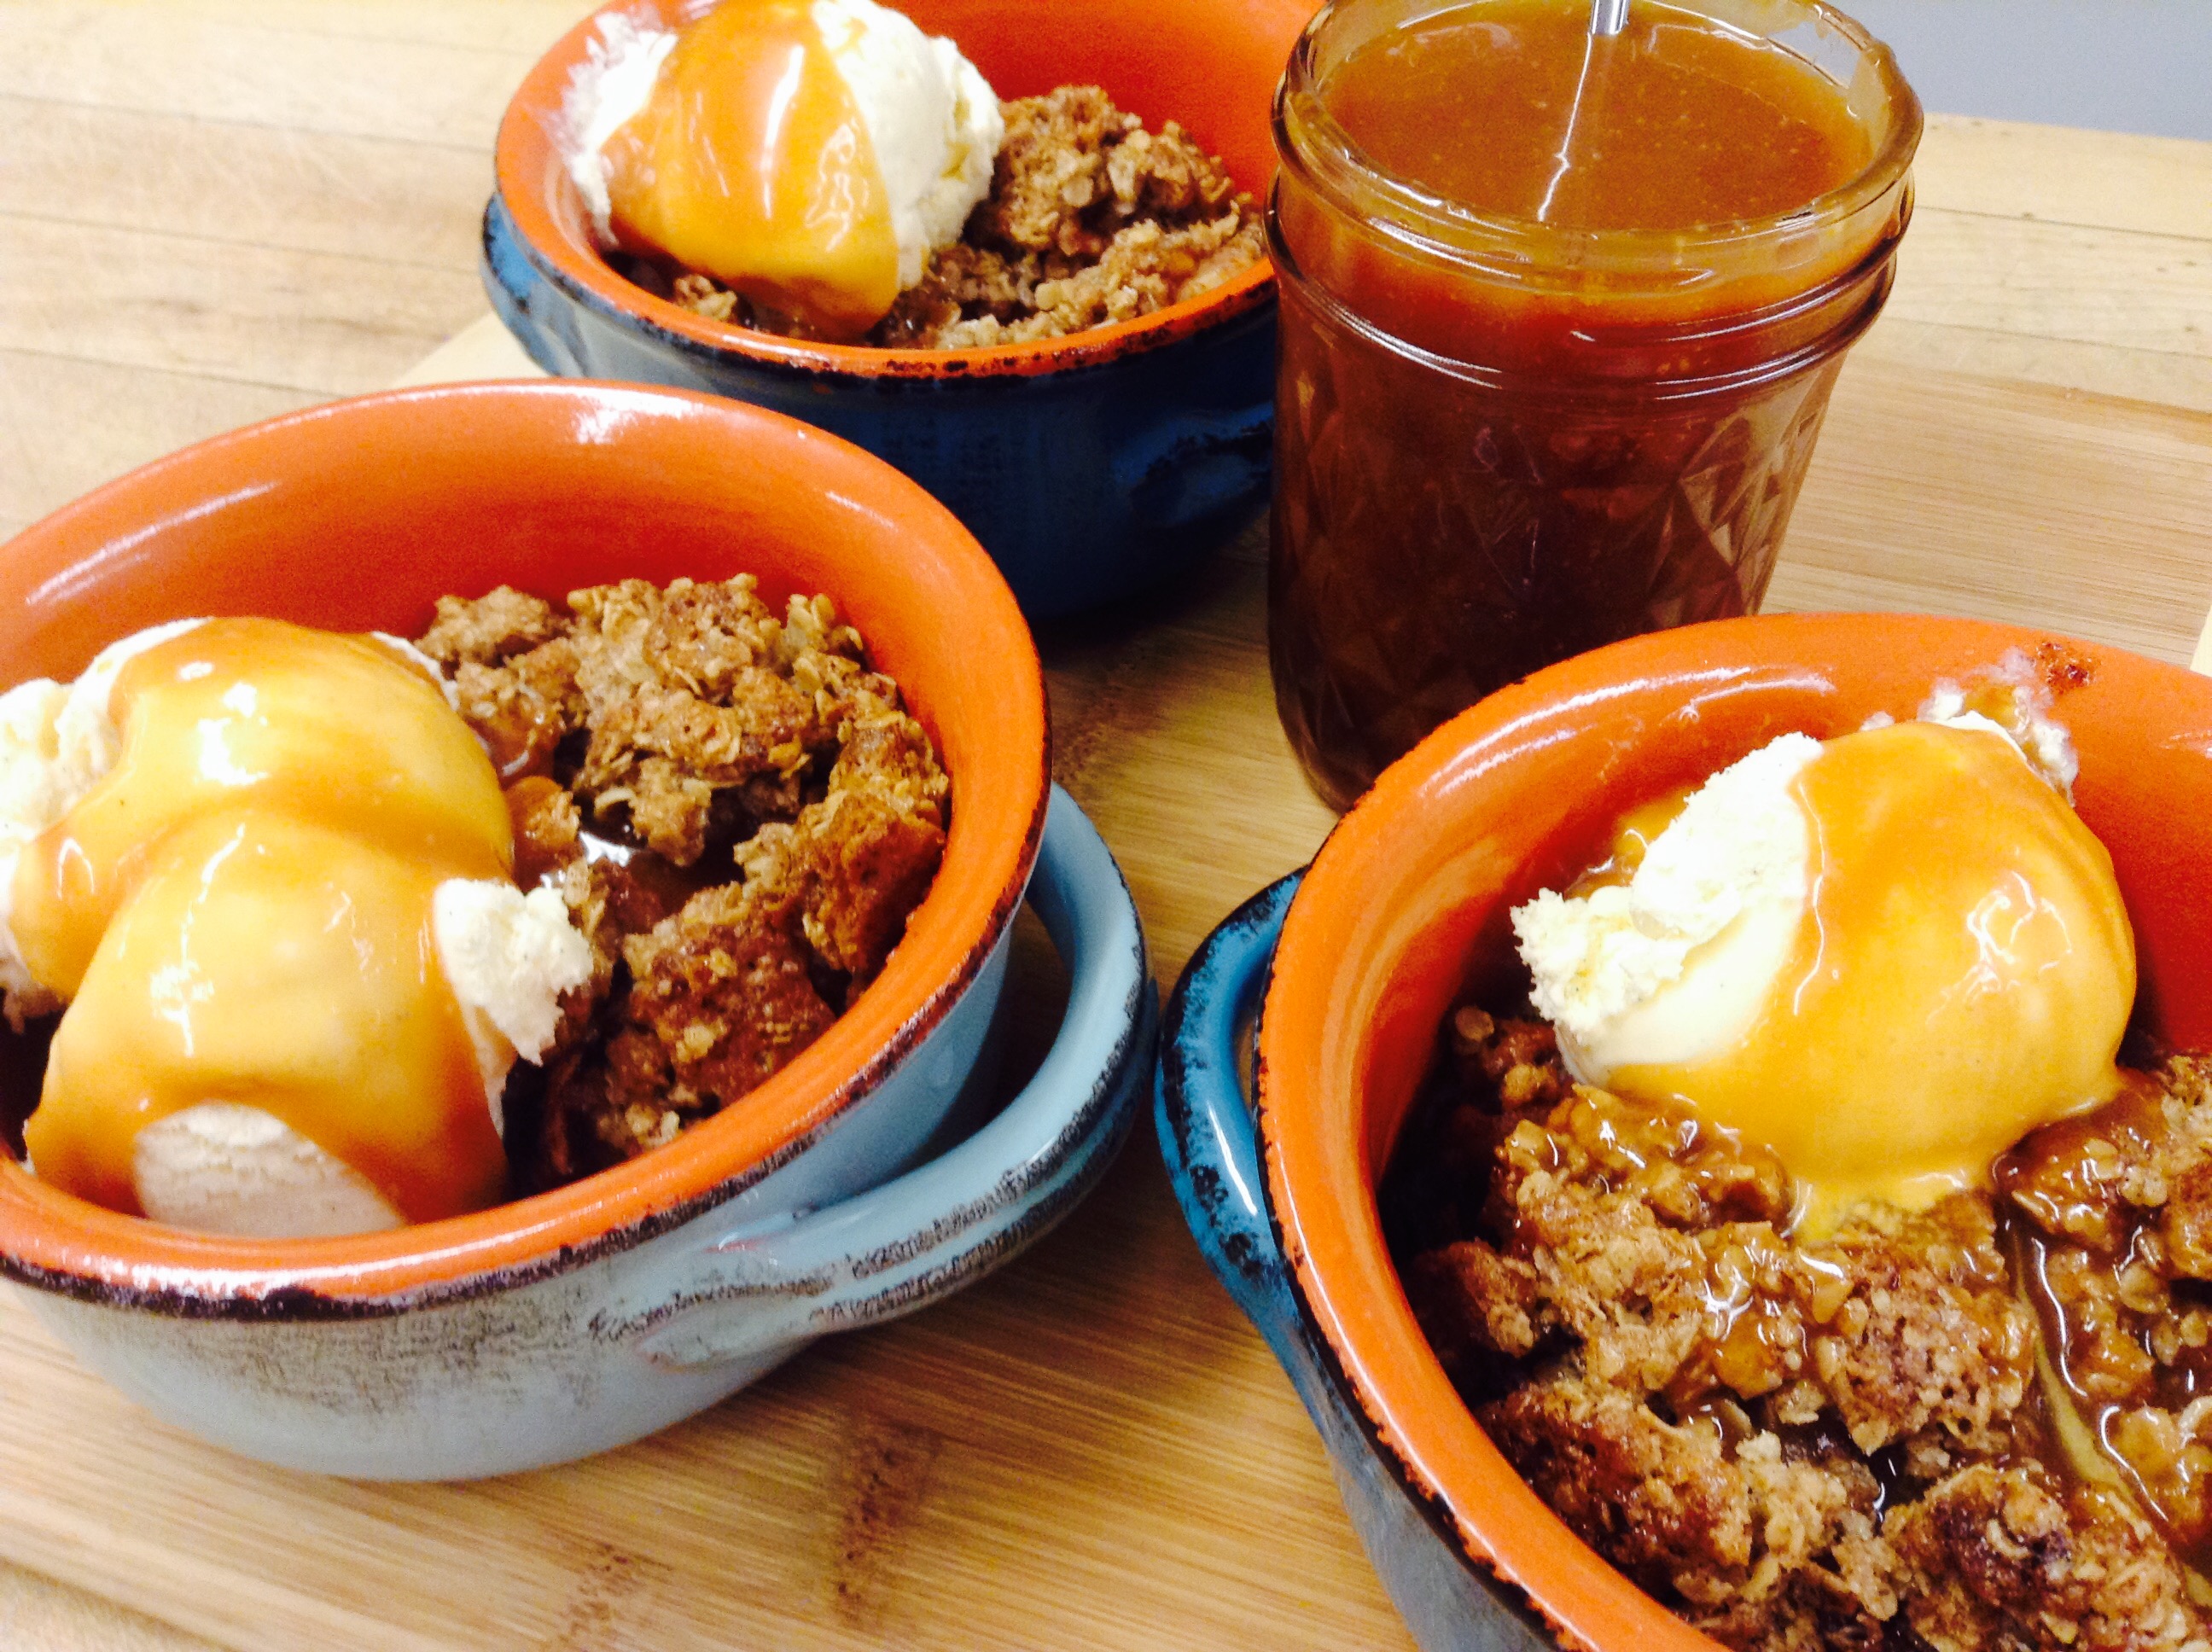
Graham Cracker Apple Crisp with Homemade Salted Caramel Sauce
SERVINGS9servings
|
COOK TIME30-40mins |
PREP TIME20mins |
READY IN50-60mins |
Ingredients
Instructions
- Lightly grease 8x8” square baking dish
- Filling: Toss apples together with brown sugar, cinnamon, flour, salt, lemon zest, lemon juice and the melted butter.
- Topping: Melt butter in a medium bowl and add all other topping ingredients. Mix until crumbly and evenly mixed.
- Sprinkle over apples and pat down lightly. Bake at 350º for about 30-40 minutes, until apples are soft and the filling bubbles and the crisp is golden.
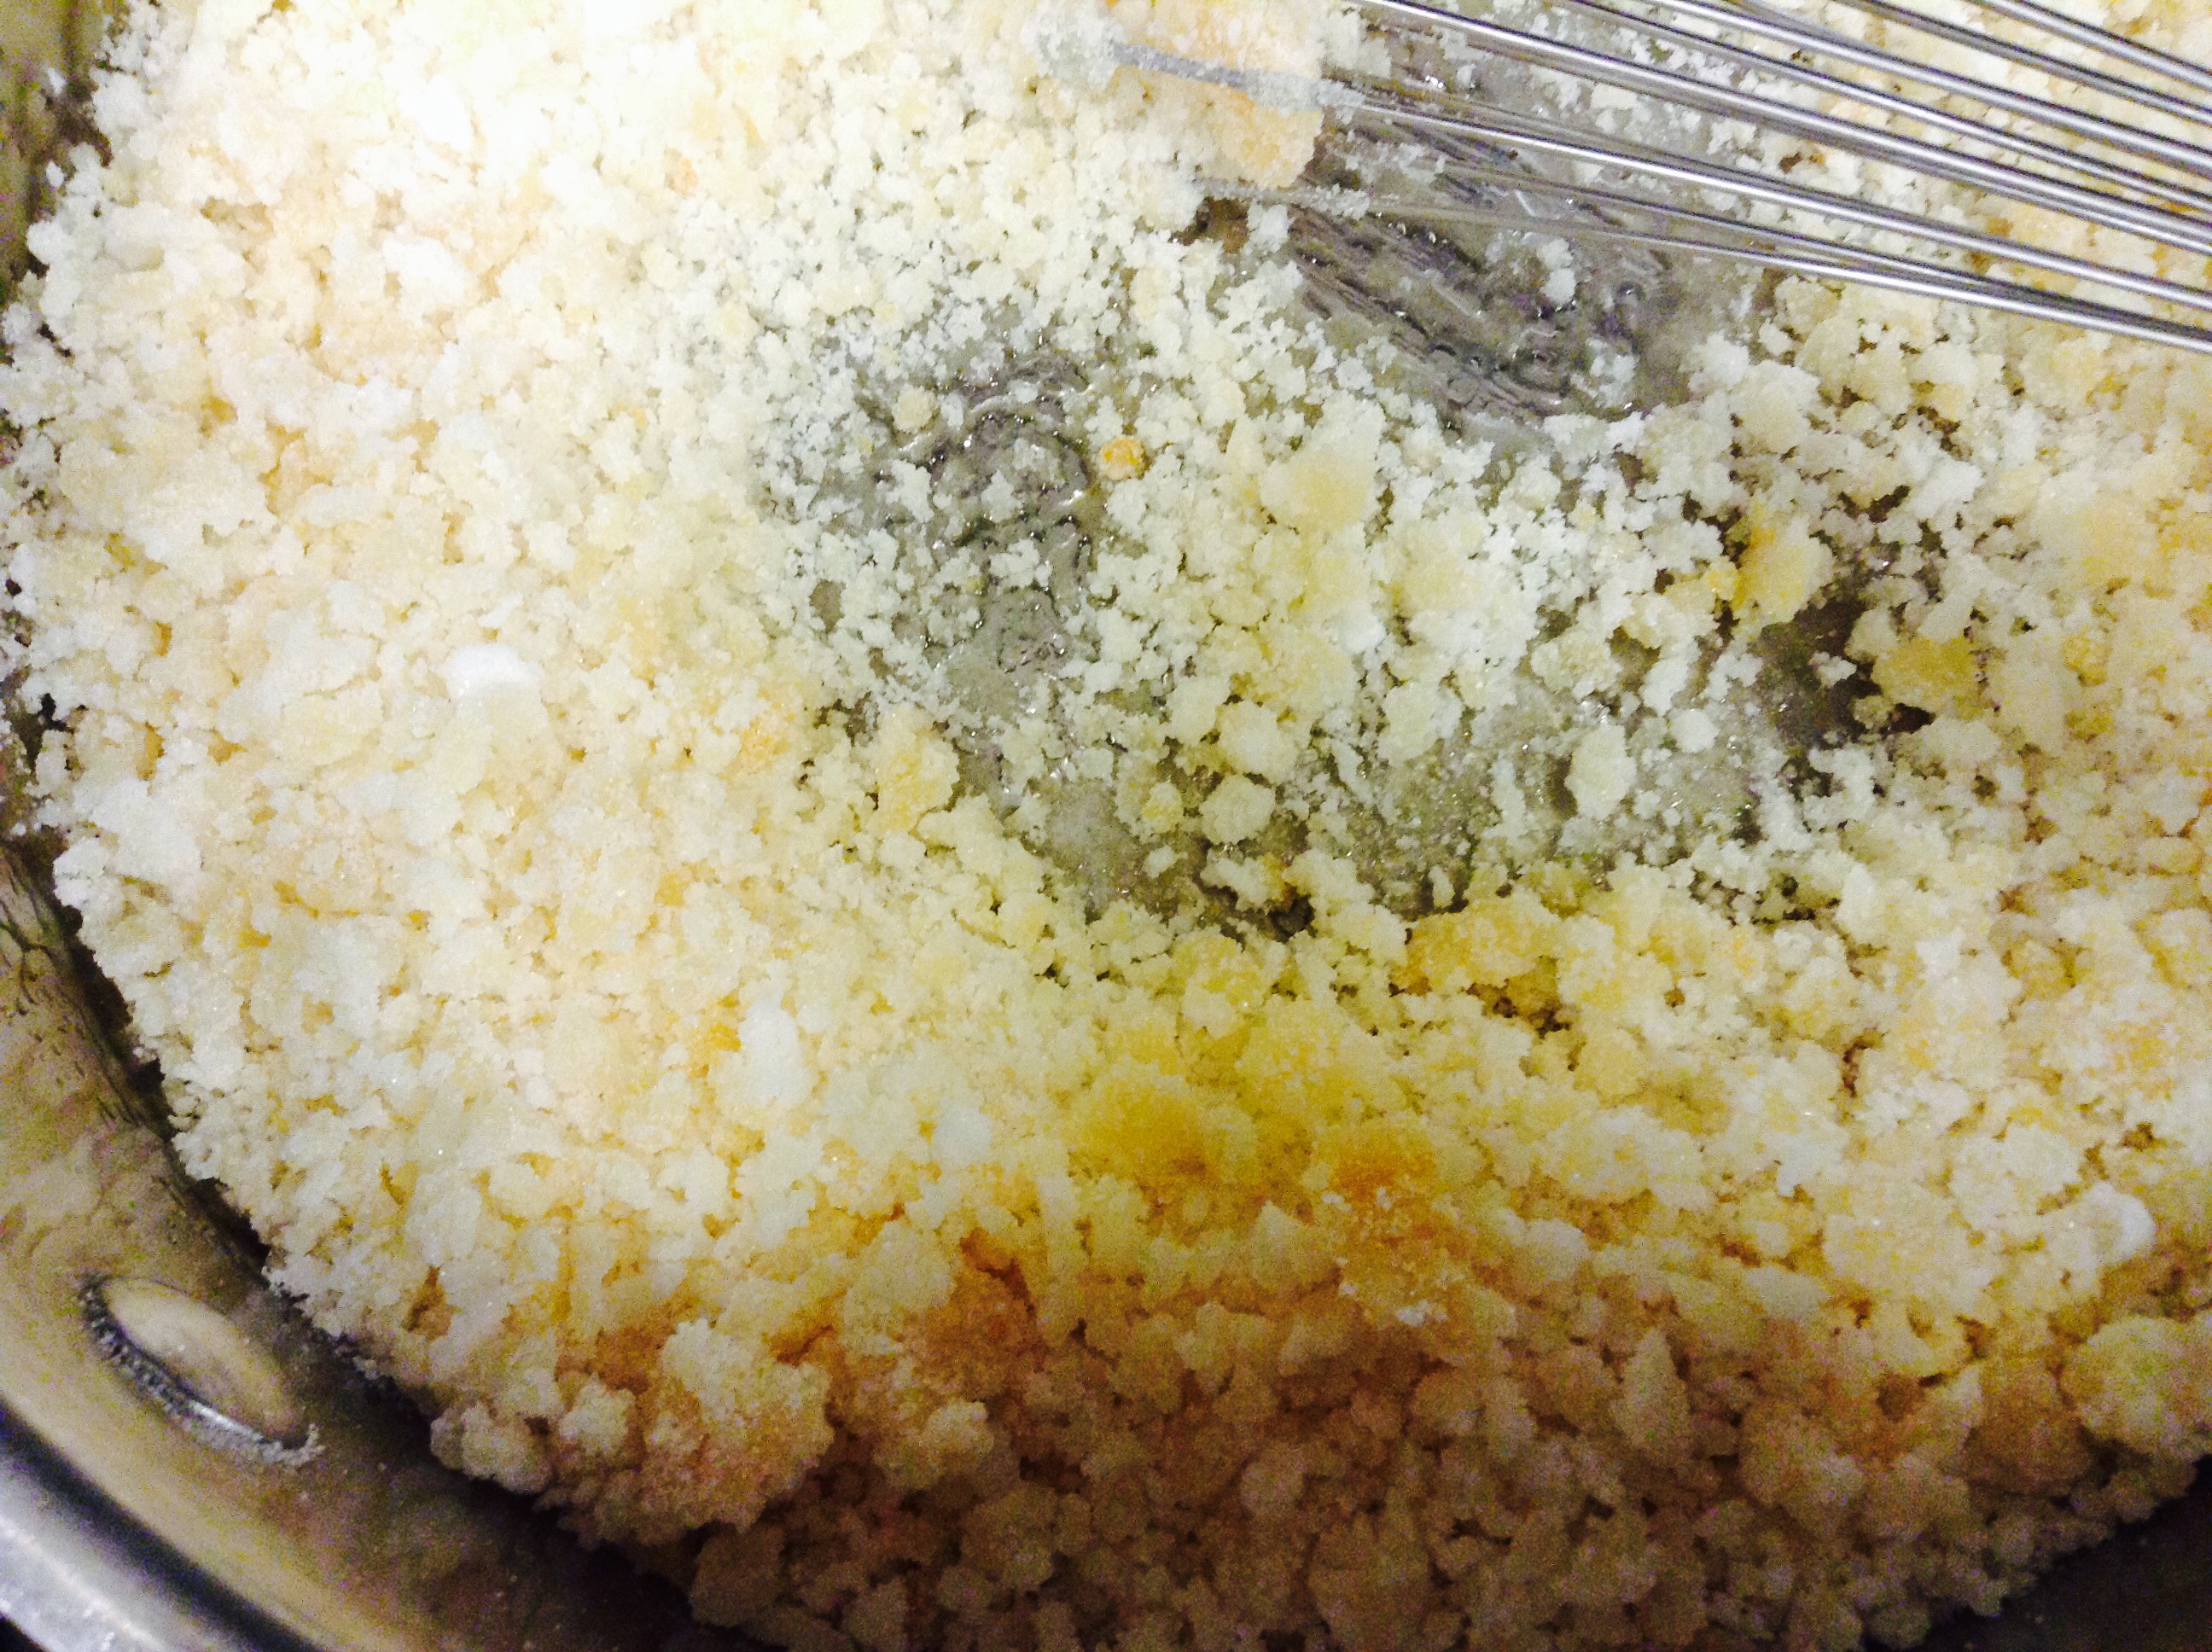
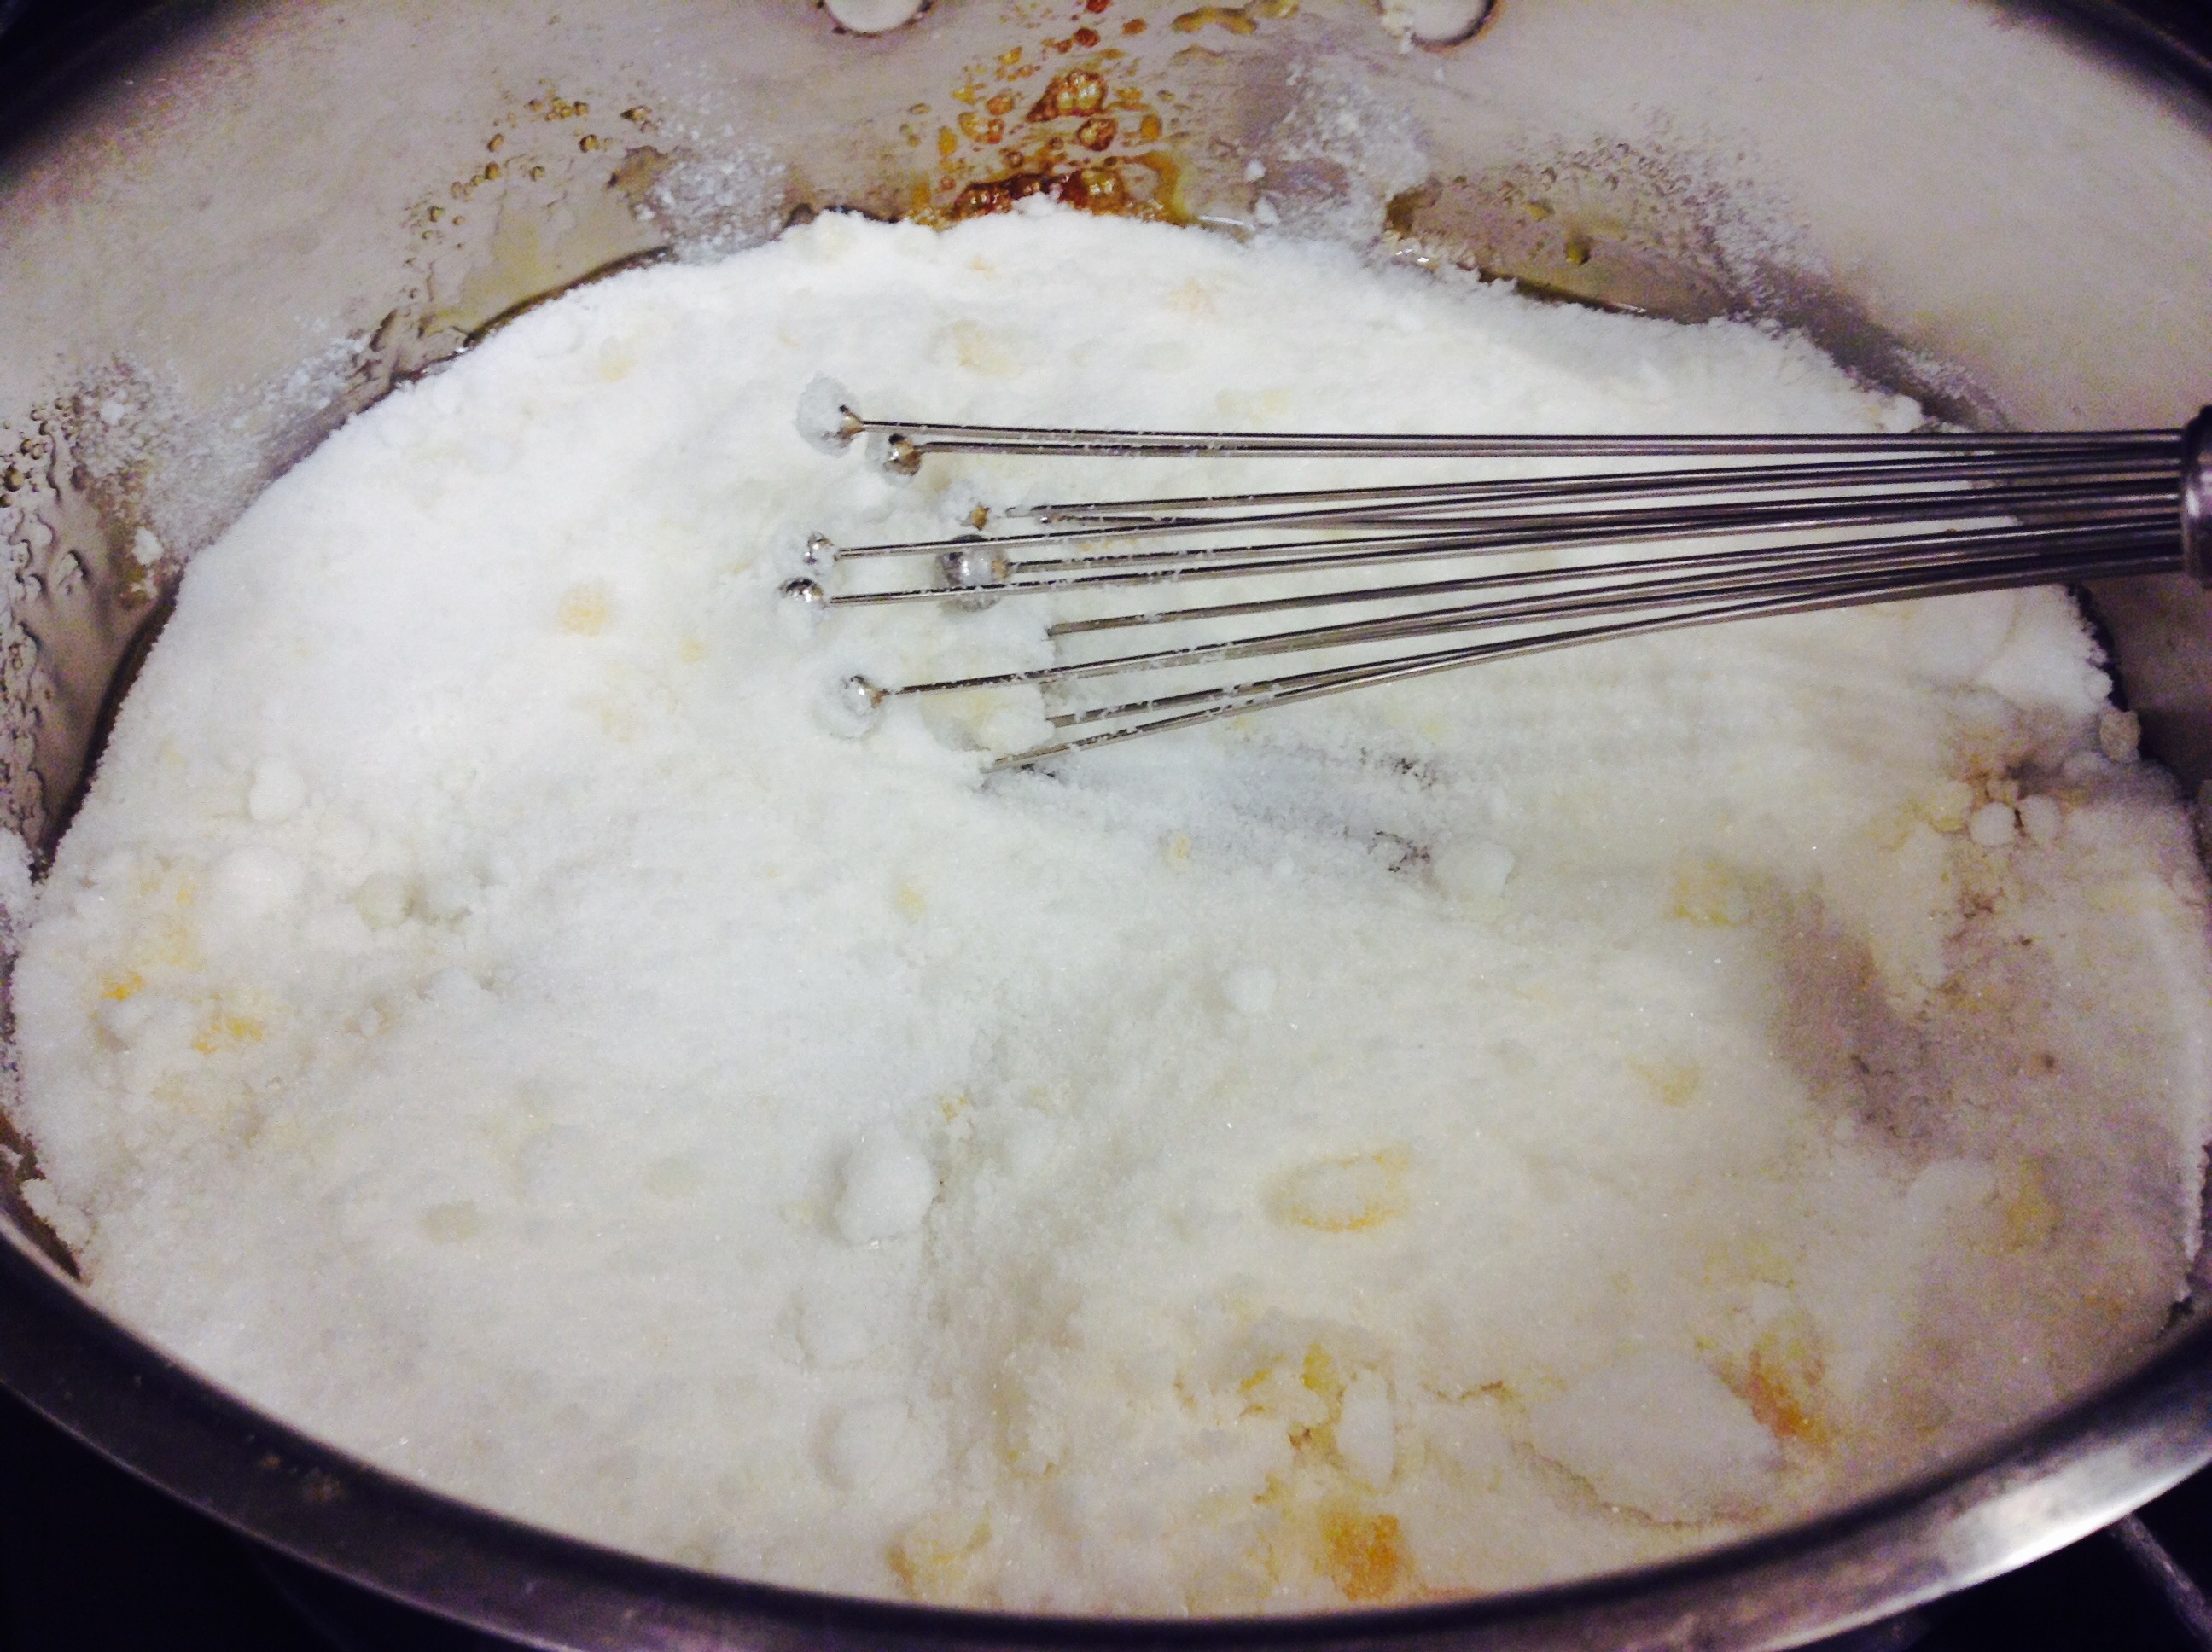
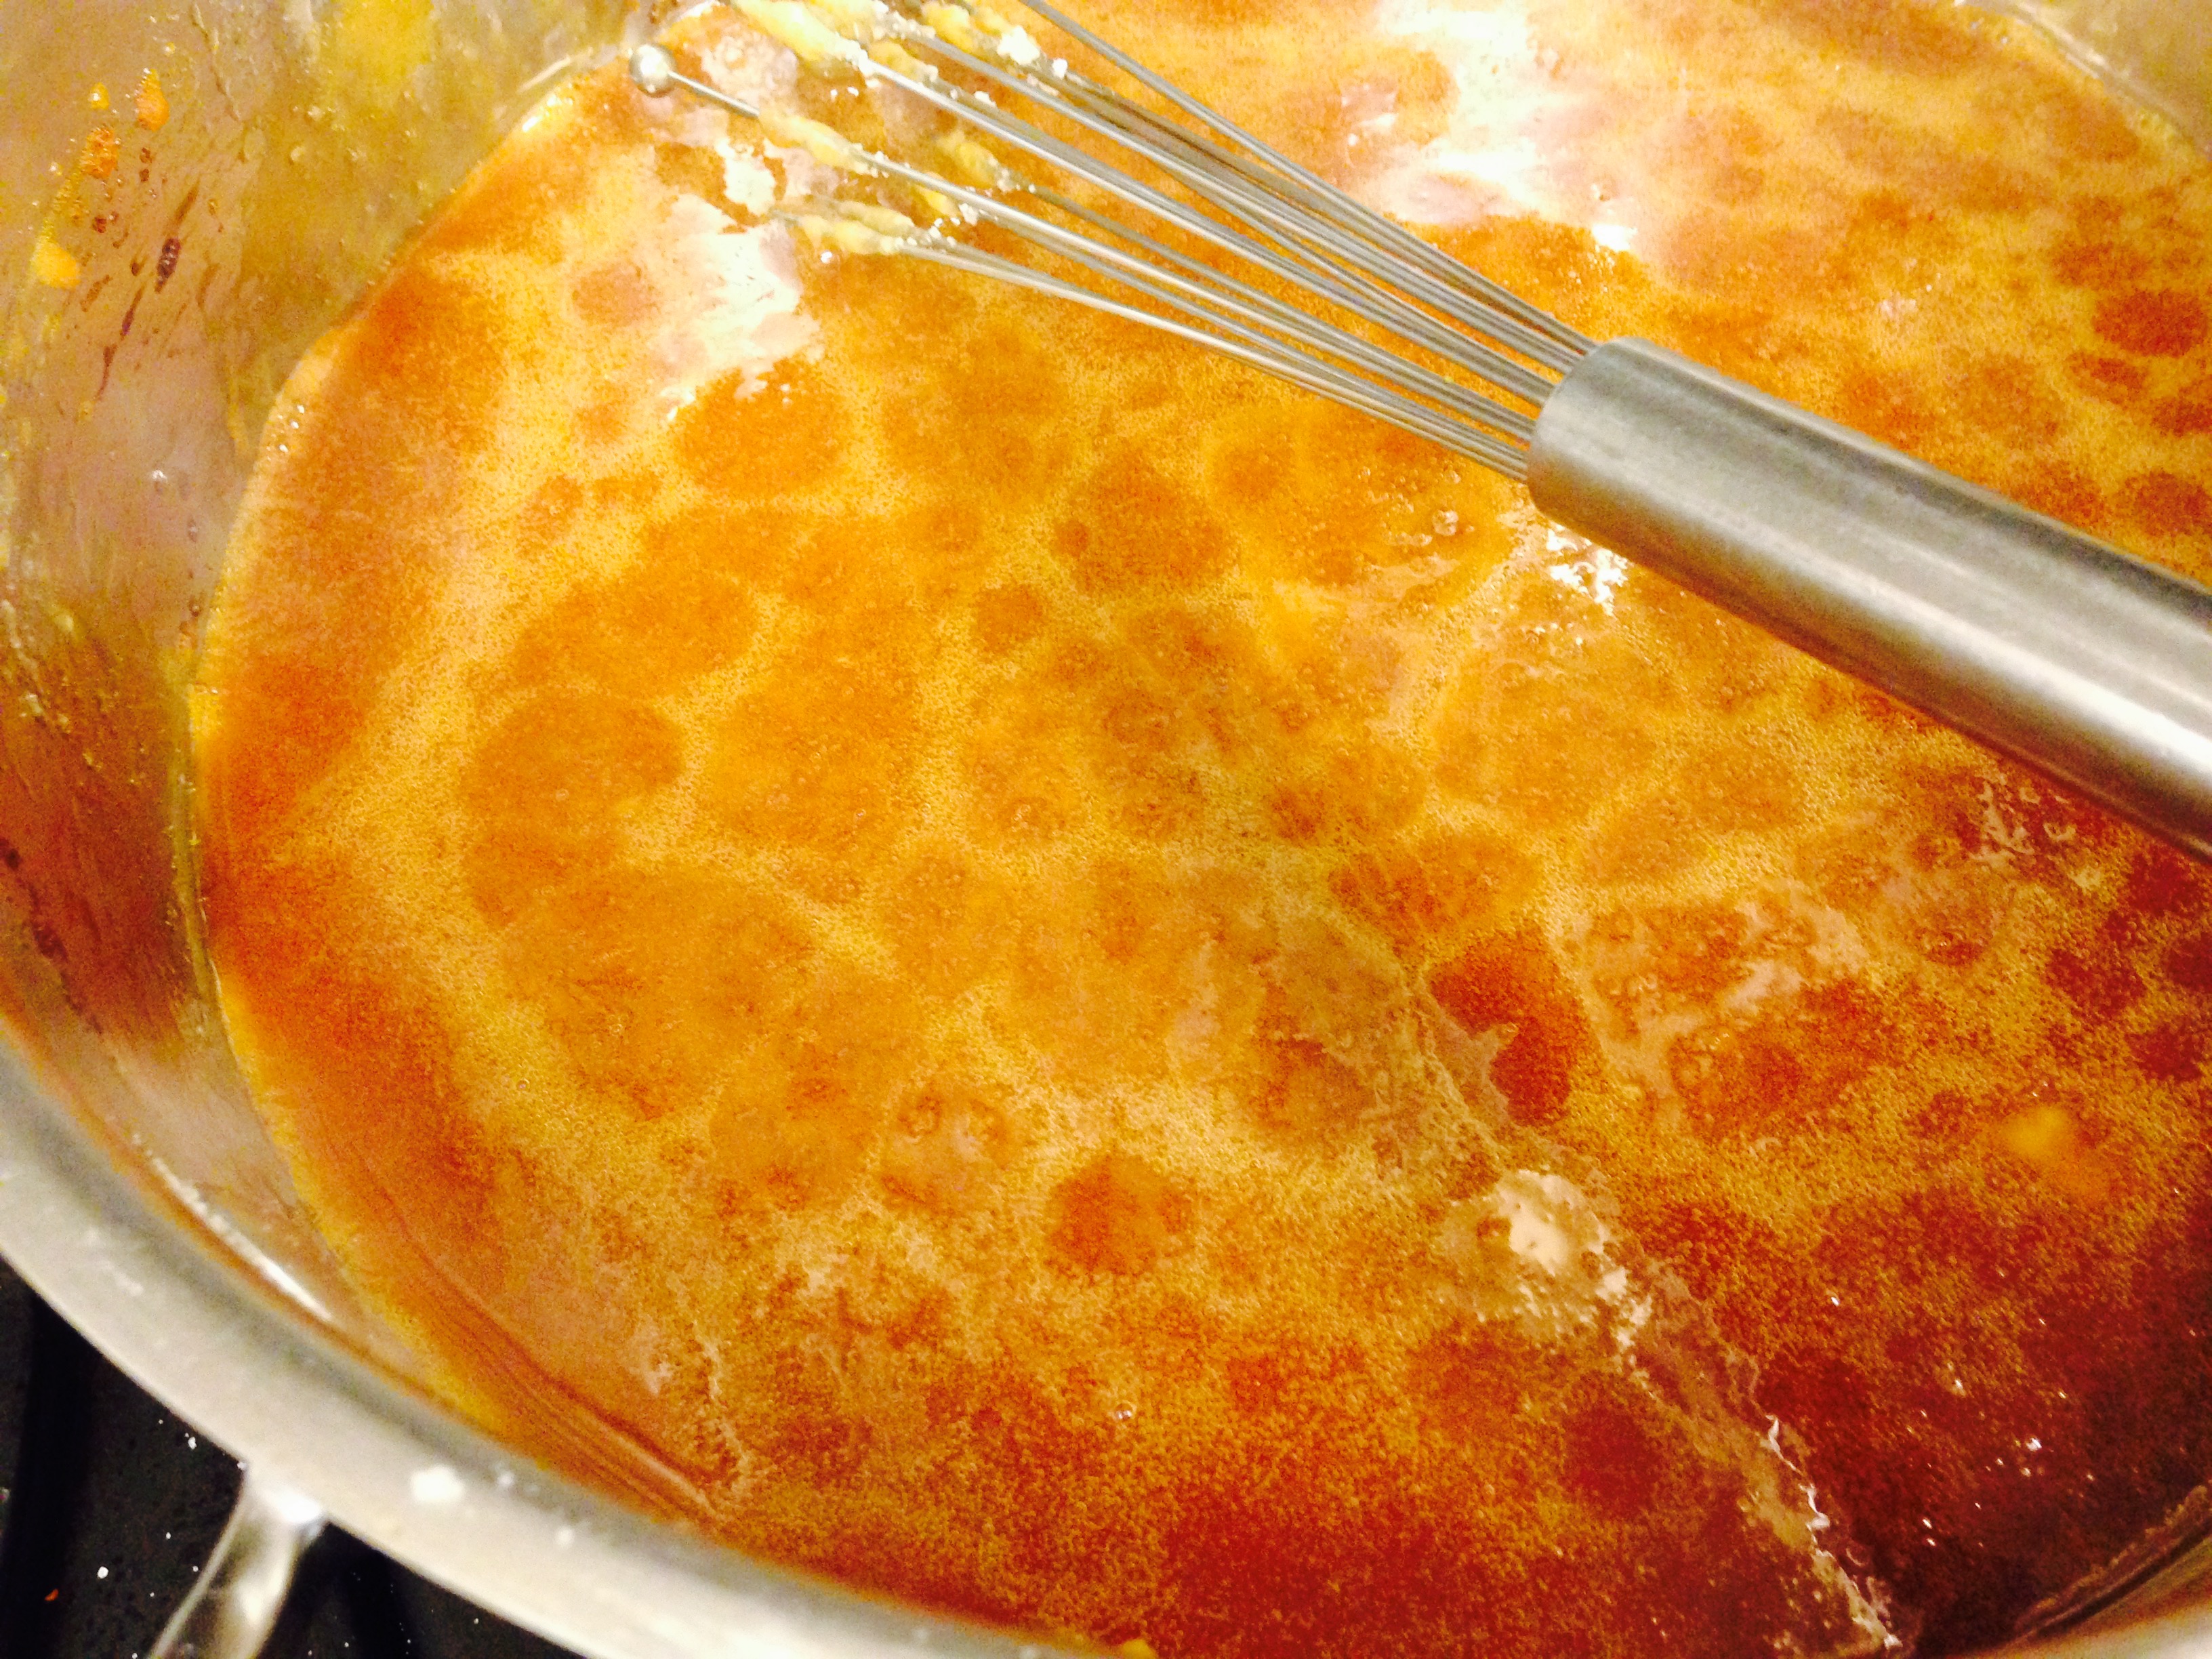
- Meanwhile make Salted Caramel Sauce: Add the sugar in an even layer over the bottom of a medium saucepan. Heat the sugar over medium-high heat, whisking it as it begins to melt. It's okay if the sugar begins to form clumps- keep whisking and as it continues to cook, they will melt back down. Stop whisking once all of the sugar has melted, and swirl the pan occasionally while the sugar cooks.
- Continue cooking until the sugar has reached a deep amber color. It should look almost a reddish-brown, and have a slight toasted aroma. This is the point where caramel can go from perfect to burnt in a matter of seconds, so keep a close eye. If you are using an instant-read thermometer, it will be around 350 degrees F. Watch this step very carefully!
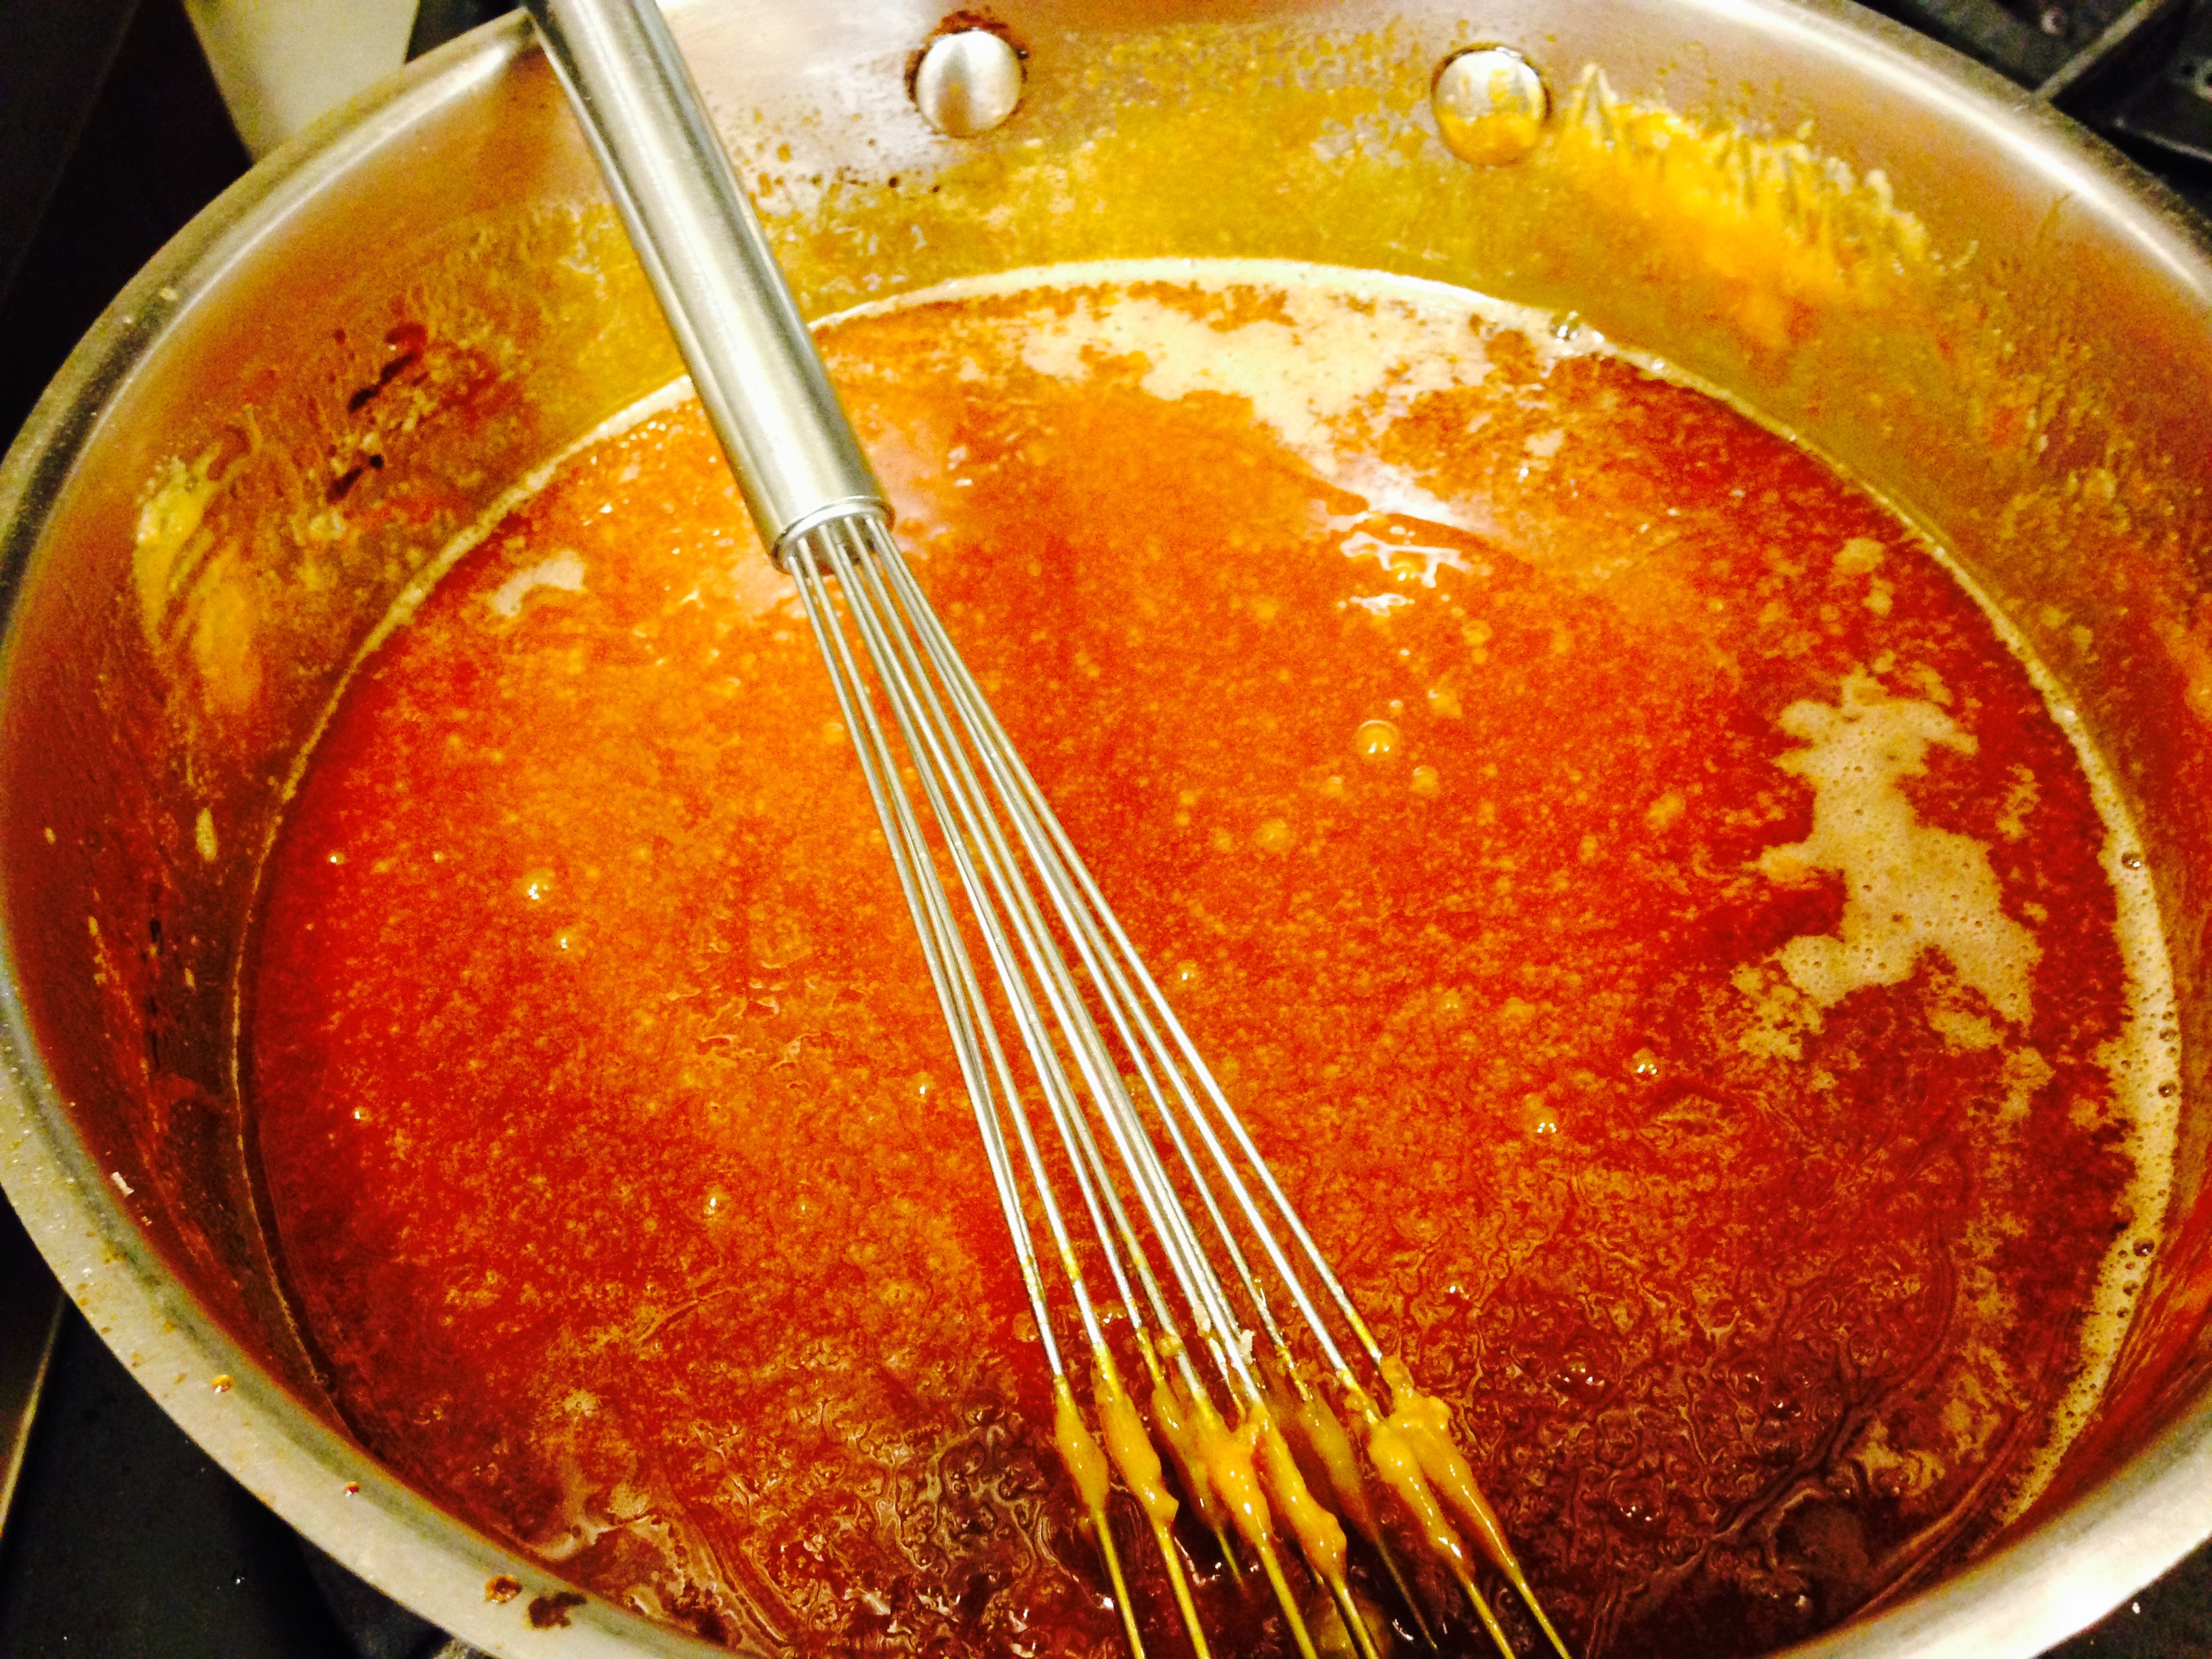
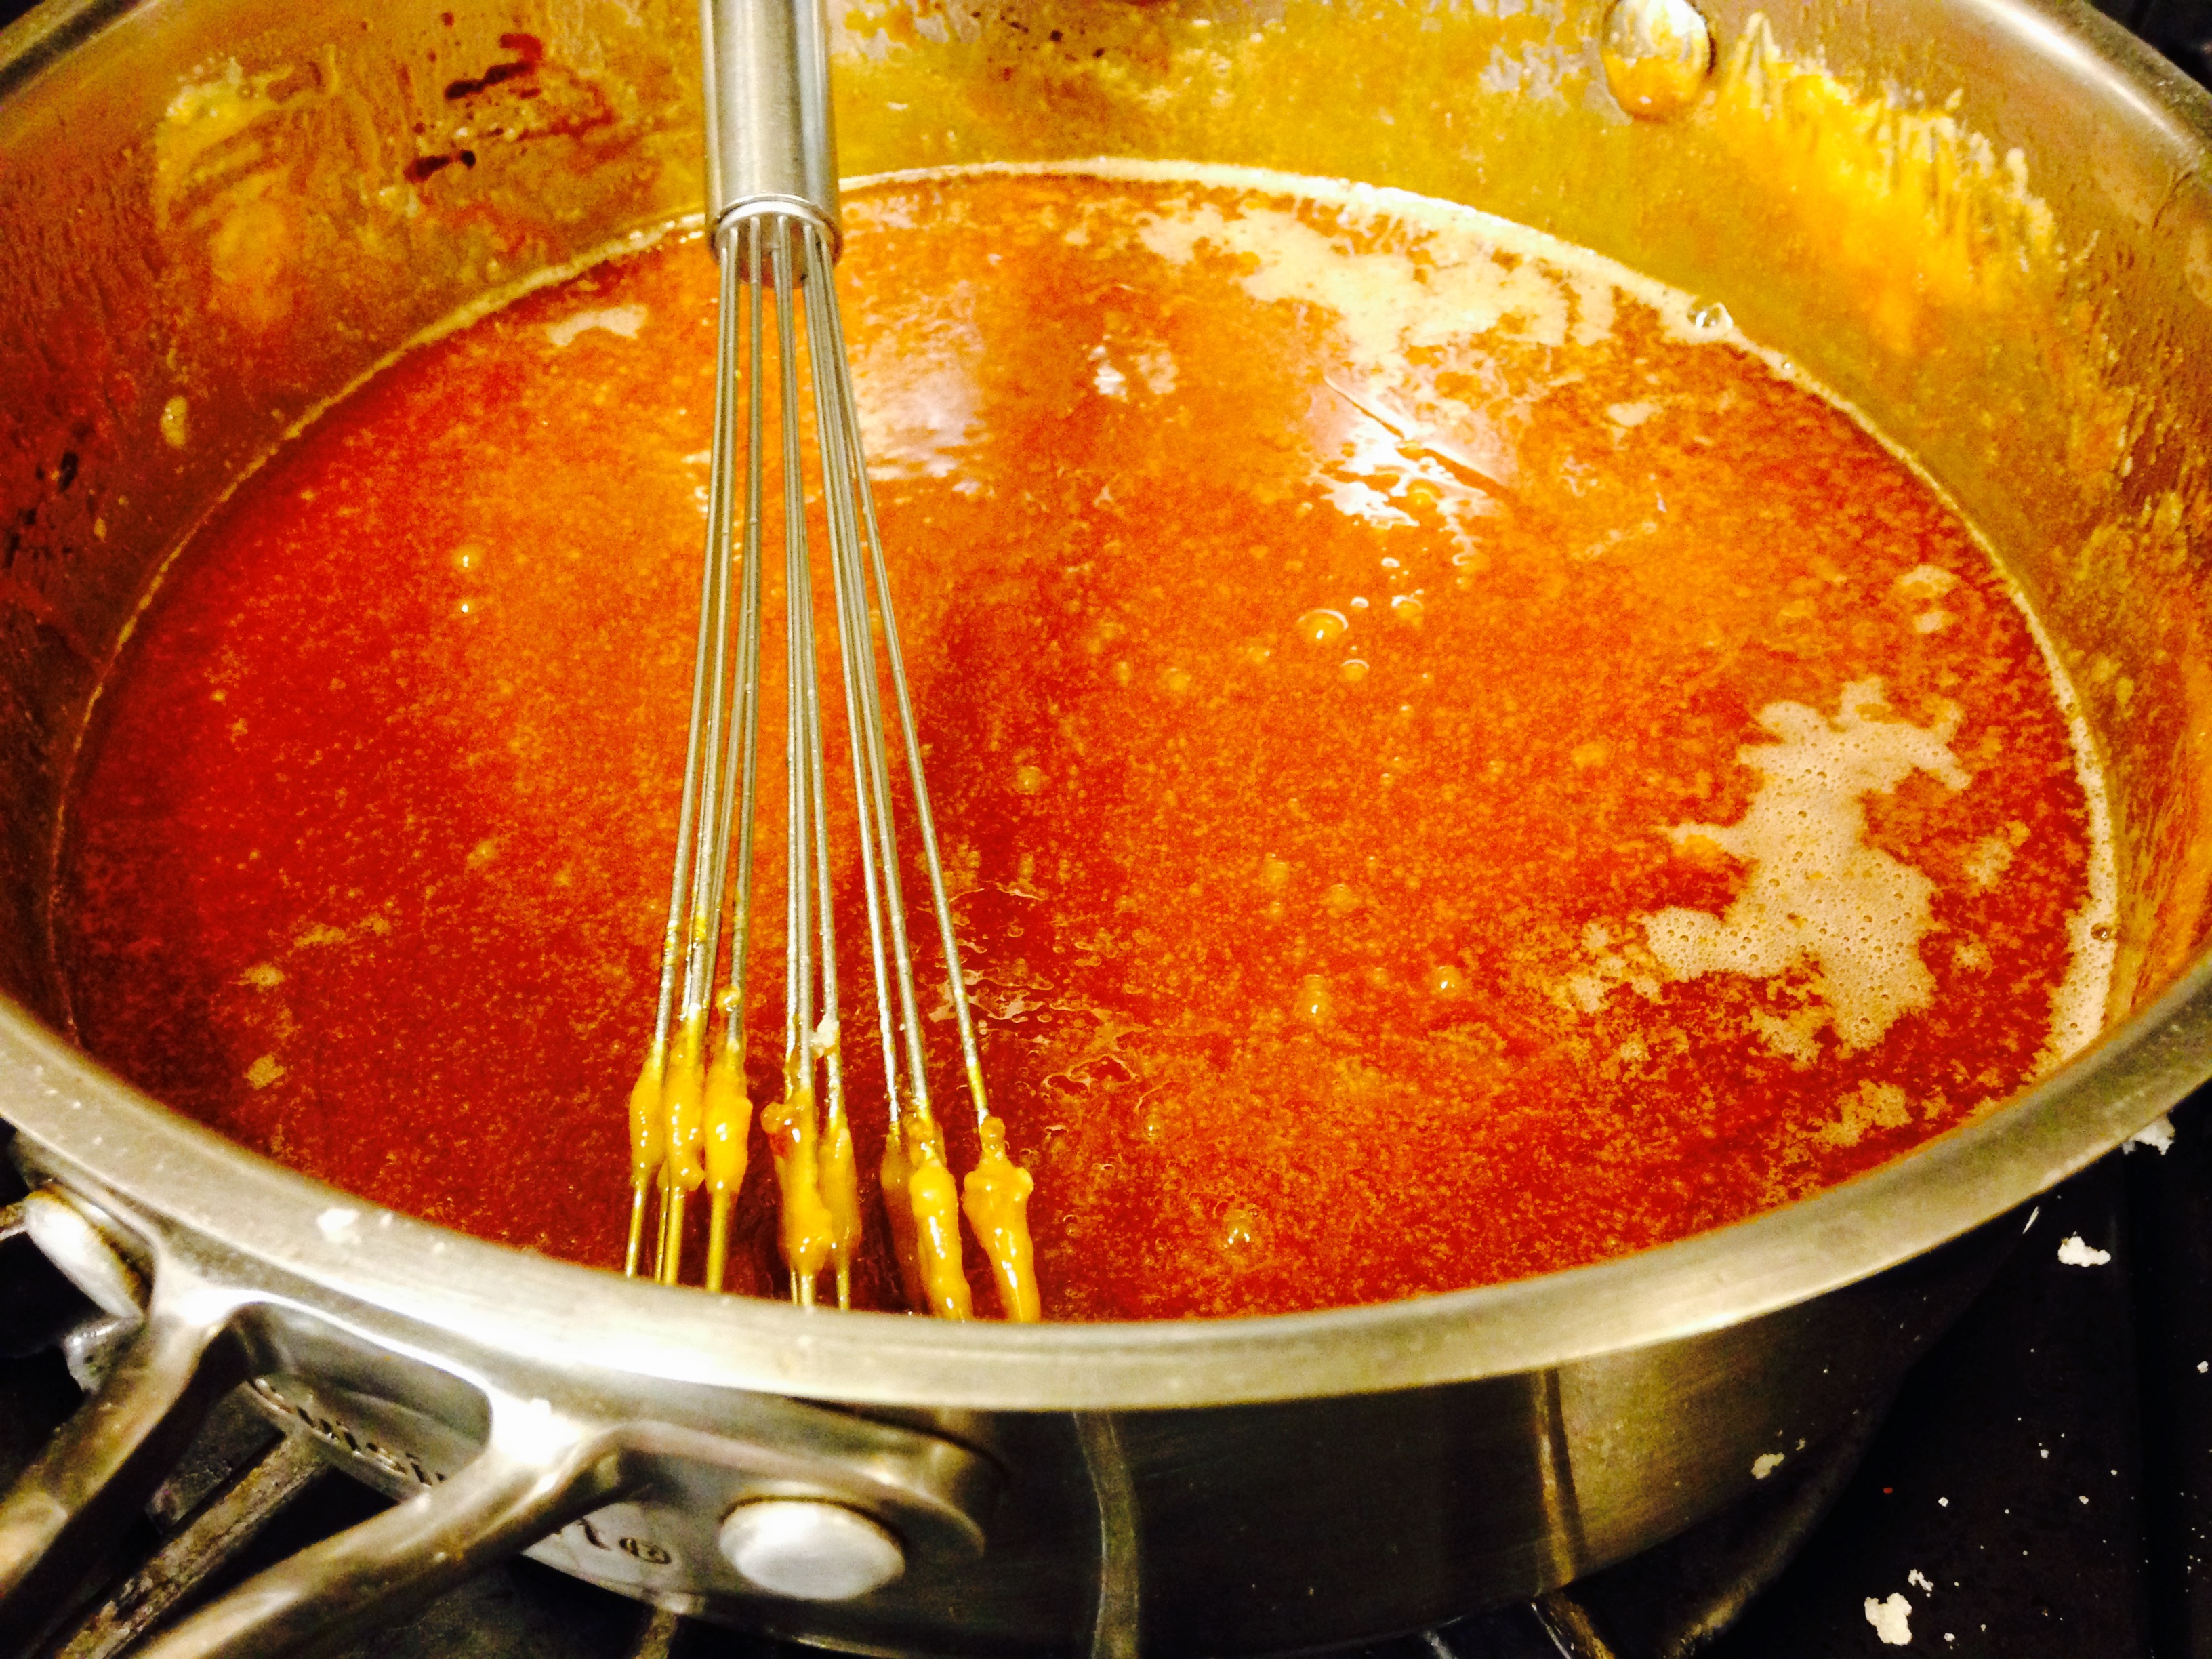
- Remove the caramel from the heat and add the butter all at once. Be careful, as the caramel will bubble up when the butter is added. Whisk the butter into the caramel until it is completely melted.
- Slowly pour the cream into the caramel. Again, be careful because the mixture will bubble up ferociously.
- Whisk until all of the cream has been incorporated and you have a smooth sauce. Add the fleur de sel or kosher salt and whisk to incorporate.
- Set the sauce aside to cool for 10 to 15 minutes and then pour into jars. The sauce can be refrigerated for up to 1 month.
- Serve crisp warm with a scoop of vanilla ice cream and salted caramel sauce.
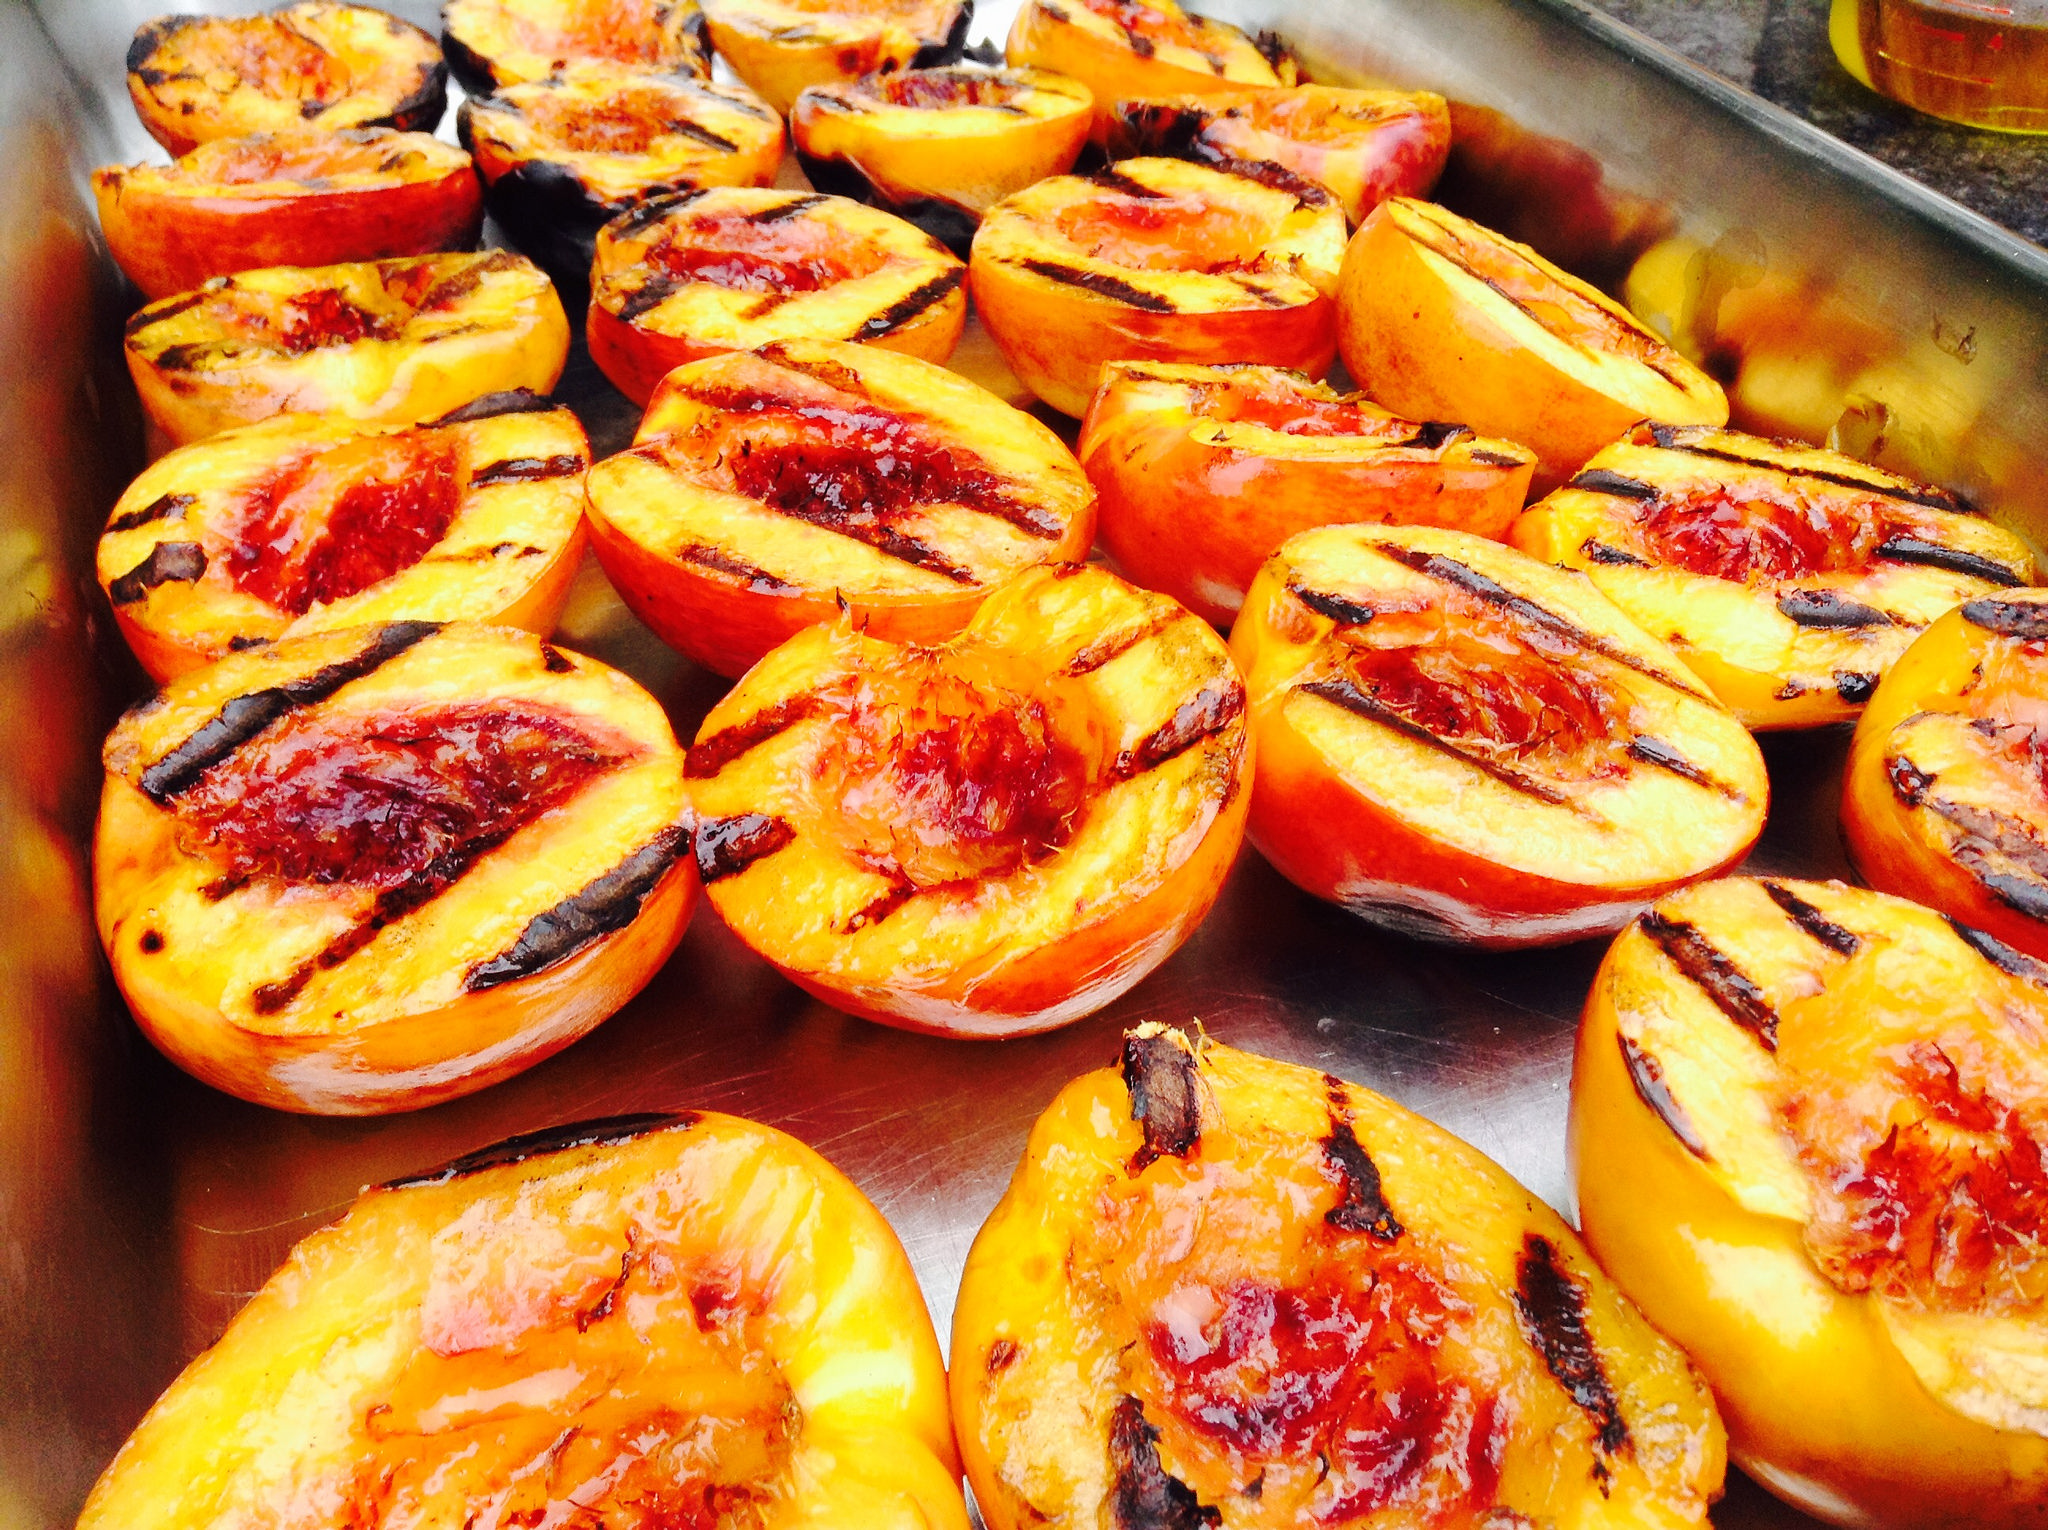
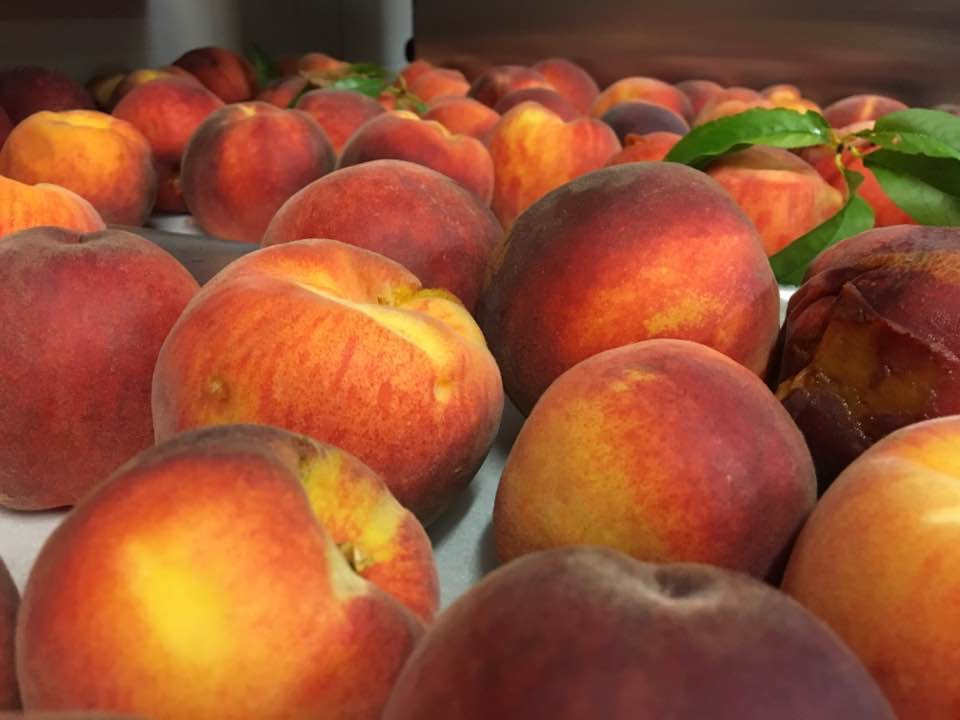
Over the last week, we’ve been enjoying plucking the nectarines and peaches off of our trees and enjoying them in a variety of ways. One of our Sisters used to own a peach orchard and enjoys turning the bruised and moldy drops into the most delicious jam. As the peachy smell wafts through the Convent, I pop down to the kitchen to dip my spoon into the bubbly pot. “Sister, this is SO delicious!” I purr, wishing I could bottle up this moment for eternity. Summer is wonderful, because the simple beauty and naturalness of fruit and vegetables can stand alone without being covered up in heavy sauces just to be palatable.
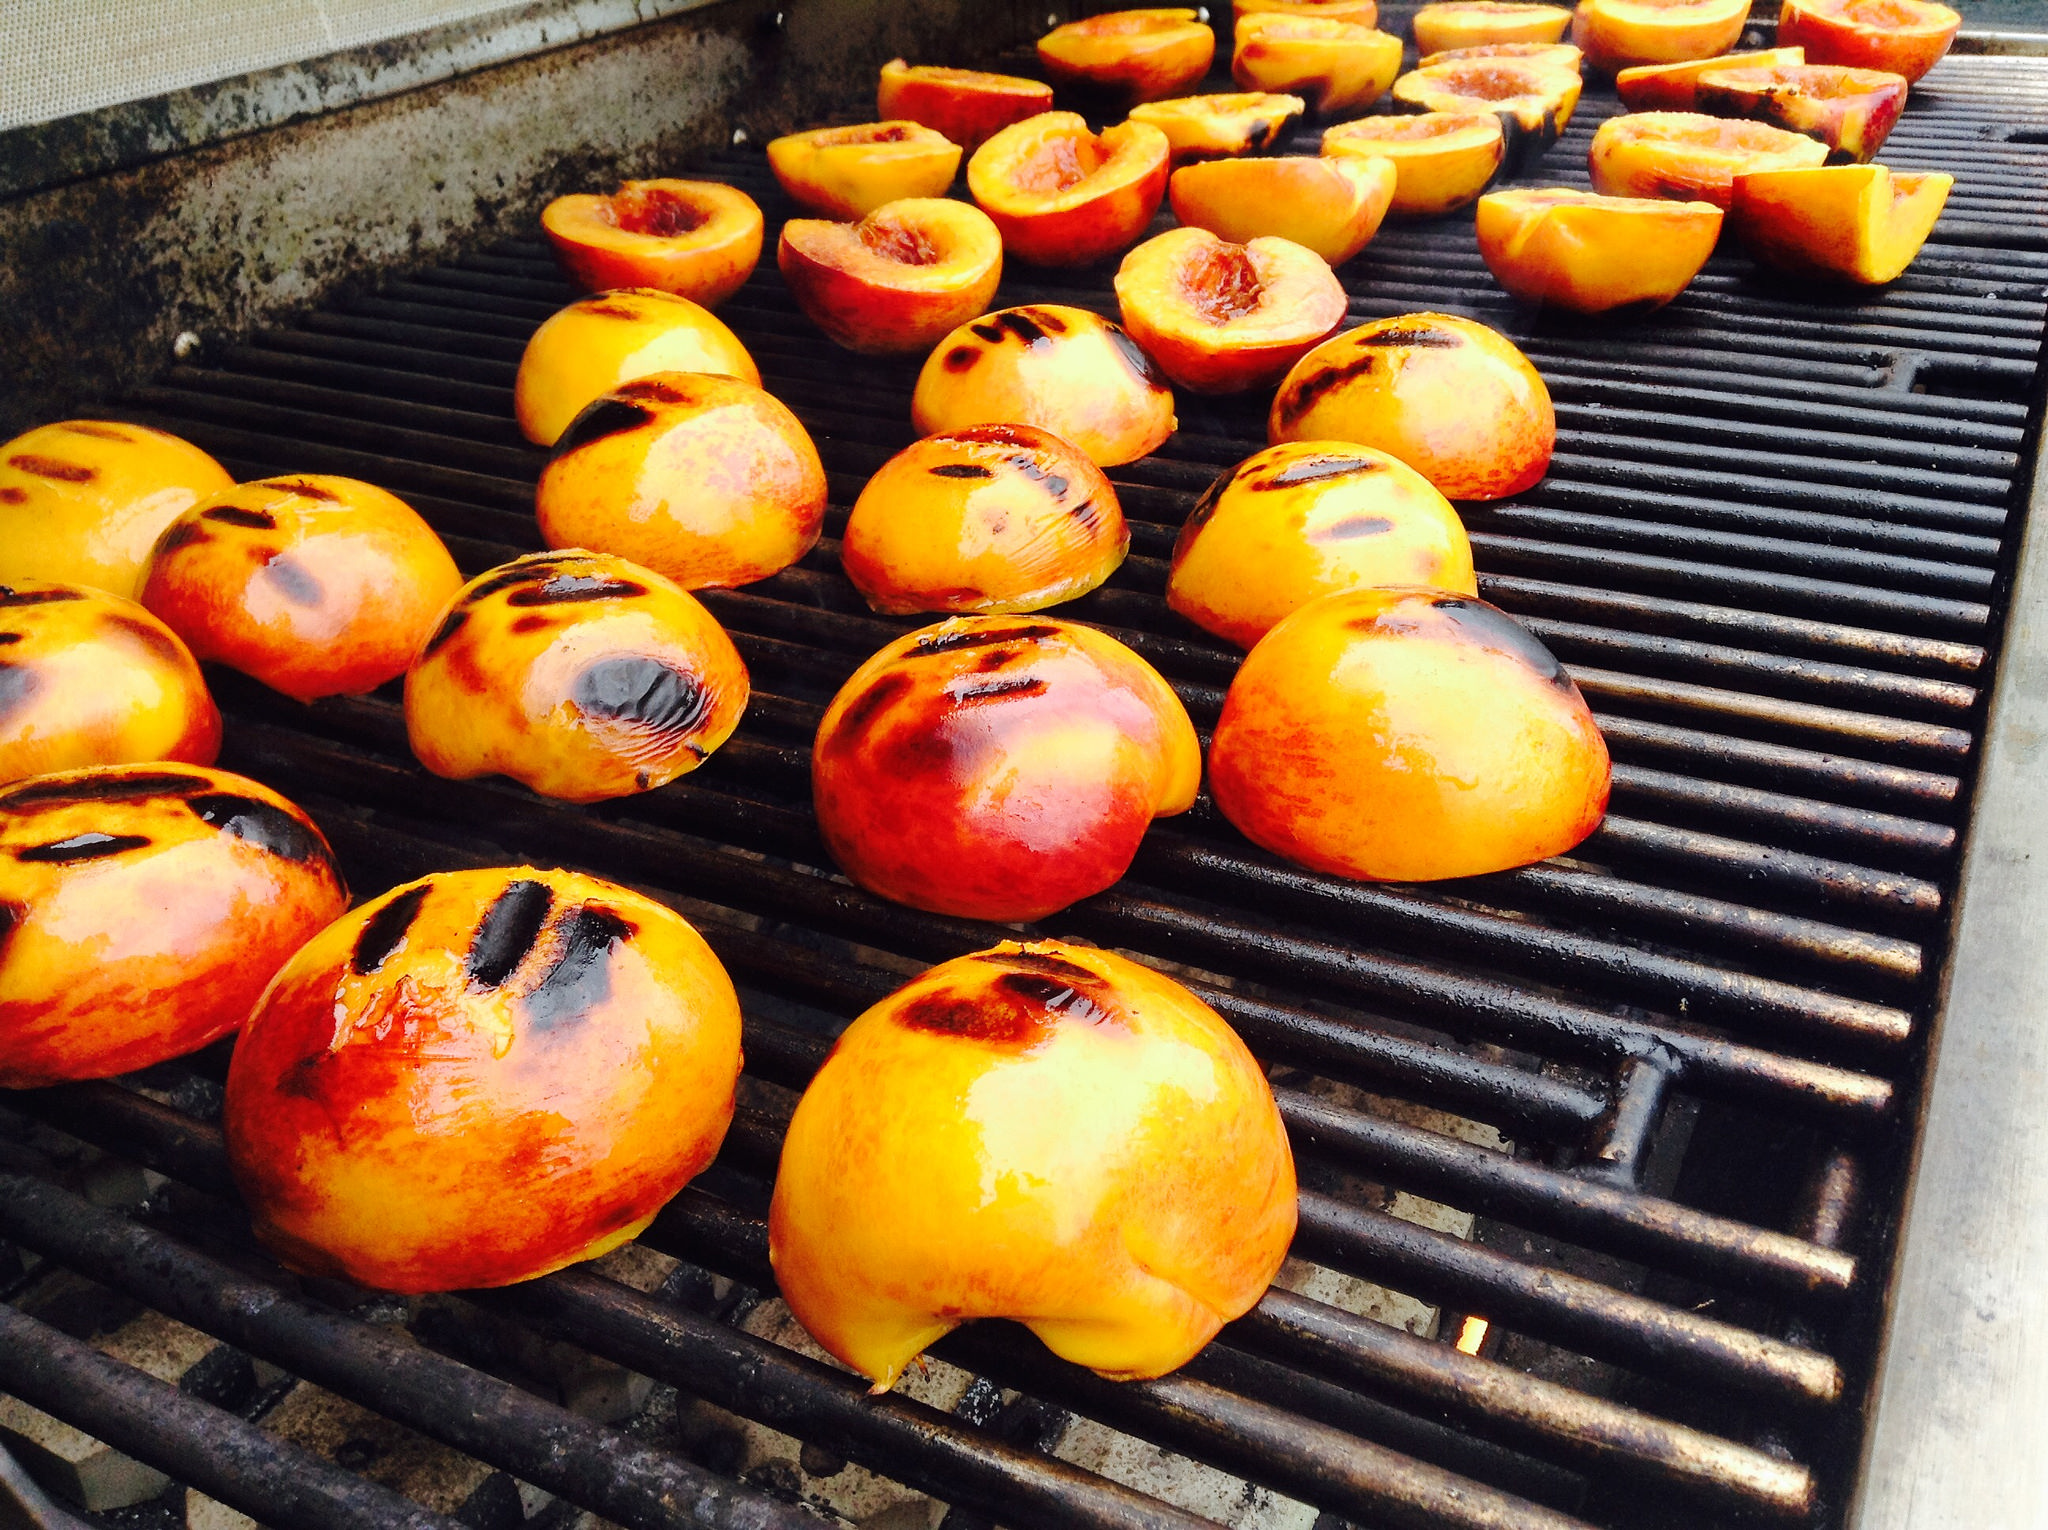
Over this past weekend, I had fun grilling nectarines to accompany an herb rubbed grilled pork tenderloin for our Dinner Theater. Follow these simple steps and add a little nectar to your next savory dish — it’s a beautiful thing!
Print Recipe
Votes: 0
Rating: 0
You:
Rate this recipe!
Grilled Honey Nectarines (or Peaches)
SERVINGS4servings
|
COOK TIME10mins |
PREP TIME |
READY IN10mins |
Ingredients
Instructions
- Heat grill to 400 degrees F.
- Brush nectarines with olive oil on both sides
- Place nectarines face side down on grill
- Wait about 4-5 min, or until the nectarines "release" on their own from the grill and carefully turn over with tongs or long handled spatula
- Grill on the opposite side
- Remove from the grill and drizzle with honey and sprinkle with kosher salt
- Serve as a side to chicken, pork, turkey or with a spoonful of greek yogurt or vanilla ice cream for dessert
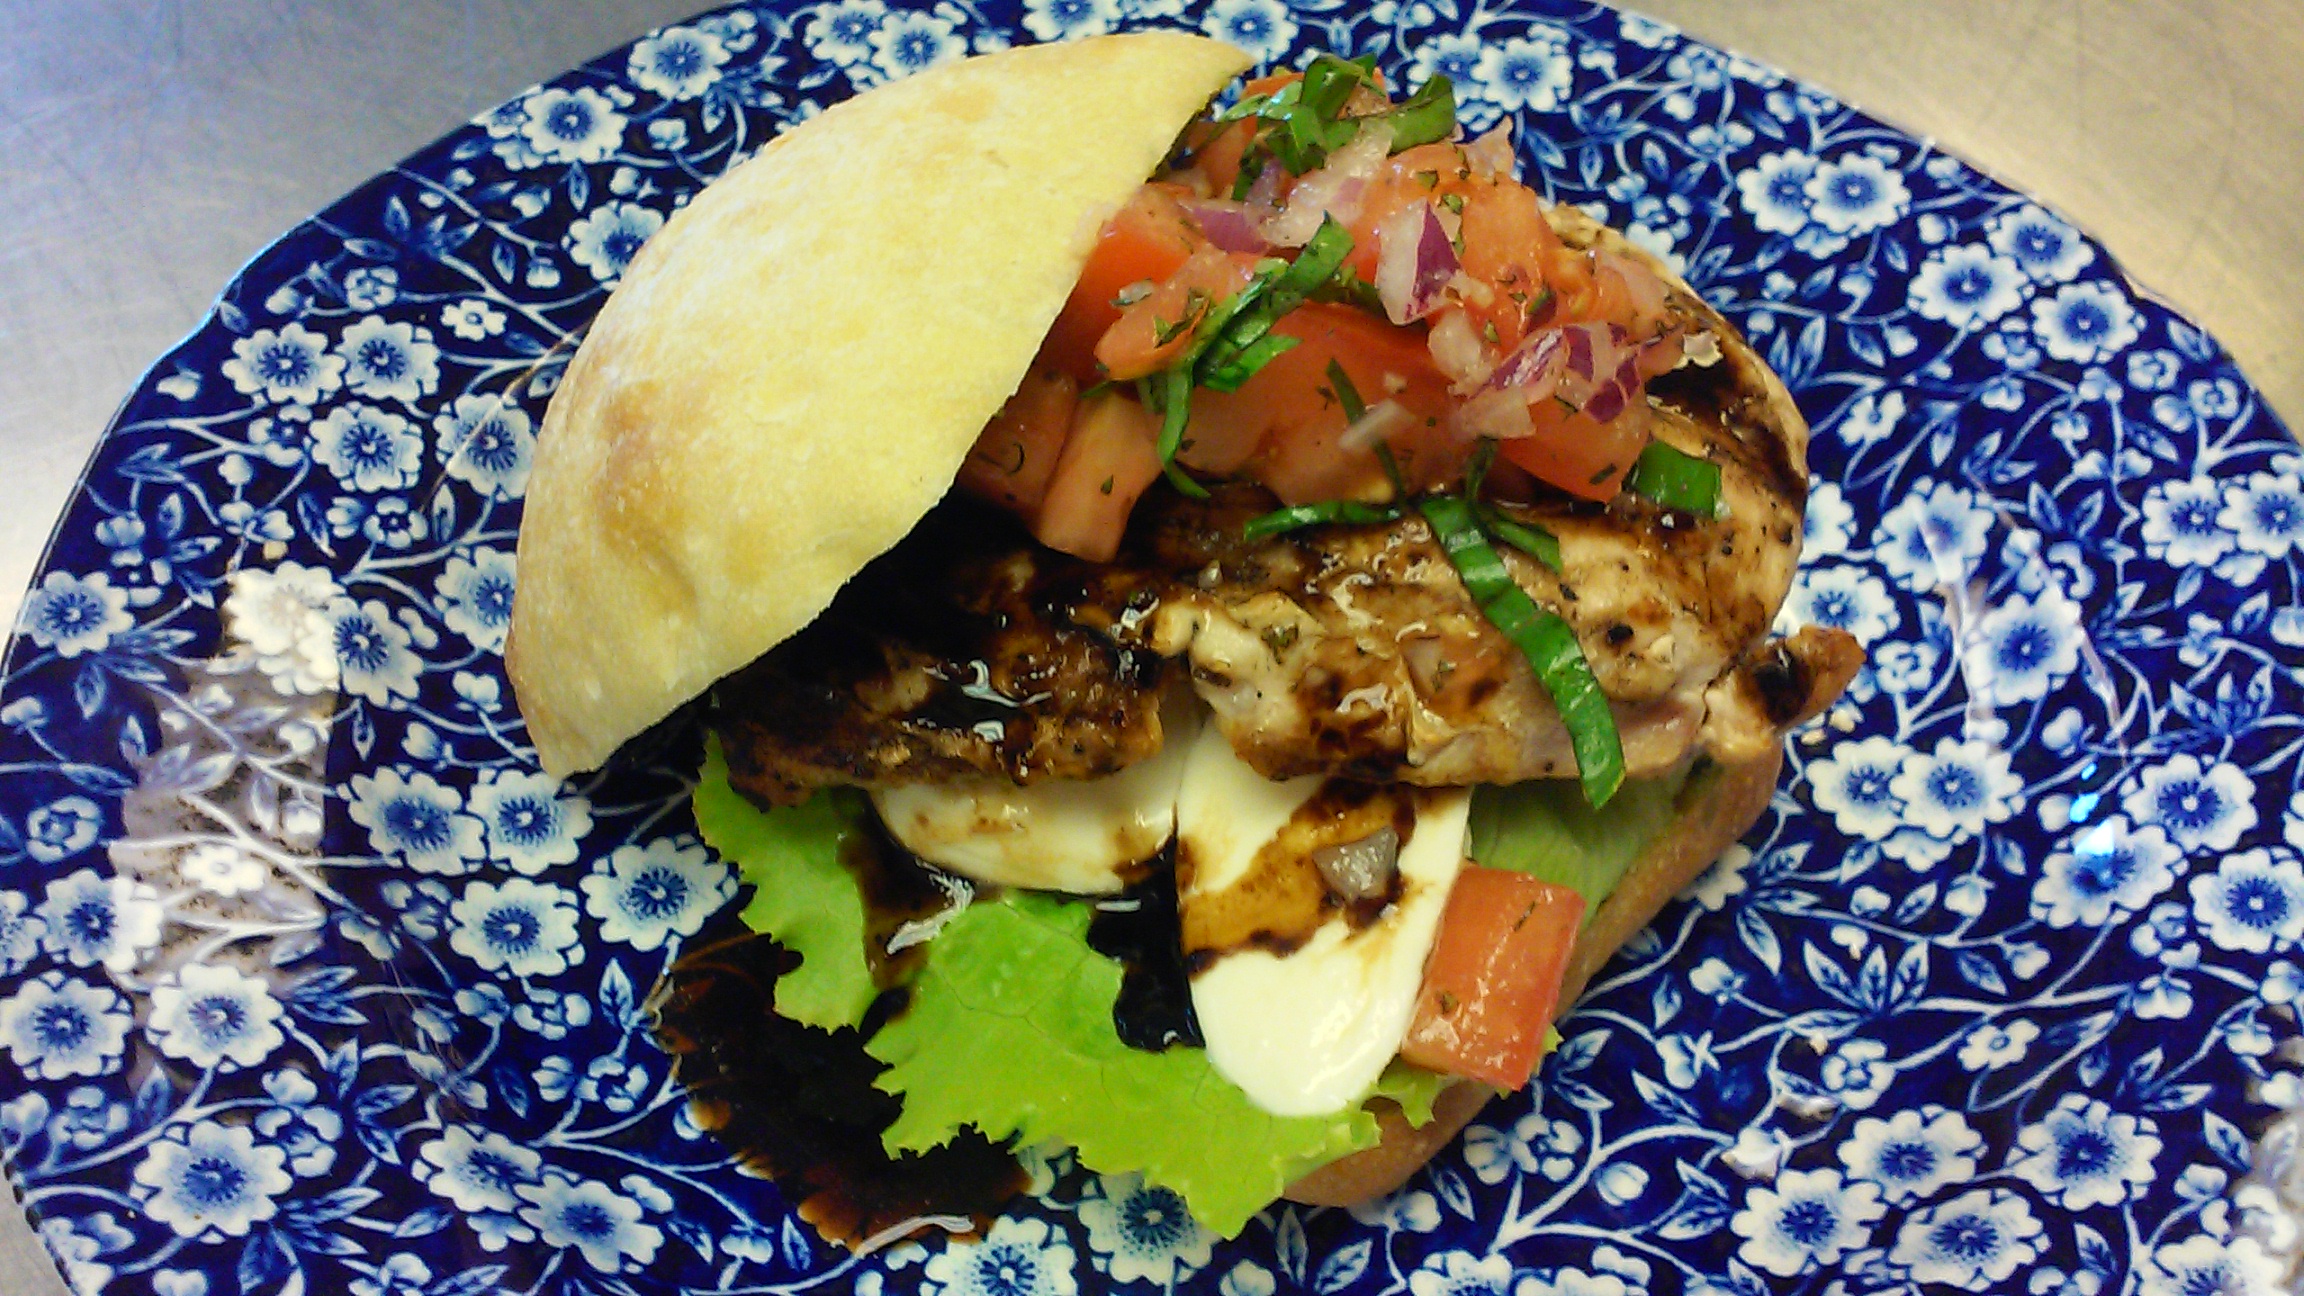
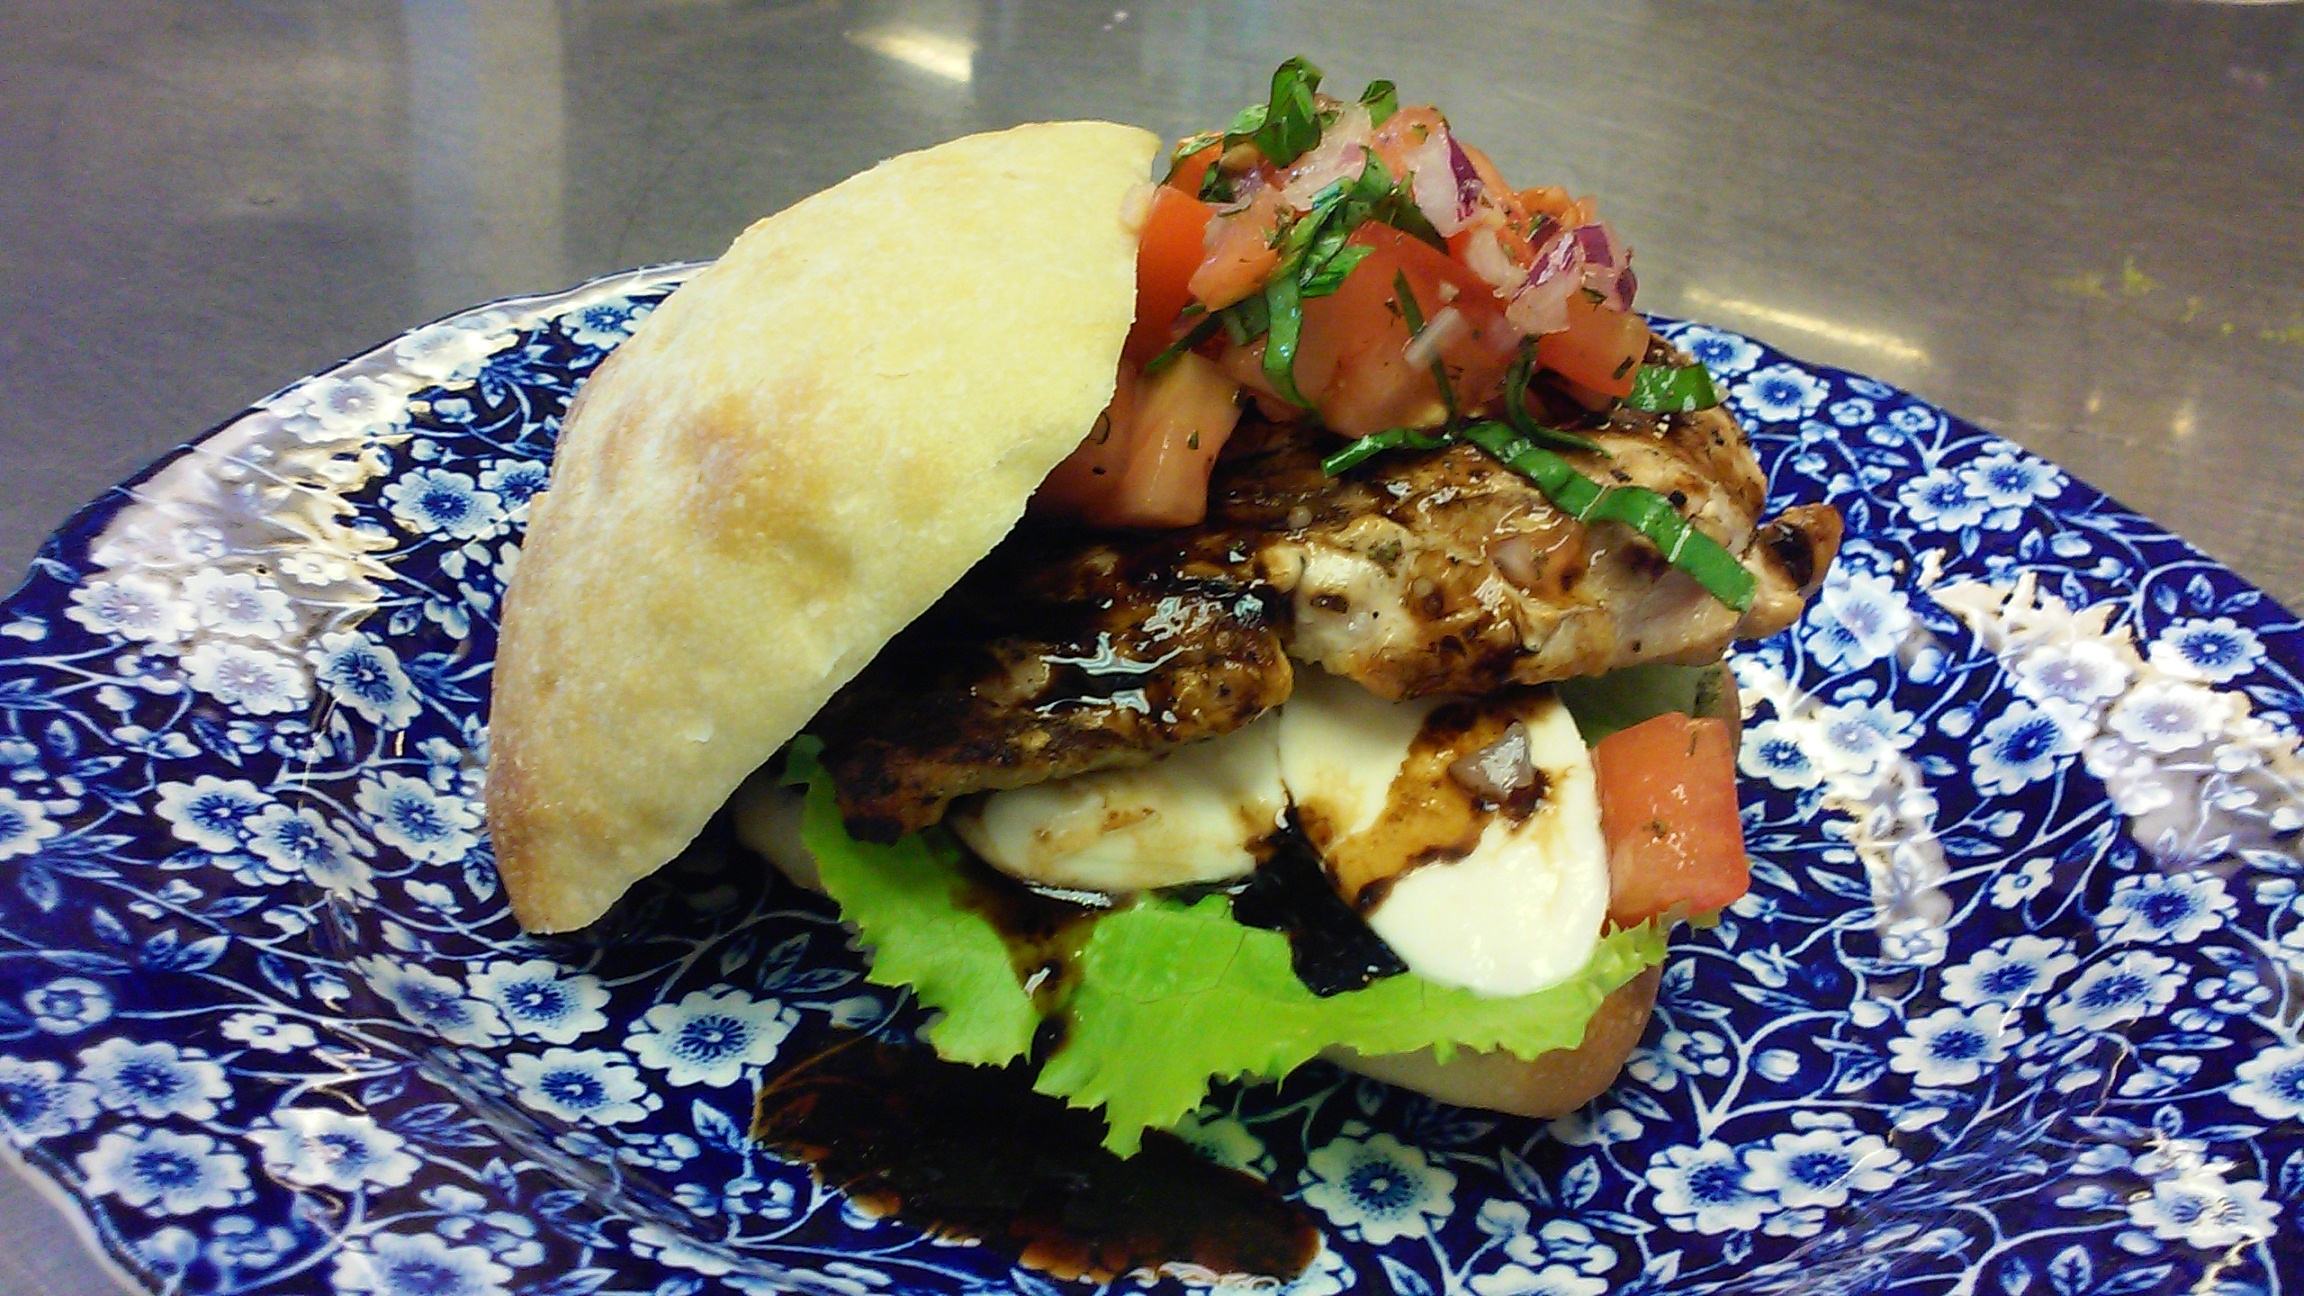
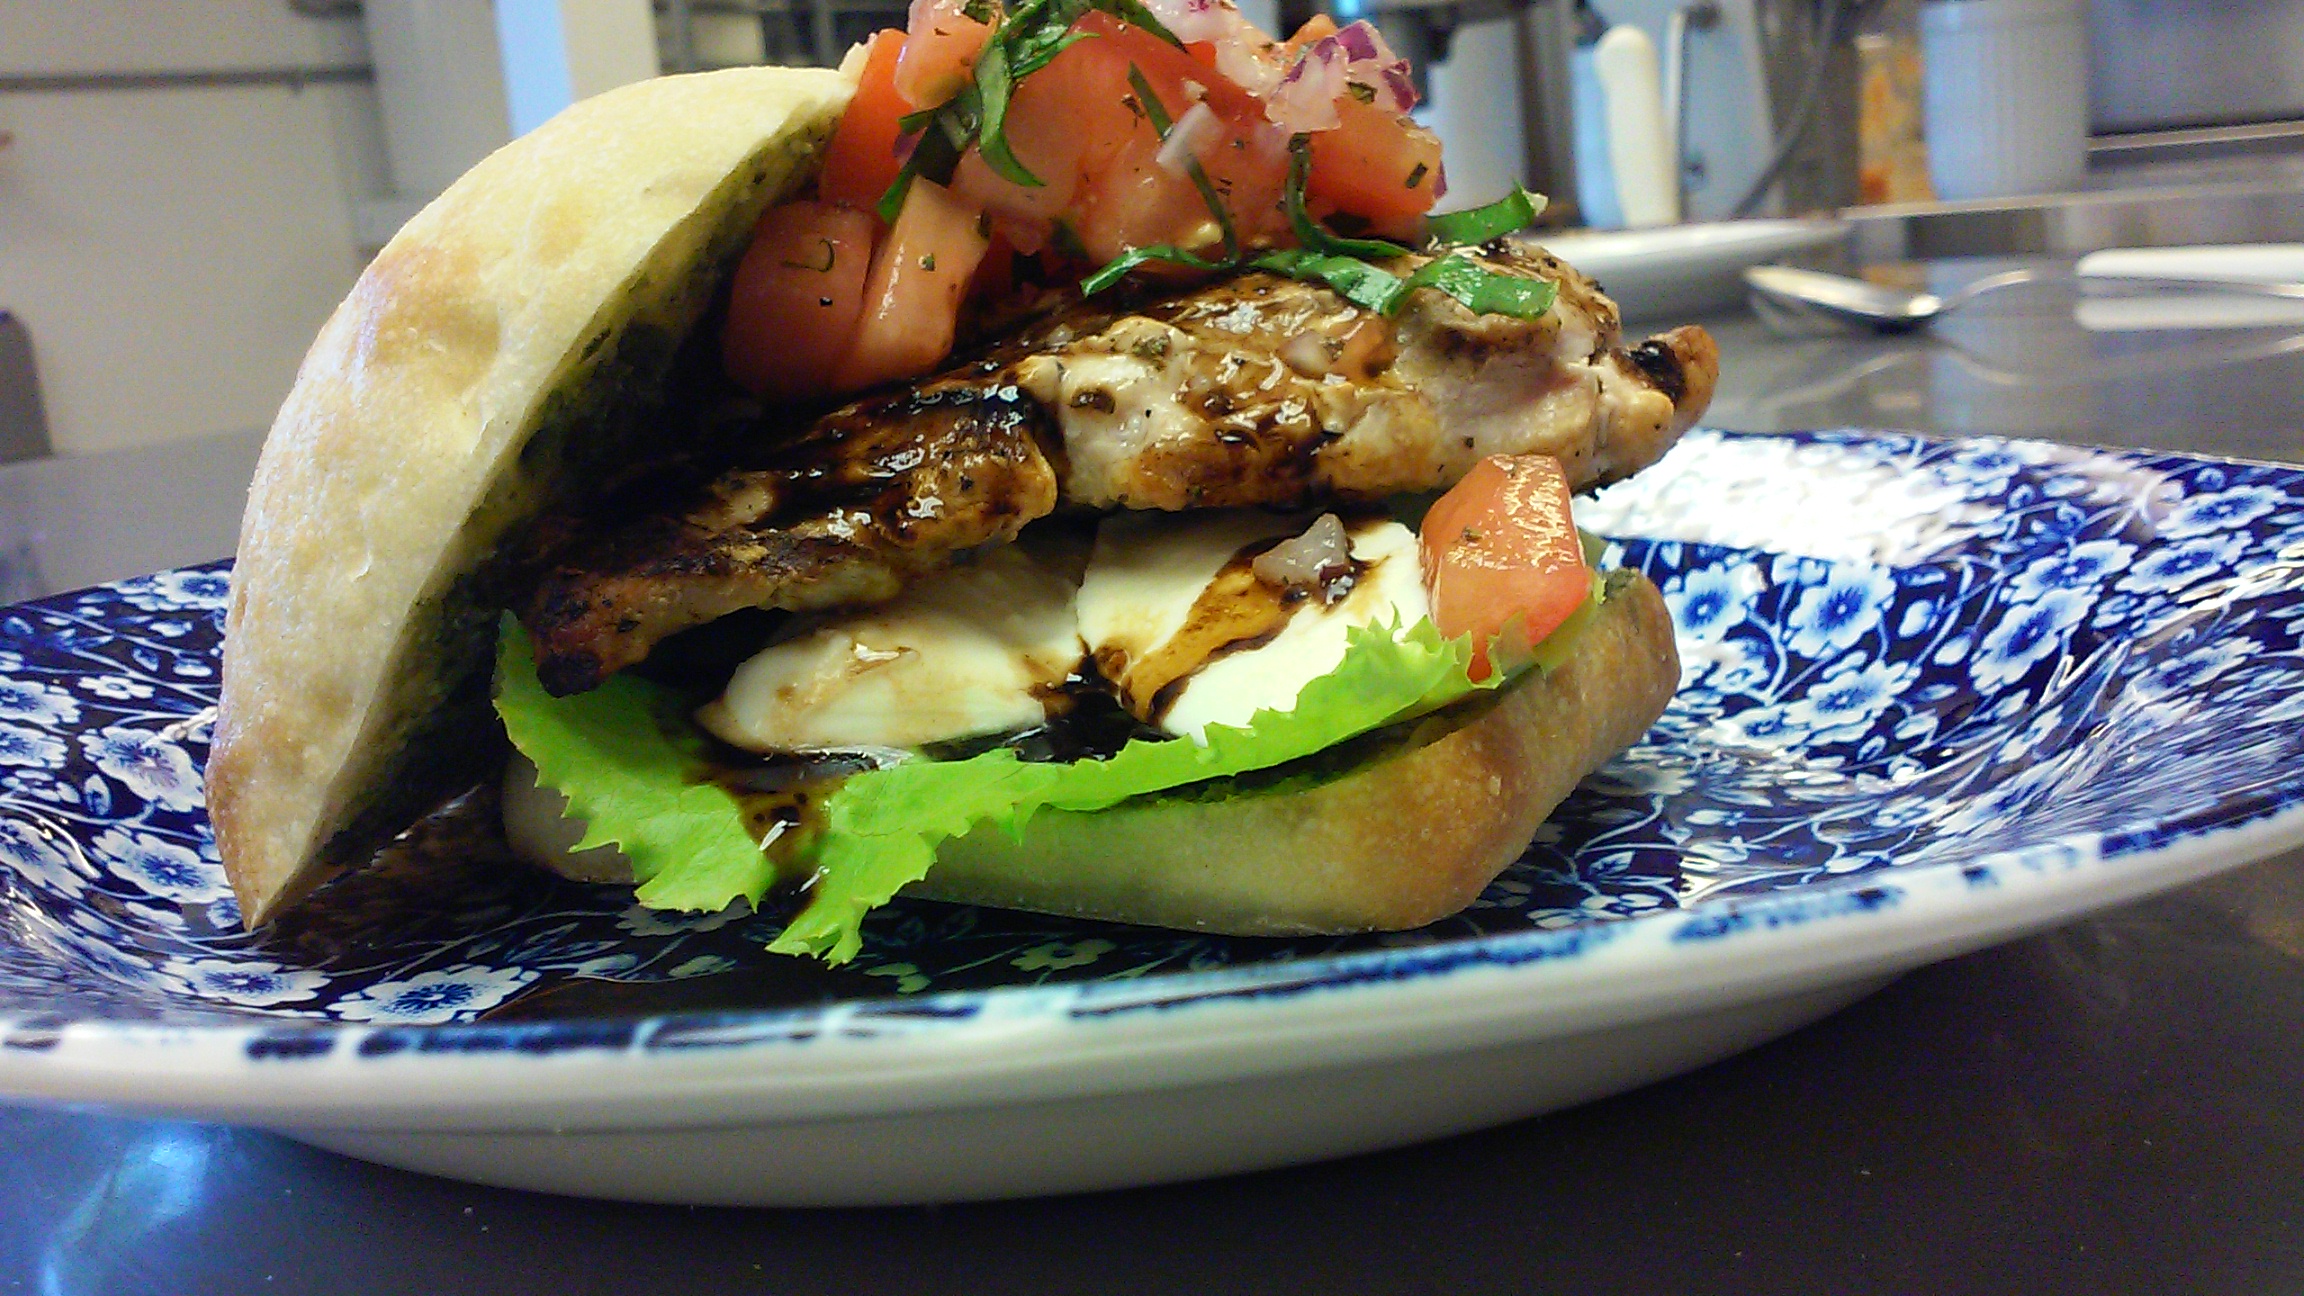
To me, the perfect sandwich is one that awakens all the senses at once: the crunch of the lettuce, the creaminess of the cheese, the zip of the spice, and the smokiness of the grill. This recipe fits that bill and has become our favorite summer ‘go-to’ sandwich. It’s a feast for the eyes and easy to prepare, packed with flavor. If you can’t get to Italy this summer, let Italy come to you!
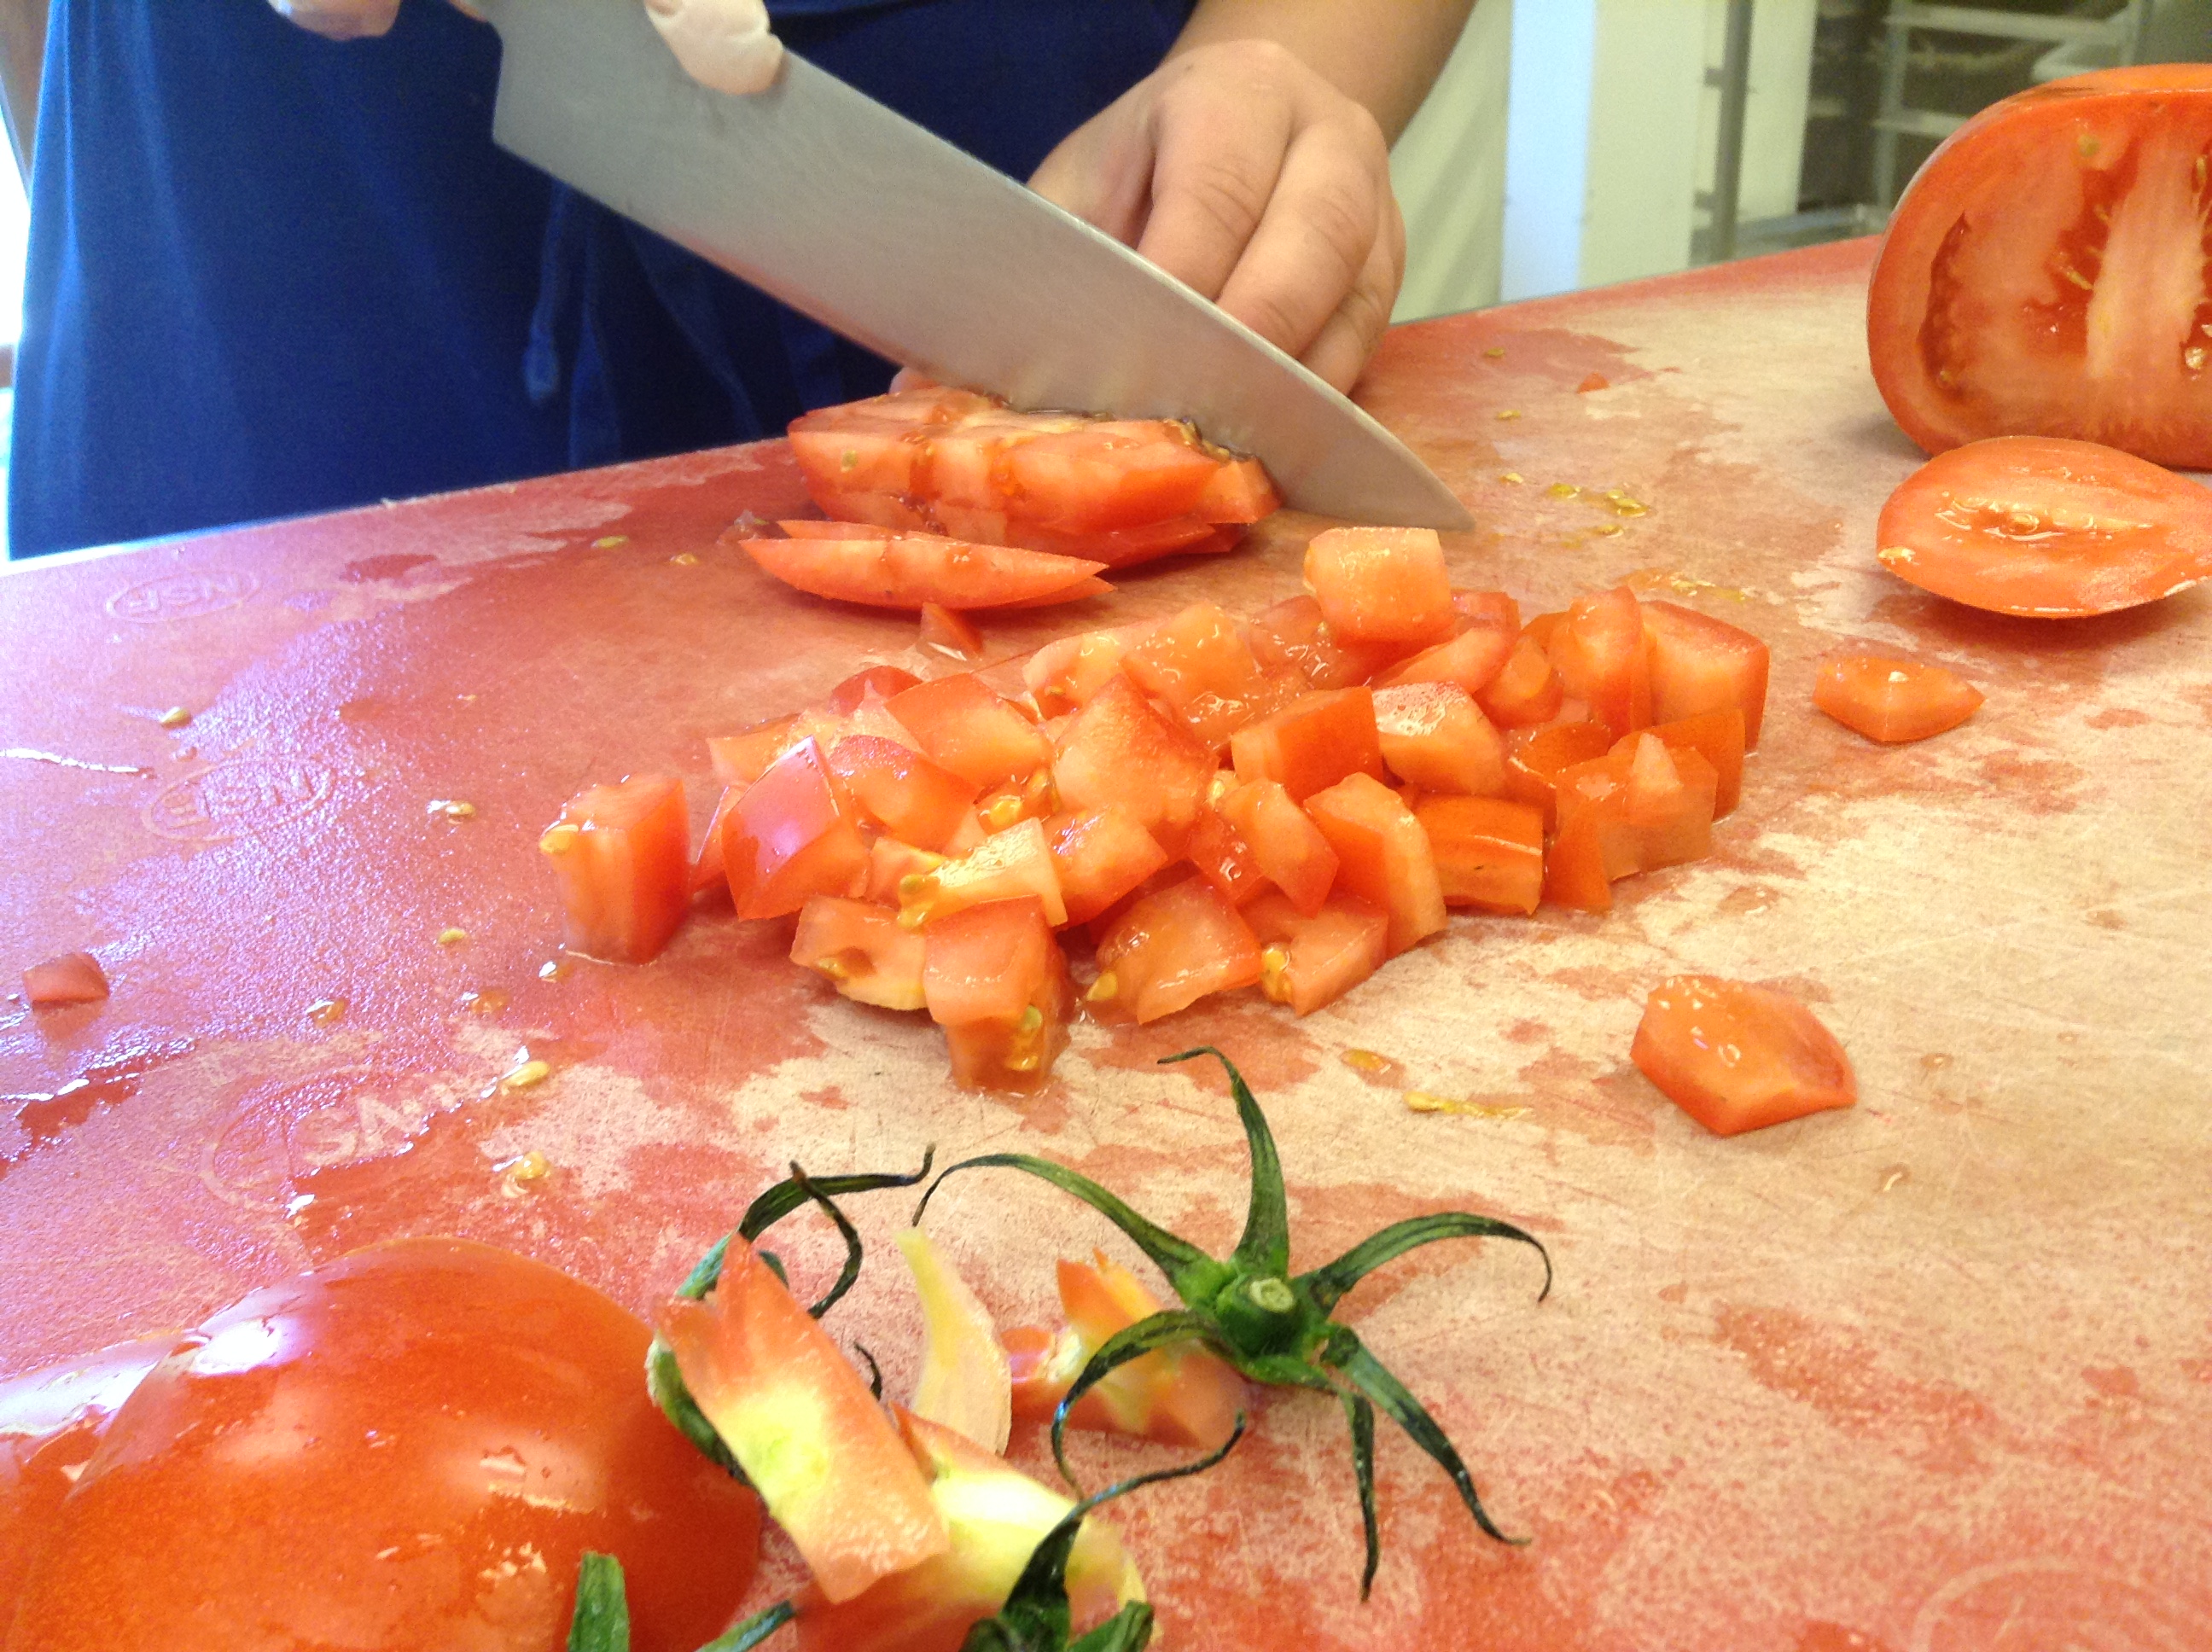
This week, we have five young women working as sous-chefs in our kitchen to help us with a week-long retreat. They’ve had some great lessons as they’ve learned how to: pick the proper herbs, chiffonade basil, properly dice tomatoes (yes, it’s a technique!), grill chicken so it is moist and delicious, and many others. I expect them to return to their families with some great new recipes and skills at the end of this week. We hope you enjoy this sandwich for one of your functions this summer. It’s going to be a staple on our menu!
Tip: make a jar of the pesto sauce to have on hand in the freezer any time you need it!
Print Recipe
Votes: 0
Rating: 0
You:
Rate this recipe!
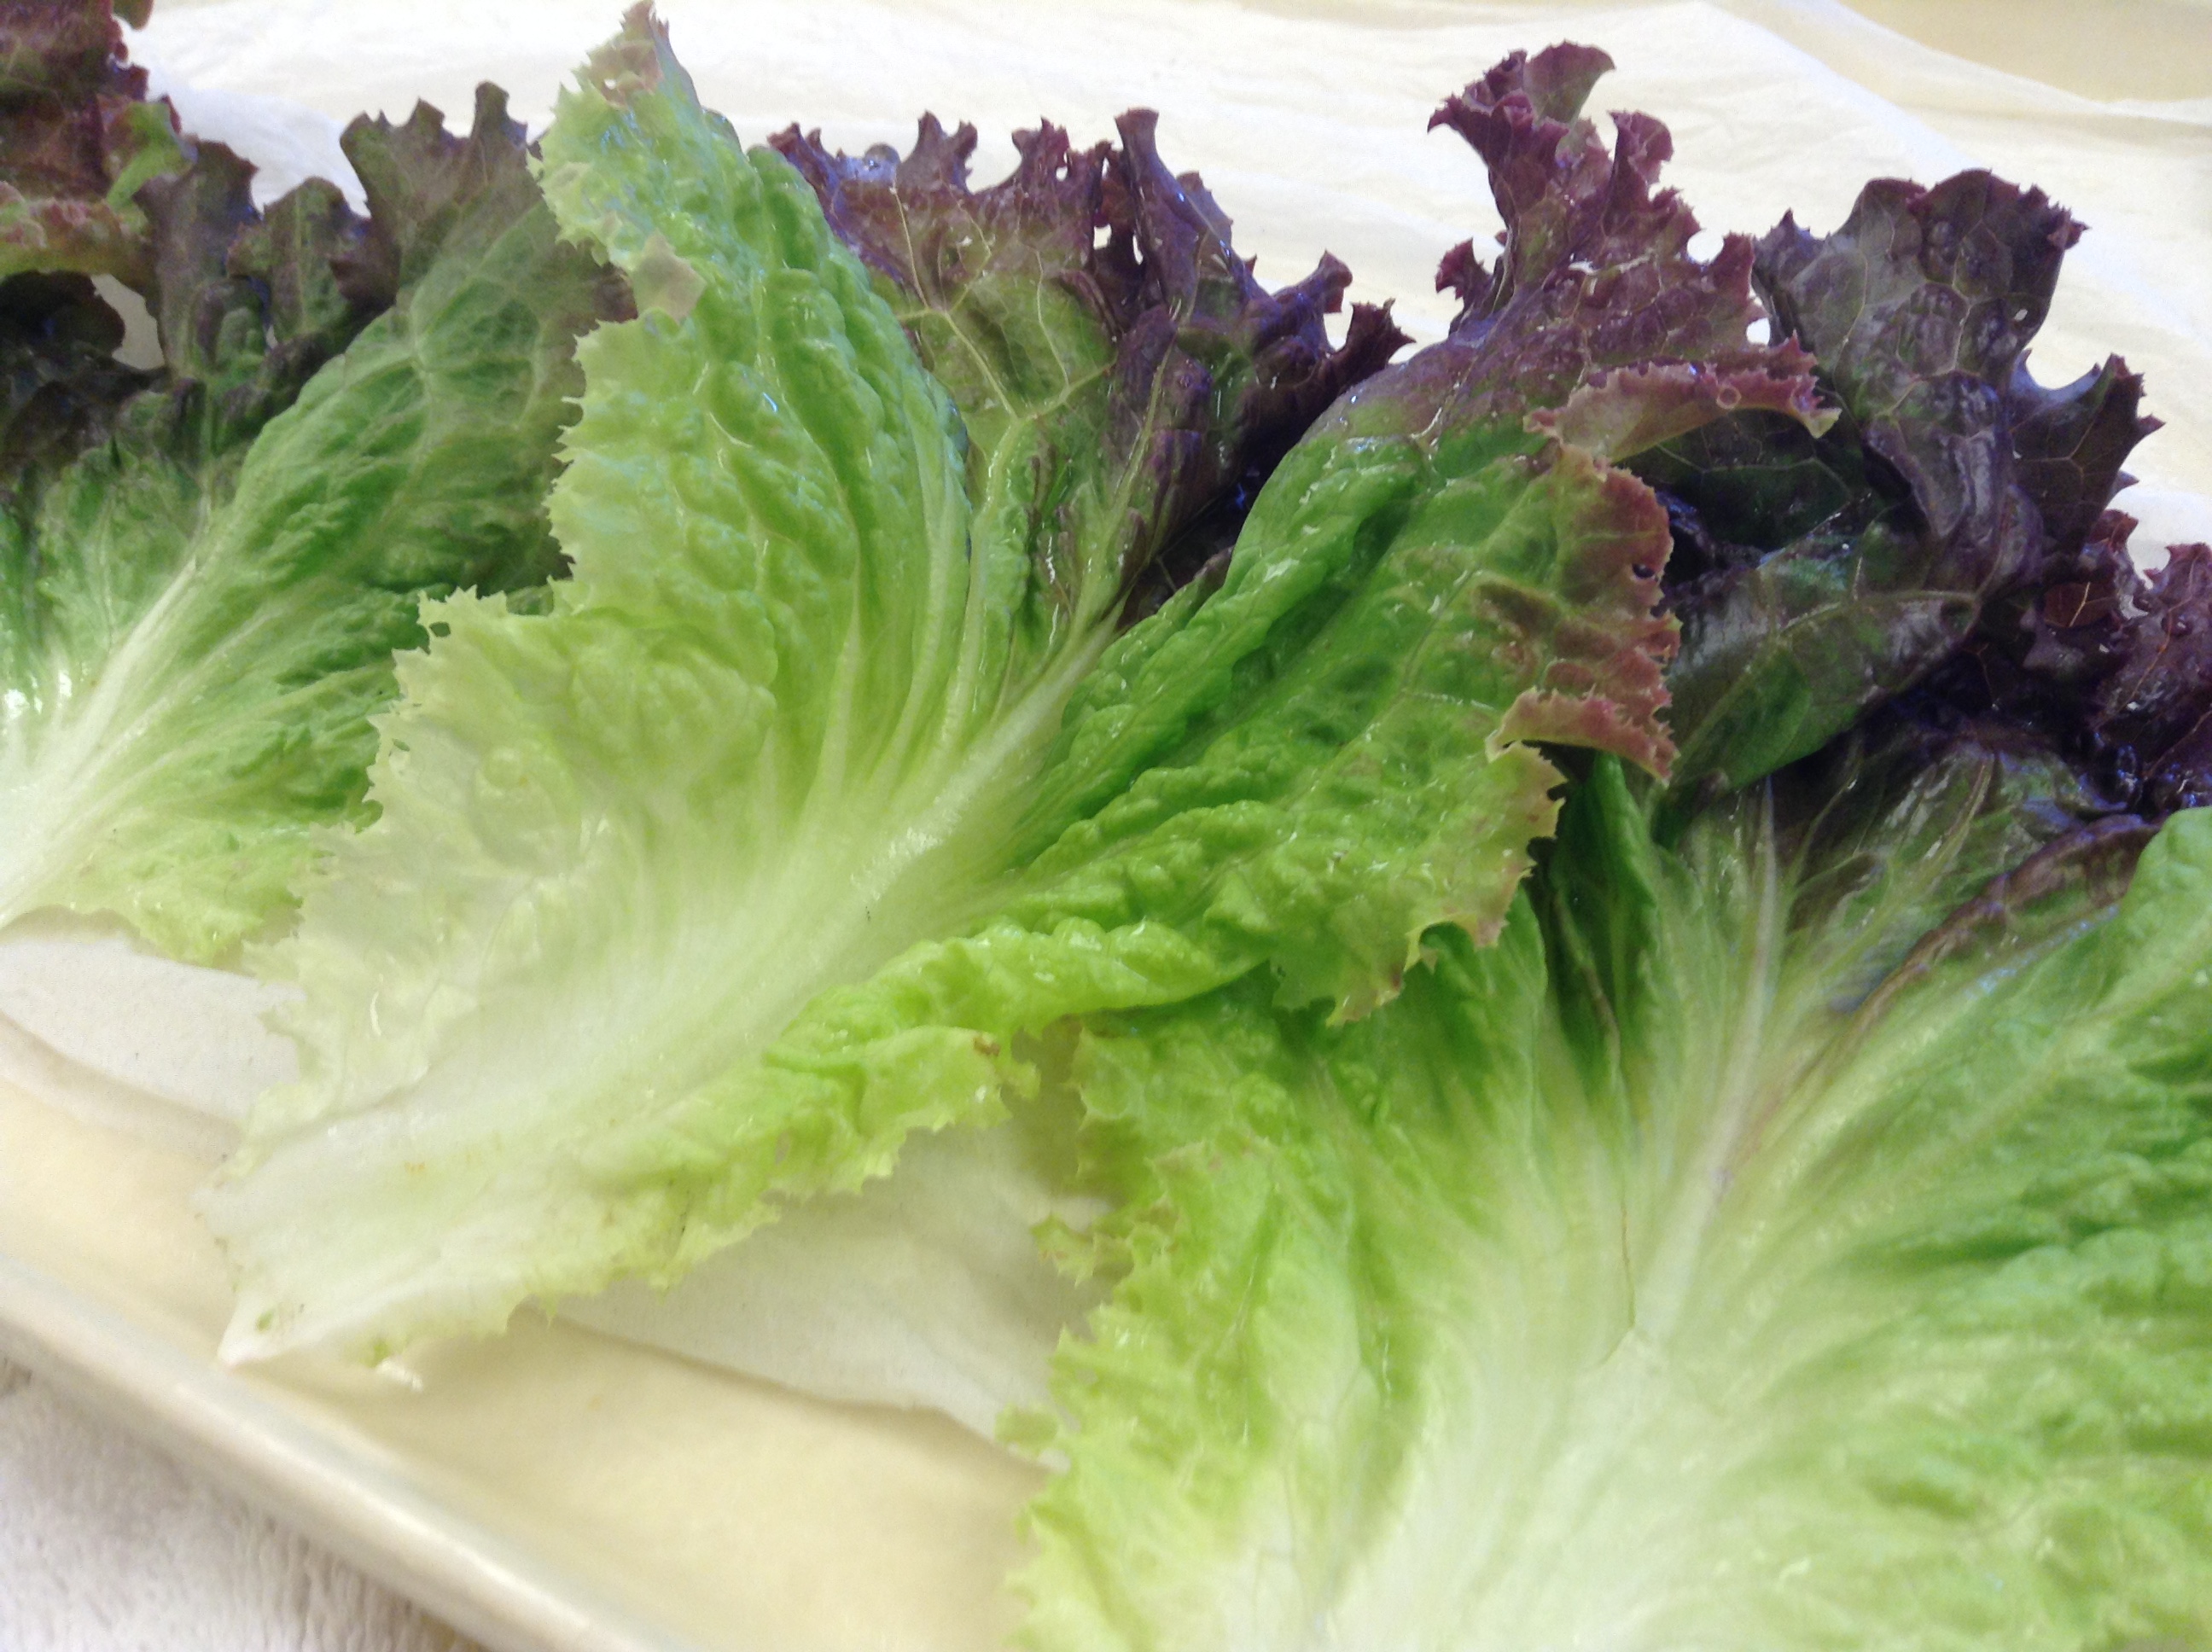
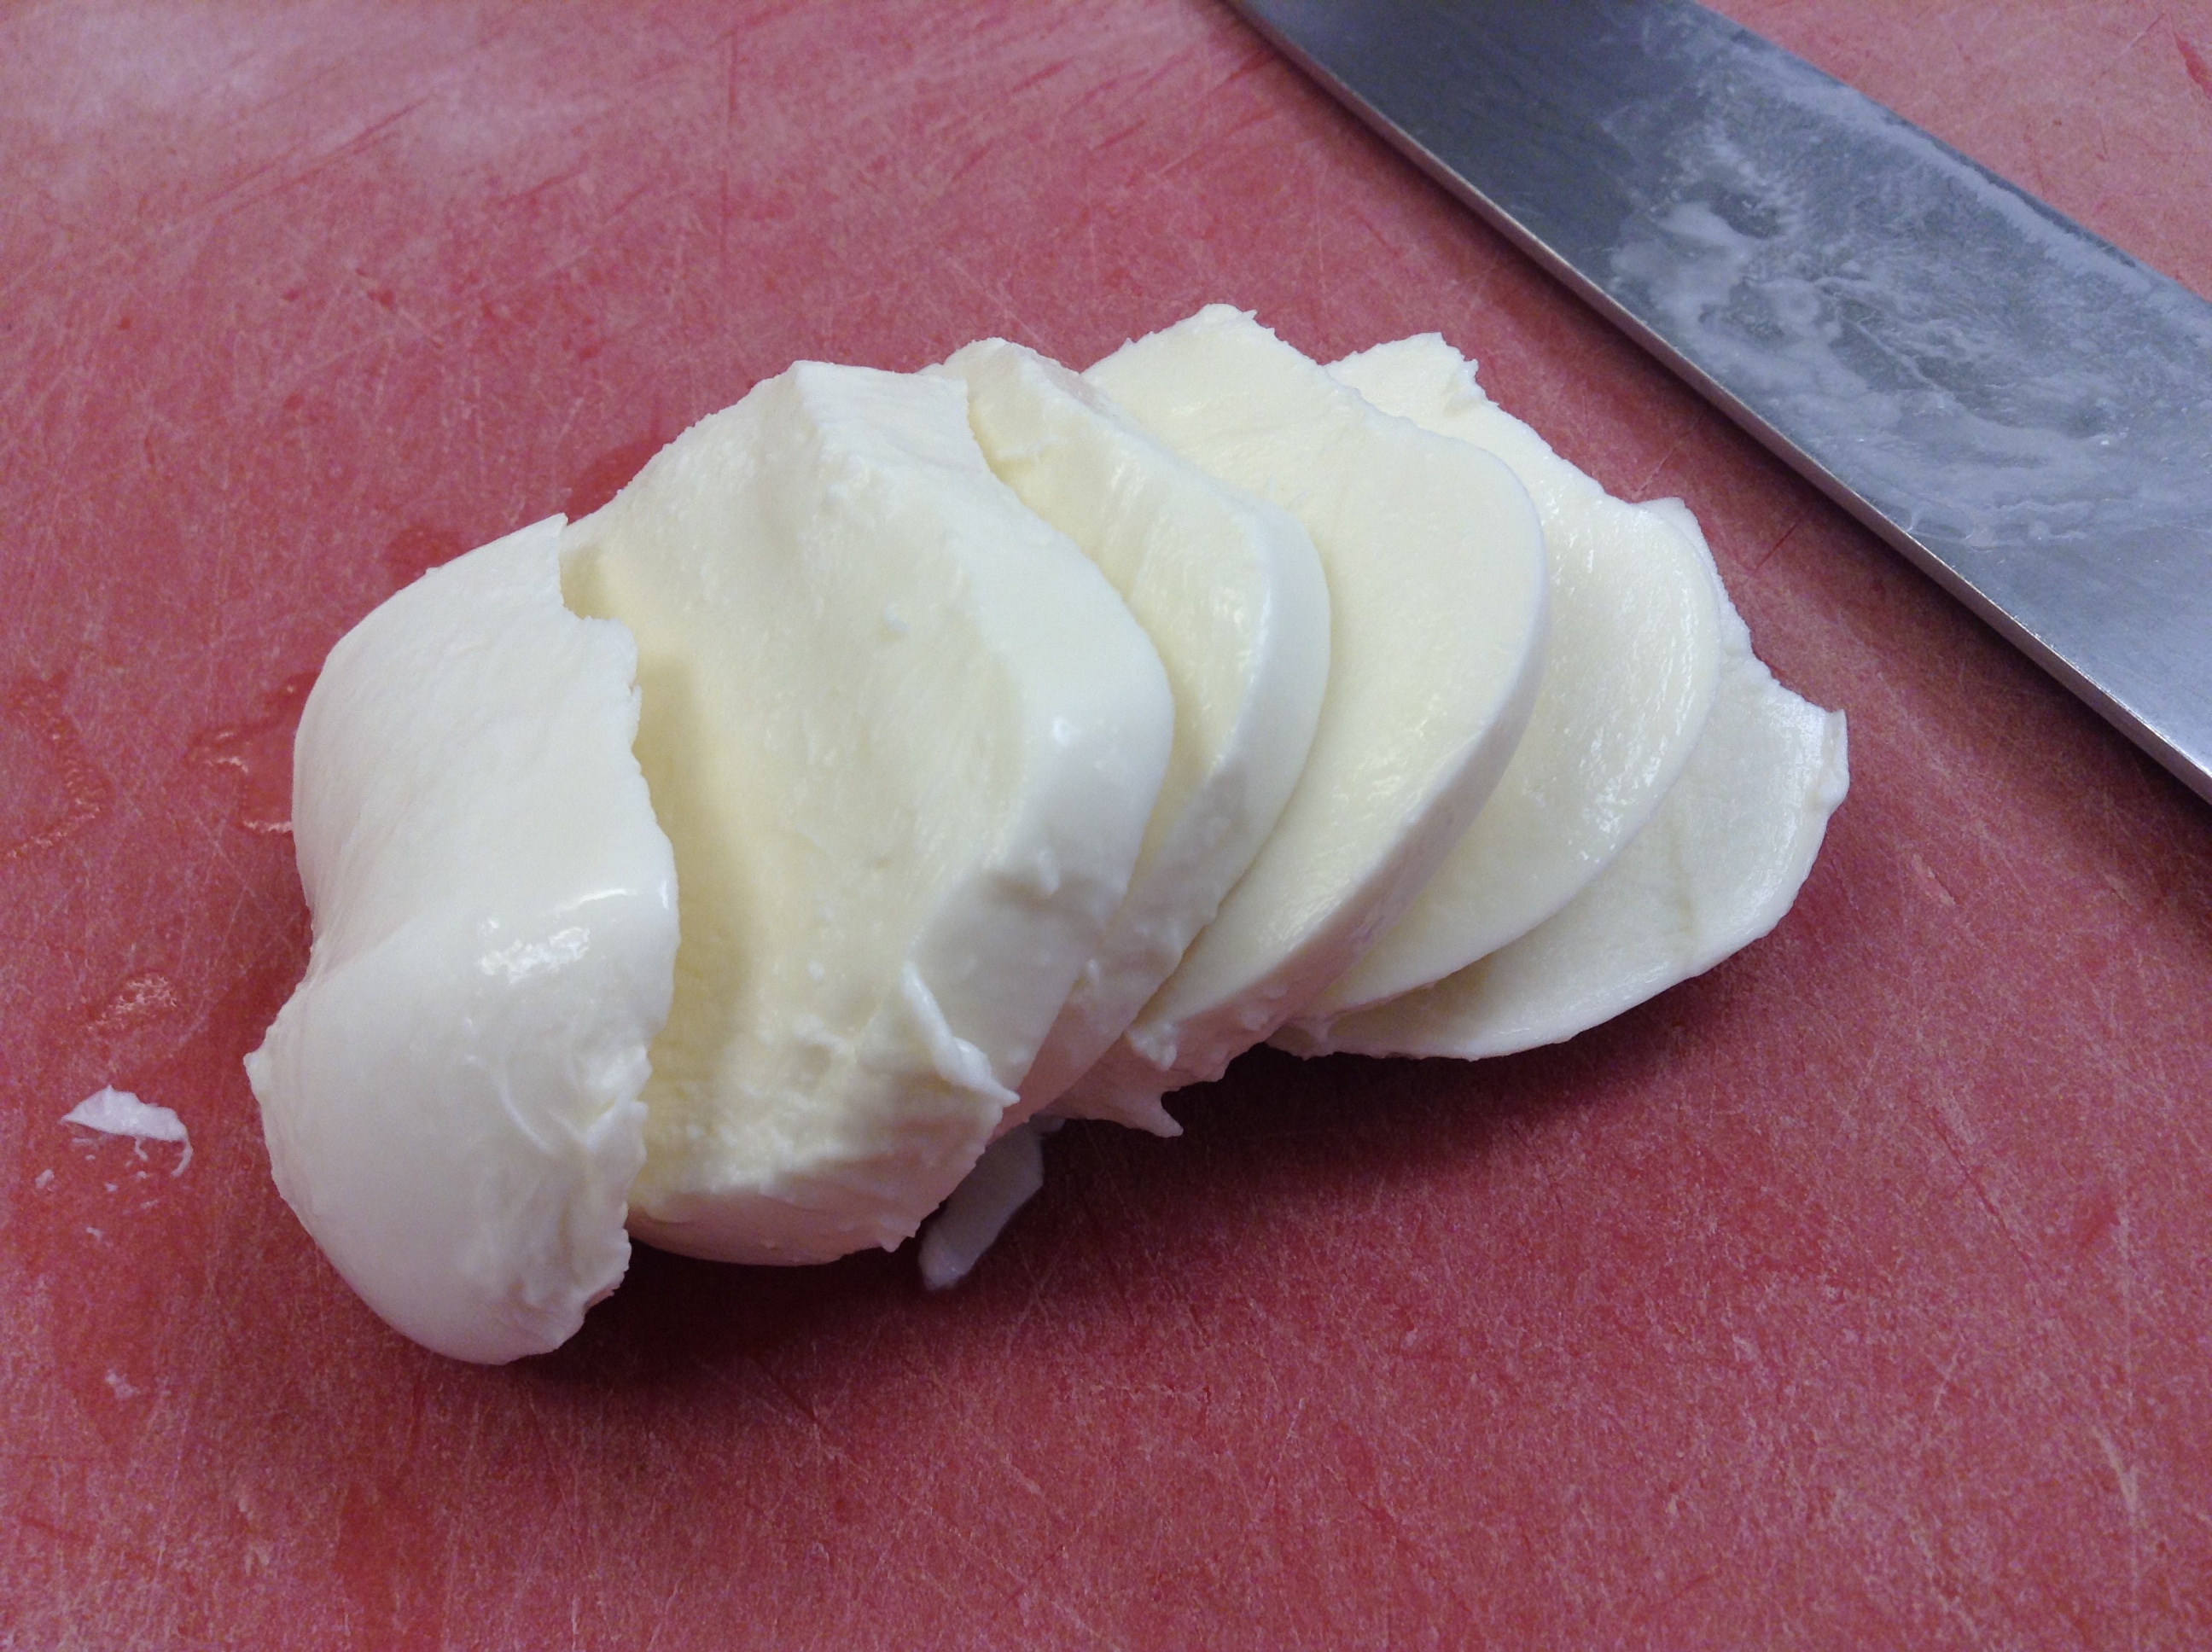
Summer Grilled Chicken and Bruschetta Sandwich
SERVINGS4
|
COOK TIME10mins |
PREP TIME20mins |
READY IN30mins (or less) |
Ingredients
Instructions
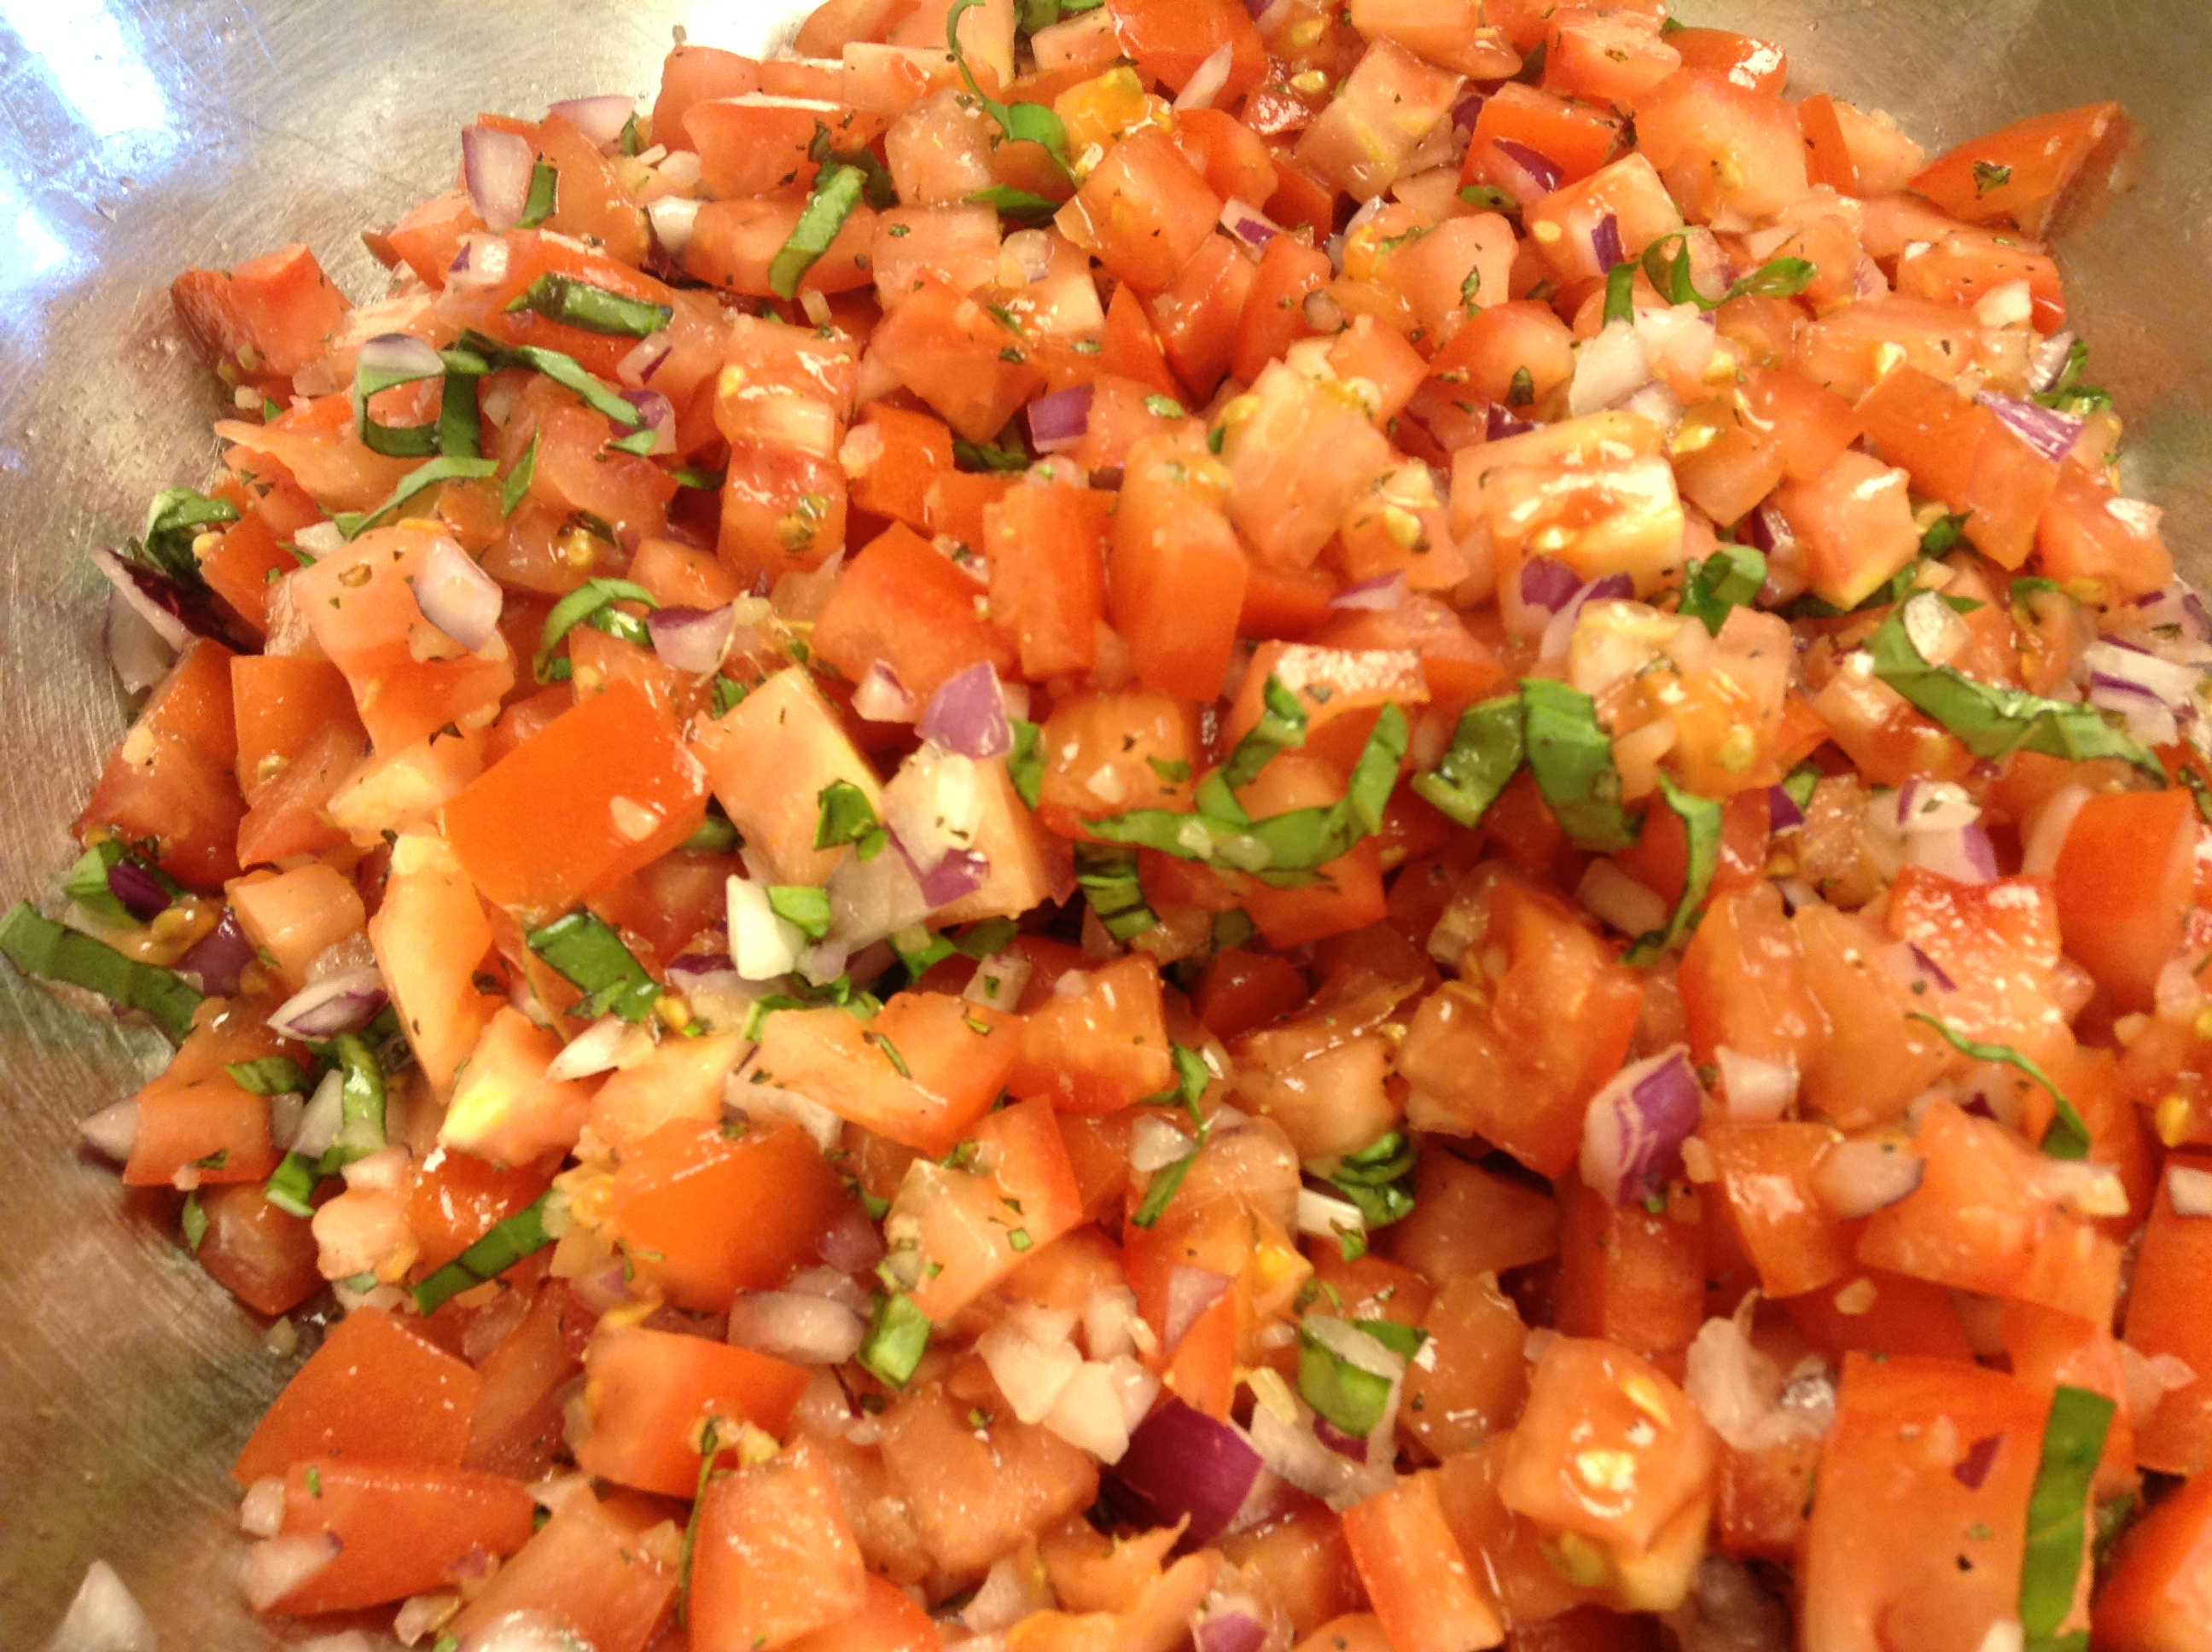
- Make bruschetta topping: in a medium sized bowl. Combine the red onions, garlic, tomatoes, ¼ teaspoon salt, ⅛ teaspoon pepper, 1 teaspoon olive oil, oregano, and basil. Set bruschetta to the side. Drain slightly before using.
- Grill your chicken: season with salt and pepper and rub with about 1 tsp. of olive oil and grill over low flame until 160 degrees on a meat thermometer. Meat is ready to turn when it no longer sticks to the grill. Do not overcook
- Split your rolls in half then stack back together, lay on a sheet pan and toast for 5 min in a 350 degree oven.
- To assemble, spread pesto sauce on each half of the roll, then layer with lettuce or arugula, mozzarella, grilled chicken then drizzle with balsamic reduction and top with the bruschetta topping. Season with salt and pepper if desired. Serve immediately.