This is a winner! We recommend serving this with an open faced sandwich or just on its own. You’ll think this soup has been thickened with cream, but magically it hasn’! Coconut milk and coconut oil have a wonderful way of adding depth of flavor and the under-appreciated cauliflower and parsnip get a bit of attention in this marvelous winter soup. Topped with caramelized onions and sautéed apple, this dish is perfect for fall when you start pulling on your warm socks and woolen sweaters.
Print Recipe
Votes: 1
Rating: 5
You:
Rate this recipe!
Vegan Roasted Cauliflower & Parsnip Soup with Caramelized Onions & Apples
SERVINGS5servings
|
COOK TIME45mins |
PREP TIME15mins |
READY IN1hr |
Ingredients
Instructions
- Preheat over to 375-400°F. Toss the cauliflower and parsnips in 2 Tbsp. coconut oil, sprinkle with kosher salt and spread in single layer on a sheet pan. Roast for 20-25 minutes, until the tips begin to turn brown, then add the minced garlic, cover with foil and continue roasting until soft and tender.
- Meanwhile, caramelize the onion: slice the onion into thin strips, and saute over low heat with 1 Tbsp. coconut oil. Adding just a dash of salt and sugar can help the caramelization process. Stir every few minutes, until onions begin to brown. Dice the apple, and add it to the pan. Continue to cook on low until apple is tender and the onions are golden and sweet. Add salt to taste. Set aside for garnish.
- Place cauliflower, parsnips, 4 cups warm broth, coconut milk/cream in a blender,. Blend until smooth, adding salt and smoked paprika to taste. Add additional broth, coconut milk or cream until desired consistency and flavor is reached.
- Re-heat your soup on the stove or in the microwave or freeze in ziplock bags for later.
- When ready to serve, spoon soup into bowls and top with a generous amount of onions and apples.
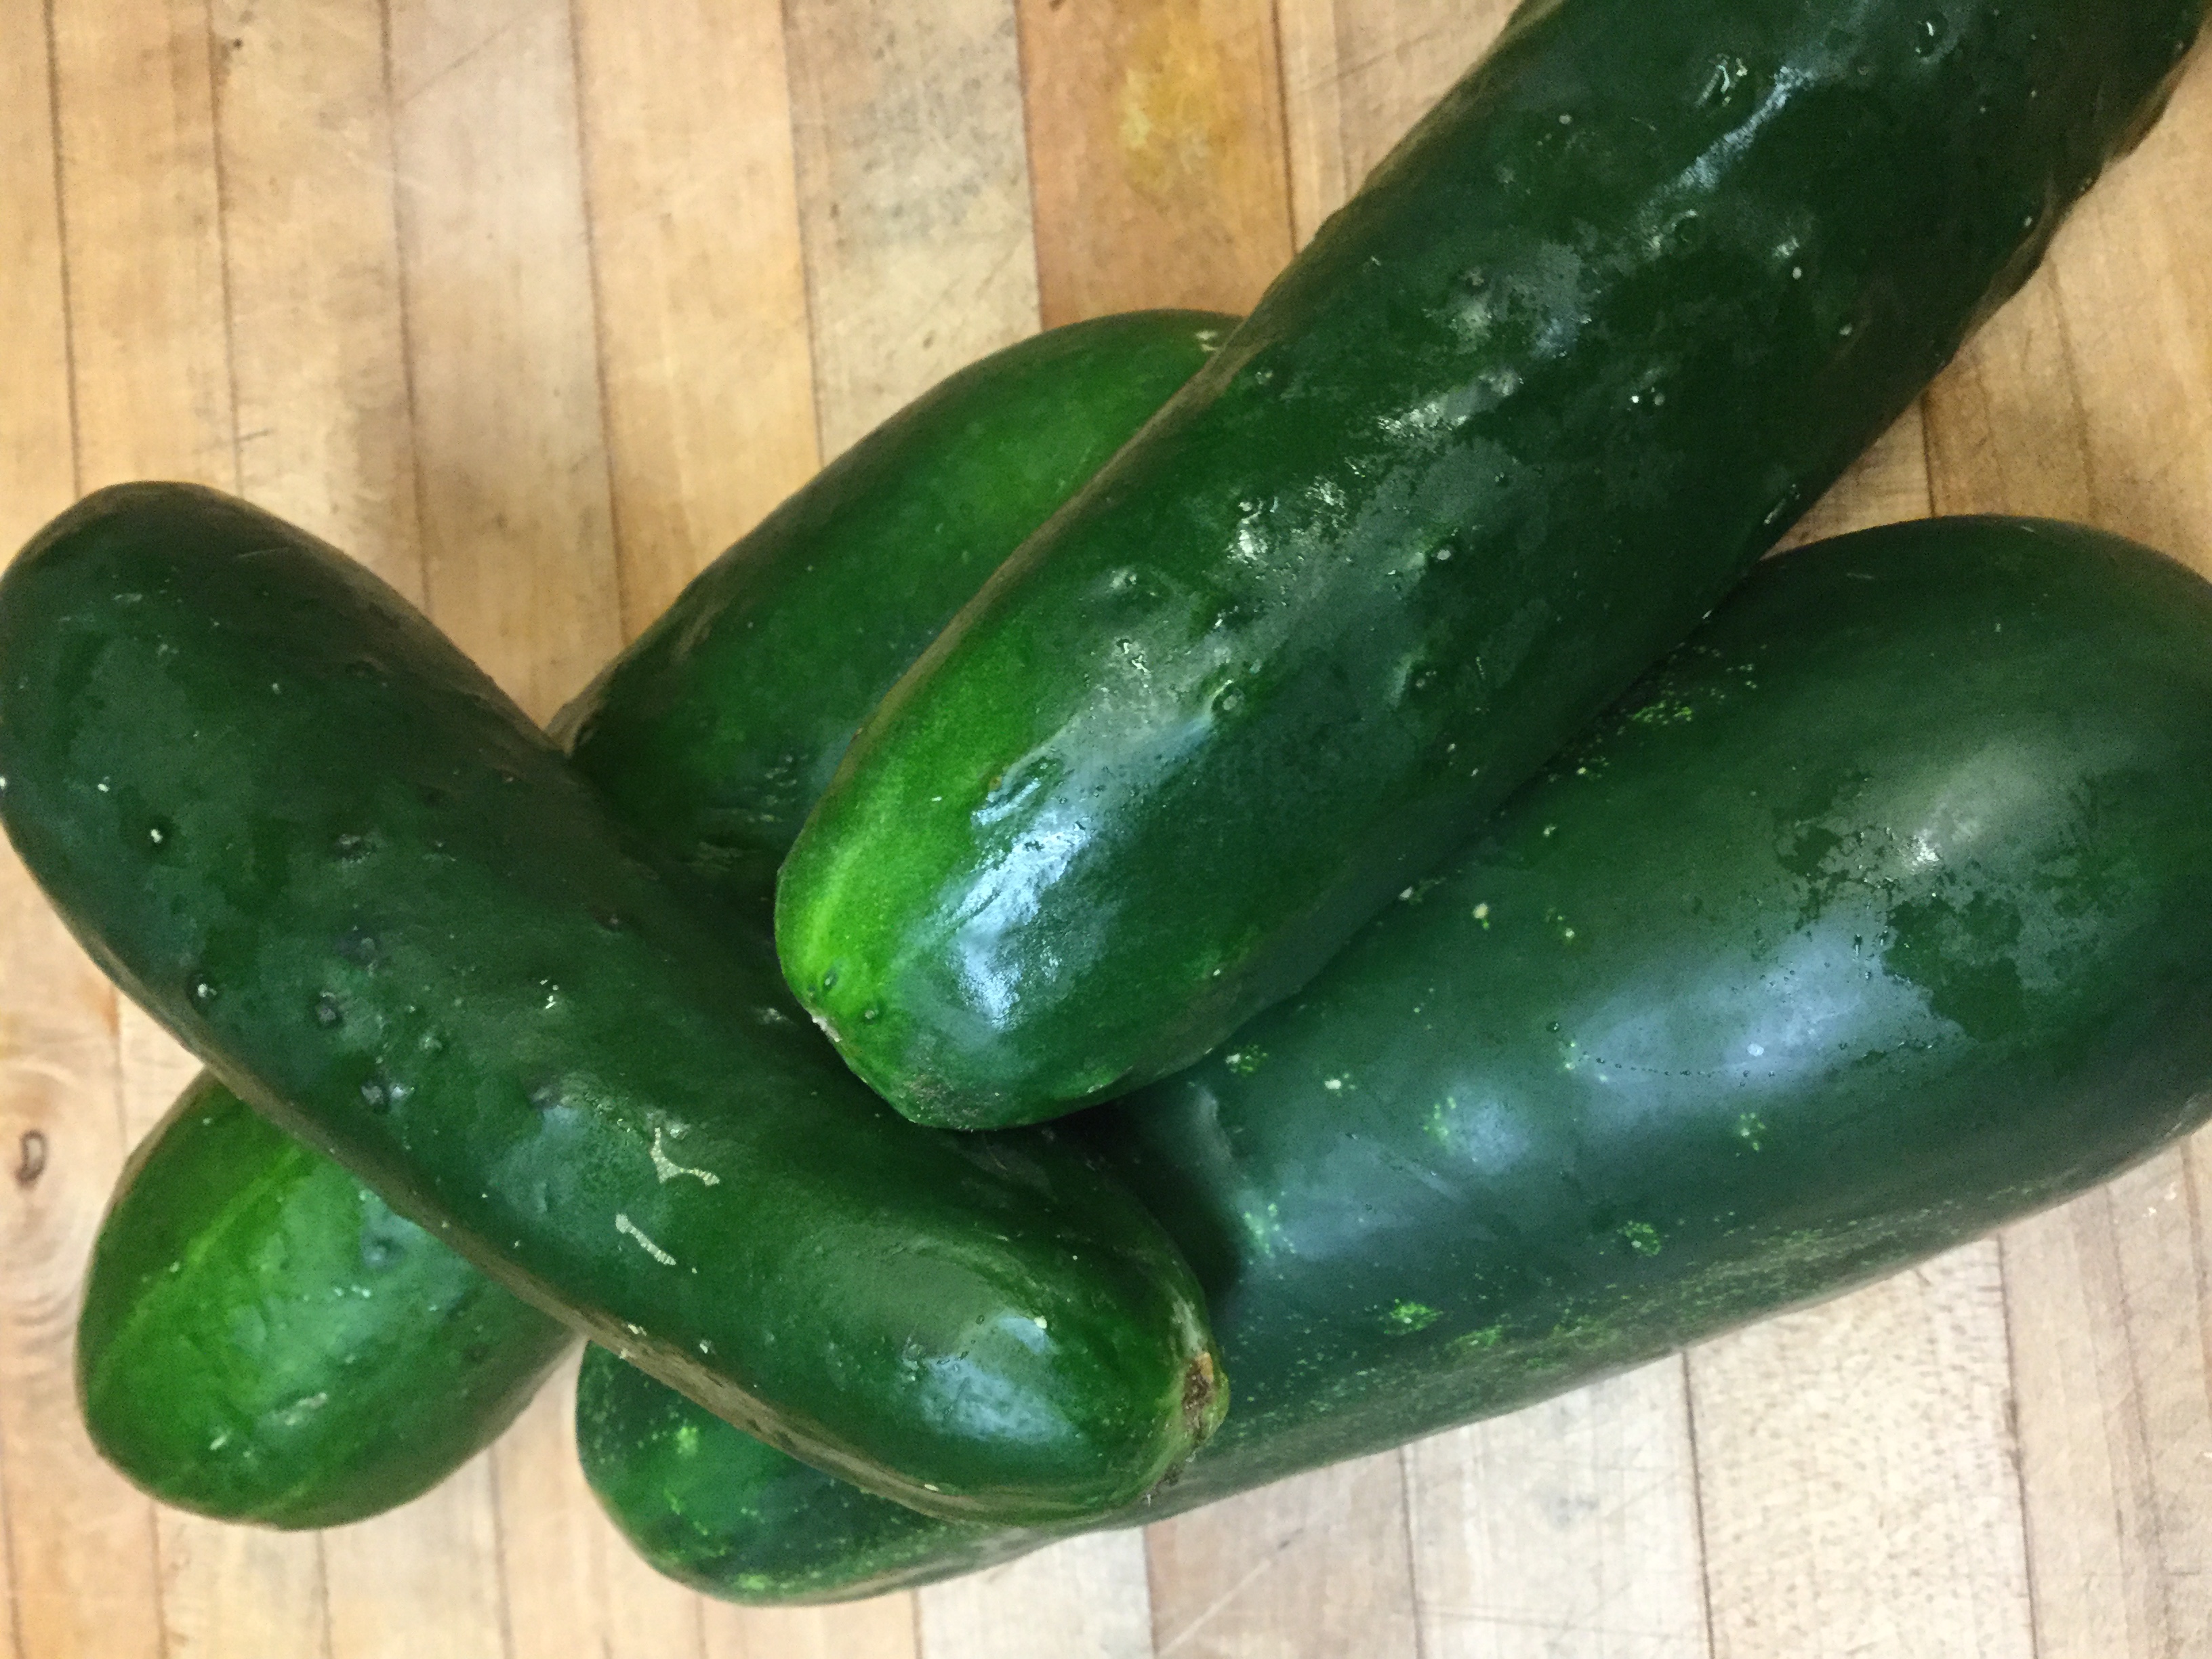
Bumper crop! Our community has several gardens, an orchard, and a vineyard, and every year
seems to have a harvest highlight. So far this has been the year of the cucumber. After serving
cucumber salad in numerous forms, and making at least two multiple batches of sweet
refrigerator pickles, I have to admit that I sighed when I saw the next tub of cucumbers arrive in our kitchen. Garden bumper crops are faith building but can offer a challenge for speedy
processing and creative recipes. One year it was plums, and we saw plum pork, plum sauce,
plum butter, plum muffins, plum cakes, and frozen plums in the freezer for quite some time.
We found ourselves praying for a peach!
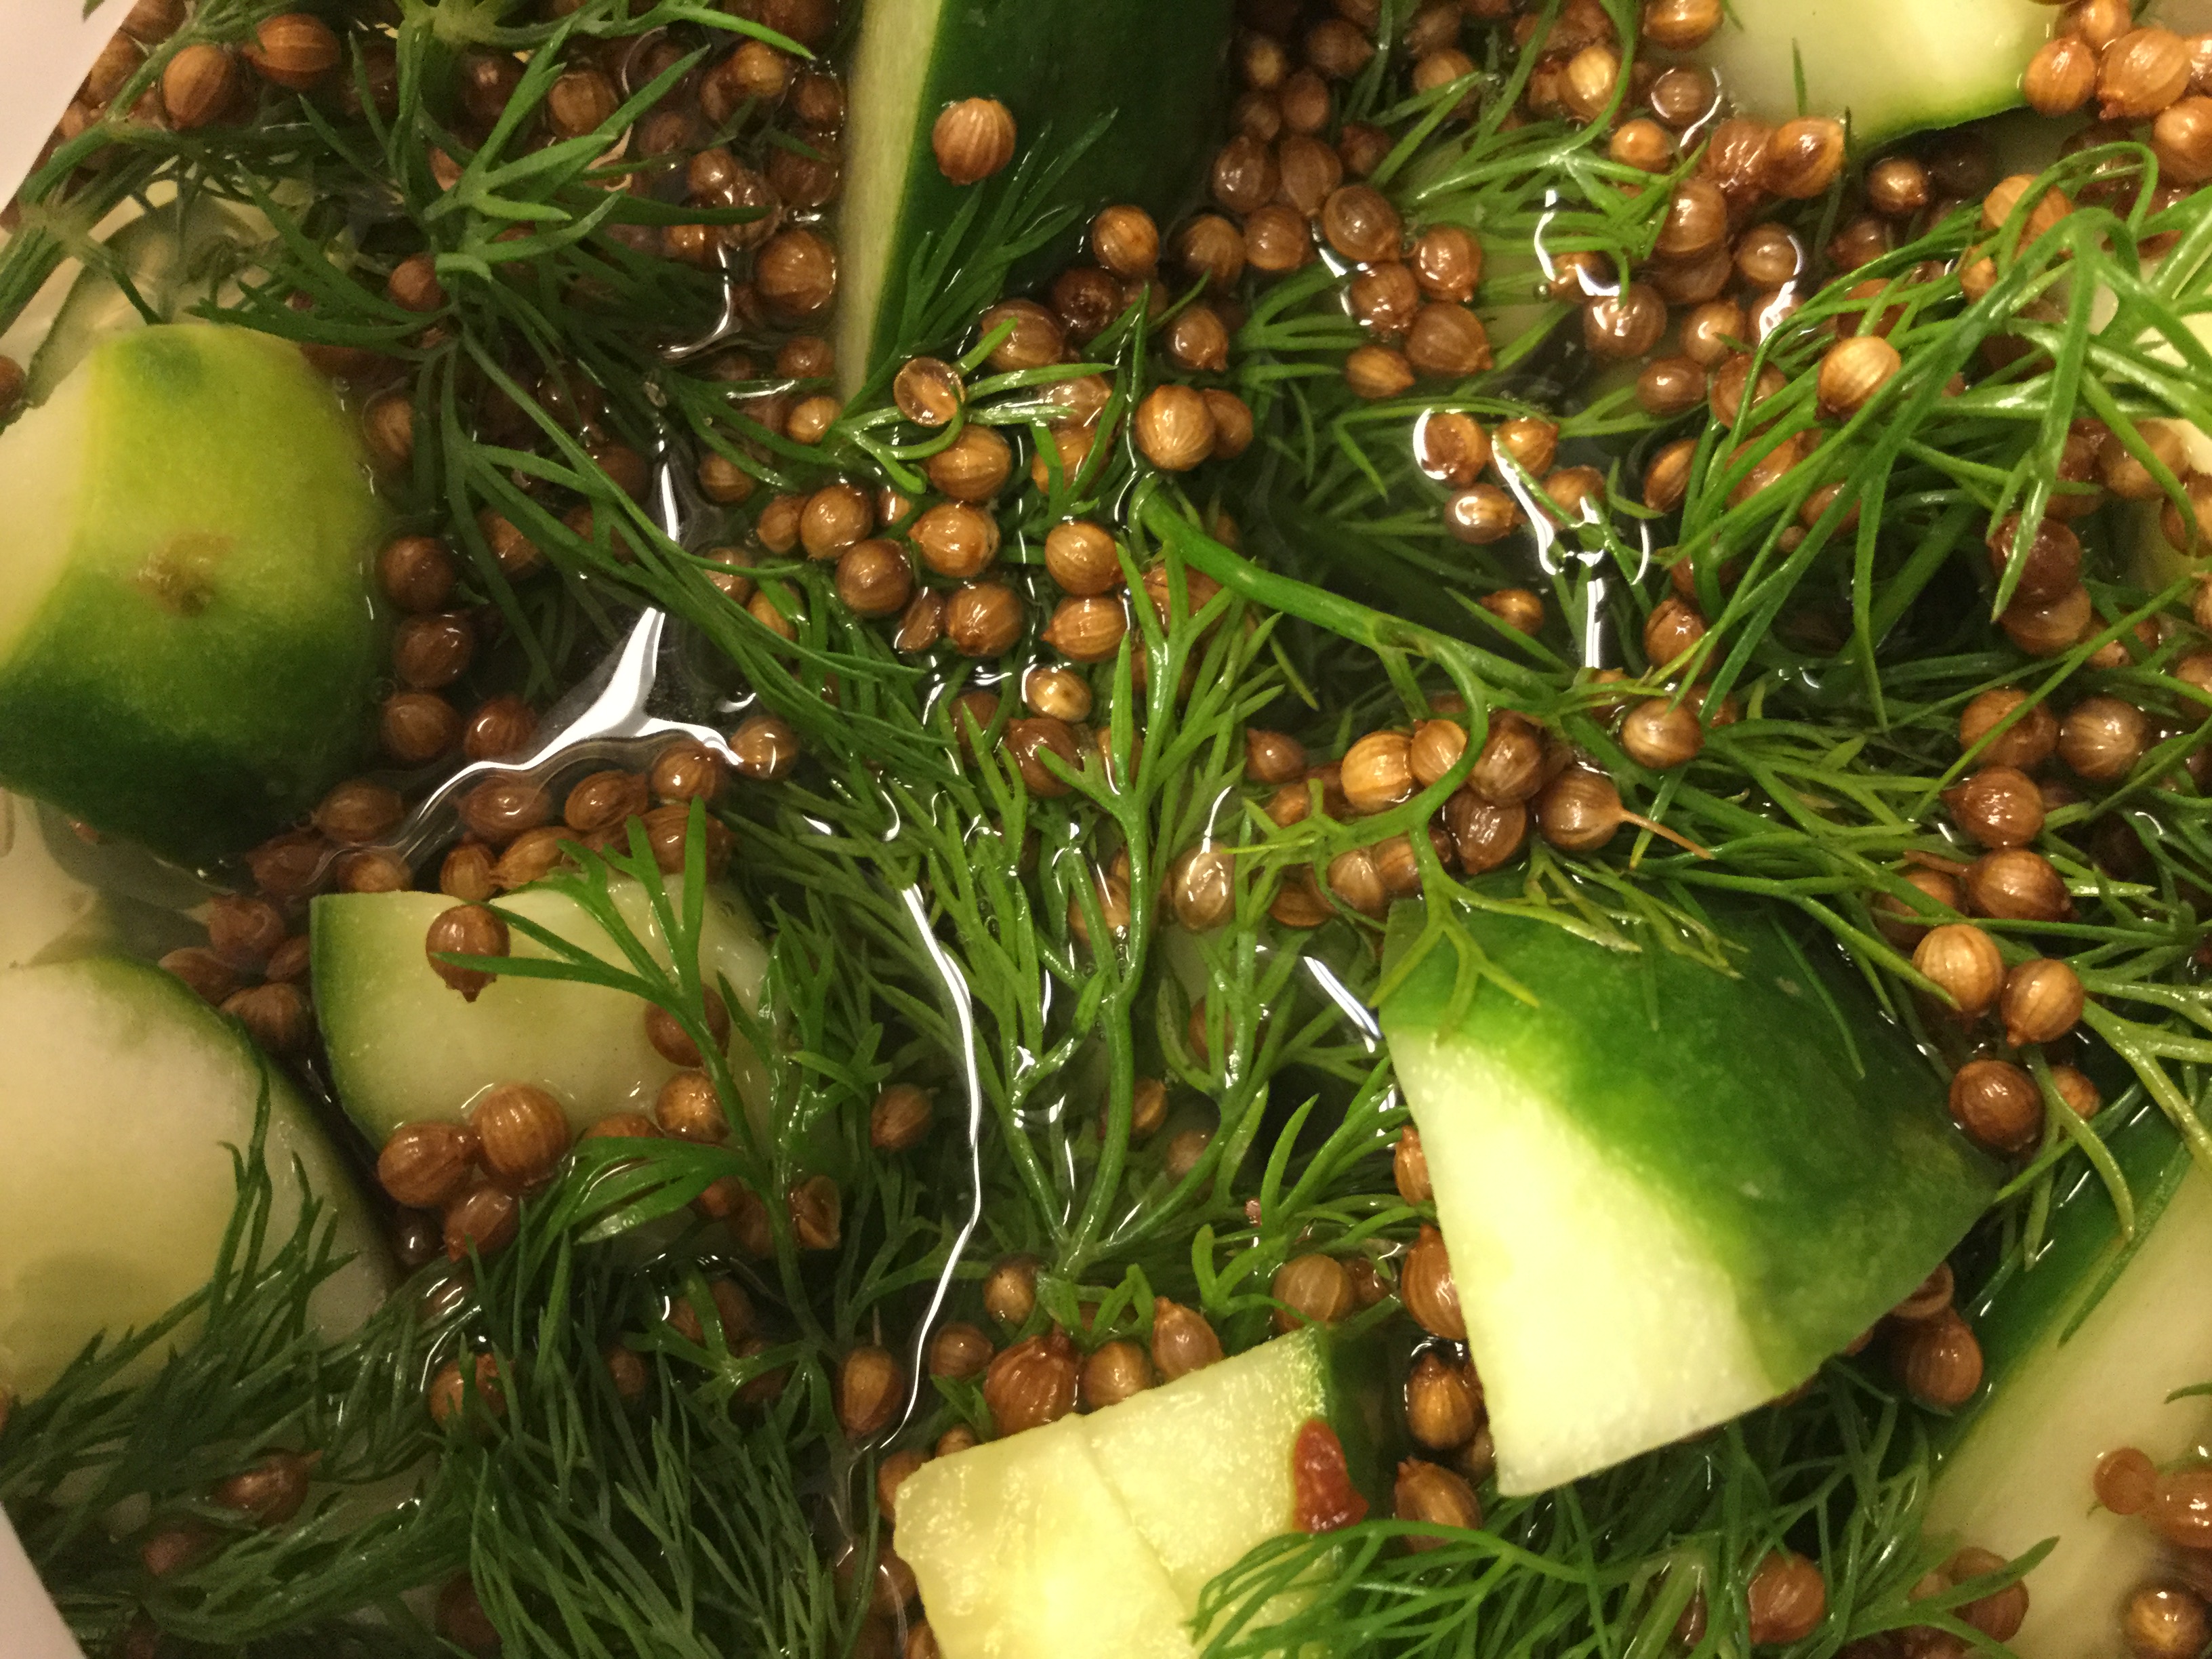
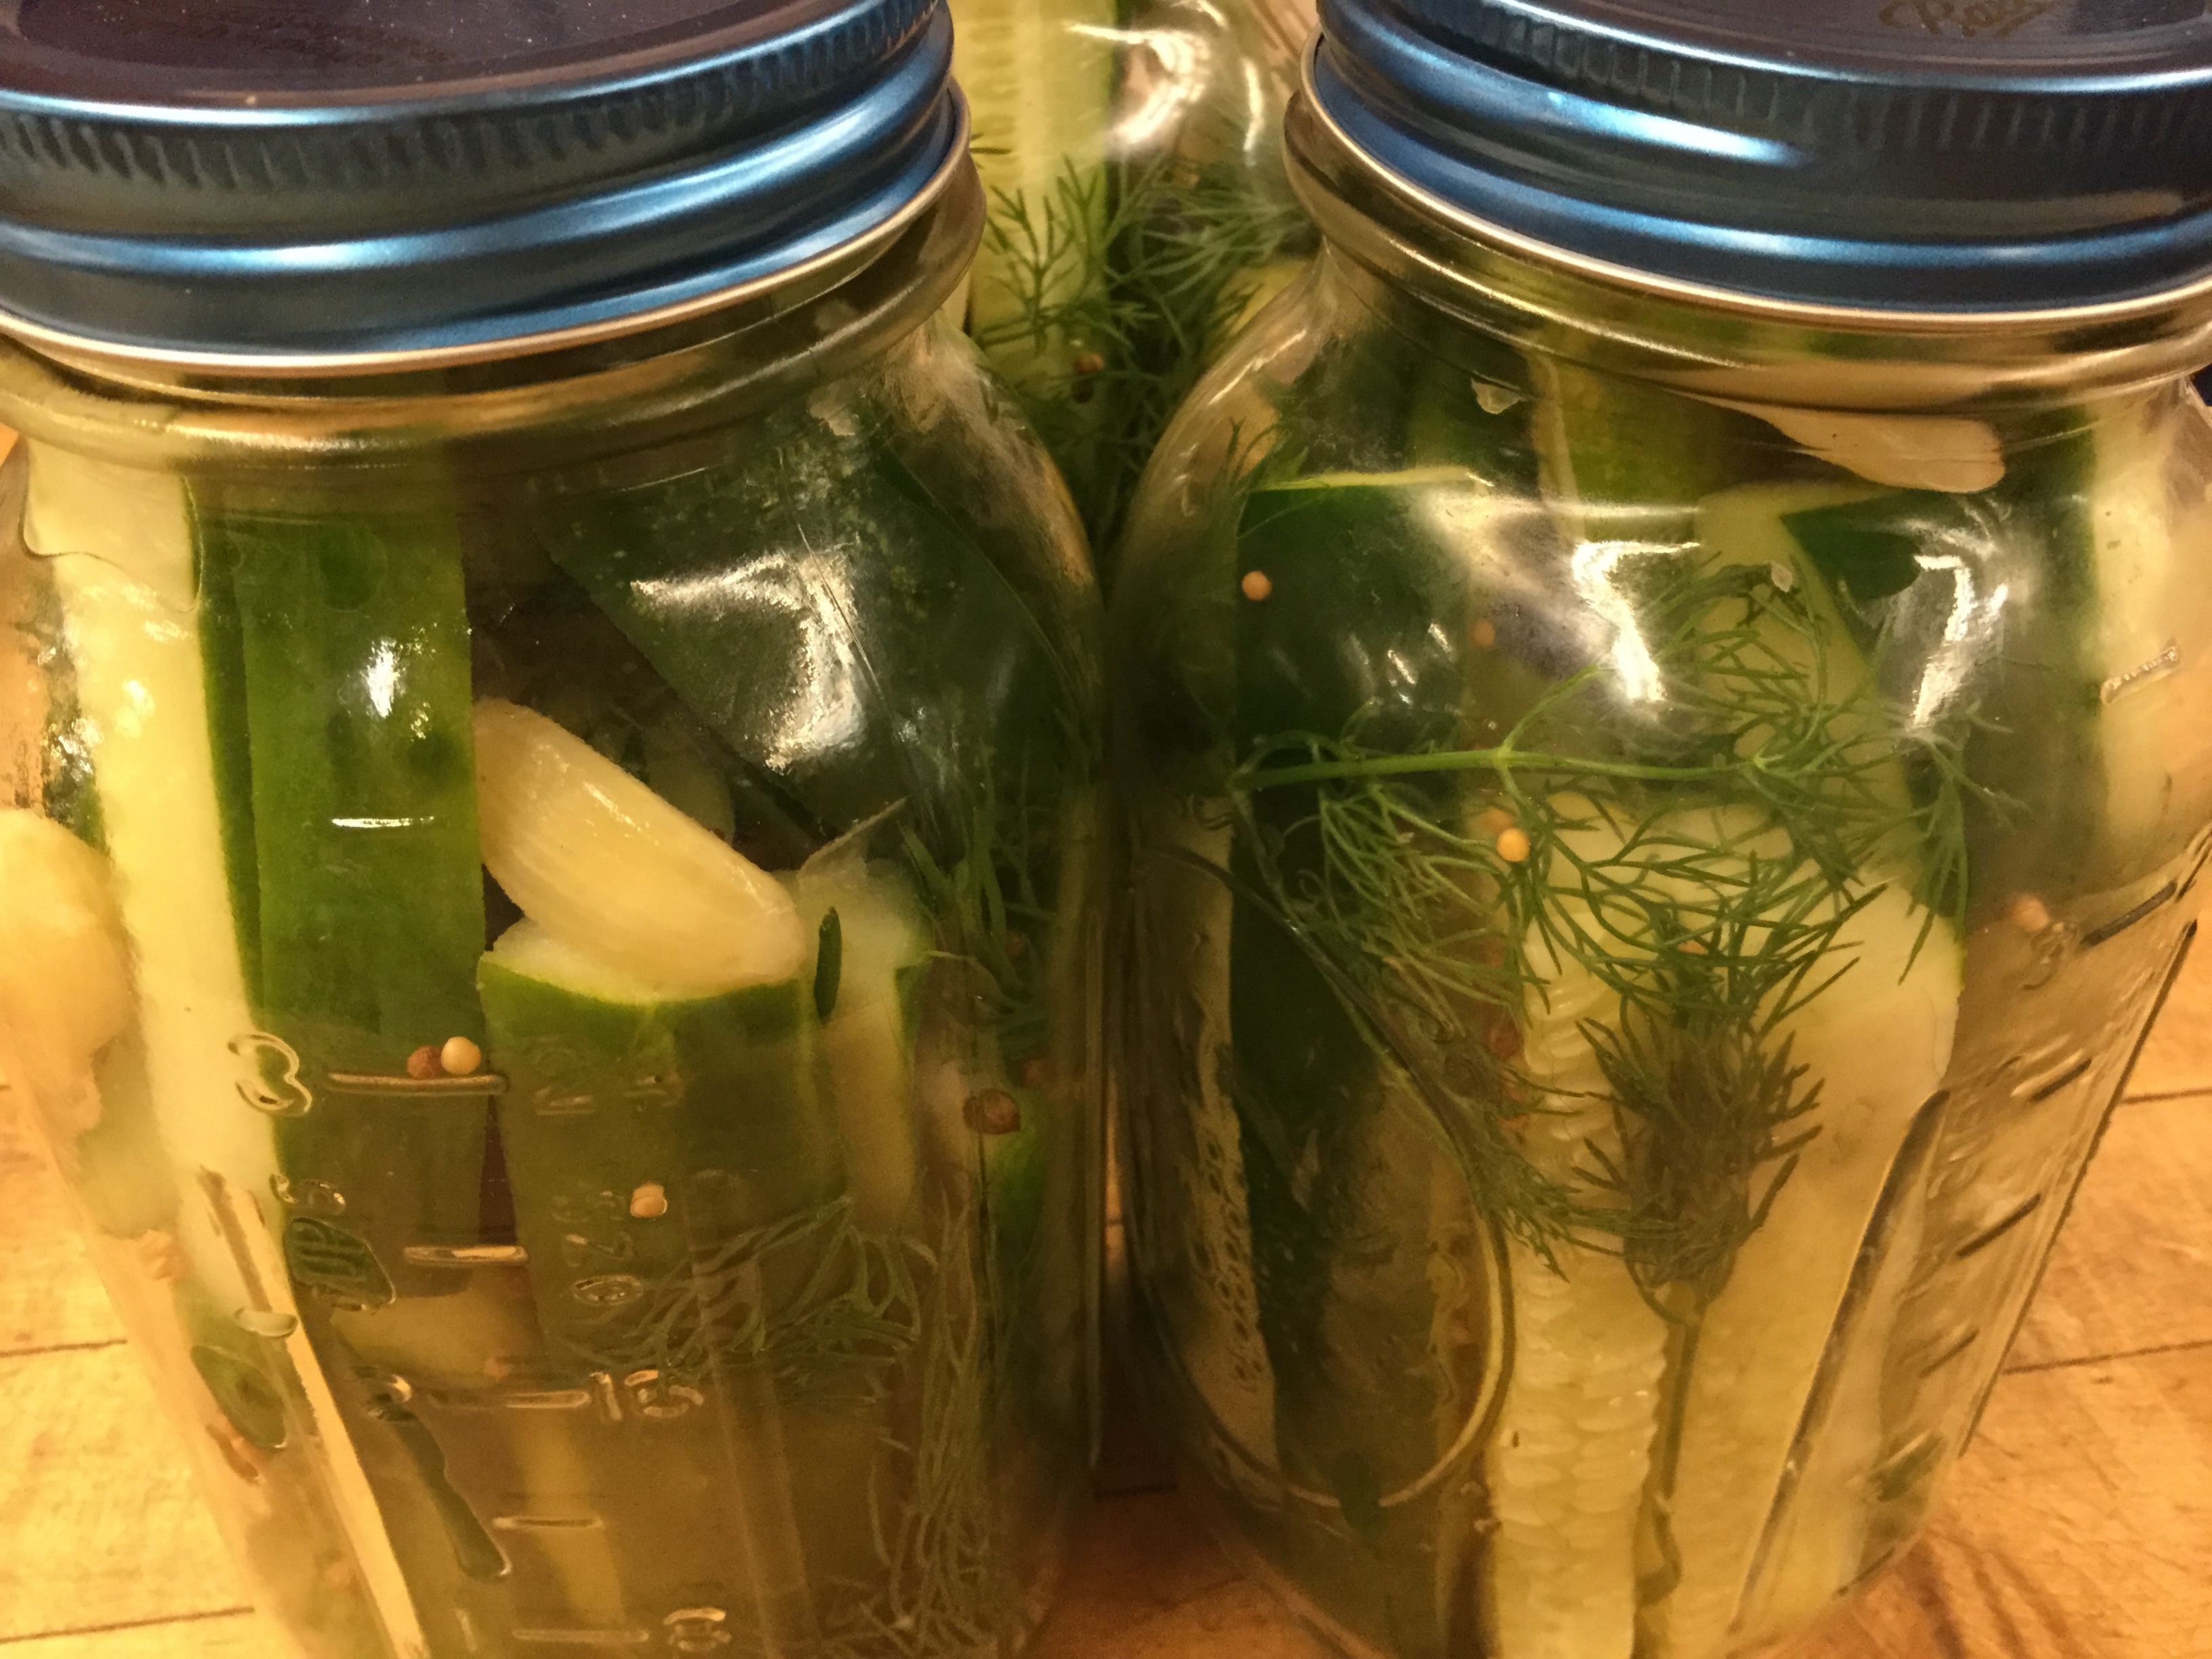
But this year – it’s the cucumber! Someone mentioned refrigerator dill pickles, and although I
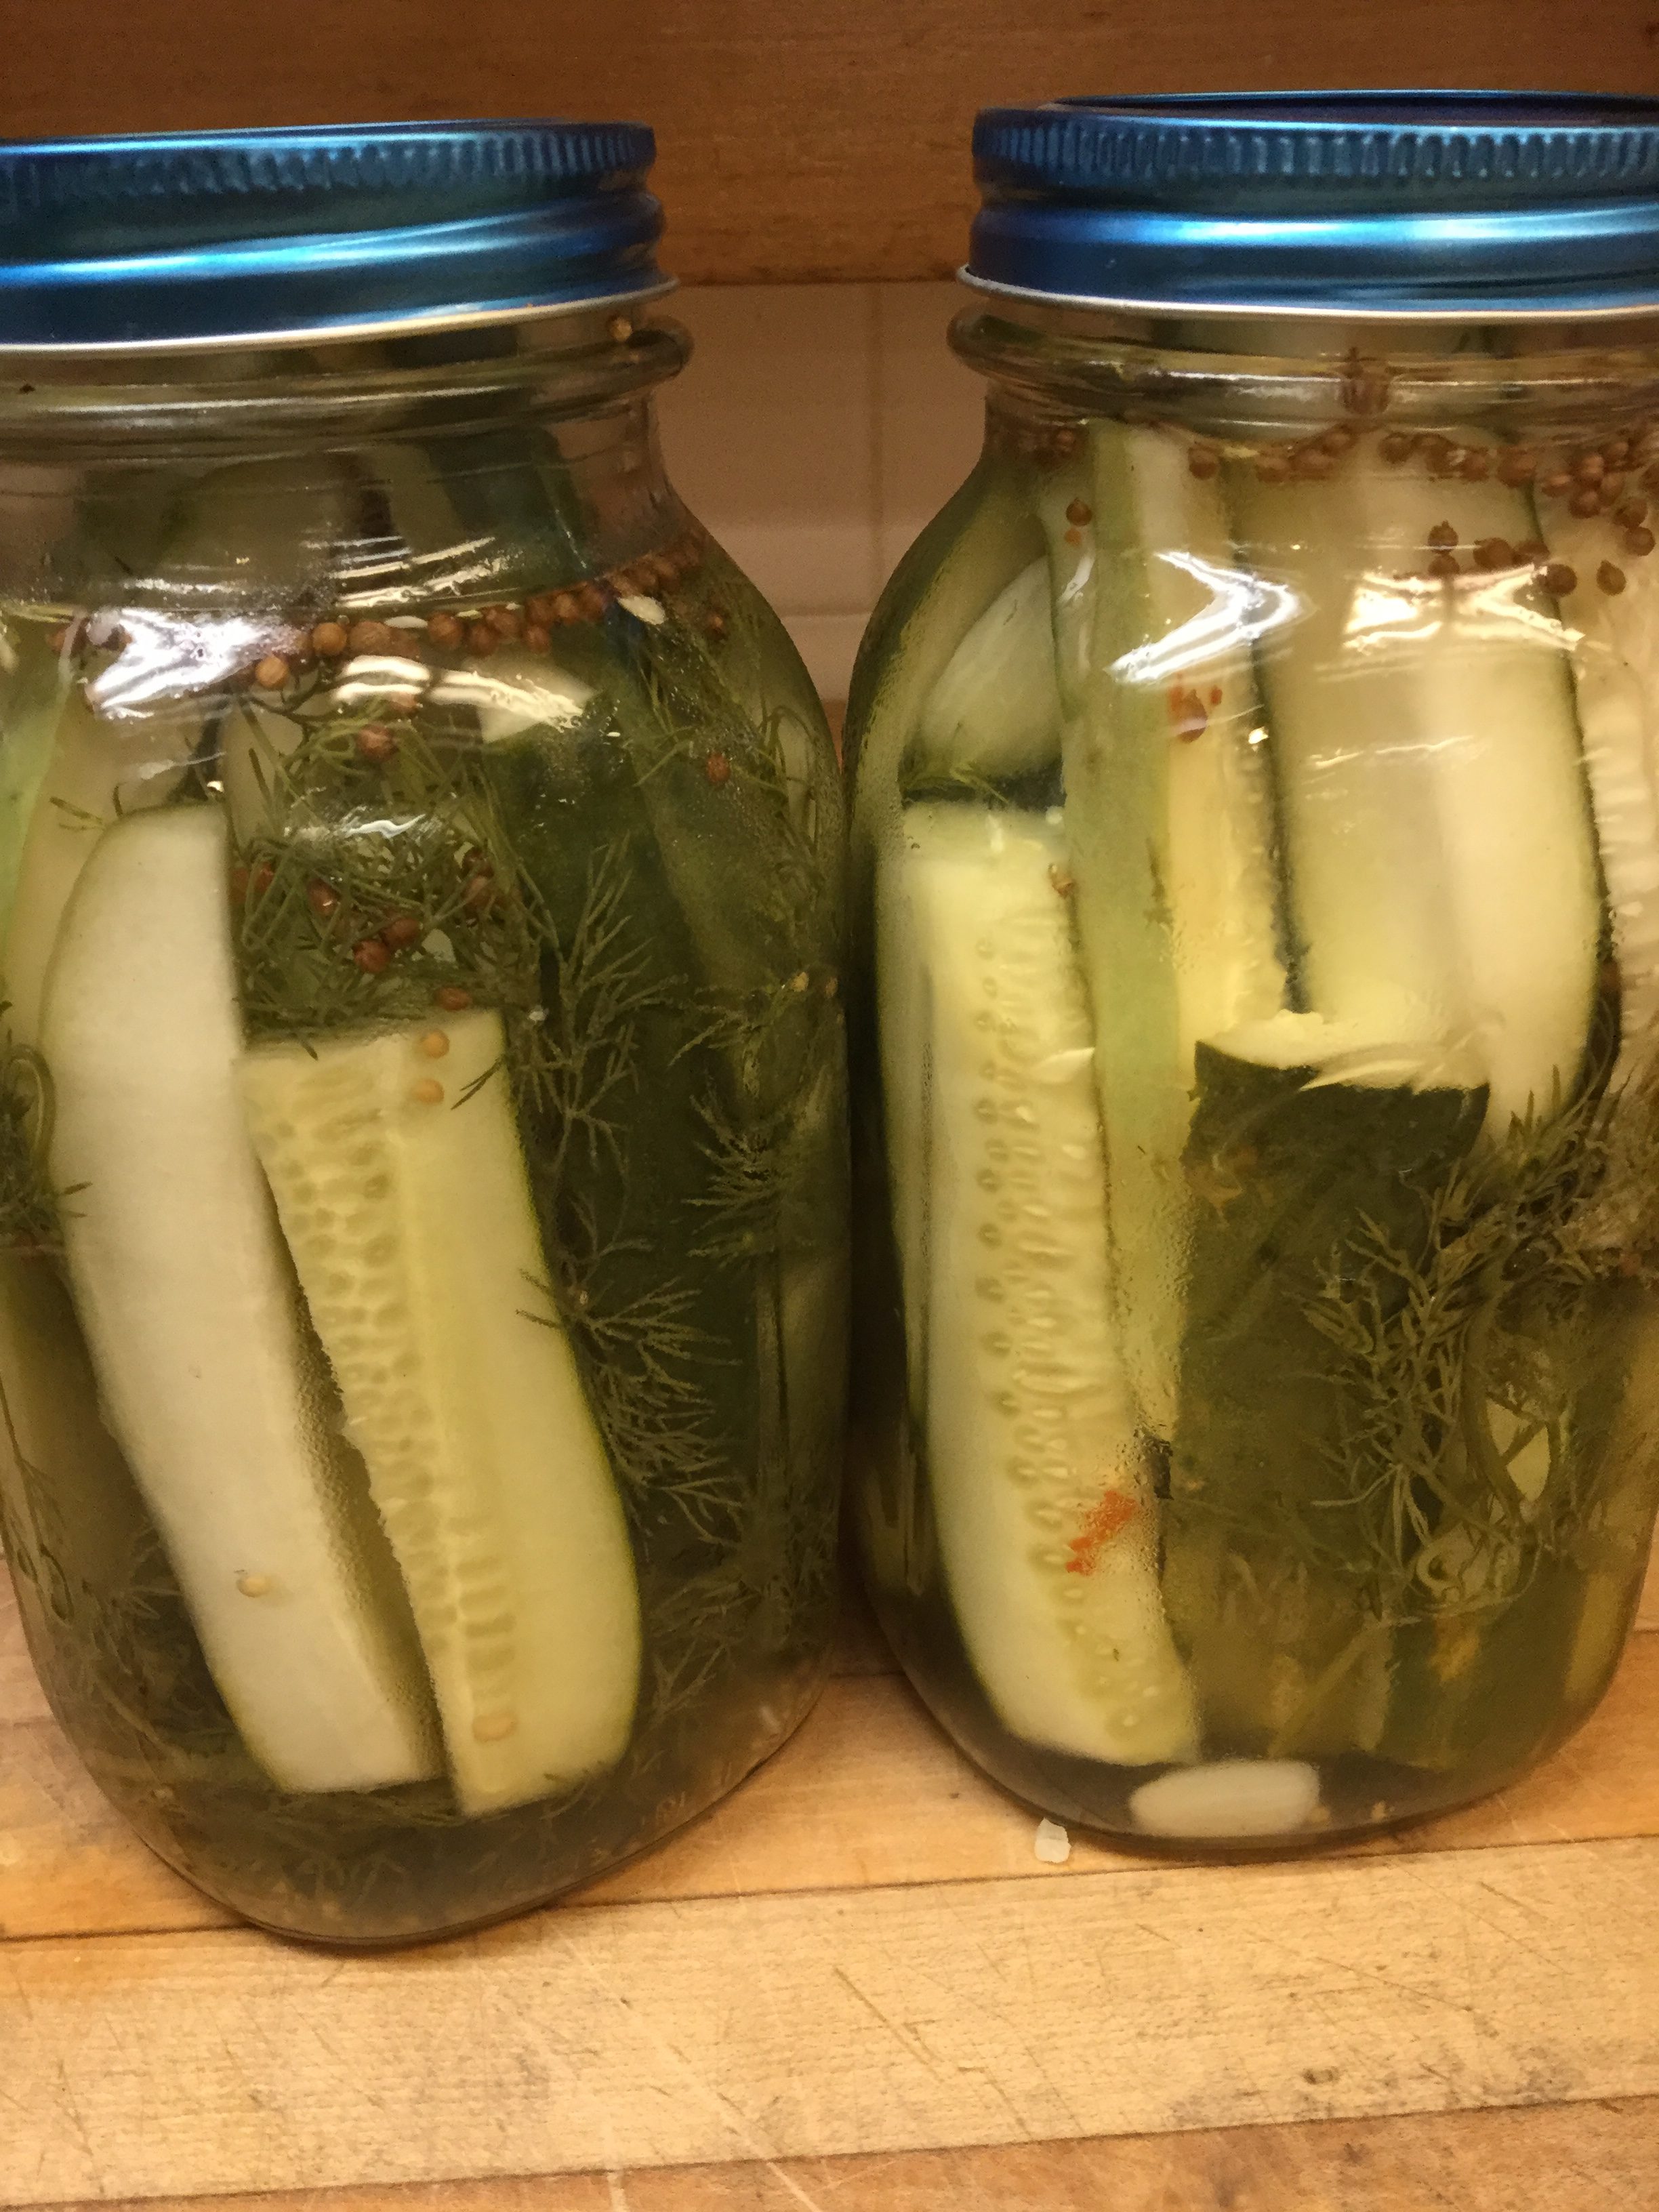
was initially daunted by the idea, I found myself researching several different recipes and quite taken by lovely images on the internet of homemade dill pickles. With the beautiful ingredients in this recipe, you’ll end up with colorful jars of refrigerator pickles to give as gifts, or to keep on hand for eating. Once opened and served, expect them to disappear quickly! This recipe also can be multiplied out easily. (I made two gallons of pickles.) However, if multiplying, do use less garlic.
Rumor has it that this will also be our year for the apple. The initial drops and first fruits have already started to roll in….stay tuned.
Print Recipe
Votes: 0
Rating: 0
You:
Rate this recipe!
Refrigerator Dill Spears
SERVINGS21-quart jars
|
COOK TIME10mins (plus refrigeration time) |
PREP TIME20mins |
READY IN24hrs |
Ingredients
Instructions
- Combine the vinegar, salt, and sugar in a stainless steel or Teflon pan over high heat. Whisk until the salt and sugar are dissolved.
- Transfer the liquid into a bowl and whisk in the cold water. Refrigerate brine until it has cooled enough to add to the cucumbers (approx. 30 minutes).
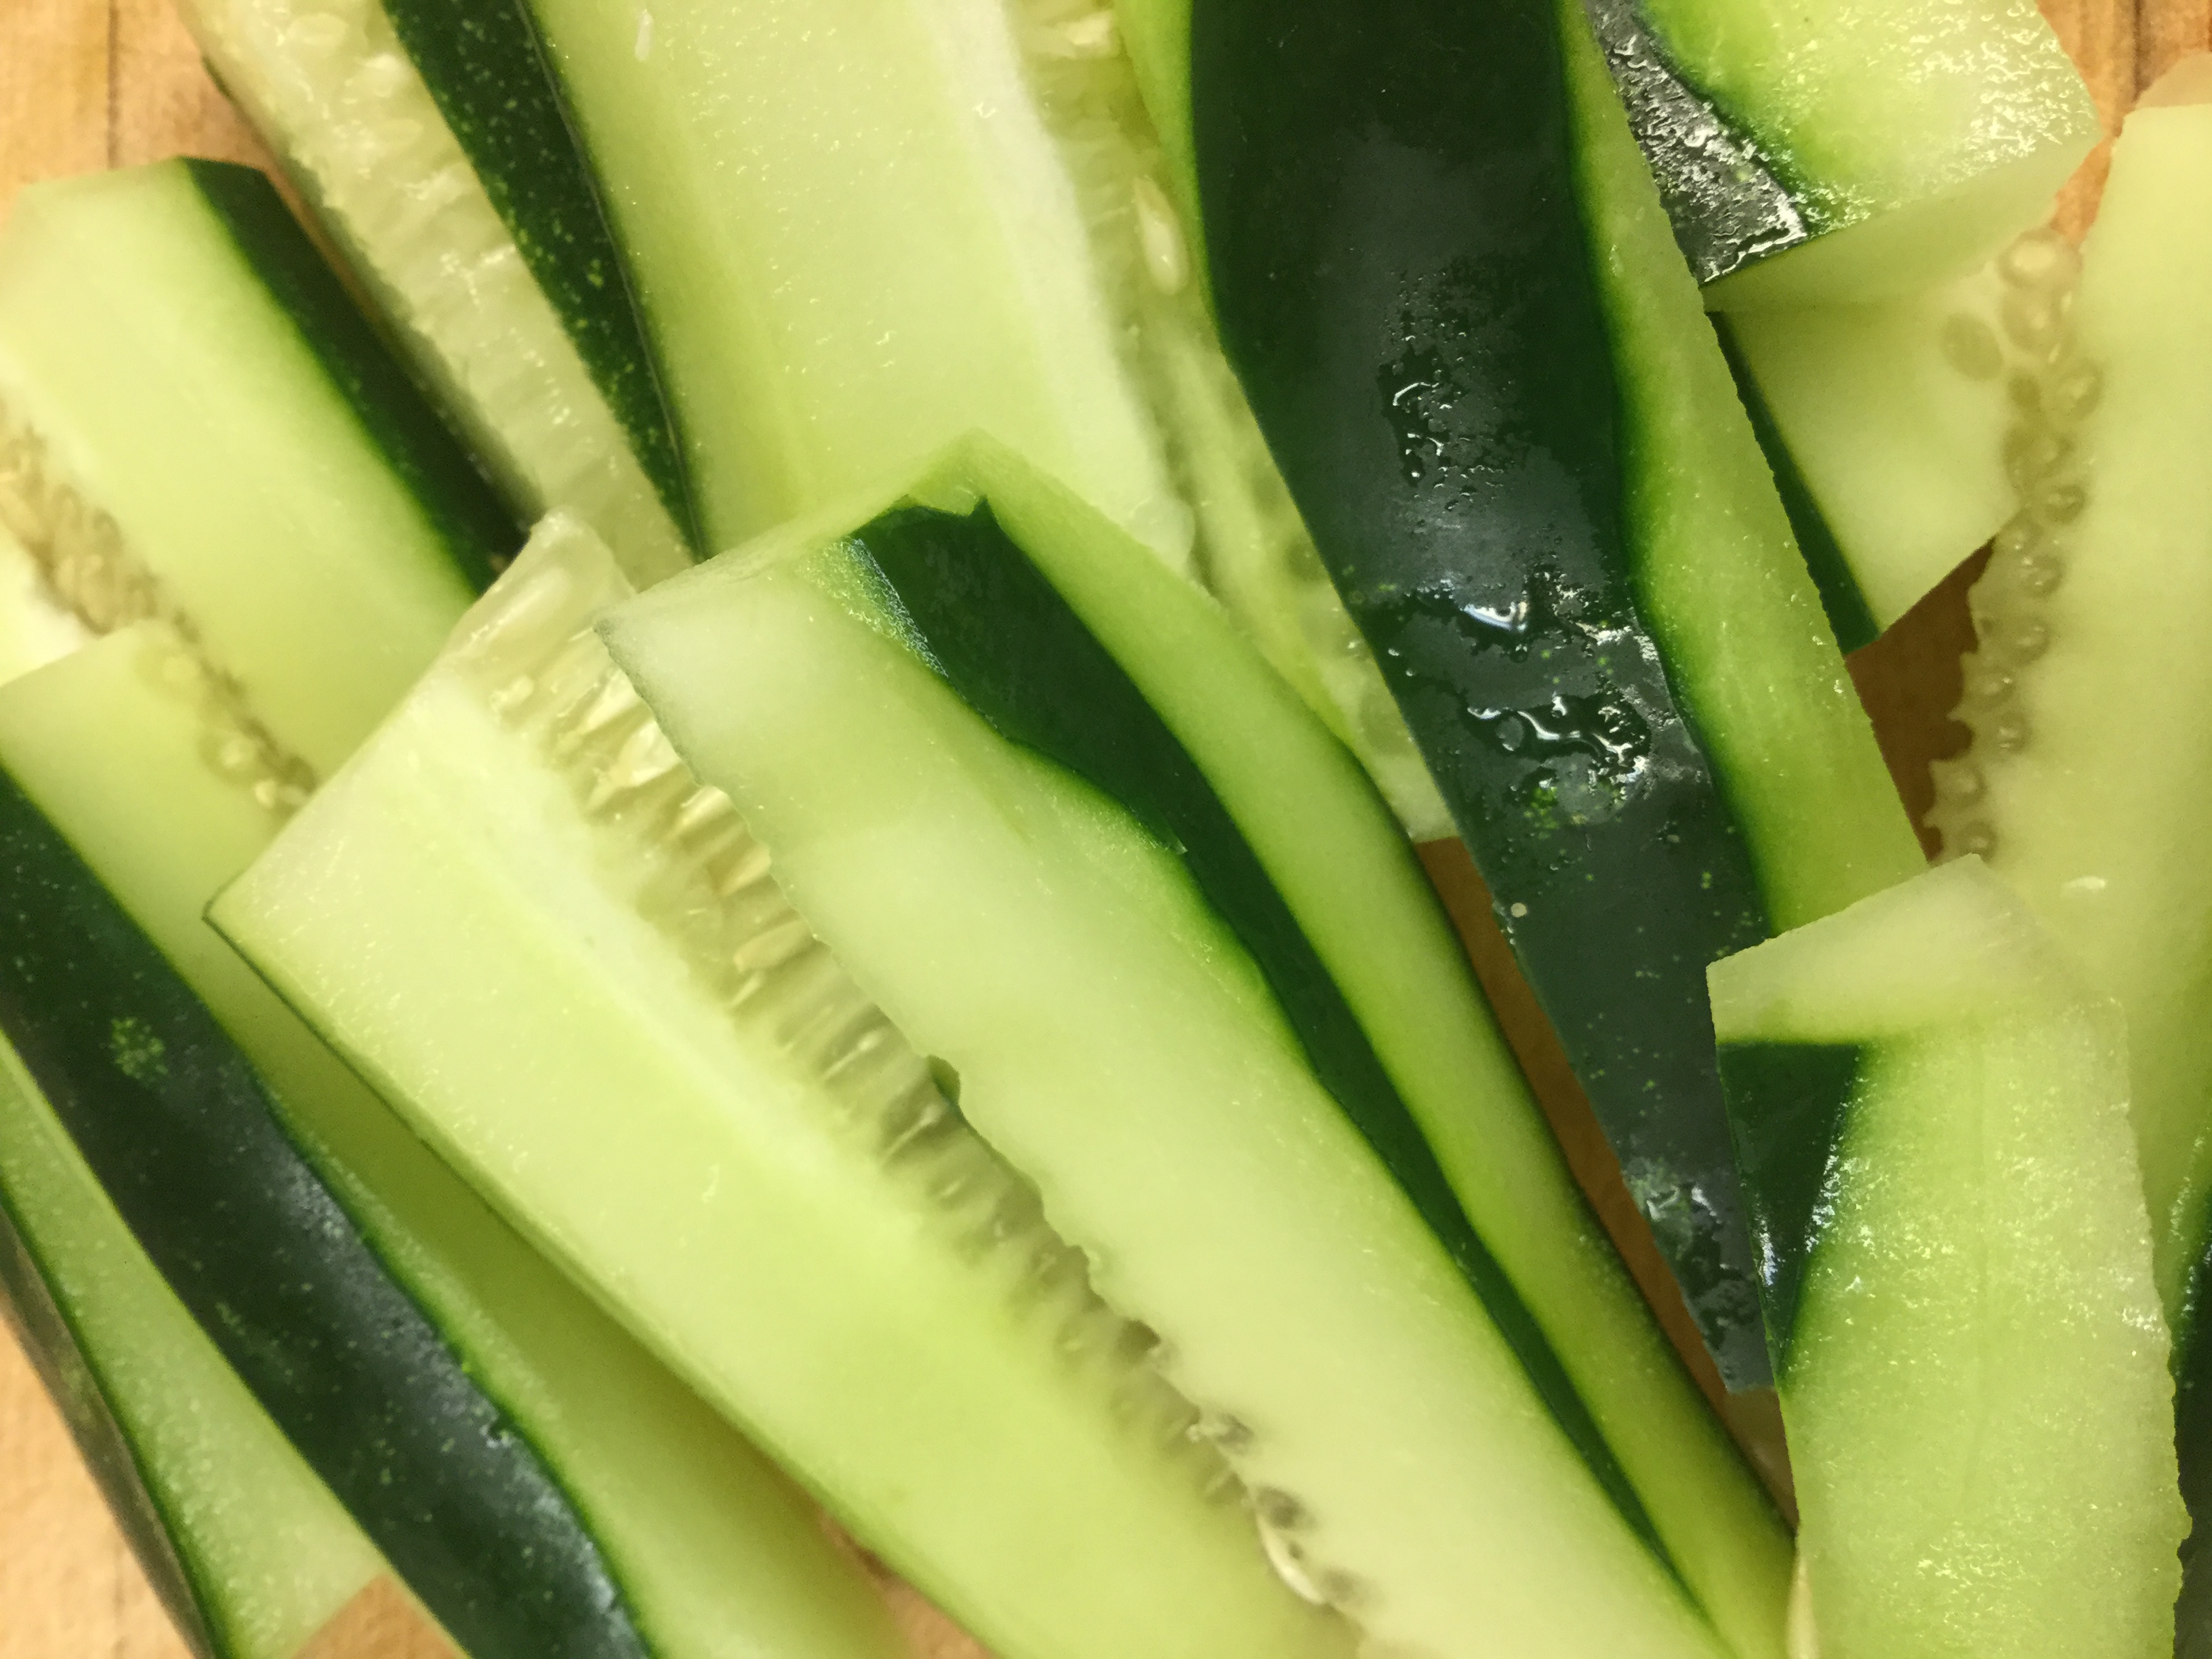
- While brine is cooling, place cucumbers into two clean 1-quart jars, leaving a little room to add the dill and spices.
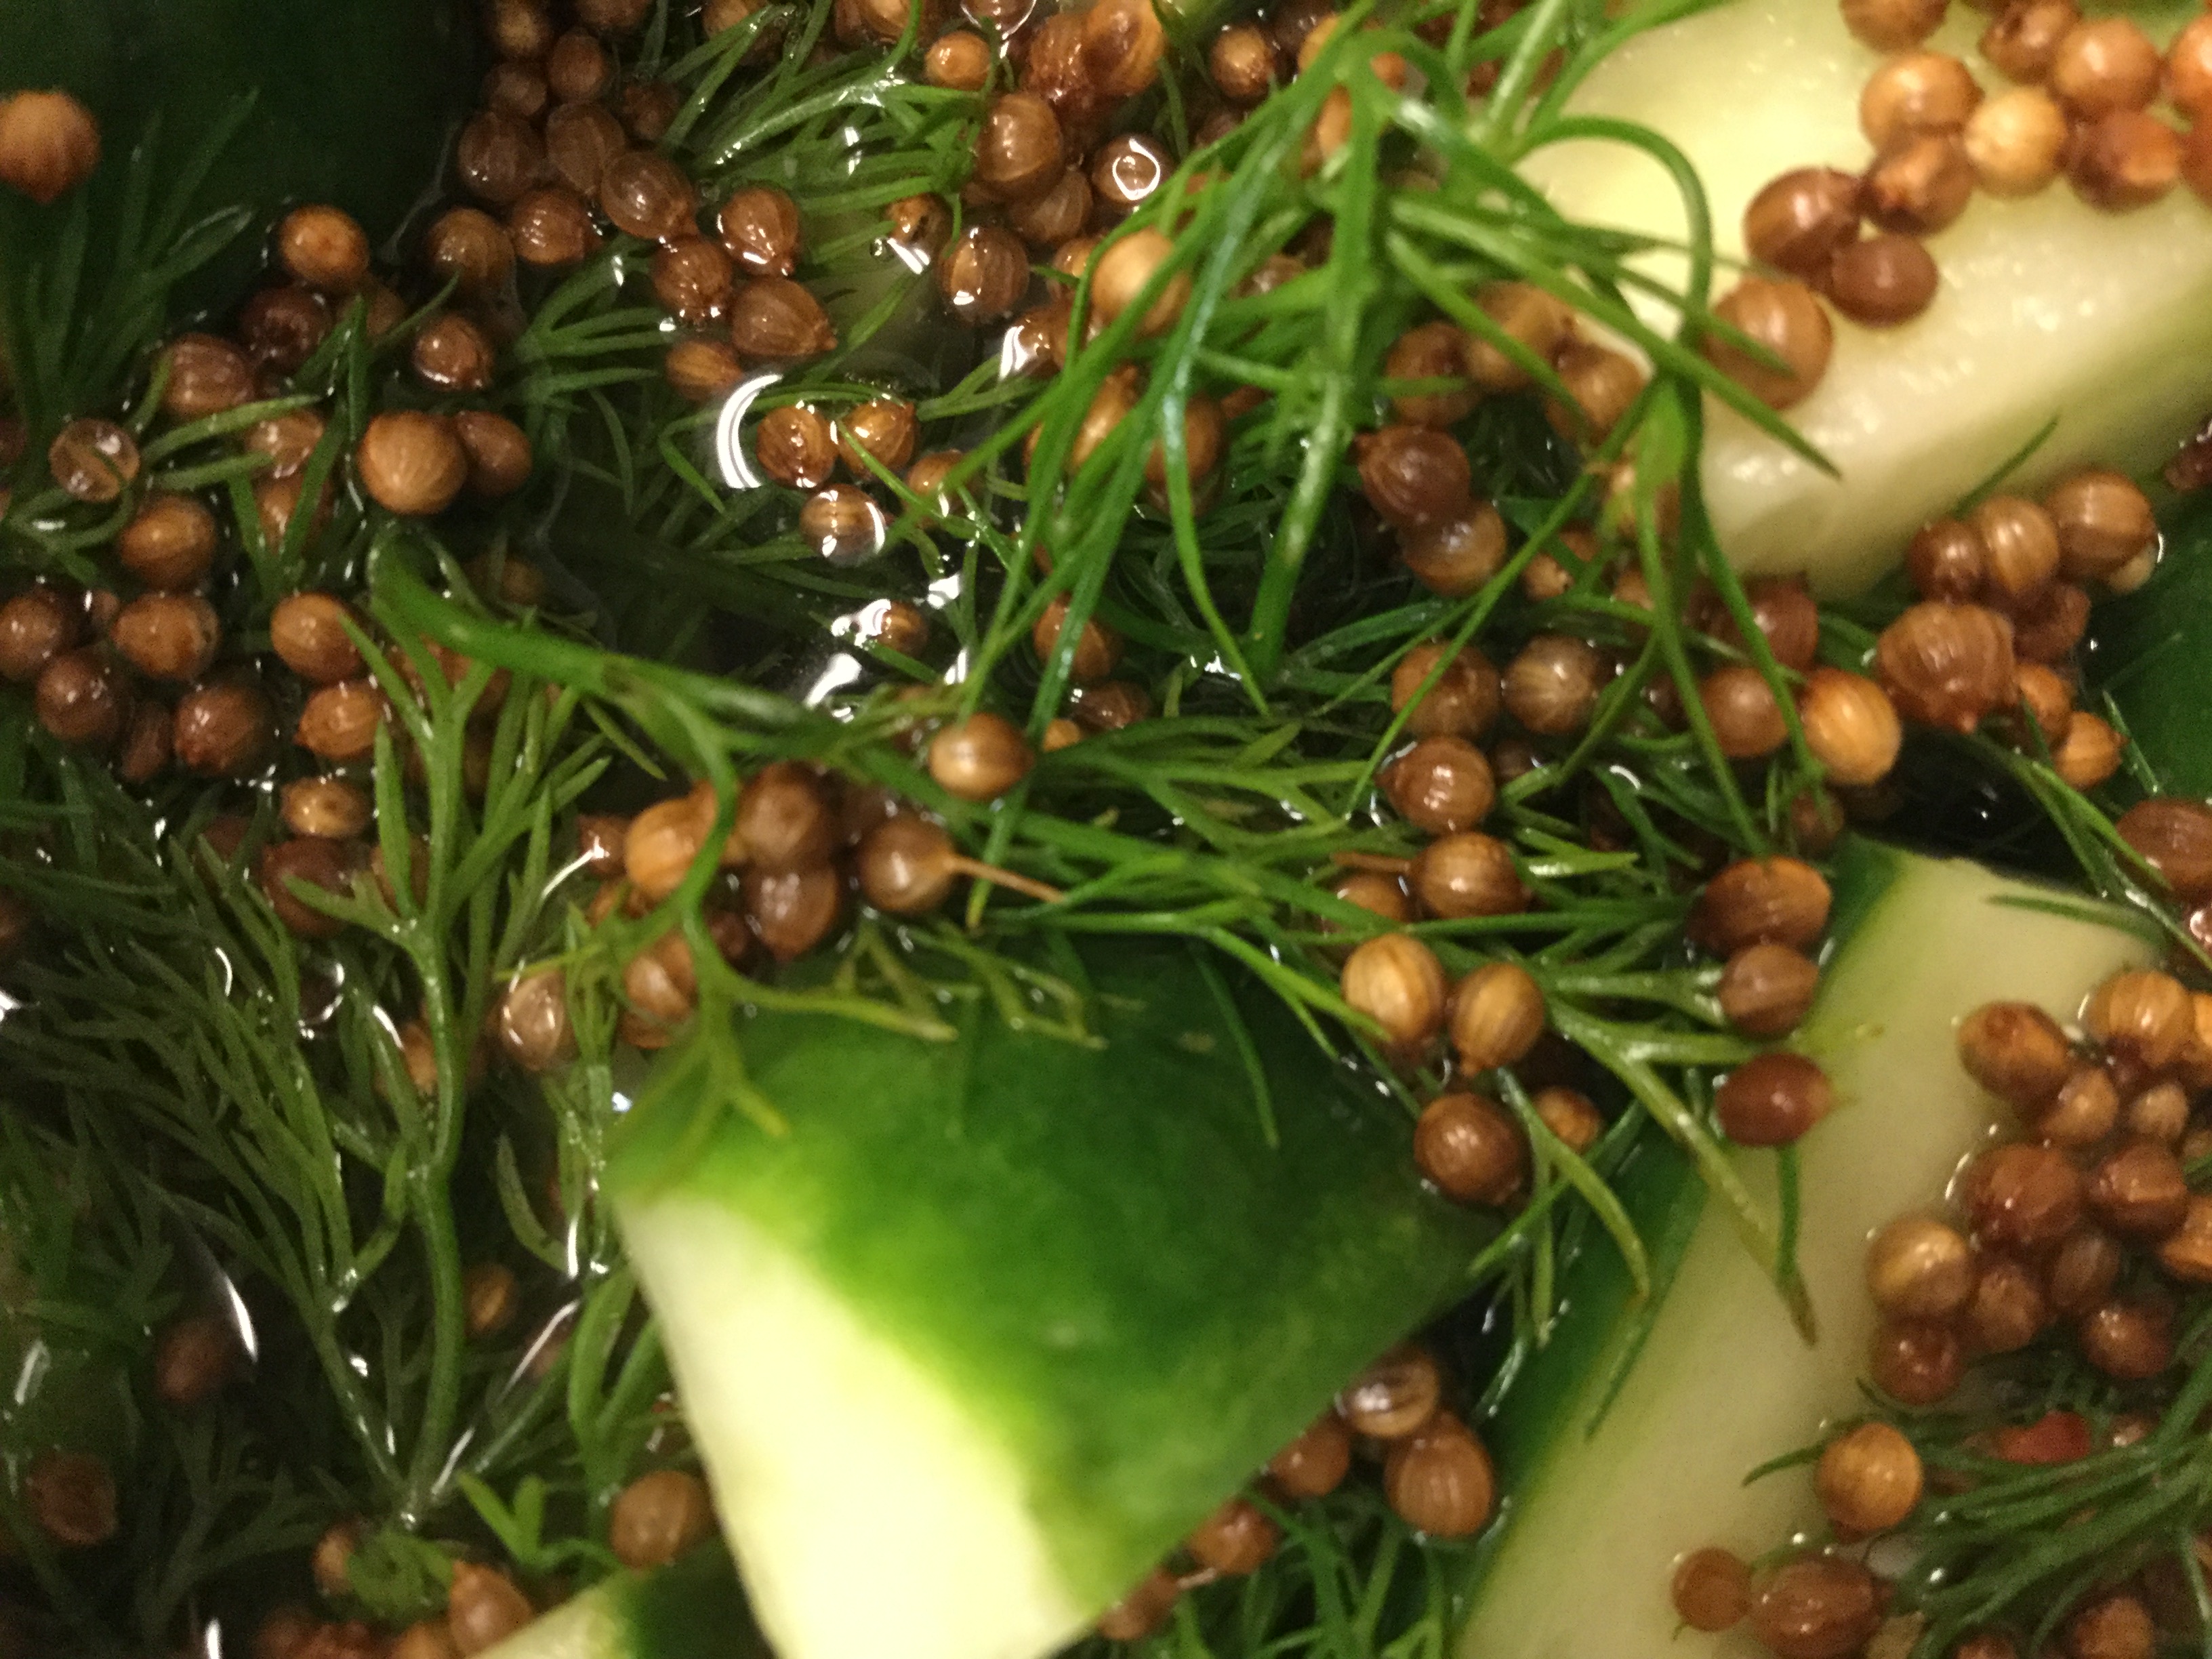
- Then, when brine is cooled, add the coriander seeds, garlic cloves, mustard seeds, red pepper flakes, dill sprigs, and chilled brine into jars, dividing evenly.
- This is the fun part, as the finished product looks lovely! If necessary, add a bit of cold water until the brine covers the cucumbers.
- Cover and refrigerate about 24 hours, then serve. Cucumbers will keep in the refrigerator for up to one month.
Our community is blessed with two dairy cows, and we enjoy fresh milk and yogurt each week!
Sometimes we make ricotta for upscale recipes. My favorite? Fresh Ricotta Blueberry Ice cream.
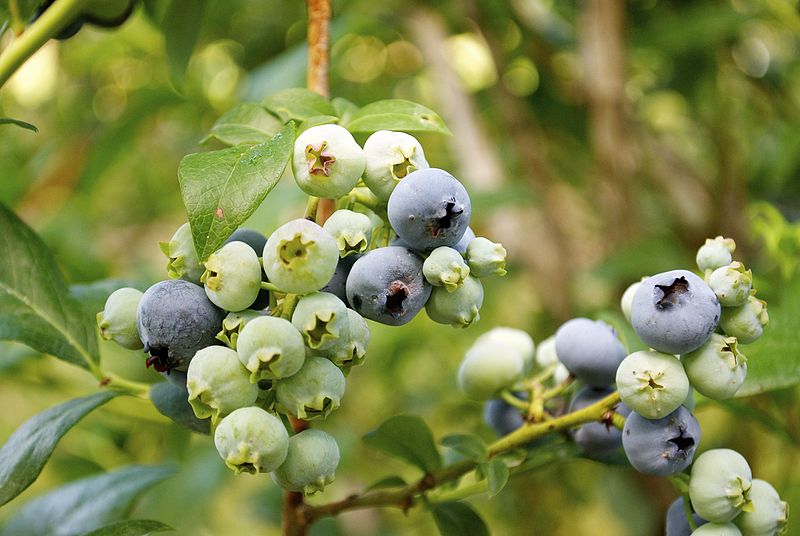
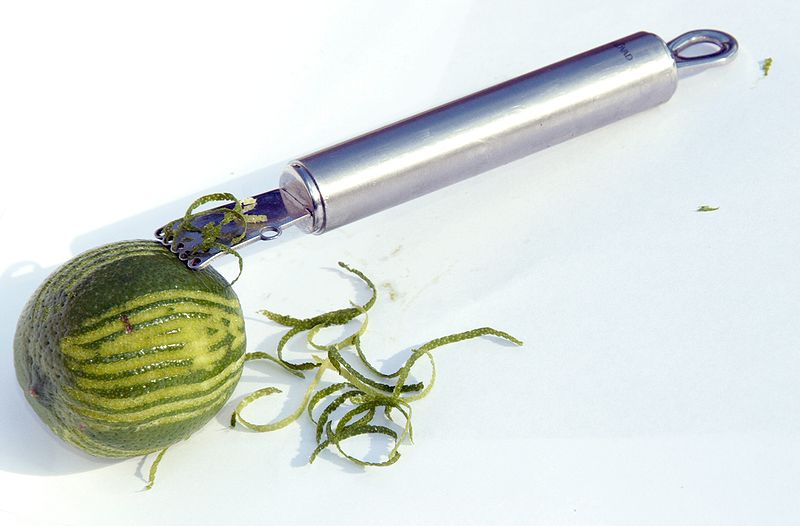
Last week, after enjoying delicious fresh ricotta, ham, and melon salad, I spotted some extra ricotta and remembered a recipe for ricotta ice cream. A friend from a nearby farm with blueberry bushes had invited us to pick berries earlier in the week, so our refrigerator also had a bucket overflowing with beautiful fresh blueberries. The ricotta, blueberries, and kosher salt turned out to be a delicious combination, but of course, this basic homemade ice cream recipe can be adjusted to include your favorite ingredients. At the last minute, I decided to add lime zest to this recipe — Blueberry Lime Jam is one of the favorites from the Monastery Kitchen line, so I thought that combination would be especially tasty. It’s also the season for fresh mint, which is a lovely garnish along with fresh blueberries.
Making homemade ice cream can seem daunting, but with an ice cream maker, it’s quite easy. The ingredients directly are mixed, placed in the ice cream maker for 30 – 60 minutes, then frozen for several more hours, or overnight in the freezer. This particular recipe was made to celebrate an exciting event, and would be perfect for a summer dessert for any special occasion!
Print Recipe
Votes: 1
Rating: 5
You:
Rate this recipe!
Fresh Ricotta Blueberry Ice Cream
SERVINGS2quarts
|
COOK TIME30-45mins (plus freezing time) |
PREP TIME30mins |
READY IN3hrs |
Ingredients
Instructions
- Lay blueberries out on a tray and place in the freezer.
- Blend ricotta, cream cheese, milk, sugar, vanilla and salt in a blender until smooth. Add lime zest & heavy cream. Blend until just combined.
- Freeze in an ice cream maker according to instructions. Blend in frozen blueberries. Transfer to an airtight container and put in freezer to harden.
Scoop and enjoy!
Also - nuts, candied citrus peeled or chopped chocolate can be added, as well as fresh mint and blueberries for garnish.
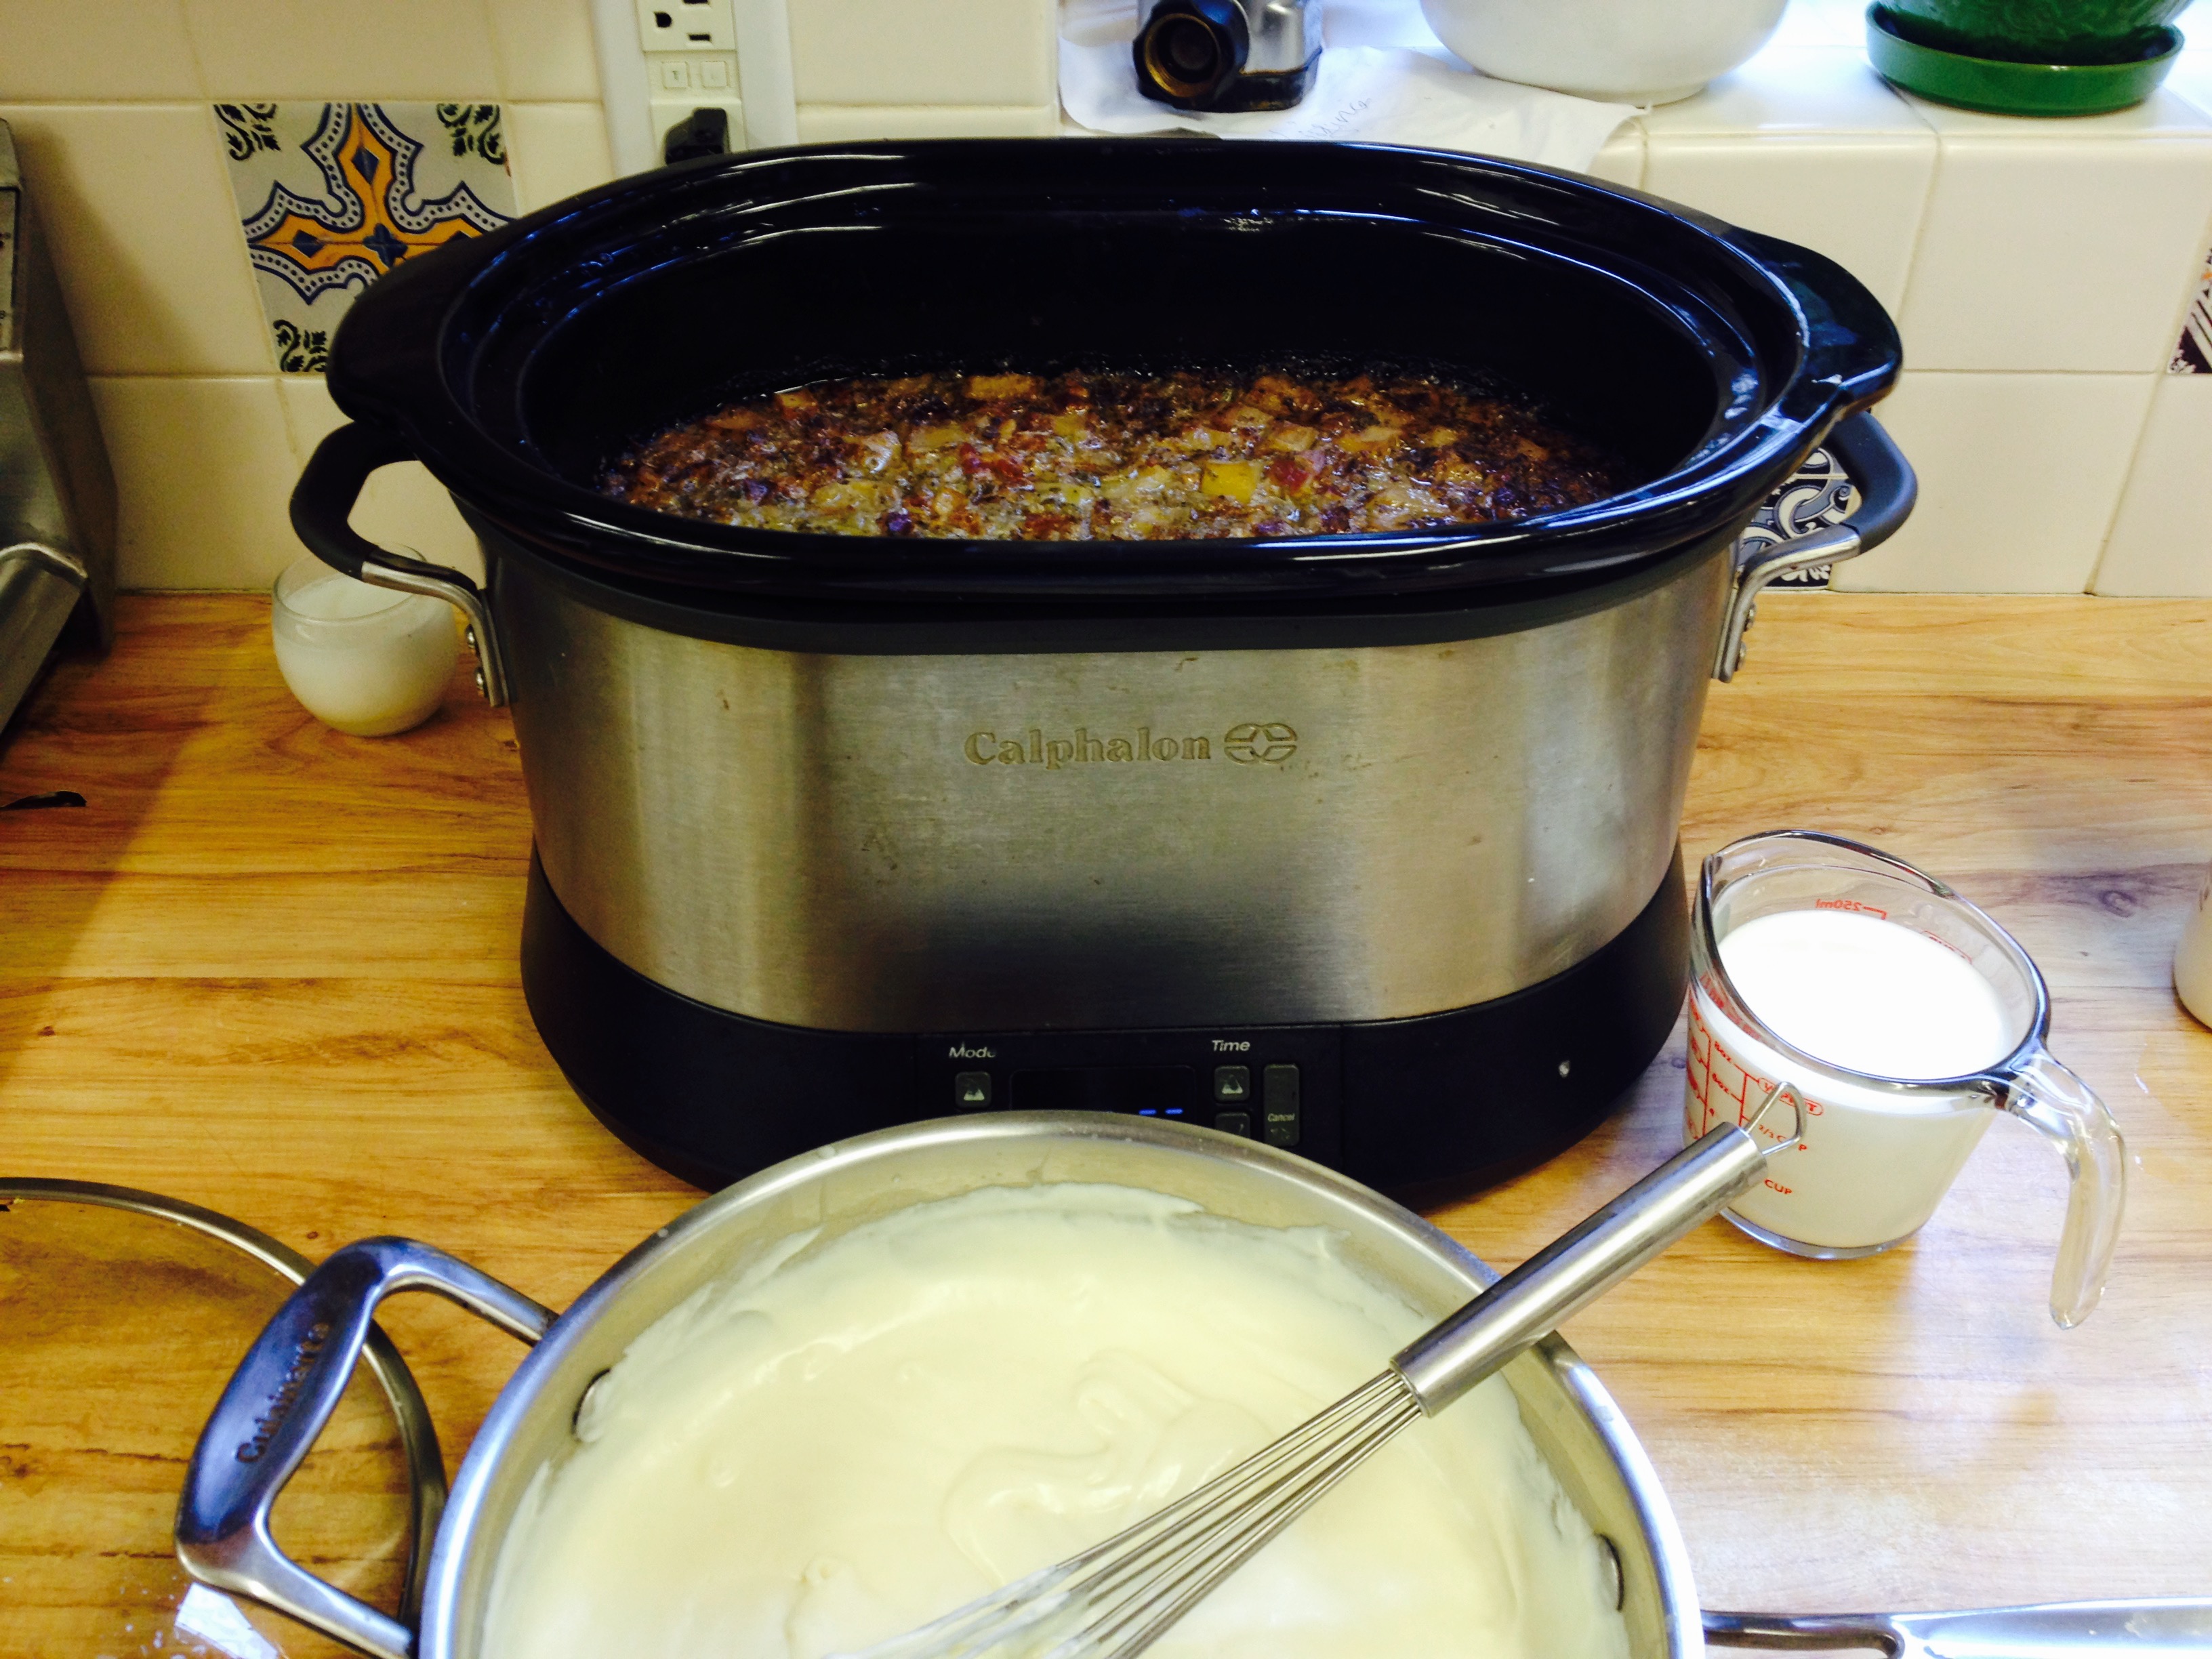
This past week, we did a pot-luck lunch at Paraclete Press to celebrate the season and get our company decorated for Christmas. Several of us brought crock pots of goodness to the table – each excited to try someone else’s creation. I think this one received the most ooh’s and aaah’s, as it was completely emptied by the end of lunch and given back to me, clean as a whistle as if begging for more. This is such a great recipe – so easy to make the night before, let the crock pot do the magic during the night and finish it off in the morning. This is a perfect recipe to pull out over the holidays when you want to spend less time in the kitchen and more time with friends and family. Blessed Advent!
Print Recipe
Votes: 2
Rating: 5
You:
Rate this recipe!
Slow Cooker Loaded Potato Soup
SERVINGS8 servings
|
COOK TIME8hrs |
PREP TIME25mins |
READY IN8 hrs25 mins |
Ingredients
Instructions
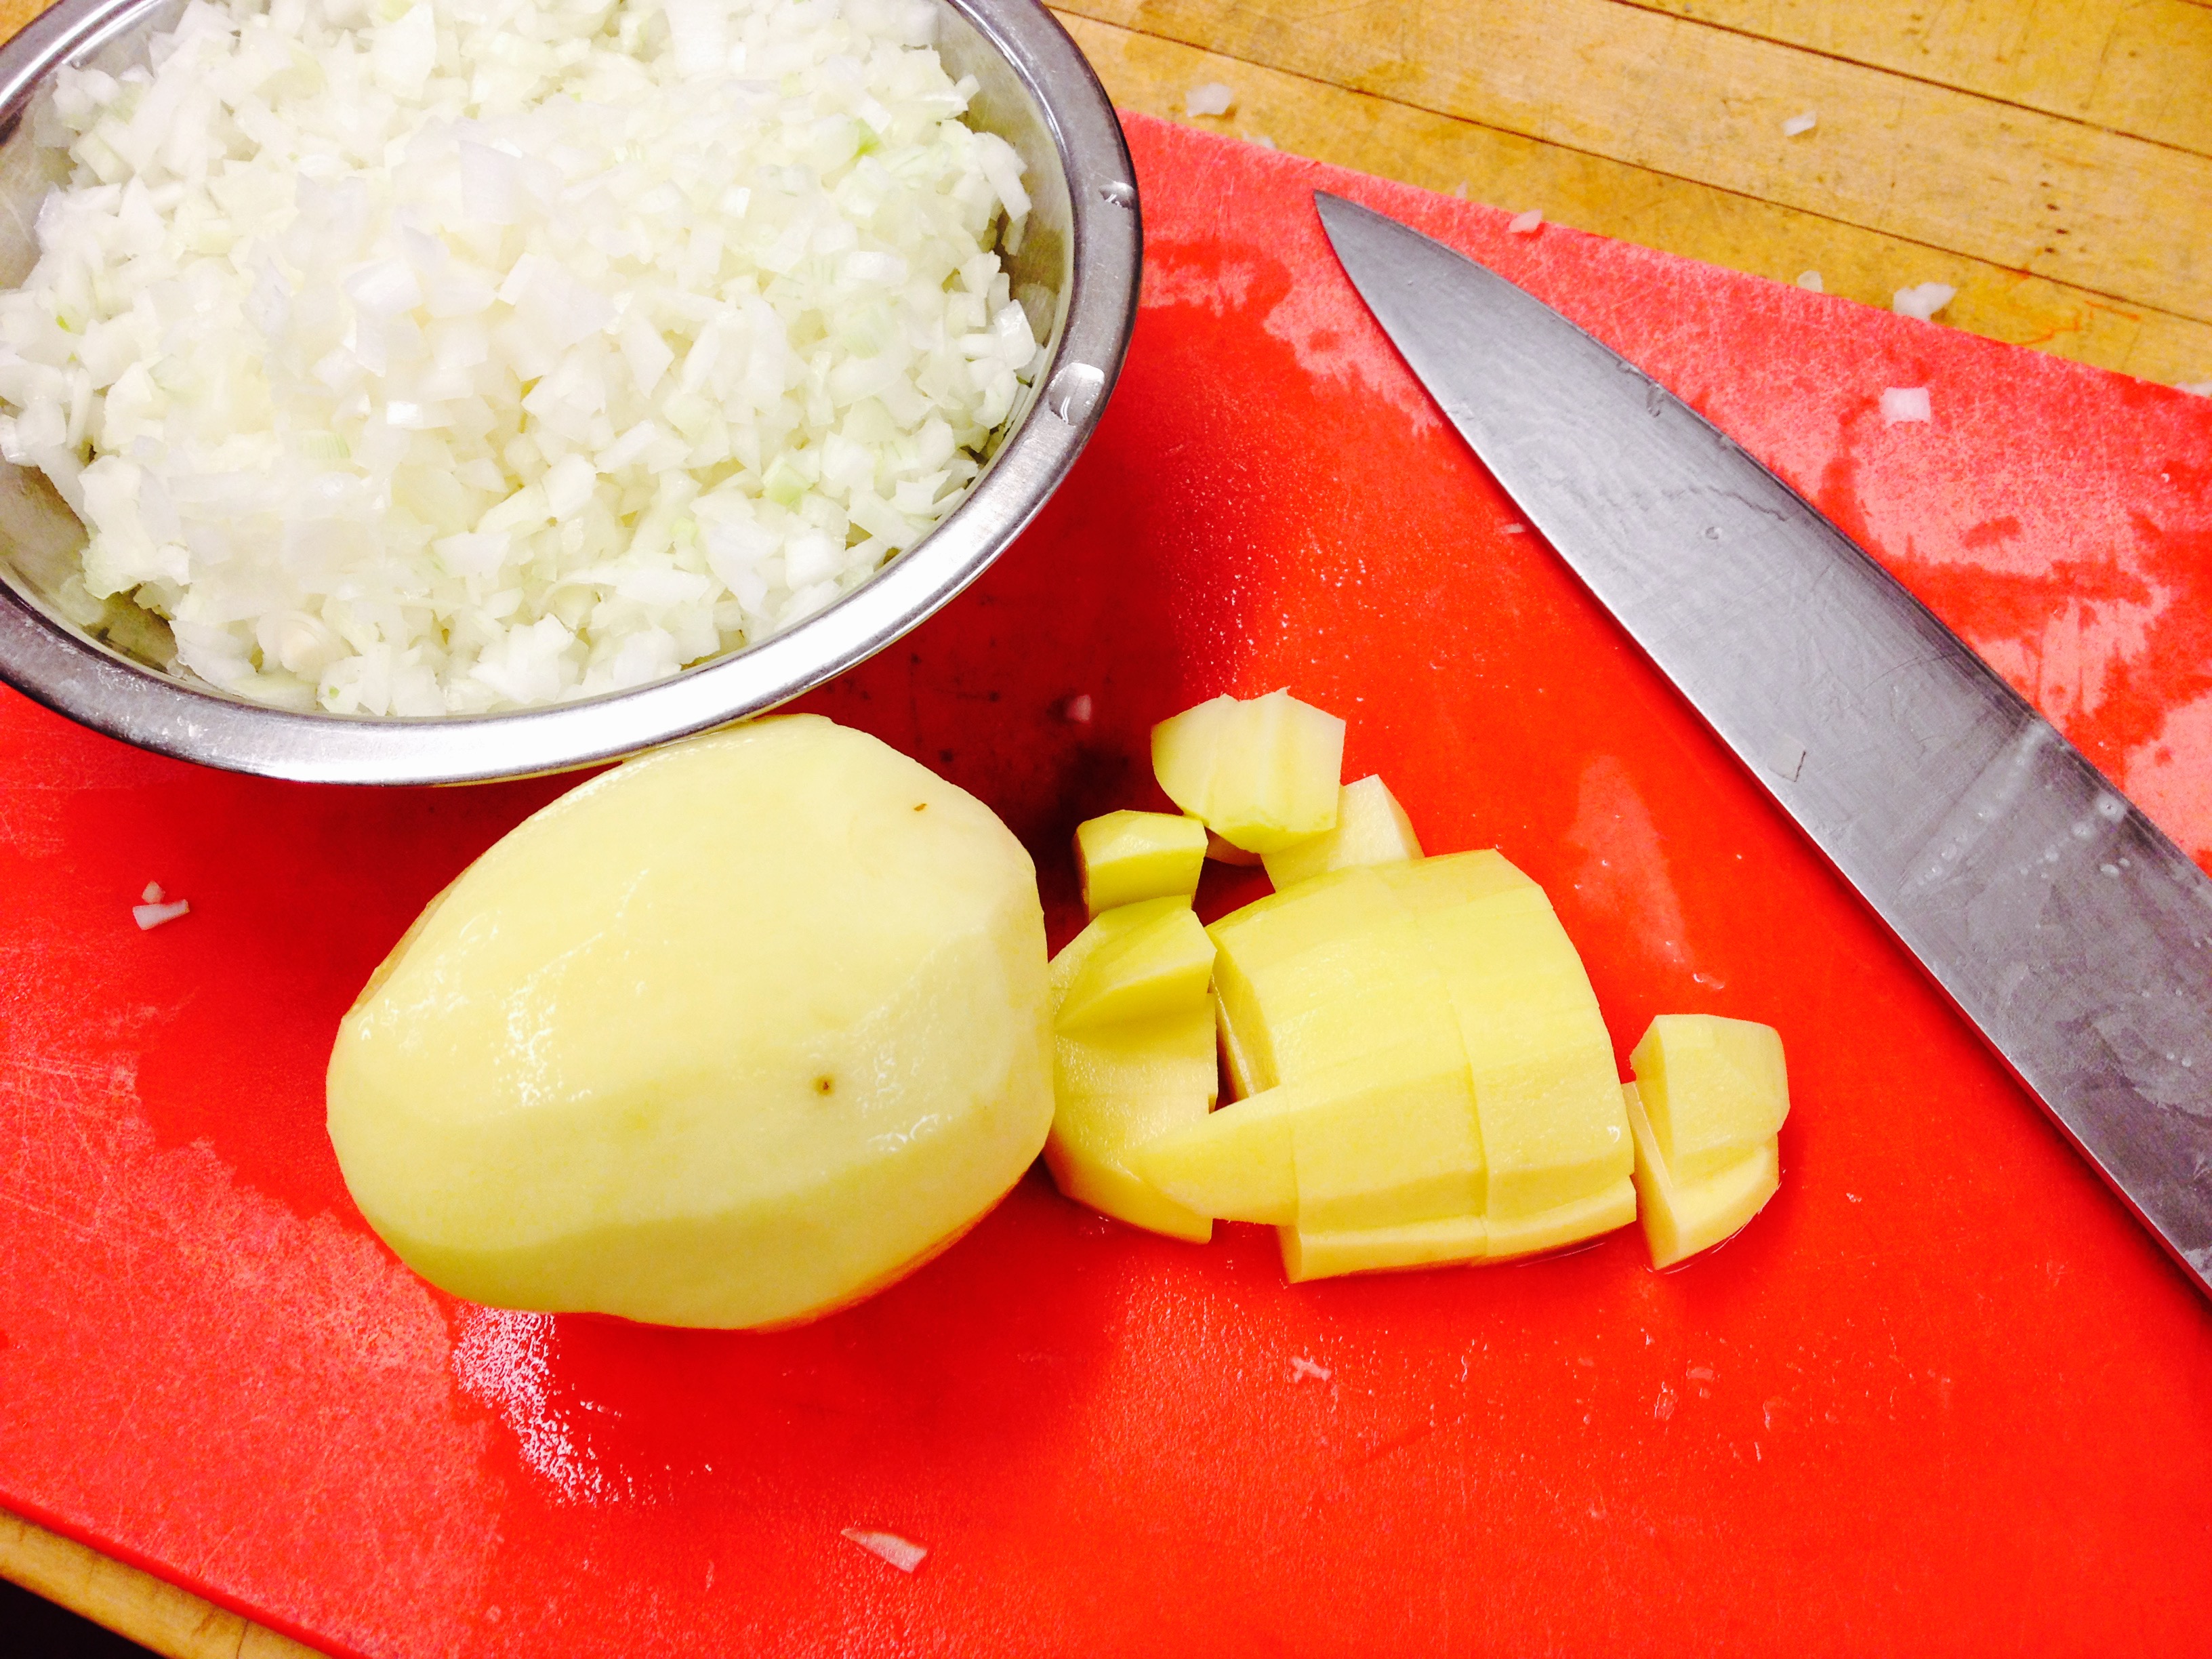
- Add diced potatoes, diced onion, minced garlic, 10 slices of chopped cooked bacon, parsley and chicken broth to the slow cooker. Season with salt and pepper. Stir and cook for 6-8 hours on low or on high for 3-4 hours, until the potatoes are fork tender.
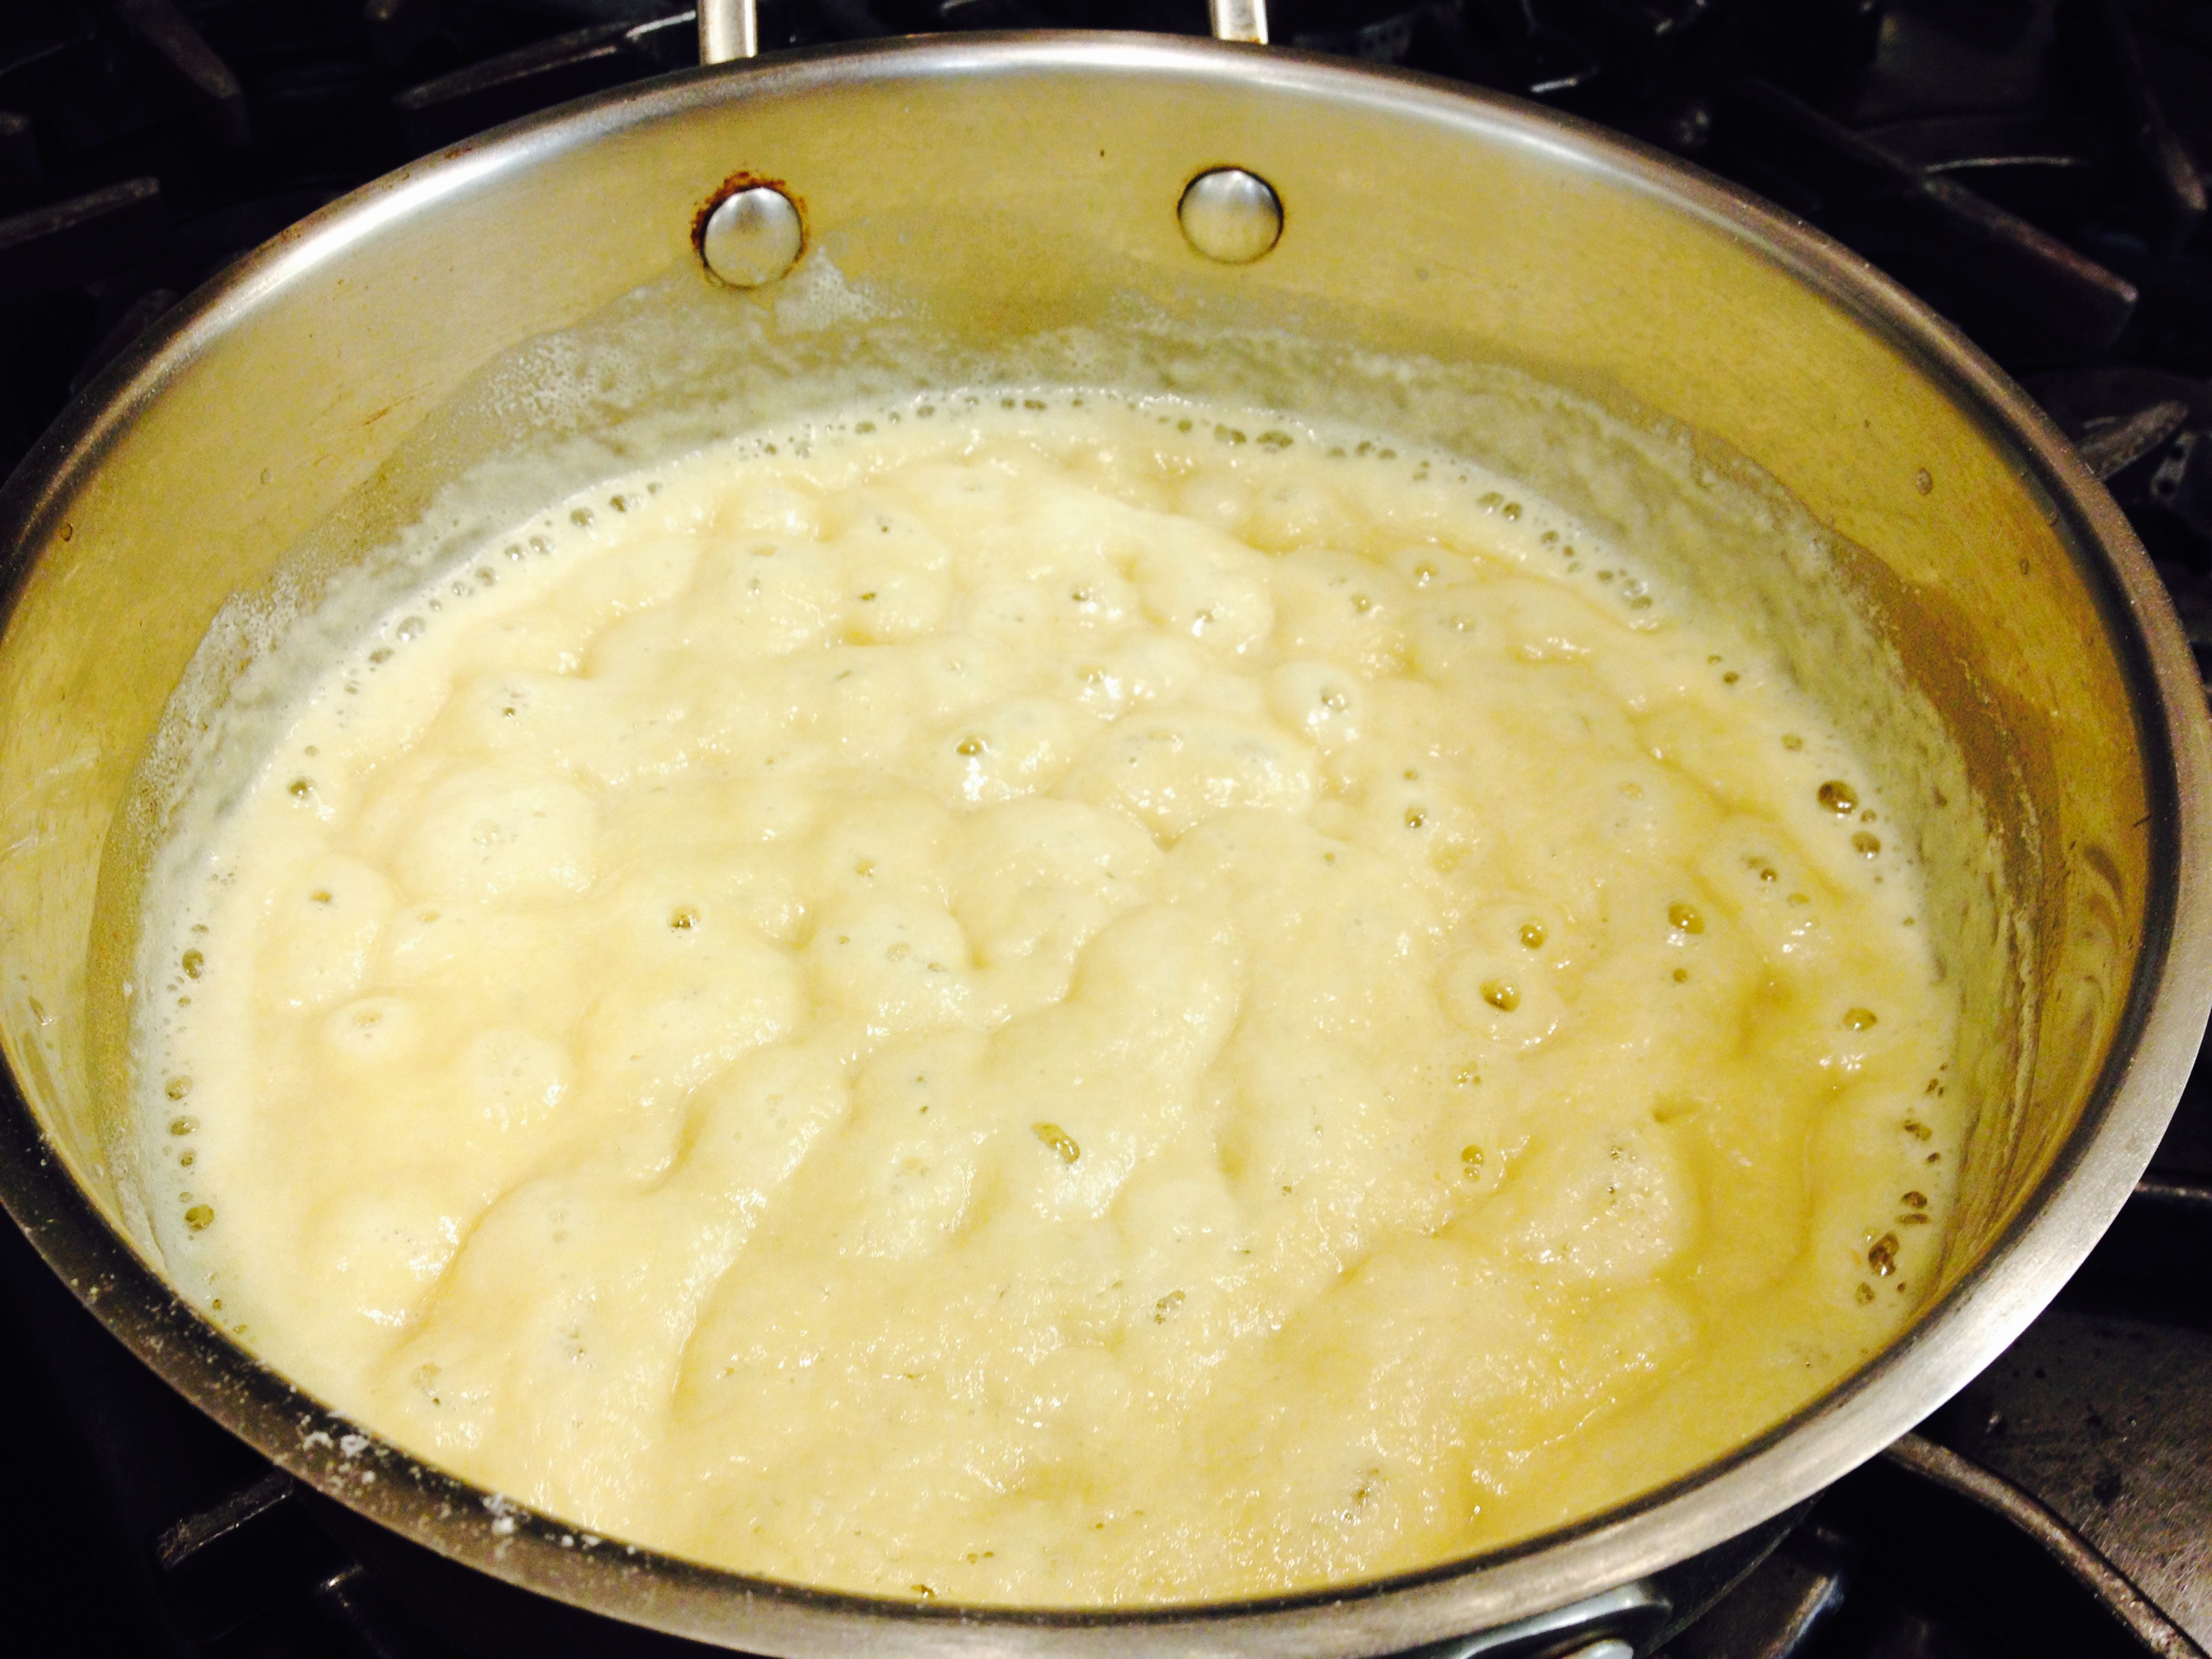
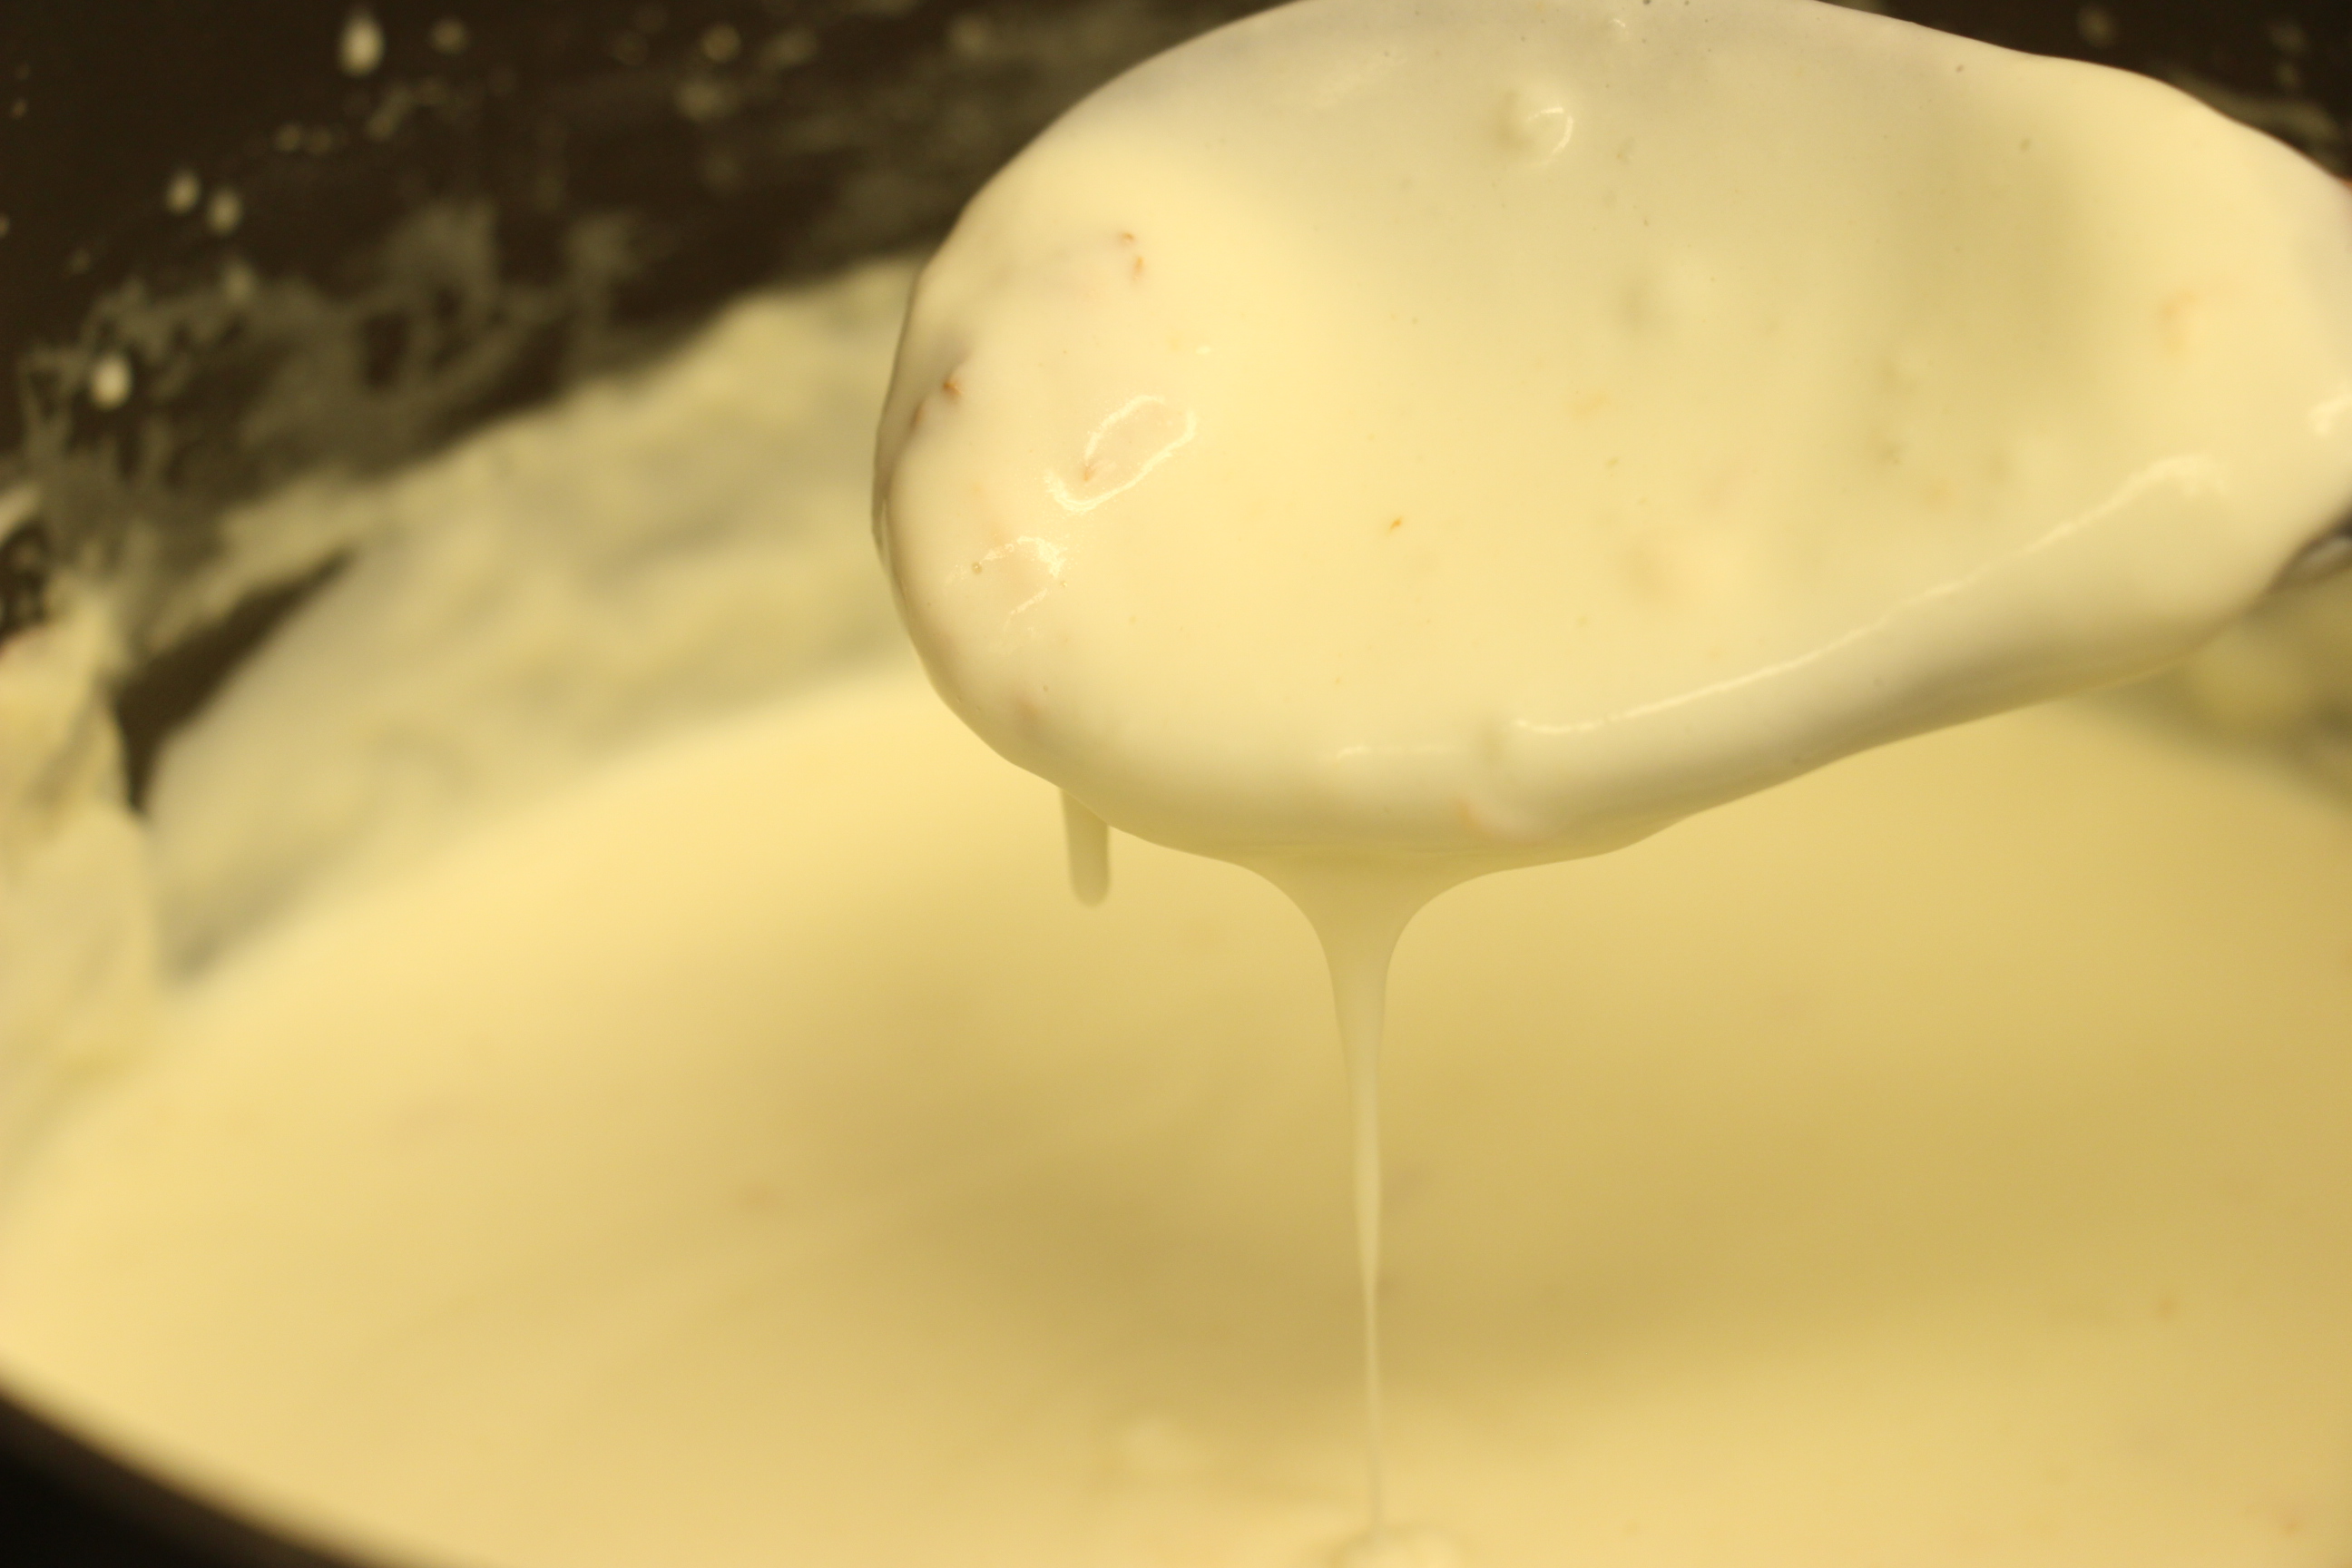
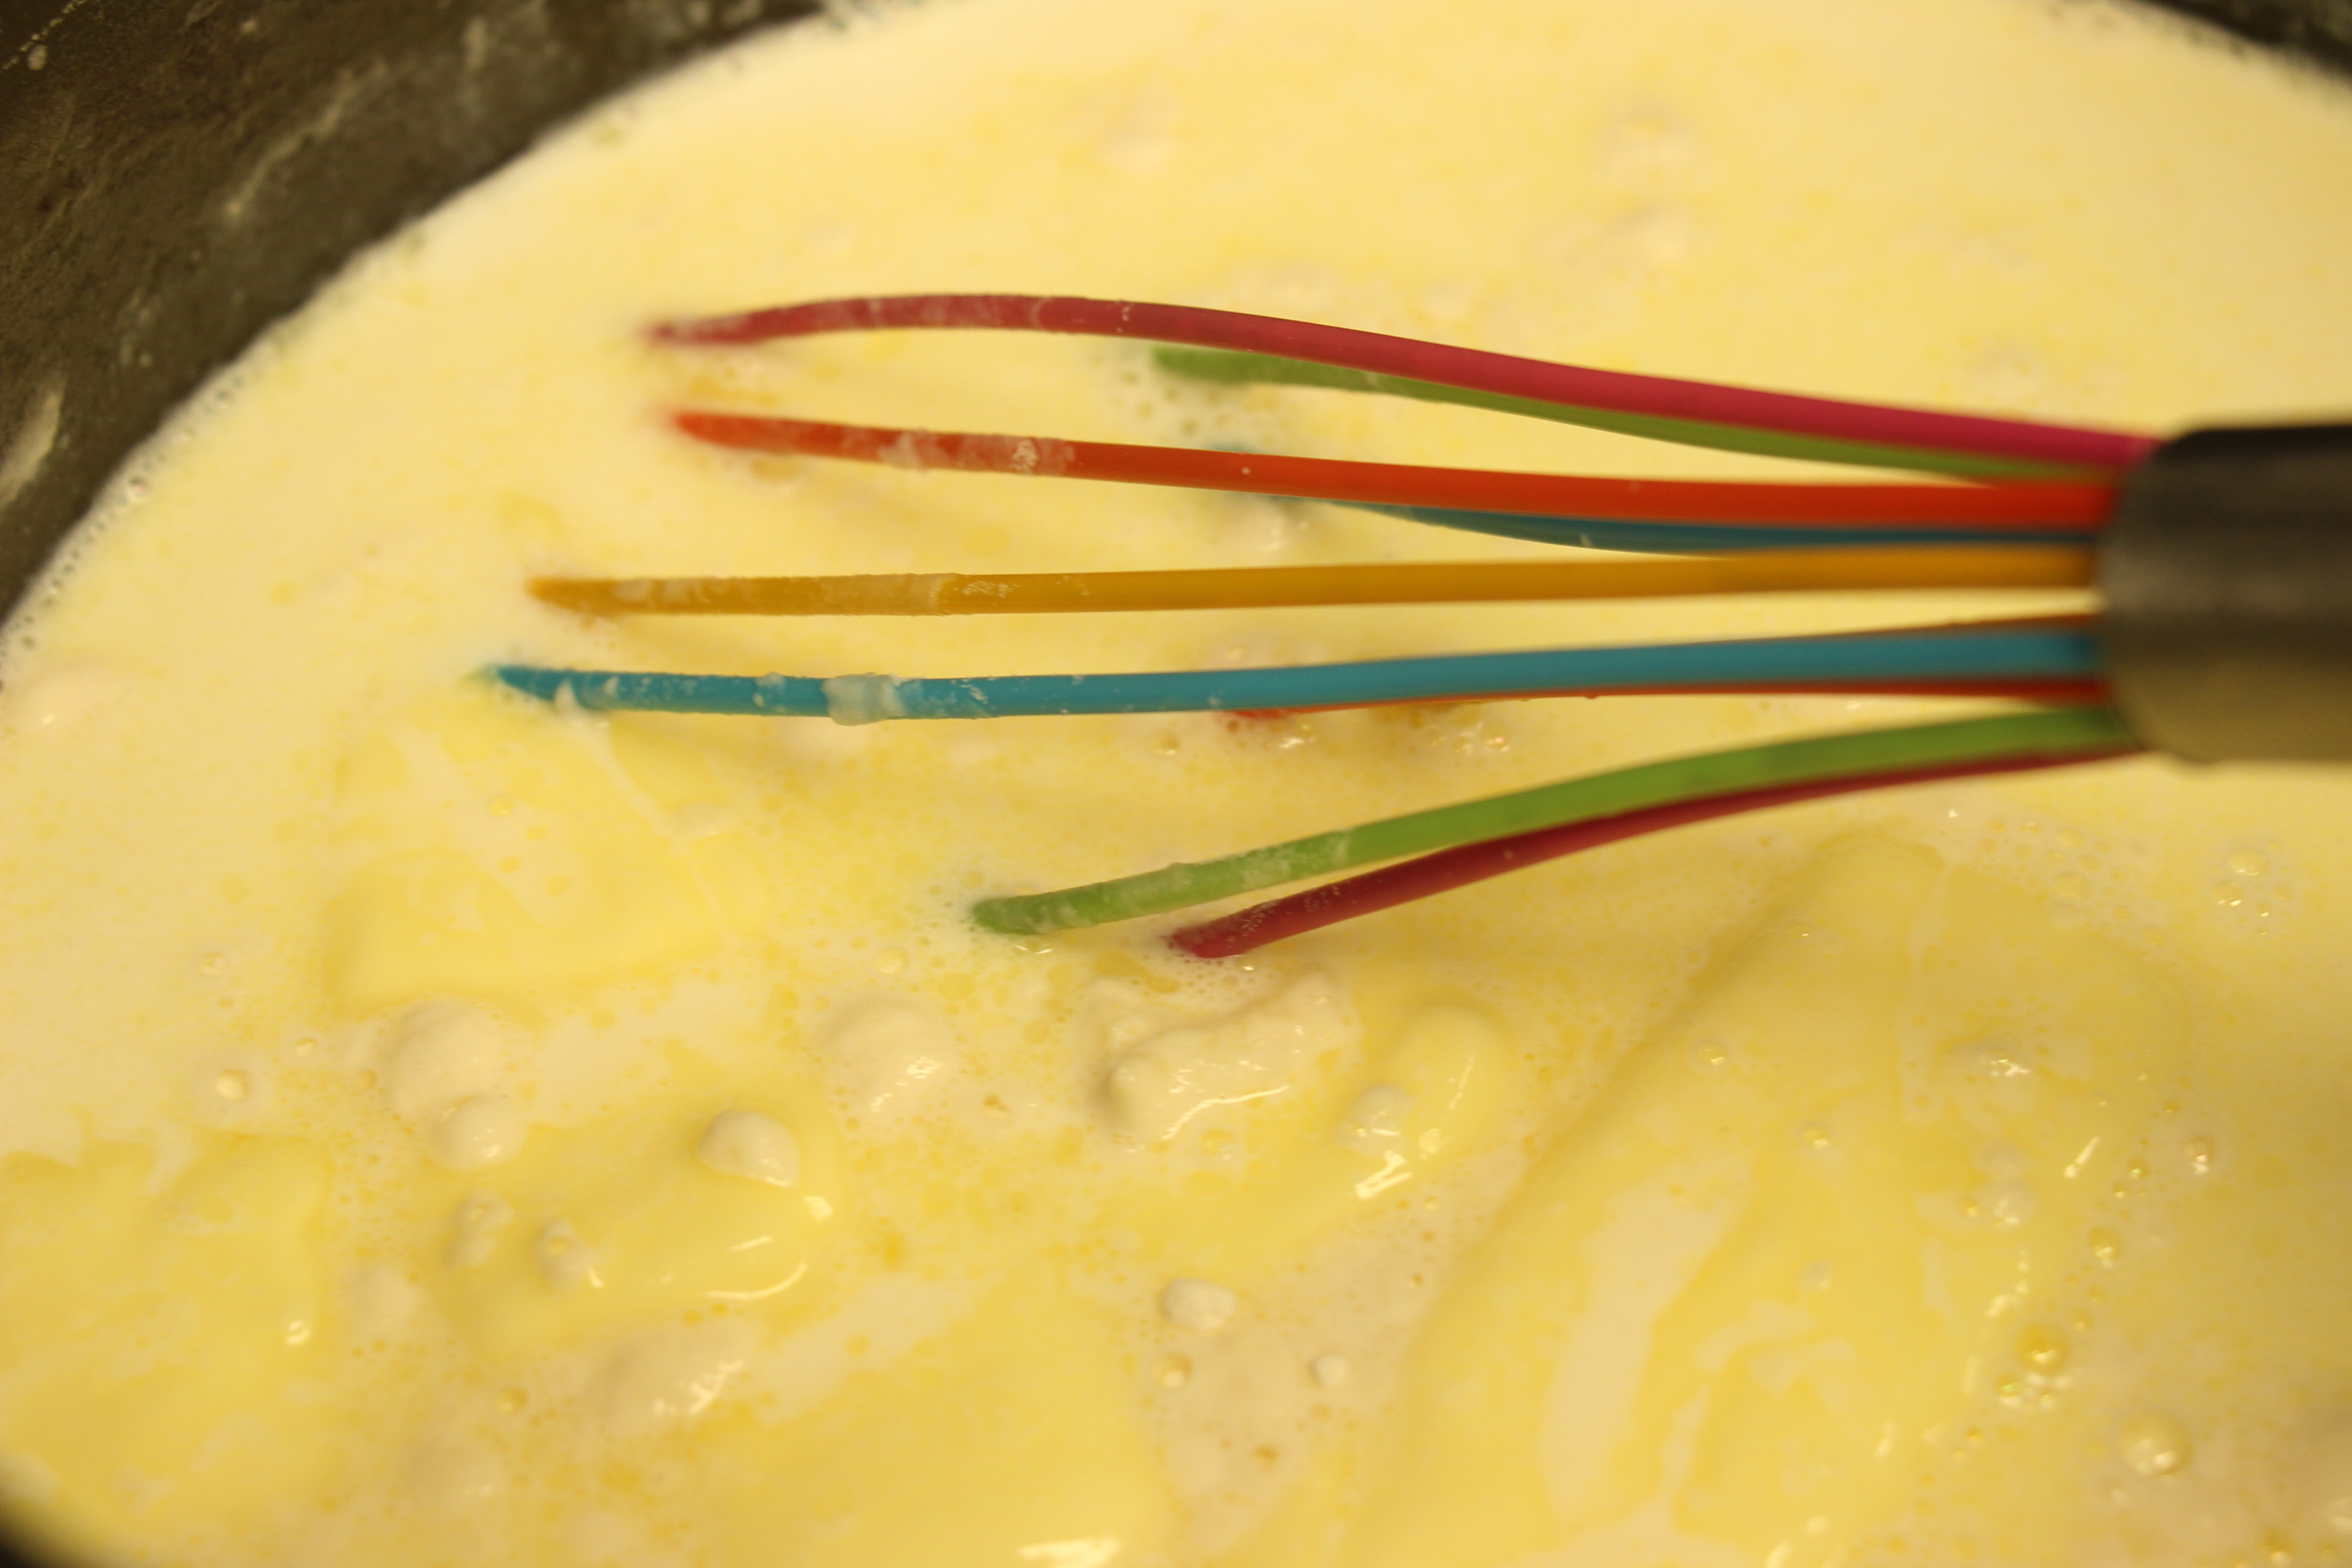
- Once the soup has cooked, make the béchamel sauce. Add butter to a medium saucepan over medium heat and melt, whisk in the flour until completely combined and gradually add in the half and half or heavy cream (or milk, whatever you prefer). Whisk until smooth. Over low heat, let the mixture cook until it starts to simmer, stirring occasionally.
- Immediately add the béchamel to the slow cooker and stir to combine.
- Using a potato masher, mash about 3/4 of the potatoes until you reach the desired consistency for your soup.
- Stir in 2 cups shredded cheddar cheese and 1/2 cup sour cream. Stir well, until fully combined and creamy. Taste for seasoning, adjust salt and pepper to taste. If you want to thin the soup a bit, you can add more milk, cream or chicken broth. Continue cooking the soup on low for 30 minutes or on high for 15 minutes. Serve warm with the toppings of your choice.
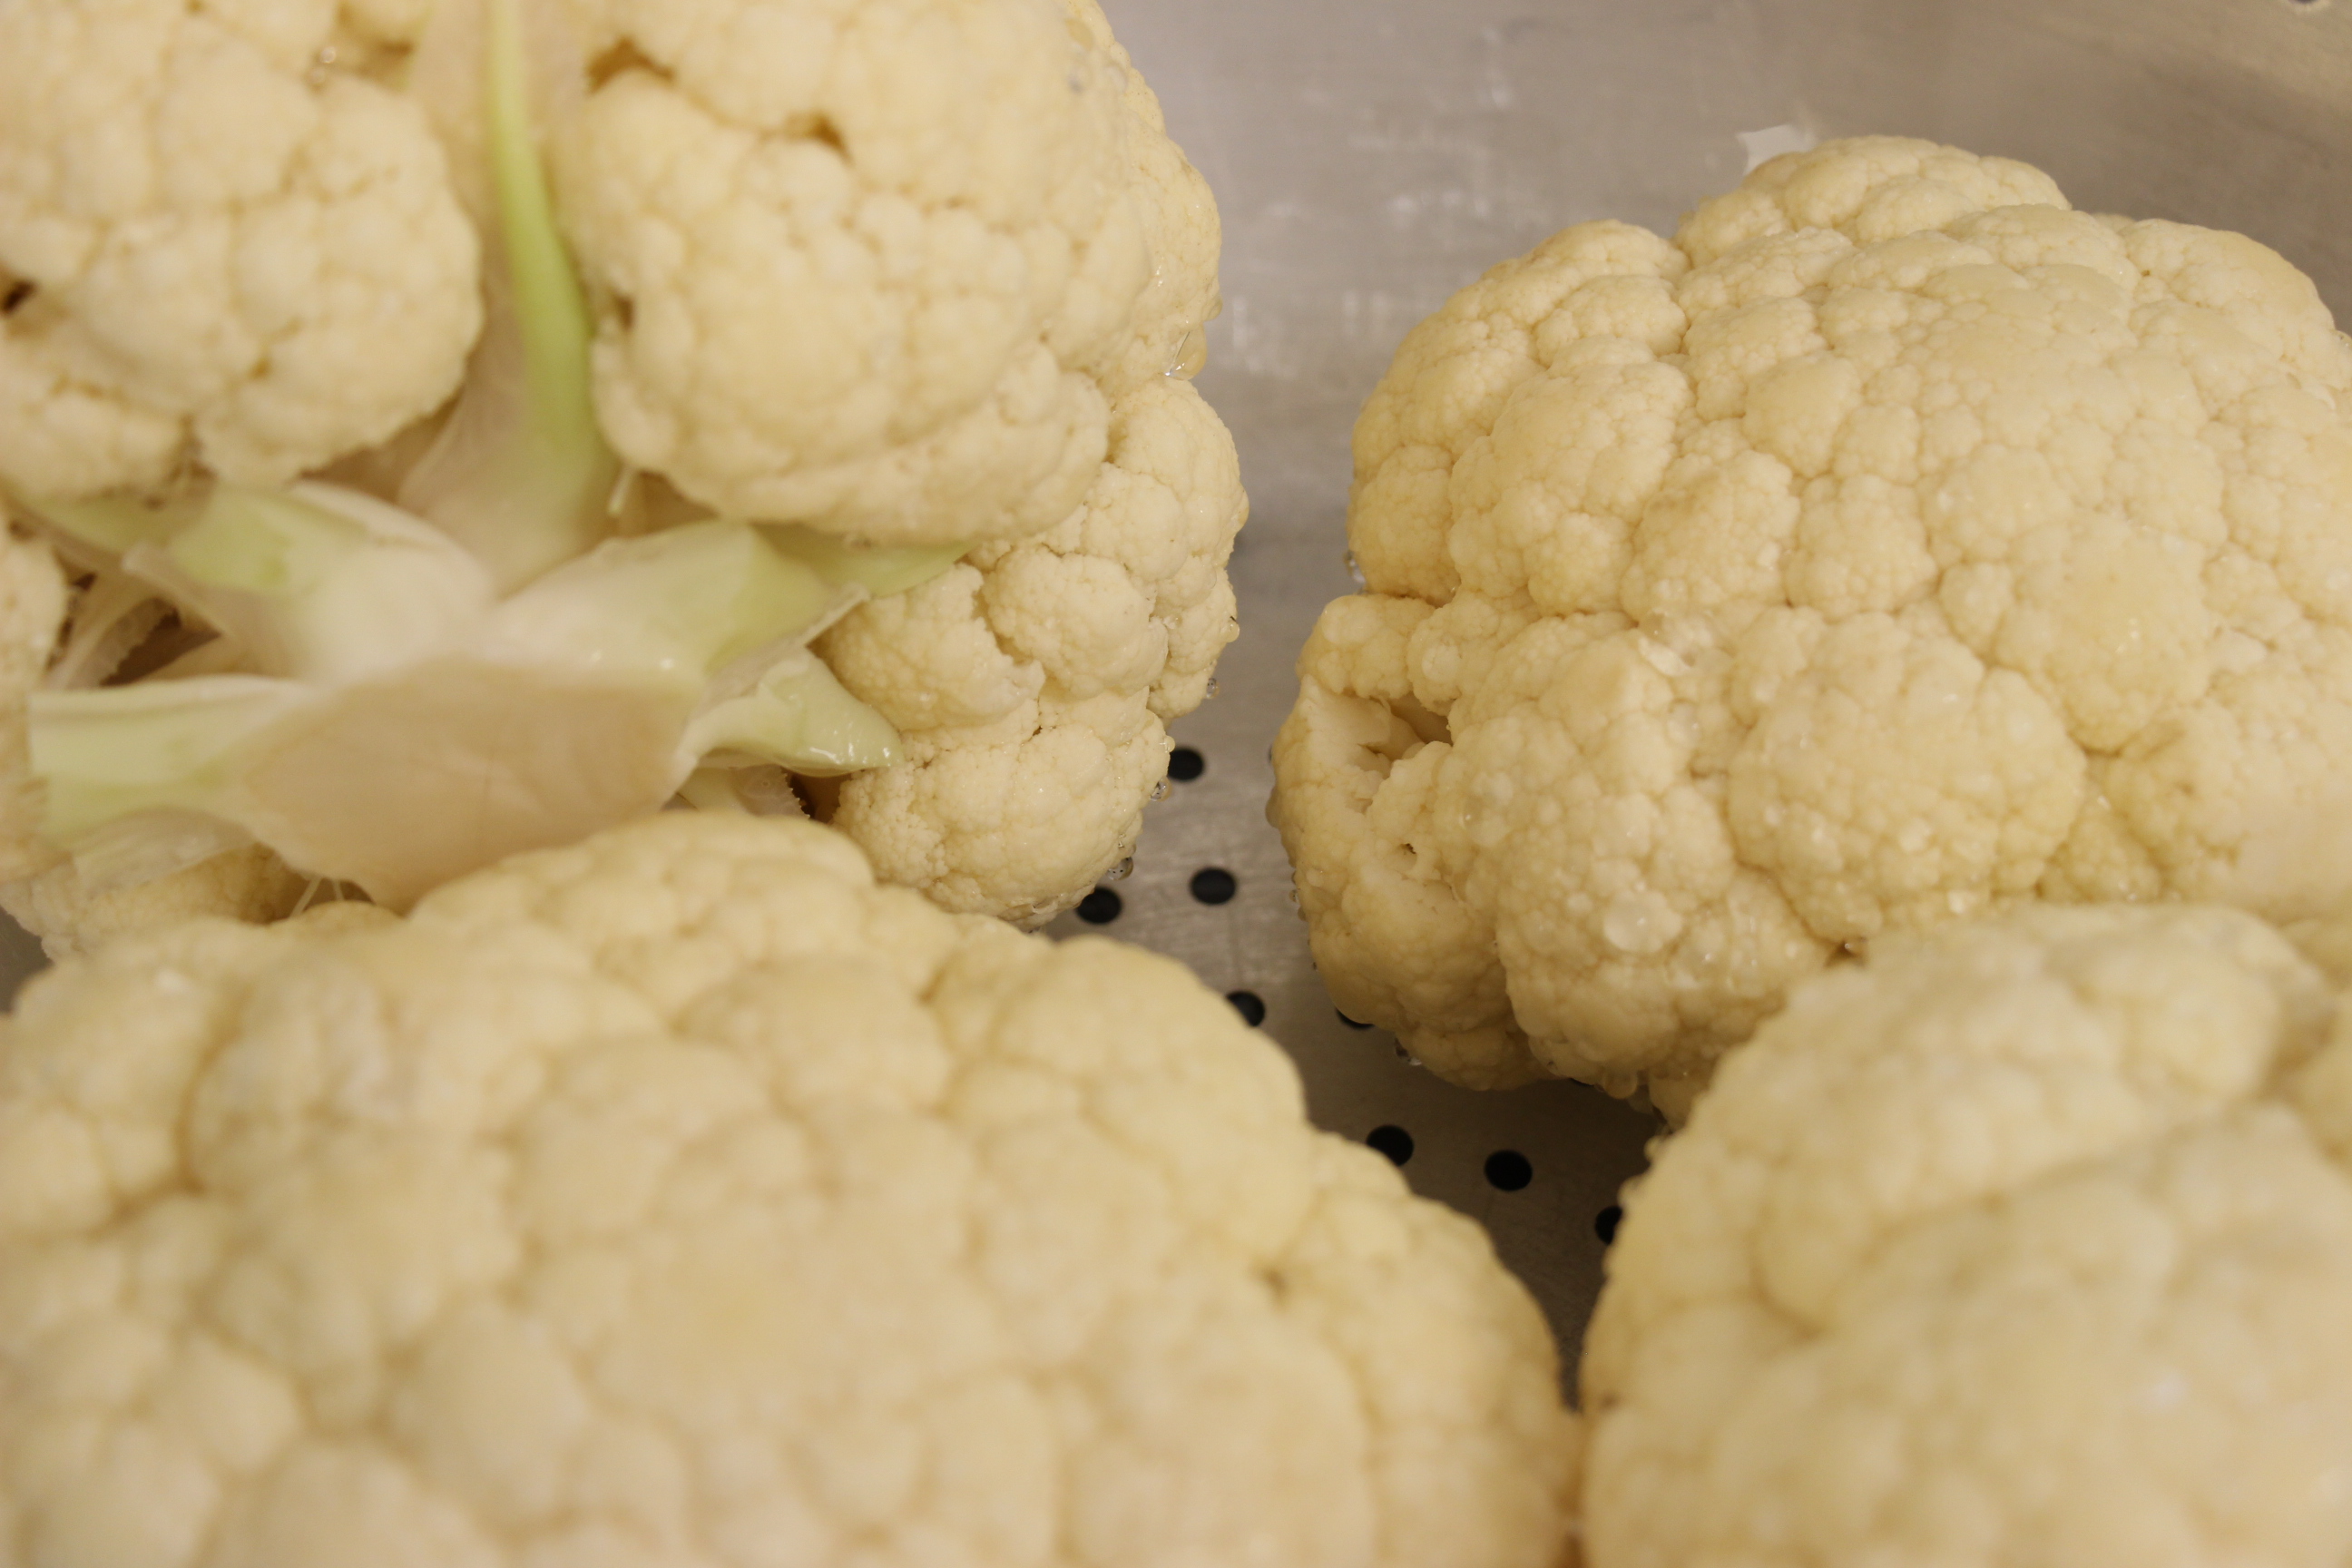
With the holidays just around the corner, you might be looking for a new and unusual crowd-pleasing side dish to wow your guests. This is one of my favorite vegetable dishes, introduced to me by Tessa Kiros in her wonderful cookbook: Twelve: A Tuscan Cook Book. She introduces the readers to the twelve months of Tuscan cooking and seasonal ingredients. When I’ve served at our mission house in Tuscany, I would cook through this book and this recipe became one of our house favorites. As Tessa says, “pastry-less baked vegetable pies are very common and are made with various vegetables depending on the season, such as green beans, artichokes and spinach.” You can also use broccoli in place of cauliflower.
We just served this last night for the opening to our Gregorian Chant Retreat and received great compliments. This would make a lovely addition to your Thanksgiving table. If you want to make it gluten free, just substitute gluten free flour for all purpose flour in the the béchamel sauce.
Print Recipe
Votes: 0
Rating: 0
You:
Rate this recipe!
Baked Cauliflower Pie (sformato di cavolfiore)
SERVINGS6servings
|
COOK TIME30-40mins |
PREP TIME20mins |
READY IN55mins |
Ingredients
Instructions
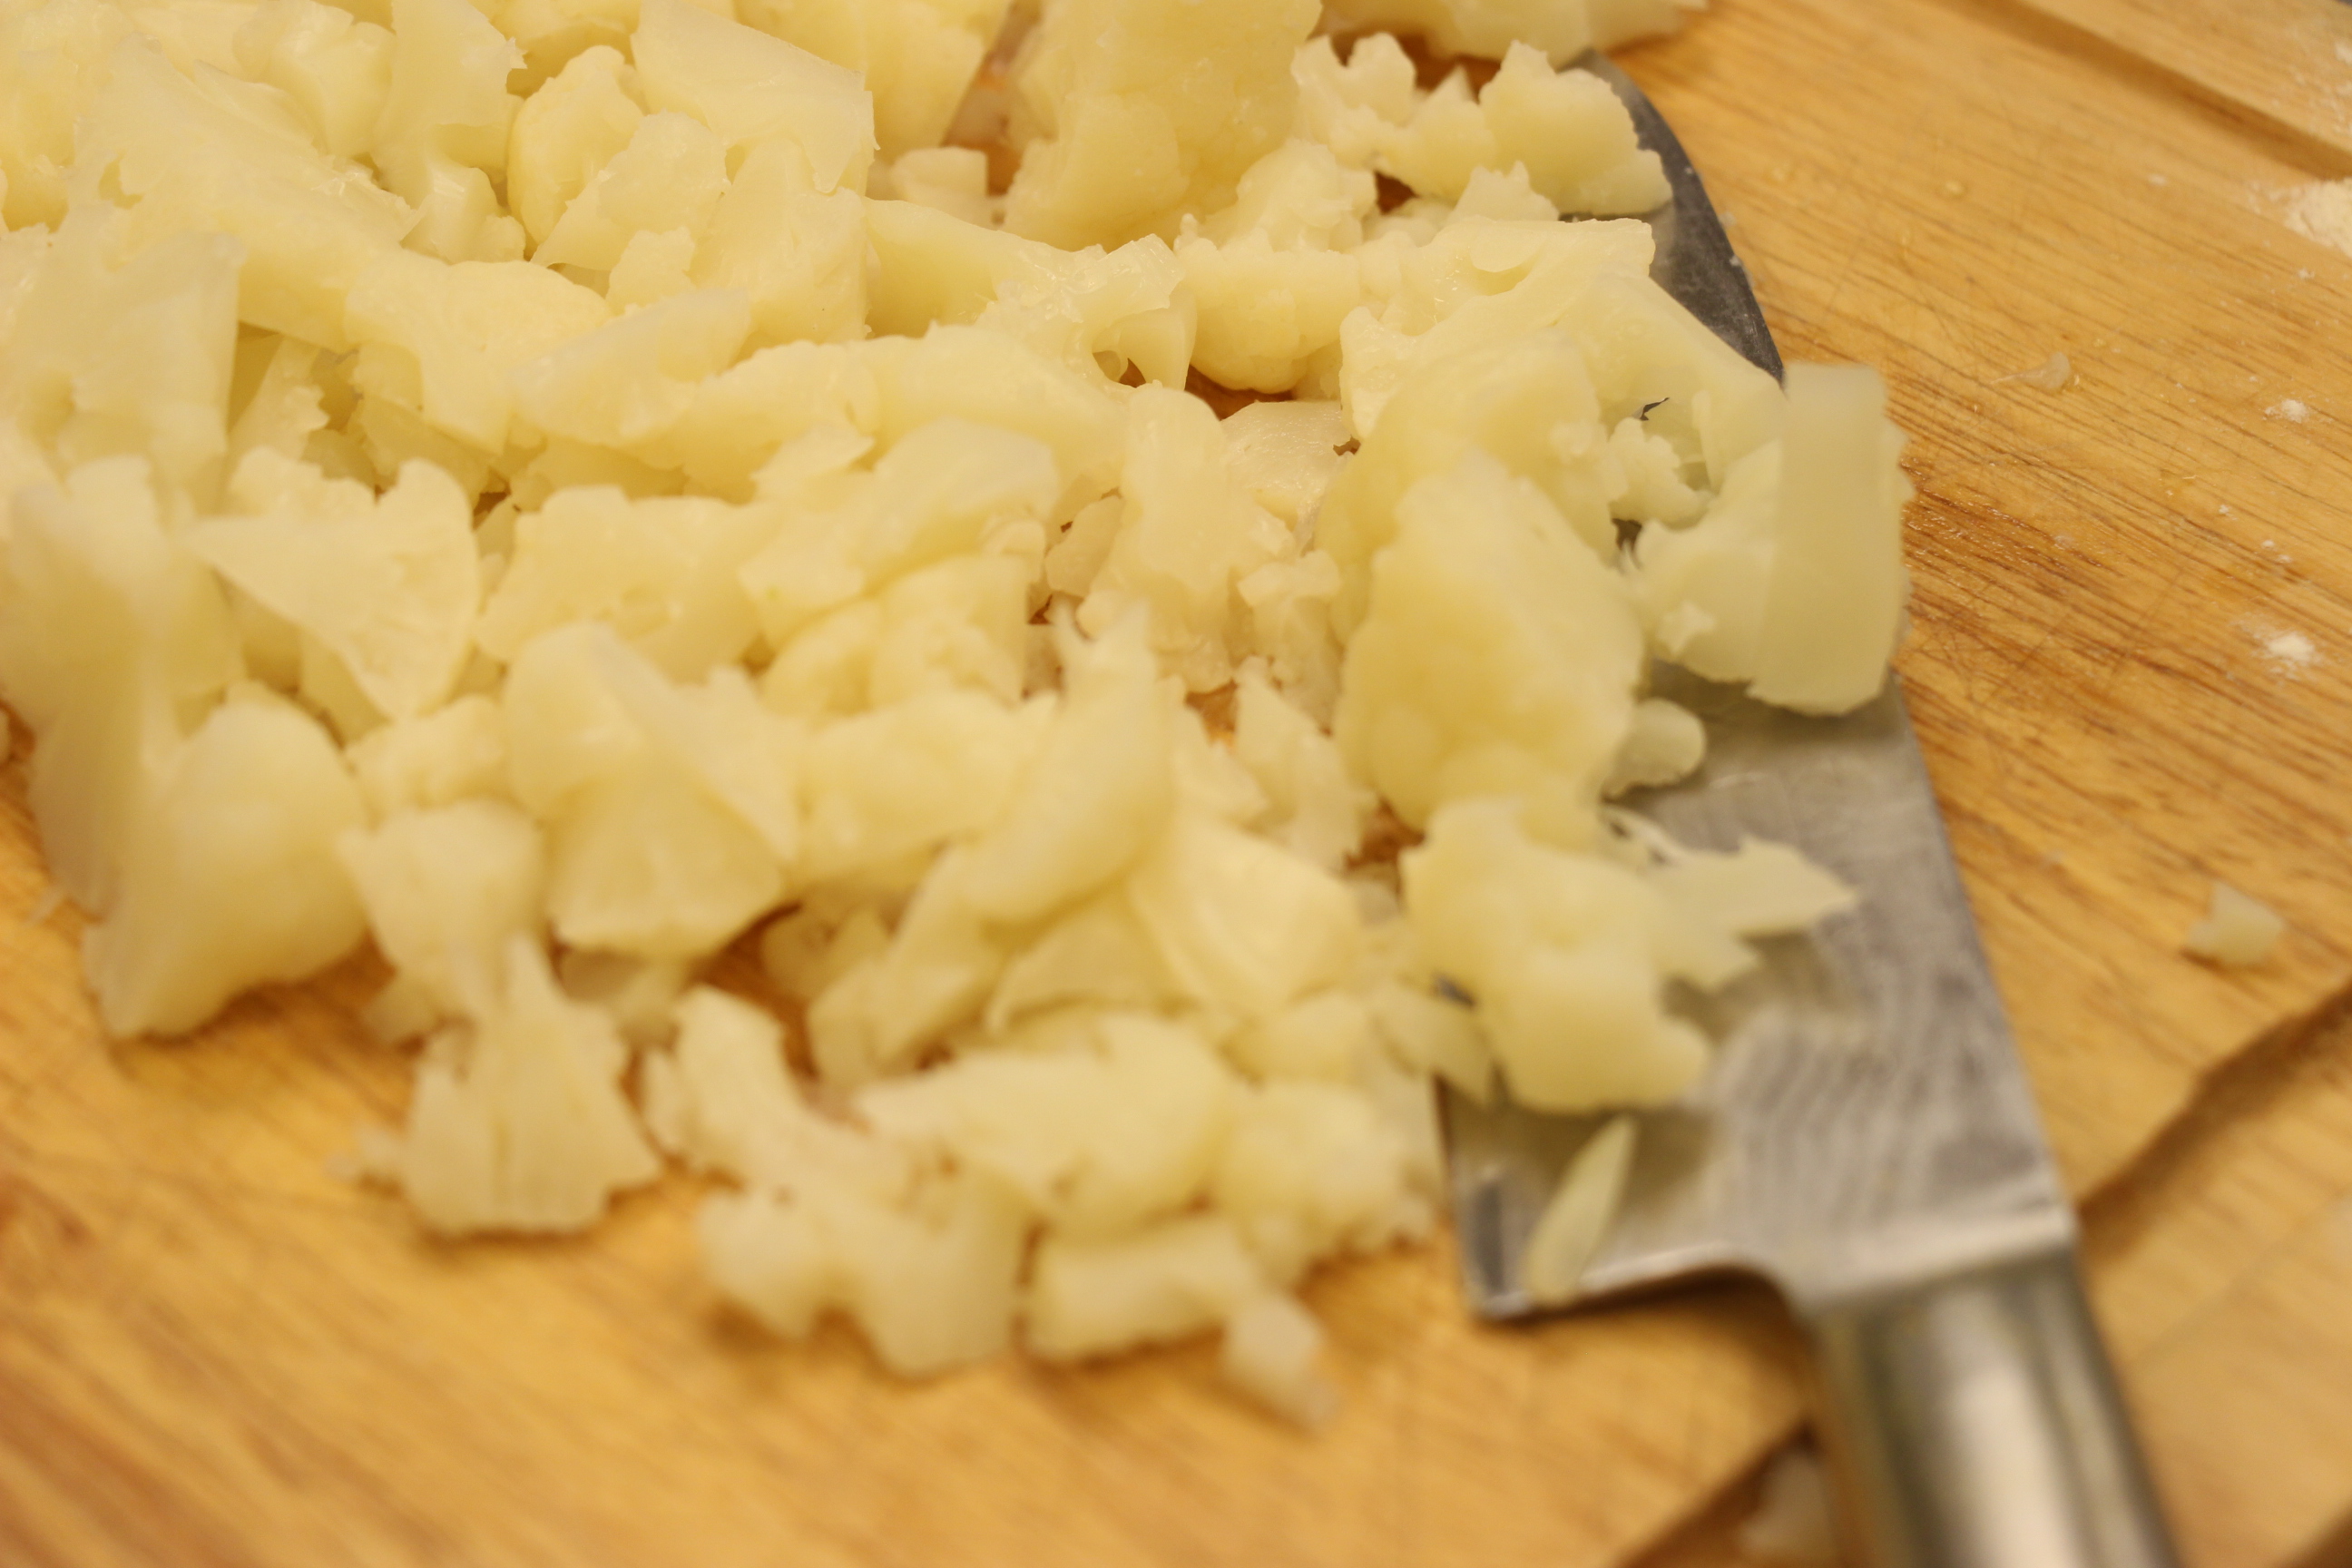
- Preheat oven to 350 degrees/ Wash the cauliflower and trim away the hard stem. Put it into a pot of boiling salted water and boil for about 10 min. or until it has softened.
- Meanwhile, make the béchamel sauce:
1) Melt butter in a small, heavy saucepan over medium heat until foaming. Add shallots (if using) and sauté 2 minutes. Do not let brown.
2) Reduce heat to low, add flour, and whisk until smooth and raw taste is cooked off, about 1 minute. Gradually whisk in milk. Add bay leaf and cook until just thickened, stirring often, about 10 minutes.
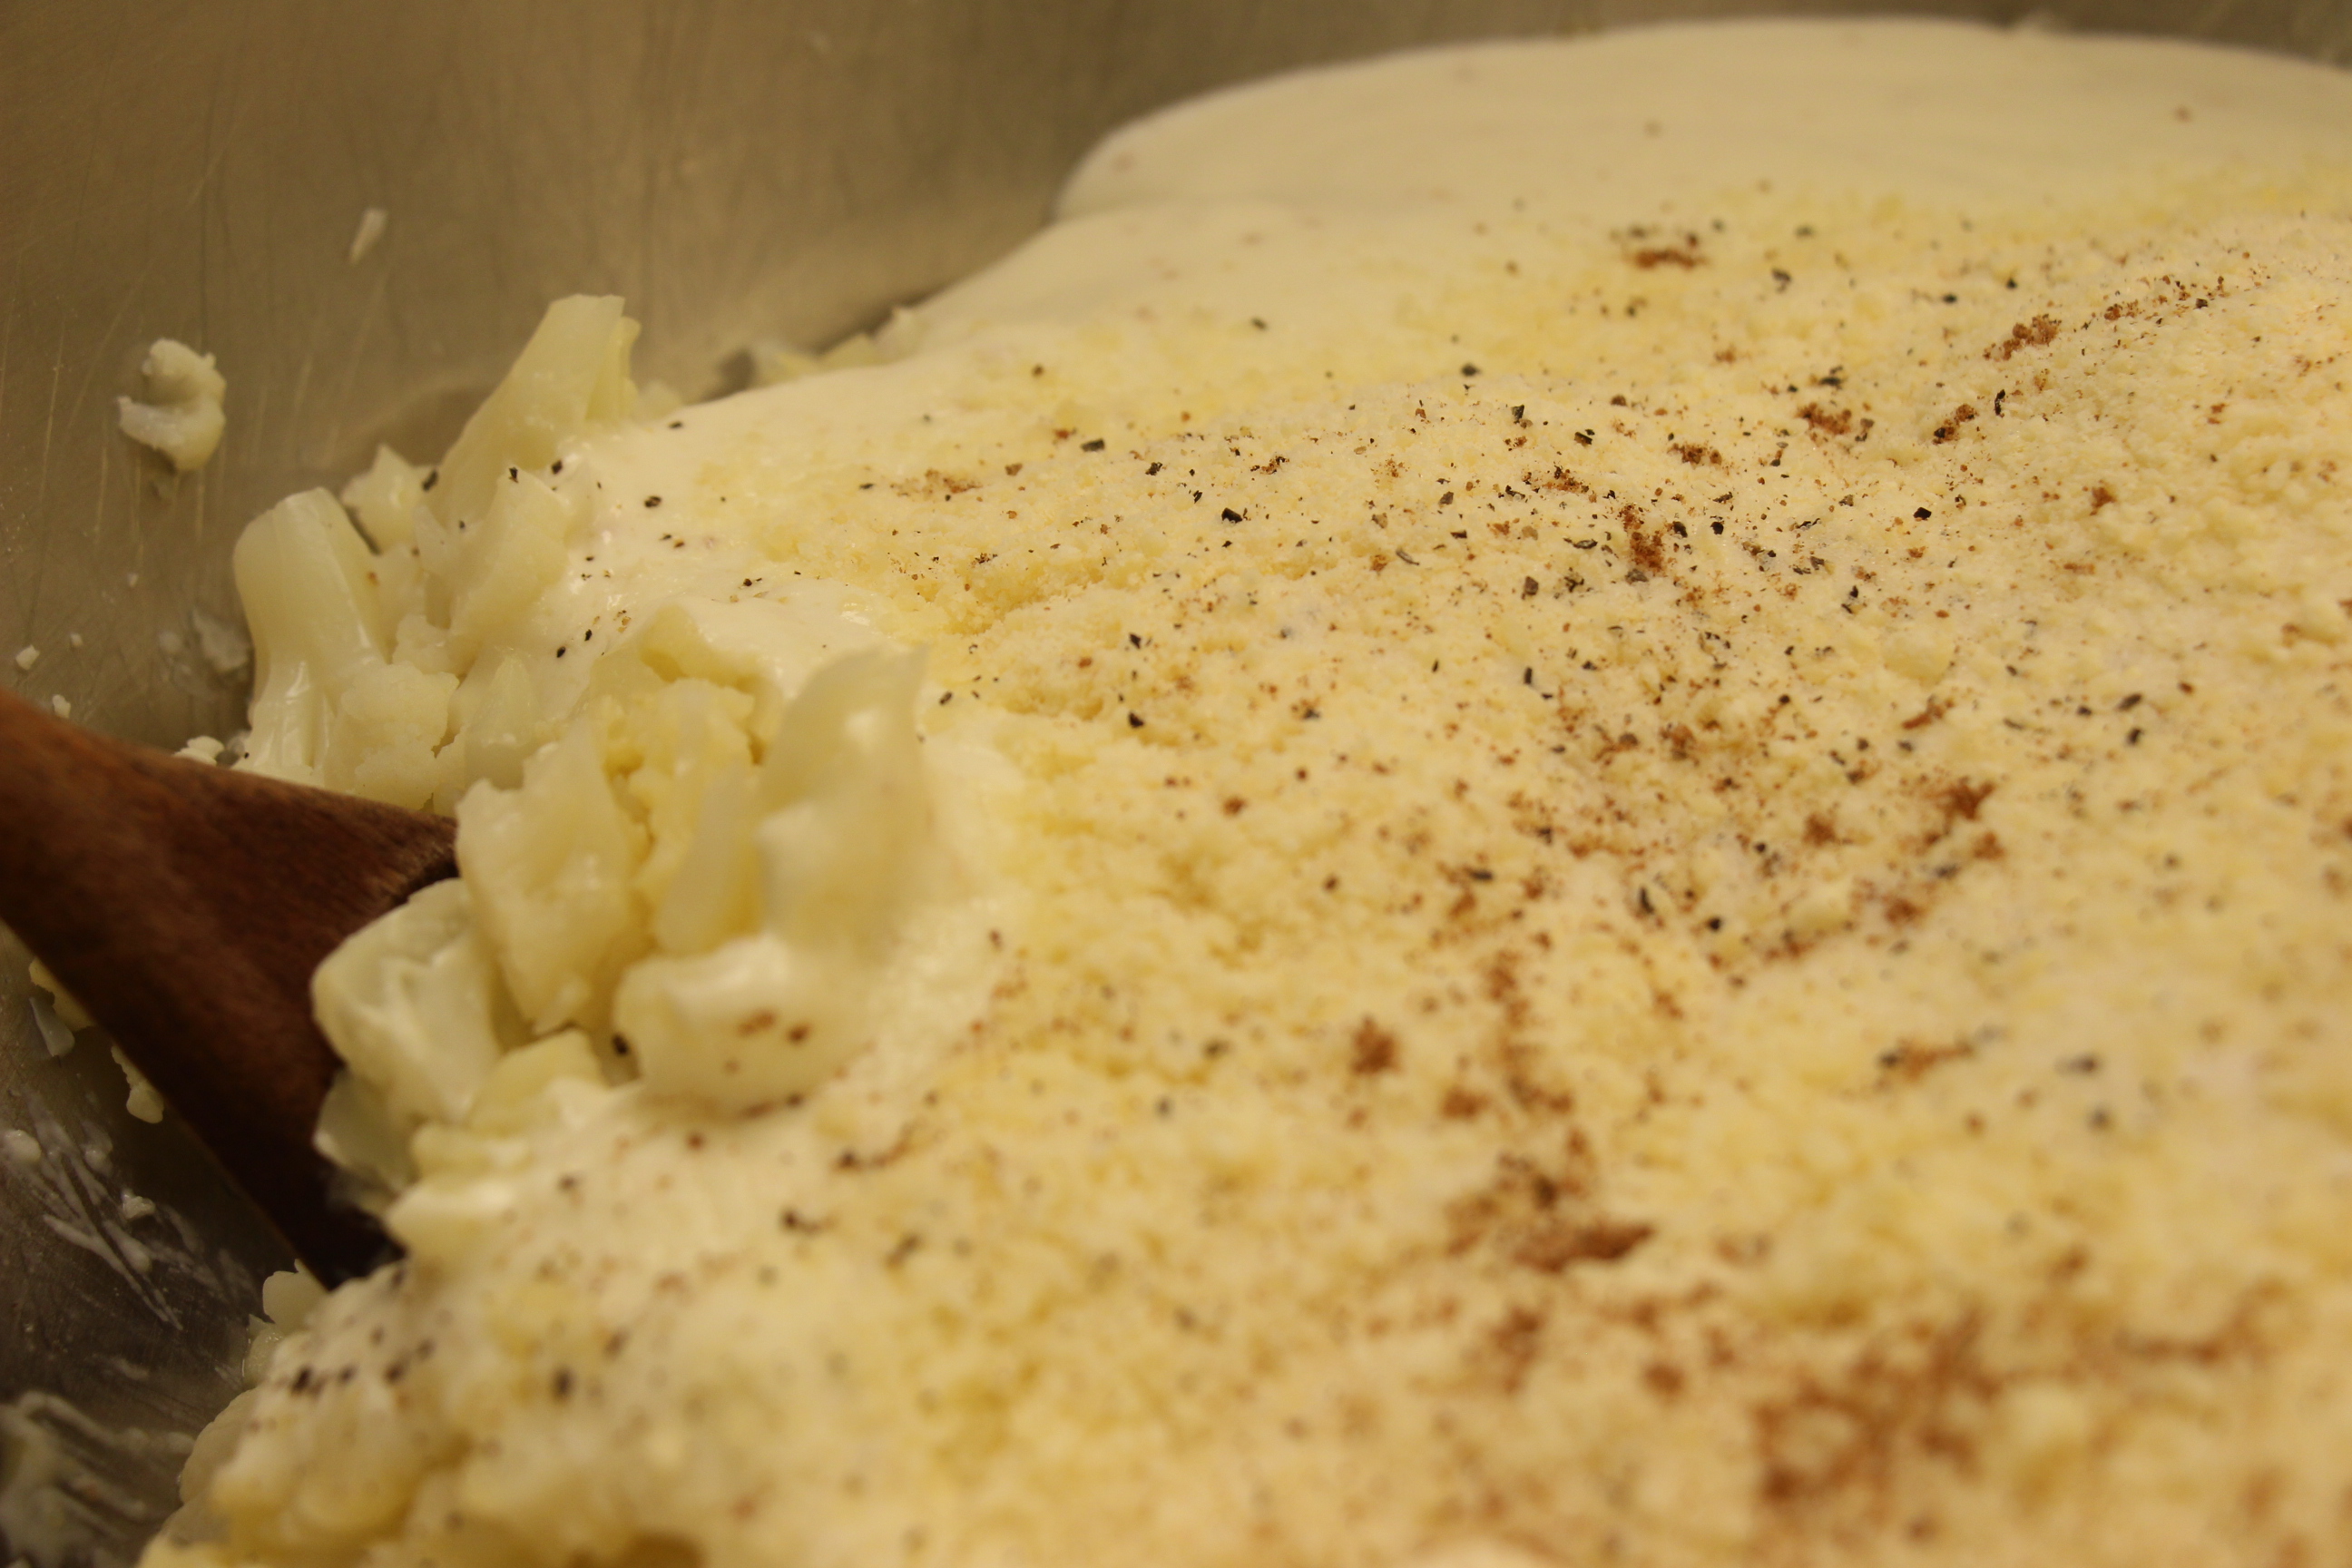
3) Stir in nutmeg and salt. Season with ground white pepper. Cool sauce slightly. Discard bay leaf before using. - Drain the cauliflower and chop it up finely or roughly puree it. Put into a bowl and mix in the eggs, 2 cups béchamel, parmesan cheese, a grating of fresh nutmeg, and salt and pepper to taste, adjusting if necessary. Mix well with wooden spoon.
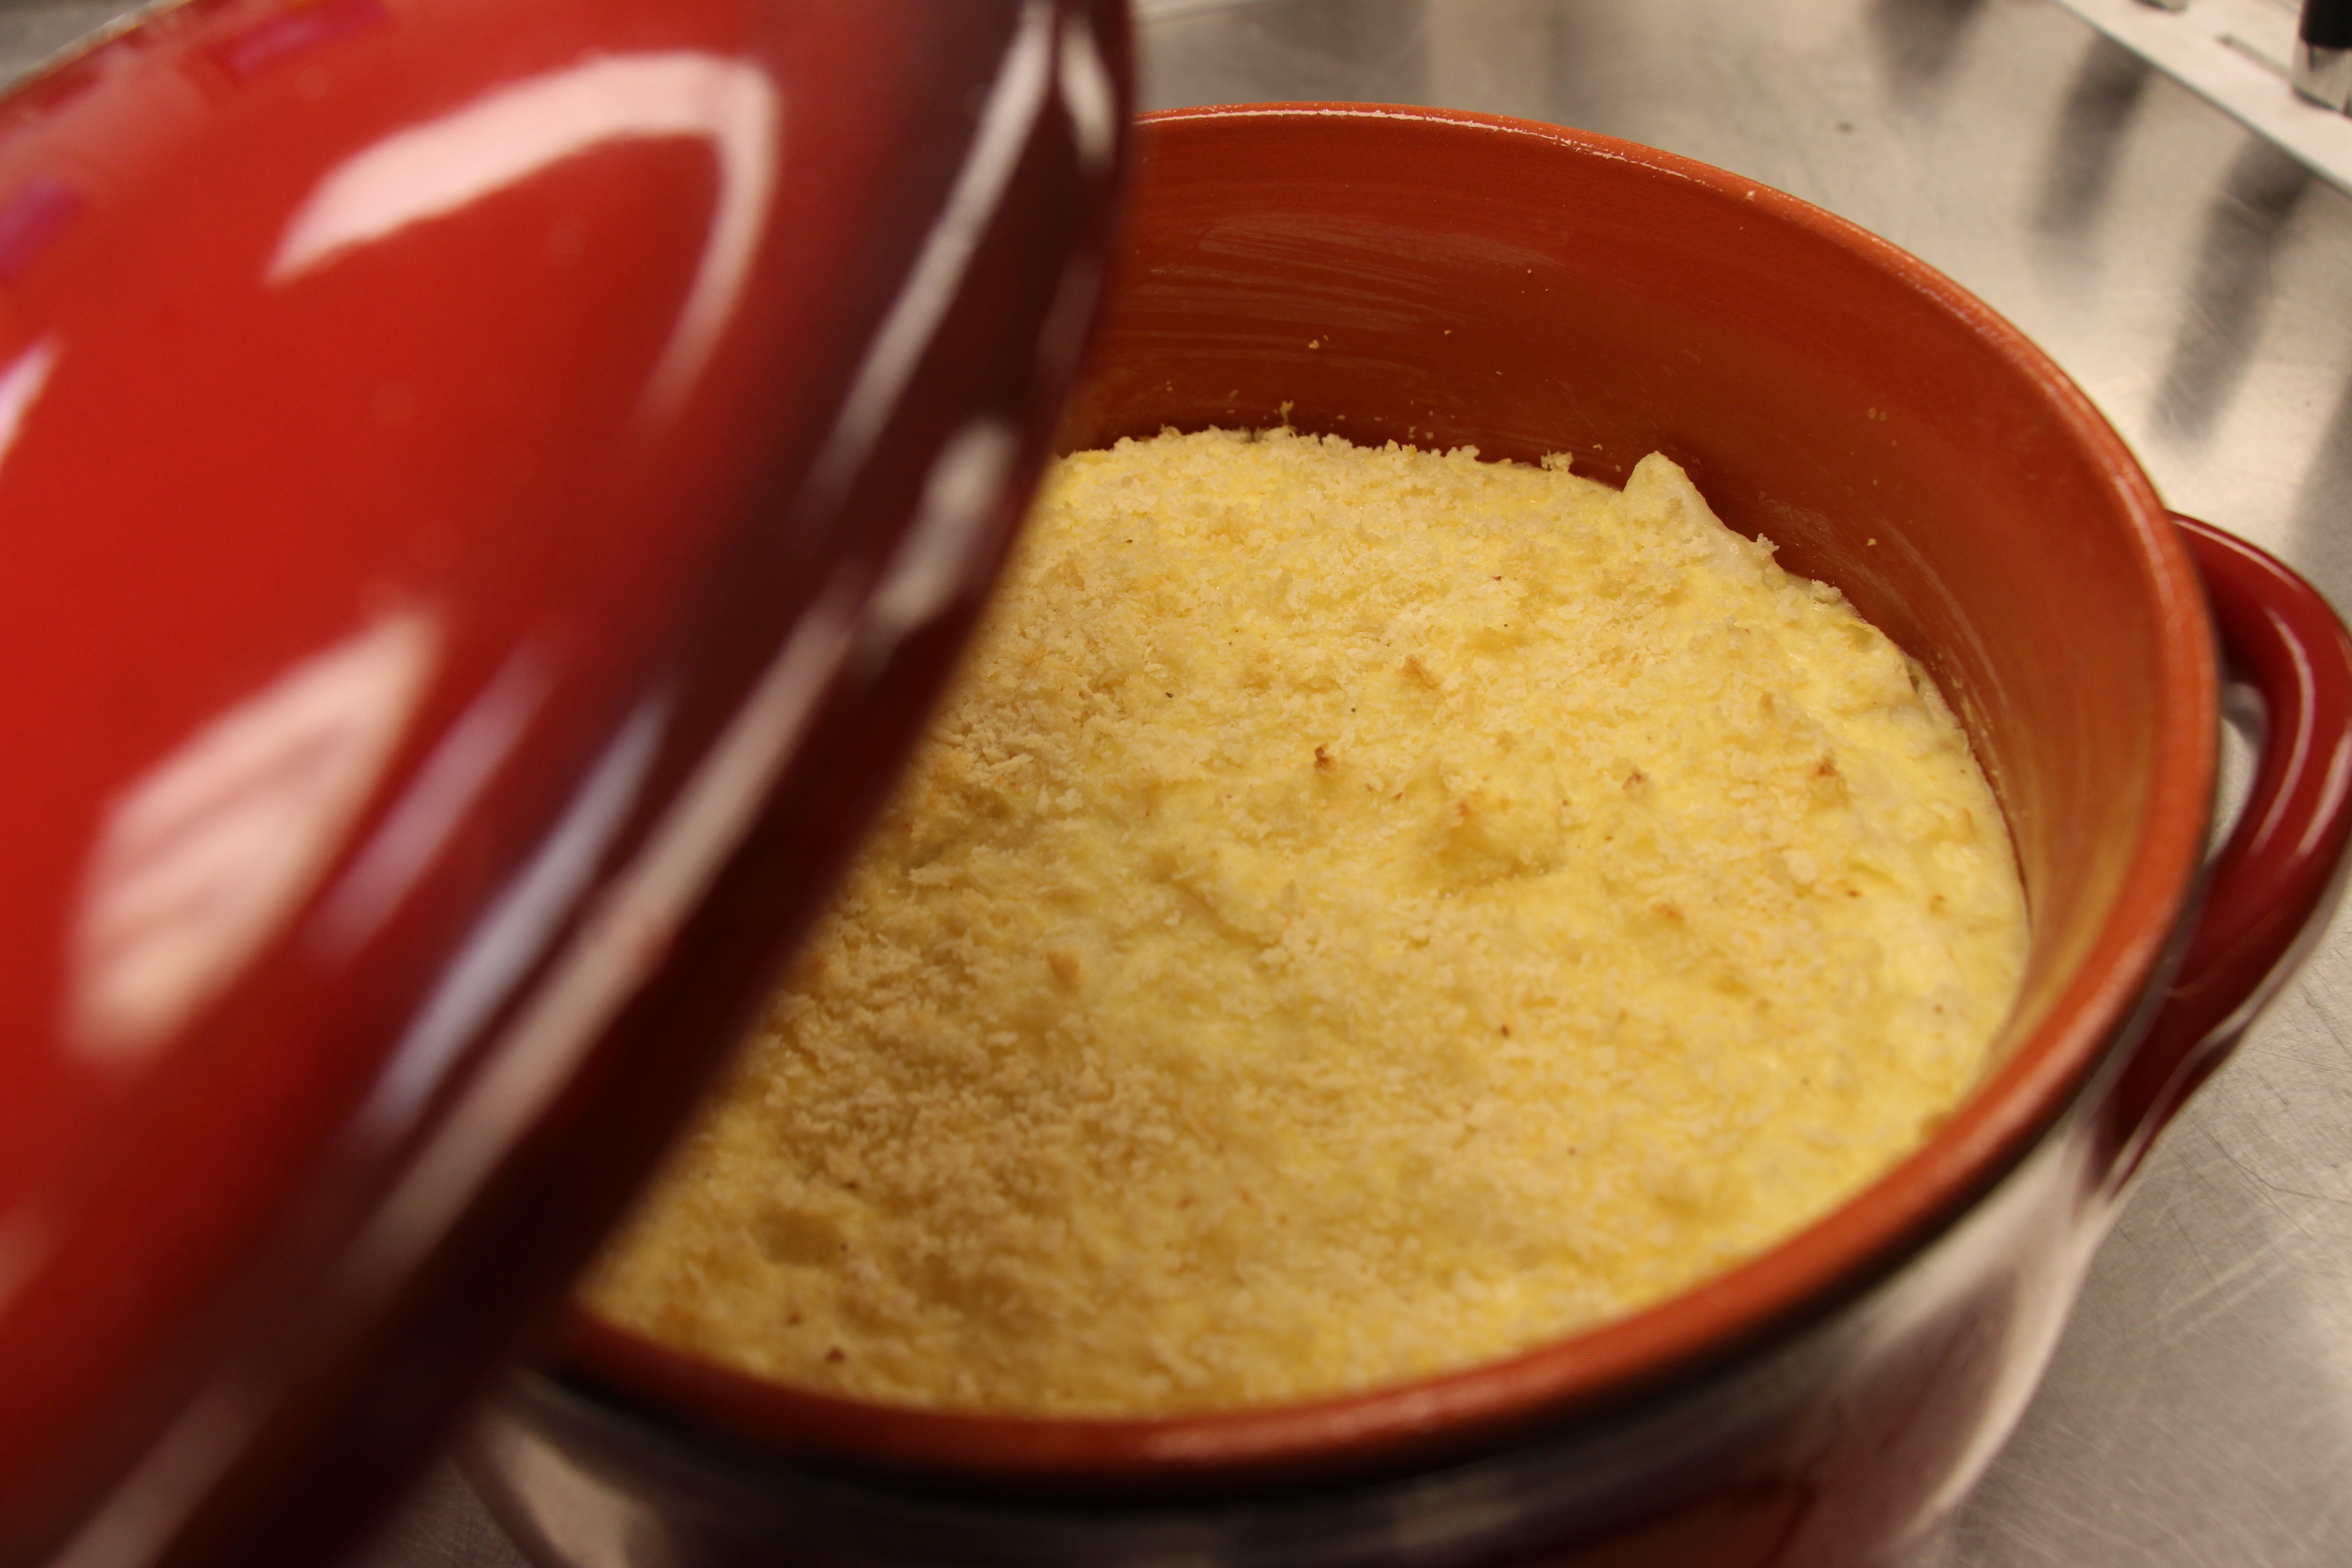
- Butter an oven dish or loaf pan and sprinkle with half of the breadcrumbs to line the pan, shaking away the excess (use gluten free breadcrumbs if making gluten free). Pour in the mixture and sprinkle the surface with the remaining breadcrumbs.
- Bake for 30-40 min. in the hot oven, until the top is golden and slightly crusty. Serve warm.