Being a Benedictine House, we start our day with the office of Lauds followed by Eucharist. As I left the service today, I was struck by just how many years Monasticism has existed and thrived, and how blessed I was to be a part of a living organism that has withstood the passage of time and changed the world in the process.
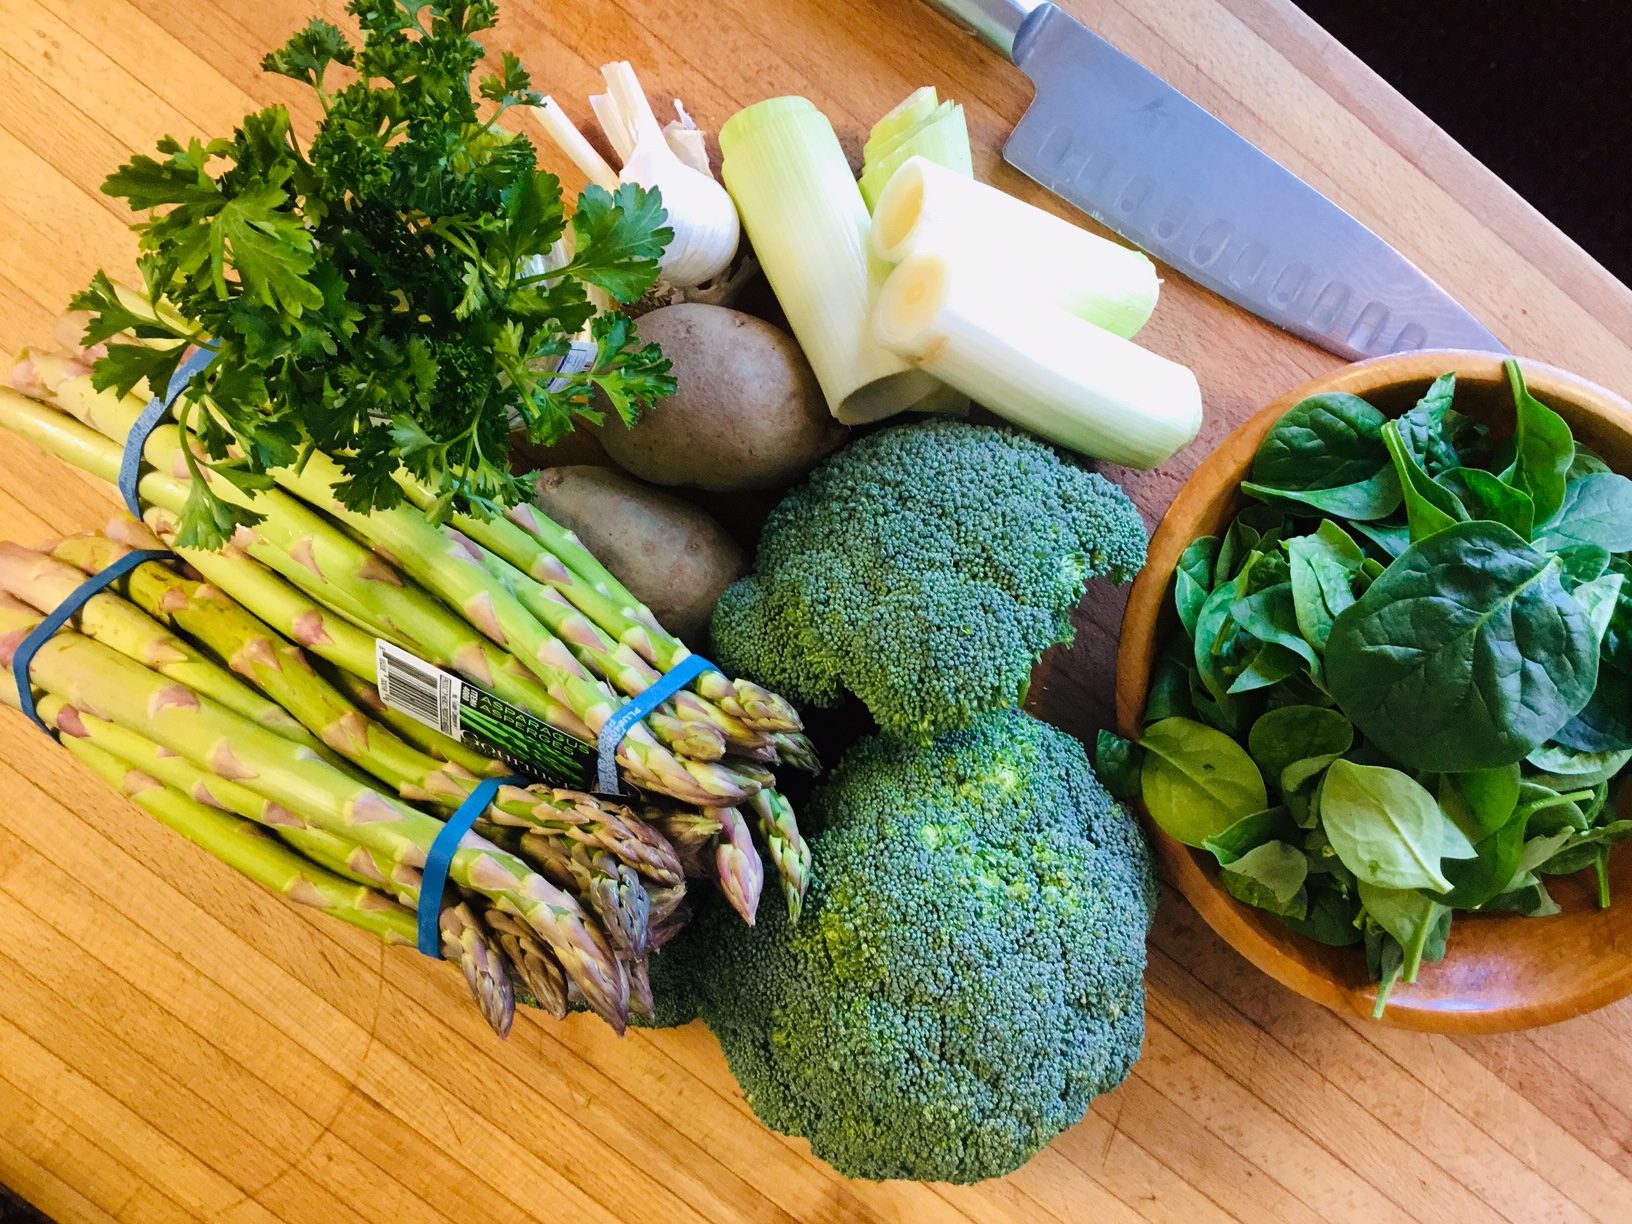
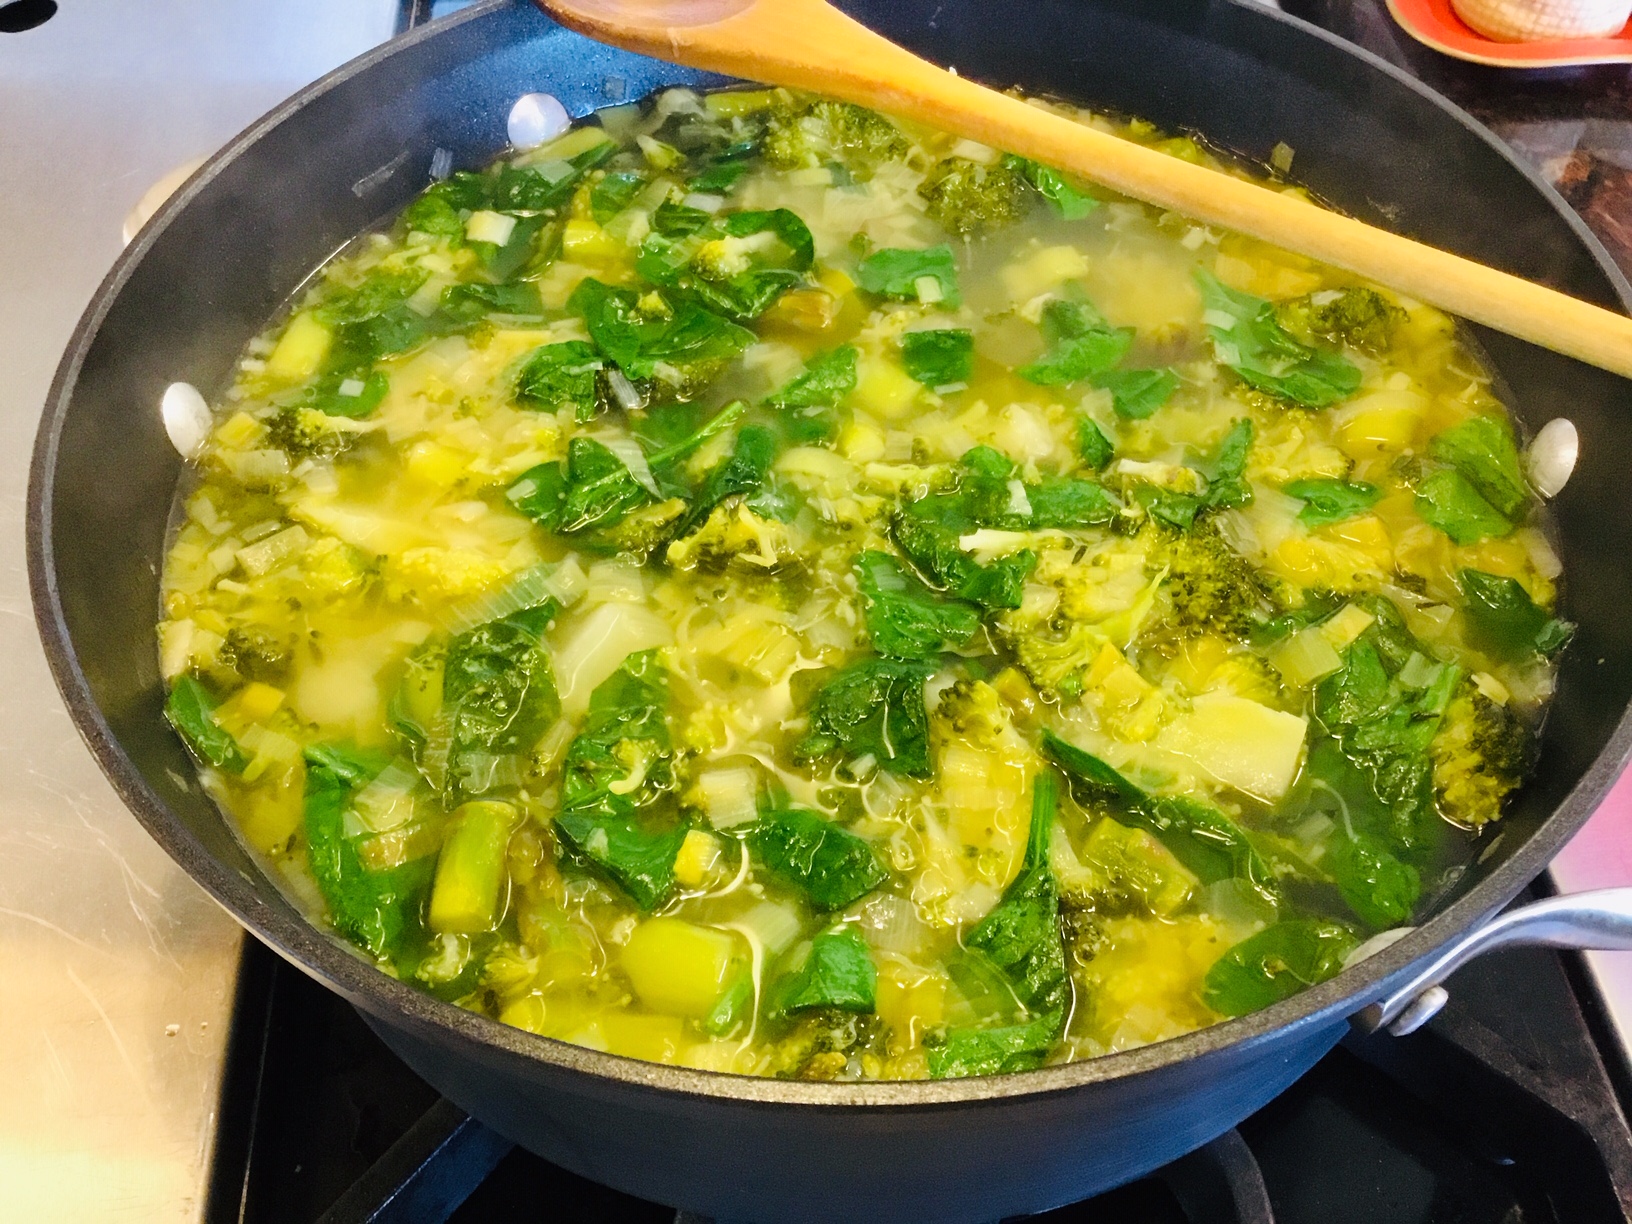
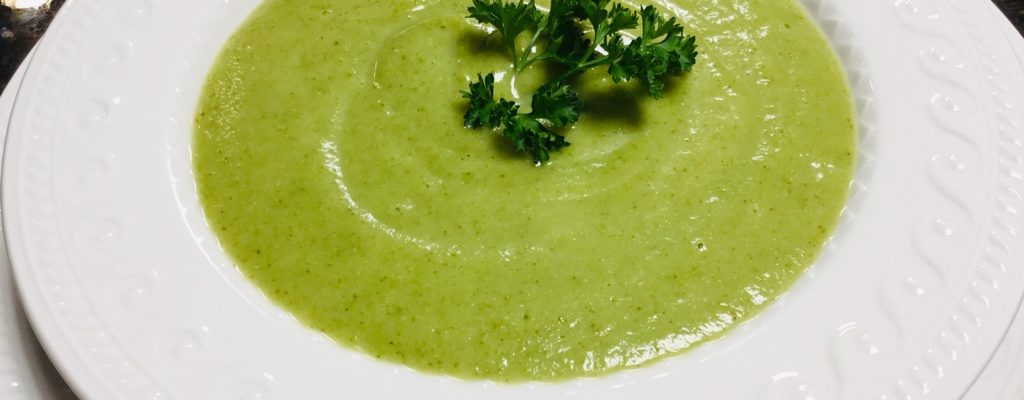
As I passed through our atrium, I was met with the lovely singing of birds. With the cold winter we’ve had, this promise of spring was a delight to my ears and got me itching to create a light new soup that was both colorful and tasty. I set out for the kitchen to create just that.
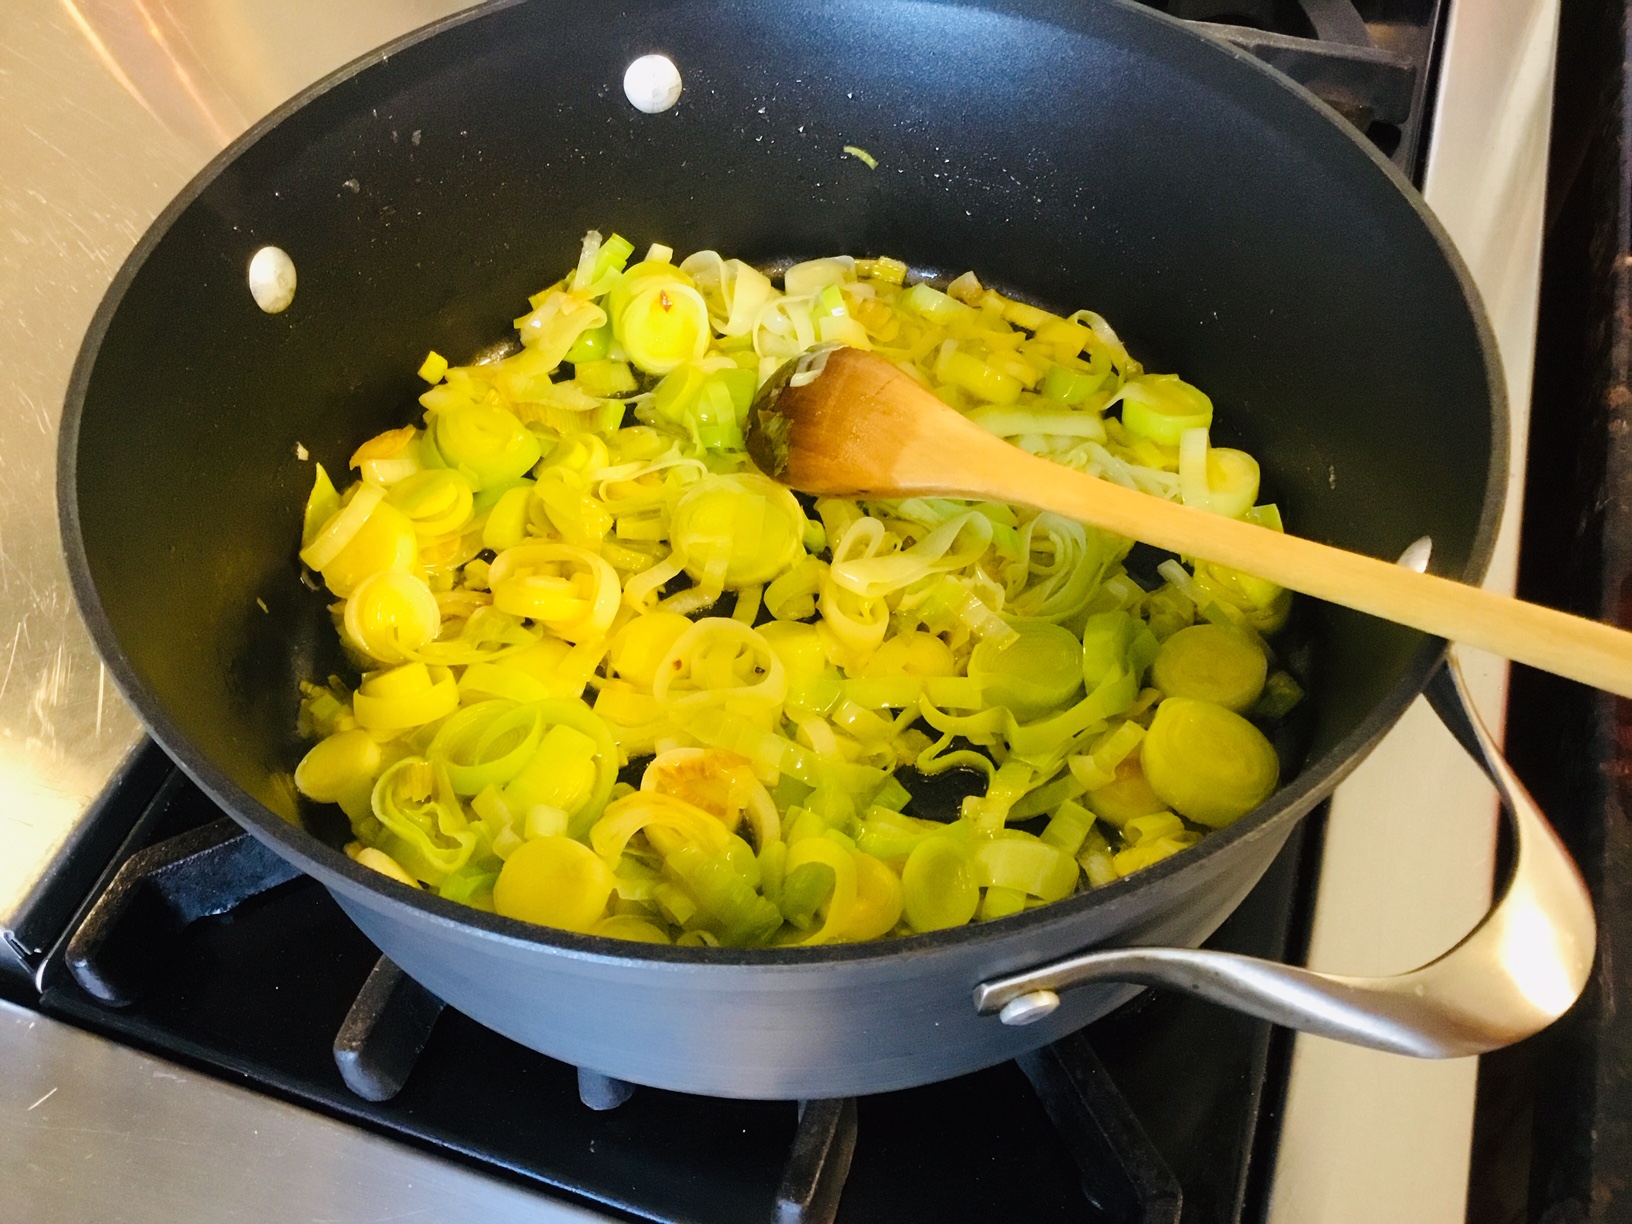
In a large stockpot over medium heat, sautee leeks, garlic, and thyme in the butter and olive oil until softened- about eight minutes.
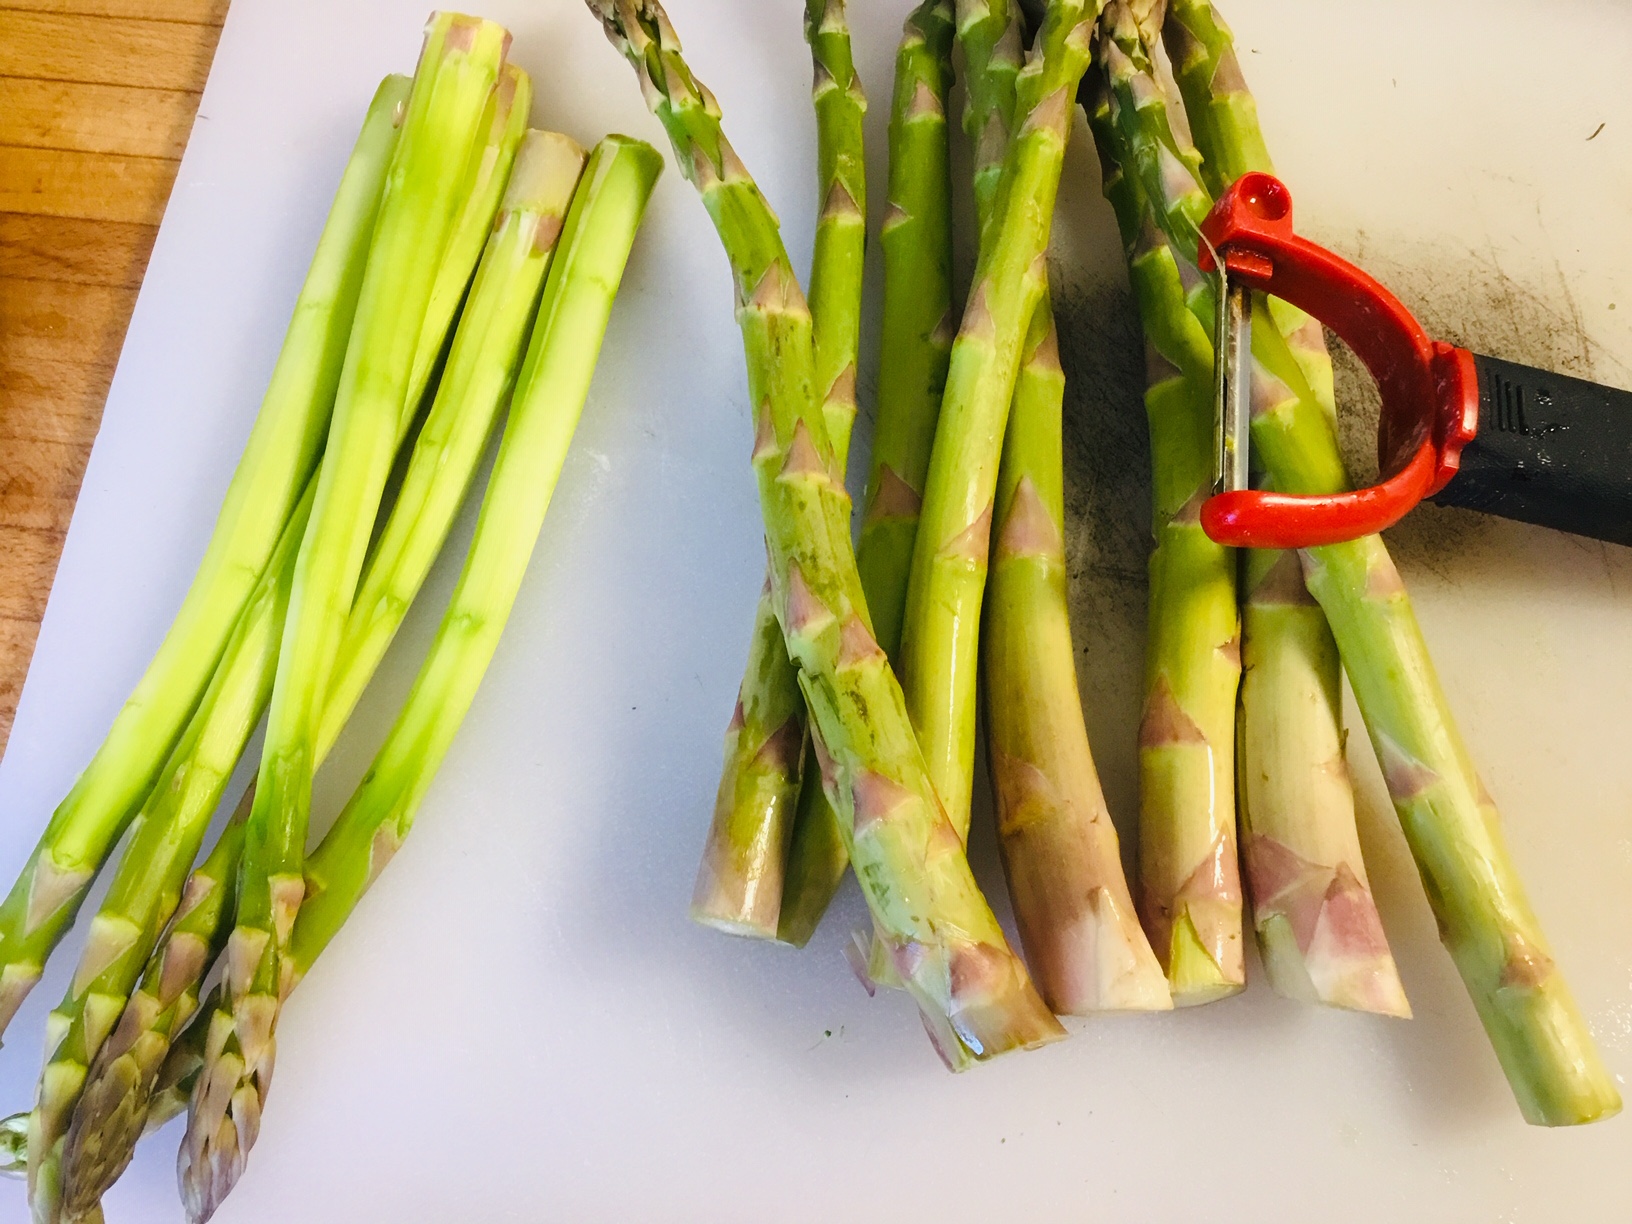
Add diced potato and cook an additional 5 minutes or until the potatoes begin to take on a slightly translucent hue. Meanwhile, prepare asparagus by snapping off the ends and peeling the sides with a vegetable peeler and cut into 1" pieces.
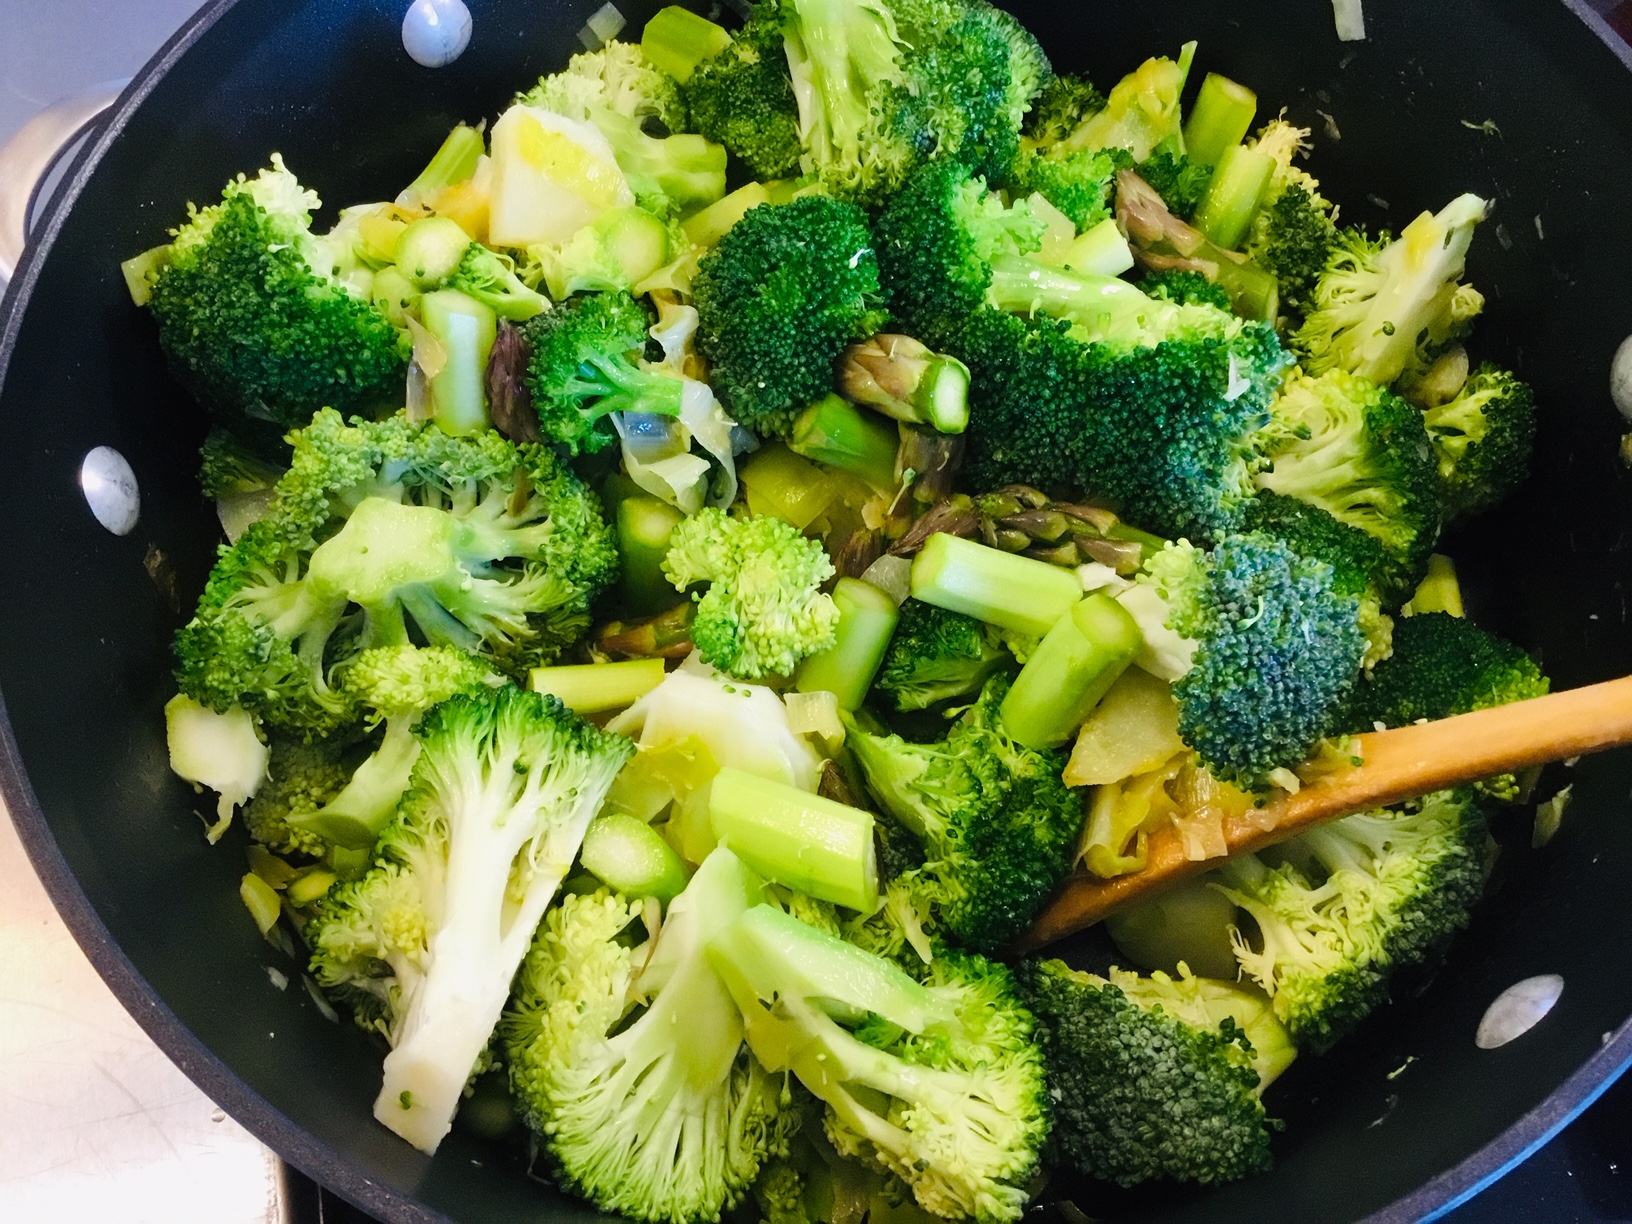
Add broccoli florets to your stock pot and cook for an additional 5 minutes, stirring occasionally. Add prepared asparagus pieces and cover with 8 cups of stock (vegetable or chicken, whichever you prefer). Stir and bring to a simmer.
Cover your pot and cook until your vegetables are tender about 10 min.
After 10 minutes, uncover the pot, turn off the heat and add the spinach. Allow to sit for an additional five minutes.
Cool slightly, and puree using an immersion blender or a countertop blender. Season to taste with salt and pepper. Add more broth to achieve the desired thickness or add some cream. Re-heat and serve. Makes 14 cups of soup.
When I spent time at our mission house in Italy, I fell in love with fennel. For many, this might be a vegetable you see in the grocery store and have absolutely no idea what you would do with it. It is an underutilized vegetable and during the doldrums of winter, it might just become your new favorite. It looks a bit like it might be a member of the celery family or some sort of cabbage, but instead, it’s a flowering plant of the carrot family. The flavor is subtle, slightly sweet and has hints of anise, but don’t worry, you won’t be eating a Twizzler when it is cooked correctly. It can be eaten raw – thinly sliced in a salad or slaw or carmelized and used in a soup or stew. In this simple recipe, we’ll show you how to take this lovely vegetable and transform it into a velvety and flavorful side dish.
Cut each fennel half into 3 wedges. Melt 1 Tbsp butter in a large nonstick skillet over medium-high heat. Add fennel; cook 7 minutes or until browned, stirring occasionally.
Add wine, stock, salt, pepper, minced garlic and thyme sprigs; bring to a simmer. Cover, reduce heat, and simmer 20 minutes or until tender. Increase heat to medium-high; cook, uncovered, 1 minute or until liquid is slightly thickened. Remove thyme sprigs from pan; discard.
Melt remaining 1 Tbsp.butter in a small skillet over medium heat. Add breadcrumbs; cook 3 minutes or until browned, stirring frequently. Remove pan from heat; stir in parsley and cheese. Arrange fennel wedges on a plate and sprinkle with breadcrumb mixture.
Many years ago when terms like “special diet,” “wheat-free,” etc. were seldom being used, I was introduced to a flourless chocolate cake by a friend whose good judgment regarding food I respected. She maintained that this cake had become a favorite of many whether or not they had any food restrictions. Her husband had some serious ones, but now loved and ate it whenever it was available.
Still skeptical, I put the recipe away until another time. When I’d given up some of my opinions, I made it myself and I became an avid believer!
Grease an 8-inch spring form pan and line the bottom with parchment paper and spray the parchment when in place.
Place the one pound of chocolate in a double boiler on medium-low heat and stir occasionally until the chocolate is melted.
Immediately stir in the butter, flour, sugar, coffee granules, and salt, whisking in the egg yolks until smooth.
Place the egg whites in the bowl of an electric mixer fitted with the whisk attachment and beat until they form soft peaks. Scrape the egg whites into the chocolate mixture and fold them in carefully with a rubber spatula.
Scrape the batter into the prepared pan, level the top, and bake for 15 minutes.
Turn the oven off and leave the cake in the oven, cracking the oven door open and allow the cake to cool in the oven for an hour.
Carefully remove the sides of the pan and slide the cake onto a flat serving plate.
Top with whipped cream, a dusting of cocoa powder, raspberries and a sprig of fresh mint for an elegant--and flourless--chocolate dessert!
One of our sisters has a special interest in cooking the foods of other countries. Over time she has heard me repeat many stories of my Ukrainian mother’s experiences with food and what I learned about it through her.
Perhaps my favorite memory is that of packing our picnic boxes for our all-day blueberry picking excursions. These always contained fresh baked babka, lots of butter some fresh boiled eggs from our chickens and a little horseradish root from our garden. Today’s blog features a glorified babka bread filled with chocolate…enjoy!
Combine yeast with warm water and let stand until it begins to bubble, about 5-8 minutes.
Mix flour, sugar, yeast, and lemon zest in a mixer on a low speed until combined.
Add eggs and water, and mix on medium speed until dough comes together, 2-3 minutes. Add salt, then butter, adding a few cubes at a time, mixing until thoroughly combined. Continue mixing for about 10 minutes on medium speed, until dough is completely smooth,and pulls away from the sides of the bowl. Be sure to scrape the sides of the bowl during this step!
Place dough in a large greased bowl cover with plastic wrap. Let rise in a warm place until doubled in size.
Grease two 9x4 inch loaf pans with oil and line the bottom of each pan with waxed paper. Divide dough in half and keep one half covered in the fridge.
Filling and Baking
Whisk together powdered sugar, cocoa powder, chocolate, and butter until you have a spreadable paste.
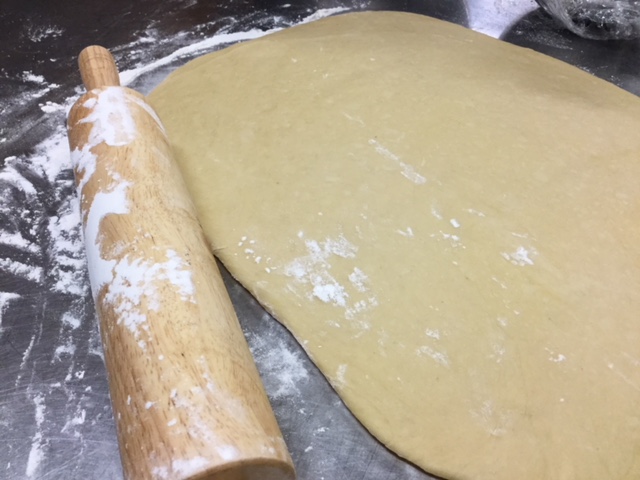
Roll out dough on a lightly floured surface and shape into a rectangle as wide as the pans are long.
Position dough so that a long side is closest to you and spread half of the chocolate mixture over the rectangle, leaving a ¾ inch/2 cm border all around.
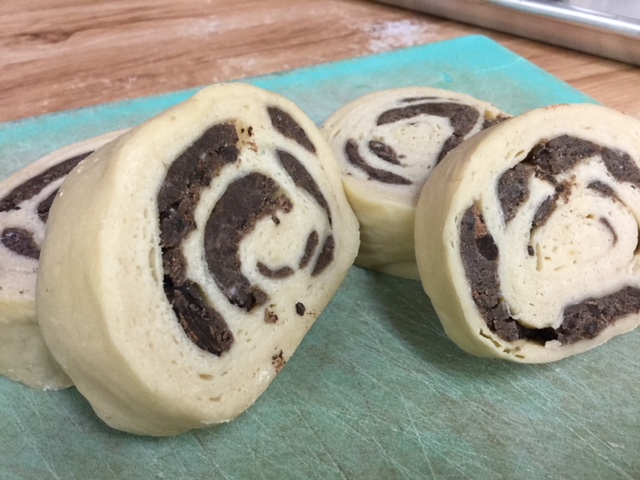
Roll up the rectangle like a jellyroll, starting from the long side closest to you and ending at the other long end. Press to seal the dampened end, then use both hands to even out the roll into a uniform roll and place it on your surface seam side down.
Trim about ¾ inch/2 cm off both ends, and slice the loaf into even 1-inch segments. Cover the pan loosely with plastic wrap and leave to rise in a warm place for 1½ hours.
Preheat oven to 375°F. Remove plastic wrap and place loaves on middle rack of oven, and bake for about 25-30 minutes.
Remove from oven when done and let cool. Babka will stay fresh for 24 hours in an airtight container at room temperature or tightly wrapped--don’t place in the fridge.
Babka freezes well for up to 2 months. To thaw, leave on counter or overnight in the fridge, and leftovers make excellent bread pudding or fabulous French Toast!
Tonight, our Convent was humming with Christmas cheer as we readied our home for Christmas. Some wrapped presents to send to families, other Sisters spent time catching up with old friends as they penned their lovely cards. In the kitchen, we turned on Bing Crosby and poured over old fashioned family recipes as we pondered which cookies we would make this year. The royal icing was prepared and crispy butter cookies were being decorated with sprinkles covering every surface. I remembered a cookie that I hadn’t baked in years and a favorite to be sure. In fact, you won’t find this anywhere else on the internet, at least I couldn’t. Cut from an old magazine, pressed onto an index card and covered in plastic, this shows how treasured this recipe is. Sometimes baking can restore wonderful memories of times past and other times it just puts a smile on your face, honey in your belly and much joy for the adventures ahead. I love Christmas. The beauty, the magic and most of all the precious gift that is awaiting us in the form of a little baby on Christmas morning.
May the season of light be yours this year. Blessed Christmas!
To make the filling: In a small saucepan, combine the apricots, sugar and water and simmer for 15-18 min. or until the liquid is reduced by half and add the rum or brandy. Let the mixture cool slightly and in a food processor or blender, puree it.
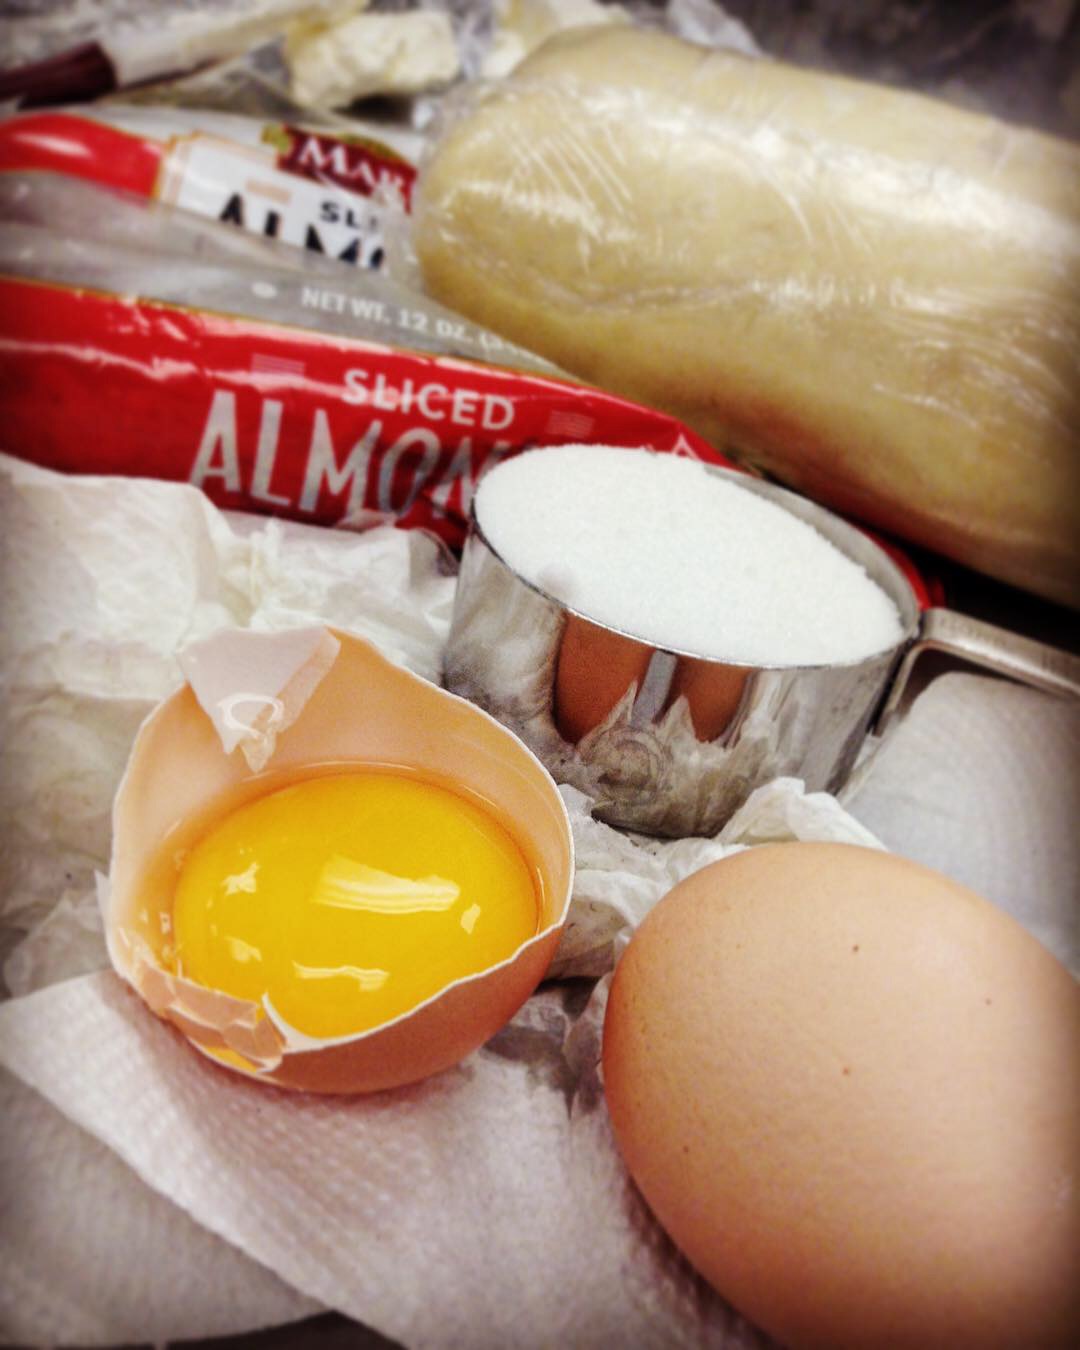
Make the shortbread cookie dough. In a bowl, whisk together the flour, baking powder and salt. In a separate standing mixer, beat together the butter, sugar, and brown sugar until the mixture is light and fluffy. Beat in the vanilla and the egg, beating the mixture until it is well combined. Slowly, add the flour mixture in stages and mix until just combined, but don't over mix or your shortbread will be tough.
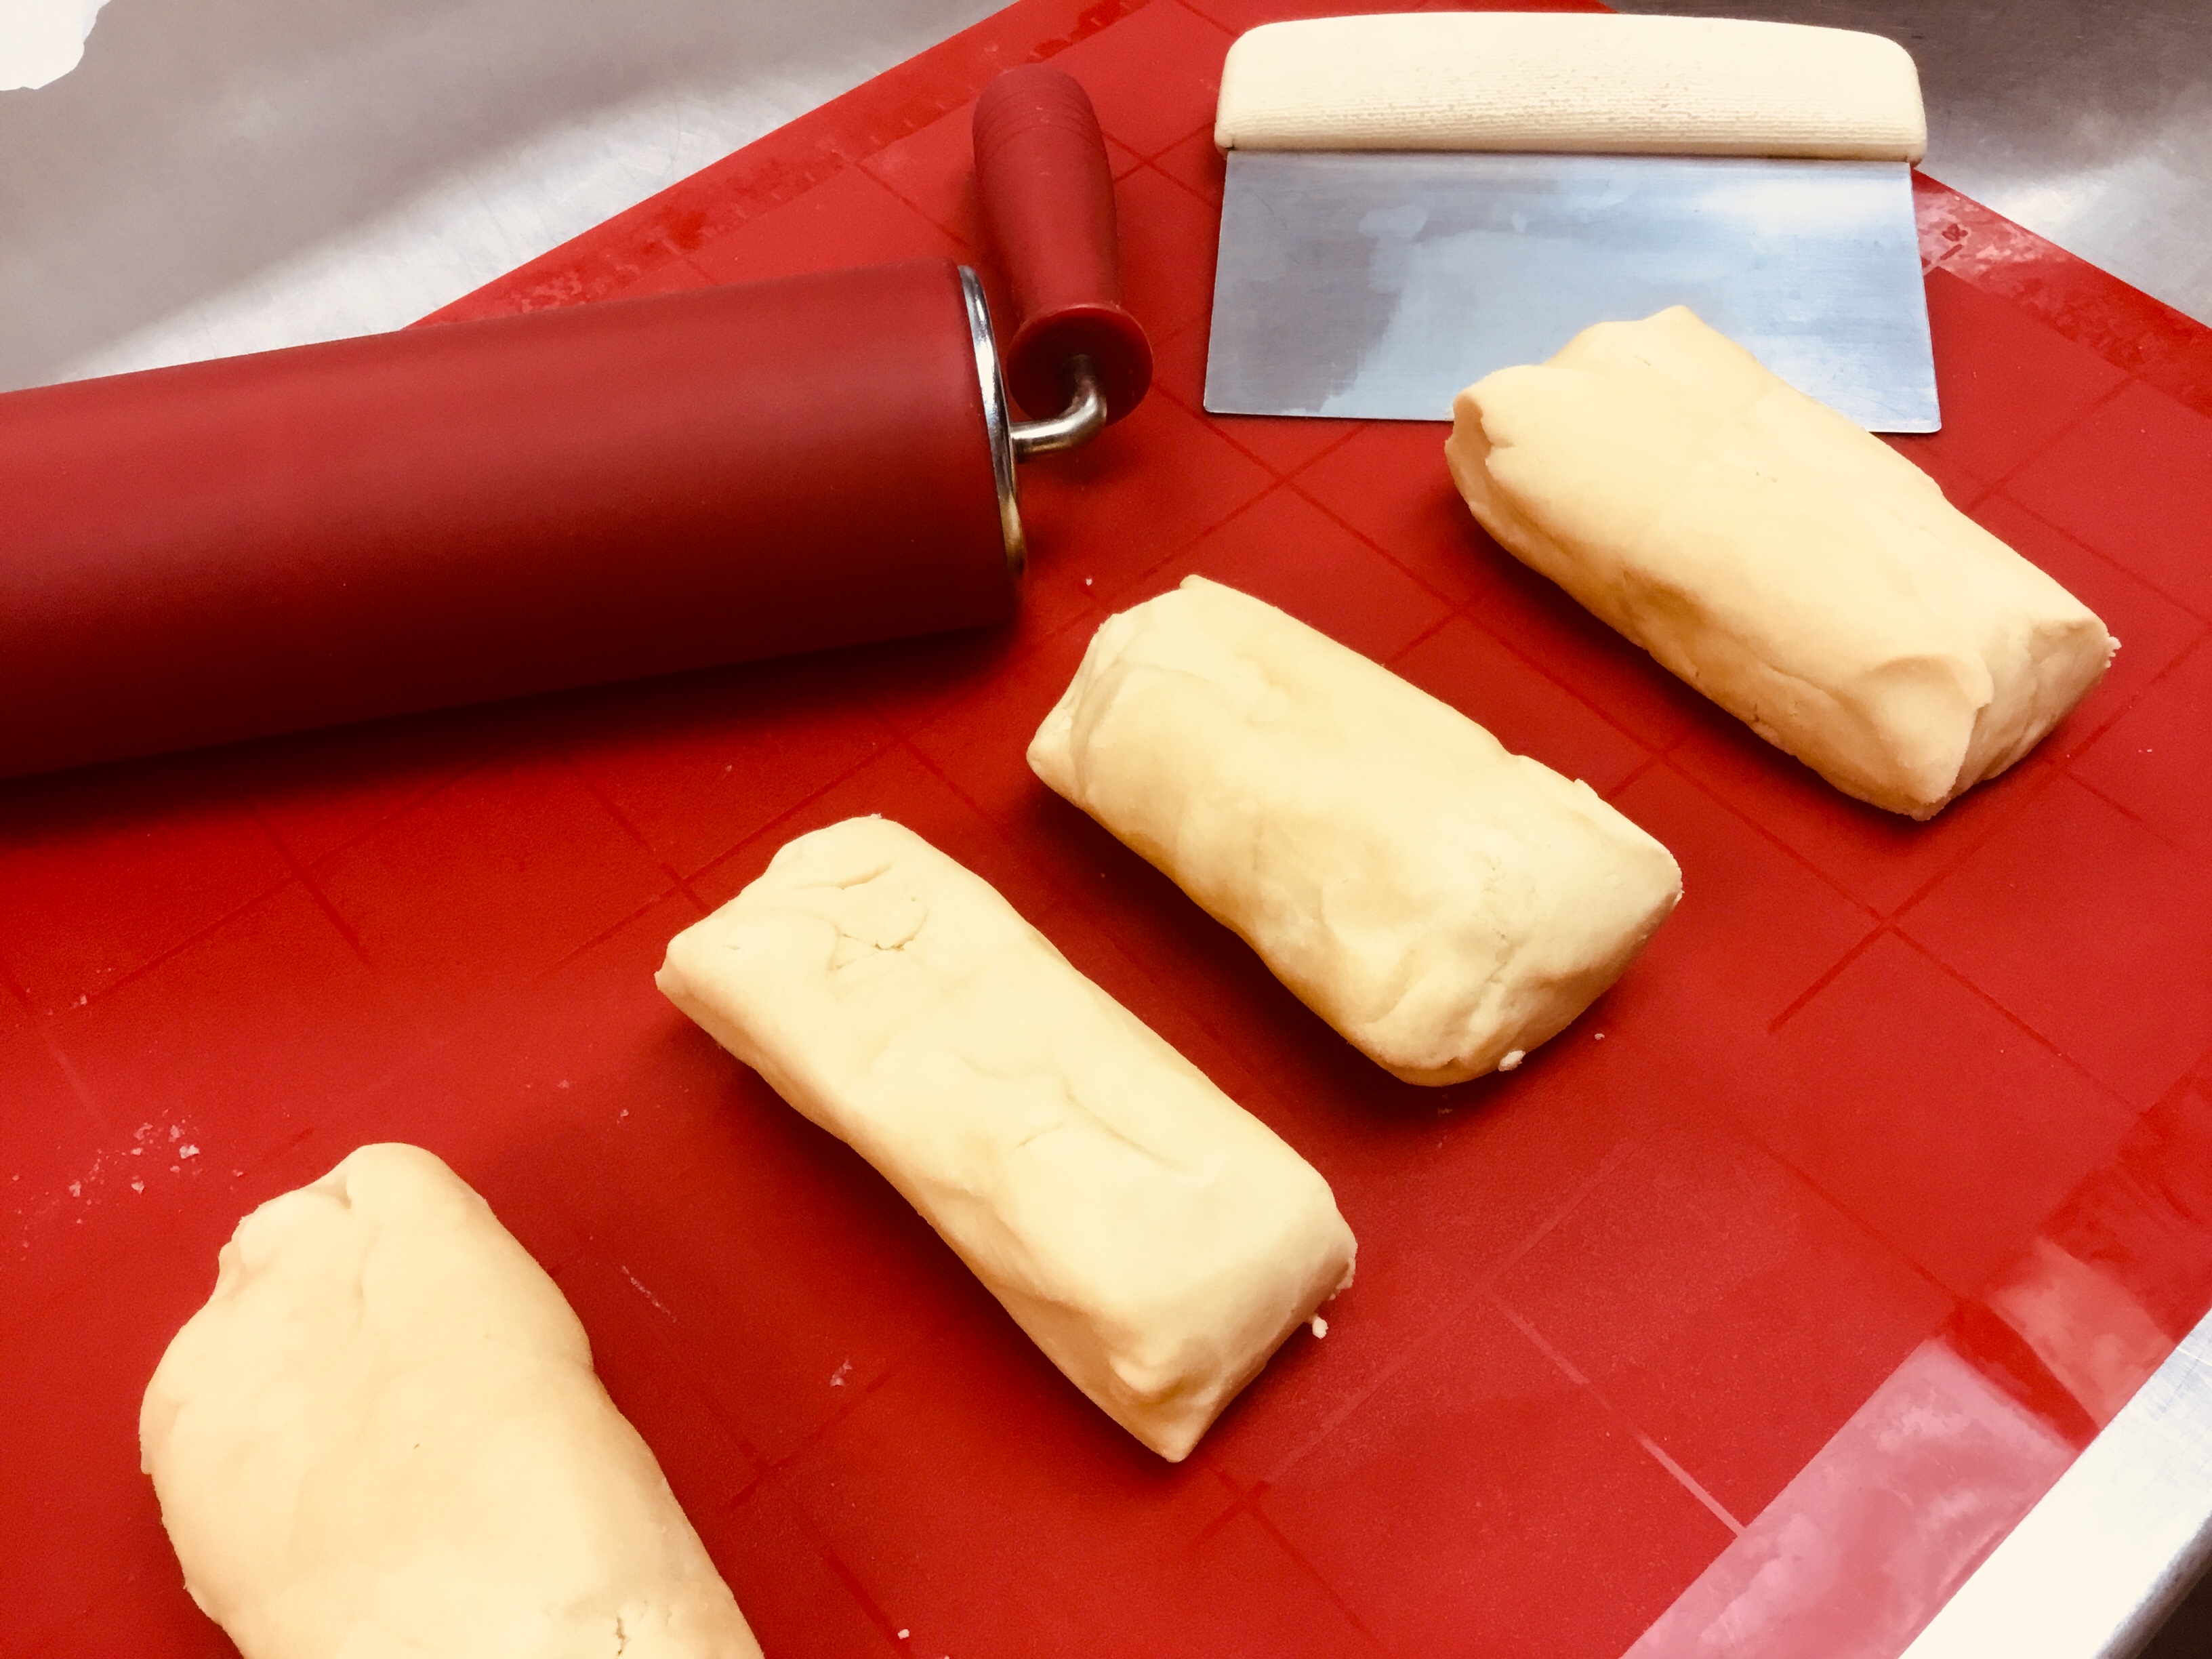
Form the dough into a log, wrap well in plastic wrap and chill for 1 hr. Divide the log into 4 pieces.
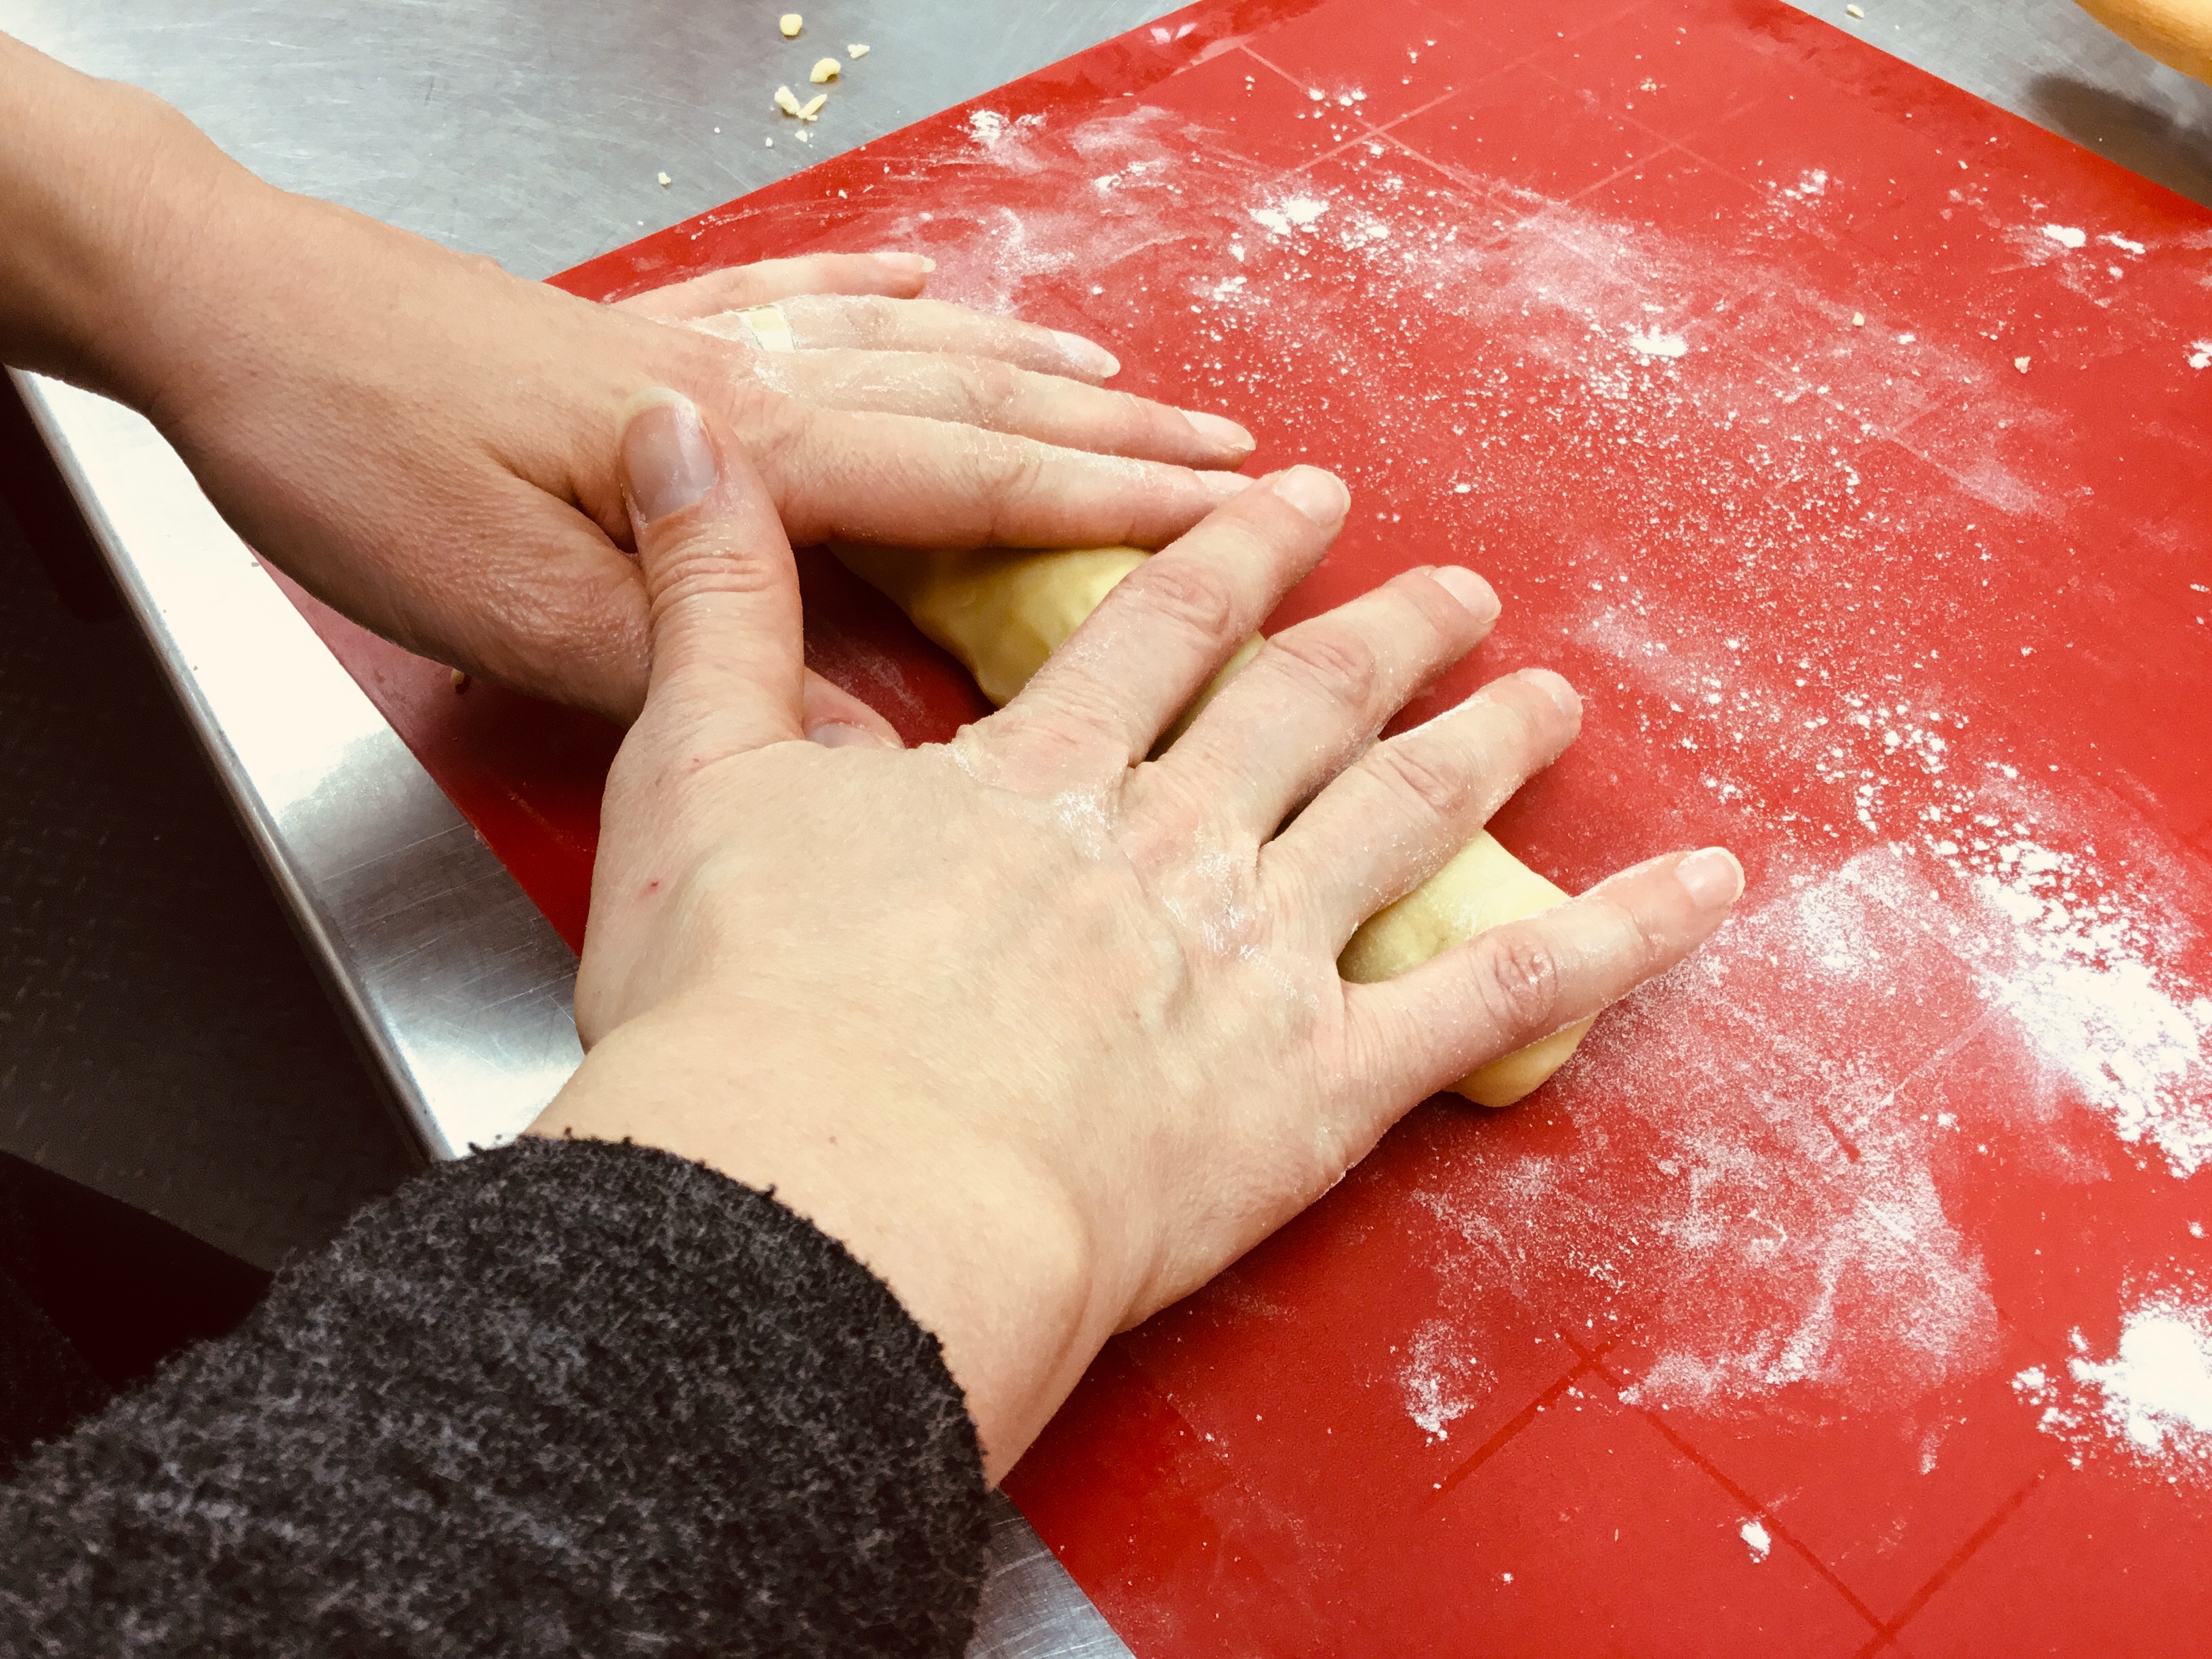
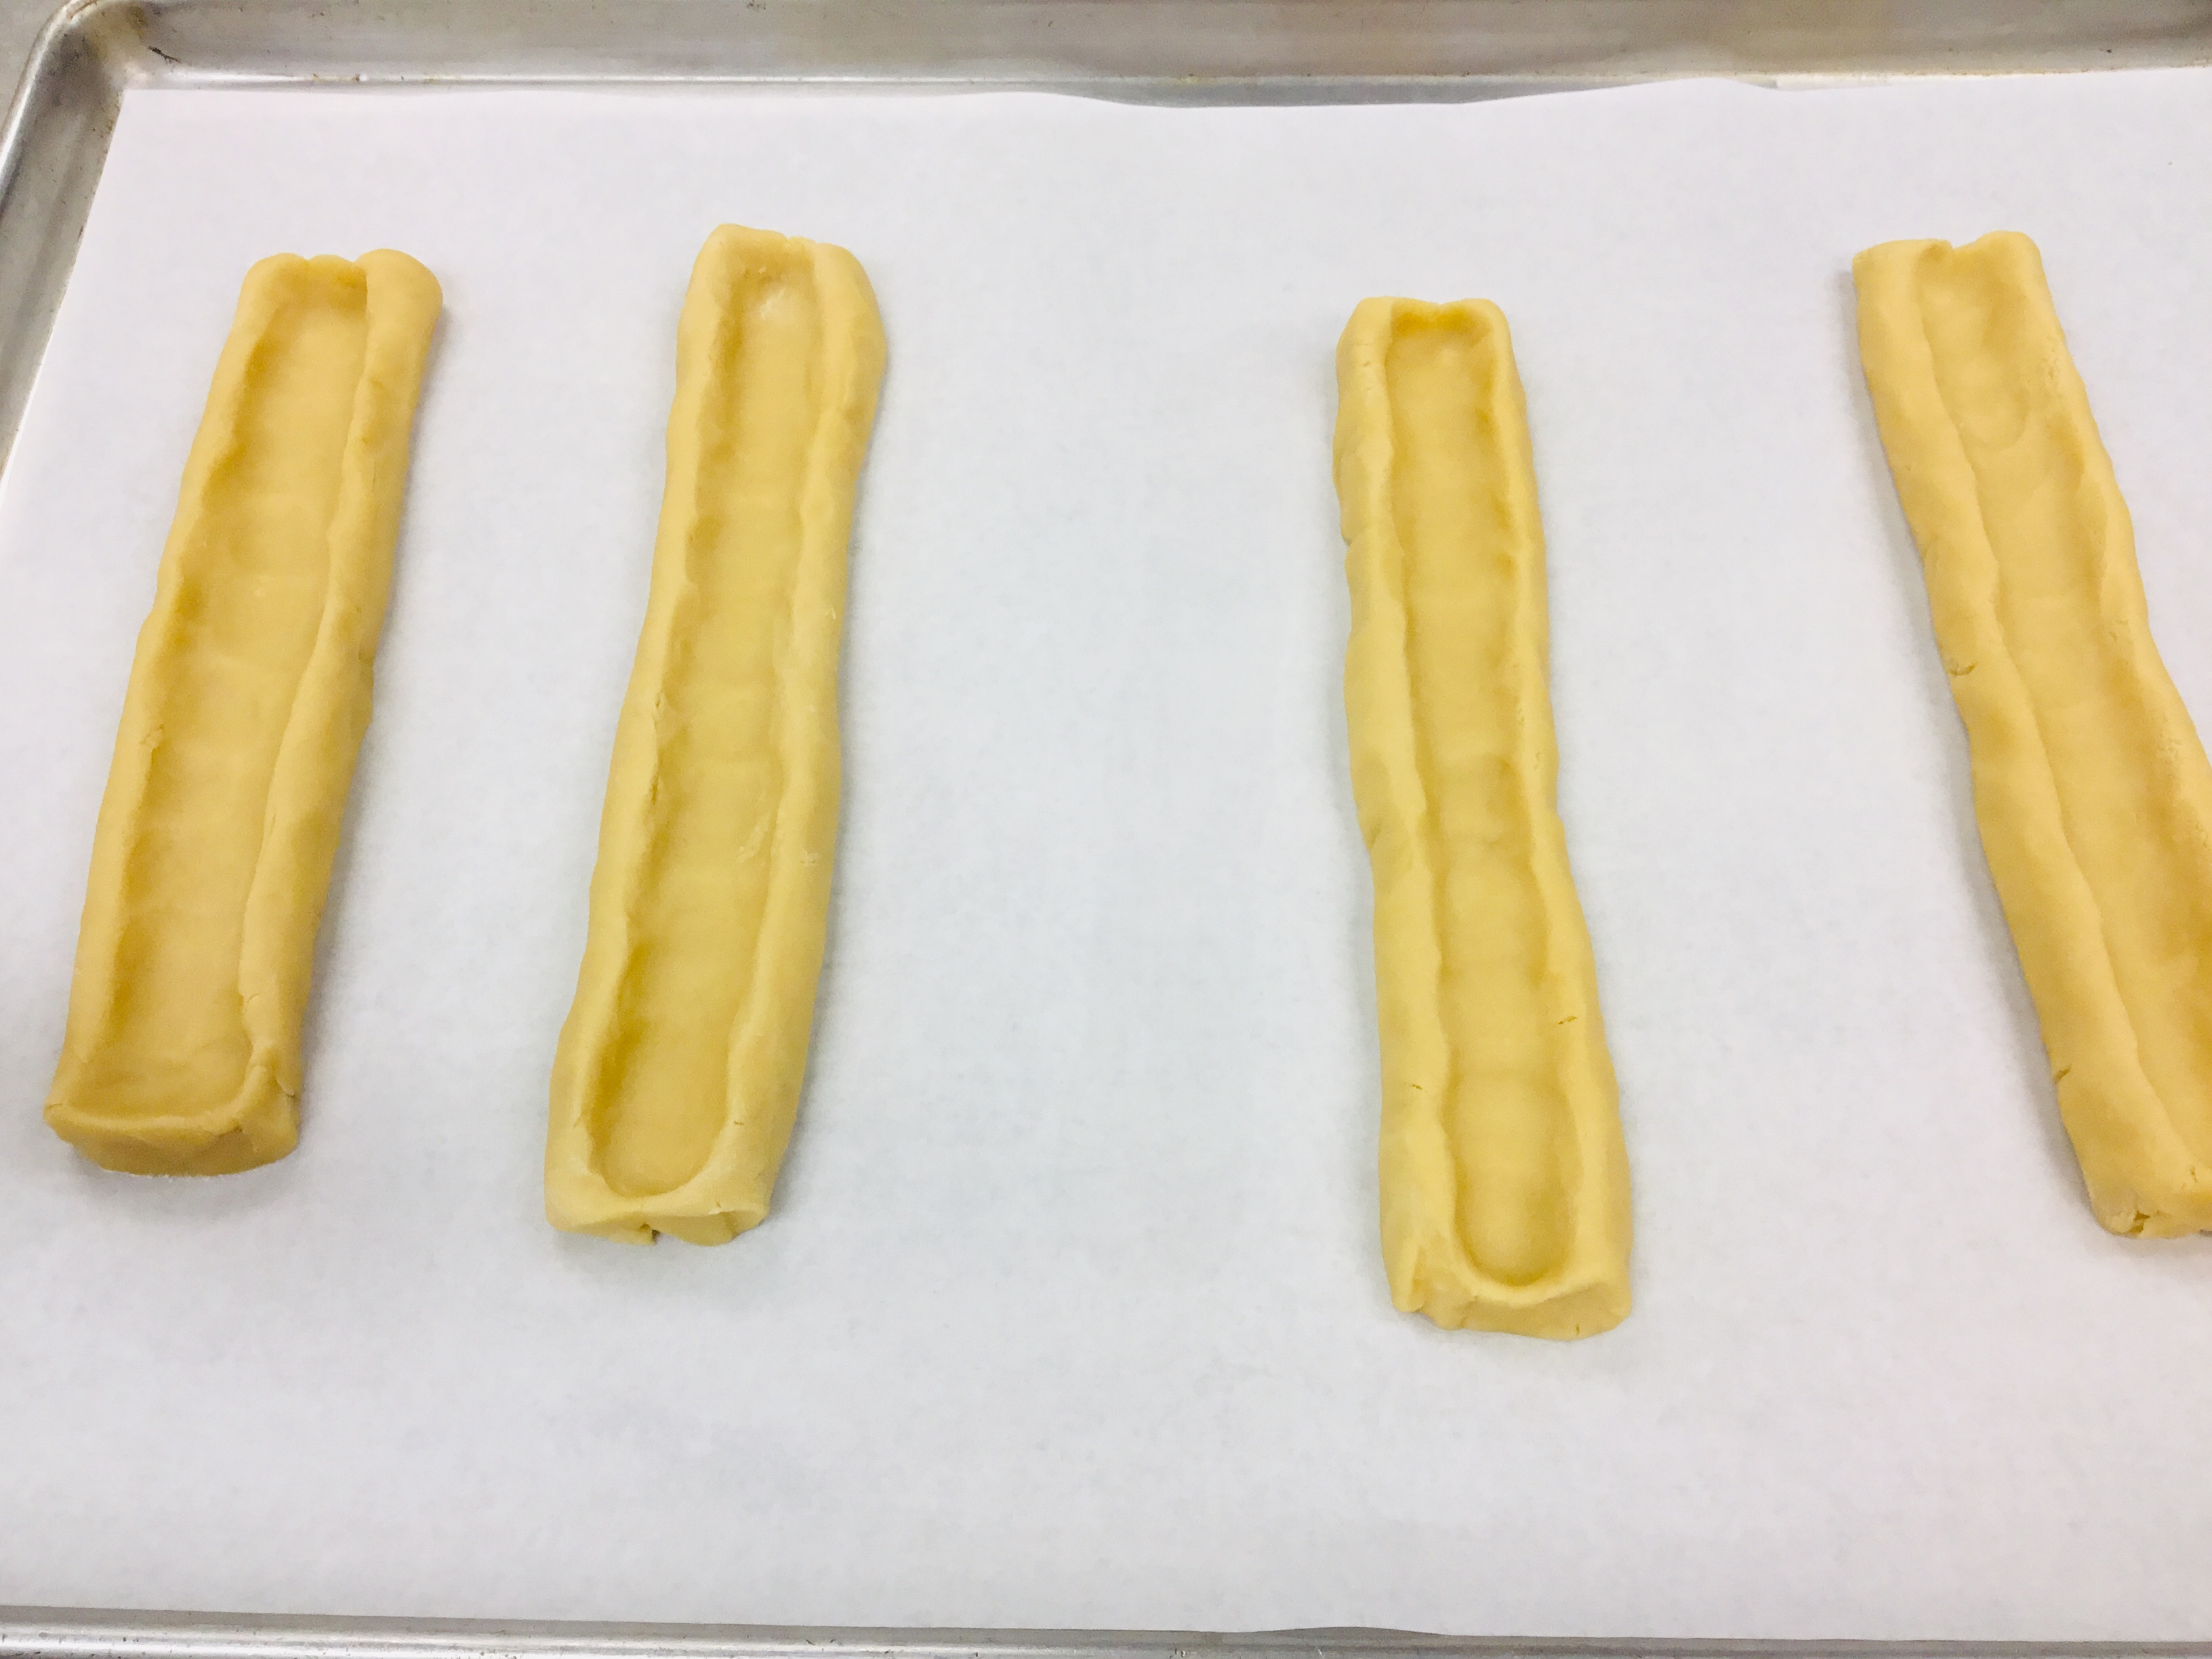
Working with one piece of dough at a time, place the dough in plastic wrap and roll into an 8 inch long rope - place on a parchment covered sheet pan and make a canal down the center with your finger so the log becomes a 8 x 2" rectangle with a channel in the middle.
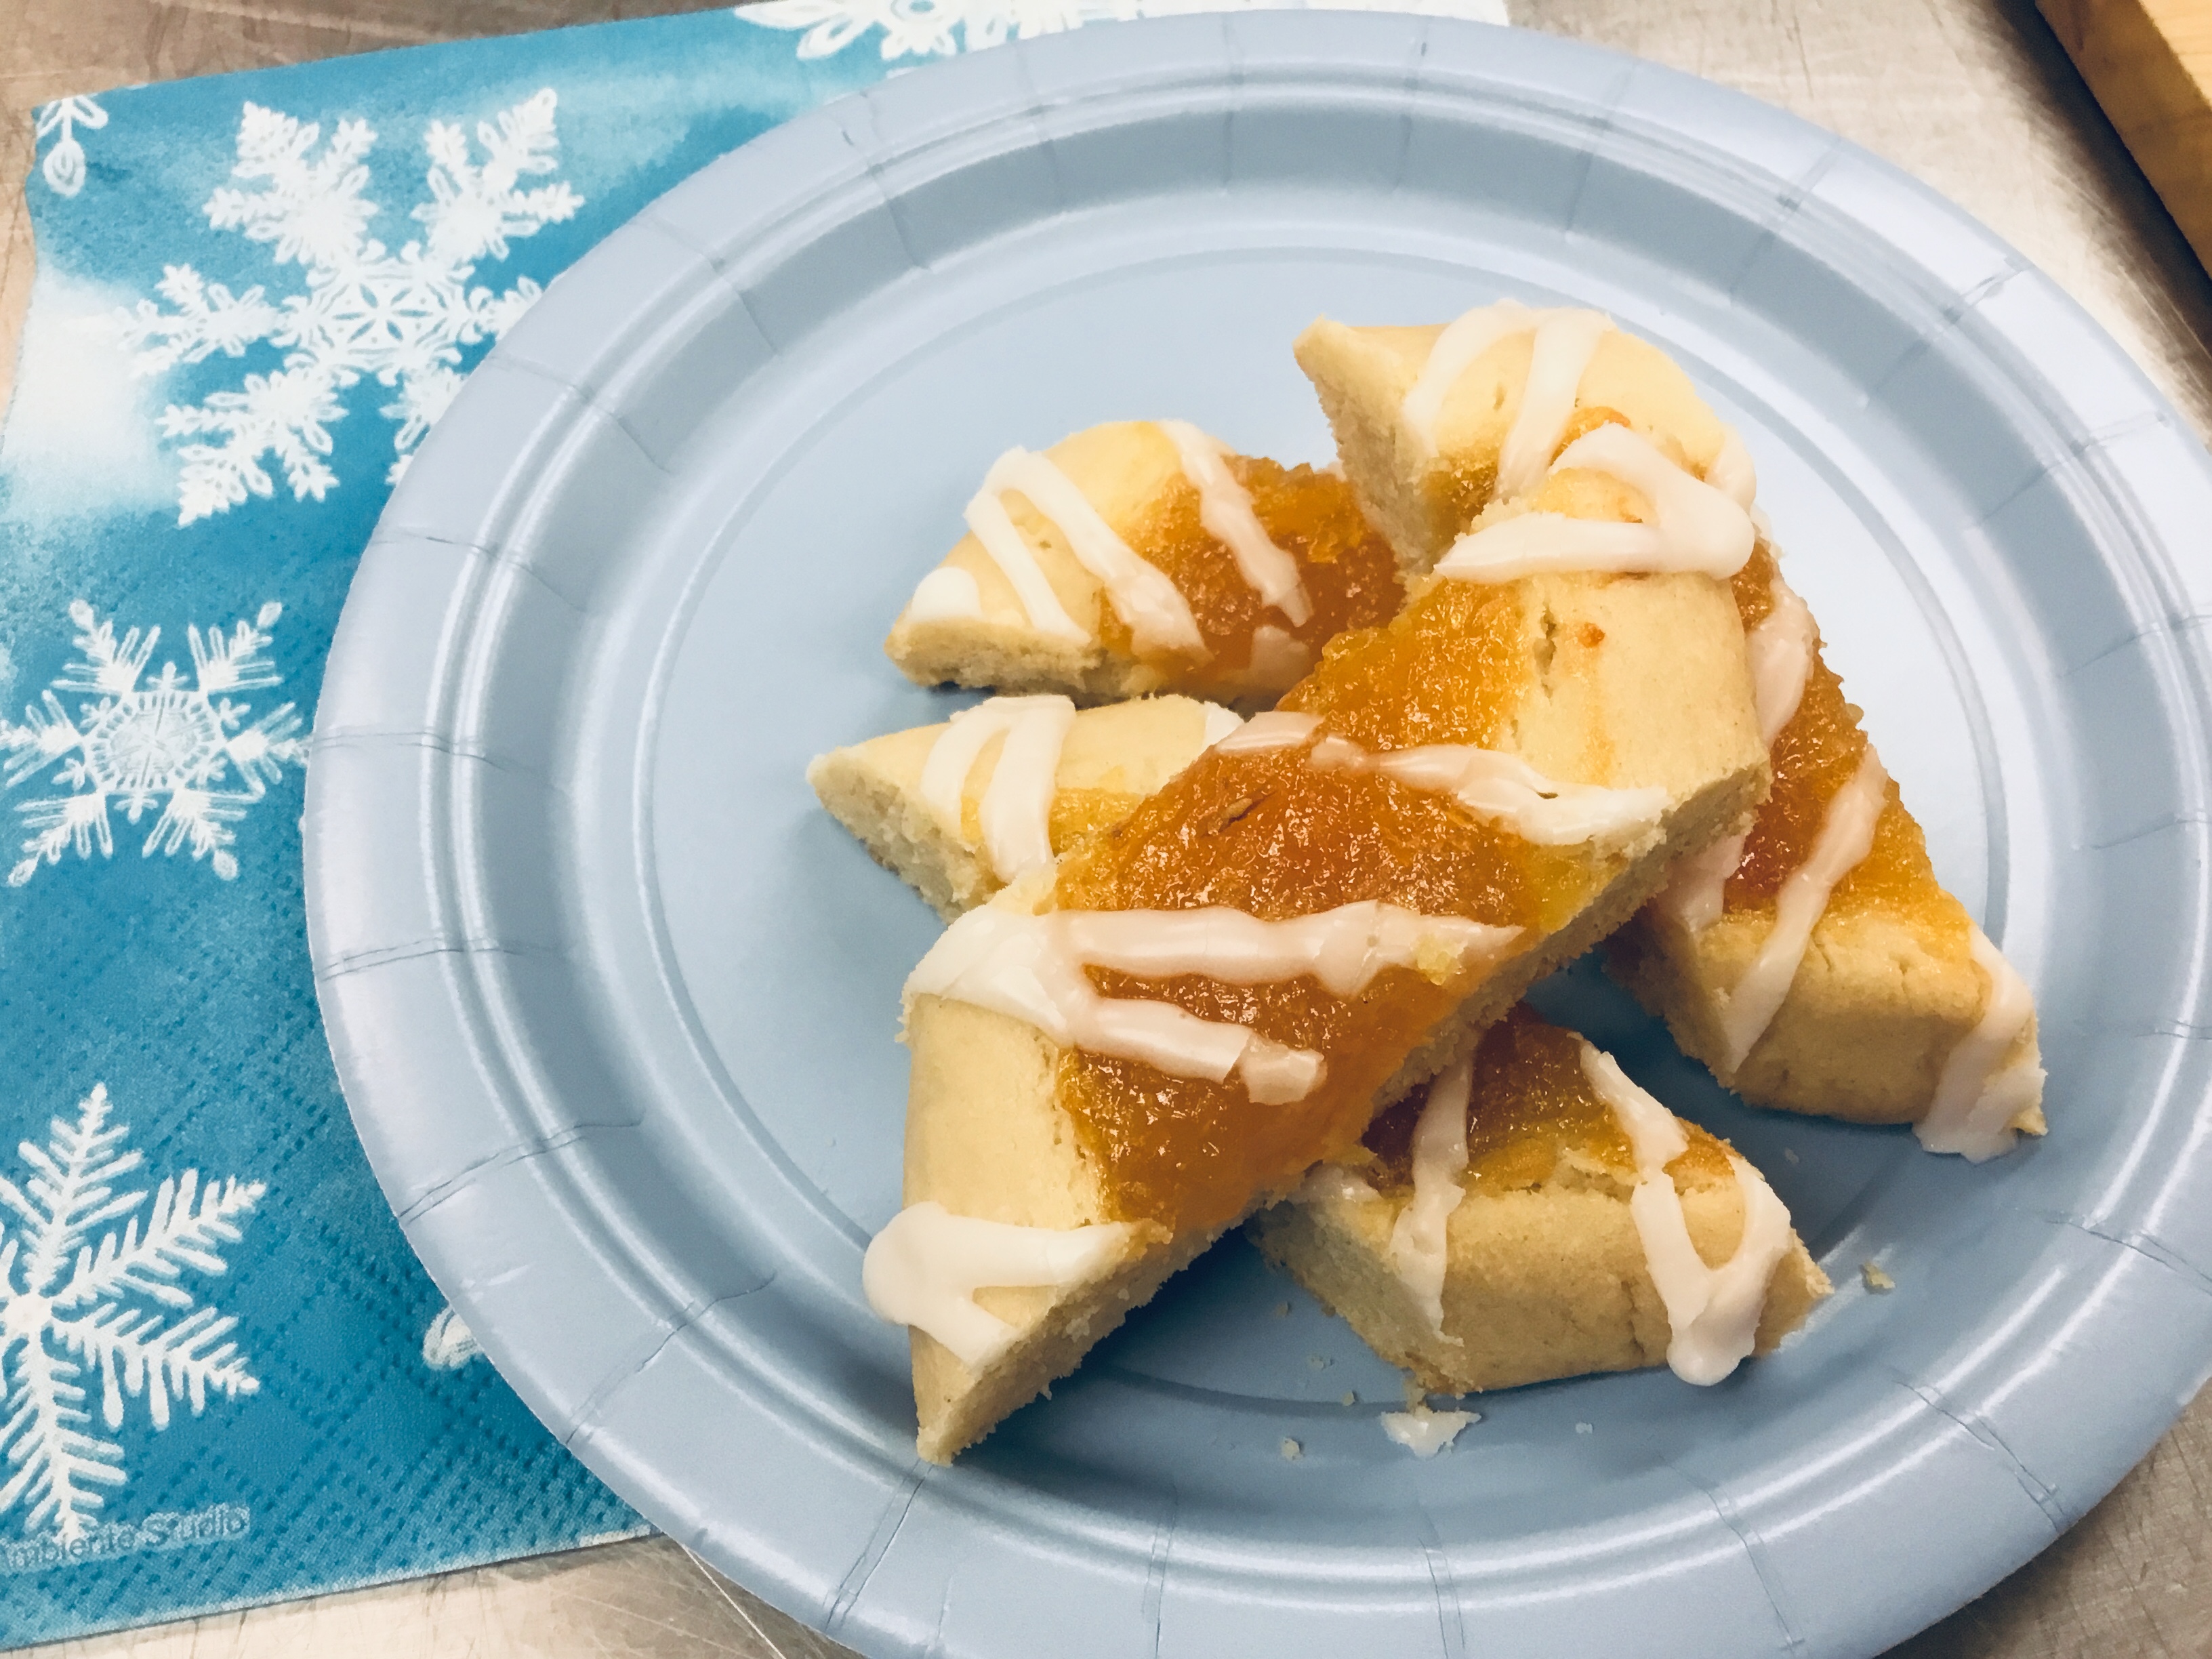
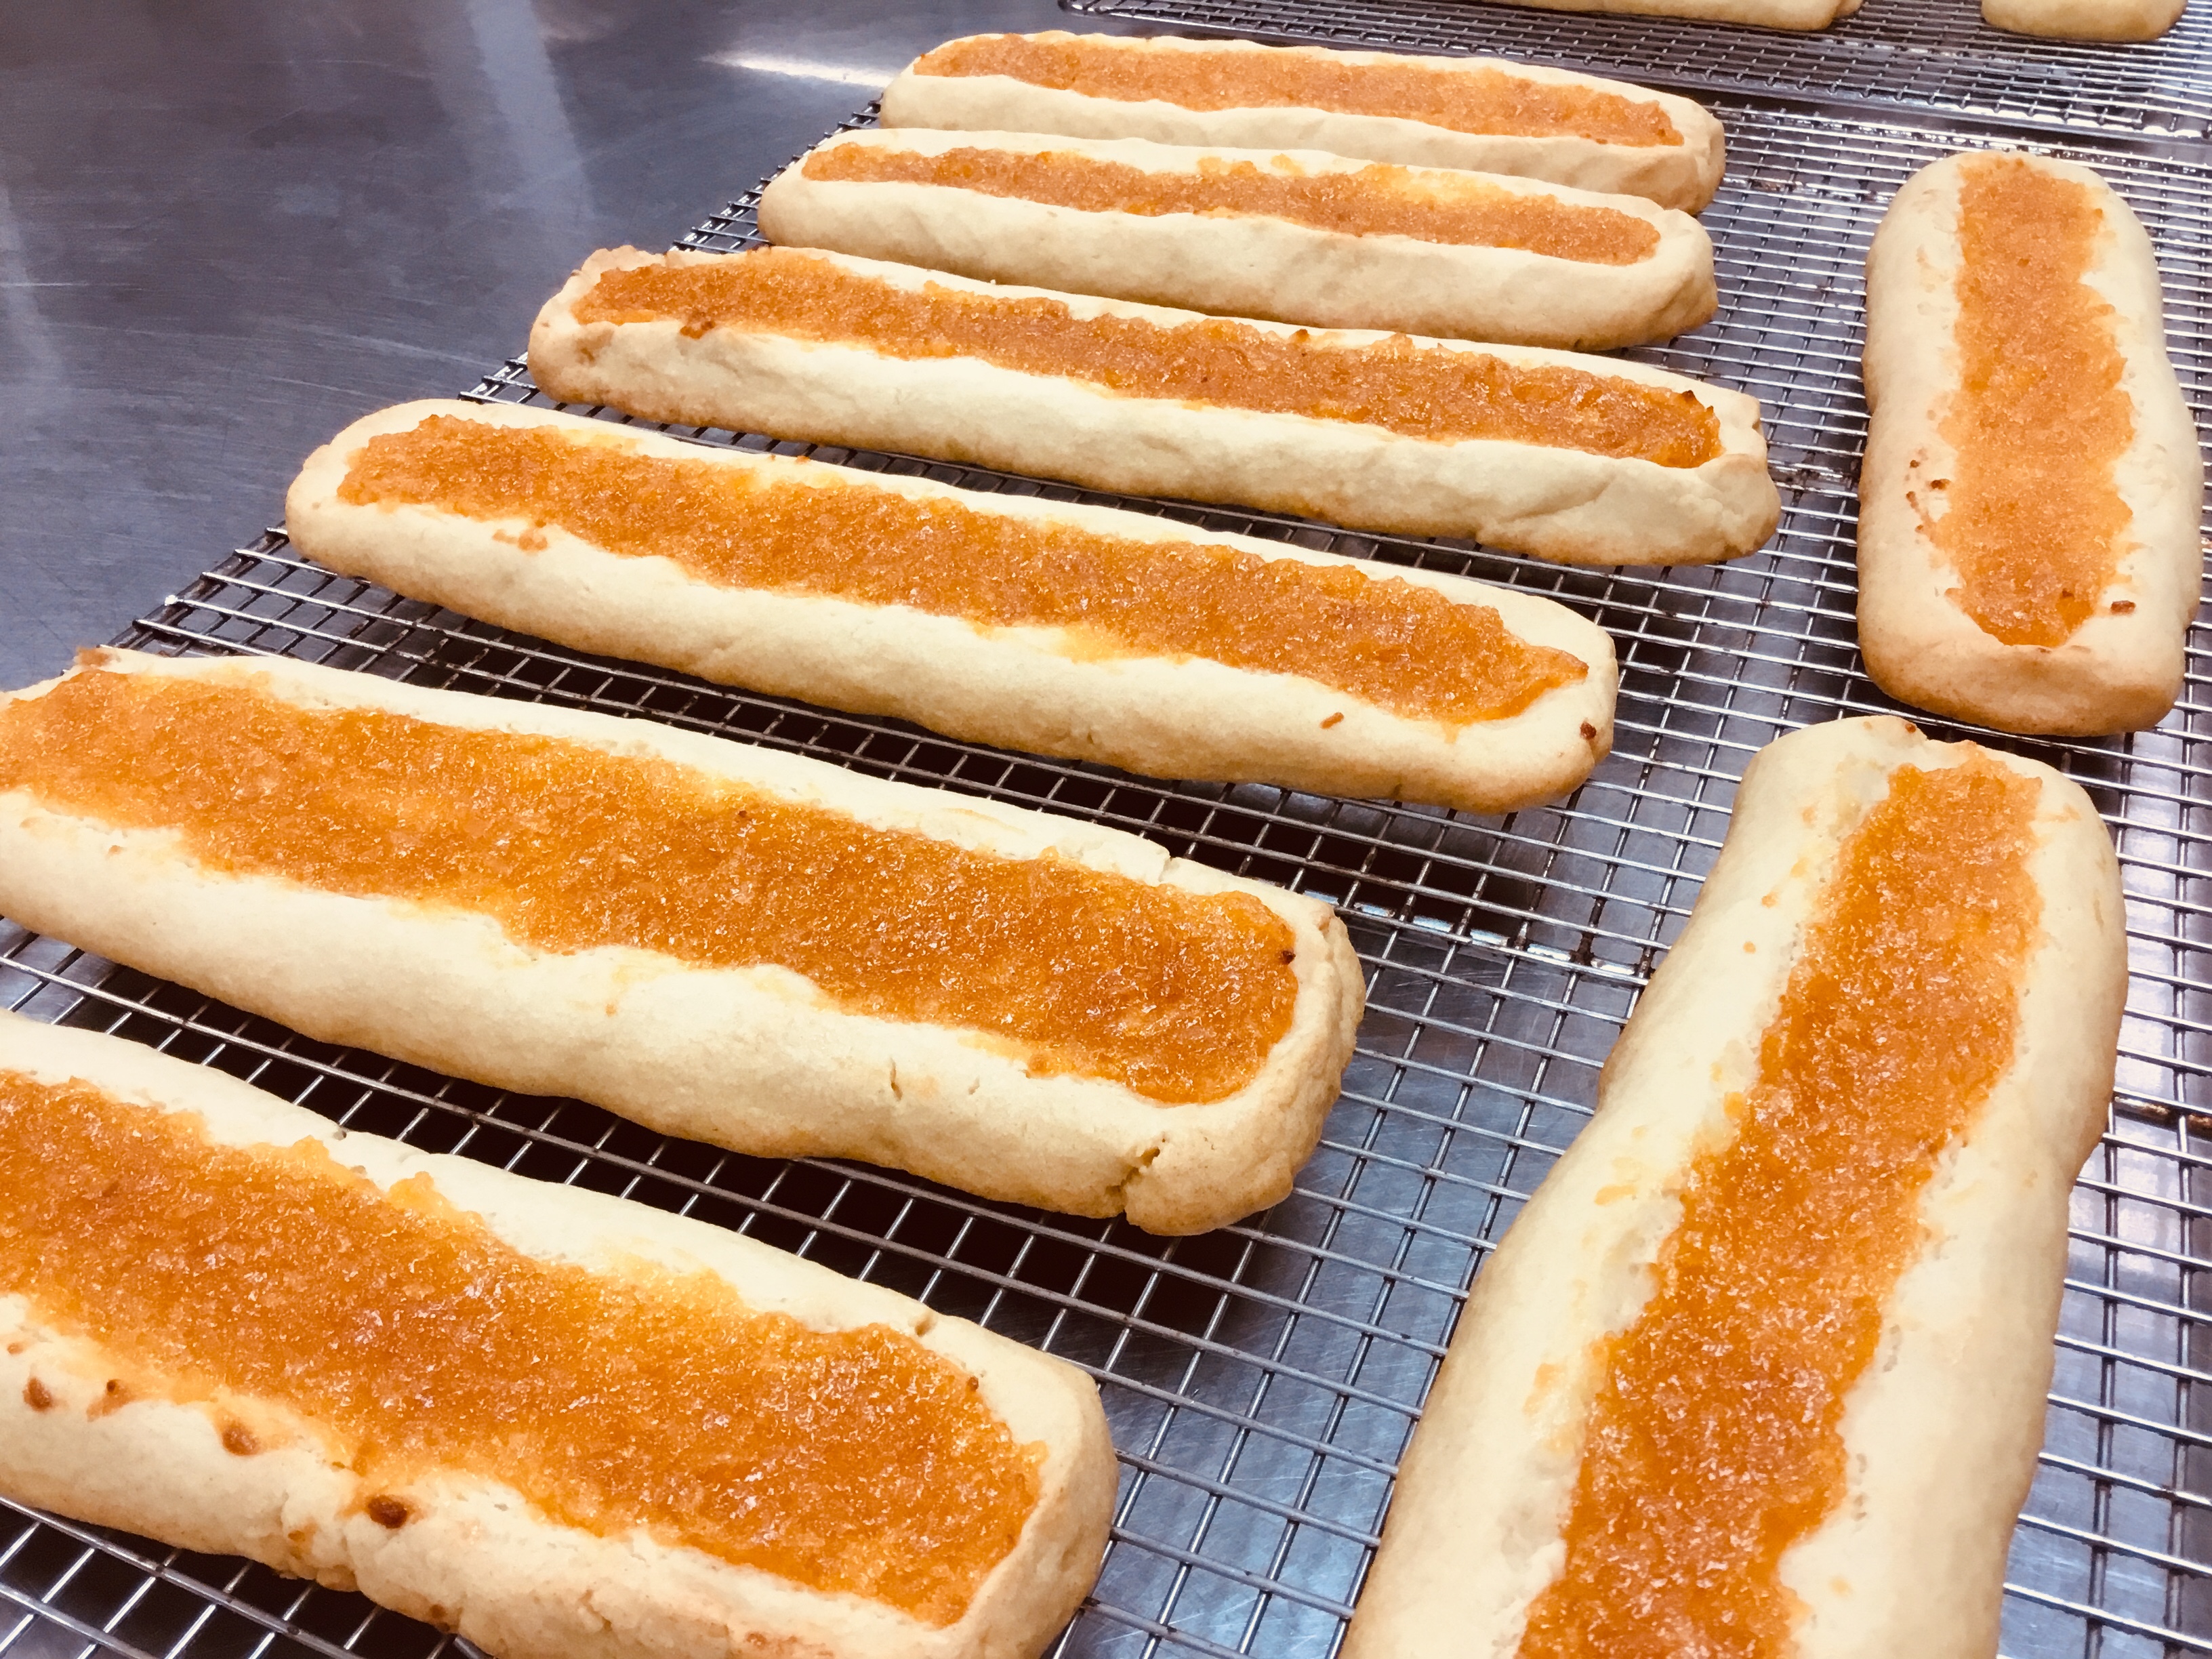
Spread the apricot puree in the canals.
Bake the cookie sticks in a 350 degree oven for 18-20 min. until the edges are slightly golden.
Transfer to a rack and let them cool.
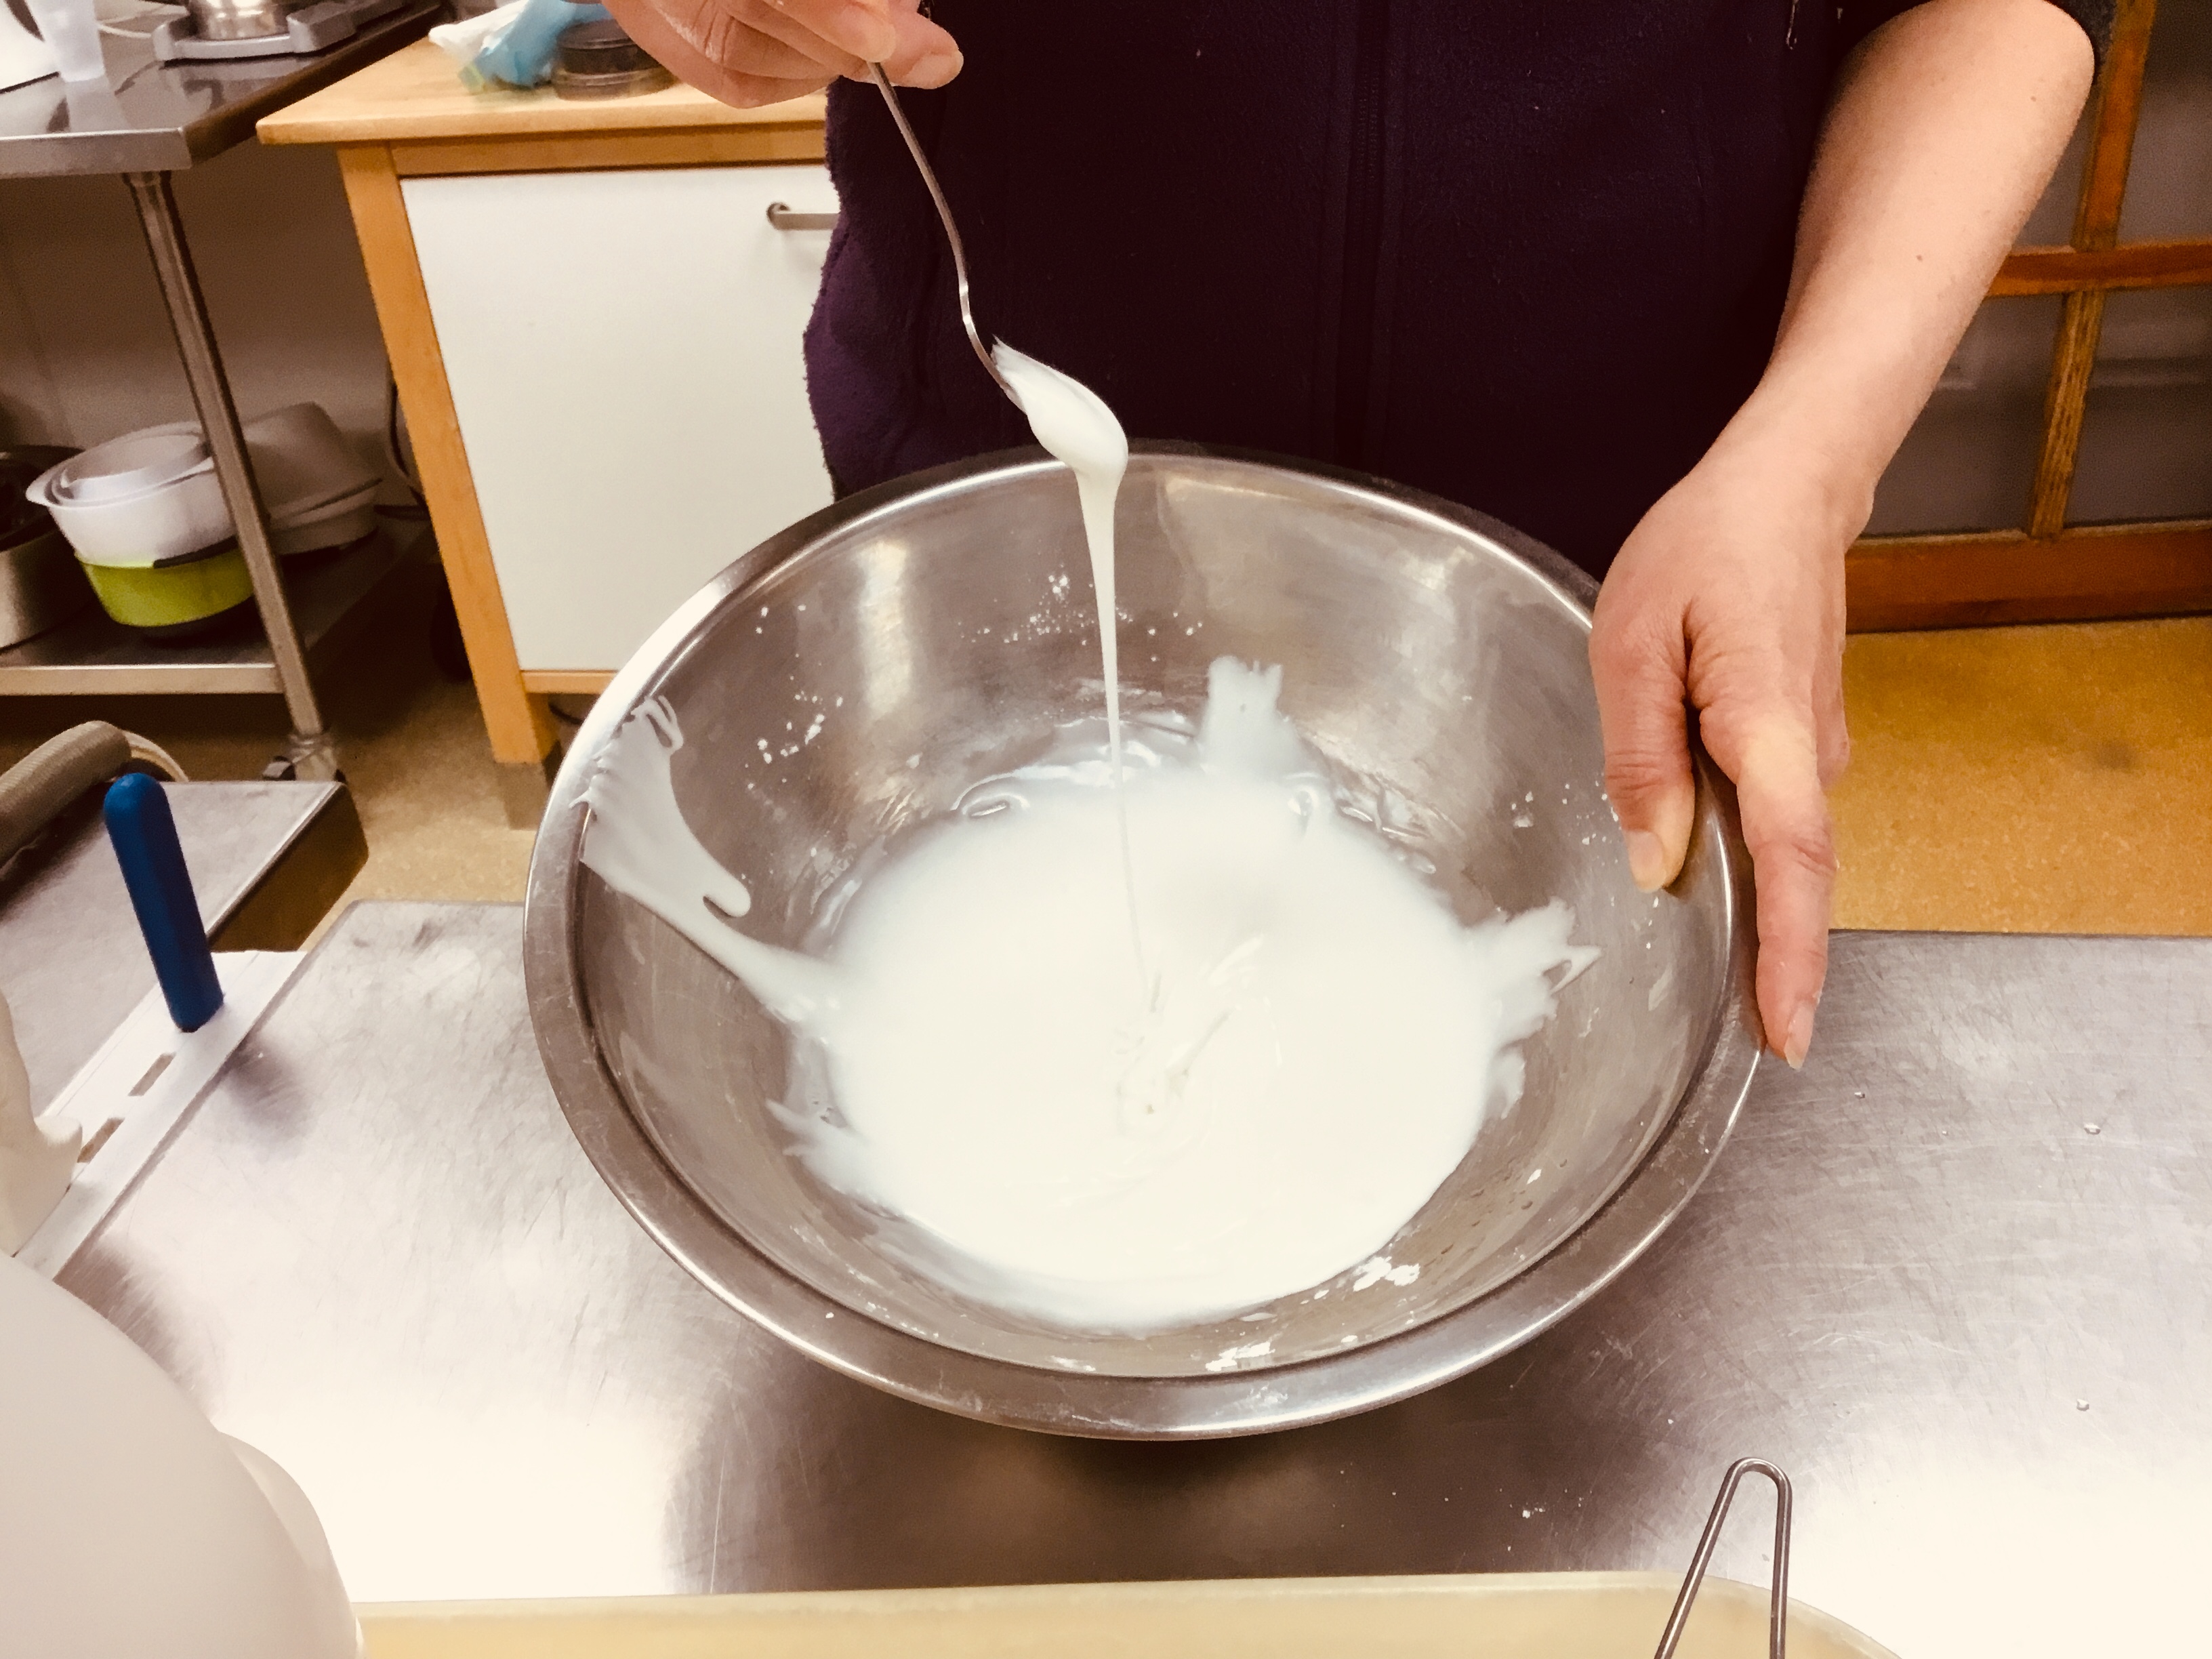
In a small bowl, whisk together the glaze ingredients and add just enough water to make a thick but pour-able icing - you want it to be on the thick side.
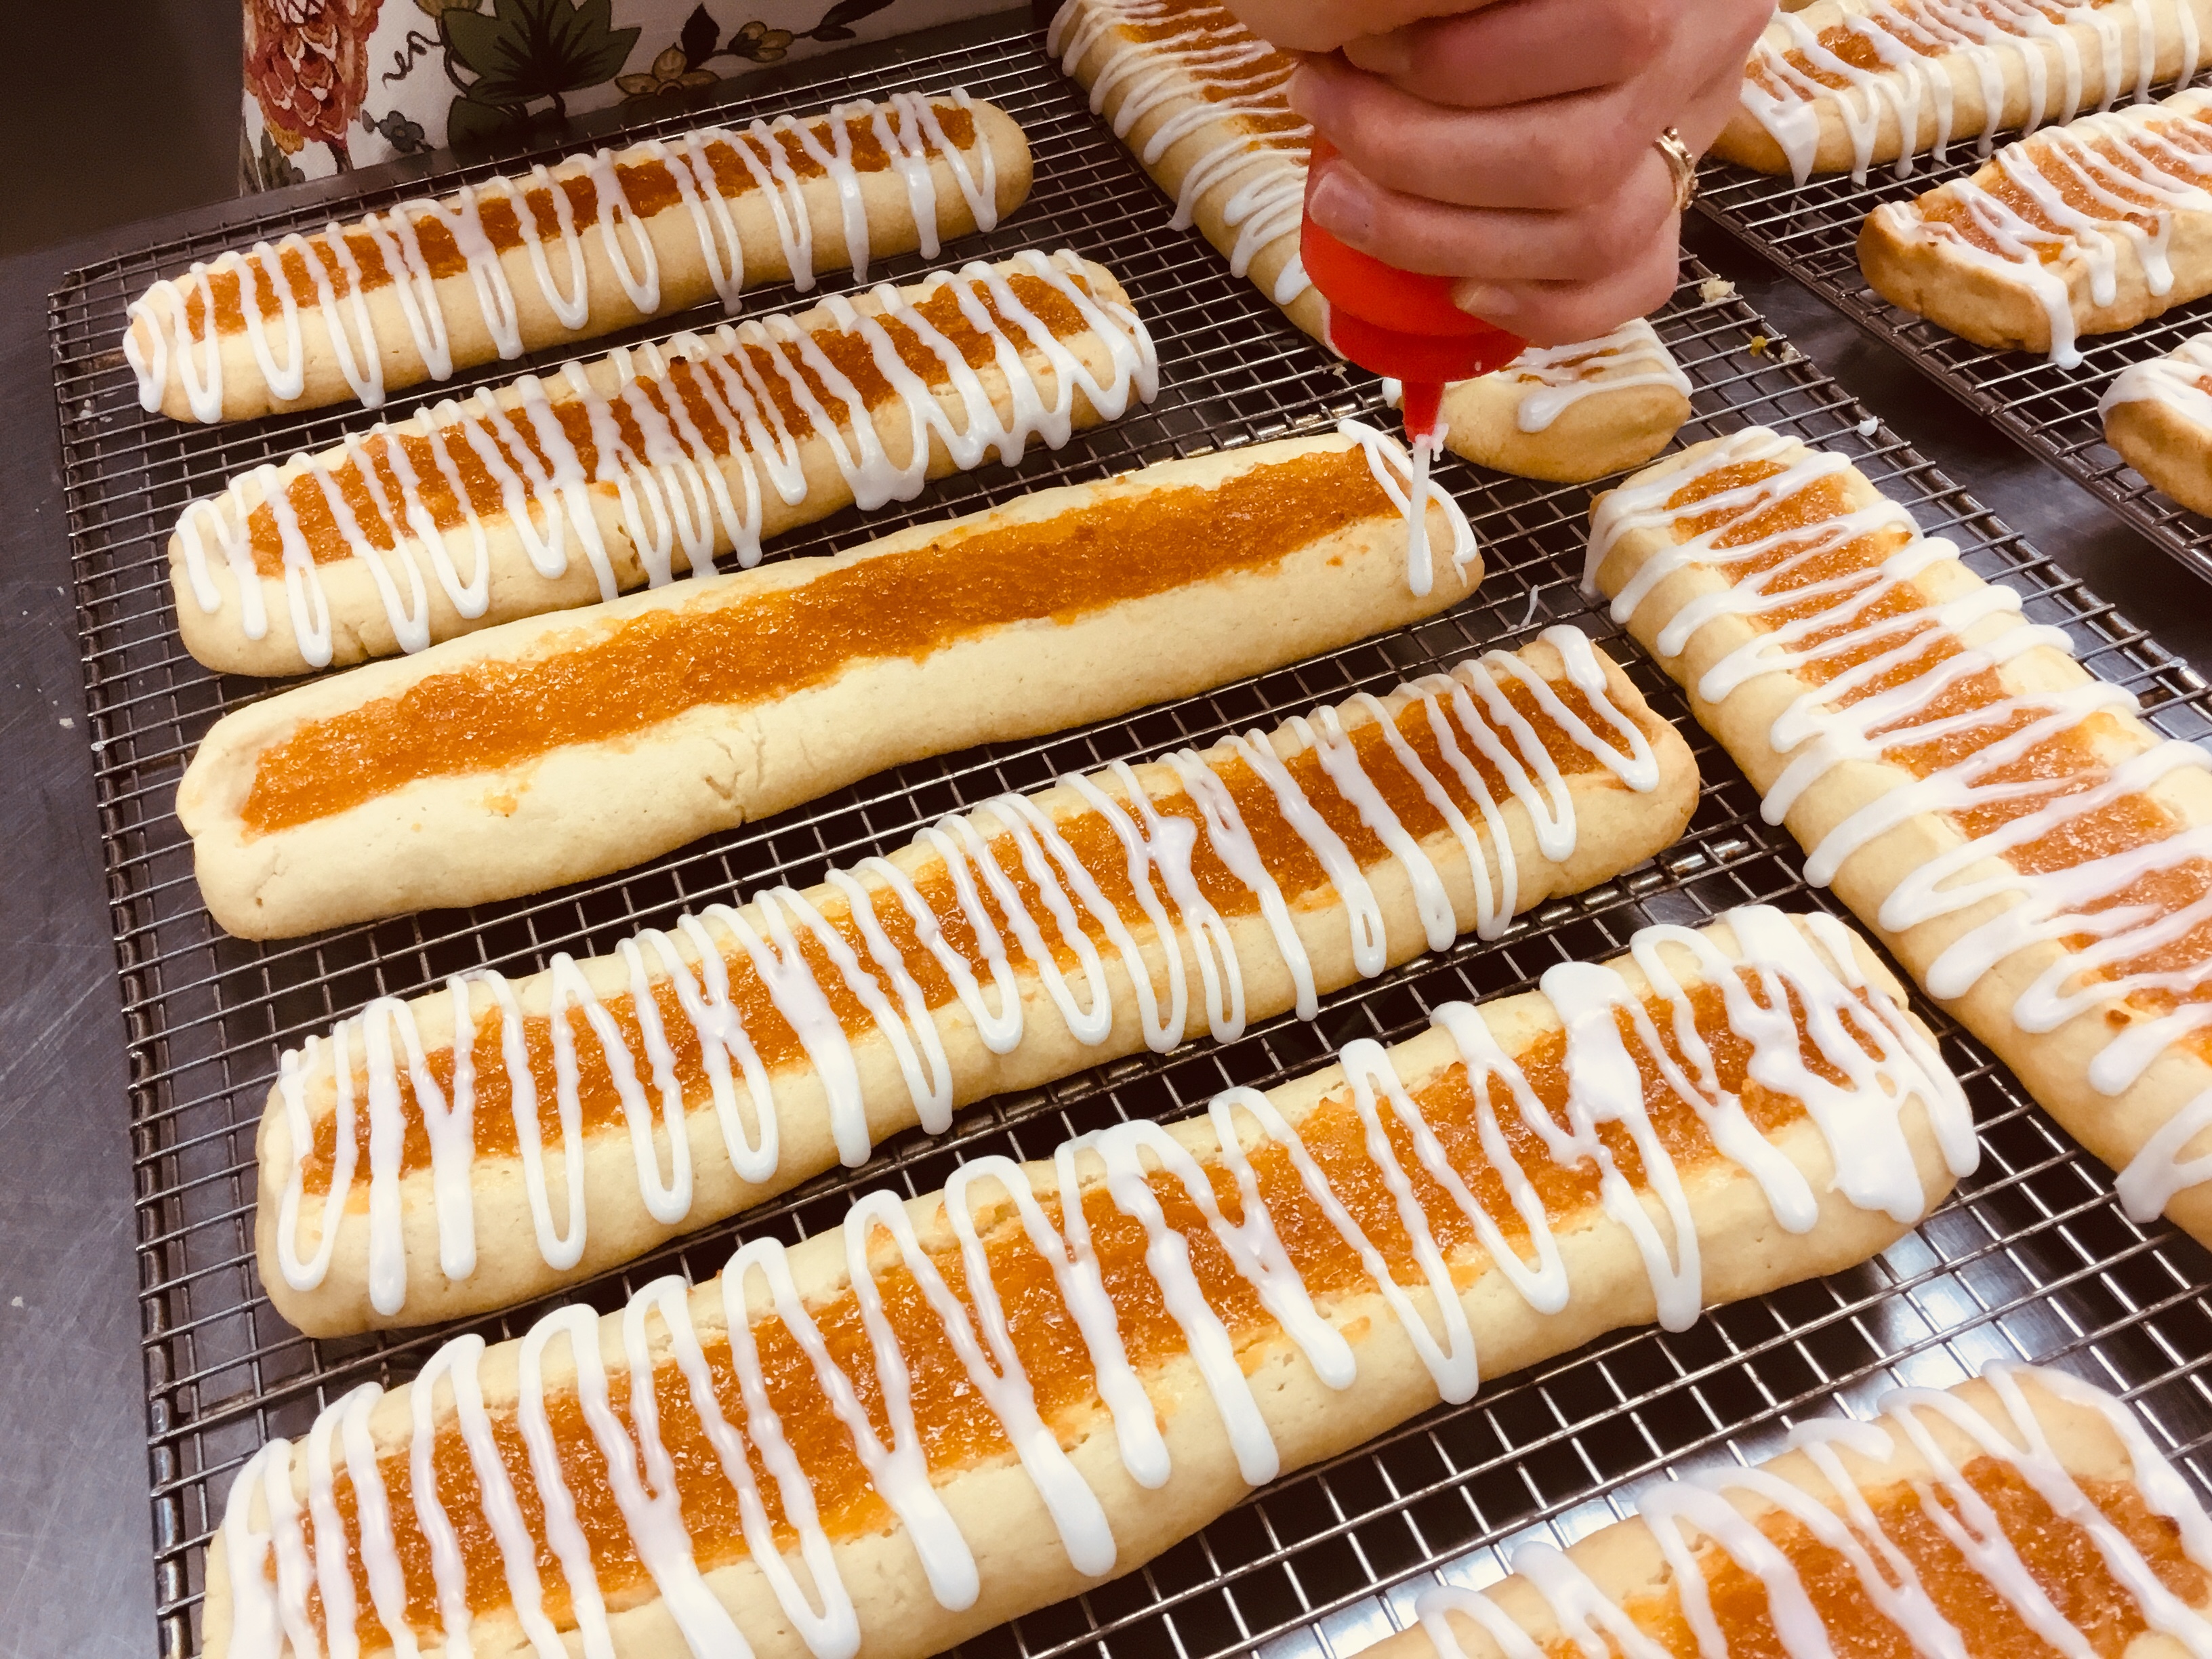
If desired, transfer the glaze to a squeeze bottle or piping bag and drizzle the icing over the cookies.
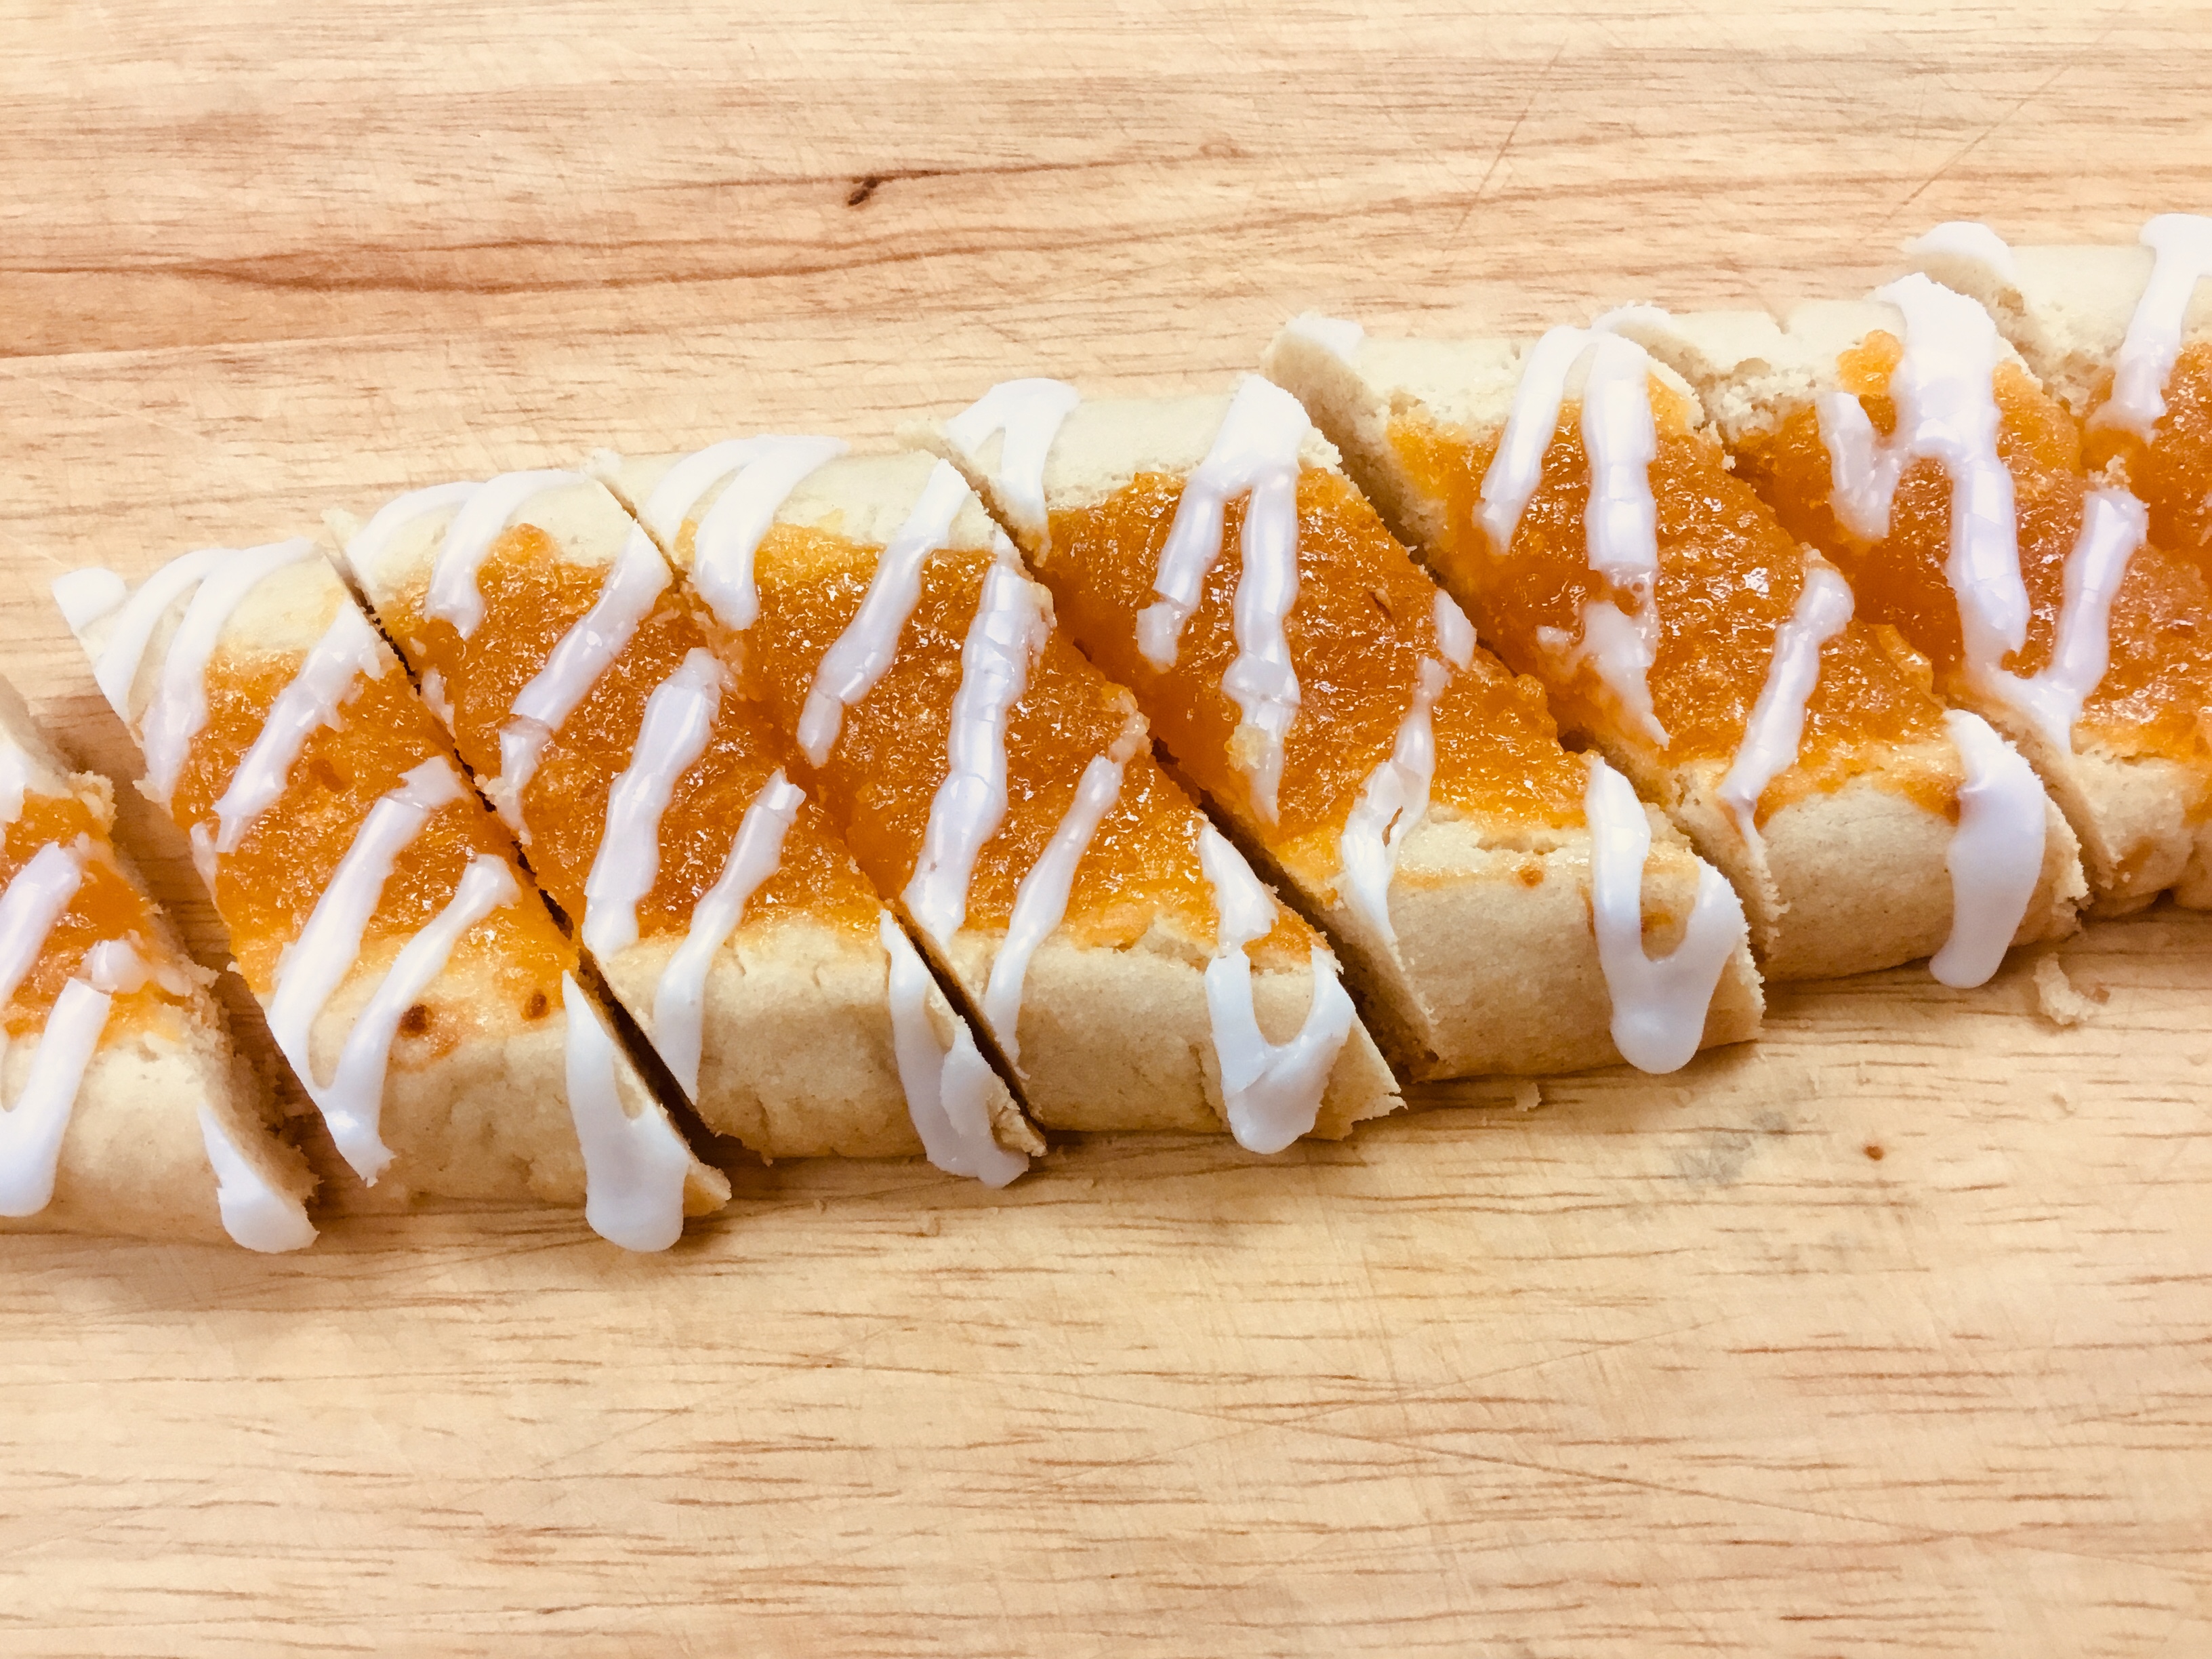
Cut the rectangles diagonally into 1" strips.
The cookies will keep in the freezer or in an airtight container for 1 week.
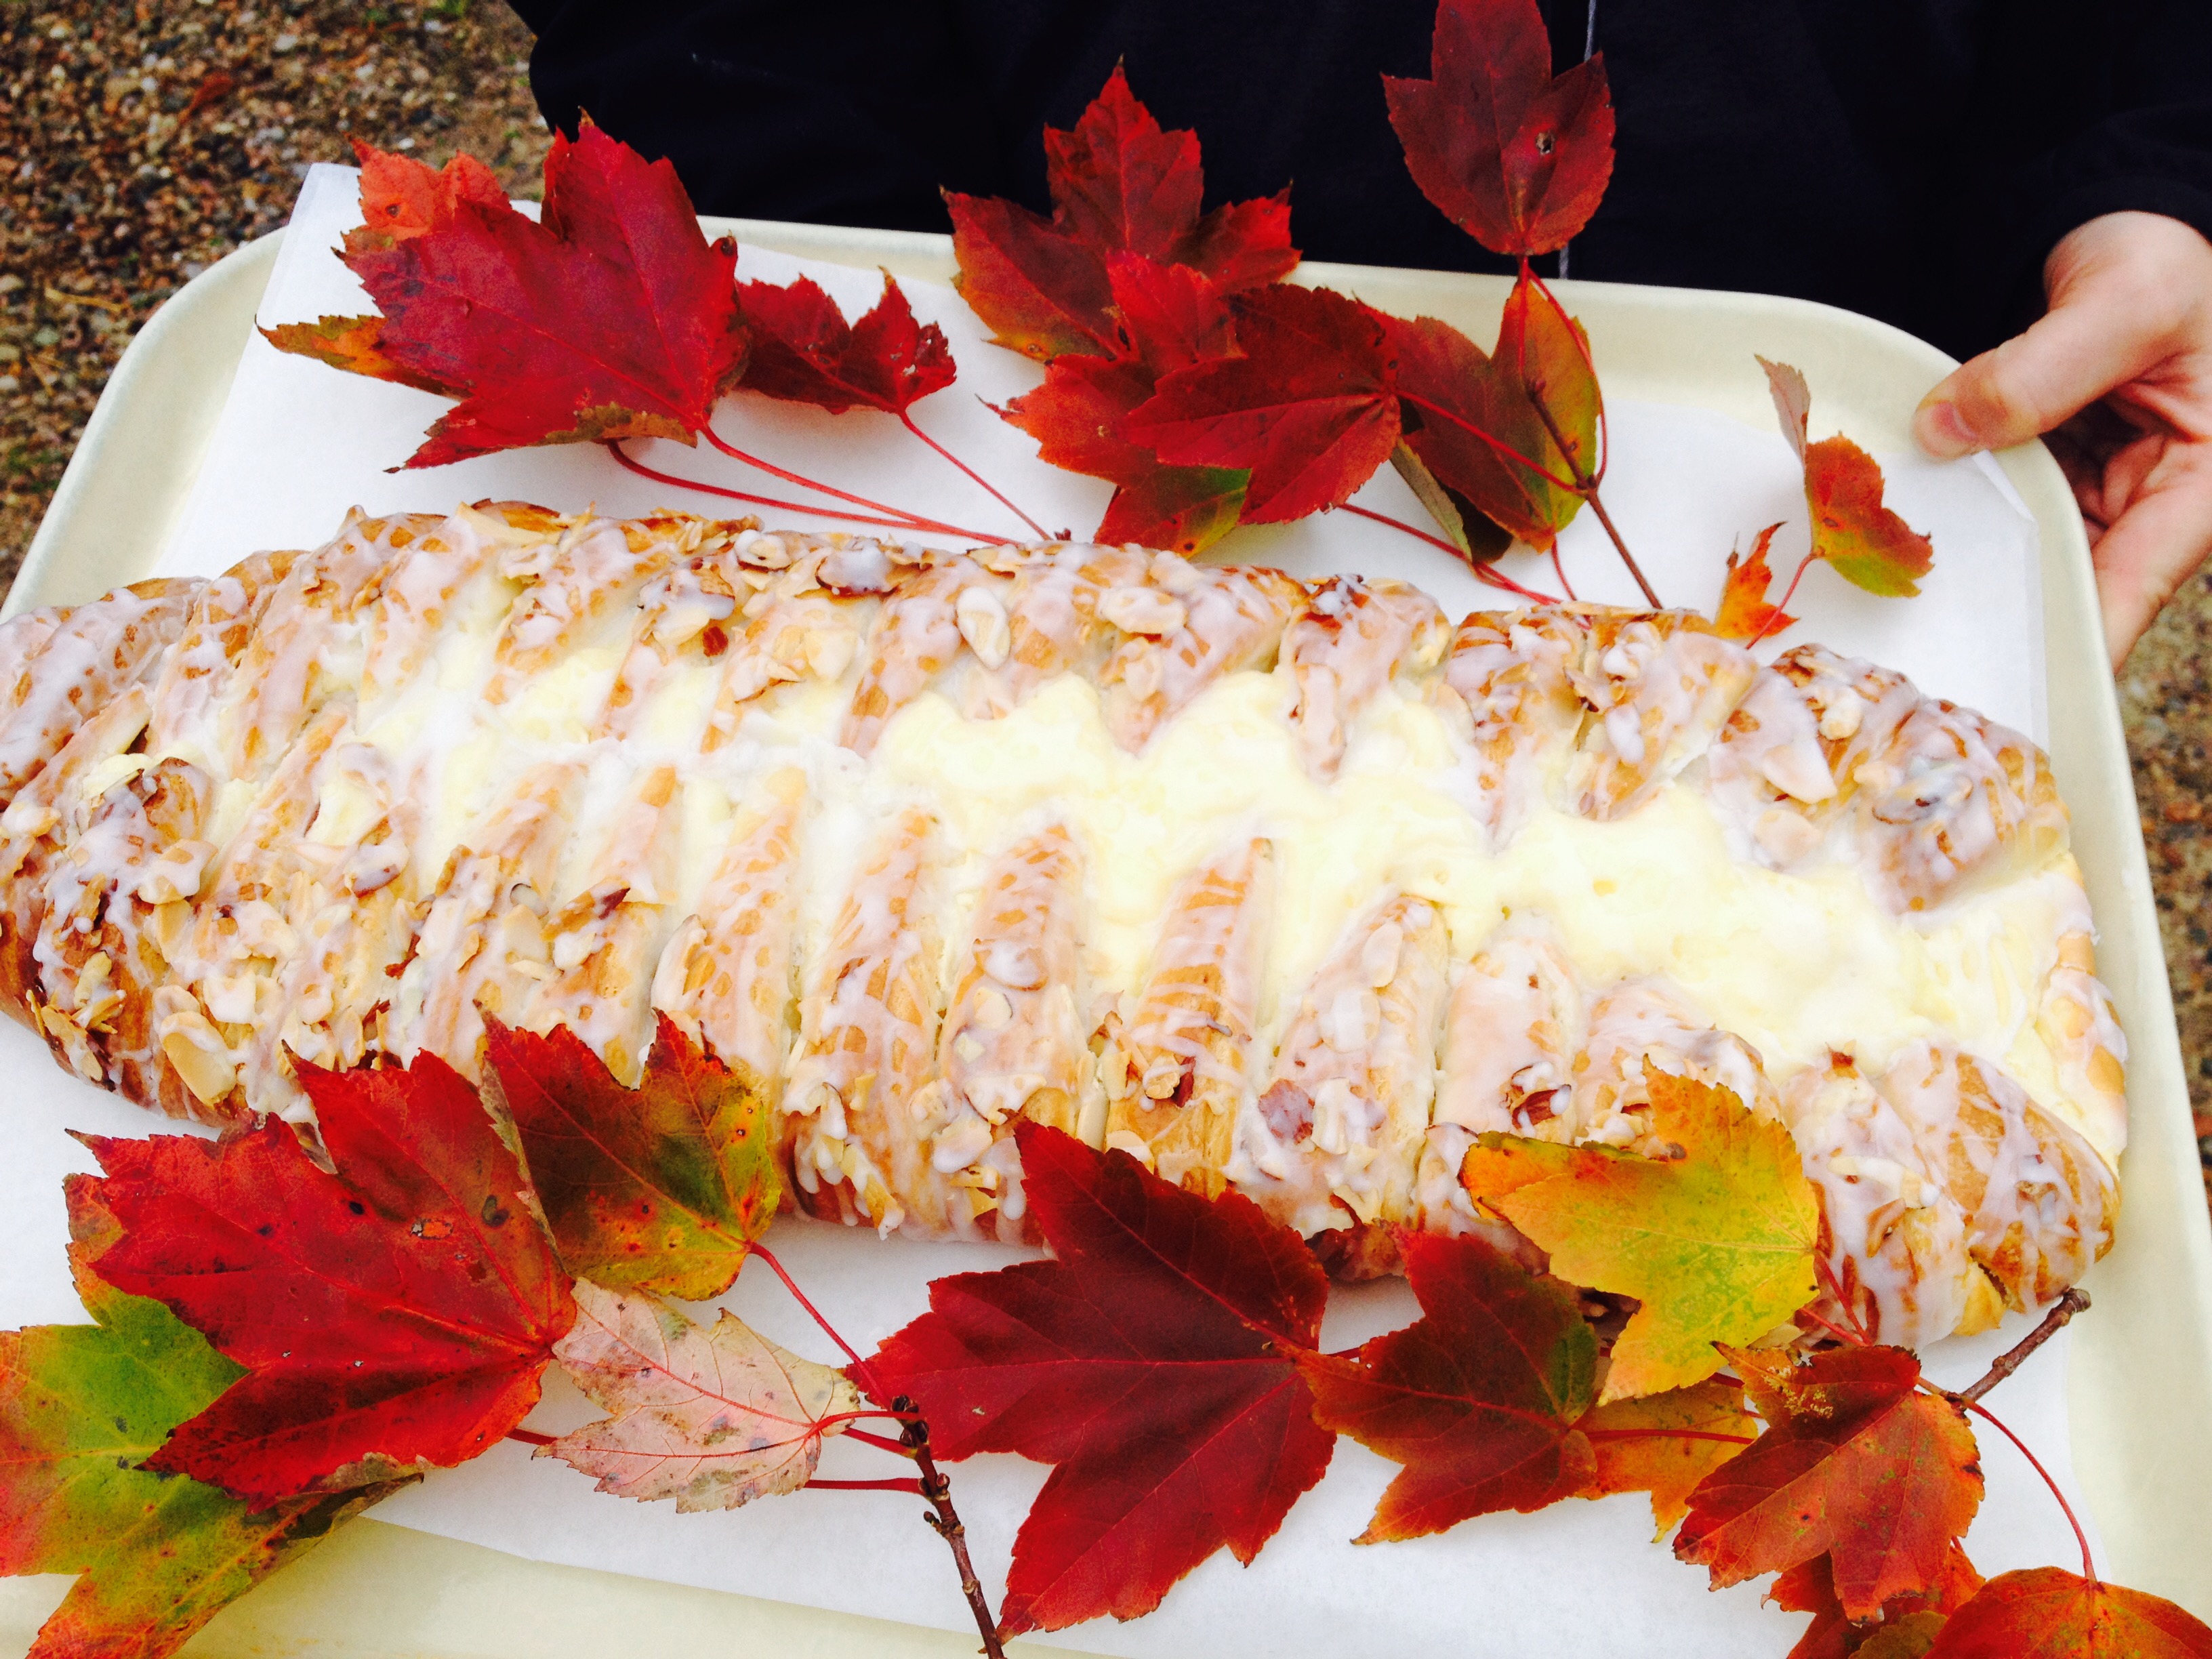
At our Thanksgiving feast we enjoyed celebrating God’s blessings. One of them, the best in my opinion, is of course, lovely breakfast treats. In specific, a golden cream cheese danish with a hint of almond…can you see where were going with this?
Danishes can be a little tricky – below is simple version of the recipe. If you’d like a flakier danish, I suggest doing the square of butter version (see notes at end of recipe).
But either way, with a straight-forward approach and a little bit of time, you can enjoy the sweet, flaky treat for a Sunday brunch or with your mid-morning coffee. We are so grateful to God’s many blessings and pray that you also were able to appreciate God’s goodness this year. Happy belated Thanksgiving!
In a medium bowl, add the yeast, 1 teaspoon sugar, and warm water. Let the yeast rest until it proofs (5 minutes). Once the yeast has proofed, add the egg, milk, sugar, and salt. Stir with a whisk, and set to the side.
Place the flour and 1/2 cup cubed butter into a large bowl. With a pastry blender, combine until the butter is in tiny pieces. (You can also use the food processor for this step.) **NOTE** If you'd like a flakier Danish, set aside 1/2 cup of butter and make into a butter square.
Add the wet ingredients to the flour and combine until the dough comes together. Place the dough onto a floured work surface and shape into a square. Roll the dough into a rectangle 9 x 13-inches. If you'd like a flakier crust, place the butter square (see #8) in the middle and fold the dough lengthwise into thirds (similar to folding a letter to fit into an envelope). Roll the dough into a rectangle again, and then again fold into thirds. Repeat this process twice more, until you've done it a total of 3 times. Cut the dough in half, wrap each piece in plastic wrap, and place in the fridge overnight. The dough keeps for one week in the fridge and 2 months in the freezer.
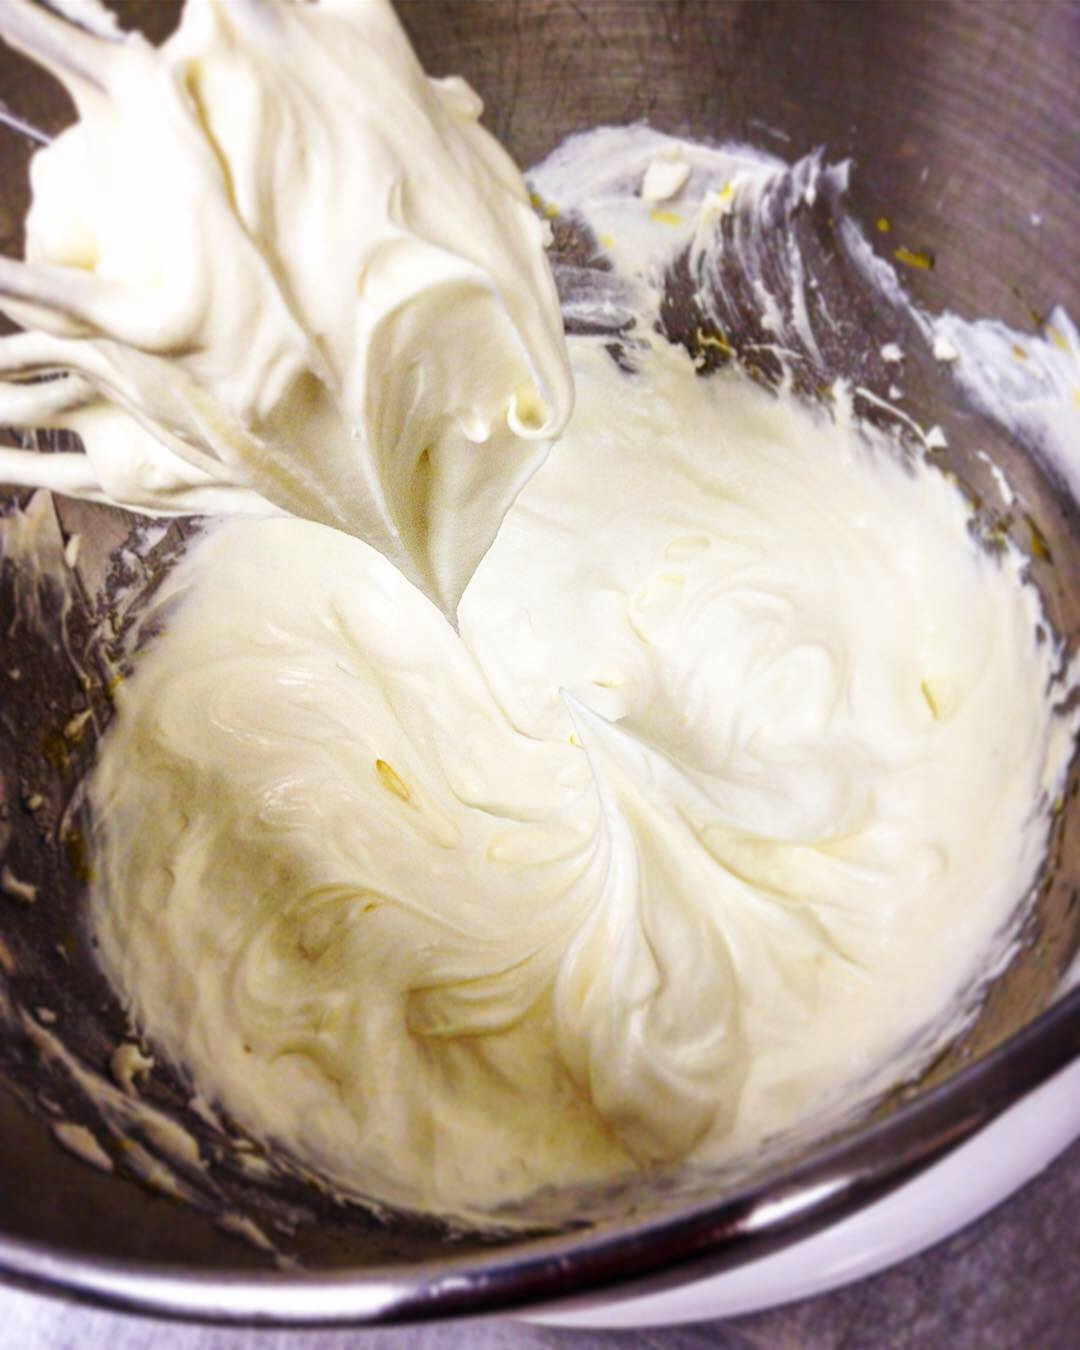
Beat Cream Cheese till very smooth and no lumps remain. Combine with rest of filling ingredients.
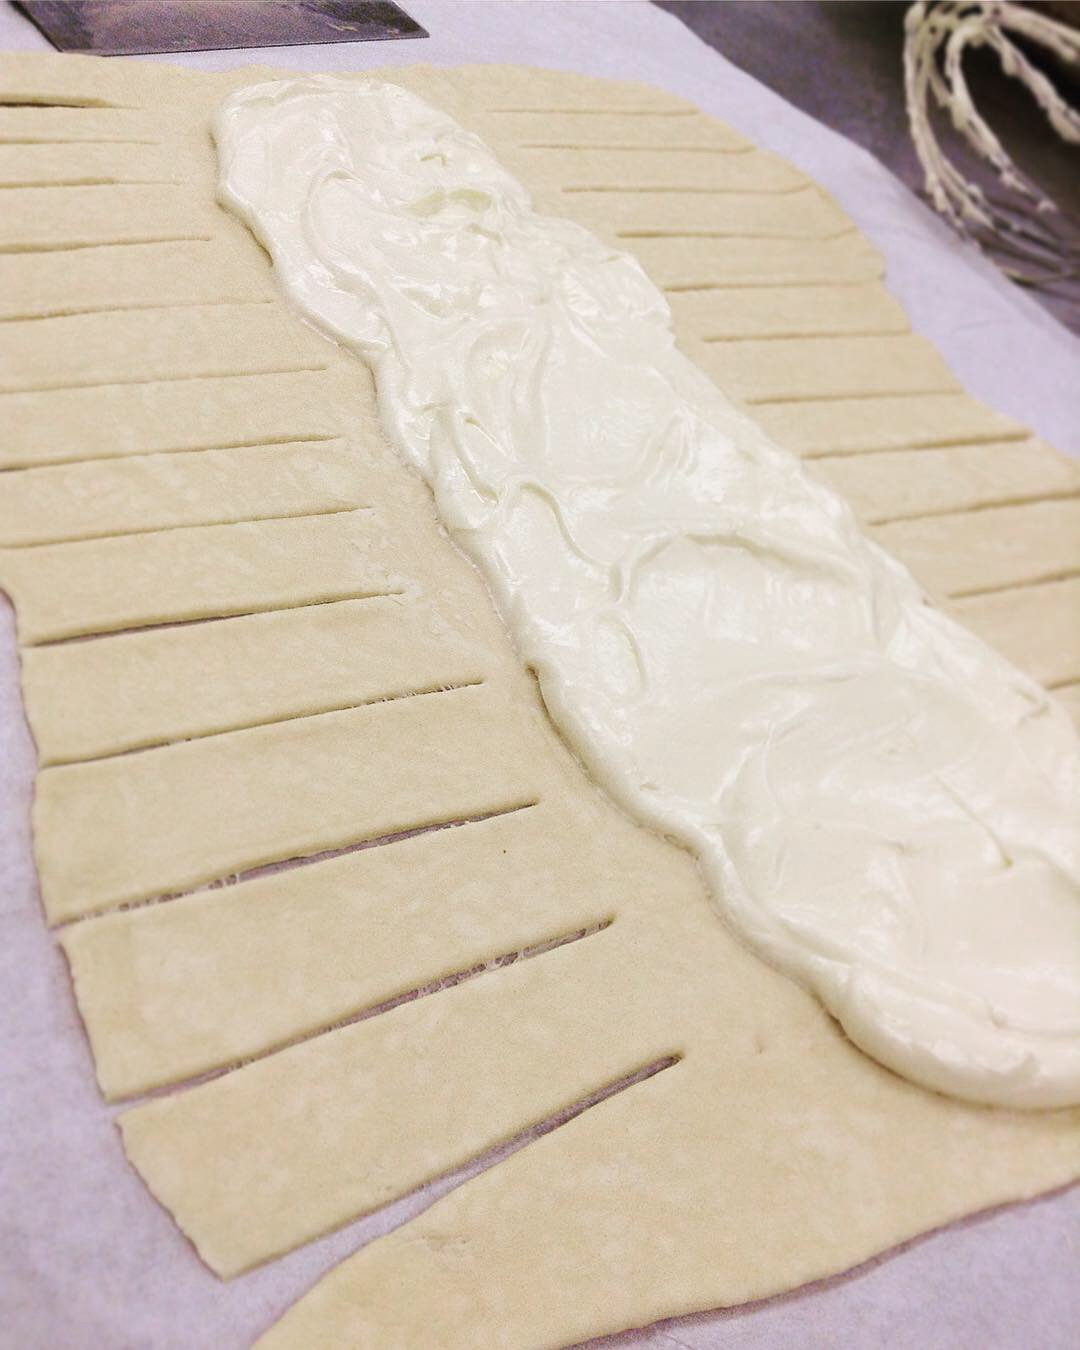
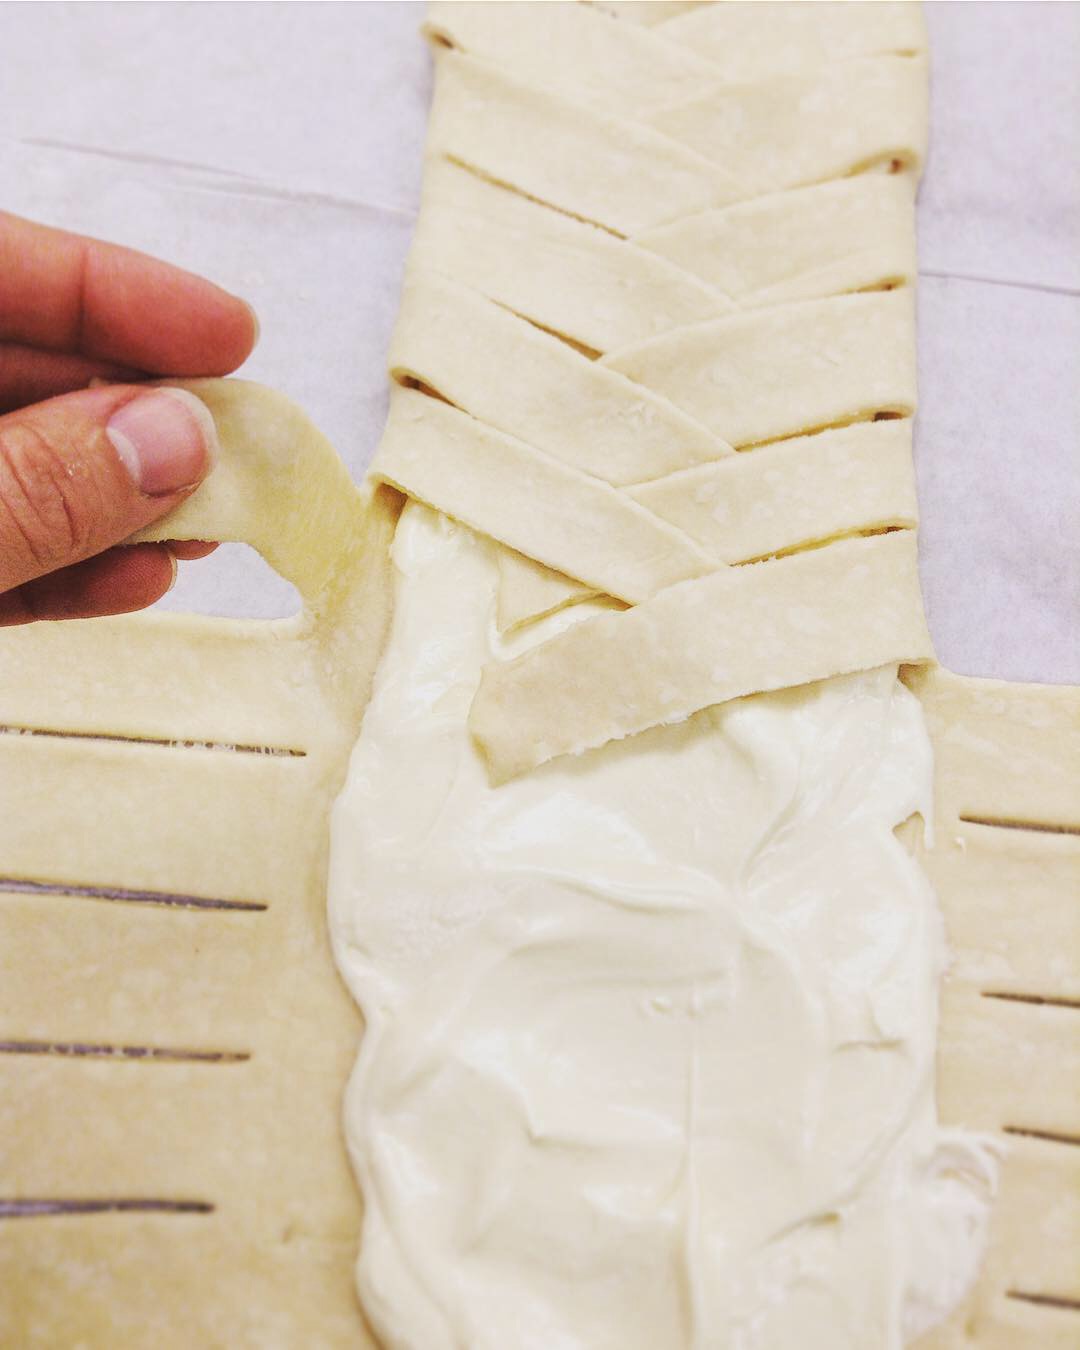
Remove one piece of dough from the fridge, and save the other for a rainy day (the dough can last in the fridge for up to 5 days and in the freezer for 3 months). On a floured piece of parchment paper, roll out the dough into a 9 x 13-inch rectangle. Spoon some of the cream cheese filling in the middle of the dough. With the dough laid in front of you vertically (so that the smaller 9-inch end is facing you), make 1-inch diagonal cuts down the left and right sides of the dough (imagine you are making a Christmas tree). Once you have reached the bottom, cut away two triangle pieces, so that the dough now has a tree trunk. Fold the tree trunk flap over the apples, then go back to the top and fold each strip over the cheese filling, alternating from left to right and moving towards the bottom.Preheat the oven to 400º F.
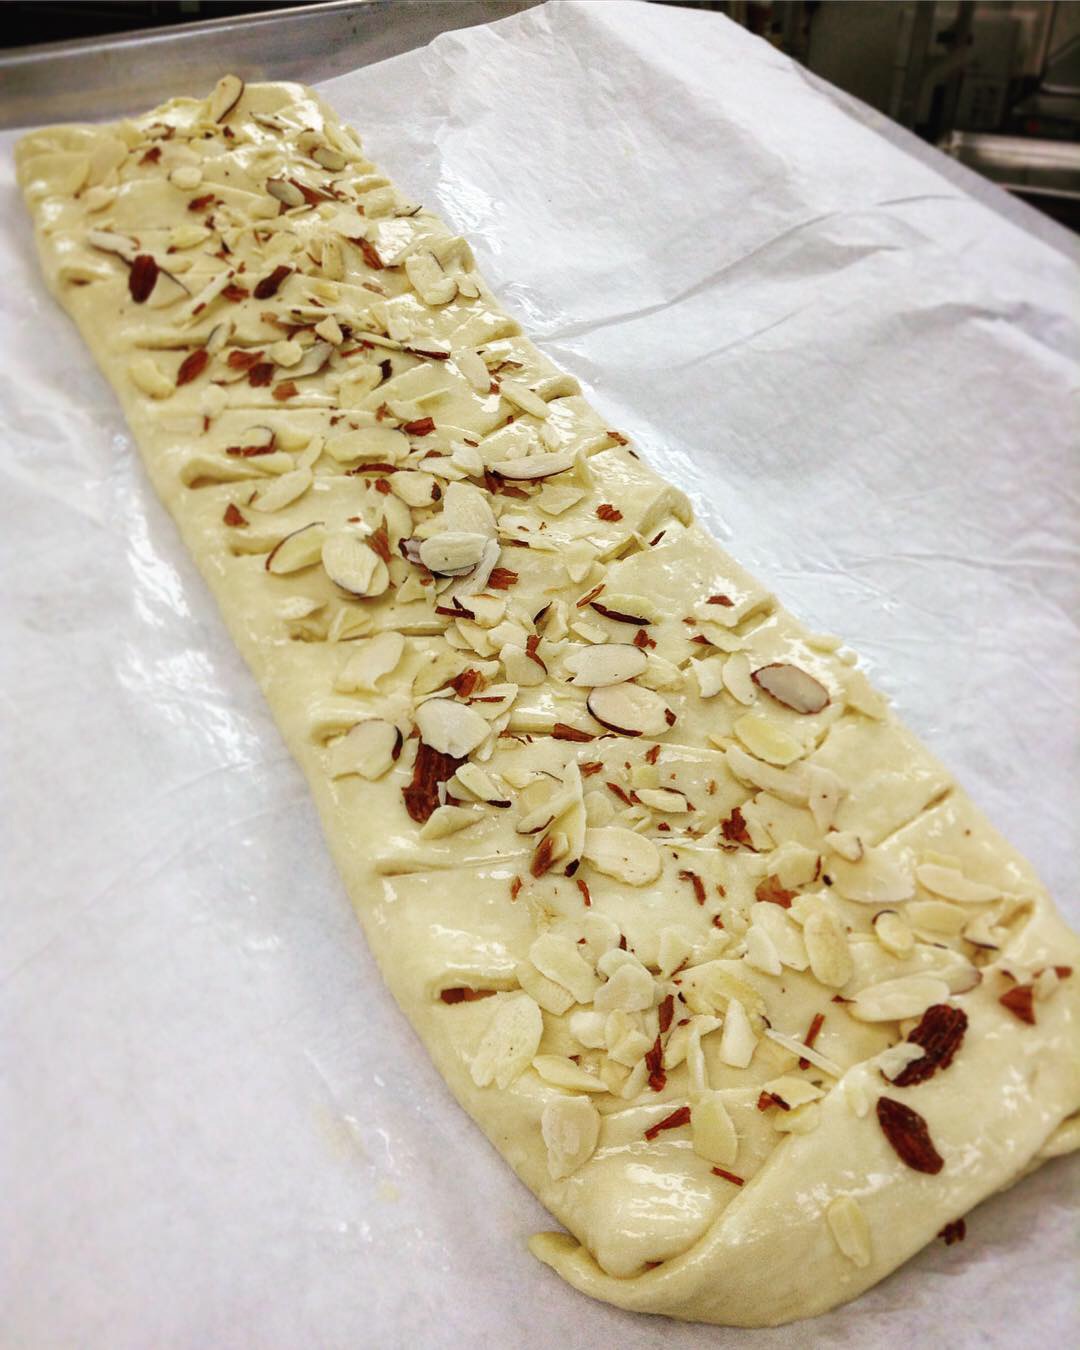
Gently lift the parchment paper and the braid onto a baking sheet. Brush the top of the pastry with an egg wash (one egg white and a teaspoon of water). Bake for 15 to 20 minutes, or until brown on top.
In a small bowl, whisk the powdered sugar, 1 tablespoon of milk, and vanilla until you get a desired consistency. Add a tablespoon more milk if the icing is too thick. (It should be pourable, but not so thin that it drips off of the pastry.) Drizzle over the top of the braid and sprinkle with powdered sugar. Serve warm. The danish lasts for 3 to 4 days. It's best to store in the fridge, covered in plastic wrap, and then reheated in the oven or microwave before eating.
*NOTE: Option for Flakier Dough: Before cubing butter, set aside 1/2 cup of butter. Cut into 4 squares, sprinkle with a little flour and roll to a 1/4" width between 2 sheets of parchment paper. Refrigerate till ready to use in Step #5.
")