Cheese Danish Braid

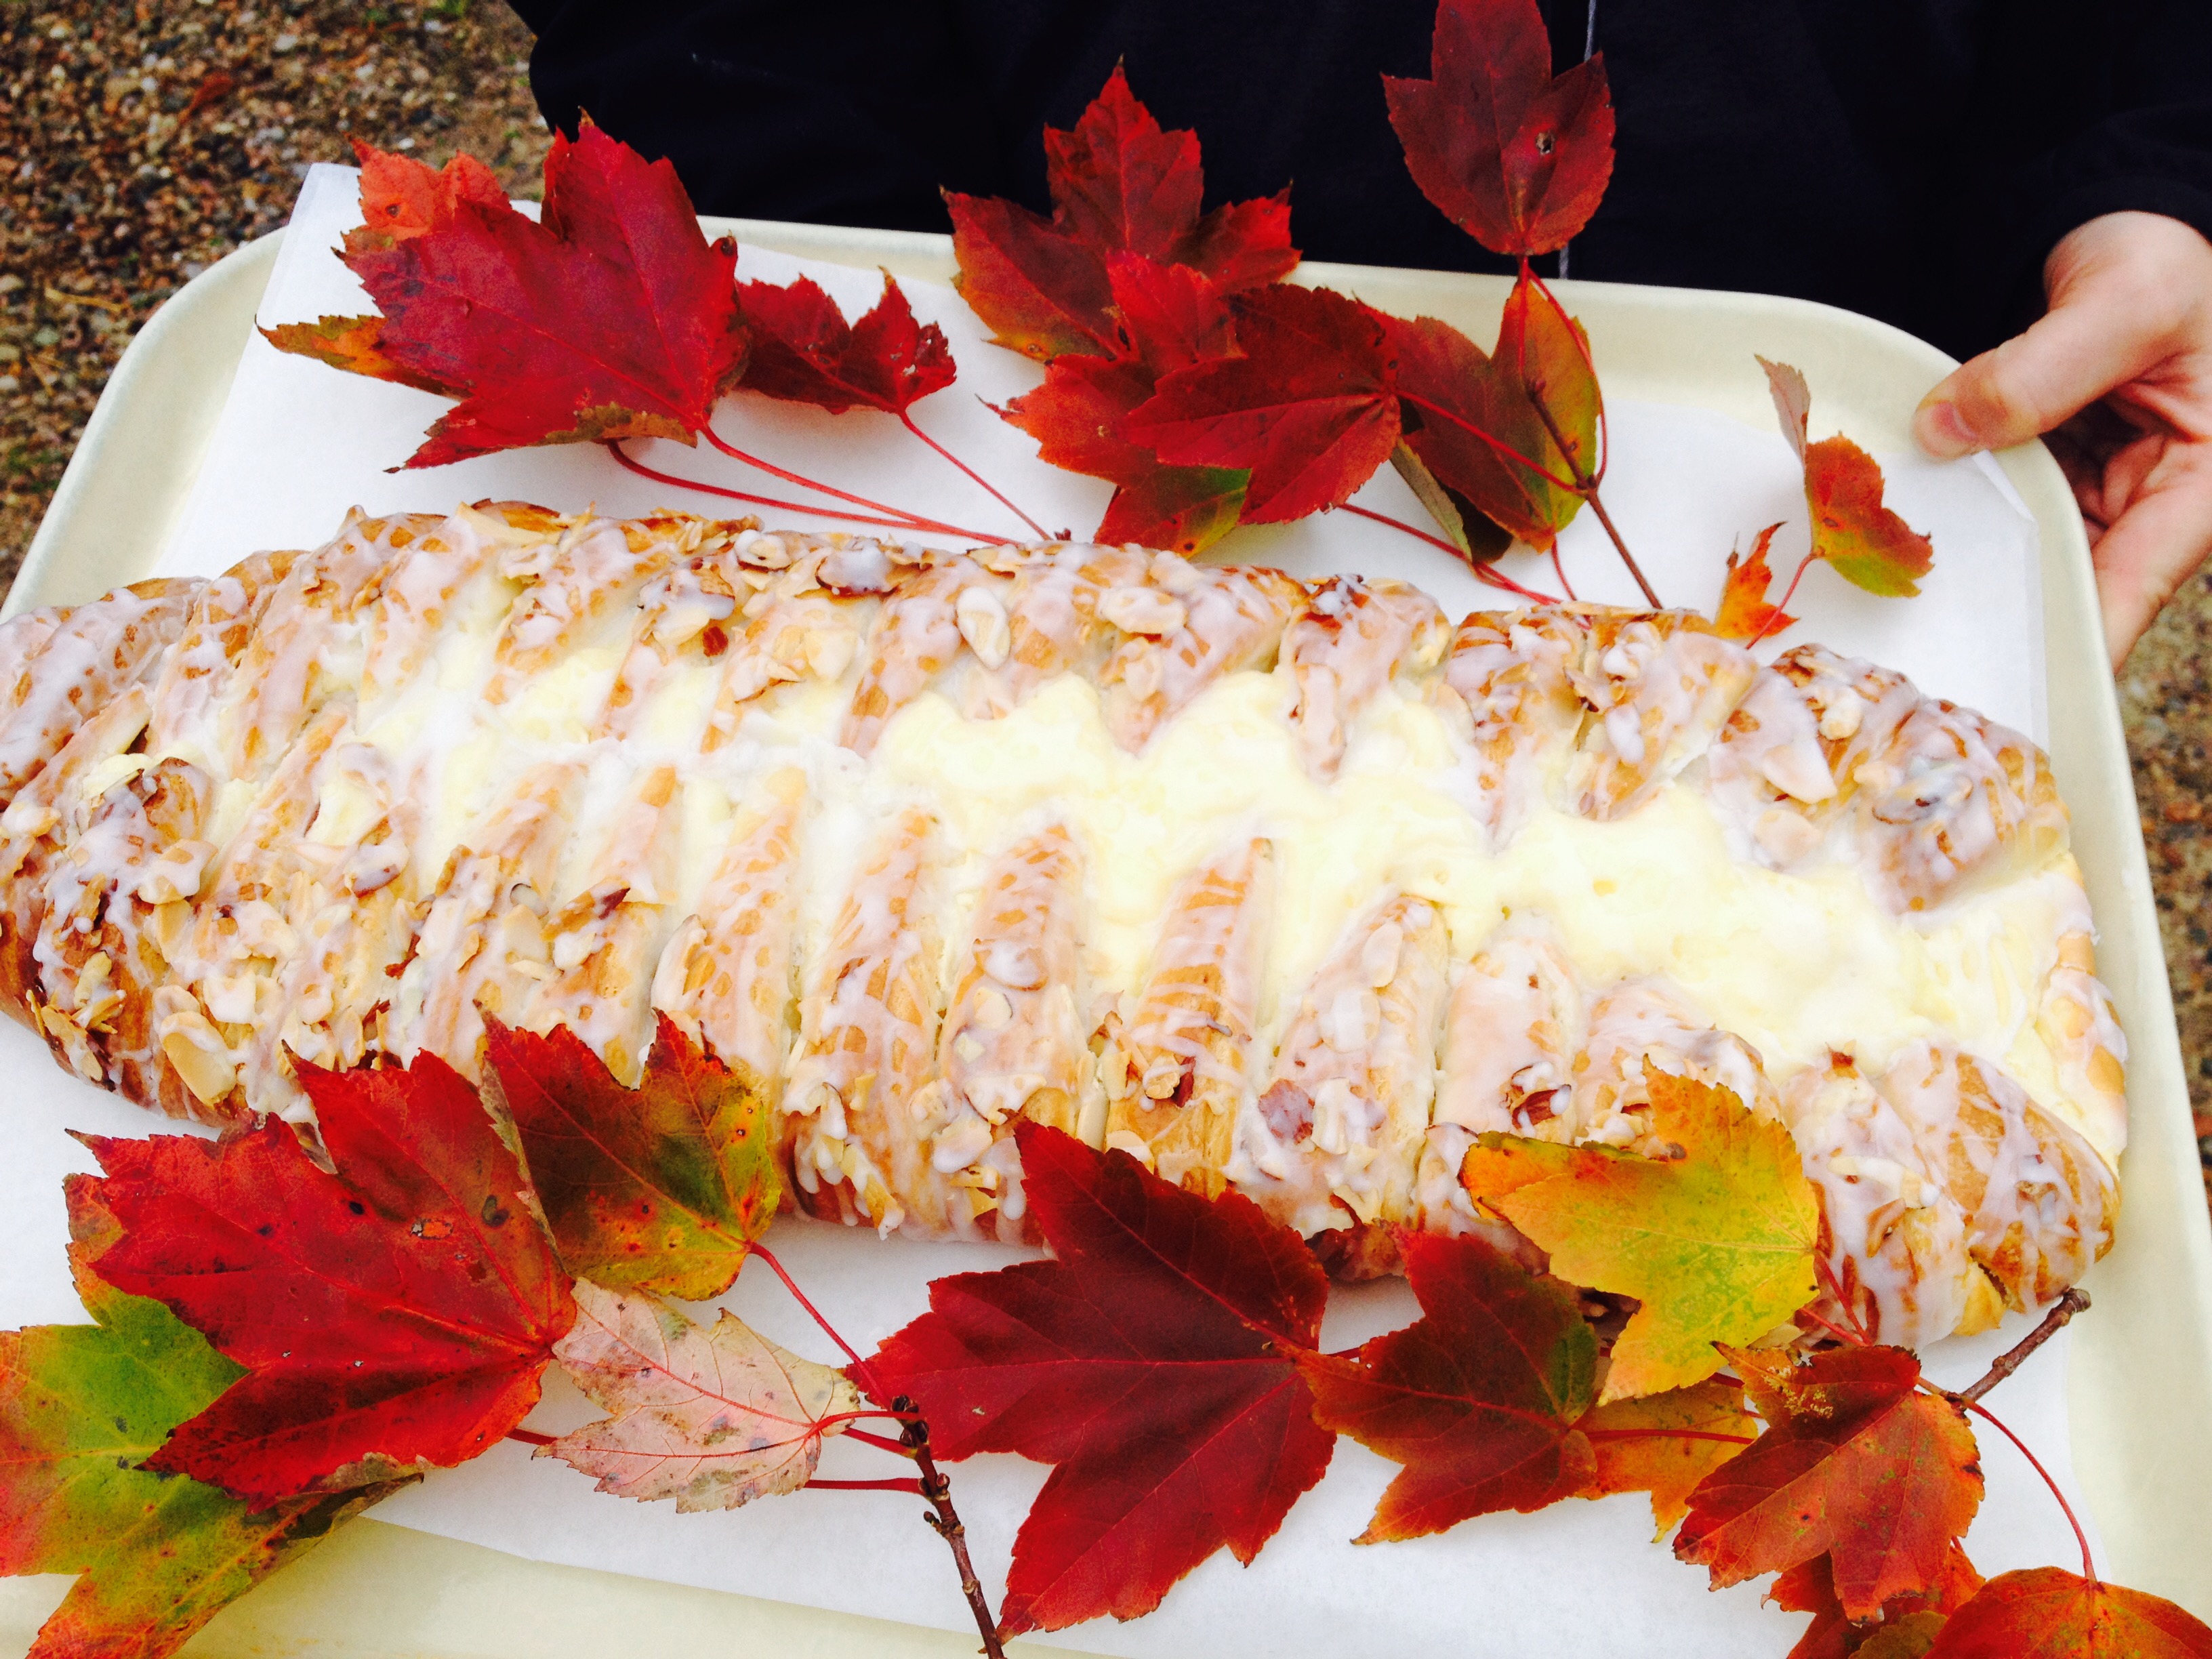
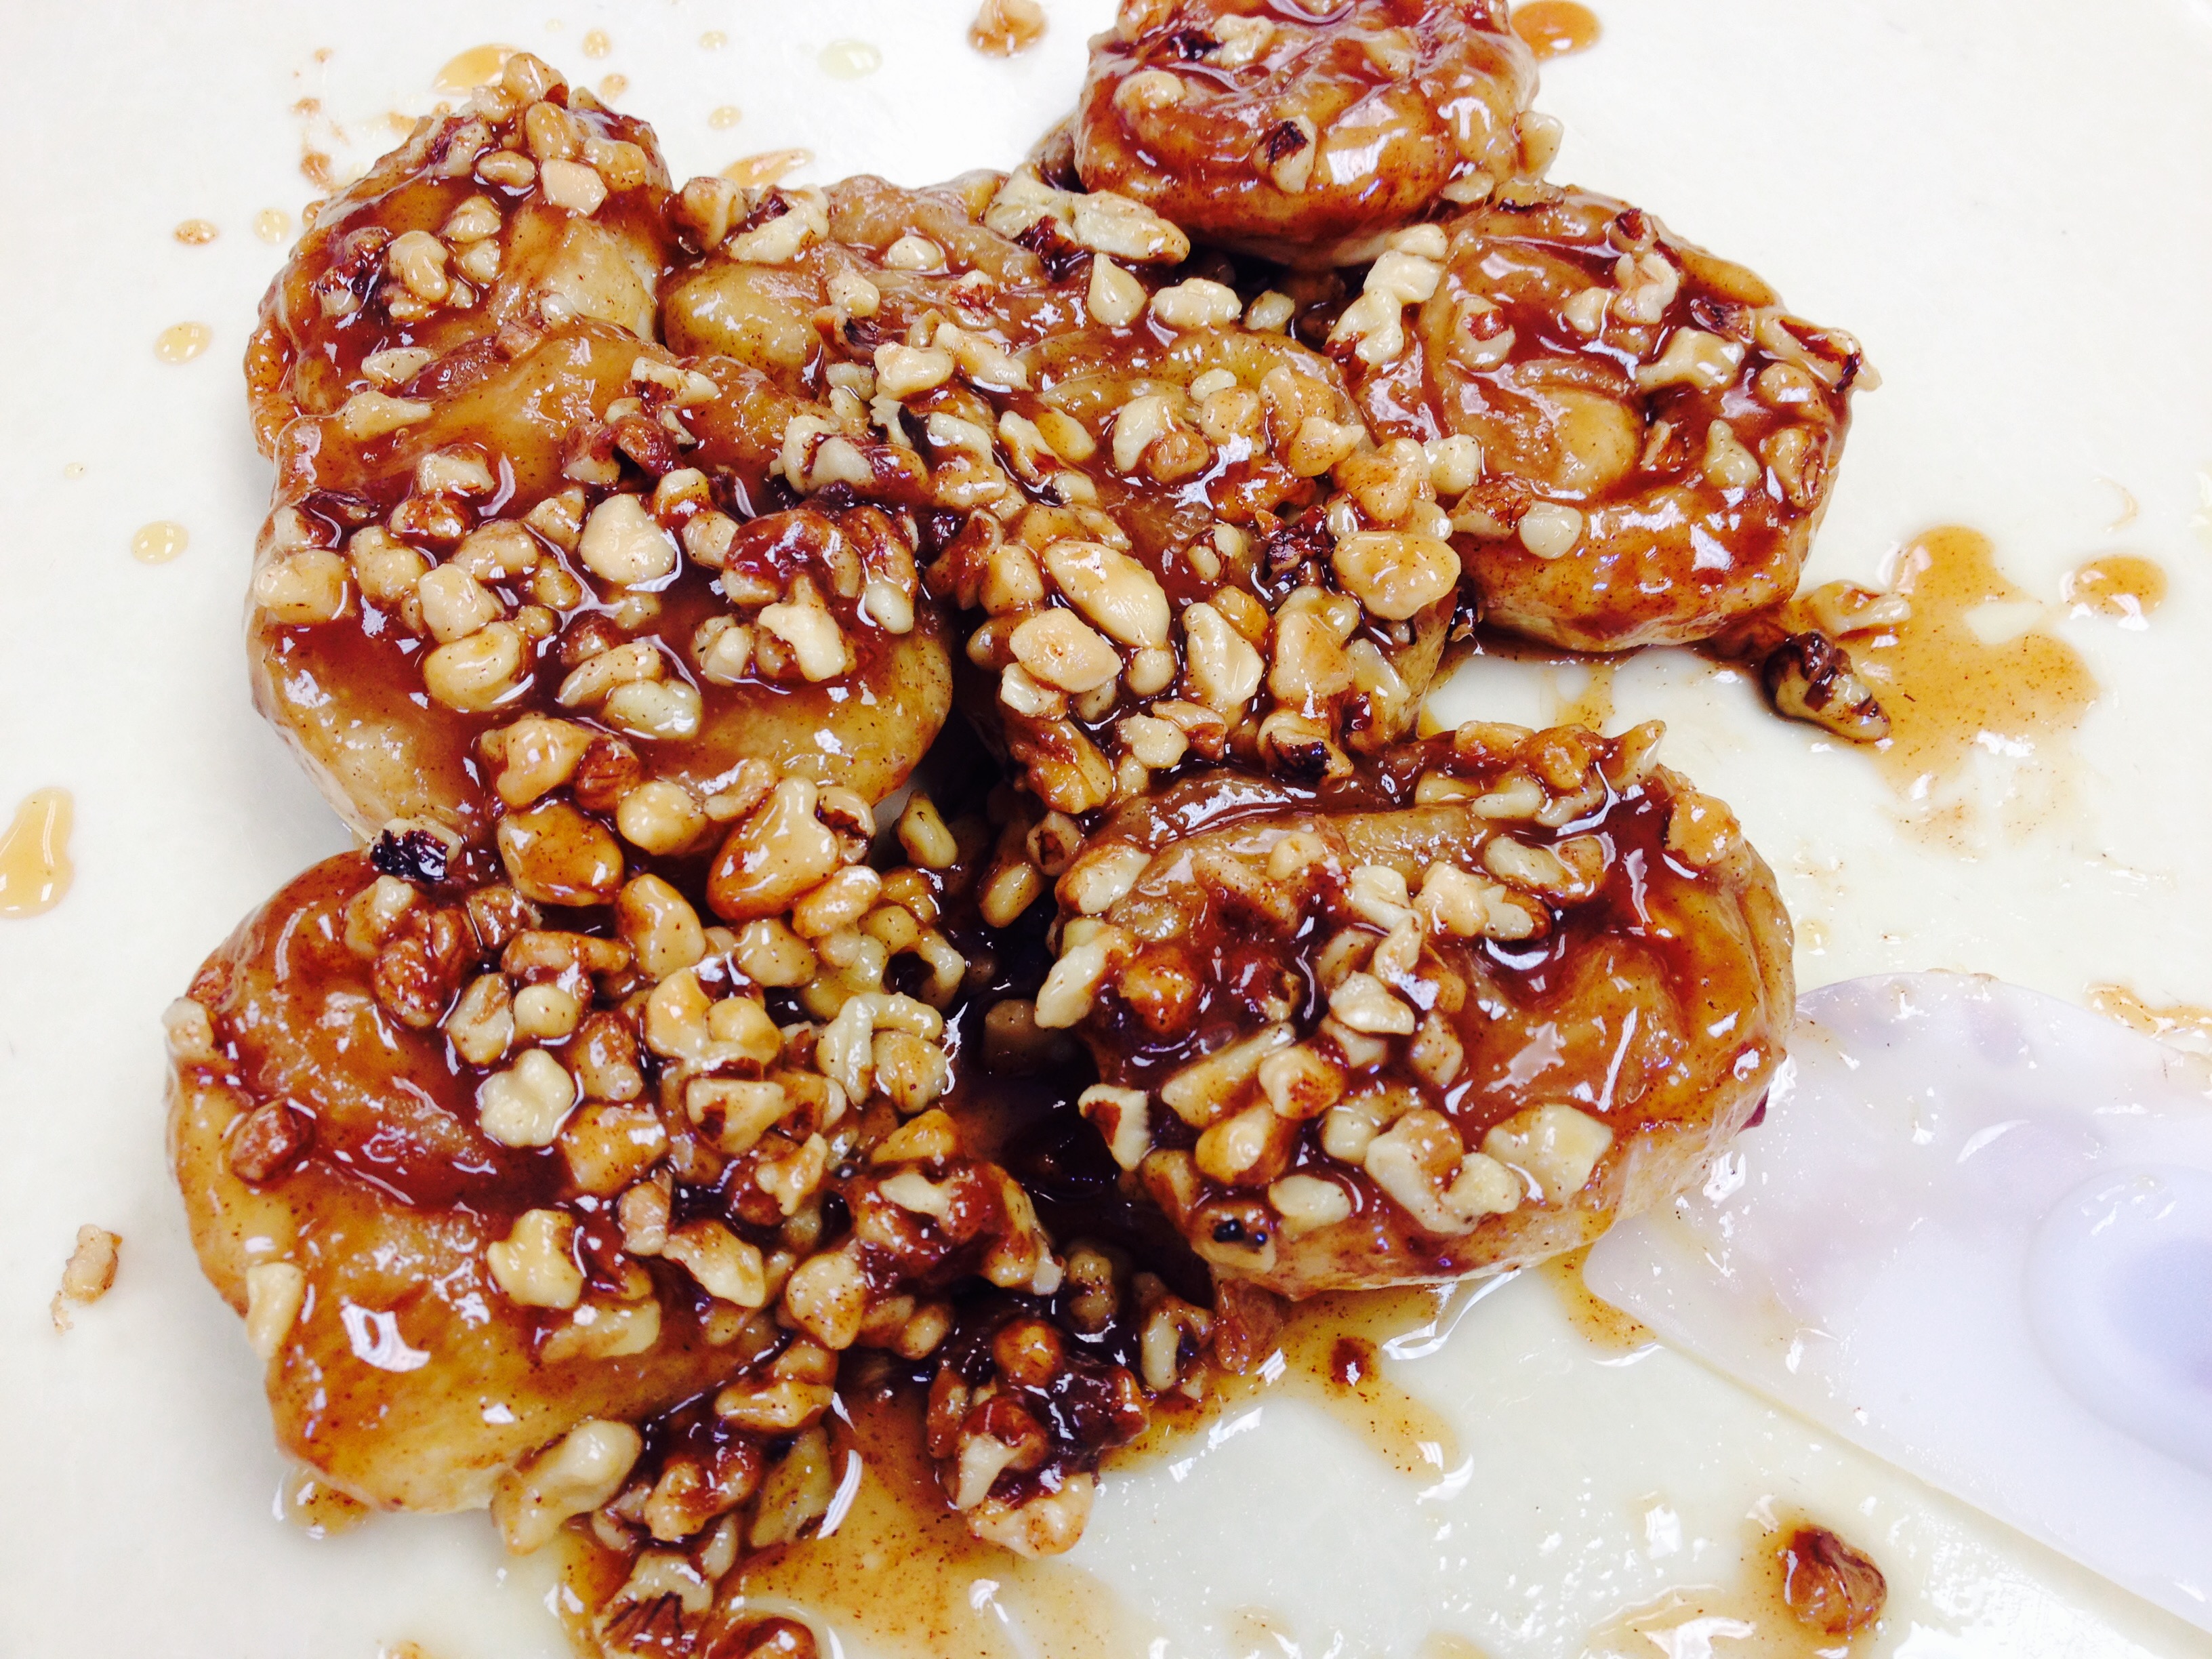
At our Thanksgiving feast we enjoyed celebrating God’s blessings. One of them, the best in my opinion, is of course, lovely breakfast treats. In specific, a golden cream cheese danish with a hint of almond…can you see where were going with this?

Danishes can be a little tricky – below is simple version of the recipe. If you’d like a flakier danish, I suggest doing the square of butter version (see notes at end of recipe).
But either way, with a straight-forward approach and a little bit of time, you can enjoy the sweet, flaky treat for a Sunday brunch or with your mid-morning coffee. We are so grateful to God’s many blessings and pray that you also were able to appreciate God’s goodness this year. Happy belated Thanksgiving!

Print Recipe
Votes: 2
Rating: 4.5
You:
Rate this recipe!
Cheese Danish Braid
SERVINGS
12servings
CHANGE SERVING SIZE
servings
COOK TIME
15-20mins
PREP TIME
20mins
READY IN
30mins (plus overnight for resting dough)
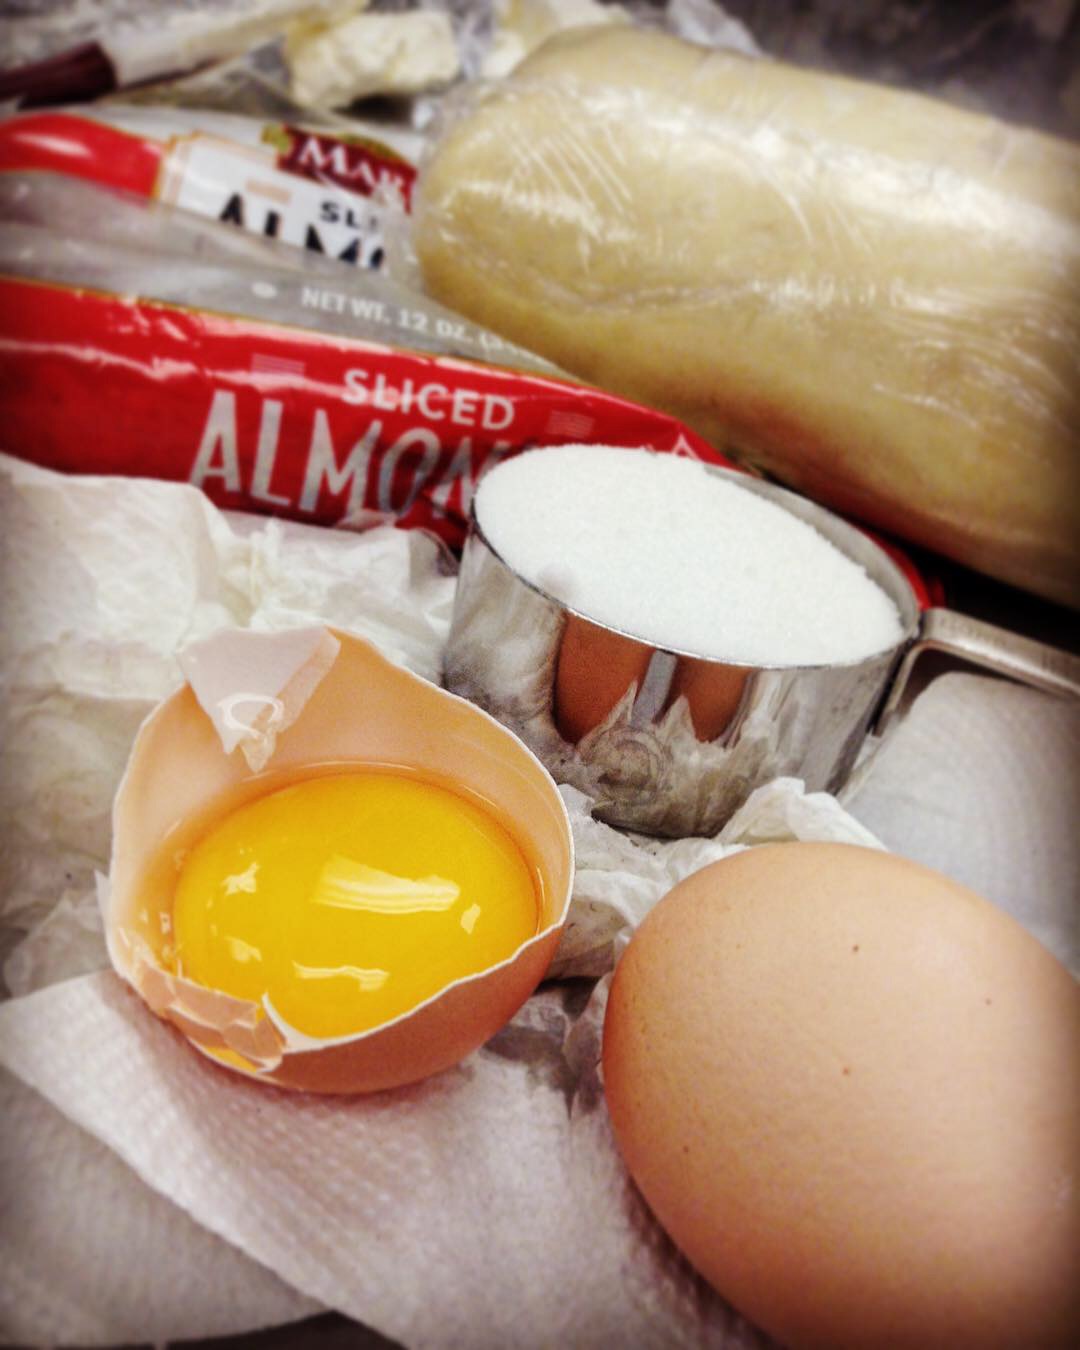
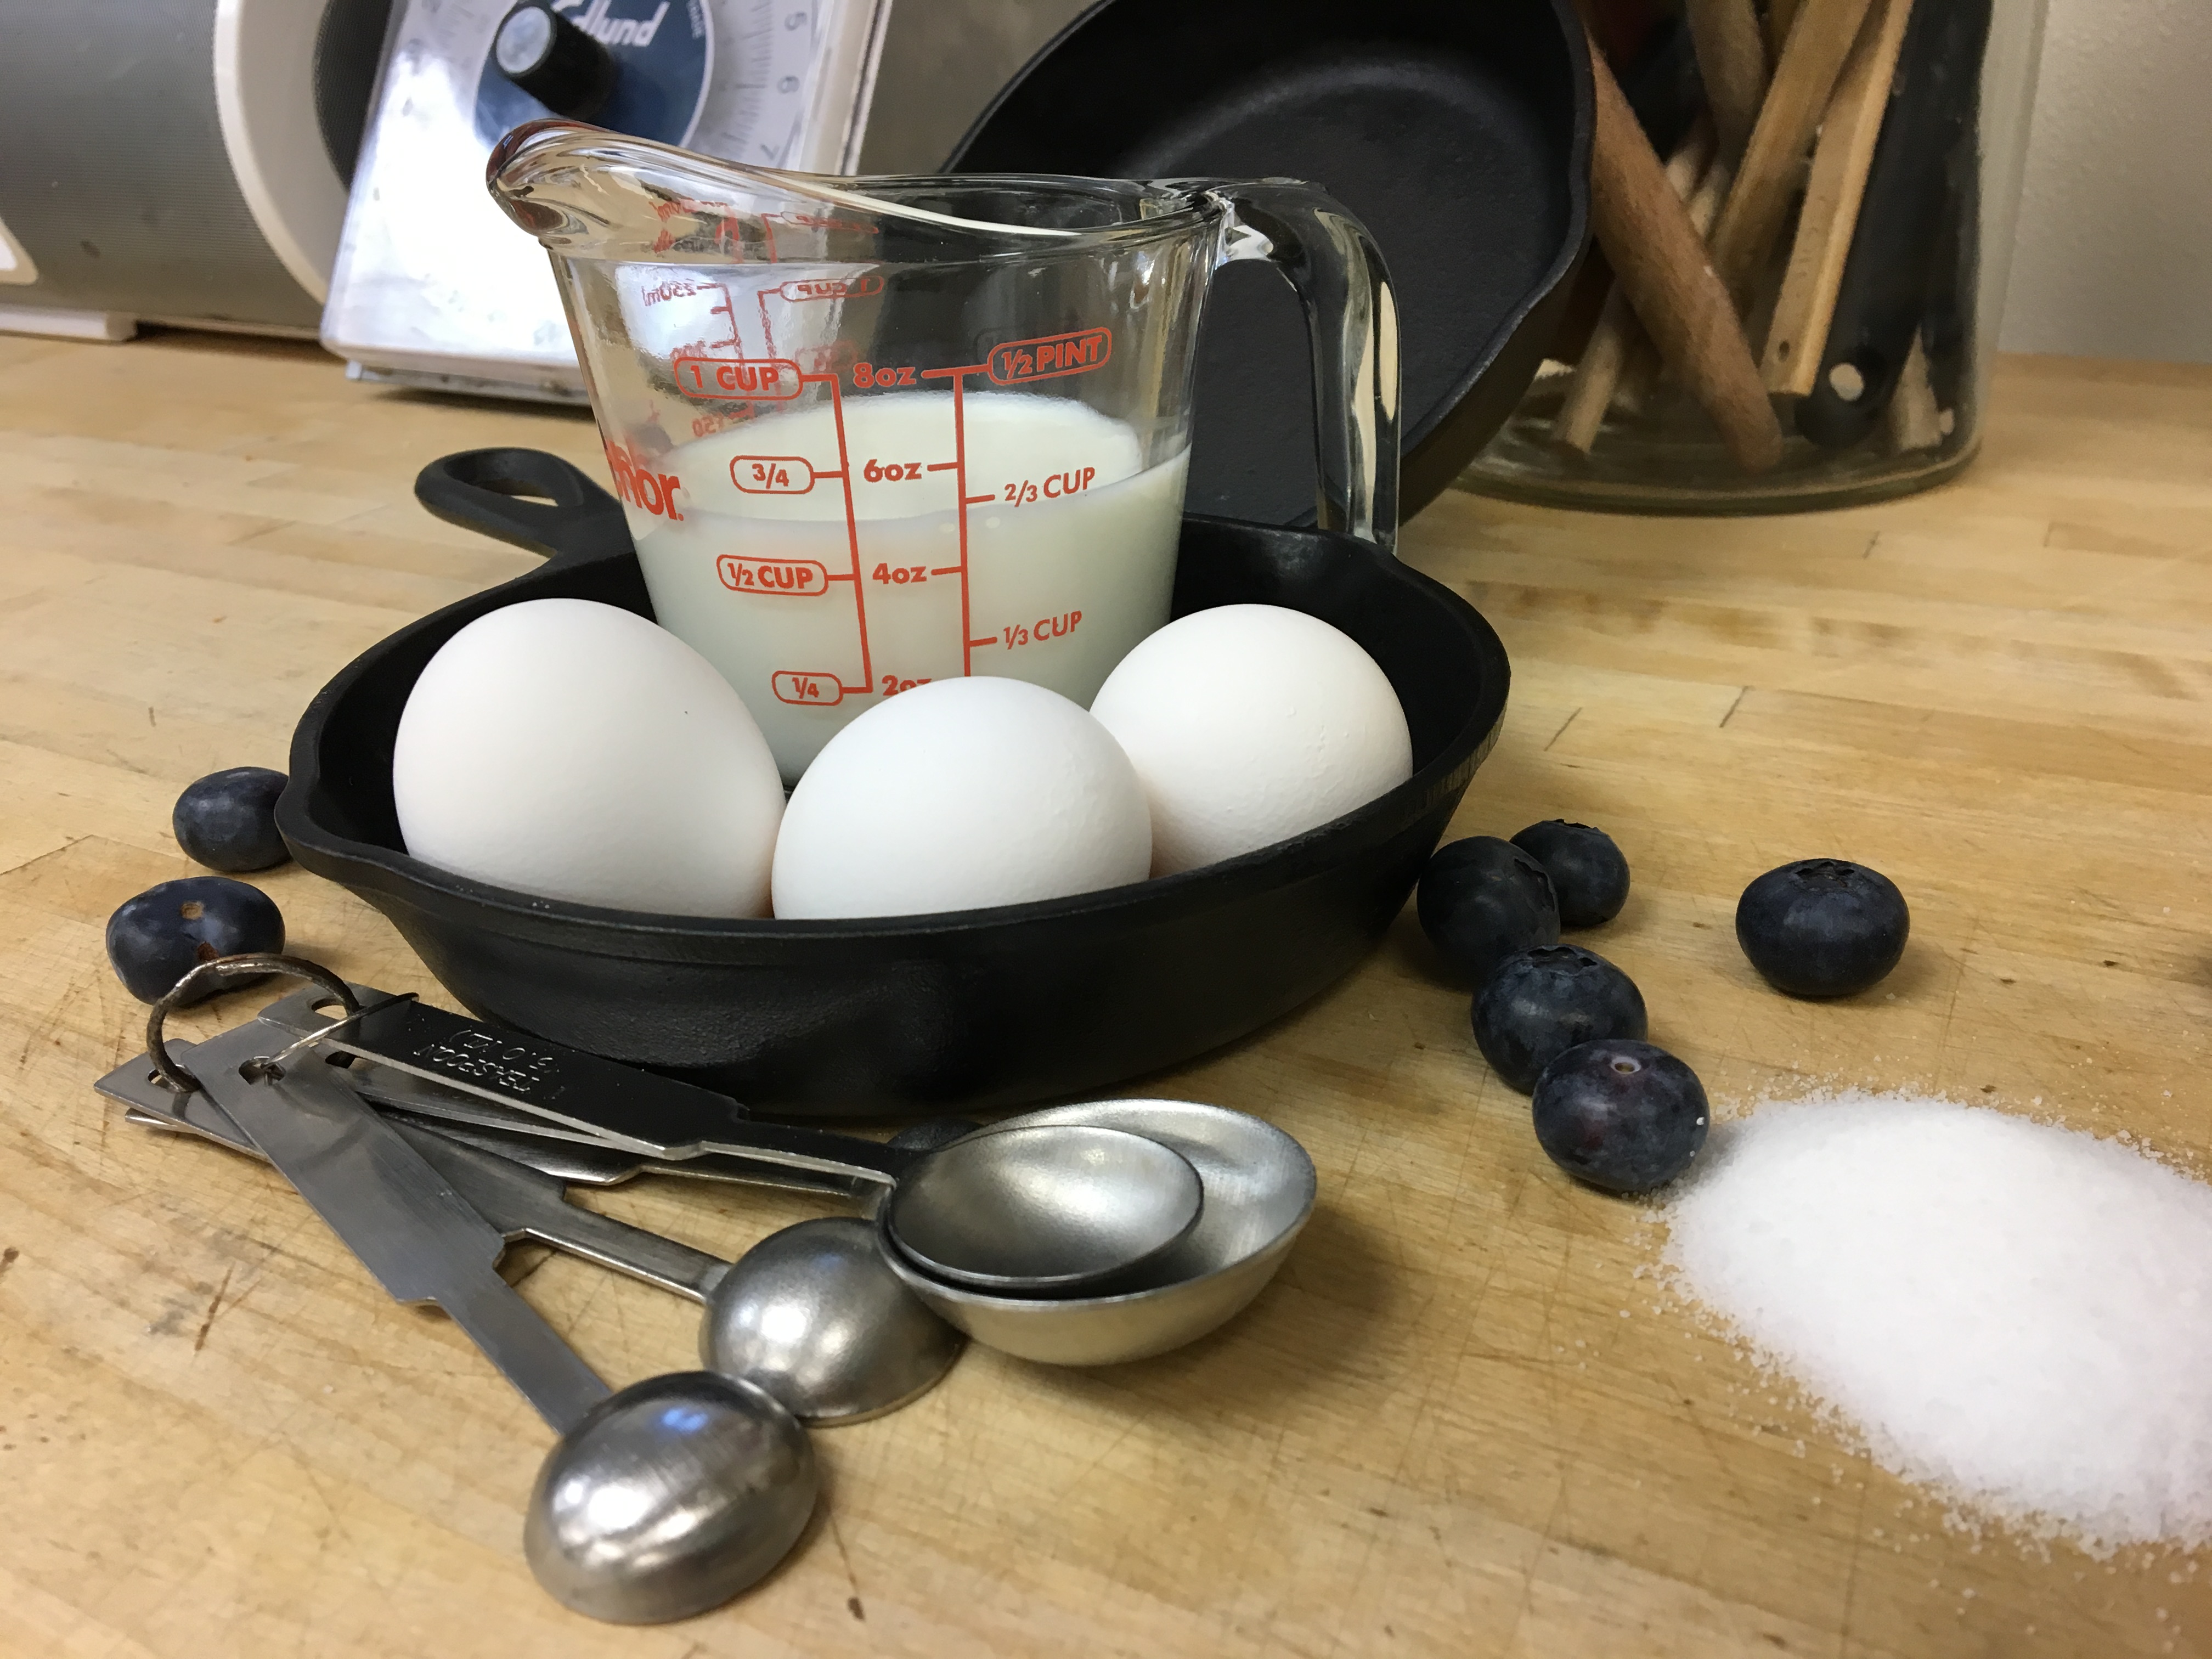
Ingredients

Instructions

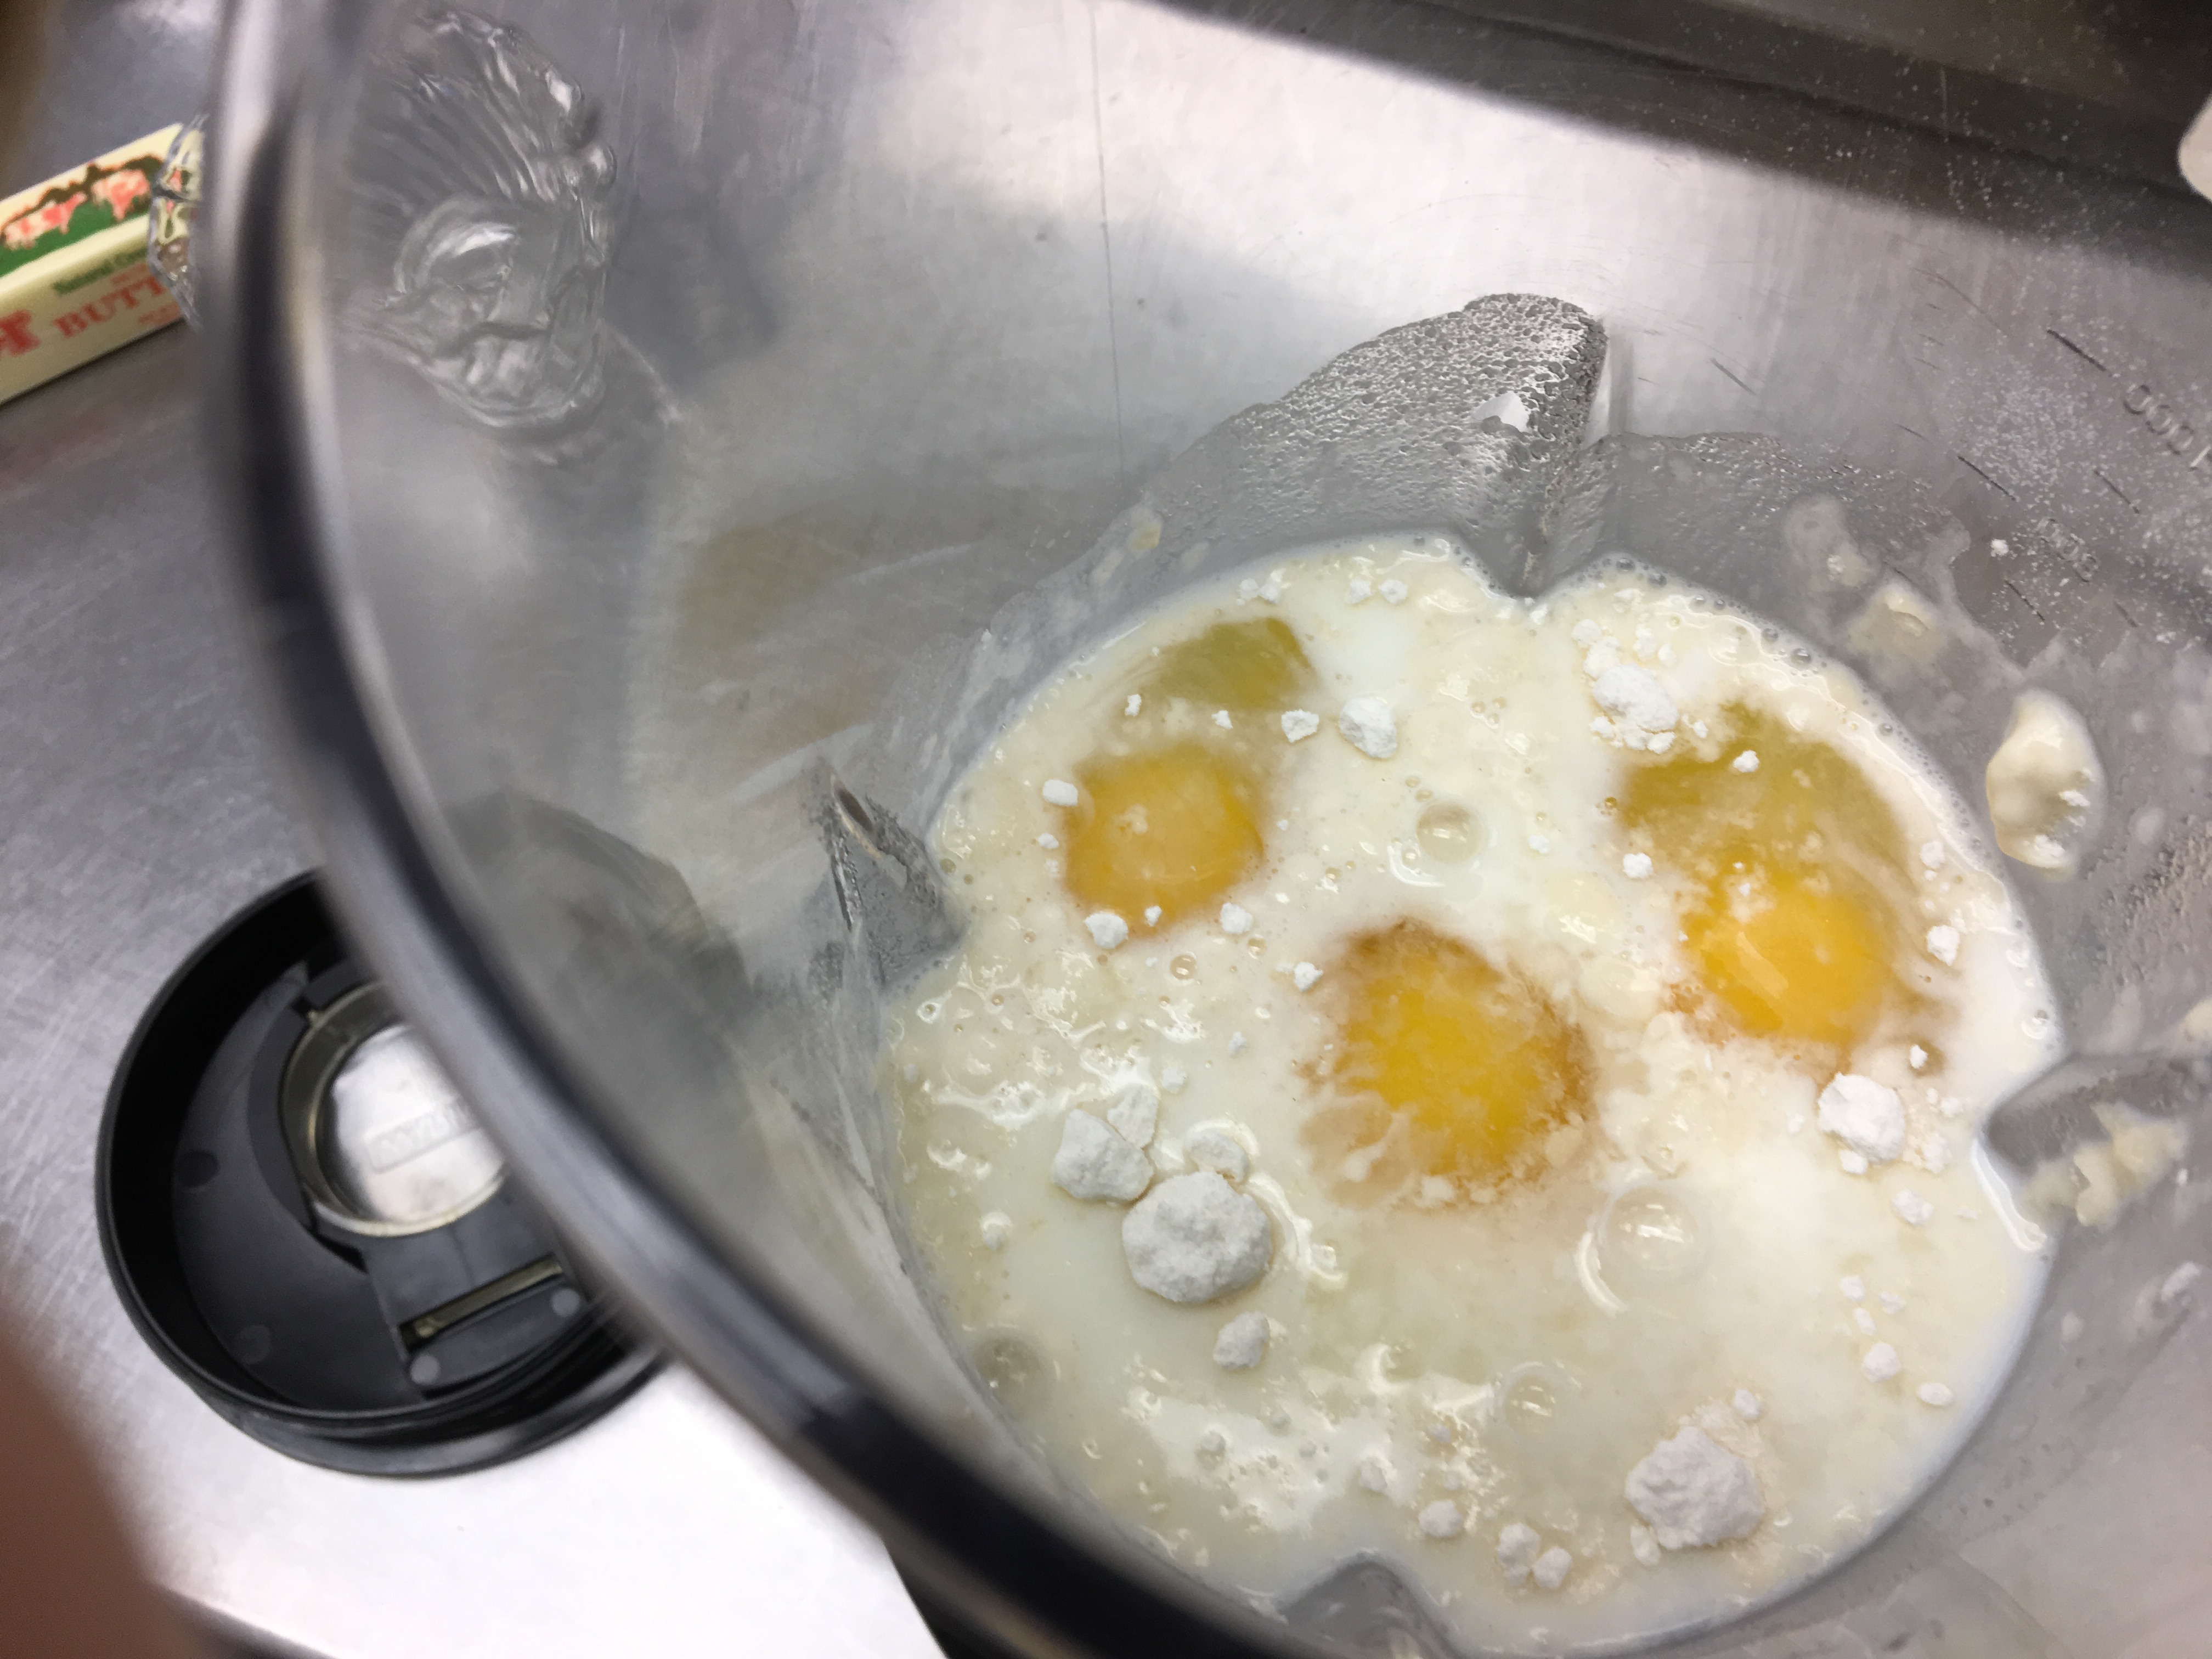
  1. In a medium bowl, add the yeast, 1 teaspoon sugar, and warm water. Let the yeast rest until it proofs (5 minutes). Once the yeast has proofed, add the egg, milk, sugar, and salt. Stir with a whisk, and set to the side.
  2. Place the flour and 1/2 cup cubed butter into a large bowl. With a pastry blender, combine until the butter is in tiny pieces. (You can also use the food processor for this step.) **NOTE** If you'd like a flakier Danish, set aside 1/2 cup of butter and make into a butter square.
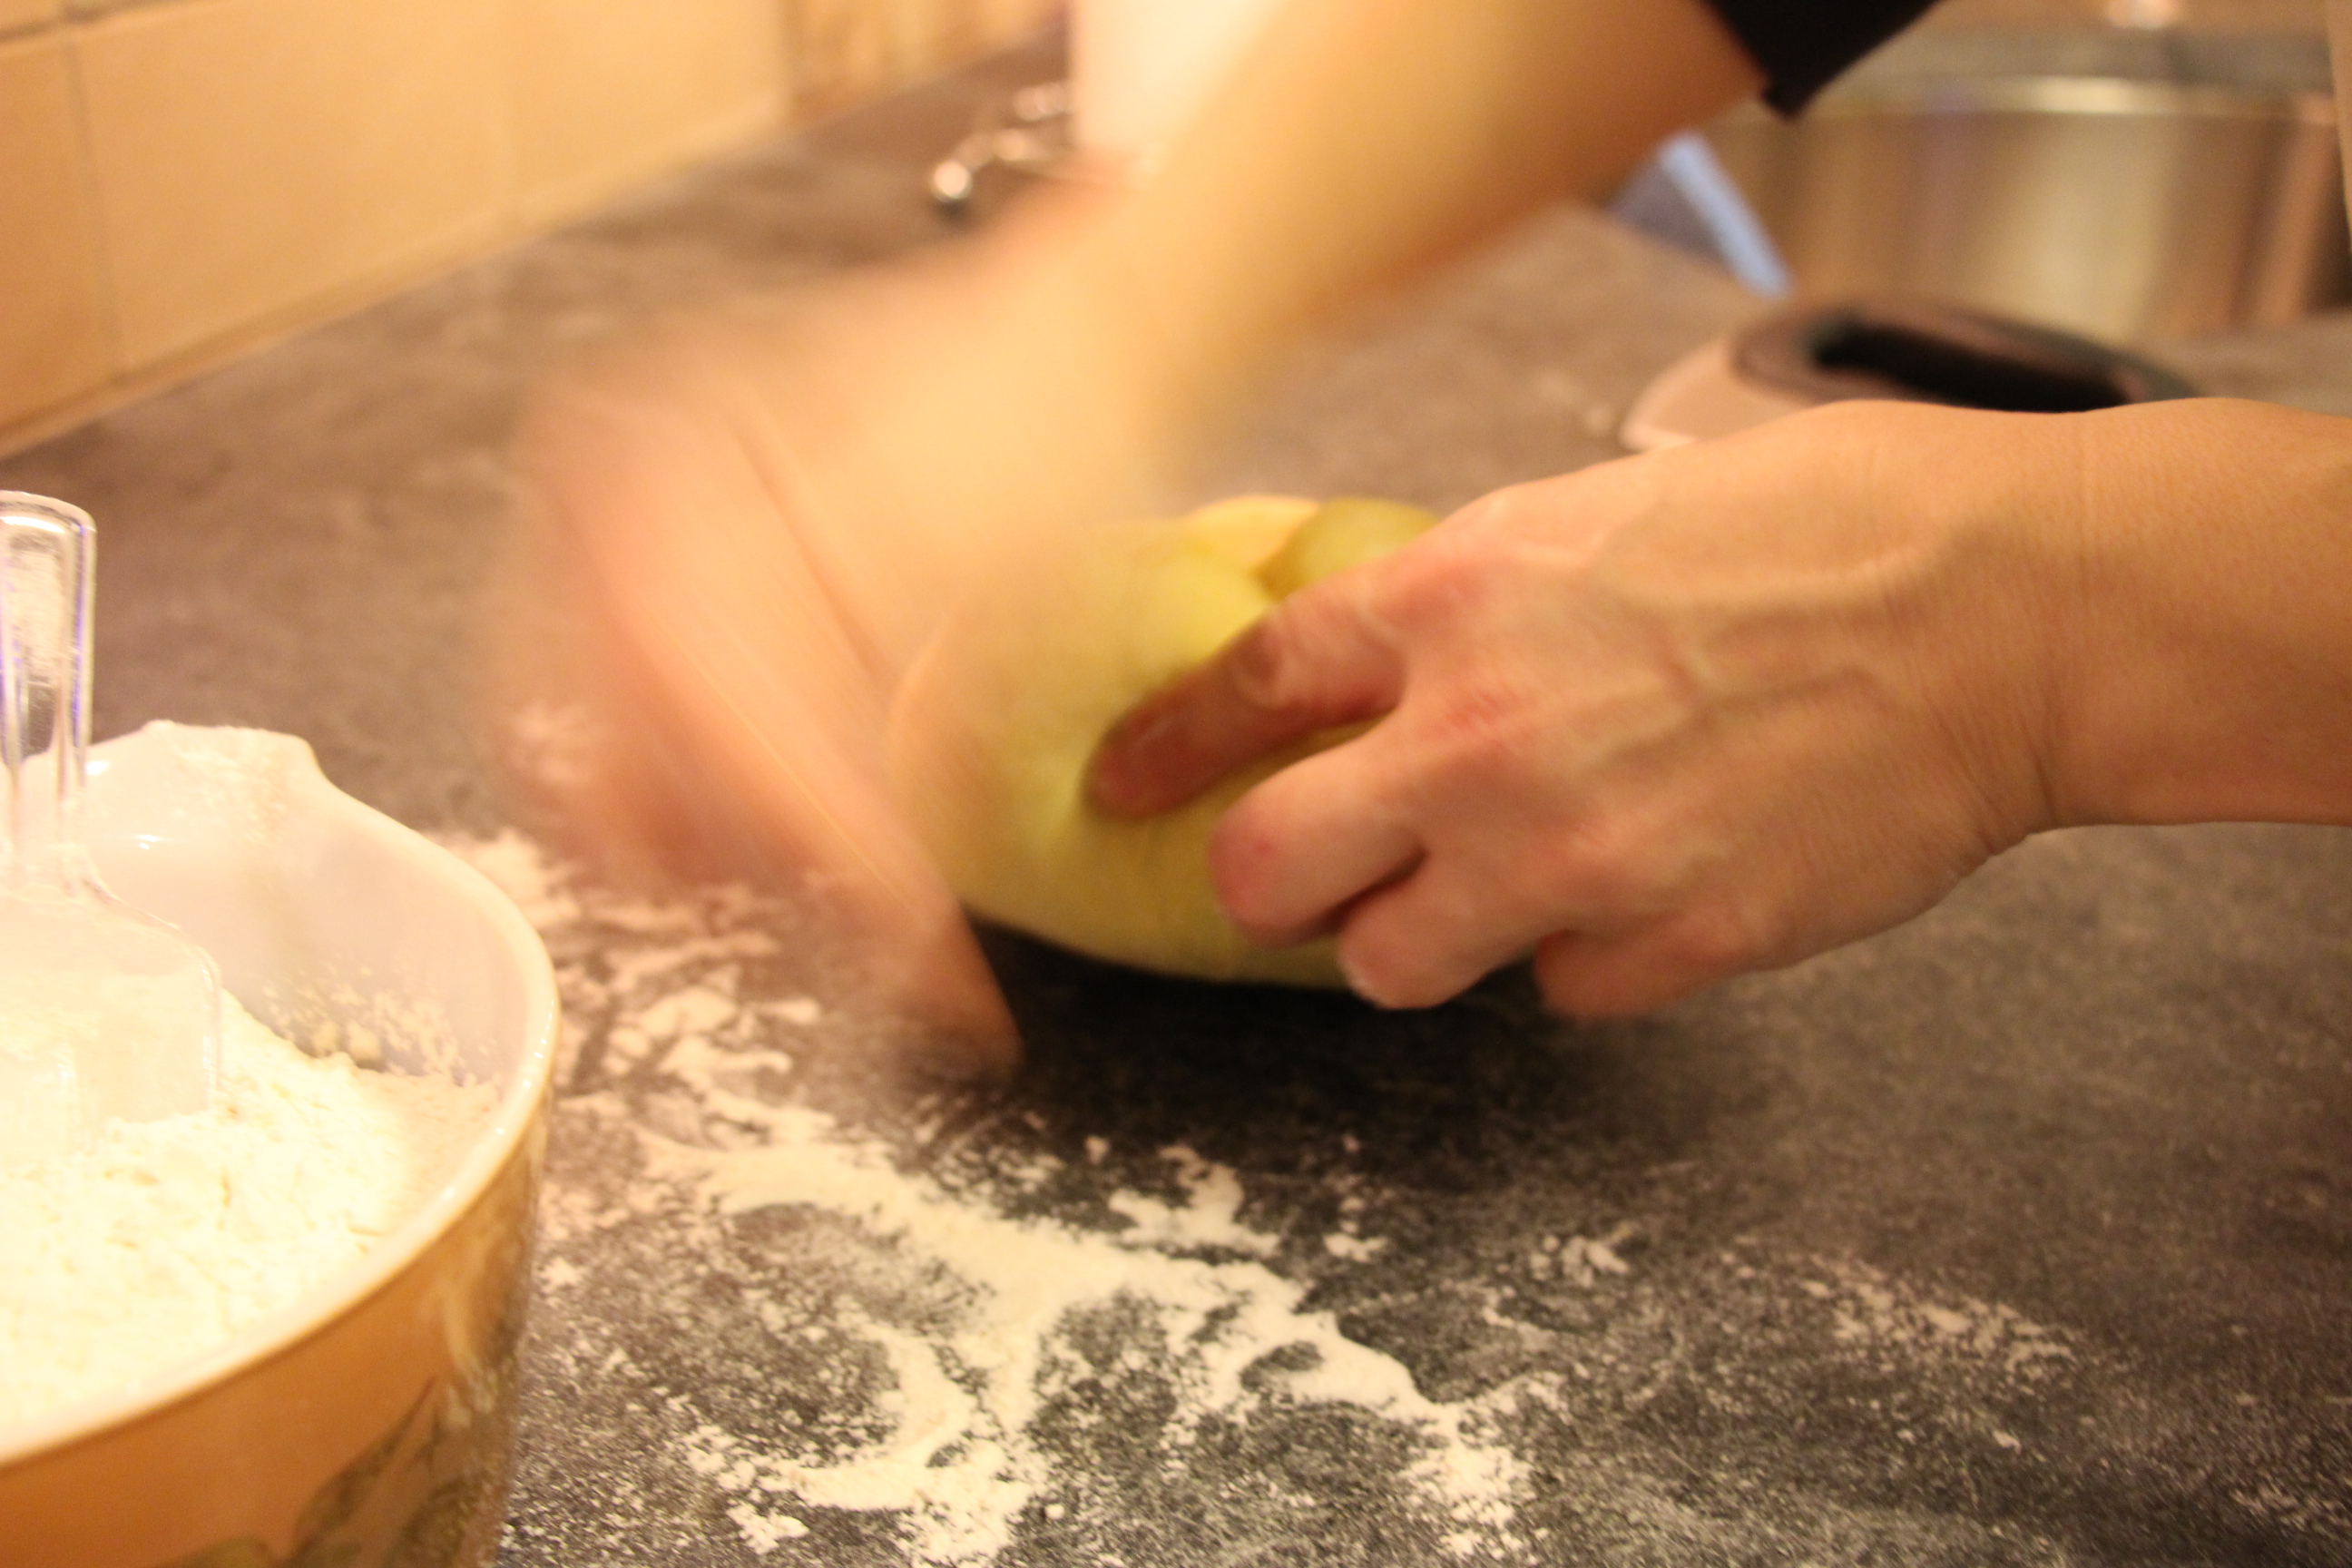
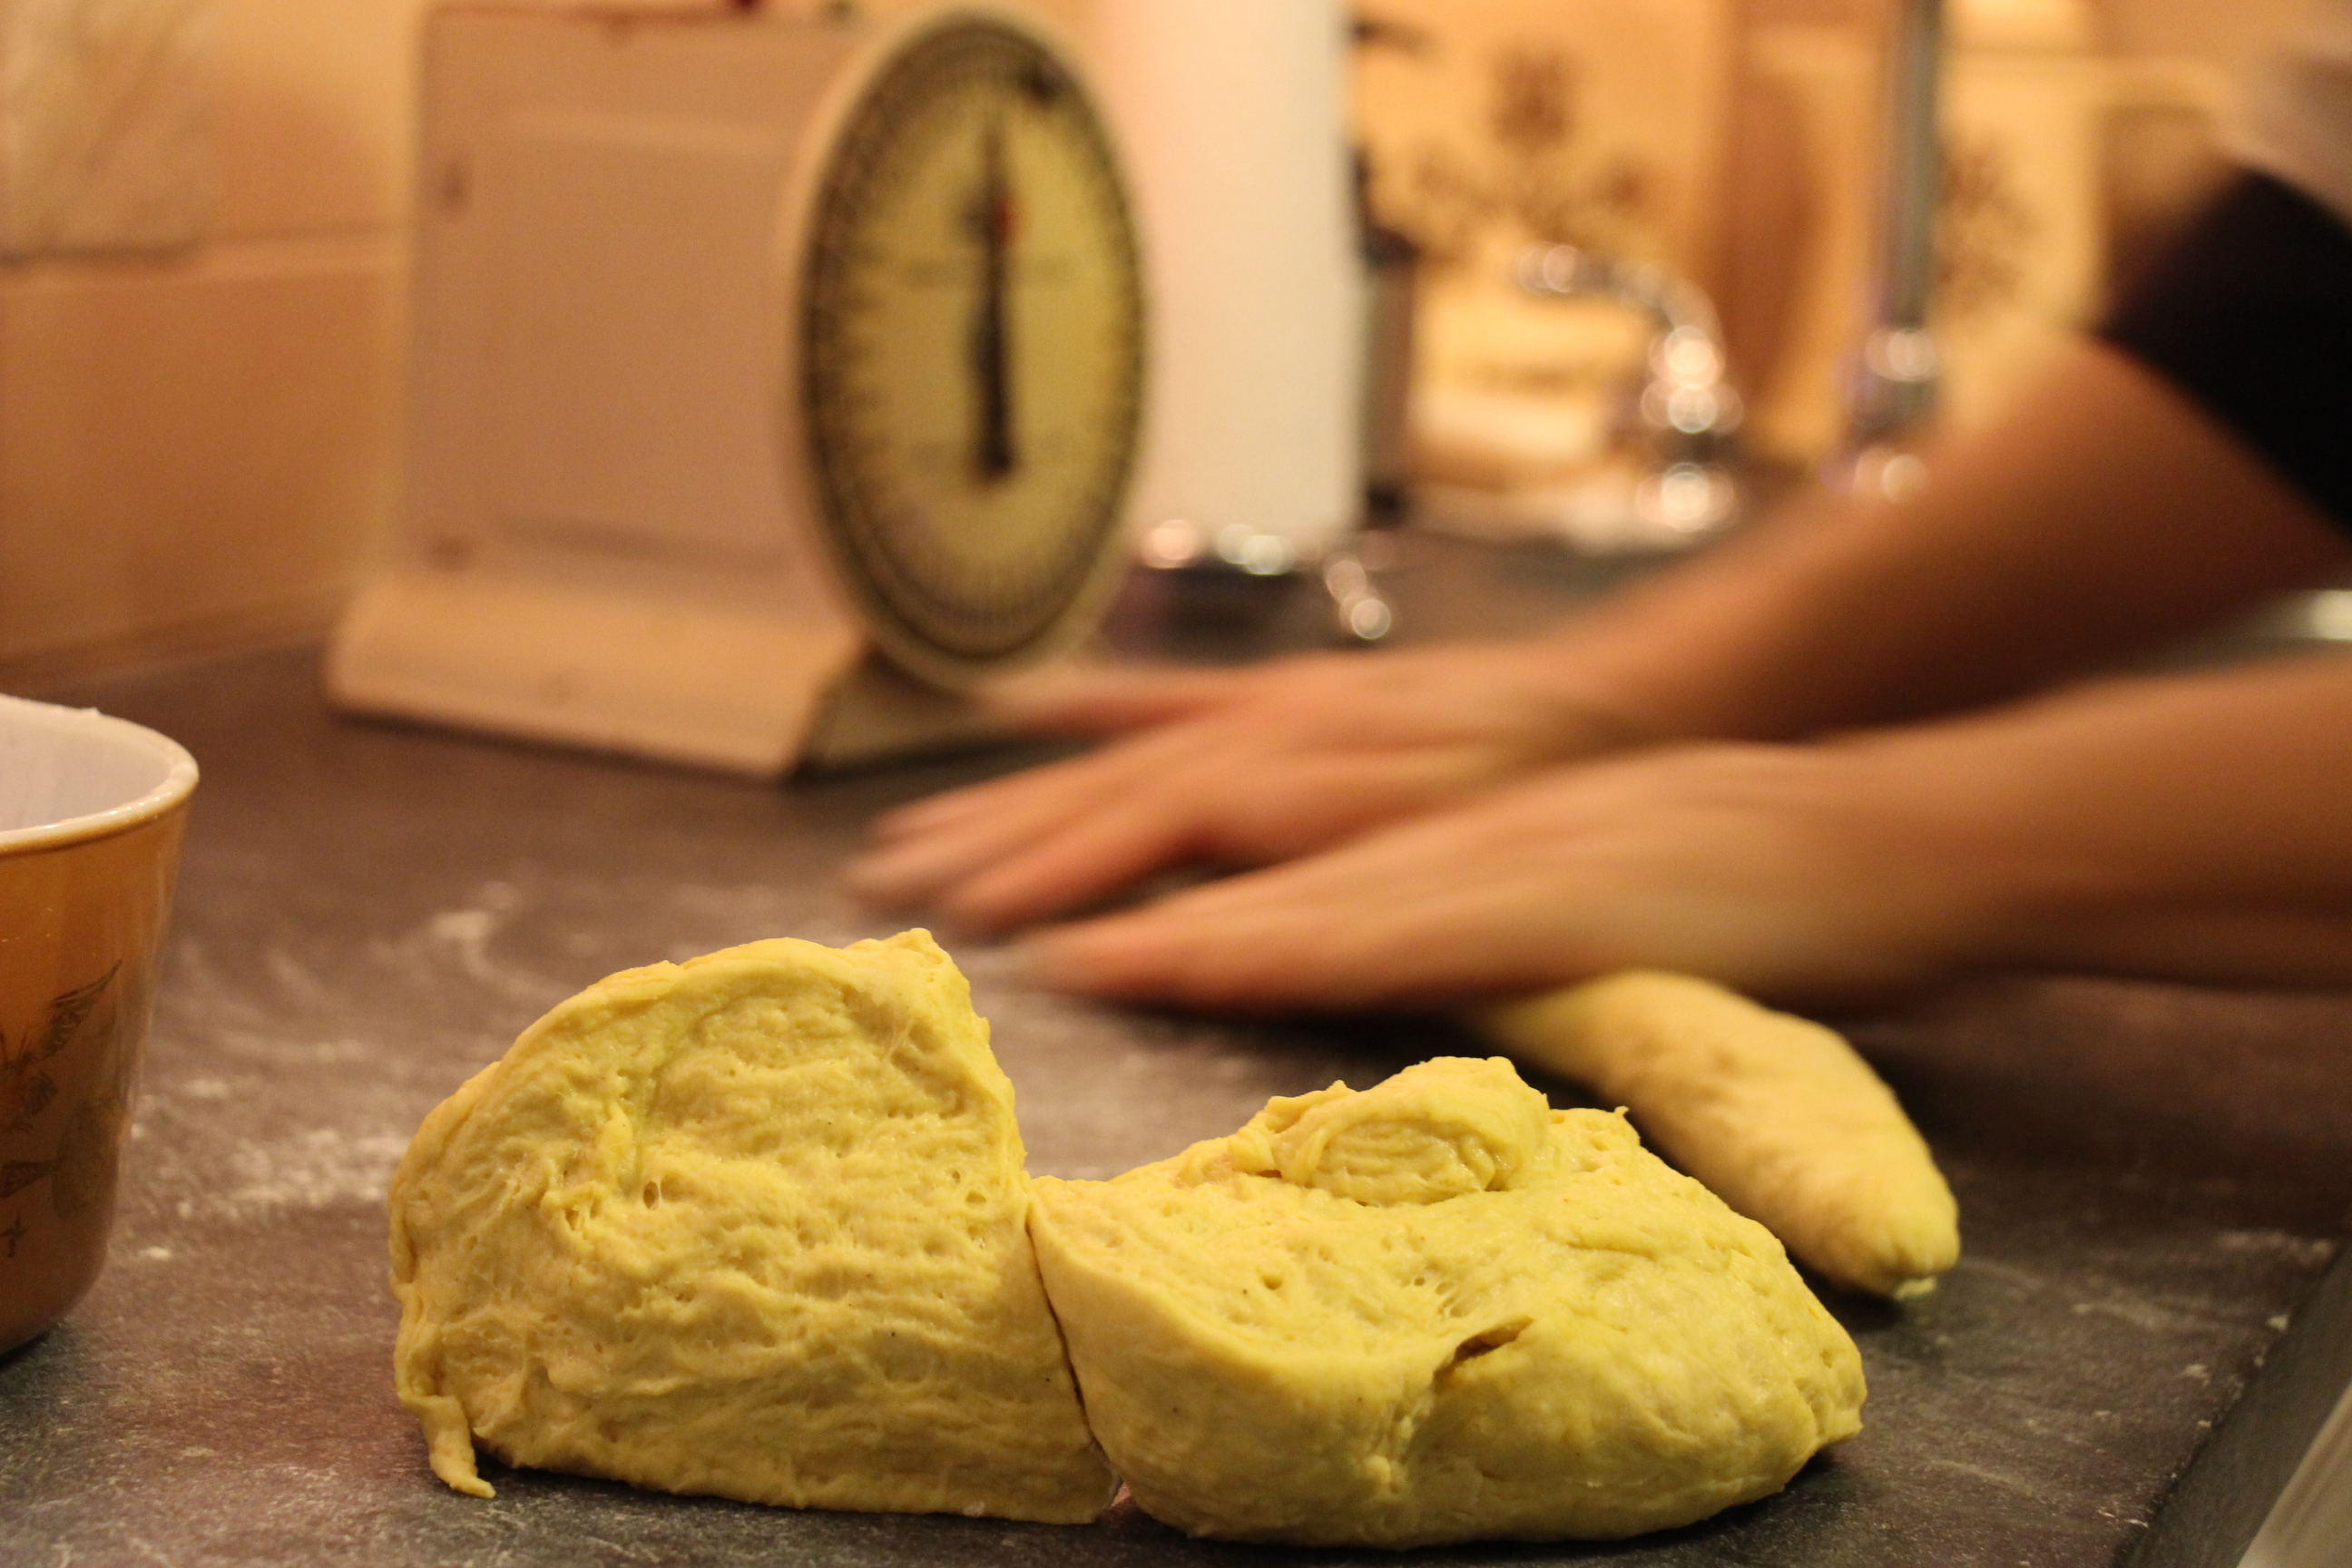
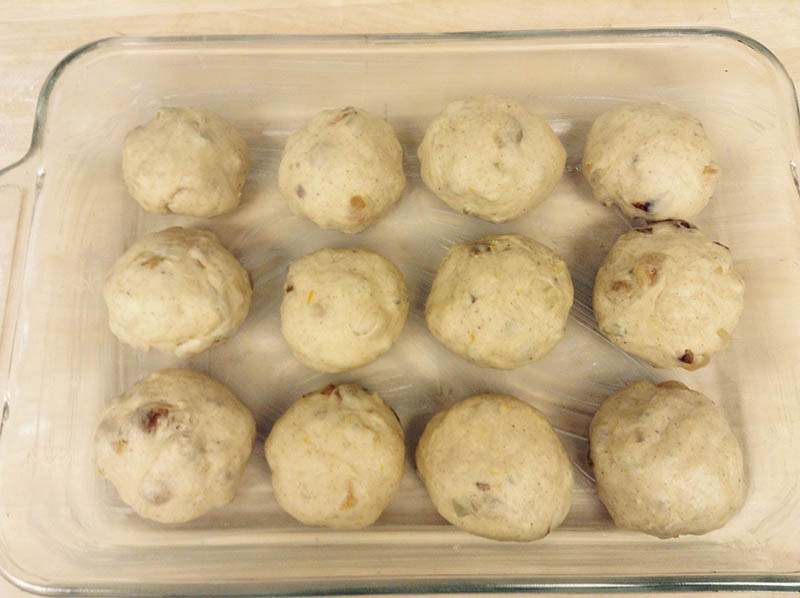
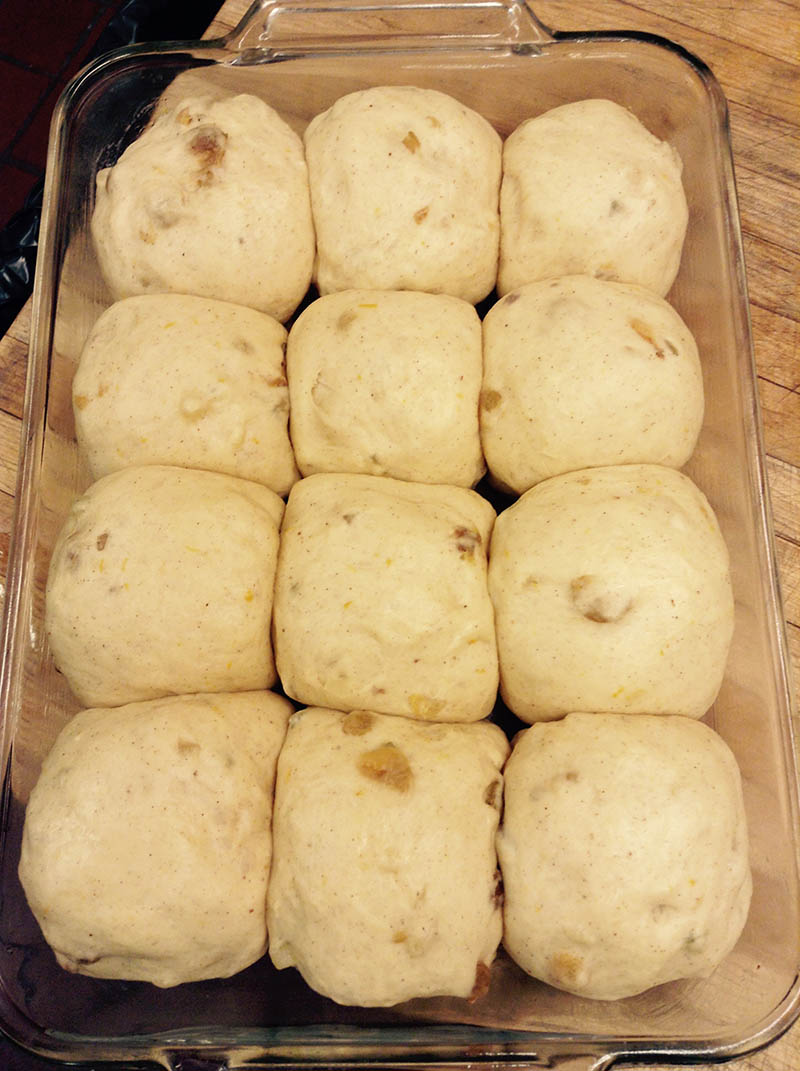
  3. Add the wet ingredients to the flour and combine until the dough comes together. Place the dough onto a floured work surface and shape into a square. Roll the dough into a rectangle 9 x 13-inches. If you'd like a flakier crust, place the butter square (see #8) in the middle and fold the dough lengthwise into thirds (similar to folding a letter to fit into an envelope). Roll the dough into a rectangle again, and then again fold into thirds. Repeat this process twice more, until you've done it a total of 3 times. Cut the dough in half, wrap each piece in plastic wrap, and place in the fridge overnight. The dough keeps for one week in the fridge and 2 months in the freezer.
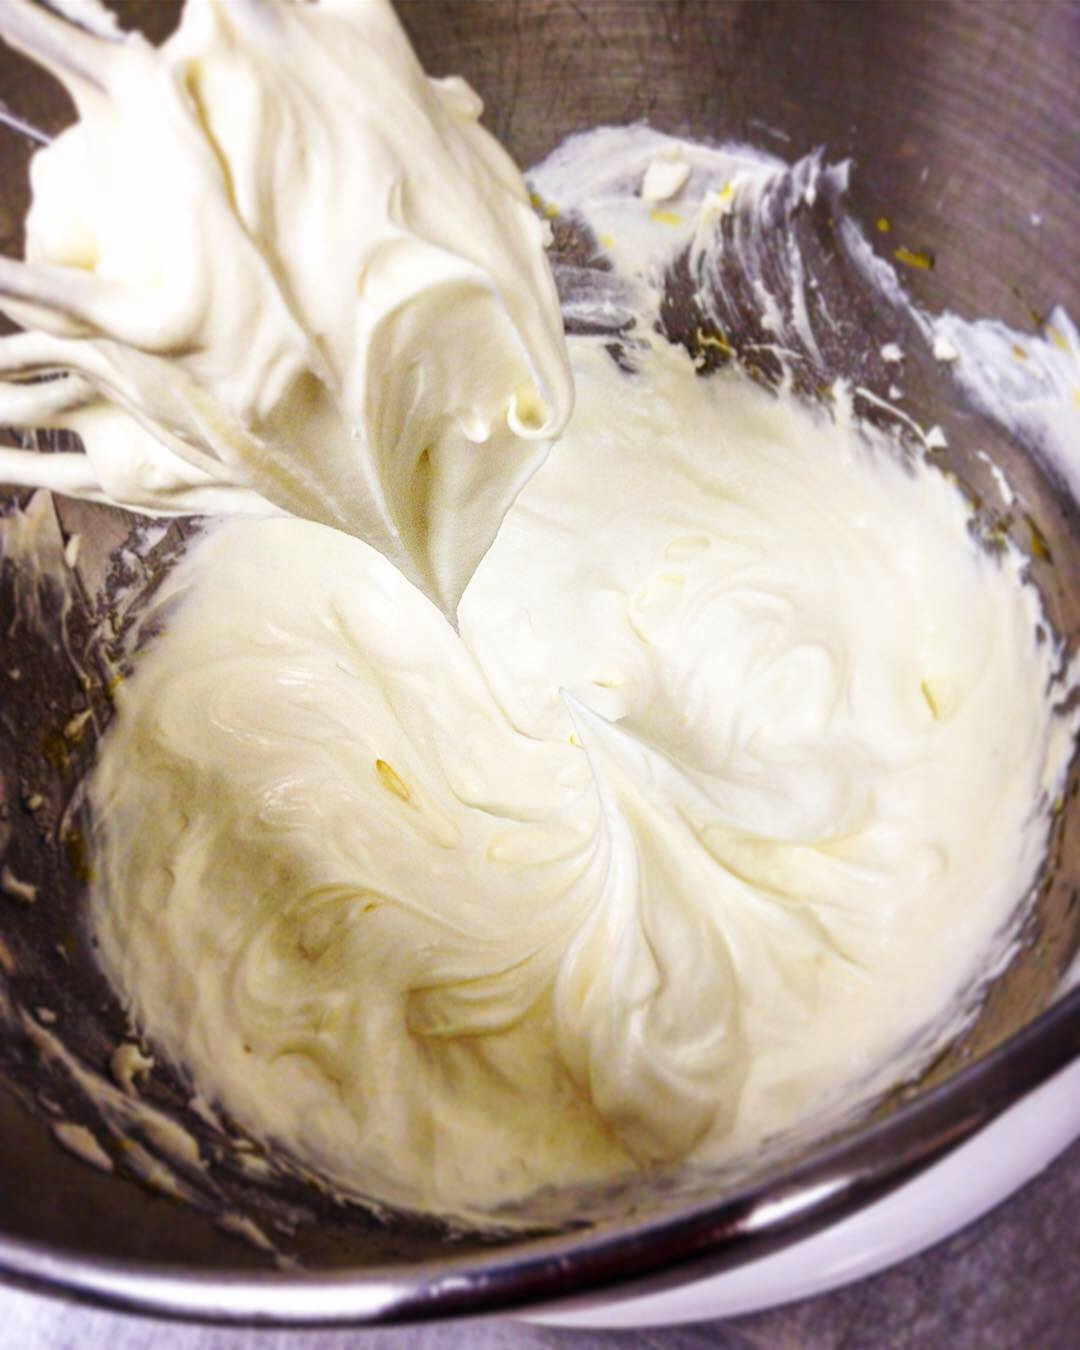
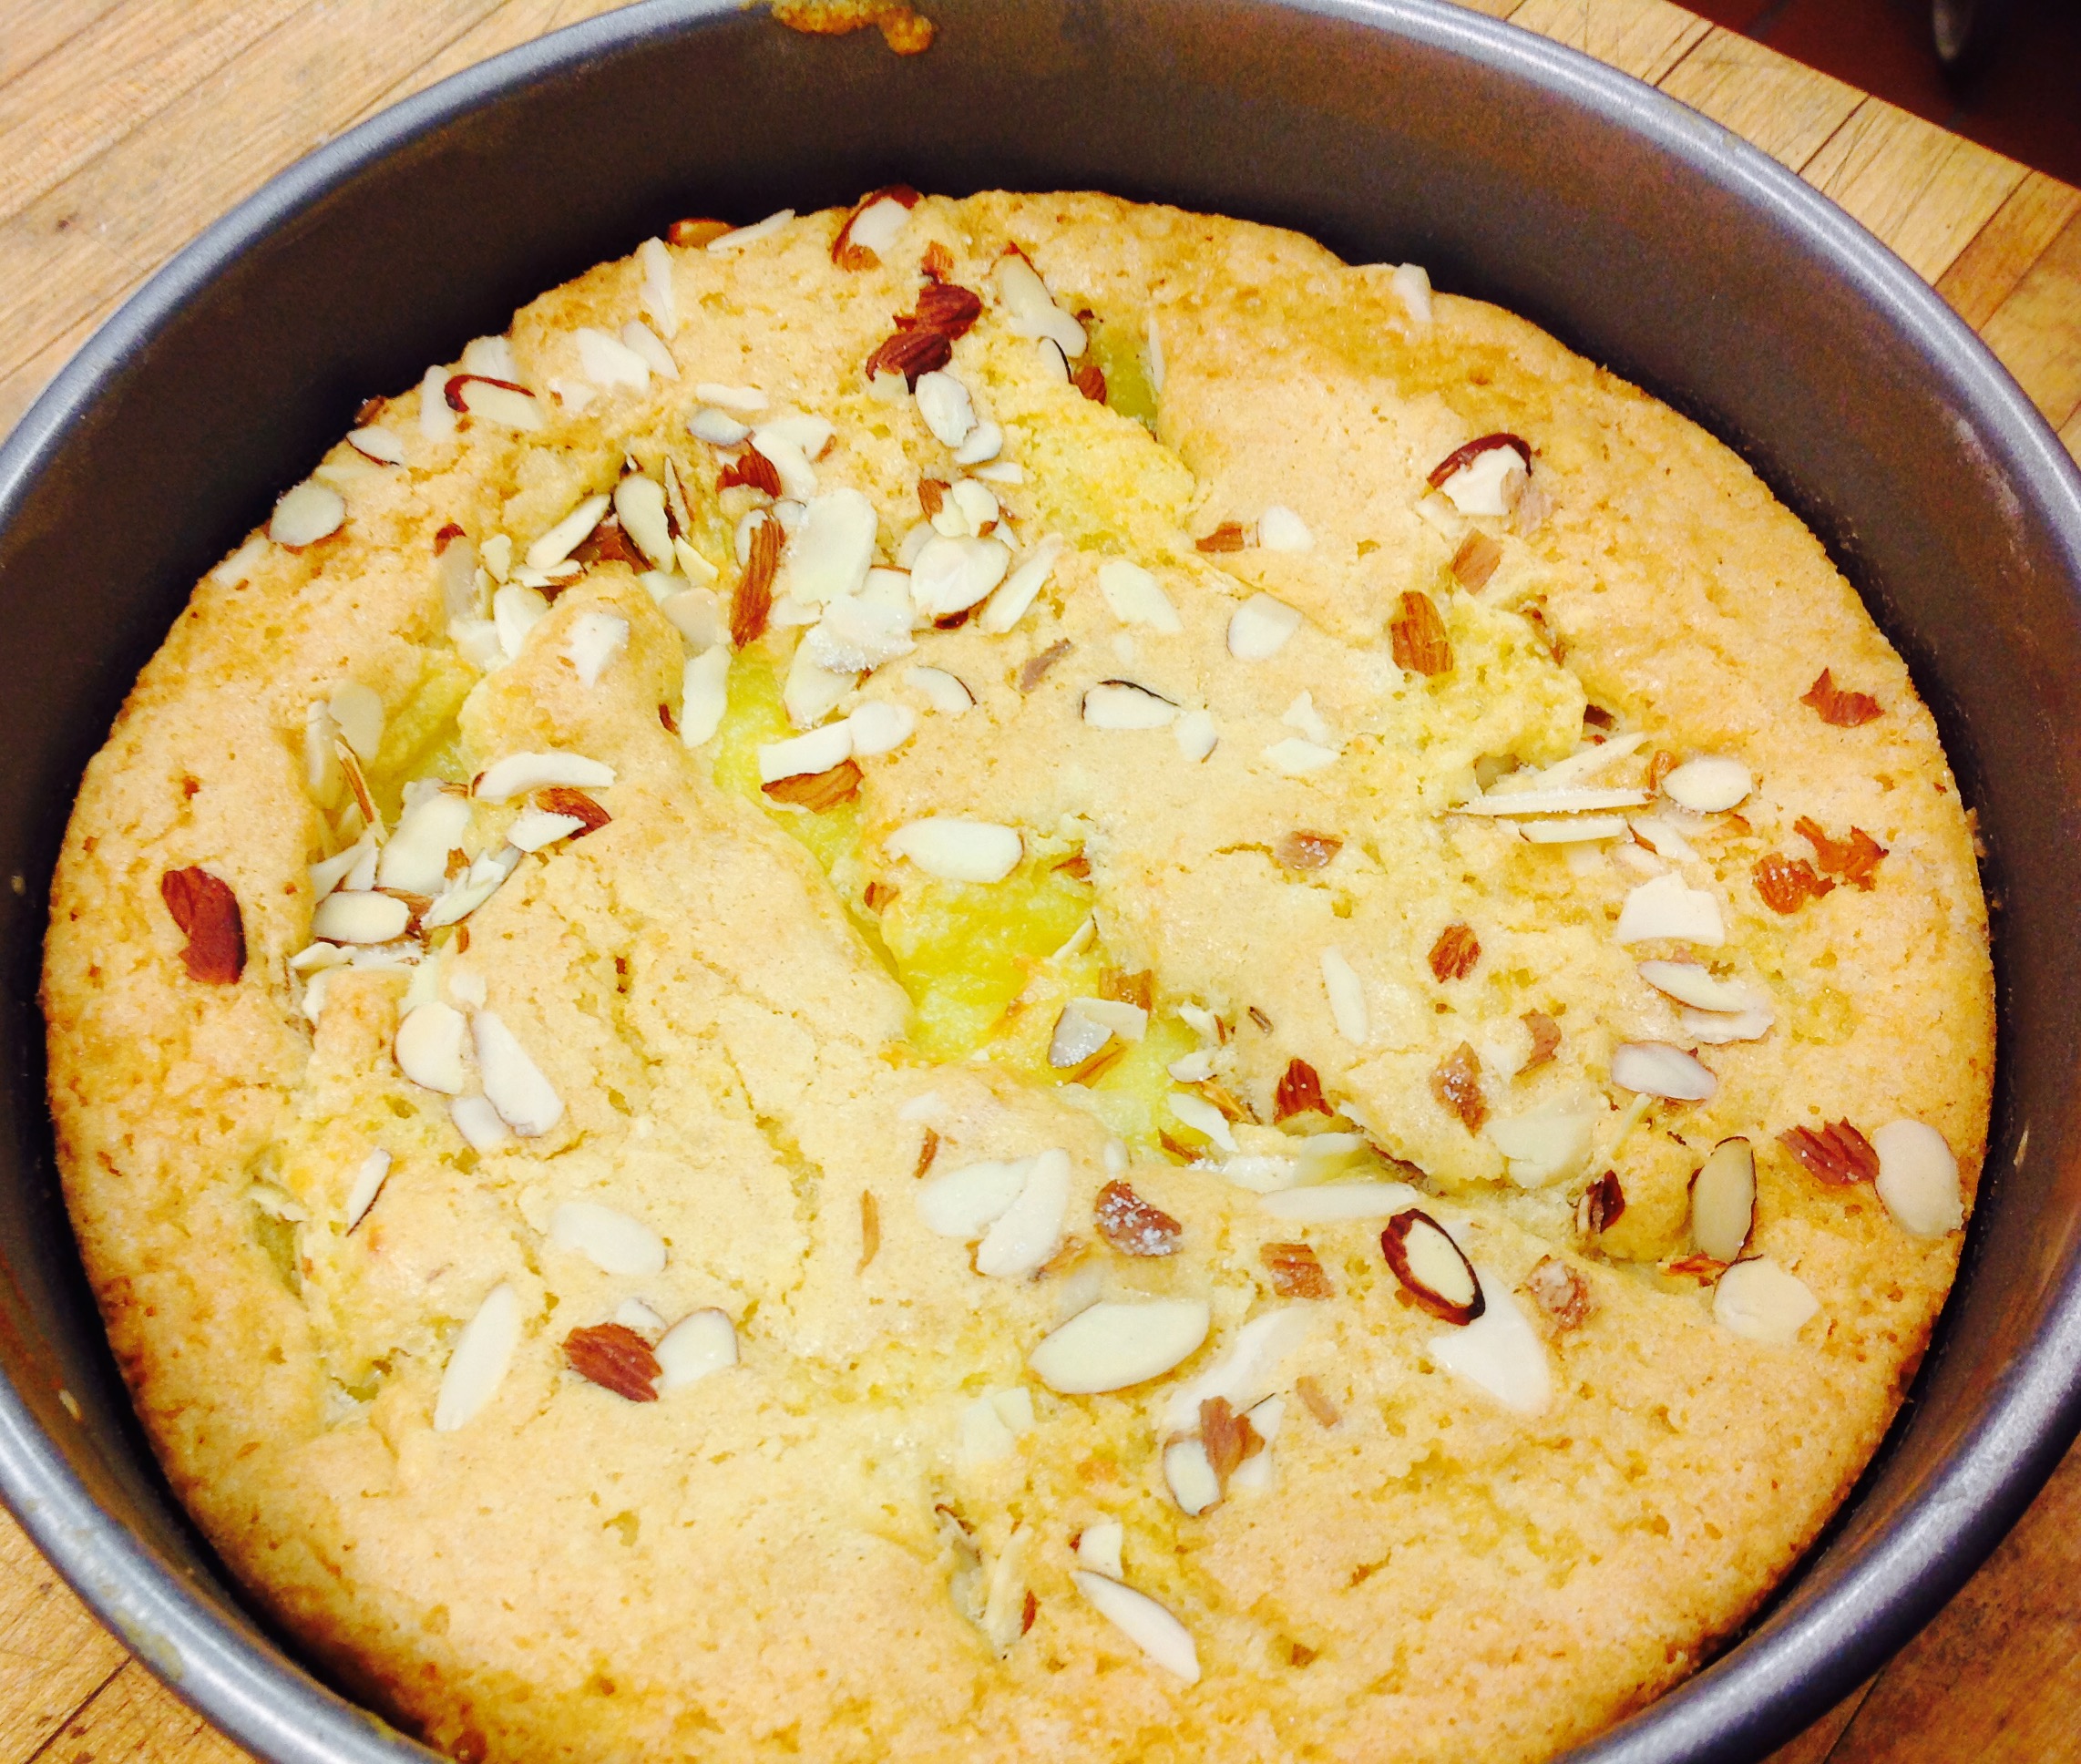
  4. Beat Cream Cheese till very smooth and no lumps remain. Combine with rest of filling ingredients.
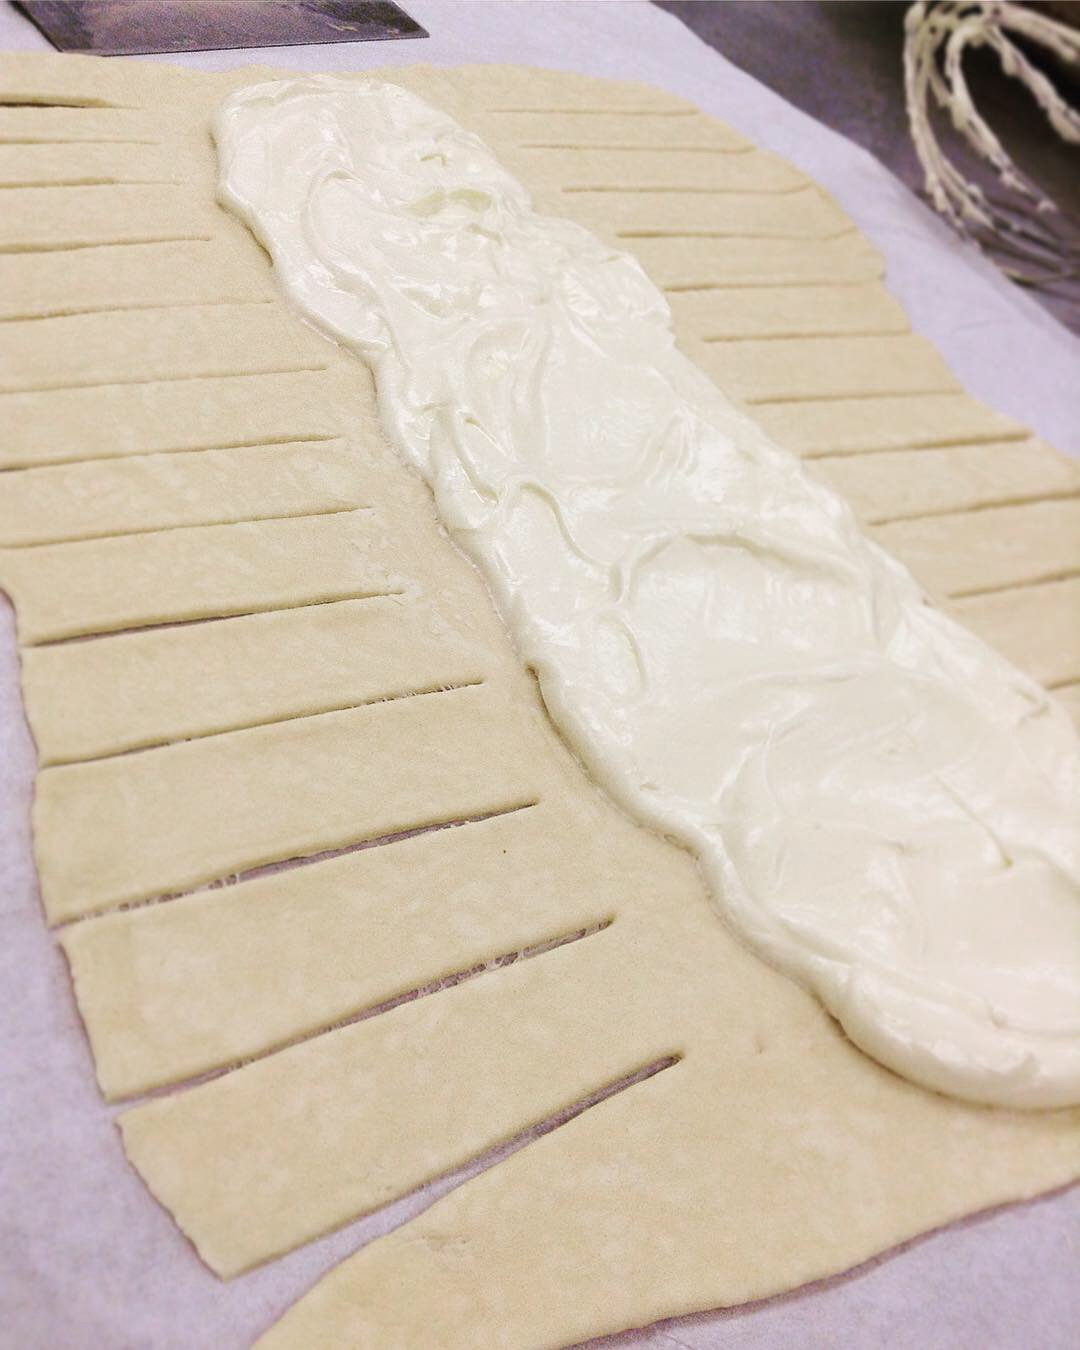
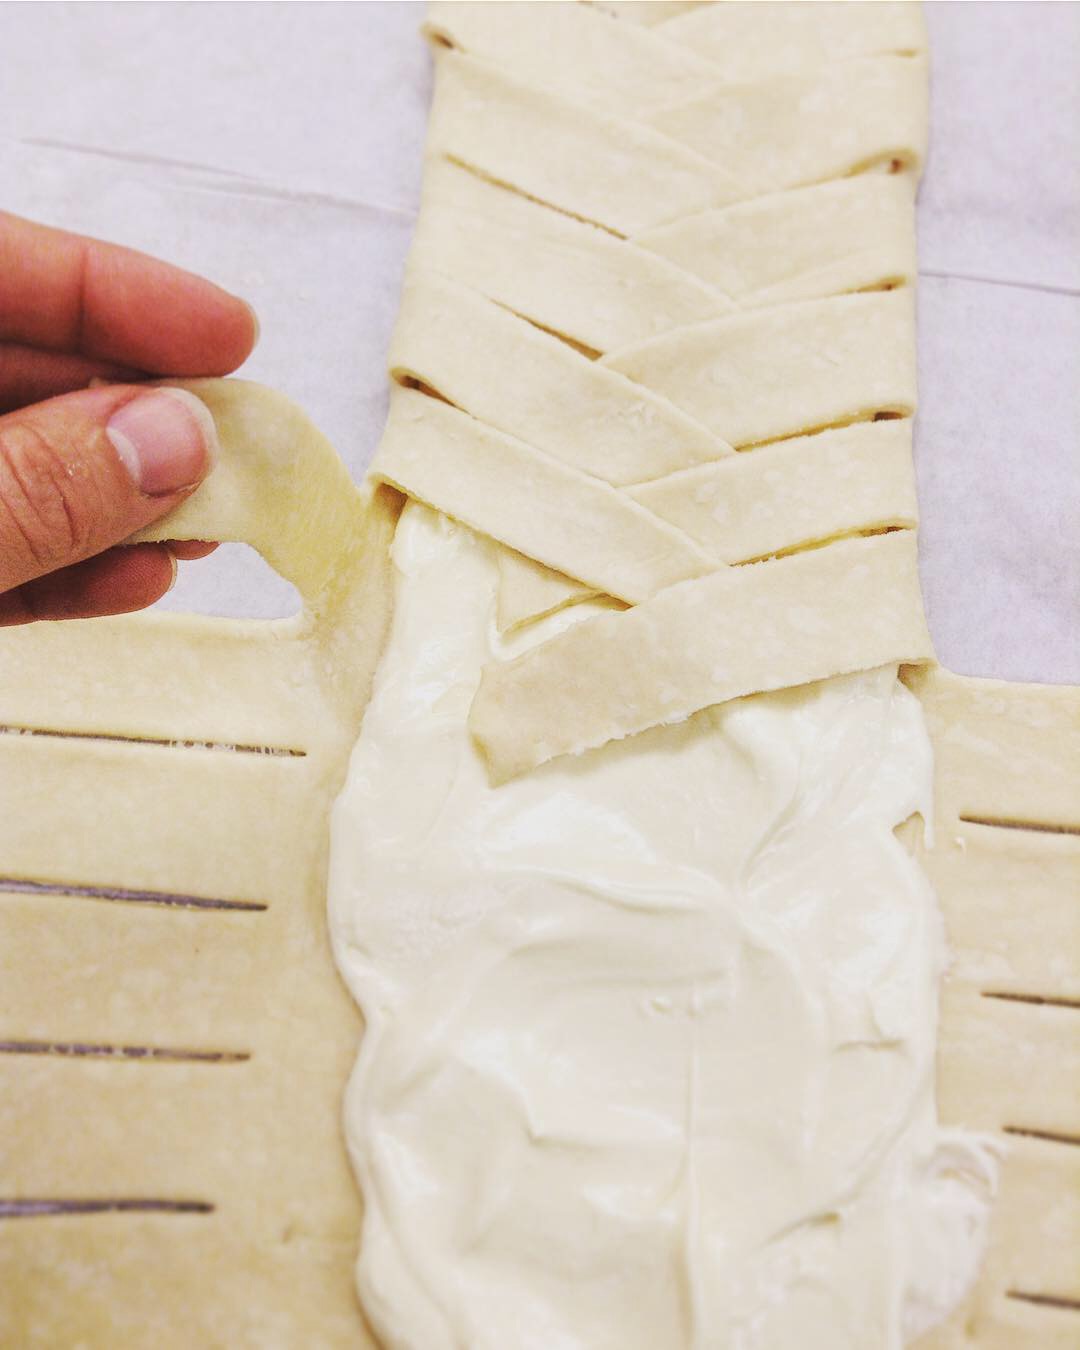
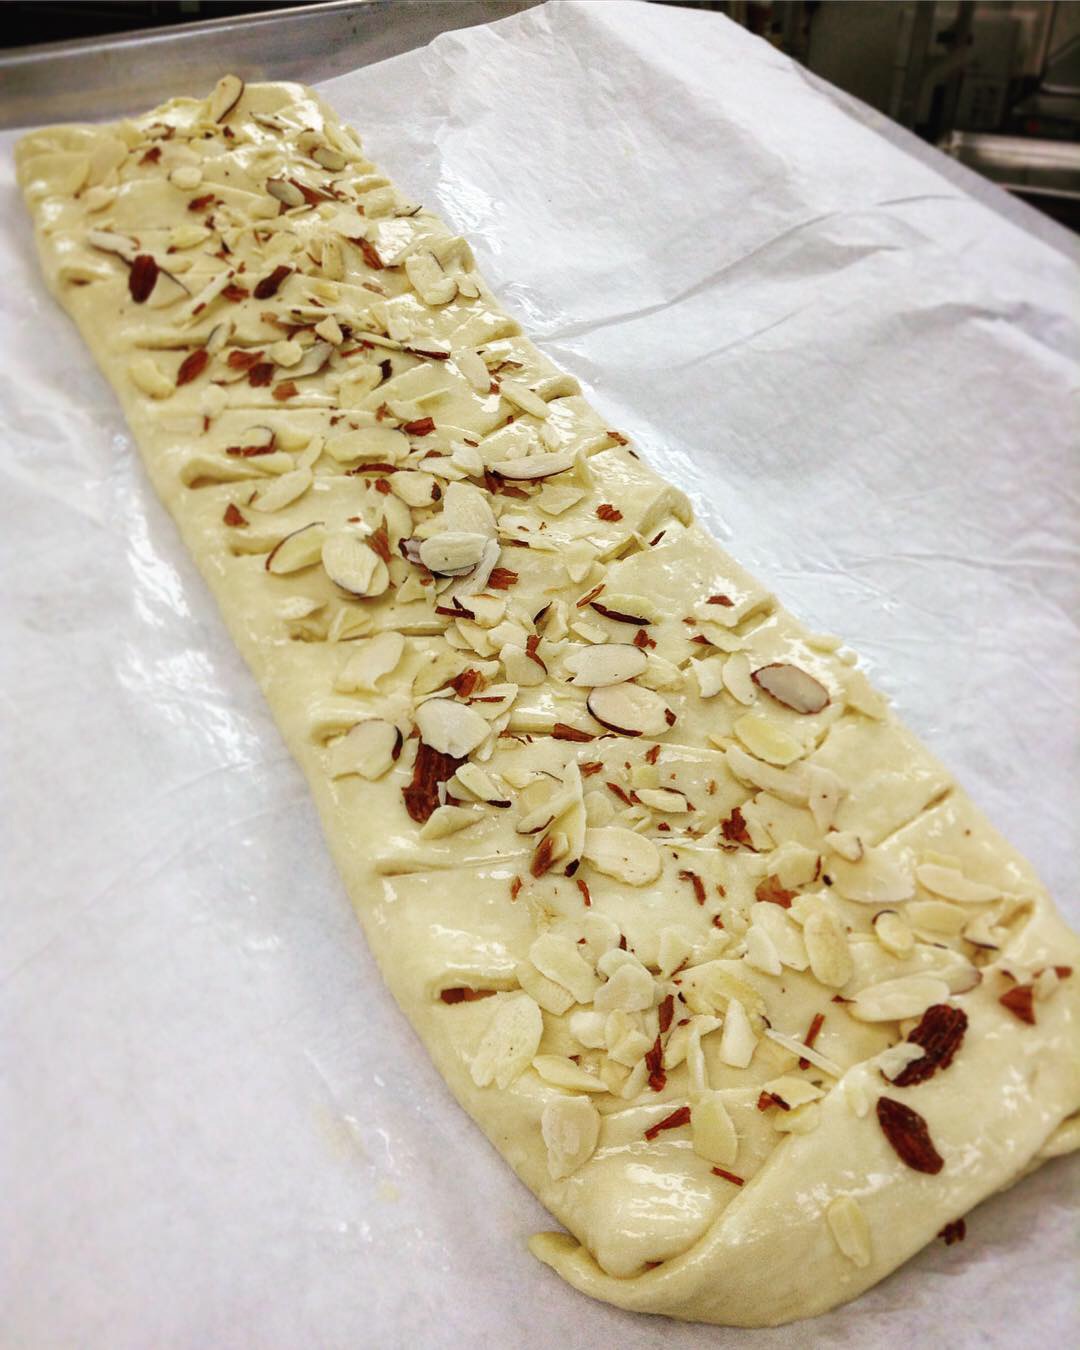
  5. Remove one piece of dough from the fridge, and save the other for a rainy day (the dough can last in the fridge for up to 5 days and in the freezer for 3 months). On a floured piece of parchment paper, roll out the dough into a 9 x 13-inch rectangle. Spoon some of the cream cheese filling in the middle of the dough. With the dough laid in front of you vertically (so that the smaller 9-inch end is facing you), make 1-inch diagonal cuts down the left and right sides of the dough (imagine you are making a Christmas tree). Once you have reached the bottom, cut away two triangle pieces, so that the dough now has a tree trunk. Fold the tree trunk flap over the apples, then go back to the top and fold each strip over the cheese filling, alternating from left to right and moving towards the bottom.Preheat the oven to 400º F.
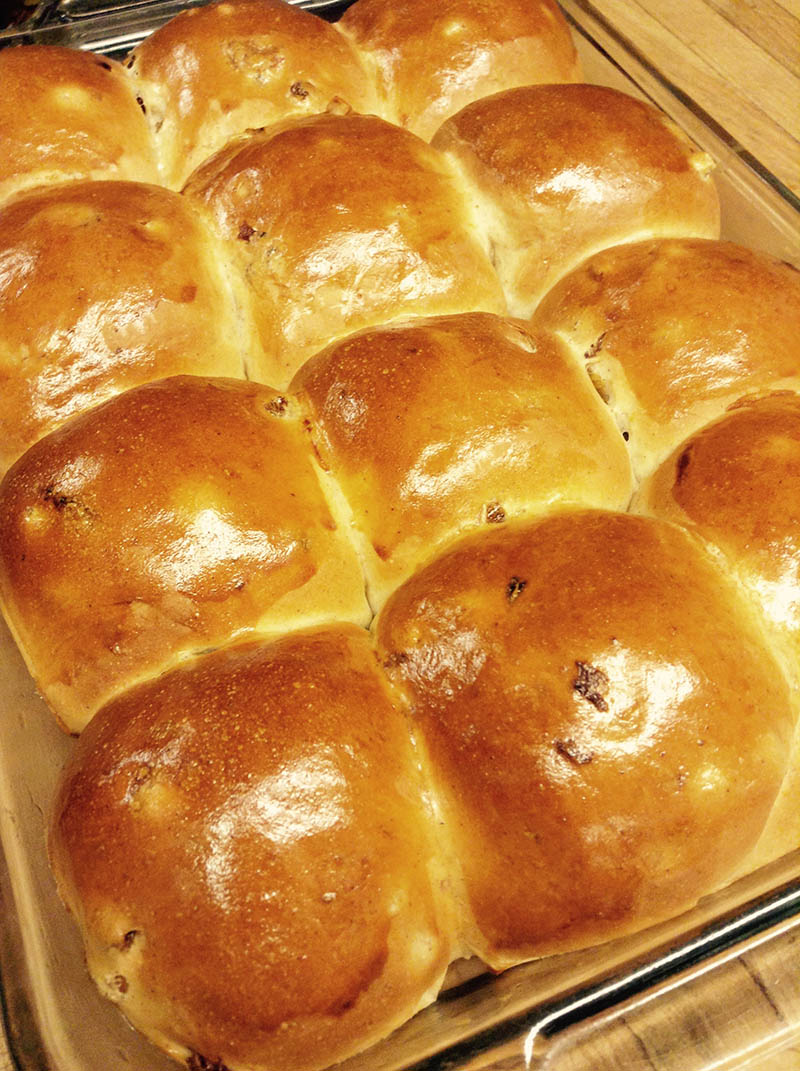
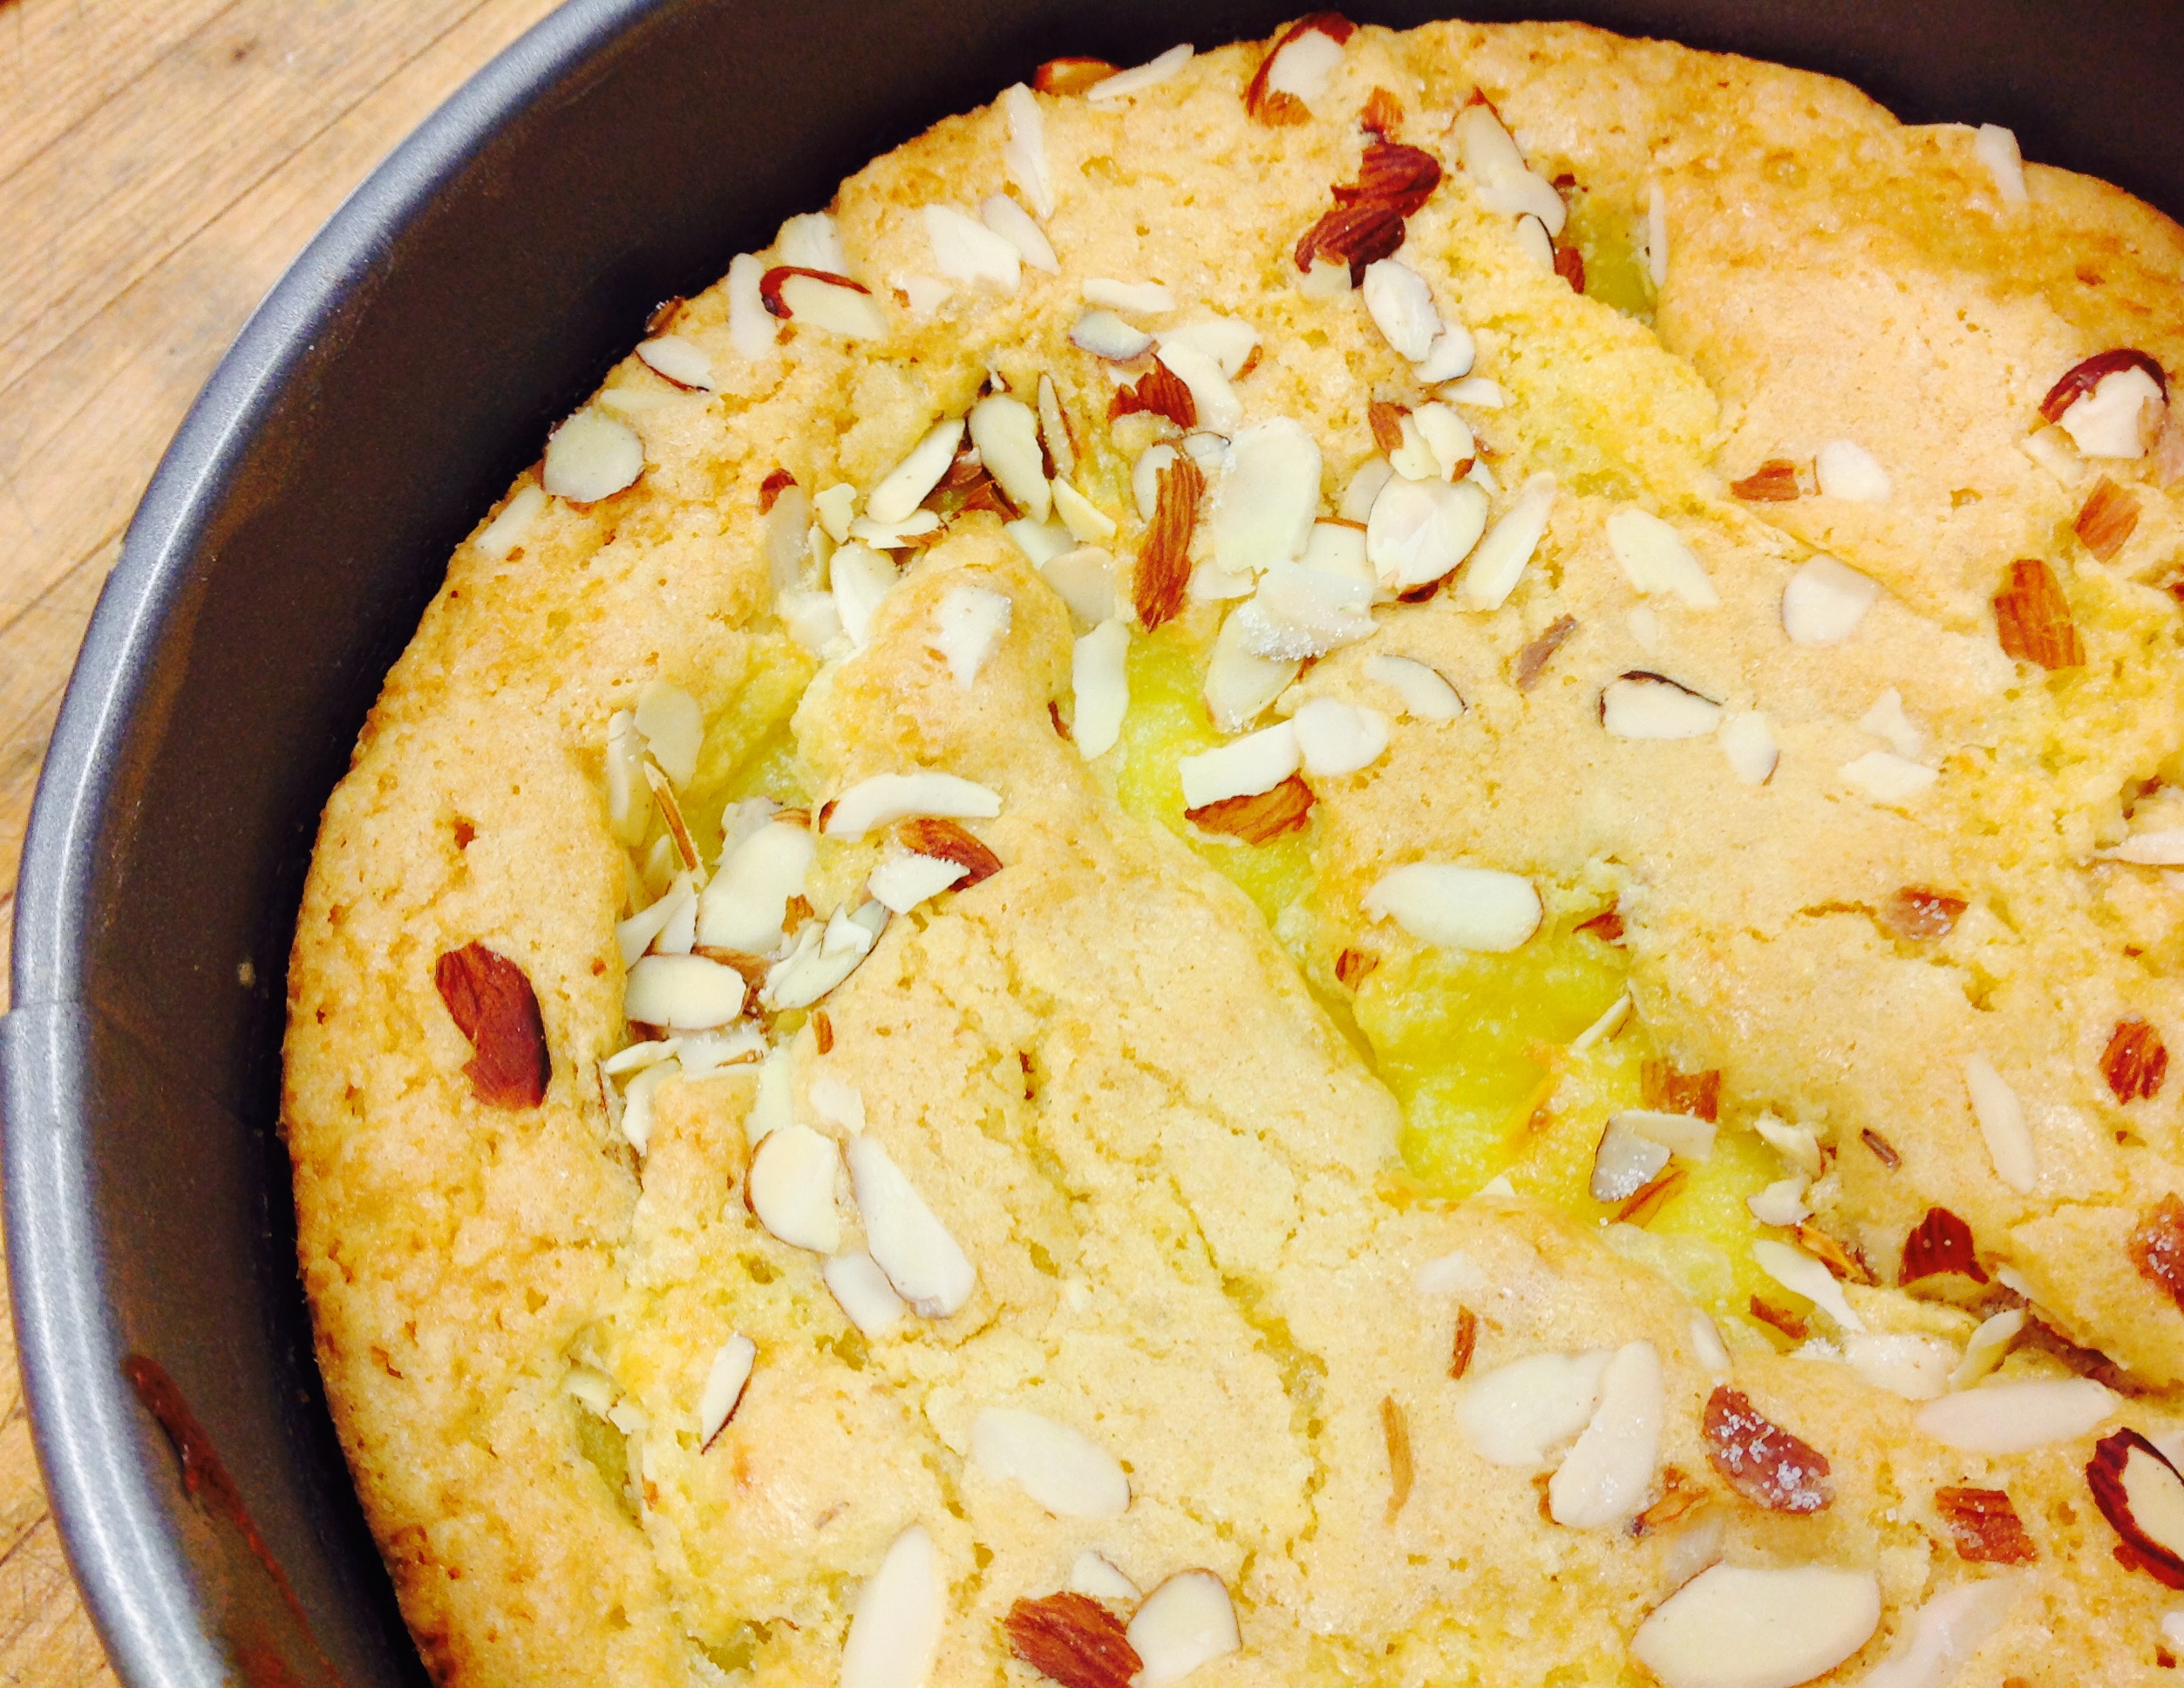
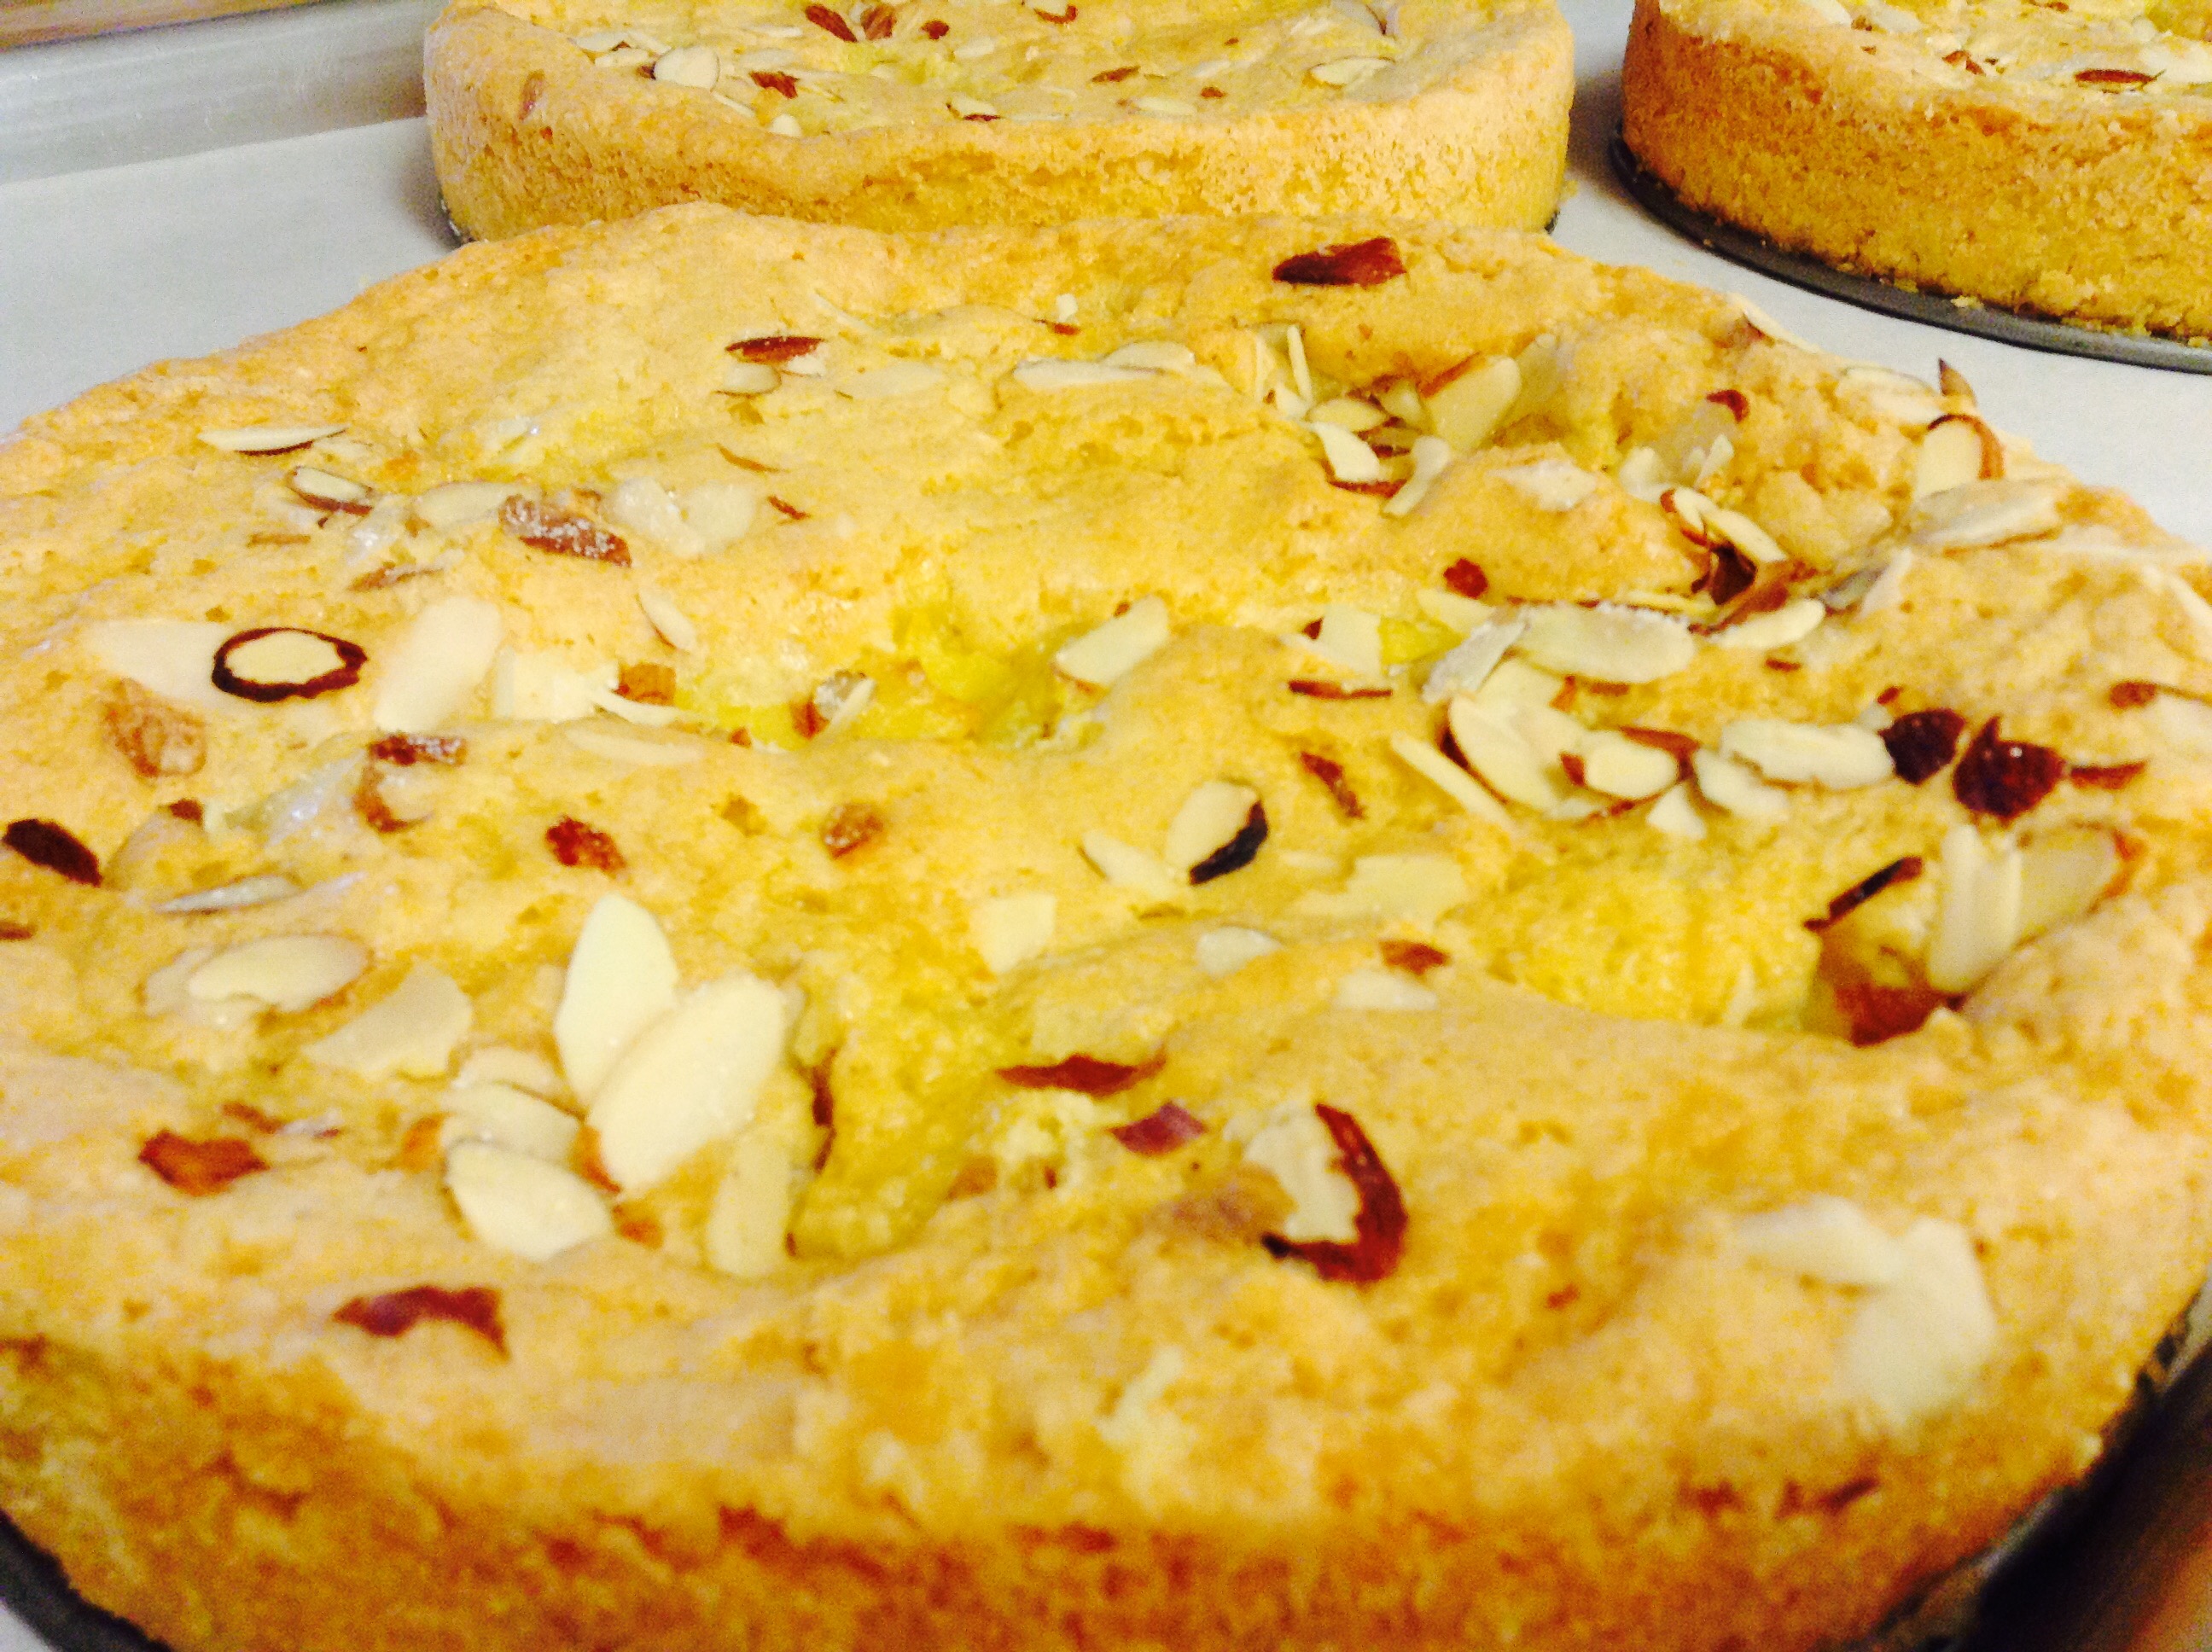
  6. Gently lift the parchment paper and the braid onto a baking sheet. Brush the top of the pastry with an egg wash (one egg white and a teaspoon of water). Bake for 15 to 20 minutes, or until brown on top.
  7. In a small bowl, whisk the powdered sugar, 1 tablespoon of milk, and vanilla until you get a desired consistency. Add a tablespoon more milk if the icing is too thick. (It should be pourable, but not so thin that it drips off of the pastry.) Drizzle over the top of the braid and sprinkle with powdered sugar. Serve warm. The danish lasts for 3 to 4 days. It's best to store in the fridge, covered in plastic wrap, and then reheated in the oven or microwave before eating.

*NOTE: Option for Flakier Dough: Before cubing butter, set aside 1/2 cup of butter. Cut into 4 squares, sprinkle with a little flour and roll to a 1/4" width between 2 sheets of parchment paper. Refrigerate till ready to use in Step #5.

The World’s Best Sticky Buns

Nothing delights the Sisters more than warm, gooey sticky buns straight out of the oven on a Sunday morning. This year, we had the wonderful opportunity to offer baked goods to our community for Easter morning. We spent a good part of the weekend preparing over 50 pans of sticky buns. This year, I came up with a new recipe that we all decided was probably the very best sticky buns we have ever eaten. The comments back to us confirmed this was true. Even though I’d like to keep this recipe a secret, I thought we’d share it with you.

You won’t regret surprising your loved ones with these wonderfully fluffy and sinfully delicious breakfast treats! They are wonderful to eat year ’round!

Print Recipe
Votes: 0
Rating: 0
You:
Rate this recipe!
The World's Best Sticky Buns
SERVINGS
24sticky buns
CHANGE SERVING SIZE
sticky buns
COOK TIME
2hrs
PREP TIME
30mins
READY IN
2 hrs30 mins

Ingredients

Instructions

For the Dough:
  1. Dissolve yeast in very warm water and let sit for 5 mins
  2. Add ingredients in order listed above.
  3. Add flour (dough will be slightly sticky, but should pull away from side of bowl).
  4. Mix together the yeast dough, cover and let rise, until doubled in size in a warm, draft free place (approx.1 - 1 1/2 hrs) or overnight, covered, in the refrigerator)
Assemble:
  1. For the filling: Mix together melted butter, brown sugar, honey and cinnamon. Divide in half, setting aside half the caramel for the filling.
  2. Using three 9-inch cake pans that have been sprayed with Pam, equally divide the rest of the caramel topping over the bottom of the pans. Scatter the pecans or walnuts over the caramel mixture and set aside.
  3. Dust your work surface with flour. Divide the dough in thirds. Roll out the dough to a ⅛ -inch thick rectangle (around 20 inches long). As you roll out the dough, make sure there is enough flour to prevent it from sticking to the work surface
  4. Divide the remaining caramel mixture into thirds and evenly spread it over the rolled out dough leaving 1 inch around the edge of the dough without the filling.
  5. Starting with the long side, roll the dough into a log. Roll it over until the seam is underneath. Pinch the seam together with your fingers
  6. Using a sharp knife, cut the log into 1 ½ -2 inch rolls.. Arrange the rolls over the nuts in the prepared pan, so that the swirled cut edge is facing upward.
  7. Repeat with the rest of the dough and filling.
  8. Cover the tin with plastic wrap and allow to rest for 1 hour. During this time they will rise up to meet the tin and becoming bubbly.
  9. Once proofed, place the rolls on a baking sheet covered with parchment, in case the caramel bubbles over.
  10. Preheat the oven to 350 F and bake for roughly 35- 40 minutes, or until golden brown and firm in the center.
  11. While still hot, run a thin spatula around the outer edge of the pan to release the caramel rolls, and invert immediately onto a serving dish. Enjoy warm!

Hot Cross Buns

One of our favorite Lenten traditions here at the C of J is the baking and sharing of Hot cross buns on Good Friday a.m. First attributed to a 12th century monk, it has blesses countless numbers of believers over the years. This meaningful little act is a significant way of remembering and acknowledging our Lord’s death on the cross on our behalf.

There are many legends connected with this tradition. One of my favorites is that a fresh baked bun hung in your kitchen window will bring blessing upon all the baking done there throughout the coming year.

Each year I intend to do this, but before I get to it every bun has disappeared.

Print Recipe
Votes: 2
Rating: 5
You:
Rate this recipe!
Hot Cross Buns
SERVINGS
1dozen buns
CHANGE SERVING SIZE
dozen buns
COOK TIME
25mins
PREP TIME
30mins
READY IN
3hrs

Ingredients

Instructions

  1. Dissolve the yeast by sprinkling it over the very warm water and add a pinch of sugar to activate.
  2. Heat milk in a medium saucepan over low heat until about 100 degrees F. (but no more than 110 degrees)
  3. In a mixer, fitted with a dough hook, add the warmed milk to the yeast mixture.
  4. Plump the raisins (or currants) and citron in the microwave with a little orange juice; cool and set aside
  5. To the yeast & milk mixture add the remaining sugar, melted butter, egg yolk and extract.
  6. Add the salt, nutmeg, cinnamon and ginger to the mixture and continue kneading.
  7. Add the flour, 1 cup at a time, until the dough starts pulling away from the sides of the bowl.
  8. Remove the orange juice from the raisins and citron and discard.
  9. Add the raisins and citron to the dough and mix well. The dough should be slightly sticky and not dry.
  10. Knead until soft and elastic, about 8 min. Shape into a ball.
  11. Brush the inside of a large bowl with butter. Put dough in the bowl and turn to coat. Cover with plastic wrap and let rise at room temperature until doubled in size, about 1 hr. 30 min. **
  12. To form the rolls: Pam a 9x13” pyrex pan. Turn the dought out of the bowl and roll into a log. With a dough cutter or sharp knife, divide the dough into 12 equal portions. Roll each of these pieces into a round bun shape, tucking the edges under.
  13. Place them seam side down in the prepared pan, leaving a little space between each roll. Cover the pan with plastic wrap and let rise in a warm place until the rolls are doubled in size, about 45 min. or longer.
  14. Meanwhile, preheat your oven to 350 degrees F. and prepare your egg wash.
  15. Prepare glaze: In a mixer, combine powdered sugar, milk and vanilla or almond extract and oil until smooth (the oil will give it a high gloss). The icing should be quite thick. If too runny, add more powdered sugar. Transfer icing to a pastry bag or a ziplock bag with a corner snipped off.
  16. Remove the plastic wrap from the top of the rolls and brush the buns with egg wash. Bake rolls until golden brown and puffy, about 25 min. (an instant read thermometer inserted into the roll should read 190 degrees F.)
  17. Ice buns with a thick cross shape on the top of the warm buns and serve.

Mini Puff Pancakes with Lemon Curd and Fresh Blueberries

One of my favorite meals to make is breakfast. In our guest house, breakfast is a veritable feast and a pleasure for the eyes. Our latest twist on puff pancakes (or dutch babies) made their debut on a cold fall morning. There’s nothing like bringing a little sunshine to the table to brighten up one’s day. Surprise your loved one with this easy breakfast made for two!

Print Recipe
Votes: 1
Rating: 5
You:
Rate this recipe!
Mini Puff Pancakes with Lemon Curd and Fresh Blueberries
SERVINGS
2-4servings
CHANGE SERVING SIZE
servings
COOK TIME
25mins
PREP TIME
5mins
READY IN
30mins

Ingredients

Instructions

  1. Preheat oven to 425º F (220ºC)
  2. Add eggs, flour, milk, sugar, vanilla, salt and lemon zest to a blender and blend until smooth.
  3. Place butter in two heavy cast iron skillets (5-6" in width) (or one large skillet) and place in the oven until butter has melted. Pour half the batter into each pan, return them to oven and bake for 20 minutes, until the pancakes are puffed and golden. Lower oven temperature to 300 degrees and bake five minutes longer.
  4. Remove pancakes from oven, serve individually if using mini skillets, or cut larger dutch baby into wedges and top with a spoonful or two of lemon curd and blueberries and a dusting of confectioners sugar. If desired, garnish with lemon slices and a sprig of fresh mint.

Luscious Lime Tart

Above the sounds of car doors opening and closing, luggage being loaded, and 30 women exchanging “goodbyes and well wishes,” comments regarding their retreat could be overheard. They were all very positive, especially those regarding their meals. Many of these women love to cook, and are very attentive to—and appreciative of—what they are served.

From what I overheard, their final dessert was the ultimate perfection, and had made quite an impact, sending them off on a high, happy note. As I thought on all of this someone quietly appeared offering me a luscious looking lime creation garnished with a fresh mint leaf and whipped cream on a crystal clear glass dessert plate. Suddenly I was reminded of a favorite verse of scripture in the Old Testament where God in referring to prayer says: “Before they call, I will answer.”

Print Recipe
Votes: 0
Rating: 0
You:
Rate this recipe!
Luscious Lime Tart
SERVINGS
8servings
CHANGE SERVING SIZE
servings
COOK TIME
8mins
PREP TIME
40mins
READY IN
3hrs

Ingredients

Instructions

Crust:
  1. Preheat oven to 350° Fahrenheit.
  2. Add graham cracker crumbs and sugar to the bowl of a food processor and pulse until blended. Transfer to a medium bowl and add coconut flakes and melted butter. Toss to combine completely. Pour the crumbs into an 8-inch tart pan with removable bottom. Press the crumbs into the bottom and sides of the pan. Bake for 8-10 minutes or until browned. Set aside to cool completely.
Filling:
  1. In a large bowl, combine the sweetened condensed milk and lime juice. Stir until thick and well incorporated. Set aside.
  2. Place the gelatin in a small bowl and cover with water. Let stand two minutes to bloom. Microwave in 10-second bursts until gelatin is dissolved. Cool the gelatin to near room temperature, but do not let it set—very important.
  3. Add the whipping cream to the bowl of a stand mixer. (If you don't have a stand mixer use a large mixing bowl and a handheld mixer.) Whip the cream for one minute on a medium speed. Slowly add the sugar to the cream. Turn off the mixer and check to see that the gelatin has cooled, but not set. Add the gelatin and continue to whip until stiff peaks form. Separately reserve about 1 to 1 1/2 cups of whipped topping for garnish.
  4. Spoon about 1/2 cup of whipped cream into the key lime filling and lightly stir to combine. Add the rest of the whipped cream and fold completely into the mixture, careful not to deflate the cream too much.
  5. Pour the filling into the cooled pie crust and smooth over with a spatula.
Topping:
  1. Garnish with whipped cream and thinly sliced lime as desired. Refrigerate for at least two hours for a cloud like dessert. For a frozen tart, freeze at least two hours.
  2. To serve, remove the tart from the freezer and let it sit out on the counter for 10-15 minutes to soften a little before slicing it.

Lemon-Almond Butter Cake

This past week, we invited artists to step away for a few days of retreat as they enjoyed renewing their vision and sharing together, in an atmosphere of Benedictine hospitality on the shores of beautiful Cape Cod Bay. Each day was punctuated by two lectures given by renowned art historian, Msgr. Timothy Verdon. He  shared his passionate love of art, with beautiful images—both familiar and unknown—in a series of seven post-Easter lectures. Art lovers had the opportunity to fellowship together, while Msgr. Verdon discussed what it means to see with artistic understanding. It was a treat for our entire community and a privilege to be behind the scenes creating meals for them to enjoy. (Read more about the retreat here!)
Oscar Wilde said, “The artist is the creator of beautiful things.” Even if you don’t consider yourself an artist, I believe that you are. Every one of us wishes to create beautiful things out of nothing. Take this Lemon-Almond Butter Cake for example…
Print Recipe
Votes: 0
Rating: 0
You:
Rate this recipe!
Lemon-Almond Butter Cake
SERVINGS
19" tart
CHANGE SERVING SIZE
9" tart
COOK TIME
1hr
PREP TIME
20mins
READY IN
3hrs

Ingredients

Instructions

  1. For the curd, combine zest, juice, sugar, salt and eggs in a heatproof bowl, and beat well.
  2. Add butter, and place over a saucepan full of simmering water. Cook, stirring constantly with a rubber spatula or wooden spoon, until mixture thickens into curd, about 5 minutes.
  3. Strain into a bowl, and press plastic wrap onto surface to keep skin from forming. Refrigerate until cool, at least 1 1/2 hours.
  4. Heat oven to 350 degrees. Grease 9-inch spring-form pan with 1 tablespoon butter, and dust with 1 tablespoon flour, shaking out excess.
  5. With an electric mixer, cream the remaining butter and 1 cup sugar together until light and fluffy. Sift together the remaining flour, baking powder and salt, and stir in.
  6. In a separate bowl, whisk eggs until they start to foam. Do not overbeat or the cake will be tough. Add eggs and ground almonds to batter, and mix well.
  7. Scrape batter into the prepared pan. Drop 8 individual tablespoons lemon curd around perimeter of batter, leaving a 1-inch border, and taking care to space drops evenly.
  8. Drop 3 to 4 tablespoons curd into center of batter. Refrigerate remaining curd for another use. Sprinkle cake with toasted almonds and 1 to 2 tablespoons sugar, depending on taste.
  9. Bake until cake is toasty brown on top and a toothpick inserted into cake (not curd) comes out clean, about 40 minutes.
  10. Let cool on rack 10 minutes, then remove sides of pan, and cool completely.
  11. Whip cream with almond liqueur. Present cake at table, and offer whipped cream on the side.
(Recipe adapted from the New York Times)