While they were eating, Jesus took a loaf of bread, and after blessing it he broke it, gave it to the disciples, and said, “Take, eat; this is my body.” Matthew 26:26
As we come to the end of Holy Week, many symbols and traditions come to mind: foot washing on Maundy Thursday, the meaningful services which mark Good Friday, the vigil of Holy Saturday and finally the joy of Easter Sunday. Tucked among these landmarks of Holy Week is the Last Supper that Jesus shared with his disciples–the breaking of bread.
Throughout the Bible, bread serves as a vehicle for miracles, teaching illustrations and as symbol of Jesus’ sacrifice. It is also in the act of breaking bread that revealed his identity as the risen Christ. In this spirit, I am sharing one of my most favorite bread recipes.
Join with us this Holy Week as we break bread, united as the Body of Christ around our tables and throughout the world. With prayers for a healthy and joyful Eastertide!
Mix yeast with warm water and allow the yeast to activate, about 10 minutes. It will be ready when bubbles form at the top.
In a saucepan, heat milk and butter while yeast is activating.
Whisk the egg, honey, spices and salt together in a small bowl. When ready, add yeast, and milk and butter mixture.
Gently stir 2 c of the flour into the liquid mixture. Add flour 1/2 c at a time while mixing, and keep adding 1/2 cups of flour until the dough is smooth.
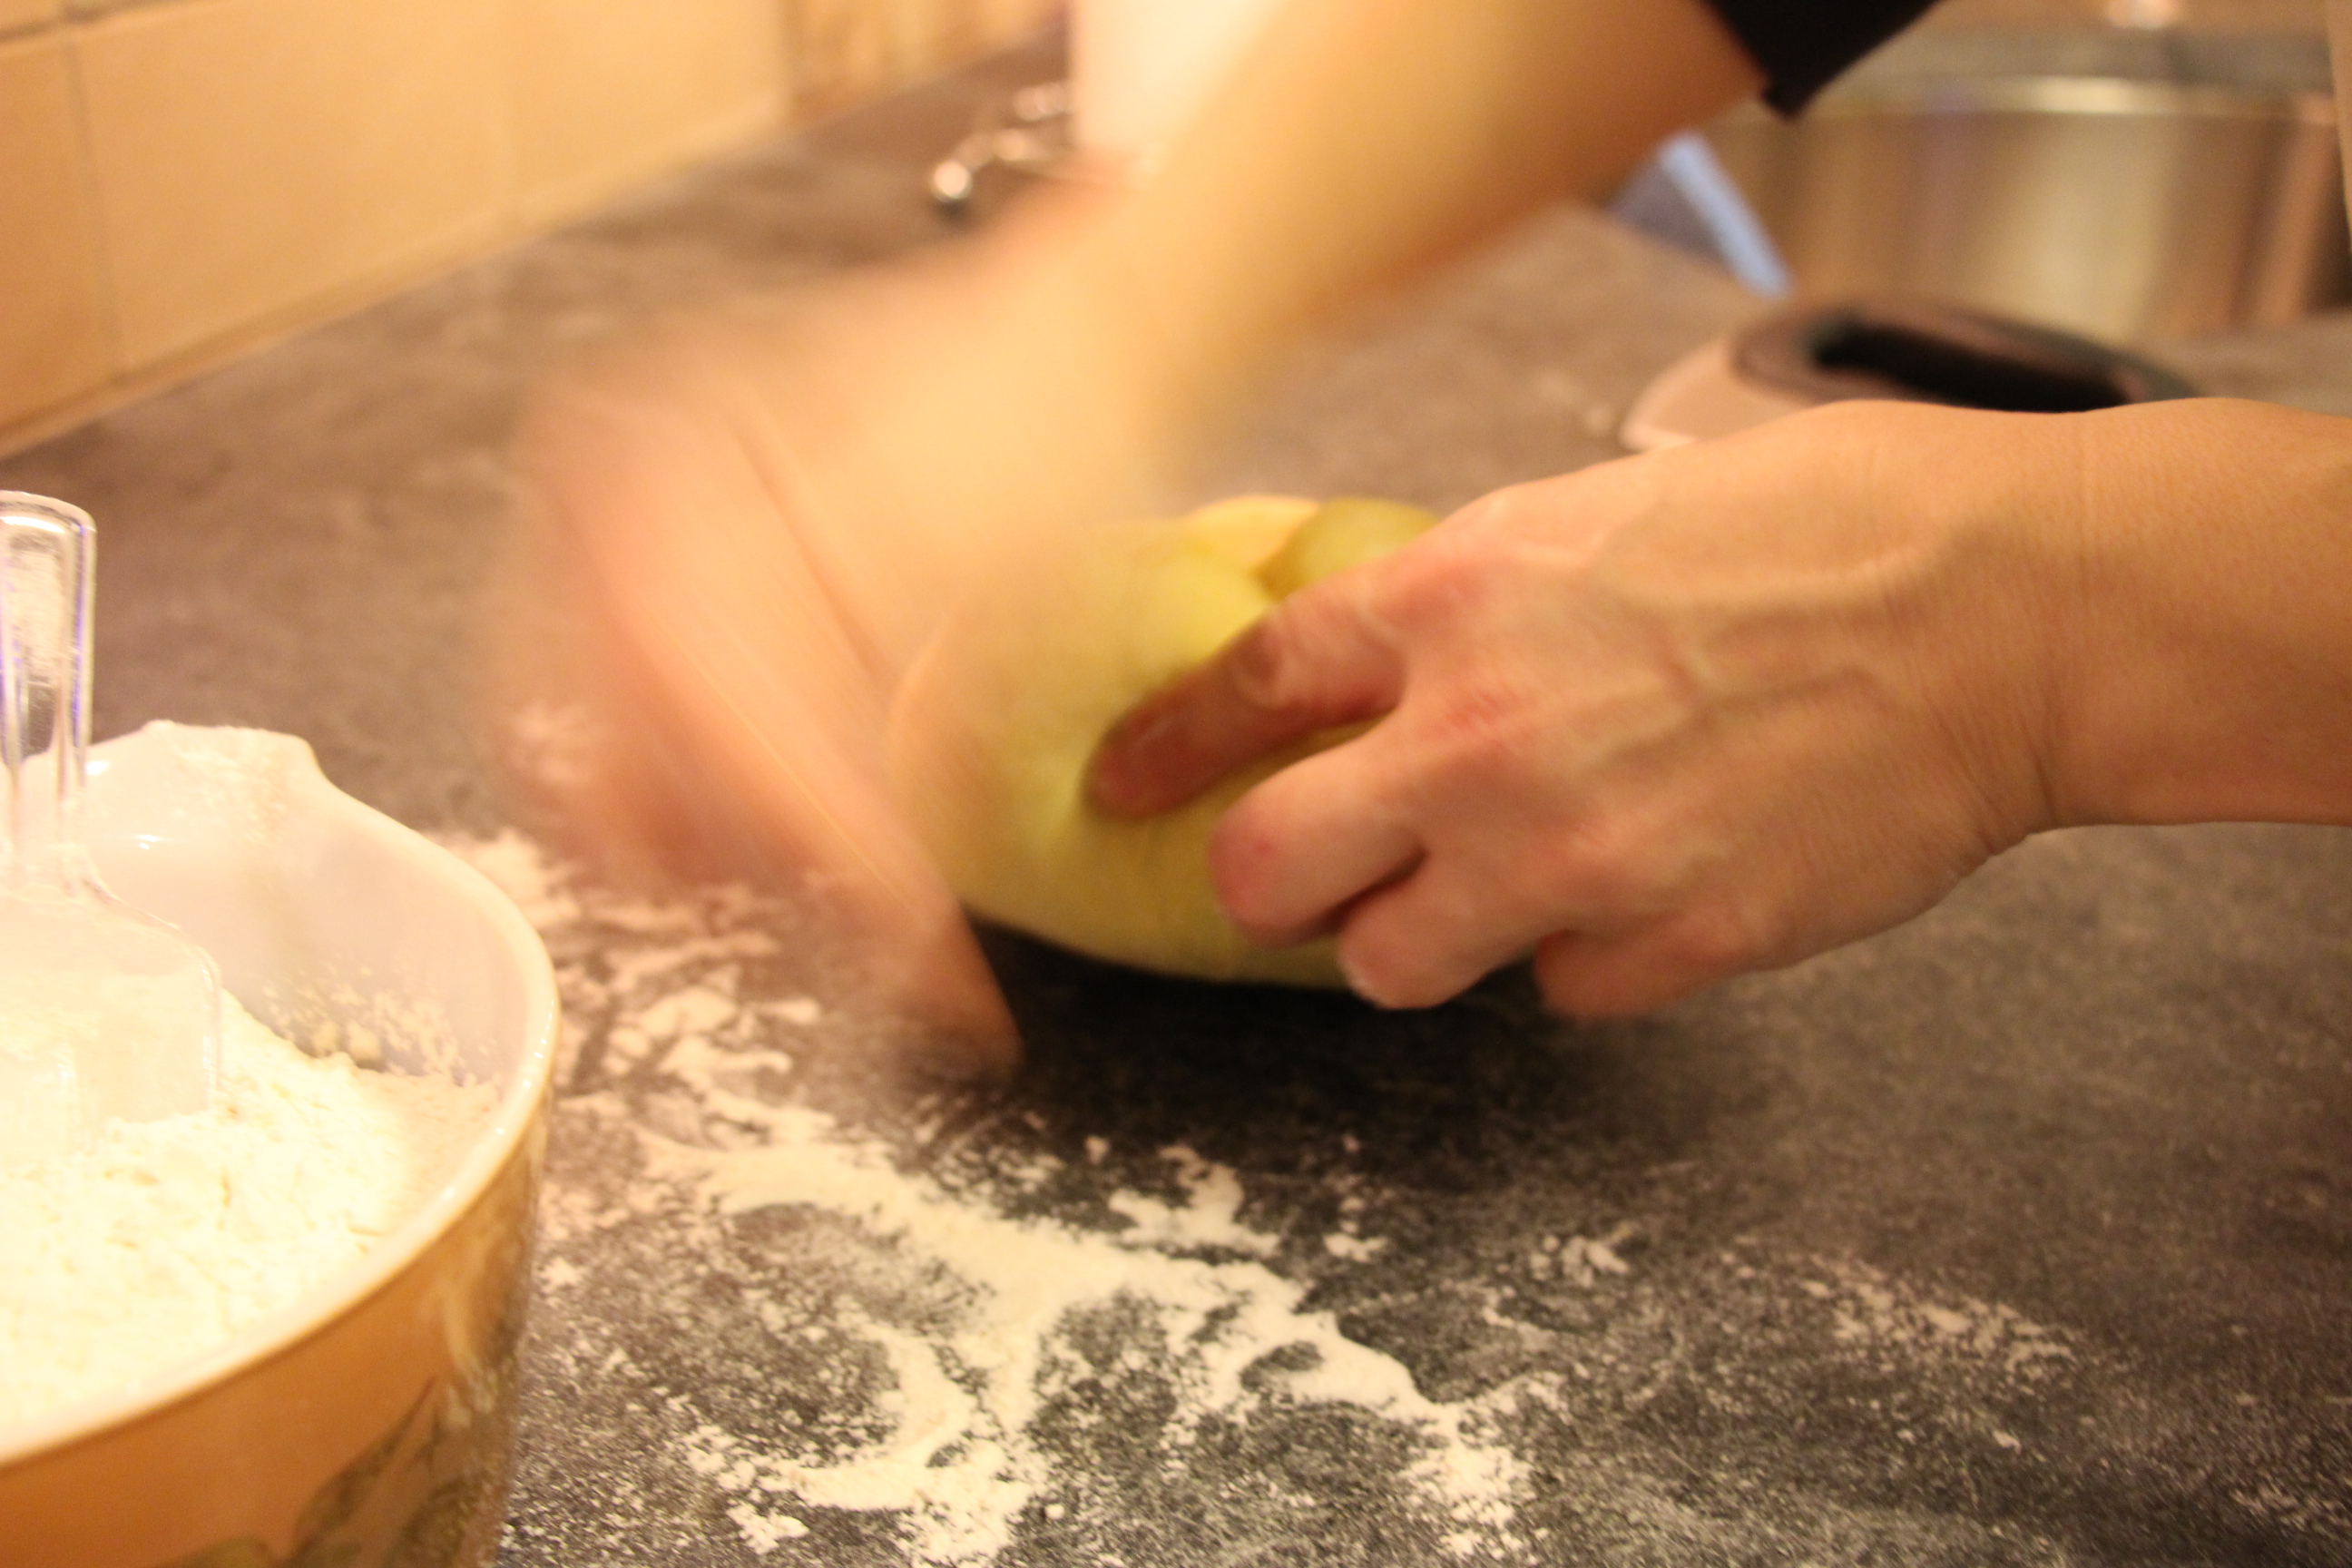
Knead the dough on a lightly floured counter until it is smooth and elastic.
Place in a lightly oiled metal or glass bowl and cover with a clean towel and let rise in a warm place until doubled in size, about 1 hour.
Punch the dough down and form into a round loaf. Place it on the baking sheet, covered with a towel in a warm place for another 45 minutes.
While dough is rising a second time, preheat oven to 325 degrees.
Bake for 1 hour, rotating the baking sheet halfway through.
lnsert a thermometer into the middle of the bread. If it registers between 180-190 the bread is finished.
Advent is truly a wondrous time—so full of beauty, expectancy and hope. It’s also a time of expressing love and gratitude to those we work with all year long! Here’s a wonderfully simple recipe to serve at any kind of Christmas gathering, with minimal preparation, and with a delicious and lovely result!
In electric mixer, with paddle attachment, beat cream cheese, heavy cream and sugar until smooth. Add the lemon juice, zest and vanilla; continue beating until light and fluffy.
Add a layer of graham cracker crumbs to the bottom of shooters. (For a richer “crust”, mix in 4 tablespoons melted butter first)
Top the layer of cracker crumbs with cheesecake filling, spooning a slight indentation for strawberry topping
Strawberry Topping
Combine chopped berries, cornstarch/warm water mixture, sugar and lemon juice. Bring to gentle boil and allow to simmer until thickened, about 5 Minutes, adding food coloring if desired.
Allow to cool, about 10 minutes (or faster in refrigerator)
Spoon topping onto parfaits and serve, or refrigerate if desired
Note: Best served in 2 1/2 oz glass shooters!
Recipe adapted from "Just a Taste". - See the original recipe at the justataste.com website
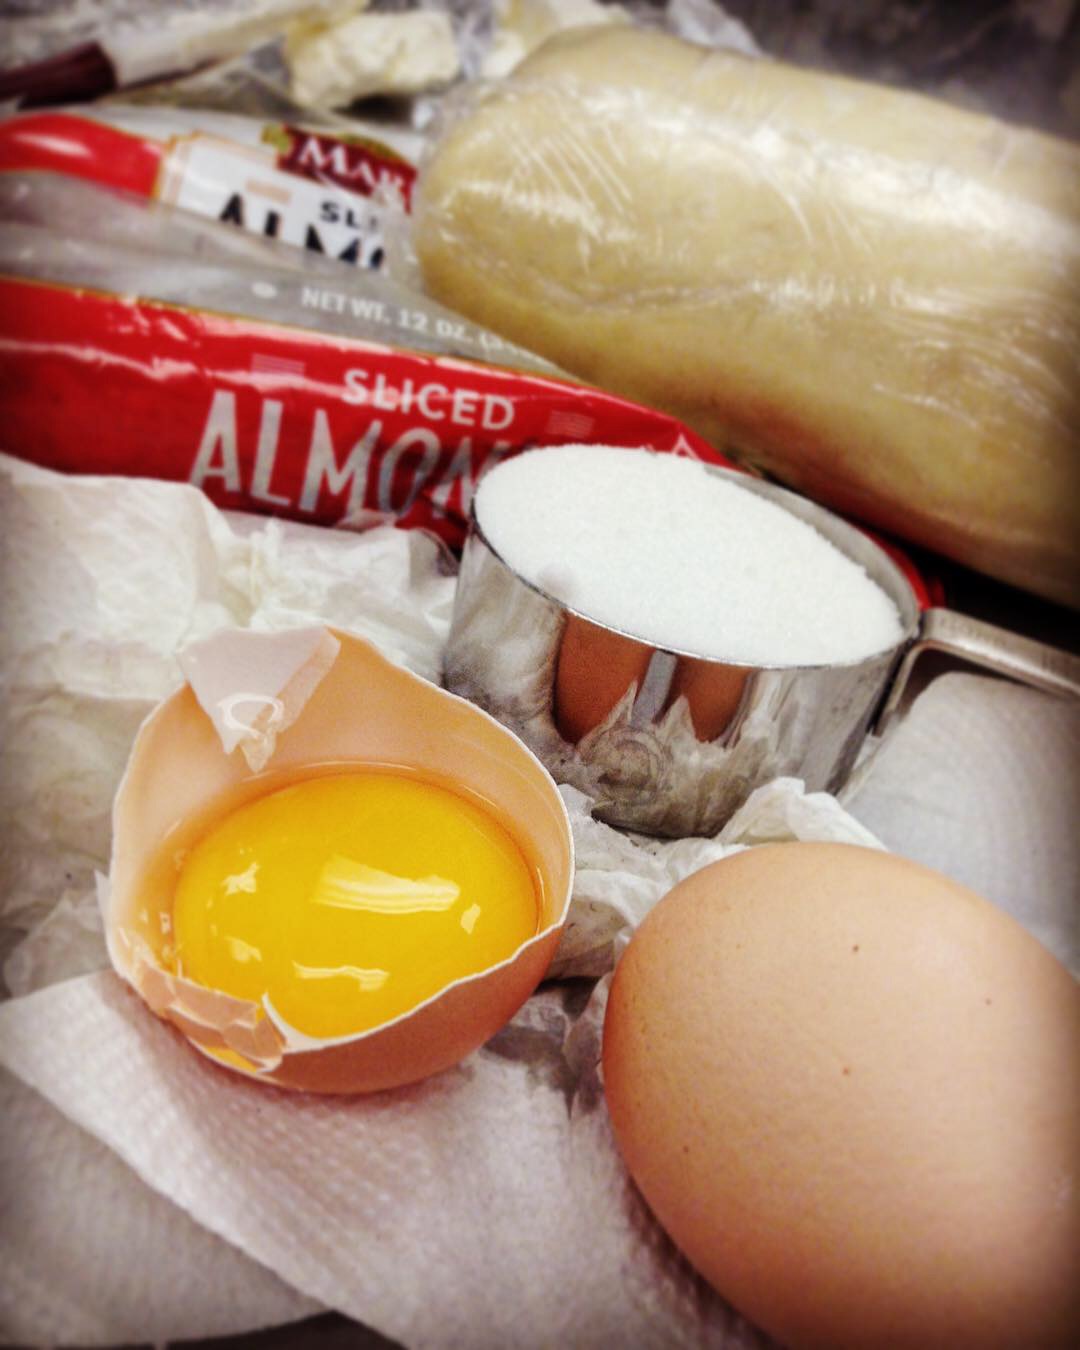
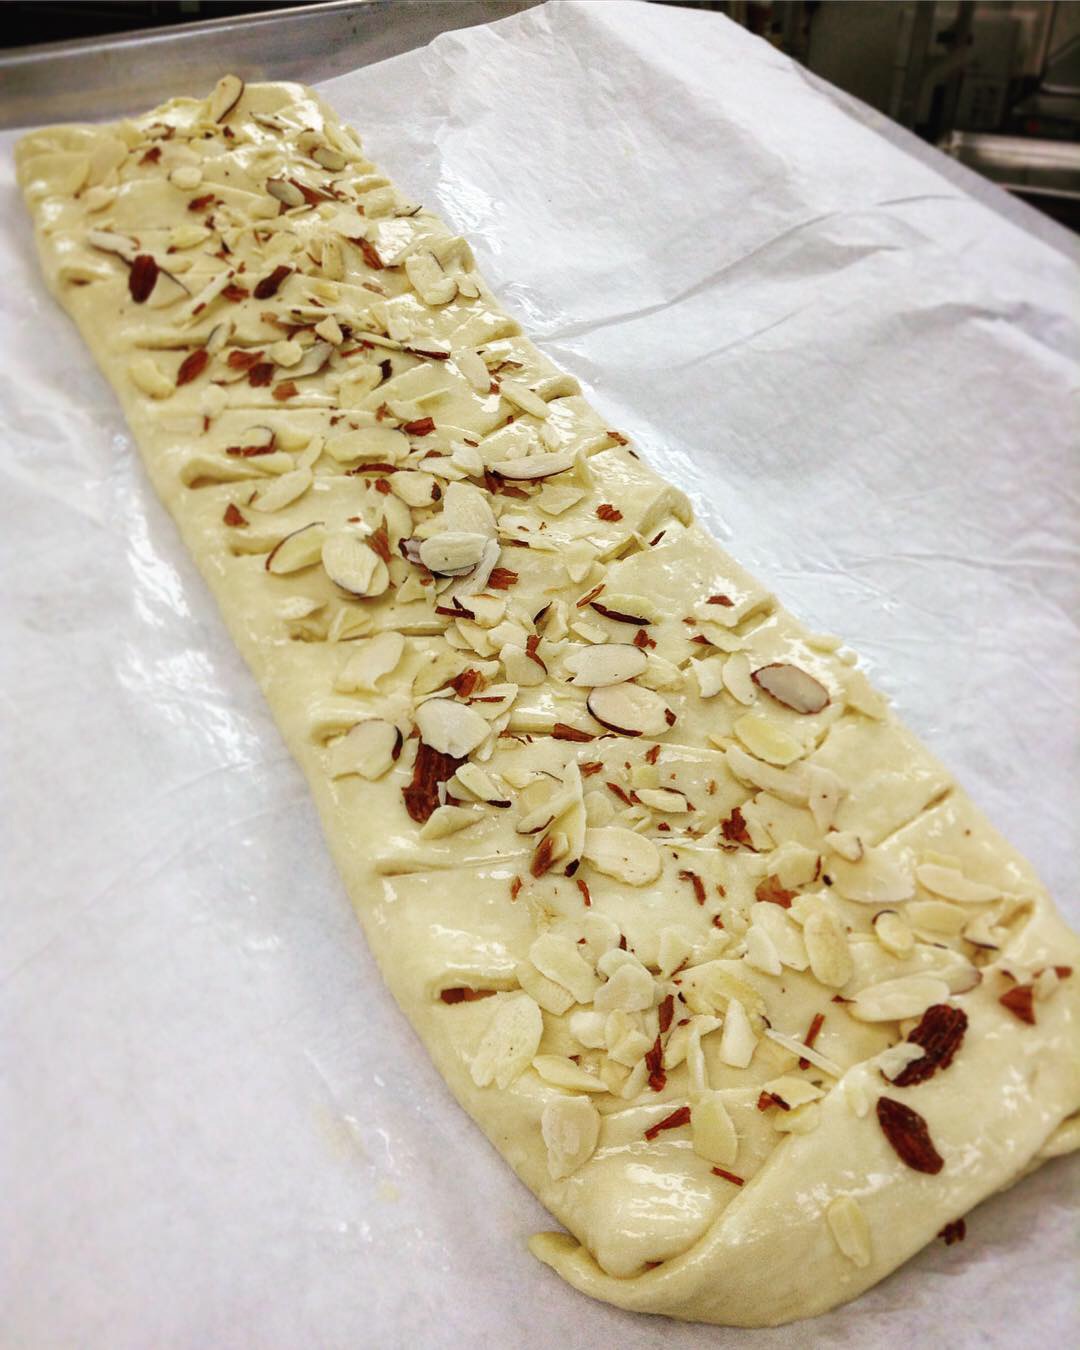
At our Thanksgiving feast we enjoyed celebrating God’s blessings. One of them, the best in my opinion, is of course, lovely breakfast treats. In specific, a golden cream cheese danish with a hint of almond…can you see where were going with this?
Danishes can be a little tricky – below is simple version of the recipe. If you’d like a flakier danish, I suggest doing the square of butter version (see notes at end of recipe).
But either way, with a straight-forward approach and a little bit of time, you can enjoy the sweet, flaky treat for a Sunday brunch or with your mid-morning coffee. We are so grateful to God’s many blessings and pray that you also were able to appreciate God’s goodness this year. Happy belated Thanksgiving!
In a medium bowl, add the yeast, 1 teaspoon sugar, and warm water. Let the yeast rest until it proofs (5 minutes). Once the yeast has proofed, add the egg, milk, sugar, and salt. Stir with a whisk, and set to the side.
Place the flour and 1/2 cup cubed butter into a large bowl. With a pastry blender, combine until the butter is in tiny pieces. (You can also use the food processor for this step.) **NOTE** If you'd like a flakier Danish, set aside 1/2 cup of butter and make into a butter square.
Add the wet ingredients to the flour and combine until the dough comes together. Place the dough onto a floured work surface and shape into a square. Roll the dough into a rectangle 9 x 13-inches. If you'd like a flakier crust, place the butter square (see #8) in the middle and fold the dough lengthwise into thirds (similar to folding a letter to fit into an envelope). Roll the dough into a rectangle again, and then again fold into thirds. Repeat this process twice more, until you've done it a total of 3 times. Cut the dough in half, wrap each piece in plastic wrap, and place in the fridge overnight. The dough keeps for one week in the fridge and 2 months in the freezer.
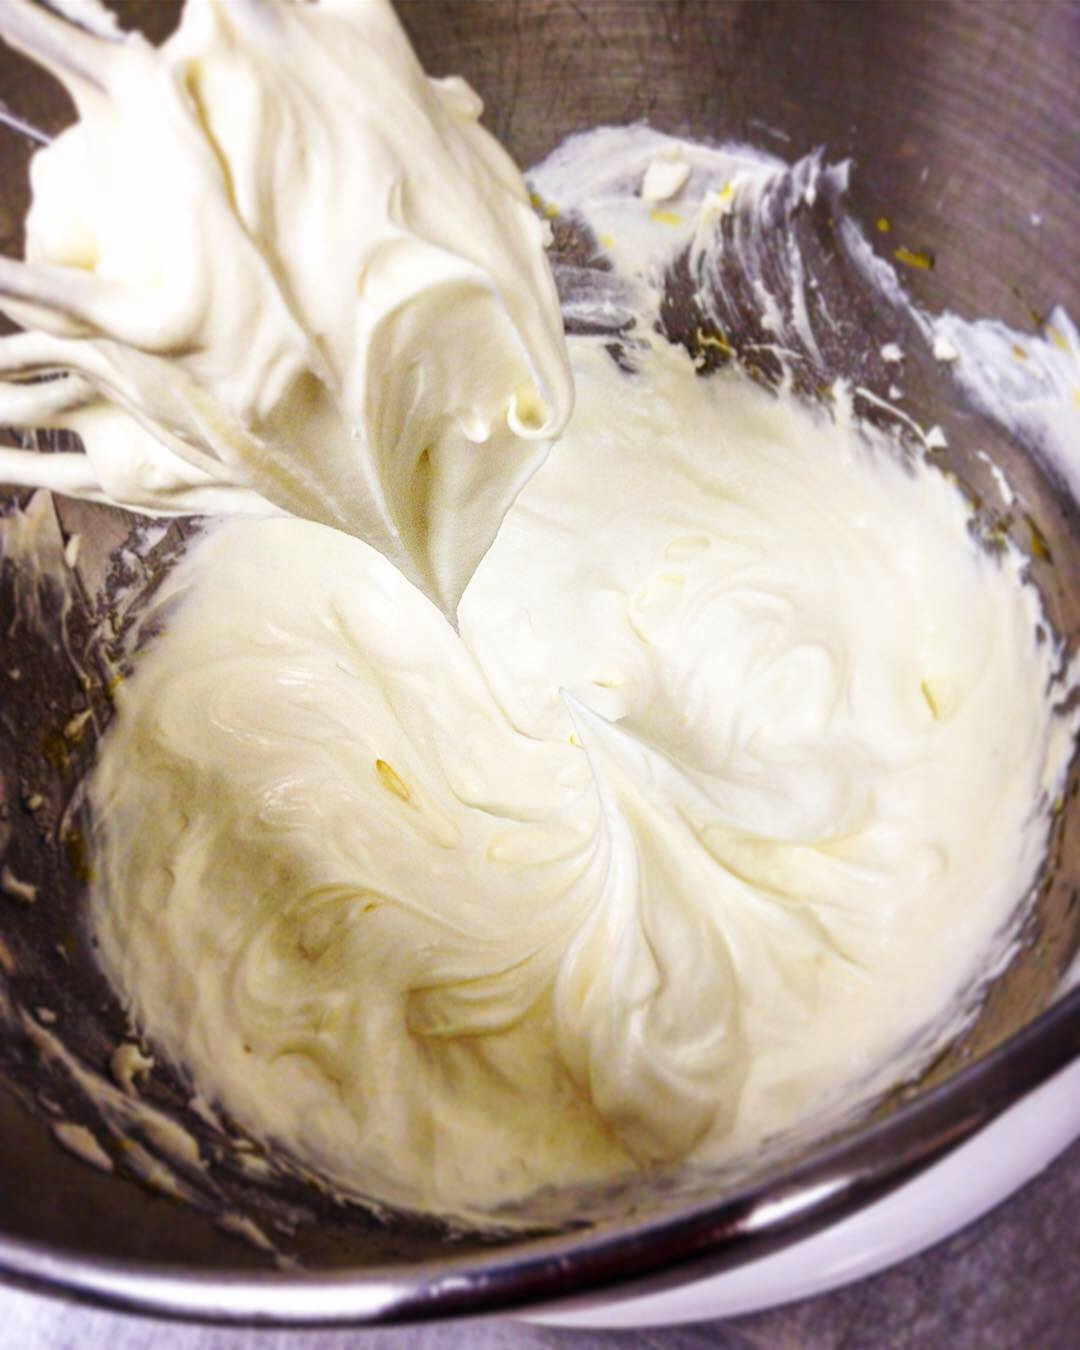
Beat Cream Cheese till very smooth and no lumps remain. Combine with rest of filling ingredients.
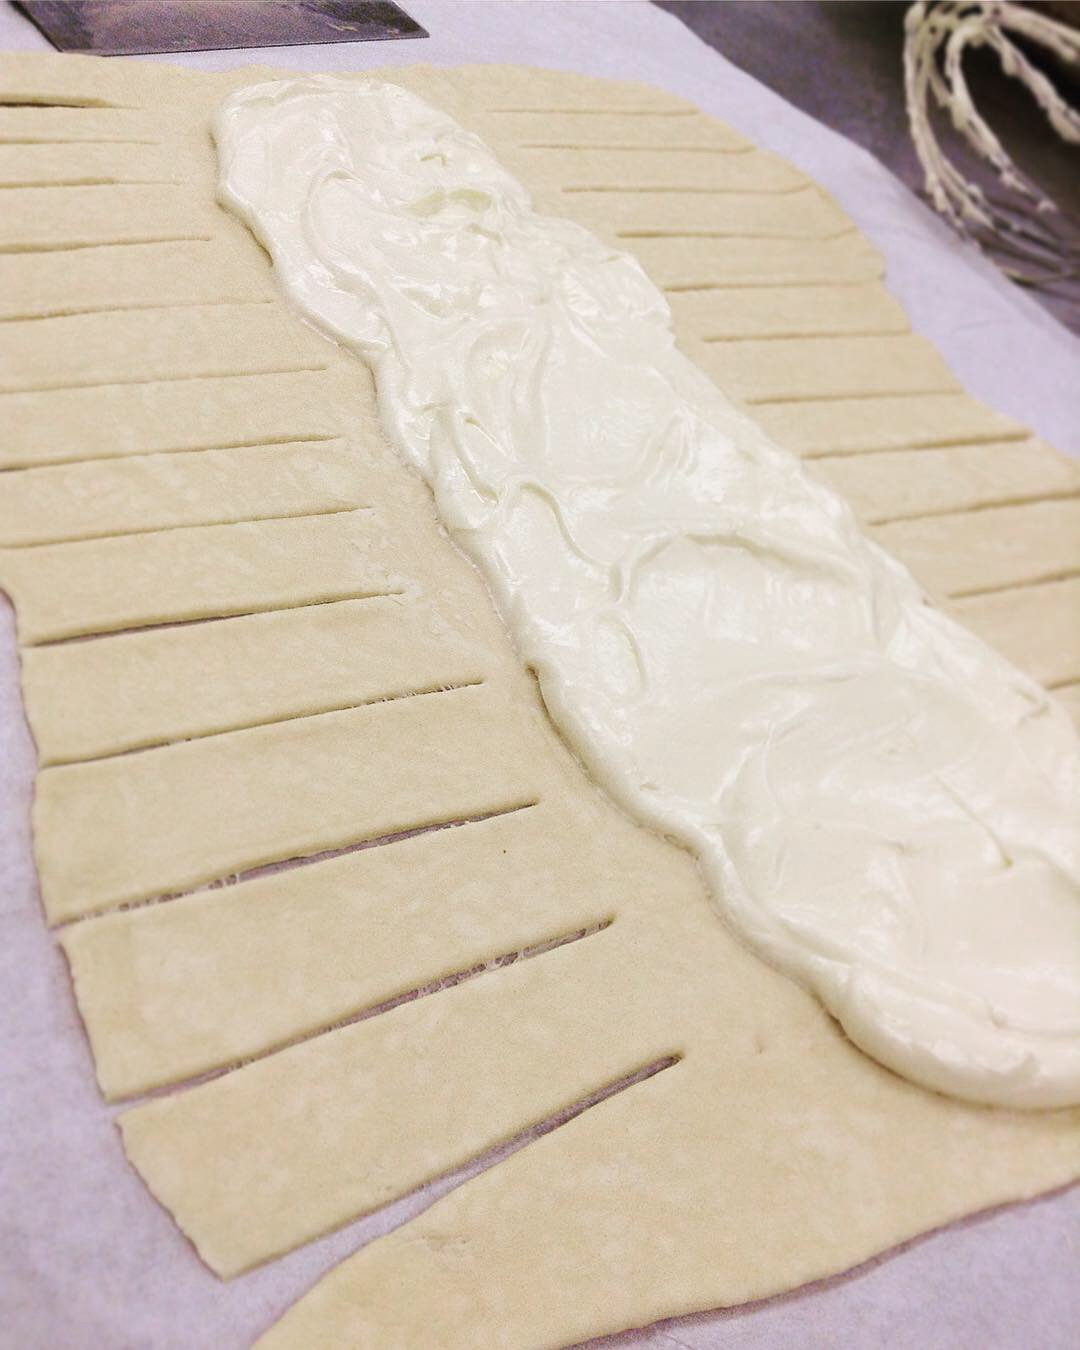
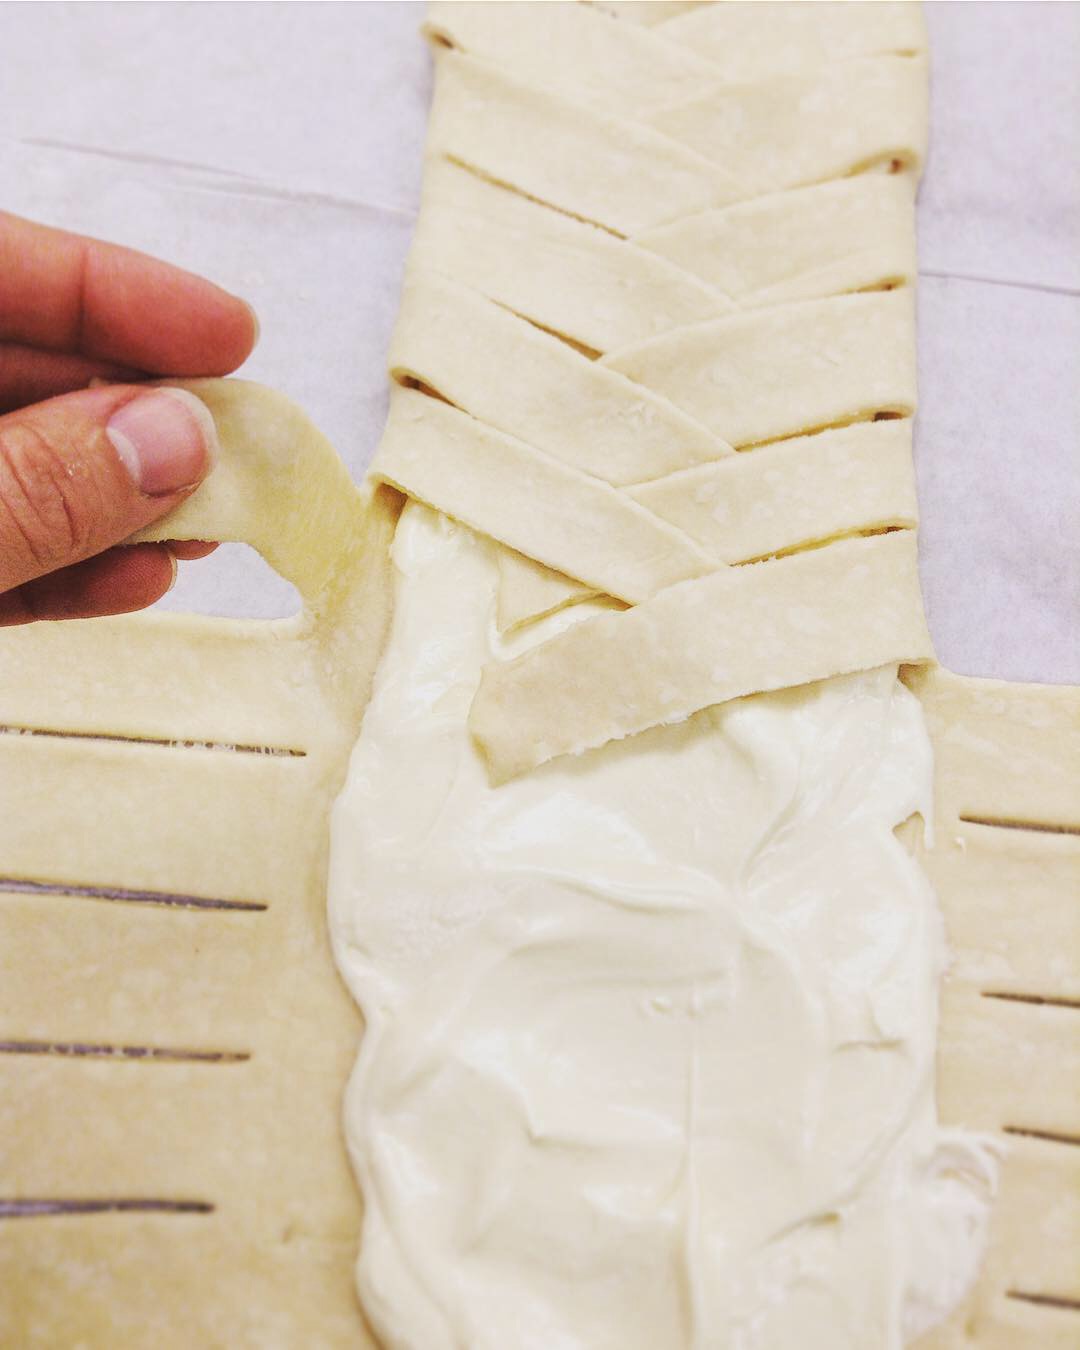
Remove one piece of dough from the fridge, and save the other for a rainy day (the dough can last in the fridge for up to 5 days and in the freezer for 3 months). On a floured piece of parchment paper, roll out the dough into a 9 x 13-inch rectangle. Spoon some of the cream cheese filling in the middle of the dough. With the dough laid in front of you vertically (so that the smaller 9-inch end is facing you), make 1-inch diagonal cuts down the left and right sides of the dough (imagine you are making a Christmas tree). Once you have reached the bottom, cut away two triangle pieces, so that the dough now has a tree trunk. Fold the tree trunk flap over the apples, then go back to the top and fold each strip over the cheese filling, alternating from left to right and moving towards the bottom.Preheat the oven to 400º F.
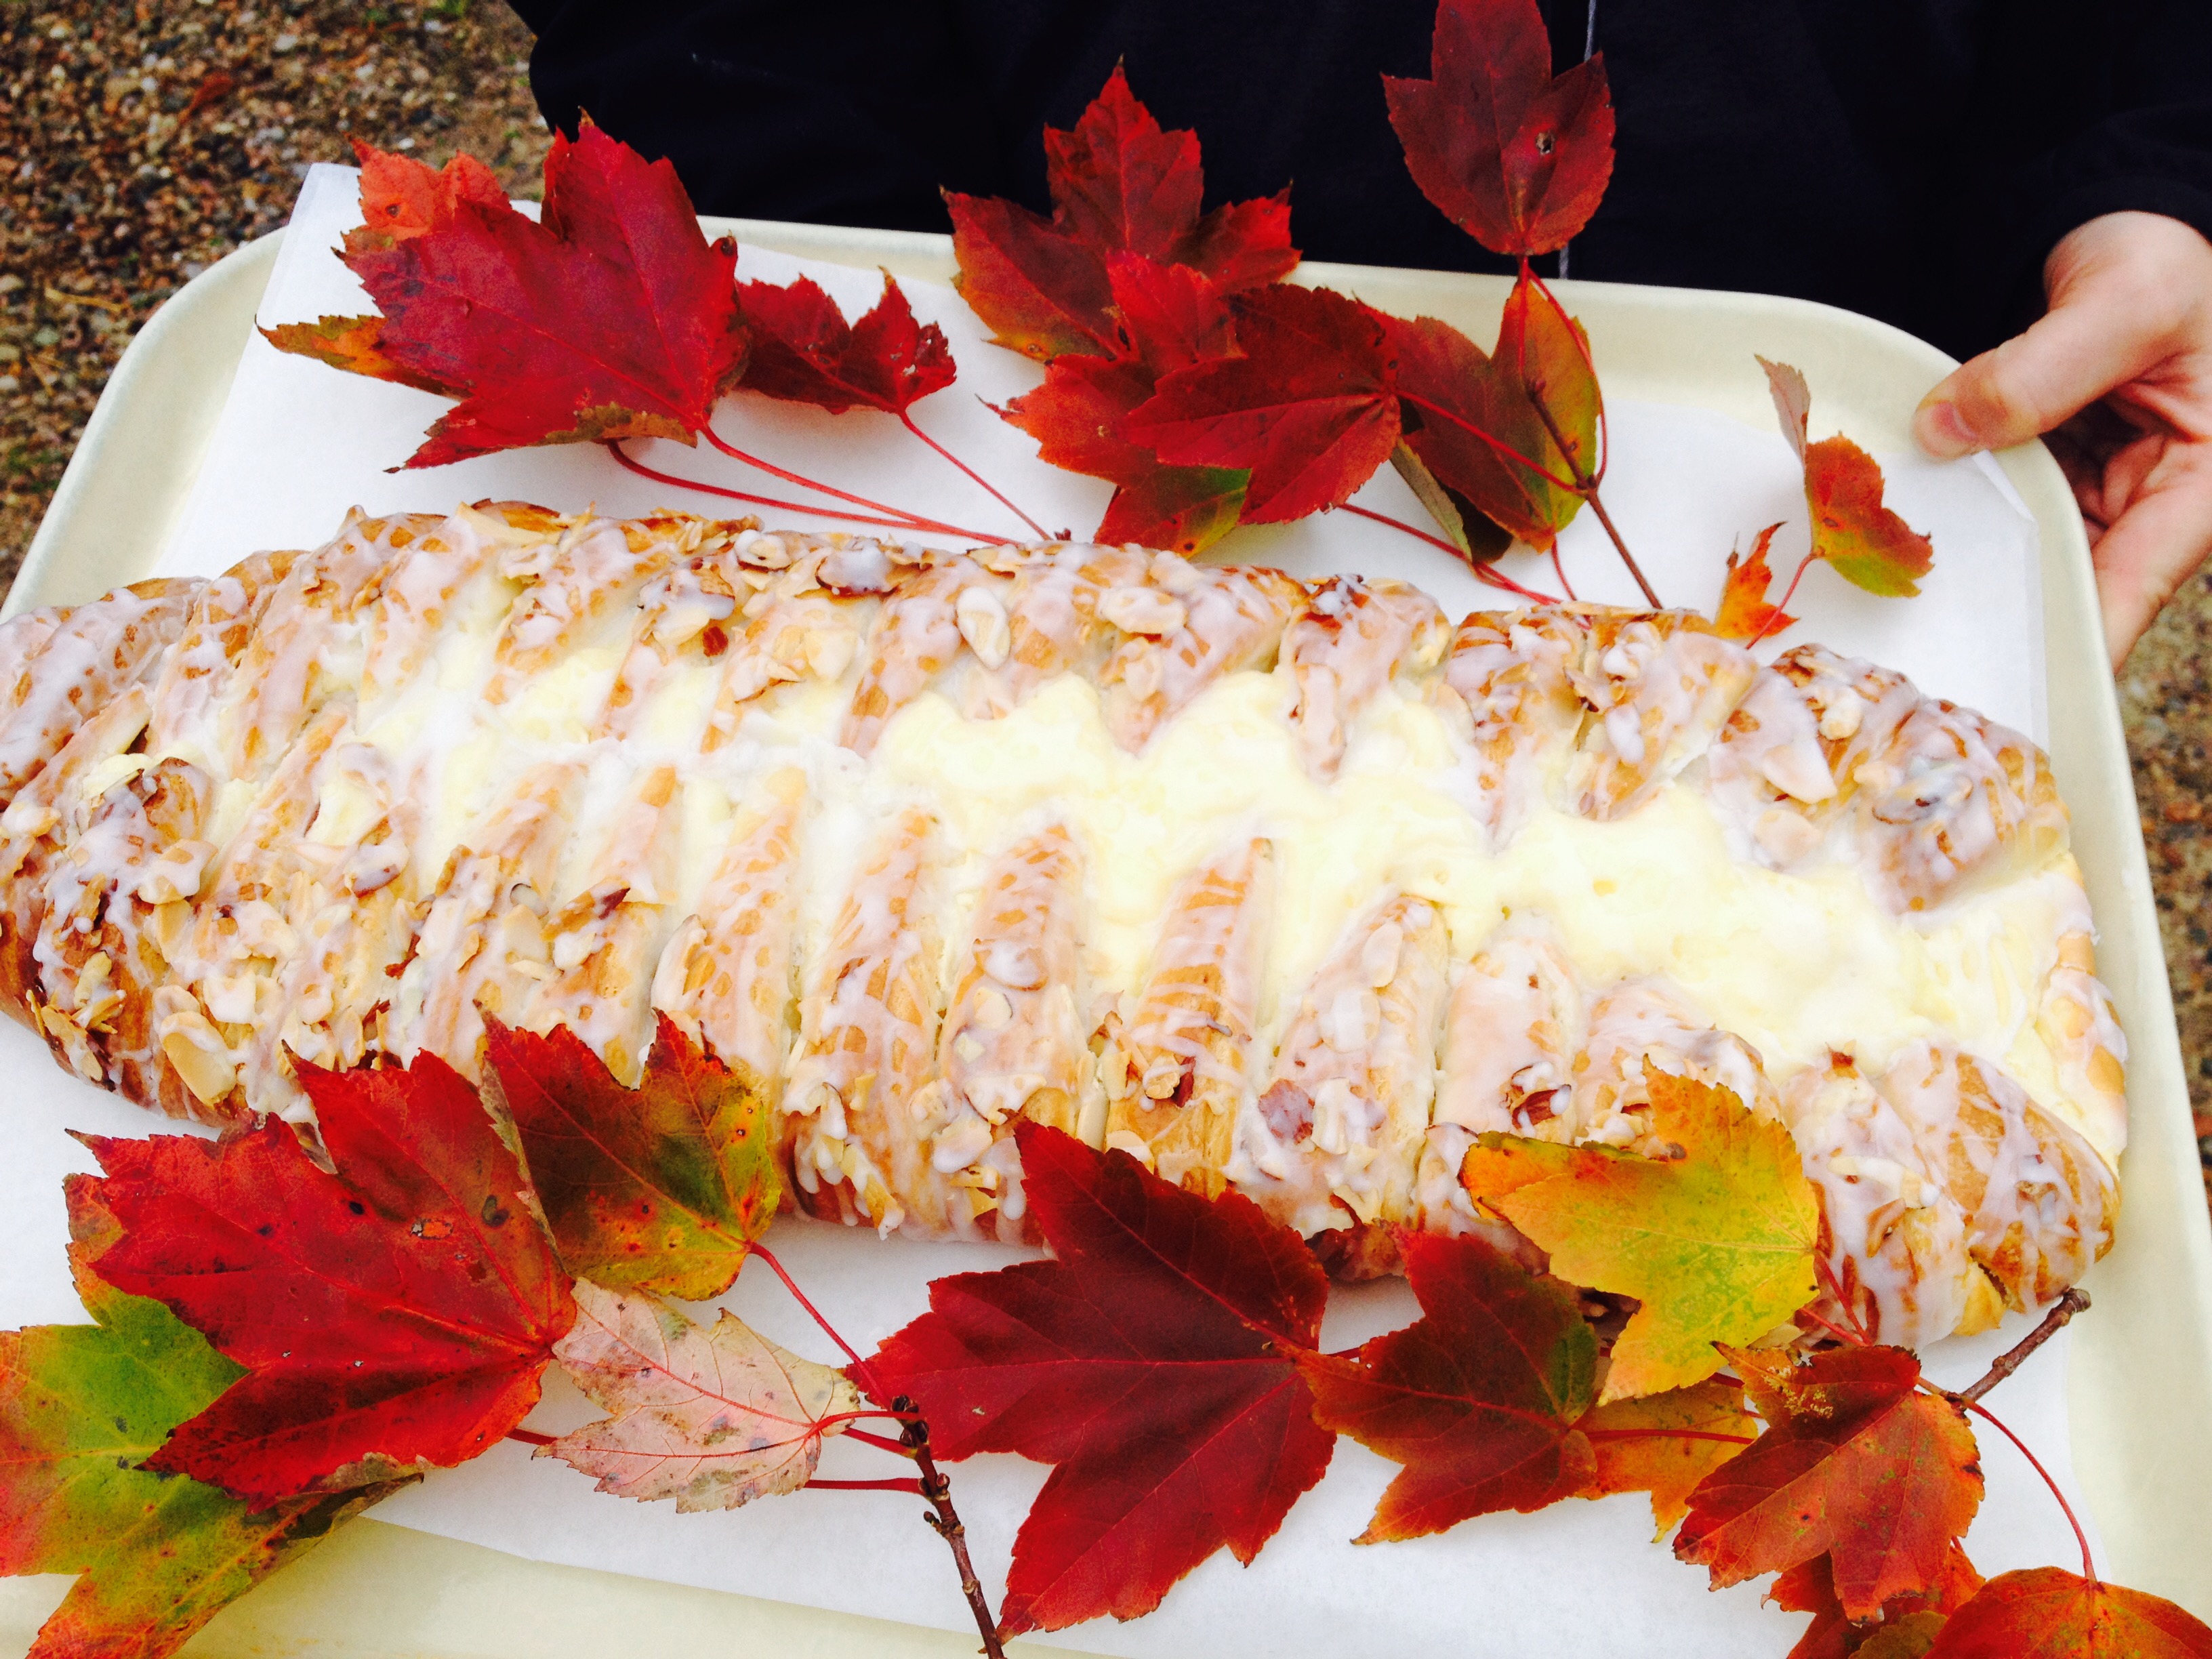
Gently lift the parchment paper and the braid onto a baking sheet. Brush the top of the pastry with an egg wash (one egg white and a teaspoon of water). Bake for 15 to 20 minutes, or until brown on top.
In a small bowl, whisk the powdered sugar, 1 tablespoon of milk, and vanilla until you get a desired consistency. Add a tablespoon more milk if the icing is too thick. (It should be pourable, but not so thin that it drips off of the pastry.) Drizzle over the top of the braid and sprinkle with powdered sugar. Serve warm. The danish lasts for 3 to 4 days. It's best to store in the fridge, covered in plastic wrap, and then reheated in the oven or microwave before eating.
*NOTE: Option for Flakier Dough: Before cubing butter, set aside 1/2 cup of butter. Cut into 4 squares, sprinkle with a little flour and roll to a 1/4" width between 2 sheets of parchment paper. Refrigerate till ready to use in Step #5.
There’s just something about the aroma of freshly baked bread that brings one back to their childhood – but a torture when allergic to yeast!
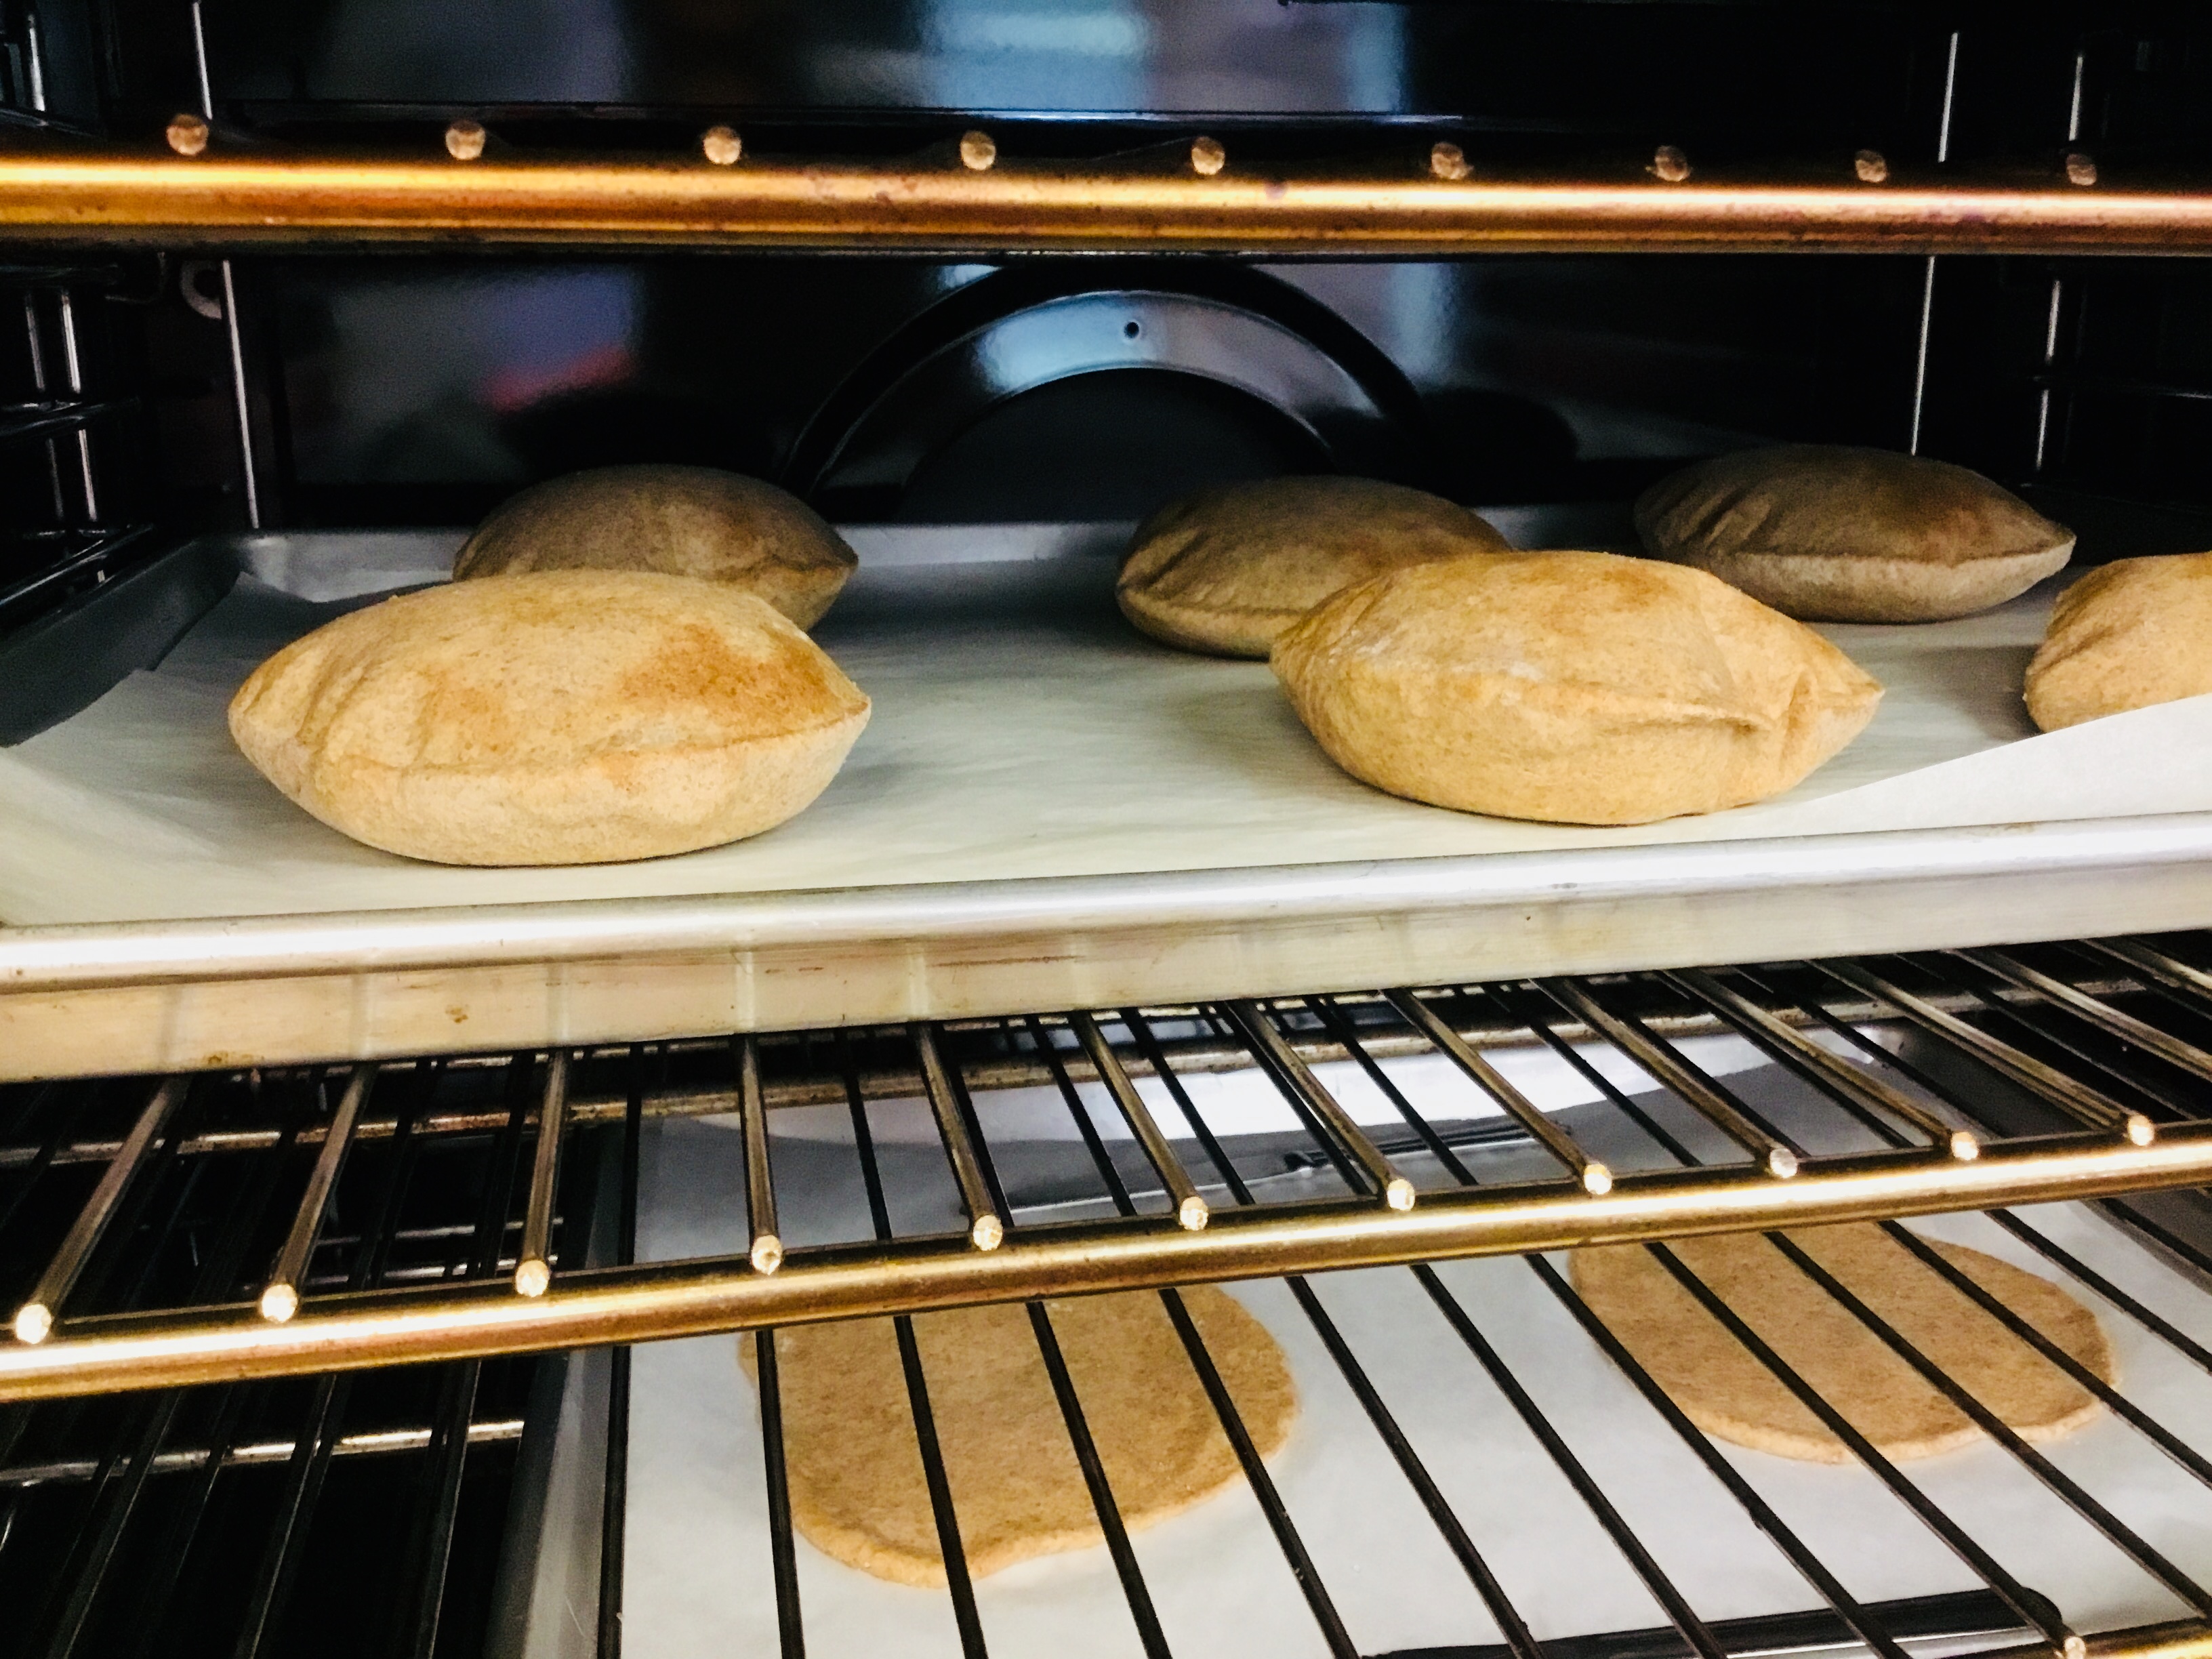
I was baking for a friend recently, and this was their story. So, I did a little experimenting to see what I could come up with besides biscuits and quick breads – I really wanted something they could enjoy as a sandwich bread. I never thought pita bread would rise without the presence of yeast, but in this easy and quick recipe, it surely does, AND creates a wonderful pocket of joy that can be filled with your favorite sweet or savory fillings.
In a medium bowl, whisk the flour, salt and baking powder. Stir in the water and olive oil and knead to form a moist dough. Form into a ball. Cover with a kitchen towel and let rest for 5-30 min.
Preheat oven to 450 degrees F.
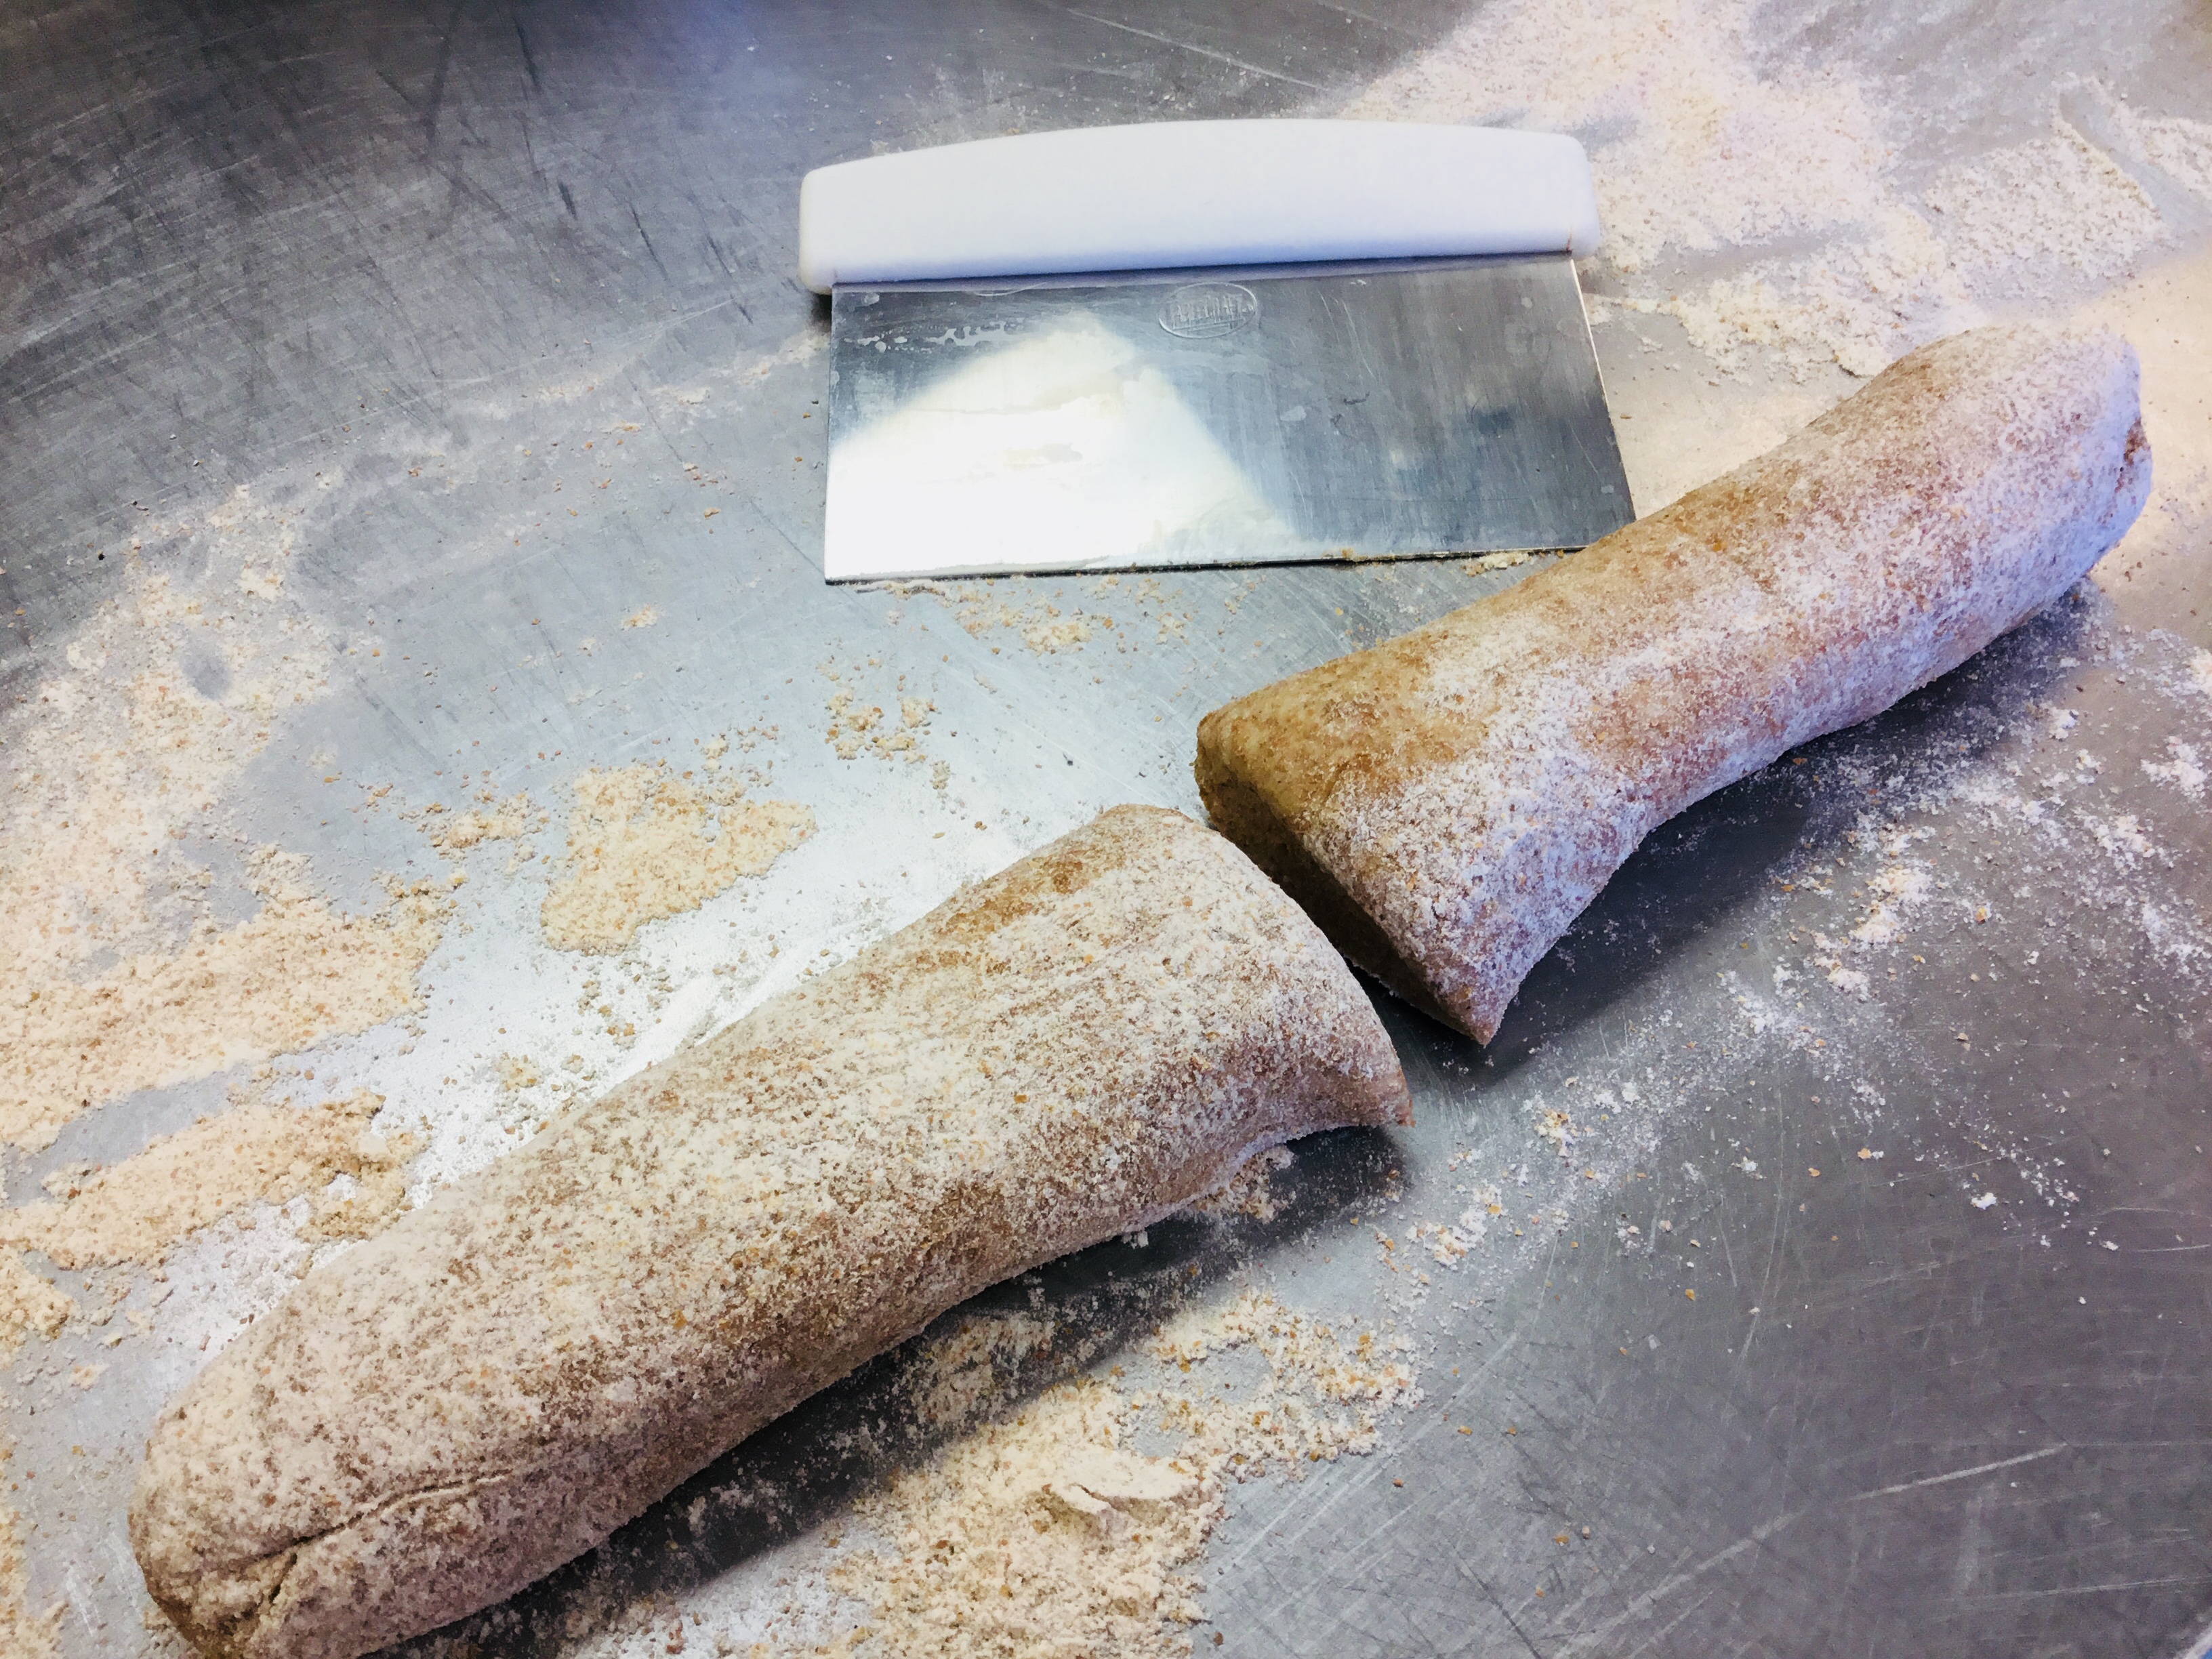
Roll out the dough into a long log on a very lightly floured work space.
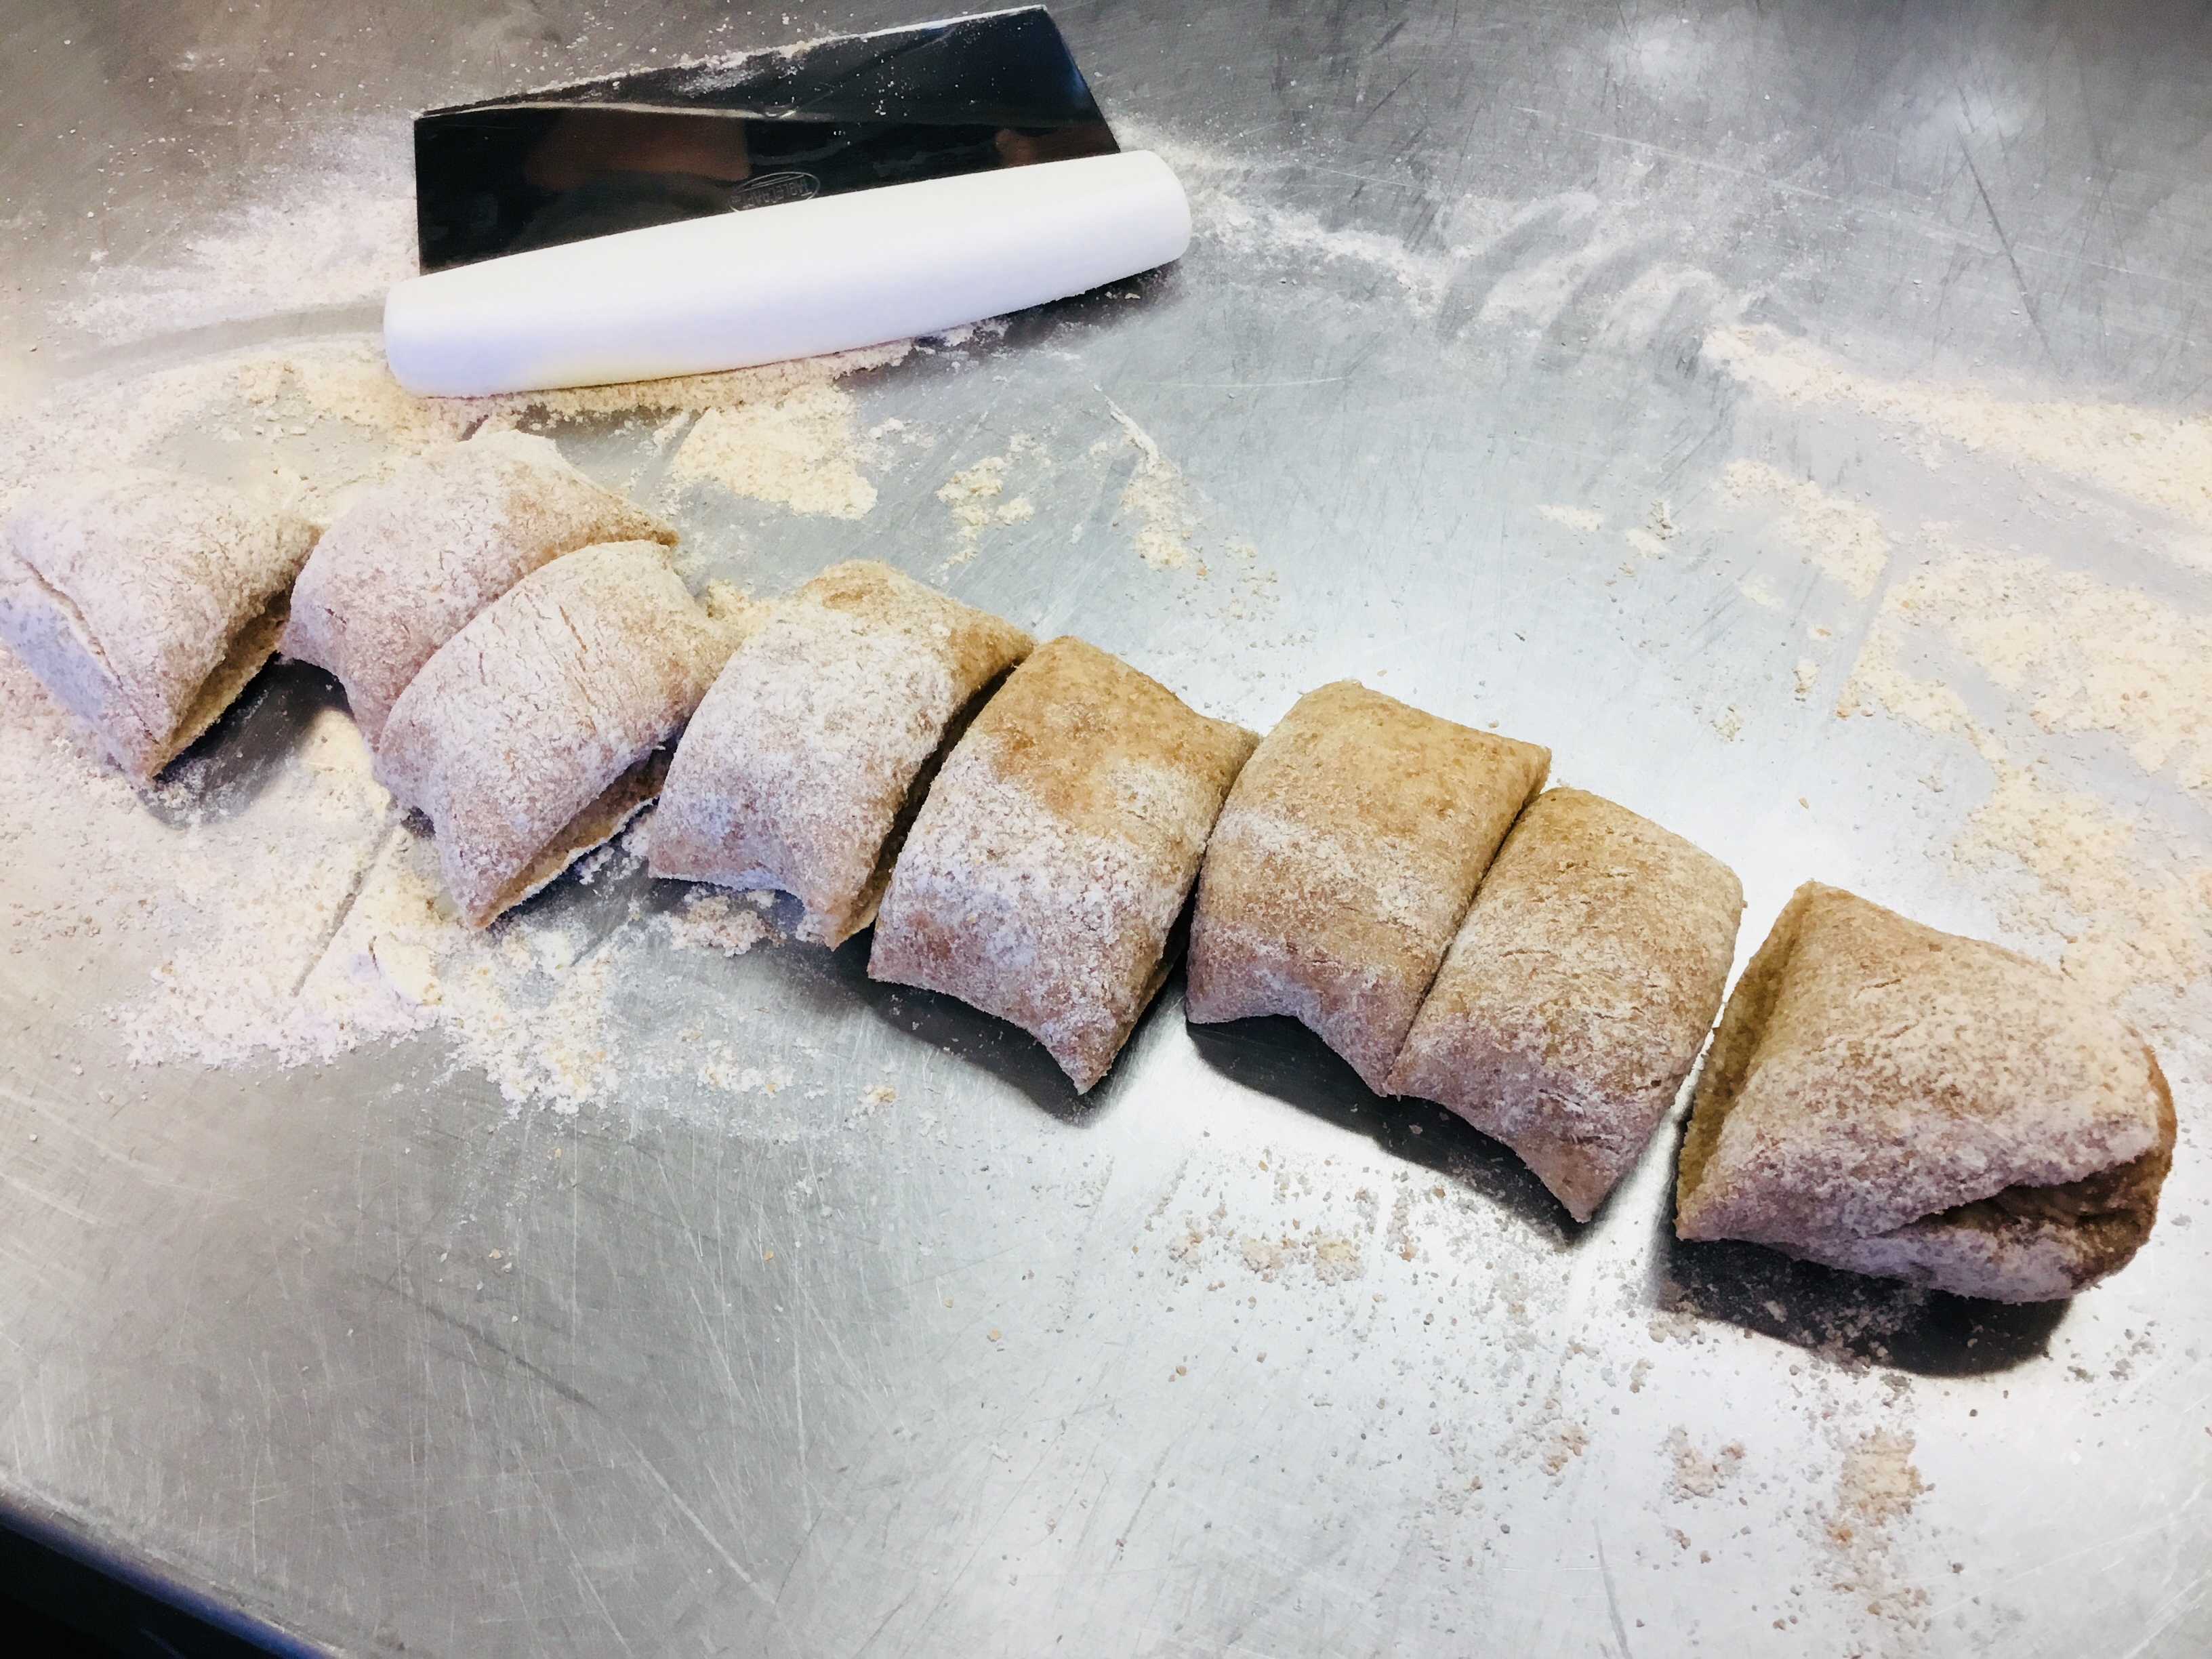
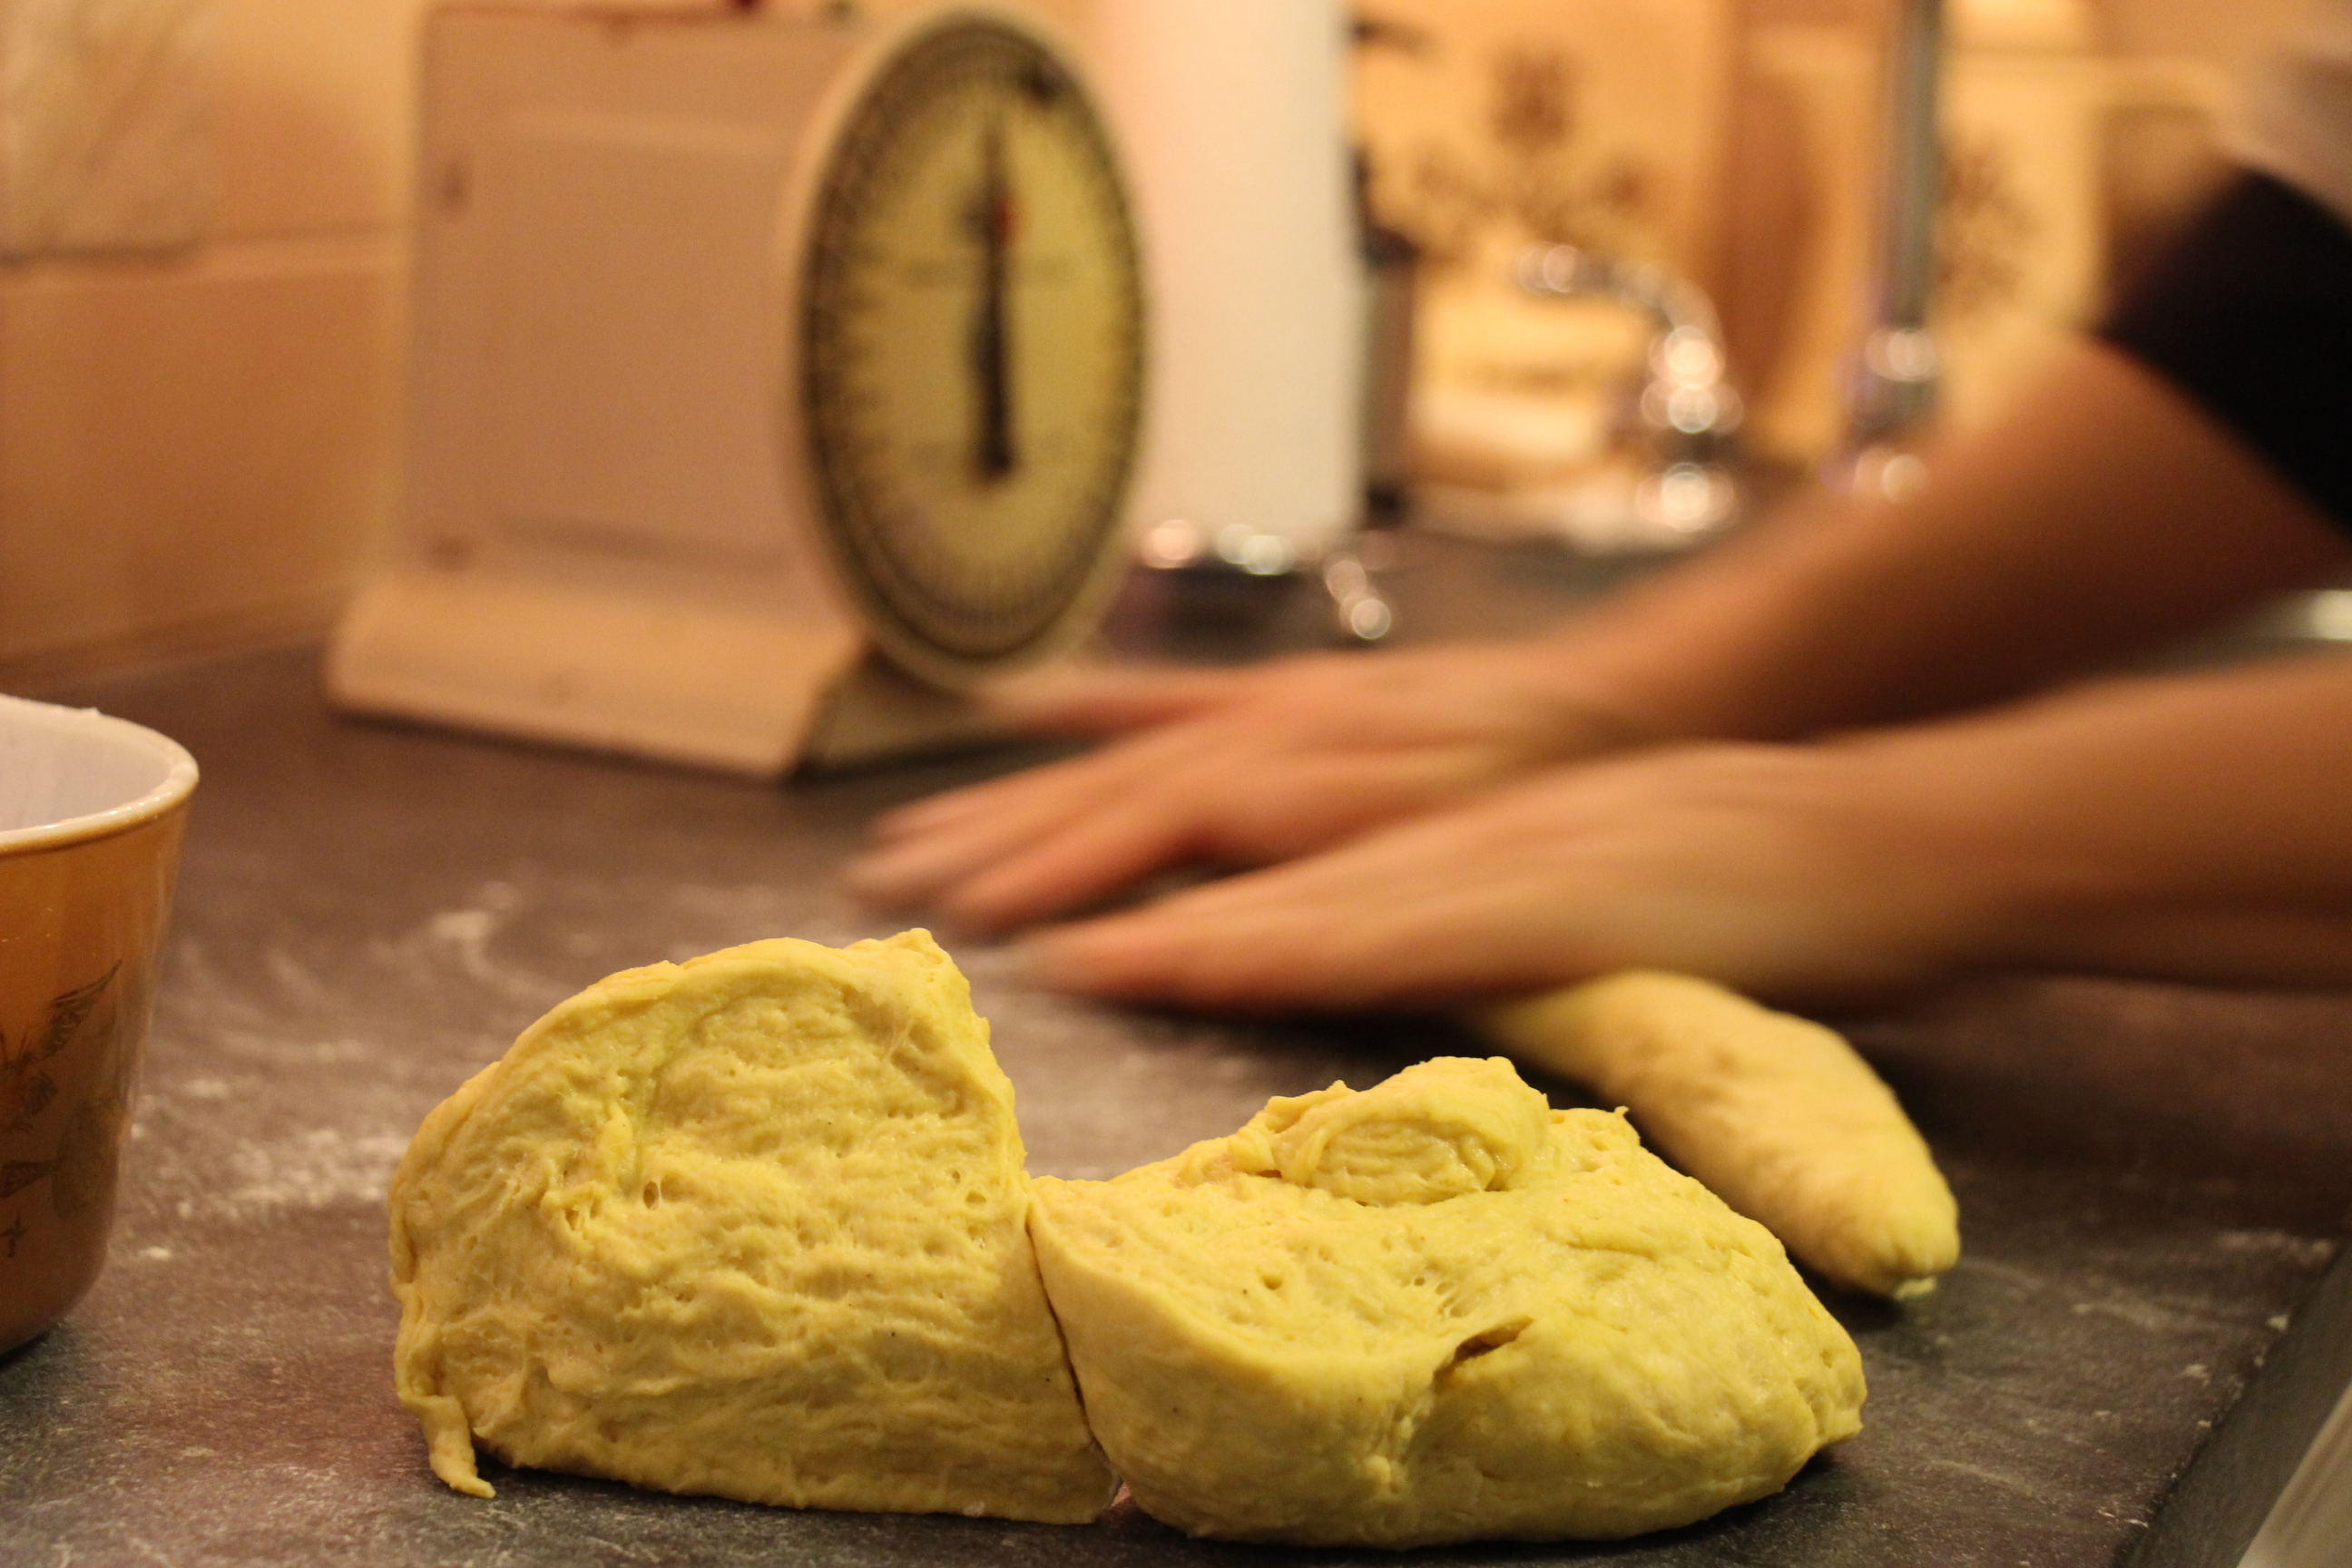
Cut the dough into 8 equal parts and form 8 balls.
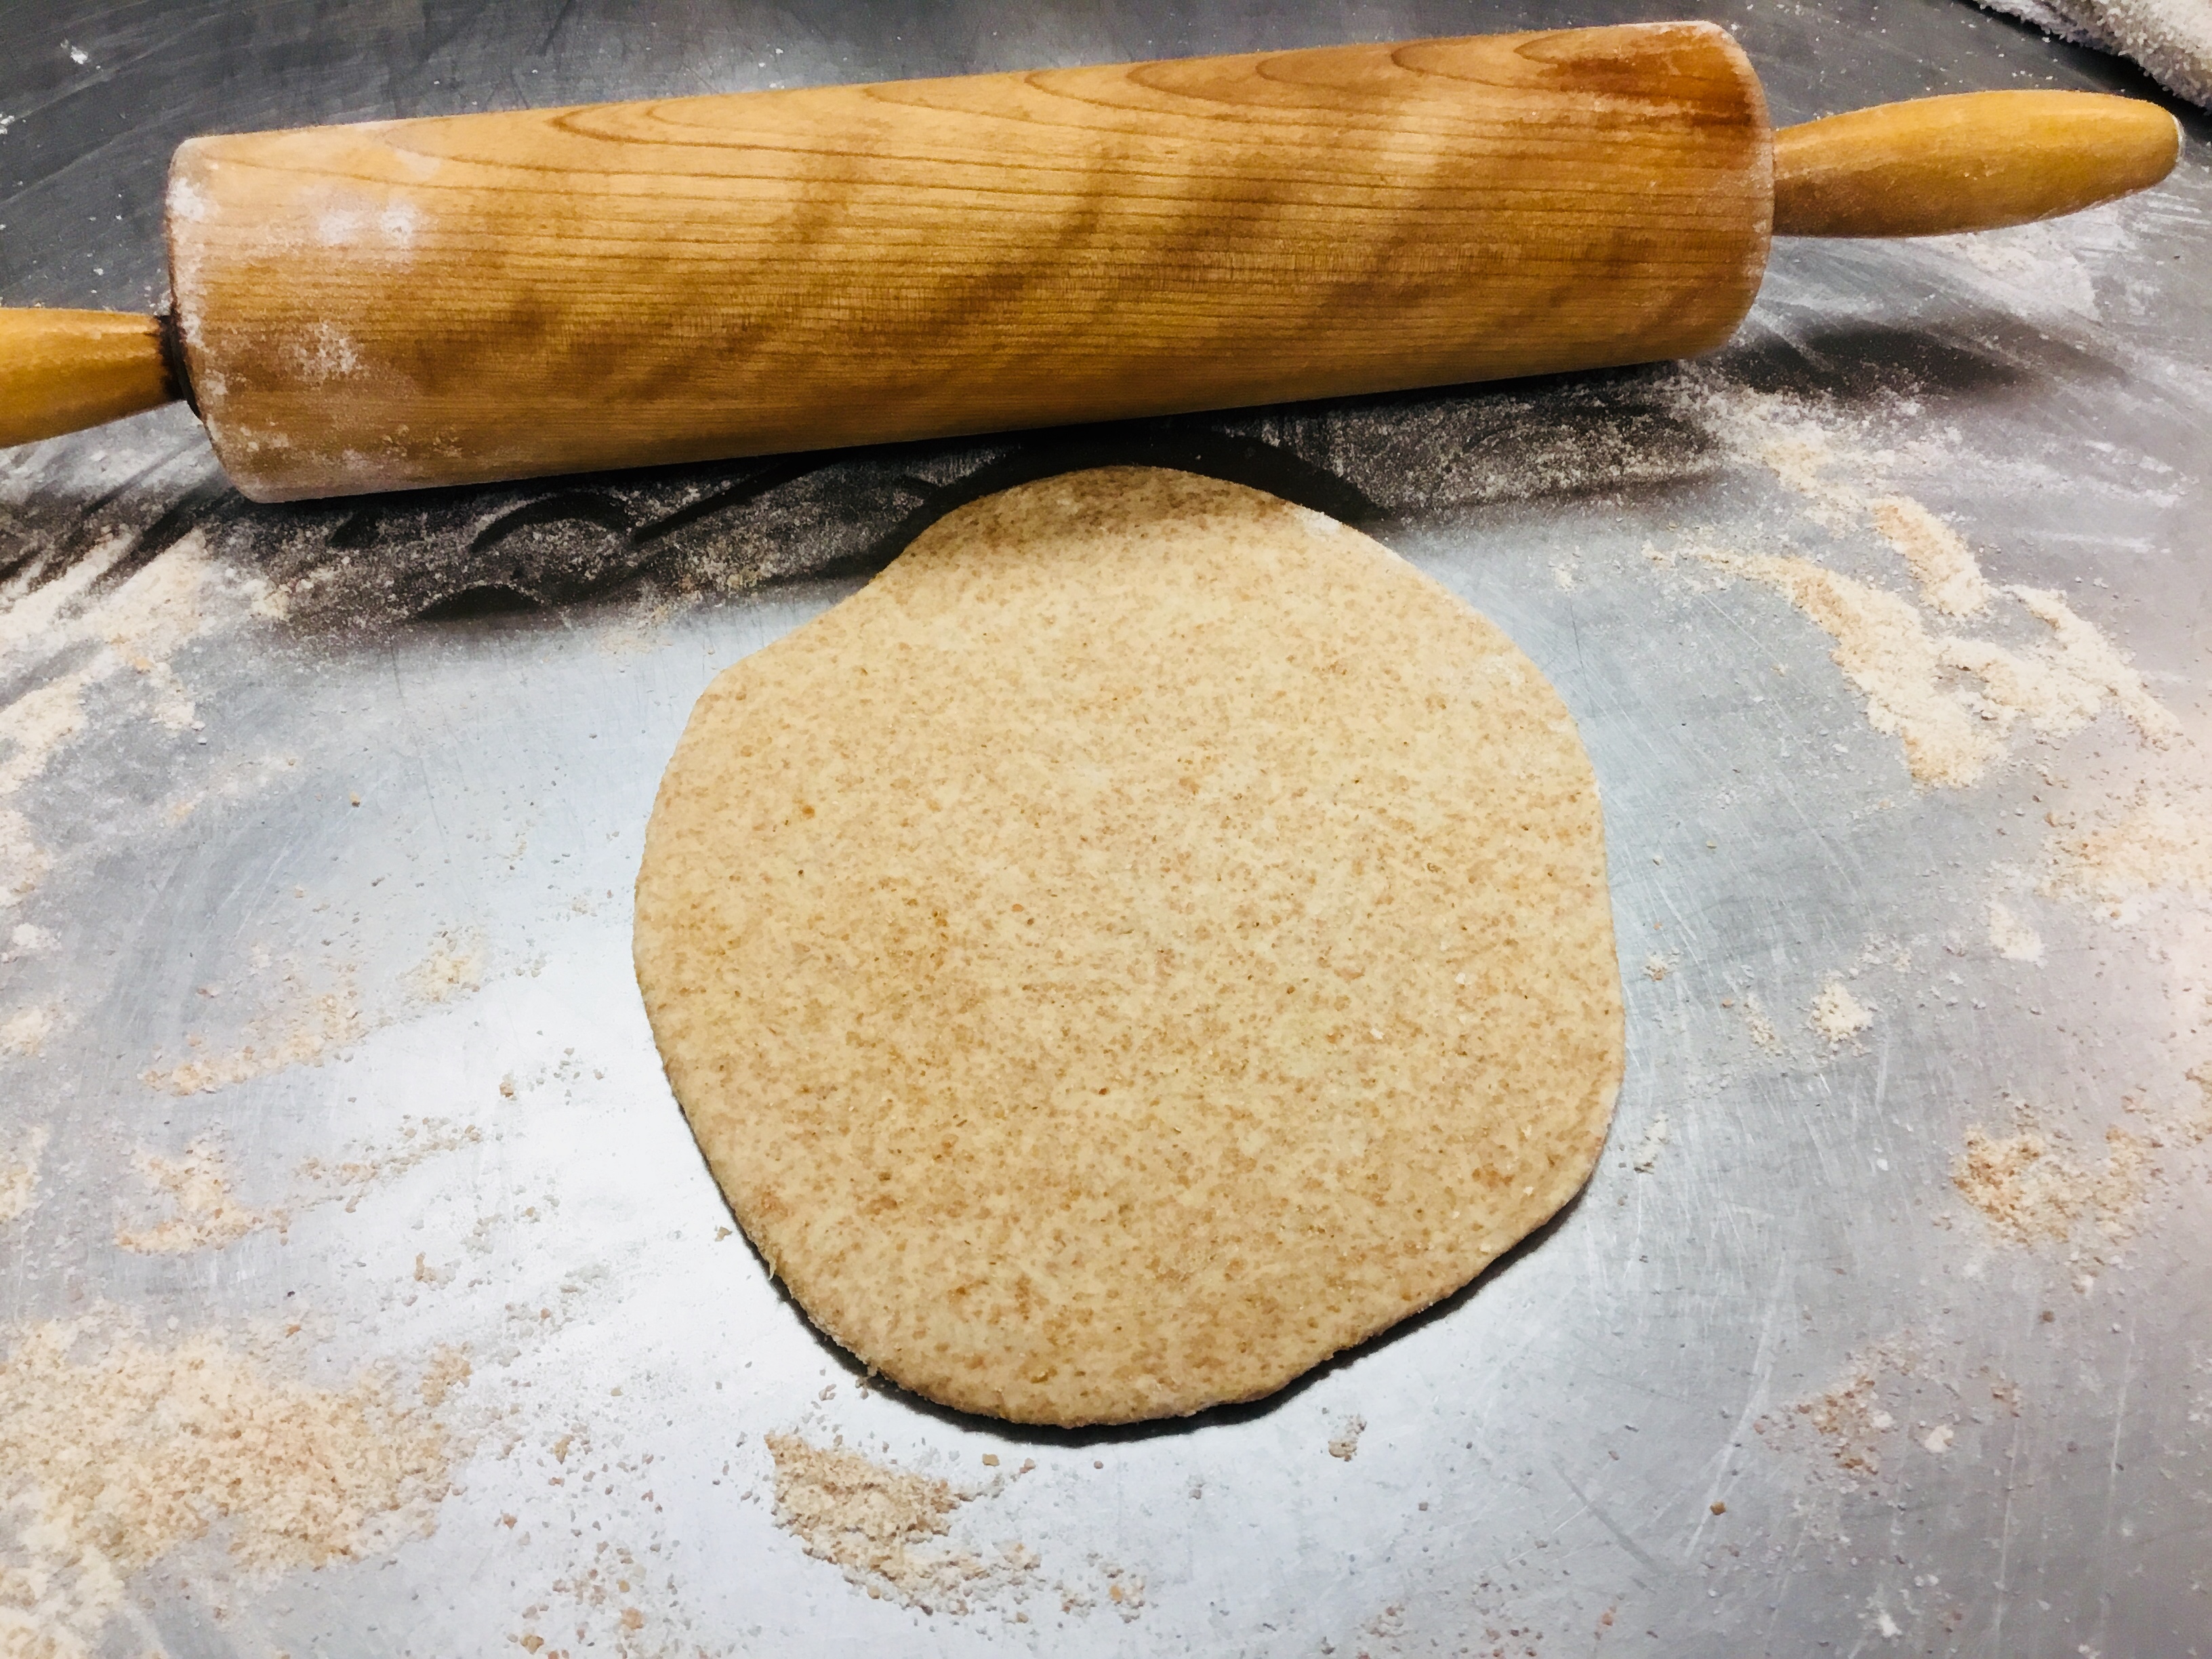
Using a lightly floured rolling pin, flatten each into an 1/8" high flat disk
Lay pita bread on two sheet pans lined with baking paper - spacing the disks apart from each other.
Spray lightly (or brush) with water and bake immediately for 6-8 min. or until puffed and golden.
8. Remove from oven and serve immediately or allow to cool to store for later. Store in a zip lock bag or air tight container.
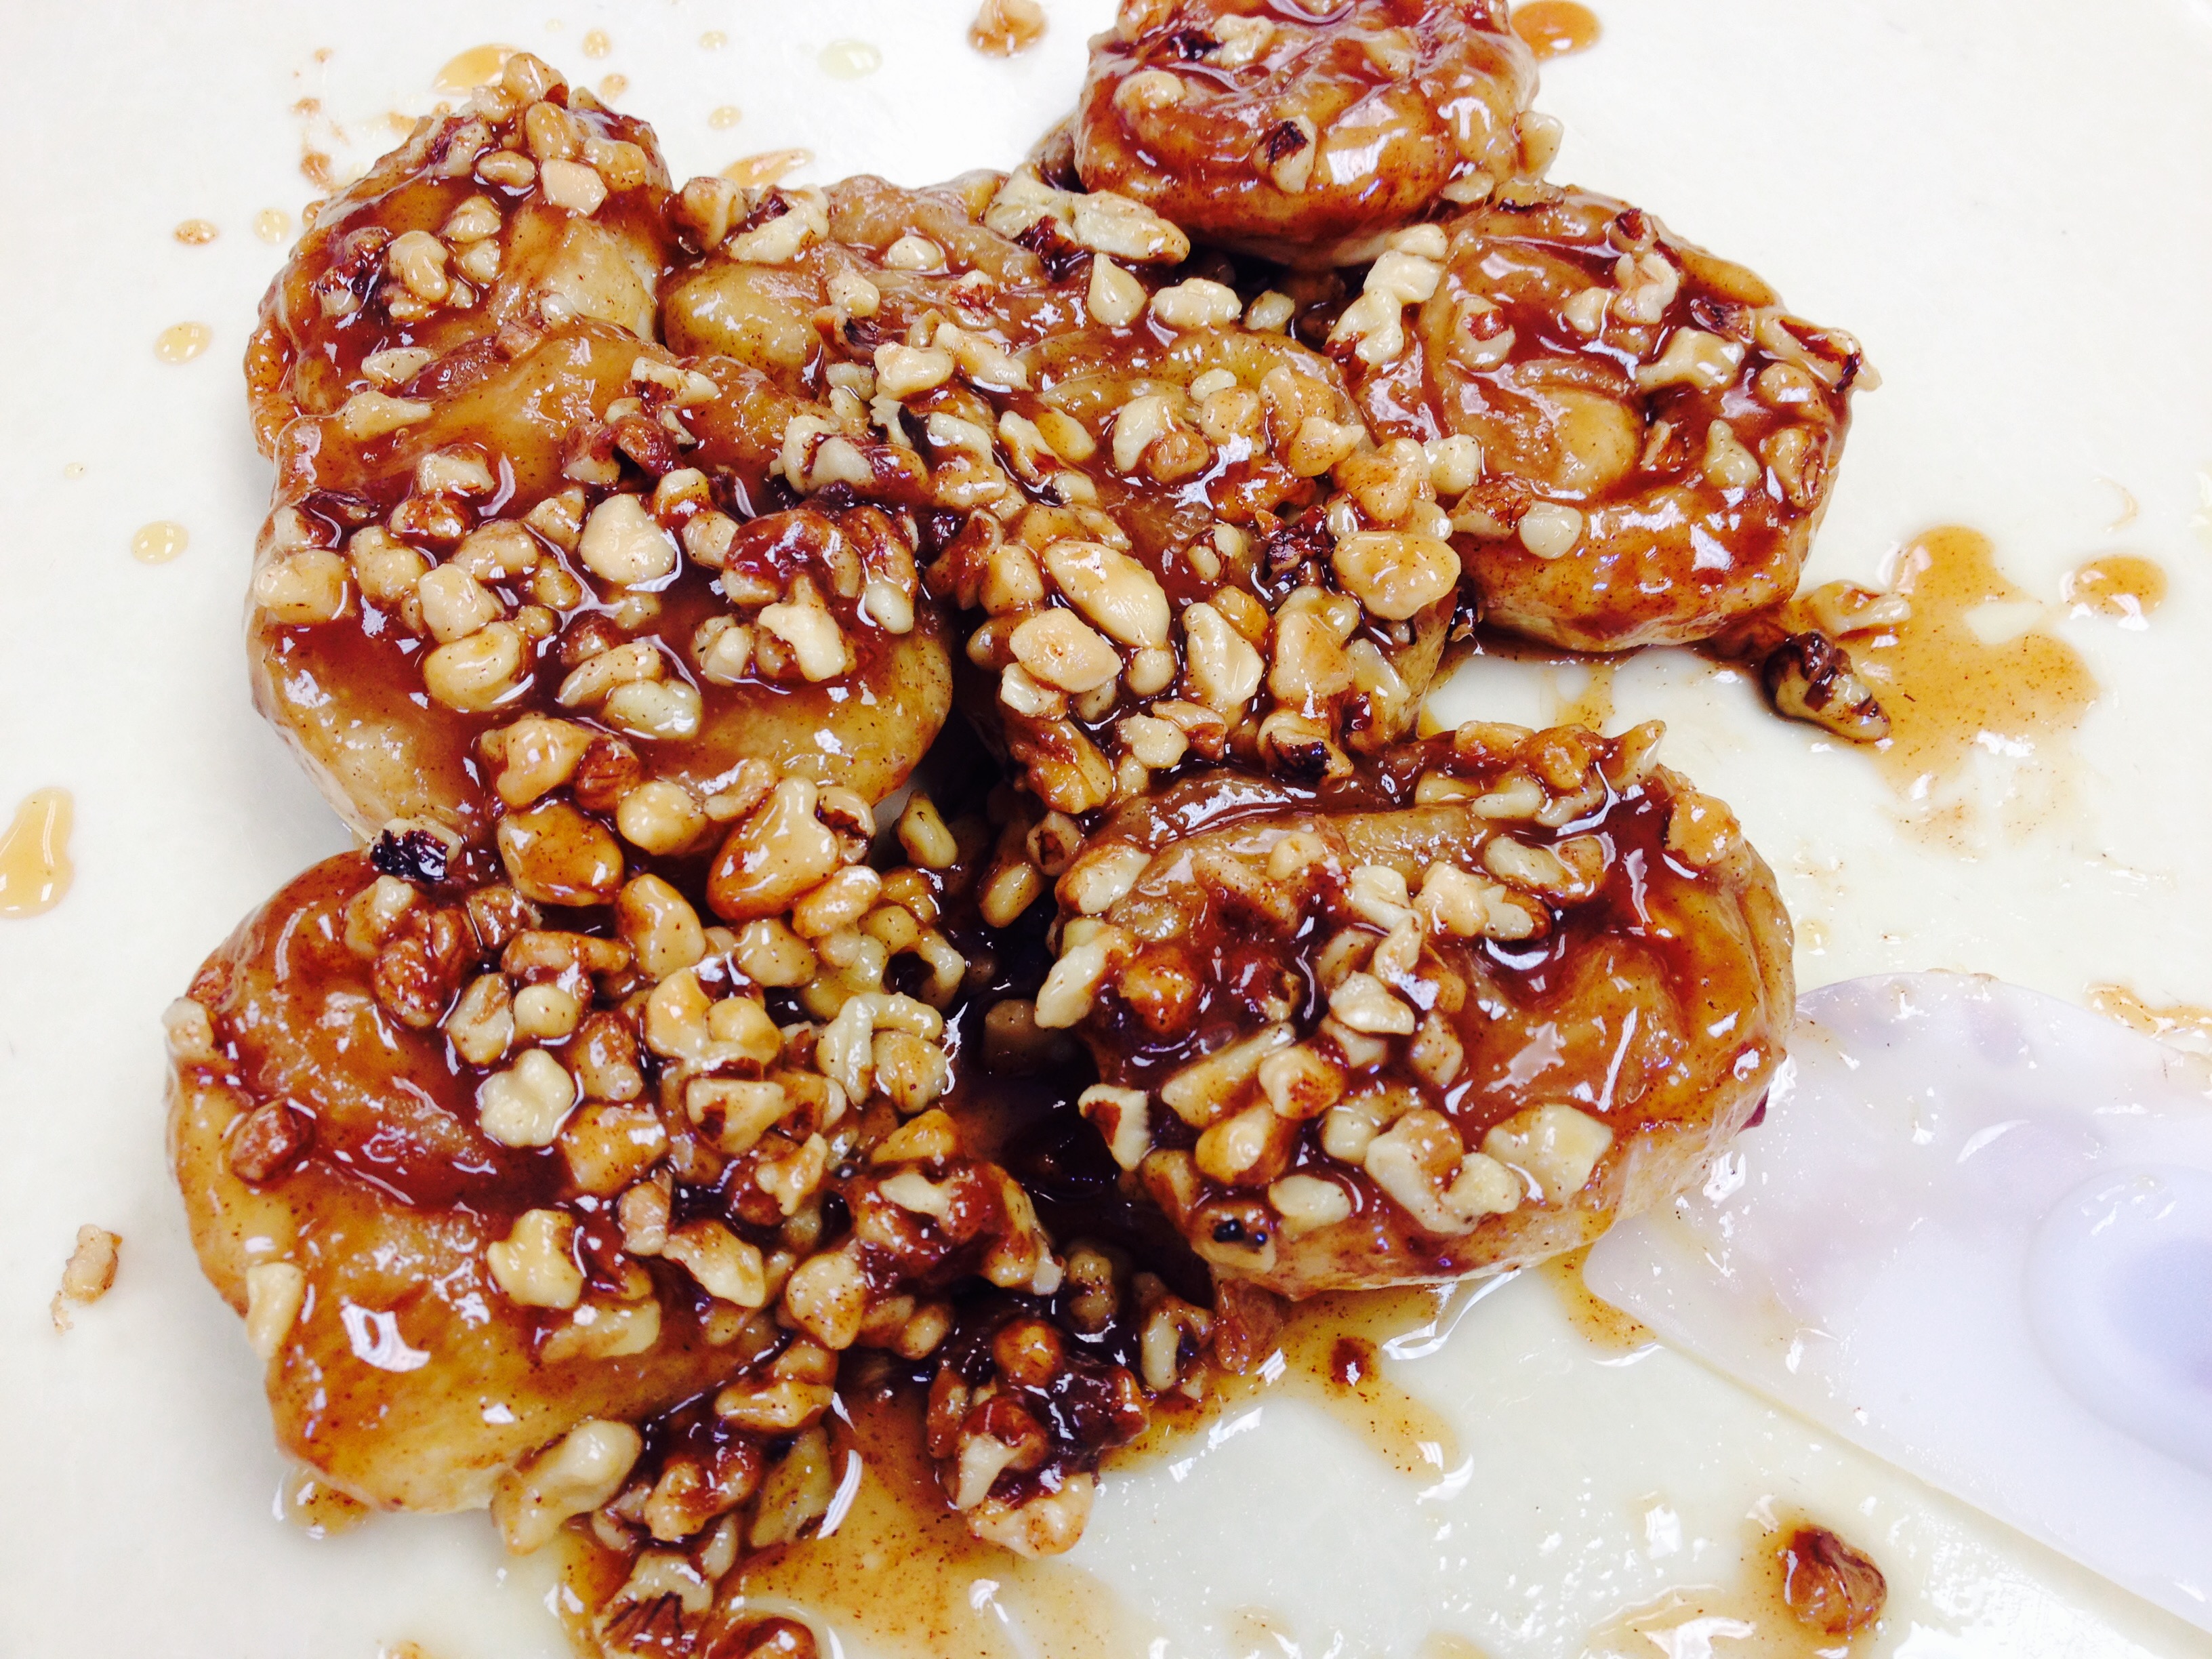
Nothing delights the Sisters more than warm, gooey sticky buns straight out of the oven on a Sunday morning. This year, we had the wonderful opportunity to offer baked goods to our community for Easter morning. We spent a good part of the weekend preparing over 50 pans of sticky buns. This year, I came up with a new recipe that we all decided was probably the very best sticky buns we have ever eaten. The comments back to us confirmed this was true. Even though I’d like to keep this recipe a secret, I thought we’d share it with you.
You won’t regret surprising your loved ones with these wonderfully fluffy and sinfully delicious breakfast treats! They are wonderful to eat year ’round!
Dissolve yeast in very warm water and let sit for 5 mins
Add ingredients in order listed above.
Add flour (dough will be slightly sticky, but should pull away from side of bowl).
Mix together the yeast dough, cover and let rise, until doubled in size in a warm, draft free place (approx.1 - 1 1/2 hrs) or overnight, covered, in the refrigerator)
Assemble:
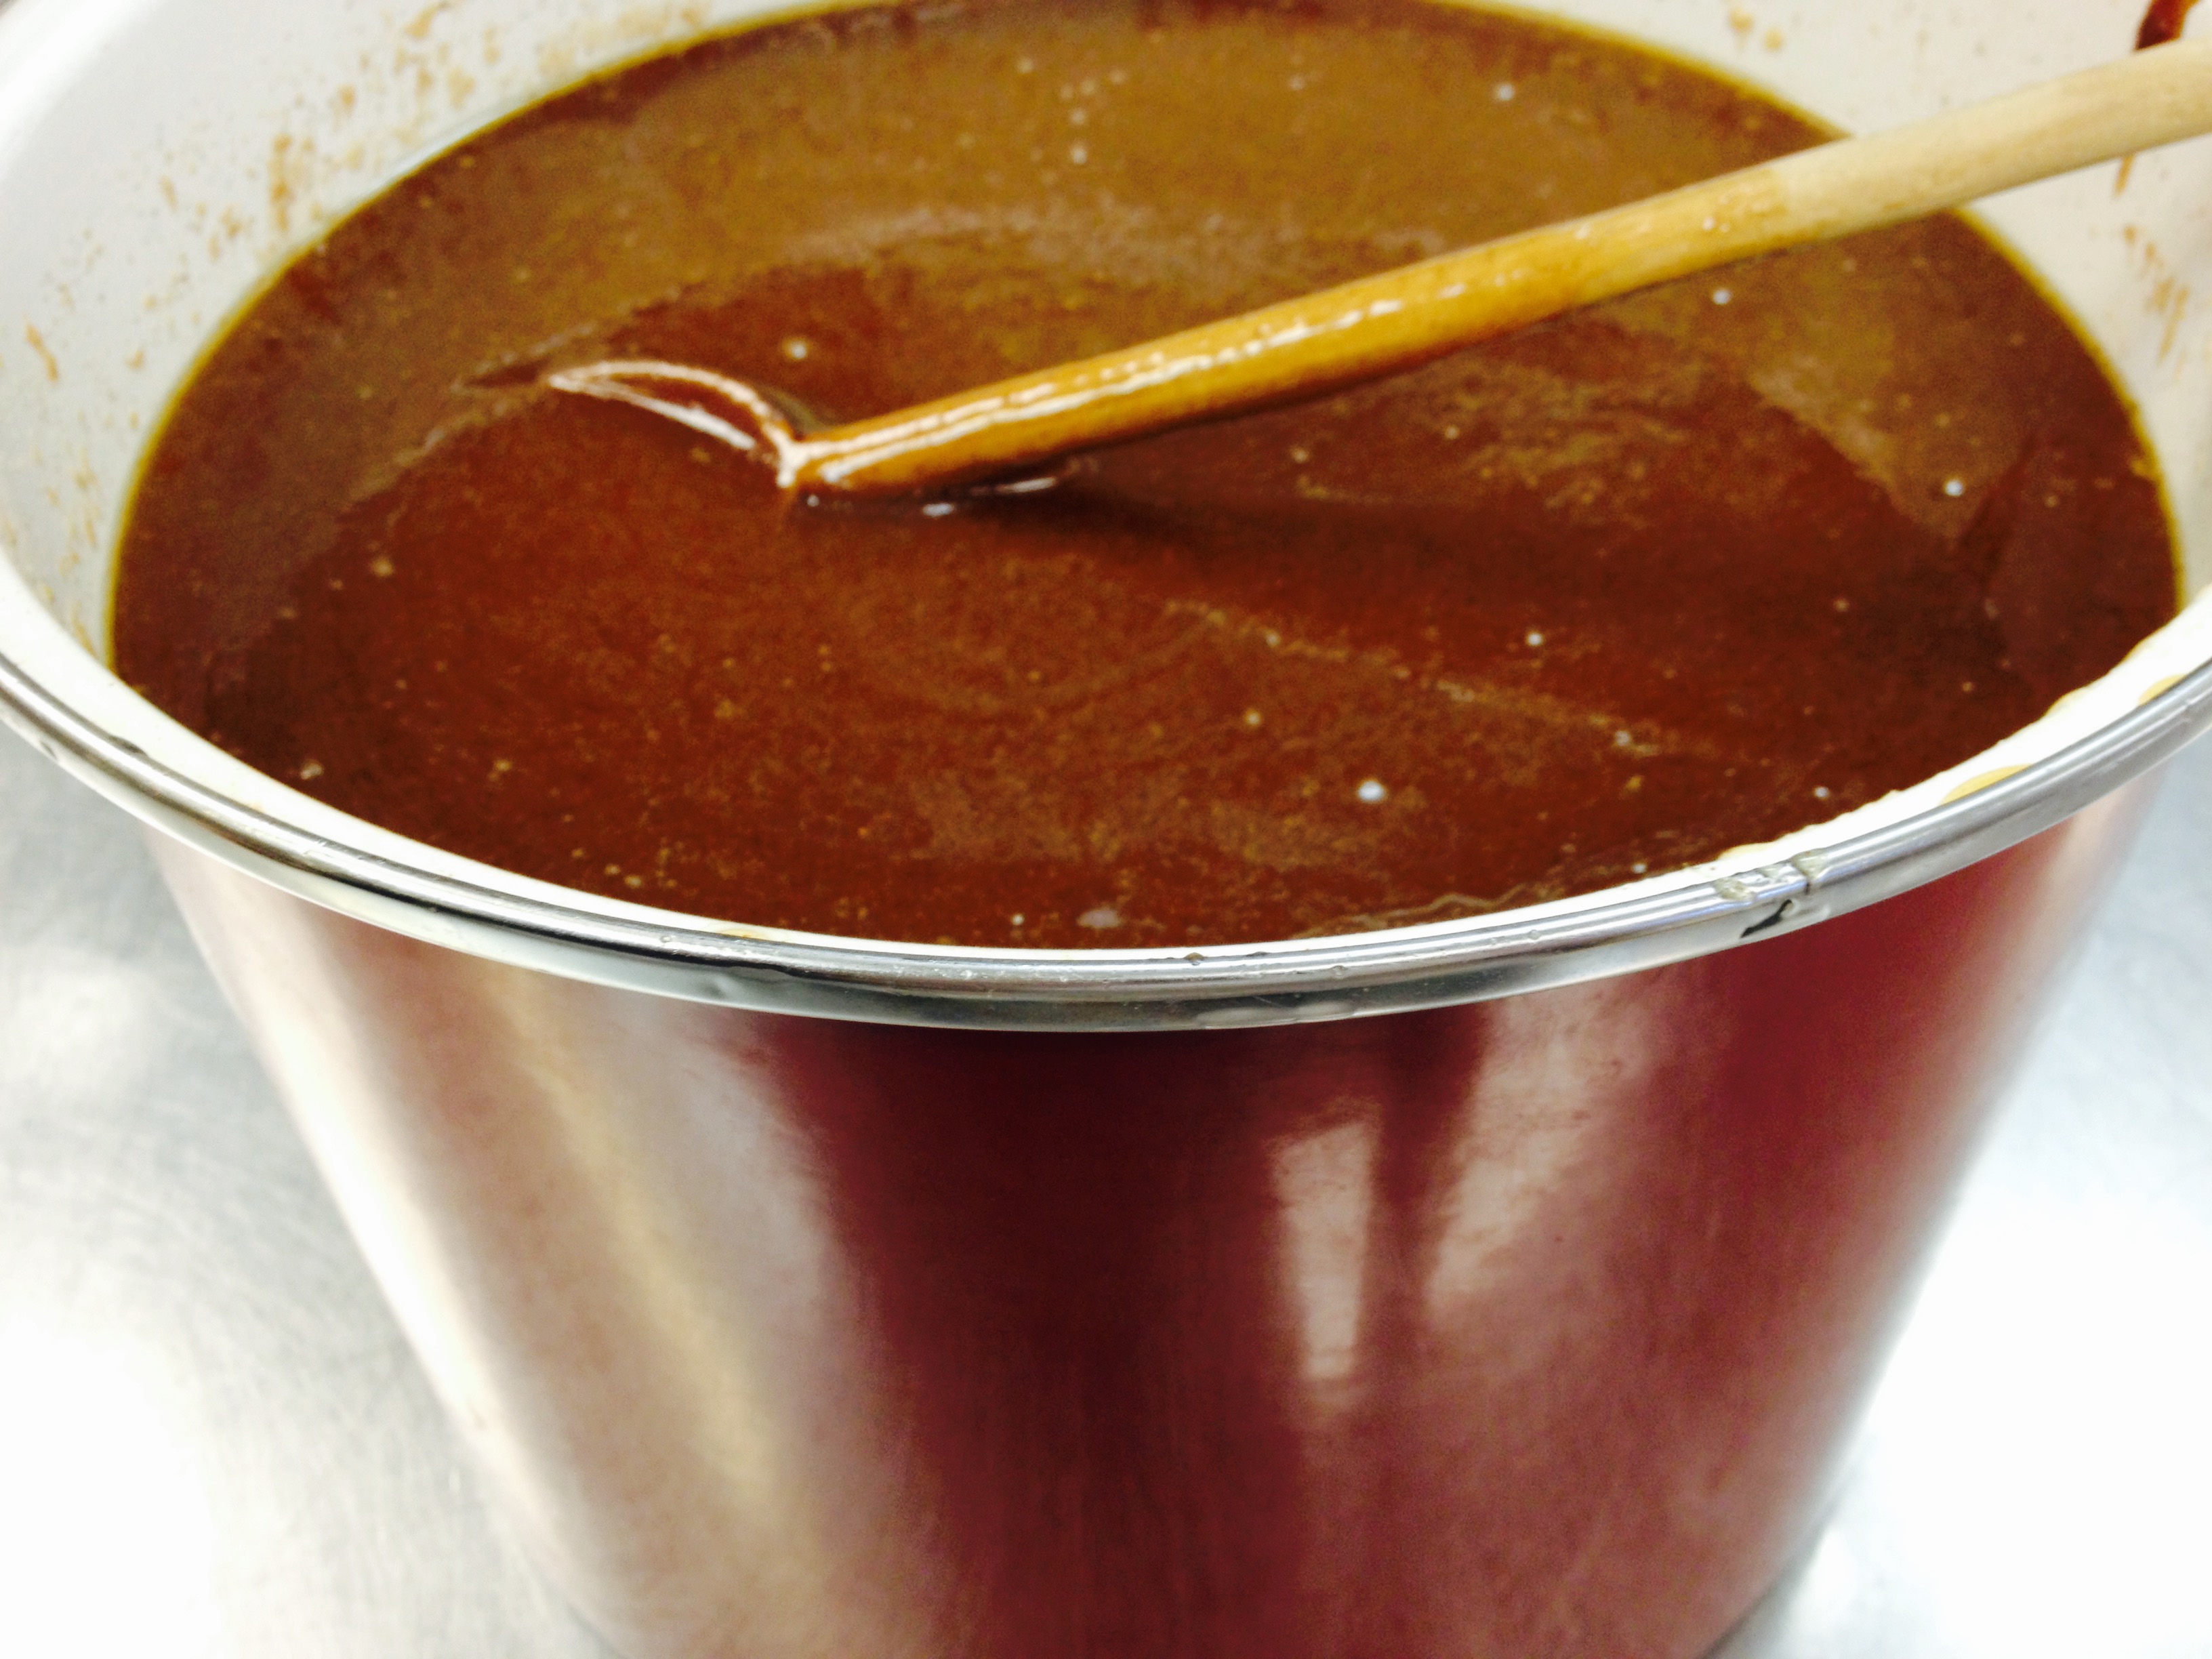
For the filling: Mix together melted butter, brown sugar, honey and cinnamon. Divide in half, setting aside half the caramel for the filling.
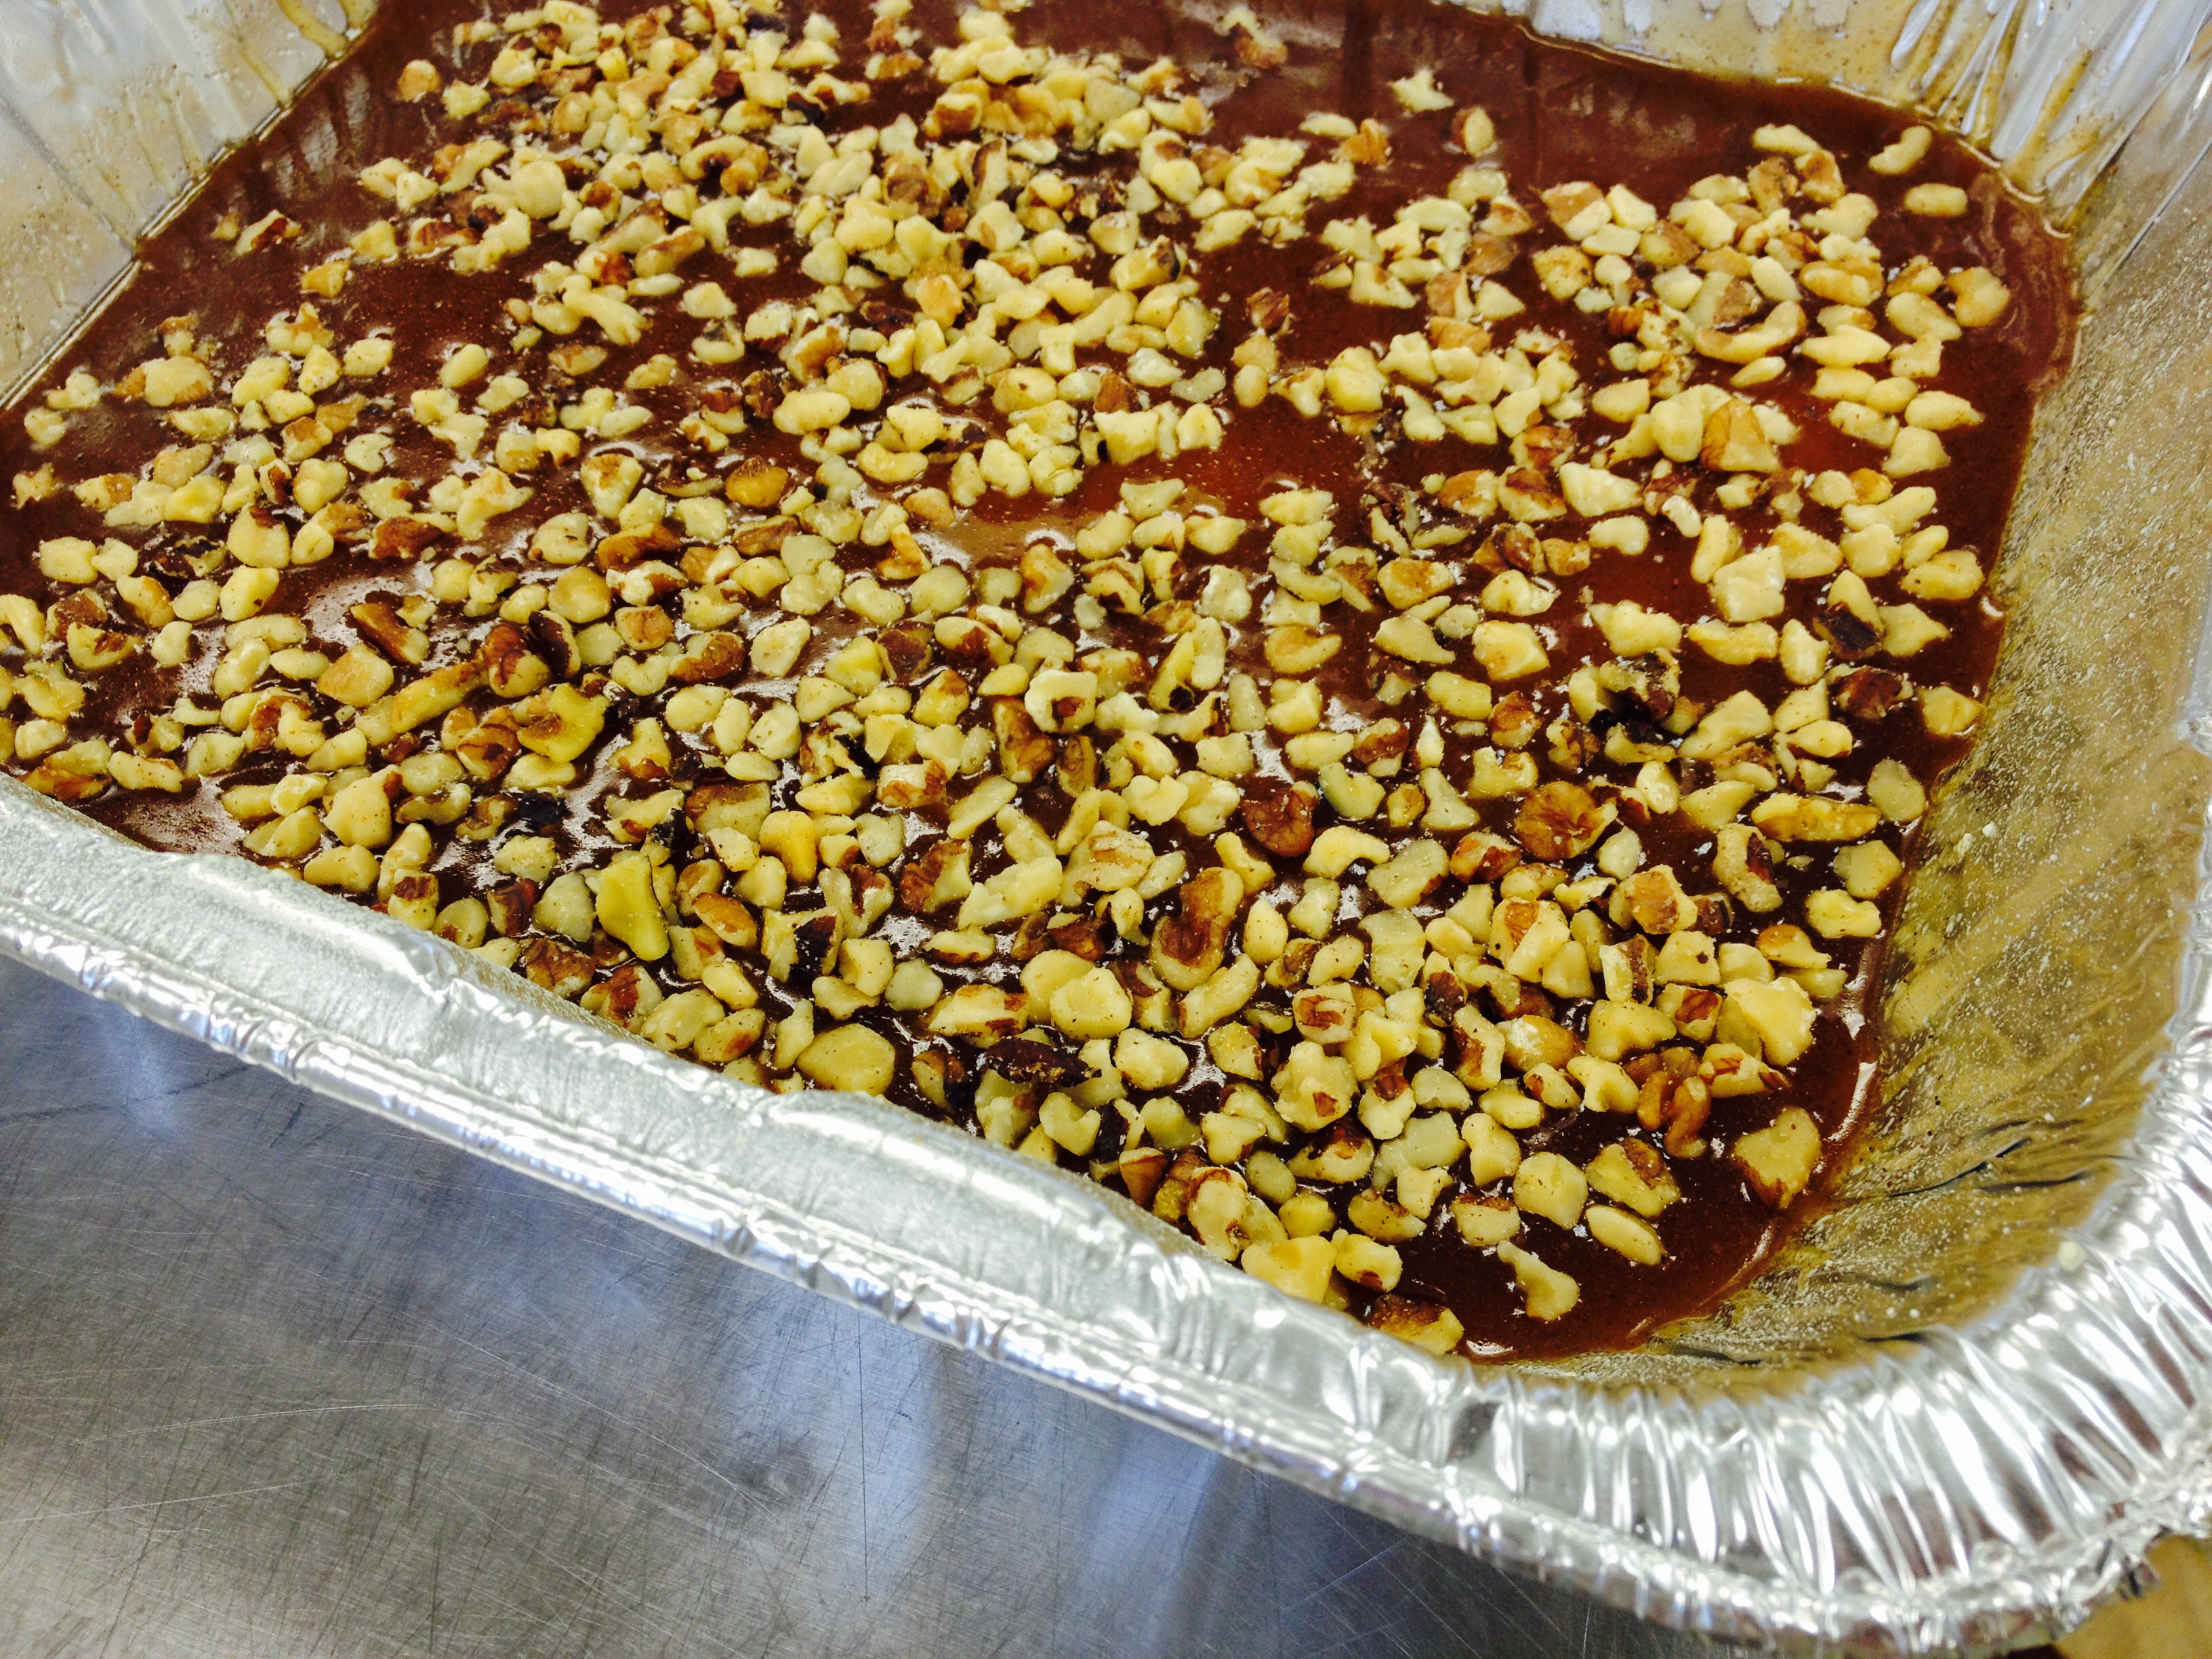
Using three 9-inch cake pans that have been sprayed with Pam, equally divide the rest of the caramel topping over the bottom of the pans. Scatter the pecans or walnuts over the caramel mixture and set aside.
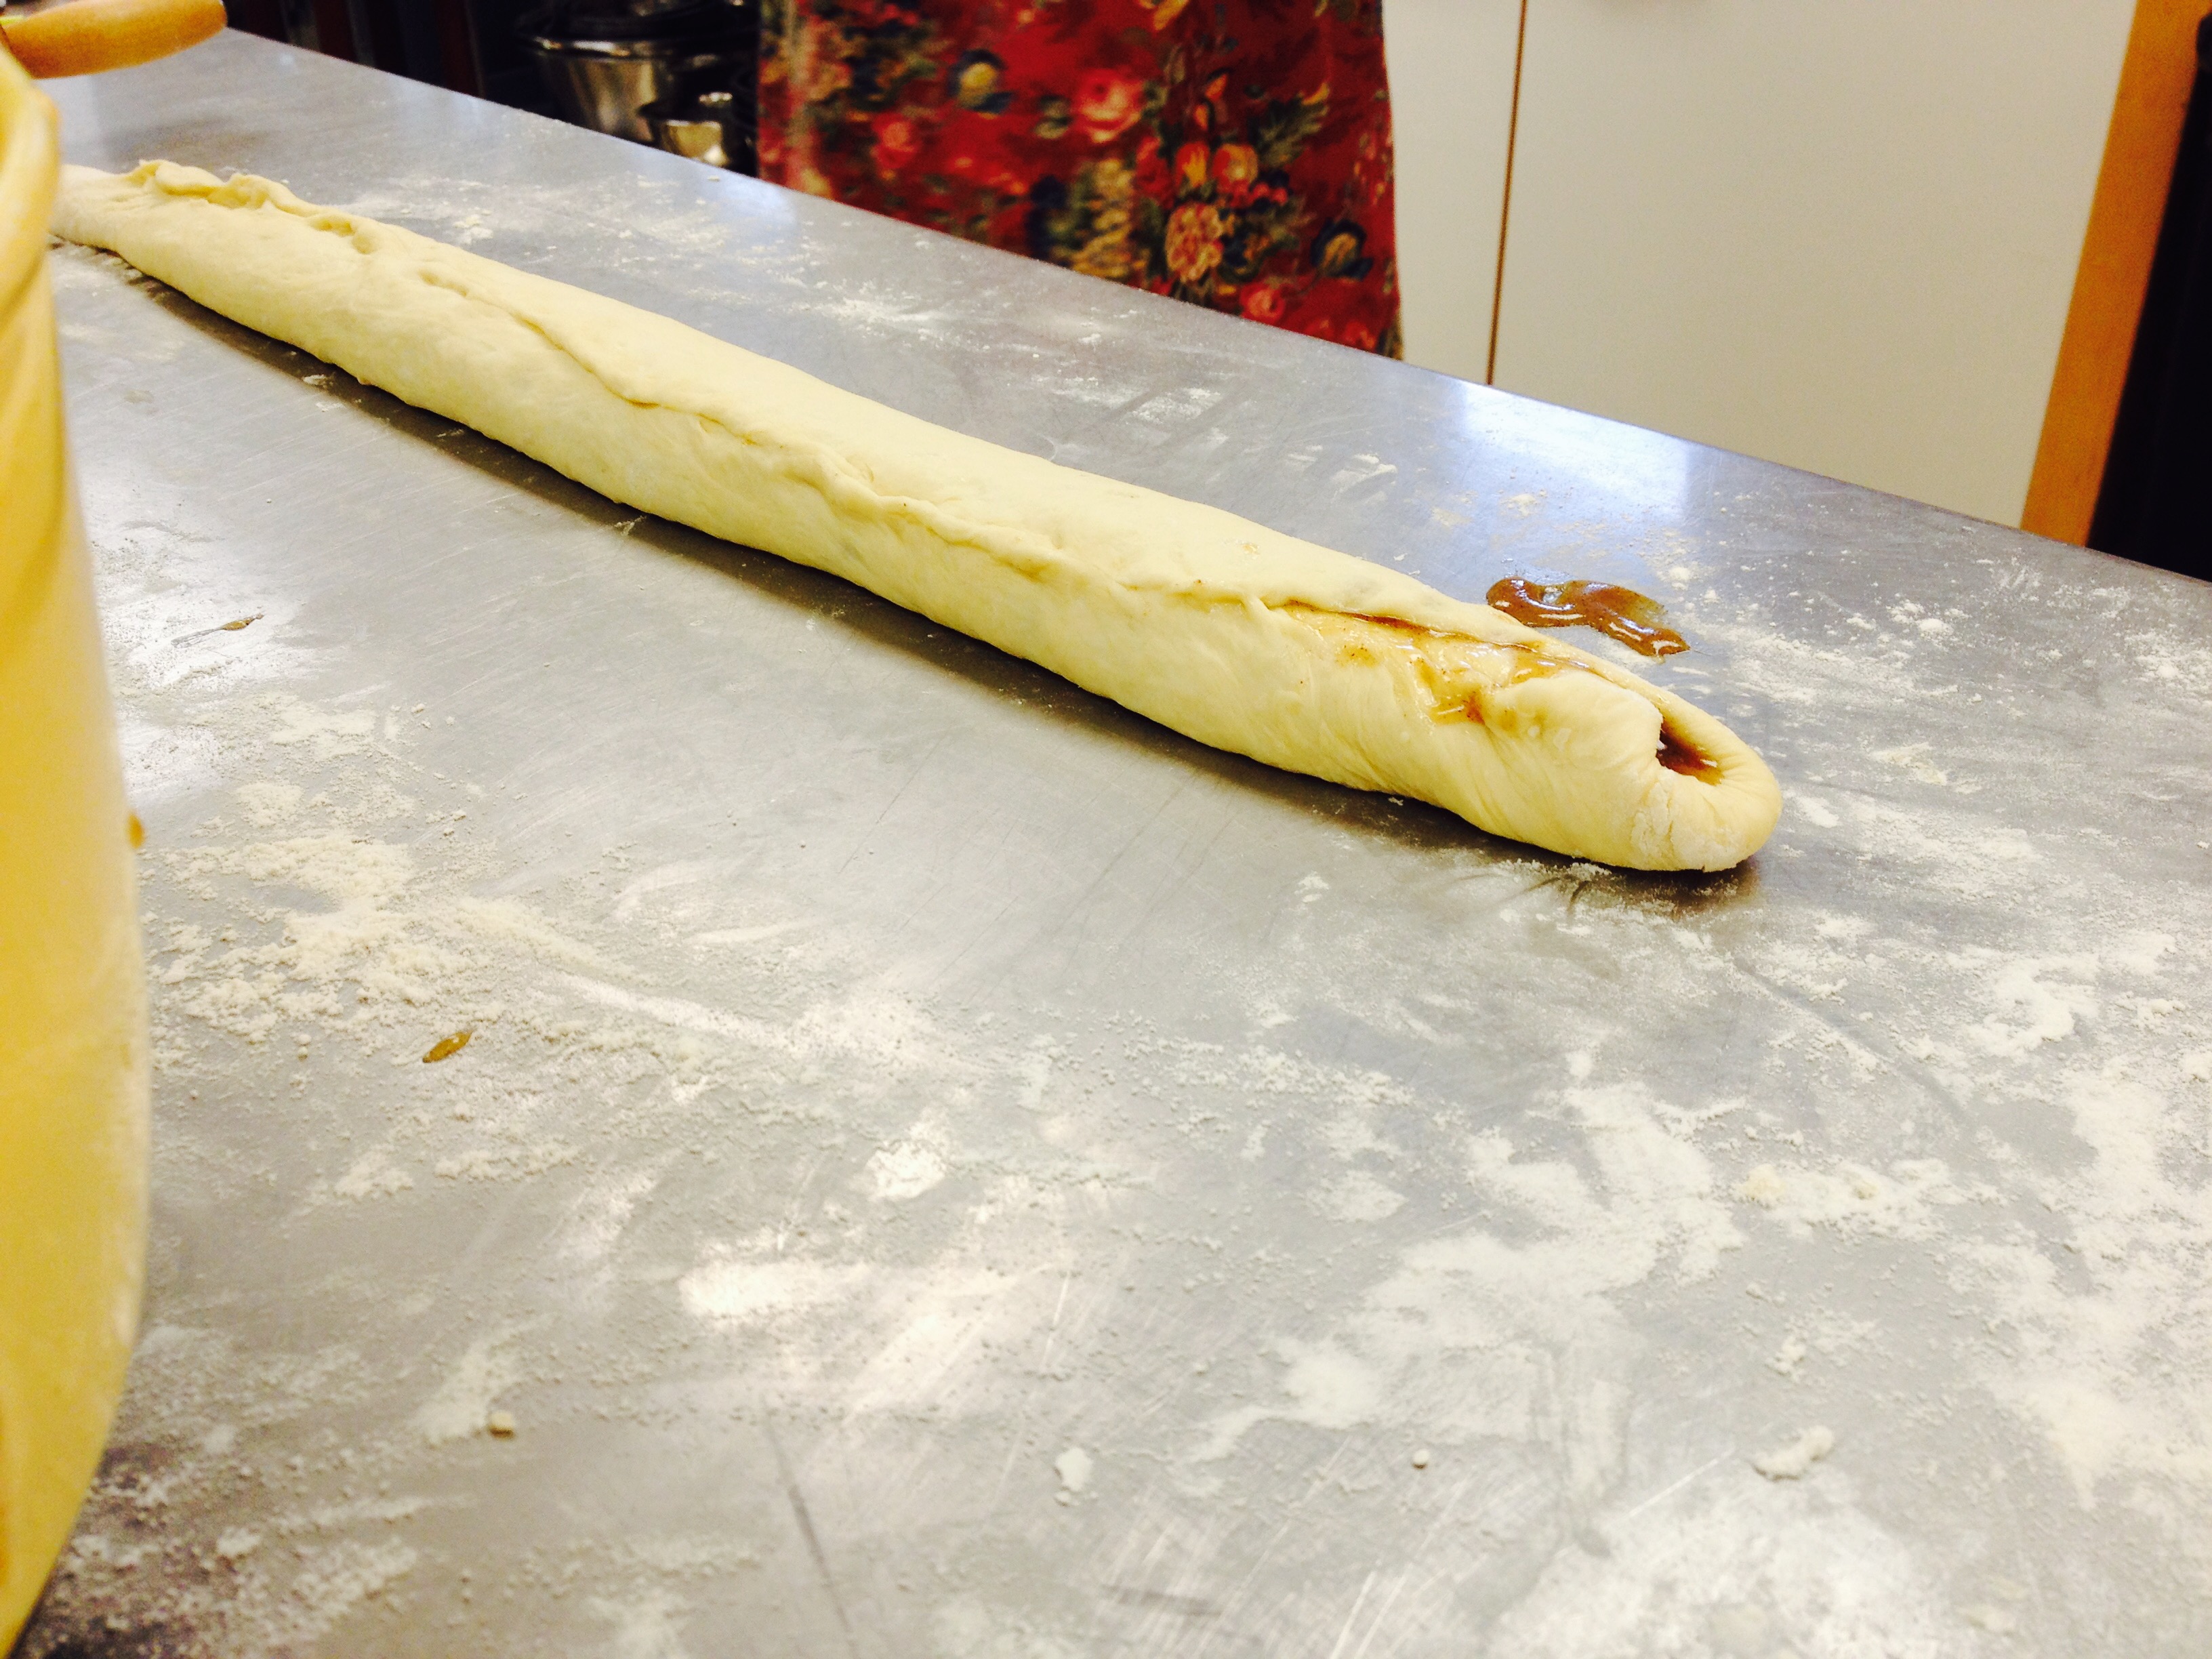
Dust your work surface with flour. Divide the dough in thirds. Roll out the dough to a ⅛ -inch thick rectangle (around 20 inches long). As you roll out the dough, make sure there is enough flour to prevent it from sticking to the work surface
Divide the remaining caramel mixture into thirds and evenly spread it over the rolled out dough leaving 1 inch around the edge of the dough without the filling.
Starting with the long side, roll the dough into a log. Roll it over until the seam is underneath. Pinch the seam together with your fingers
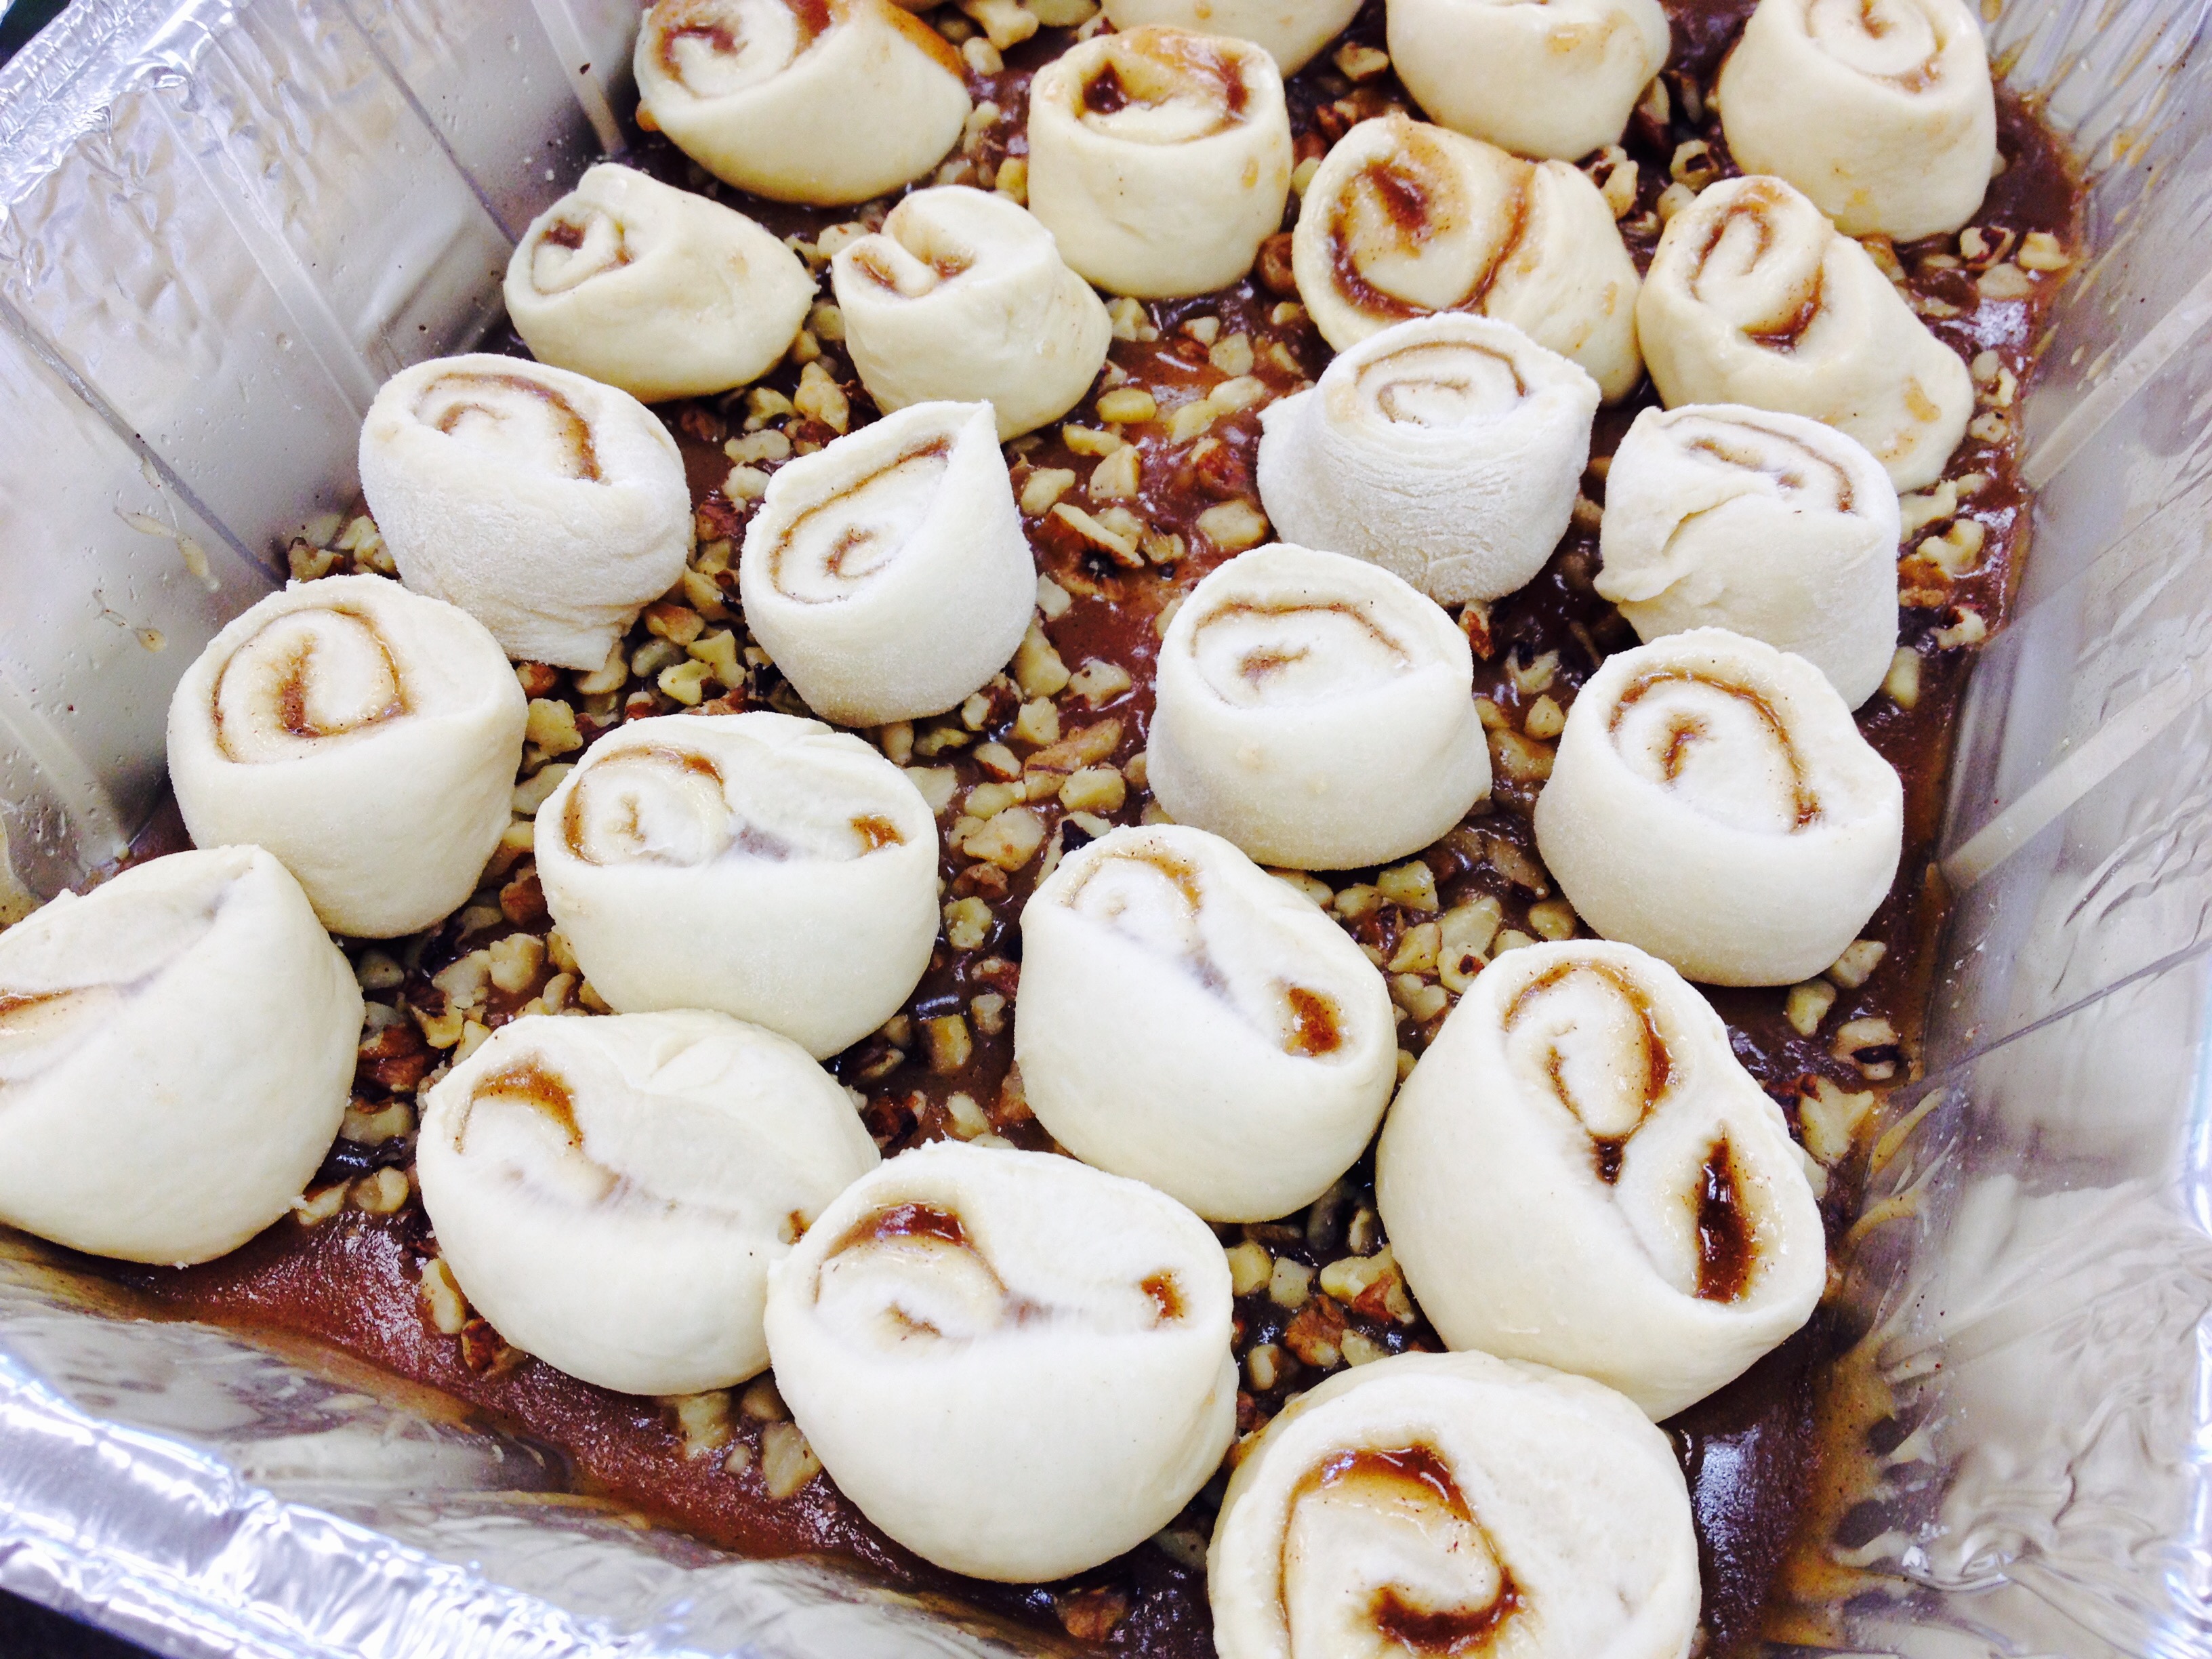
Using a sharp knife, cut the log into 1 ½ -2 inch rolls.. Arrange the rolls over the nuts in the prepared pan, so that the swirled cut edge is facing upward.
Repeat with the rest of the dough and filling.
Cover the tin with plastic wrap and allow to rest for 1 hour. During this time they will rise up to meet the tin and becoming bubbly.
Once proofed, place the rolls on a baking sheet covered with parchment, in case the caramel bubbles over.
Preheat the oven to 350 F and bake for roughly 35- 40 minutes, or until golden brown and firm in the center.
While still hot, run a thin spatula around the outer edge of the pan to release the caramel rolls, and invert immediately onto a serving dish. Enjoy warm!
To subscribe to the weekly Recipe blog from the Monastery Kitchen at the Community of Jesus click here: http://monasterykitchen.org/
This year Good Friday and the start of Passover were on the same day—-a rare occurrence given the difference between the Gregorian calendar used by most Western countries and the lunar calendar observed by the Jewish faith. Indeed, the Seder plate used during the first night of Passover tells the dramatic story of the Israelites’ exodus from slavery in Egypt and includes reminders of their captivity: bitter herbs to signify the bitterness of slavery, haroset which is a reminder of the mortar used between bricks, a shank bone to remember the Passover sacrifice and an egg which represents the new life promised to them after the Red Sea crossing.
Borrowing from our Jewish roots, our own Good Friday dinner was a cross-section of the Judeo-Christian traditions that mark this holy season of the year. Beginning with a candle lighting and blessing at 6:45—the official start of the eight-day Passover festival—and continuing with the meal which included some dishes found at a traditional Passover Seder table including Matzo ball soup, roasted chicken (with haroset stuffing), marinated green beans, Israeli couscous and tabouleh salad. Also gracing our table was one of our year-round favorites: fresh Challah bread baked that afternoon. While Challah—and dishes containing yeast—are not eaten during Passover, we couldn’t help ourselves! This braided bread is so delicious and beautiful to look at and made an honorary appearance on our Good Friday Passover table. Best when eaten fresh, this versatile bread is also wonderful toasted the next morning day. Try out the recipe below and see for yourself!
With wishes for a joyful conclusion for the Passover and Easter seasons, we look forward to the promise of new life this spring!
Combine the first three ingredients to dissolve the yeast. Let sit for 5 min. or until foamy.
Add the next 4 ingredients and then the flour and salt, adding as much flour as you need for the dough to start pulling away from the side of the bowl.
Remove to a floured surface and knead until the dough is no longer sticky.
Place in an oiled bowl, turn over once, cover and let rise until doubled in bulk.
Divide dough into 9 balls and roll each ball into a “rope” using your hands.
Braid 3 ropes together into 1 braided loaf of bread and continue with the other 6 ropes, making 3 loaves in all.
Let the bread rise again.
Make an egg wash and brush on the bread and bake in a 325º oven until golden and cooked through, about 30 min.