The idea of a one-pot meal has always appealed to me. The fact that a whole meal can be prepared and everything you need for sustenance is in one pot? Magical. The absence of extra dishes piling up on the counters during meal prep also doesn’t hurt, either.
During a quarantine-inspired cleaning frenzy, I came across a cookbook that was given to us as a gift, “Cook It In Your Dutch Oven.” This tried-and-true kitchen essential from the clever folks at America’s Test Kitchen is an absolute treasure. This dish-defying cookbook was a welcome find, with recipes for one-pot meals, bread (bread!) and other side accompaniments. This week’s blog is adapted from the recipe for Classic Chicken Curry. I hope you give it a try!
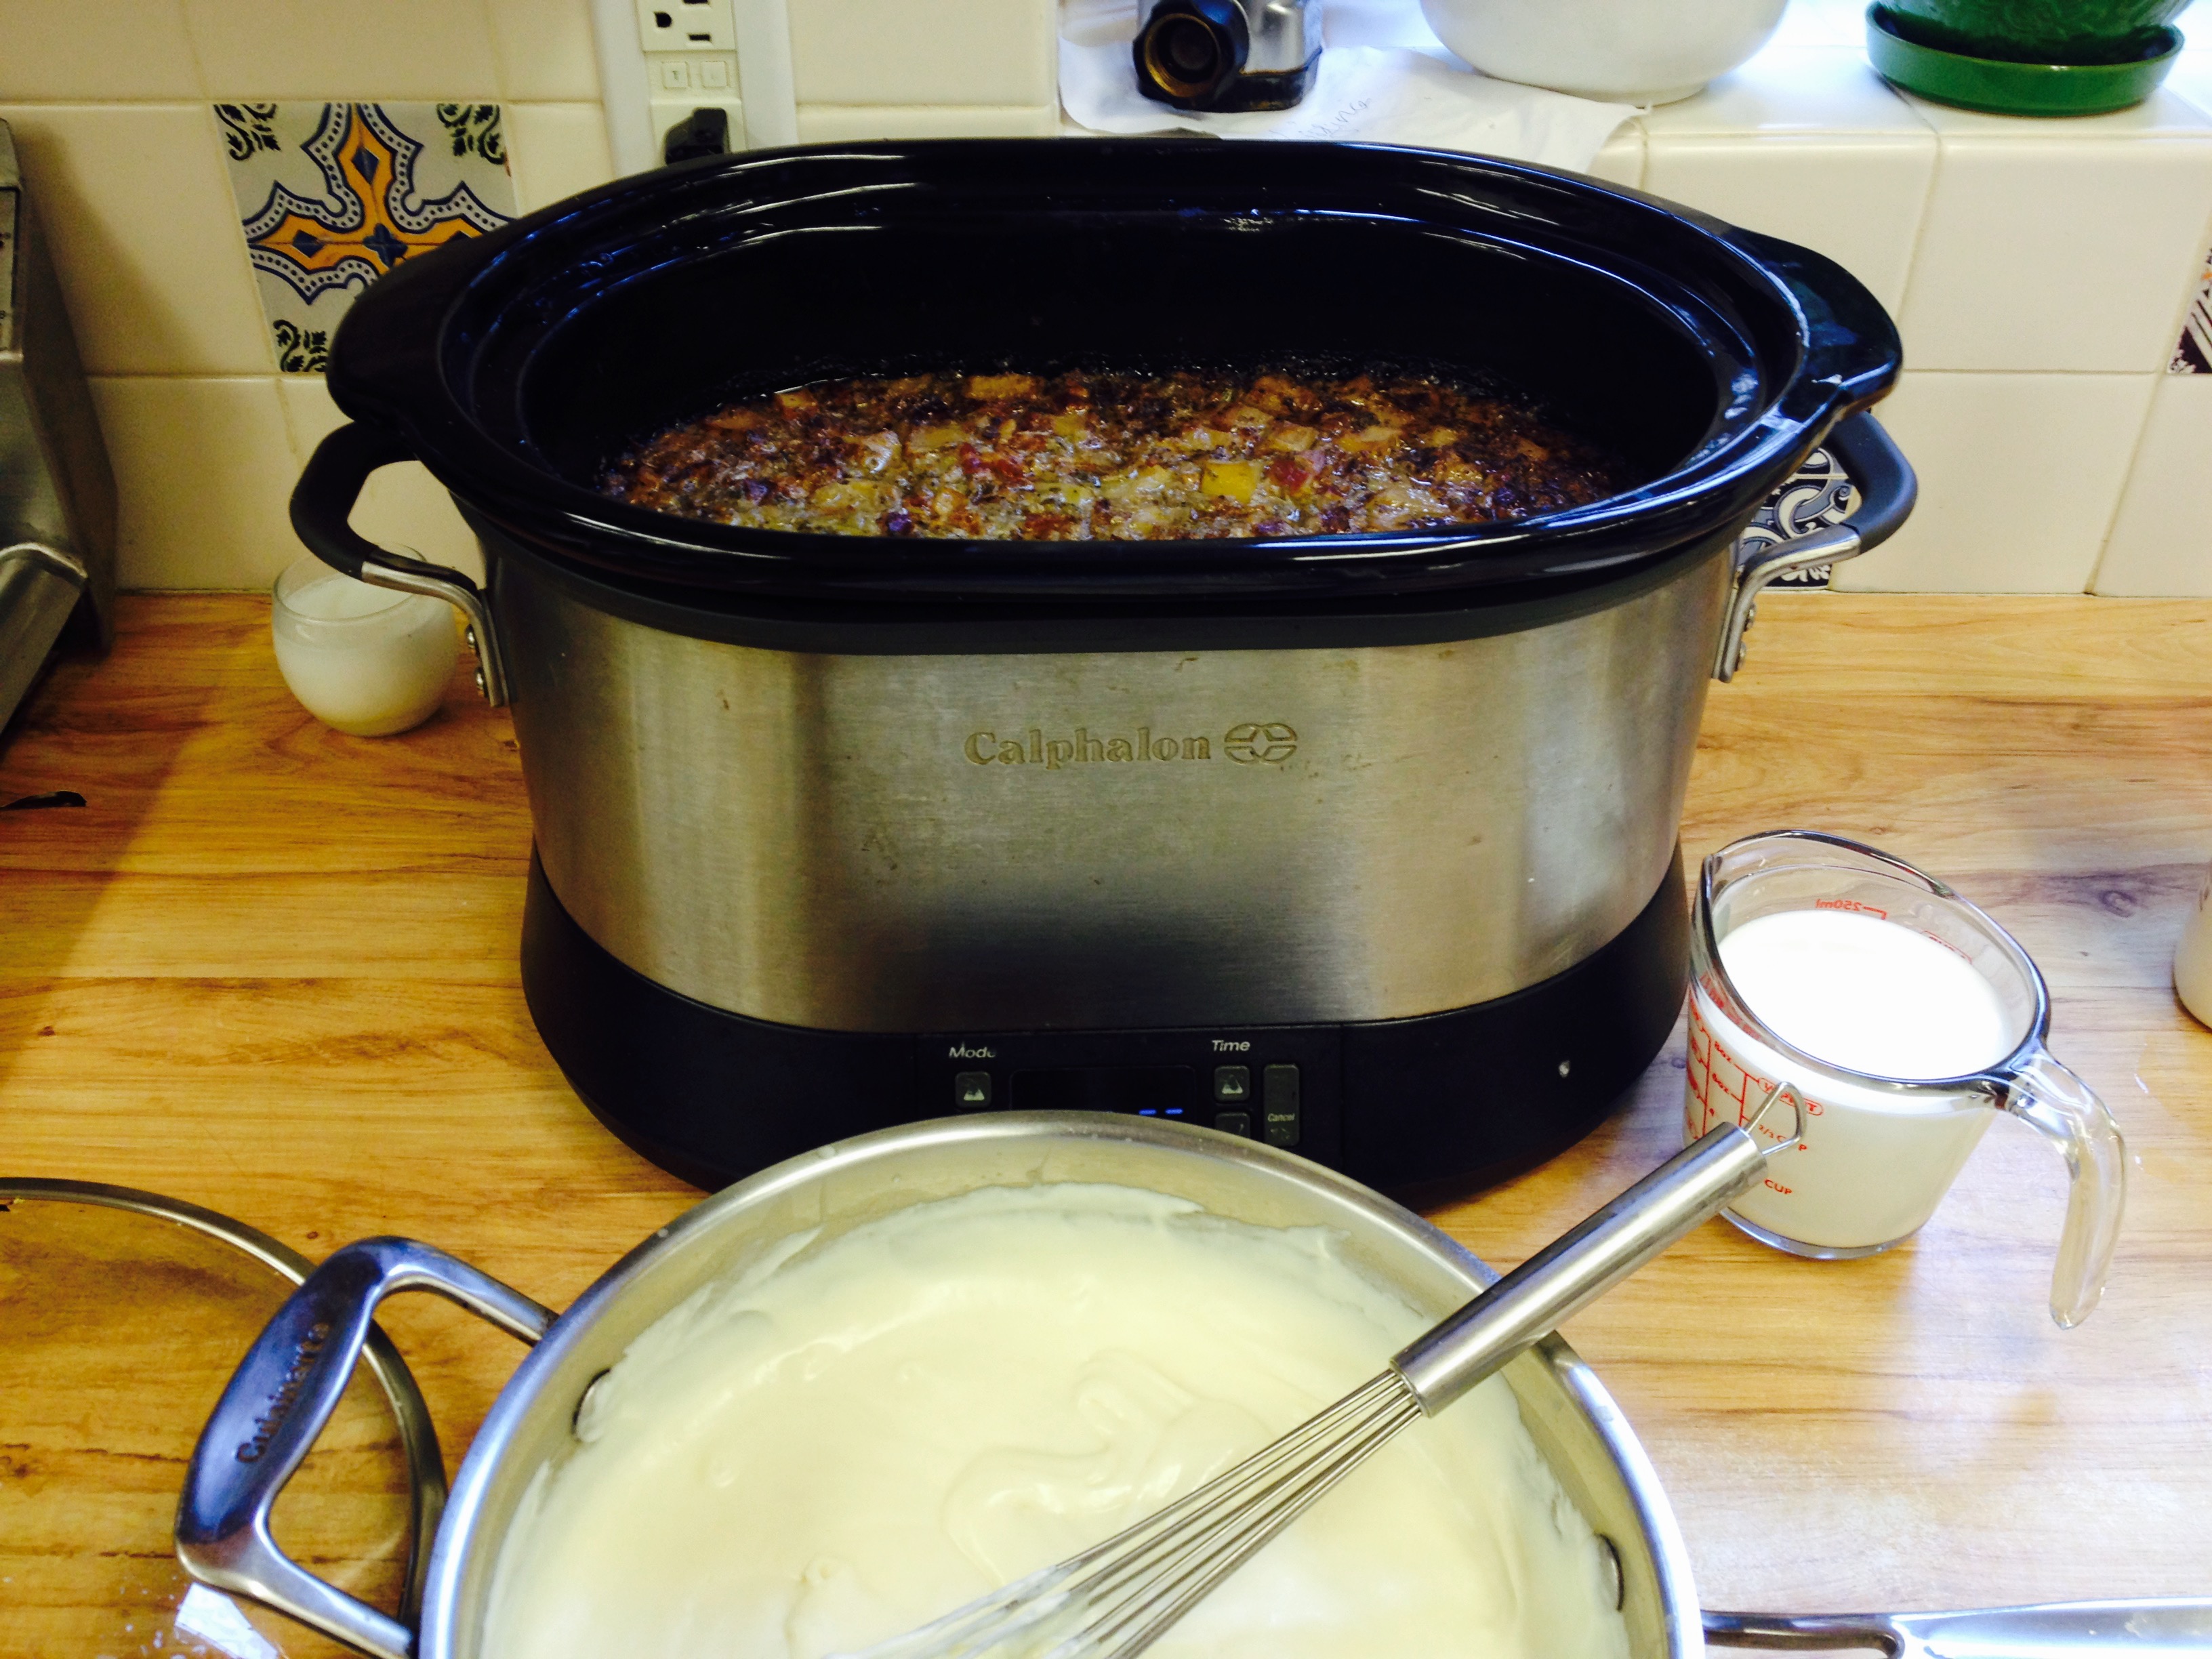
Don’t have a Dutch oven? No problem! Swap it out for a soup or stock pot, slow-cooker crock pot or any heavy deep pot you have in the kitchen. For this recipe, I used a cast iron pot.

SERVINGS4CHANGE SERVING SIZE |
COOK TIME40minutes |
PREP TIME20minutes |
READY IN1hour |
Ingredients
- 3 Tbsp butter
- 2 Tbsp curry powder
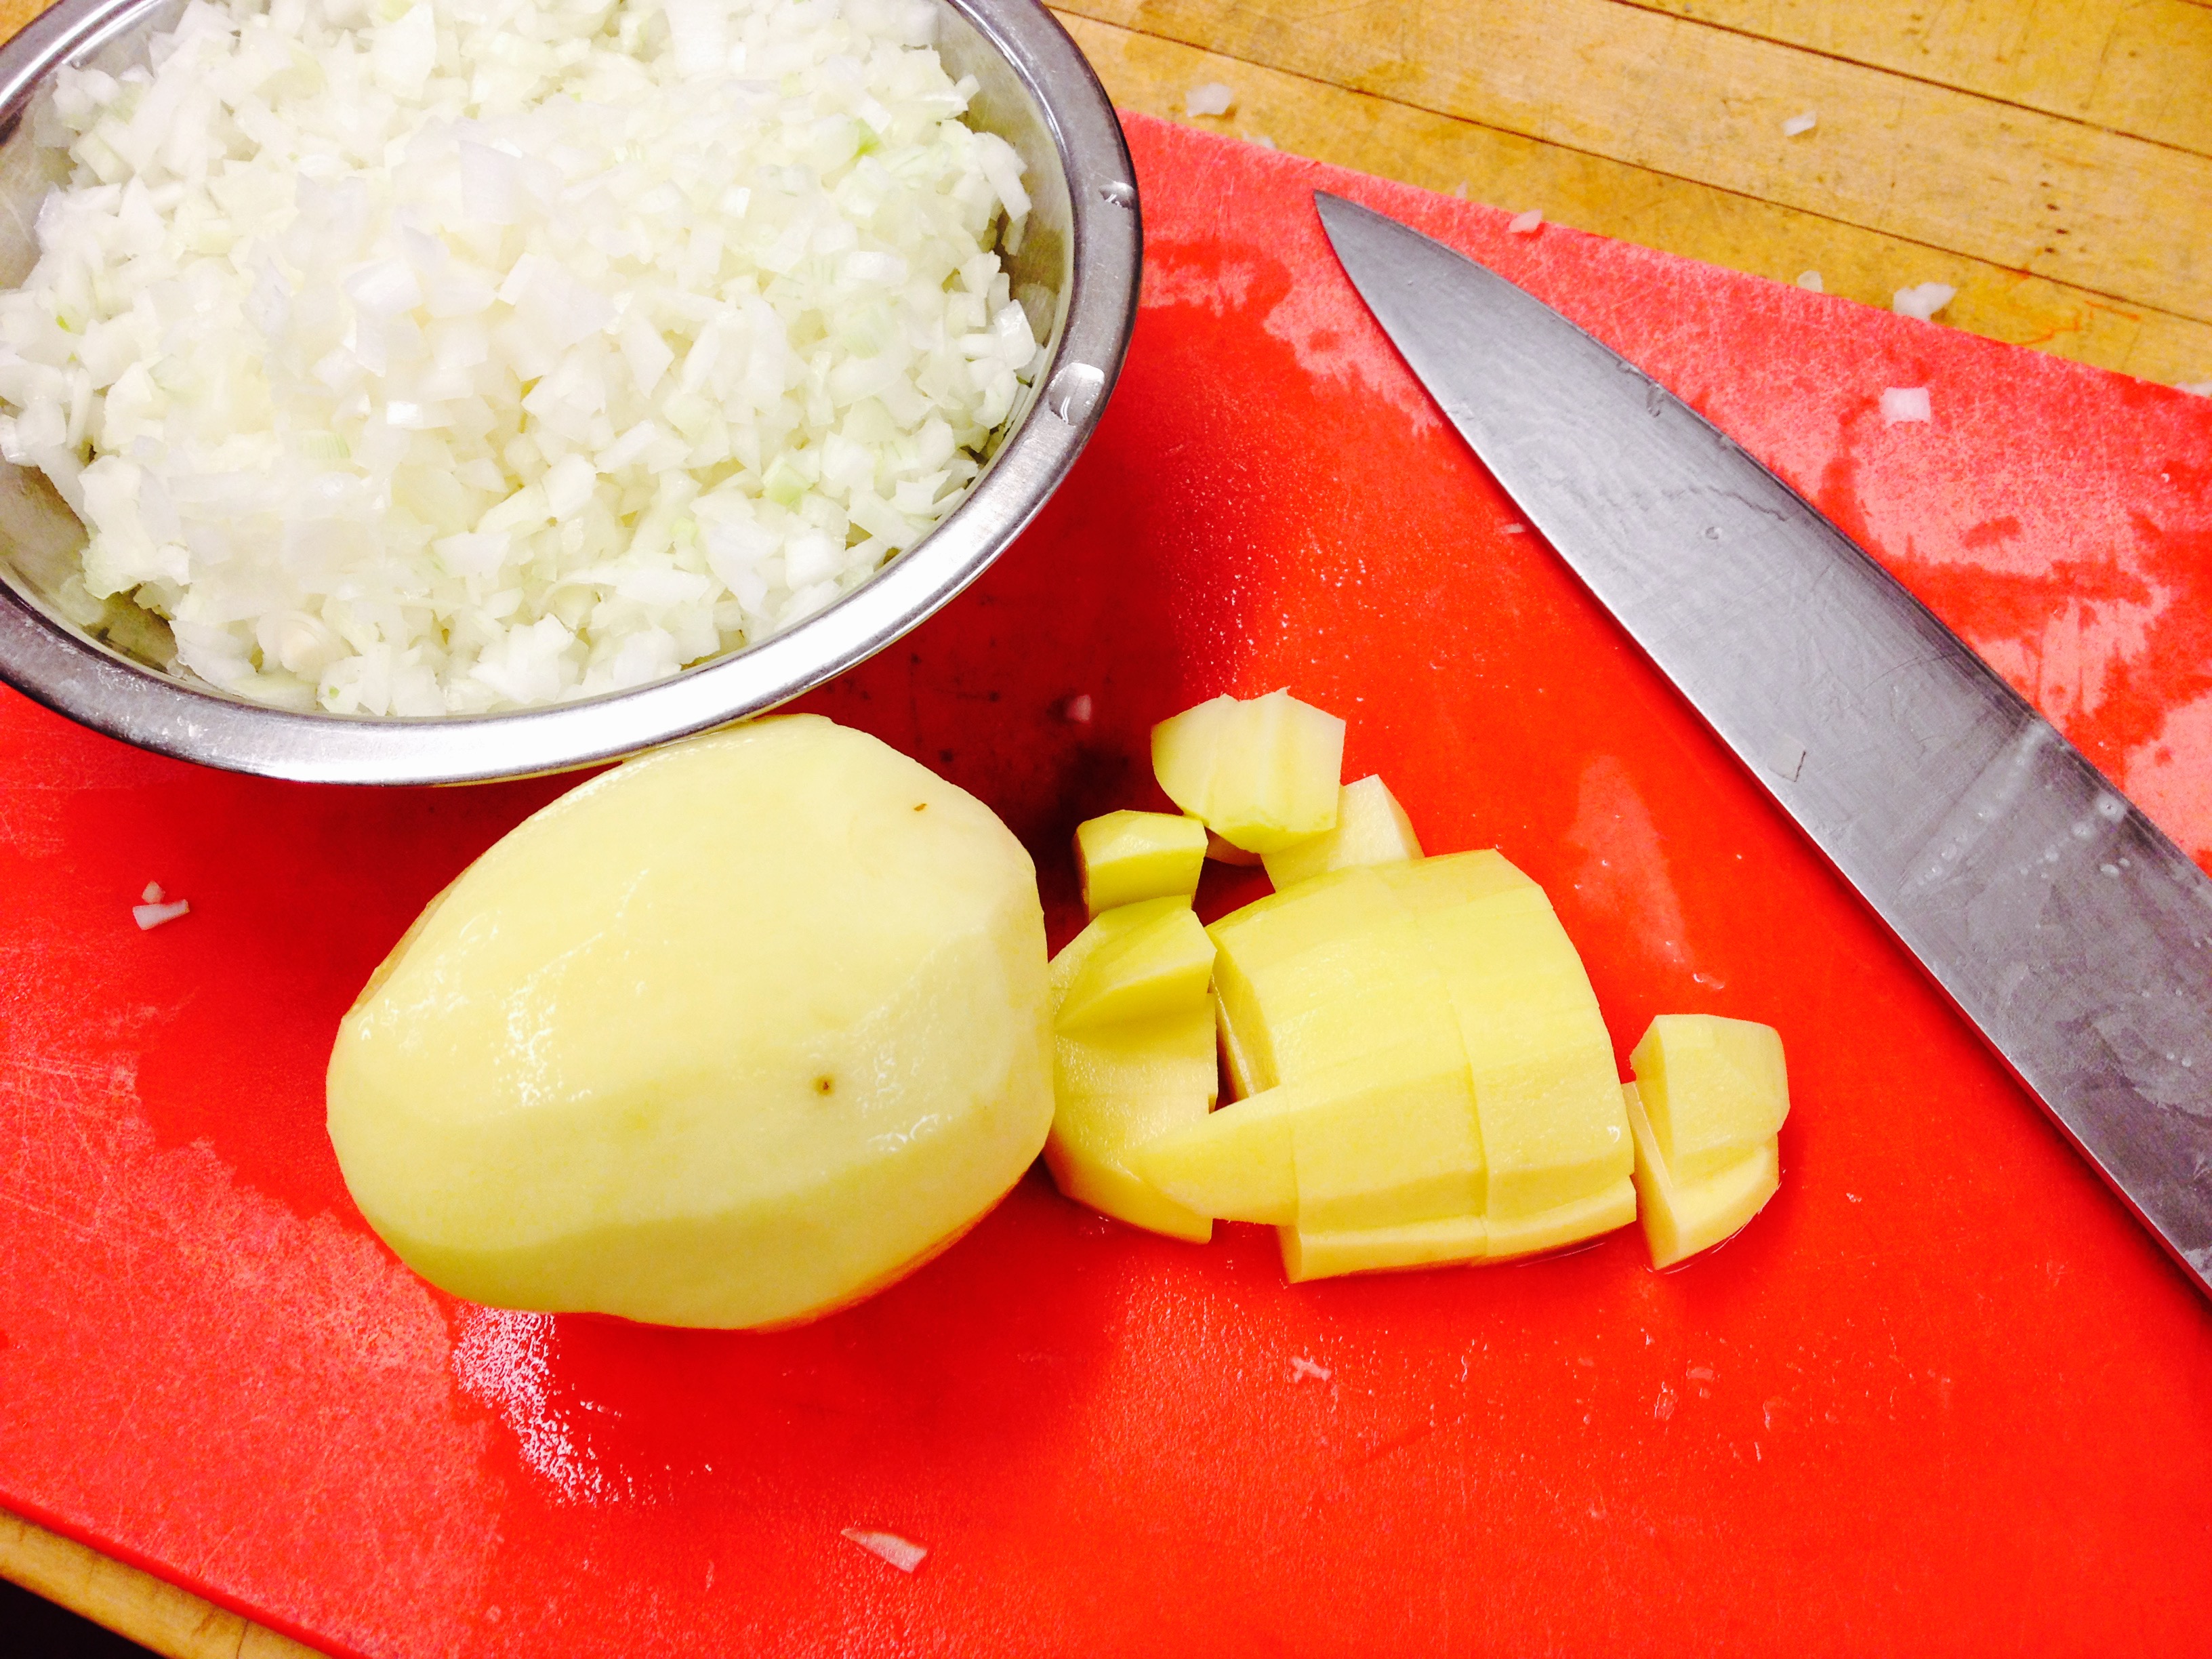
- 2 onion(s) chopped
- 3 garlic clove(s) minced
- 1 Tbsp fresh ginger grated
- 2 boneless, skinless chicken breasts
- 1 1/2 cups water
- 8 oz baking potatoes peeled and cut into ½ inch pieces
- 1 pound cauliflower cut into florets
- 1 cup frozen peas
- 3/4 cup plain whole-milk yogurt
- 1 1/2 tsp salt
- black pepper to taste
- pinch tumeric optional
- pinch cumin optional
Instructions
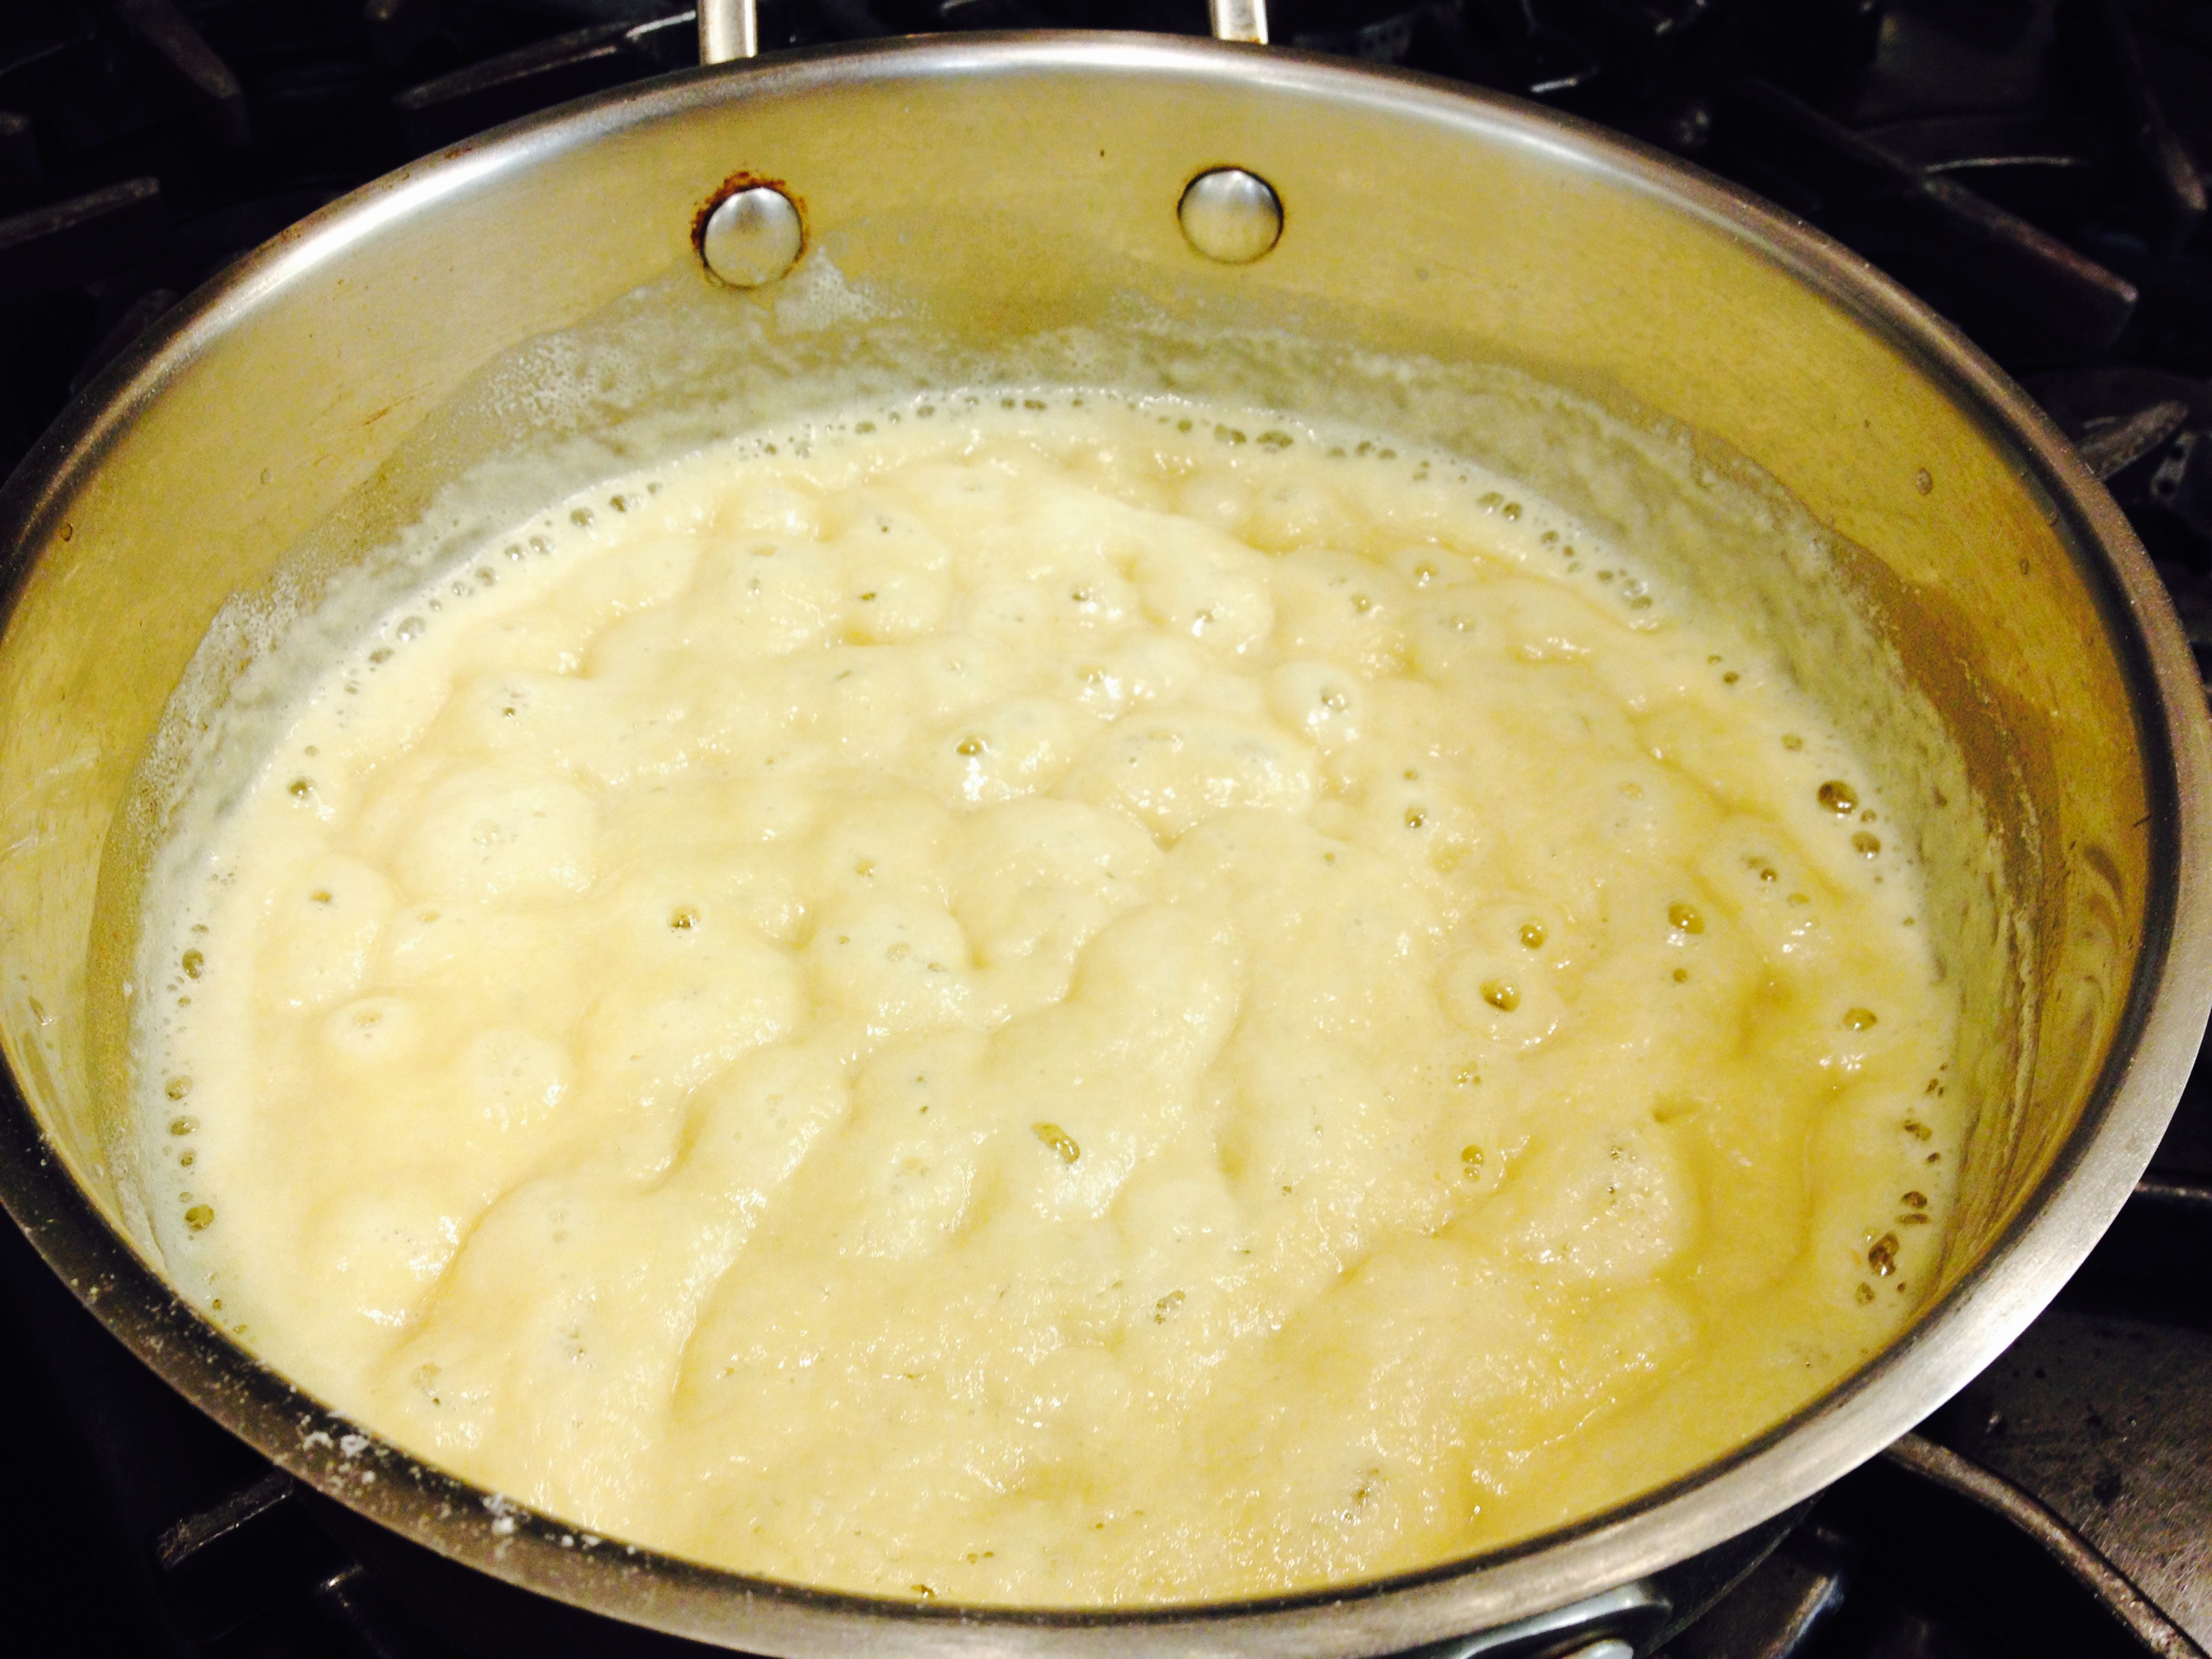
- Melt butter in the bottom of the Dutch oven or pot of choice on medium heat. Add curry powder, optional spices (if desired), salt and pepper. Cook until fragrant.

- Add onion and cook until translucent. Stir in garlic and ginger and cook until fragrant, about 30 seconds.

- Add chicken and water to the pot and bring to a simmer. Cover pot and reduce heat to low until chicken reaches an internal temperature of 160 degrees, about 22 minutes. Turn the chicken halfway through cooking. When done, remove from pot and let cool.

- Add potatoes to pot with a pinch of salt. Cover and cook until just fork tender. Add cauliflower and cook, stirring occasionally until potatoes are fully cooked, about 15 minutes.
- While potatoes are cooking, shred chicken into roughly 2 inch pieces with a fork and set aside.
- Once potatoes are cooked, stir in chicken and peas until just warmed through. Turn off the heat and add yogurt. Season with salt and pepper to taste and serve.


*As curry is a blend of spices, I like to add an extra pinch of my favorites: turmeric and cumin. These can be found in traditional curry blends and I like to play these up a little more. Feel free to omit, or try your own variation based on your tastes.