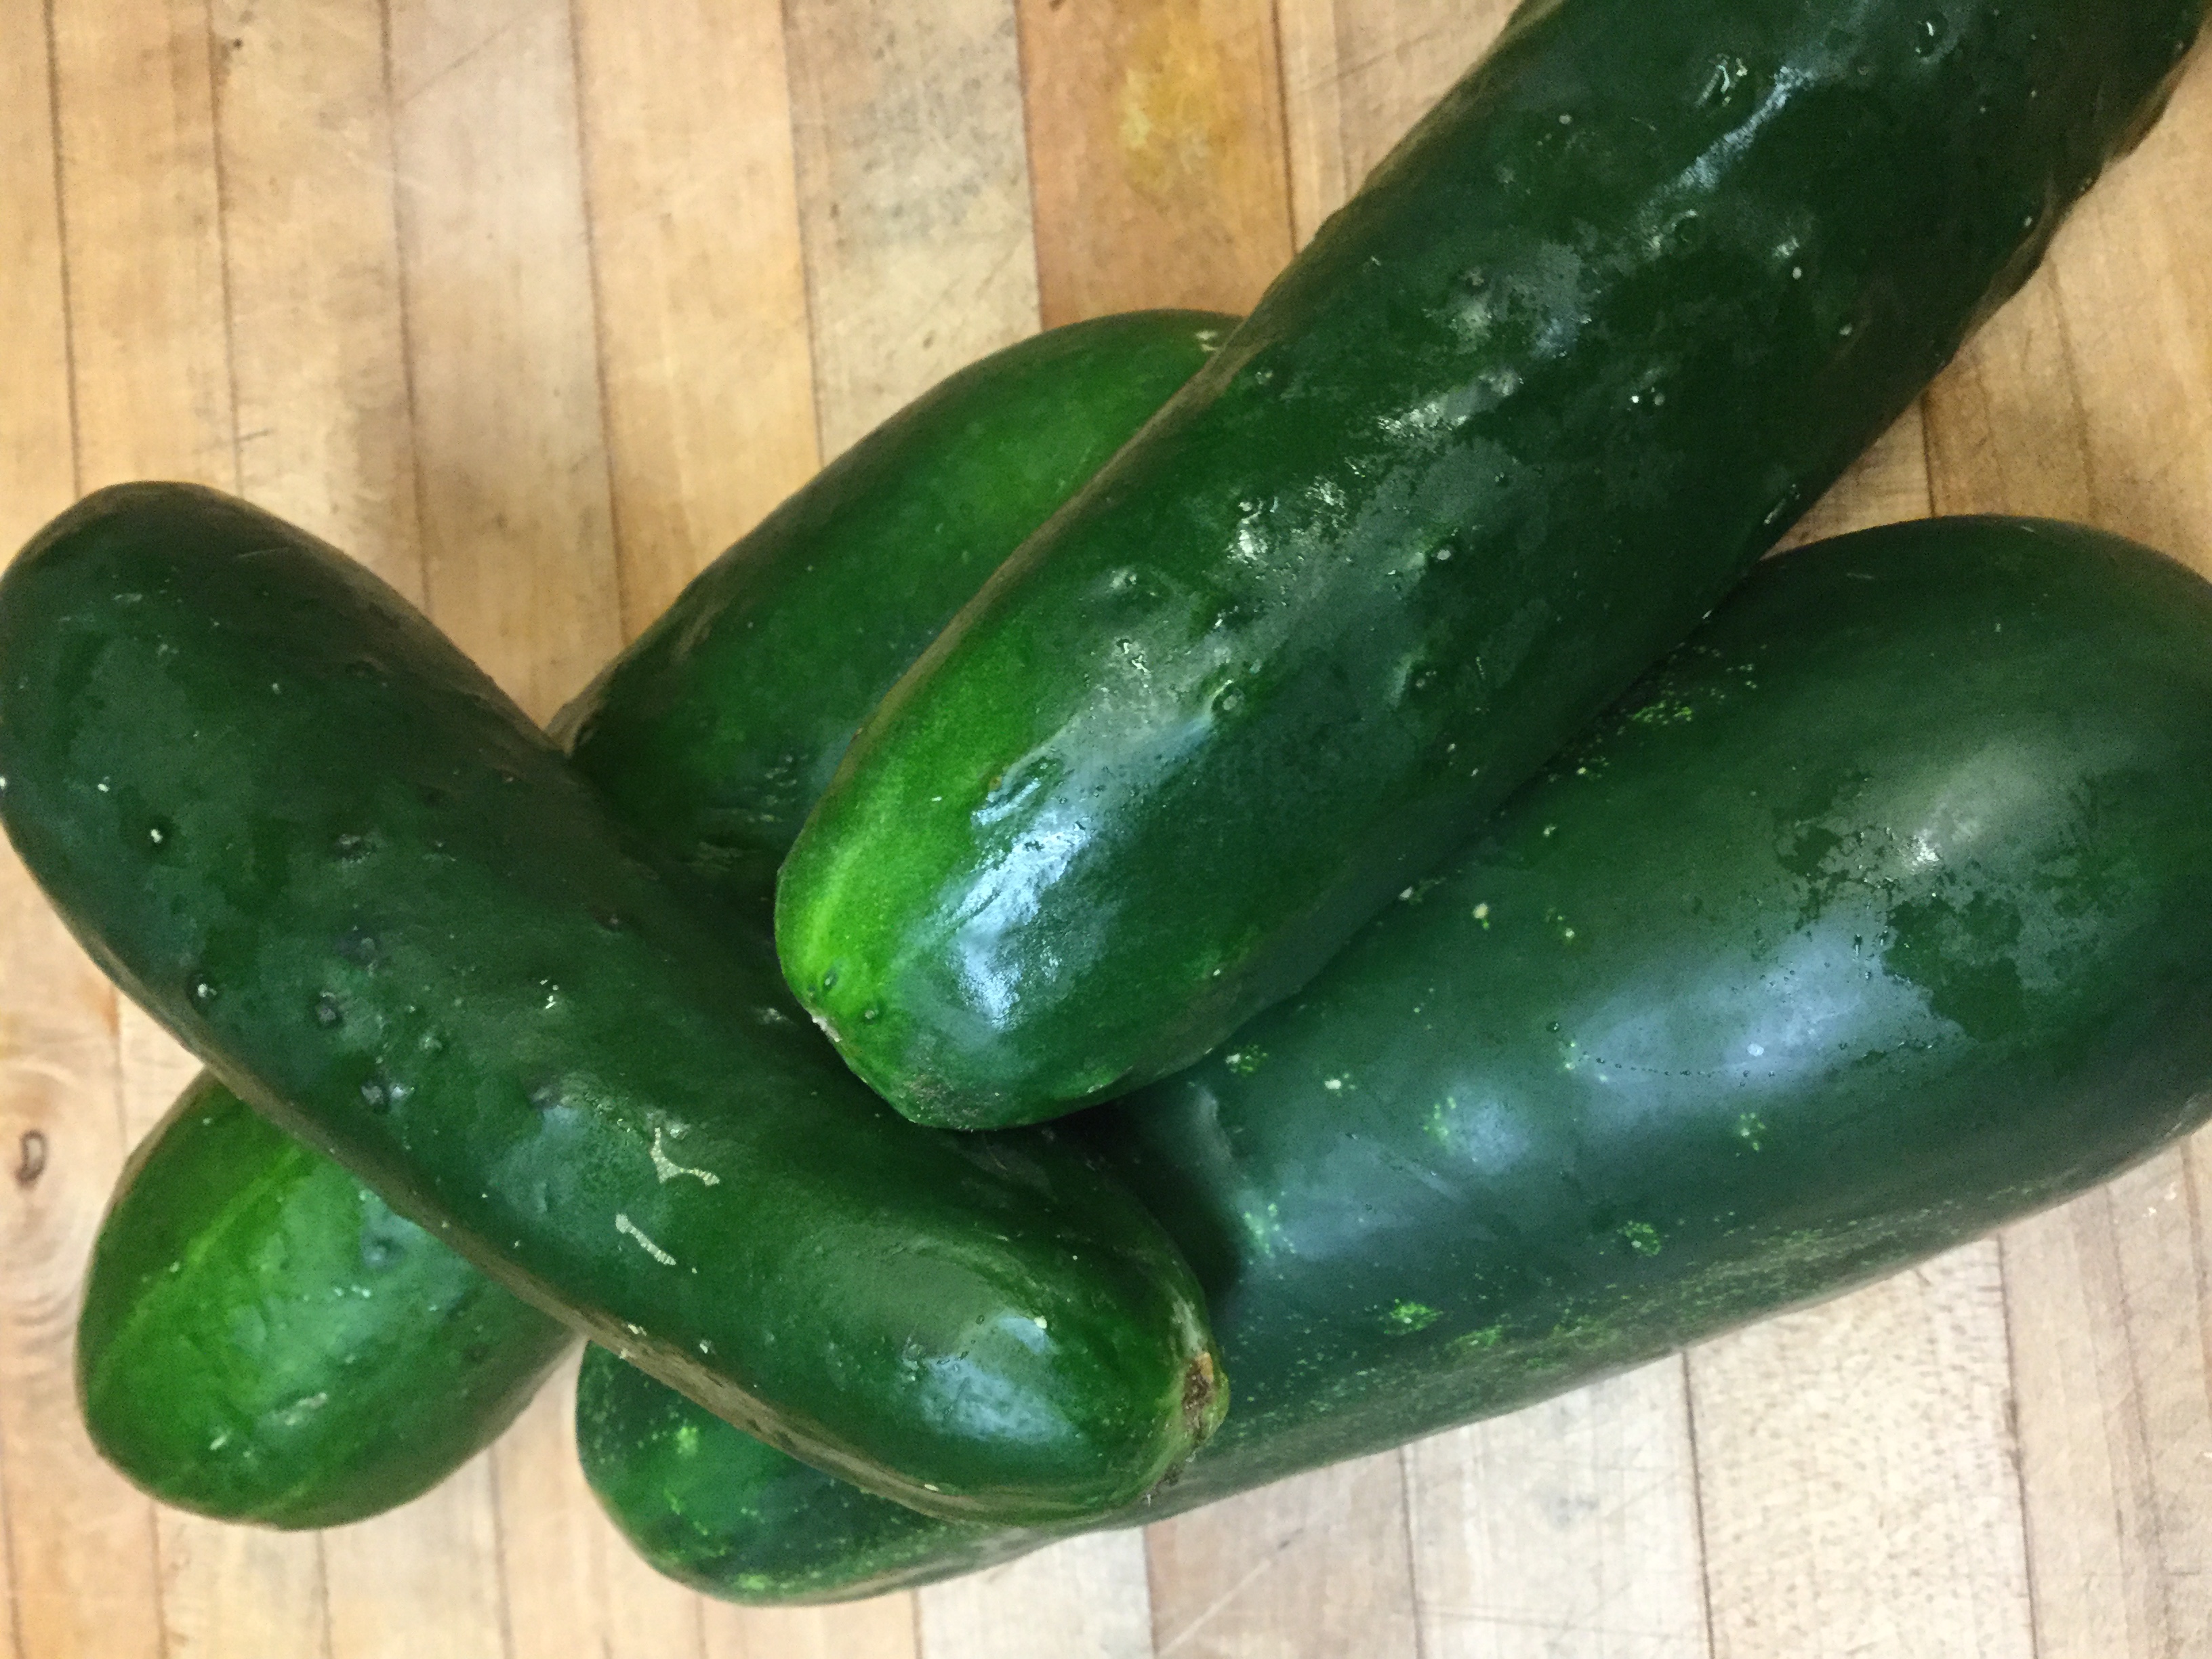
Bumper crop! Our community has several gardens, an orchard, and a vineyard, and every year
seems to have a harvest highlight. So far this has been the year of the cucumber. After serving
cucumber salad in numerous forms, and making at least two multiple batches of sweet
refrigerator pickles, I have to admit that I sighed when I saw the next tub of cucumbers arrive in our kitchen. Garden bumper crops are faith building but can offer a challenge for speedy
processing and creative recipes. One year it was plums, and we saw plum pork, plum sauce,
plum butter, plum muffins, plum cakes, and frozen plums in the freezer for quite some time.
We found ourselves praying for a peach!
But this year – it’s the cucumber! Someone mentioned refrigerator dill pickles, and although I
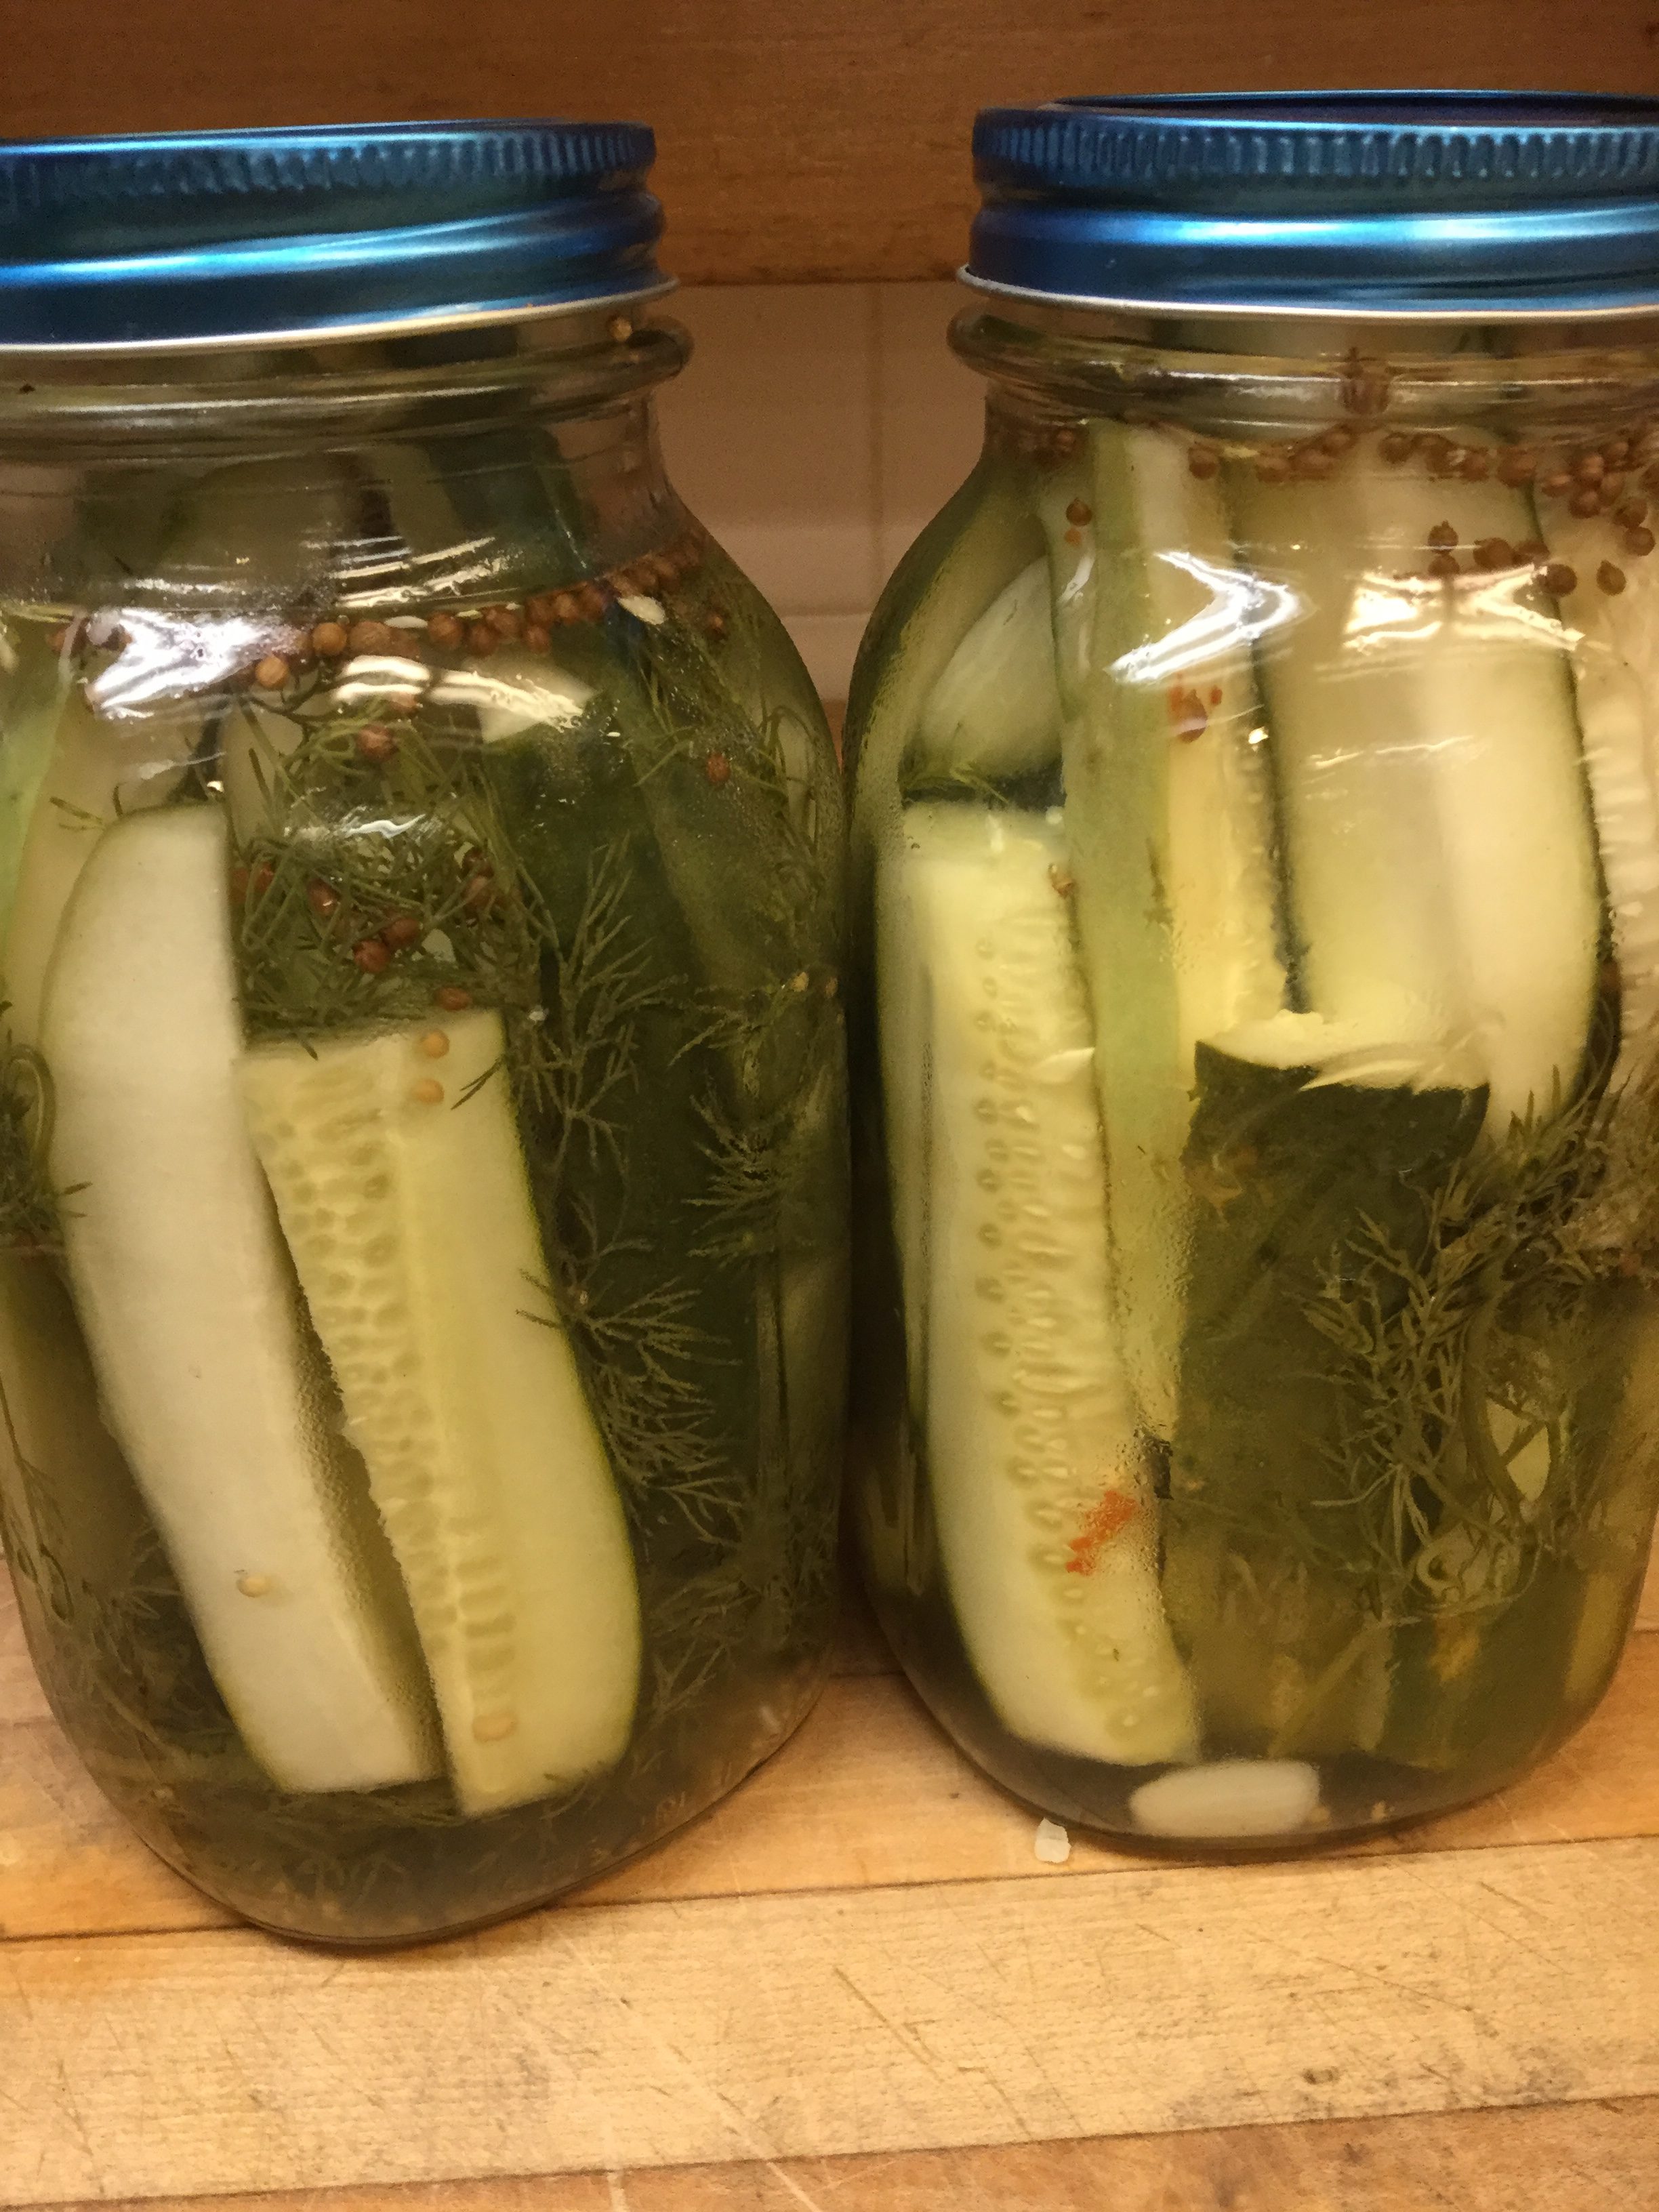
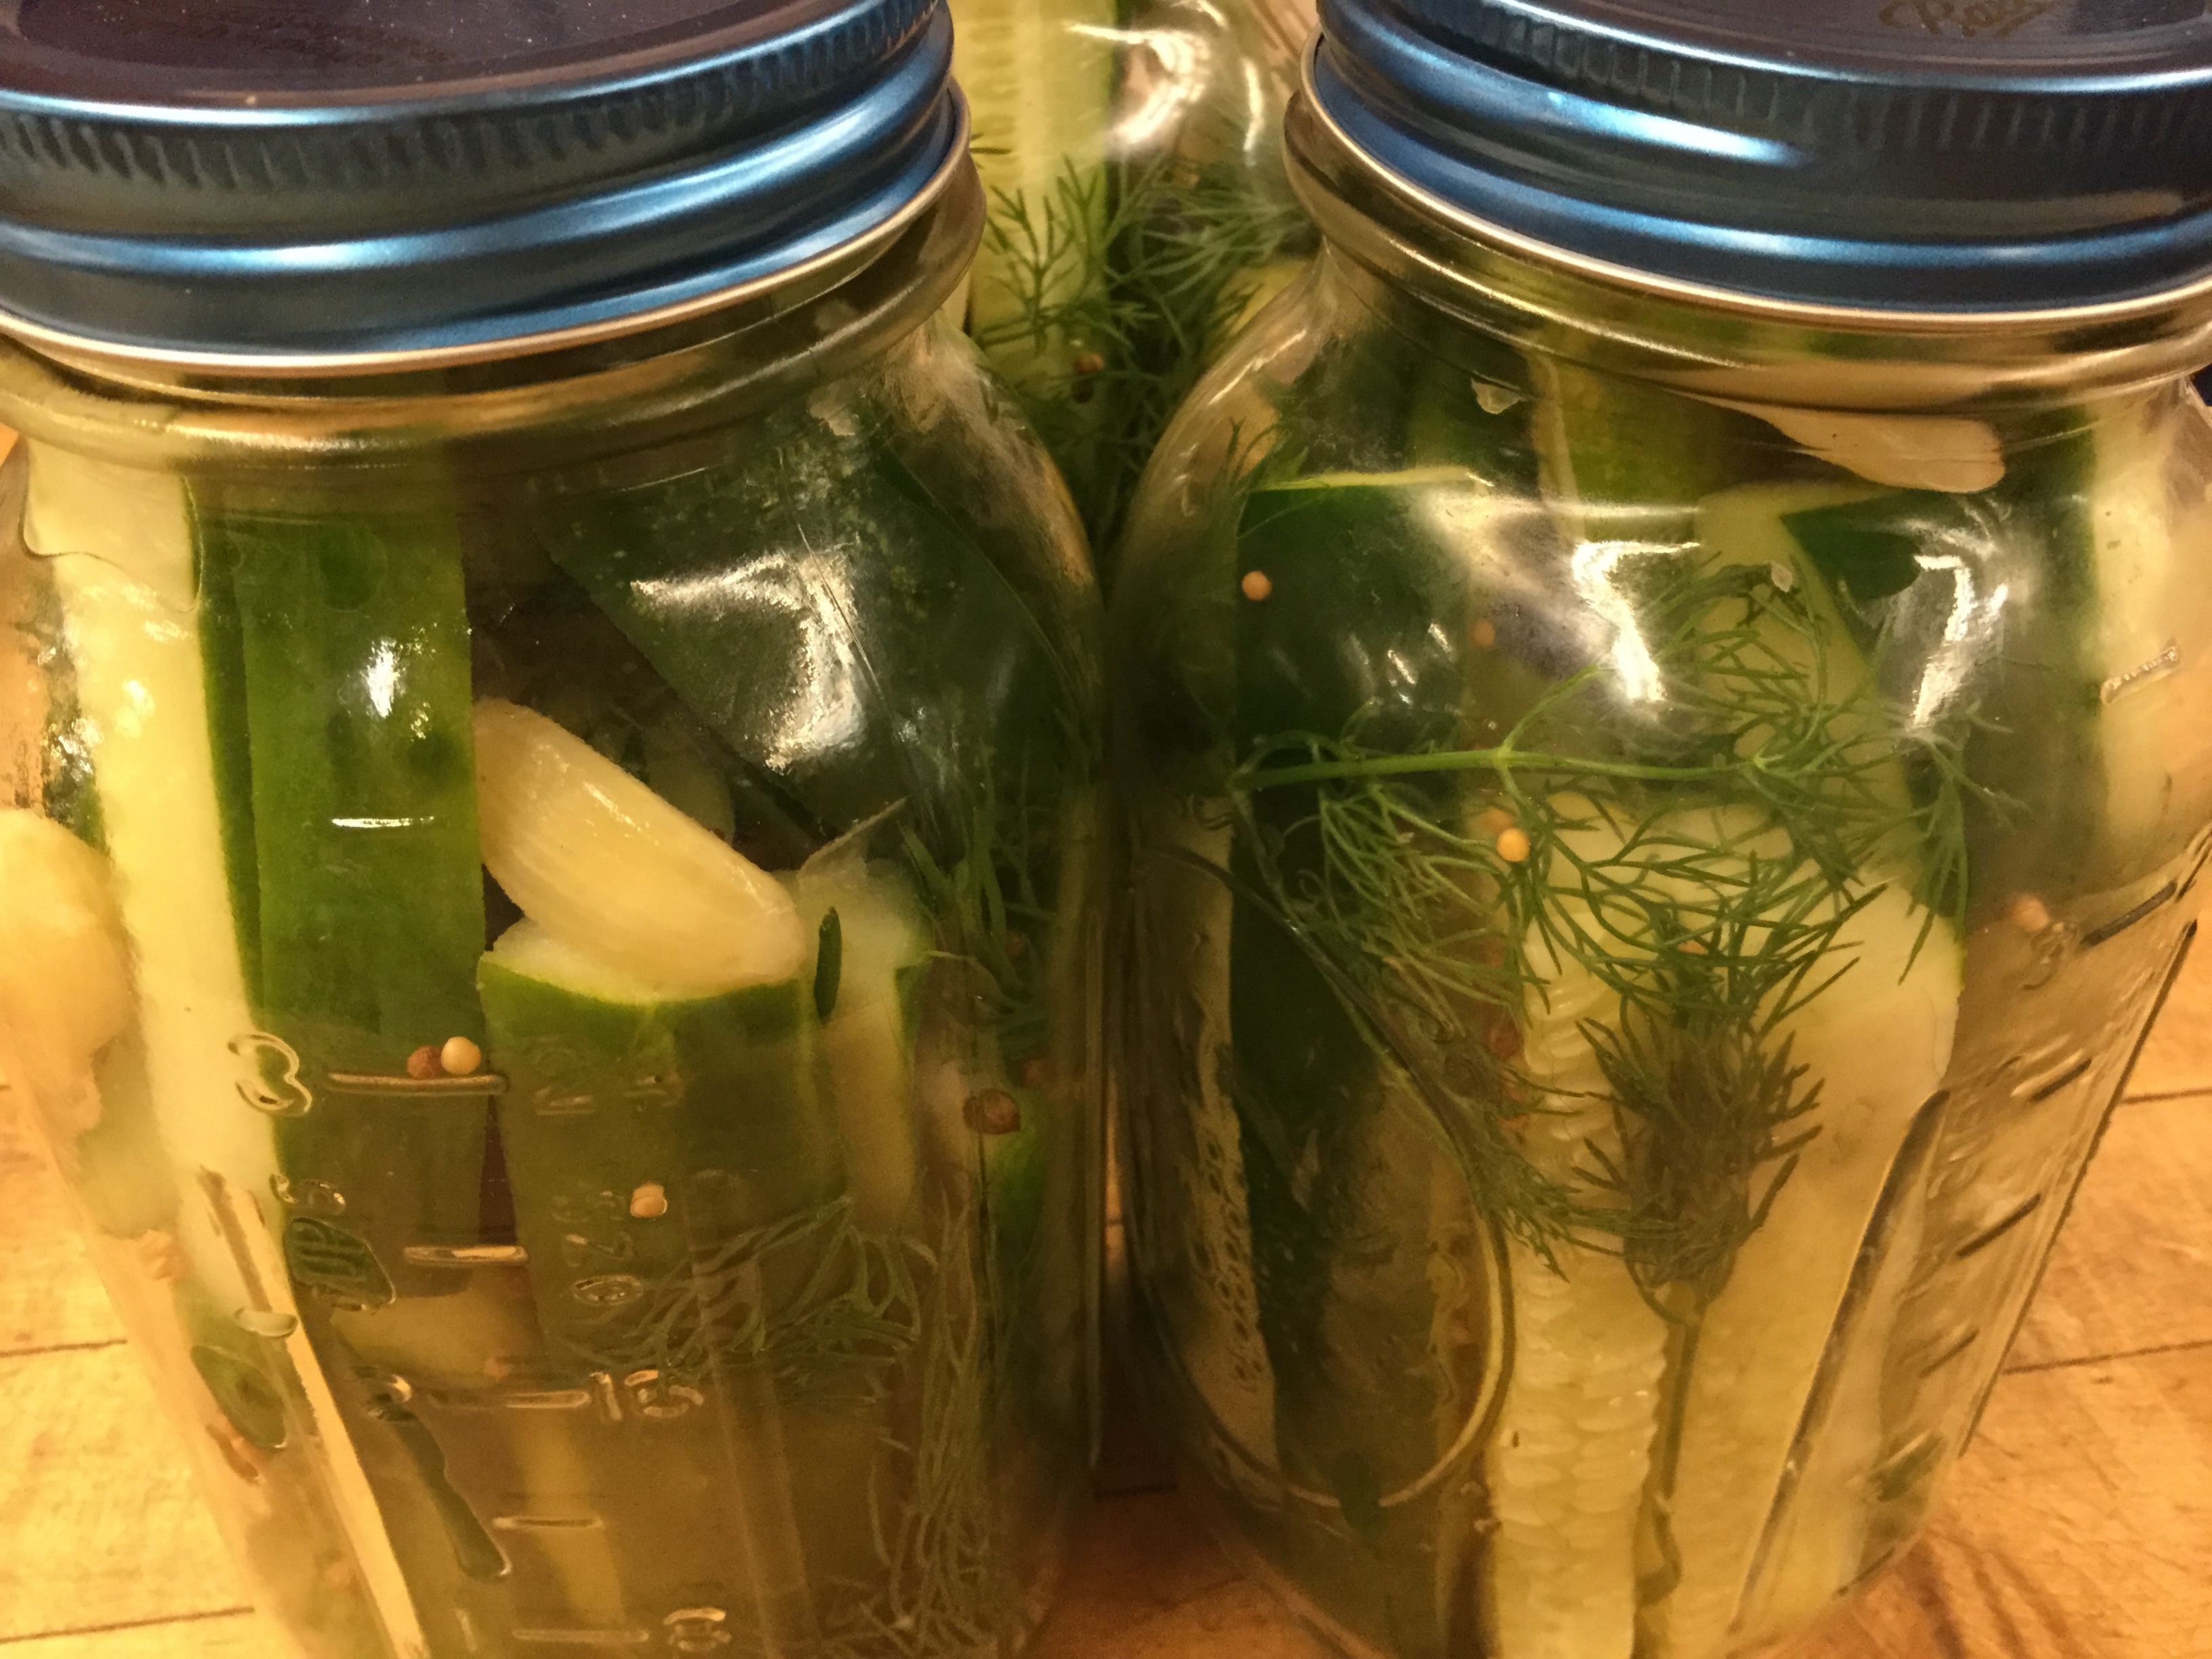
was initially daunted by the idea, I found myself researching several different recipes and quite taken by lovely images on the internet of homemade dill pickles. With the beautiful ingredients in this recipe, you’ll end up with colorful jars of refrigerator pickles to give as gifts, or to keep on hand for eating. Once opened and served, expect them to disappear quickly! This recipe also can be multiplied out easily. (I made two gallons of pickles.) However, if multiplying, do use less garlic.
Rumor has it that this will also be our year for the apple. The initial drops and first fruits have already started to roll in….stay tuned.
SERVINGS21-quart jarsCHANGE SERVING SIZE1-quart jars |
COOK TIME10mins (plus refrigeration time) |
PREP TIME20mins |
READY IN24hrs |
Ingredients
- 1 1/4 cups white vinegar
- 3 Tbsp kosher salt
- 2 Tbsp sugar
- 2 cups cold water
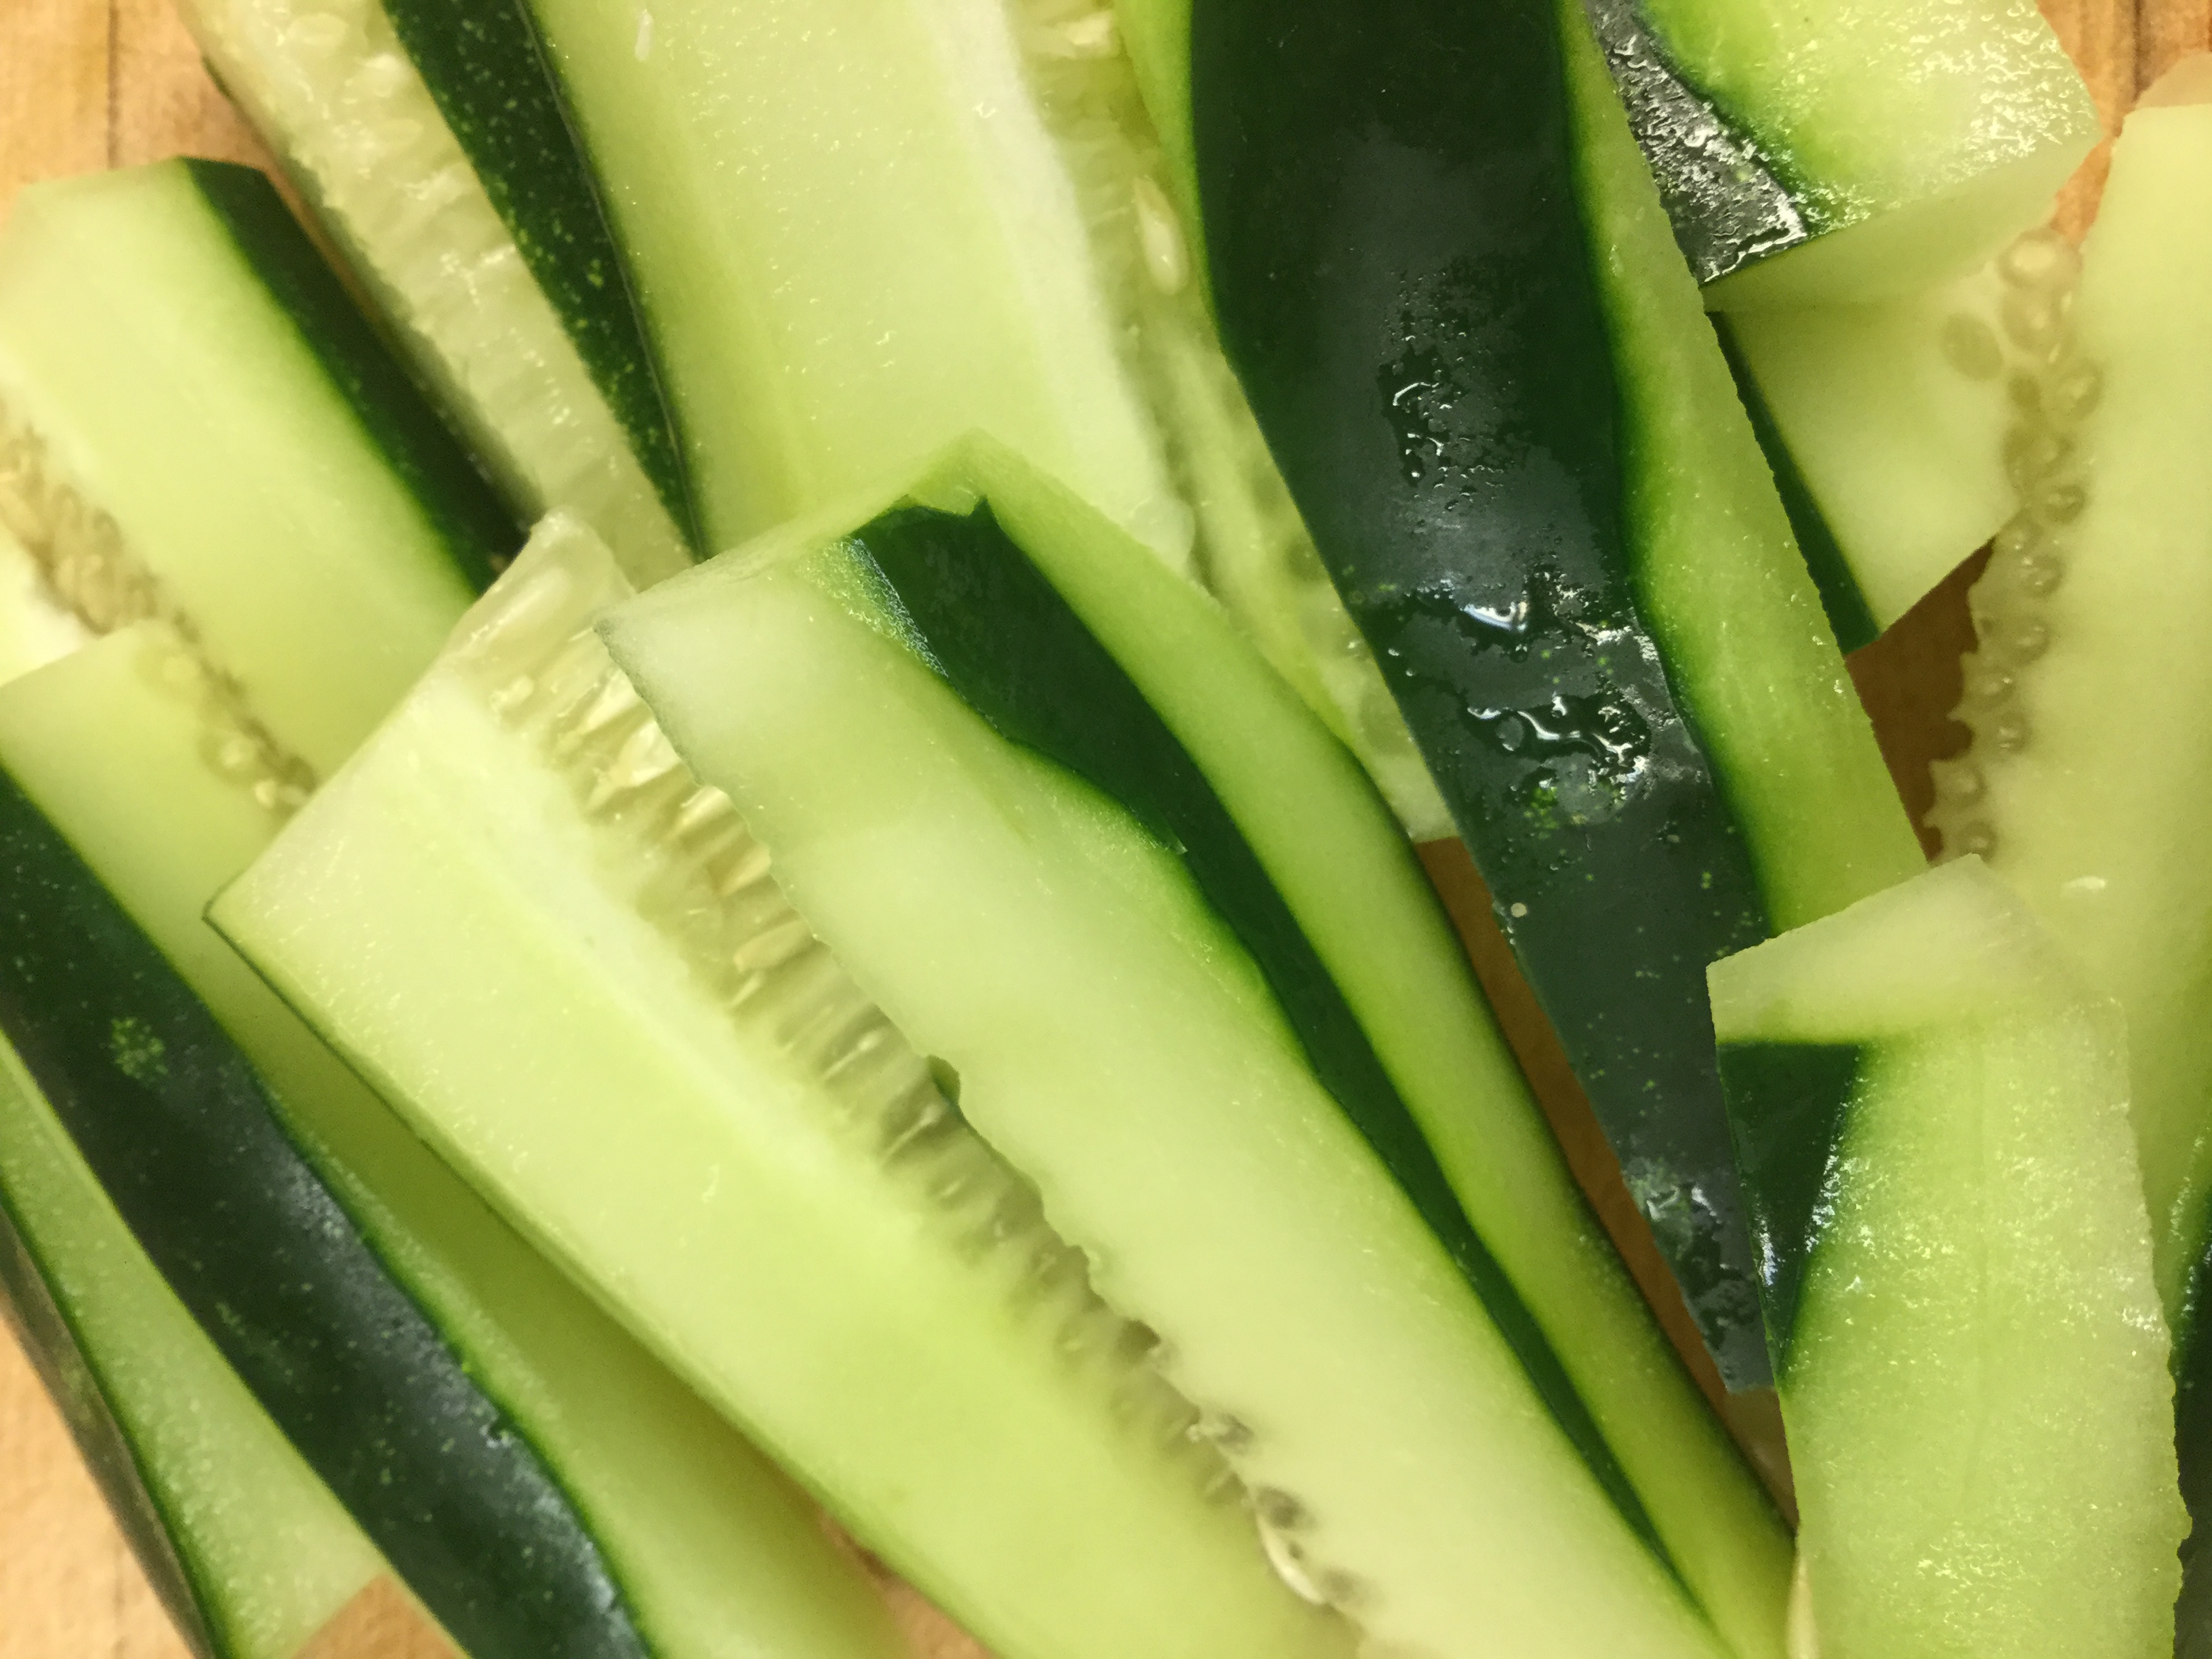
- 2 lbs garden cucumbers cut into spears
- 1-2 Tbsp coriander seeds
- 1/2 Tbsp peppercorns (black or pink) optional
- 6 large garlic clove(s) peel and cut in half
- 1 tsp mustard seeds
- red pepper flakes to taste
- 14 dill sprigs
Instructions
- Combine the vinegar, salt, and sugar in a stainless steel or Teflon pan over high heat. Whisk until the salt and sugar are dissolved.
- Transfer the liquid into a bowl and whisk in the cold water. Refrigerate brine until it has cooled enough to add to the cucumbers (approx. 30 minutes).
- While brine is cooling, place cucumbers into two clean 1-quart jars, leaving a little room to add the dill and spices.
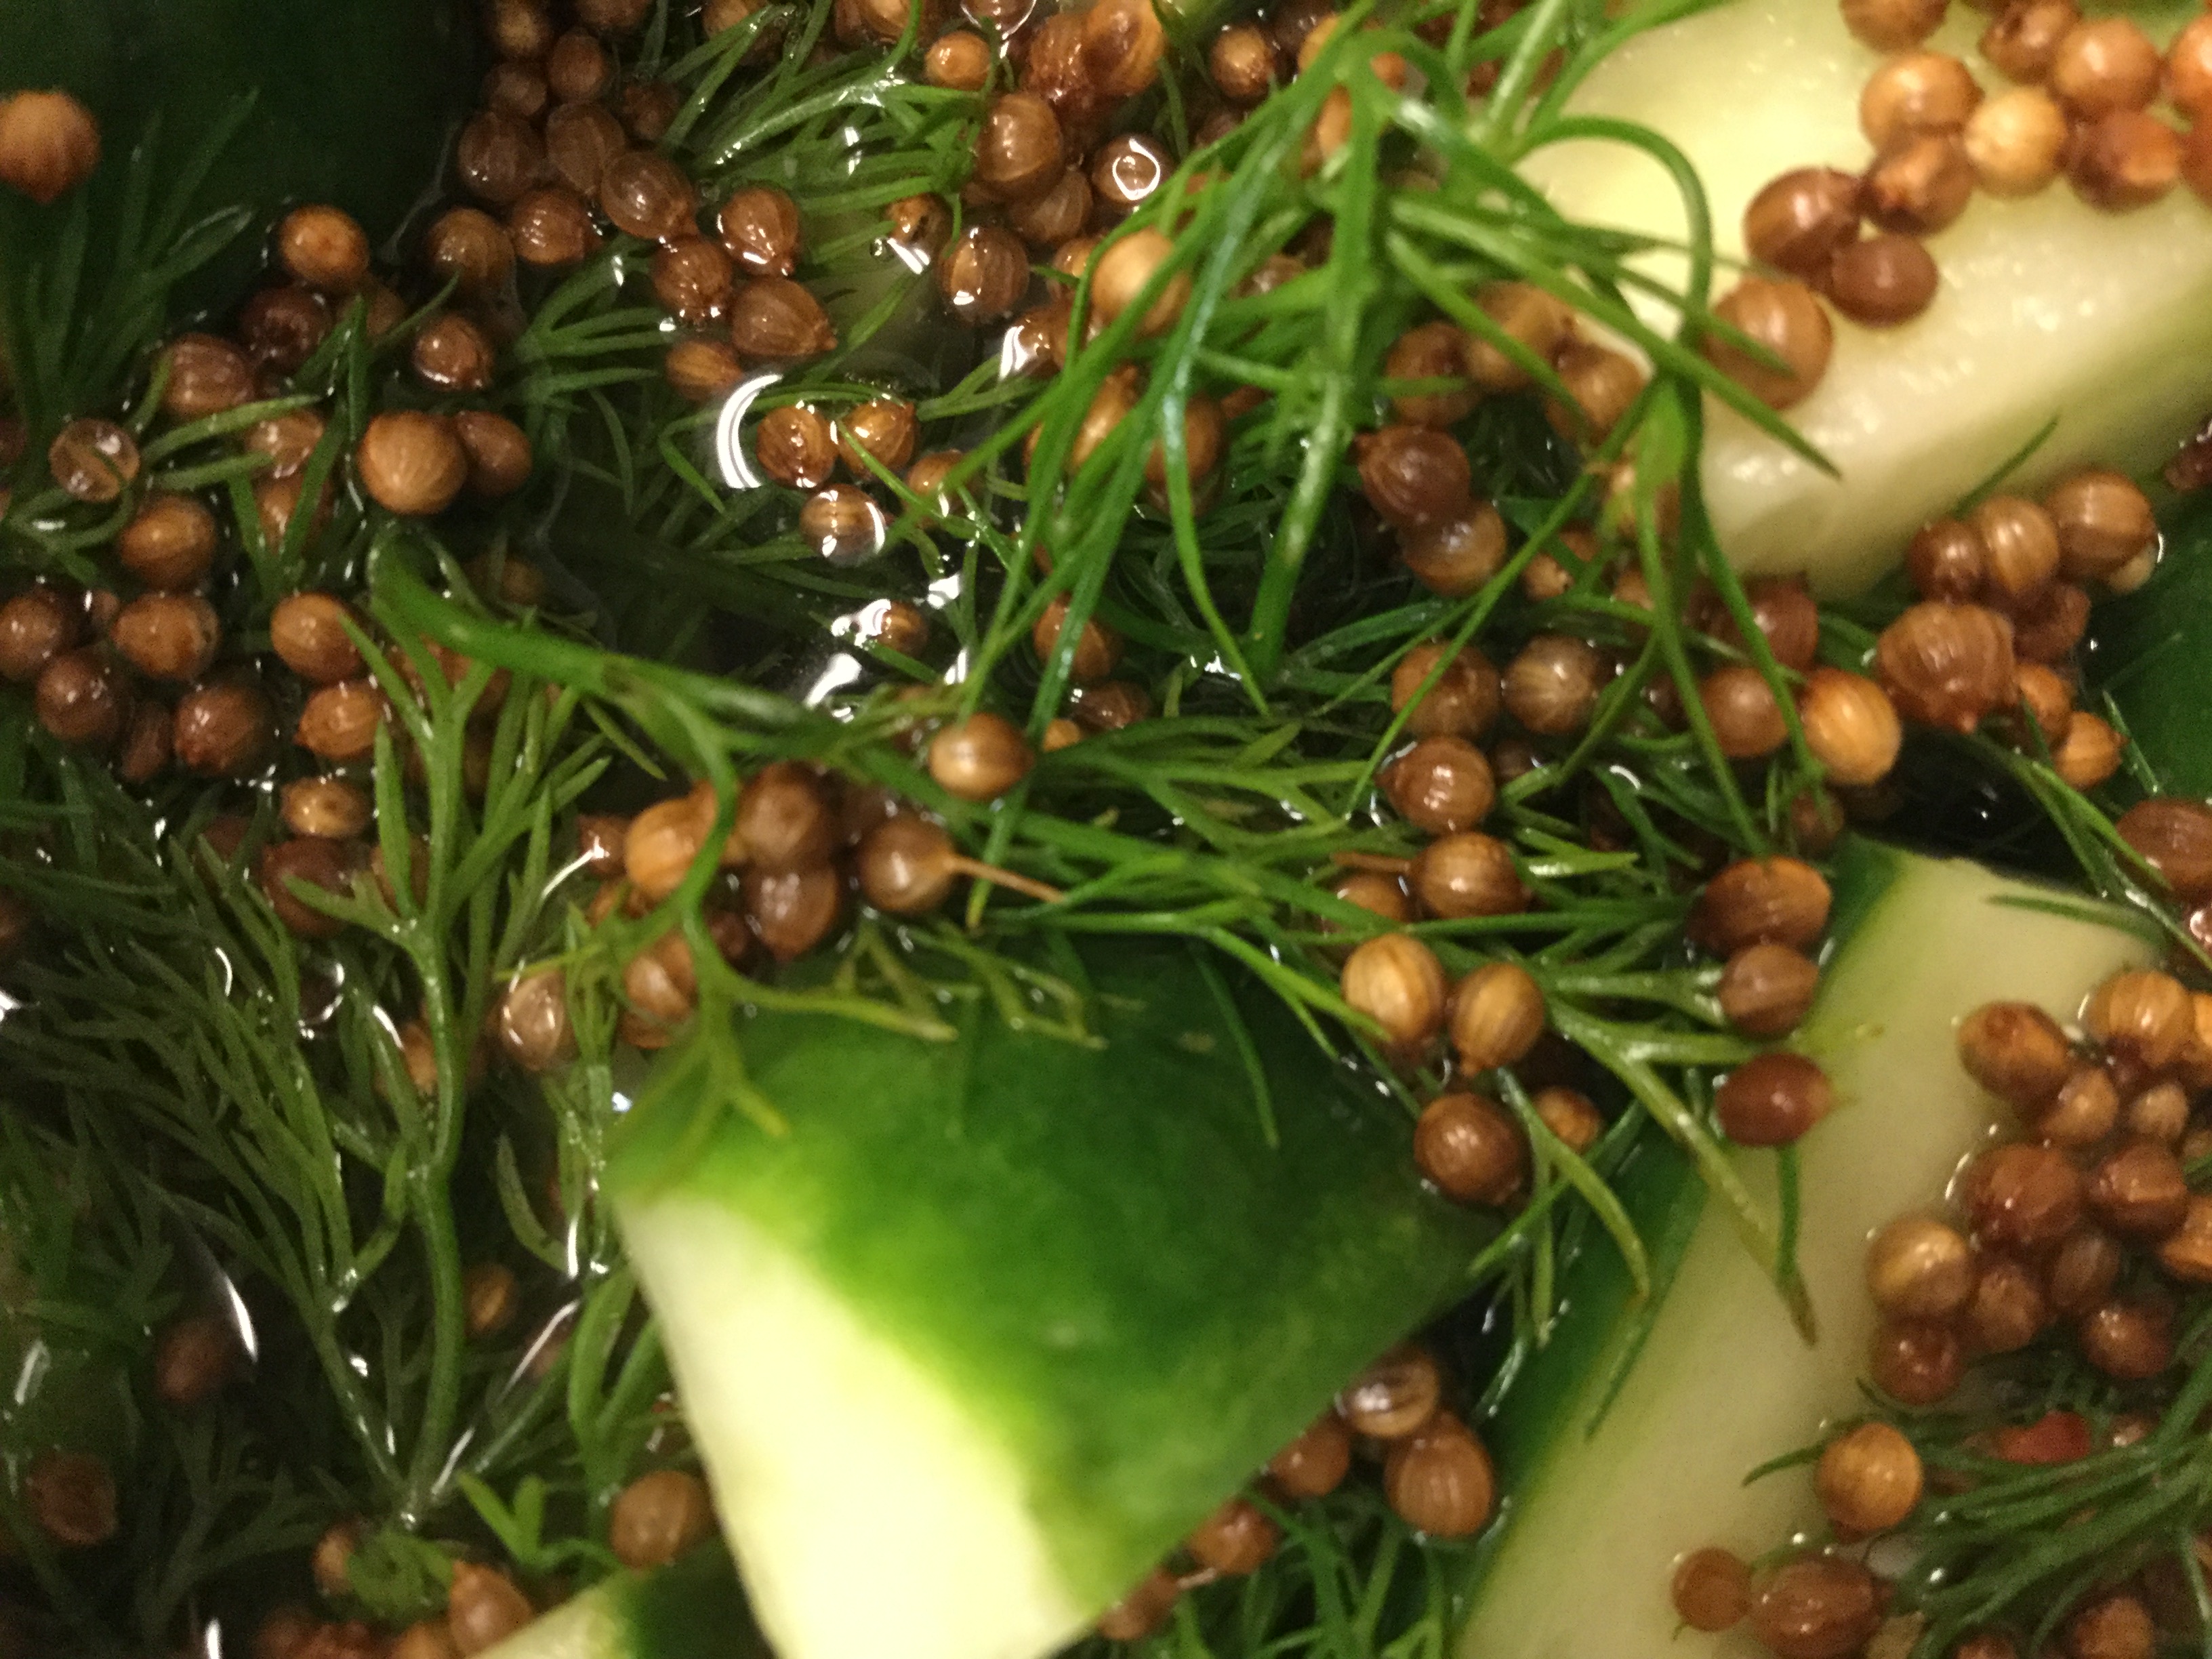
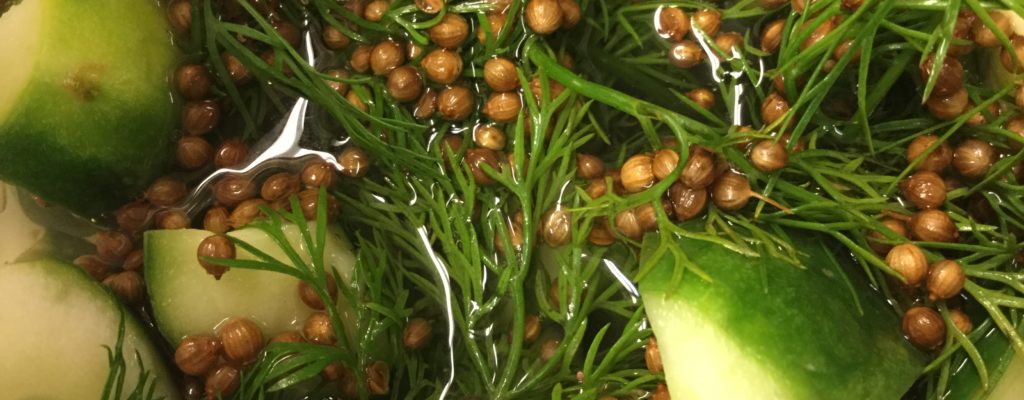
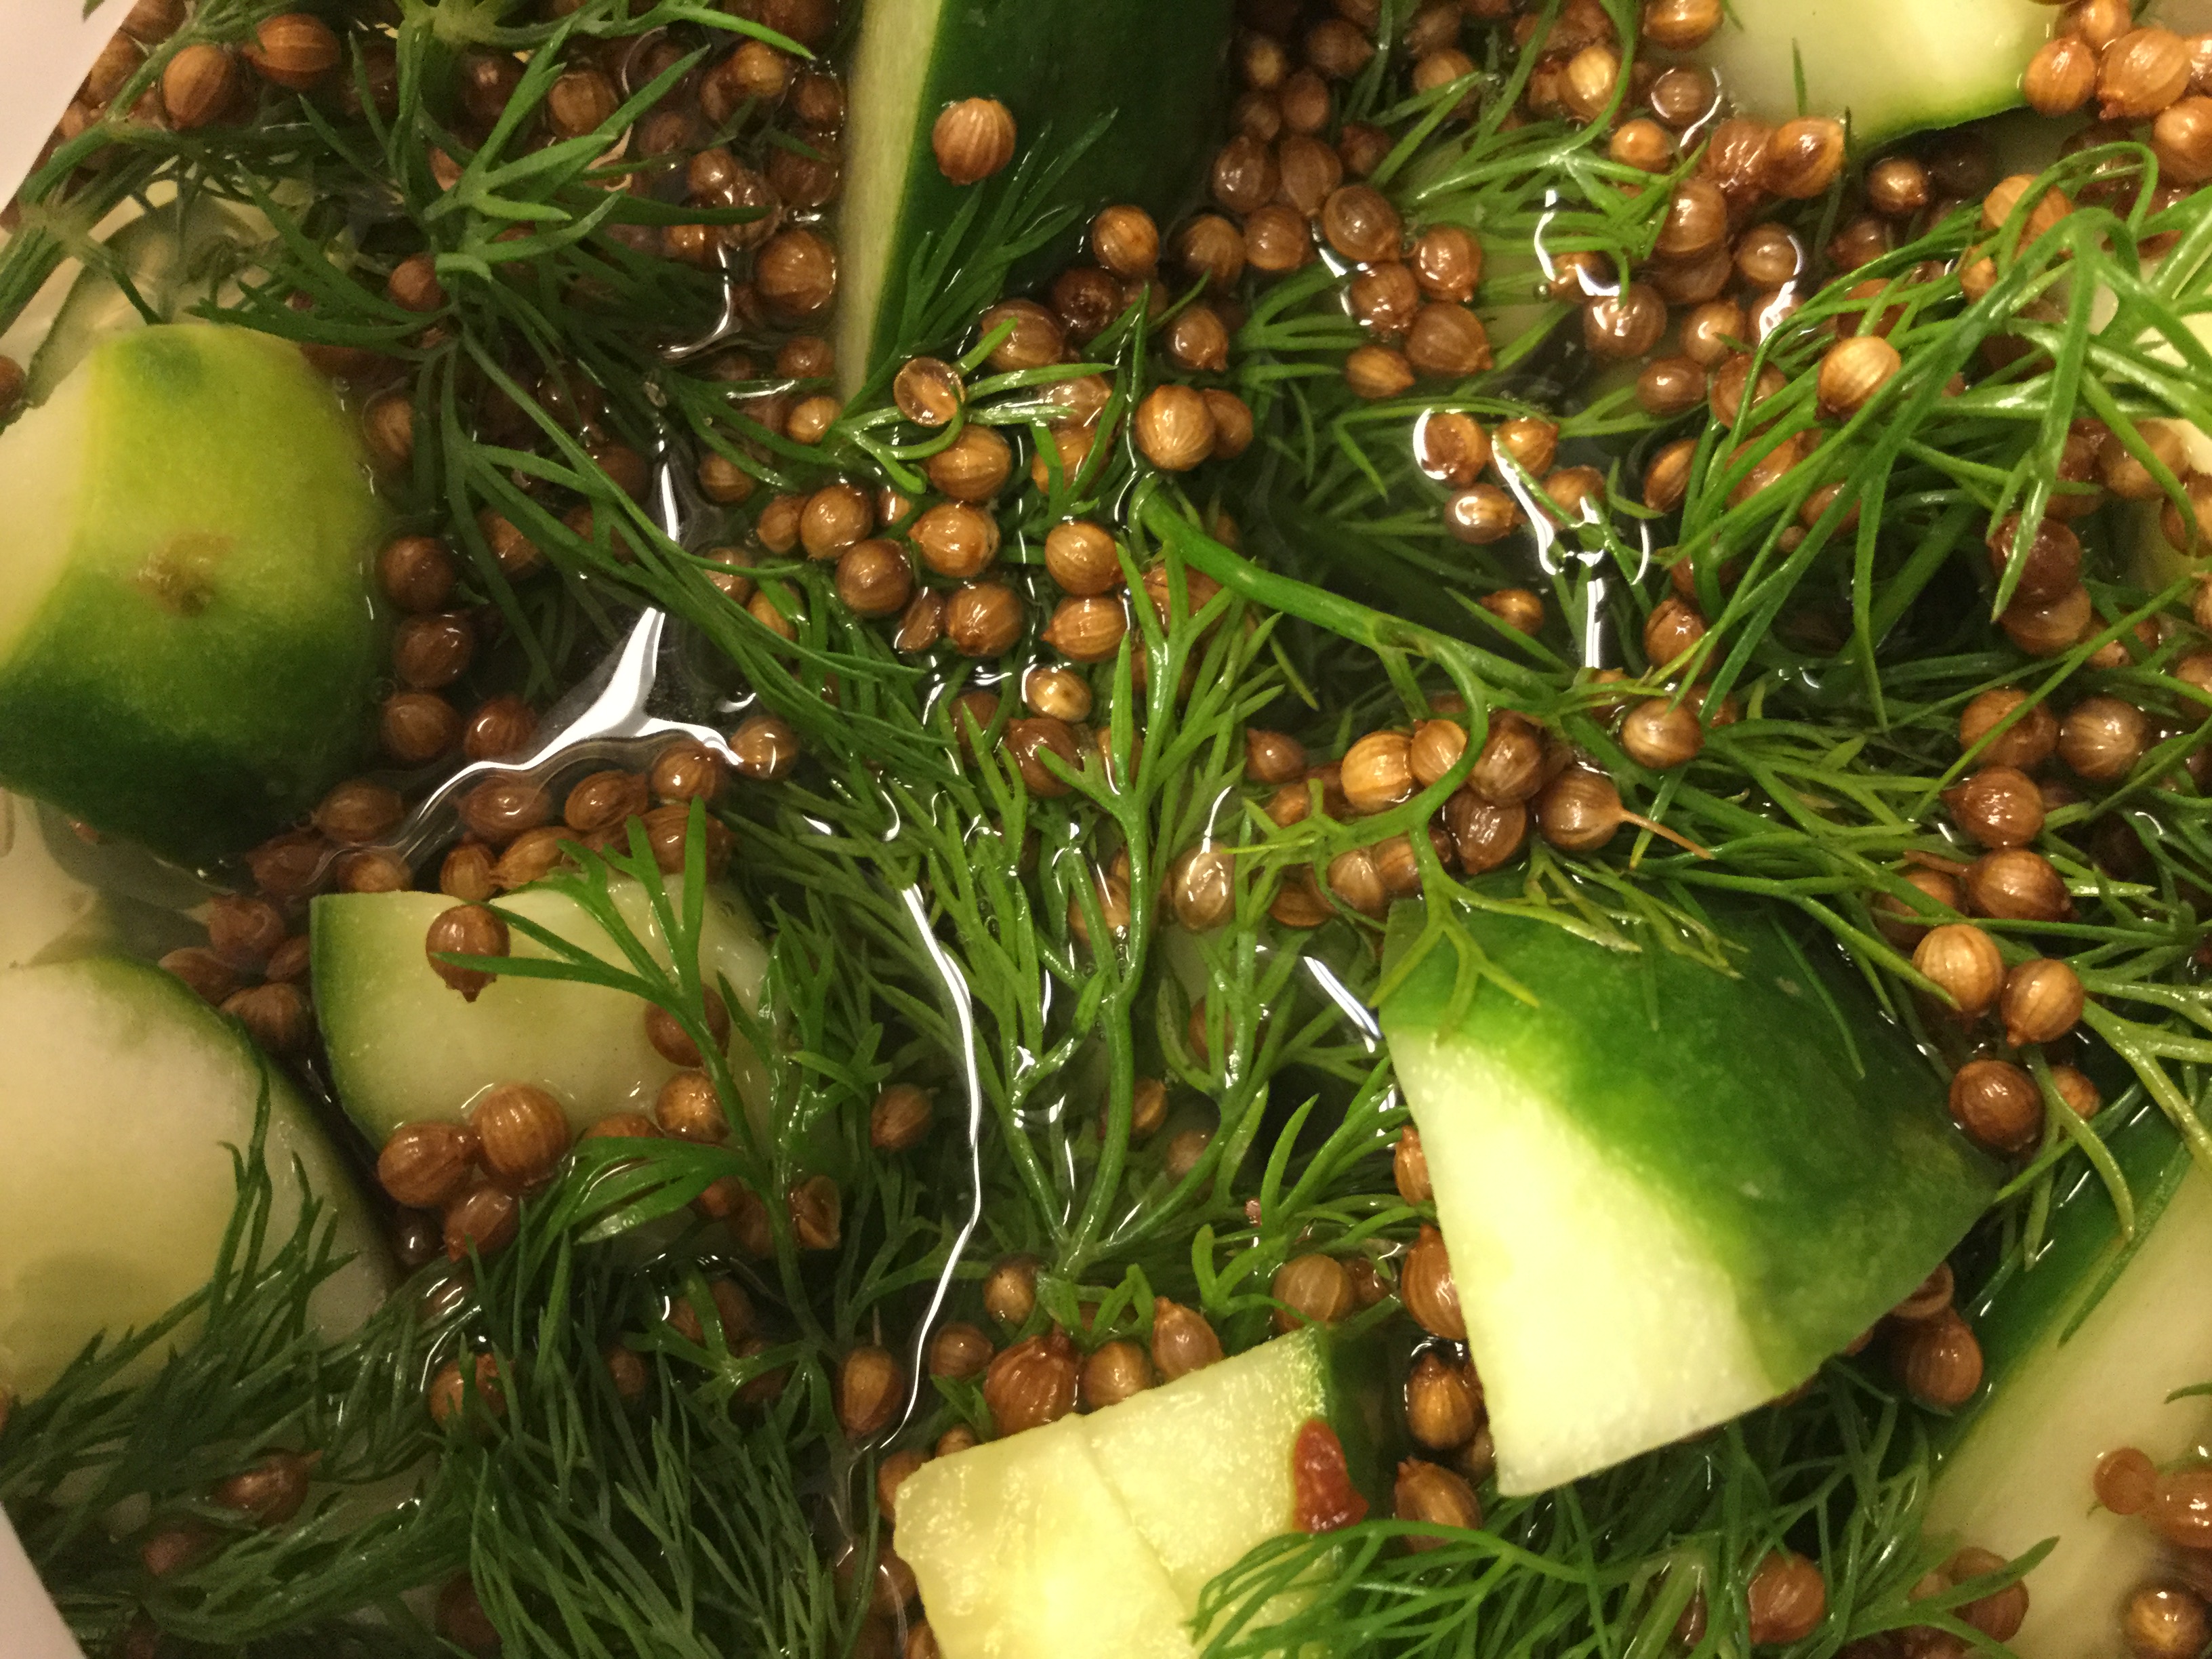
- Then, when brine is cooled, add the coriander seeds, garlic cloves, mustard seeds, red pepper flakes, dill sprigs, and chilled brine into jars, dividing evenly.
- This is the fun part, as the finished product looks lovely! If necessary, add a bit of cold water until the brine covers the cucumbers.
- Cover and refrigerate about 24 hours, then serve. Cucumbers will keep in the refrigerator for up to one month.