Arancini: The Ultimate Comfort Food

Greetings from Barga, Italy! For the past several weeks I have been serving at the Community’s outreach in Tuscany, and learning about Italian food in the process. During the holidays I made one of my most favorite Italian dishes: arancini. You would be hard pressed not to find comfort in these creamy risotto balls stuffed with cheese, aside from the fact they are also breaded and deep fried…mama mia.

As with most things I’ve encountered in Italy, this dish brings a centuries-long history to the table, dating back to 10th-century Sicily. While arancini has undergone some modern interpretation over the centuries, it remains a delicious treat. Buon appetito! 


Print Recipe
Votes: 0
Rating: 0
You:
Rate this recipe!
Arancini: The Ultimate Comfort Food
SERVINGS
6(30) arancini
CHANGE SERVING SIZE
(30) arancini
COOK TIME
30minutes
PREP TIME
15minutes
READY IN
45minutes

Ingredients

Instructions

  1. Fill a saucepan, crockpot or deep fryer with 4-5 inches of oil and heat to 350 degrees, regulating frequently with a thermometer if not using a crockpot or deep fryer appliance.
  2. Form a ball of risotto no larger than a golf ball in your hand and press it flat on a piece of wax paper. Place a mozzarella cube in the center, and close the risotto around it. Reshape into a ball if needed and set aside and repeat with remaining risotto.
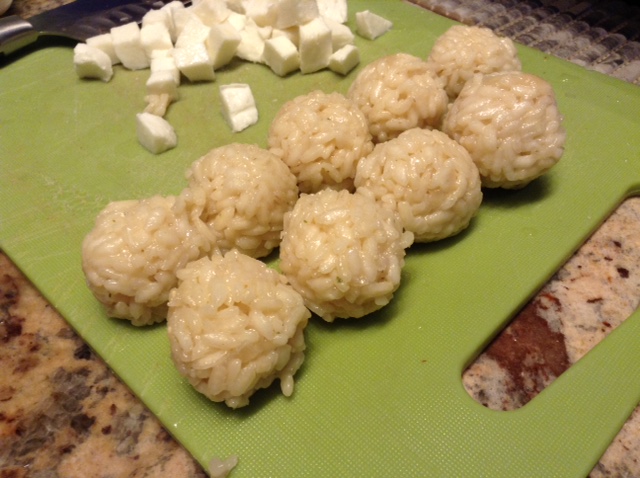
  3. Once all the risotto has been formed, gently roll in flour, then egg and finally the breadcrumbs until fully coated.
  4. Working in batches, gently drop risotto balls into the oil, frying until the outside becomes a light golden brown color. Remove from oil and place on a cooling rack to drain excess oil.
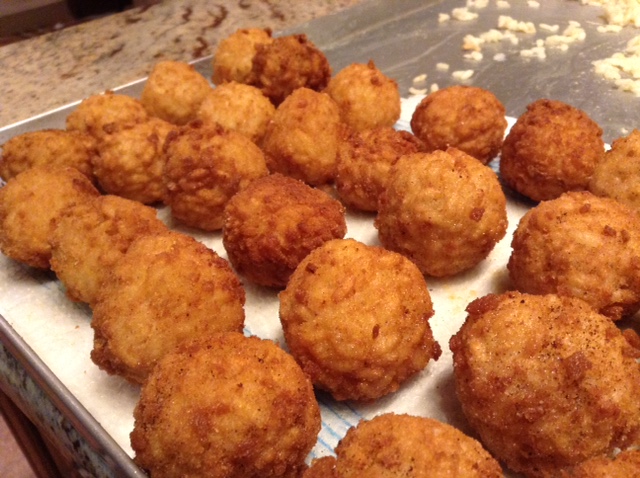
  5. Serve warm or with a red or white sauce of your choosing.

Magi Sugar Cookies

“O Star of wonderStar of night, Star with royal beauty bright…Guide us to thy perfect light.”  How wondrous the Star that leads the Magi to the Infant Christ!  And as we continue to celebrate this season so filled with awe and beauty, it lends itself to more creativity as we prepare treats for the many Yuletide events—(or for any festive occasion!)


Print Recipe
Votes: 0
Rating: 0
You:
Rate this recipe!
Magi Sugar Cookies
SERVINGS
24-36cookies
CHANGE SERVING SIZE
cookies
COOK TIME
15minutes
PREP TIME
2 hours 15minutes
READY IN
2 hours 30 minutes

Ingredients

Instructions

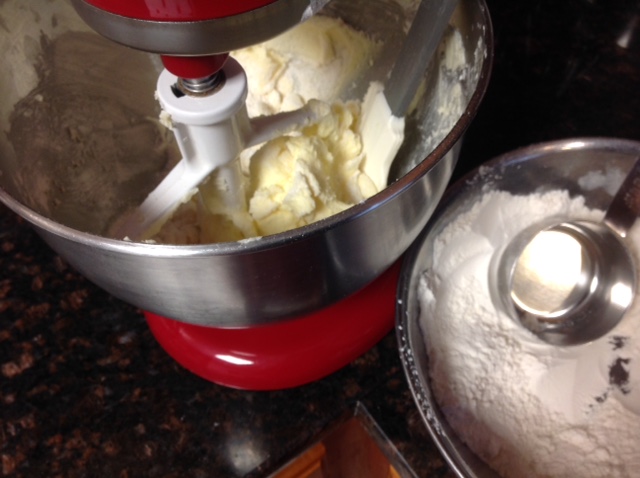
  1. Beat the butter and sugar in mixer bowl until light and fluffy; add egg and flavorings and beat until smooth.
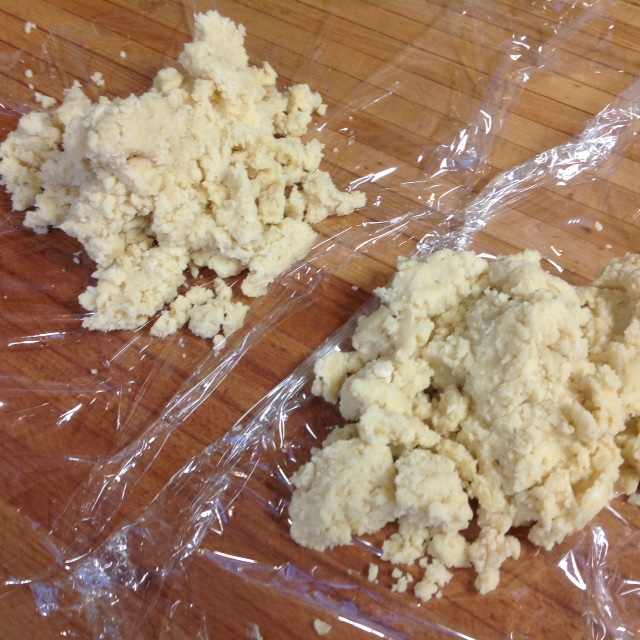
  2. Reduce mixer speed to low, and after sifting flour, baking powder and salt together, add slowly until just blended.
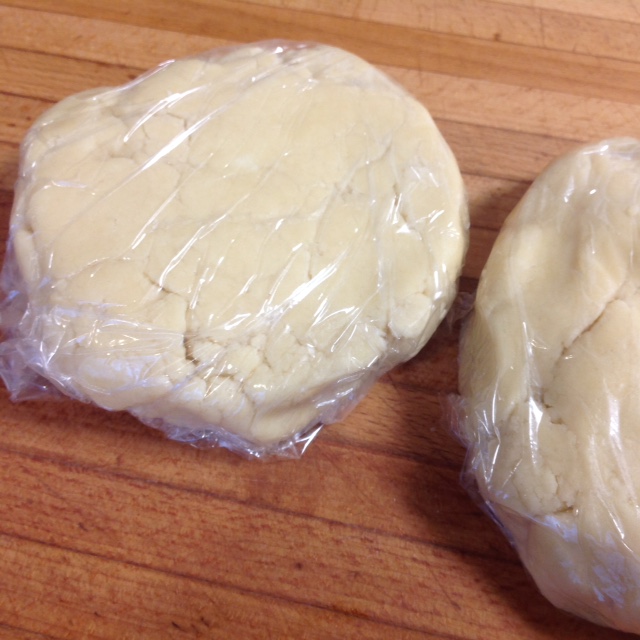
  3. Divide dough in half, forming 2 disks, wrap in plastic wrap and refrigerate for at least an hour, until firm, or longer if need be. It will need to be pliable to be able to roll out.
  4. Using a sprinkling of flour, roll out dough to about an 1/8’ thickness. Cut out your desired shapes; place on baking sheet and bake for about 15” or until slightly golden. Let cool for a few minutes before glazing them.
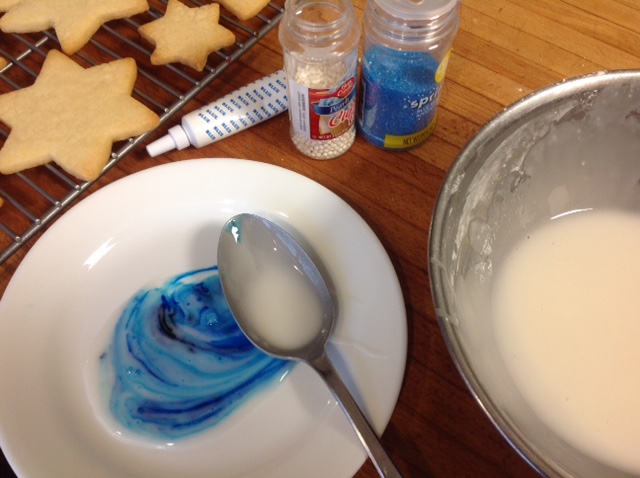
  5. In a medium size bowl, mix by hand, the sifted confectioners’ sugar, milk, corn syrup, salt, and flavorings until smooth and well blended. Depending upon the colors you’re using, divide glaze into separate dishes, adding colors
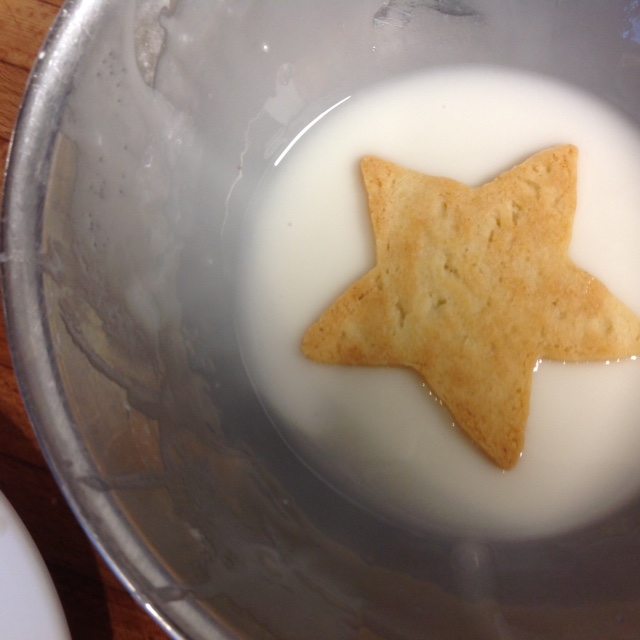
  6. Holding the cookie, gently lay it on top of the glaze, so that surface is covered. Set aside for a few minutes and then decorate with colored sprinkles of your choice, before glaze sets too firmly.

Savory Green Tomato Fritters

Print Recipe
Votes: 1
Rating: 5
You:
Rate this recipe!
Savory Green Tomato Fritters
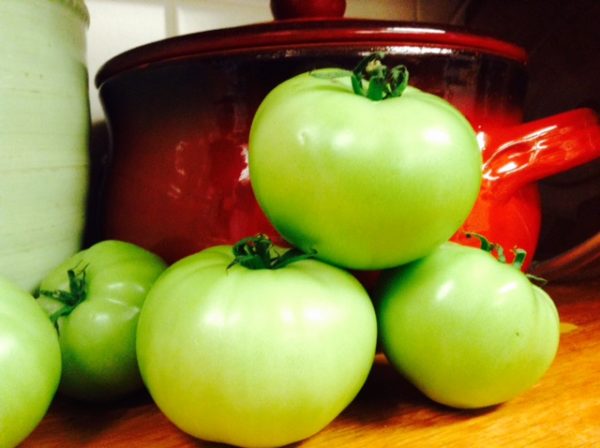
Green tomatoes. What to do with these beautiful yet green garden tomatoes? A few things sprang to mind when I saw a flat of green tomatoes tucked in amongst other garden produce given to us from a local farm this week: fried green tomatoes (a classic!), green tomato salsa verde, green tomato muffins… Then a recipe caught my eye for a green tomato fritter–just the thing! With a few “tweaks” to the original recipe–omitting the cinnamon and sugar in favor of a savory version–this late summer treat is a reminder not just the generosity of the giver, but an invitation to explore the possibilities of an otherwise puzzling and often overlooked gift from the garden–perfectly unripe.
SERVINGS
8
CHANGE SERVING SIZE
COOK TIME
20minutes
PREP TIME
15minutes
READY IN
35minutes

Ingredients

Instructions

  1. In a deep, heavy pan, heat 3 inches of oil to 365° F, or use a crockpot with a fry basket.
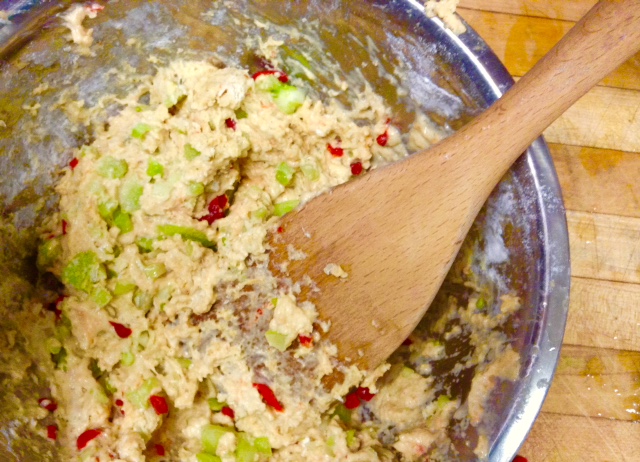
  2. Combine flour, baking powder, salt, and soda. Stir in the green tomatoes, corn and seasonings.
  3. In a separate bowl, whisk the eggs with the milk and butter. Stir into the first mixture until just blended. Batter should hold its shape when dropped into hot oil–add more flour if needed to thicken the batter.
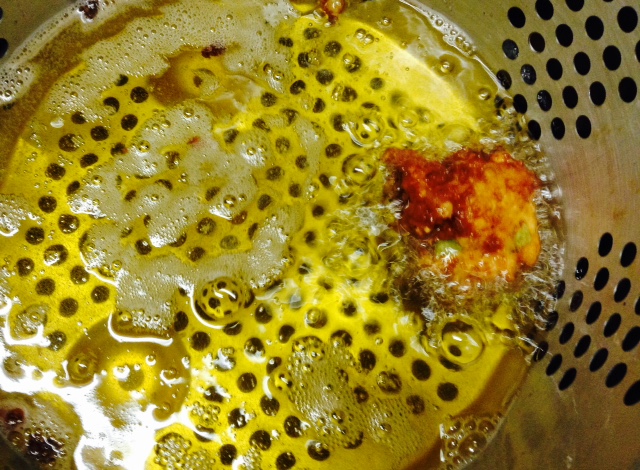
  4. Working in batches, drop the batter by tablespoons into the hot oil, cooking until fritters are a deep golden brown, turning about halfway through.
  5. Remove to paper towels to drain and enjoy!

Summertime Blueberry Nectarine Crumble Pie

Print Recipe
Votes: 2
Rating: 5
You:
Rate this recipe!
Summertime Blueberry Nectarine Crumble Pie
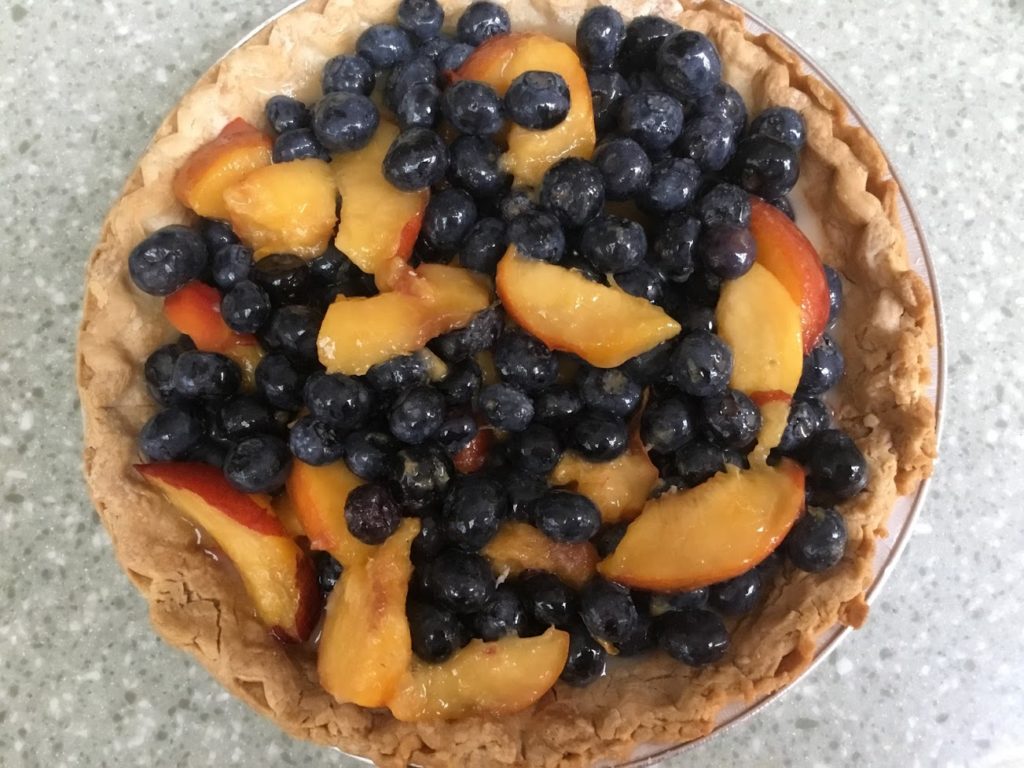
This past weekend, I had the wonderful opportunity to pick blueberries from a local farm with a good friend of mine. We arrived shortly after sunrise on a glorious Sunday morning. We talked little and just enjoyed circling the bushes from different angles to find the plump berries. Her husband had fashioned coffee cans into containers that dangled from our necks to collect the berries. We both used this time to pray and be thankful. It's amazing how close to God we both felt in nature. So much beauty and peace surrounded us. I hope you will taste God's goodness in this tasty summertime treat.
SERVINGS
1 pie(8 servings)
CHANGE SERVING SIZE
(8 servings)
COOK TIME
1 hour, 30 minutes
PREP TIME
20 - 30minutes
READY IN
2hours

Ingredients

Instructions

  1. Preheat oven to 375 degrees F. Line the pie crust with parchment and add pie weights or dried beans. Place on a parchment or foil lined baking sheet and bake the crust for about 20 min. Remove parchment and weights and return to the oven for 10 min. until slightly golden. Remove from oven and set aside to cool.
  2. Prepare the filling: Whisk together the sugar, cornstarch, salt and lemon zest. Put the blueberries in a mixing bowl and add the sliced nectarines, lemon juice, vanilla and the sugar/cornstarch mixture. Gently toss and let sit as the berries start releasing their juices.
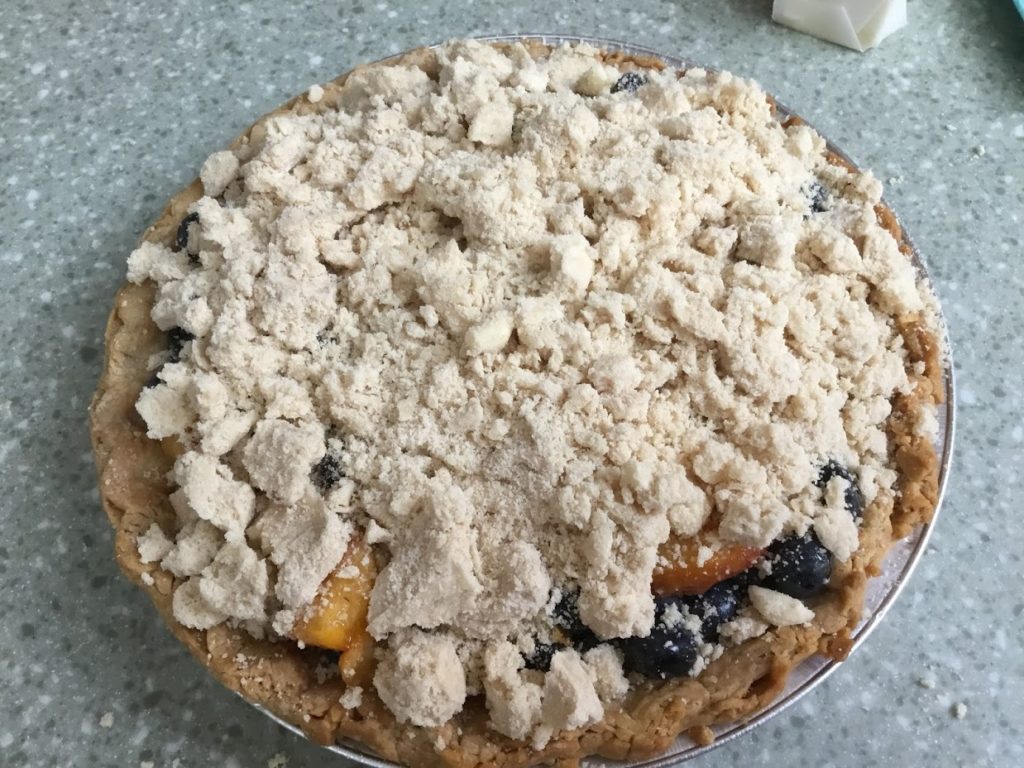
  3. Meanwhile, prepare the crumble: In a food processor, combine the flour, brown sugar, butter and white sugar. Pulse until combined (this can also be done by hand). With your hands, press topping together to form clumps and refrigerate until ready to use.
  4. Assemble the pie: Pour the blueberry/nectarine mixture into your blind baked crust. Top with the crumble mixture - covering the top and spreading evenly.
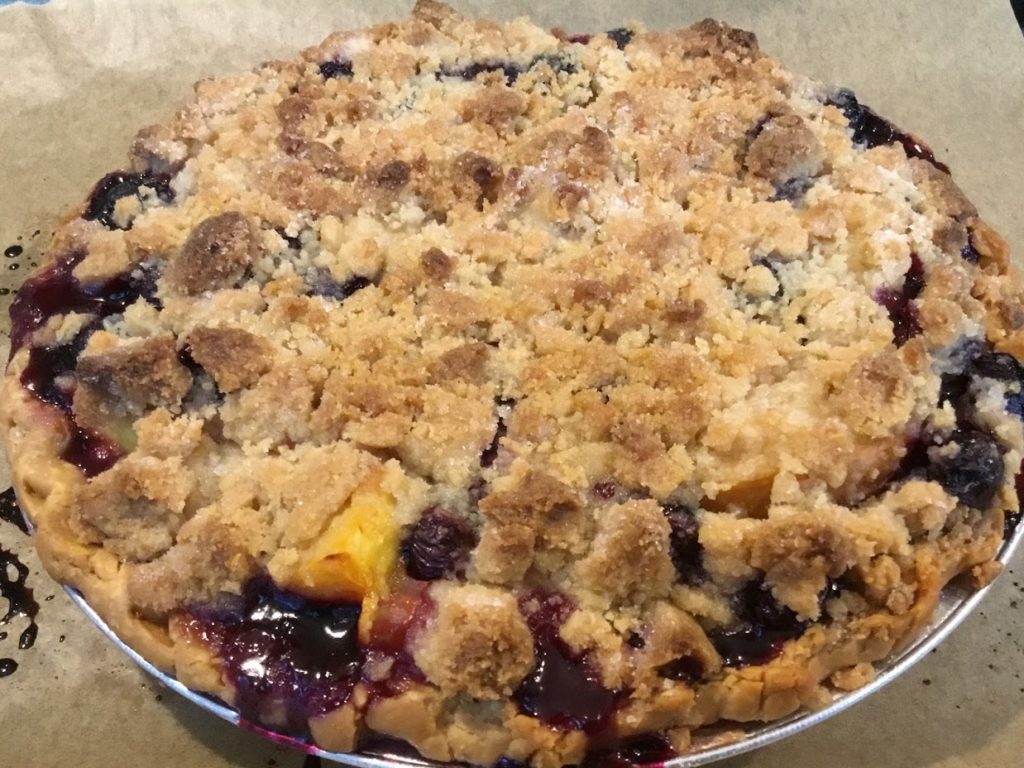
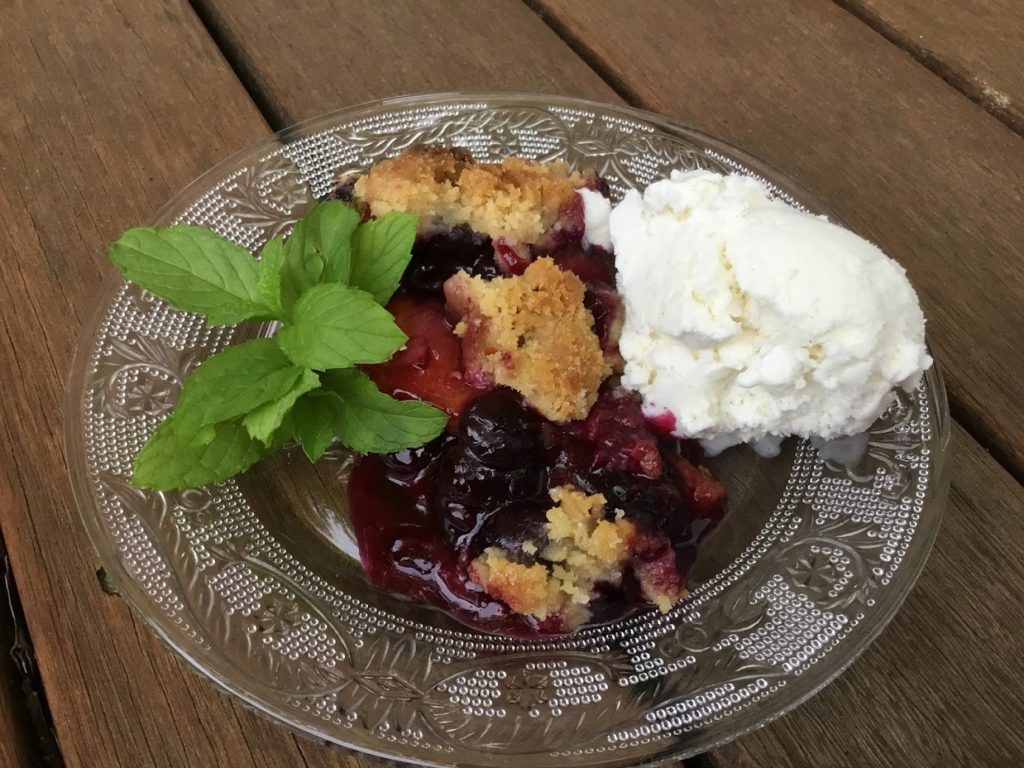
  5. Bake until the filling bubbles and the pie is golden brown, about one hour. Allow to cool slightly and serve with vanilla ice cream or whipped cream.
  6. Enjoy!

Cheese Danish Braid

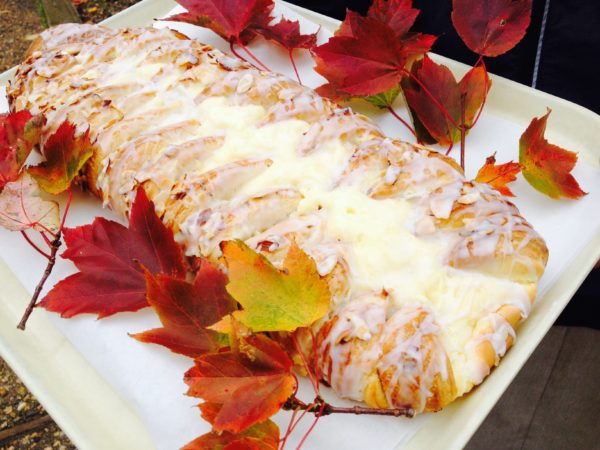
At our Thanksgiving feast we enjoyed celebrating God’s blessings. One of them, the best in my opinion, is of course, lovely breakfast treats. In specific, a golden cream cheese danish with a hint of almond…can you see where were going with this?

Danishes can be a little tricky – below is simple version of the recipe. If you’d like a flakier danish, I suggest doing the square of butter version (see notes at end of recipe).
But either way, with a straight-forward approach and a little bit of time, you can enjoy the sweet, flaky treat for a Sunday brunch or with your mid-morning coffee. We are so grateful to God’s many blessings and pray that you also were able to appreciate God’s goodness this year. Happy belated Thanksgiving!

Print Recipe
Votes: 2
Rating: 4.5
You:
Rate this recipe!
Cheese Danish Braid
SERVINGS
12servings
CHANGE SERVING SIZE
servings
COOK TIME
15-20mins
PREP TIME
20mins
READY IN
30mins (plus overnight for resting dough)

Ingredients

Instructions

  1. In a medium bowl, add the yeast, 1 teaspoon sugar, and warm water. Let the yeast rest until it proofs (5 minutes). Once the yeast has proofed, add the egg, milk, sugar, and salt. Stir with a whisk, and set to the side.
  2. Place the flour and 1/2 cup cubed butter into a large bowl. With a pastry blender, combine until the butter is in tiny pieces. (You can also use the food processor for this step.) **NOTE** If you'd like a flakier Danish, set aside 1/2 cup of butter and make into a butter square.
  3. Add the wet ingredients to the flour and combine until the dough comes together. Place the dough onto a floured work surface and shape into a square. Roll the dough into a rectangle 9 x 13-inches. If you'd like a flakier crust, place the butter square (see #8) in the middle and fold the dough lengthwise into thirds (similar to folding a letter to fit into an envelope). Roll the dough into a rectangle again, and then again fold into thirds. Repeat this process twice more, until you've done it a total of 3 times. Cut the dough in half, wrap each piece in plastic wrap, and place in the fridge overnight. The dough keeps for one week in the fridge and 2 months in the freezer.
  4. Beat Cream Cheese till very smooth and no lumps remain. Combine with rest of filling ingredients.
  5. Remove one piece of dough from the fridge, and save the other for a rainy day (the dough can last in the fridge for up to 5 days and in the freezer for 3 months). On a floured piece of parchment paper, roll out the dough into a 9 x 13-inch rectangle. Spoon some of the cream cheese filling in the middle of the dough. With the dough laid in front of you vertically (so that the smaller 9-inch end is facing you), make 1-inch diagonal cuts down the left and right sides of the dough (imagine you are making a Christmas tree). Once you have reached the bottom, cut away two triangle pieces, so that the dough now has a tree trunk. Fold the tree trunk flap over the apples, then go back to the top and fold each strip over the cheese filling, alternating from left to right and moving towards the bottom.Preheat the oven to 400º F.
  6. Gently lift the parchment paper and the braid onto a baking sheet. Brush the top of the pastry with an egg wash (one egg white and a teaspoon of water). Bake for 15 to 20 minutes, or until brown on top.
  7. In a small bowl, whisk the powdered sugar, 1 tablespoon of milk, and vanilla until you get a desired consistency. Add a tablespoon more milk if the icing is too thick. (It should be pourable, but not so thin that it drips off of the pastry.) Drizzle over the top of the braid and sprinkle with powdered sugar. Serve warm. The danish lasts for 3 to 4 days. It's best to store in the fridge, covered in plastic wrap, and then reheated in the oven or microwave before eating.

*NOTE: Option for Flakier Dough: Before cubing butter, set aside 1/2 cup of butter. Cut into 4 squares, sprinkle with a little flour and roll to a 1/4" width between 2 sheets of parchment paper. Refrigerate till ready to use in Step #5.

Apple Fritter Quick Bread

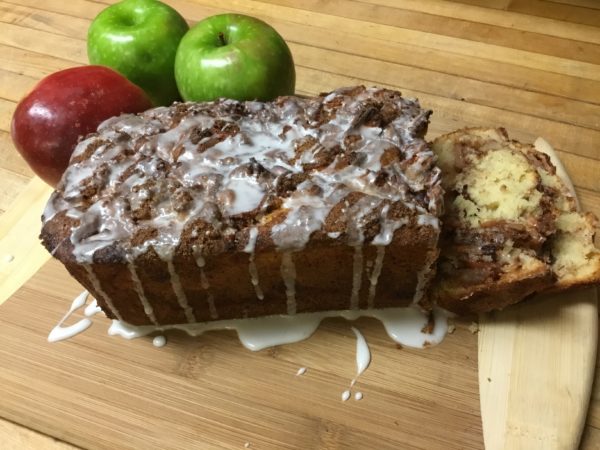
Several of us Sisters were recently sharing our favorite fall doughnut flavors, and it seemed the most popular Fall favorite was Apple Fritters. As a child, I remember getting these as a treat at our Fall fairs – crispy on the outside and slathered with creamy frosting, it just takes one quick bite to sink your teeth into the most delightful apple pieces covered with cinnamon. Yum! Just writing about it now makes my mouth water! Since our waistlines aren’t exactly what they were when we were kids, but still just dying to bring the memory back, I stumbled upon an Apple Fritter Bread. With a few modifications, this bread, although slightly healthier, still has those magical flavors. It’s a perfect recipe for young children to participate in making. And the aroma it brings into your kitchen…you don’t want to miss it!

Print Recipe
Votes: 4
Rating: 5
You:
Rate this recipe!
Apple Fritter Quick Bread
SERVINGS
8servings
CHANGE SERVING SIZE
servings
COOK TIME
1hr
PREP TIME
15mins
READY IN
1 hr15 mins

Ingredients

Instructions

  1. Preheat oven to 350 degrees. Use a 9x5 -inch loaf pan and spray with non-stick spray or line with foil and spray with non-stick spray.
  2. Mix brown sugar and cinnamon together in a bowl. Set aside.
  3. In another medium-sized bowl, beat white sugar and butter together using an electric mixer until smooth and creamy.
  4. Beat in eggs, 1 at a time, until blended in; add in vanilla extract.
  5. Combine flour, baking powder and salt together in another bowl and add into creamed butter mixture and stir until blended.
  6. Mix milk into batter until smooth.
  7. Pour half the batter into the prepared loaf pan; add half the chopped apple mixture.
  8. Sprinkle 1/2 of the brown sugar/cinnamon mixture you set aside earlier, on top of apple layer.
  9. Pour the remaining batter over apple layer and top with remaining chopped apples, then the remaining brown sugar/cinnamon mixture.
  10. Lightly pat apples into batter; swirl brown sugar mixture through apples using knife or spoon.
  11. Bake in the preheated oven until a toothpick inserted in the center of the loaf comes out clean, approximately 60 minutes.
  12. To make a glaze, mix powdered sugar and milk or cream together until well mixed.
  13. Let cool for about 15 minutes before drizzling with glaze.

(add chopped walnuts or pecans if you'd like)