Gift giving for Sisters can present a bit of a challenge since we aren’t able to simply just “go shopping” at any time. As a result, many handcrafted items and homemade food gifts are produced especially around Christmas time. Last night the convent kitchen was a veritable hub of gift making!
At the baking end of the room one sister was shaping cranberry shortbread cookies. At the stove another was cooking up the filling for egg rolls. At the opposite end of the room yet another was mixing up ingredients for her mothers’ favorite dessert, Tiramisu. After a recent visit to Italy her mother had as she herself put it “fallen in love” “with all things Italian” and this dessert was one of those things. Although not what would have occurred to me as a Christmas gift, it had made such a hit with her when she received it on her birthday, I know this will be no less thrilling to her at this special holiday.
Combine egg yolks and sugar in the top of a double boiler, over boiling water. Reduce heat to low, and cook for about 10 minutes, stirring constantly. Remove from the heat and whip yolks until thick and lemon-colored and let cool.
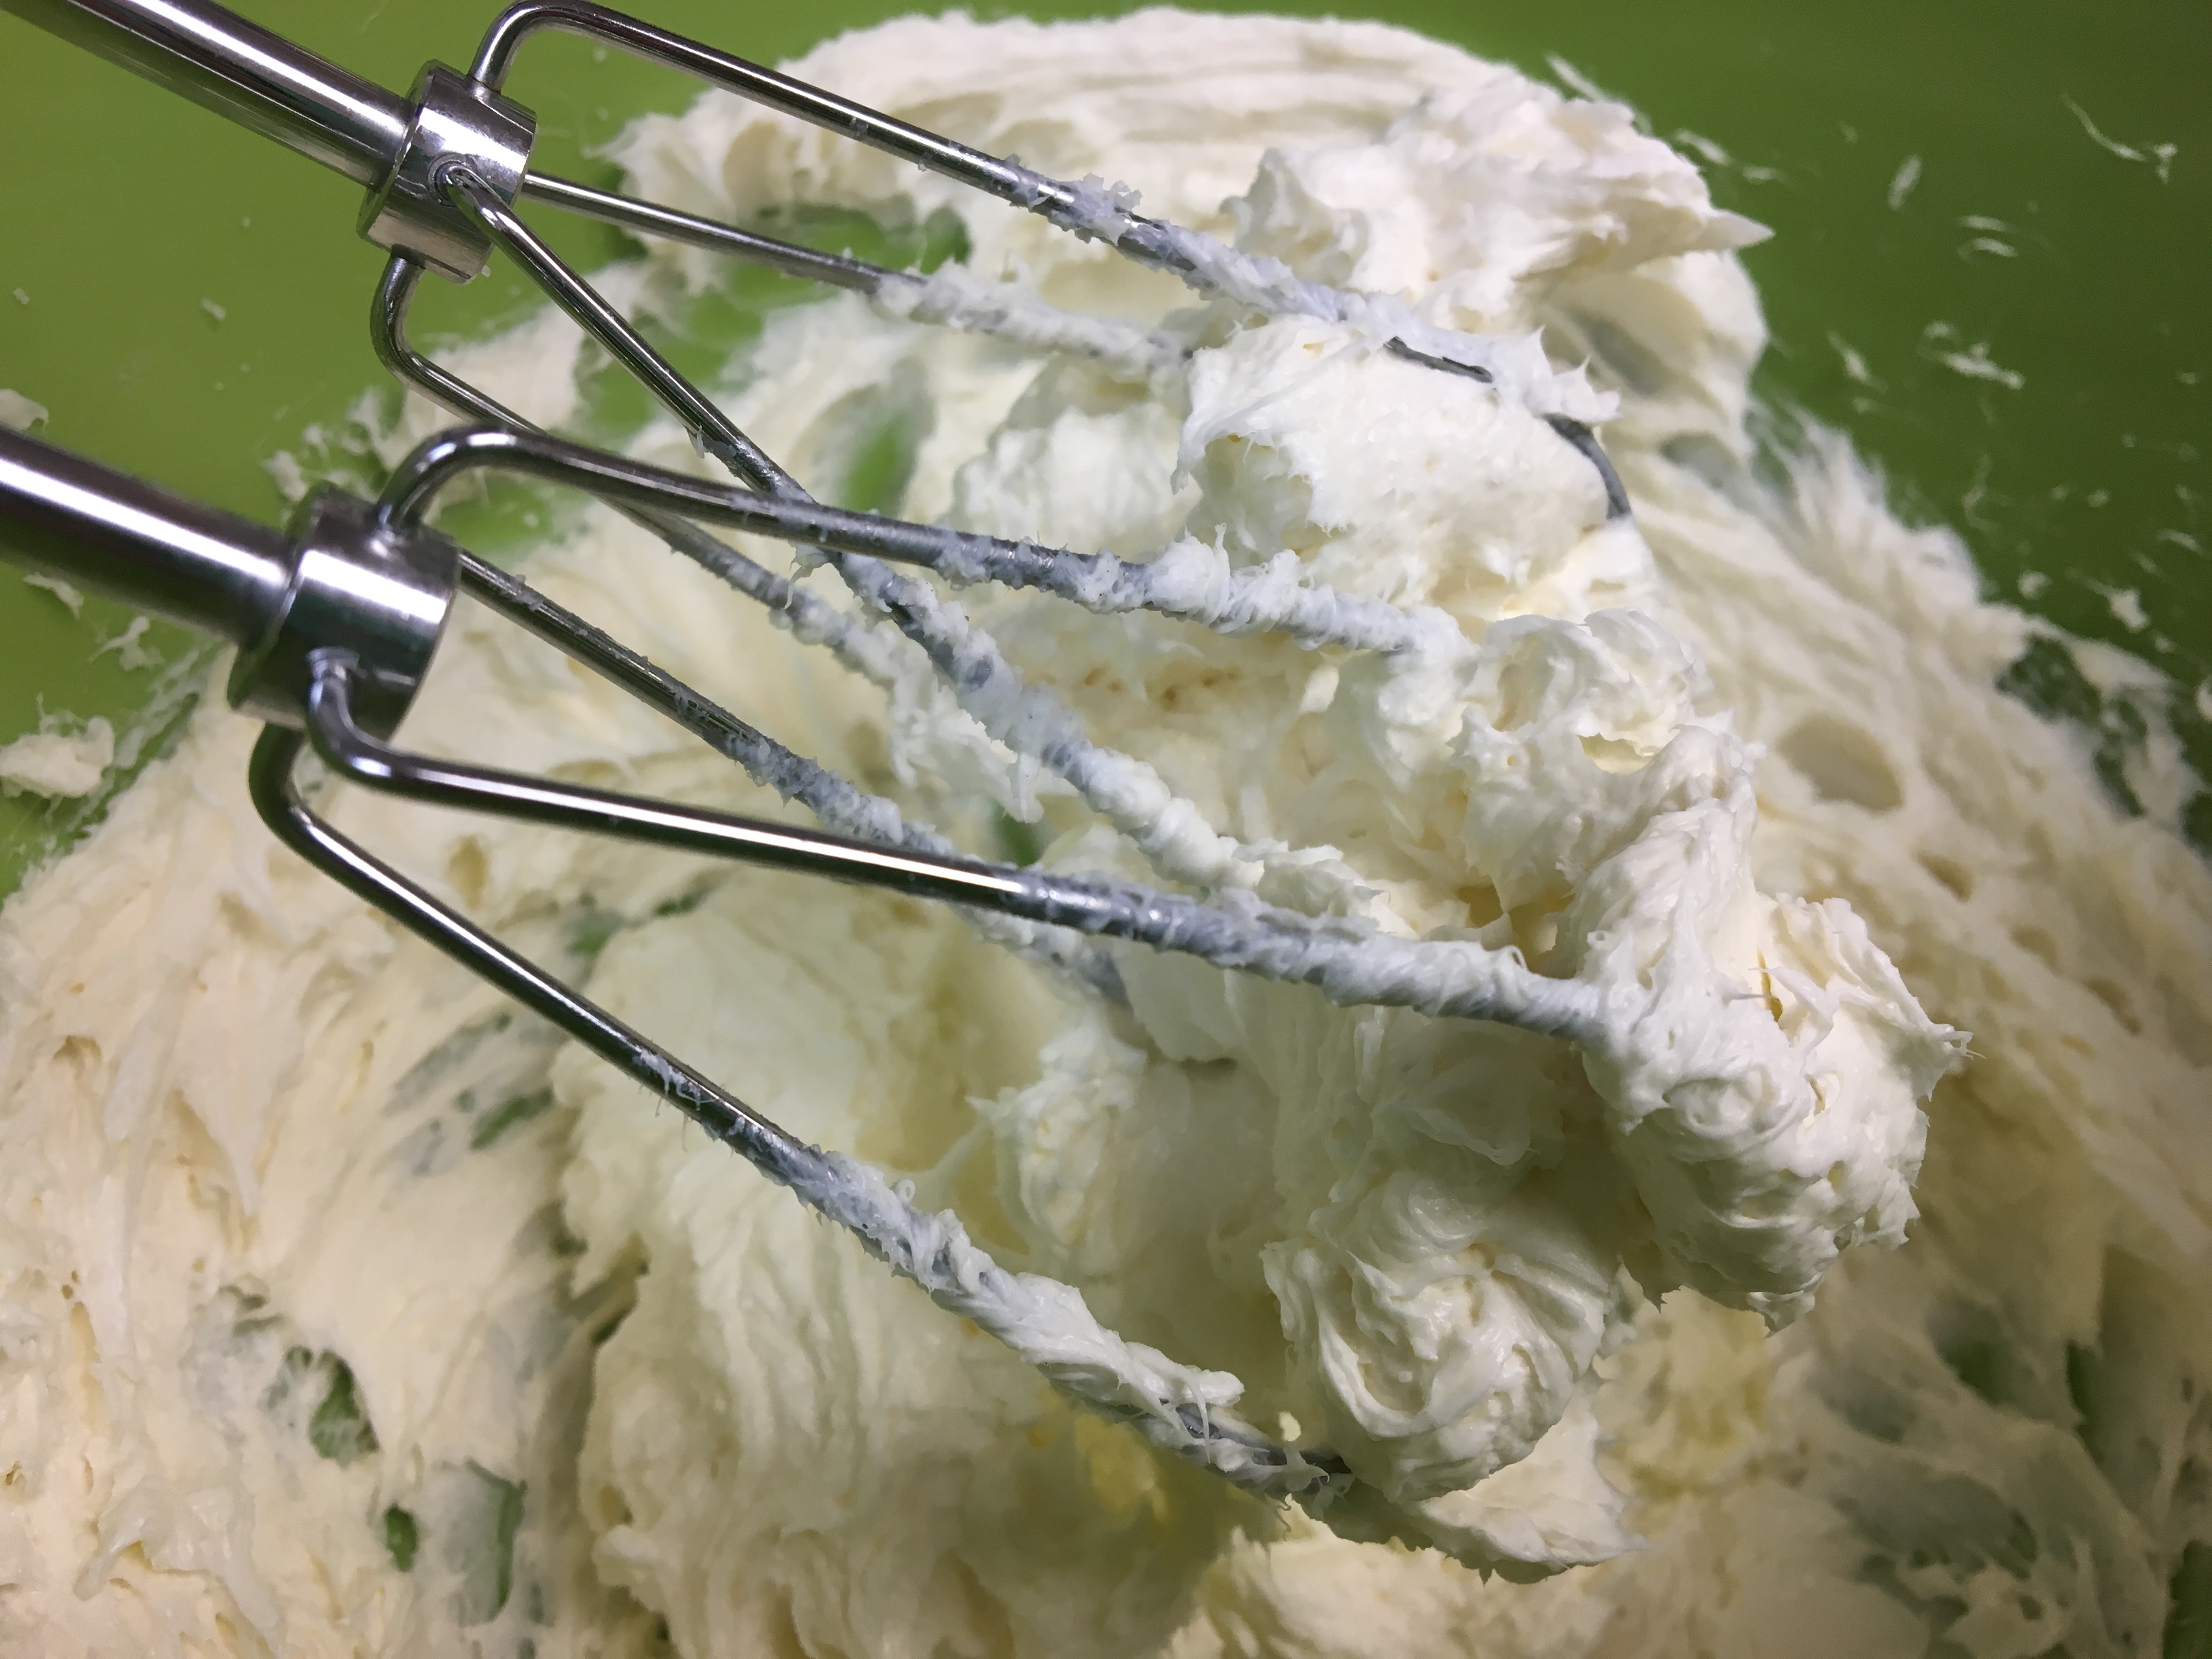
Add Mascarpone to whipped yolks, beat until combined.
In a separate bowl, whip cream to stiff peaks.
Fold the whipped cream in the mascarpone sabayon mixture and set aside.
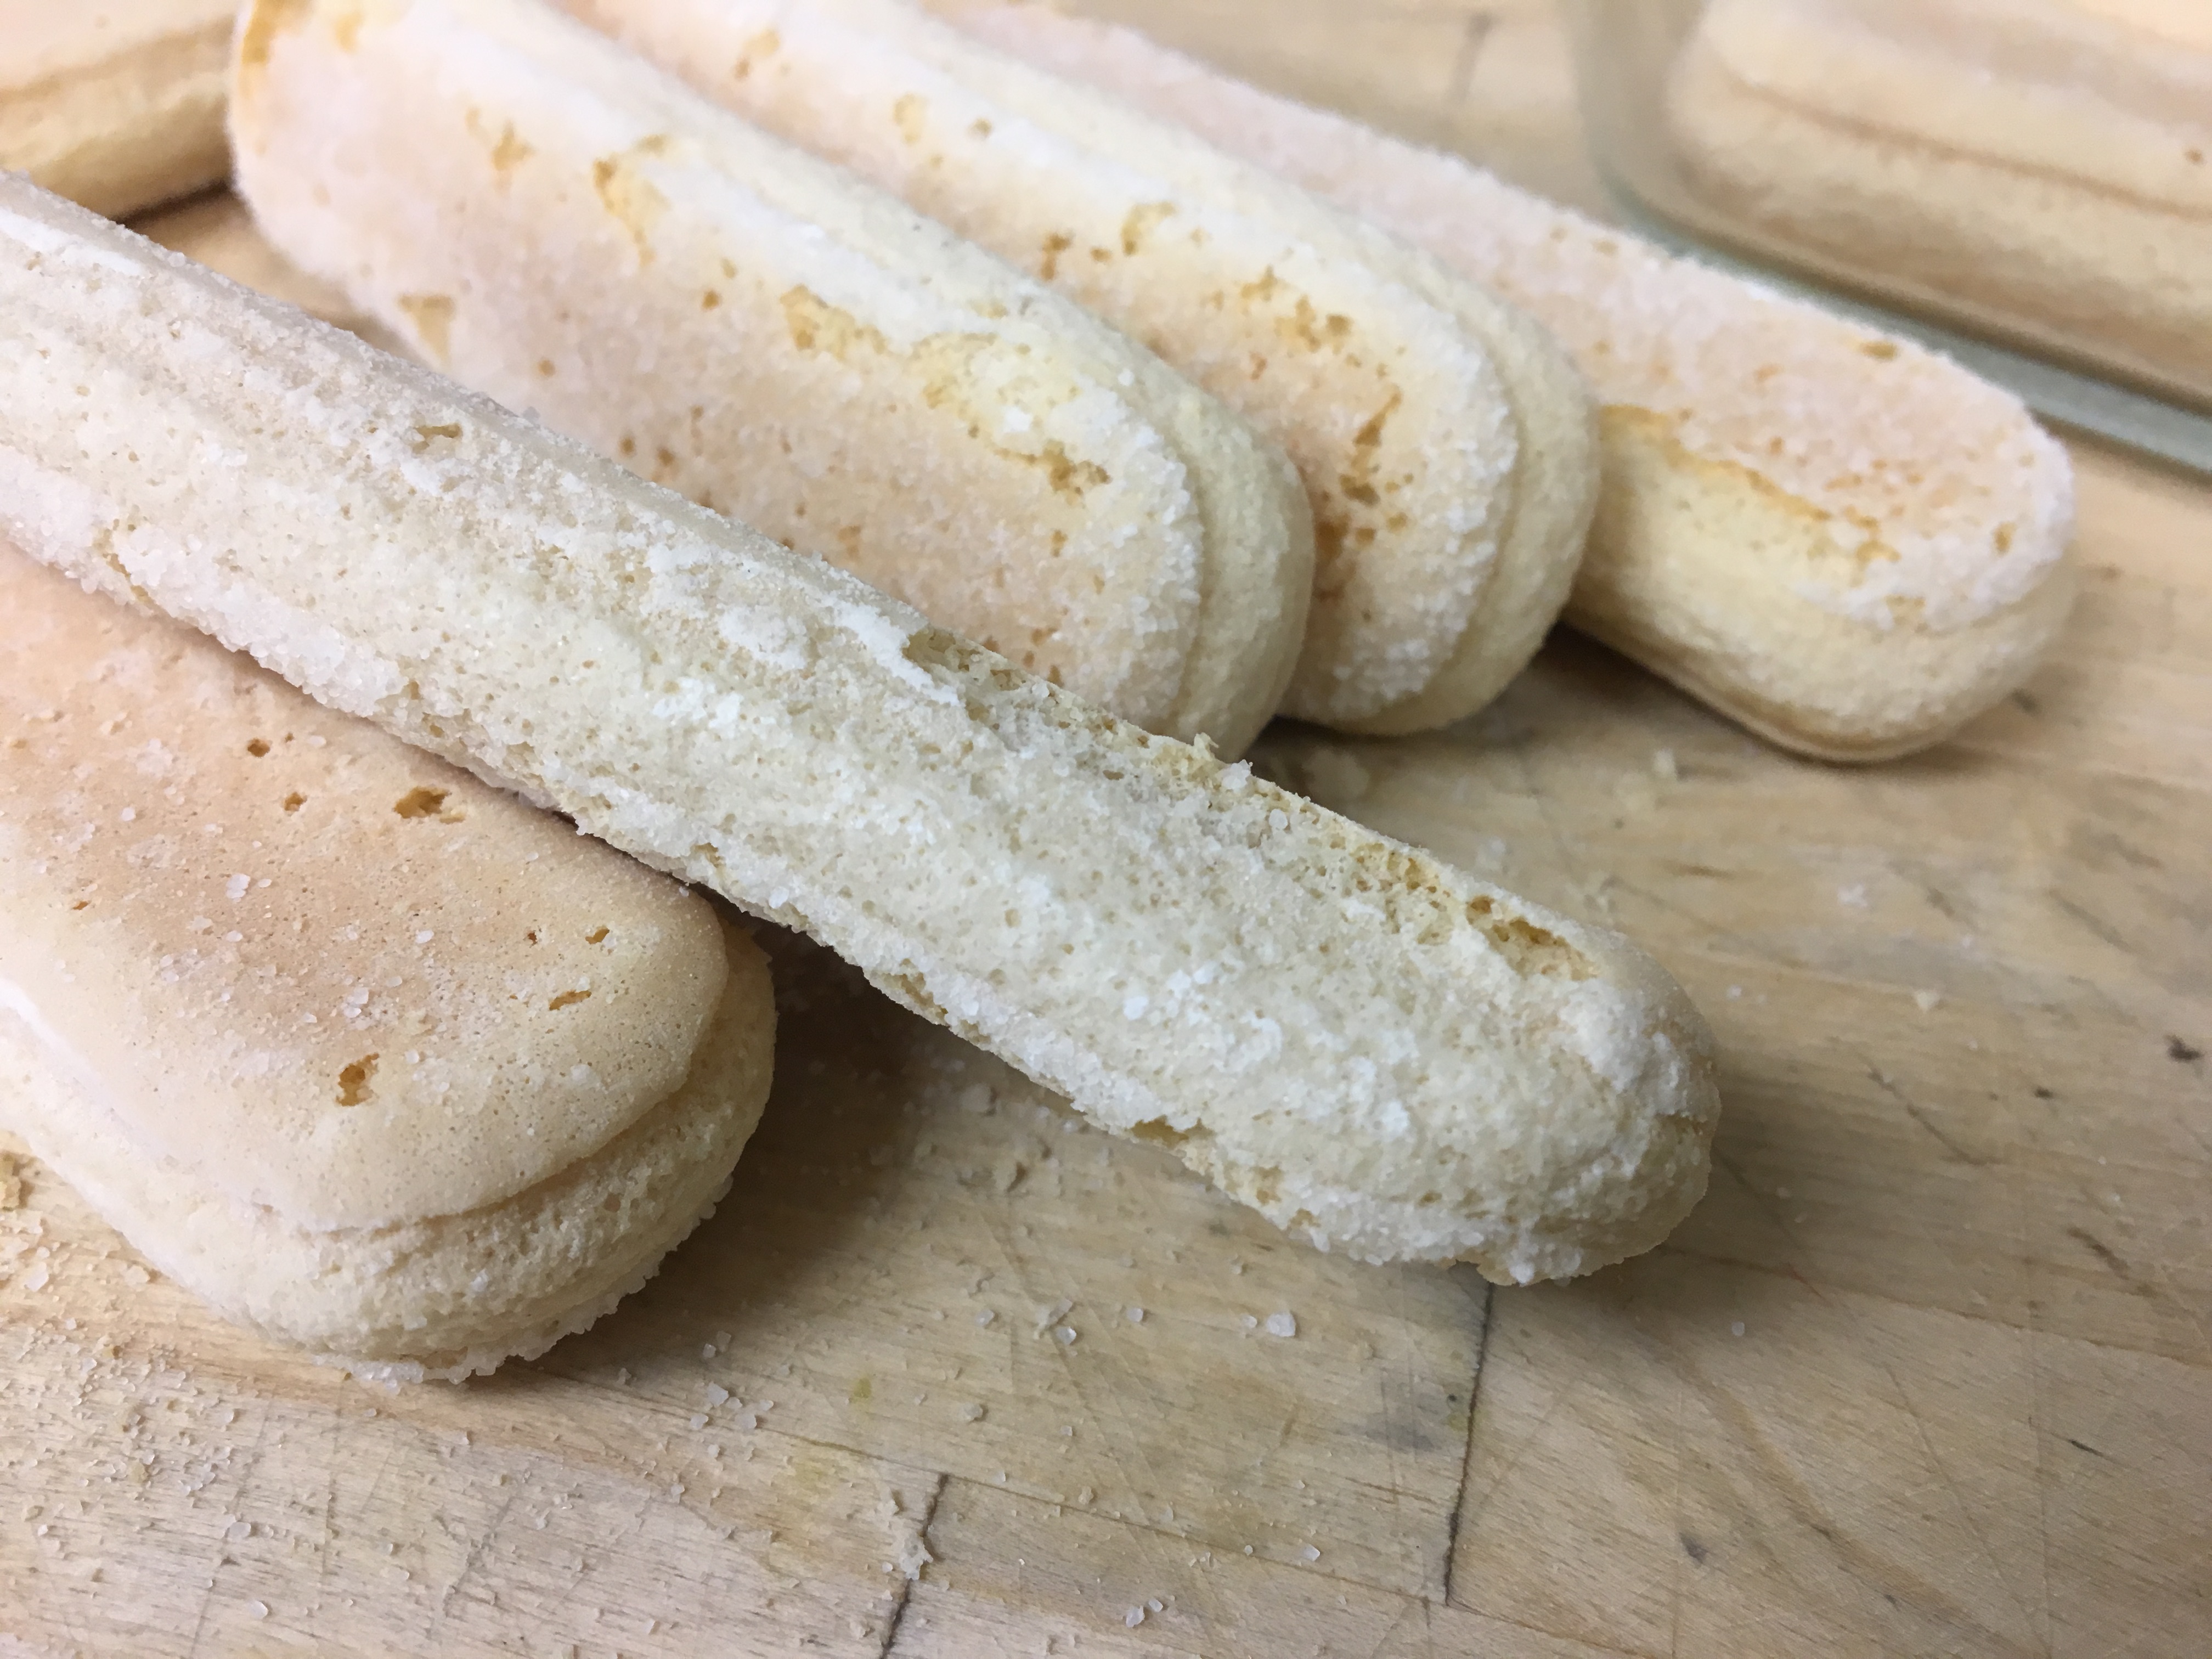
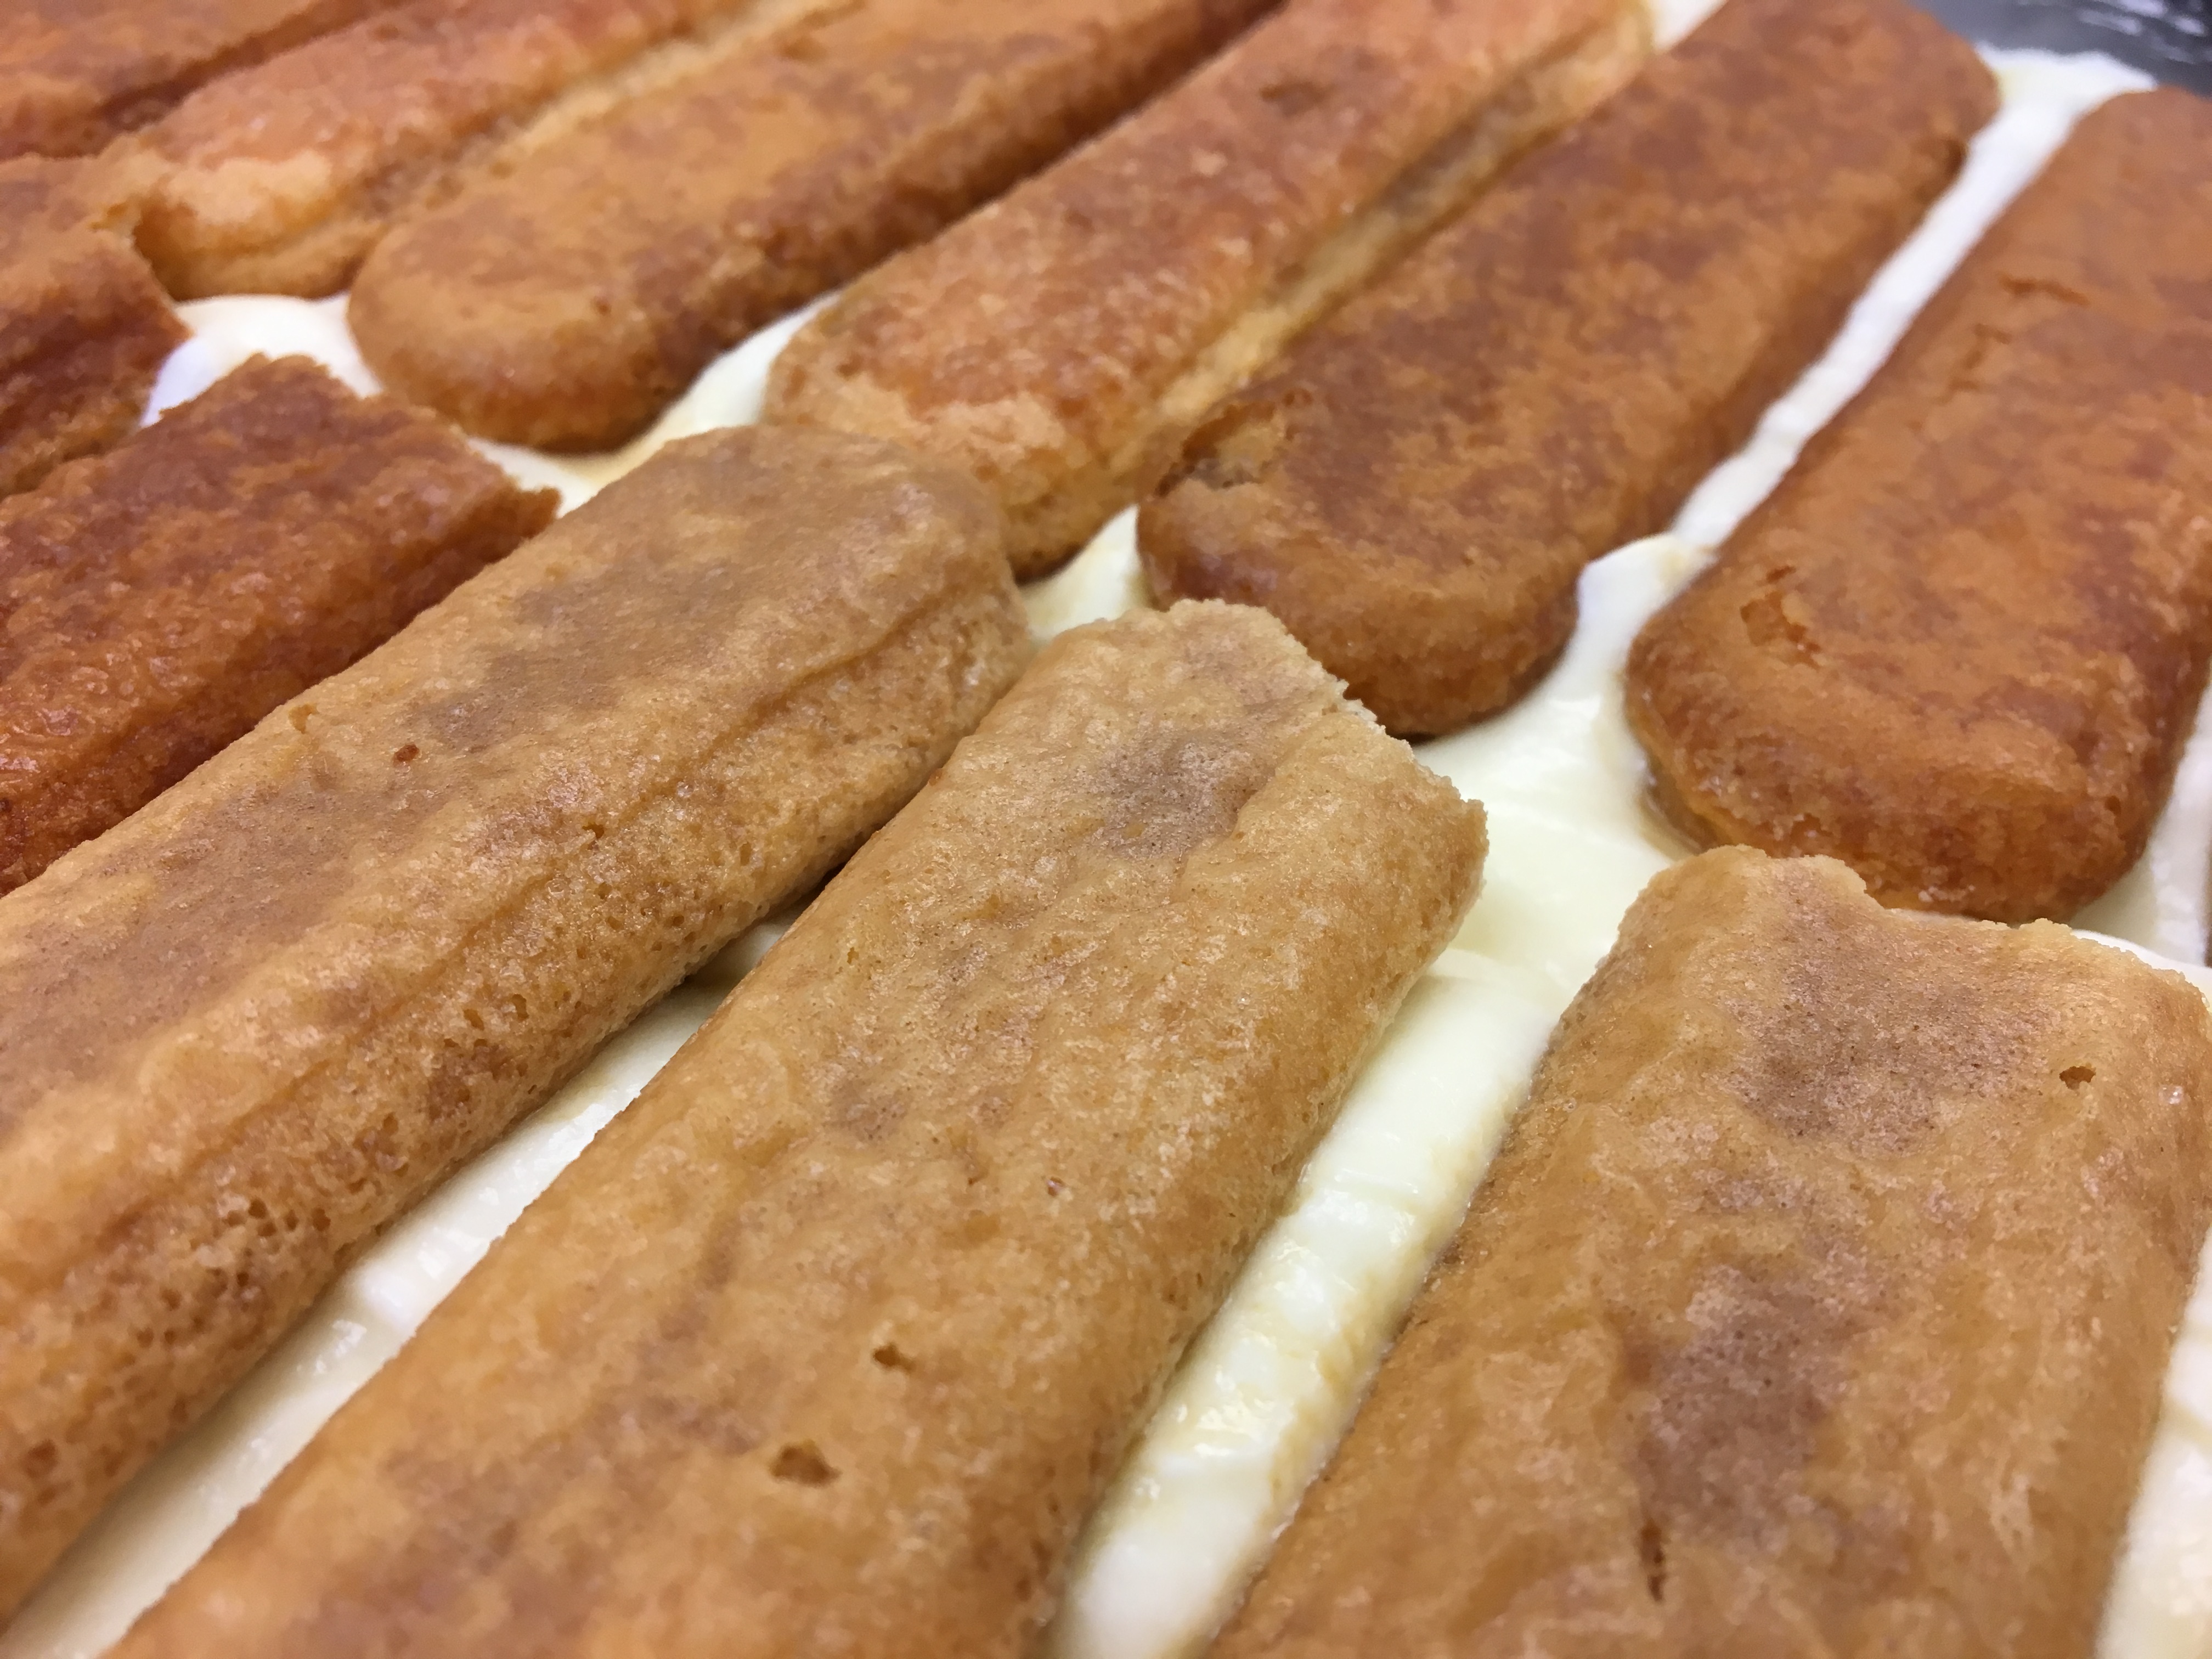
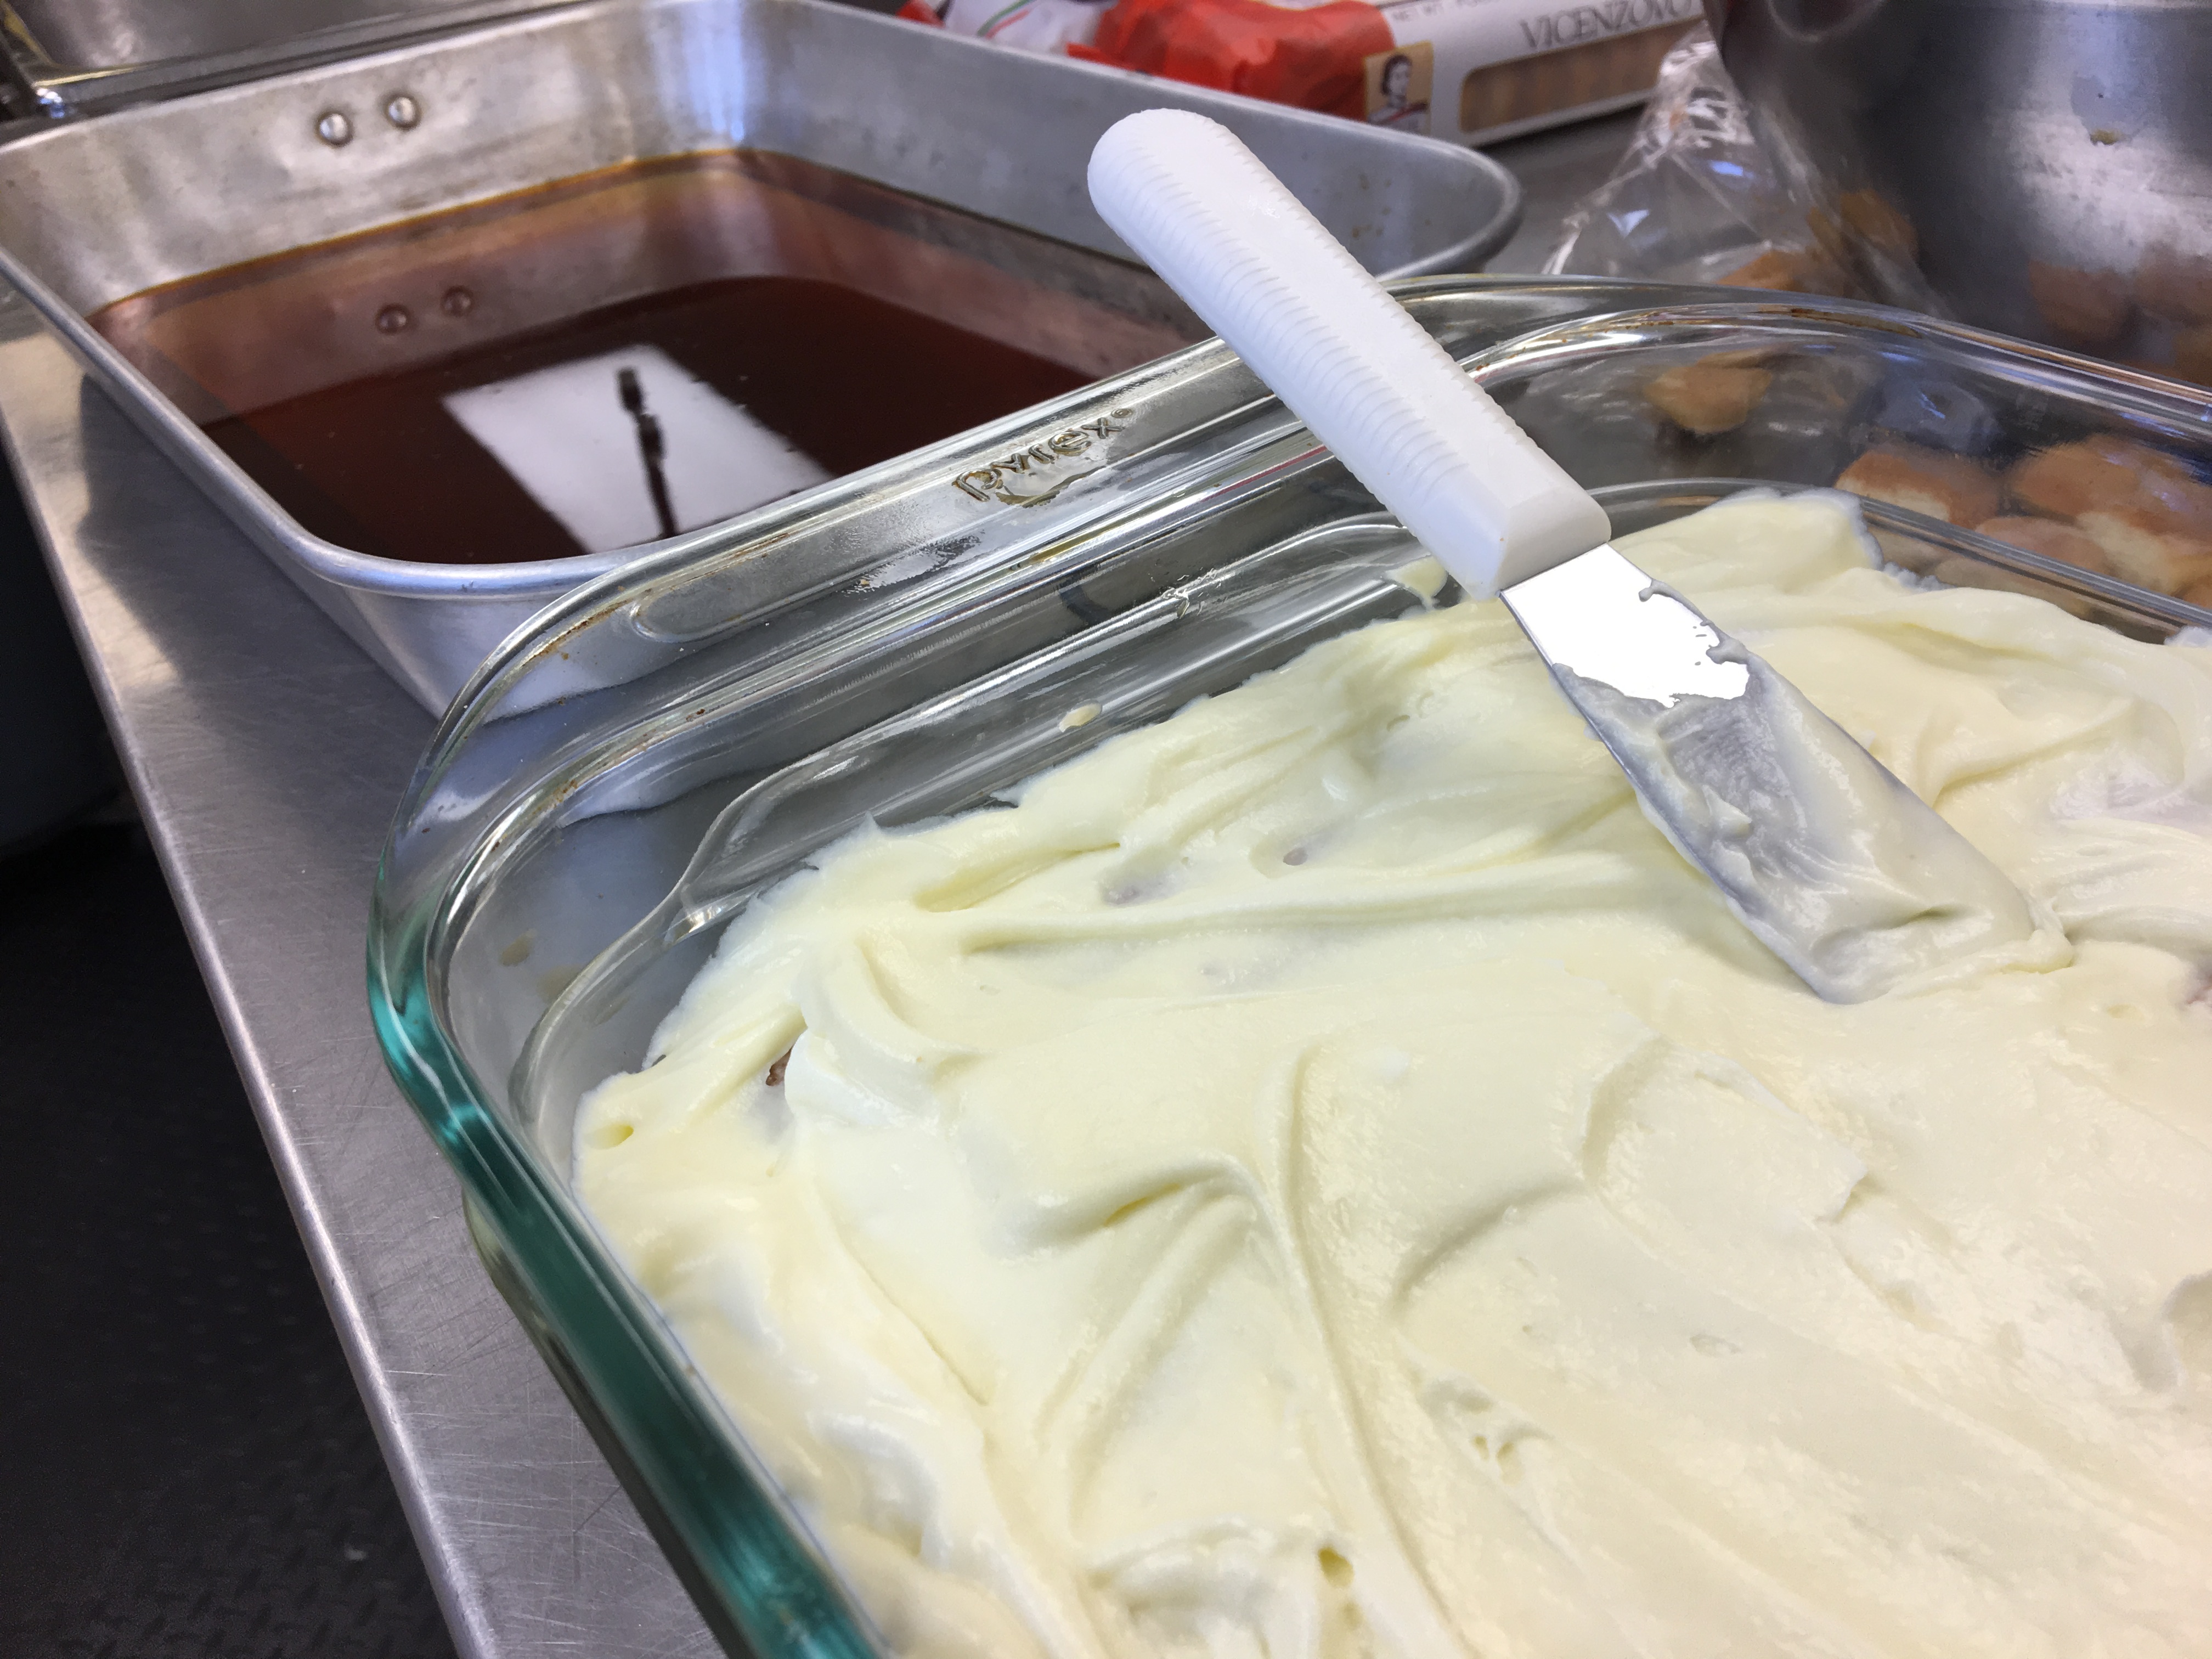
Mix the espresso (or strong coffee) and coffee liquor together. Dip the lady fingers into the mixture just long enough to get them wet.
Arrange the lady fingers in the bottom of a 9 inch square baking dish.
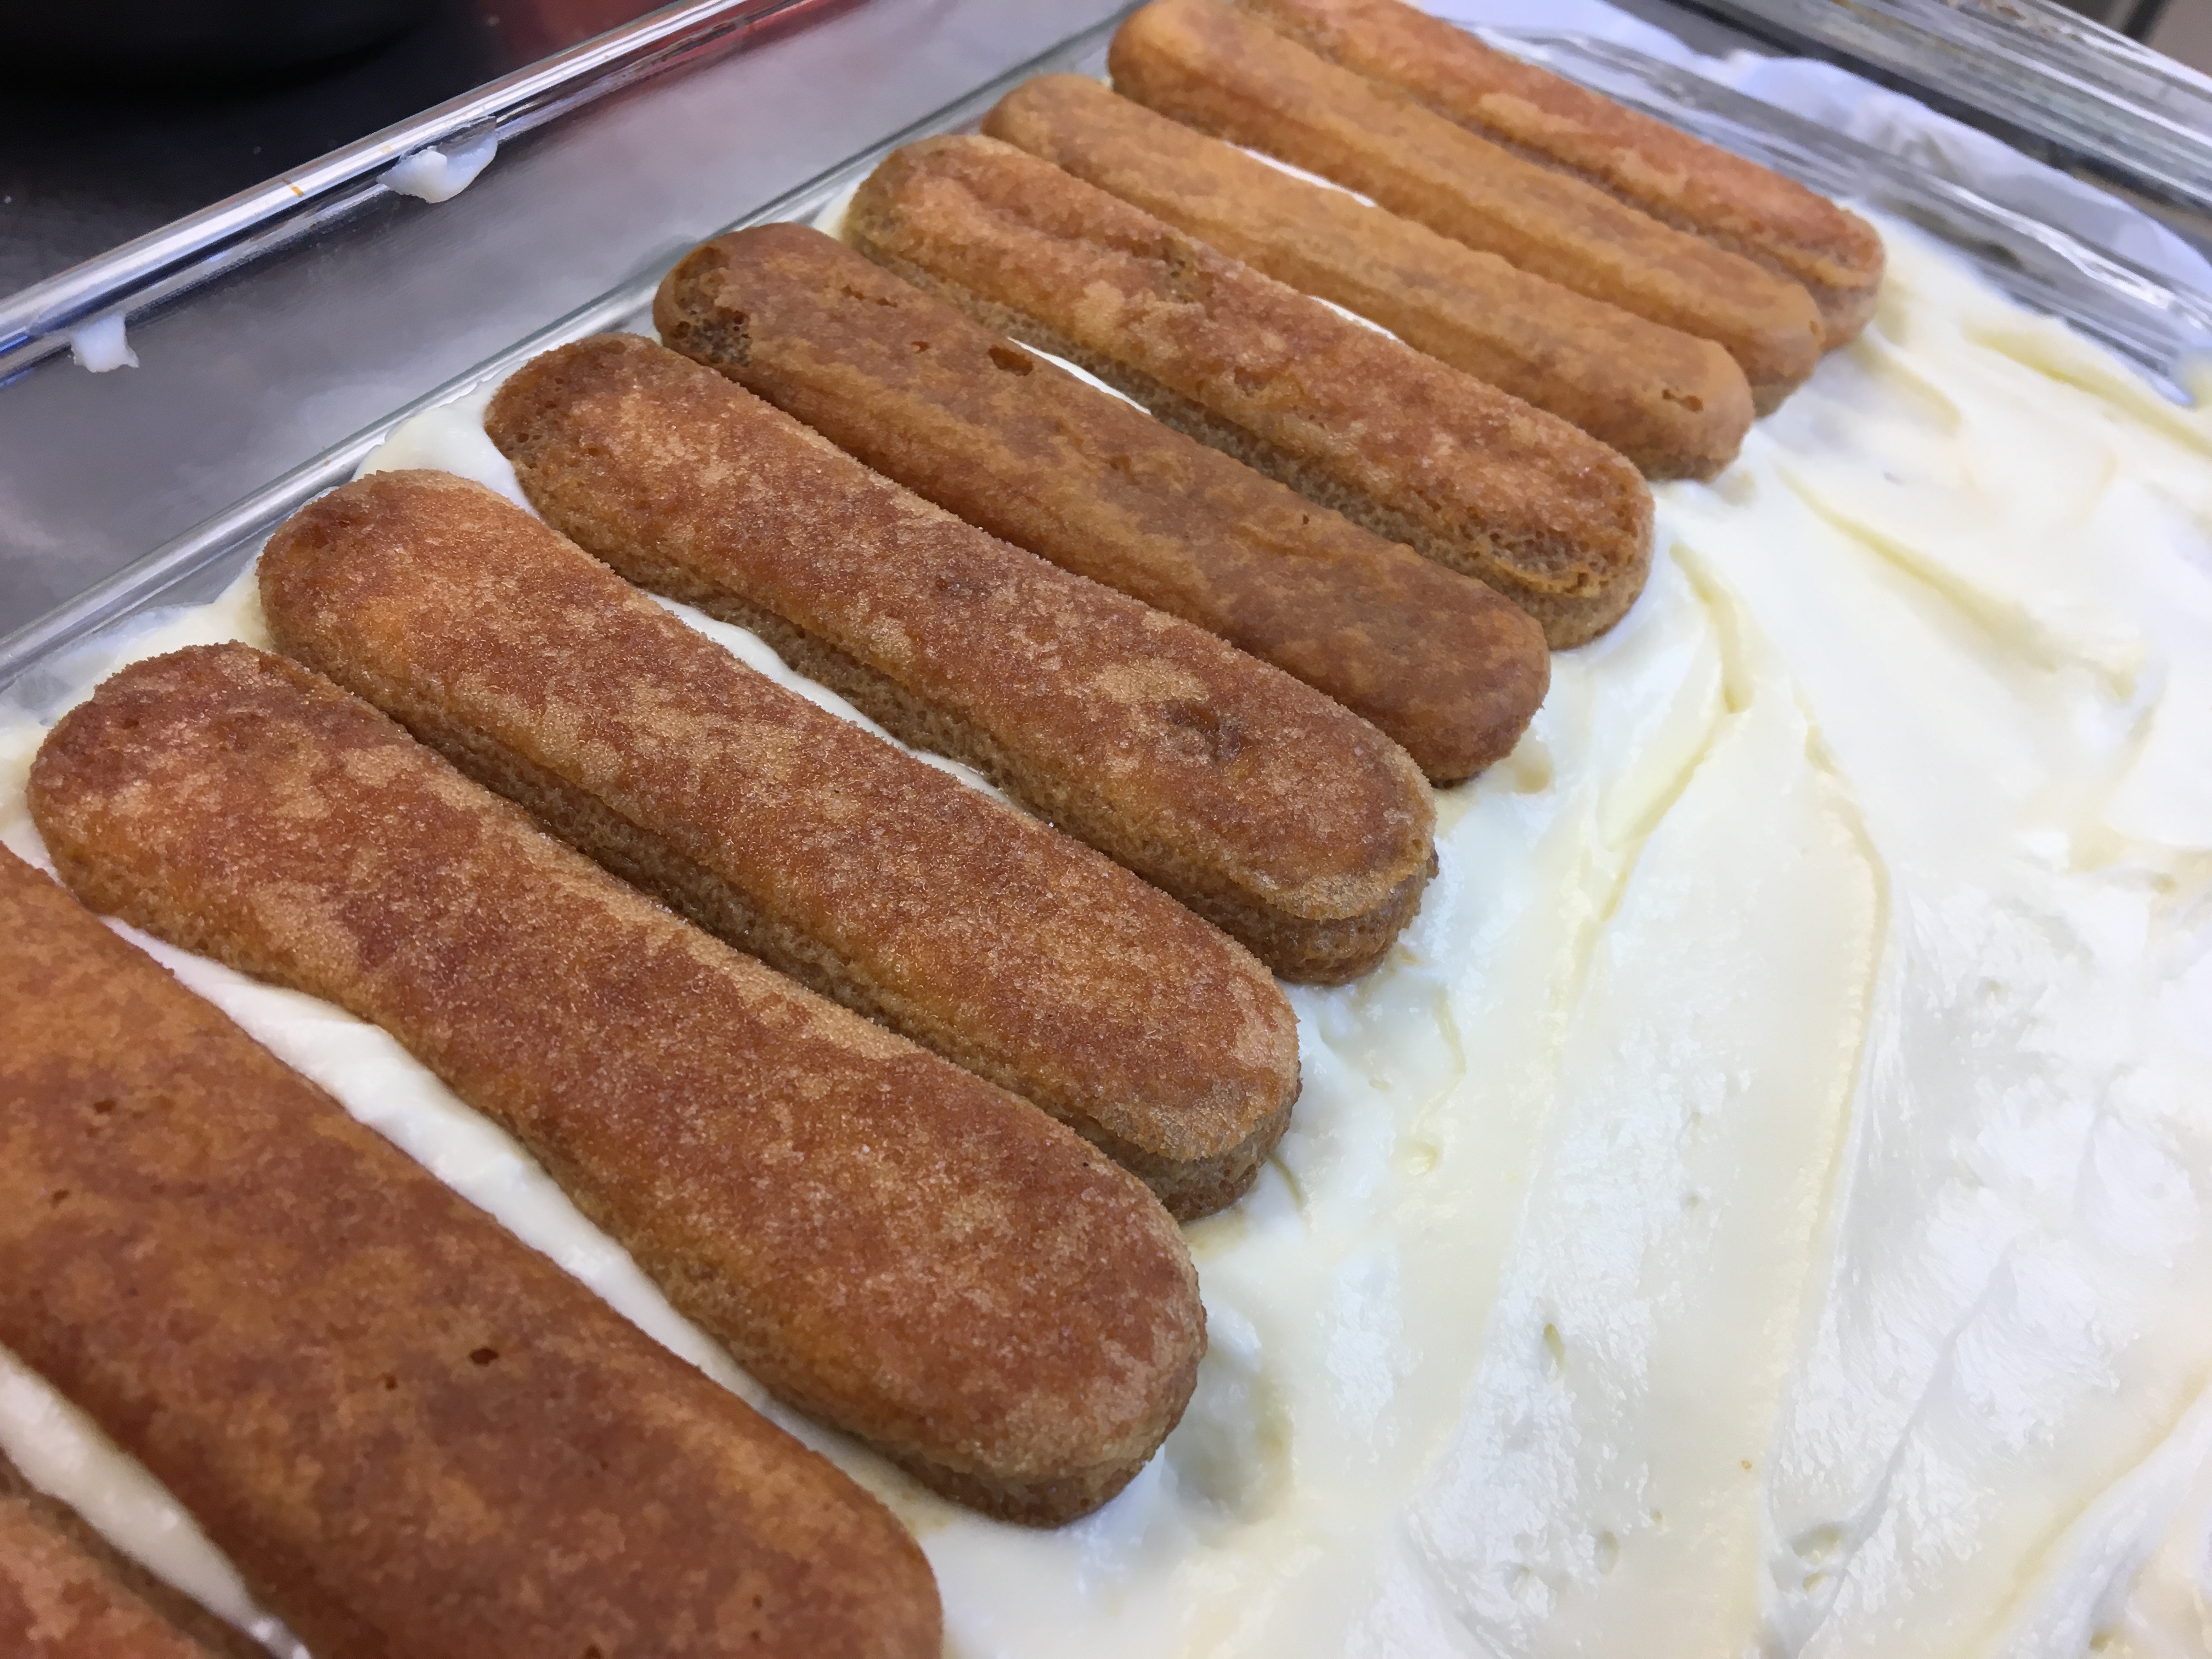
Spoon half the mascarpone cream filling over the lady fingers.
Repeat process with another layer of lady fingers add another layer of cream.
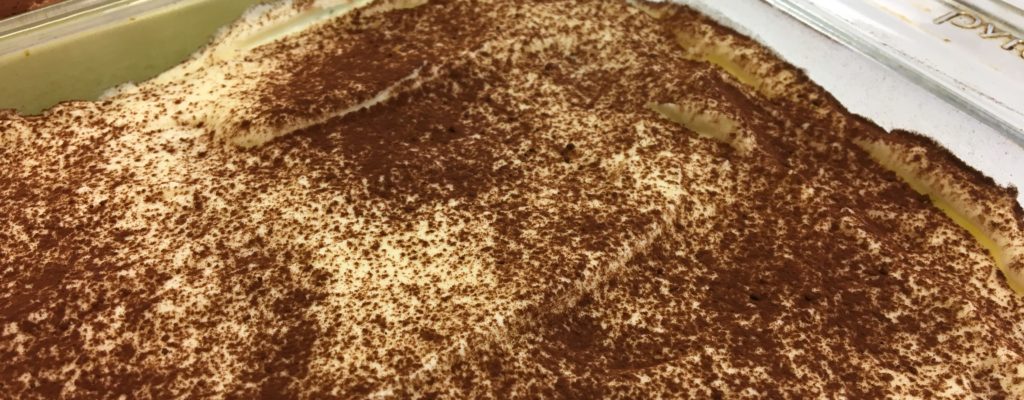
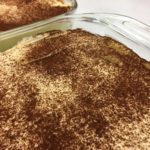
Refrigerate 4 hours or overnight and dust with cocoa before serving.
When I was a child, there was a peacock that used to strut through the back yard of my great-grandmother’s house. He would time his performance perfectly; as soon as all of us were gathered at the window, he would throw his head back, arch his feathers into a magnificent fan, and do a little pirouette as graceful as a king. It is like this with figs — they must be showcased.
I can’t pass up a fresh fig in a grocery store, especially when I’m doing holiday baking. Our local grocer had a nice selection of figs this past week, and I thought they would make a handsome and tasty dessert for a holiday luncheon we were preparing. Flamboyant as they are with their velvety exterior and intricate, seed-filled interior, they beg to be shown off.
The marriage of figs, mascarpone, and walnuts makes a fabulous winter dessert, and I would recommend this one for any dinner party. You can make the tart shells ahead and freeze them. When you are ready to use them, fill them while still frozen, and they will thaw in time for dessert. Since fresh figs are one of the most perishable fruits, they should be purchased only a day or two in advance of your meal. Look for figs that have a rich, deep color, and are plump and tender, but not mushy.
Cream the butter and sugar together until light and fluffy for 3 minutes, using a stand mixer with paddle attachment, scraping down the sides and bottom occasionally. Add the flour and mix on low speed until fully incorporated, about one minute (don’t over mix). Add the egg yolk and continue to mix on low speed until the dough comes together, about 30 seconds.
Wrap in plastic wrap and refrigerate for one hour (or up to 4 days).
Remove from refrigerator and let soften until pliable. Flour your work surface so dough does not stick, and sprinkle the top of dough with a little flour. Roll out dough, starting in middle and rolling outward, to a 1/4 inch thick disk or rectangle, depending on your tart pan.
Don’t worry if dough tears or crumbles, it’s easily pressed together in the tart pan. Lift over the rolling pin and place in tart pan with removable bottom. Patch holes or tears by pressing dough with fingers. Press dough into sides, corners and bottom. Roll the rolling pin over the top of the tart pin for a clean even edge. Refrigerate 30 minutes -this is important.
Bake at 350 for 30 -35 minutes, positioned in the center of the oven, until golden. Be sure to keep a careful eye so that it doesn’t over cook. If using individual tart pans, these will take about 12 min. to bake. Let cool before filling.
While these are baking, spread your walnuts onto a sheet pan and toast in the oven – once you smell them, remove them, they will be done!
Filling
Put the jam in a microwaveable bowl, and heat in the microwave for about 20-30 seconds until the jam is of a more spreadable consistency. Add the brandy, a tablespoon at a time until desired consistency. Spread this over the bottom of the tart shell (s) but not up the sides. Let cool.
In a stand mixer with the beater attachment, whisk together the mascarpone, whipping cream, vanilla, powdered sugar and salt until soft peaks form. Be careful, especially if you are using an electric mixer, because the mixture will thicken very quickly.
Spread this mixture over the fig jam leaving about 1/4 “ of space of the jam showing on the edges, so not completely covering the jam base.
Decorate the top w/ some toasted walnuts mounded in the center, a couple of quartered figs and right before serving, drizzle with some light honey.
If making ahead, have your components ready but don’t assemble until close to serving time.
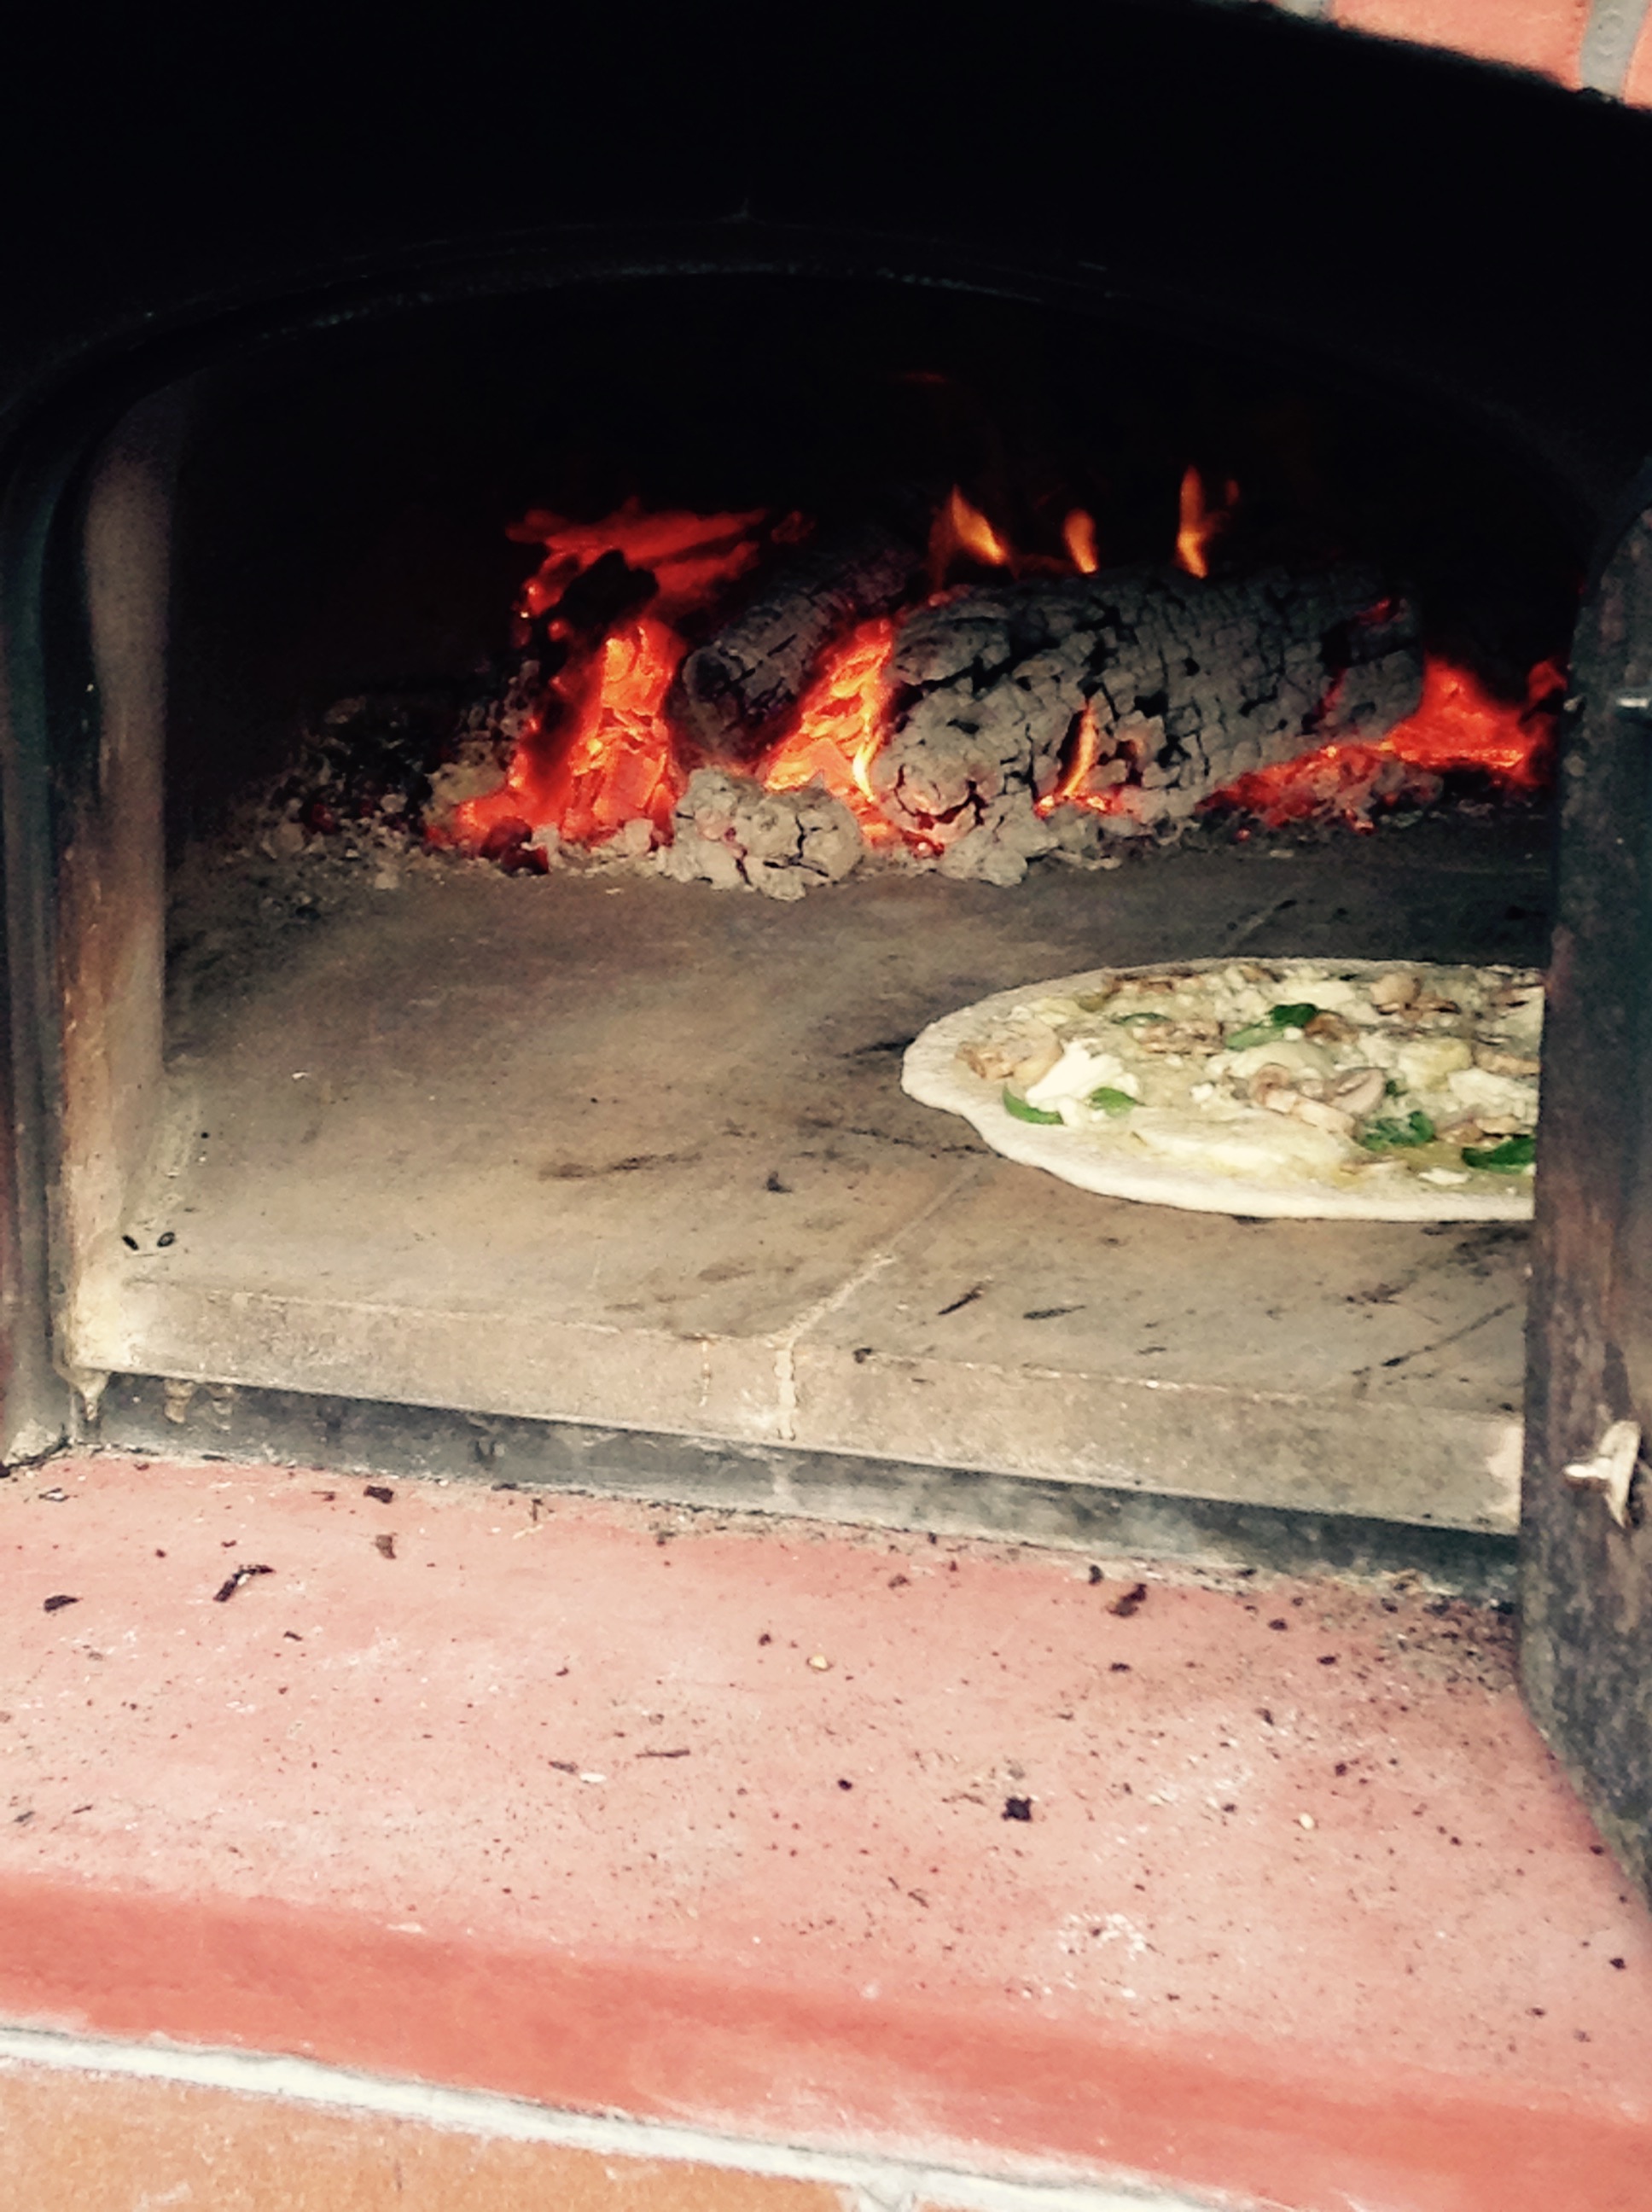
This past spring, the brass group of our community built us an amazing outdoor kitchen and wood fire oven inspired by the one we have at Villa Via Sacra, our mission house in Barga, Italy. All summer long and even now into the colder months of fall, we’ve been able to fire up the oven and make one of our favorite foods, amongst other things, pizza!
When I served at Villa Via Sacra, I invented a Tuscan pizza of gorgonzola and prosciutto with fig jam that we had made from our gorgeous fig tree. It was delicious – almost like dessert – and we quickly adopted it as one of our “house pizzas”. This past weekend, we hosted a men’s retreat at our community, so I thought it might be fun to make some adaptions to this recipe and really perfect it – once and for all. I am so happy with the results! Thin crust pizza with a mixture of sweet and salty ingredients topped with a salad of crisp nutty arugula that’s been tossed in a balsamic vinaigrette. Heaven begins here! It doesn’t get much better than this! Now that figs are readily available in the market (get green fresh ones, not dried) and certainly are a treat to many, you just might want to fire up your oven and give this a try.
Andiamo mangiare!
Print Recipe
Votes: 5
Rating: 4.8
You:
Rate this recipe!
Prosciutto, Fig and Gorgonzola Pizza with Arugula Salad
Place ¼ cup very warm water in a small bowl and sprinkle with the yeast. Let sit for 5 minutes or until yeast is hydrated and creamy (This will allow the yeast to be quickly absorbed by the flour).
Place flour, salt, yeast mixture, and remaining water in mixer bowl fitted with a dough hook.
Mix on low speed for 2 minutes to combine. If the dough appears too wet and sticky and is not combining, add flour 1 tablespoon at a time while mixing until dough takes on a “shaggy” appearance.
Drizzle with oil and mix for 2 minutes more. Dough should form a smooth ball and clear the sides of the bowl.
Turn mixer off, cover top of bowl with plastic wrap, and let rest for 20 minutes.
Resume mixing on medium low speed for 3 minutes, or until dough forms a smooth ball, clearing sides of bowl.
Place in a lightly oiled bowl and cover with plastic wrap.
Let sit at room temperature for 2 ½ hours. It will double in size. Dough may be used immediately.
Instructions for Assembly:
Preheat oven to 500 degrees or highest setting
Cut dough into 4 – 8 oz. balls
Dust both sides of dough with flour and roll out to make a thin crust
Drizzle with Olive oil
Sprinkle generously with Gorgonzola
Place into a wood fire oven (or regular preheated oven – preferably on a pizza stone)until the crust is starting to golden
Remove from oven and quickly distribute on top of the pizza: sliced fresh figs, cover with slices of prosciutto and dot with fig jam and mascarpone cheese – don’t get too heavy on any one ingredient or your end result will be soggy and the individual flavors will be lost.
Drizzle with olive oil
Place back into oven for about another minute – watch carefully
Meanwhile, dress a bunch of fresh arugula with an aged balsamic vinegar, olive oil, salt and pepper
Once out of oven, top with the dressed arugula, slice and enjoy!
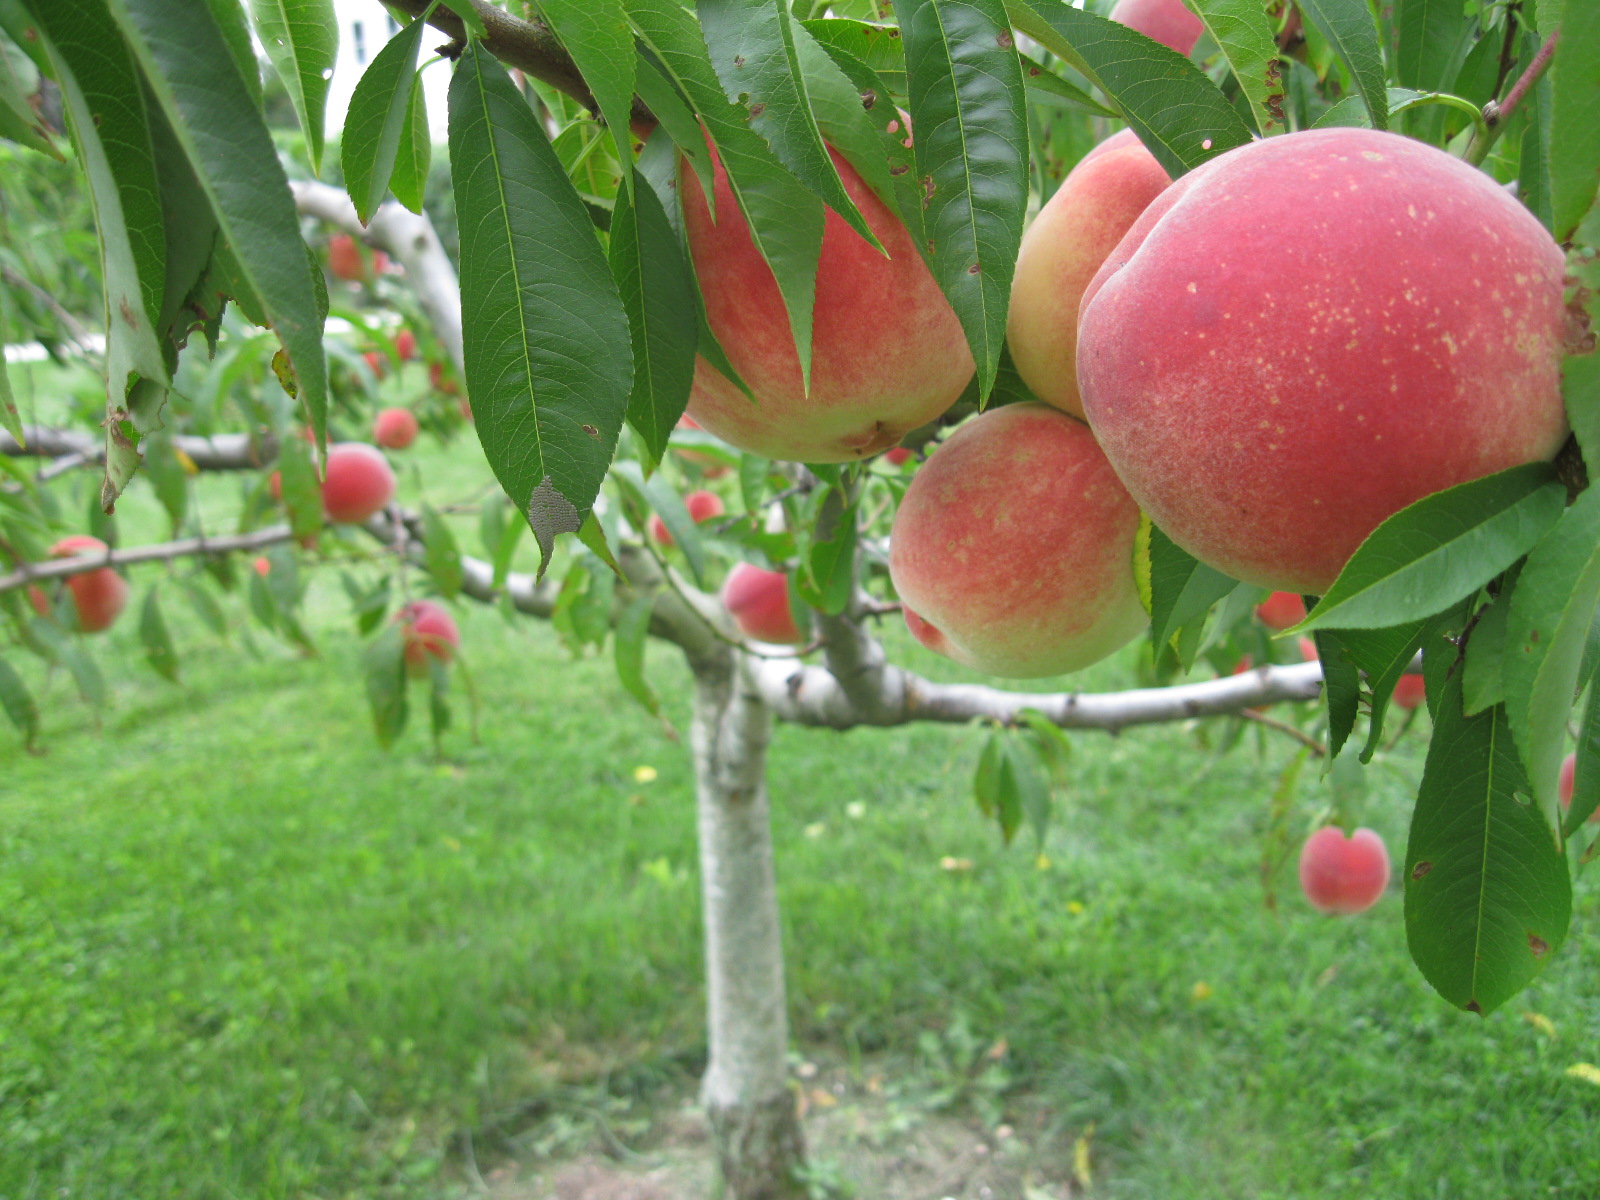
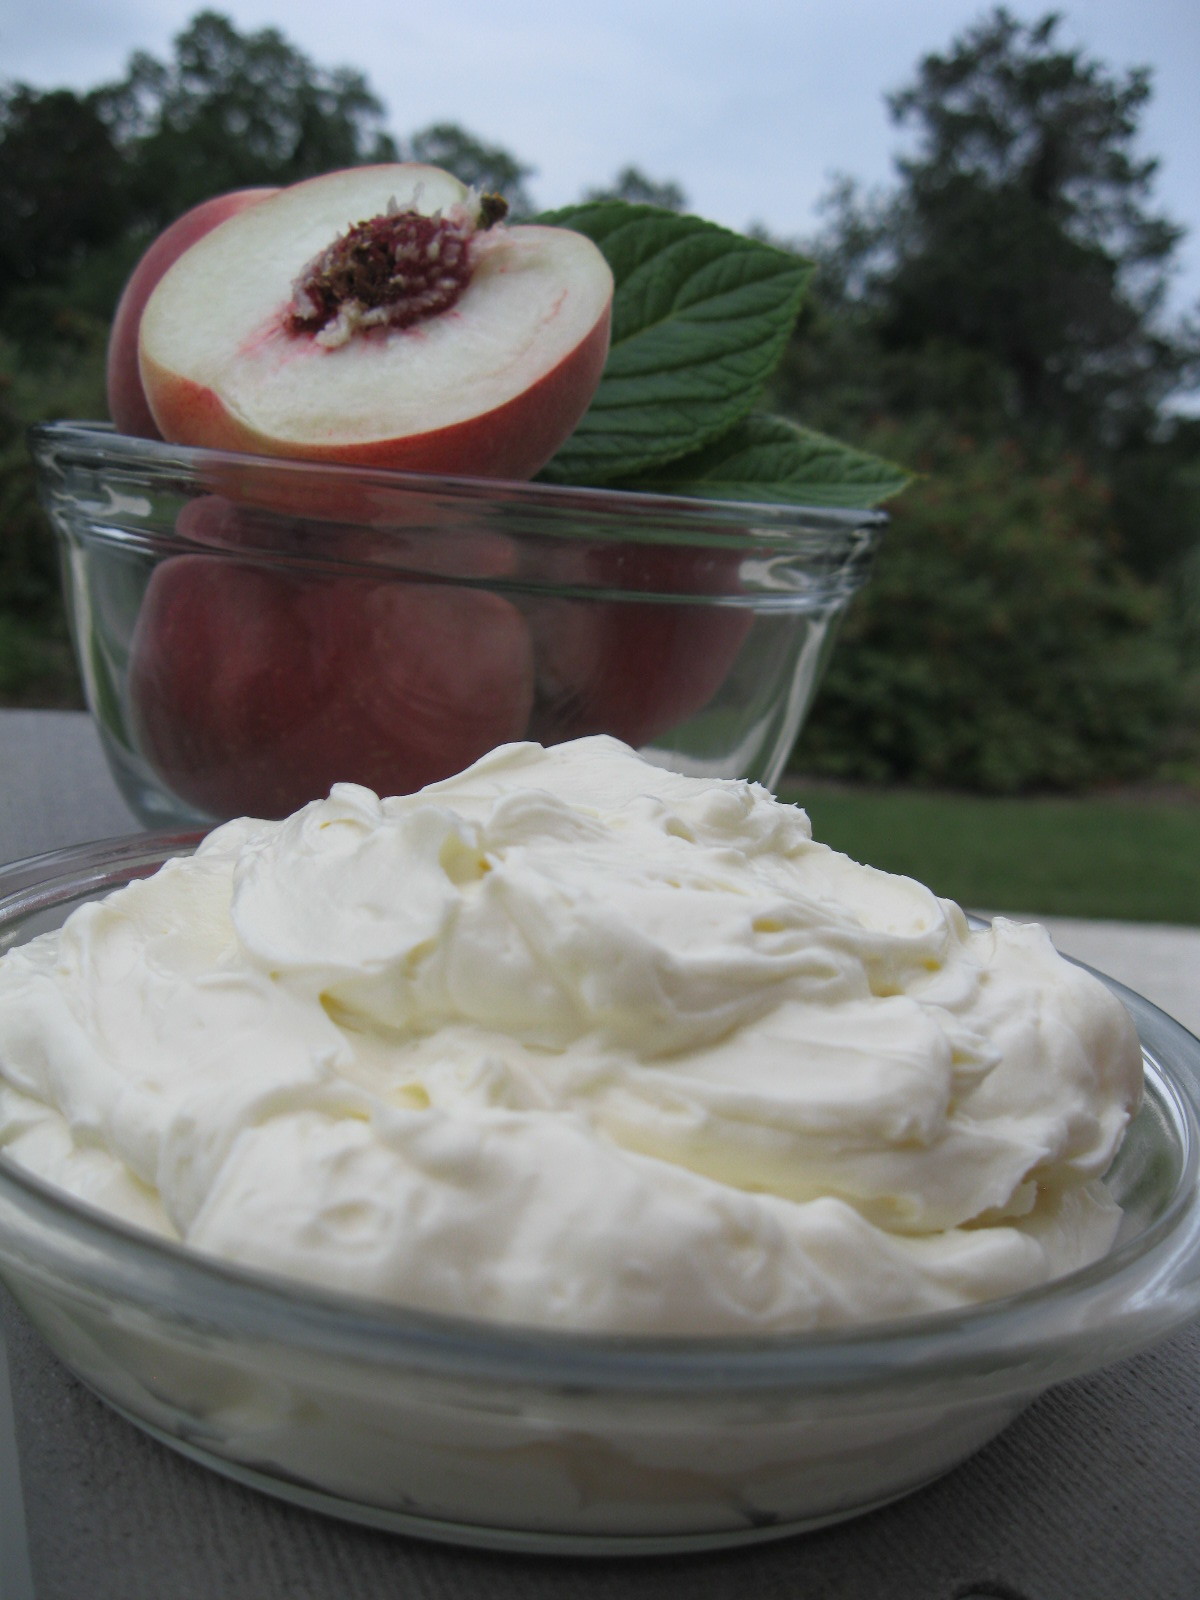
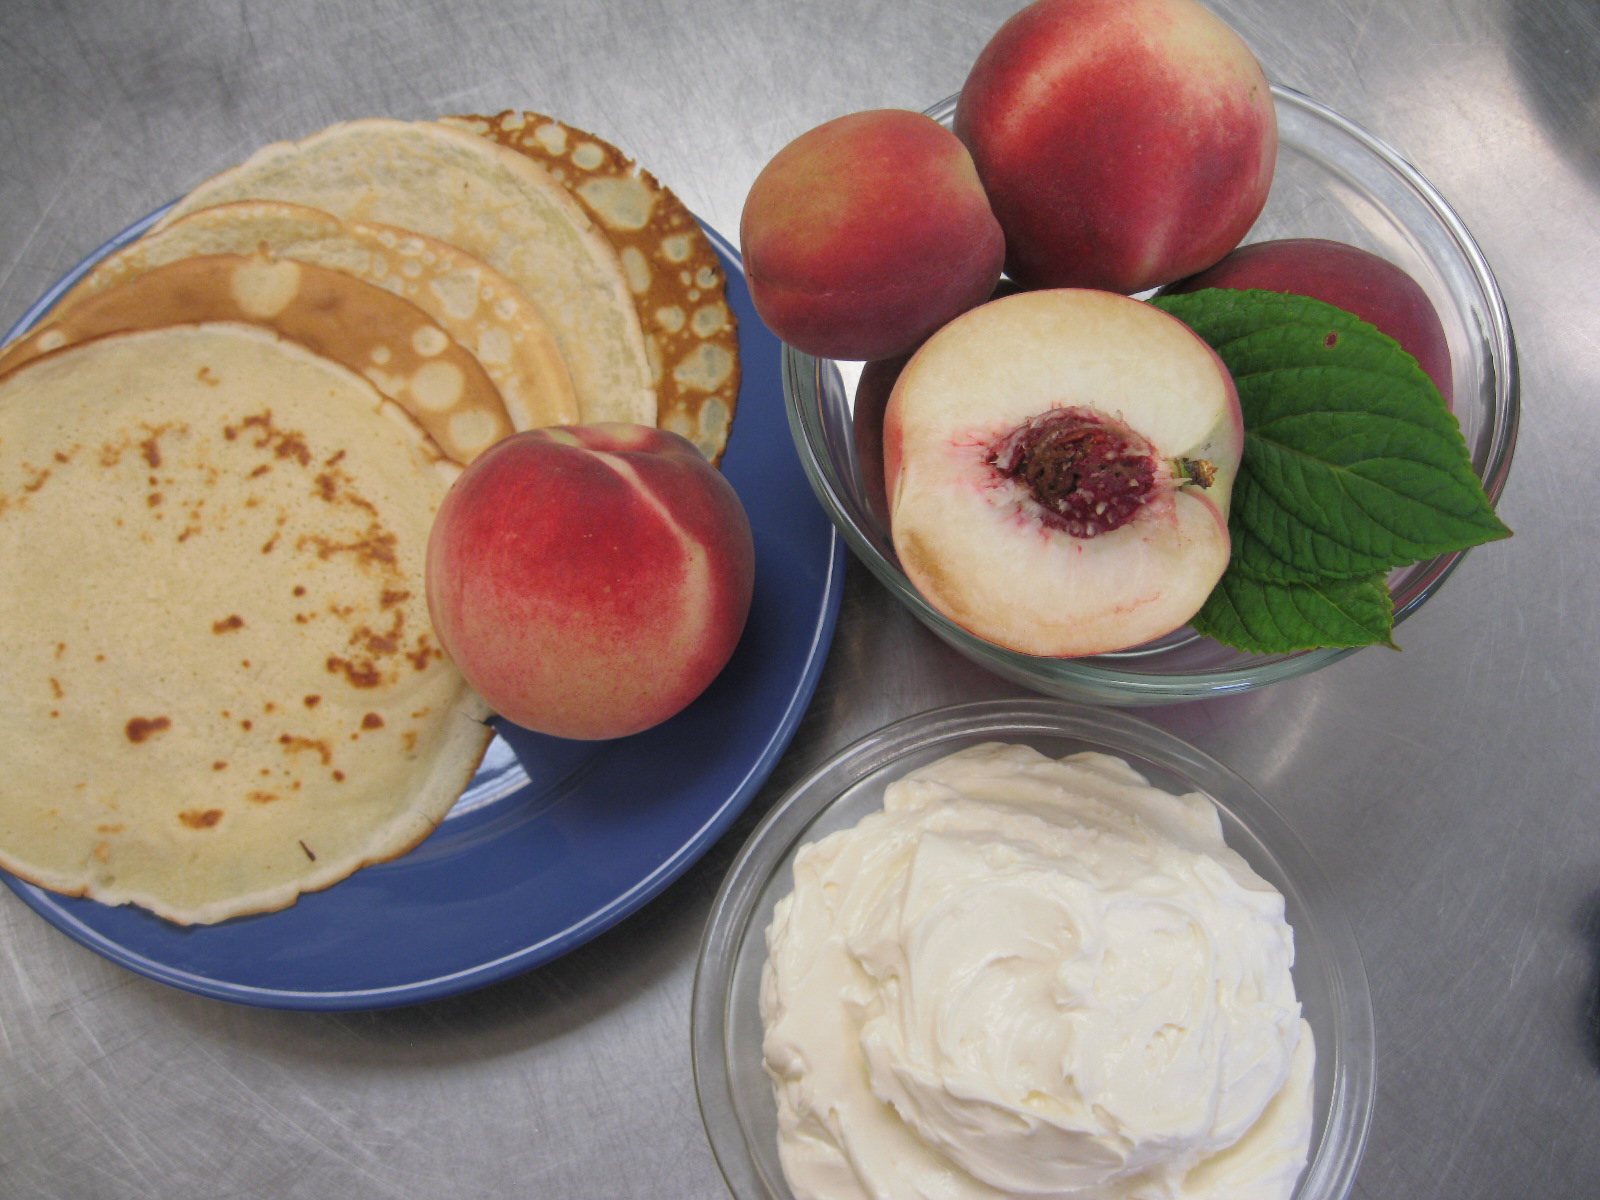
We are very blessed to have our own peach trees which yield an abundance of beautiful fruit……However, we never have too many. Whether eaten fresh and raw, or grilled, or in pies, cobblers jams or chutneys we never seem to tire of them, nor do our guest and retreatants. We love to surprise them with an unexpected breakfast of our mascarpone crepes embellished with a generous serving of fresh sliced peaches laced with fresh raspberry puree. The smiles on their faces as they savor each bite are as beautiful to behold as is the dish itself.
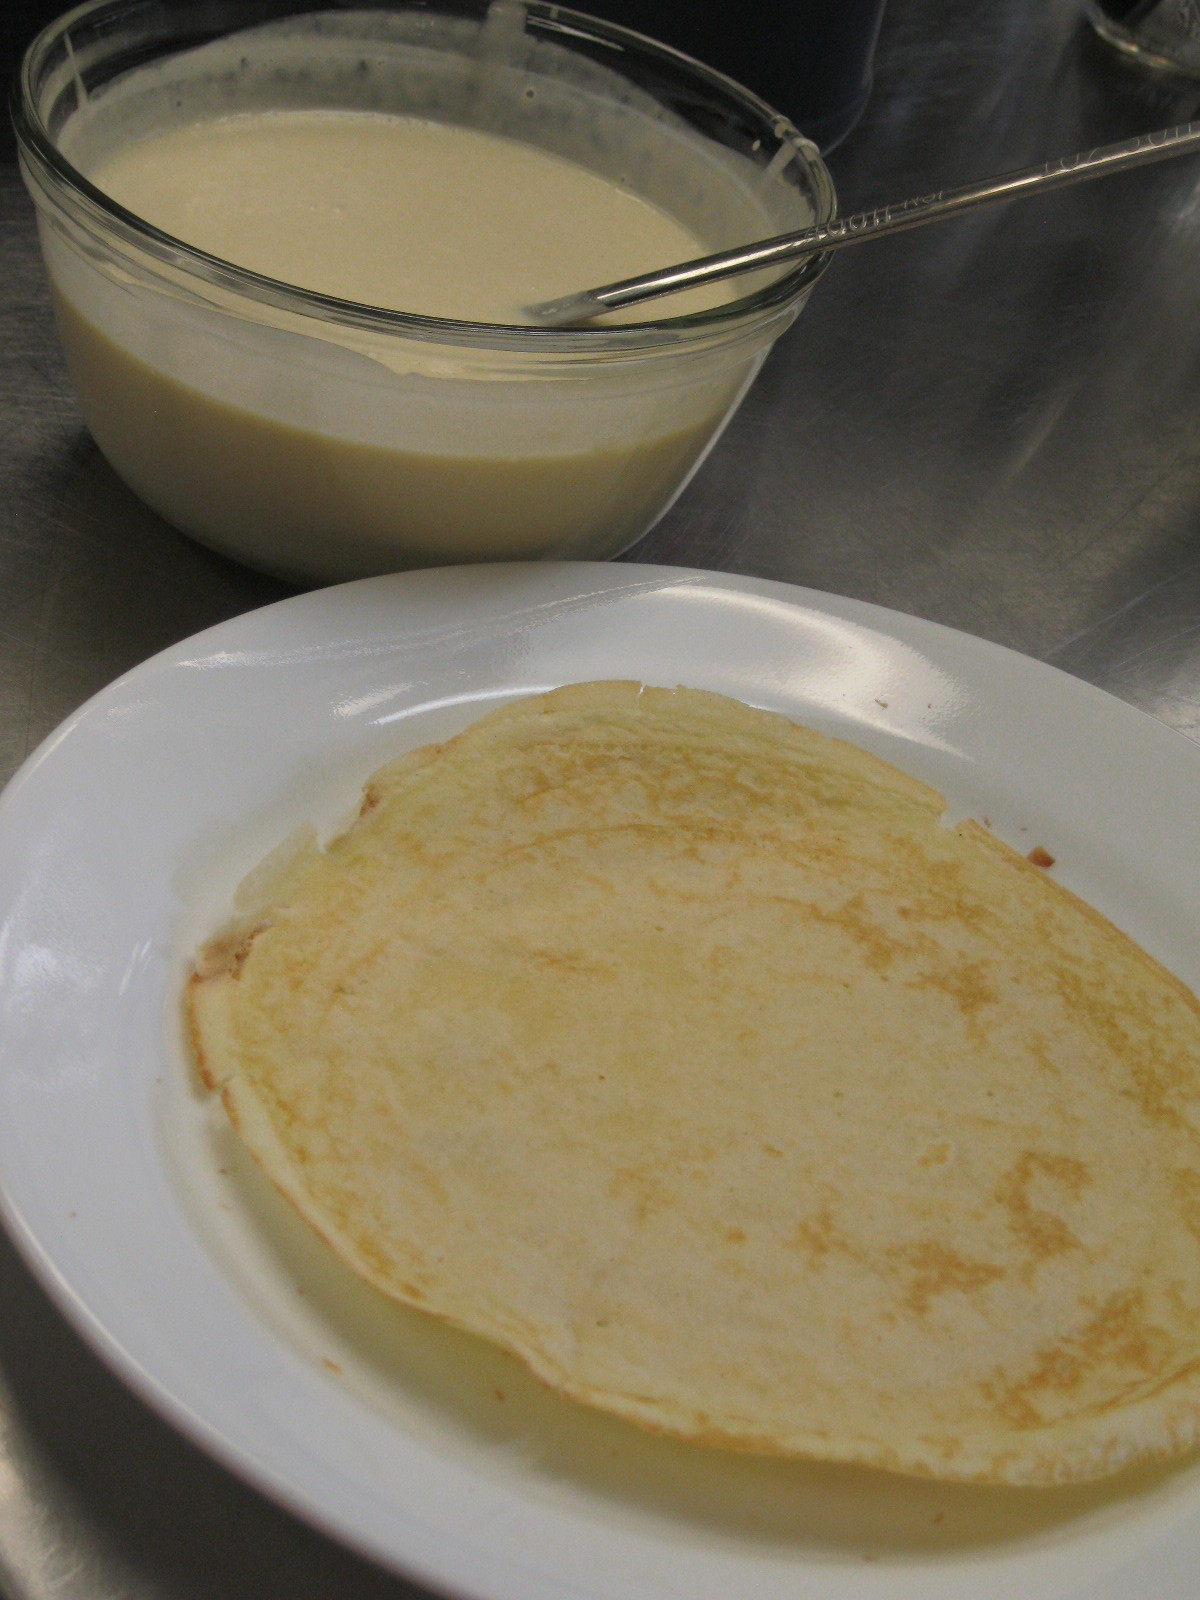
These creamy filled crepes are fun to make, beautiful ,to look at, and luscious to eat. One tip……..make a lot!
Blend all ingredients for 30 seconds, scrape sides of blender; blend 30 seconds more. Refrigerate batter for 2 hours or overnight.
Brush a 6 ½ - 7 inch crepe pan or non-stick pan with oil. Heat on medium until just starting to smoke.
Set pan off heat and quickly pour 2 Tablespoons batter into middle of pan. Quickly tilt pan in all directions, until the entire bottom is covered in a thin layer.
Return pan to heat for about 1 minute. Jerk the pan back and forth to loosen and flip over when the underside is nicely golden brown. Cook 30 seconds more or when there are brown spots.
Repeat with remaining batter.
Crepe Filling
Whisk together all ingredients. Store in an airtight container up to 2 days.
Raspberry Sauce
Crush berries, add sugar till dissolved. Add Amaretto and mix thoroughly.
Place ½ cup filling one each crepe. Roll up and top with fresh peaches and raspberry sauce.
Easter was a glorious day filled with sunshine, beautiful music, and a church decorated with blossoming Spring flowers. The sights and sounds were full of joy and praise, and I felt renewed both in body and spirit – transported to another world that I don’t frequent often enough!
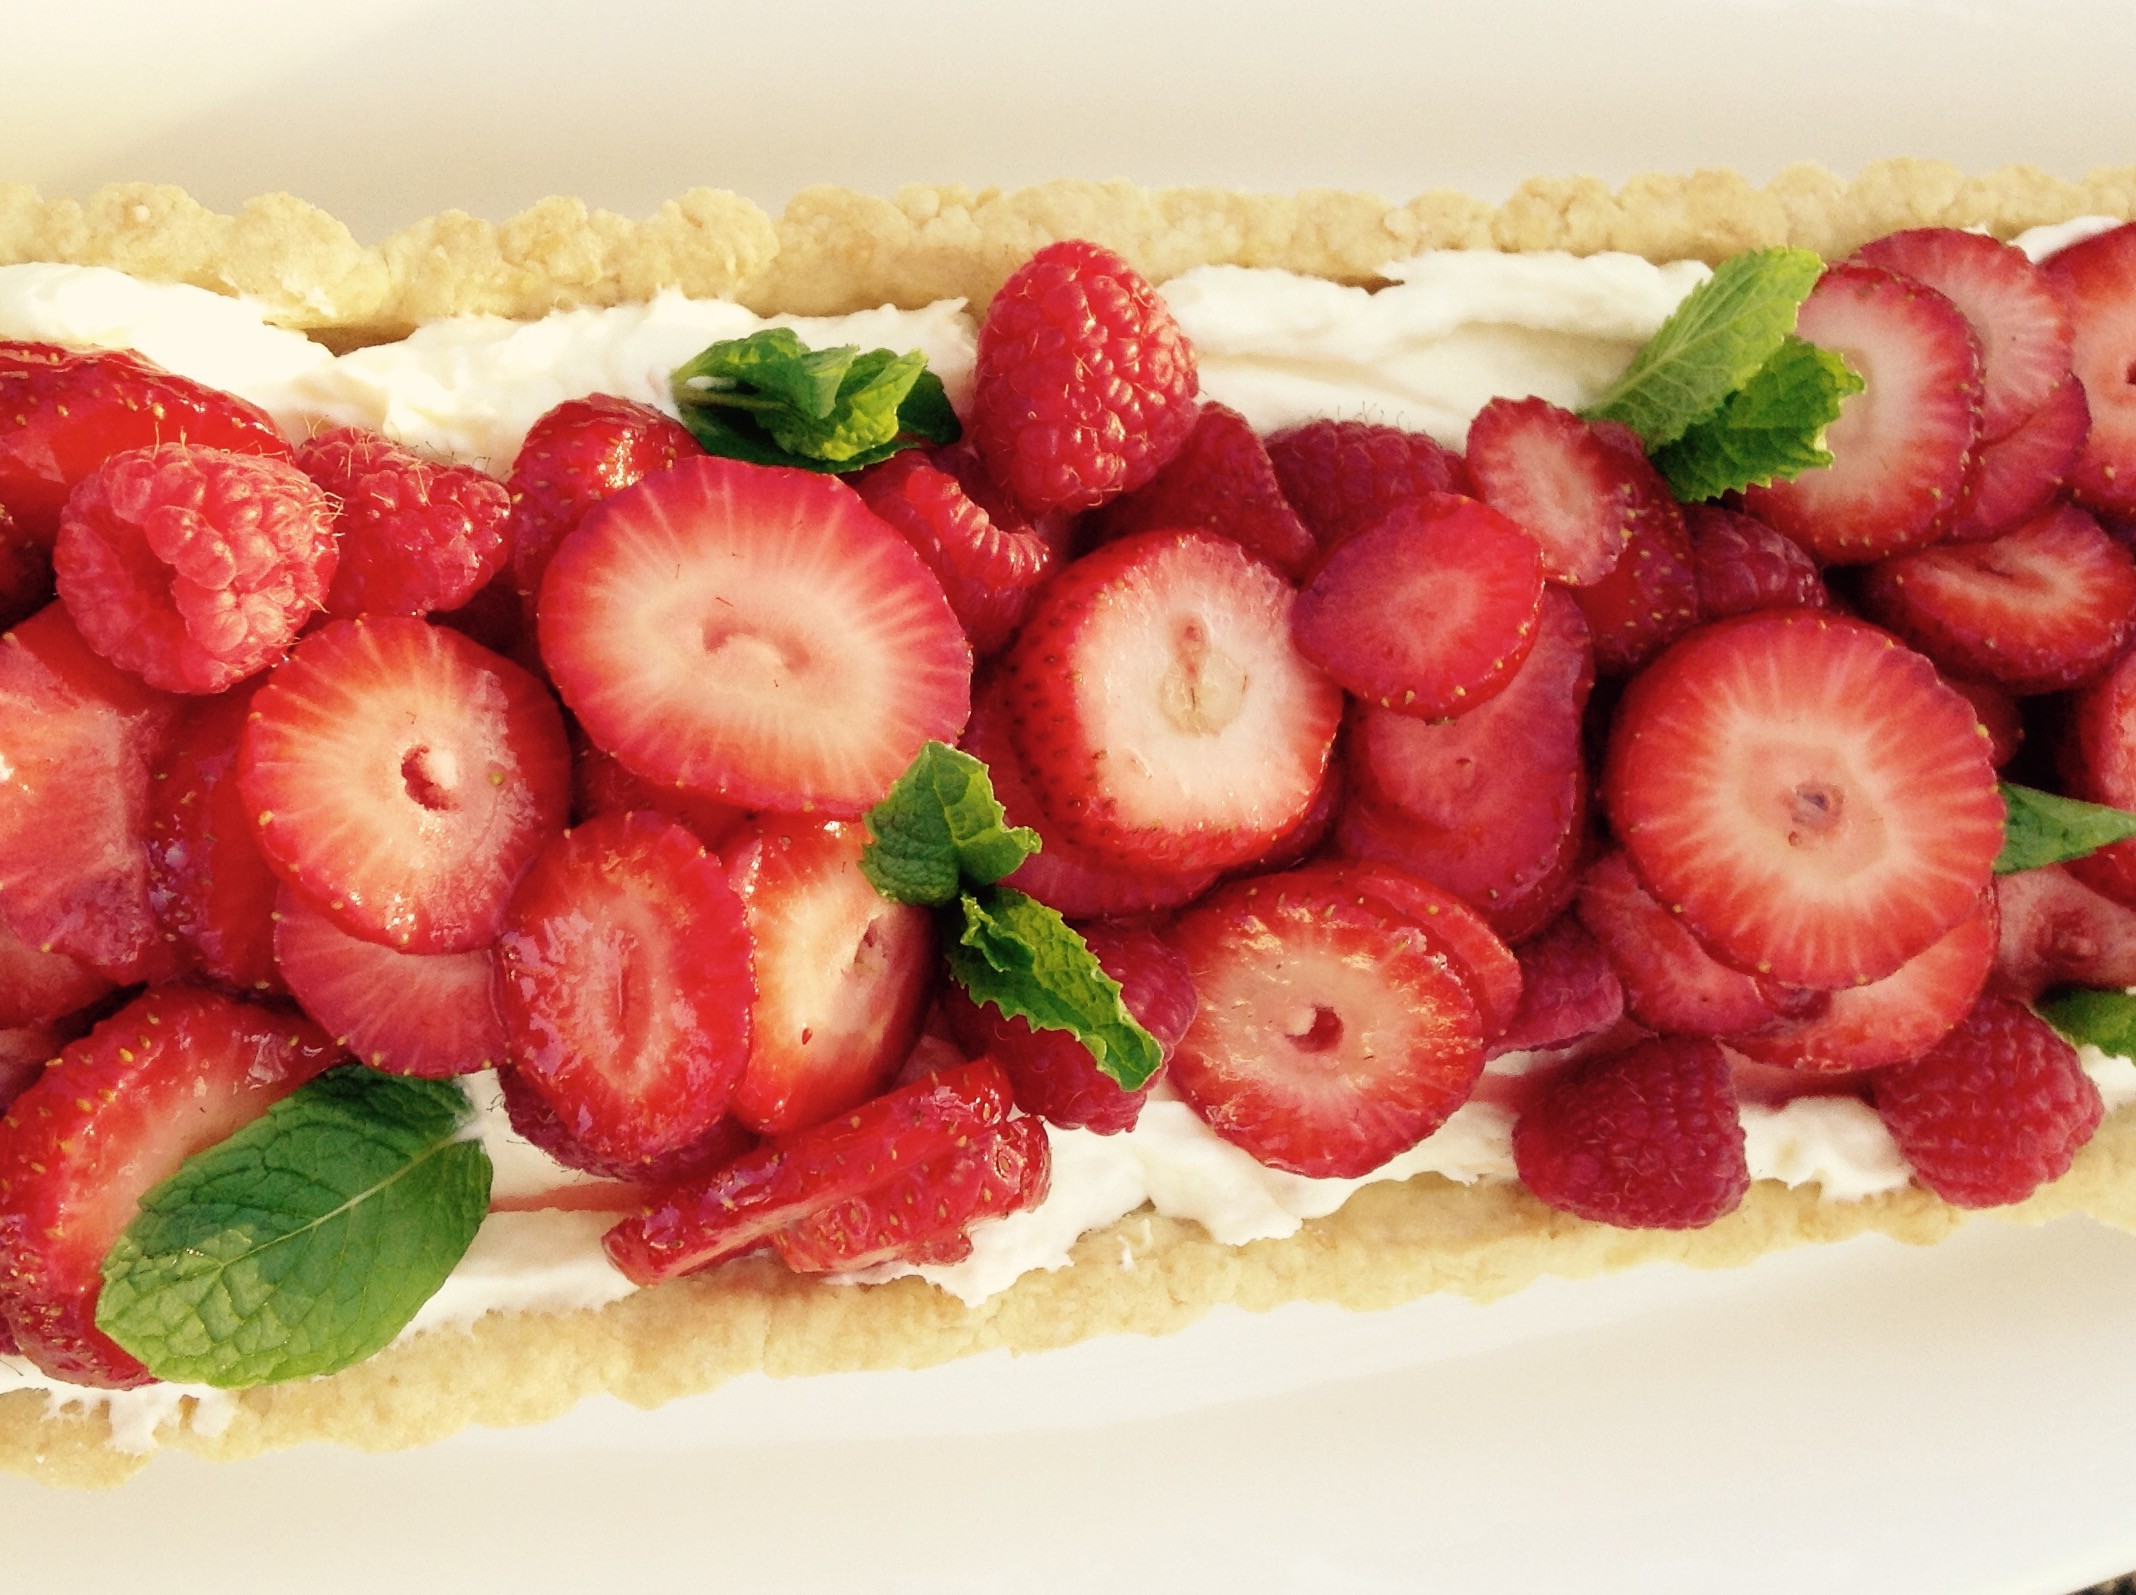
The Sisters celebrated this Easter with a beautiful buffet, many pitching in by making their favorite dish. I signed up to make dessert. I’ve always wanted to try making homemade mascarpone cheese, and since we have three cows that give us a never ending supply of milk and cream, what a great time to try it out. It was delicious! This dessert is perfect for Springtime – a shortbread almond crust filled with sweet and tart lemony cream, and a blend of berries on top – the perfect end to our Easter celebration.
Mix the all purpose flour, almond flour, kosher salt and powdered sugar in a large bowl. Add the unsalted butter pieces and work into the flour, creating thin sheets of butter in the flour. Mix the egg yolk with 1 tablespoon water in a small bowl and add to the flour and butter mix. Continue to work with your fingers until the mixture sticks together when pinched. Add another tablespoon of water if needed.
Press the dough into a buttered tart pan with a removable bottom (I used a long tart pan but you can use a 10-inch round pan) or 4-6 individual tart pans with removable bottoms. Prick the bottom with a fork and then refrigerate for about an hour.
Preheat the oven to 375 degrees. Bake the tart for 12-15 minutes or until golden brown. Allow to cool completely before filling with mascarpone filling.
For the mascarpone filling
Whip the cream on high with a hand mixer or a stand mixer. Add the softened mascarpone cheese and powdered sugar and beat to mix well. Fold in the lemon curd with a wooden spoon.
In a separate bowl, mix the raspberries and sliced strawberries. Heat the strawberry preserves until thinned and mix into the berries. Spoon the mascarpone into the cooled tart crust and top with the berries. Garnish with mint leaves if desired.
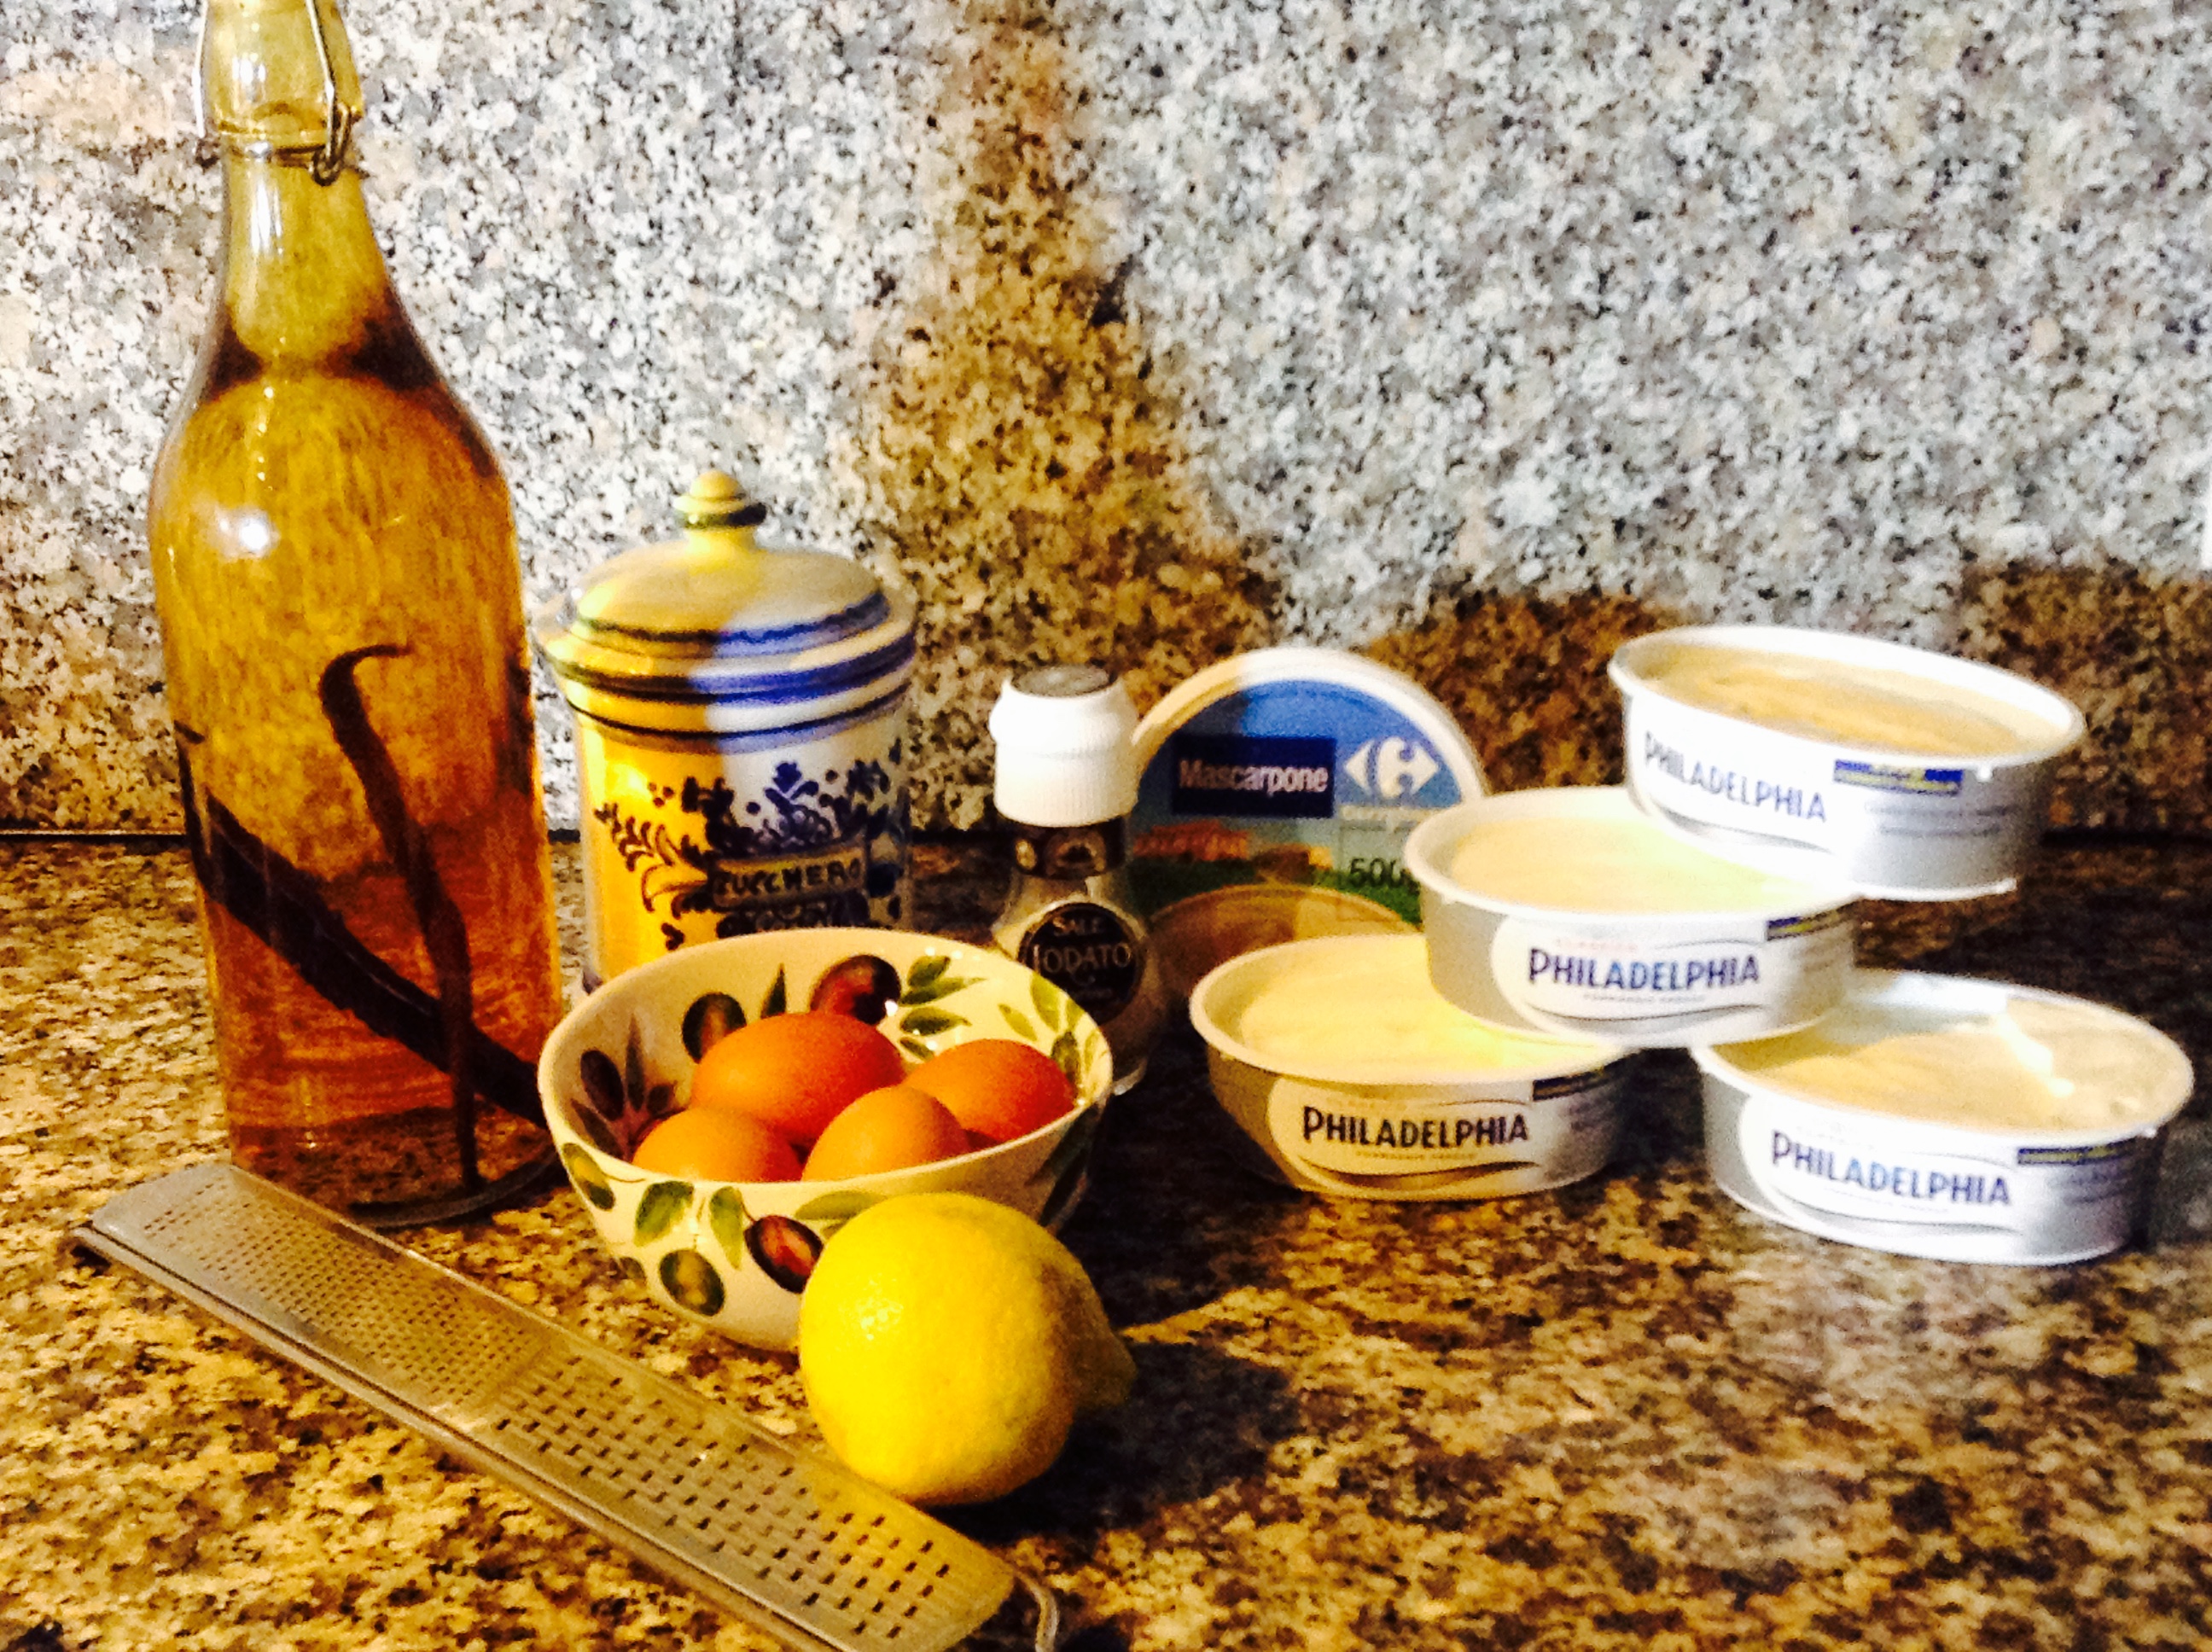
Cheesecake is one of those “back pocket” desserts that I always like to have on hand. It freezes well, and you can even slice it frozen and re-freeze what you don’t use. I have my favorite NY Cheesecake recipe that I’ve used for years, and it’s a no-fail, but when I was living in Italy, I didn’t have the same access to graham crackers and cream cheese as I did at home, so I had to do a little improvising. That’s when I stumbled upon this recipe for a Mascarpone Cheesecake. This was something I always had on hand – mascarpone is pretty much a staple in Tuscan homes, and much less expensive than it is here. But if you’re looking for something different, give this a try. It is light and delicious, and lovely served with fresh berries tossed in sugar!
A few tips to making a successful cheesecake:
Always start with room temperature cream cheese and beat the cream cheese until very smooth and before adding any other ingredients.
Have your eggs at room temperature
Using the zest from fresh limes, oranges or lemons is what will give your cheesecake a flavor boost. Zest contains the essential oils, which adds the depth of flavor without the tartness and “liquidity” of juice.
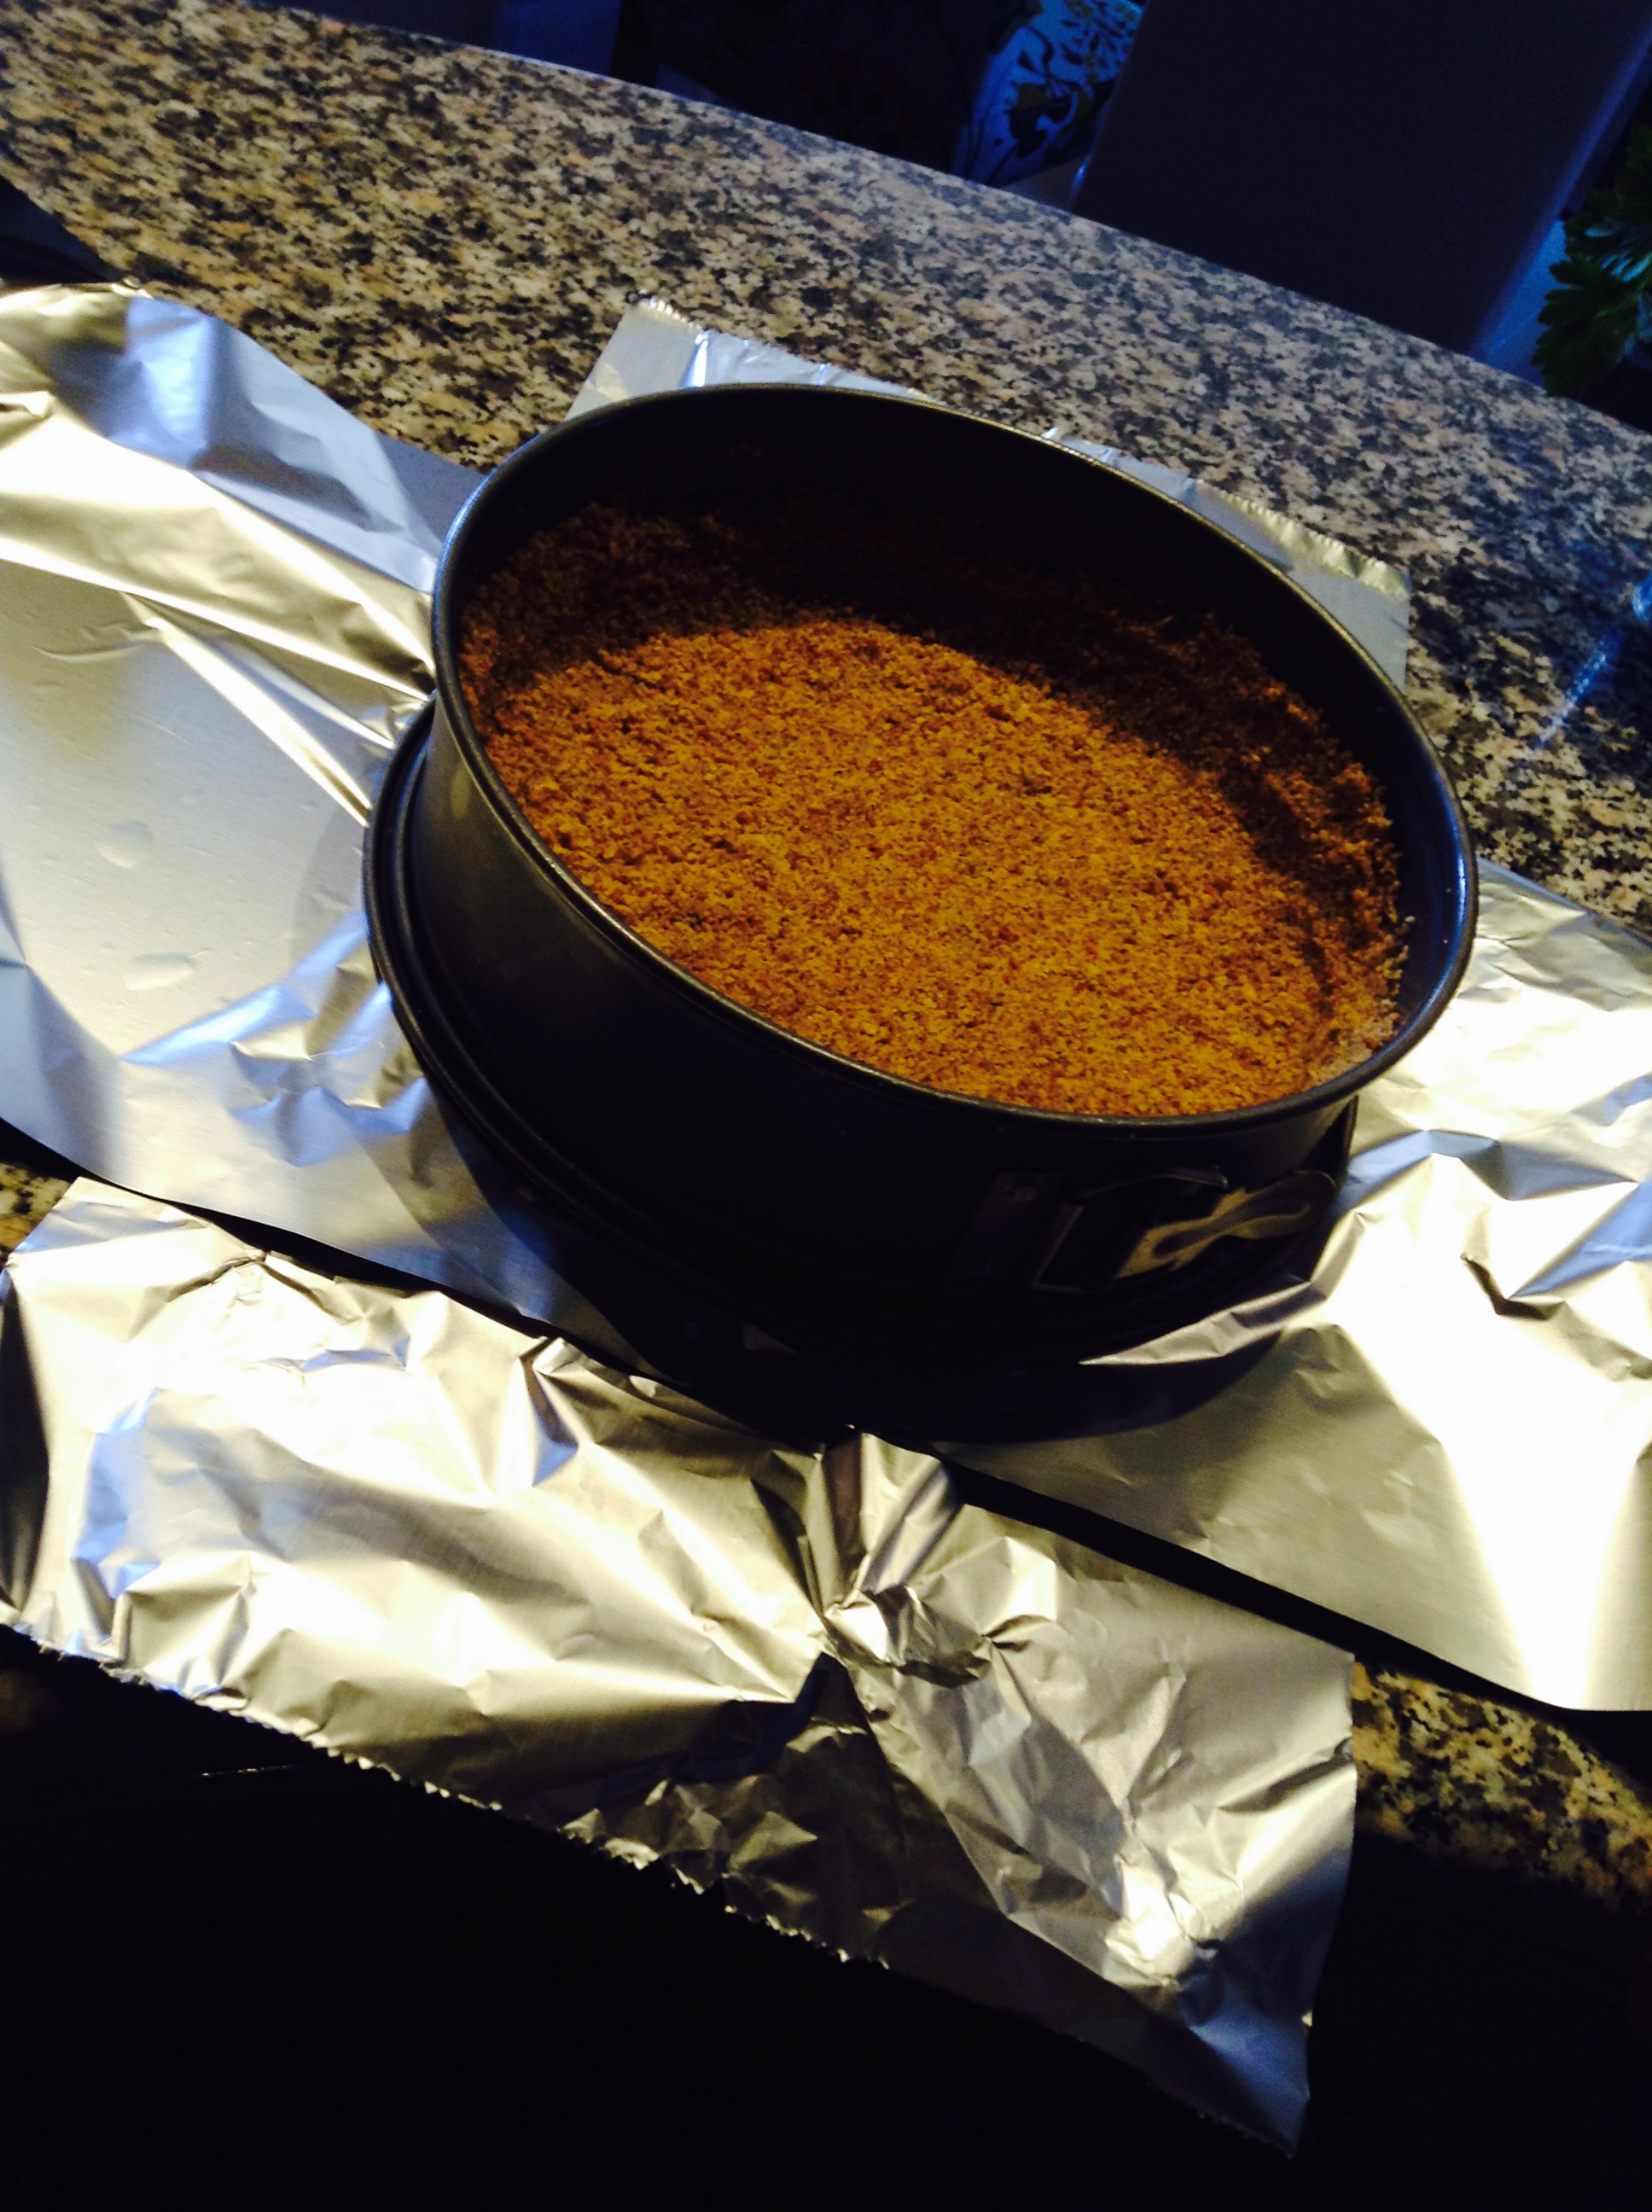
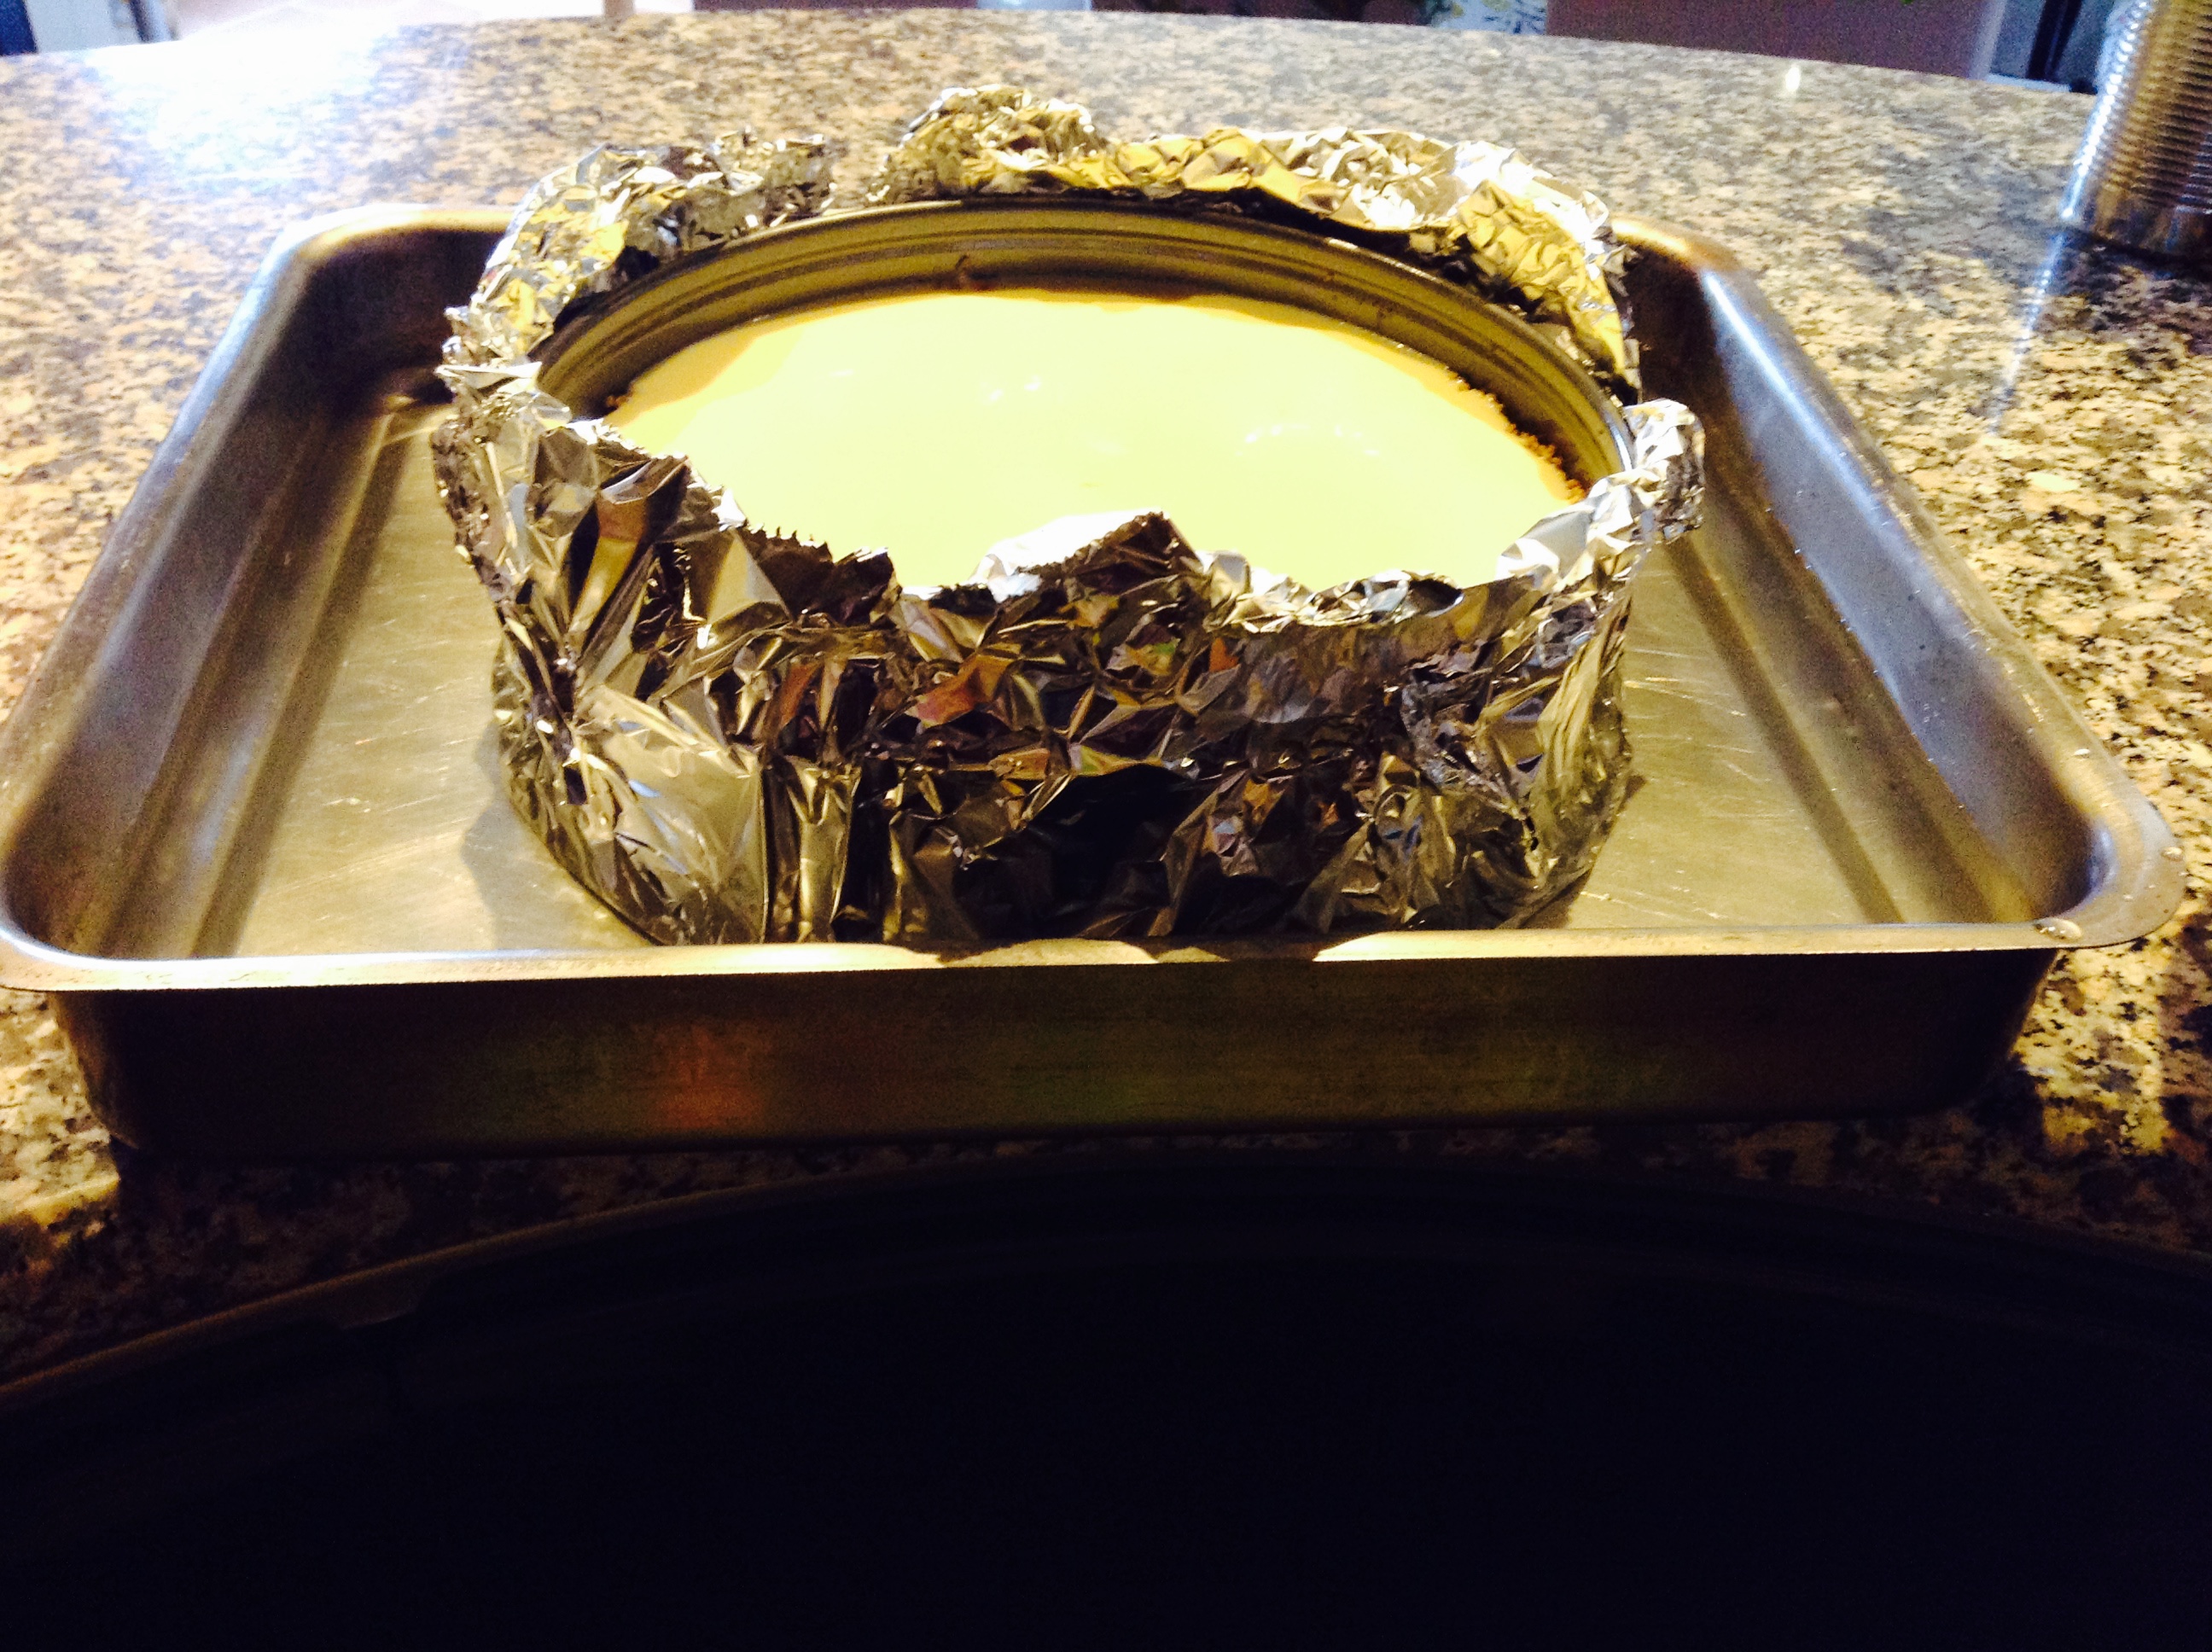
Wrap the bottom of the pan in aluminum foil and cook the cheesecake in a water bath to prevent cracking, just make sure you have a tight fitting springform pan to do this, otherwise the water will leak in. You can also bake cheesecake without a water bath, but use a lower temperature oven.
When the baking time is up, turn off the oven and let the cheesecake just sit for an hour or so. This helps the cheesecake to set up well.
If not using right away, remove the spring form pan sides and wrap tightly in plastic wrap, leaving the bottom of the pan on, and freeze.
After a day, you can remove the pan bottom and re-wrap the cheesecake.
Slice your pieces while still frozen and put the rest back in the freezer.
Print Recipe
Votes: 5
Rating: 5
You:
Rate this recipe!
Mascarpone Cheesecake
SERVINGS
12people
CHANGE SERVING SIZE
people
COOK TIME
110min
PREP TIME
15min
READY IN
180min
Ingredients
For the crust
1 3/4cupsgraham cracker crumbs(about 2 packs of graham crackers) or Shortbread Cookies - such as Lorna Doone Cookies
Preheat oven to 350º. Butter the inside of a 9-inch springform pan, and wrap the bottom of the pan with a double layer of aluminum foil. Place the prepared pan on a baking sheet.
In a medium bowl, stir together the graham cracker crumbs, sugar and salt. Add the butter and stir well to moisten all of the crumbs. Pour the crumb mixture into the prepared pan and use your fingers to press gently into an even layer on the bottom and halfway up the sides of the pan. If you are having trouble getting the layer even, use a straight sided glass or measuring cup to gently press the crumb mixture onto the sides and into the corners. Freeze the crust for 10 minutes while the oven heats.
Slide the pan into the oven and bake until the crust is lightly browned and fragrant, about 10 minutes. Turn the oven down to 325º.
For the filling
Using a stand mixer or an electric hand mixer, beat the cream cheese in a large bowl until it is light and very smooth, about 4 minutes.
With the mixer running on medium low speed, slowly pour in the sugar, then the salt. Beat for 3 more minutes. Add the vanilla extract and lemon zest.
Add in the eggs, one at a time, and beat for a full minute after each egg. Scrape down the bowl, reduce the speed to low. Add in the mascarpone and mix thoroughly. Wrap foil around the outside of the pan (see picture below) and pour the mixture into the prepared crust. The batter will come to the top of the springform pan.
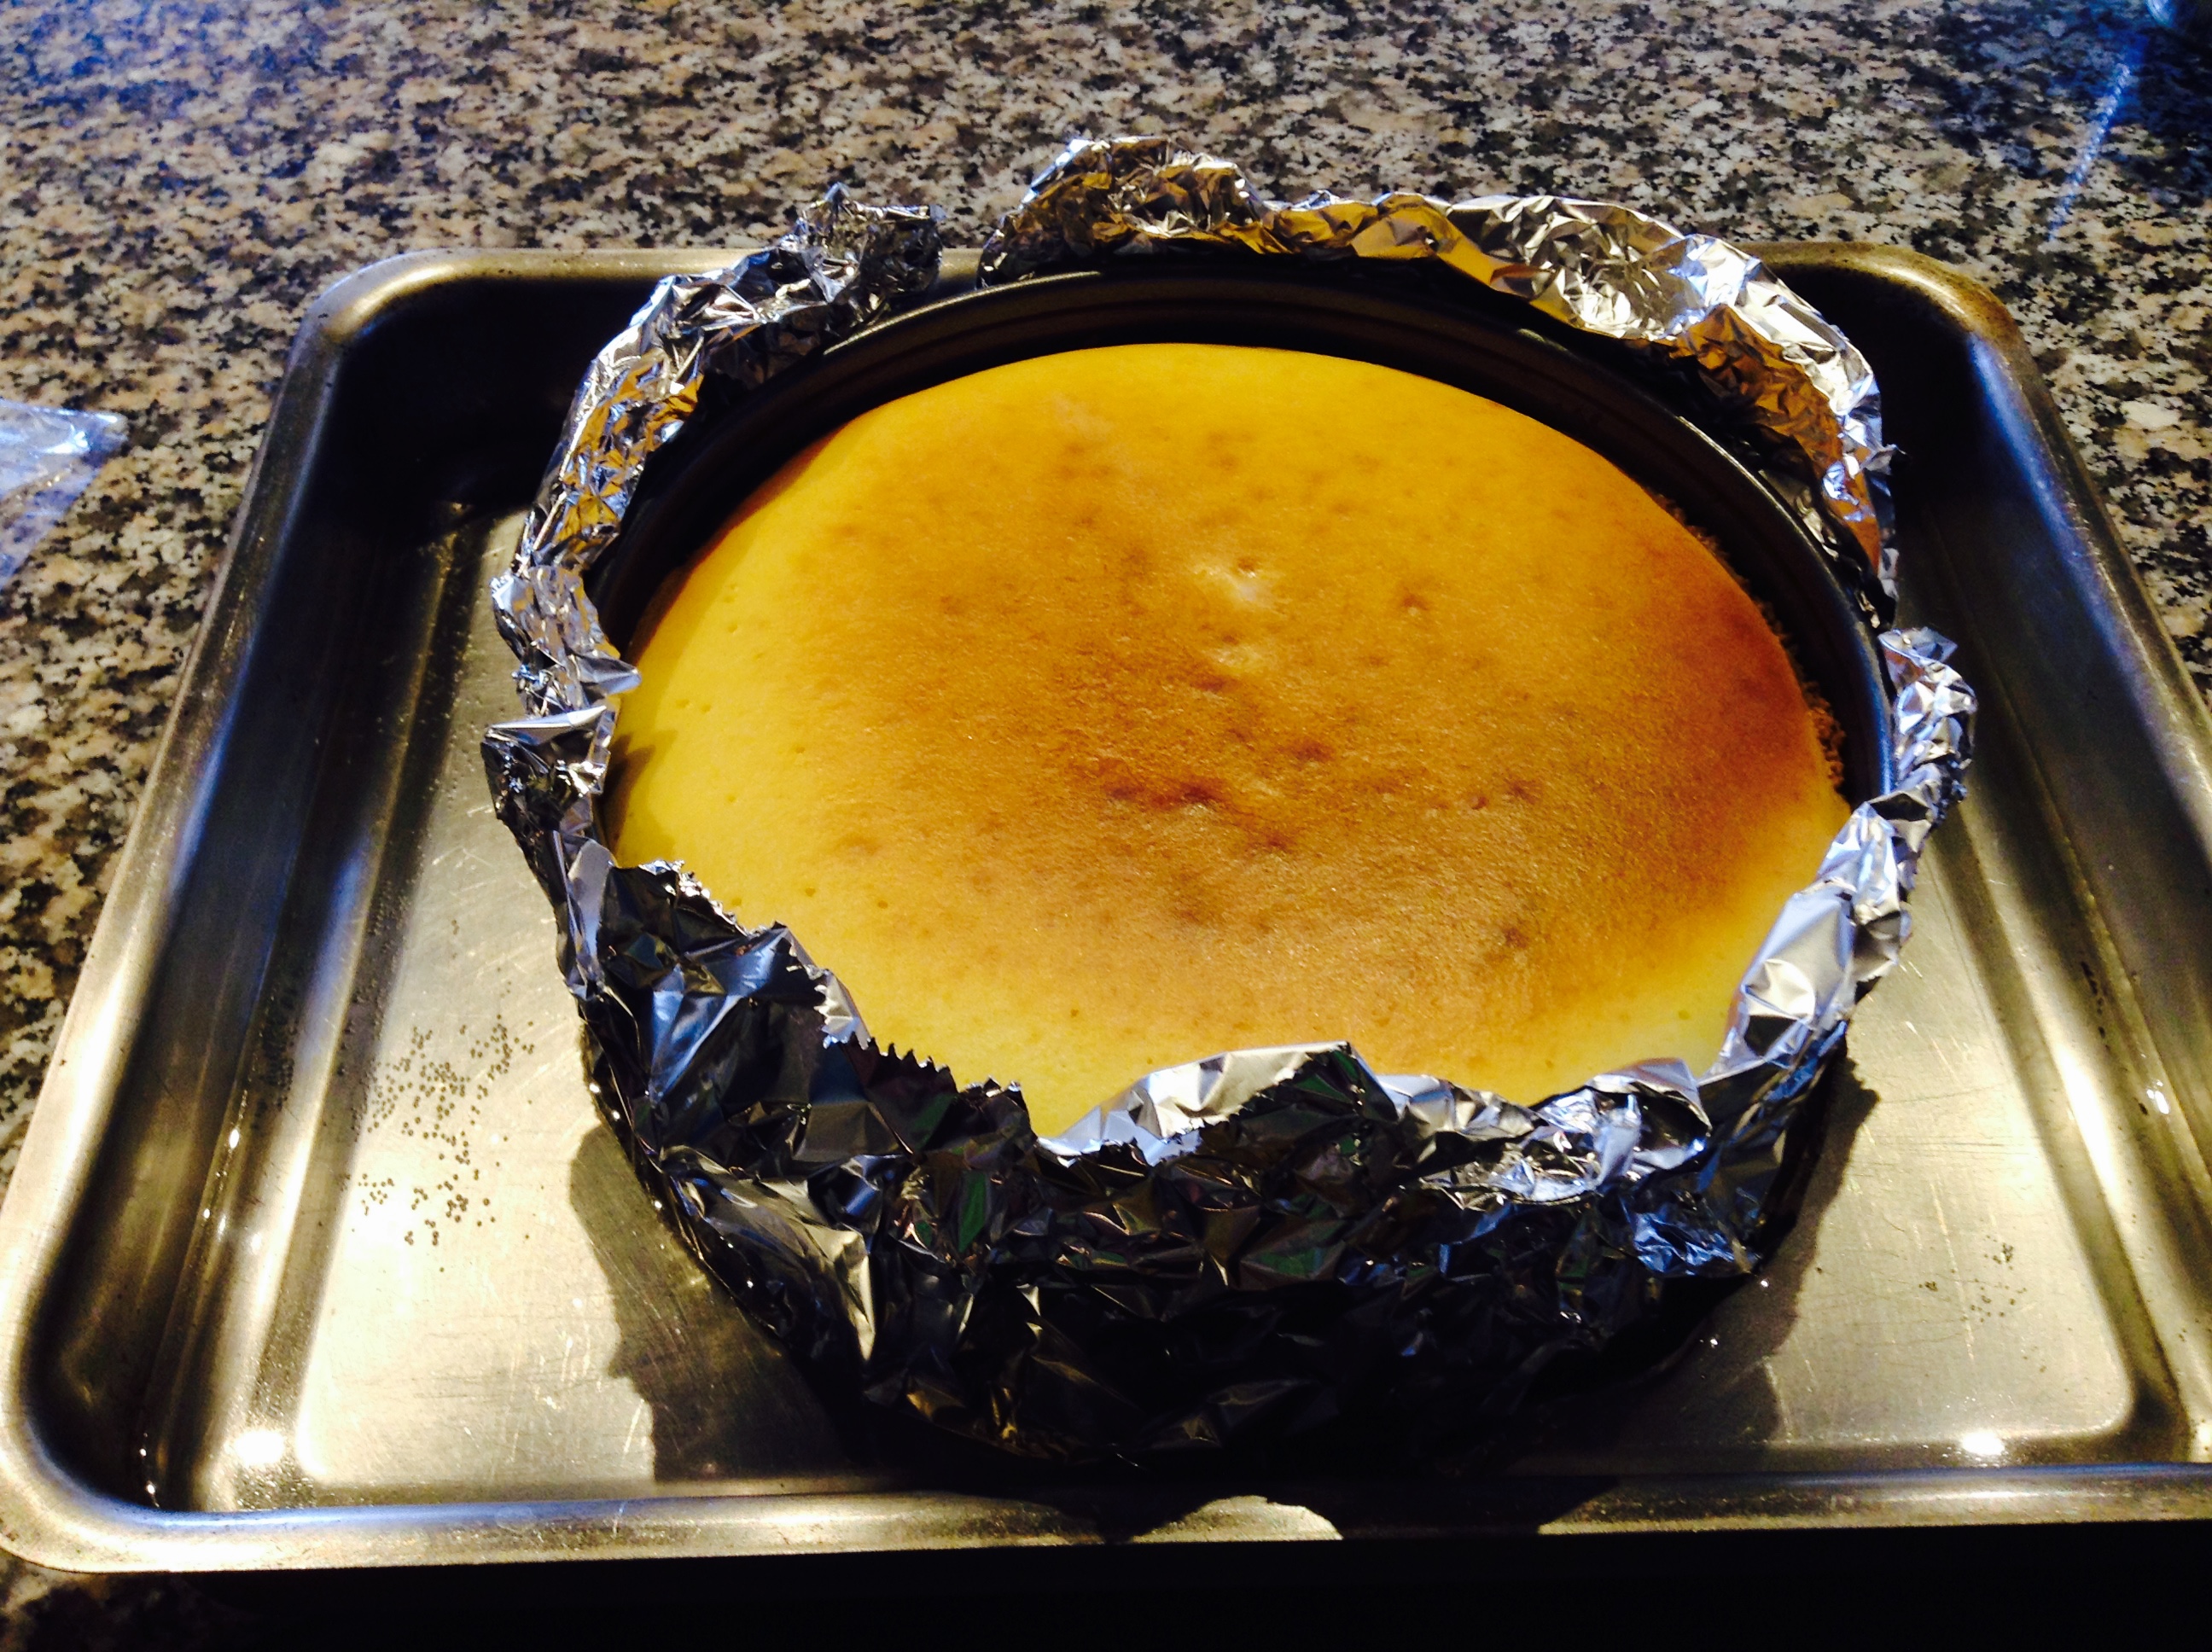
Place the springform pan into a roasting pan and fill the roasting pan with enough (very) hot tap water—or boiling water—to come halfway up the sides of the springform pan and place on the center rack of the oven. Close the oven door and bake the cheesecake until it is lightly golden on top and the filling is set, but still slightly wobbly in the center, about 90 minutes.
Turn off the oven and prop the door open slightly with a wooden spoon. Let the cheesecake cool for one hour in its water bath. After an hour, gently remove the roasting pan from the oven and lift the springform pan from the water. Carefully remove the foil from the bottom of the pan and set the pan on a cooling rack. Run a knife around the top edge of the cheesecake to release it from the pan. Let the cheesecake cool to room temperature, then cover the top with plastic wrap and refrigerate for at least 4 hours before slicing—an overnight chill is best if you have the time.