Seasonal Fruit and Farewell

For everything there is a season, and with this post on one of summer’s classic favorite fruits, we publish our final recipe. We know many of you loved trying out the recipes over the years and this post on creamy frozen strawberry squares will be no exception! 

While this is the final new recipe/post for this blog – the entire searchable library of recipes will remain here on the site as always. The recipe search option can be used to find recipes that feature a certain ingredient, or perhaps an old favorite.

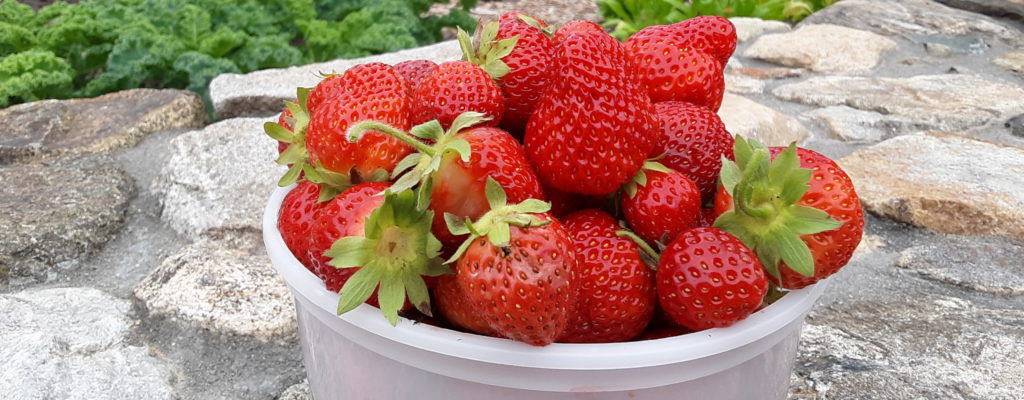
Today’s post features the strawberry – so abundant in the summer months!

Its surplus gives thoughts to strawberry rhubarb pie, a sisterhood favorite, the time honored classic strawberry shortcake, as well as other new ideas. A particularly bumper crop of strawberries this year has given us an opportunity to experiment and try some fresh ideas. After working with different combinations of crunchy crumbs and creamy strawberry fillings, this one proves to be a winner and captures the essence of Summer! 

While the posts for this website are ending, we will be continuing to publish “Daily Bread” –  a daily spiritual meditation on the Community of Jesus website that includes an excerpt from the Liturgy of the Hours, a meditation, a prayer and the lectionary readings. The “Daily Bread” can also be delivered to your mailbox.  

Click here to subscribe to the “Daily Bread”

We’ve enjoyed the partnership with all of you over the years and this last post comes with a prayer for God’s blessing on our readers. 


Print Recipe
Votes: 0
Rating: 0
You:
Rate this recipe!
Creamy, Frozen Strawberry Squares
SERVINGS
15
CHANGE SERVING SIZE
COOK TIME
20minutes
PREP TIME
35minutes, plus 2 hours
READY IN
3hours

Ingredients

Instructions

Crunchy Topping
  1. Set oven to 350 degrees
  2. In a large bowl, toss together topping ingredients and then spread out on a baking sheet
  3. Toast in oven until walnuts are fragrant and crumbs are golden. Set aside.
Creamy Strawberry Filling
  1. Spray a 8x11 or 9x13 pan with nonstick spray
  2. Place strawberries in blender and puree until smooth (saving a few whole ones aside for garnish)
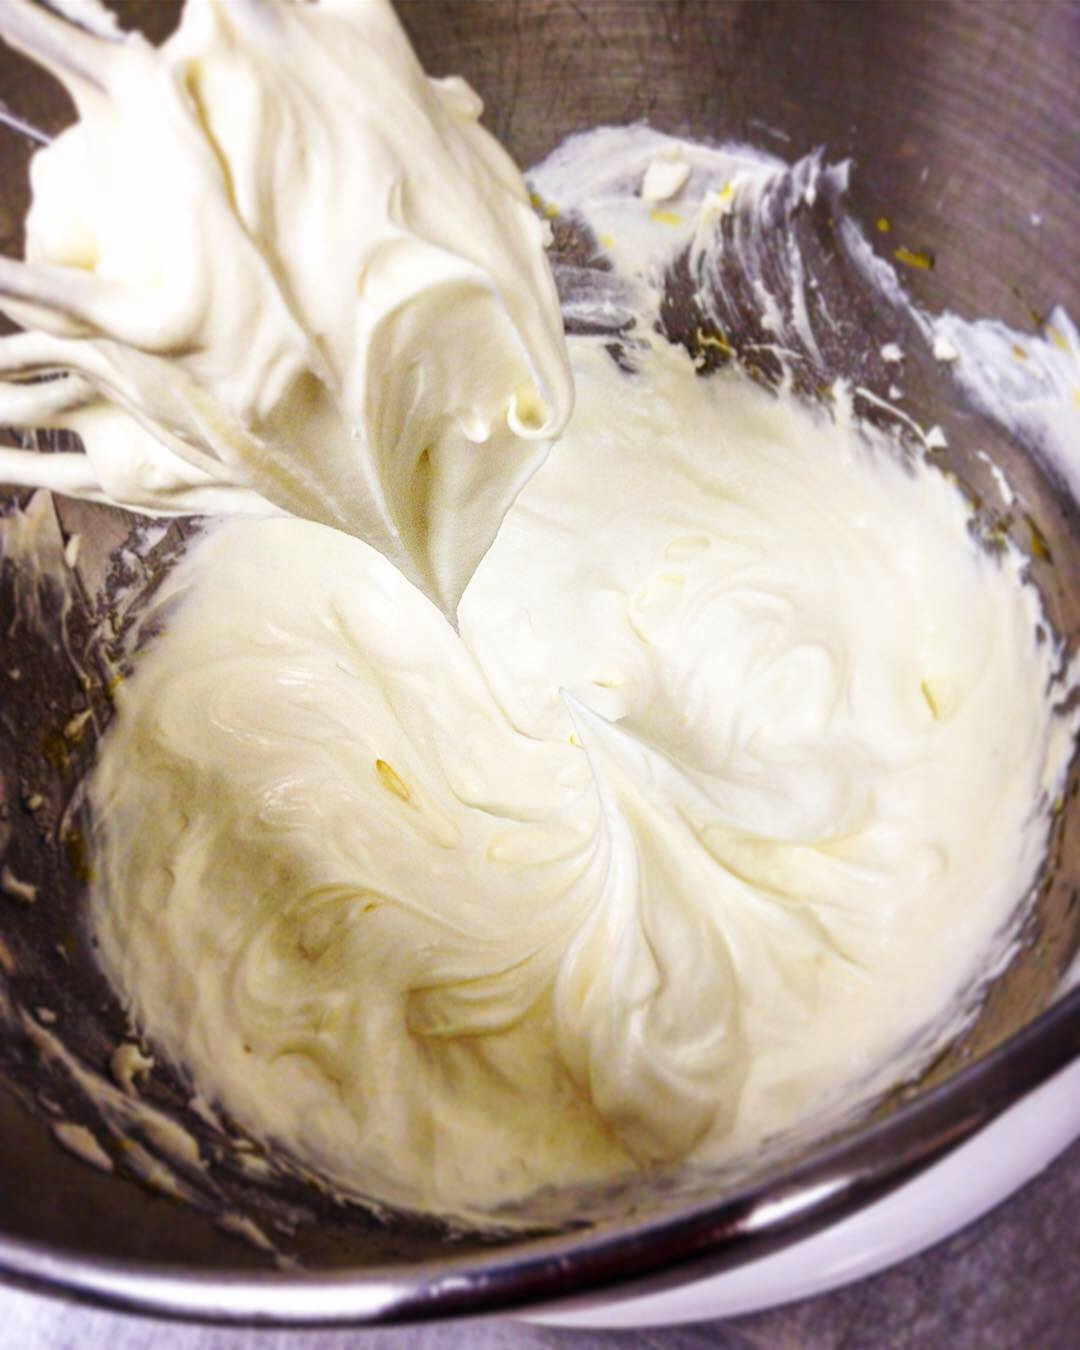
  3. In mixing bowl, beat heavy cream until stiff peaks form; set aside in another bowl
  4. In same mixing bowl, beat cream cheese and powdered sugar until creamy, then add condensed milk, vanilla, pureed strawberries;mix slowly until combined
  5. Fold in whipped cream, until partially blended
  6. Spread half of the toasted crumbs into baking dish, followed by strawberry filling
  7. Sprinkle remaining crumbs on top and place in freezer for 2 or more hours, until frozen
  8. When thoroughly frozen, remove from freezer 1 half hour before serving; cut into squares and serve with whipped cream topping and fresh strawberry garnish

The Beauty of Spring – Carrot Cake Whoopie Pies

What encouragement from God as we move through these challenging days! Hope coming up against fear; love and care for one another, binding us together. And often, this can take place in the simplest of ways. Sometimes a group of our Sisters prepares a surprise treat in the middle of a hard day. The sharing of time, generosity, and love in the form of delicious food reminds us of this essential truth: God is Victor over all—He is with us in all circumstances!

Here’s a delicious and fun treat for your family.

Print Recipe
Votes: 0
Rating: 0
You:
Rate this recipe!
The Beauty of Spring - Carrot Cake Whoopie Pies
SERVINGS
12whoopie pies
CHANGE SERVING SIZE
whoopie pies
COOK TIME
10minutes
PREP TIME
40minutes
READY IN
50minutes

Ingredients

Instructions

Pie Instructions
  1. Preheat oven to 350 degrees. Line a baking sheet with parchment paper
  2. Whisk flour and dry ingredients together and set aside.
  3. In an electric mixer, with the paddle attachment, beat butter and sugars until light and fluffy. Add eggs, one at a time, beating well after each addition. Blend in vanilla.
  4. Gradually add dry ingredients until just combined; fold in grated carrots.
  5. Using a tablespoon, scoop out 12 generous “balls” onto a baking sheet. With dampened fingers dipped in brown sugar, gently flatten,
Frosting Instructions
  1. Beat together butter and cream cheese until smooth
  2. Add powdered sugar and beat until creamy and lump-free
  3. Add vanilla, coconut and coconut flavoring and salt
  4. When the cookies have cooled, match up sizes and fill with frosting!

Stuffed Mushrooms: Practically Perfect in Every Way!

Print Recipe
Votes: 1
Rating: 5
You:
Rate this recipe!
Stuffed Mushrooms: Practically Perfect in Every Way!
Recently, we had the joy of celebrating the 80th birthday of one of our Sisters. What better way to celebrate this milestone than a Mary Poppins-themed party? Beautiful table settings, colorful flower arrangements and fanciful kite decorations added to the festivities, and the food was not far behind! Among the offerings that evening was a favorite of many of our Sisters: stuffed mushrooms. Warm and savory, this appetizer is reserved for special occasions and doesn’t last long on the plate!
SERVINGS
4-6servings
CHANGE SERVING SIZE
servings
COOK TIME
20mins
PREP TIME
15mins
READY IN
35mins

Ingredients

Instructions

  1. Preheat oven to 400 degrees.
  2. Gently clean mushroom caps by wiping black dirt off with a paper towel
  3. Remove mushroom stems, and finely dice.
  4. Coat the bottom of a skillet and sautee the garlic until tender. Add the diced mushroom stems and cook until soft.
  5. Remove skillet from heat, and set aside to cool.
  6. In a mixer or hand mixed, combine cream cheese, bread crumbs, parmesan cheese and salt and pepper. Once mushroom stems are cool, add to bowl and thoroughly combine.
  7. Grease a 9x9 glass casserole dish, and arrange mushroom caps hollow side up.
  8. Using small spoons, gently fill the mushroom caps with the cream cheese filling and bake for 20 minutes in the oven, or until moisture begins to form in the cap.
  9. Remove from oven, garnish with chive and serve alongside other hors d’oeuvres.

Cheese Danish Braid

At our Thanksgiving feast we enjoyed celebrating God’s blessings. One of them, the best in my opinion, is of course, lovely breakfast treats. In specific, a golden cream cheese danish with a hint of almond…can you see where were going with this?

Danishes can be a little tricky – below is simple version of the recipe. If you’d like a flakier danish, I suggest doing the square of butter version (see notes at end of recipe).
But either way, with a straight-forward approach and a little bit of time, you can enjoy the sweet, flaky treat for a Sunday brunch or with your mid-morning coffee. We are so grateful to God’s many blessings and pray that you also were able to appreciate God’s goodness this year. Happy belated Thanksgiving!

Print Recipe
Votes: 2
Rating: 4.5
You:
Rate this recipe!
Cheese Danish Braid
SERVINGS
12servings
CHANGE SERVING SIZE
servings
COOK TIME
15-20mins
PREP TIME
20mins
READY IN
30mins (plus overnight for resting dough)

Ingredients

Instructions

  1. In a medium bowl, add the yeast, 1 teaspoon sugar, and warm water. Let the yeast rest until it proofs (5 minutes). Once the yeast has proofed, add the egg, milk, sugar, and salt. Stir with a whisk, and set to the side.
  2. Place the flour and 1/2 cup cubed butter into a large bowl. With a pastry blender, combine until the butter is in tiny pieces. (You can also use the food processor for this step.) **NOTE** If you'd like a flakier Danish, set aside 1/2 cup of butter and make into a butter square.
  3. Add the wet ingredients to the flour and combine until the dough comes together. Place the dough onto a floured work surface and shape into a square. Roll the dough into a rectangle 9 x 13-inches. If you'd like a flakier crust, place the butter square (see #8) in the middle and fold the dough lengthwise into thirds (similar to folding a letter to fit into an envelope). Roll the dough into a rectangle again, and then again fold into thirds. Repeat this process twice more, until you've done it a total of 3 times. Cut the dough in half, wrap each piece in plastic wrap, and place in the fridge overnight. The dough keeps for one week in the fridge and 2 months in the freezer.
  4. Beat Cream Cheese till very smooth and no lumps remain. Combine with rest of filling ingredients.
  5. Remove one piece of dough from the fridge, and save the other for a rainy day (the dough can last in the fridge for up to 5 days and in the freezer for 3 months). On a floured piece of parchment paper, roll out the dough into a 9 x 13-inch rectangle. Spoon some of the cream cheese filling in the middle of the dough. With the dough laid in front of you vertically (so that the smaller 9-inch end is facing you), make 1-inch diagonal cuts down the left and right sides of the dough (imagine you are making a Christmas tree). Once you have reached the bottom, cut away two triangle pieces, so that the dough now has a tree trunk. Fold the tree trunk flap over the apples, then go back to the top and fold each strip over the cheese filling, alternating from left to right and moving towards the bottom.Preheat the oven to 400º F.
  6. Gently lift the parchment paper and the braid onto a baking sheet. Brush the top of the pastry with an egg wash (one egg white and a teaspoon of water). Bake for 15 to 20 minutes, or until brown on top.
  7. In a small bowl, whisk the powdered sugar, 1 tablespoon of milk, and vanilla until you get a desired consistency. Add a tablespoon more milk if the icing is too thick. (It should be pourable, but not so thin that it drips off of the pastry.) Drizzle over the top of the braid and sprinkle with powdered sugar. Serve warm. The danish lasts for 3 to 4 days. It's best to store in the fridge, covered in plastic wrap, and then reheated in the oven or microwave before eating.

*NOTE: Option for Flakier Dough: Before cubing butter, set aside 1/2 cup of butter. Cut into 4 squares, sprinkle with a little flour and roll to a 1/4" width between 2 sheets of parchment paper. Refrigerate till ready to use in Step #5.

Fresh Ricotta Blueberry Ice Cream

Our community is blessed with two dairy cows, and we enjoy fresh milk and yogurt each week!
Sometimes we make ricotta for upscale recipes. My favorite? Fresh Ricotta Blueberry Ice cream.

Last week, after enjoying delicious fresh ricotta, ham, and melon salad, I spotted some extra ricotta and remembered a recipe for ricotta ice cream. A friend from a nearby farm with blueberry bushes had invited us to pick berries earlier in the week, so our refrigerator also had a bucket overflowing with beautiful fresh blueberries. The ricotta, blueberries, and kosher salt turned out to be a delicious combination, but of course, this basic homemade ice cream recipe can be adjusted to include your favorite ingredients. At the last minute, I decided to add lime zest to this recipe — Blueberry Lime Jam is one of the favorites from the Monastery Kitchen line, so I thought that combination would be especially tasty. It’s also the season for fresh mint, which is a lovely garnish along with fresh blueberries.

Making homemade ice cream can seem daunting, but with an ice cream maker, it’s quite easy. The ingredients directly are mixed, placed in the ice cream maker for 30 – 60 minutes, then frozen for several more hours, or overnight in the freezer. This particular recipe was made to celebrate an exciting event, and would be perfect for a summer dessert for any special occasion!

Print Recipe
Votes: 1
Rating: 5
You:
Rate this recipe!
Fresh Ricotta Blueberry Ice Cream
SERVINGS
2quarts
CHANGE SERVING SIZE
quarts
COOK TIME
30-45mins (plus freezing time)
PREP TIME
30mins
READY IN
3hrs

Ingredients

Instructions

  1. Lay blueberries out on a tray and place in the freezer.
  2. Blend ricotta, cream cheese, milk, sugar, vanilla and salt in a blender until smooth. Add lime zest & heavy cream. Blend until just combined.
  3. Freeze in an ice cream maker according to instructions. Blend in frozen blueberries. Transfer to an airtight container and put in freezer to harden. Scoop and enjoy!

Also - nuts, candied citrus peeled or chopped chocolate can be added, as well as fresh mint and blueberries for garnish.

Chocolate Peanut Butter Ball Cookies

As a youngster I loved the story of the spoiled young prince who traveled far and wide in search of the best tasting food in the world. Coming upon a woodchopper in the forest who assured him he could give him that food, he agreed to spend the day working with him. At the close of the day the woodchopper handed the prince a chunk of coarse crusty bread which the tired, famished prince eagerly consumed. Beaming with satisfaction he loudly proclaimed, “At last, I have found the best food in the world!

On the morning of the 9th day of Christmas, without any effort or searching abroad for it, I found the best cookie in the world! It was a scrumptious little chocolate peanut butter creation on a little plate on my desk with an attached note signed, “from a Christmas angel”… I felt just like the spoiled young prince.

Print Recipe
Votes: 0
Rating: 0
You:
Rate this recipe!
Chocolate Peanut Butter Ball Cookies
SERVINGS
2dozen
CHANGE SERVING SIZE
dozen
COOK TIME
24minutes
PREP TIME
30minutes
READY IN
54minutes

Ingredients

Instructions

  1. Heat oven to 350 degrees Fahrenheit. In a medium bowl, beat the brownie mix, butter, cream cheese, and egg. The dough will be a little sticky.
  2. Scoop the dough onto an ungreased cookie sheet, making about 24 cookies.
  3. Smooth the edges of each to form a round cookie.
  4. In a separate bowl, mix the powdered sugar and the peanut butter until it is completely combined.
  5. Form the mixture into about 1 inch balls. Make sure you have one ball for each cookie. Set aside.
  6. Bake for the cookie dough 12 minutes, keeping an eye out to make sure the cookies doesn't overcook or undercook.
  7. As soon as the cookies come out of the oven, press a peanut butter ball lightly into the center of each cookie.
  8. The peanut butter mixture will soften slightly, but that is OK. Let the cookies cool for 5 minutes, then transfer them to a wire rack to cool completely.
  9. Melt the chocolate chips in a microwavable bowl for 45 seconds. Stir the chocolate and melt for additional 15 seconds or until the chocolate is completely melted.
  10. Spoon about 1/2 a tablespoon of melted chocolate on top of each cookie so it covers the peanut butter ball.
  11. Let the chocolate set. Store in an airtight container.