Serving our mission in Italy has allowed me to learn about local dishes, and today’s blog features a favorite! Thanks to the generosity of Laura, co-owner of a local ristorante kitchen located in the historical center of Barga, I have been learning about traditional regional dishes during my time in Italy.
This white lasagna is different than anything I had ever made, as it showcases artichokes as the main flavor in this Italian classic. Rather than eat the outer leaves as we do in the States, the more tender inner leaves and heart are selected. Tasty and oh-so delizioso, this has become a surprise favorite on our table!
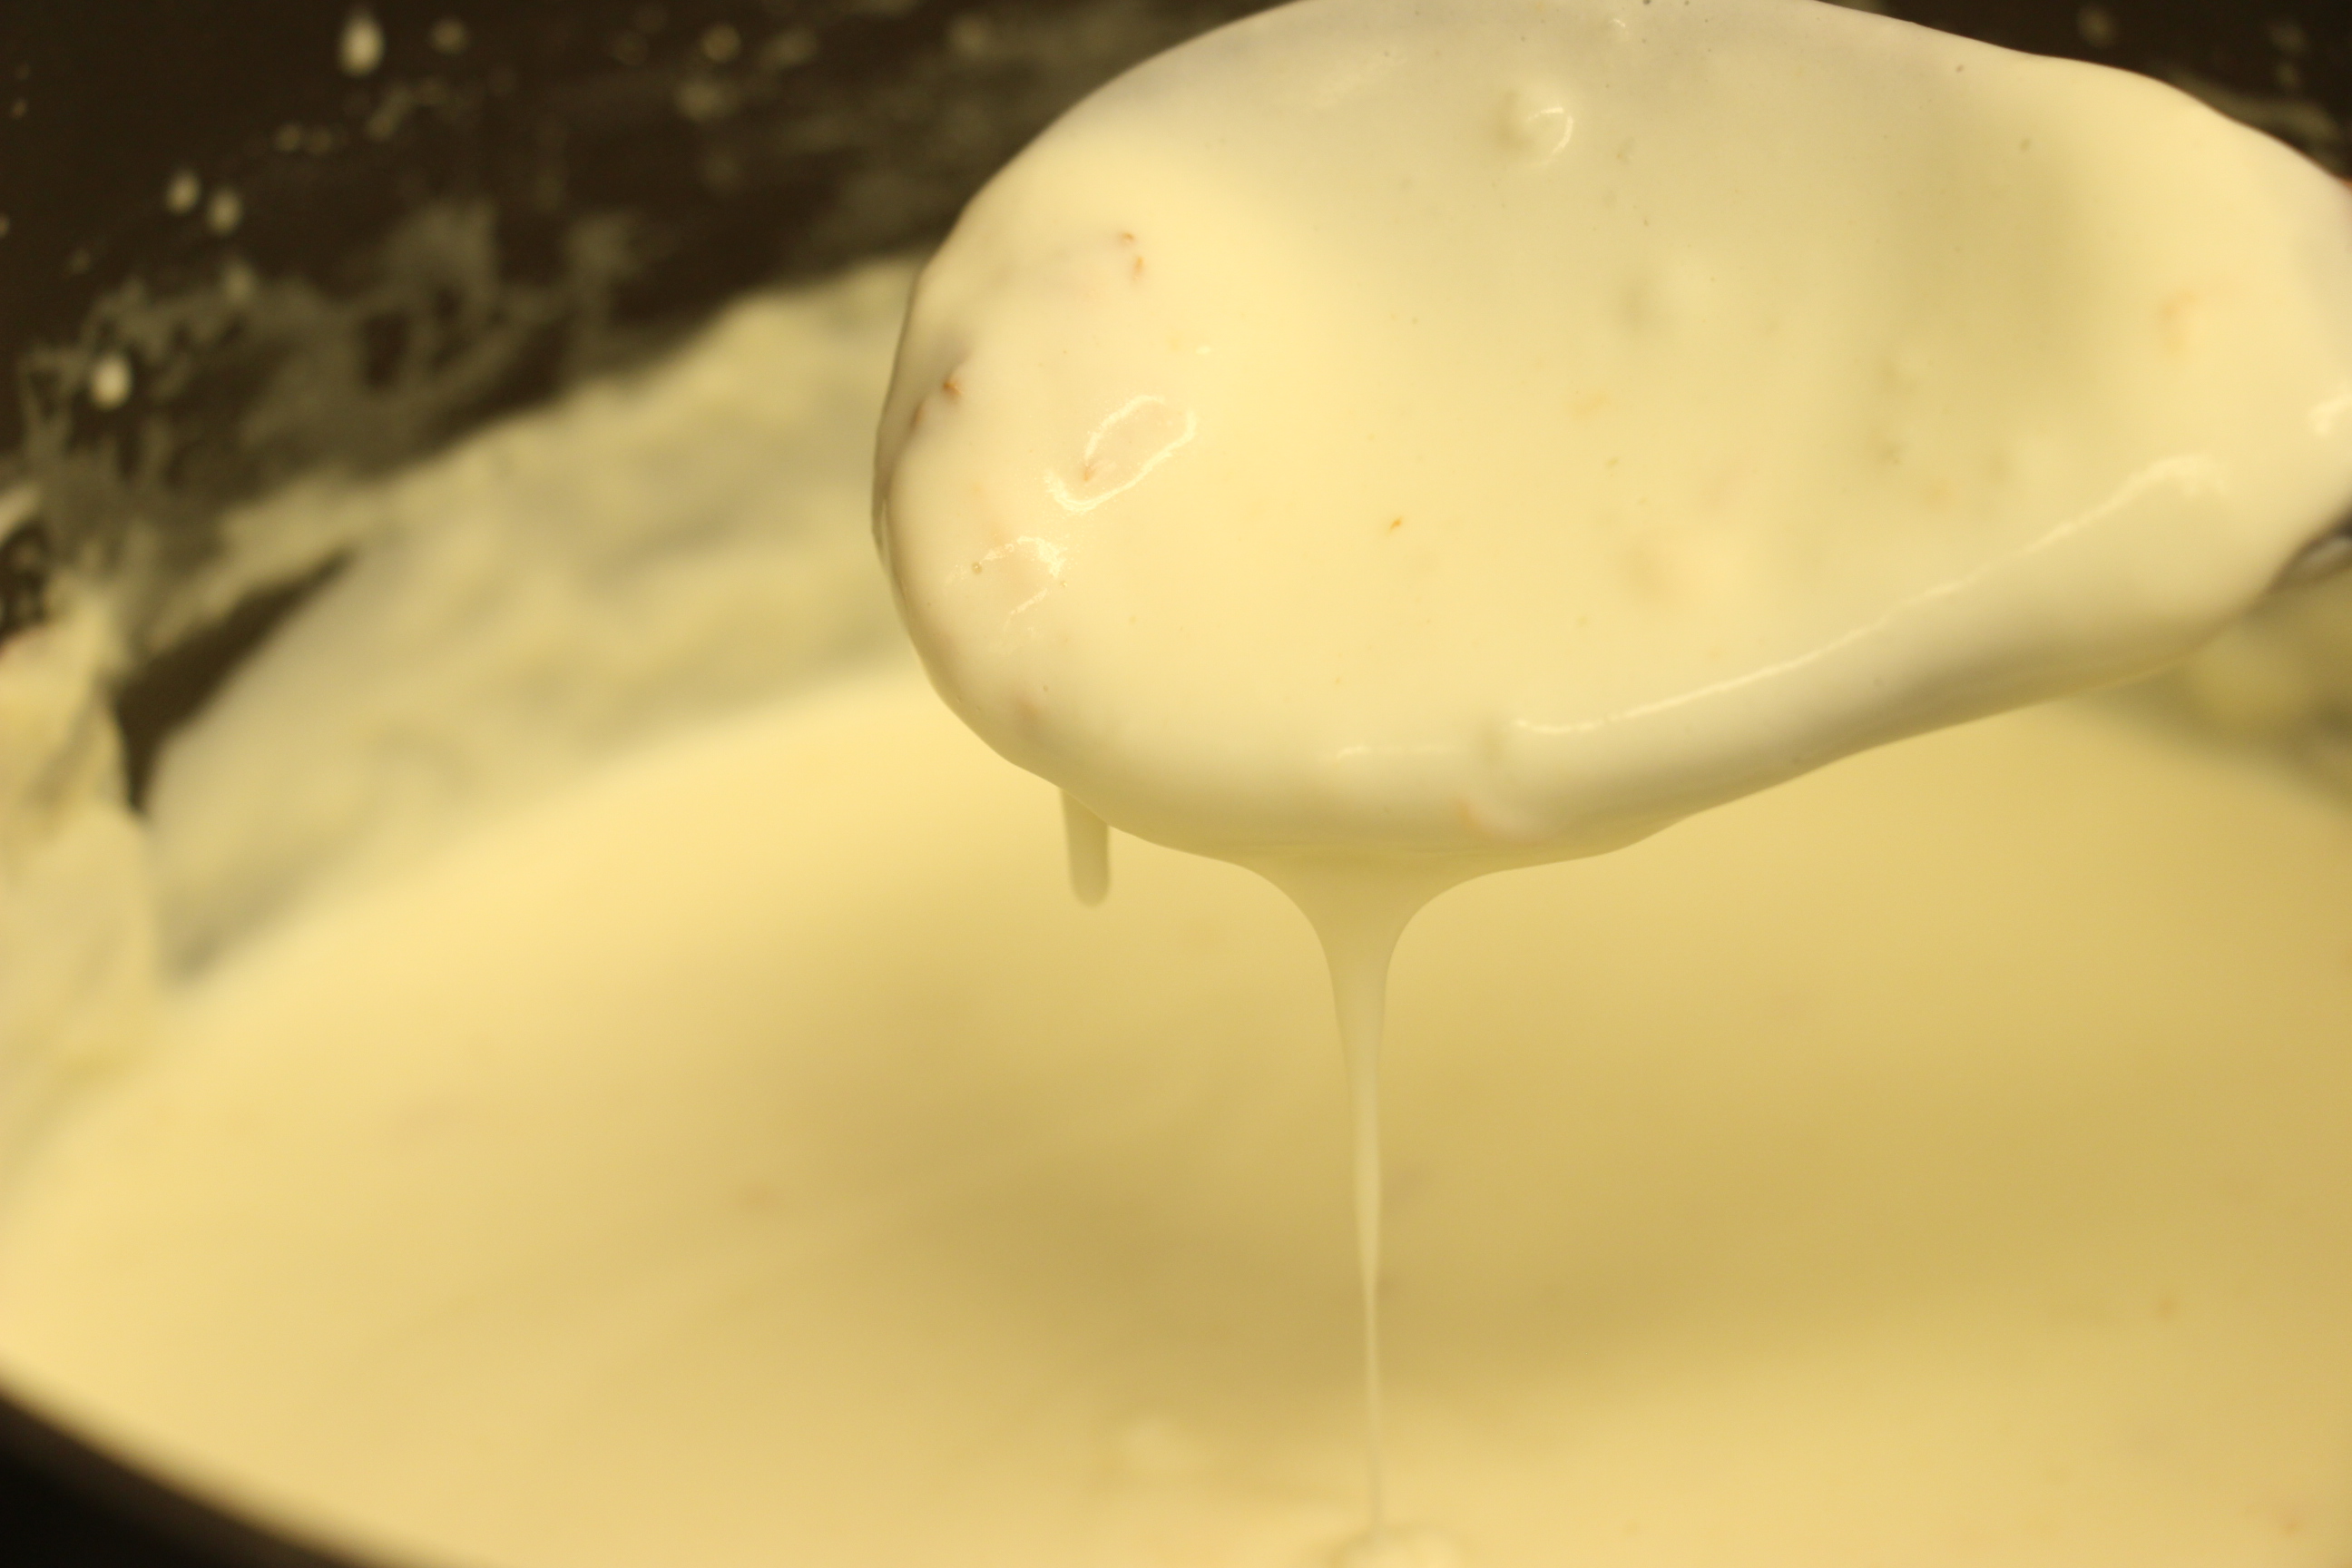
Ingredients and directions for the béchamel sauce are listed below, but you may also refer to our Baked Cauliflower Pie blog. That recipe is doubled below for this lasagna.
Print Recipe
Votes: 0
Rating: 0
You:
Rate this recipe!
Lasagne al Carciofo - Tuscan White Artichoke Lasagna
Melt butter in a small, heavy saucepan over medium heat until foaming. Add shallots (if using) and sauté 2 minutes. Do not let brown.
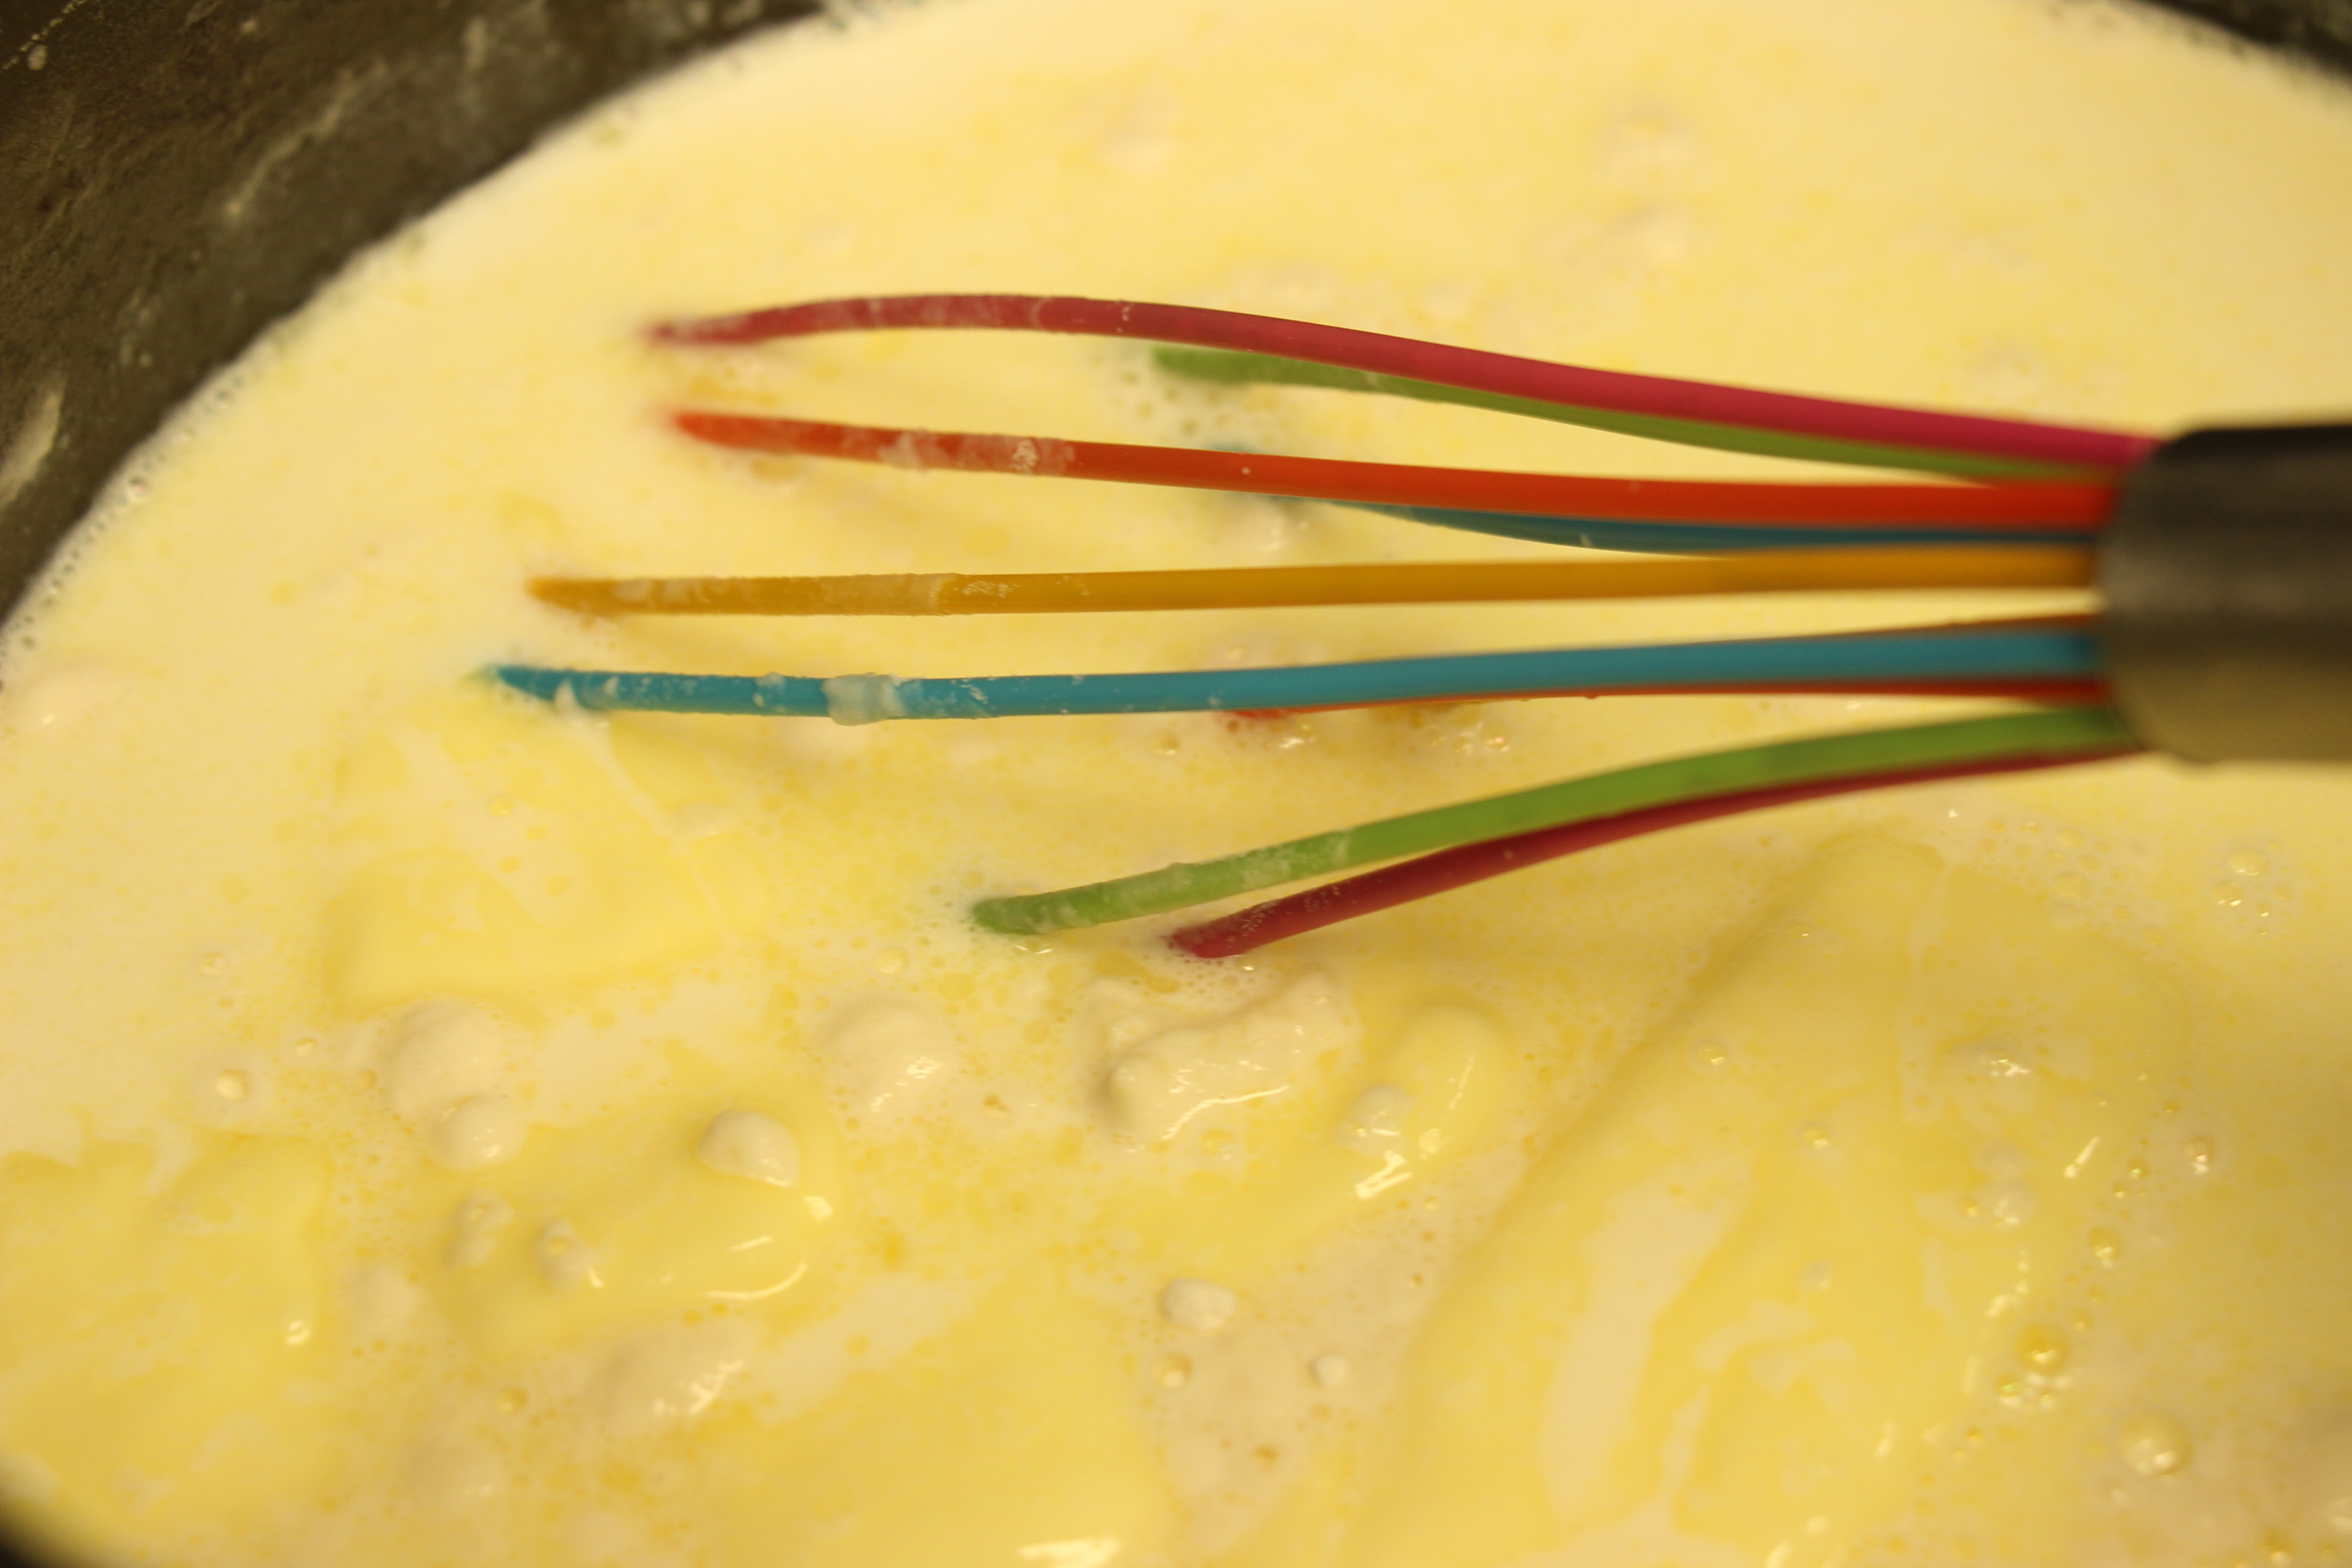
Reduce heat to low, add flour, and whisk until smooth and raw taste is cooked off, about 1 minute. Gradually whisk in milk. Add bay leaf and cook until just thickened, stirring often, about 10 minutes.
Stir in nutmeg and salt. Season with ground white pepper. Cool sauce slightly. Discard bay leaf before using.
Lasagna
Preheat oven to 375 degrees.
Prepare the artichokes by cutting off the tops, about 2 inches. Chop the stem, leaving the leaves attached and cut the whole artichoke in half.
Thinly slice the artichoke in half vertically and set aside.
Drizzle the bottom of a pan with olive oil and add the slices of artichoke. Season with salt and pepper and cook until tender. Remove from heat.
Gently combine the cooked artichoke with béchamel sauce and set aside
Thinly coat the bottom of a casserole dish with the béchamel sauce and begin layering the lasagna, beginning with the noodles, béchamel, and mozzarella. Continue layering for 3 layers, ending with a topping of mozzarella cheese.
Bake in the oven approximately 45 minutes or until the noodles are fully cooked, and the lasagna is bubbling around the edges.
I’ve had my eye on this recipe for quite a while now and decided to whip it up for Thanksgiving. I added a bit of orange zest to the original recipe because I love the combination of those flavors. The pie is like a little jewel, bursting with flavor and color. Sweet and tart at the same time. The curd on its own would be wonderful in many other ways as well. I hope you enjoy it this Holiday season. Blessed Advent!*
Put the gingersnaps in a food processor and process until they are fine crumbs or place in a ziplock bag and crush with a meat hammer. (this should be a heaping cup) Add the pecans and sugar and process again until everything is finely ground (or finely chopped the pecans and add to the fine crumbs with the sugar.) Add the butter and combine.
Pat the crust into a 9 inch pie plate, and up the sides. Bake for 10-12 minutes. Set aside to cool.
Put the cranberries, 1 cup of the sugar, and 1/4 cup water to a simmer in a saucepan. Lower the heat and simmer the cranberries, uncovered, for about 15 minutes until they've popped and the mixture is quite thick. Let cool slightly and then puree until completely smooth (I did this in a blender)
Whisk the puree, the eggs, yolks, salt, lemon juice and 1/2 cup sugar together in a saucepan and set over medium heat. Cook, stirring constantly, until the mixture thickens and coats the back of a spoon, this will take about 10 minutes or so. It can burn easily, so keep a good eye on the mixture and don’t keep your heat too high.
Push the curd through a mesh strainer, using the back of a spoon to get it all through.
Let the curd cool for a few minutes and add the room temperature butter in, bit by bit, while you stir to melt it. Add the mandarin zest.
Pour the curd into the pie crust and smooth out evenly. Chill the pie until it is firm, about 2 hours or so.
Decorate with sugared cranberries if you like. To make sugared cranberries, roll damp cranberries in granulated sugar and let dry.
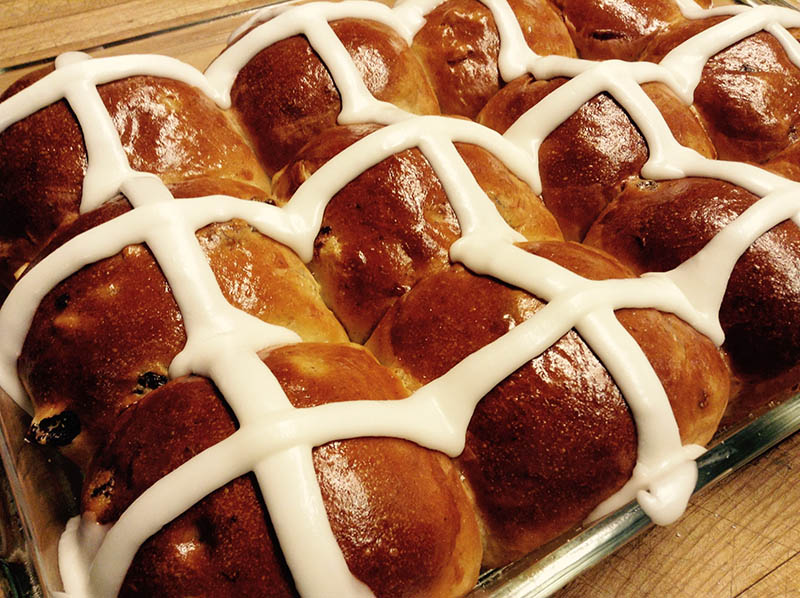
One of our favorite Lenten traditions here at the C of J is the baking and sharing of Hot cross buns on Good Friday a.m. First attributed to a 12th century monk, it has blesses countless numbers of believers over the years. This meaningful little act is a significant way of remembering and acknowledging our Lord’s death on the cross on our behalf.
There are many legends connected with this tradition. One of my favorites is that a fresh baked bun hung in your kitchen window will bring blessing upon all the baking done there throughout the coming year.
Each year I intend to do this, but before I get to it every bun has disappeared.
Dissolve the yeast by sprinkling it over the very warm water and add a pinch of sugar to activate.
Heat milk in a medium saucepan over low heat until about 100 degrees F. (but no more than 110 degrees)
In a mixer, fitted with a dough hook, add the warmed milk to the yeast mixture.
Plump the raisins (or currants) and citron in the microwave with a little orange juice; cool and set aside
To the yeast & milk mixture add the remaining sugar, melted butter, egg yolk and extract.
Add the salt, nutmeg, cinnamon and ginger to the mixture and continue kneading.
Add the flour, 1 cup at a time, until the dough starts pulling away from the sides of the bowl.
Remove the orange juice from the raisins and citron and discard.
Add the raisins and citron to the dough and mix well. The dough should be slightly sticky and not dry.
Knead until soft and elastic, about 8 min. Shape into a ball.
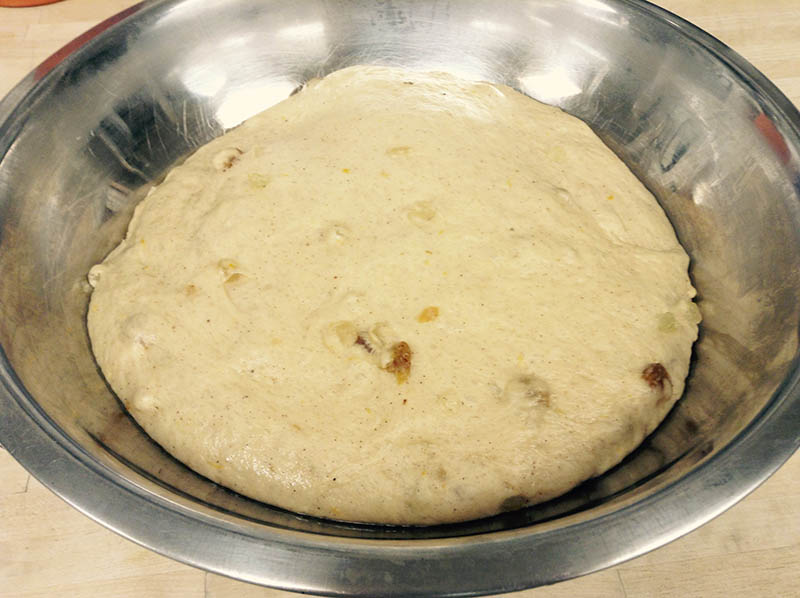
Brush the inside of a large bowl with butter. Put dough in the bowl and turn to coat. Cover with plastic wrap and let rise at room temperature until doubled in size, about 1 hr. 30 min. **
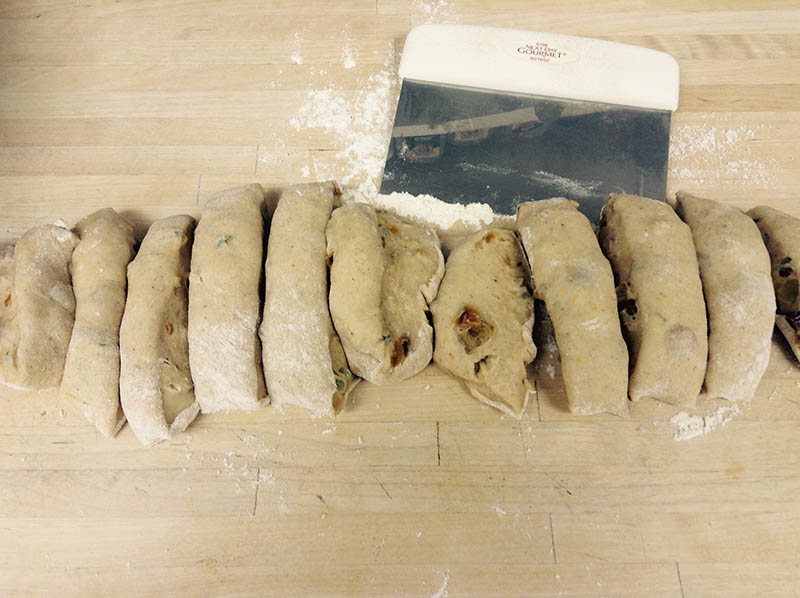
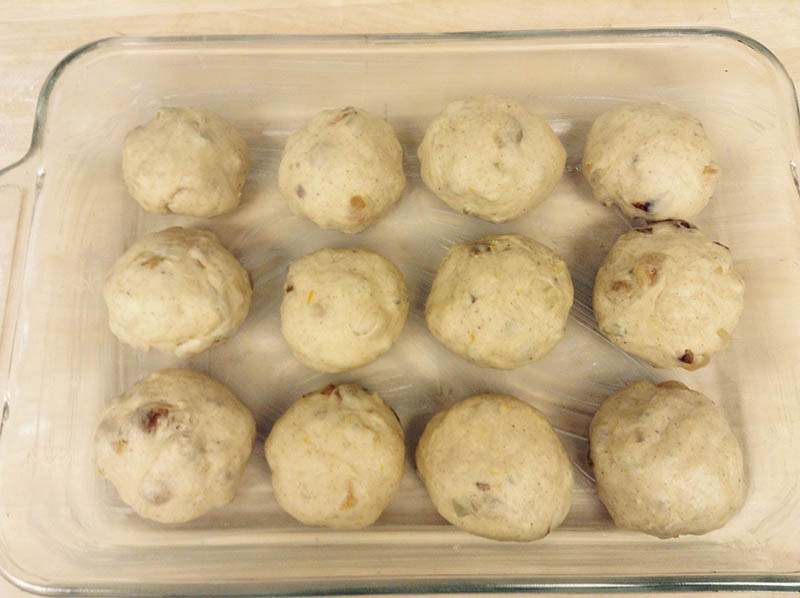
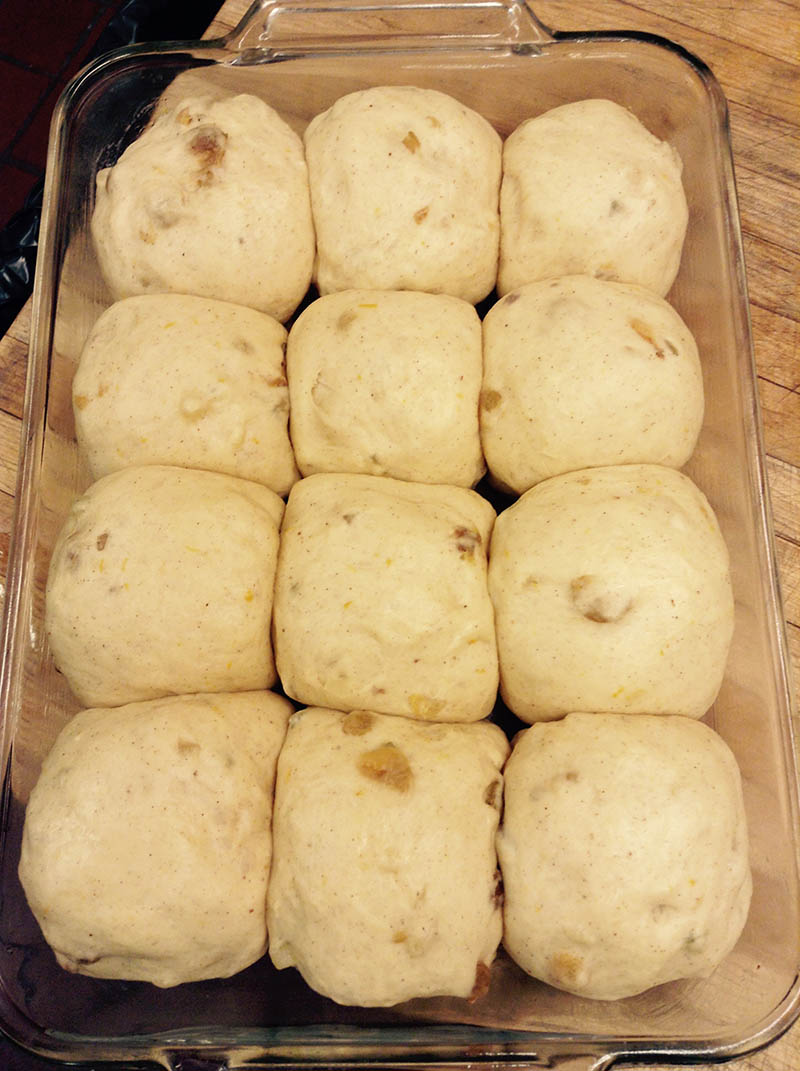
To form the rolls: Pam a 9x13” pyrex pan. Turn the dought out of the bowl and roll into a log. With a dough cutter or sharp knife, divide the dough into 12 equal portions. Roll each of these pieces into a round bun shape, tucking the edges under.
Place them seam side down in the prepared pan, leaving a little space between each roll. Cover the pan with plastic wrap and let rise in a warm place until the rolls are doubled in size, about 45 min. or longer.
Meanwhile, preheat your oven to 350 degrees F. and prepare your egg wash.
Prepare glaze: In a mixer, combine powdered sugar, milk and vanilla or almond extract and oil until smooth (the oil will give it a high gloss). The icing should be quite thick. If too runny, add more powdered sugar. Transfer icing to a pastry bag or a ziplock bag with a corner snipped off.
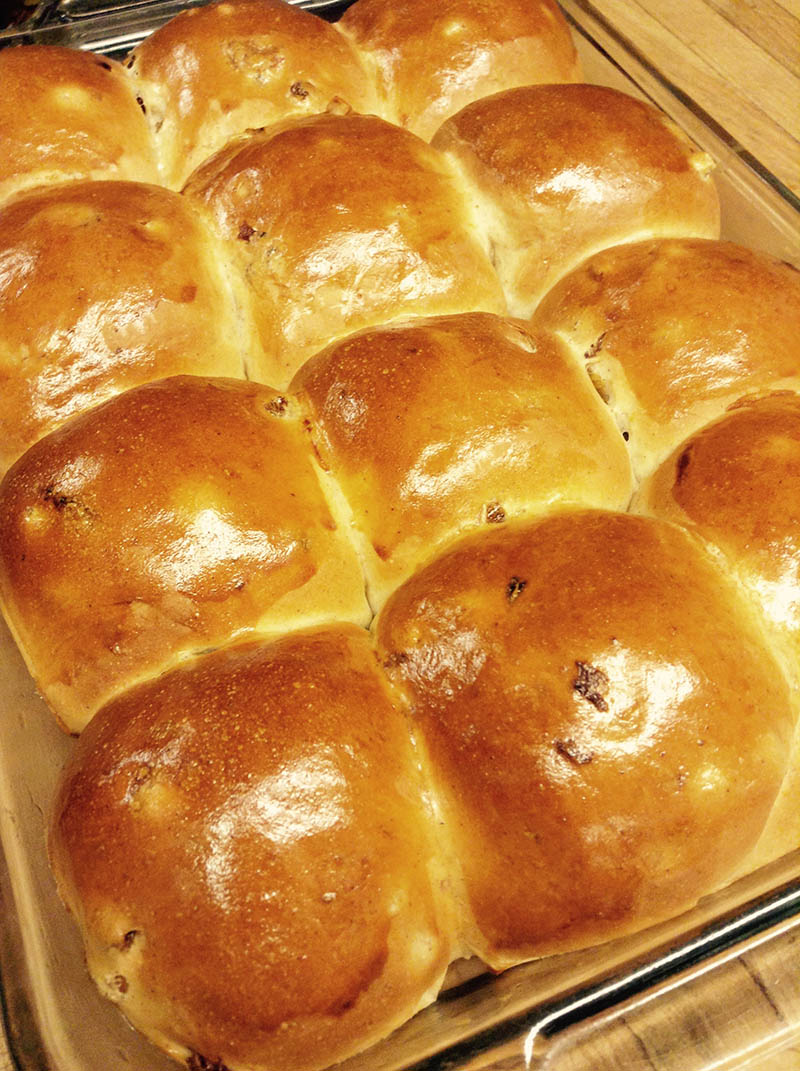
Remove the plastic wrap from the top of the rolls and brush the buns with egg wash. Bake rolls until golden brown and puffy, about 25 min. (an instant read thermometer inserted into the roll should read 190 degrees F.)
Ice buns with a thick cross shape on the top of the warm buns and serve.
With the holidays just around the corner, you might be looking for a new and unusual crowd-pleasing side dish to wow your guests. This is one of my favorite vegetable dishes, introduced to me by Tessa Kiros in her wonderful cookbook: Twelve: A Tuscan Cook Book. She introduces the readers to the twelve months of Tuscan cooking and seasonal ingredients. When I’ve served at our mission house in Tuscany, I would cook through this book and this recipe became one of our house favorites. As Tessa says, “pastry-less baked vegetable pies are very common and are made with various vegetables depending on the season, such as green beans, artichokes and spinach.” You can also use broccoli in place of cauliflower.
We just served this last night for the opening to our Gregorian Chant Retreat and received great compliments. This would make a lovely addition to your Thanksgiving table. If you want to make it gluten free, just substitute gluten free flour for all purpose flour in the the béchamel sauce.
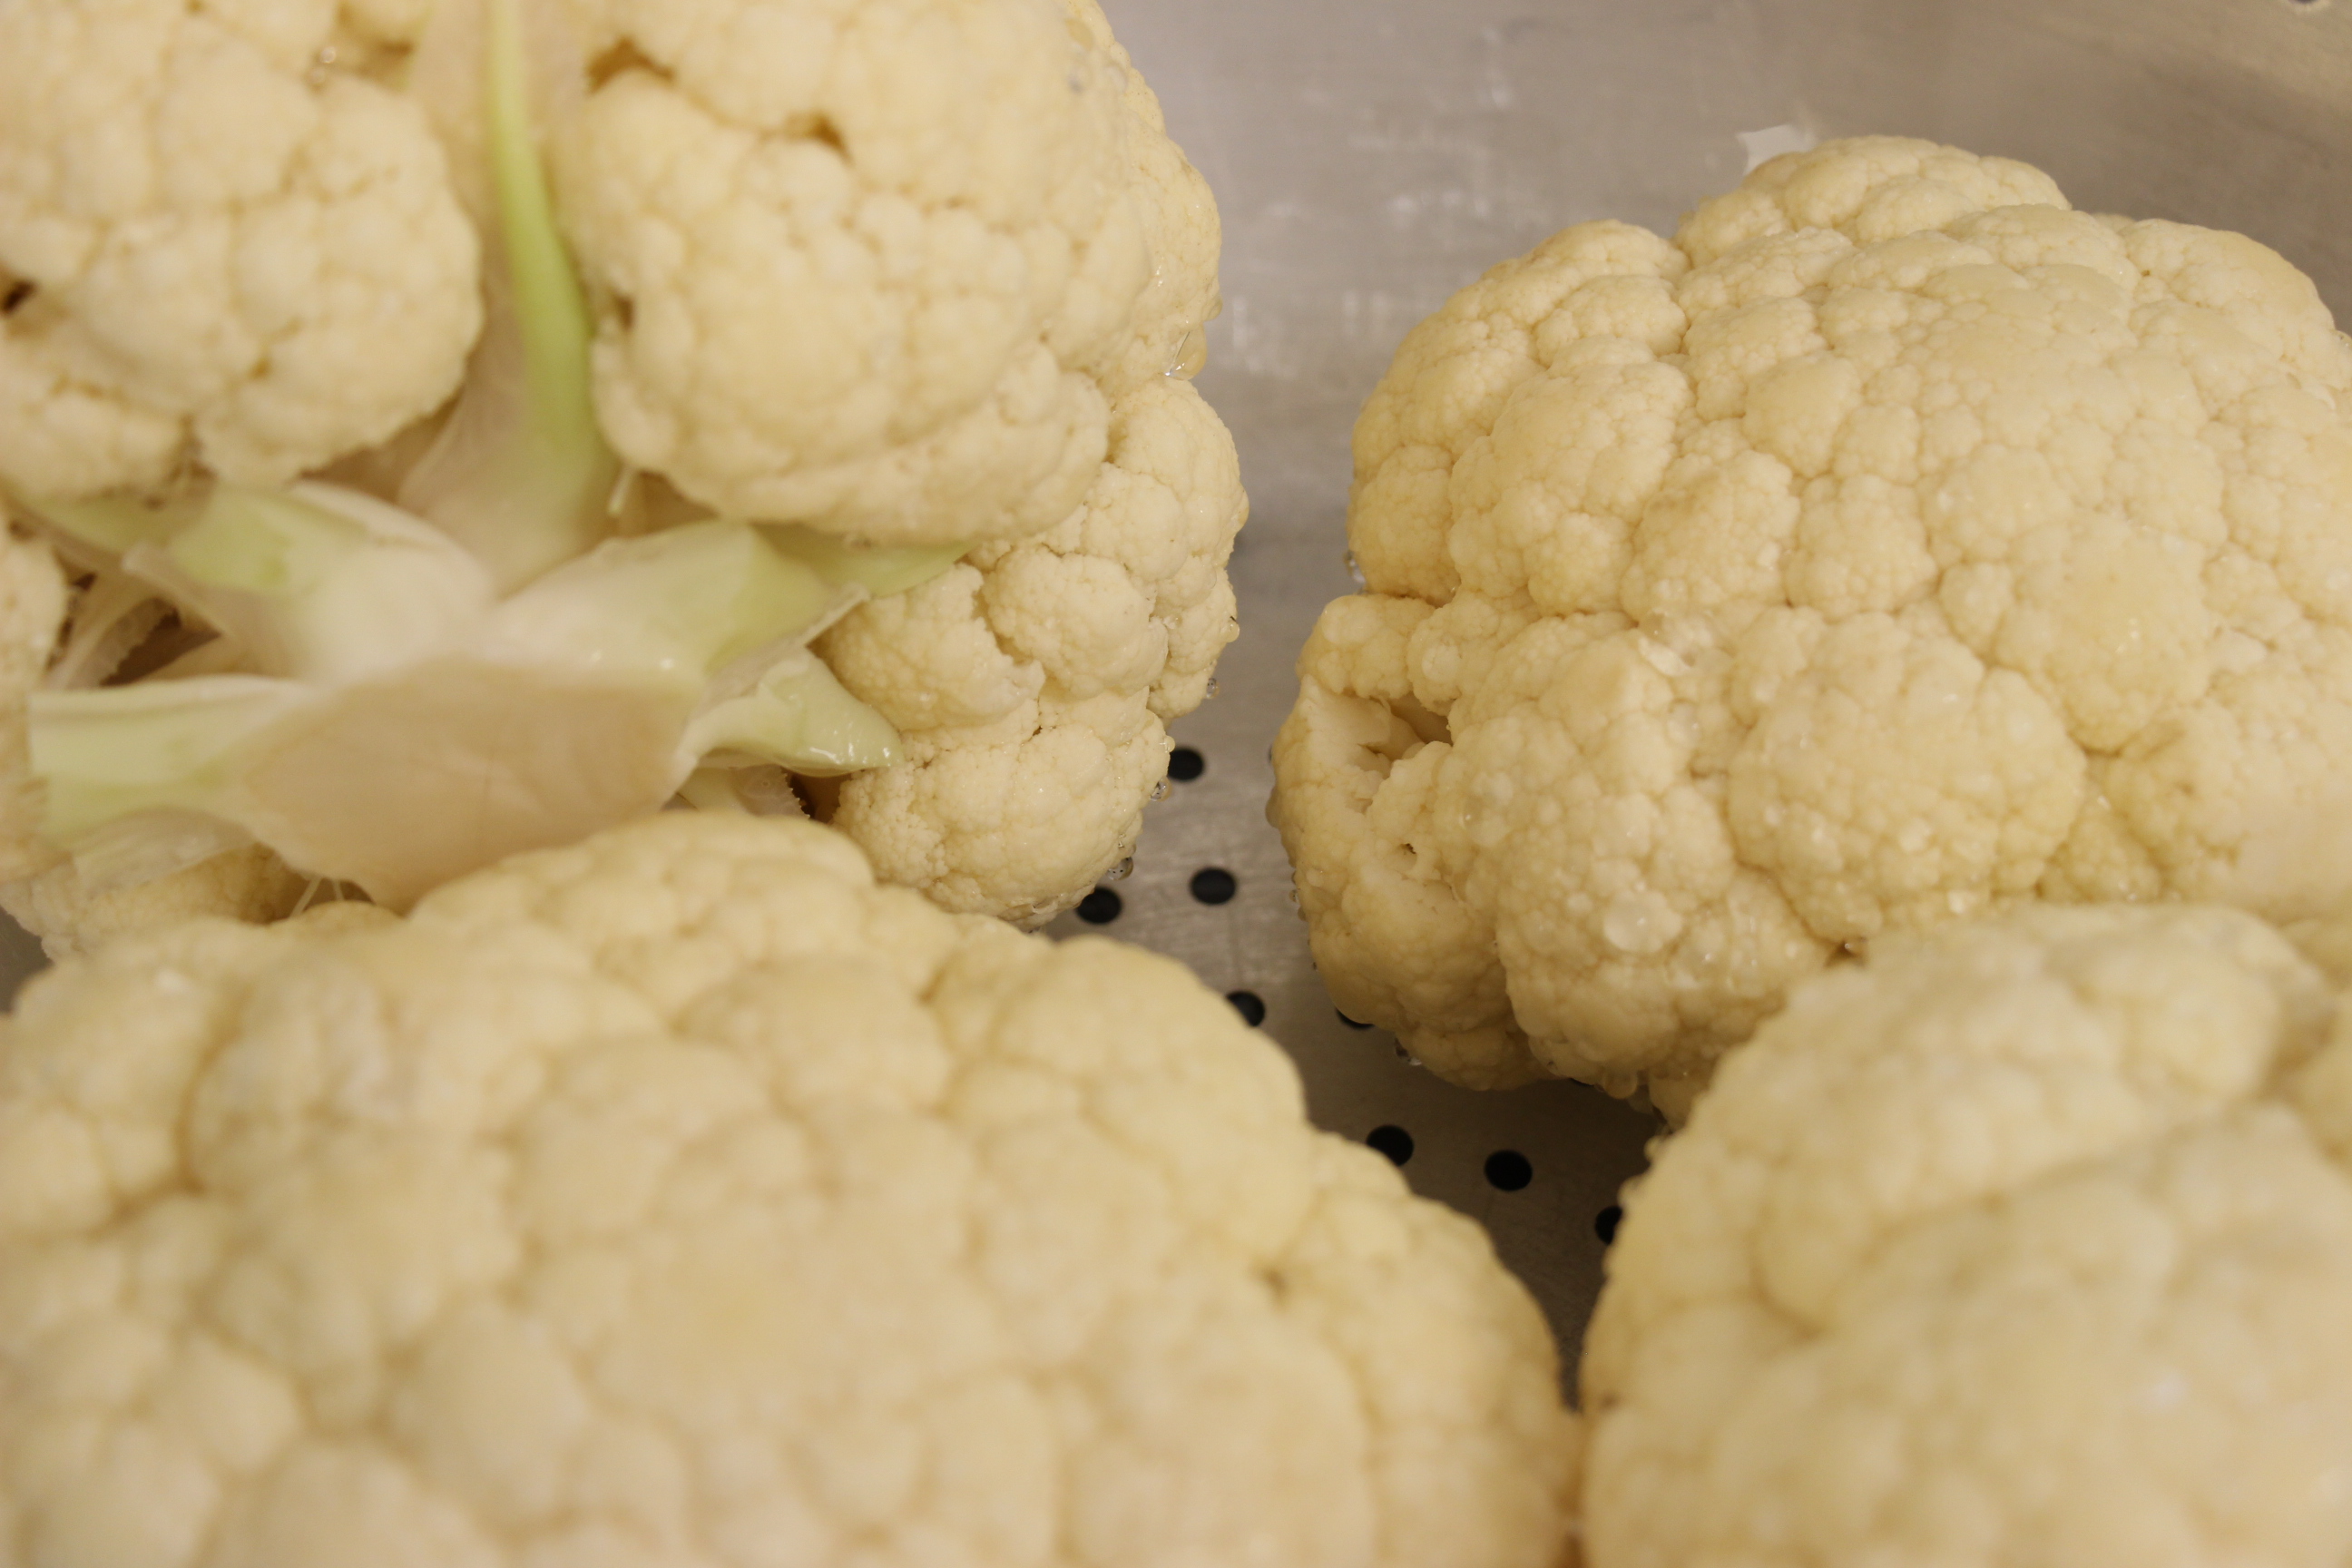
Preheat oven to 350 degrees/ Wash the cauliflower and trim away the hard stem. Put it into a pot of boiling salted water and boil for about 10 min. or until it has softened.
Meanwhile, make the béchamel sauce:
1) Melt butter in a small, heavy saucepan over medium heat until foaming. Add shallots (if using) and sauté 2 minutes. Do not let brown.
2) Reduce heat to low, add flour, and whisk until smooth and raw taste is cooked off, about 1 minute. Gradually whisk in milk. Add bay leaf and cook until just thickened, stirring often, about 10 minutes.
3) Stir in nutmeg and salt. Season with ground white pepper. Cool sauce slightly. Discard bay leaf before using.
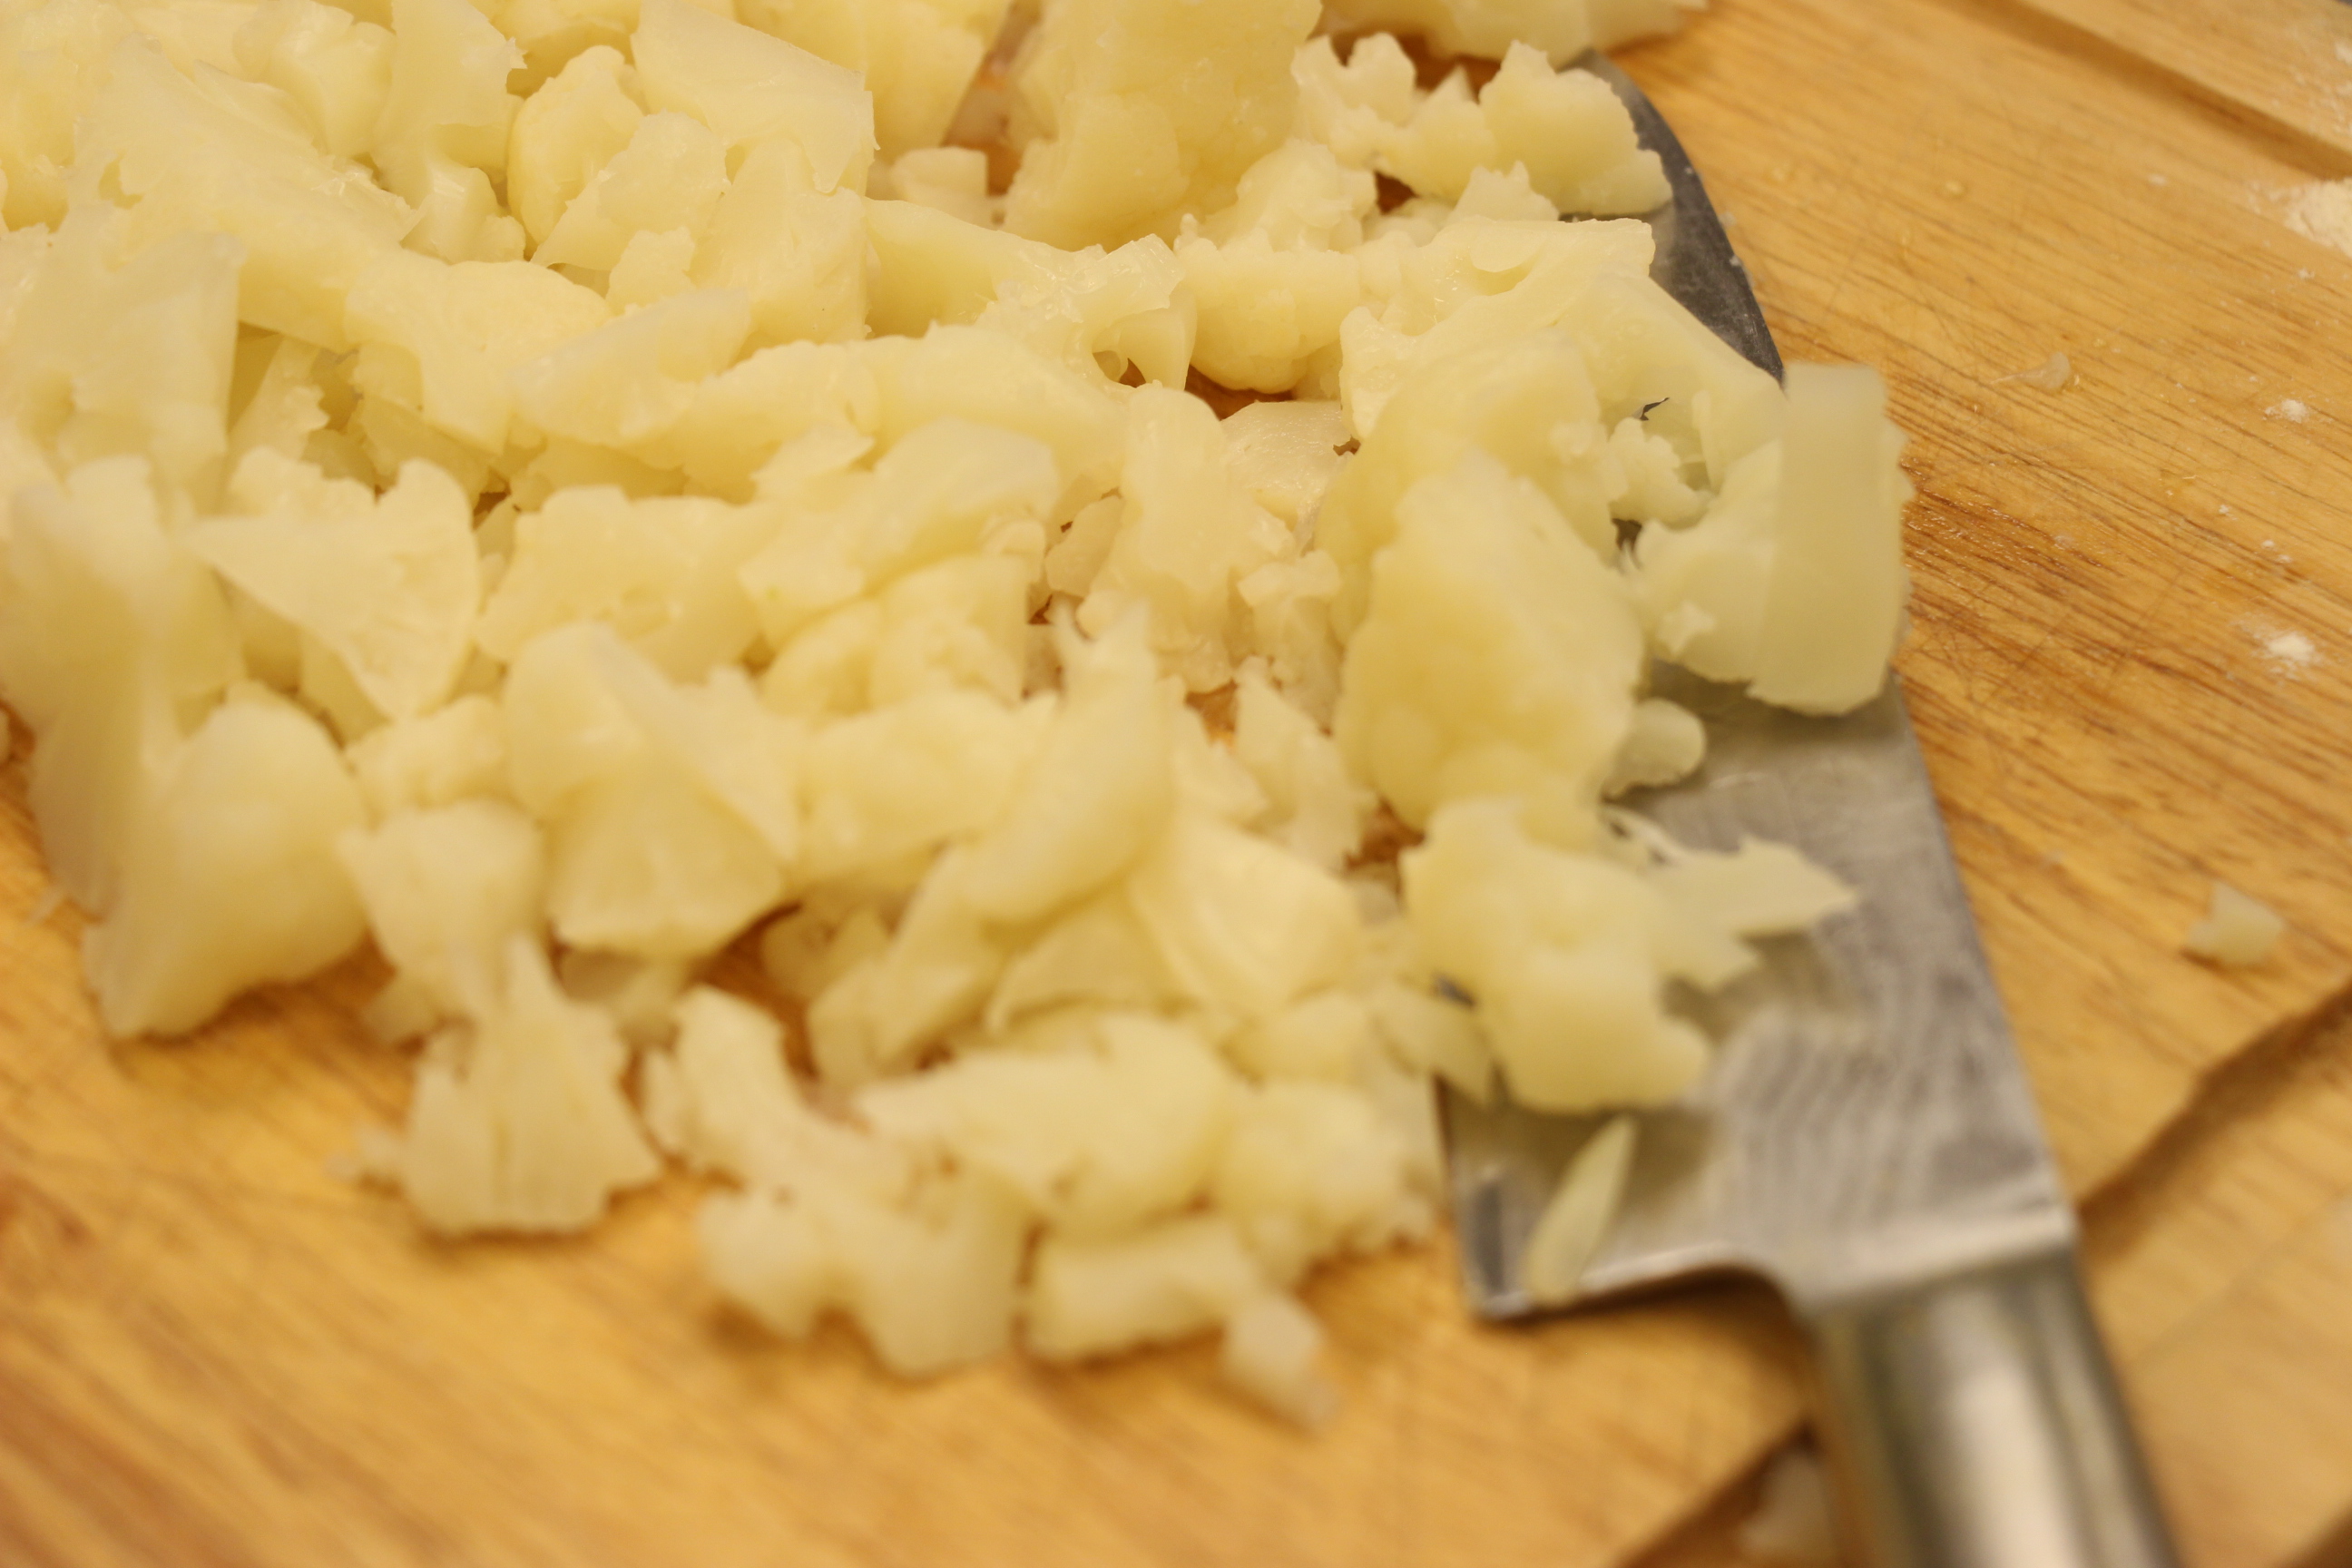
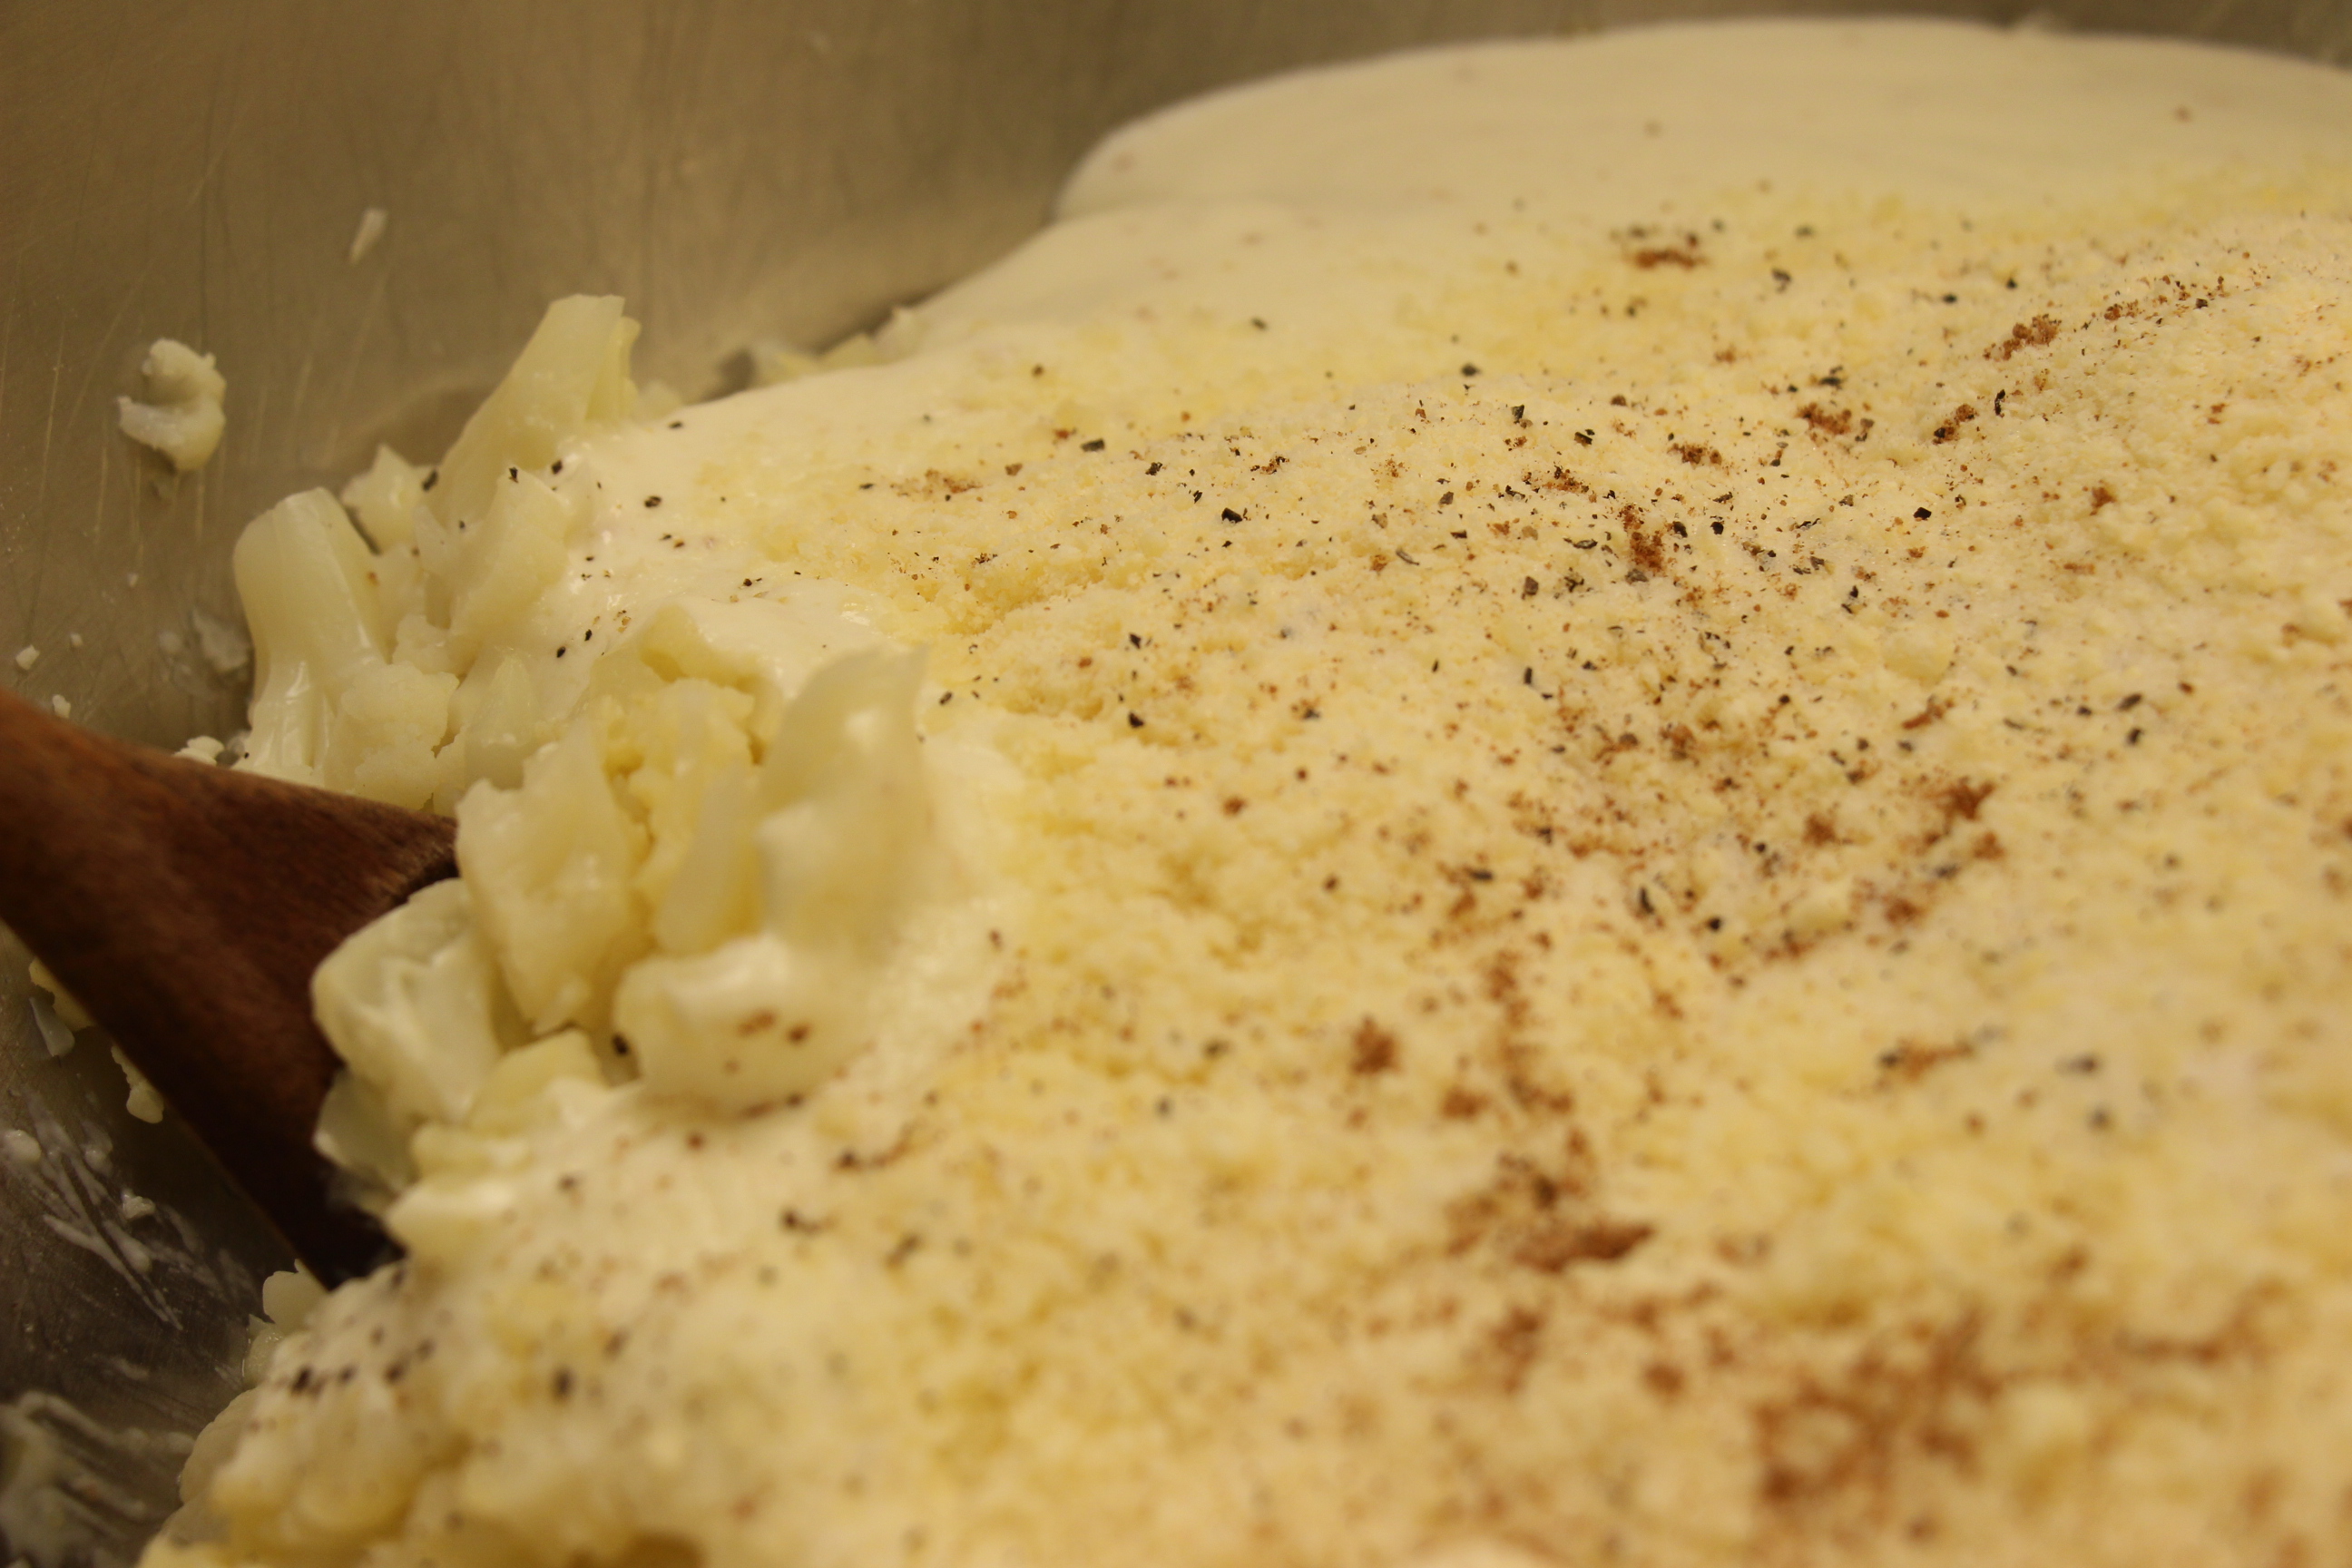
Drain the cauliflower and chop it up finely or roughly puree it. Put into a bowl and mix in the eggs, 2 cups béchamel, parmesan cheese, a grating of fresh nutmeg, and salt and pepper to taste, adjusting if necessary. Mix well with wooden spoon.
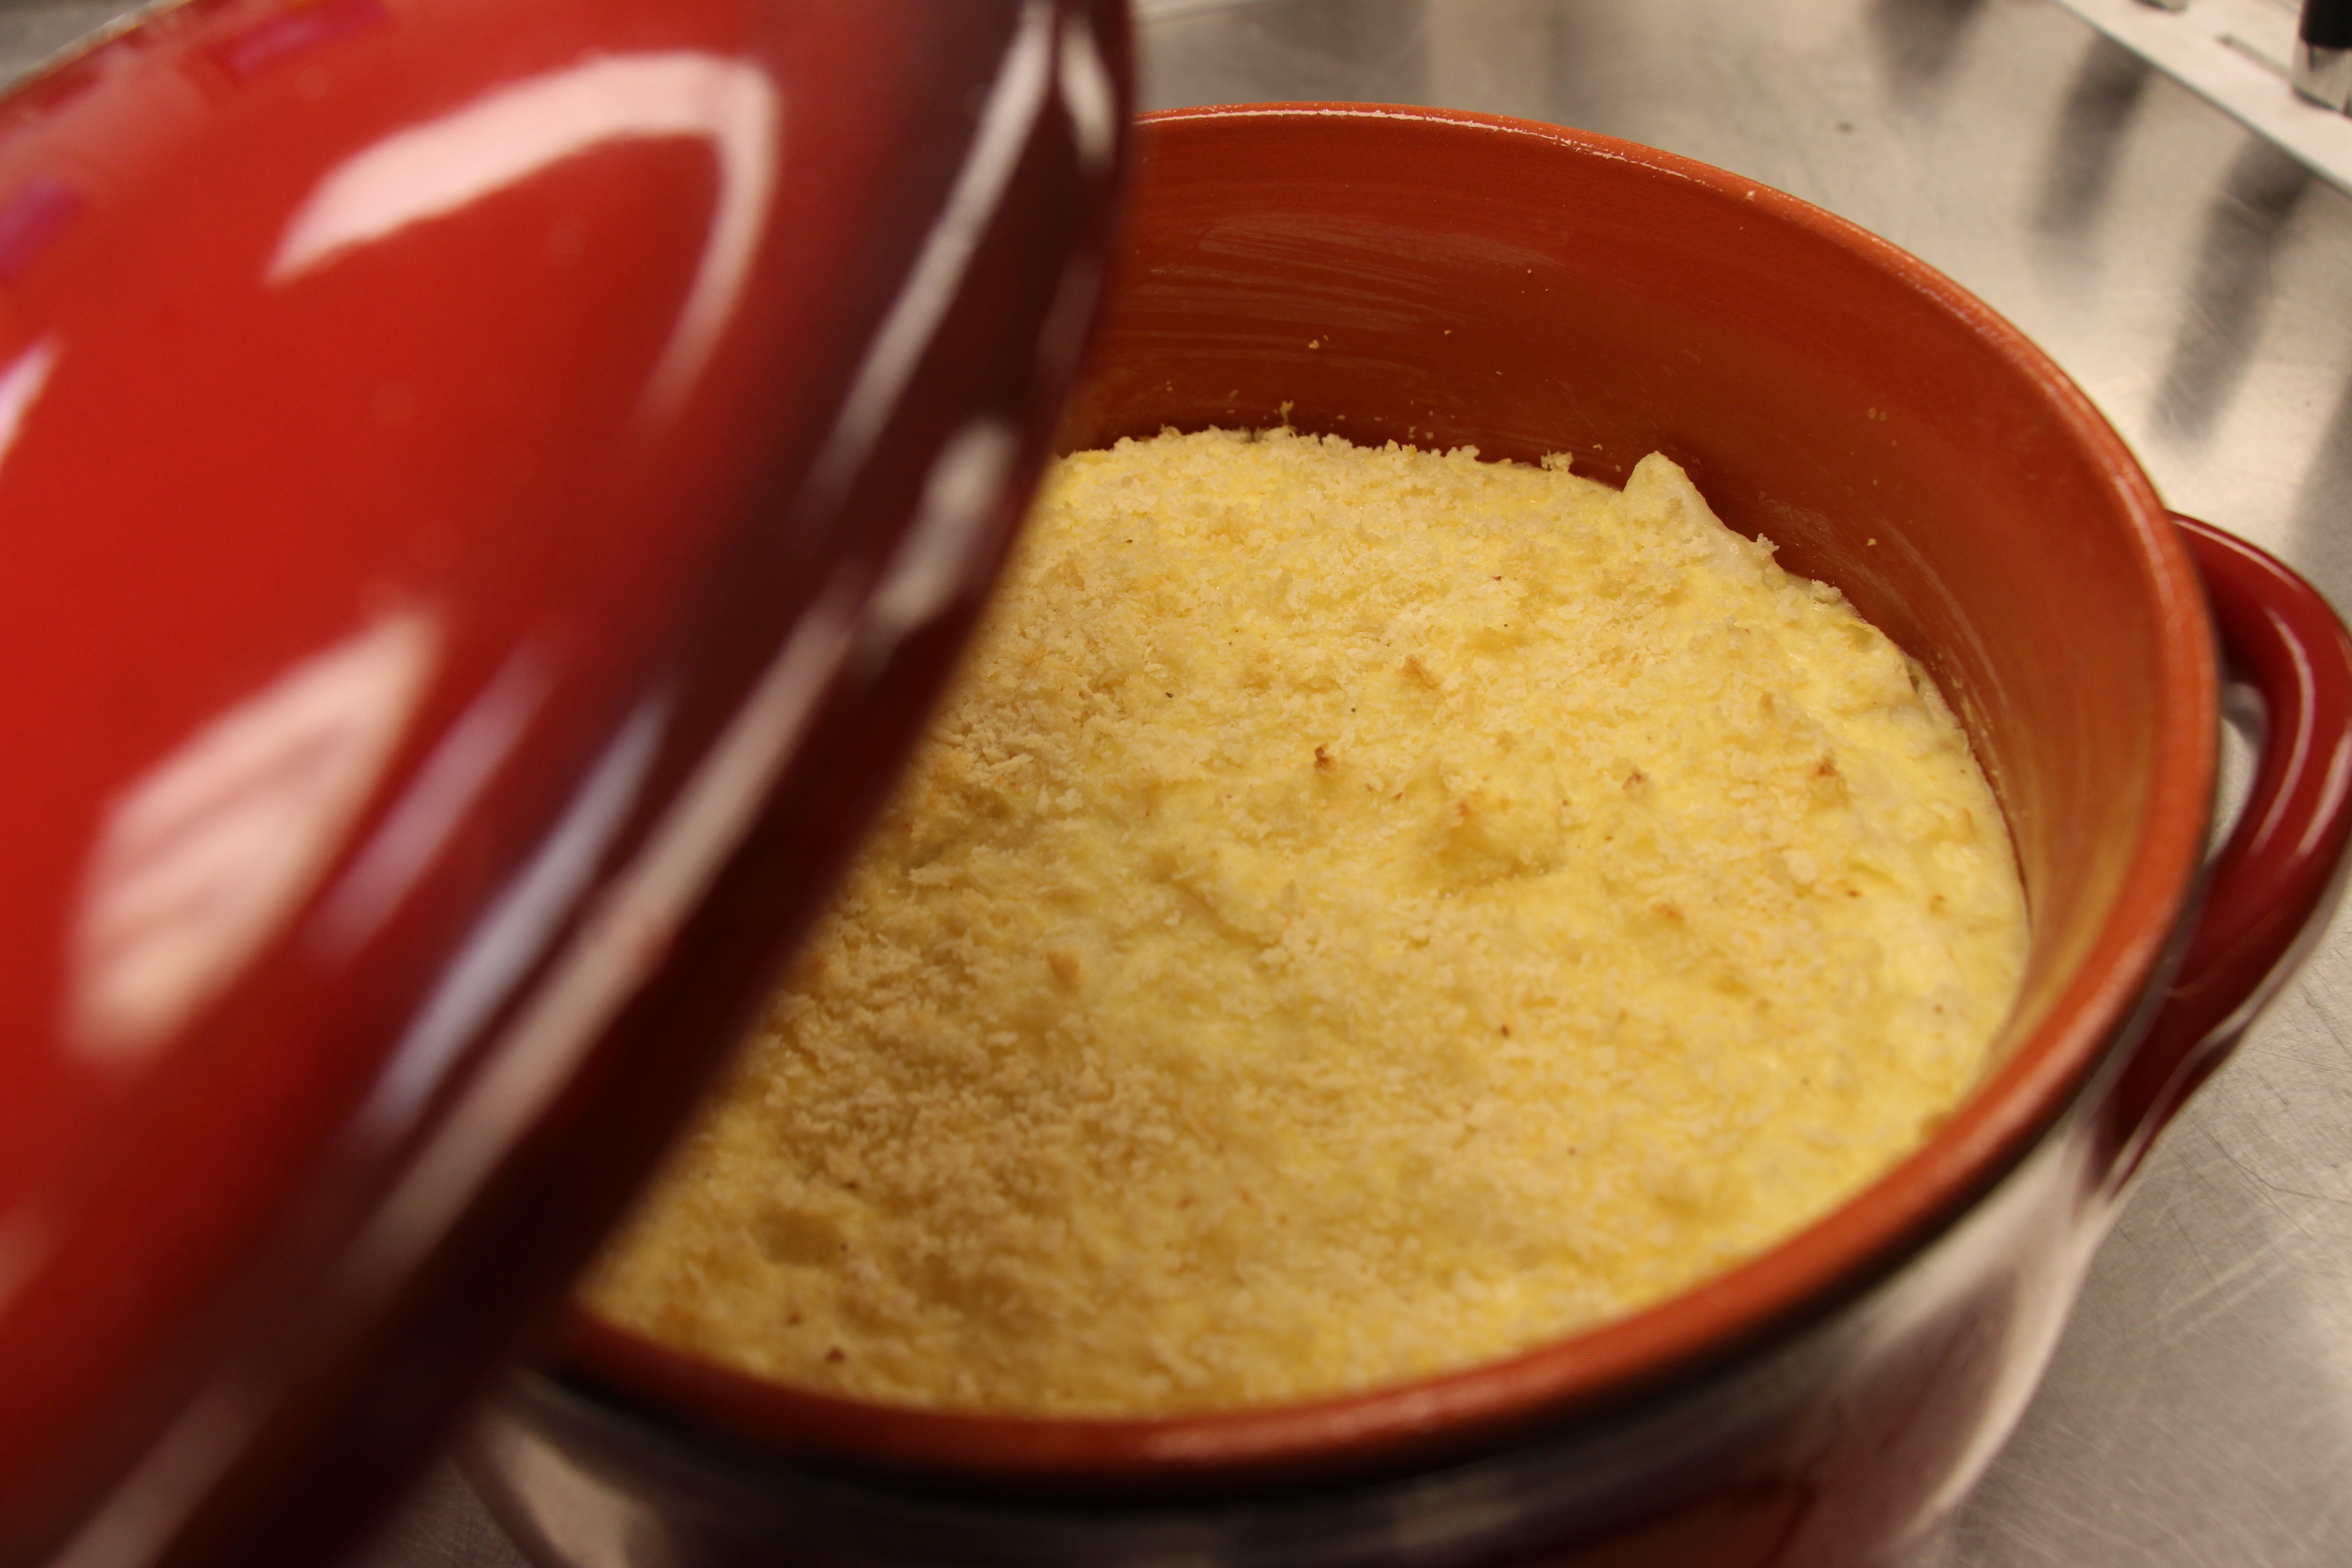
Butter an oven dish or loaf pan and sprinkle with half of the breadcrumbs to line the pan, shaking away the excess (use gluten free breadcrumbs if making gluten free). Pour in the mixture and sprinkle the surface with the remaining breadcrumbs.
Bake for 30-40 min. in the hot oven, until the top is golden and slightly crusty. Serve warm.
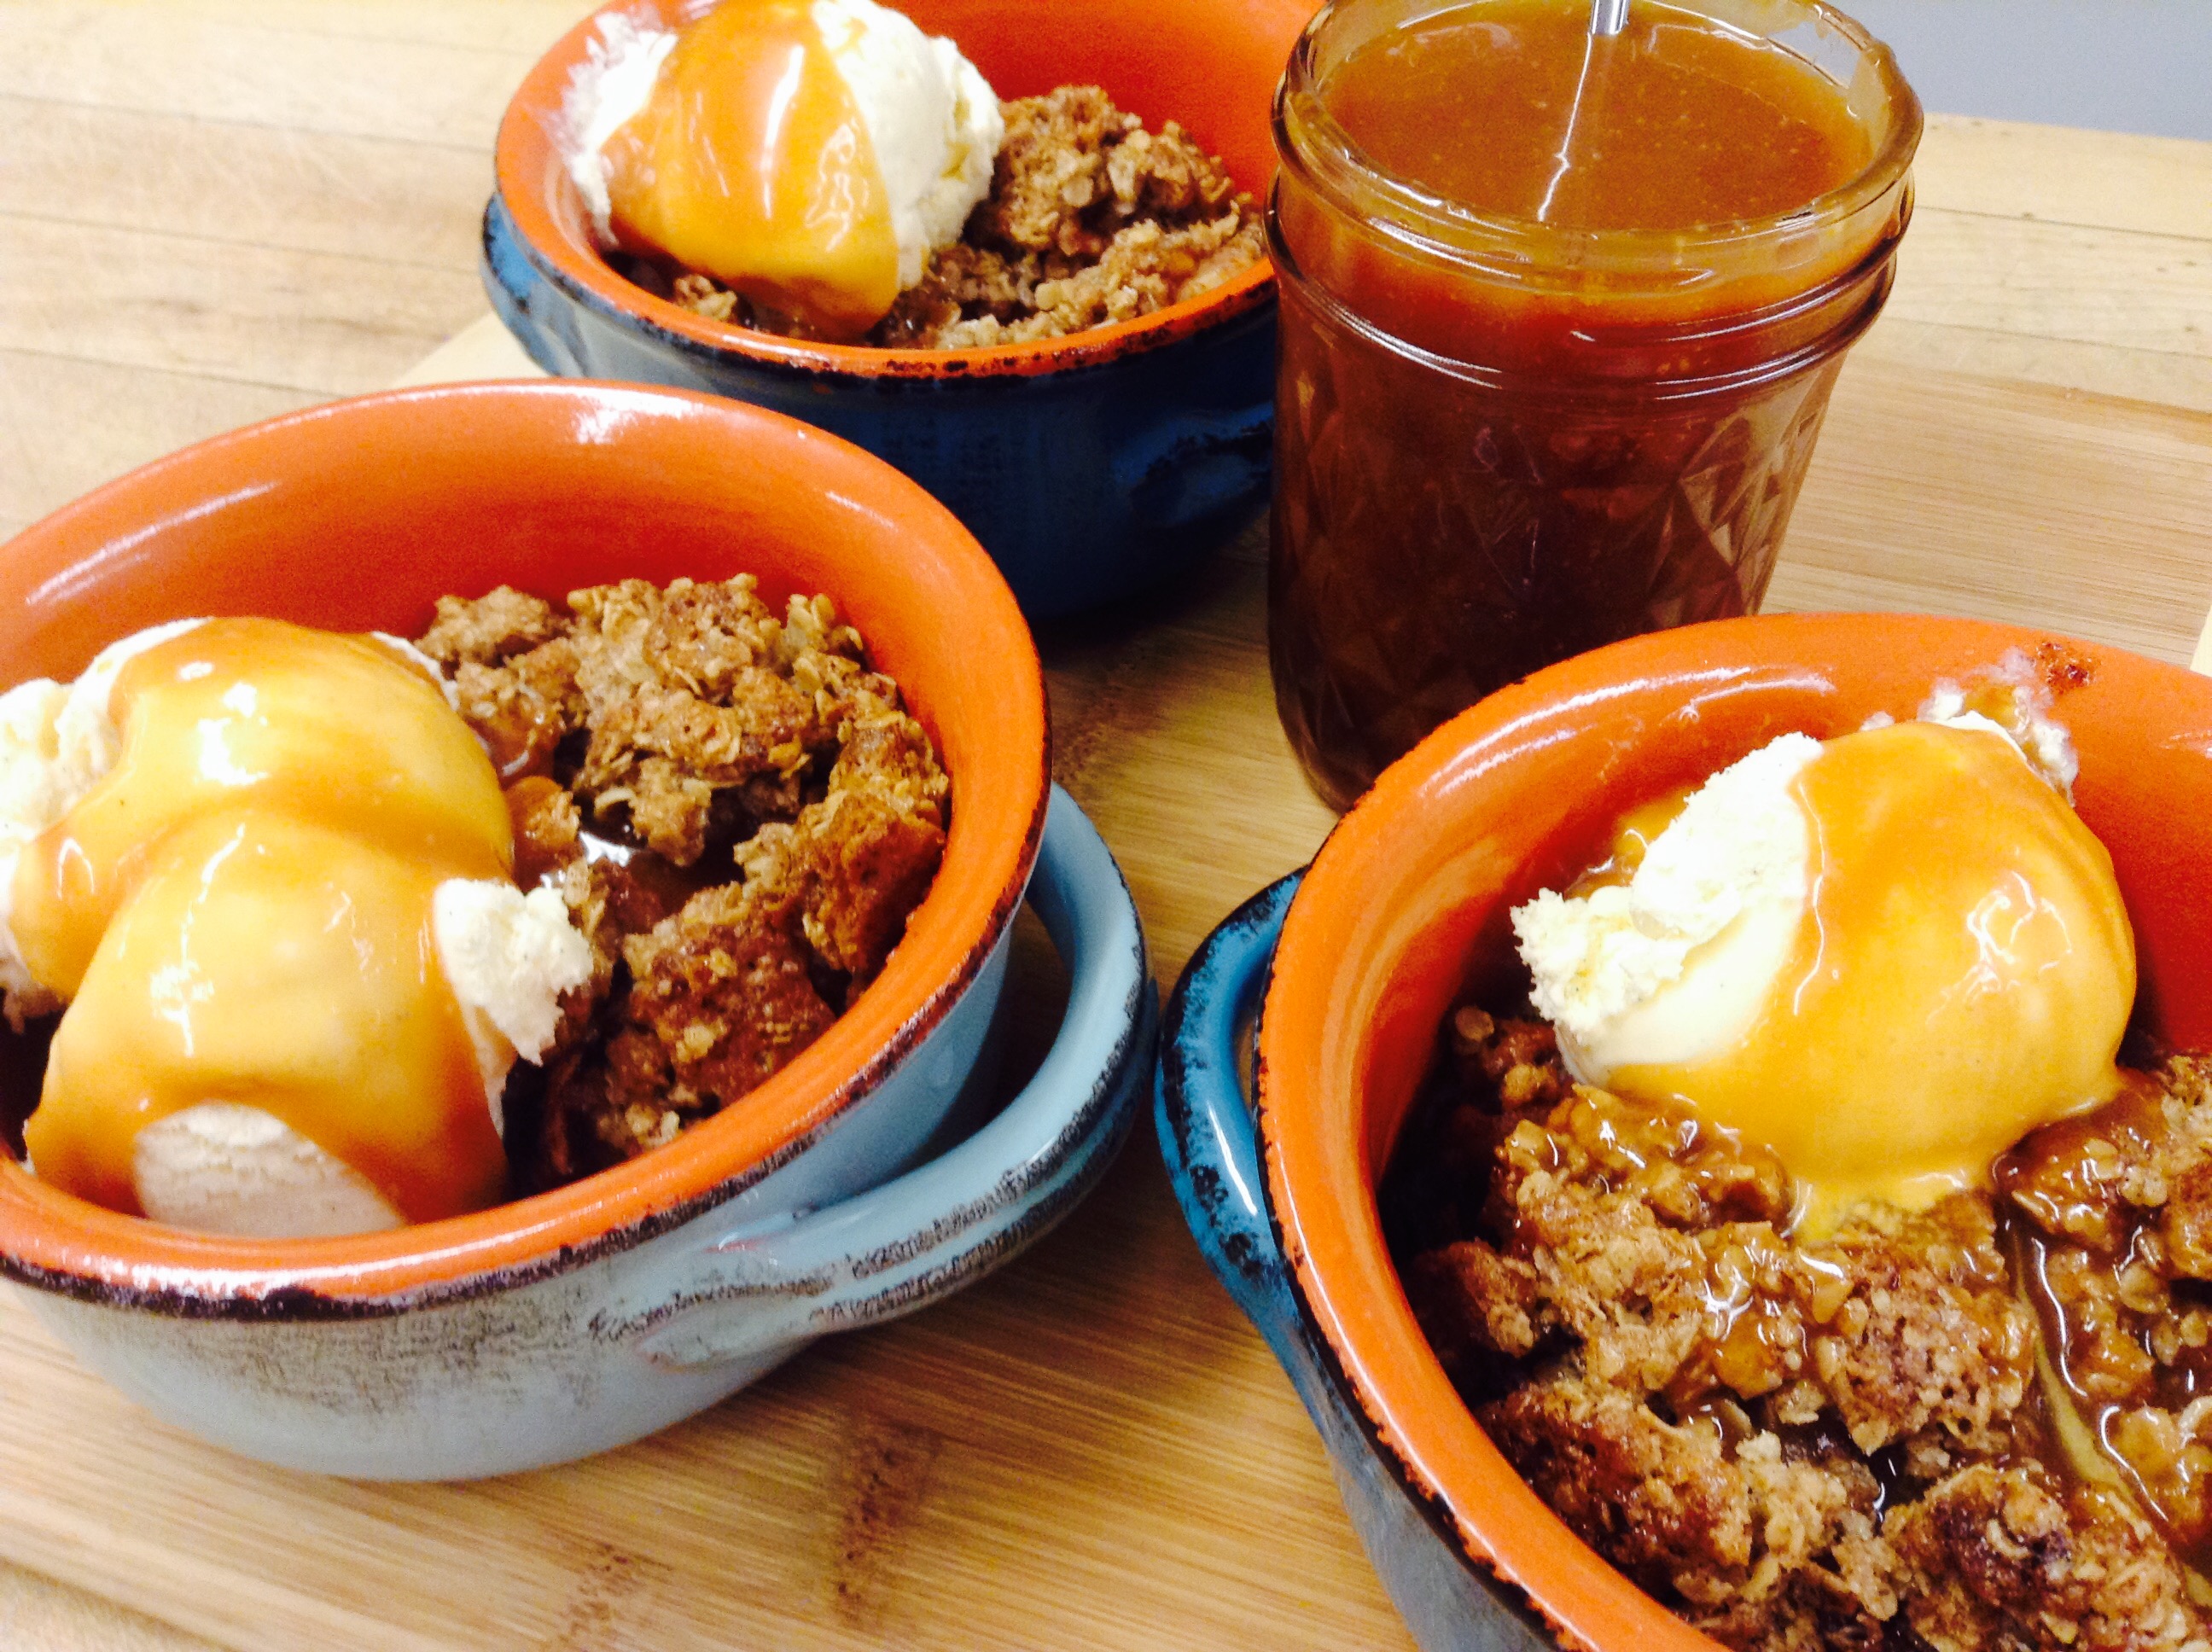
Many years ago, we had a cookbook from Maine that had the most extraordinary apple pie recipe. It had a layer of crushed graham crackers and caramel sauce underneath the apples. We lost that cookbook in the move to our new kitchen, but every fall when the apples are being harvested I think back to this recipe. This year, I decided to re-create it in an apple crisp. It sure took less time than making a pie, but the flavor combination was there.
For gluten-free cooking, try substituting gluten-free cookies for the graham crackers and brown rice flour for the flour. I think you might be pleased.
Print Recipe
Votes: 0
Rating: 0
You:
Rate this recipe!
Graham Cracker Apple Crisp with Homemade Salted Caramel Sauce
SERVINGS
9servings
CHANGE SERVING SIZE
servings
COOK TIME
30-40mins
PREP TIME
20mins
READY IN
50-60mins
Ingredients
Filling:
6cupsapple(s)peeled and sliced (6-8 apples: gala or honeycrisp recommended)
Filling: Toss apples together with brown sugar, cinnamon, flour, salt, lemon zest, lemon juice and the melted butter.
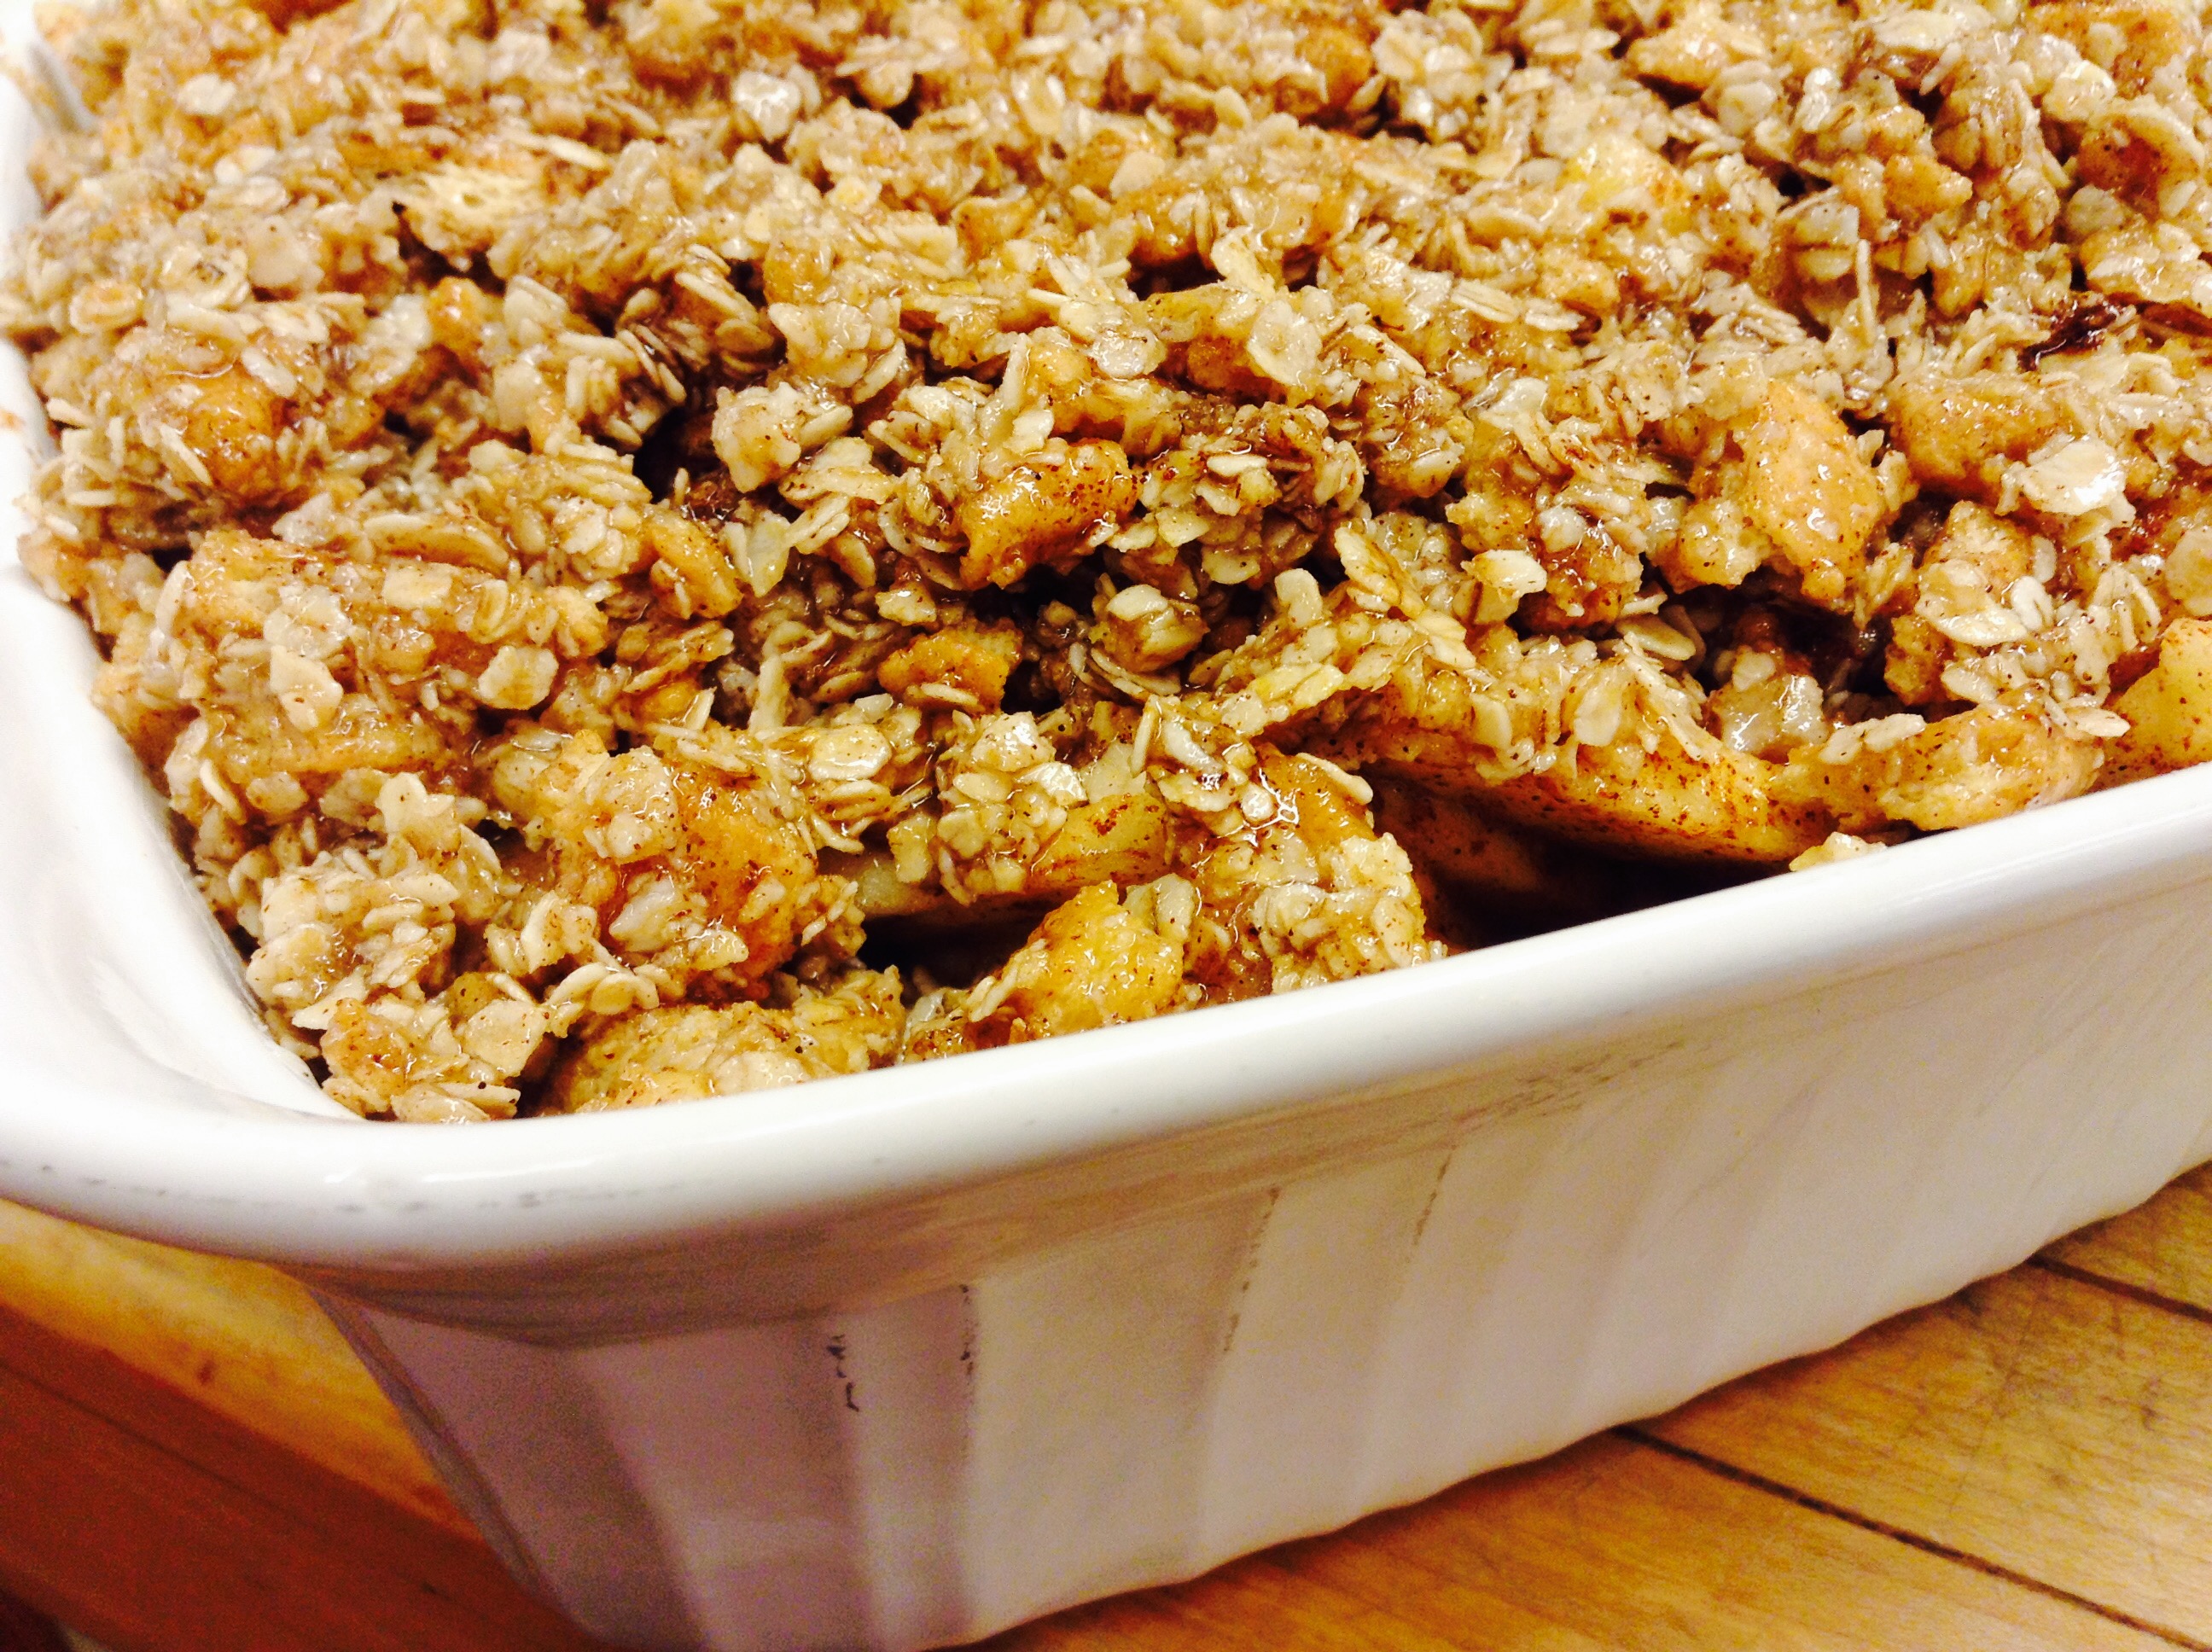
Topping: Melt butter in a medium bowl and add all other topping ingredients. Mix until crumbly and evenly mixed.
Sprinkle over apples and pat down lightly. Bake at 350º for about 30-40 minutes, until apples are soft and the filling bubbles and the crisp is golden.
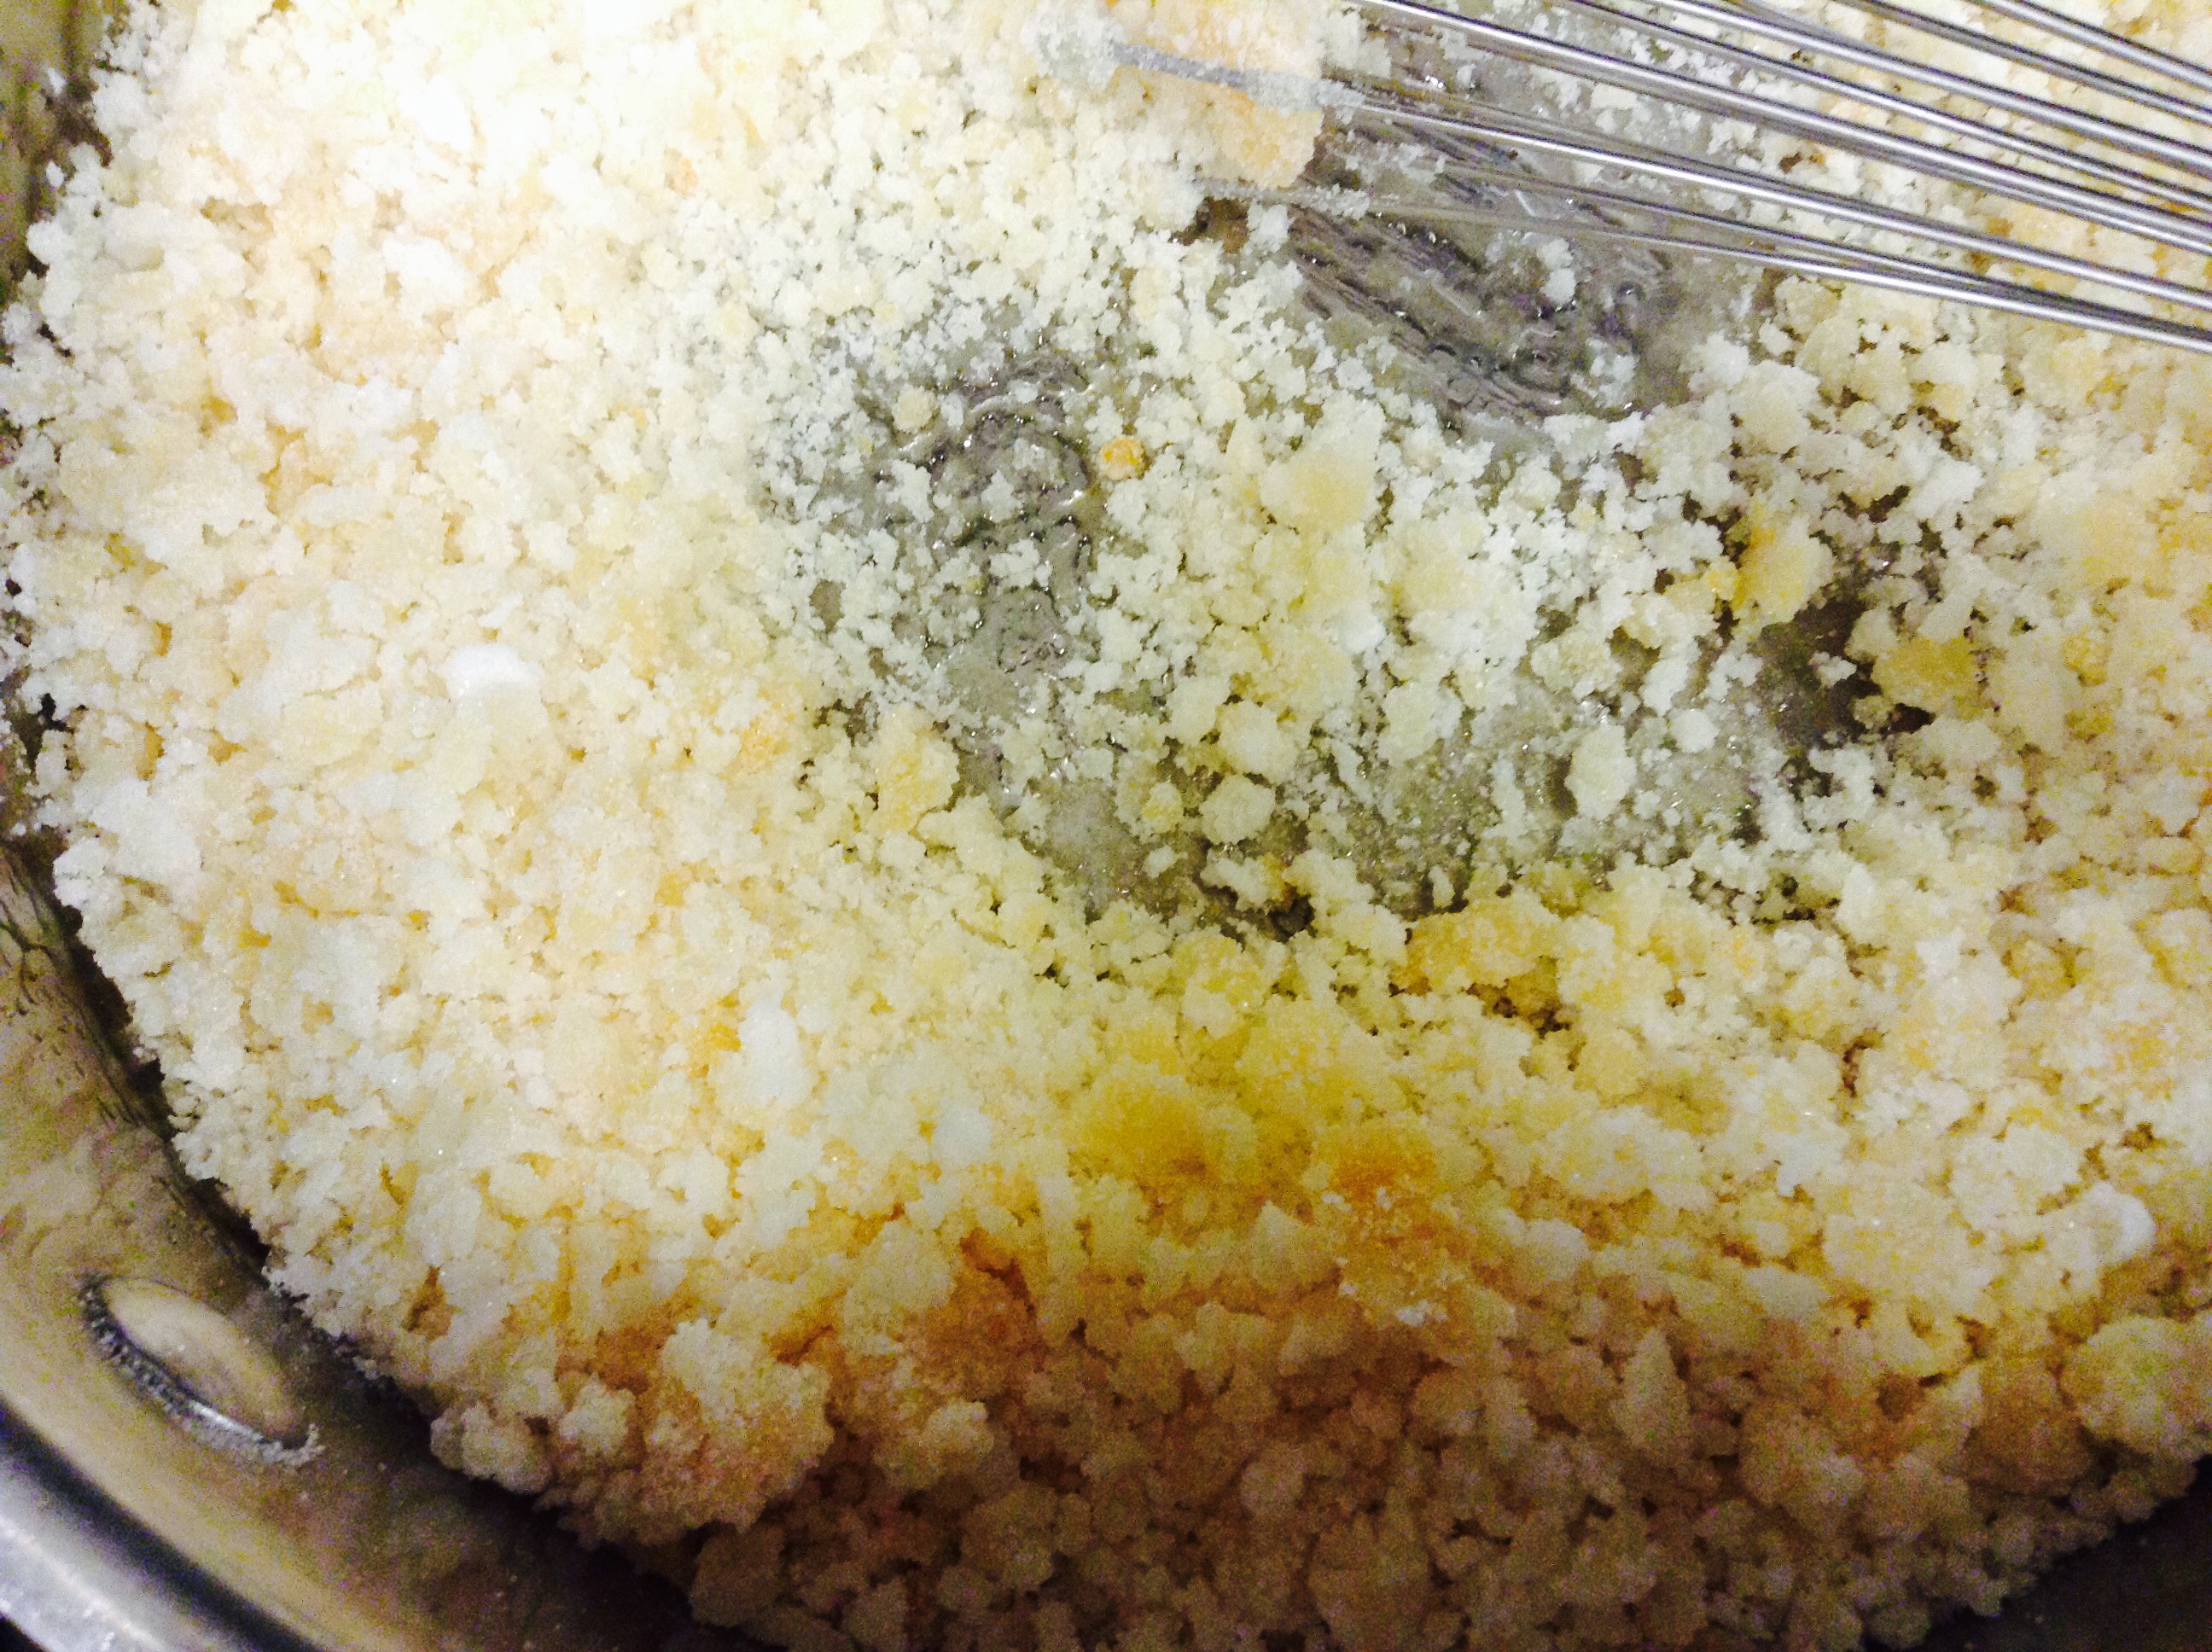
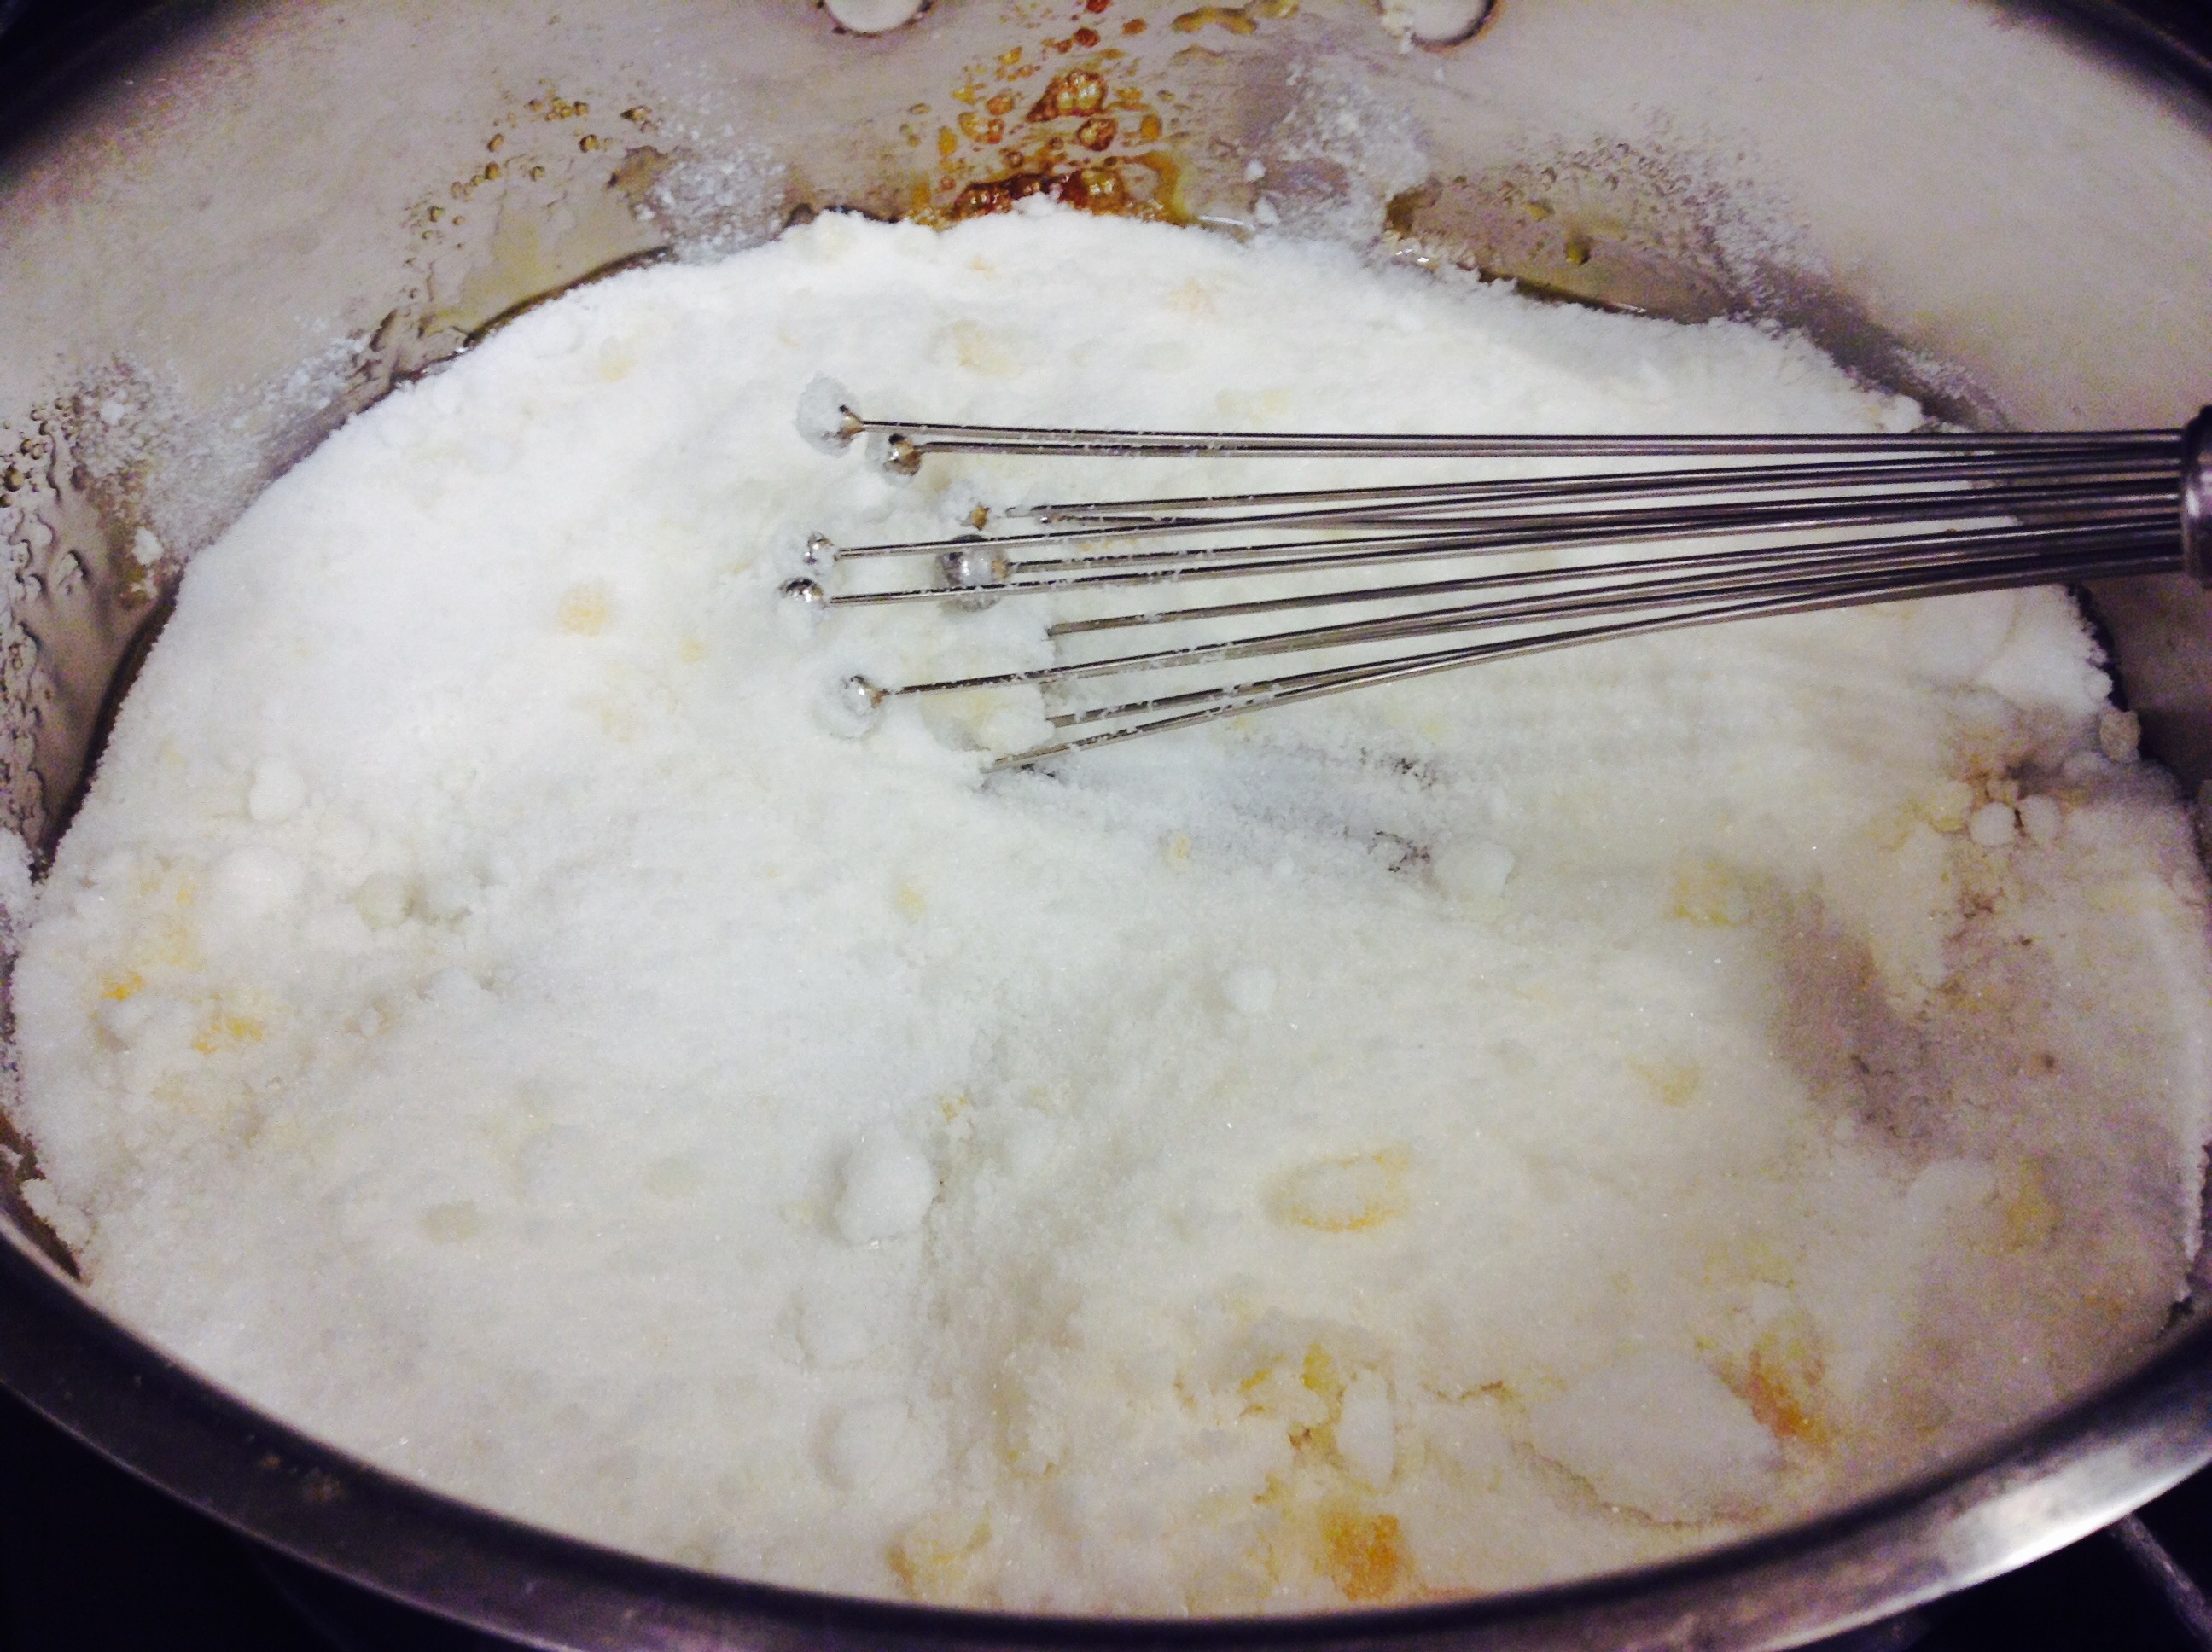
Meanwhile make Salted Caramel Sauce: Add the sugar in an even layer over the bottom of a medium saucepan. Heat the sugar over medium-high heat, whisking it as it begins to melt. It's okay if the sugar begins to form clumps- keep whisking and as it continues to cook, they will melt back down. Stop whisking once all of the sugar has melted, and swirl the pan occasionally while the sugar cooks.
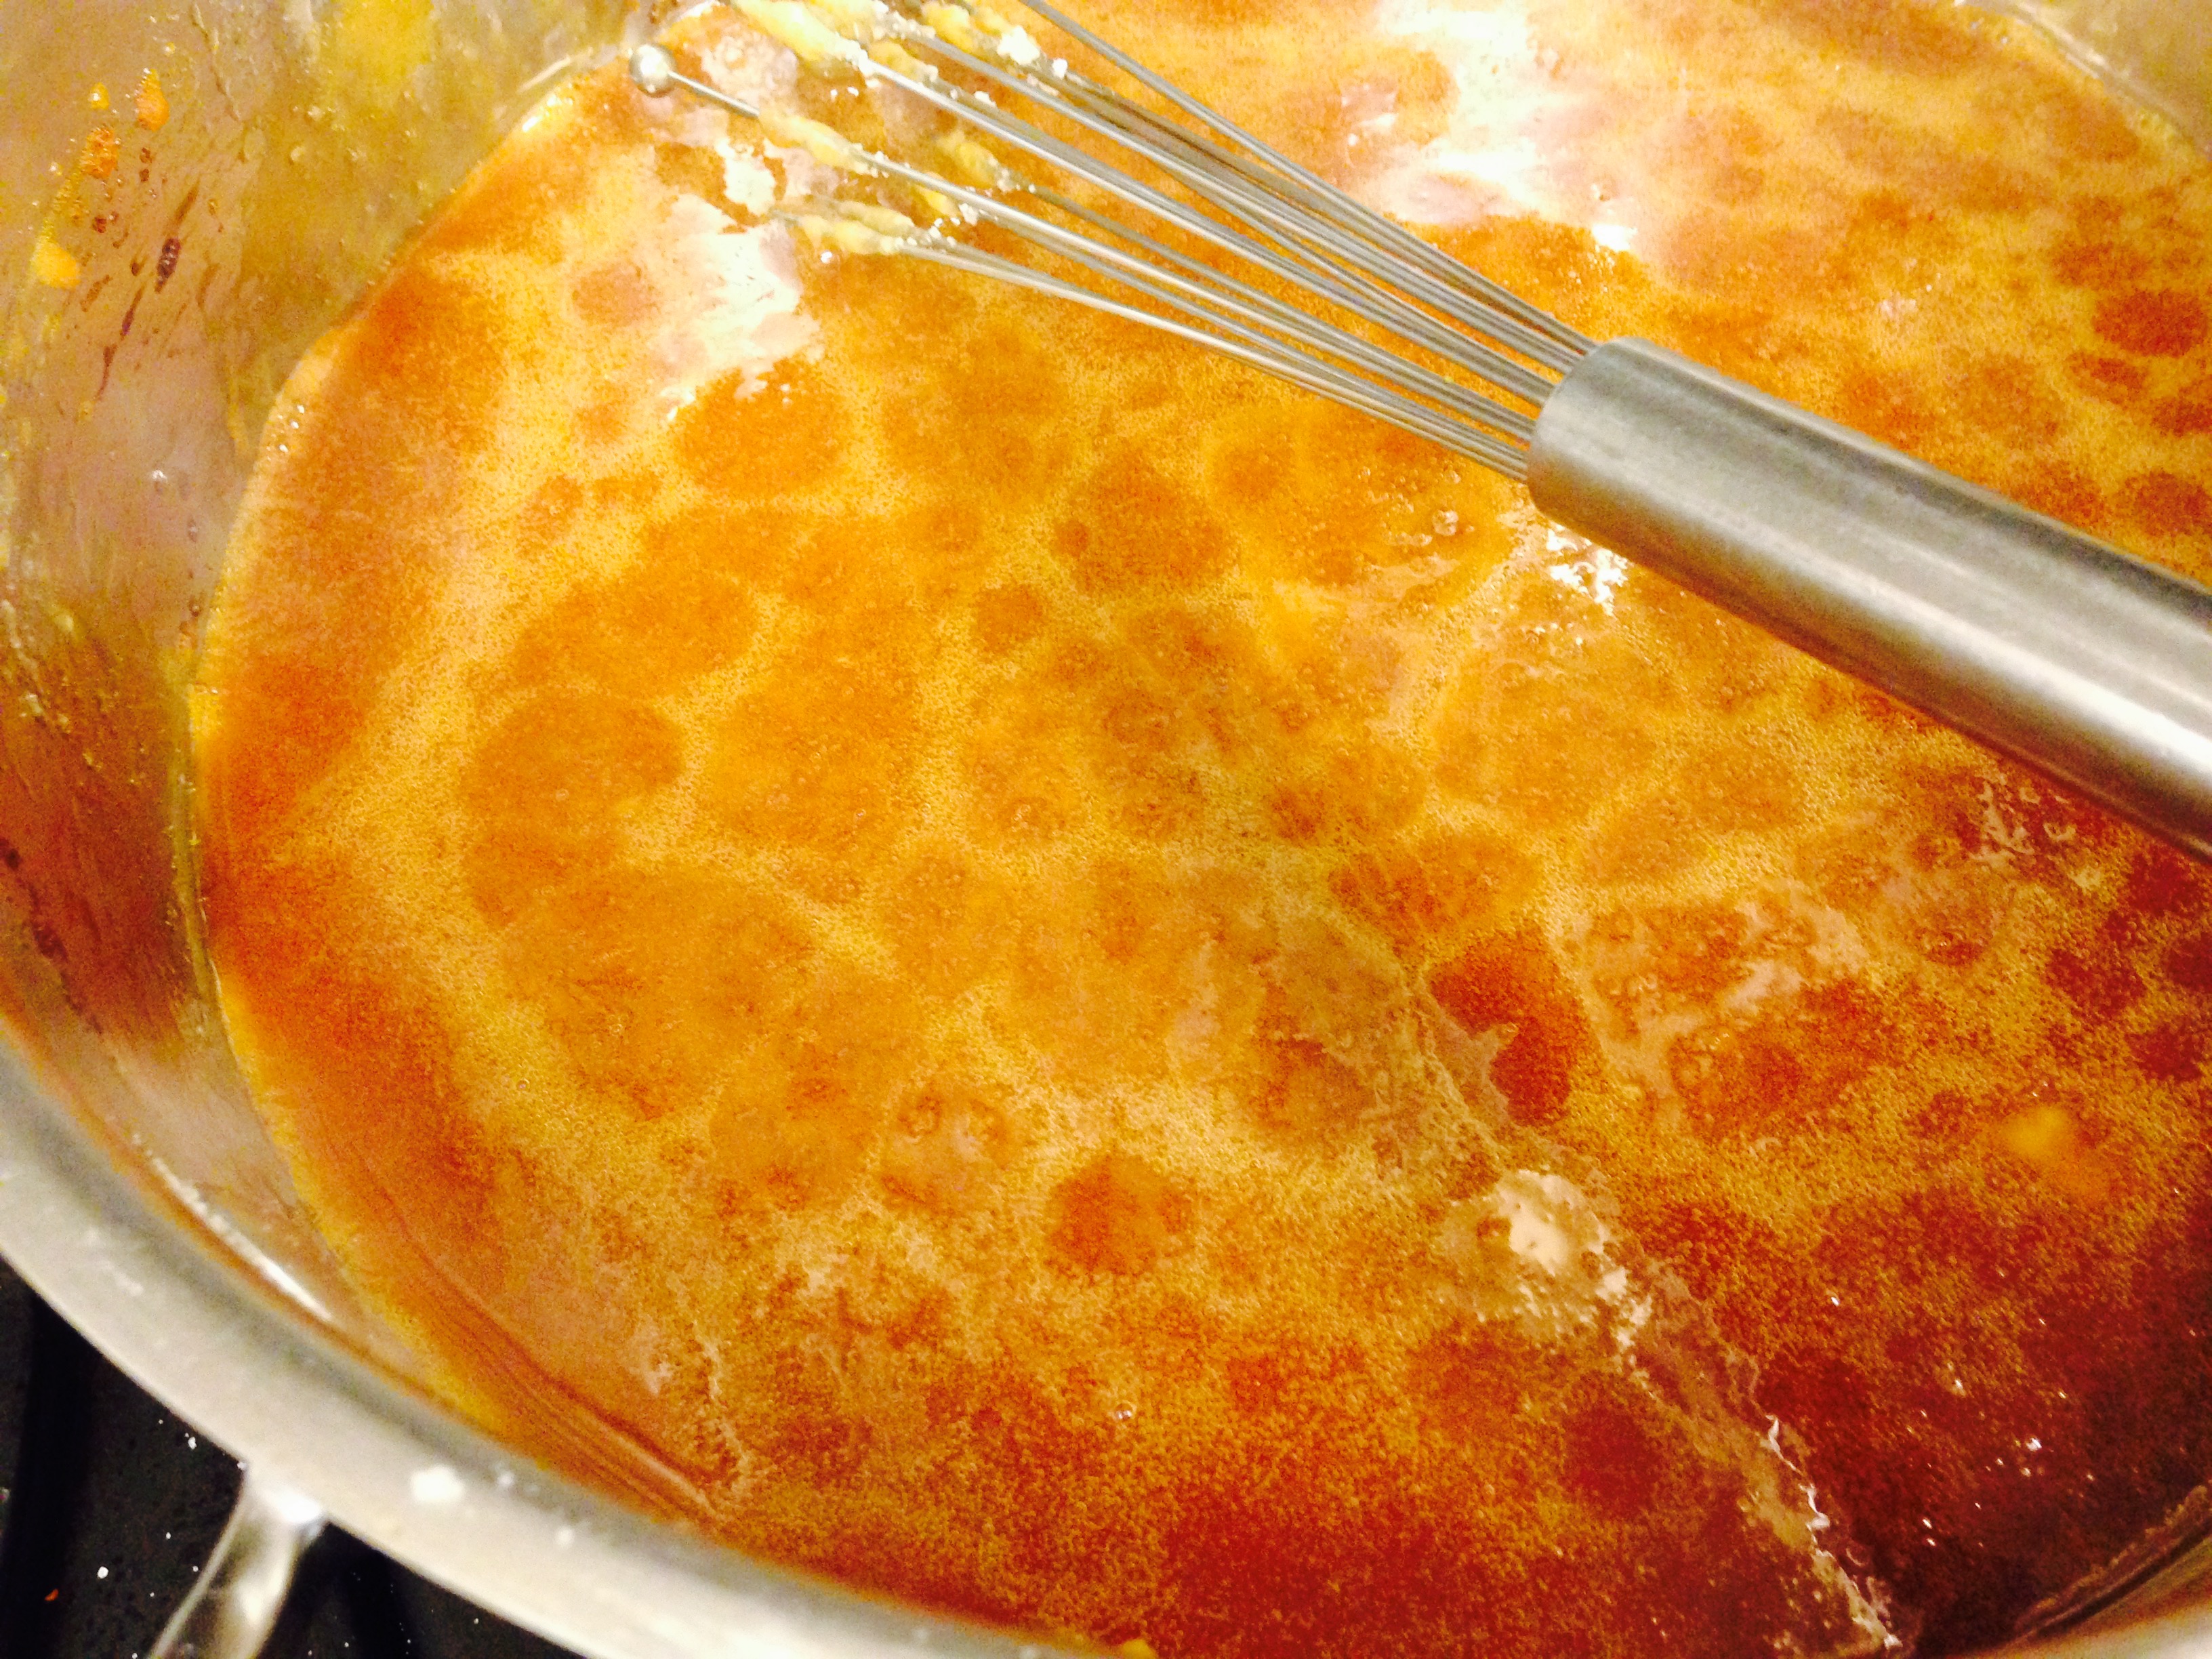
Continue cooking until the sugar has reached a deep amber color. It should look almost a reddish-brown, and have a slight toasted aroma. This is the point where caramel can go from perfect to burnt in a matter of seconds, so keep a close eye. If you are using an instant-read thermometer, it will be around 350 degrees F. Watch this step very carefully!
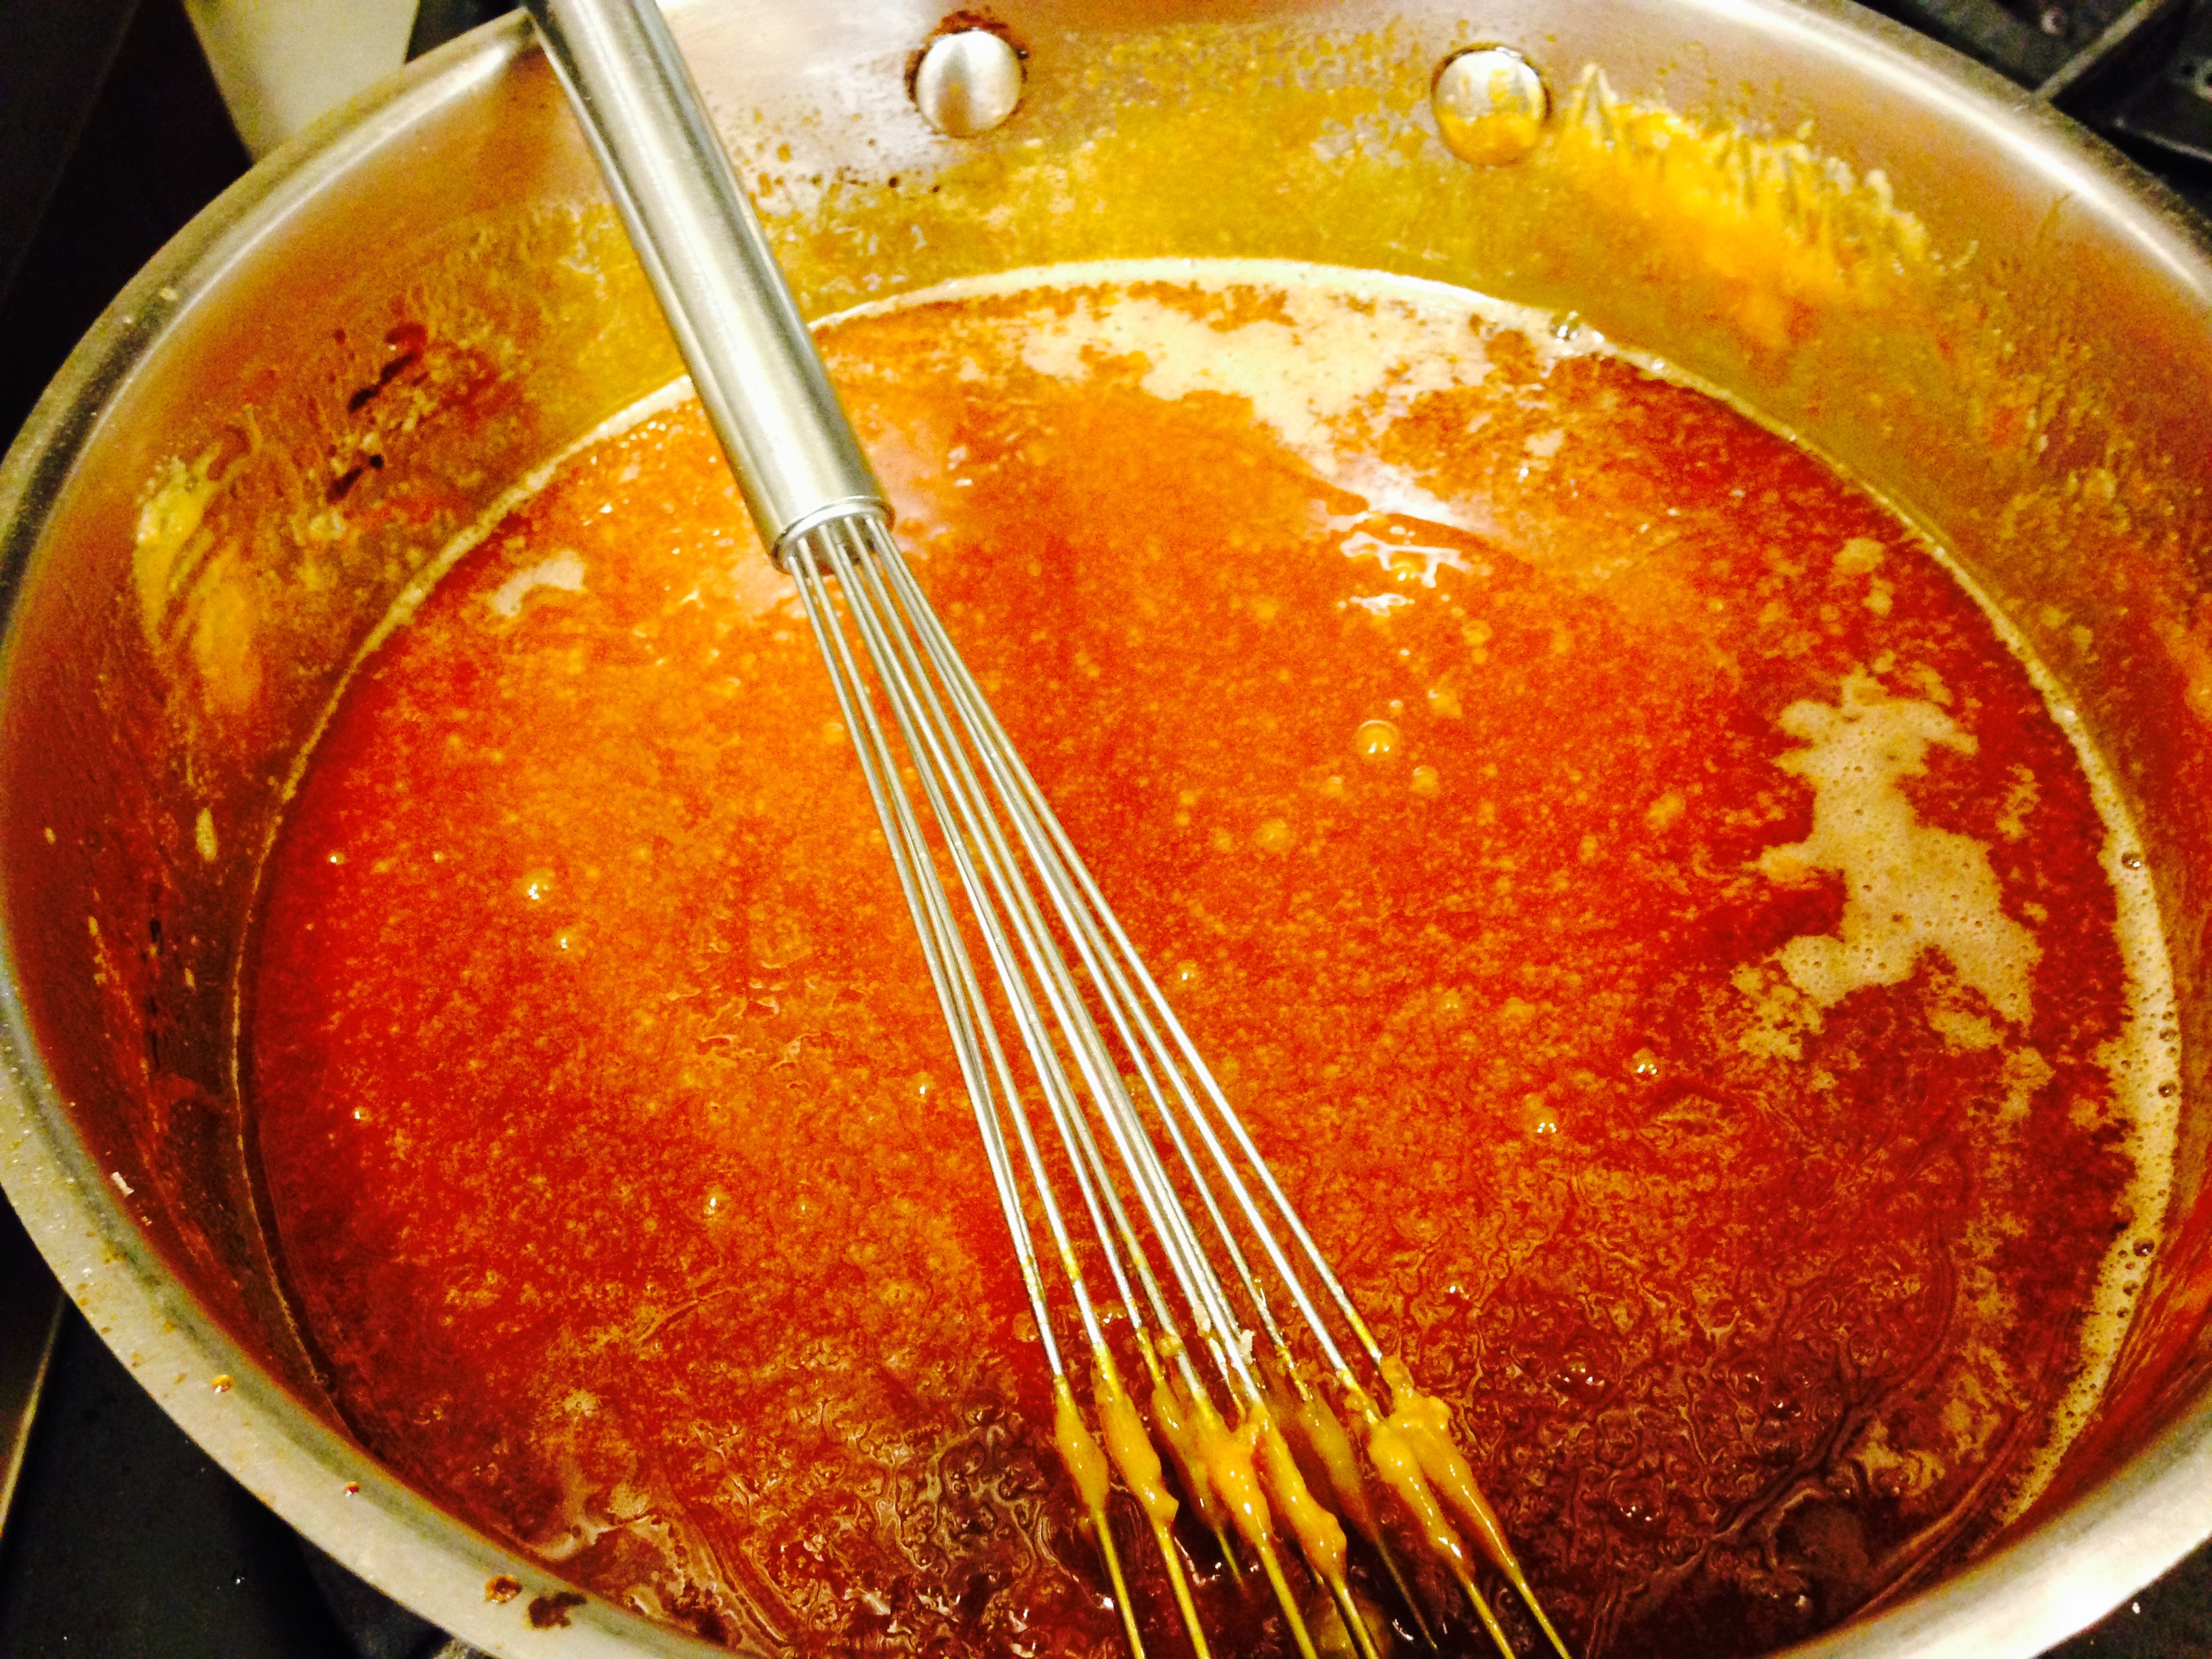
Remove the caramel from the heat and add the butter all at once. Be careful, as the caramel will bubble up when the butter is added. Whisk the butter into the caramel until it is completely melted.
Slowly pour the cream into the caramel. Again, be careful because the mixture will bubble up ferociously.
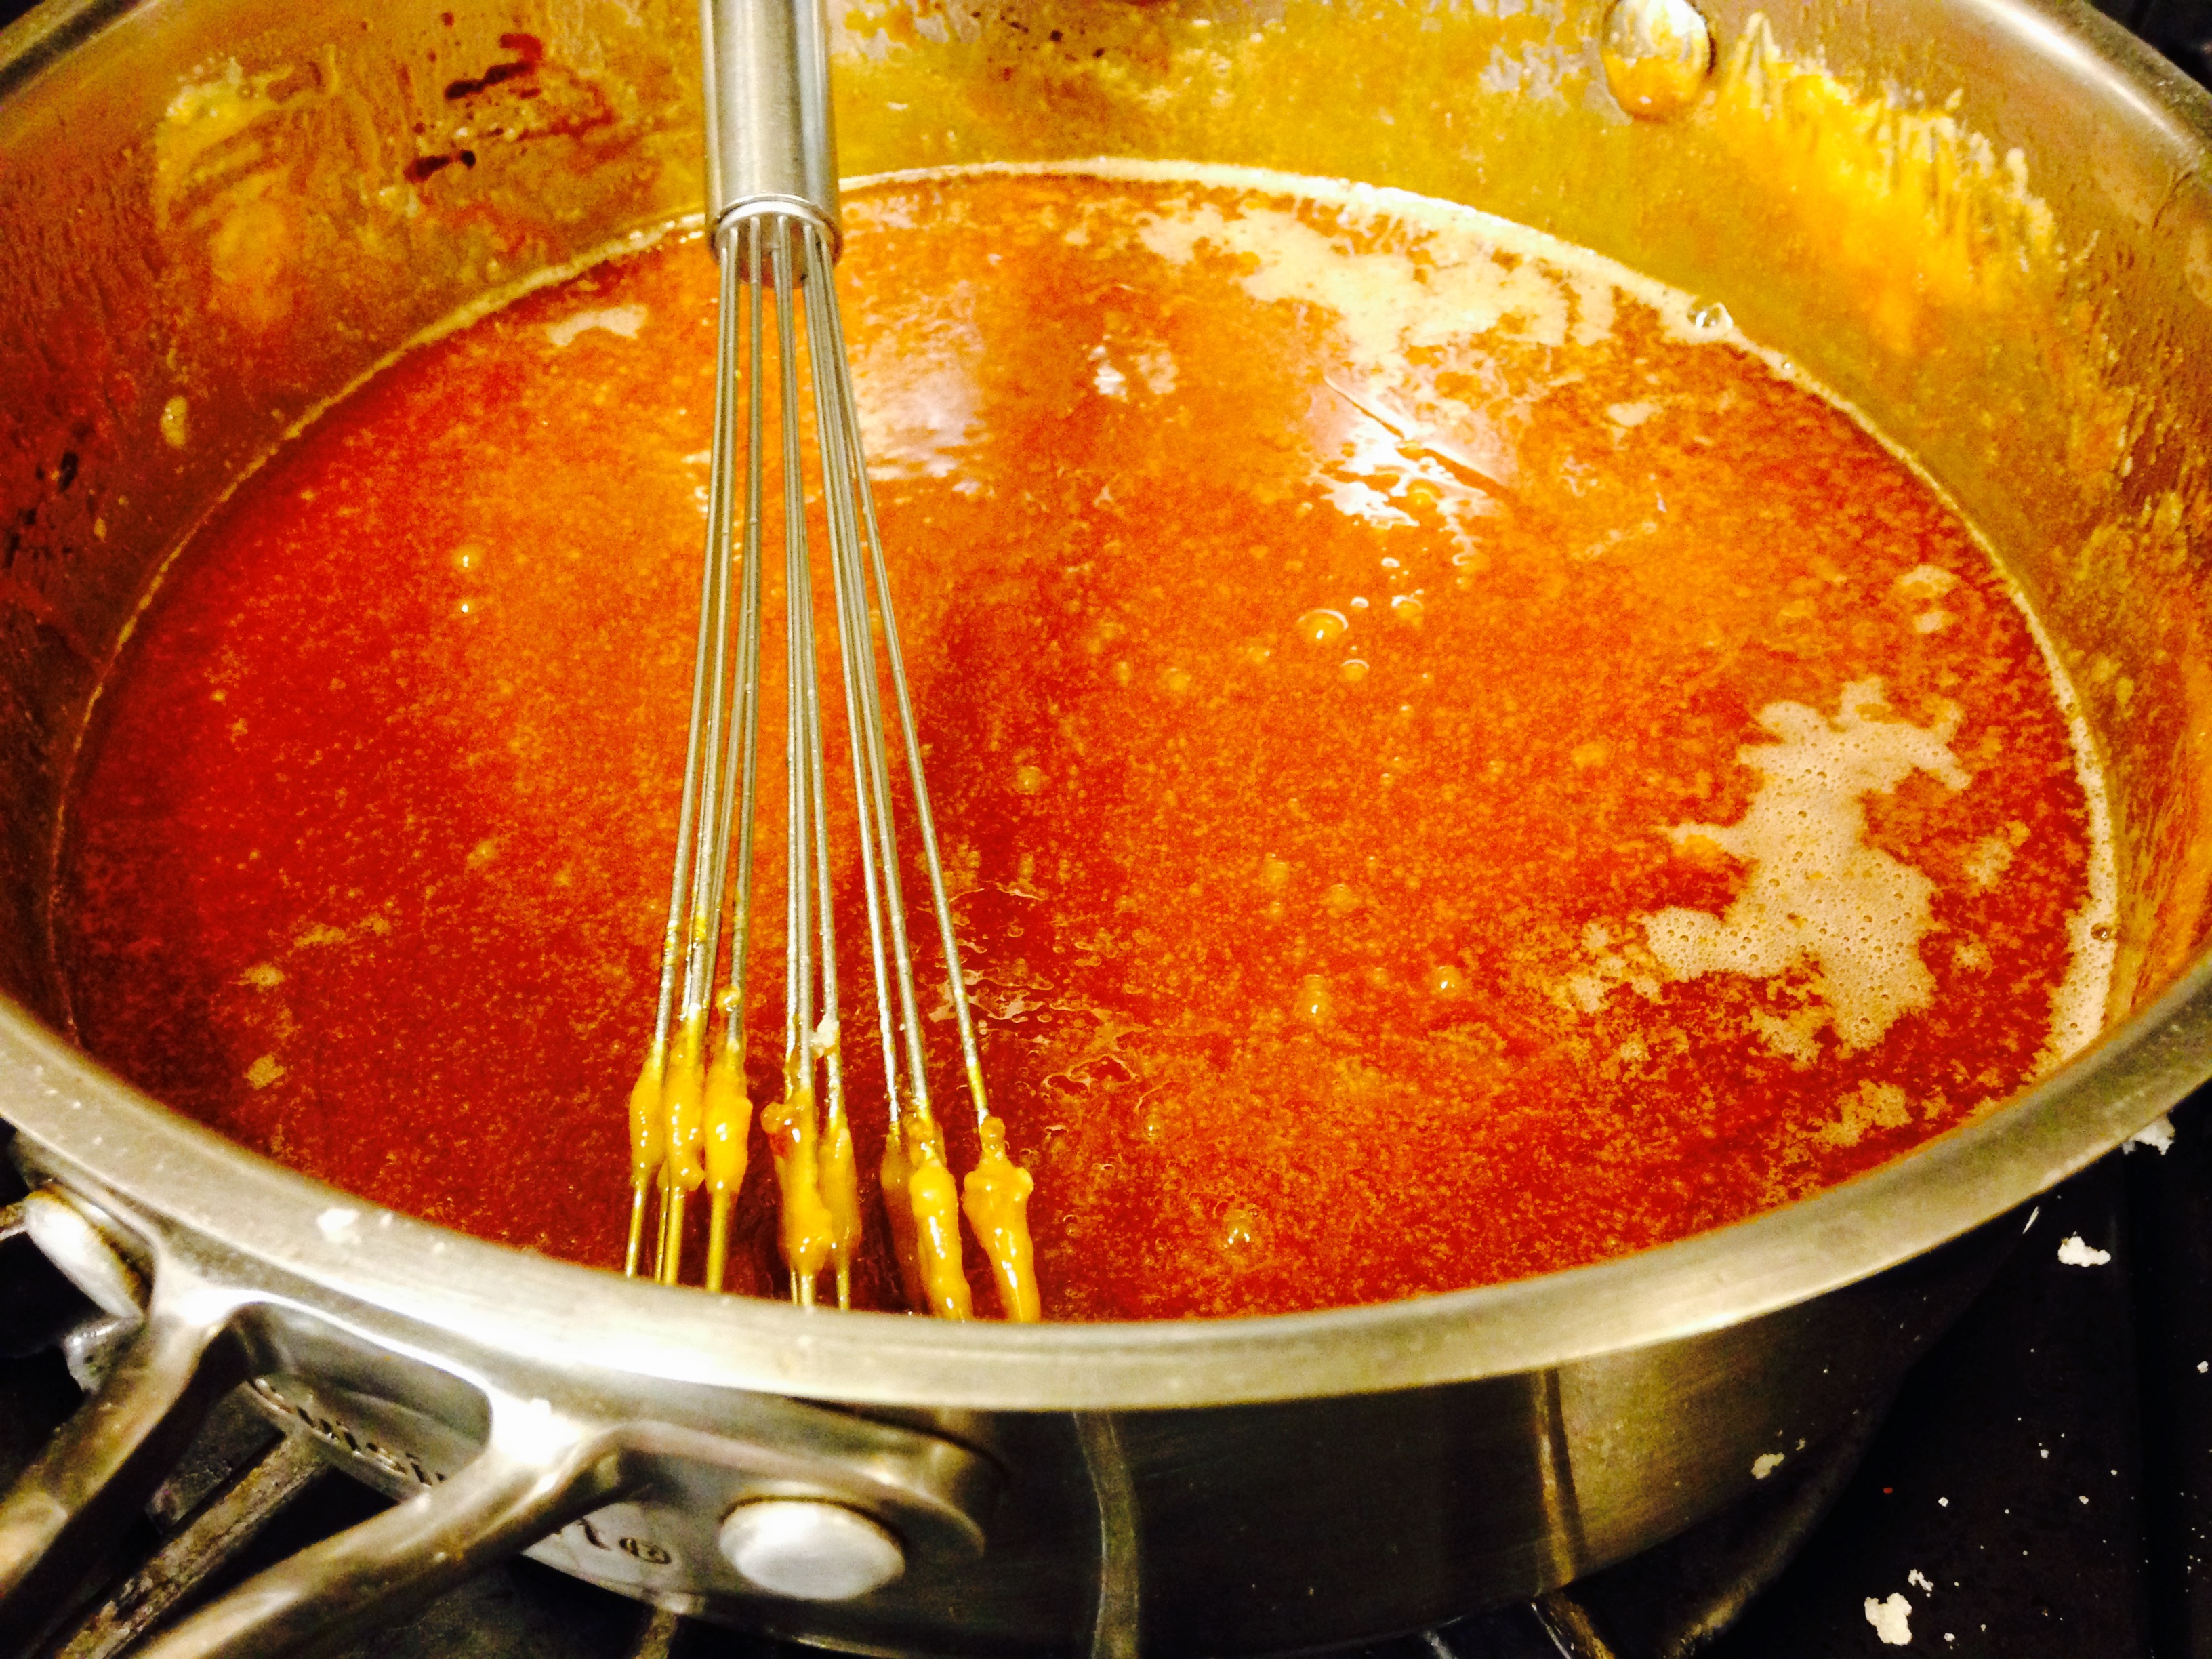
Whisk until all of the cream has been incorporated and you have a smooth sauce. Add the fleur de sel or kosher salt and whisk to incorporate.
Set the sauce aside to cool for 10 to 15 minutes and then pour into jars. The sauce can be refrigerated for up to 1 month.
Serve crisp warm with a scoop of vanilla ice cream and salted caramel sauce.
This past week, we invited artists to step away for a few days of retreat as they enjoyed renewing their vision and sharing together, in an atmosphere of Benedictine hospitality on the shores of beautiful Cape Cod Bay. Each day was punctuated by two lectures given by renowned art historian, Msgr. Timothy Verdon. He shared his passionate love of art, with beautiful images—both familiar and unknown—in a series of seven post-Easter lectures. Art lovers had the opportunity to fellowship together, while Msgr. Verdon discussed what it means to see with artistic understanding. It was a treat for our entire community and a privilege to be behind the scenes creating meals for them to enjoy. (Read more about the retreat here!)
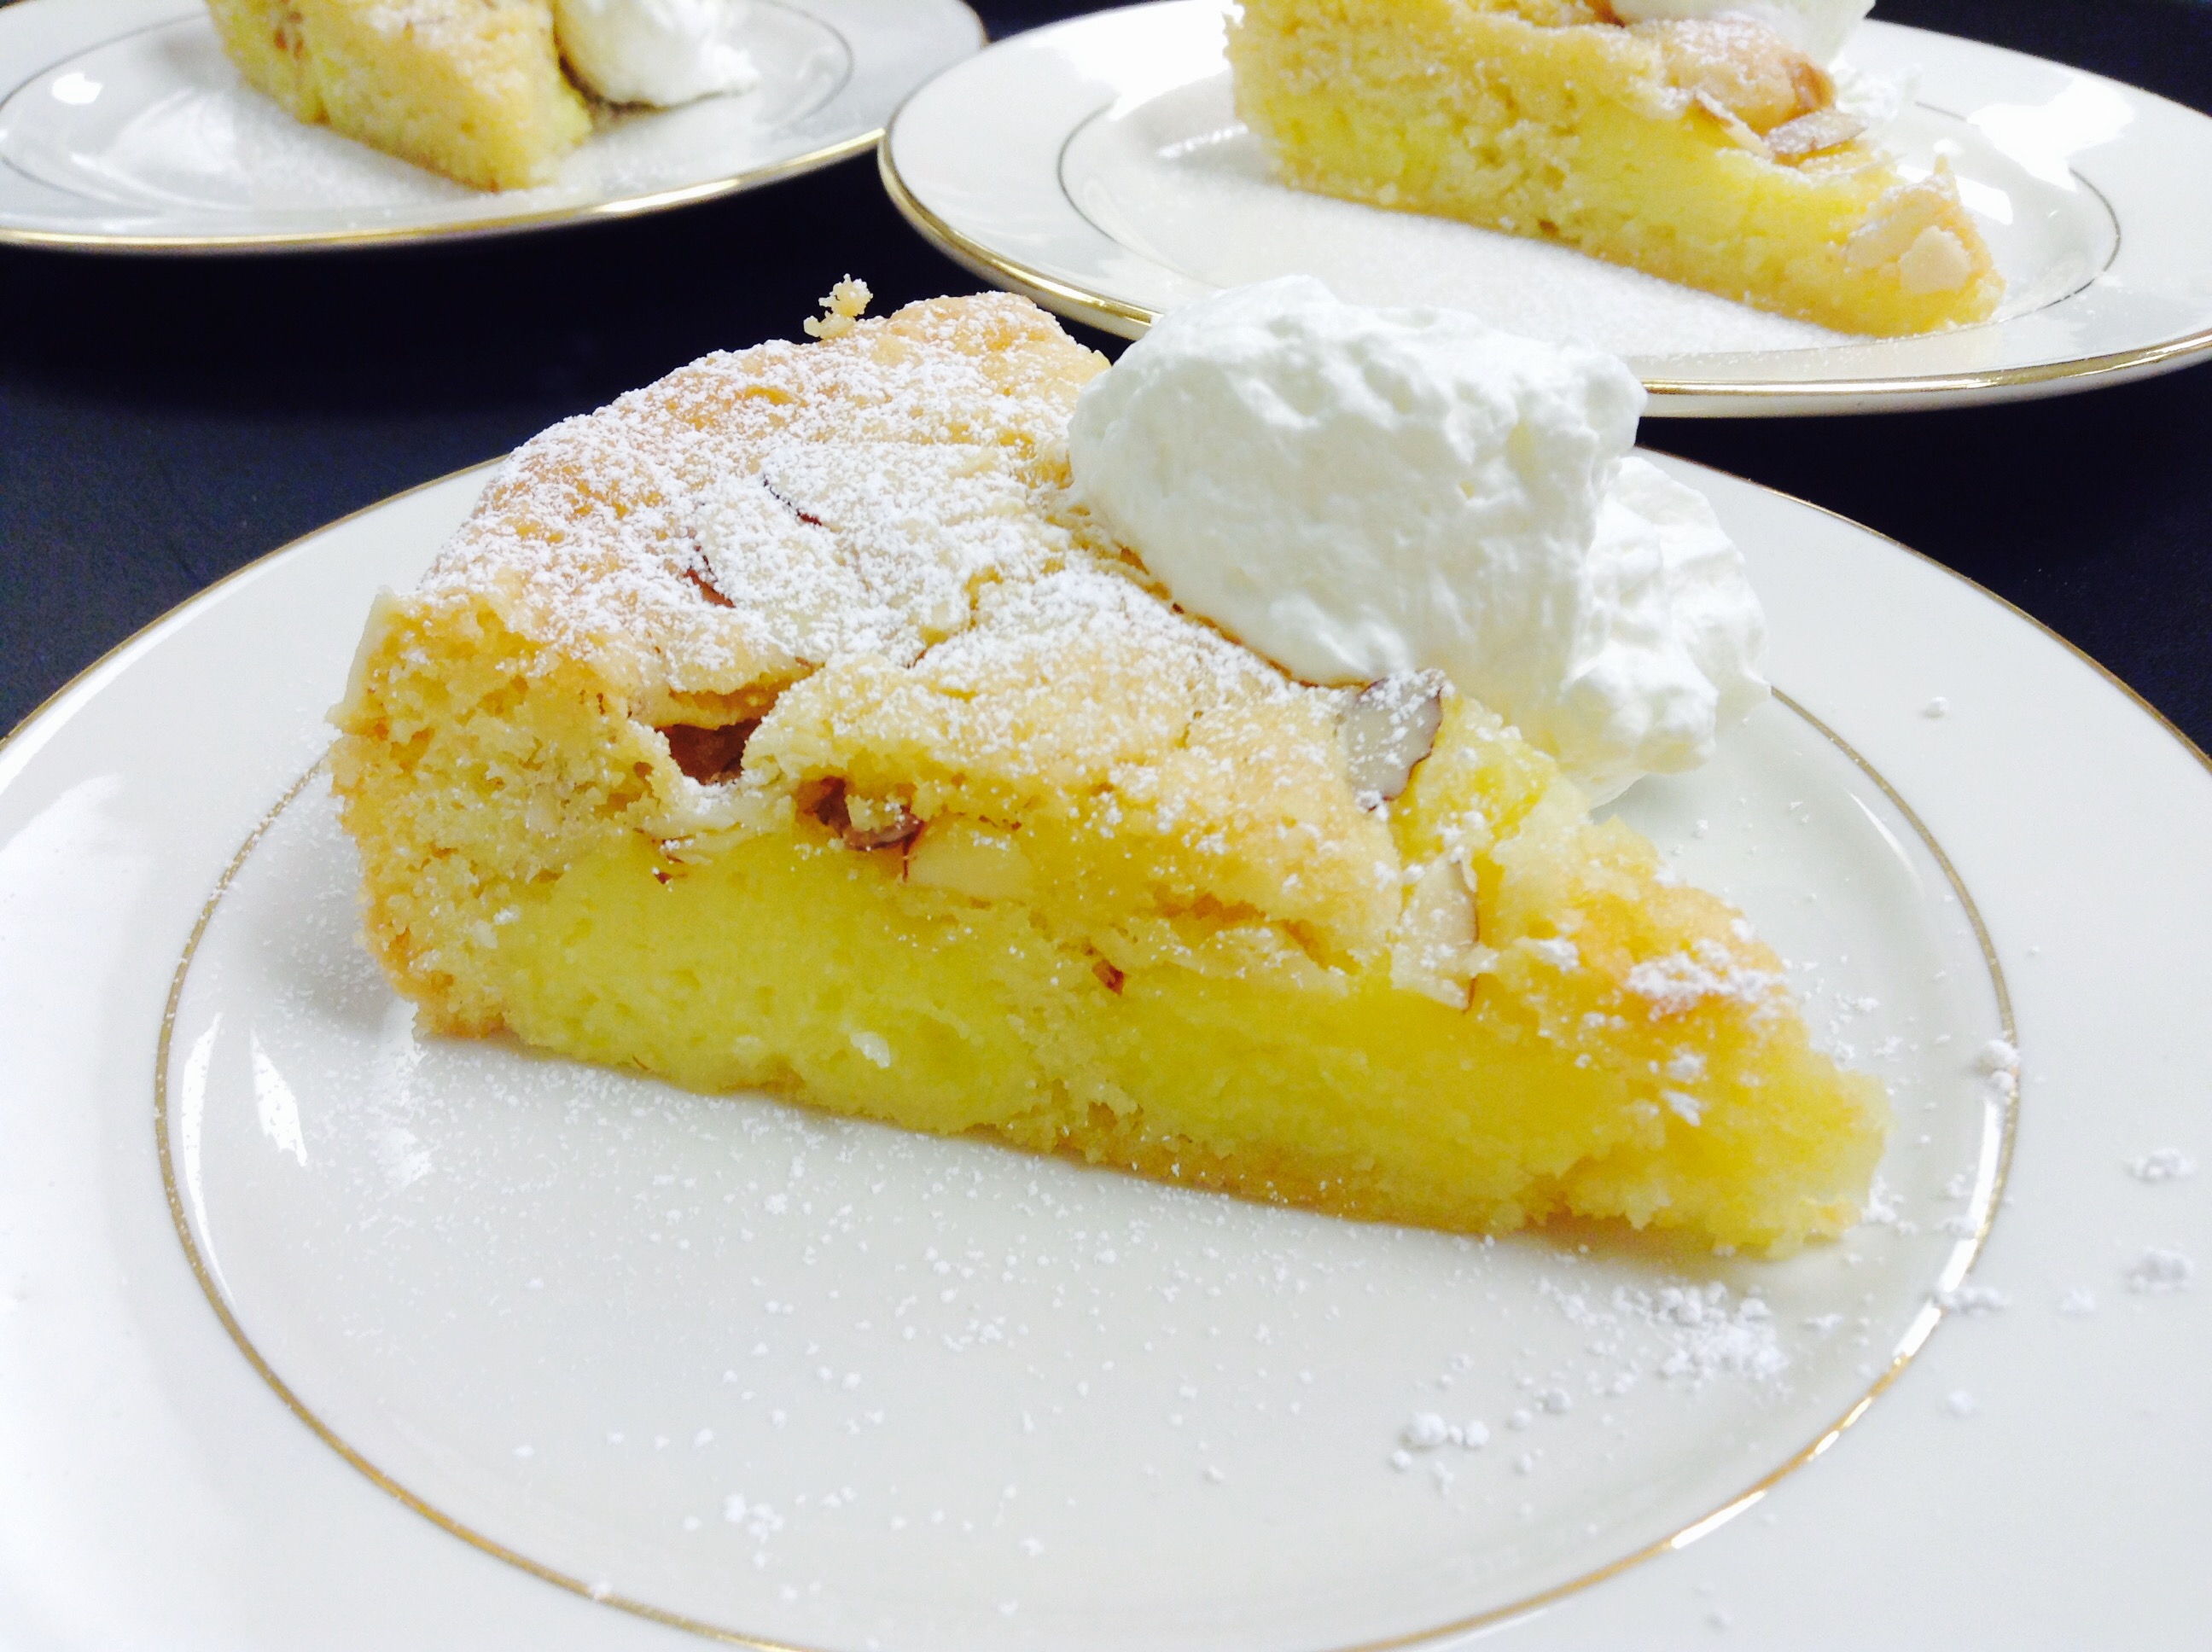
Oscar Wilde said, “The artist is the creator of beautiful things.” Even if you don’t consider yourself an artist, I believe that you are. Every one of us wishes to create beautiful things out of nothing. Take this Lemon-Almond Butter Cake for example…
For the curd, combine zest, juice, sugar, salt and eggs in a heatproof bowl, and beat well.
Add butter, and place over a saucepan full of simmering water. Cook, stirring constantly with a rubber spatula or wooden spoon, until mixture thickens into curd, about 5 minutes.
Strain into a bowl, and press plastic wrap onto surface to keep skin from forming. Refrigerate until cool, at least 1 1/2 hours.
Heat oven to 350 degrees. Grease 9-inch spring-form pan with 1 tablespoon butter, and dust with 1 tablespoon flour, shaking out excess.
With an electric mixer, cream the remaining butter and 1 cup sugar together until light and fluffy. Sift together the remaining flour, baking powder and salt, and stir in.
In a separate bowl, whisk eggs until they start to foam. Do not overbeat or the cake will be tough. Add eggs and ground almonds to batter, and mix well.
Scrape batter into the prepared pan. Drop 8 individual tablespoons lemon curd around perimeter of batter, leaving a 1-inch border, and taking care to space drops evenly.
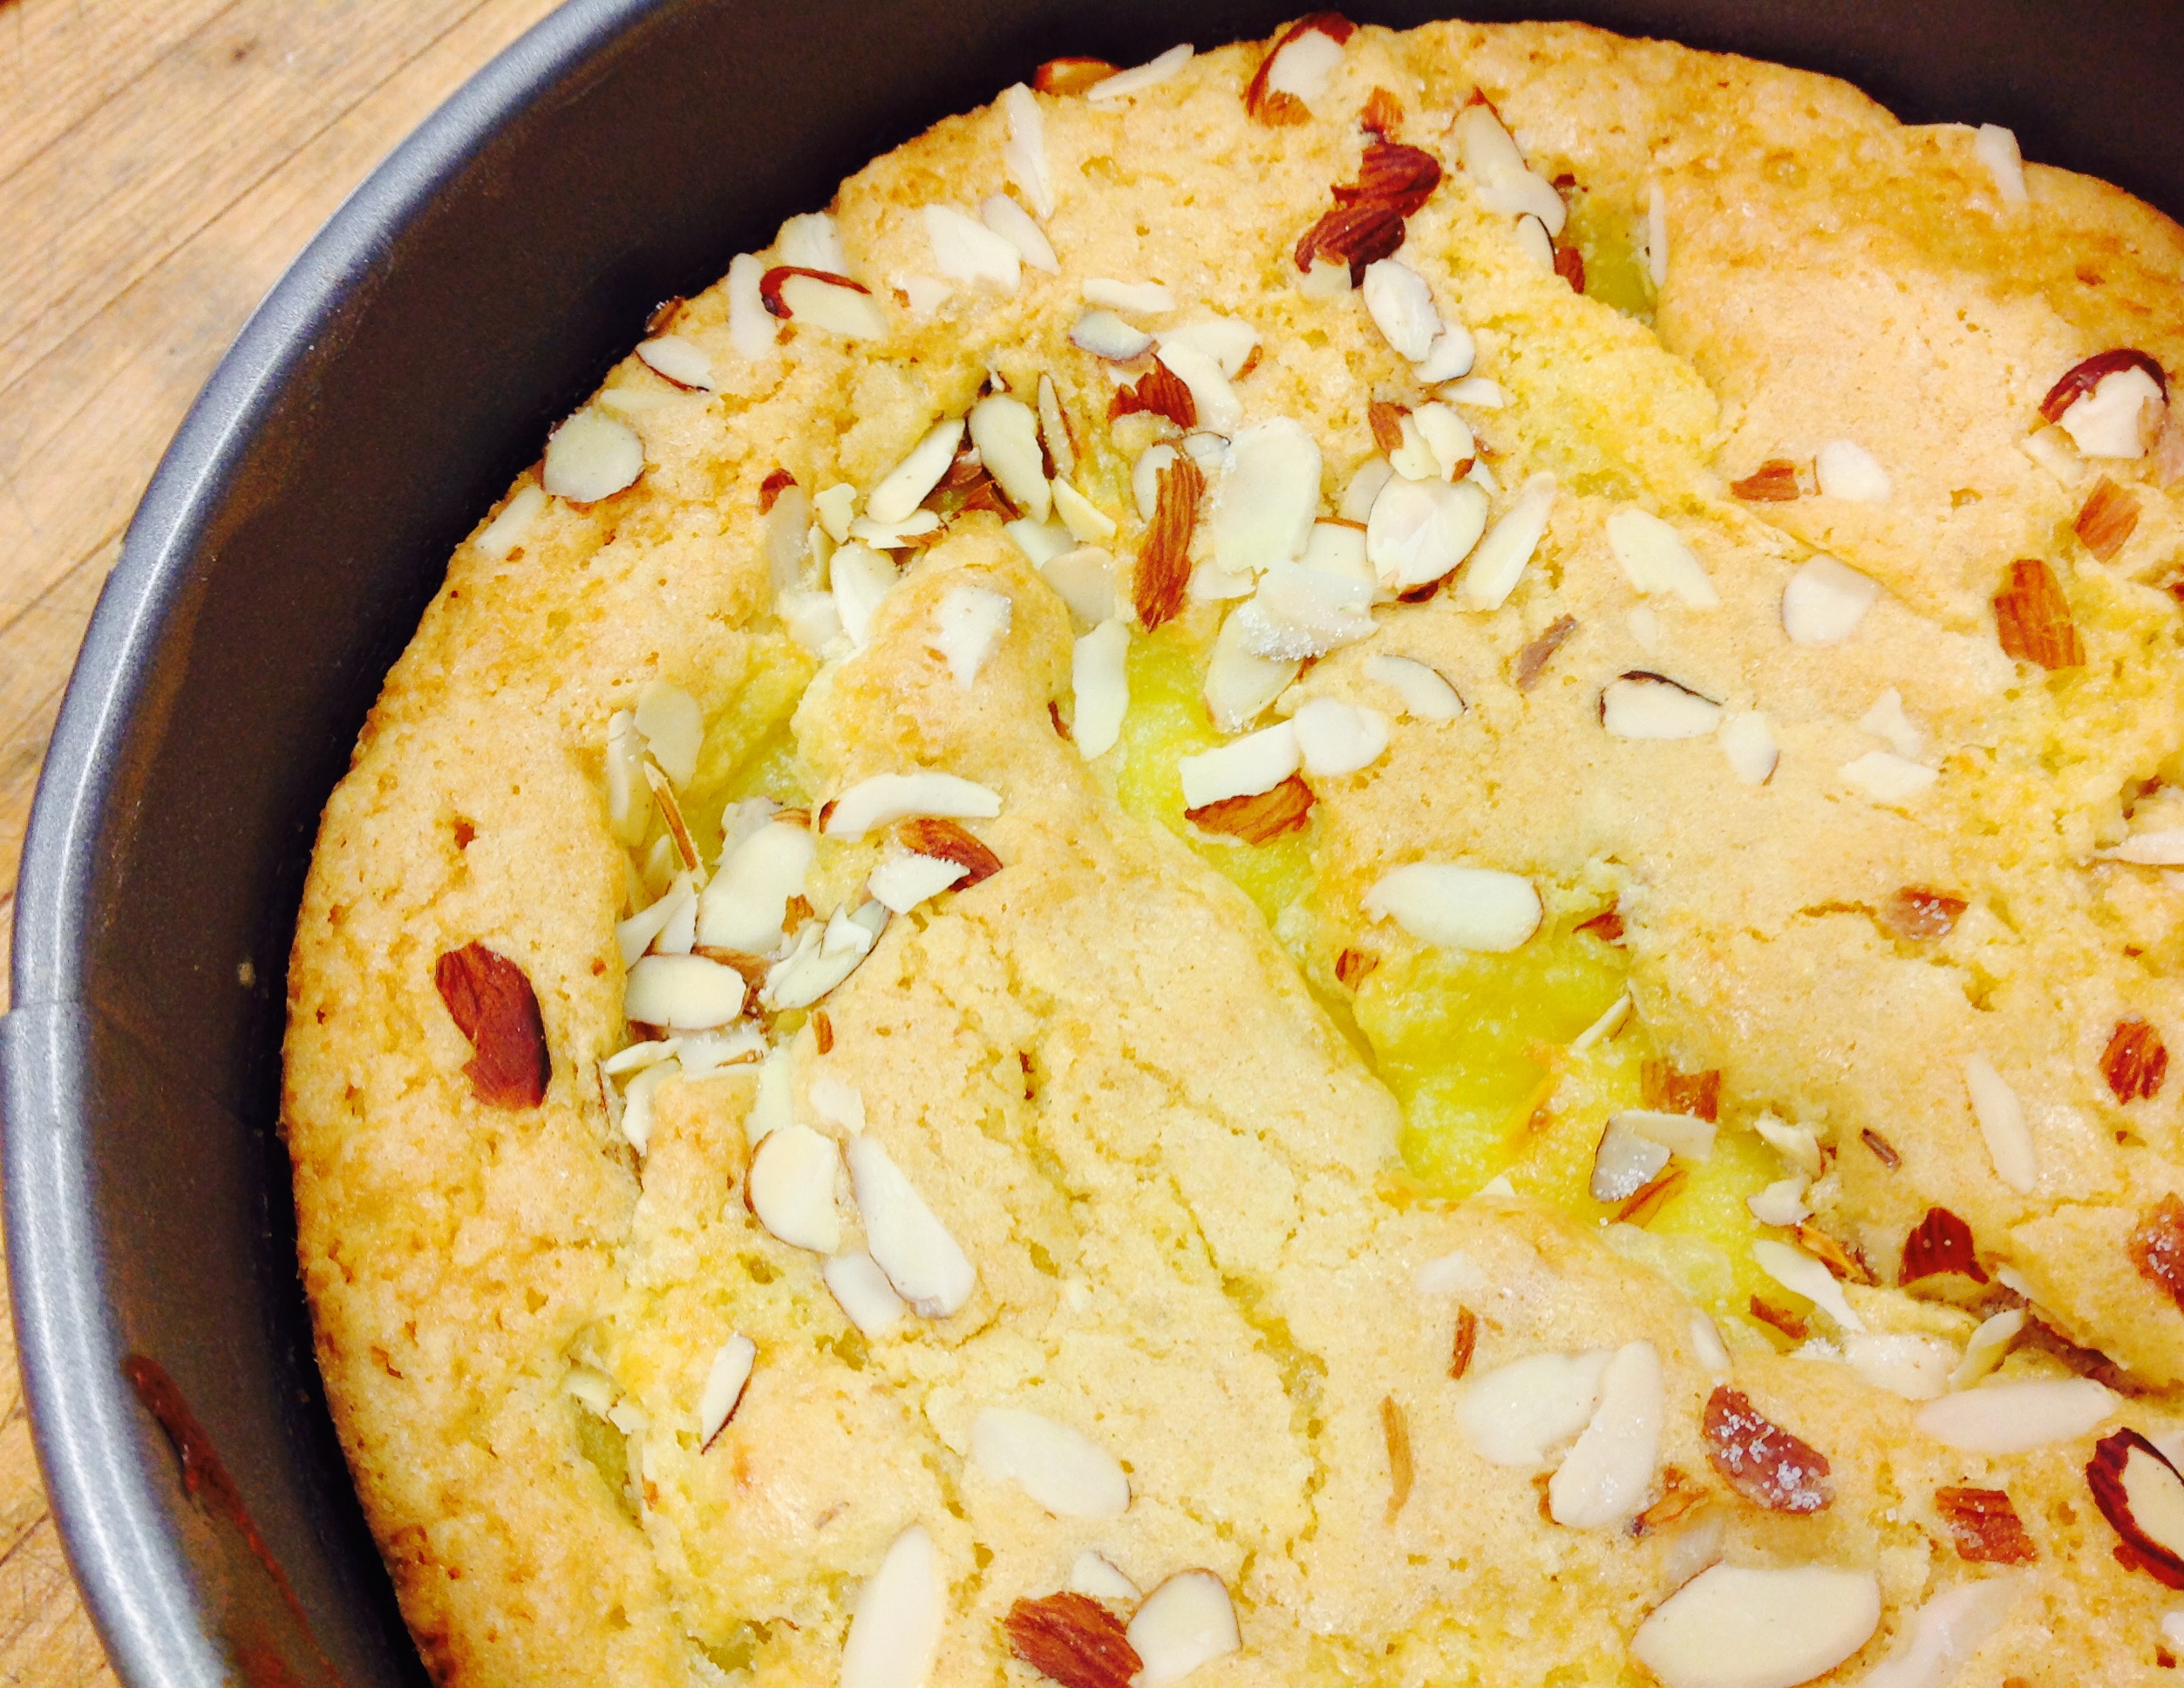
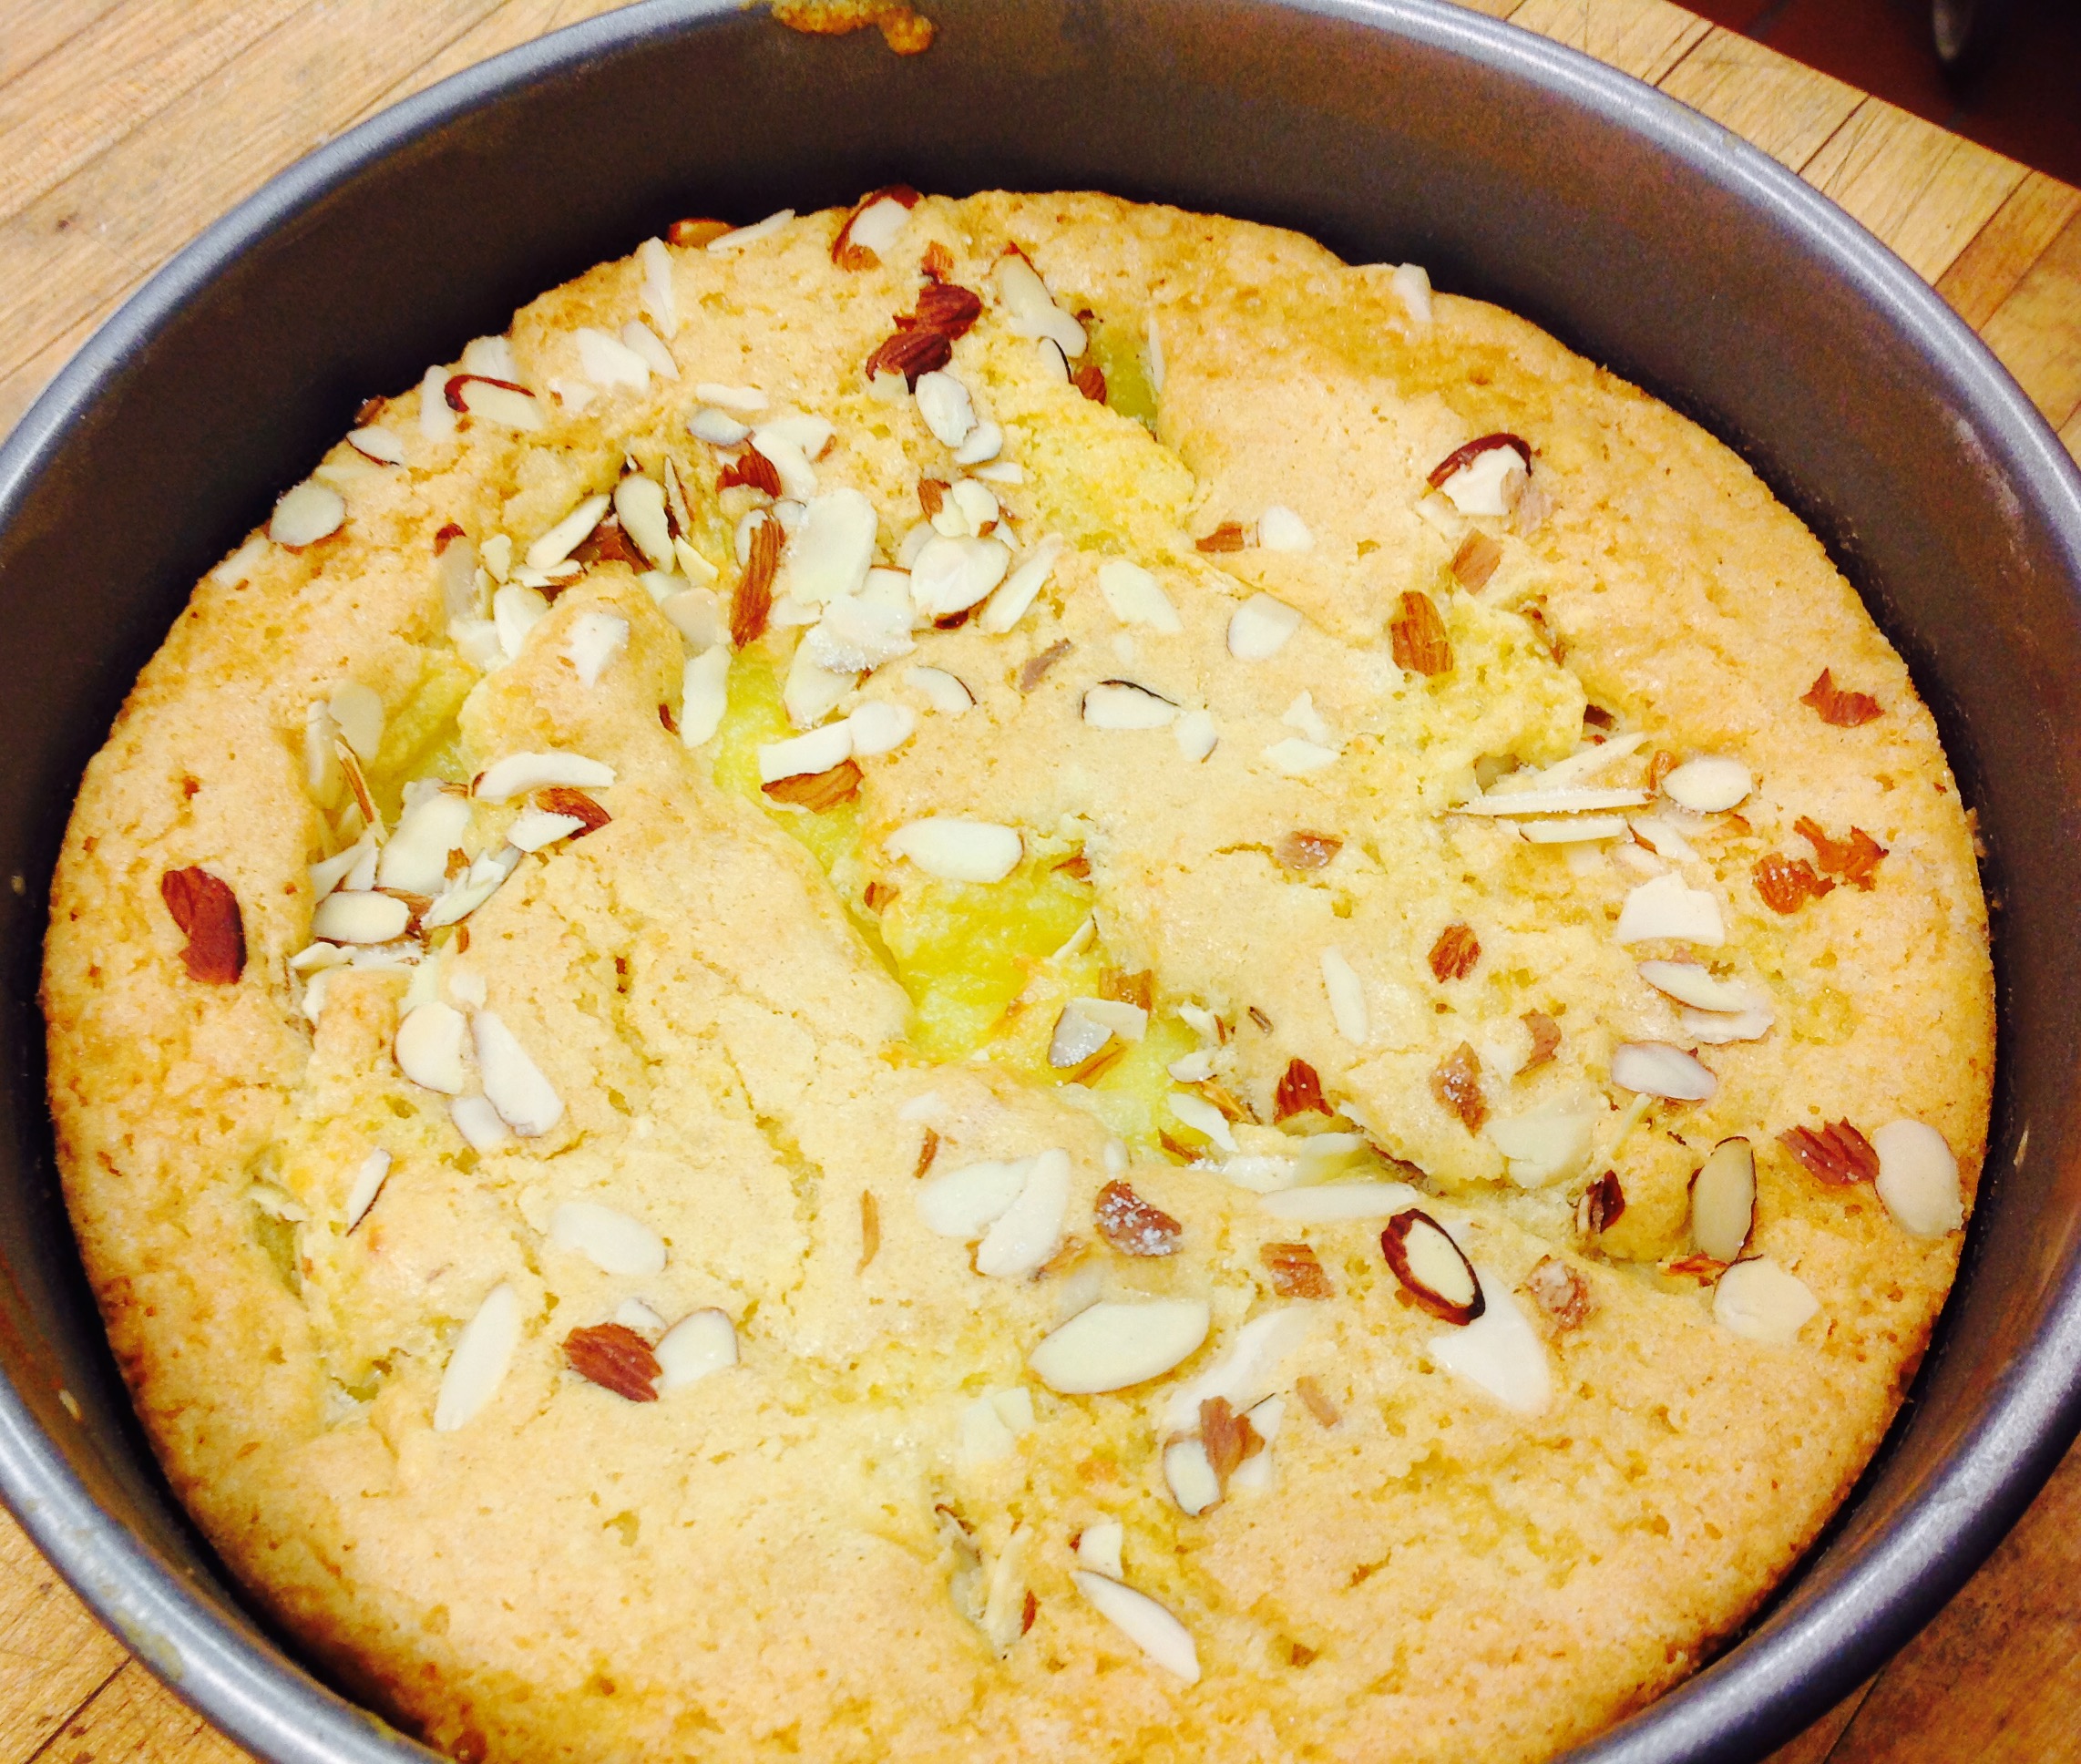
Drop 3 to 4 tablespoons curd into center of batter. Refrigerate remaining curd for another use. Sprinkle cake with toasted almonds and 1 to 2 tablespoons sugar, depending on taste.
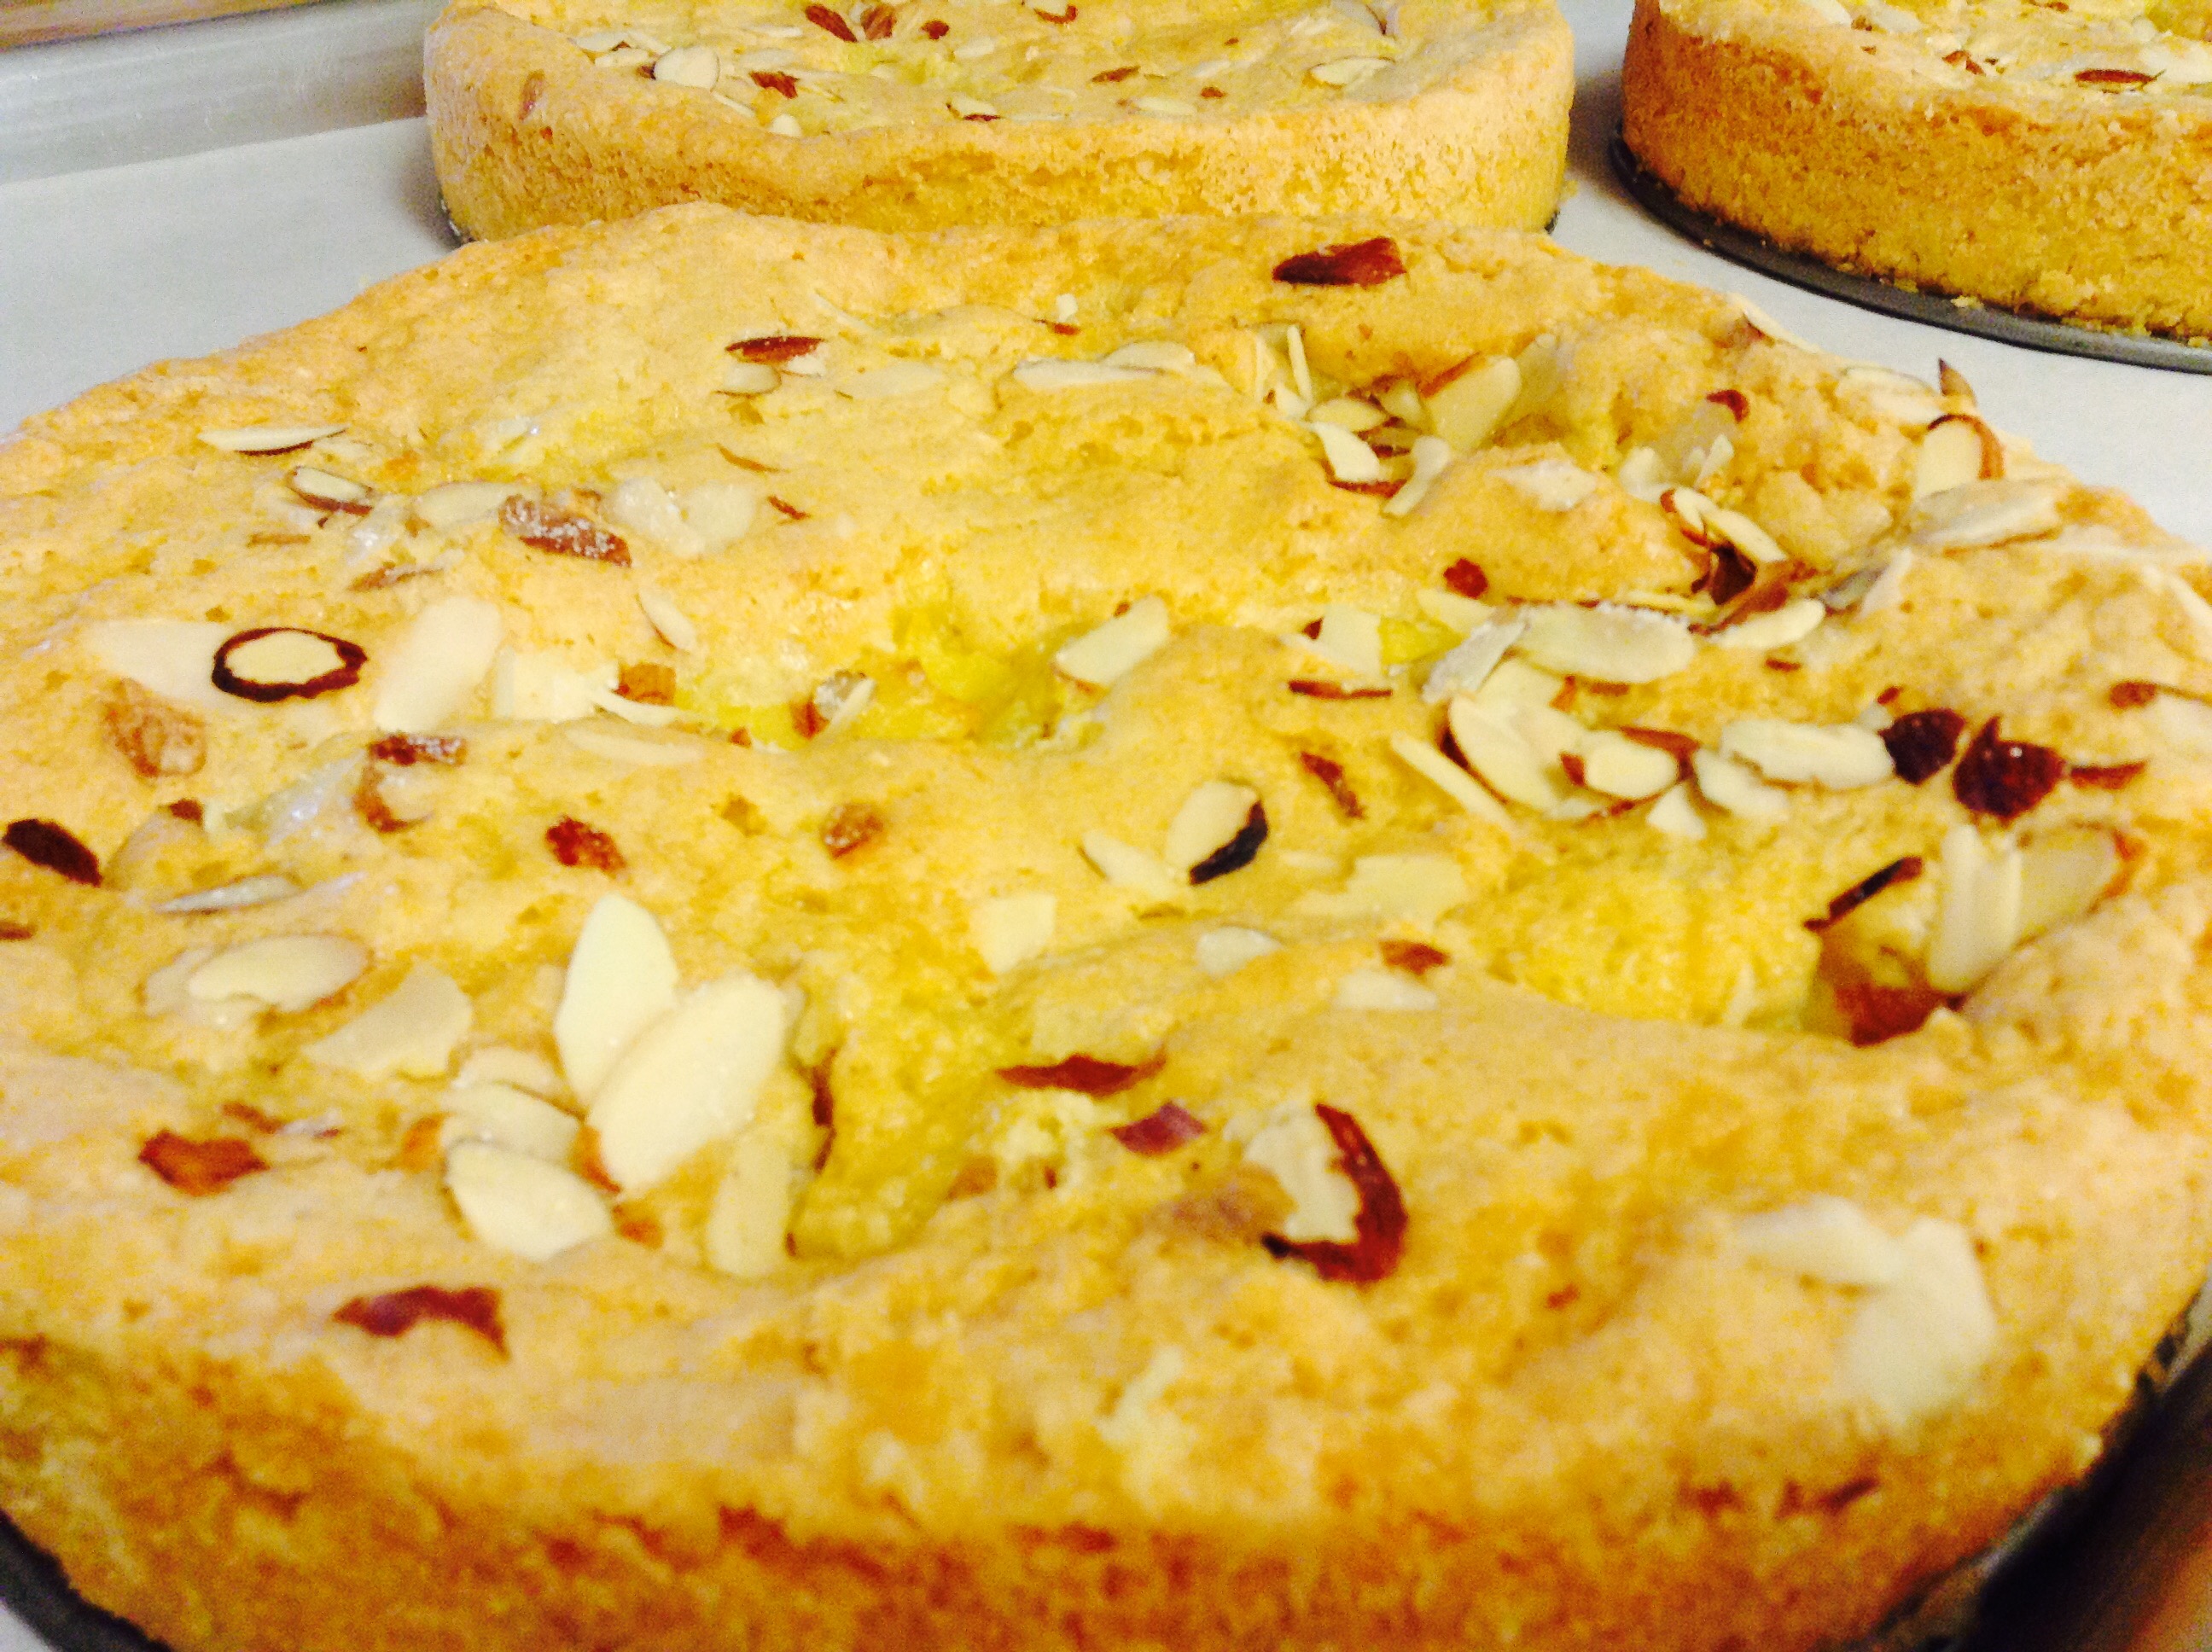
Bake until cake is toasty brown on top and a toothpick inserted into cake (not curd) comes out clean, about 40 minutes.
Let cool on rack 10 minutes, then remove sides of pan, and cool completely.
Whip cream with almond liqueur. Present cake at table, and offer whipped cream on the side.