We are blessed to have a vibrant Brazilian community in our area and benefit from the culinary richness that comes with it. From wonderful Portuguese bakeries to the mouth-watering meats that Brazil is known for, chances are you will most likely encounter what some consider to be the national dish of Brazil: feijoada.
I first encountered feijoada at a Brazilian cafe in town and instantly fell in love! To simply call it a black bean stew would be to overlook the beloved place it has in the kitchens–and hearts–in its country of origin. Warm, savory and cooked with love, this is fast becoming one of my favorite comfort foods. Traditionally served with toasted cassava flour (farofa), and kale I would highly recommend serving tapioca rolls (pao de queijo) alongside. Comer com gosto!
In a skillet, cook bacon until crisp. Remove from pan and crumble. Add to slow-cooker.
Sprinkle ribs with salt and pepper and brown in the same skillet used for bacon and add to slow cooker.
Add drained beans, ham hock, sausages, onions, garlic, 2 cups chicken broth, salt, coriander, and lime juice to slow cooker, stirring to combine. Cover and cook on LOW 8 for hours or until meat is tender.
Pull out ribs and ham hock bones. Remove any remaining meat from the bones and shred it with two forks. Discard bones. Return meat to slow cooker. Add more broth for a soup-like consistency.
Serve with white rice and garnish with orange slices, fresh cilantro and green onion.
There’s such a wonderful versatility to shrimp, and I think that’s why so many cooks love to work with it. It’s appropriate for luncheons, dinners, hors d’oeuvres. It’s great served on a hot summer day as a salad or in a Tuscan cheesy wine sauce with pasta on a chilly fall evening. It lends itself to being sautéed, broiled, stewed, roasted, boiled—and to me, the best of all: deep fried, having been dipped in egg, and then flour and panko crumbs. You’ll find it’s perfect for a special occasion!
It never ceases to amaze me how, no matter what the circumstance, the Holy Spirit is aware and always provides. A couple of weeks ago, I had driven home from a rehab facility with my sister, who was recovering from surgery. Because of Covid-19 and the possibility of exposure at the Rehab facility, we both went on a 2-week quarantine. We had all kinds of food options available to enjoy, but my recovering sister basically wanted homemade soups! After having gone through zucchini, butternut squash, vegetable, chicken—I was running out of ideas, until I spotted a few potatoes in a basket. That’s it! And after picking more chives in the back yard for a garnish, we sat down to a delicious lockdown lunch!
Sauté onion and celery until soft and translucent; set aside
Add chopped potatoes to chicken broth in sauce pan, and boil until potatoes are fork tender, about 12 minutes
After cooling for a few minutes, spoon the potatoes into a blender, carefully pouring in some of the hot broth and adding the onion and celery.
When thoroughly blended, pour back into sauce pan. It should be fairly thick at this point. (If it seems a little too thin before adding milk, boil for a few minutes until thickened.) Then add milk or cream to desired consistency.
Add salt and pepper to taste
Blend in ¼ cup of sour cream
Garnish with the rest of sour cream, grated cheddar cheese and chopped chives
This year, I am teaching a home school culinary class. It’s a great joy for me to pass on to the younger generation all the tips and skills that I learned. We loved making this Carrot Ginger soup together. When making soup, I always start by sautéing the vegetables. Sautéing caramelizes them and brings out the very best flavor of the vegetable – never start by boiling them in liquid, or you’ll produce a very tasteless soup! Carrot Ginger freezes well, so make a big pot of it, cool and freeze flat in zip lock bags. Once they are frozen, the bags can then stand upright in your freezer or be stacked. This soup can be made completely dairy-free, just substitute olive oil or coconut oil for the butter. Enjoy!
In a 6-quart pan, over medium-high heat, add butter and olive oil. Sauté onions and carrots and cook until the vegetables begin to caramelize and become golden and tender.
Add the ginger and 6 cups of the broth, cover and simmer. Reduce heat and cook until carrots are tender when pierced with a fork. Add the coconut milk.
Remove from heat and transfer to a blender (don’t fill the blender more than halfway). Pulse the blender to start and then purée until smooth.
Return to the pan and add more broth or coconut milk to reach desired consistency. Reheat over medium heat, adding salt and pepper to taste. Enjoy!
So requested a lady on Personal Retreat in our guesthouse. To be honest, I actually was planning something a little more elaborate such as zucchini lasagna, Caesar salad, and herb-buttered Italian bread. But I replied, “Of course!” and conceived a plan. As I picked fresh lettuce from our kitchen’s “Chef's Garden”, ideas came– what about fried eggplant and deviled eggs to add a special little touch! Some avocado slices, sliced ham or chicken, olives, cherry tomatoes.
Once again, the Holy Spirit came alongside and brought ideas fresh and new. Our retreatant was very blessed…as was I!
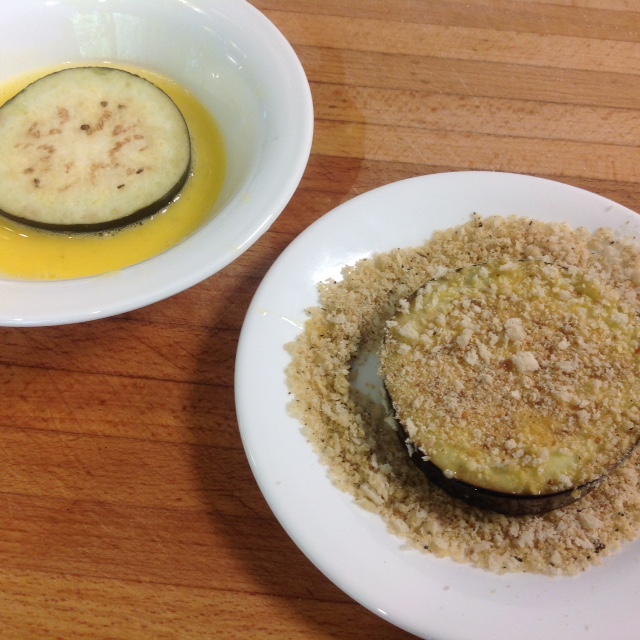
Lay a slice of eggplant on paper towel and sprinkle with salt on both sides. After a few minutes, press with the paper towel to extract any excess moisture
Beat the egg with a fork and a little water, thoroughly immerse the eggplant slice
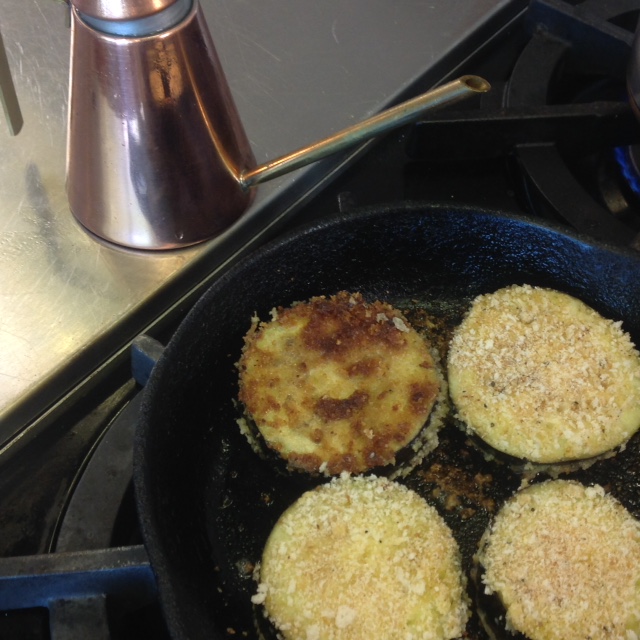
Dredge the slice in bread/panko crumbs while heating butter and oil in frying pan
When butter mixture is hot, add eggplant and fry until soft and golden brown; lower heat if
necessary so as not to get too brown too fast – about 10 minutes. Drain on a paper towel
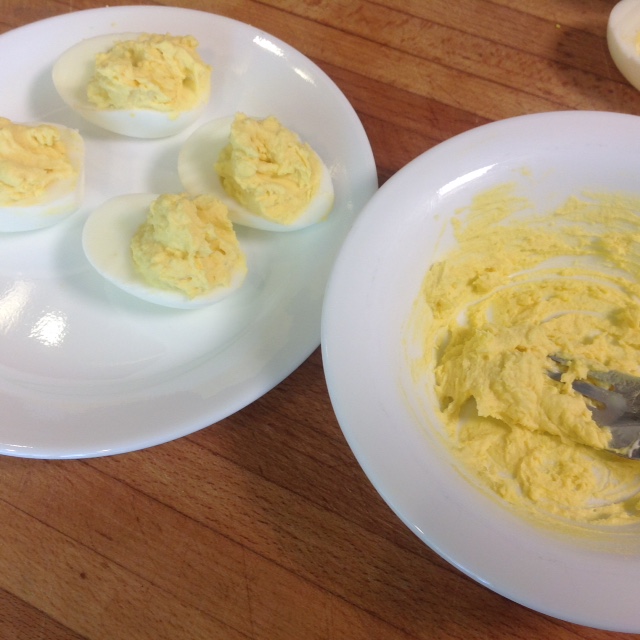
Deviled Egg
Place 2 eggs in boiling water, boiling for 10 minutes
Cool under cold water and peel
Gently slice in half, and carefully remove yolks, placing in a bowl and crush with a fork; the extra egg is good to have for more yolk filling
Add mayonnaise and mustard, more if needed, mix until creamy and smooth
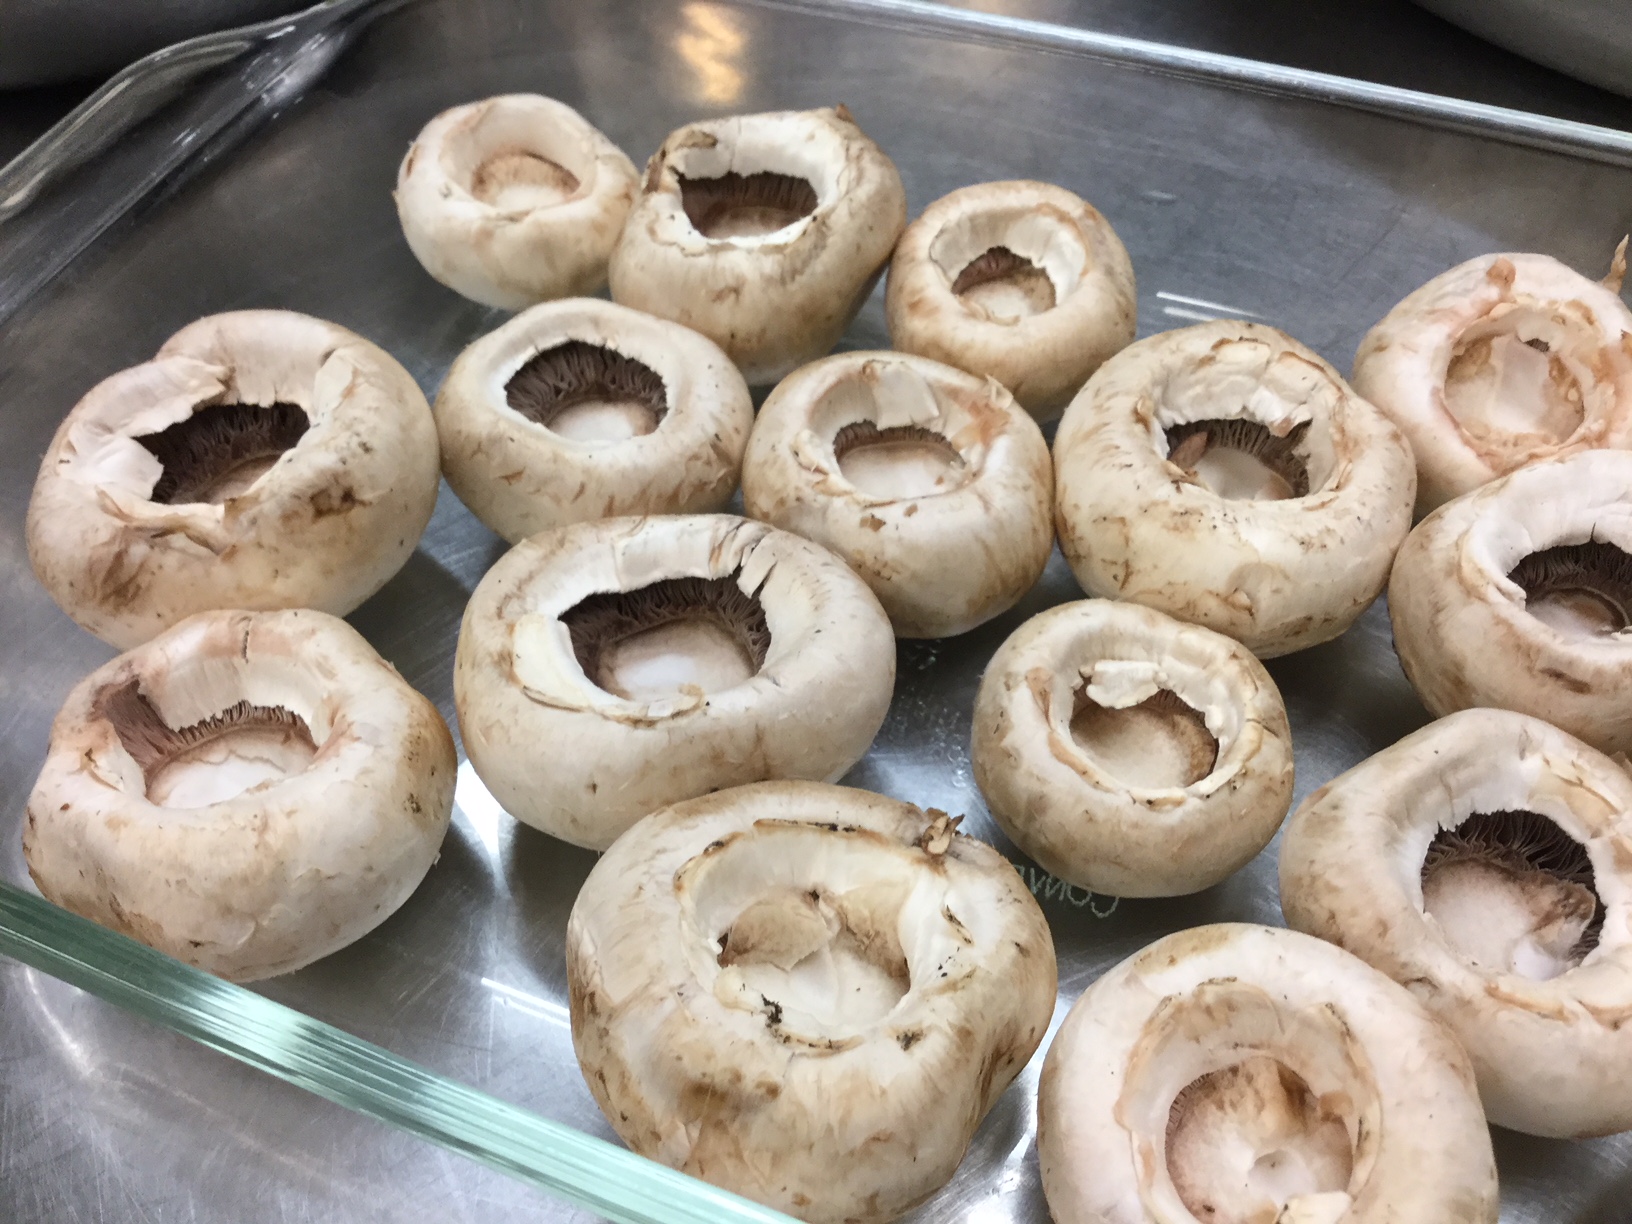
Stuffed Mushrooms: Practically Perfect in Every Way!
Recently, we had the joy of celebrating the 80th birthday of one of our Sisters. What better way to celebrate this milestone than a Mary Poppins-themed party? Beautiful table settings, colorful flower arrangements and fanciful kite decorations added to the festivities, and the food was not far behind! Among the offerings that evening was a favorite of many of our Sisters: stuffed mushrooms. Warm and savory, this appetizer is reserved for special occasions and doesn’t last long on the plate!
Gently clean mushroom caps by wiping black dirt off with a paper towel
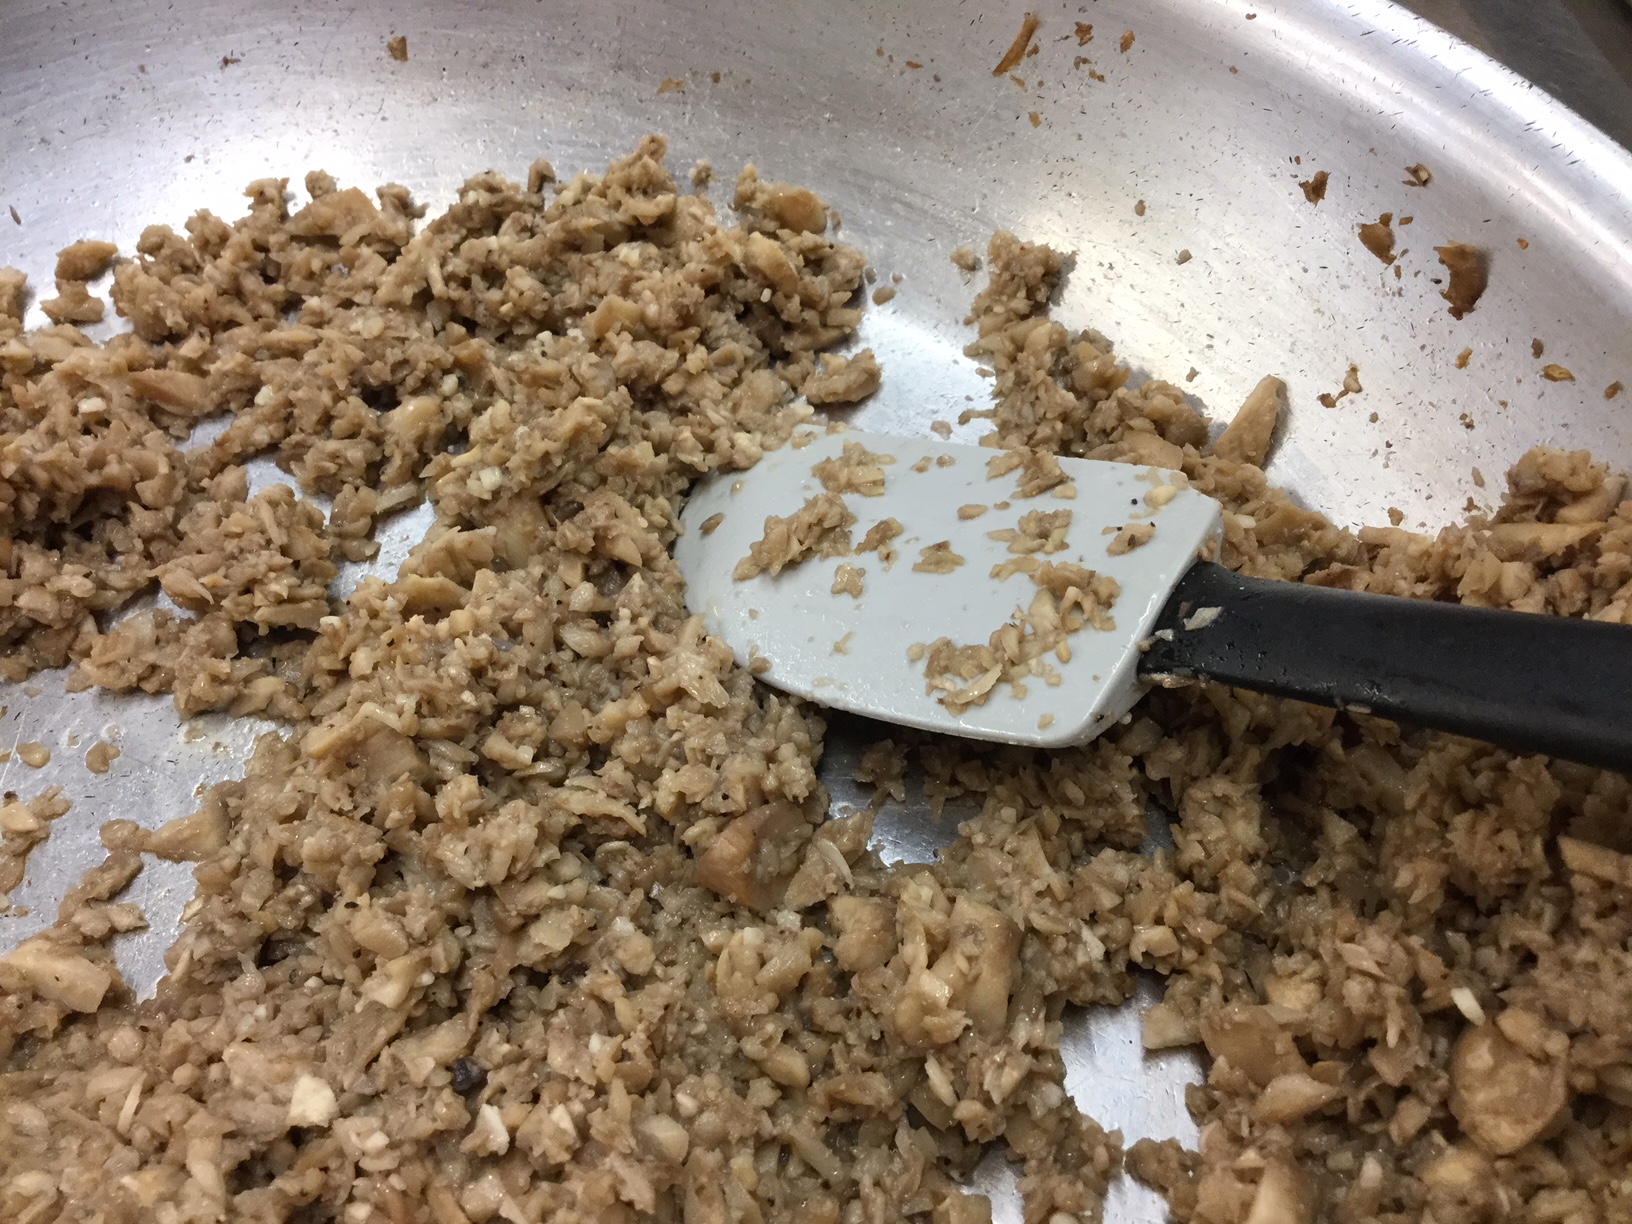
Remove mushroom stems, and finely dice.
Coat the bottom of a skillet and sautee the garlic until tender. Add the diced mushroom stems and cook until soft.
Remove skillet from heat, and set aside to cool.
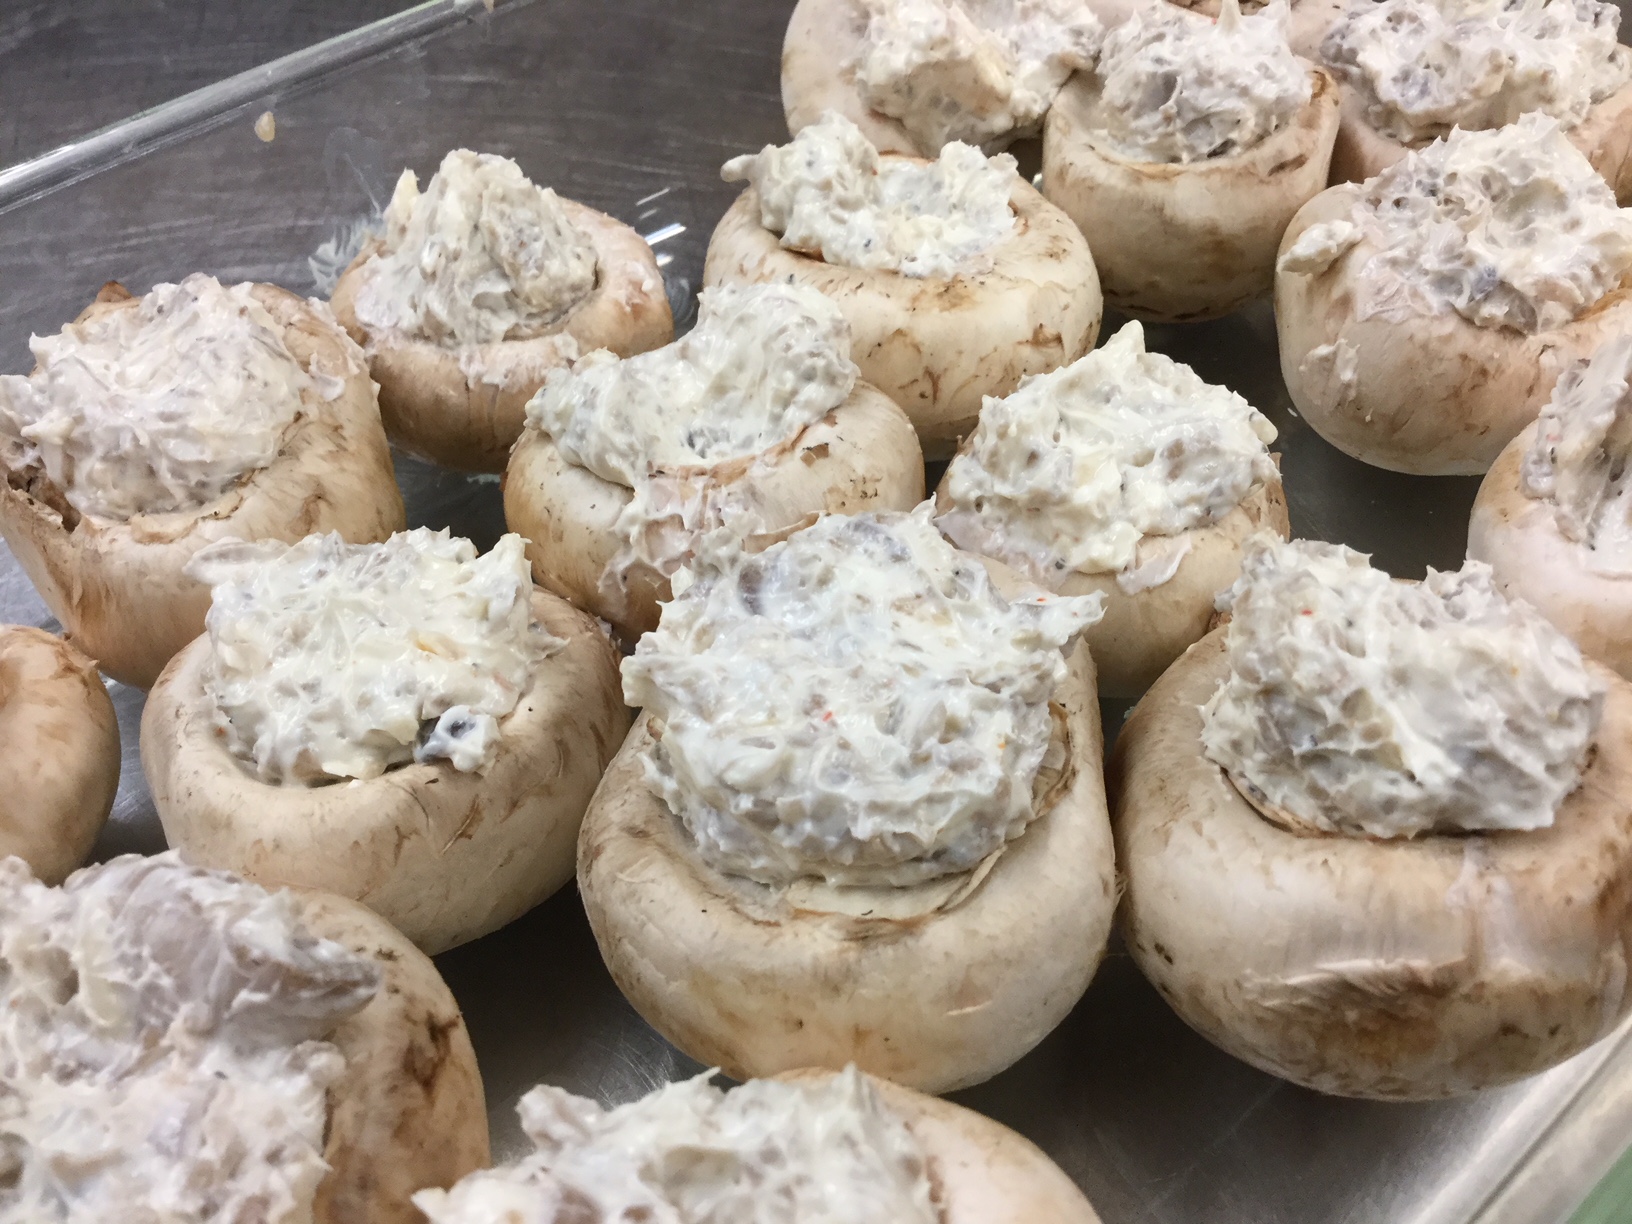
In a mixer or hand mixed, combine cream cheese, bread crumbs, parmesan cheese and salt and pepper. Once mushroom stems are cool, add to bowl and thoroughly combine.
Grease a 9x9 glass casserole dish, and arrange mushroom caps hollow side up.
Using small spoons, gently fill the mushroom caps with the cream cheese filling and bake for 20 minutes in the oven, or until moisture begins to form in the cap.
Remove from oven, garnish with chive and serve alongside other hors d’oeuvres.