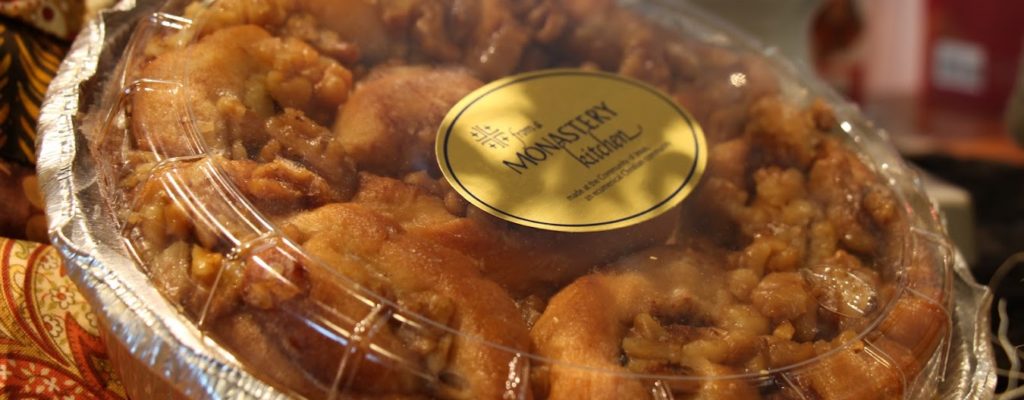
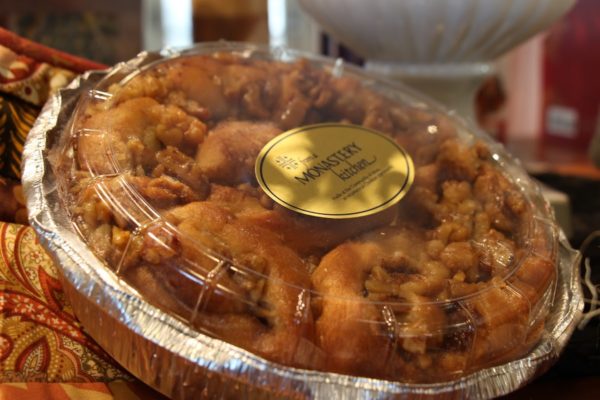
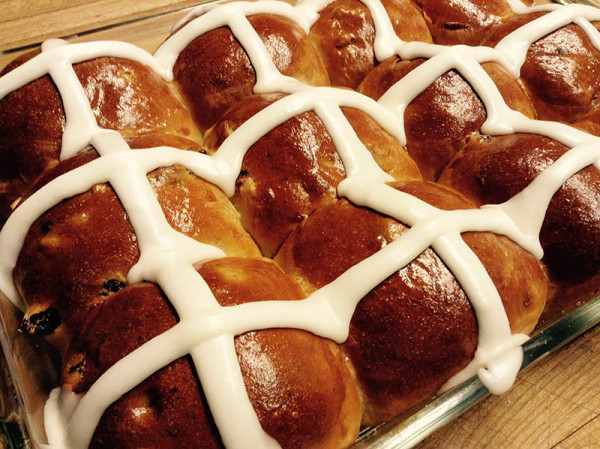
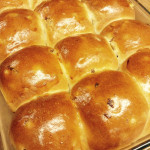
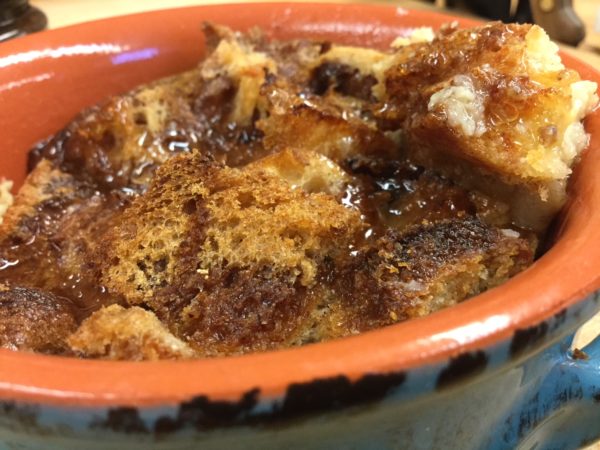
Nothing delights the Sisters more than warm, gooey sticky buns straight out of the oven on a Sunday morning. This year, we had the wonderful opportunity to offer baked goods to our community for Easter morning. We spent a good part of the weekend preparing over 50 pans of sticky buns. This year, I came up with a new recipe that we all decided was probably the very best sticky buns we have ever eaten. The comments back to us confirmed this was true. Even though I’d like to keep this recipe a secret, I thought we’d share it with you.
You won’t regret surprising your loved ones with these wonderfully fluffy and sinfully delicious breakfast treats! They are wonderful to eat year ’round!
Print Recipe
Votes: 0
Rating: 0
You:
Rate this recipe!
The World's Best Sticky Buns
SERVINGS24sticky buns
|
COOK TIME2hrs |
PREP TIME30mins |
READY IN2 hrs30 mins |
Ingredients
Instructions
For the Dough:
- Dissolve yeast in very warm water and let sit for 5 mins
- Add ingredients in order listed above.
- Add flour (dough will be slightly sticky, but should pull away from side of bowl).
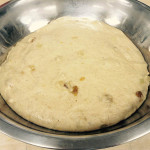
- Mix together the yeast dough, cover and let rise, until doubled in size in a warm, draft free place (approx.1 - 1 1/2 hrs) or overnight, covered, in the refrigerator)
Assemble:
- For the filling: Mix together melted butter, brown sugar, honey and cinnamon. Divide in half, setting aside half the caramel for the filling.
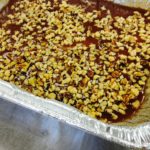
- Using three 9-inch cake pans that have been sprayed with Pam, equally divide the rest of the caramel topping over the bottom of the pans. Scatter the pecans or walnuts over the caramel mixture and set aside.
- Dust your work surface with flour. Divide the dough in thirds. Roll out the dough to a ⅛ -inch thick rectangle (around 20 inches long). As you roll out the dough, make sure there is enough flour to prevent it from sticking to the work surface
- Divide the remaining caramel mixture into thirds and evenly spread it over the rolled out dough leaving 1 inch around the edge of the dough without the filling.
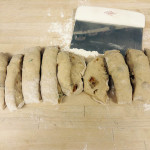
- Starting with the long side, roll the dough into a log. Roll it over until the seam is underneath. Pinch the seam together with your fingers
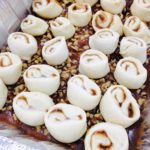
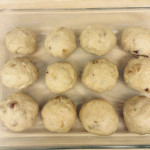
- Using a sharp knife, cut the log into 1 ½ -2 inch rolls.. Arrange the rolls over the nuts in the prepared pan, so that the swirled cut edge is facing upward.
- Repeat with the rest of the dough and filling.
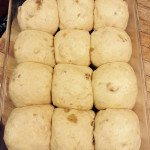
- Cover the tin with plastic wrap and allow to rest for 1 hour. During this time they will rise up to meet the tin and becoming bubbly.
- Once proofed, place the rolls on a baking sheet covered with parchment, in case the caramel bubbles over.
- Preheat the oven to 350 F and bake for roughly 35- 40 minutes, or until golden brown and firm in the center.
- While still hot, run a thin spatula around the outer edge of the pan to release the caramel rolls, and invert immediately onto a serving dish. Enjoy warm!
This is a guest blog from one of our Swedish Sisters
This year, it was possible to make these Swedish pepparkakor cookies a little earlier than usual. It makes me happy, and helps me remember for a moment where I came from, and that God is in charge of all the little things in our lives. It is my great-grandmother’s recipe from Tidaholm, Sweden. I don’t know why it is that cookies have become a tradition around the season of Christmas in particular, except for the fact of celebrating the most important birthday of all!! But these little cookies, for me, have always been a part of that celebration, with their trinity of spices that scent the kitchen when baked . . cinnamon, cloves and ginger. Not to mention, the smiles that come to people’s faces every single time!
Print Recipe
Votes: 1
Rating: 5
You:
Rate this recipe!
Swedish Pepparkakor
SERVINGS12dozen
|
COOK TIME5mins per pan |
PREP TIME30mins |
READY IN1hr |
Ingredients
Instructions
- Mix in order given and roll out very thin. You will need more flour as you roll them. Use a pastry cloth and a covered rolling pin.
- Cut into shapes, sprinkle with toppings if desired, and bake at 350 degrees for 4 min (time varies with thickness of dough). Makes up to 12 doz. cookies.
Wishing you a blessed New Year from our home to yours!
The Gourmet Nuns
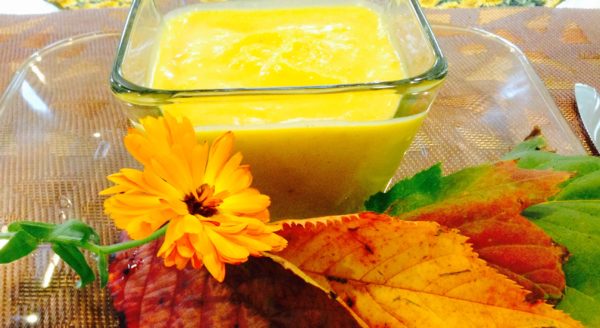
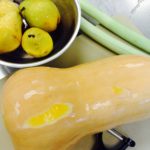
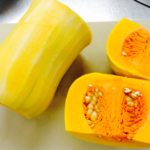
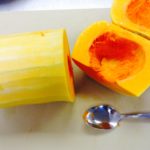
As we finished harvesting all of our winter squash for the season, it only felt appropriate to take a few inside and enjoy a lovely, warm bisque that has all the flavors of fall. By roasting the squash along with all the spices and sugar in this recipe, you’ll bring alive the essential oils buried in them and caramelizing the squash at the same time—achieving a depth of flavor you can’t get by starting this on the stove top.
We are busy bustling around and getting ready for our Arts in Celebration weekend, but remembering how important it is to balance our life with the simple pleasures that God gives us. We do hope you will consider joining us over this next week to experience beauty and the arts, as we commemorate the 500th anniversary of the Reformation.
Print Recipe
Votes: 2
Rating: 4.5
You:
Rate this recipe!
Roasted Butternut Squash and Pear Ginger Bisque
SERVINGS16cups (8 servings)
|
COOK TIME45mins |
PREP TIME15mins |
READY IN1hr |
Ingredients
Instructions
- Preheat oven to 375 degrees F.
- Prepare butternut squash and toss in a bowl with 6 Tbsp. olive oil, 1 Tbsp Kosher salt, cinnamon, nutmeg, ginger and brown sugar
- Spread squash on two parchment or foil lined baking trays and roast in oven for 30 - 35 min. or until tender when pierced with a fork (stirring occasionally).
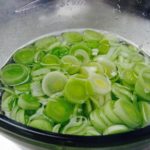
- While the squash is roasting, prepare your leeks and pears. Place the sliced leeks in a bowl of cold water to remove any excess dirt, then remove.
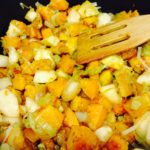
- Heat a large dutch oven with the remaining 2 Tbsp of olive oil and 1 Tbsp of butter. Saute leeks over medium heat until golden and soft. Add pears and then the roasted butternut squash, scraping all the goodness off the pan.
- Add the broth and bring to a simmer, cover and cook until all the vegetables are tender, about 10 min.
- Remove from heat, and puree with an immersion blender, until completely smooth.
- Adjust seasonings (add additional 1 tsp. salt) and cream, milk (or additional stock) to the consistency you prefer.
- Serve warm, enjoying the flavors of fall!
“Nothing that’s been given to us should ever be allowed to go to waste.” This has been a strong emphasis in the sisterhood from its earliest days. “No apple drop that has any edible part should be tossed. It should be turned into applesauce or butter.”
One convent sister in particular has a strong passion for turning all of our imperfect fruits into creative preserves. All summer long we have enjoyed a variety of jams and spreads on our breakfast toast, and occasional desserts. Plums, nectarines, peaches, apples have each in their season made their appearance in different forms.
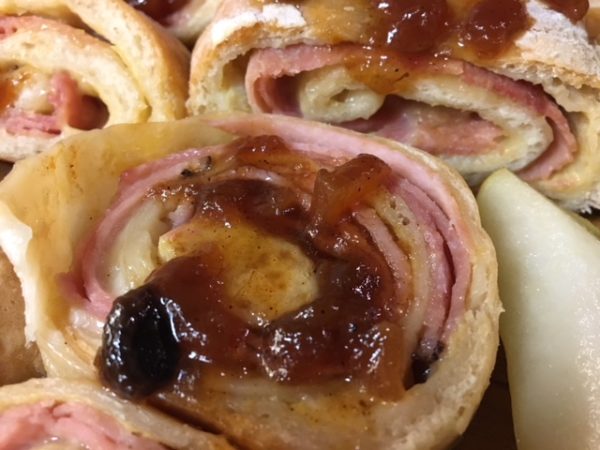
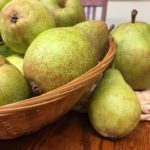
But perhaps the choicest of all was the rich creation that appeared this week and disappeared within days. Made with the last of our pears and laced with rich bourbon this superb pear chutney elevated an already elegant pork loin roast into a spectacular sensation. Yesterday’s lunch cook served it alongside of ham and swiss pinwheels—always a favorite just as they are on their own…over the top with this enhancement!
It suddenly occurs to me that little jars of this would make choice Christmas gifts. Give it a try and see what you think.
Print Recipe
Votes: 1
Rating: 5
You:
Rate this recipe!
Ginger Pear Chutney
SERVINGS6-7pint jars
|
COOK TIME1 hr30 mins |
PREP TIME45mins |
READY IN2 hrs15 mins |
Ingredients
Instructions
- Combine all ingredients in a heavy pot. A Dutch oven or a cast iron pot works well.
- Bring ingredients to a boil, stirring often.
- Reduce heat and let simmer for about 1 ½ hours, stirring occasionally.
- Serve as a condiment on the side, warm on pork or chicken, or dress up a deli ham sandwich. Enjoy!
