About Gourmet Nun
There are actually two of us under the title of "Gourmet Nun!" One of us came at age 13, the other in her 30s. We have been sisters for 43 and 38 years respectively. One of use came with her mother (who felt called to this community), the other drove down in a red Carmen Ghia, leaving behind a job in a flower shop in Boston. Between us we have almost a century of cooking experience (that actually sounds kind of frightening!) having cooked since we were young. We have been in choir, wind ensemble, orchestra, painted, made quilts and both have been or are executive chefs in our events kitchen. We both love food; but especially the relationship between hospitality and the dining room, the Eucharistic table and the banquet table. Nothing makes either of us happier than a well-planned and well-executed meal that speaks of the love of God.
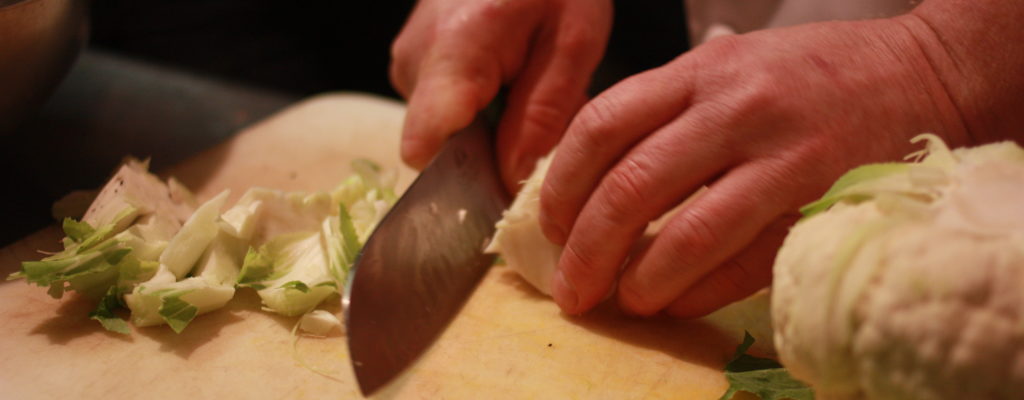
This is a winner! We recommend serving this with an open faced sandwich or just on its own. You’ll think this soup has been thickened with cream, but magically it hasn’! Coconut milk and coconut oil have a wonderful way of adding depth of flavor and the under-appreciated cauliflower and parsnip get a bit of attention in this marvelous winter soup. Topped with caramelized onions and sautéed apple, this dish is perfect for fall when you start pulling on your warm socks and woolen sweaters.
Print Recipe
Votes: 1
Rating: 5
You:
Rate this recipe!
Vegan Roasted Cauliflower & Parsnip Soup with Caramelized Onions & Apples
SERVINGS5servings
|
COOK TIME45mins |
PREP TIME15mins |
READY IN1hr |
Ingredients
Instructions
- Preheat over to 375-400°F. Toss the cauliflower and parsnips in 2 Tbsp. coconut oil, sprinkle with kosher salt and spread in single layer on a sheet pan. Roast for 20-25 minutes, until the tips begin to turn brown, then add the minced garlic, cover with foil and continue roasting until soft and tender.
- Meanwhile, caramelize the onion: slice the onion into thin strips, and saute over low heat with 1 Tbsp. coconut oil. Adding just a dash of salt and sugar can help the caramelization process. Stir every few minutes, until onions begin to brown. Dice the apple, and add it to the pan. Continue to cook on low until apple is tender and the onions are golden and sweet. Add salt to taste. Set aside for garnish.
- Place cauliflower, parsnips, 4 cups warm broth, coconut milk/cream in a blender,. Blend until smooth, adding salt and smoked paprika to taste. Add additional broth, coconut milk or cream until desired consistency and flavor is reached.
- Re-heat your soup on the stove or in the microwave or freeze in ziplock bags for later.
- When ready to serve, spoon soup into bowls and top with a generous amount of onions and apples.
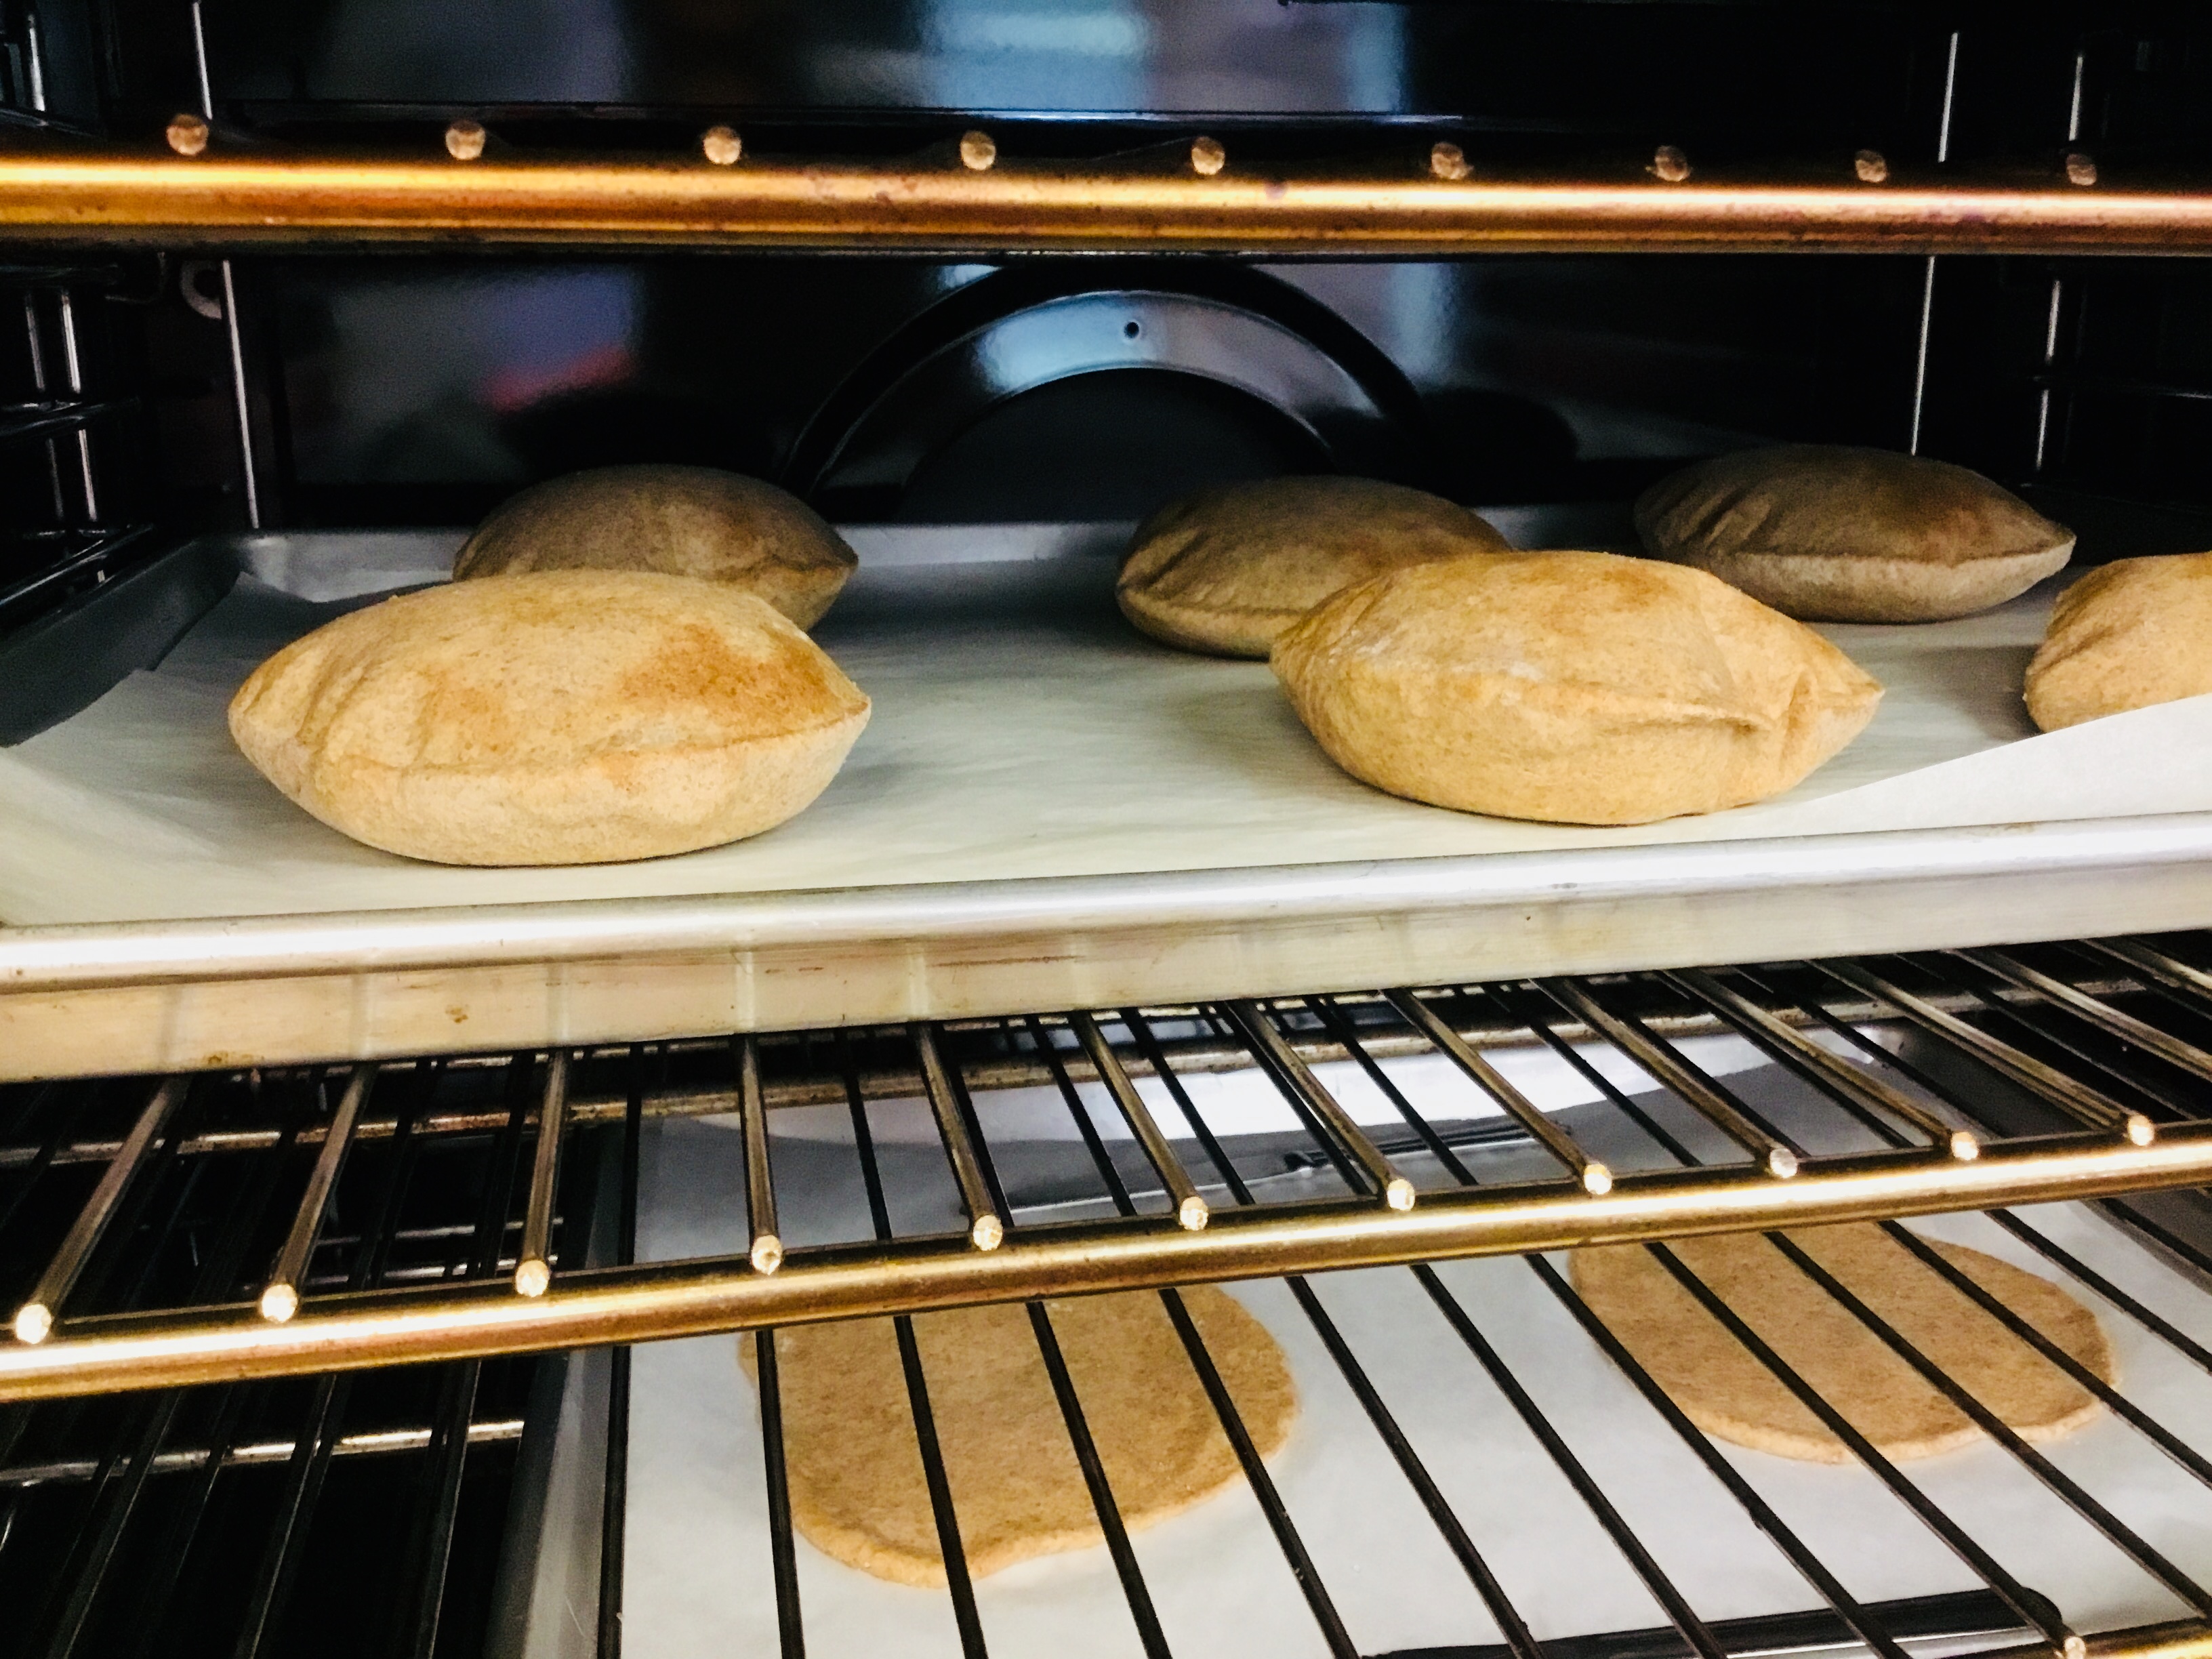
There’s just something about the aroma of freshly baked bread that brings one back to their childhood – but a torture when allergic to yeast!
I was baking for a friend recently, and this was their story. So, I did a little experimenting to see what I could come up with besides biscuits and quick breads – I really wanted something they could enjoy as a sandwich bread. I never thought pita bread would rise without the presence of yeast, but in this easy and quick recipe, it surely does, AND creates a wonderful pocket of joy that can be filled with your favorite sweet or savory fillings.
Print Recipe
Votes: 150
Rating: 2.99
You:
Rate this recipe!
Yeast-Free Homemade Pita Bread
SERVINGS8pita pockets
|
COOK TIME6-8mins |
PREP TIME5mins |
READY IN30-40mins |
Ingredients
Instructions
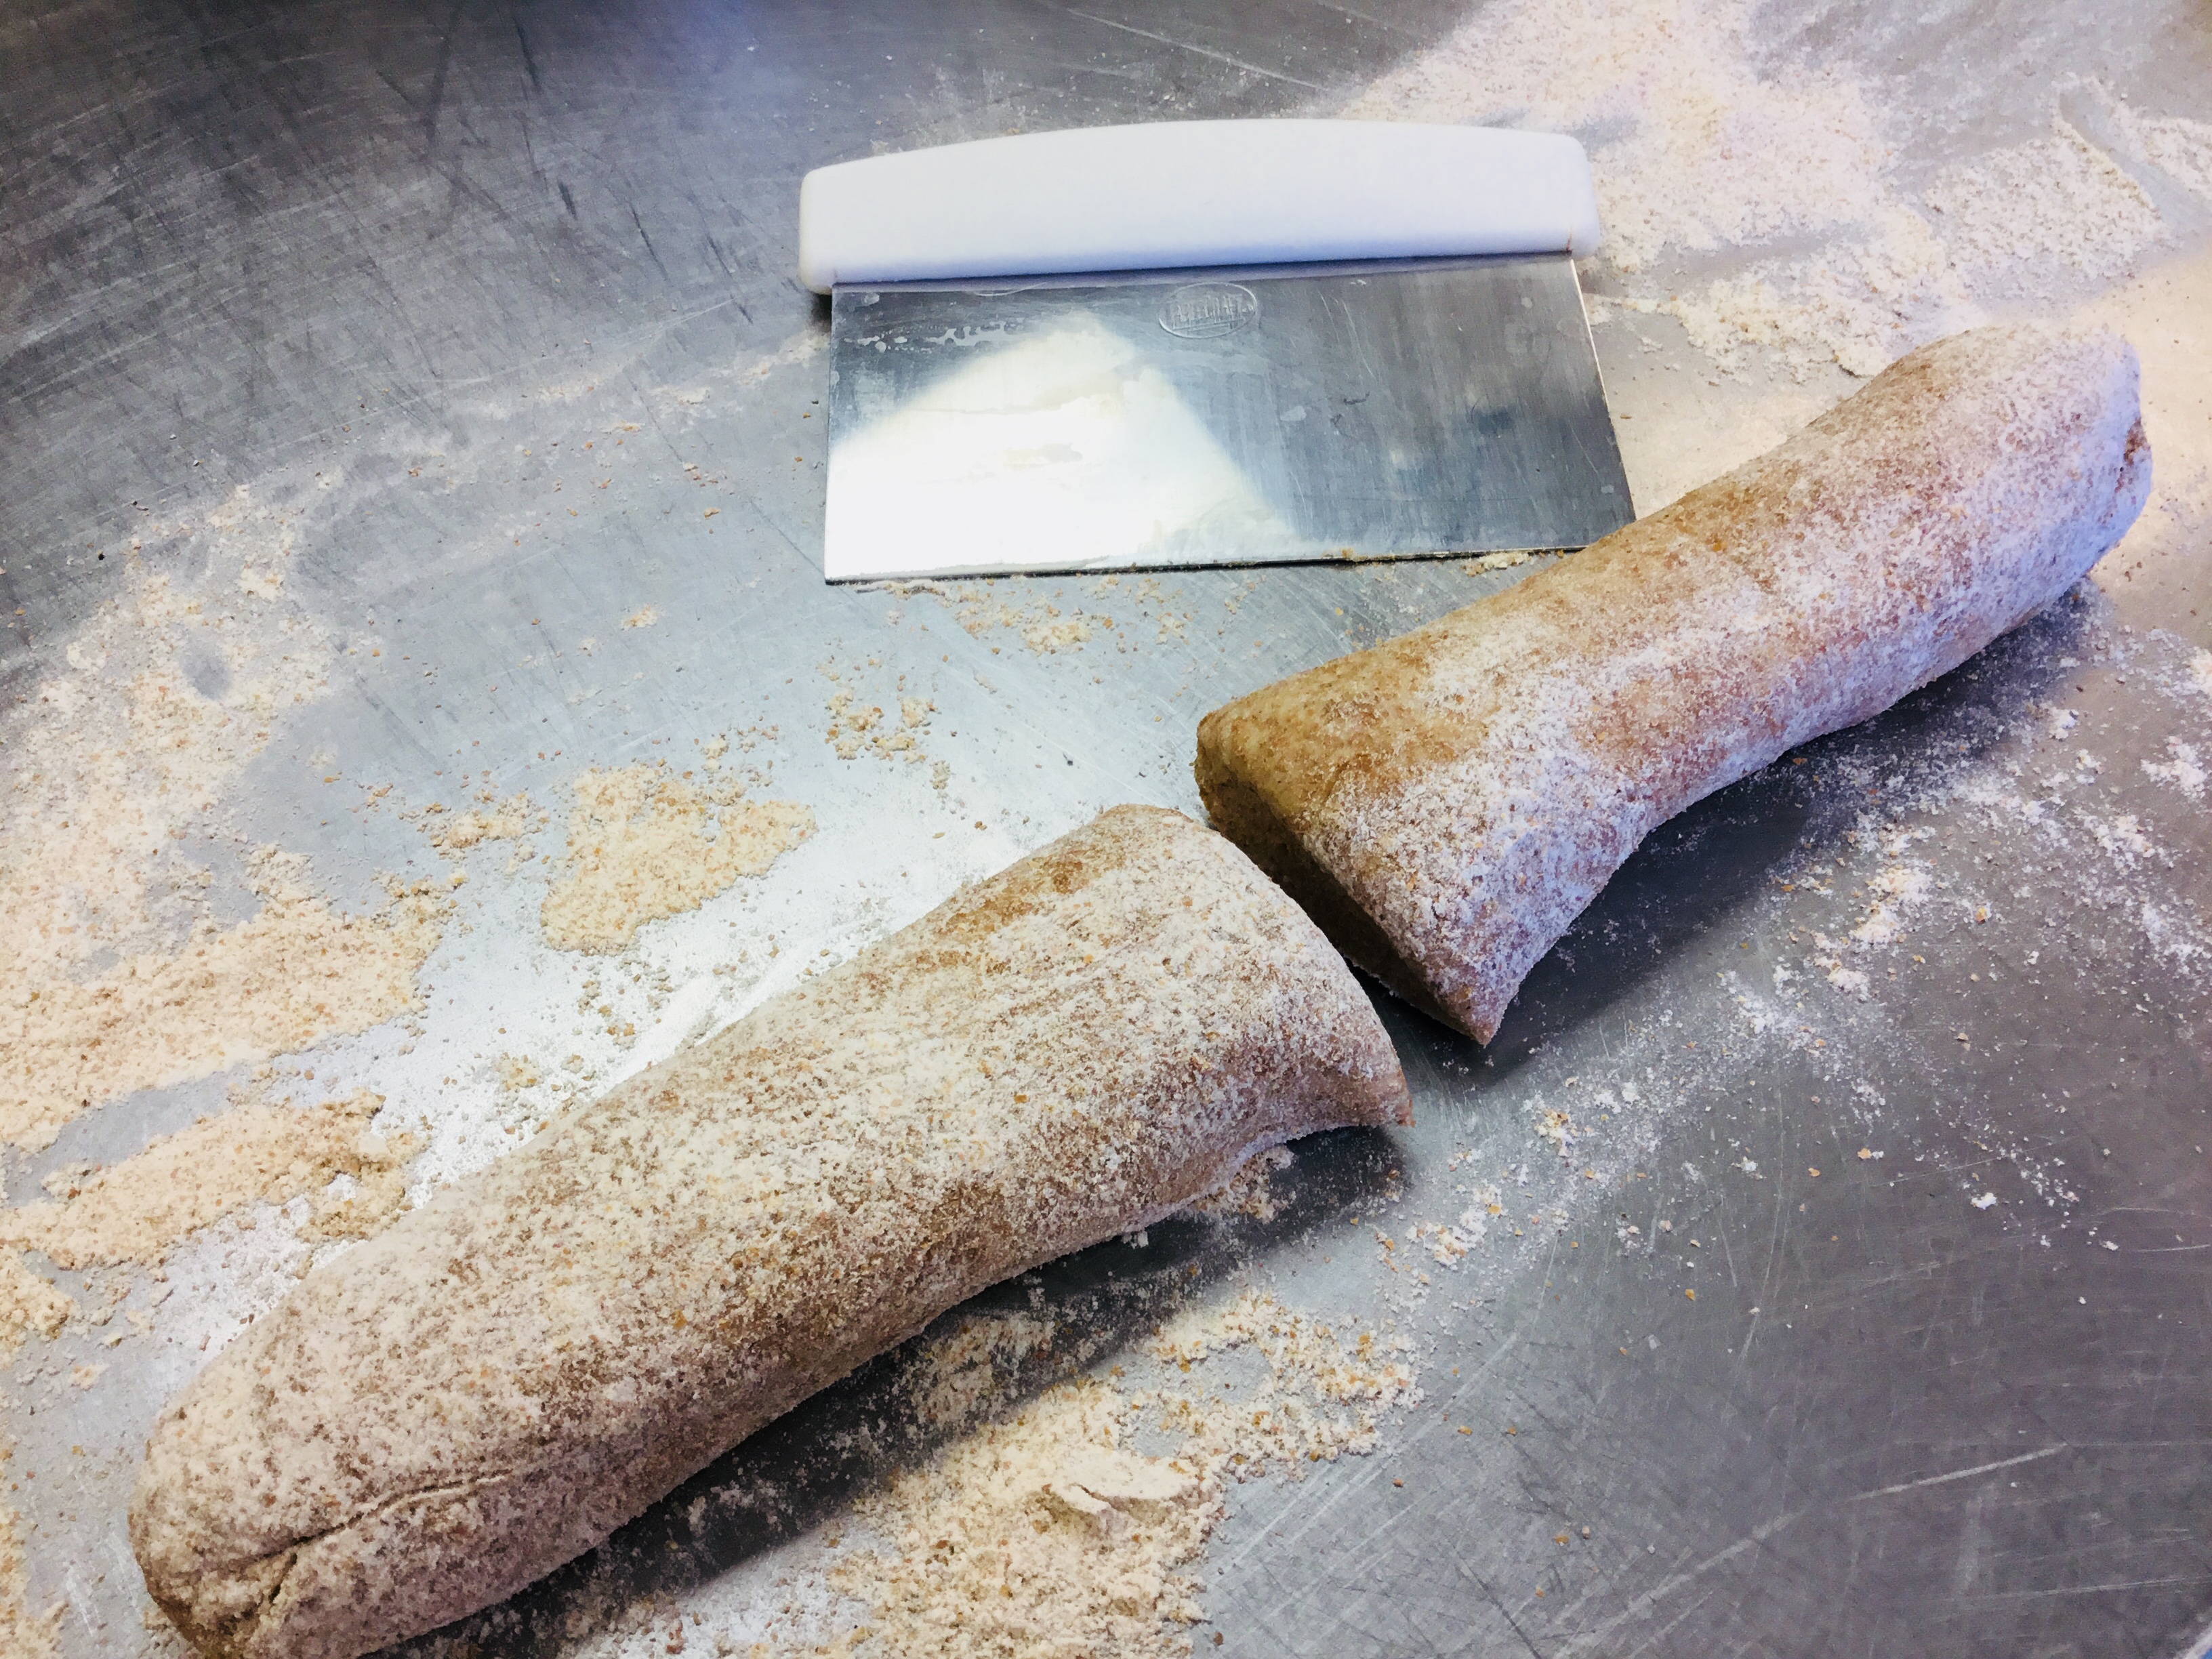
- In a medium bowl, whisk the flour, salt and baking powder. Stir in the water and olive oil and knead to form a moist dough. Form into a ball. Cover with a kitchen towel and let rest for 5-30 min.
- Preheat oven to 450 degrees F.
- Roll out the dough into a long log on a very lightly floured work space.
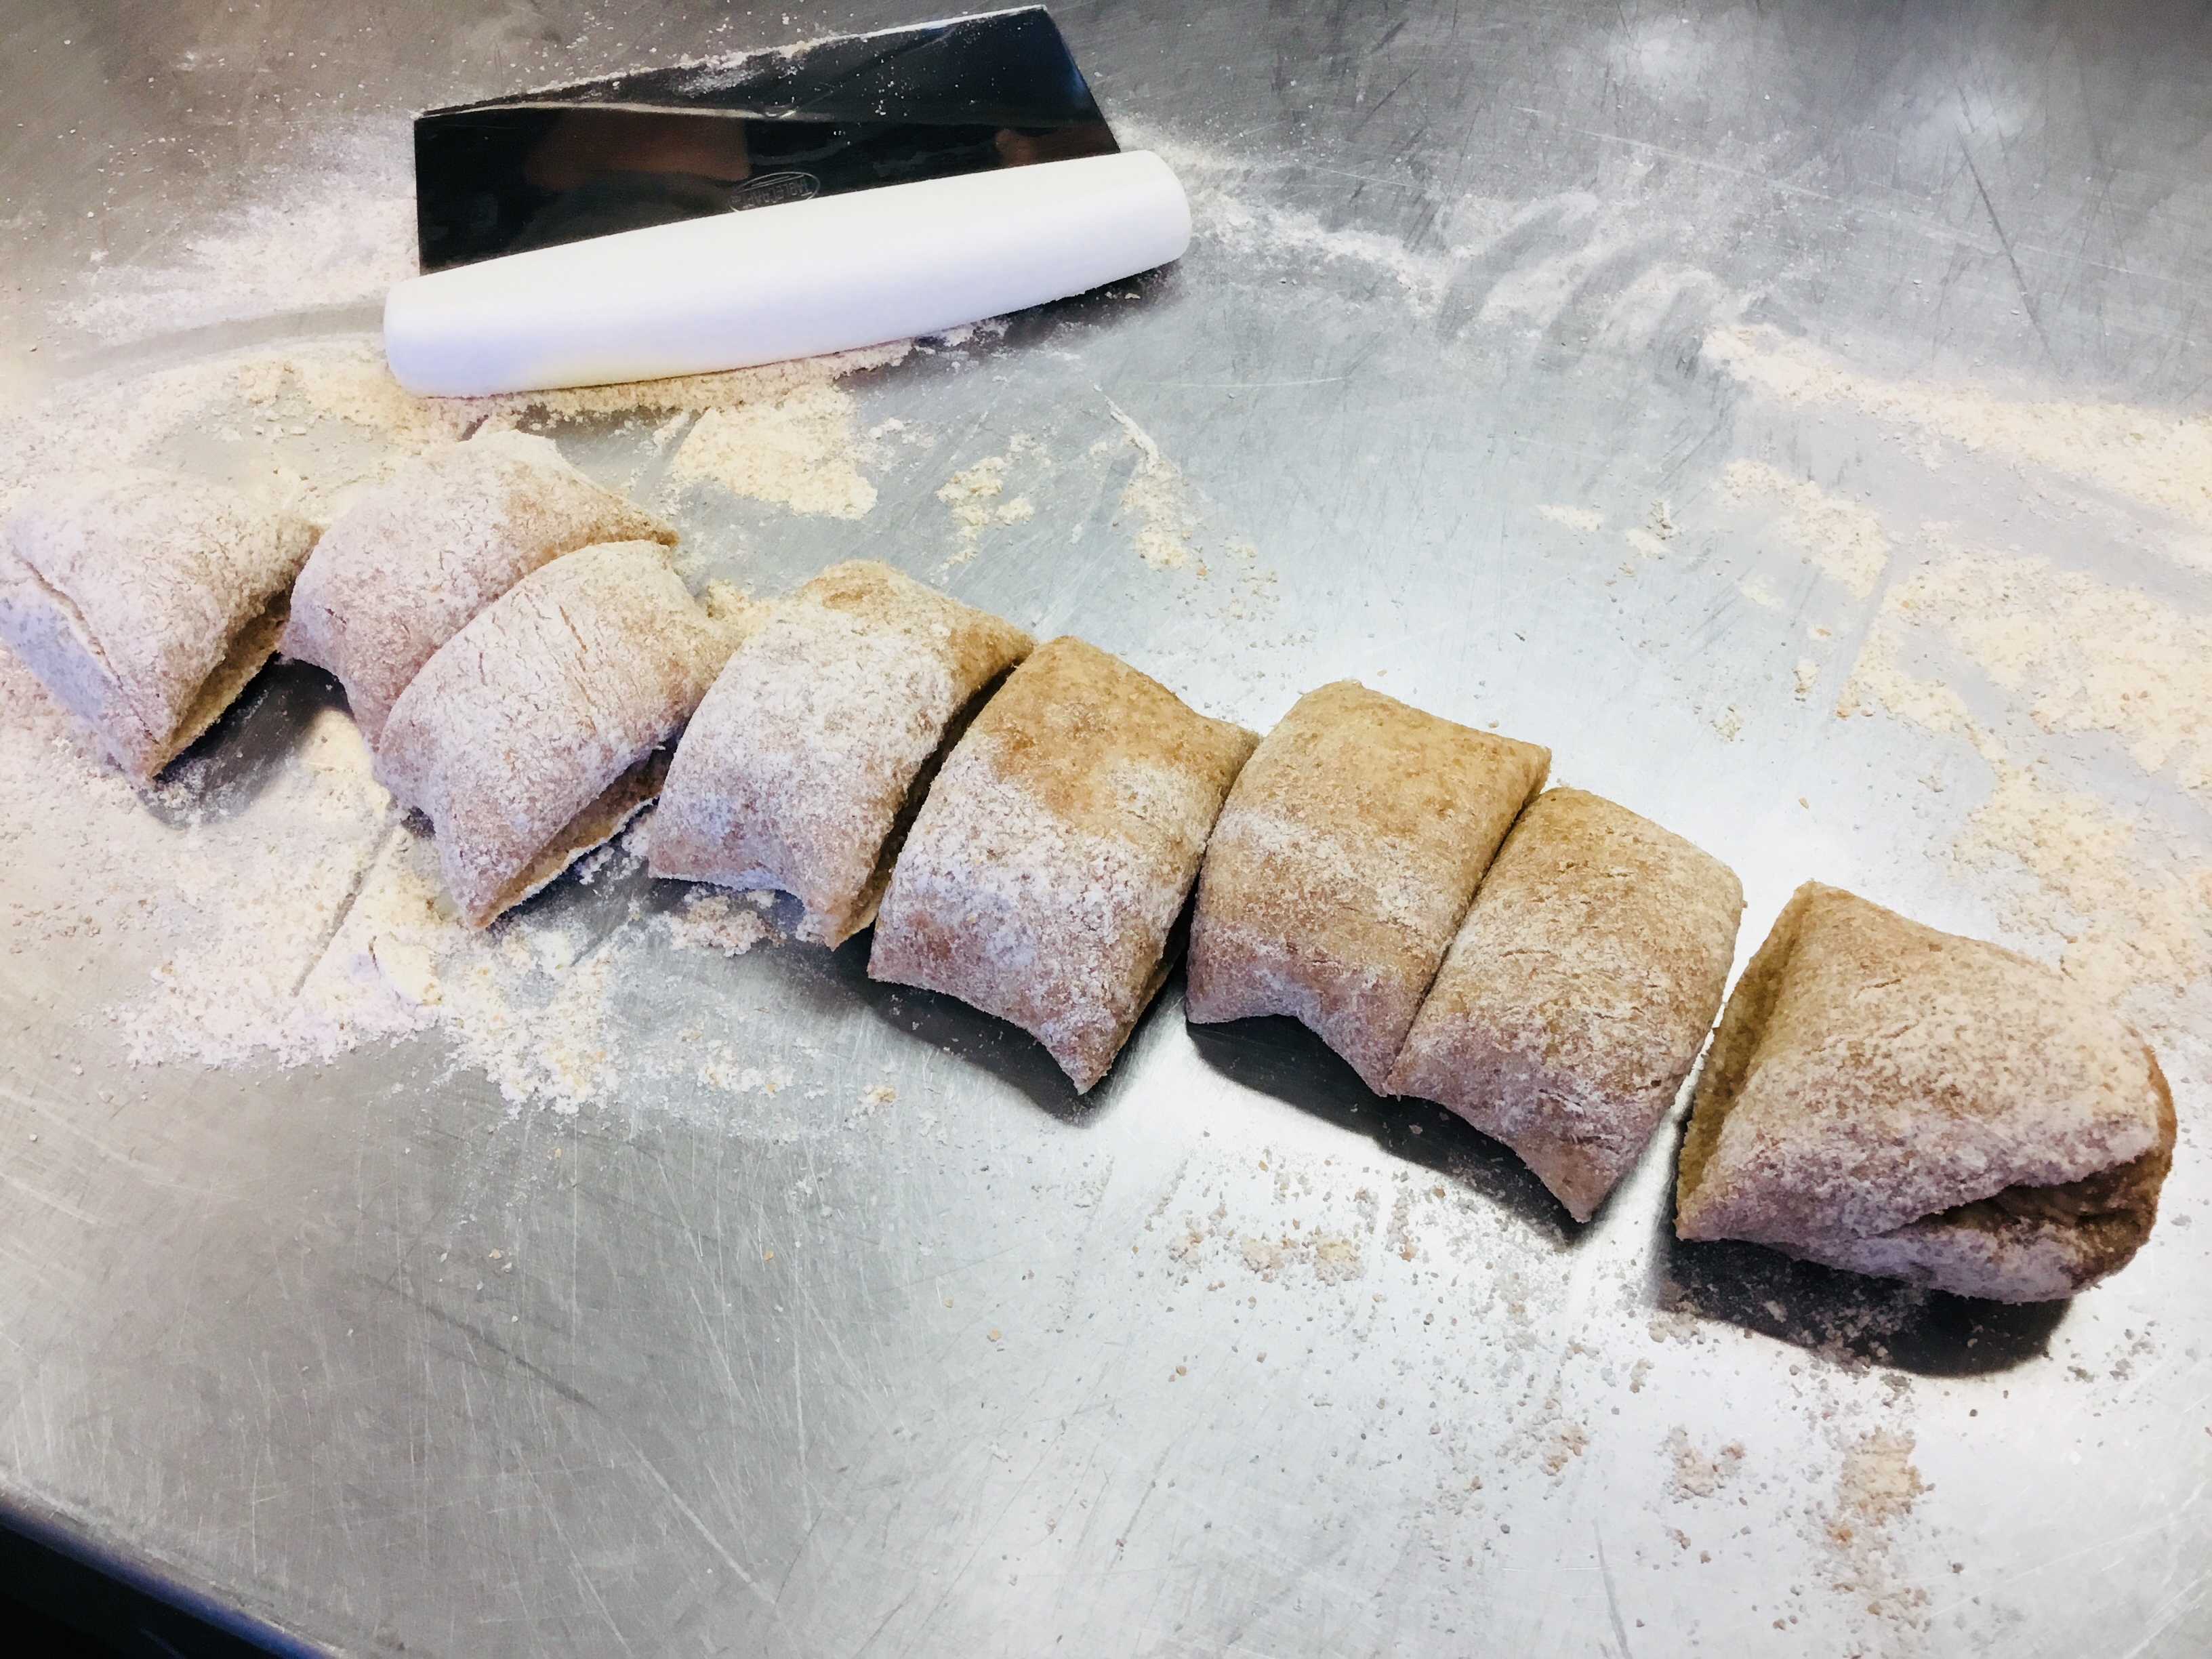
- Cut the dough into 8 equal parts and form 8 balls.
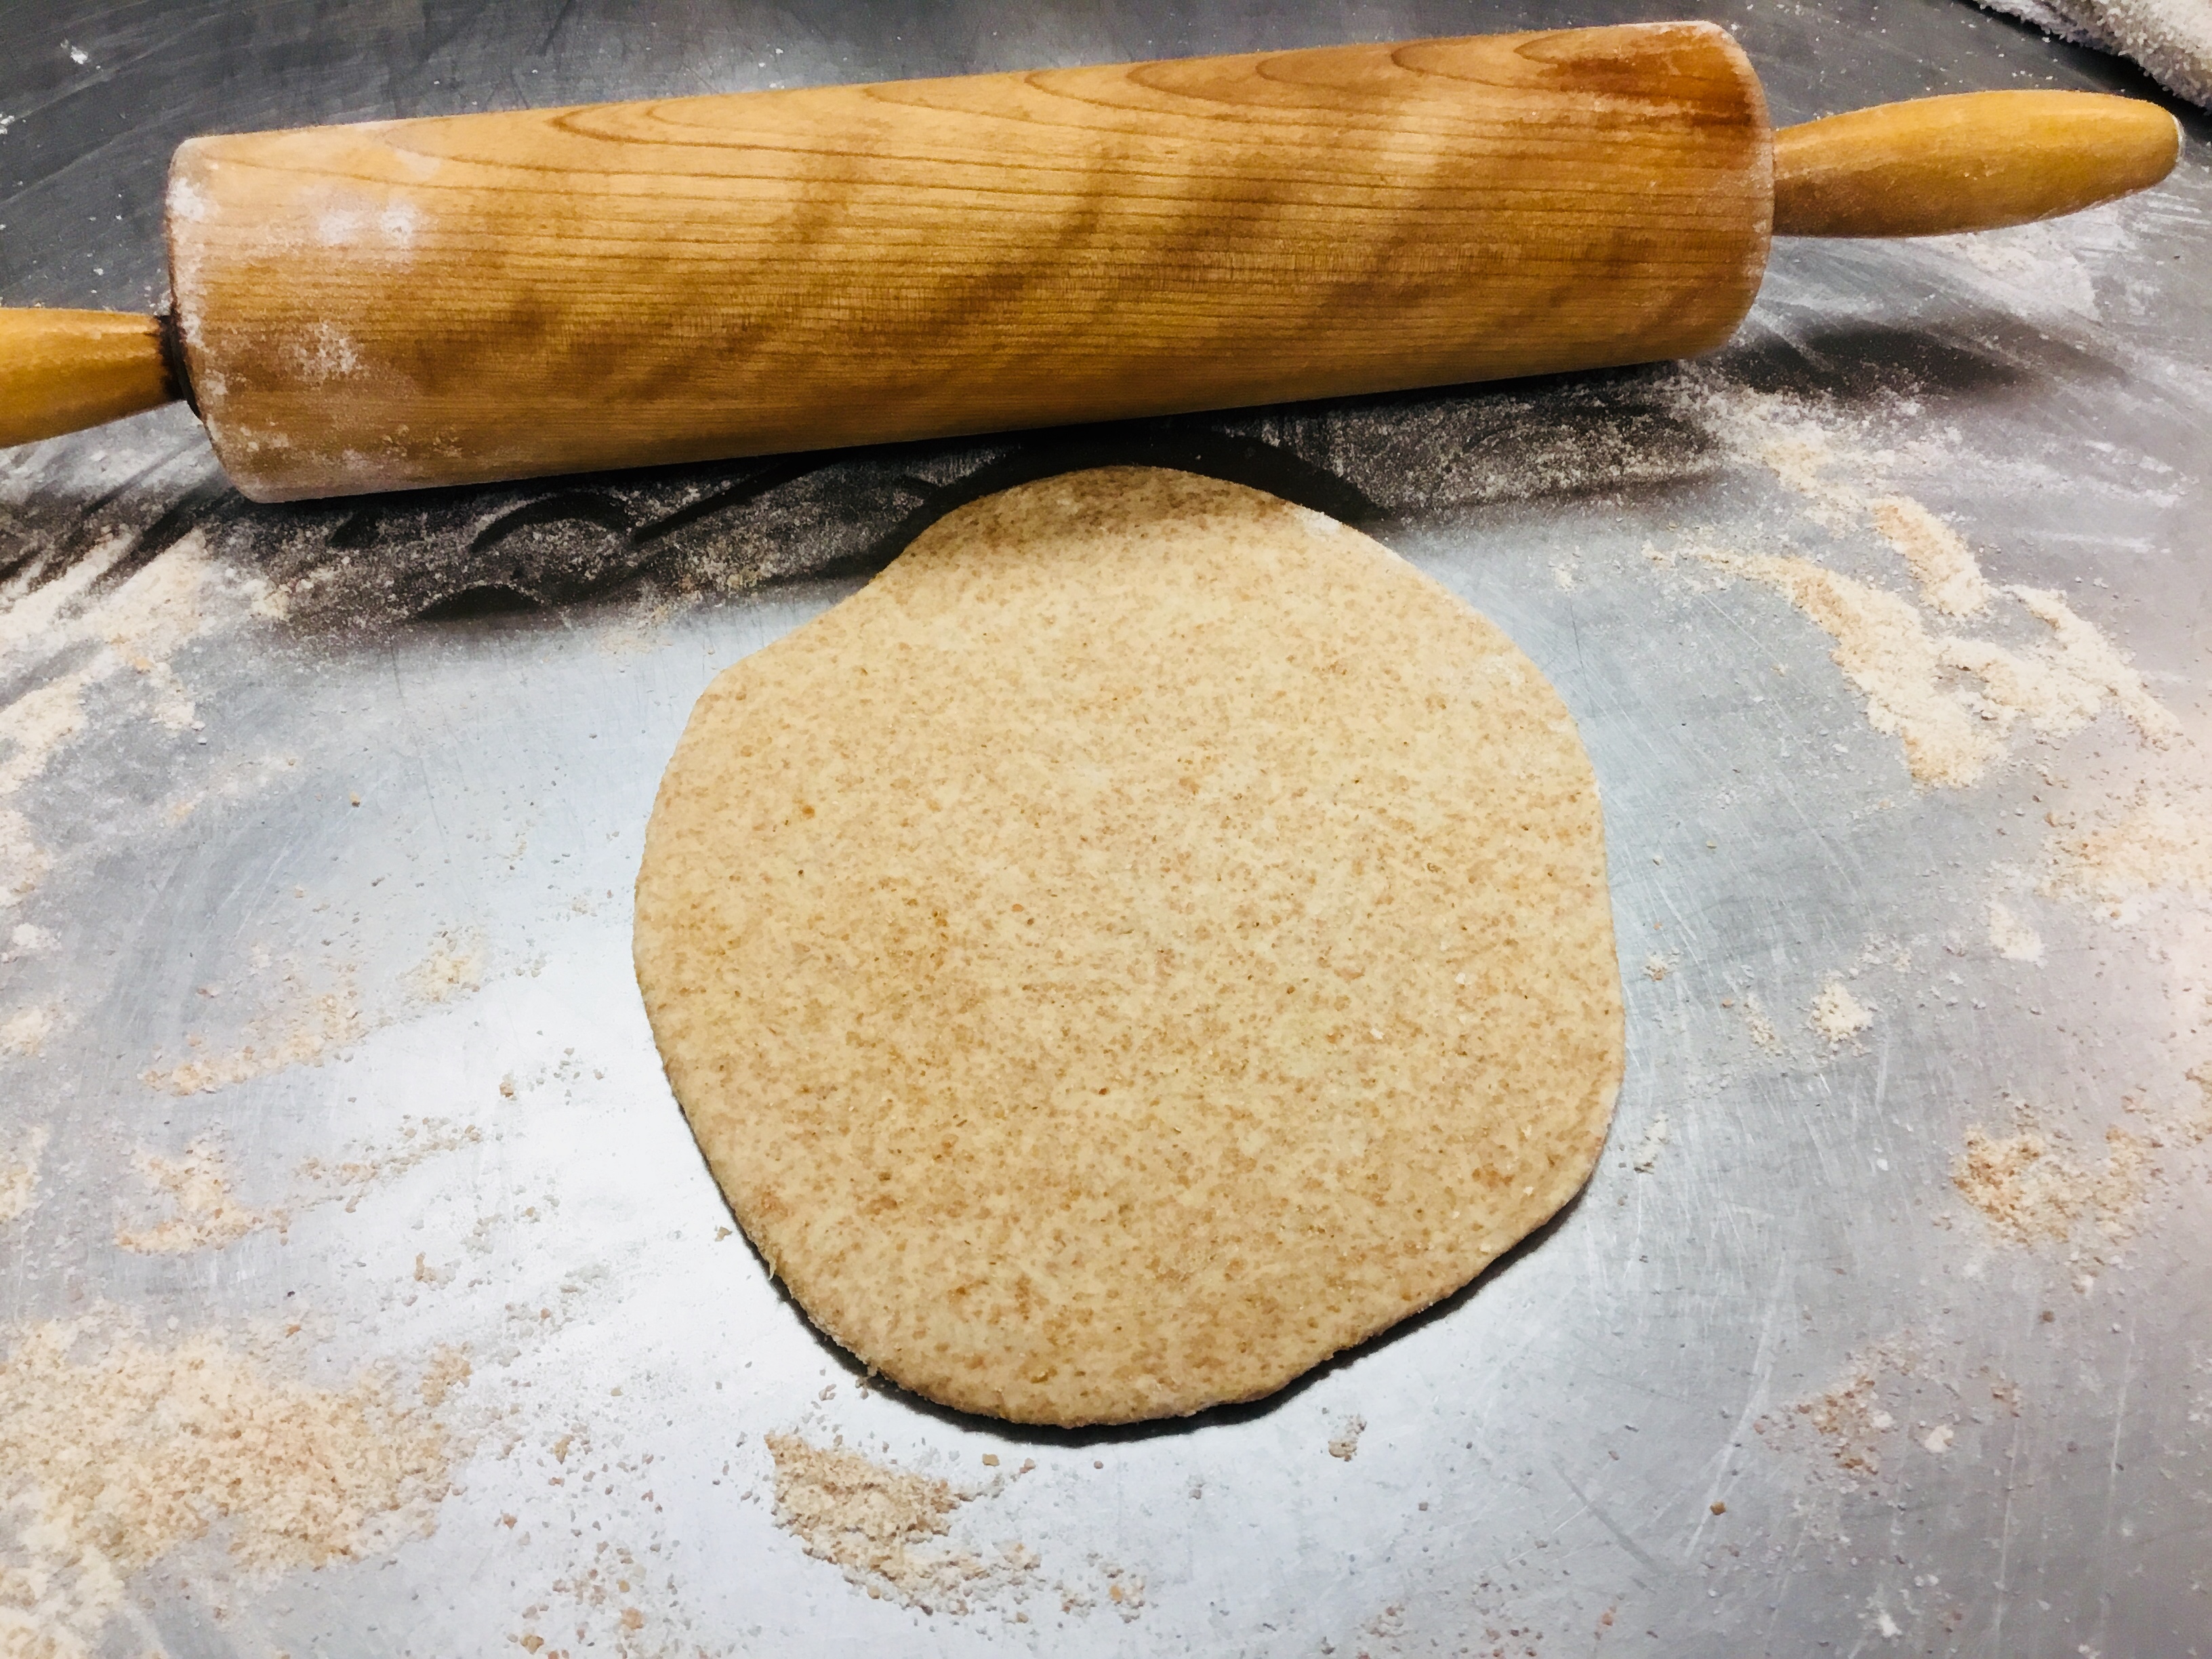
- Using a lightly floured rolling pin, flatten each into an 1/8" high flat disk
- Lay pita bread on two sheet pans lined with baking paper - spacing the disks apart from each other.
- Spray lightly (or brush) with water and bake immediately for 6-8 min. or until puffed and golden.
8. Remove from oven and serve immediately or allow to cool to store for later. Store in a zip lock bag or air tight container.
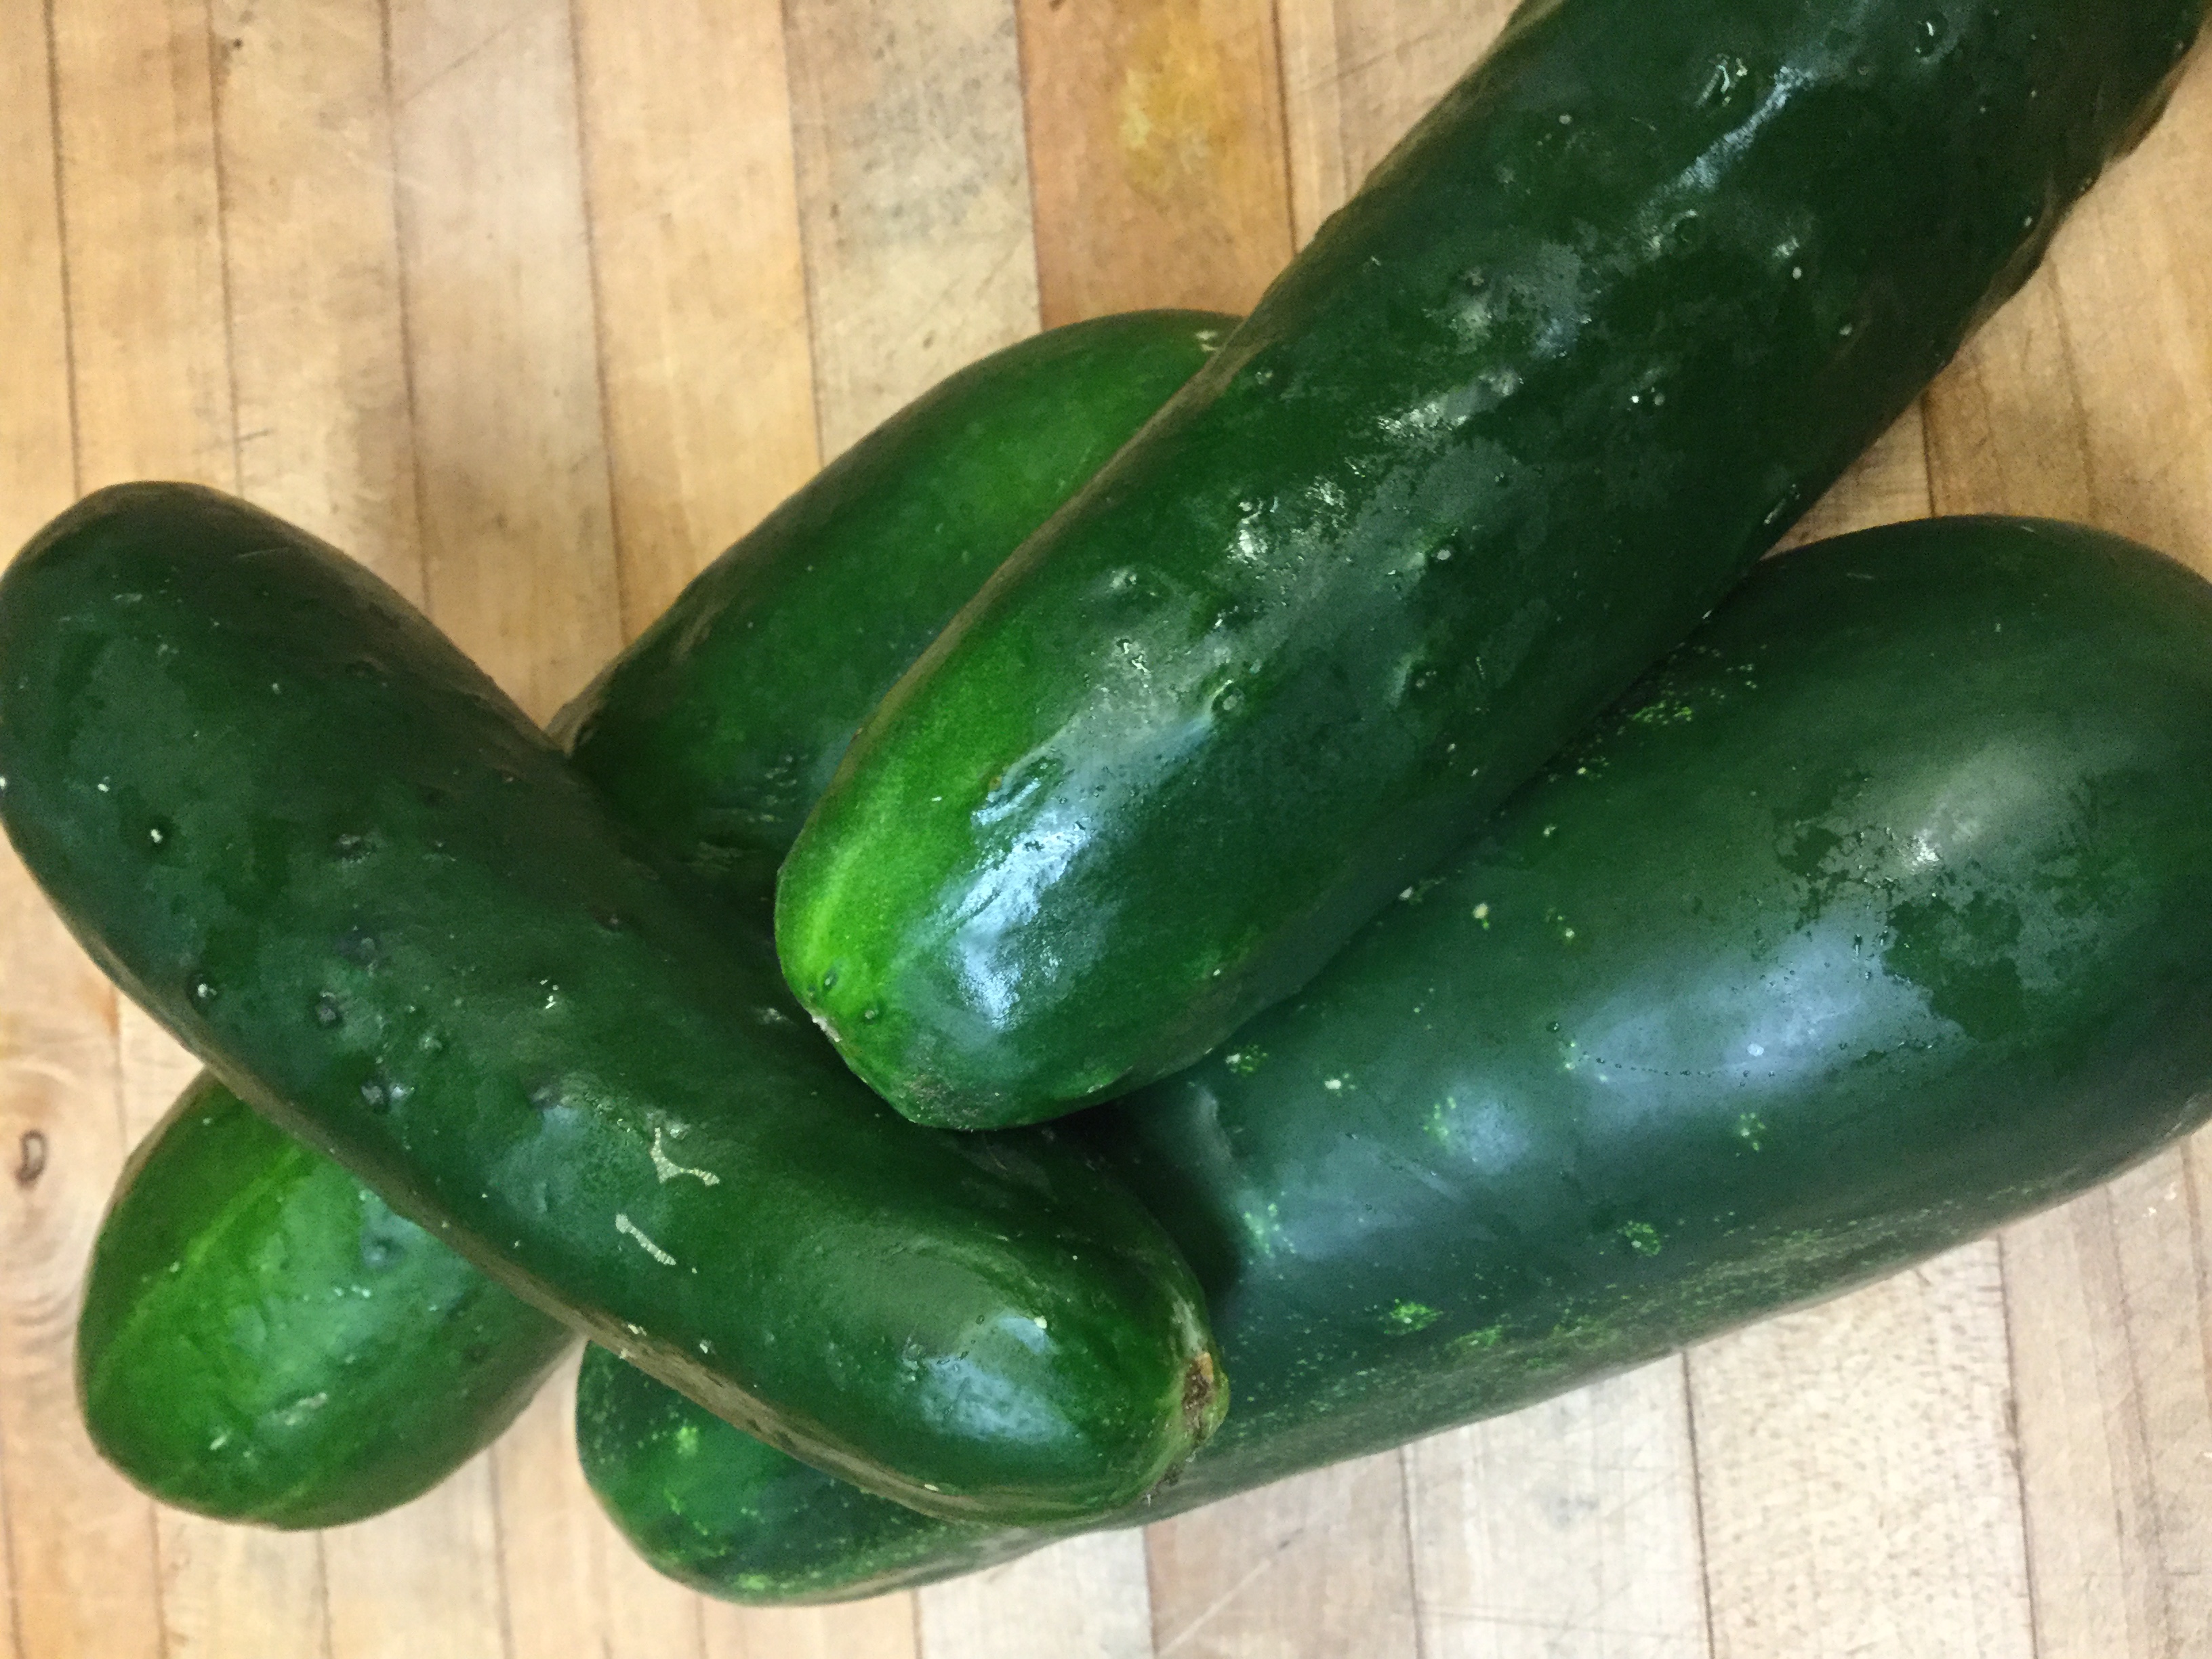
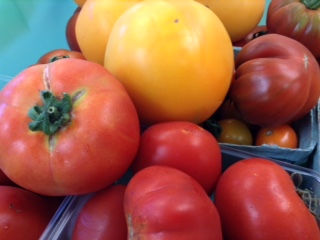
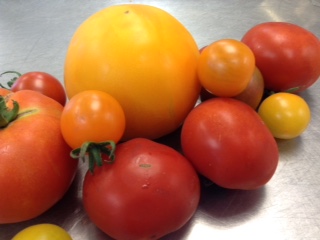
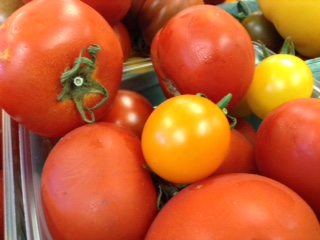
Bumper crop! Our community has several gardens, an orchard, and a vineyard, and every year
seems to have a harvest highlight. So far this has been the year of the cucumber. After serving
cucumber salad in numerous forms, and making at least two multiple batches of sweet
refrigerator pickles, I have to admit that I sighed when I saw the next tub of cucumbers arrive in our kitchen. Garden bumper crops are faith building but can offer a challenge for speedy
processing and creative recipes. One year it was plums, and we saw plum pork, plum sauce,
plum butter, plum muffins, plum cakes, and frozen plums in the freezer for quite some time.
We found ourselves praying for a peach!
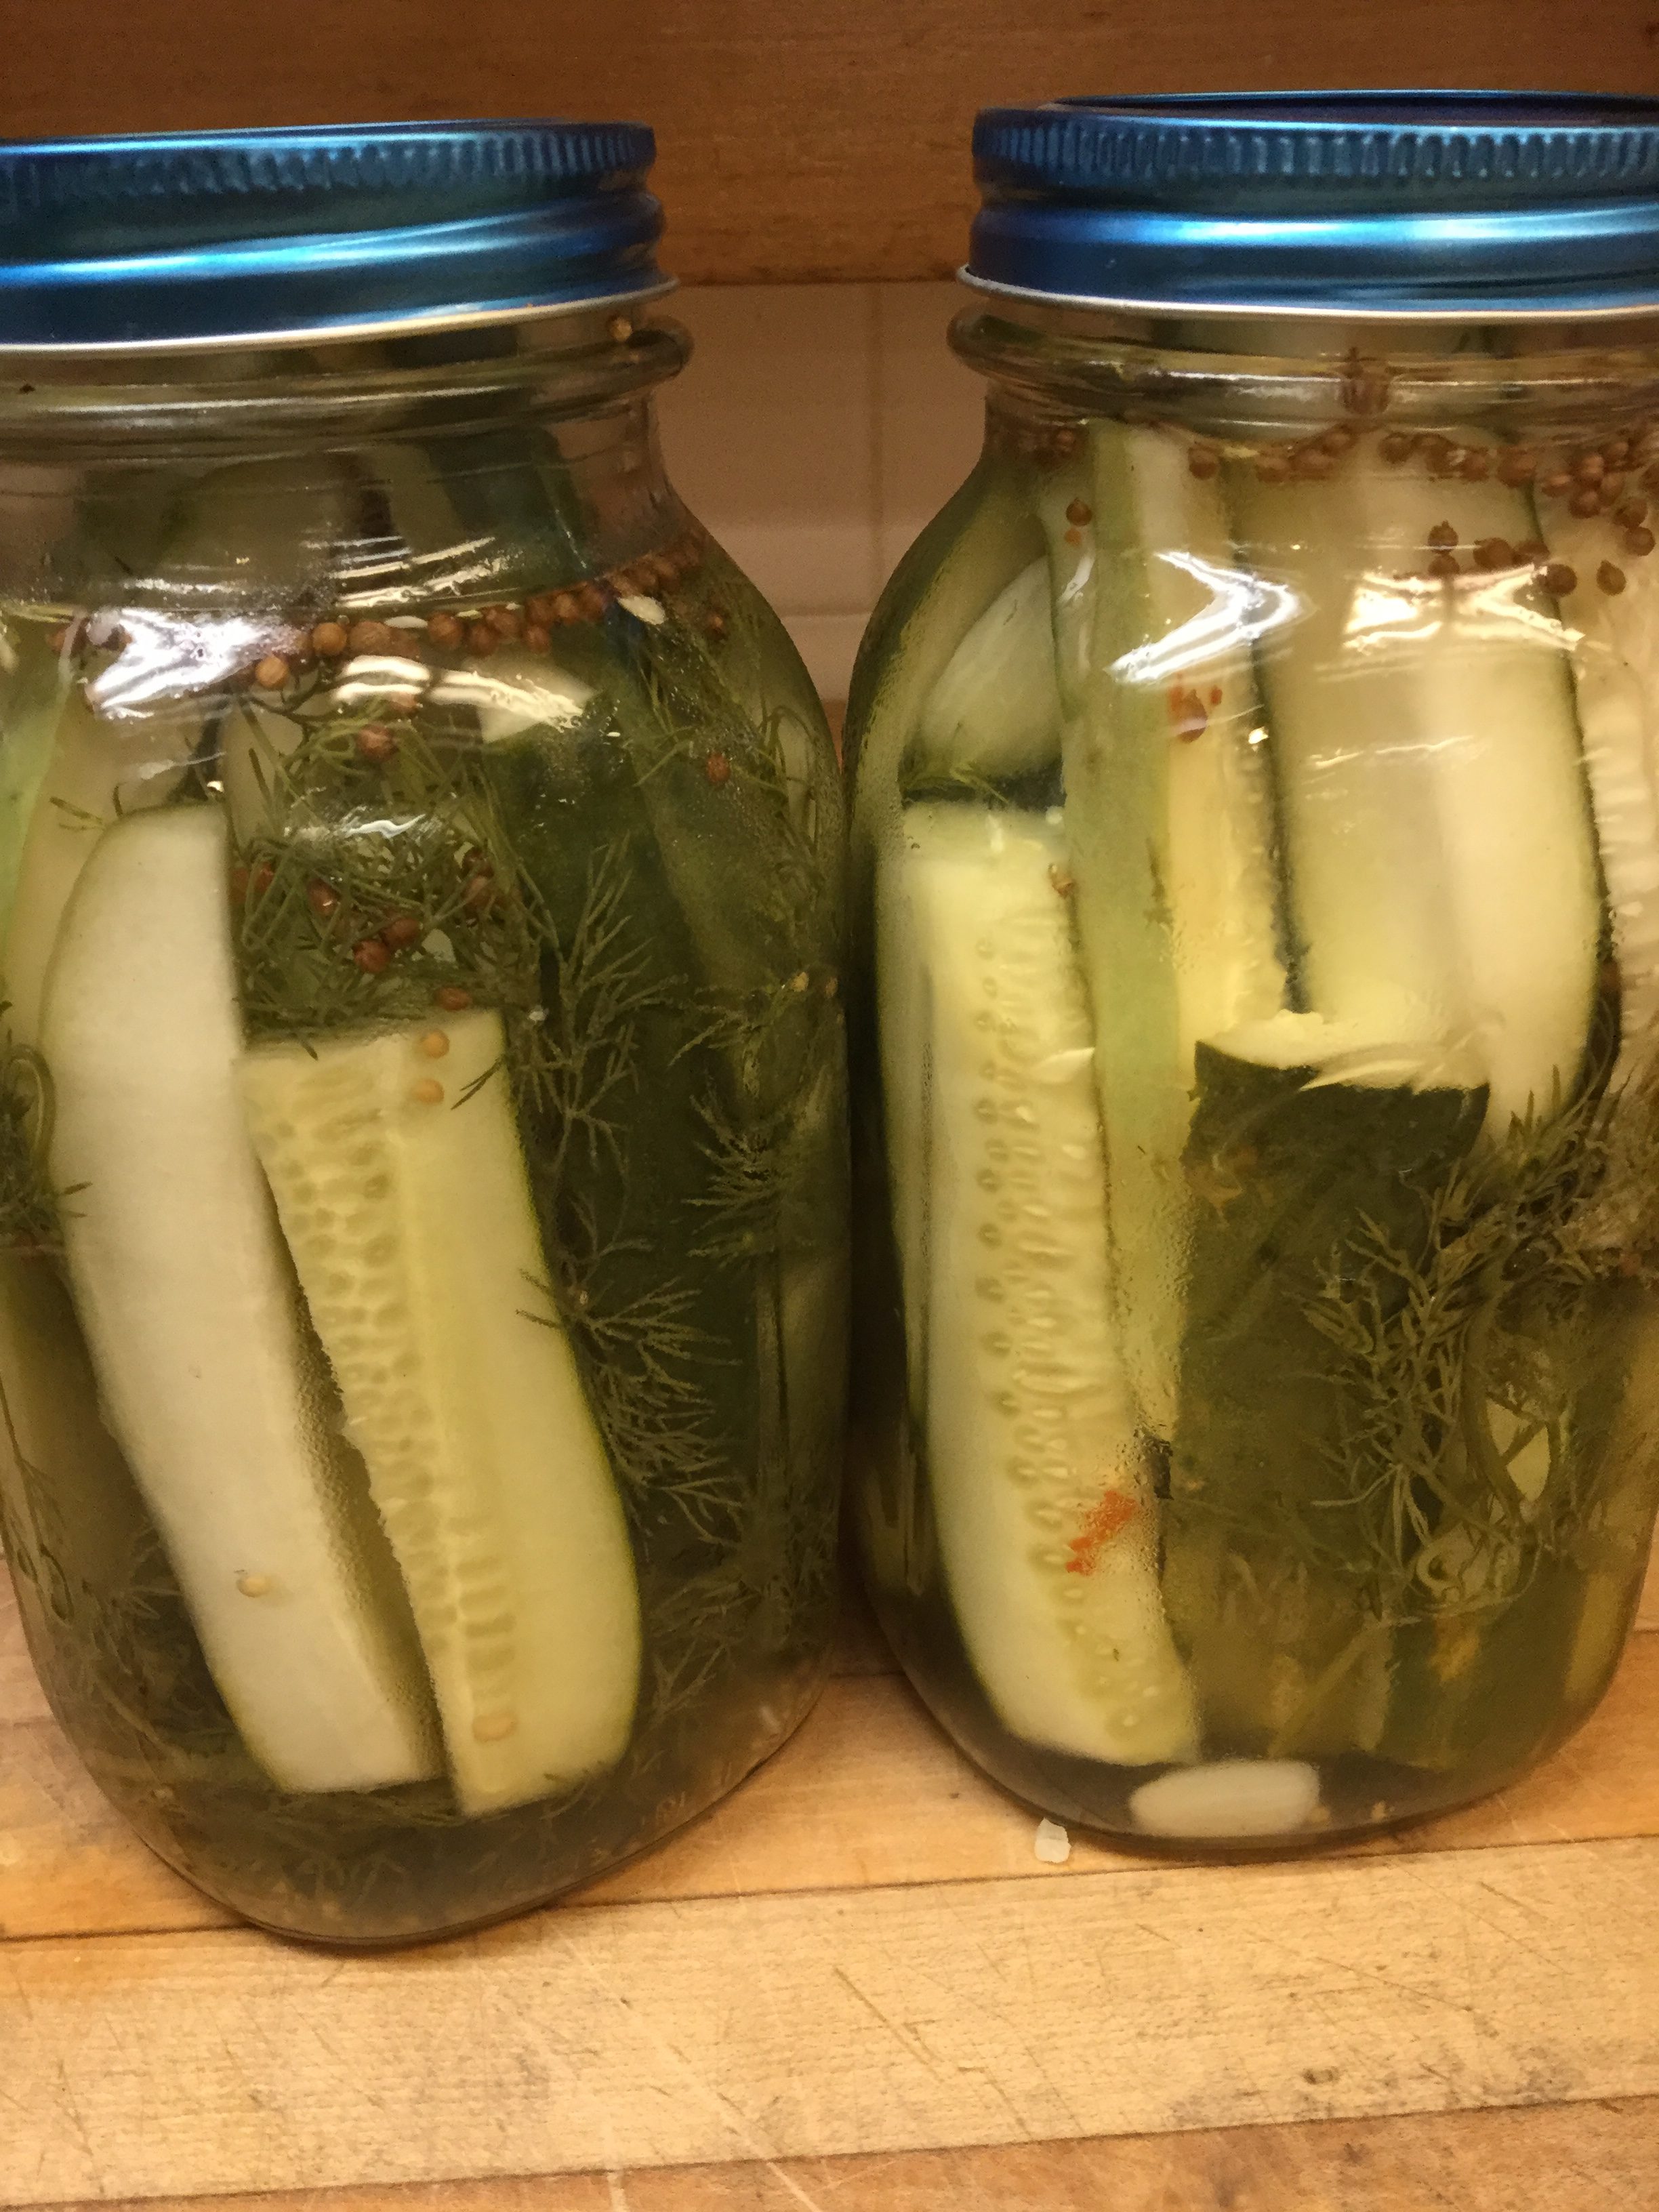
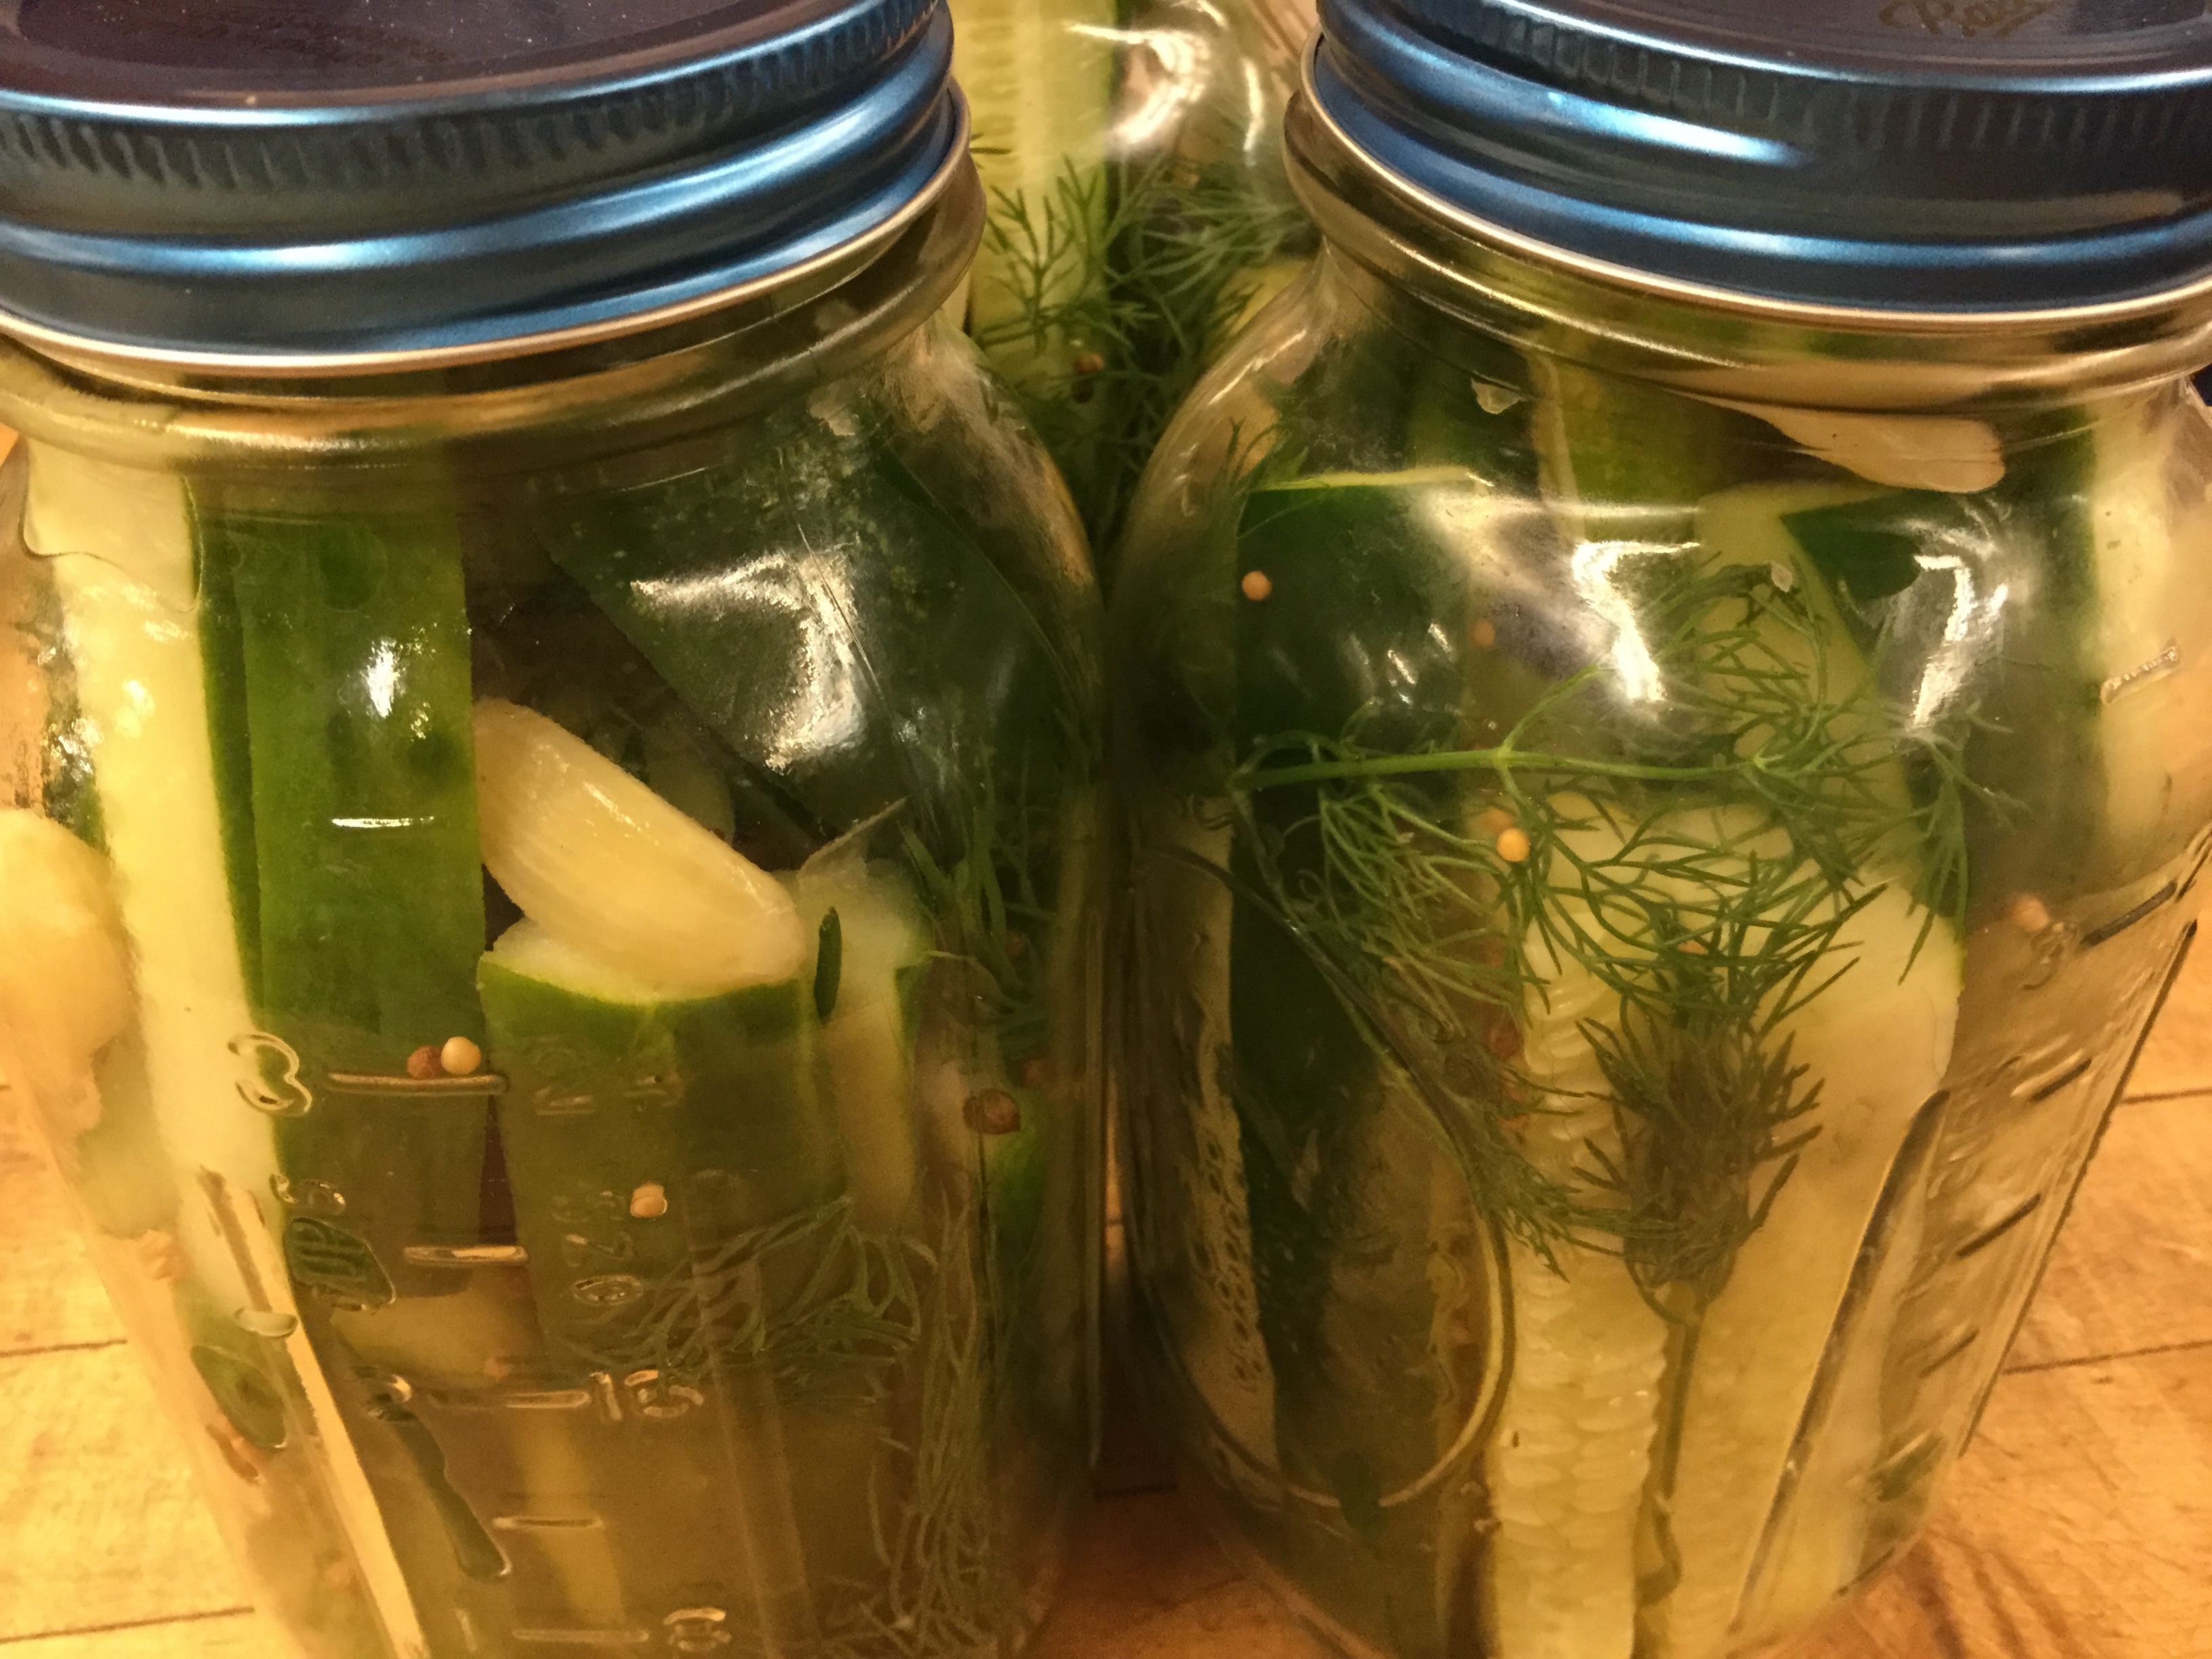
But this year – it’s the cucumber! Someone mentioned refrigerator dill pickles, and although I
was initially daunted by the idea, I found myself researching several different recipes and quite taken by lovely images on the internet of homemade dill pickles. With the beautiful ingredients in this recipe, you’ll end up with colorful jars of refrigerator pickles to give as gifts, or to keep on hand for eating. Once opened and served, expect them to disappear quickly! This recipe also can be multiplied out easily. (I made two gallons of pickles.) However, if multiplying, do use less garlic.
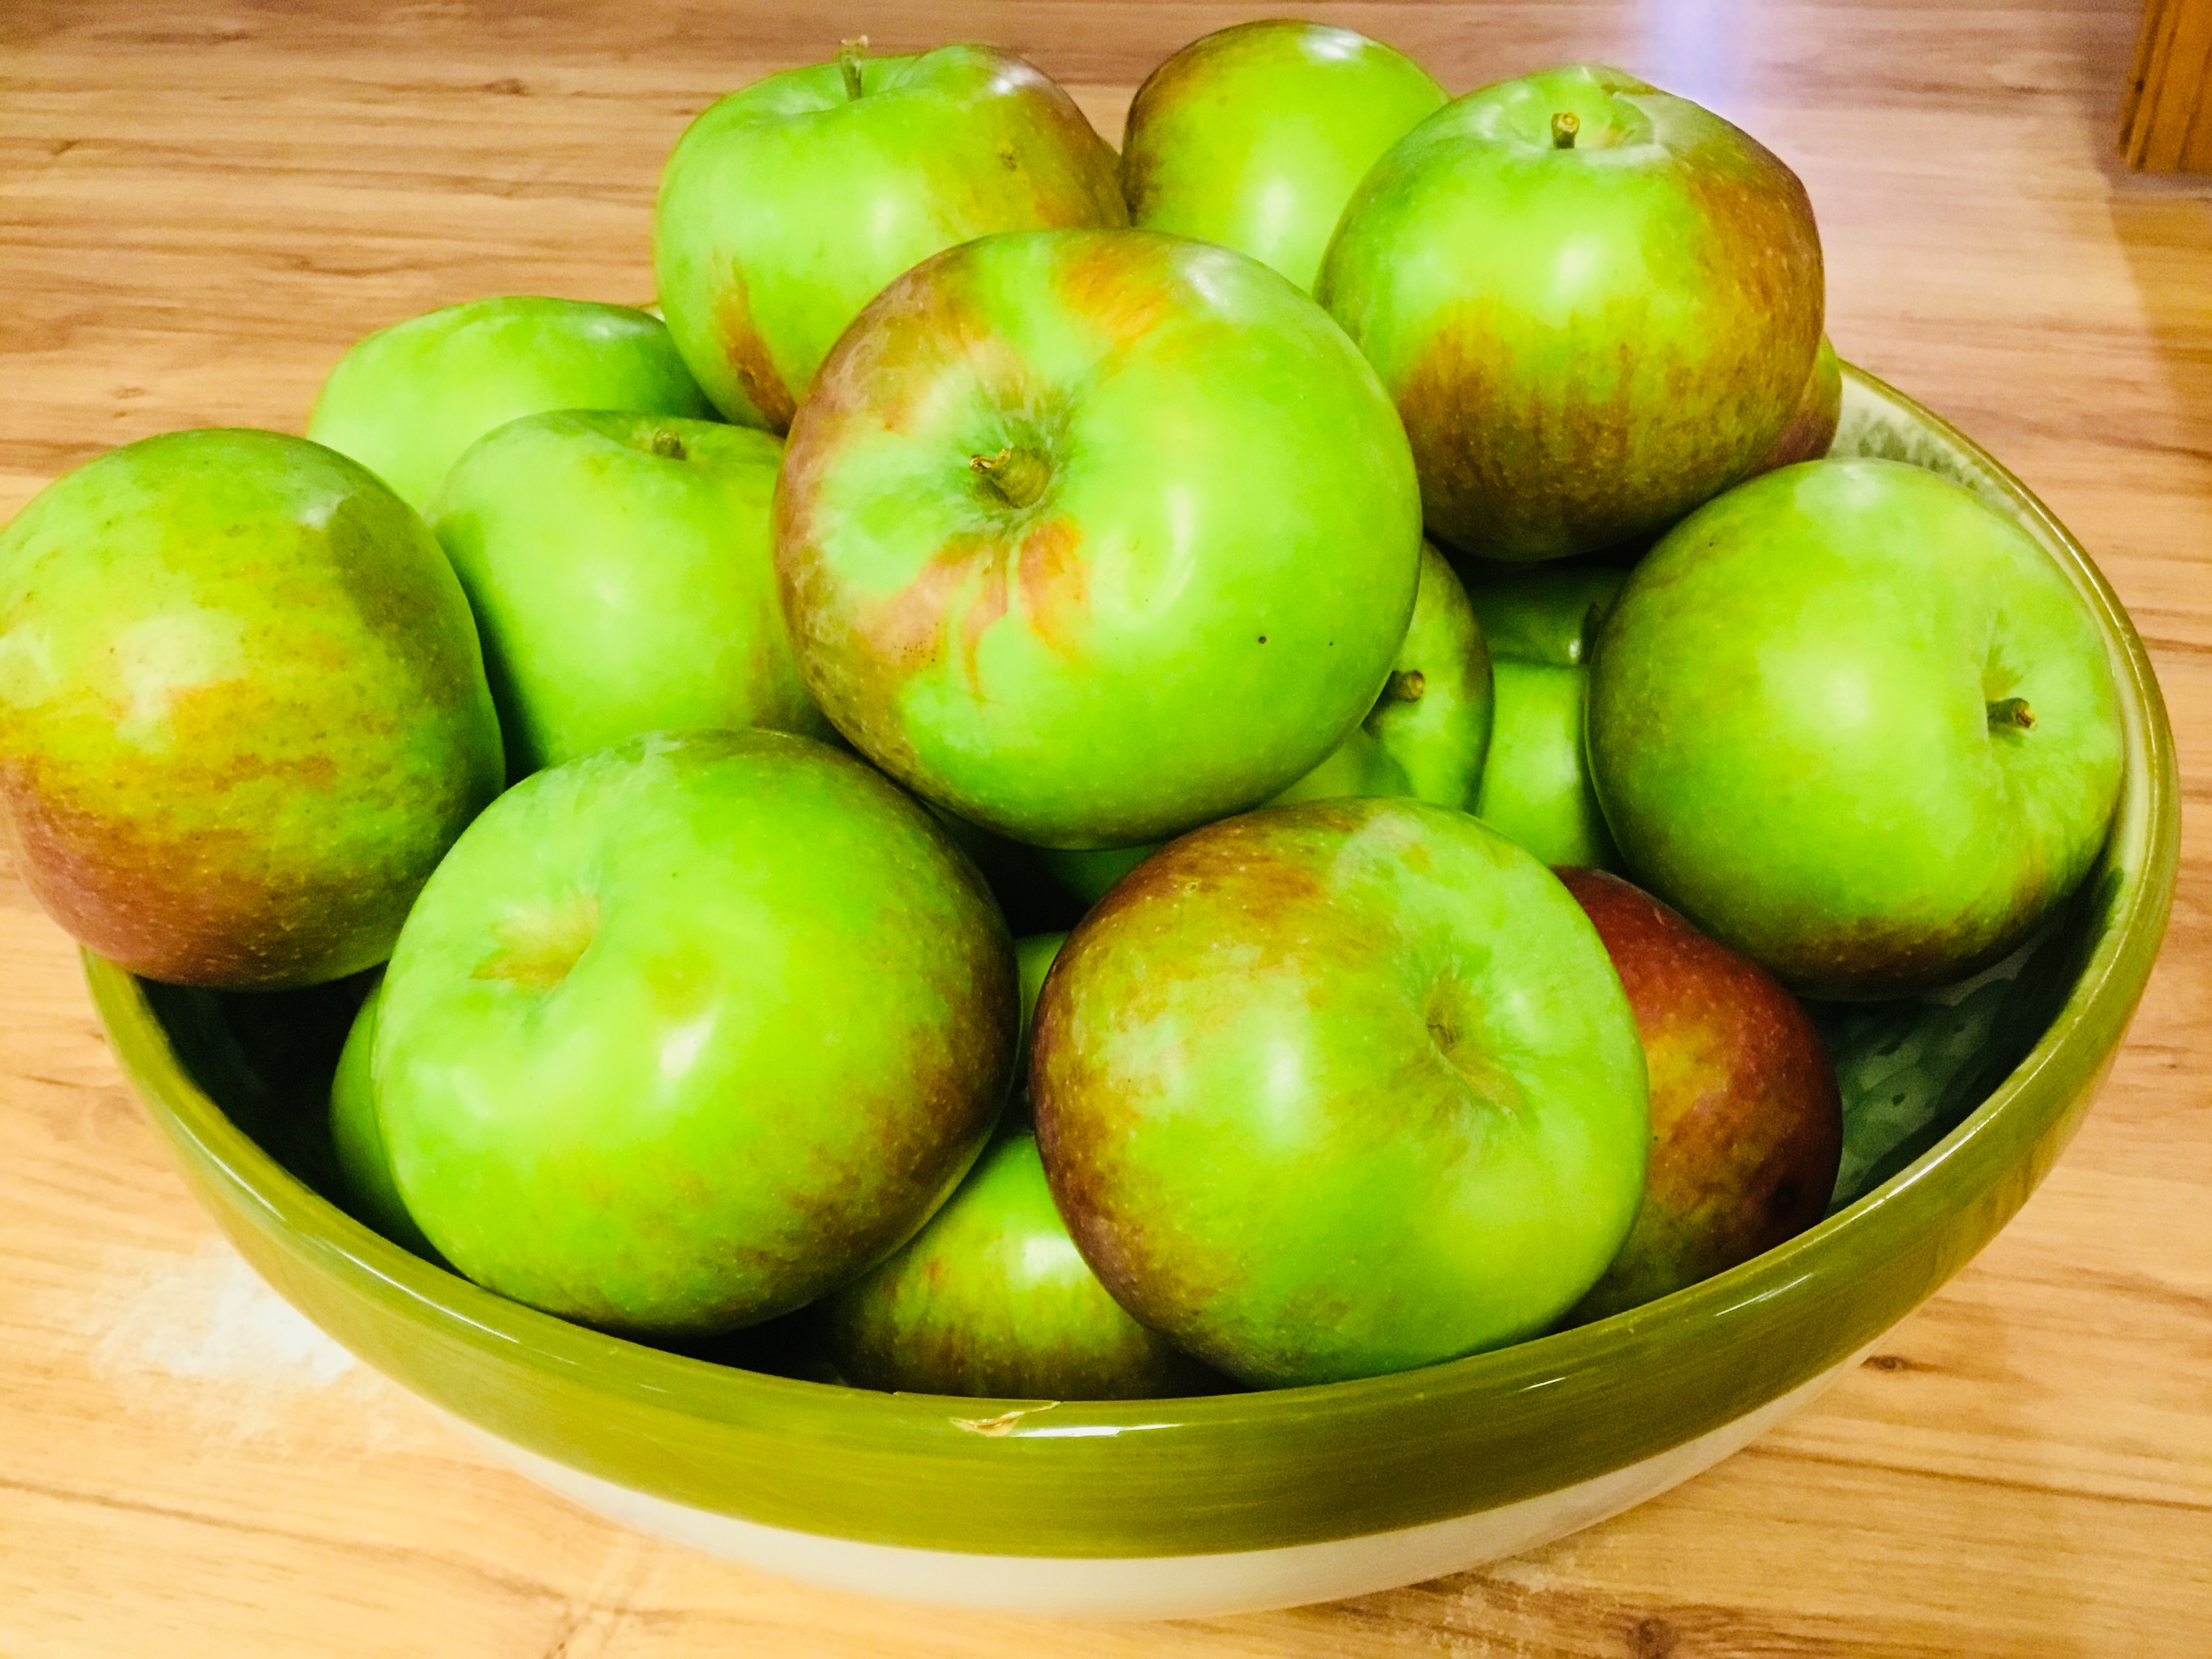
Rumor has it that this will also be our year for the apple. The initial drops and first fruits have already started to roll in….stay tuned.
Print Recipe
Votes: 0
Rating: 0
You:
Rate this recipe!
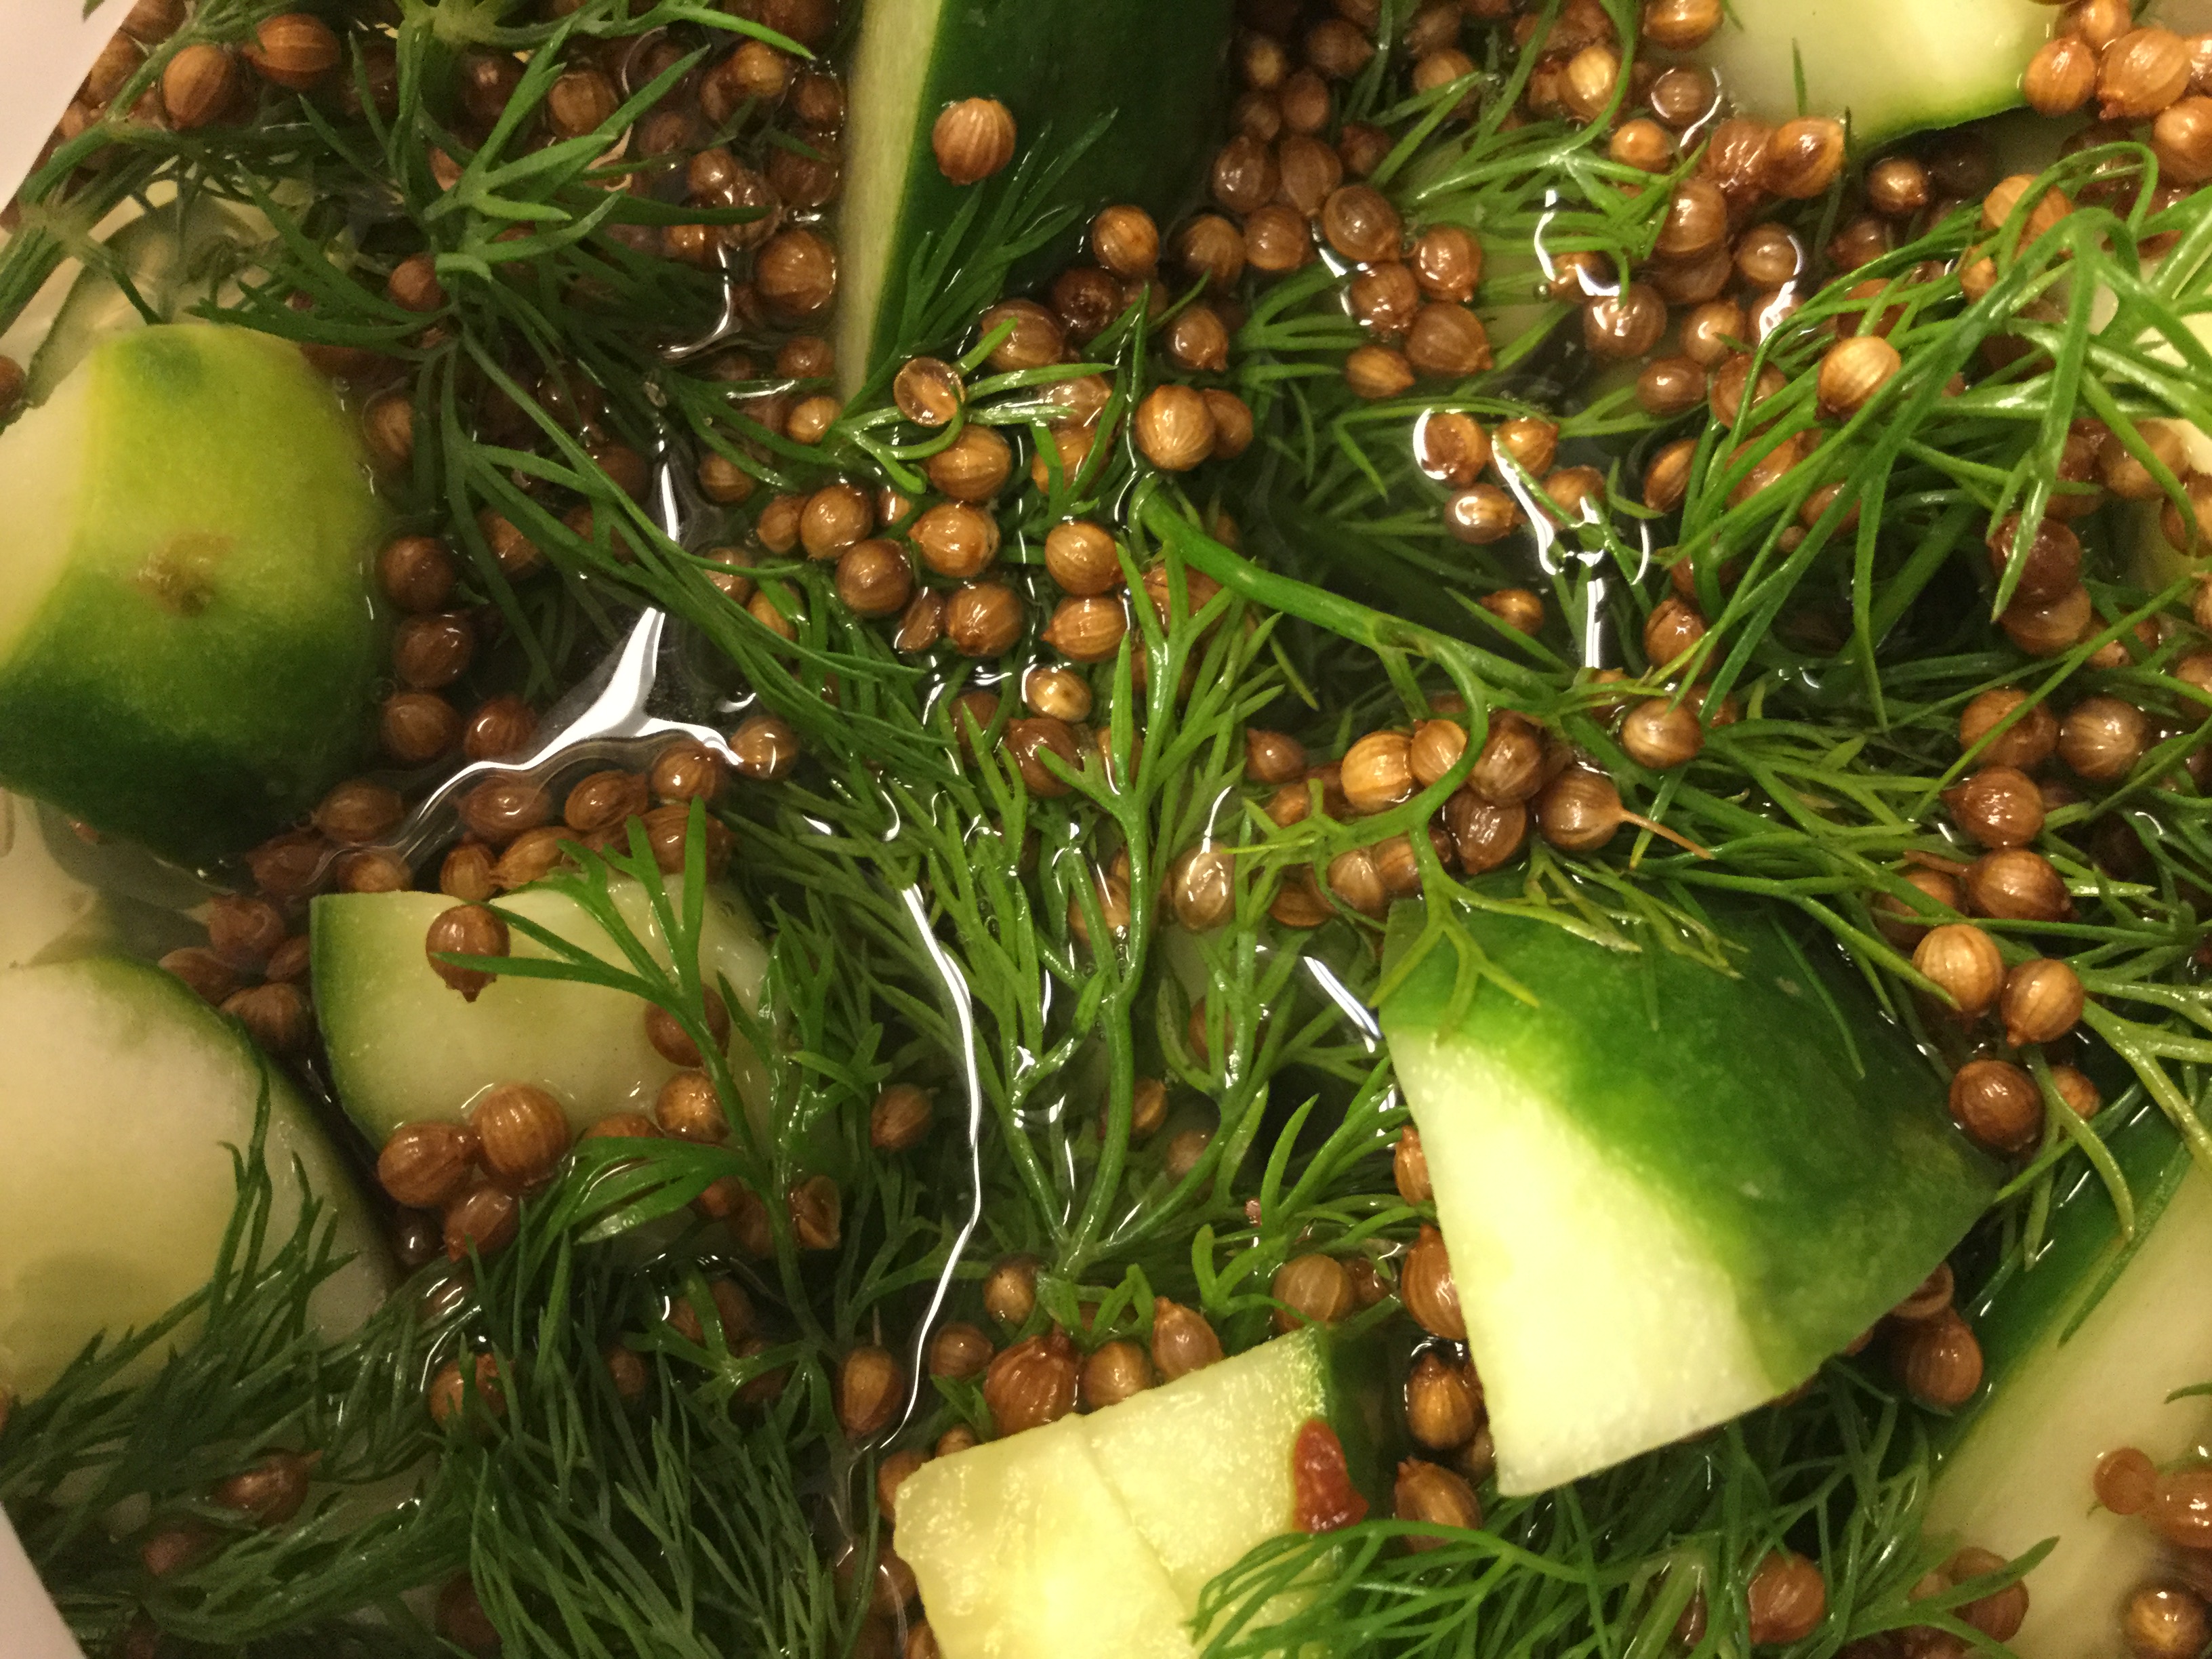
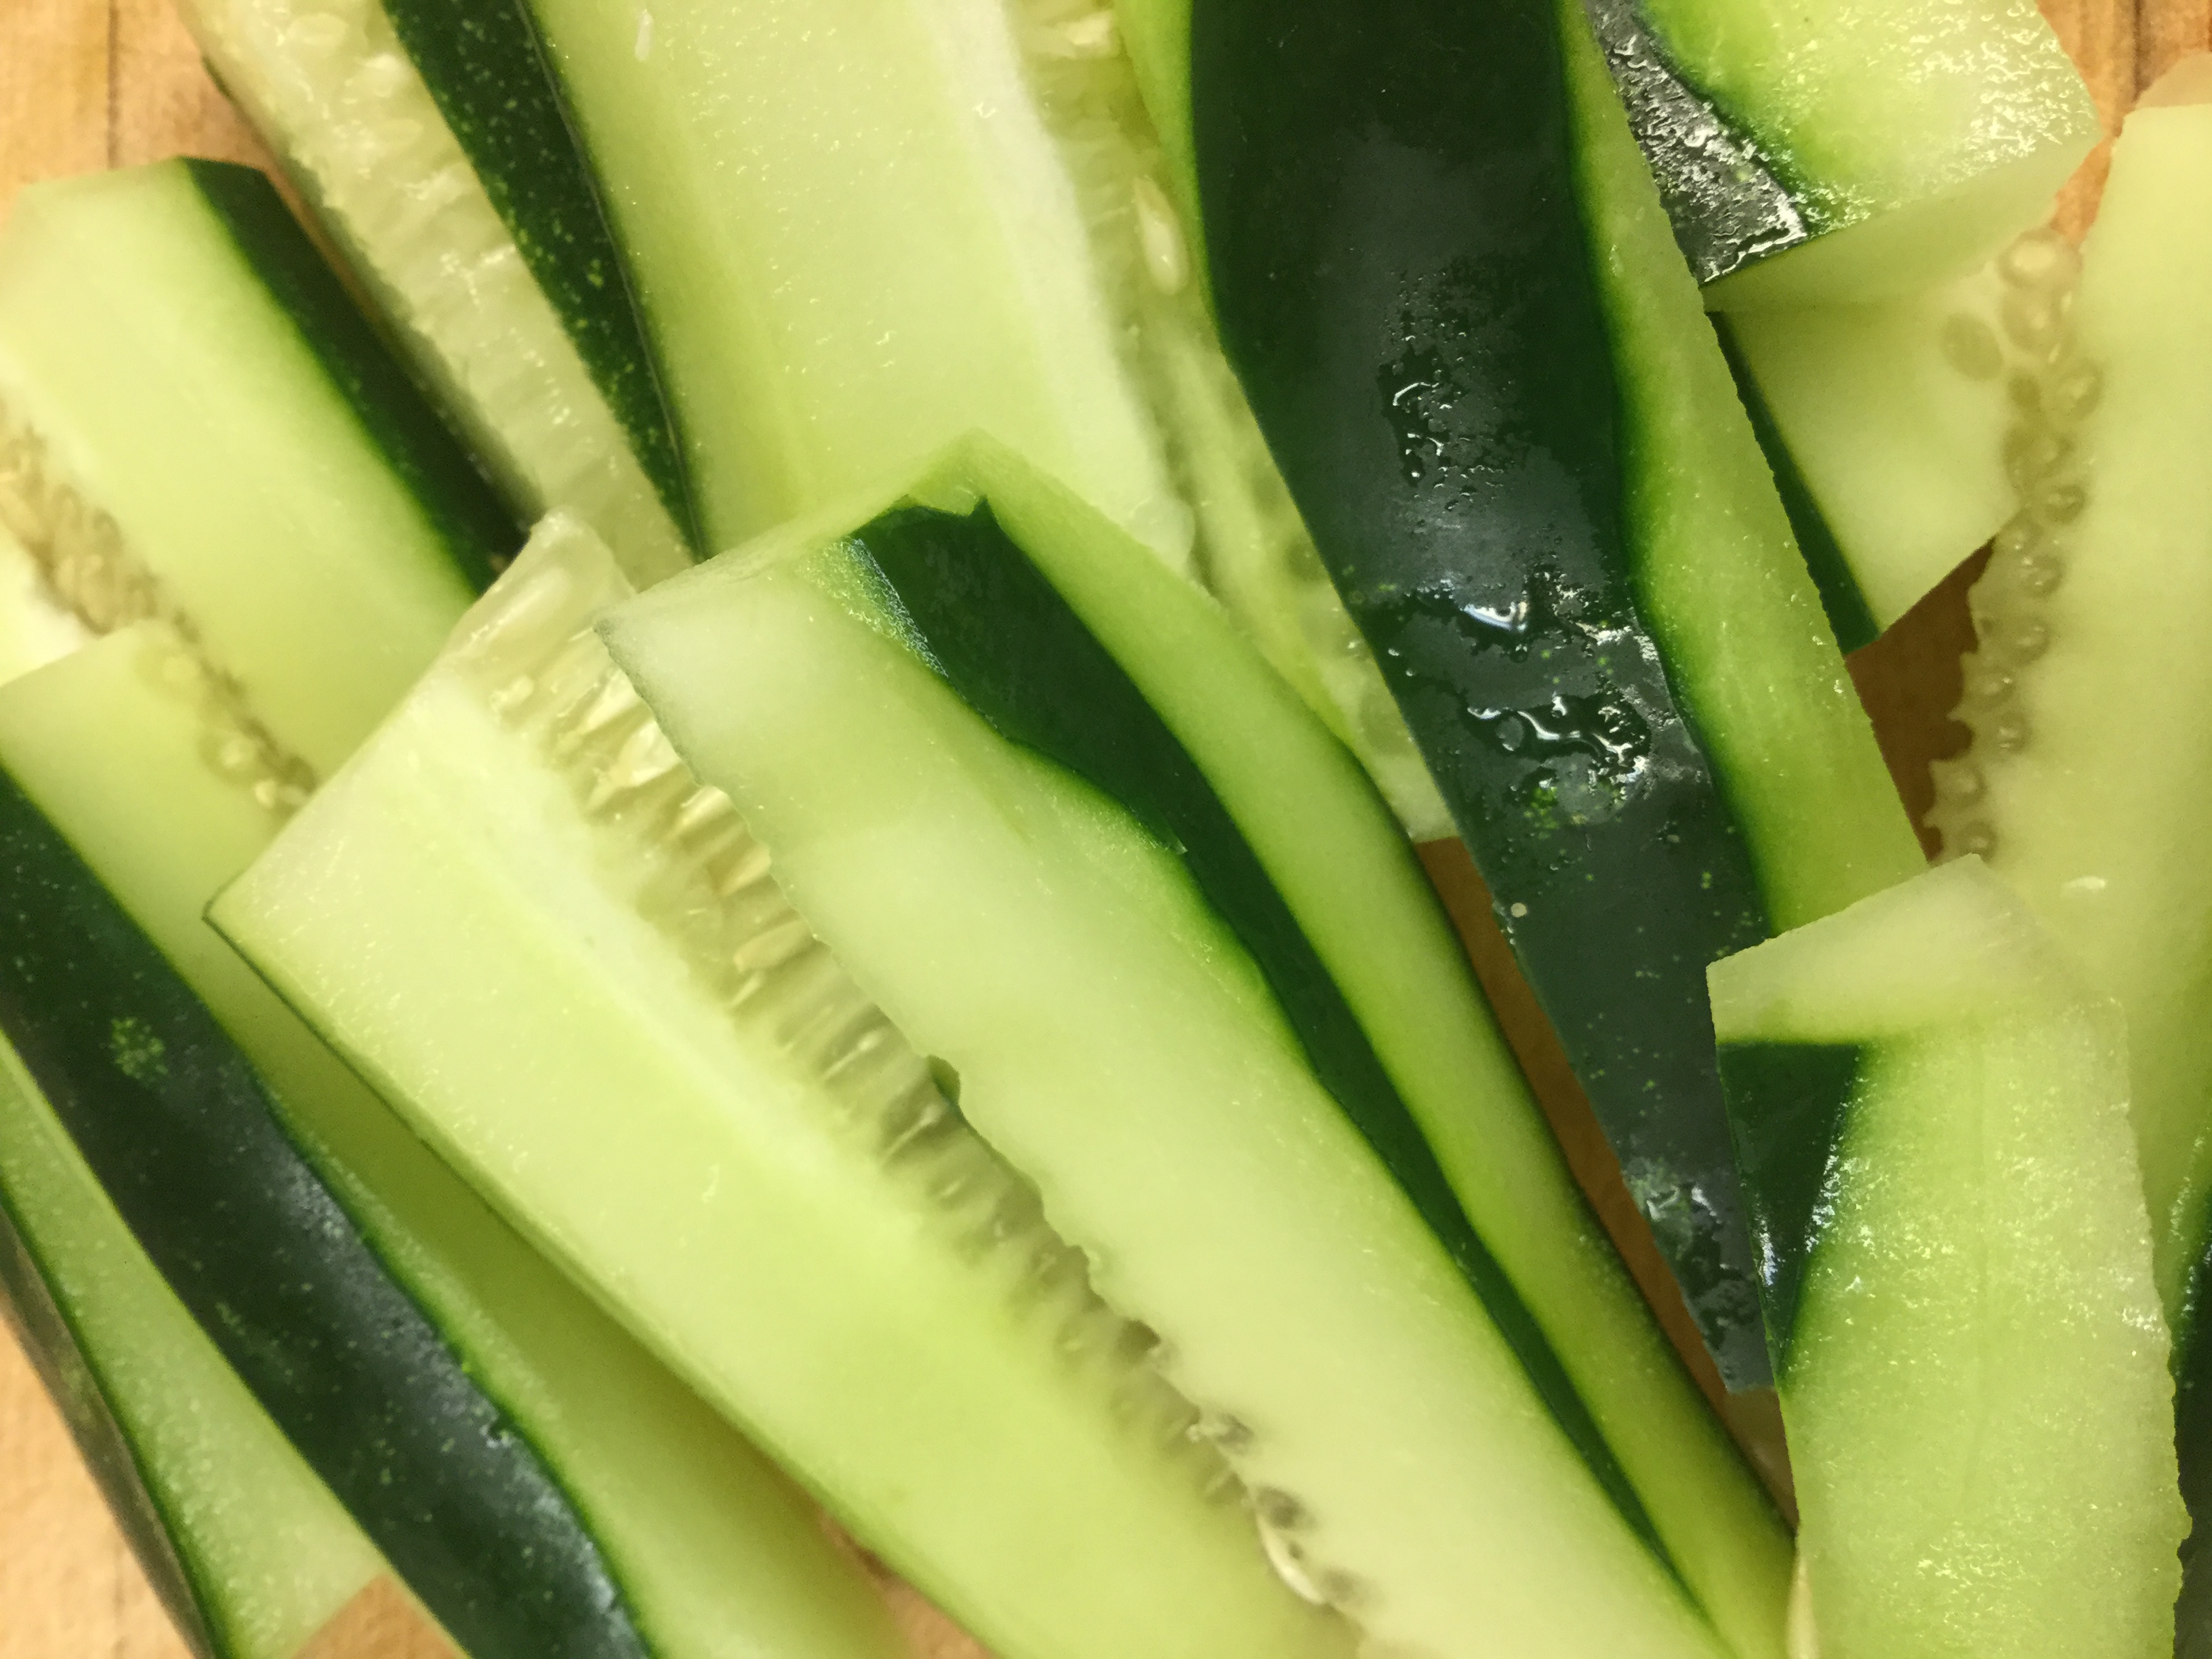
Refrigerator Dill Spears
SERVINGS21-quart jars
|
COOK TIME10mins (plus refrigeration time) |
PREP TIME20mins |
READY IN24hrs |
Ingredients
Instructions
- Combine the vinegar, salt, and sugar in a stainless steel or Teflon pan over high heat. Whisk until the salt and sugar are dissolved.
- Transfer the liquid into a bowl and whisk in the cold water. Refrigerate brine until it has cooled enough to add to the cucumbers (approx. 30 minutes).
- While brine is cooling, place cucumbers into two clean 1-quart jars, leaving a little room to add the dill and spices.
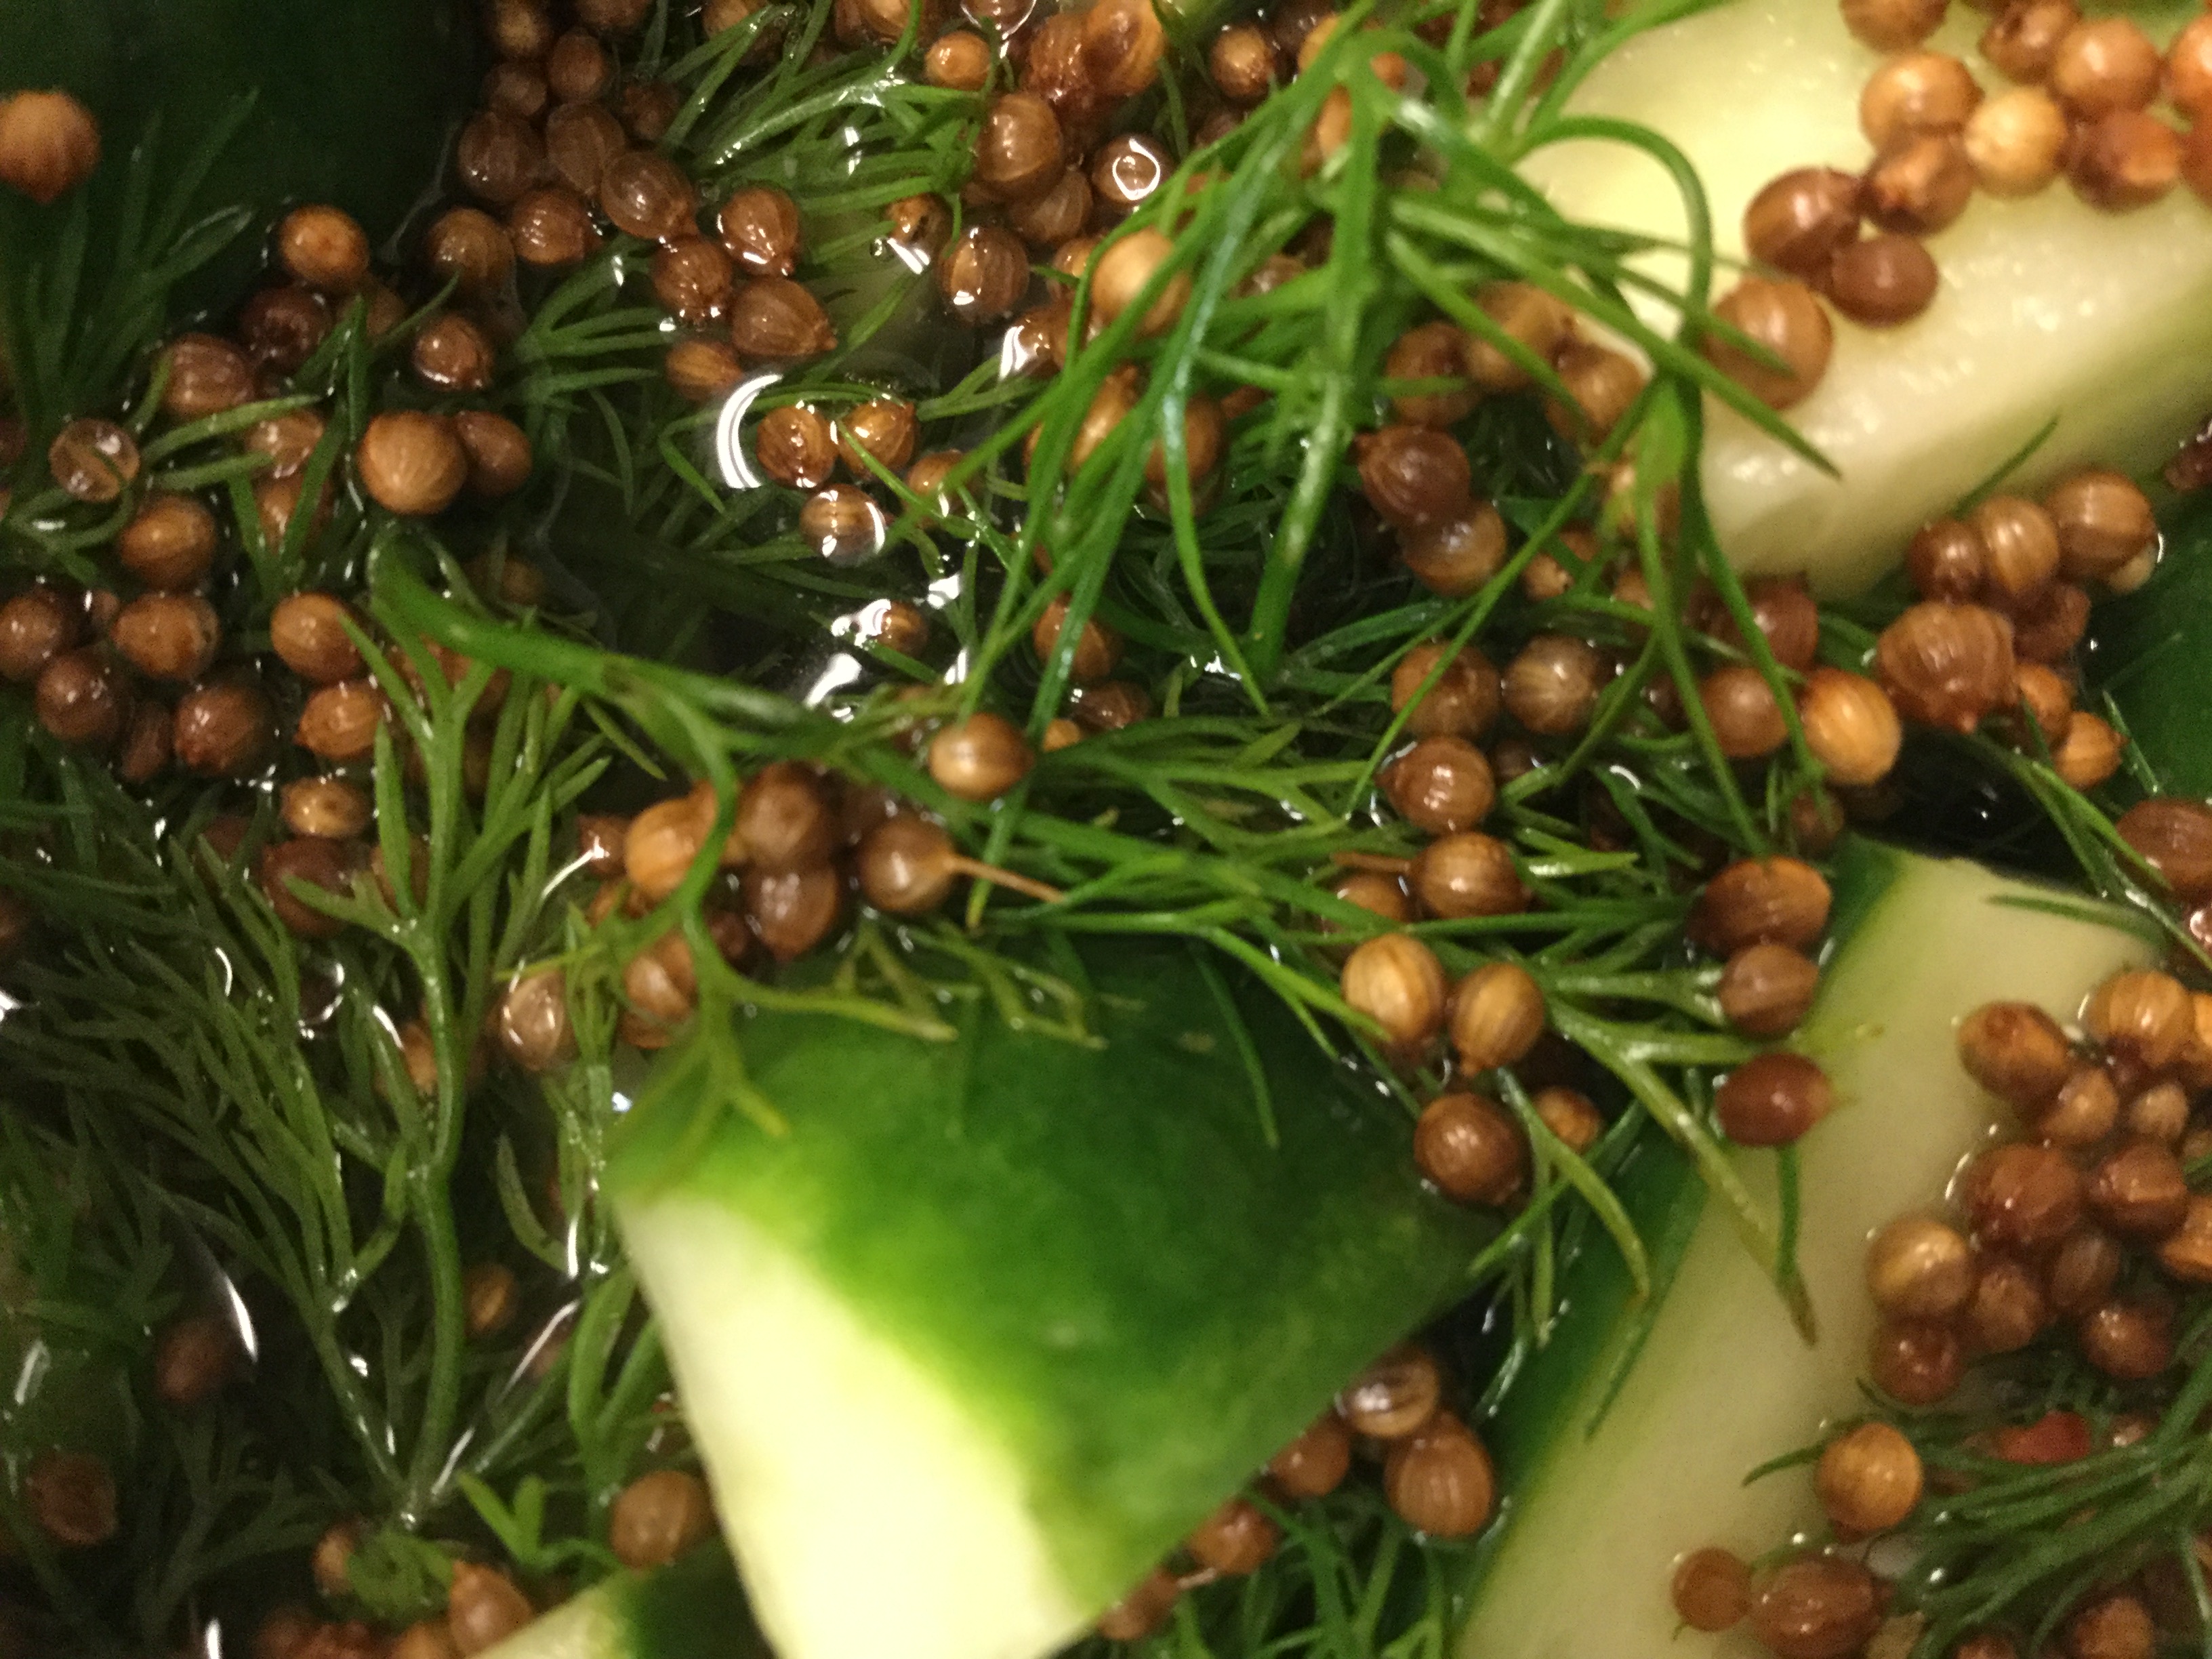
- Then, when brine is cooled, add the coriander seeds, garlic cloves, mustard seeds, red pepper flakes, dill sprigs, and chilled brine into jars, dividing evenly.
- This is the fun part, as the finished product looks lovely! If necessary, add a bit of cold water until the brine covers the cucumbers.
- Cover and refrigerate about 24 hours, then serve. Cucumbers will keep in the refrigerator for up to one month.
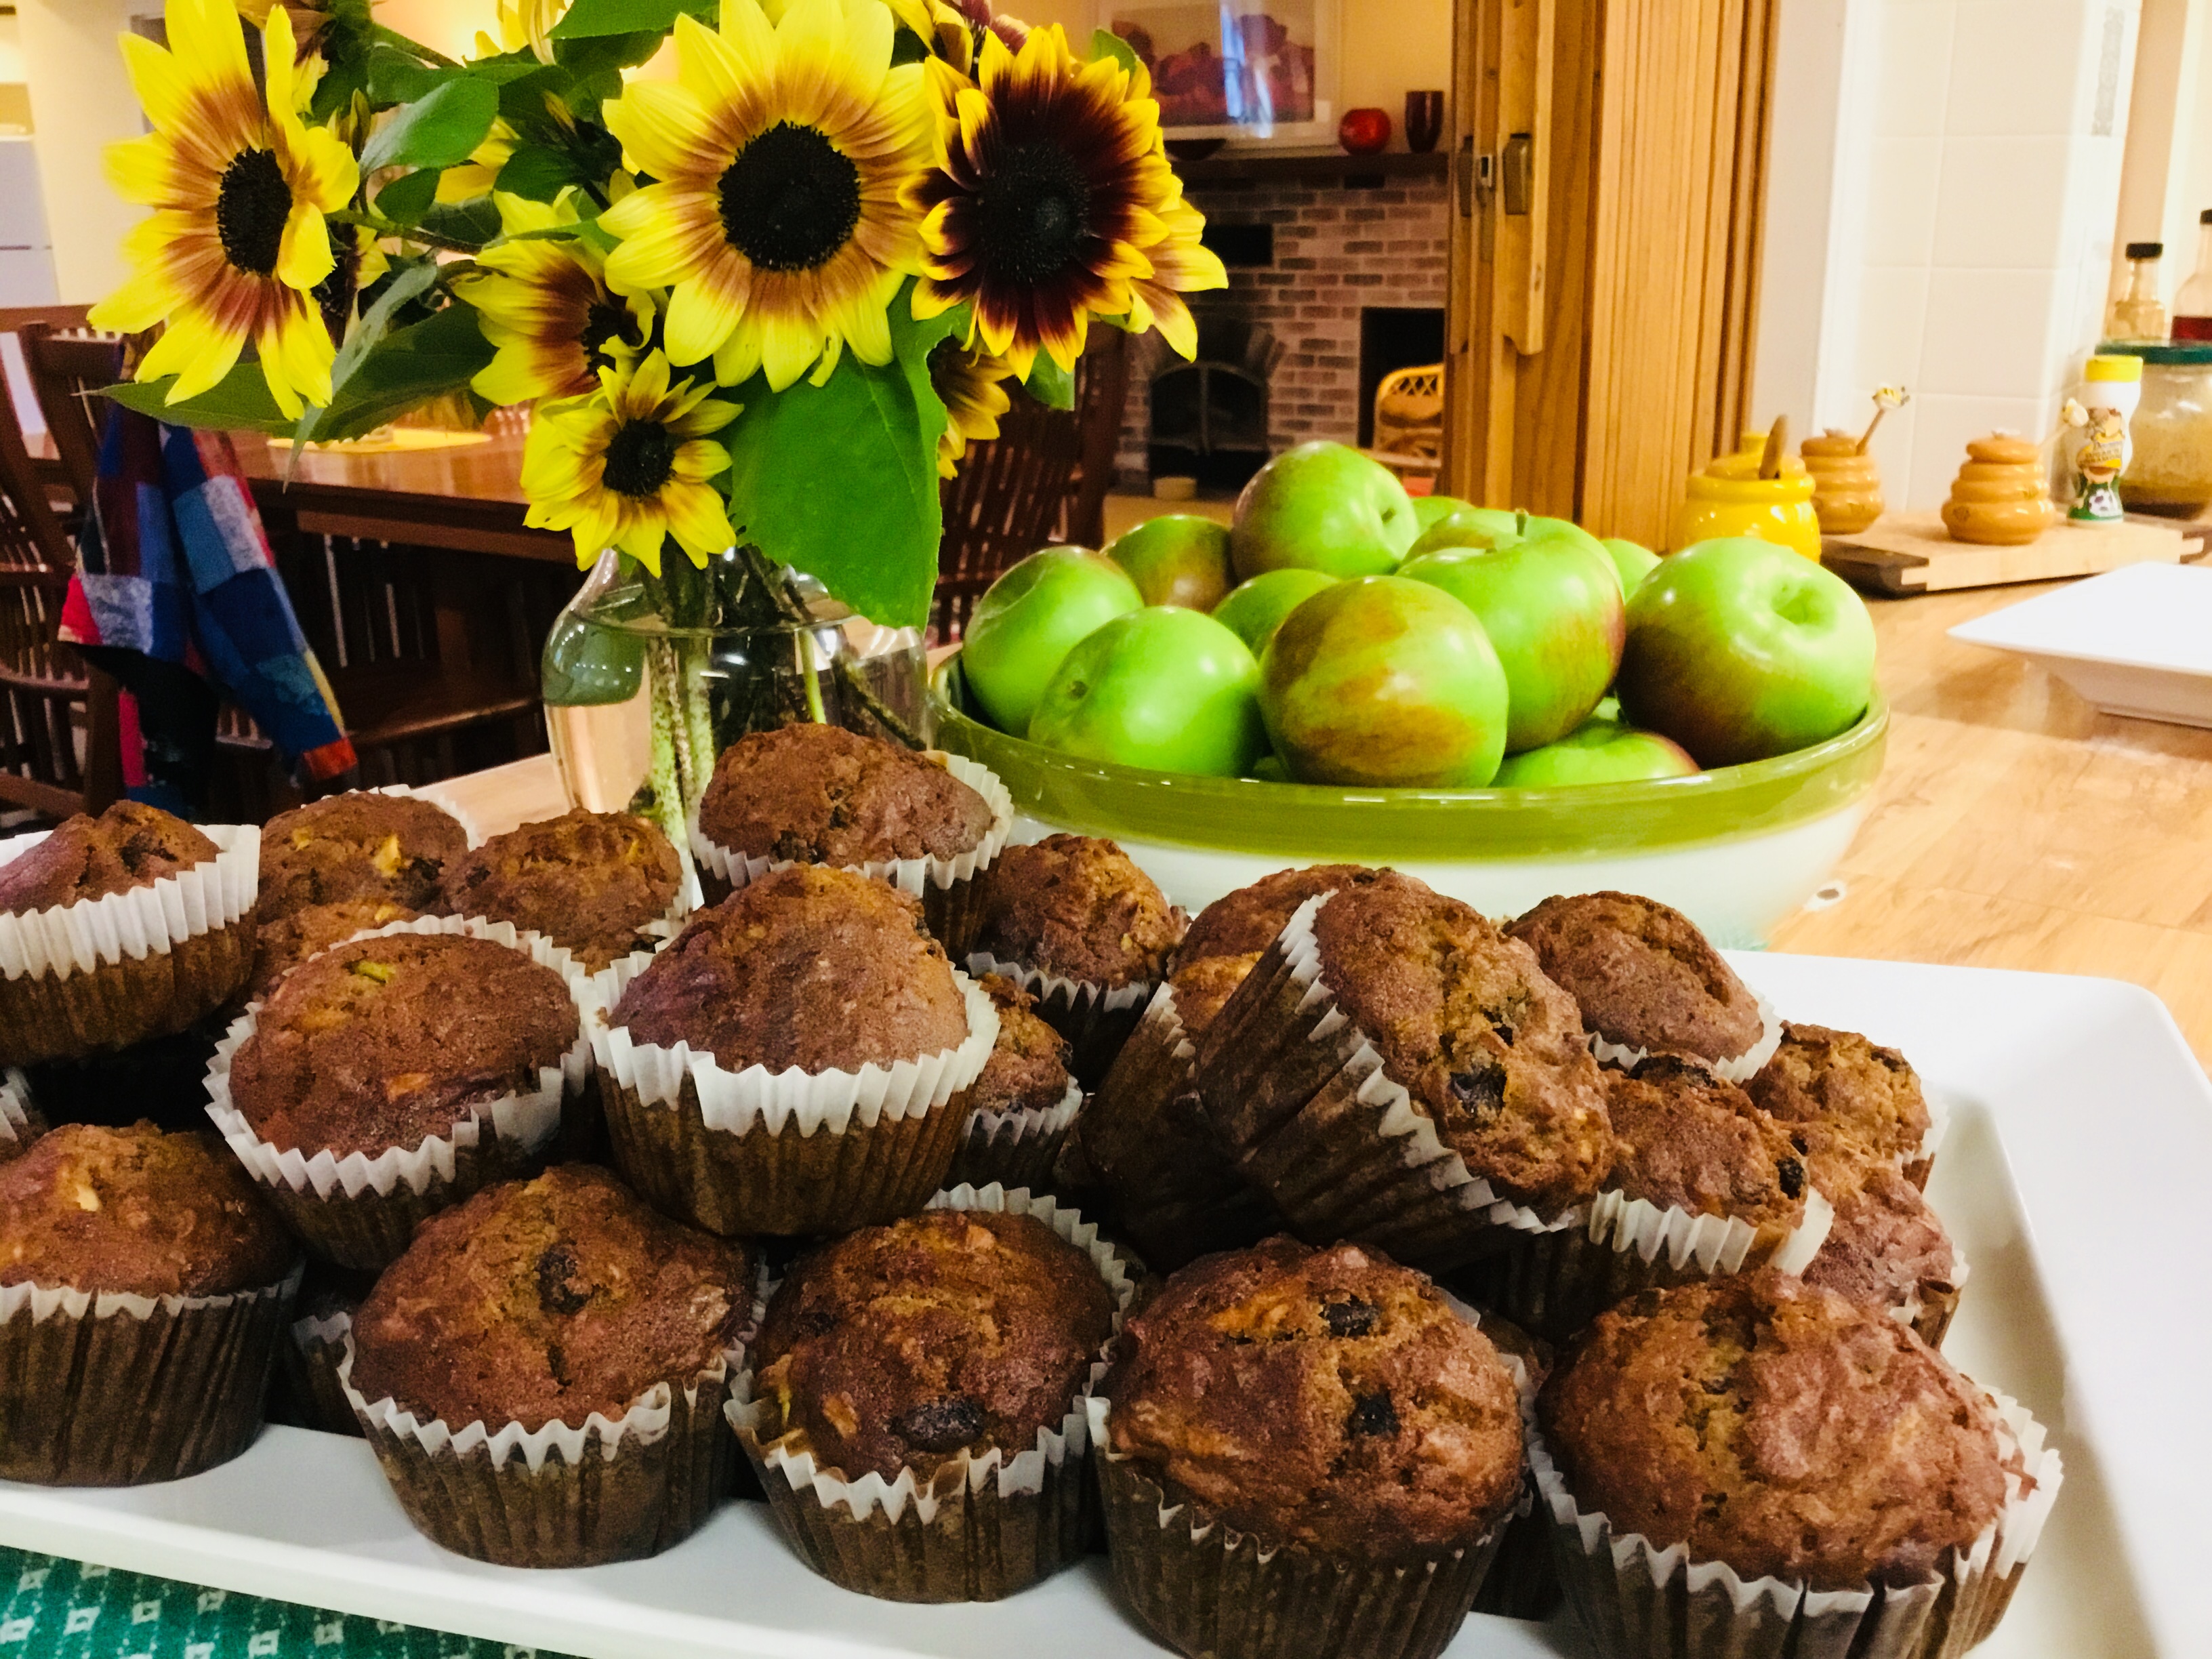
There’s a crispness to the air, a welcome relief to the humidity and heat of our 2018 Cape Cod summer! This past Saturday, our entire community joined in a “beehive” of activity as we
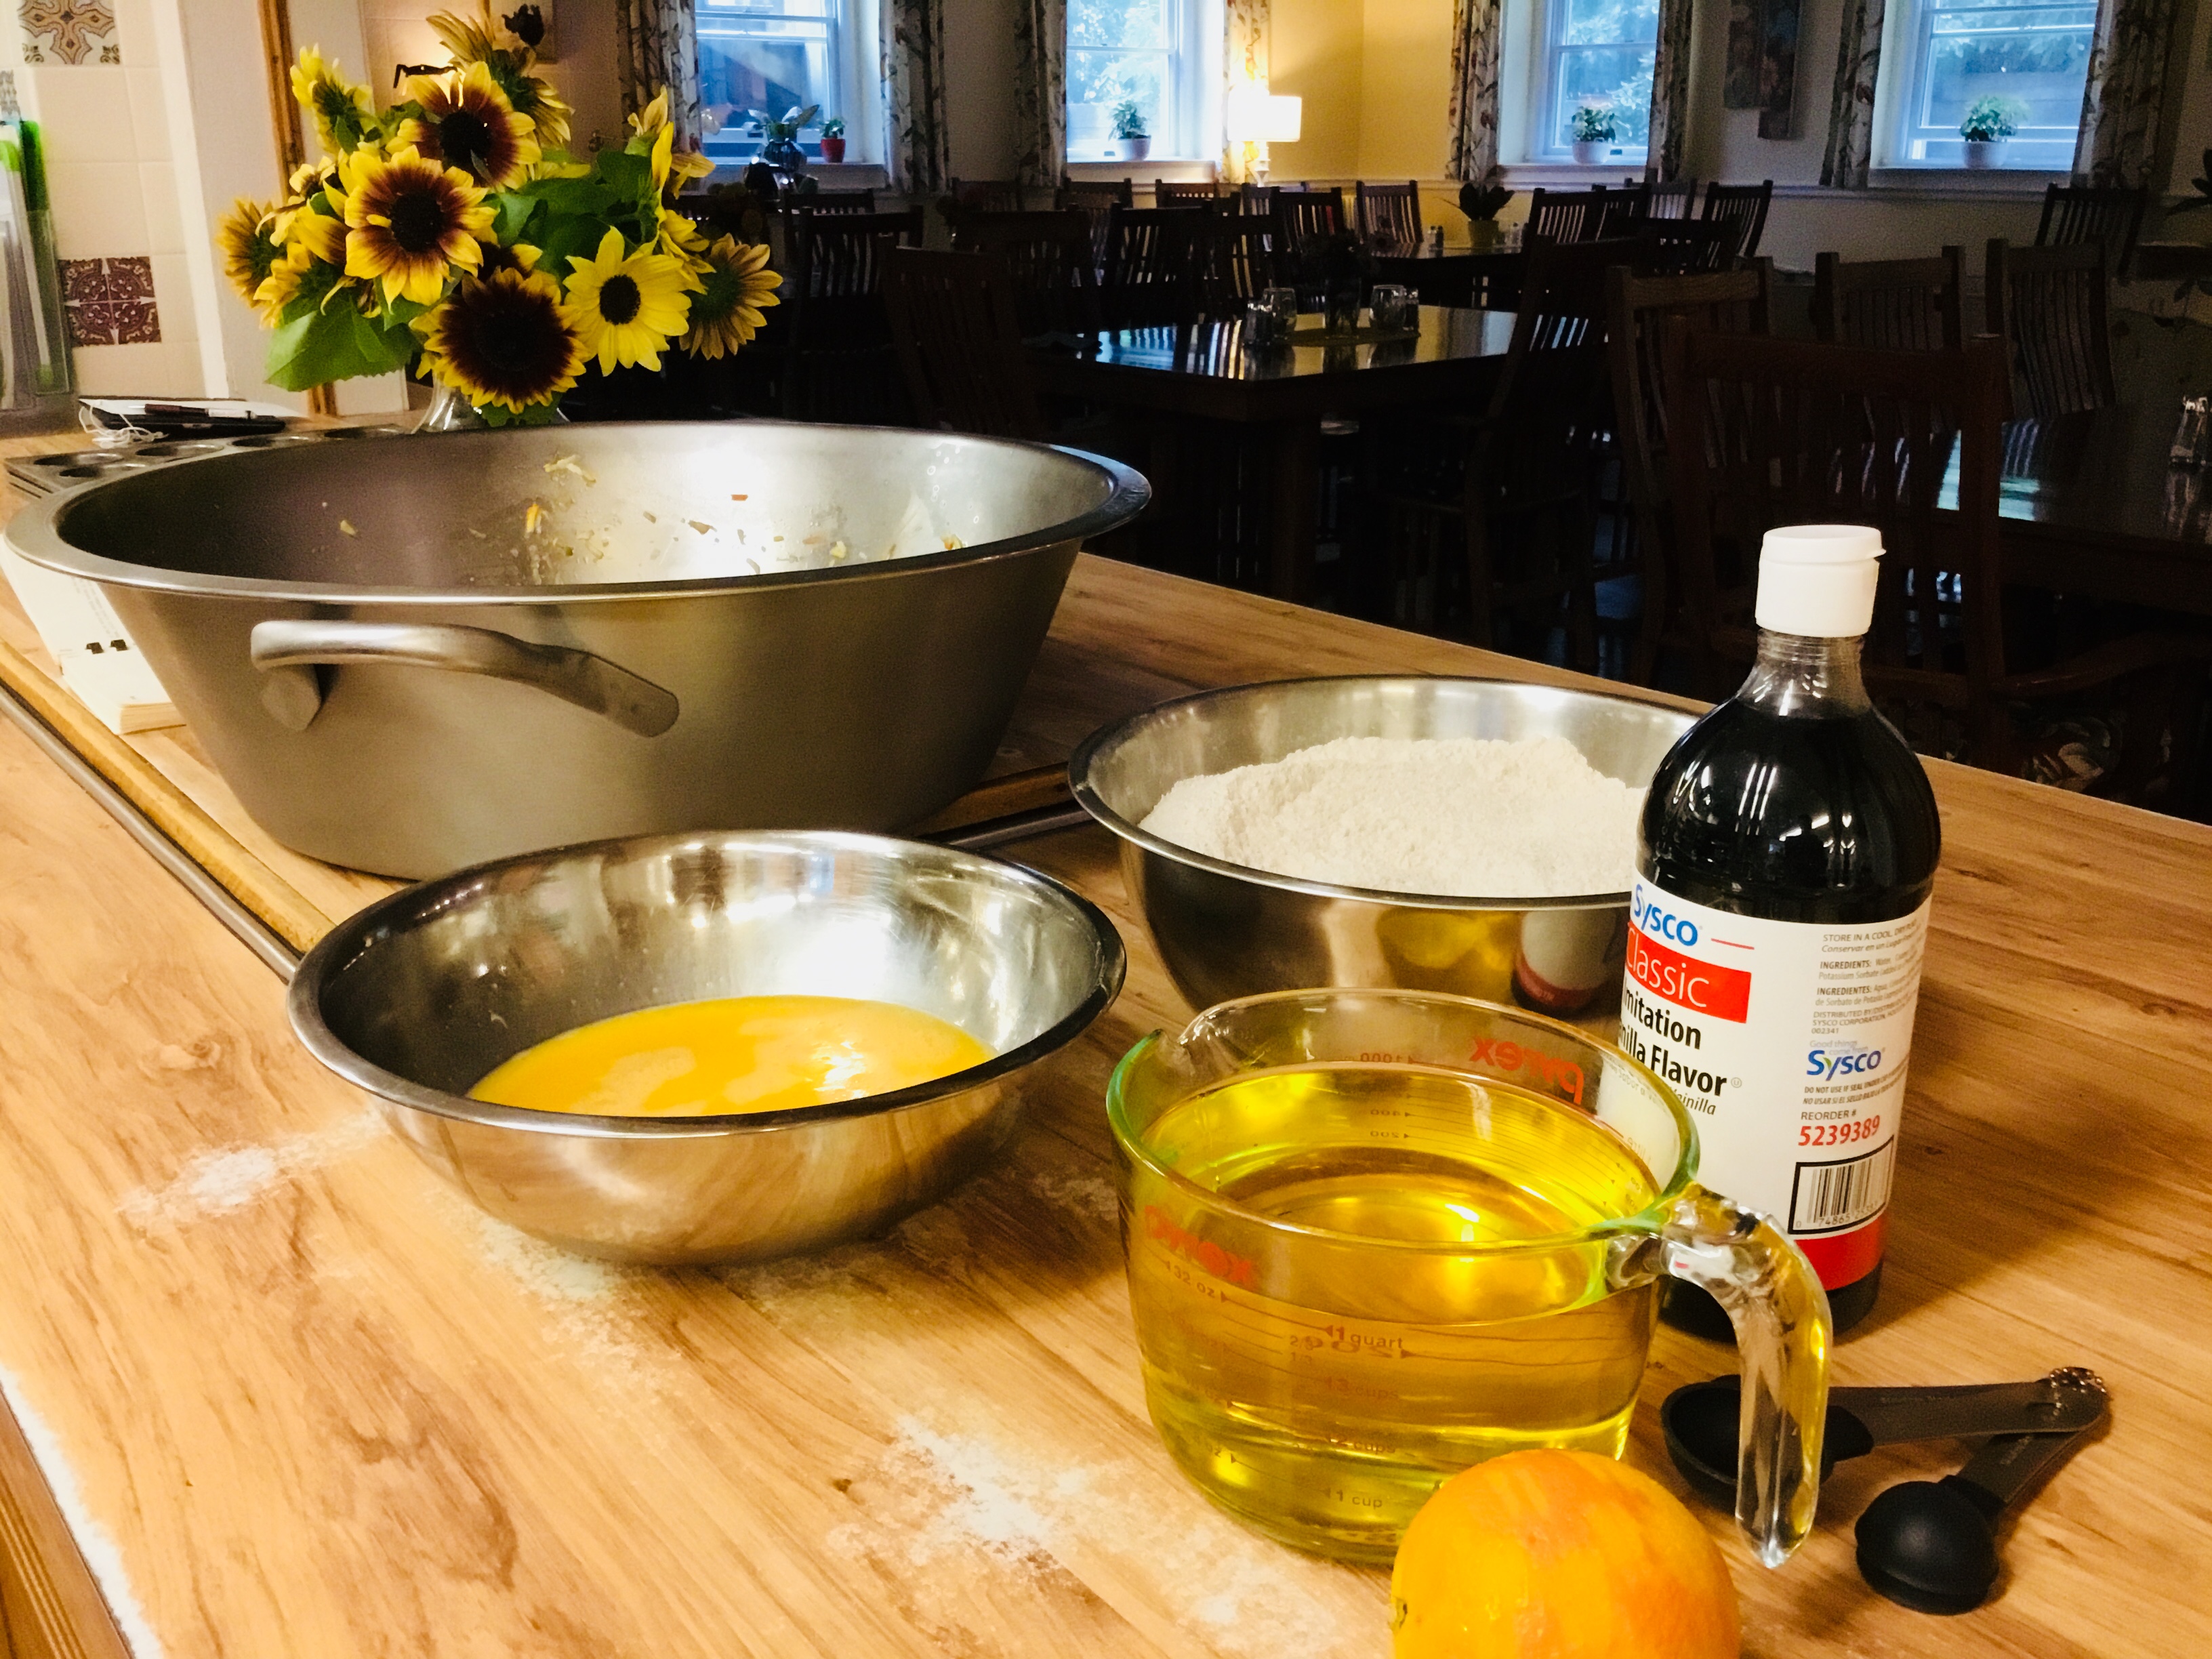
tackled a daunting list of tasks and projects, left in the wake of a busy summer. Digging out attic spaces, weeding gardens, scrubbing the bell tower floor, getting the barn clean and ready to house animals for winter, and cooking meals ahead for an upcoming choir recording were some of the projects accomplished last weekend. But it was also the beginning of harvest time. We culled apples and pears and gratefully recognized what a bountiful harvest it was going to be. The Sisterhood celebrated with brunch on Sunday. And since I was “in the mood,” I whipped up some ingredient-packed muffins that had all the essence of Fall – complete with cinnamon!
Print Recipe
Votes: 1
Rating: 2
You:
Rate this recipe!
Harvest Muffins
SERVINGS20muffins (approx.)
|
COOK TIME20-25mins |
PREP TIME15mins |
READY IN35mins |
Ingredients
Instructions
- Preheat oven to 375 degrees F.
- Grease muffin cups with non-stick spray and line with muffin papers
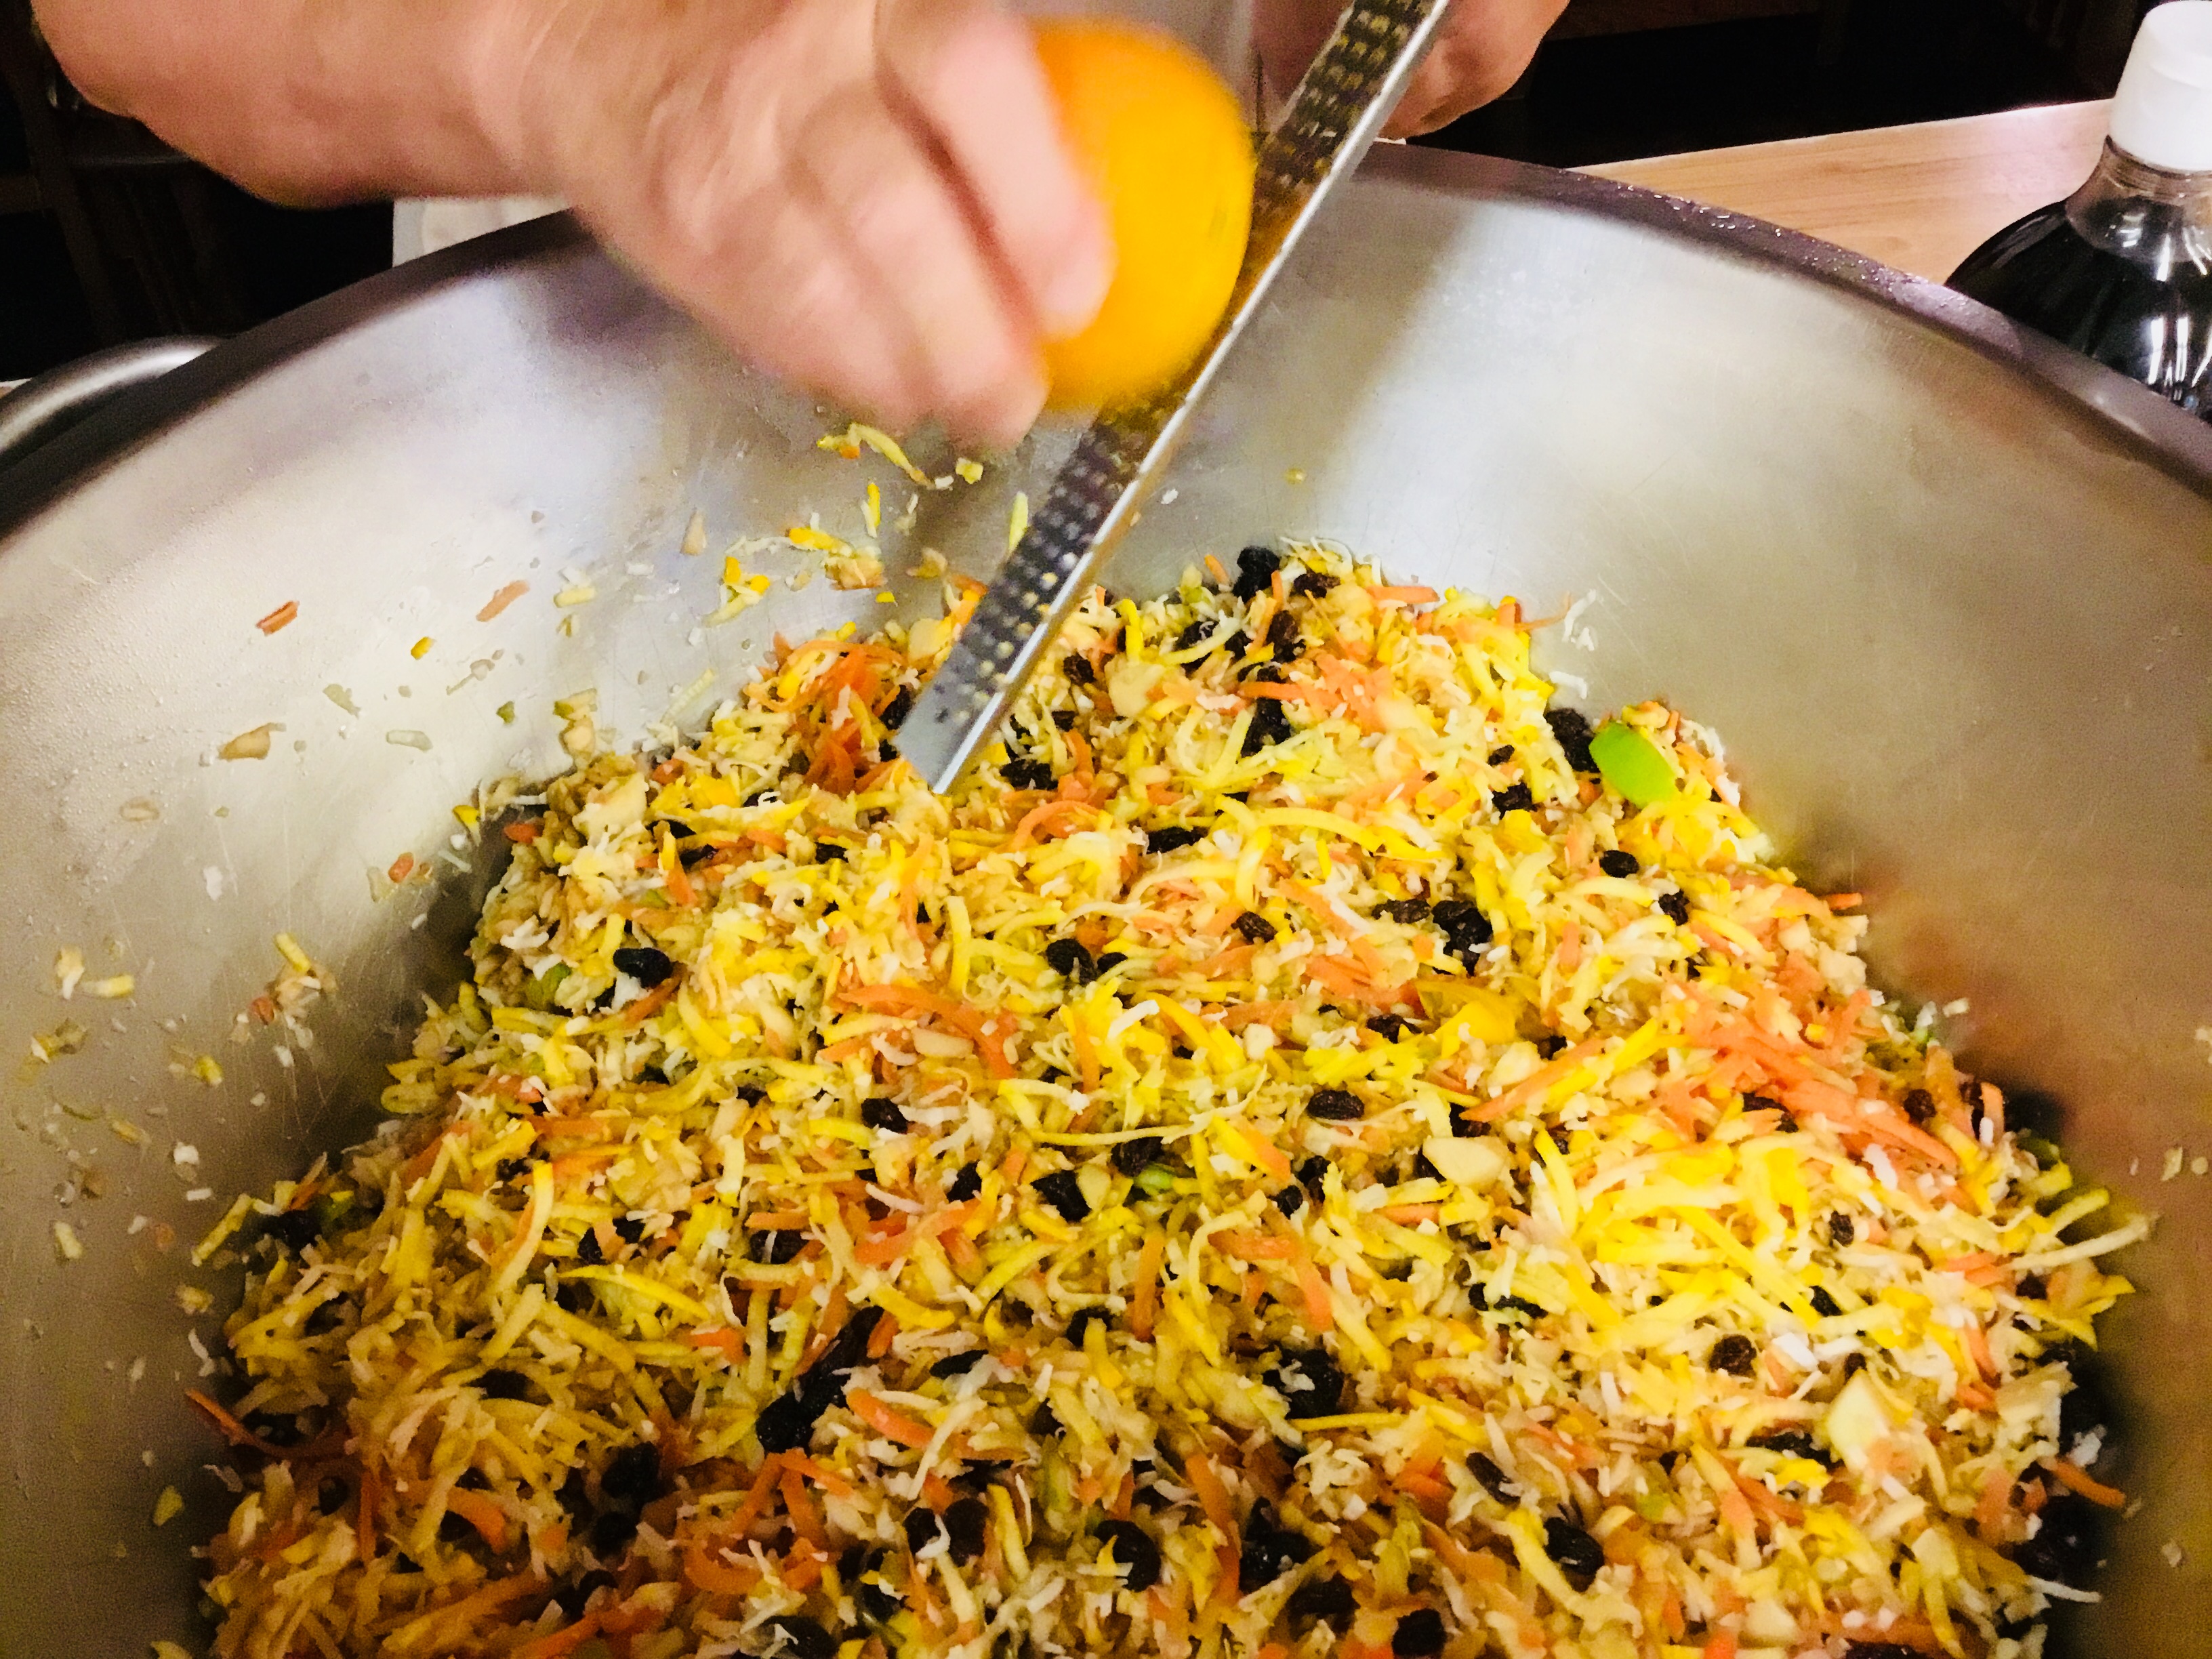
- Beat eggs, oil, orange zest and vanilla in a bowl to blend
- Combine flour, sugar, baking soda, cinnamon and salt together in a bowl
- Separately, mix carrots, zucchini, apple, raisins, coconut, and almonds together - add the egg and oil mixture
- Sift flour mixture into the vegetable mixture and mix all together by hand until well blended.
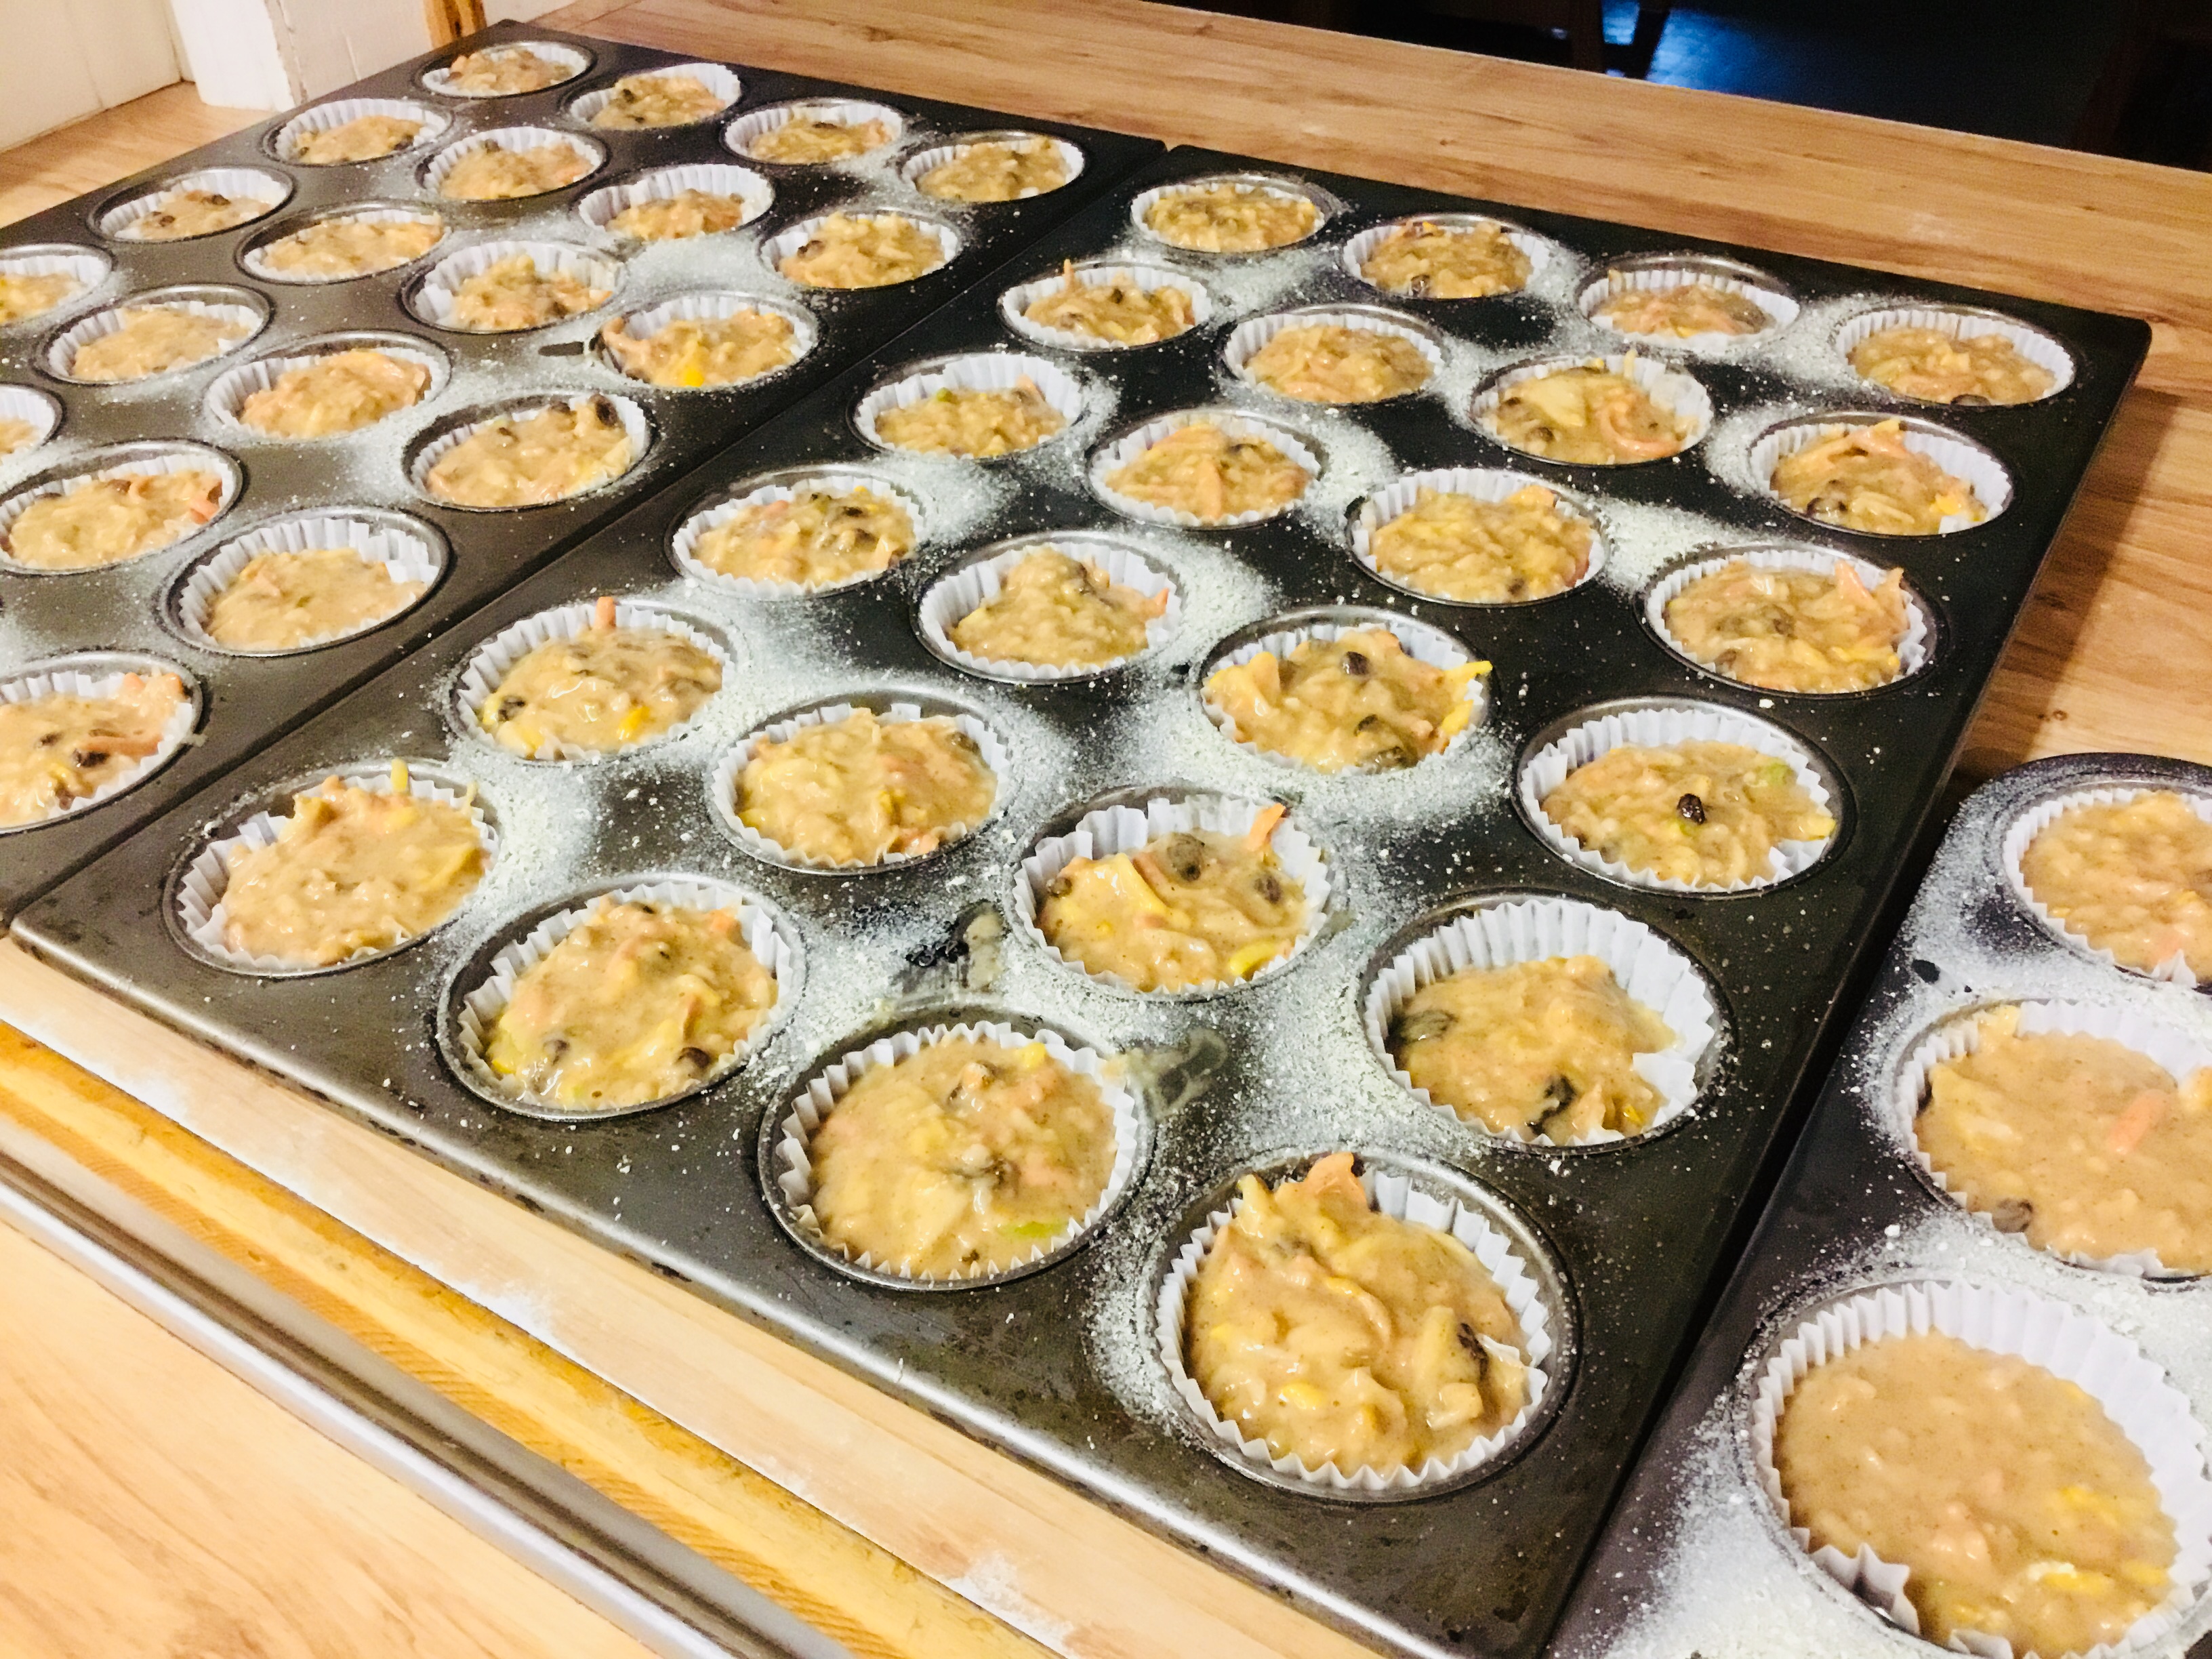
- Using an ice cream scoop, fill each muffin cup with one scoop of batter.
- Bake until center of muffin springs back to touch - about 20-25 min.
- Serve warm or at room temperature.
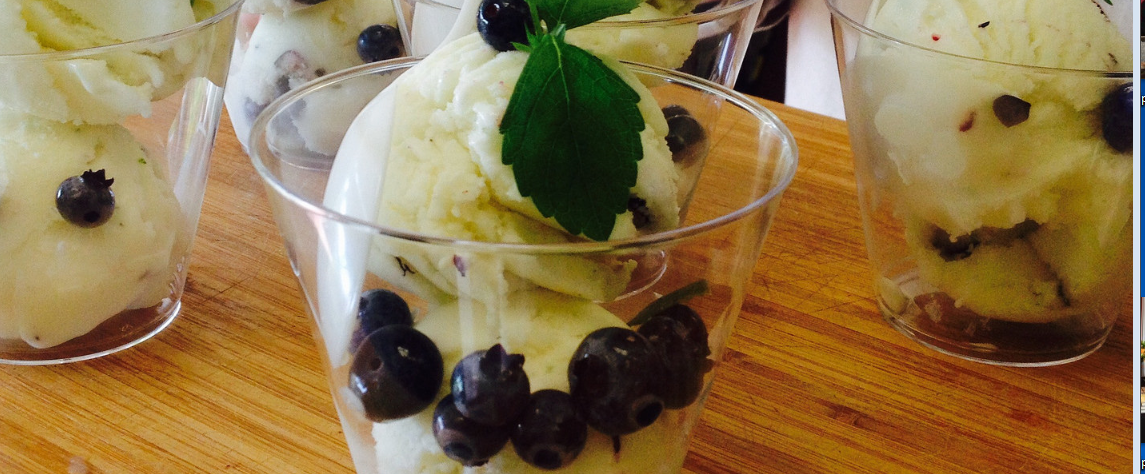
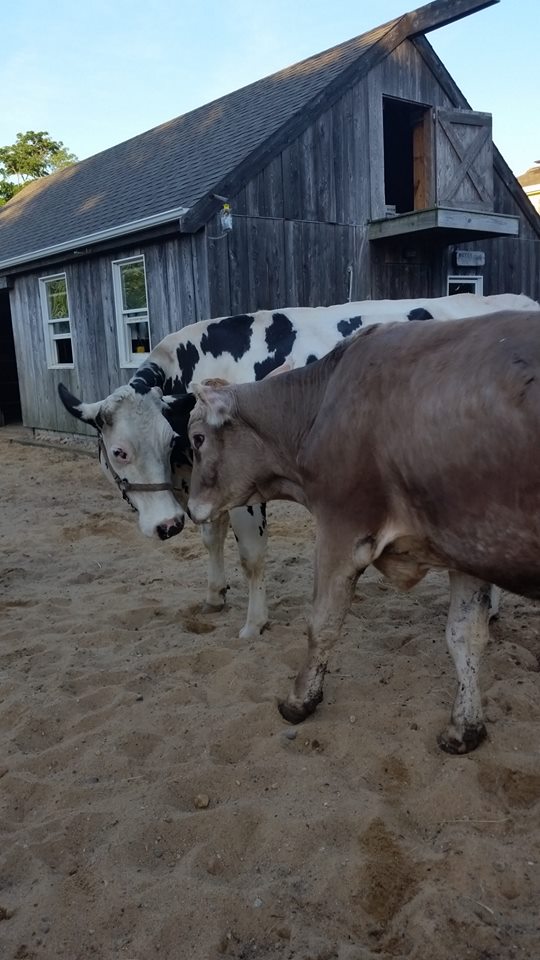
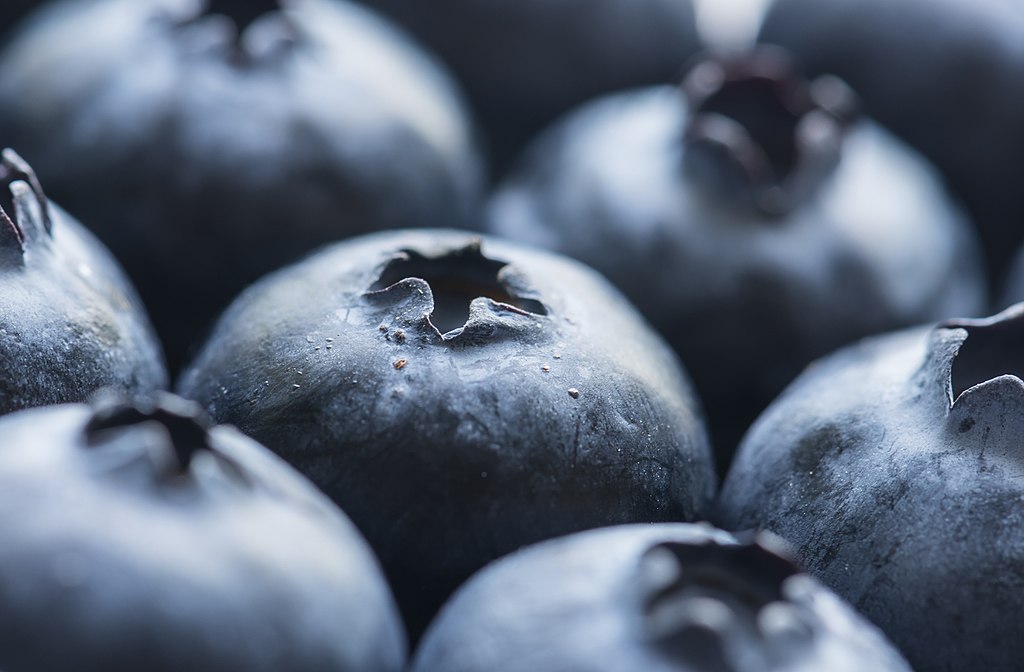
Our community is blessed with two dairy cows, and we enjoy fresh milk and yogurt each week!
Sometimes we make ricotta for upscale recipes. My favorite? Fresh Ricotta Blueberry Ice cream.
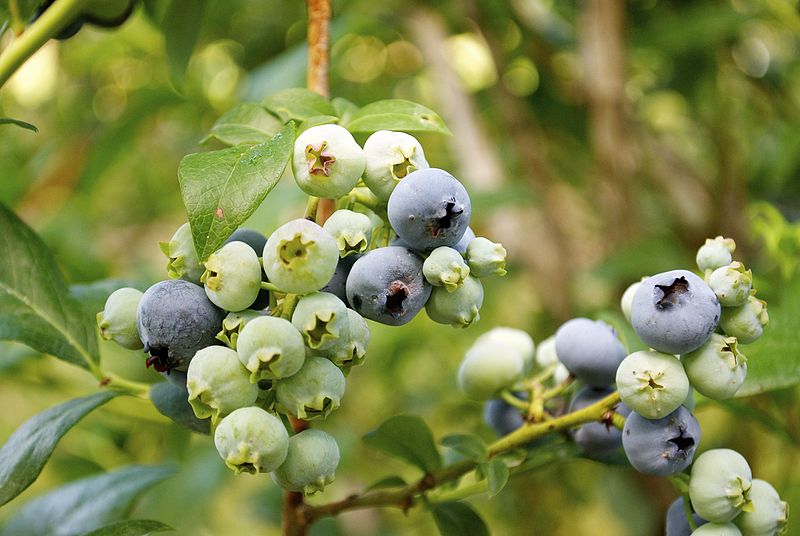
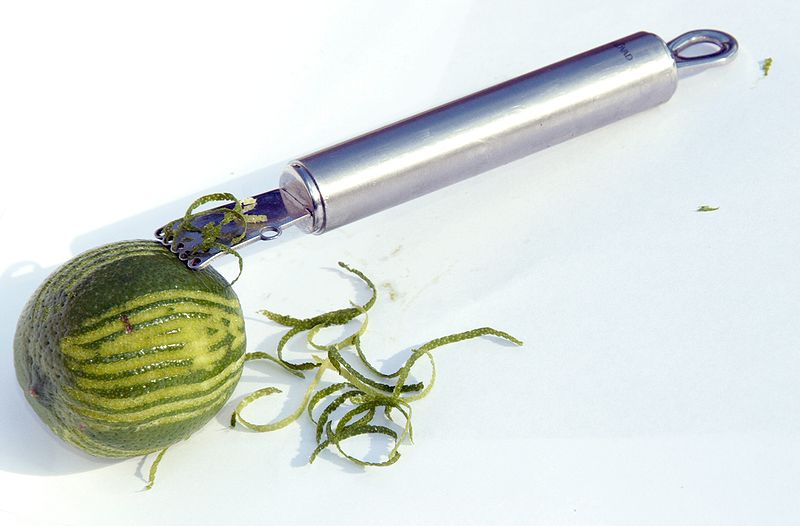
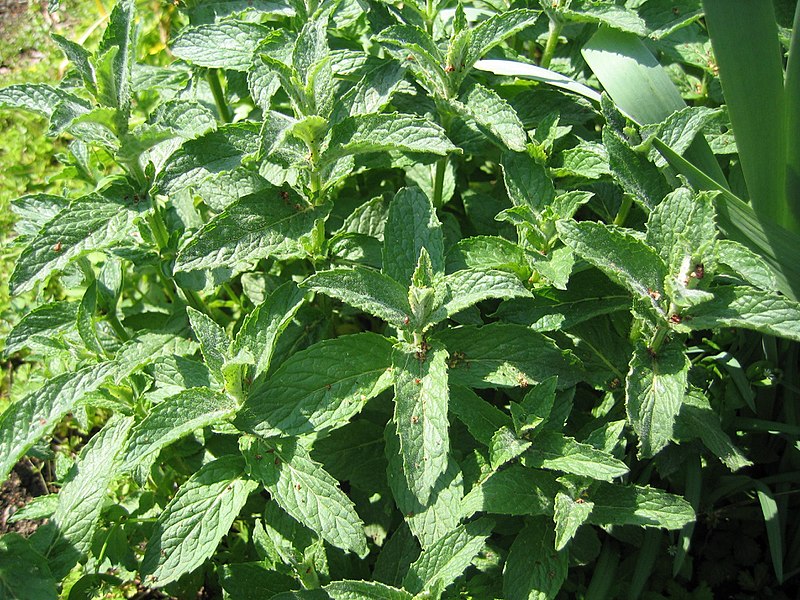
Last week, after enjoying delicious fresh ricotta, ham, and melon salad, I spotted some extra ricotta and remembered a recipe for ricotta ice cream. A friend from a nearby farm with blueberry bushes had invited us to pick berries earlier in the week, so our refrigerator also had a bucket overflowing with beautiful fresh blueberries. The ricotta, blueberries, and kosher salt turned out to be a delicious combination, but of course, this basic homemade ice cream recipe can be adjusted to include your favorite ingredients. At the last minute, I decided to add lime zest to this recipe — Blueberry Lime Jam is one of the favorites from the Monastery Kitchen line, so I thought that combination would be especially tasty. It’s also the season for fresh mint, which is a lovely garnish along with fresh blueberries.
Making homemade ice cream can seem daunting, but with an ice cream maker, it’s quite easy. The ingredients directly are mixed, placed in the ice cream maker for 30 – 60 minutes, then frozen for several more hours, or overnight in the freezer. This particular recipe was made to celebrate an exciting event, and would be perfect for a summer dessert for any special occasion!
Print Recipe
Votes: 1
Rating: 5
You:
Rate this recipe!
Fresh Ricotta Blueberry Ice Cream
SERVINGS2quarts
|
COOK TIME30-45mins (plus freezing time) |
PREP TIME30mins |
READY IN3hrs |
Ingredients
Instructions
- Lay blueberries out on a tray and place in the freezer.
- Blend ricotta, cream cheese, milk, sugar, vanilla and salt in a blender until smooth. Add lime zest & heavy cream. Blend until just combined.
- Freeze in an ice cream maker according to instructions. Blend in frozen blueberries. Transfer to an airtight container and put in freezer to harden.
Scoop and enjoy!
Also - nuts, candied citrus peeled or chopped chocolate can be added, as well as fresh mint and blueberries for garnish.
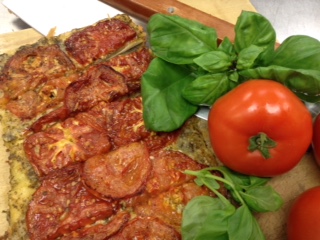
“Sr. Irene, you just have to taste this!” came a cry from the kitchen. One of our special event cooks had just tried out a new appetizer for an upcoming reception. I could tell from the sound of her voice she was quite happy with it.
“Be there in a minute,” I responded, unable to leave just then. The next day one of the kitchen sisters asked, “Wasn’t that new appetizer just the best?”
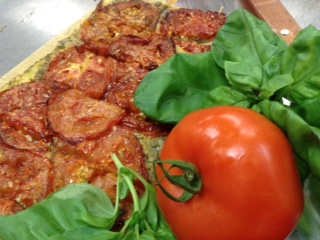
Oh no! How could I have forgotten? I chastened myself, vowing to get to the kitchen before the end of the day. When I finally arrived with much embarrassment and was able to locate and ravenously devour the one and only “Tasting Sample” that was left, I could only groan. The caramelized tomato bruschetta with fresh garden pesto was beyond delicious. Why oh why didn’t I get myself there the moment I was first called!
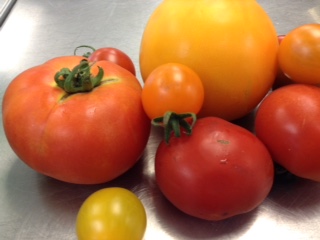
A savory twist on a summer classic, this bruschetta is a great way to enjoy both fresh garden tomatoes and basil!
Print Recipe
Votes: 0
Rating: 0
You:
Rate this recipe!
Caramelized Tomato Bruschetta
SERVINGS8-12servings
|
COOK TIME20mins |
PREP TIME15mins |
READY IN35mins |
Ingredients
Instructions
- Preheat oven to 400 degrees.
- Slice the tomatoes into 1/3 inch slices, brush with olive oil and sprinkle with salt, pepper and sugar.
- Place on a cookie sheet or sheet pan and roast in the oven until tomatoes turn a light to medium brown and the sugar is visually caramelized.
- While tomatoes are roasting, brush the flat bread with oil and spread the pesto overtop, then sprinkle with parmesan cheese.
- When tomatoes are finished, carefully remove them from the pan and arrange on top of the pesto and cheese. This is a delicate process as the tomatoes are likely to fall apart after roasting.
- Serve with a drizzle of balsamic reduction and enjoy a taste of summer!