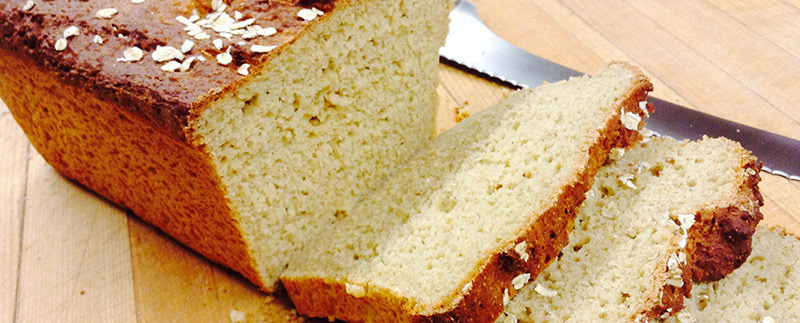
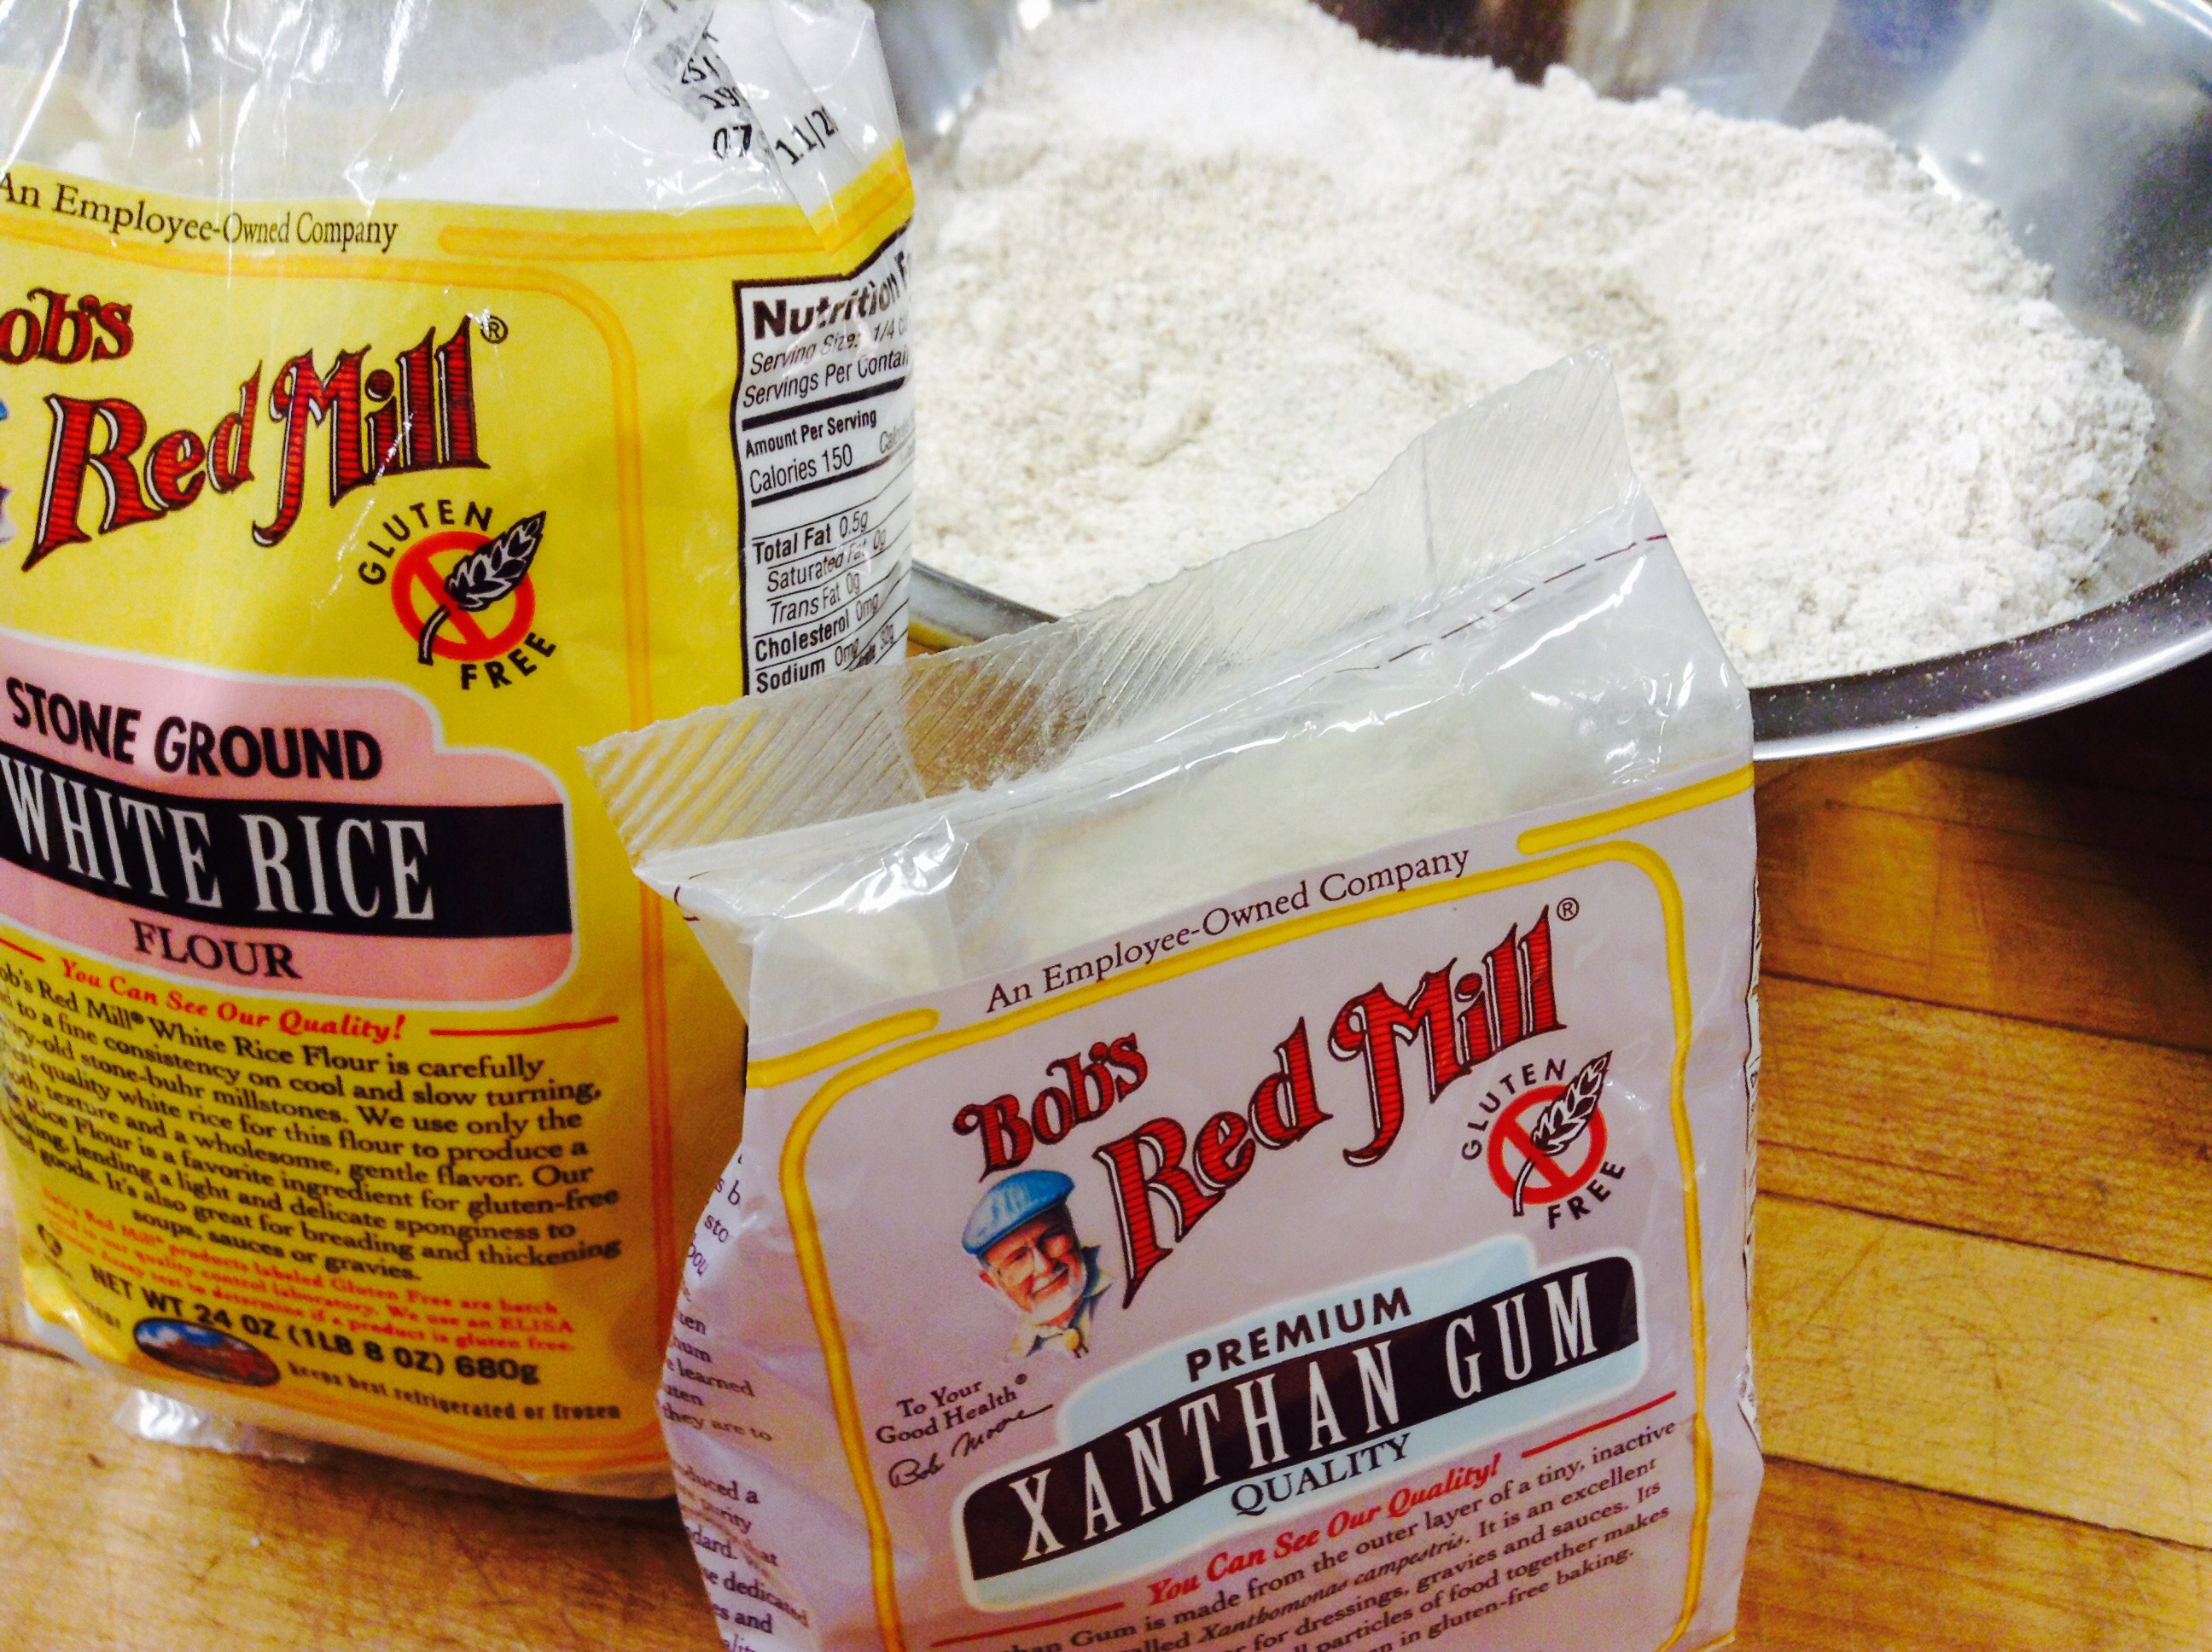
We have quite a number of Sisters in the Convent who have celiac-sprue or gluten allergies. Buying gluten free bread can be extremely expensive and well, frankly, you might as well be eating cardboard! We have wanted to find a recipe for quite a while that is healthy, inexpensive to make and tastes like real homemade bread. This recipe fits the bill. It’s high in fiber from the oat content, easy to make and tastes wonderful! It’s especially lovely toasted with butter and jam. Most oats are gluten free — check the label to be sure. The only reason they wouldn’t be is if they are manufactured in a factory where they also make products with gluten. We are so fortunate to have a company that supplies us with oats, so this bread costs literally nothing to make. You can find xanthum gum in the health food aisle of the supermarket — don’t leave it out — it’s an “all natural” emulsifier and you need it as a binding agent when baking without gluten.
Print Recipe
Votes: 31
Rating: 3.97
You:
Rate this recipe!
Gluten-free Honey Oat Bread
SERVINGS2loaves
|
COOK TIME45minutes |
PREP TIME20-30minutes |
READY IN2hours |
Ingredients
Instructions
- Sprinkle the yeast over the hot tap water in the bowl of a standing mixer and let sit for a few minutes, until the yeast is active and bubbles start to form on the surface.
- If you're using whole oats, blend them in a food processor or blender until they're pretty fine (as fine as you can get them) to make the oat flour.
- Once the yeast is active, add the oil, honey, corn starch, white rice flour, xanthan gum, and oat flour to the mixer and beat until combined.
- Add the salt and eggs and beat for a few minutes until fluffy.
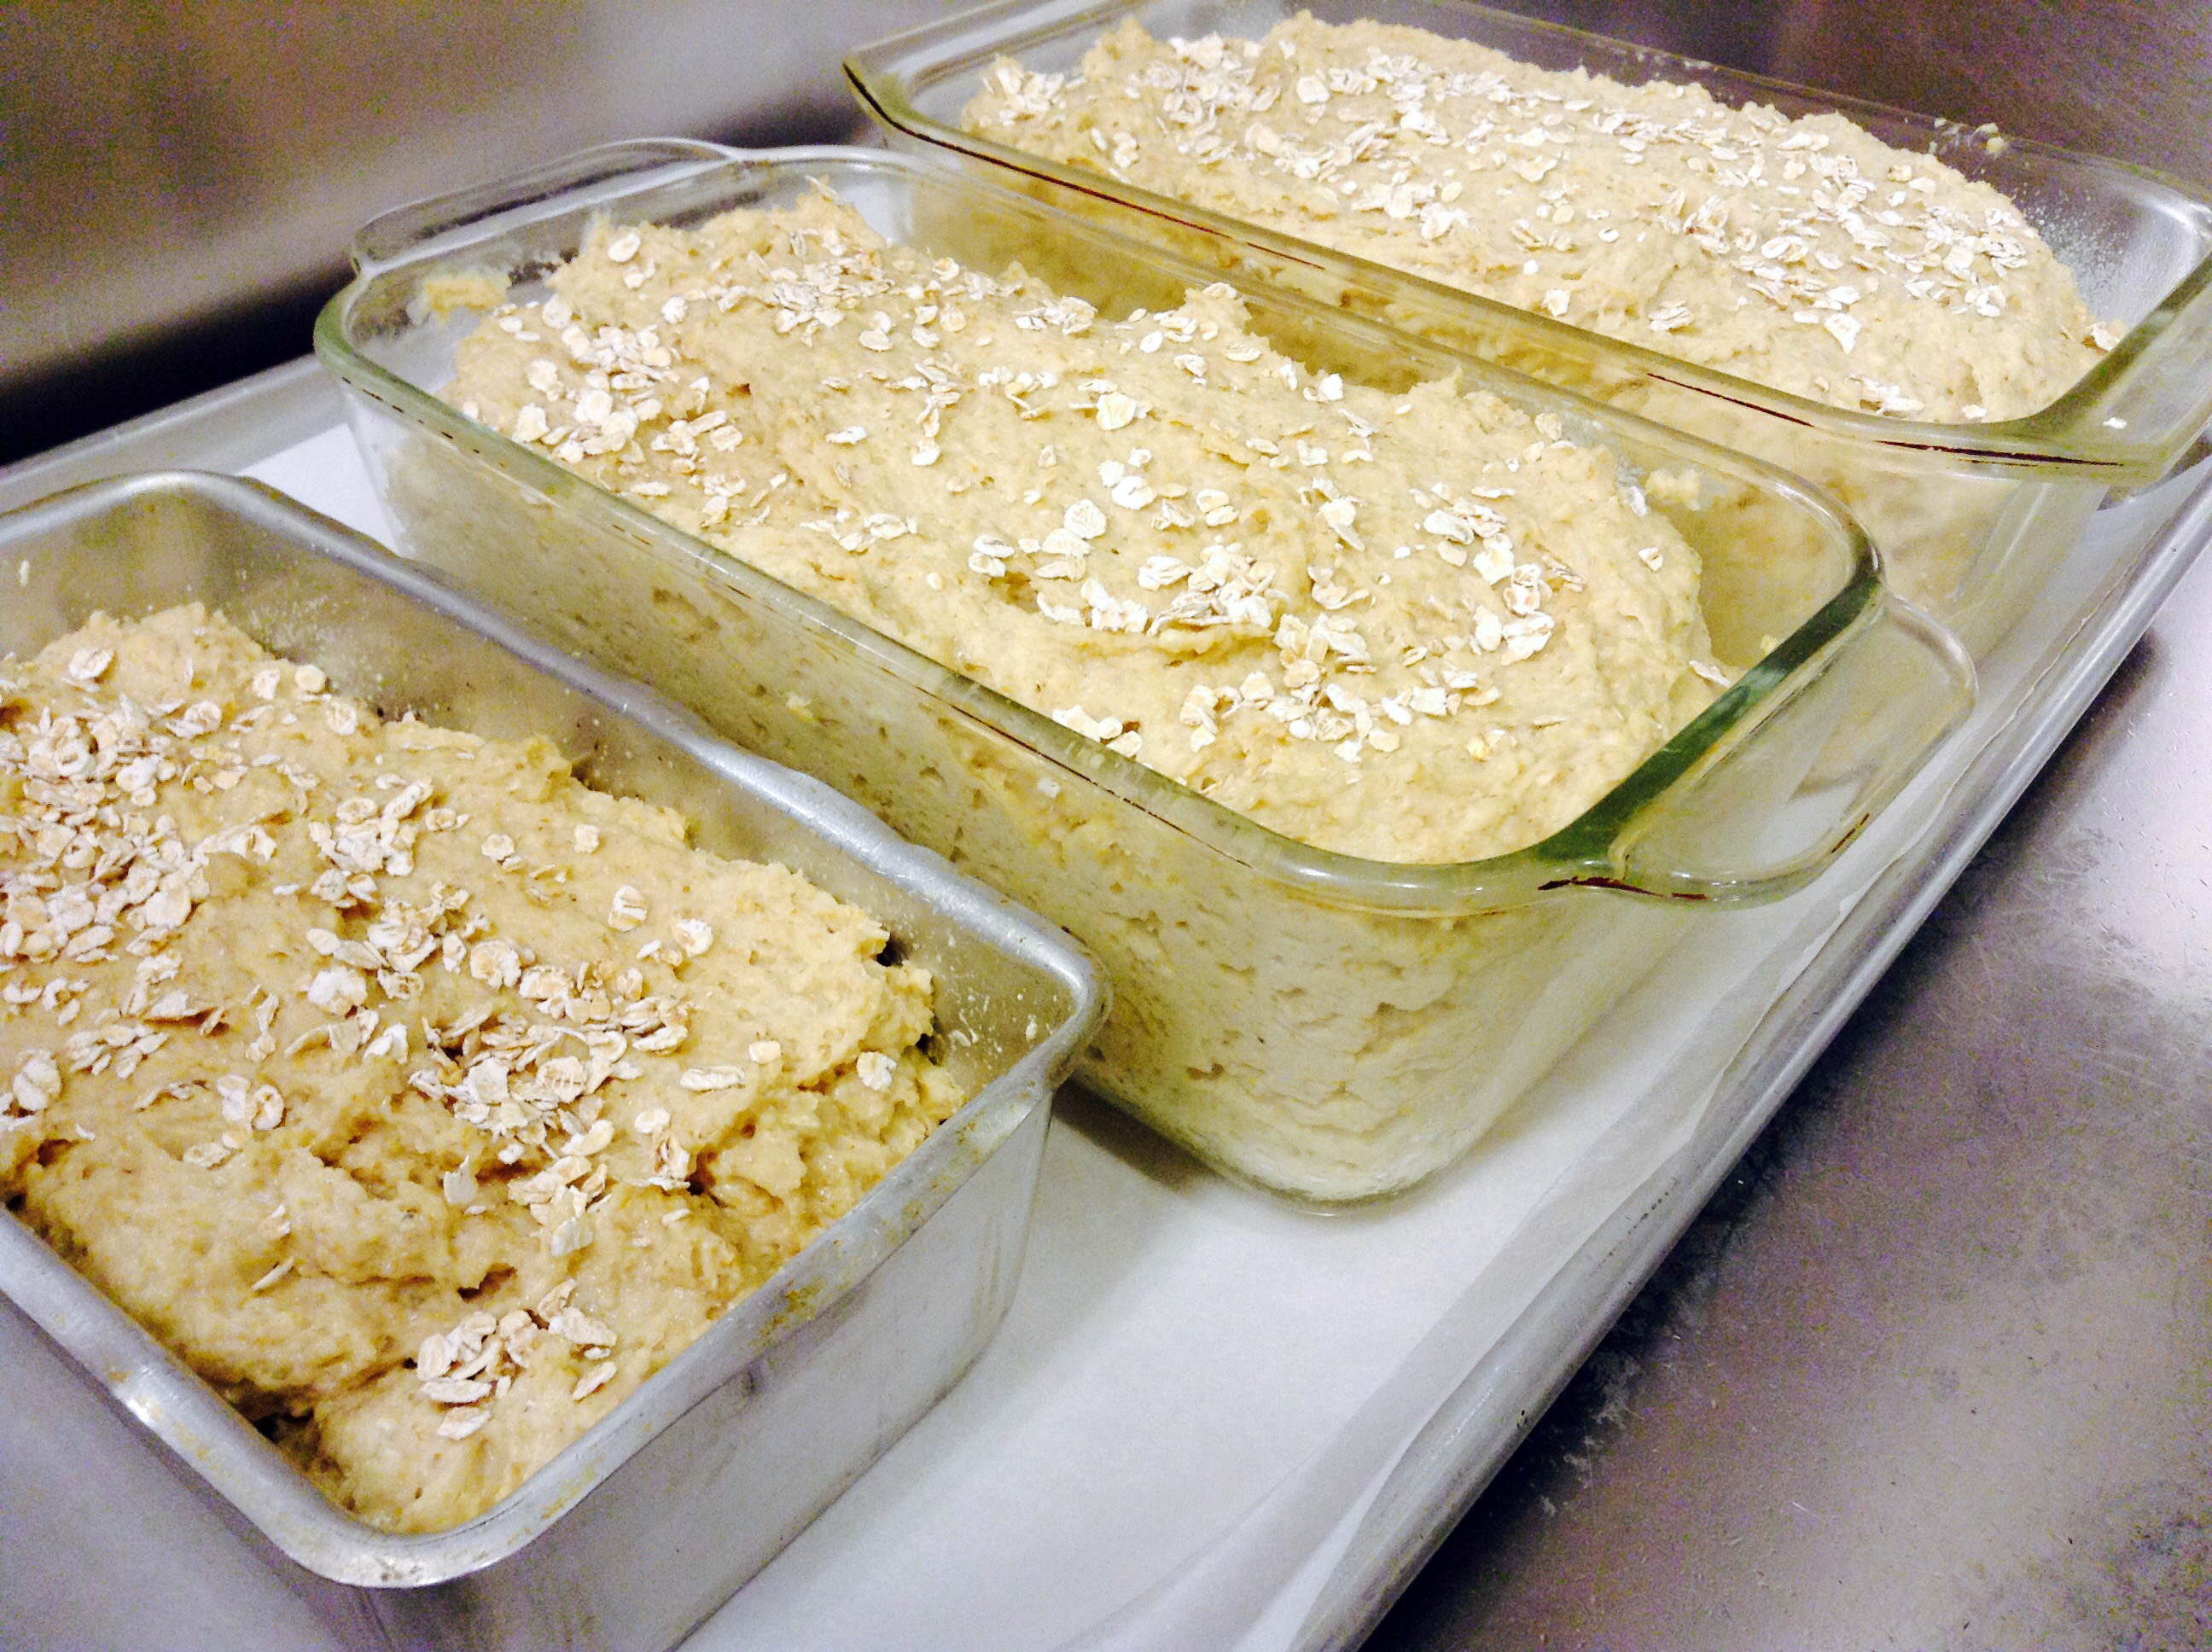
- Pour into two well greased 9 inch loaf pans and allow to rise for about 45 minutes until doubled (only fill the loaf pans about 2/3 - 3/4 full - any excess can fill up a smaller loaf pan). Sprinkle the top of the loaves with some oats.
- Preheat the oven to 350ºF. Once the loaves have risen, cut a few slits in the top with a serrated knife.
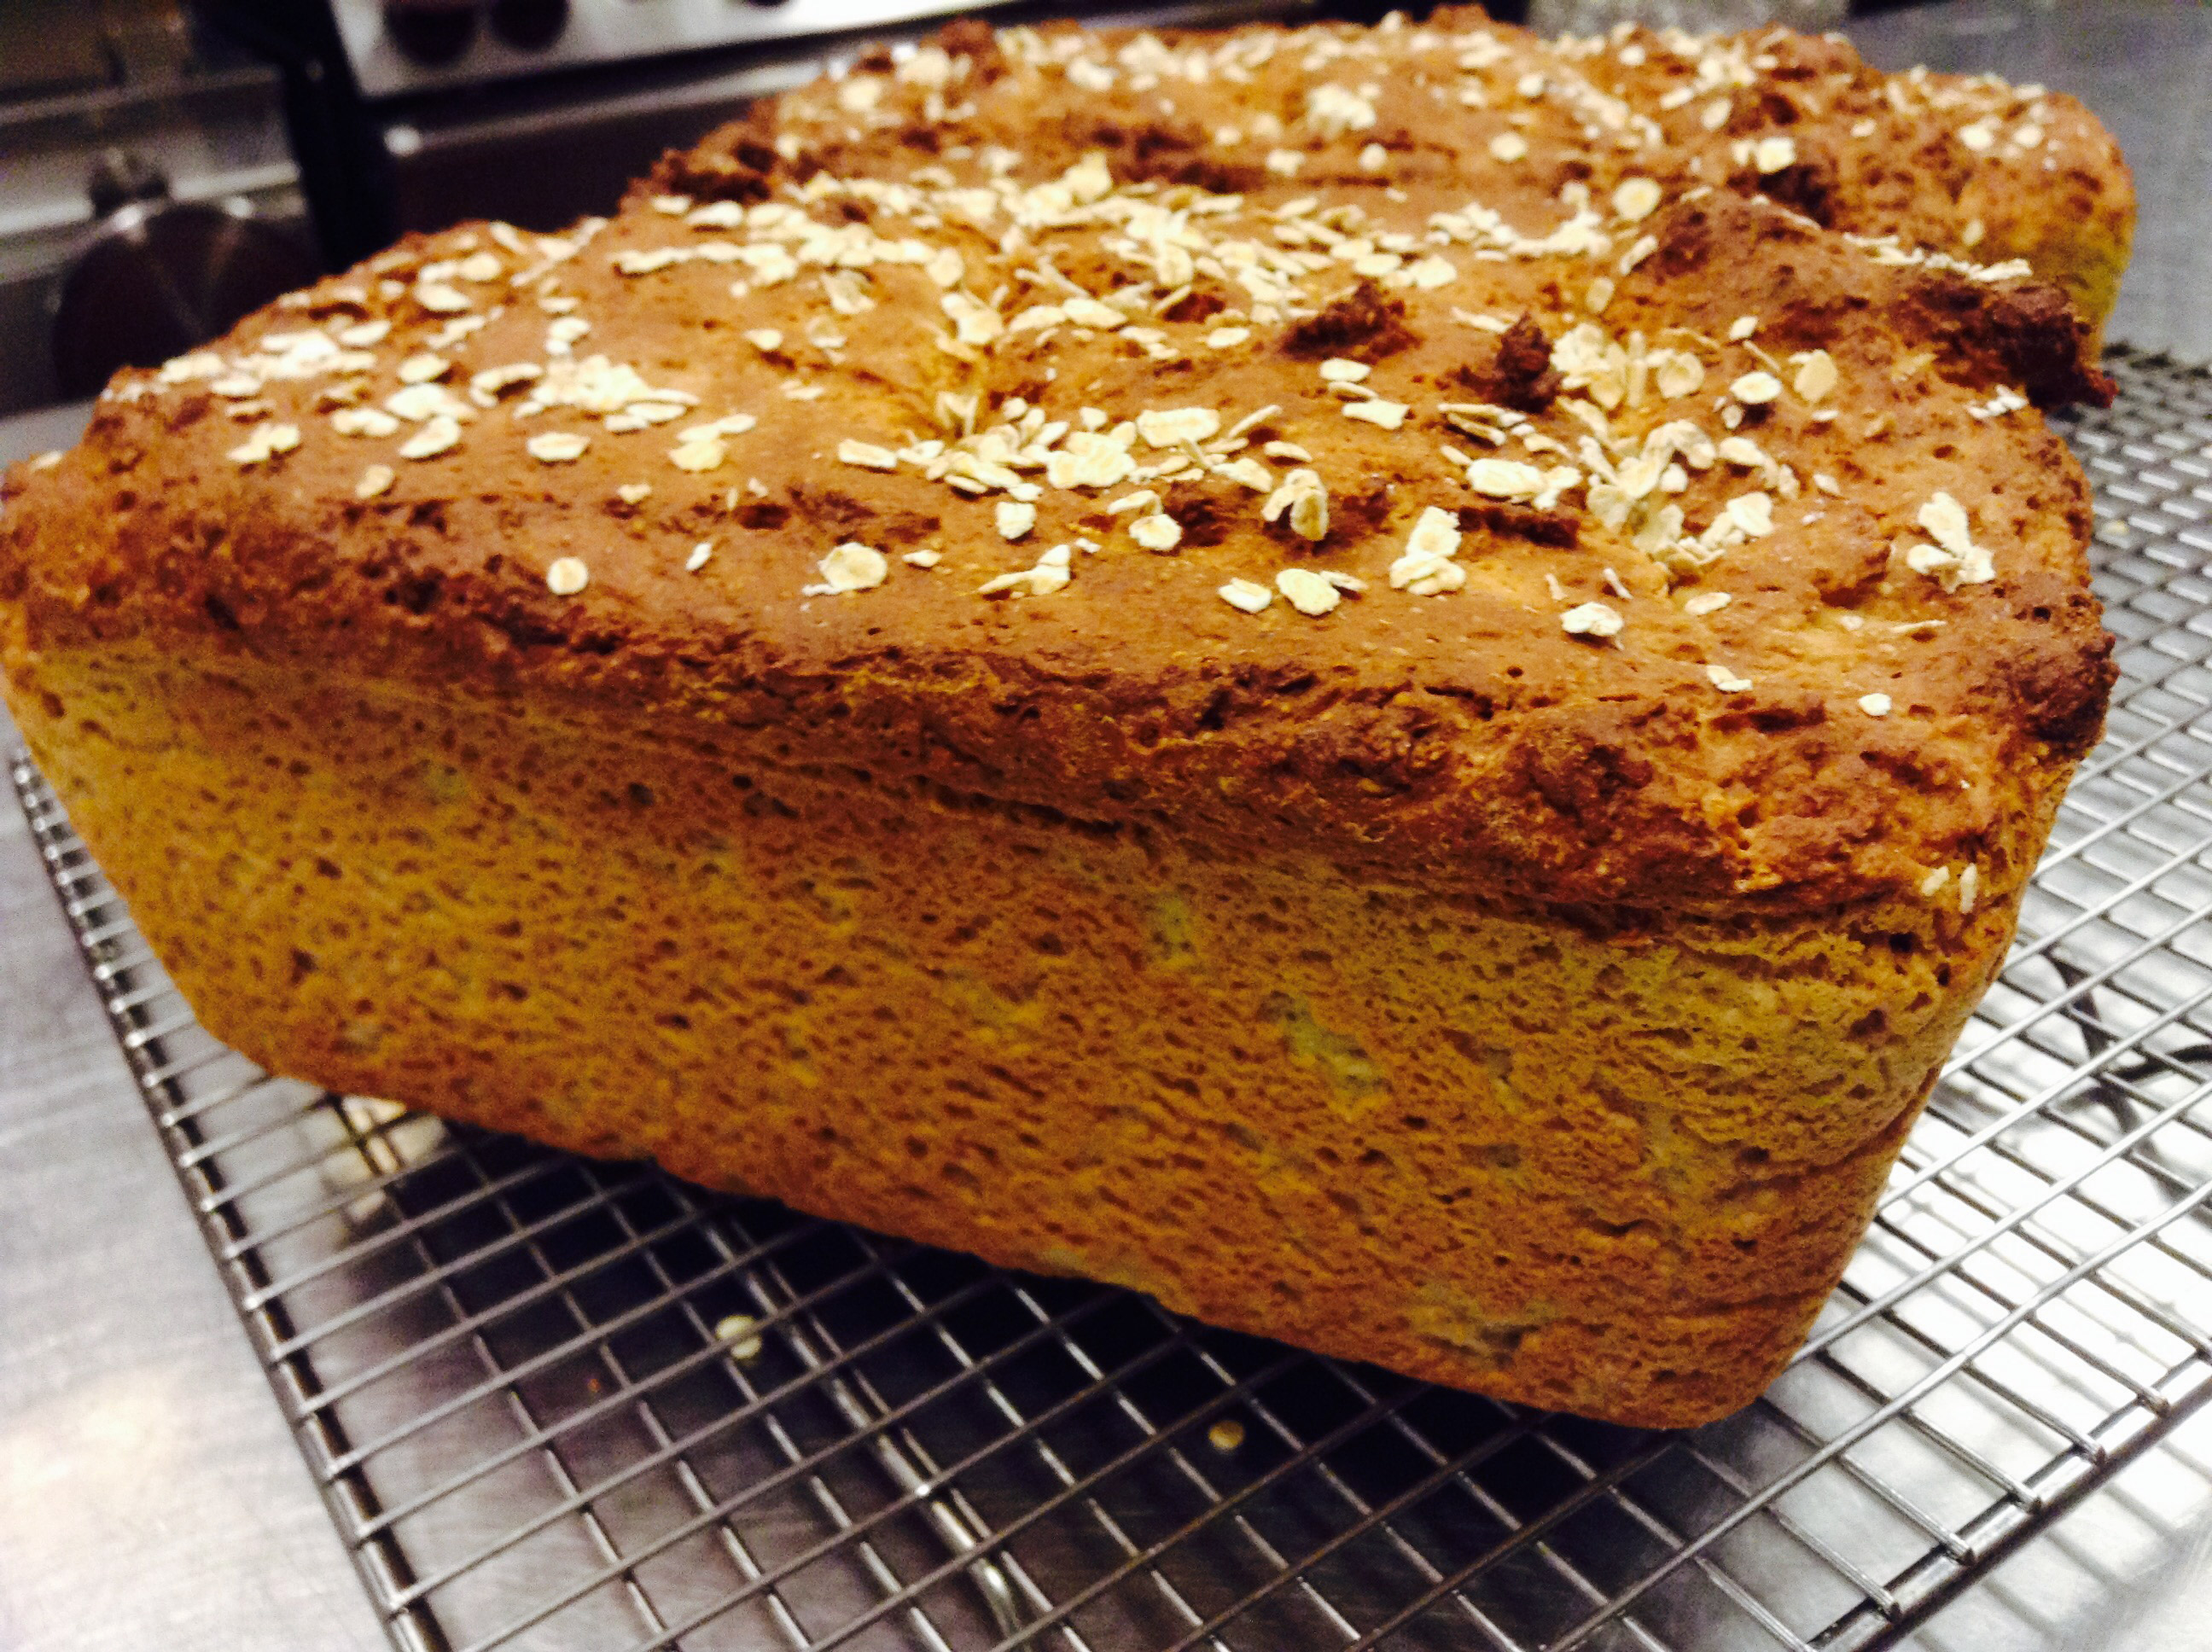
- Bake for about 45 minutes. Allow to cool before slicing.
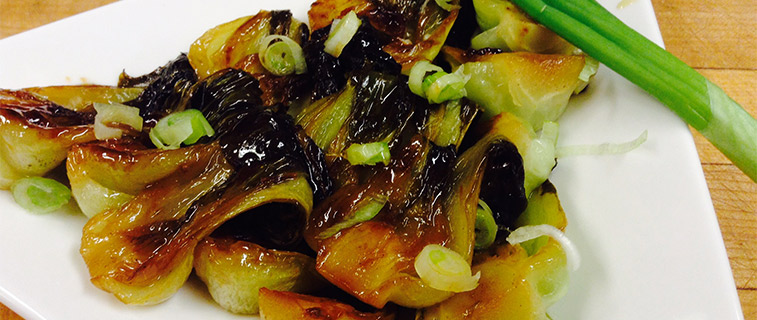
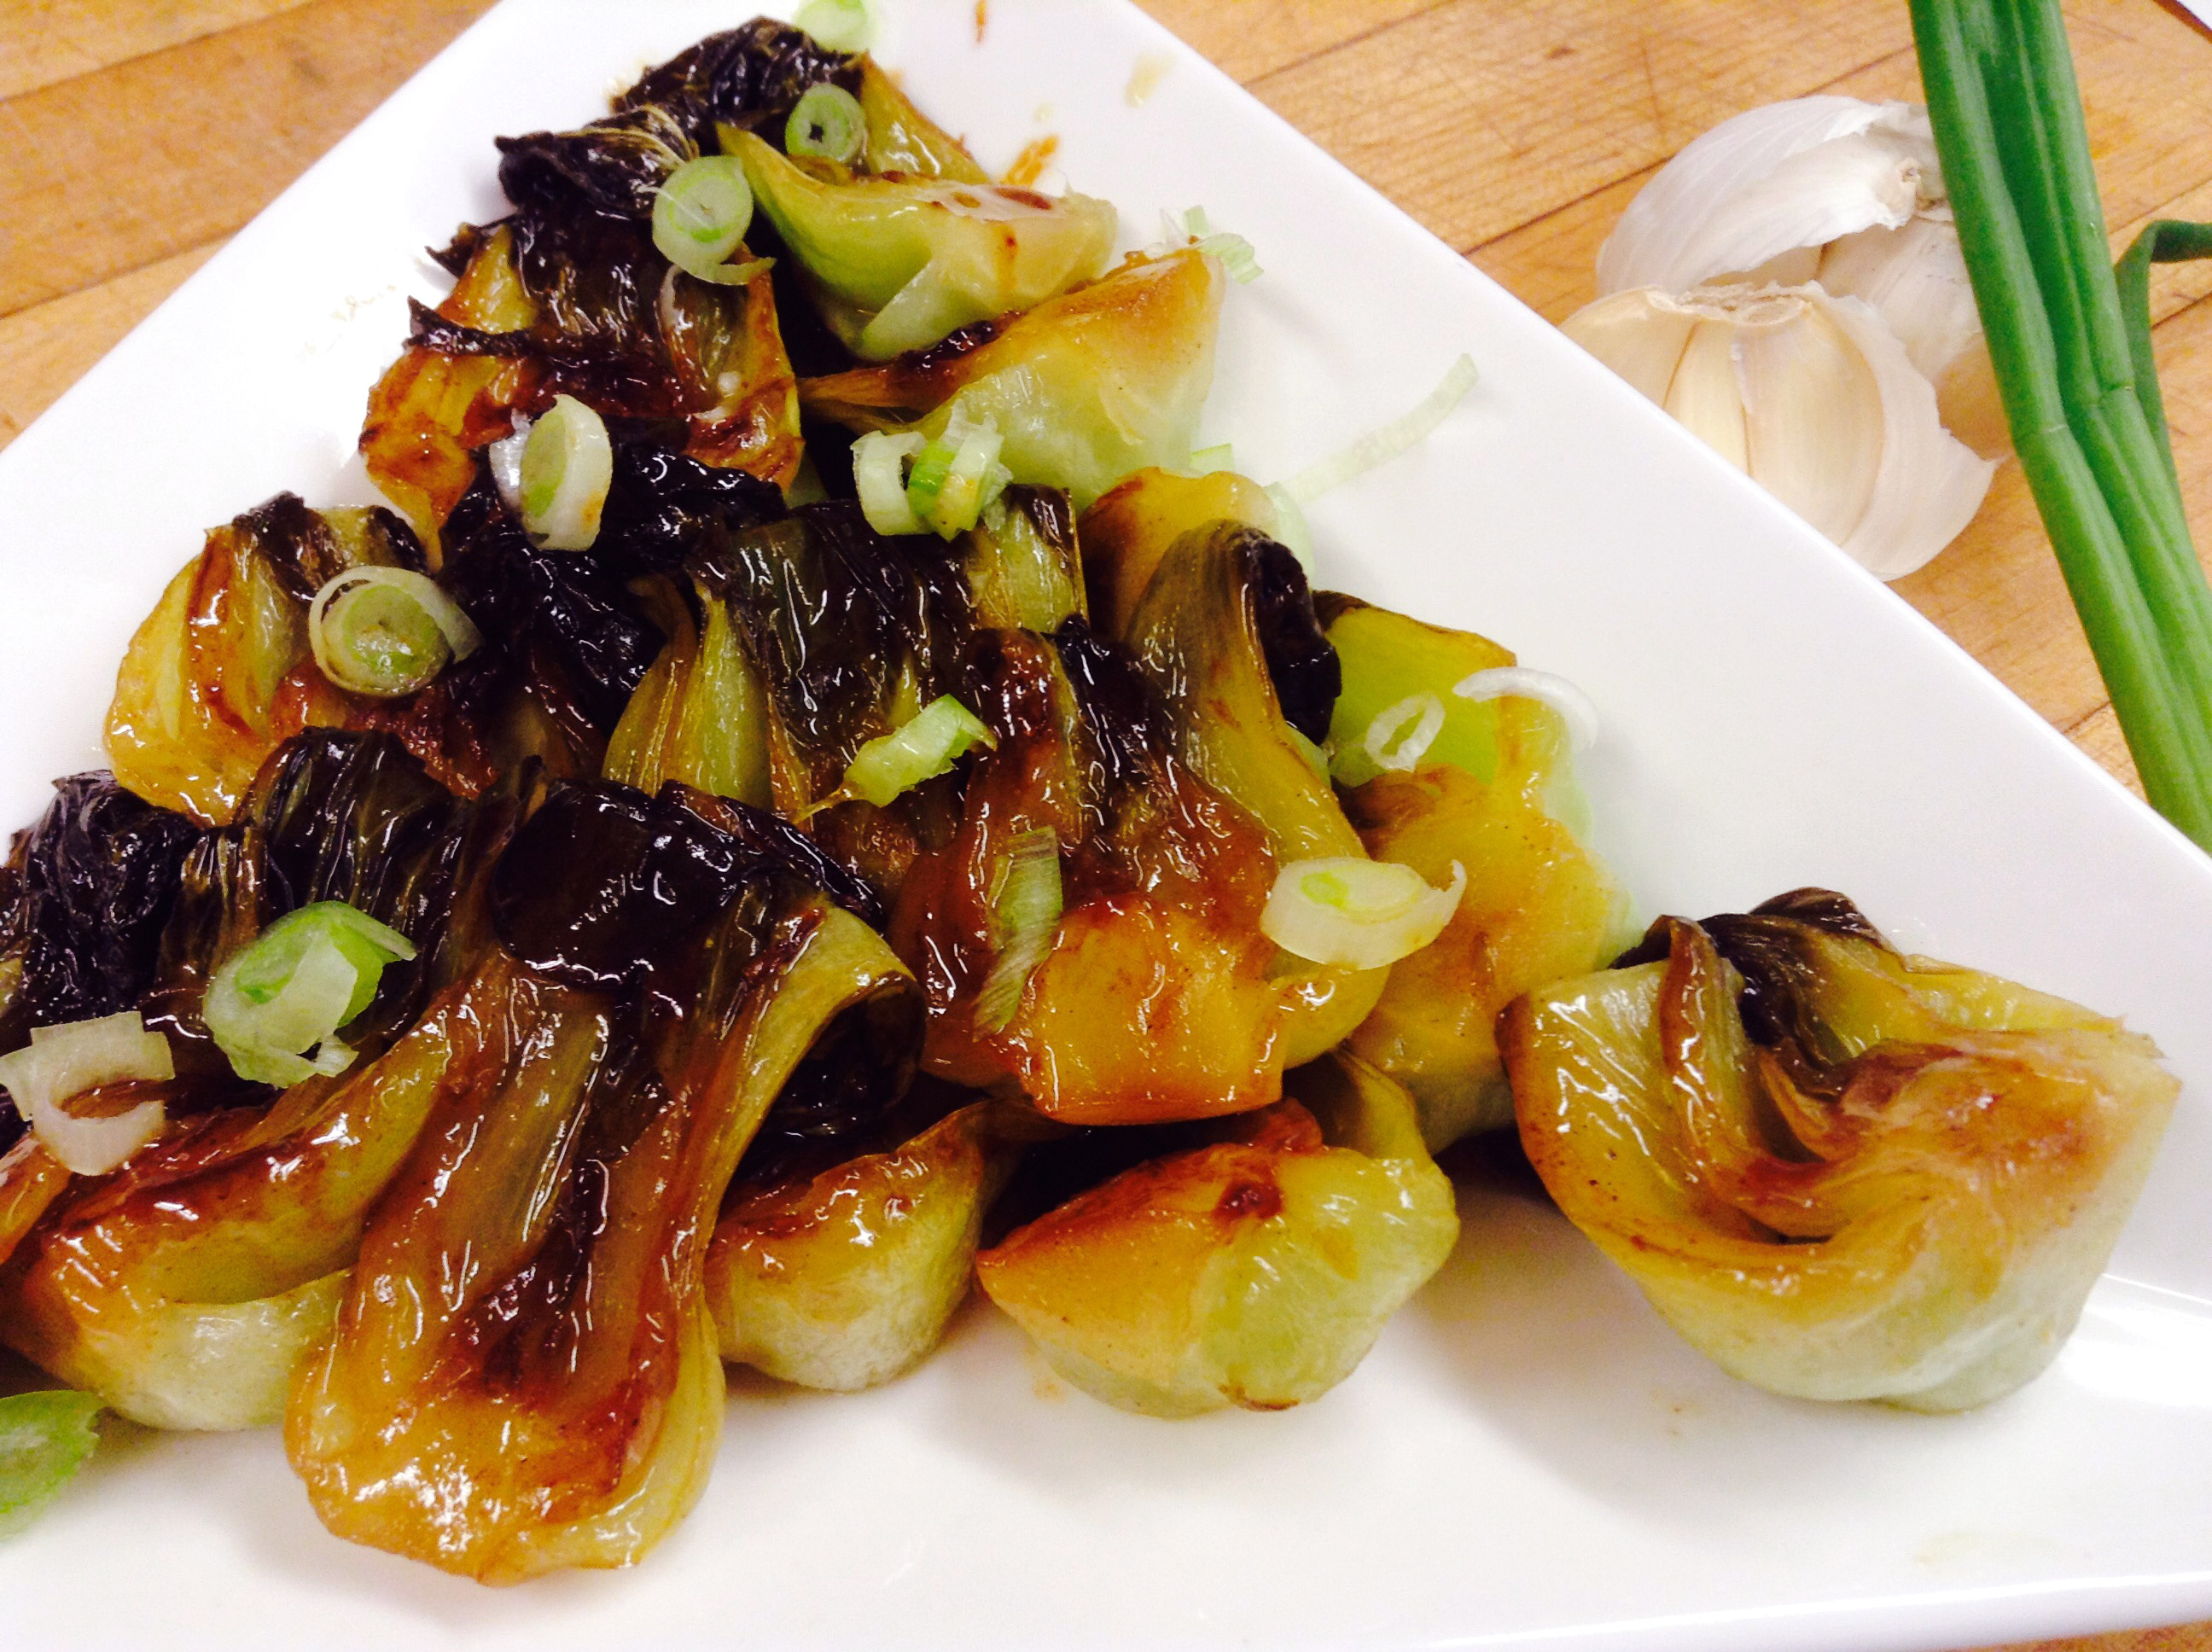
Last week in honor of Chinese New Year, a lovely case of fresh baby bok choy — straight from Chinatown — was delivered to our Convent door, a generous gift from the parents of one of our Sisters. In the middle of winter, it’s a real treat to add fresh and tasty vegetables to our dinner. Baby Bok Choy is the tender rendition of a Chinese cabbage and a great source of beta carotene, which has been scientifically proven to act as a dietary antioxidant. Its name is derived from the Chinese name for “soup spoon” because of the shape of its leaves. Baby Bok Choy requires delicate cooking and is a wonderful accompaniment to fish, tofu, pork and poultry. We hope you enjoy this as much as we did!
Print Recipe
Votes: 1
Rating: 5
You:
Rate this recipe!
Braised Baby Bok Choy
SERVINGS2people
|
COOK TIME10 - 15minutes |
PREP TIME5minutes |
READY IN15minutes |
Ingredients
Instructions
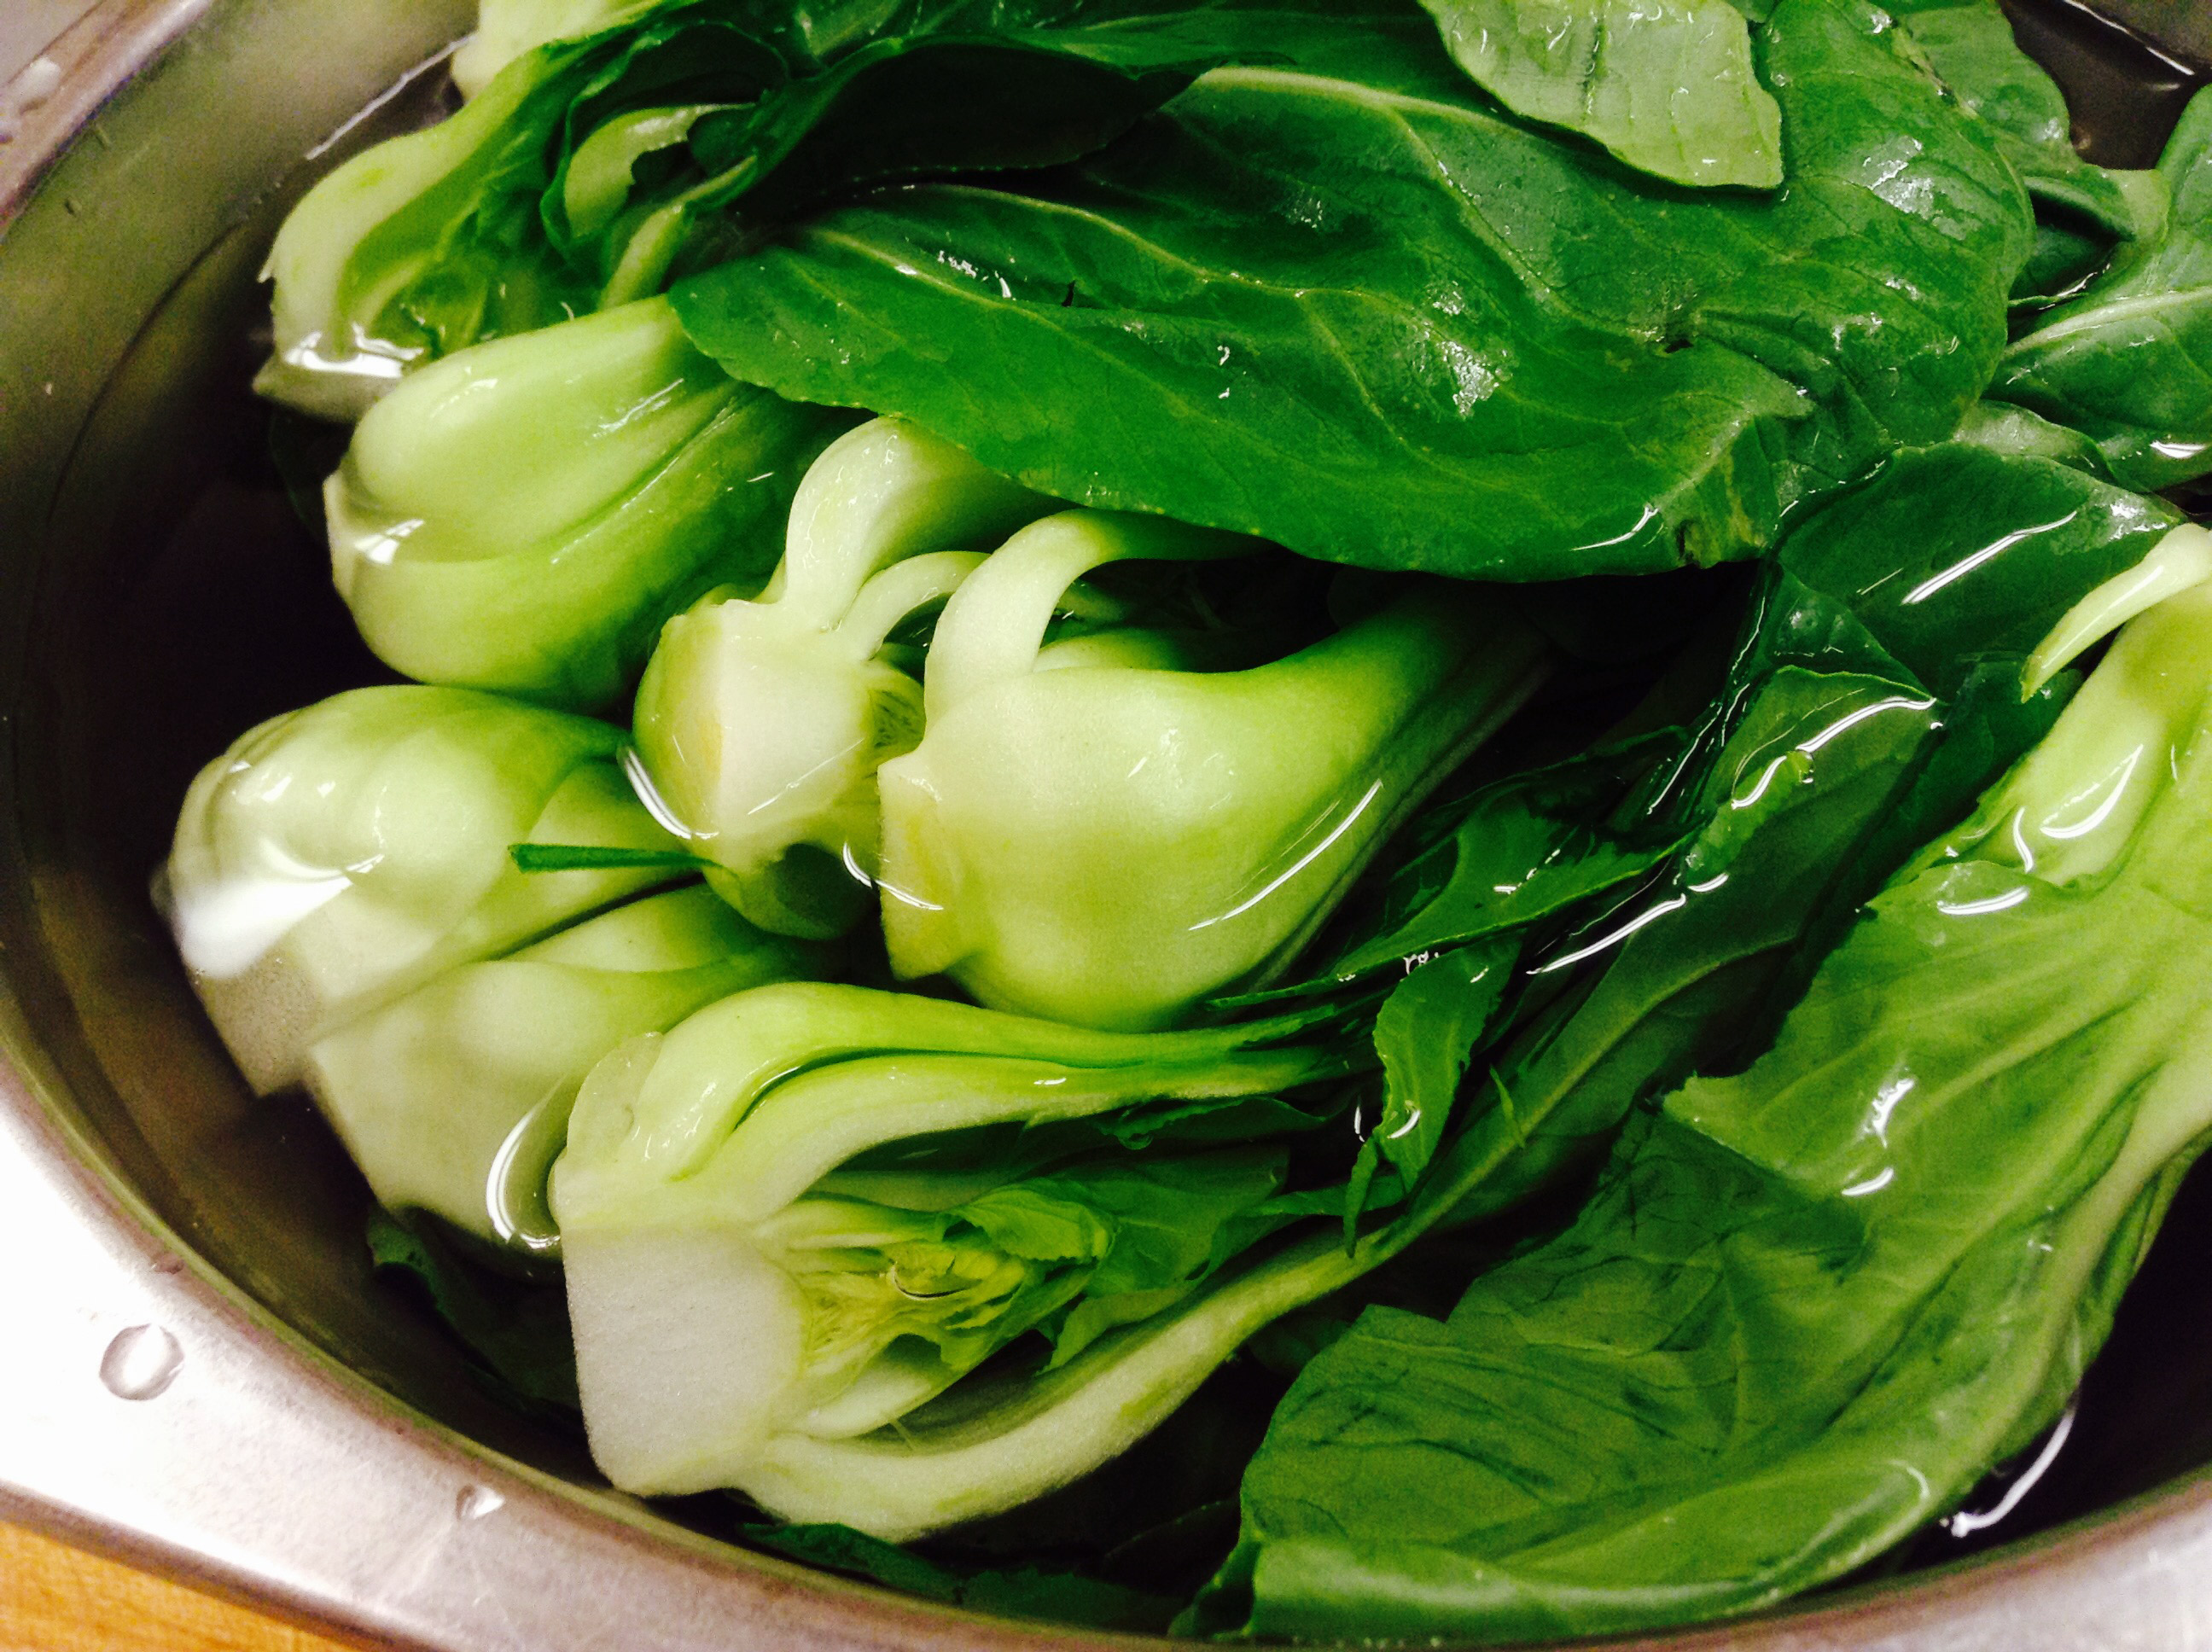
- Slice baby bok choy in 1/2 lengthwise and place in a large bowl of cold water to soak.
- Using a large non-stick fry pan, melt the butter and add the smashed garlic. Move around in the pan to infuse the butter, but don't let it burn.
- Place the bok choy, cut side down in the pan and saute until golden.
- Add the white wine and sugar and reduce until almost all the liquid is gone.
- Flip the bok choy over and add the broth.
- 6. Continue to cook until almost all the liquid is absorbed.
- Serve the bok choy with the thickened broth spooned over it, and garnish with sliced green onions.
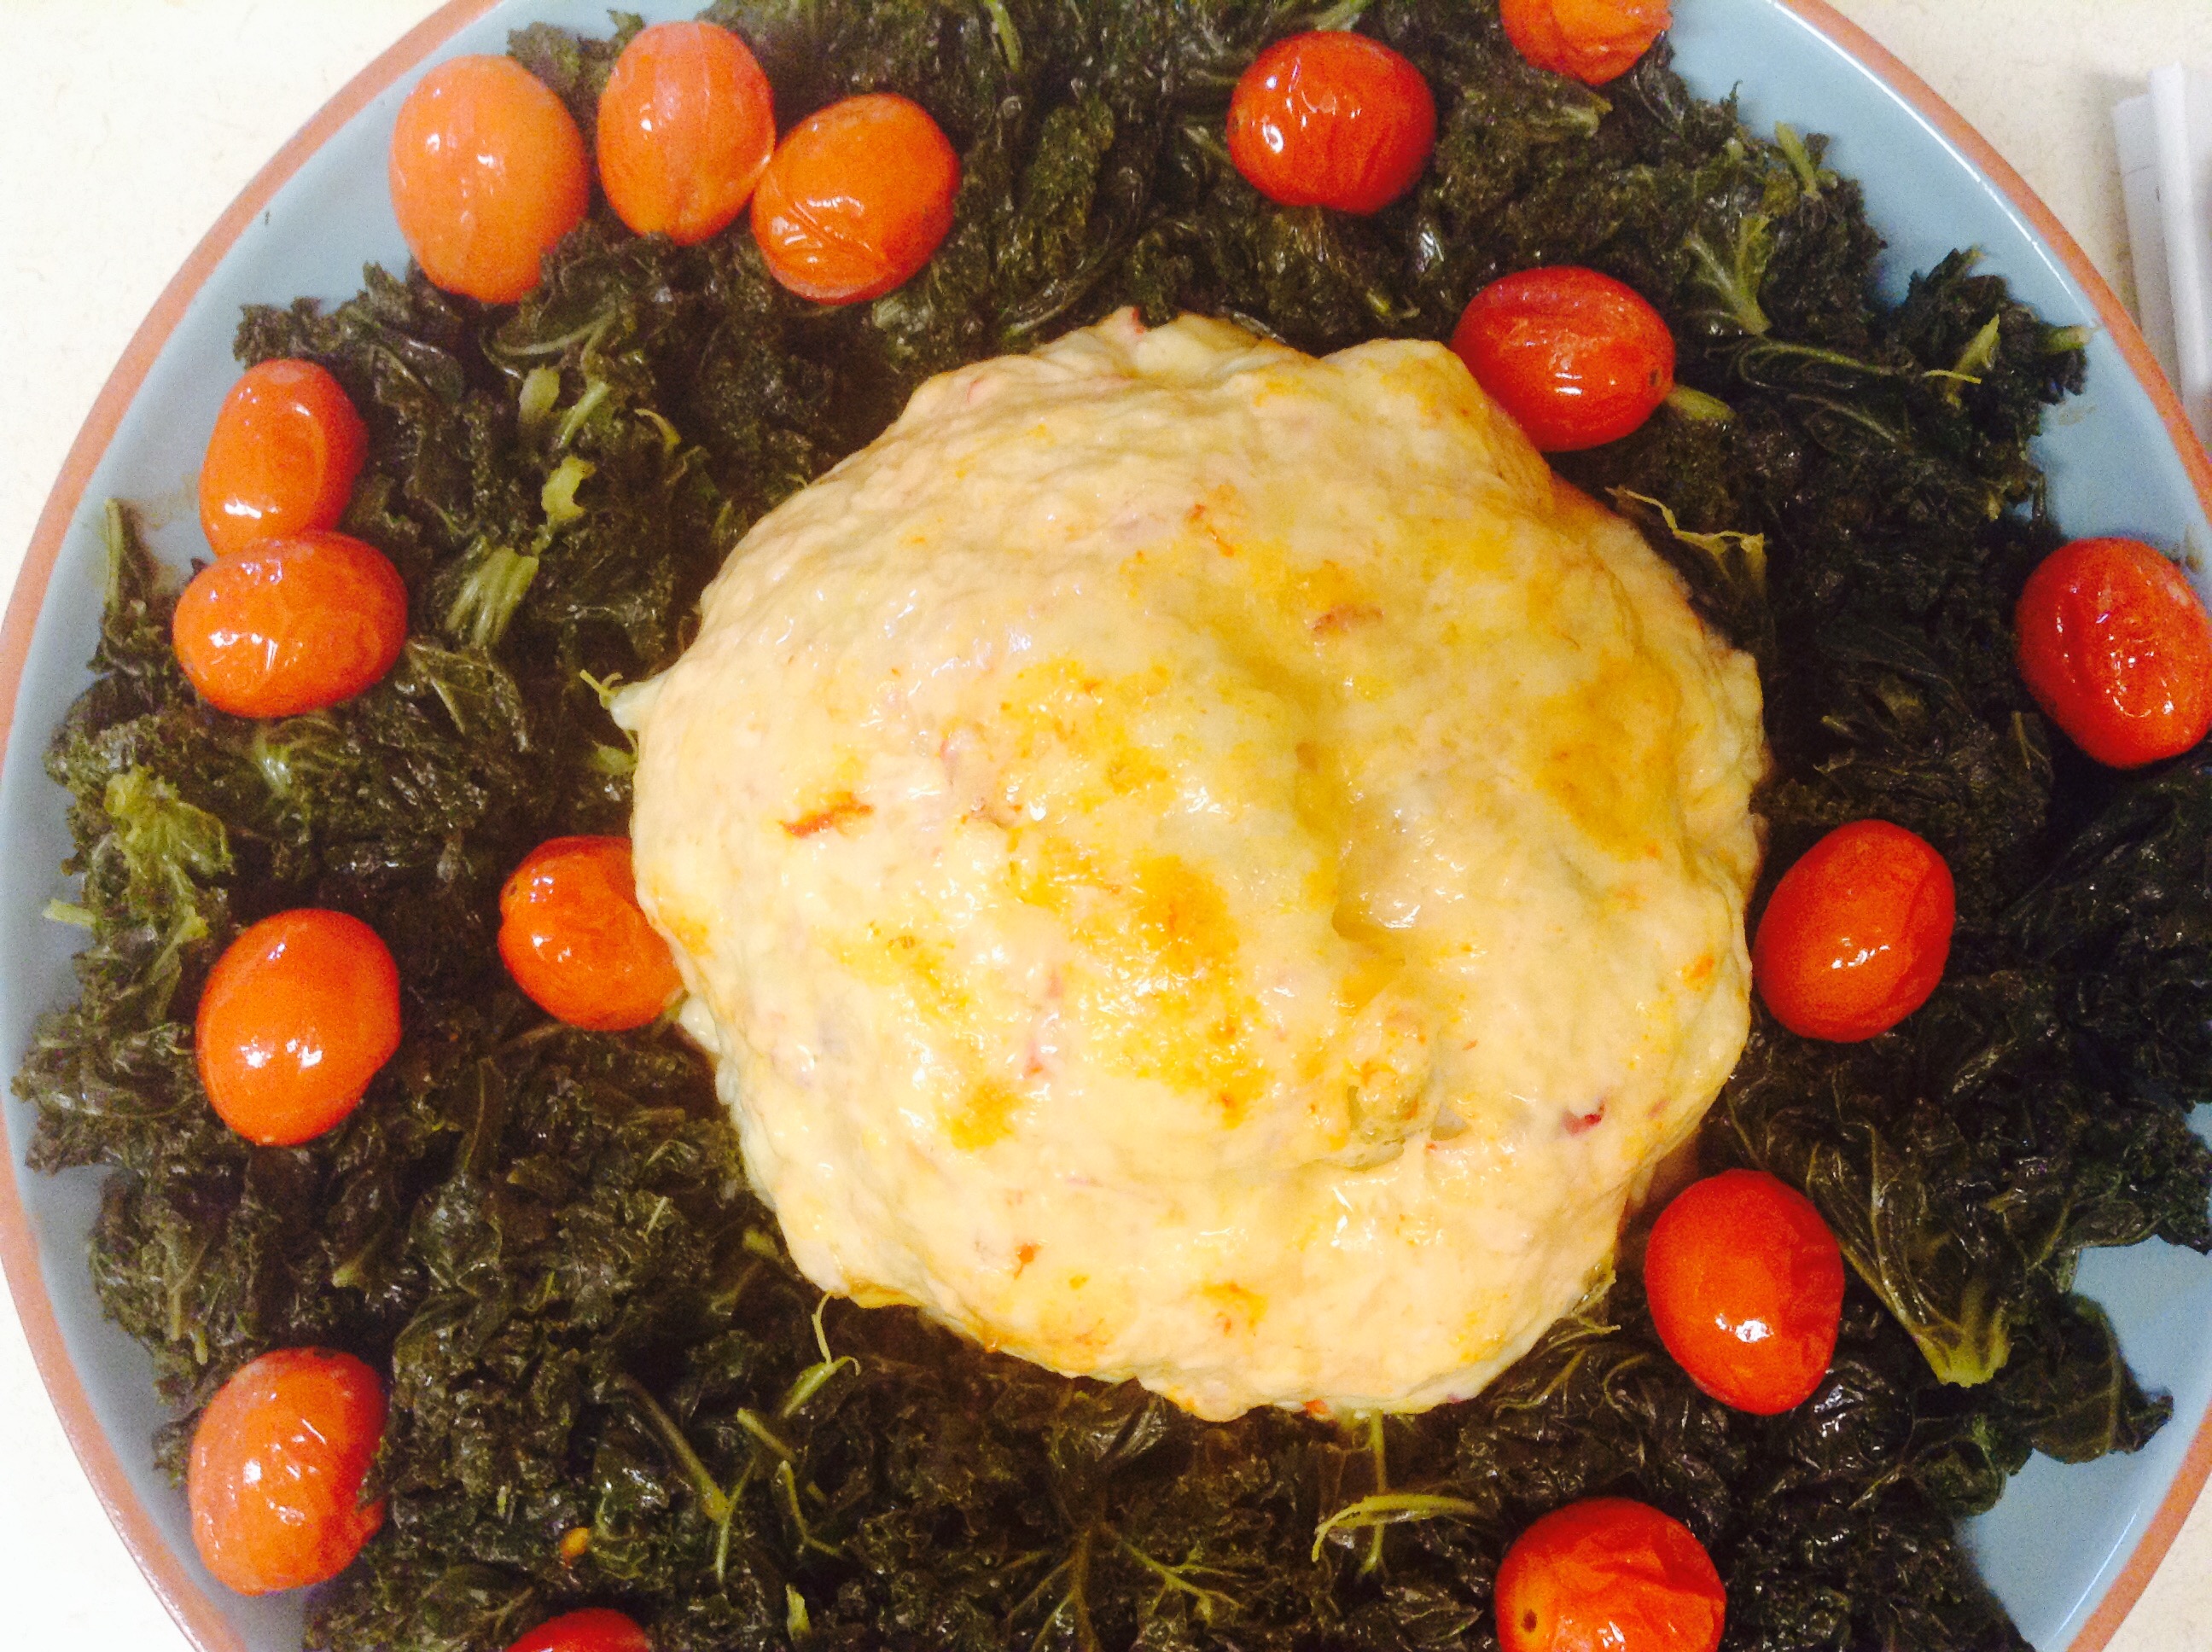
Last week one of our convent dinners included a whole head of cauliflower covered with a flavorful cheesy topping that was most enjoyable. Eating this prompted me to begin speculating about a possible Christmas cauliflower creation that might enhance a holiday dinner table. I envisioned something a little more dressed up with a stylish bit of sparkle and festive flare.
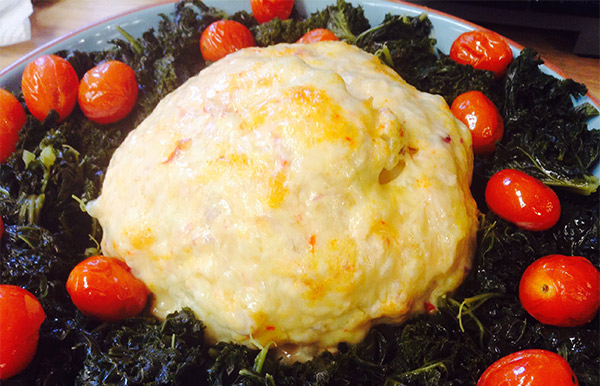
Here is what resulted from my culinary day dreaming: One saucy Head of cauliflower steamed whole, then covered with a combination of mayonnaise, etc., adorned with a skirt of rich dark green kale that has been slightly braised in oil and stylishly fluffed out around it. This basic beginning would then be tastefully embellished with bright red jewel like roasted cherry tomatoes. Thus attired my plain head of cauliflower would be stylishly prepared to make her special appearance at a very special meal.
Print Recipe
Votes: 0
Rating: 0
You:
Rate this recipe!
Festive Christmas Cauliflower
SERVINGS6people
|
COOK TIME45minutes |
PREP TIME10minutes |
READY IN50minutes |
Ingredients
Instructions
- Steam or boil cauliflower until soft but still firm about 20-25 minutes.
- Combine cheese, onion, pimento, and mayonnaise. Spread over cauliflower completely and place in a baking dish or pan.
- Put in a high oven (400 degrees) for a long as it takes to gain a nice golden glaze.
- Let rest a while.
- Toss the tomatoes with a little olive oil and lay out in a single layer on a sheet pan.
- Season with kosher salt and pepper.
- Roast for 15 to 20 minutes at 400 degrees, until tomatoes are soft.
- Chop kale and sauté in oil and garlic.
- Place cauliflower on a bed of kale. Scatter or place tomatoes around it as desired.
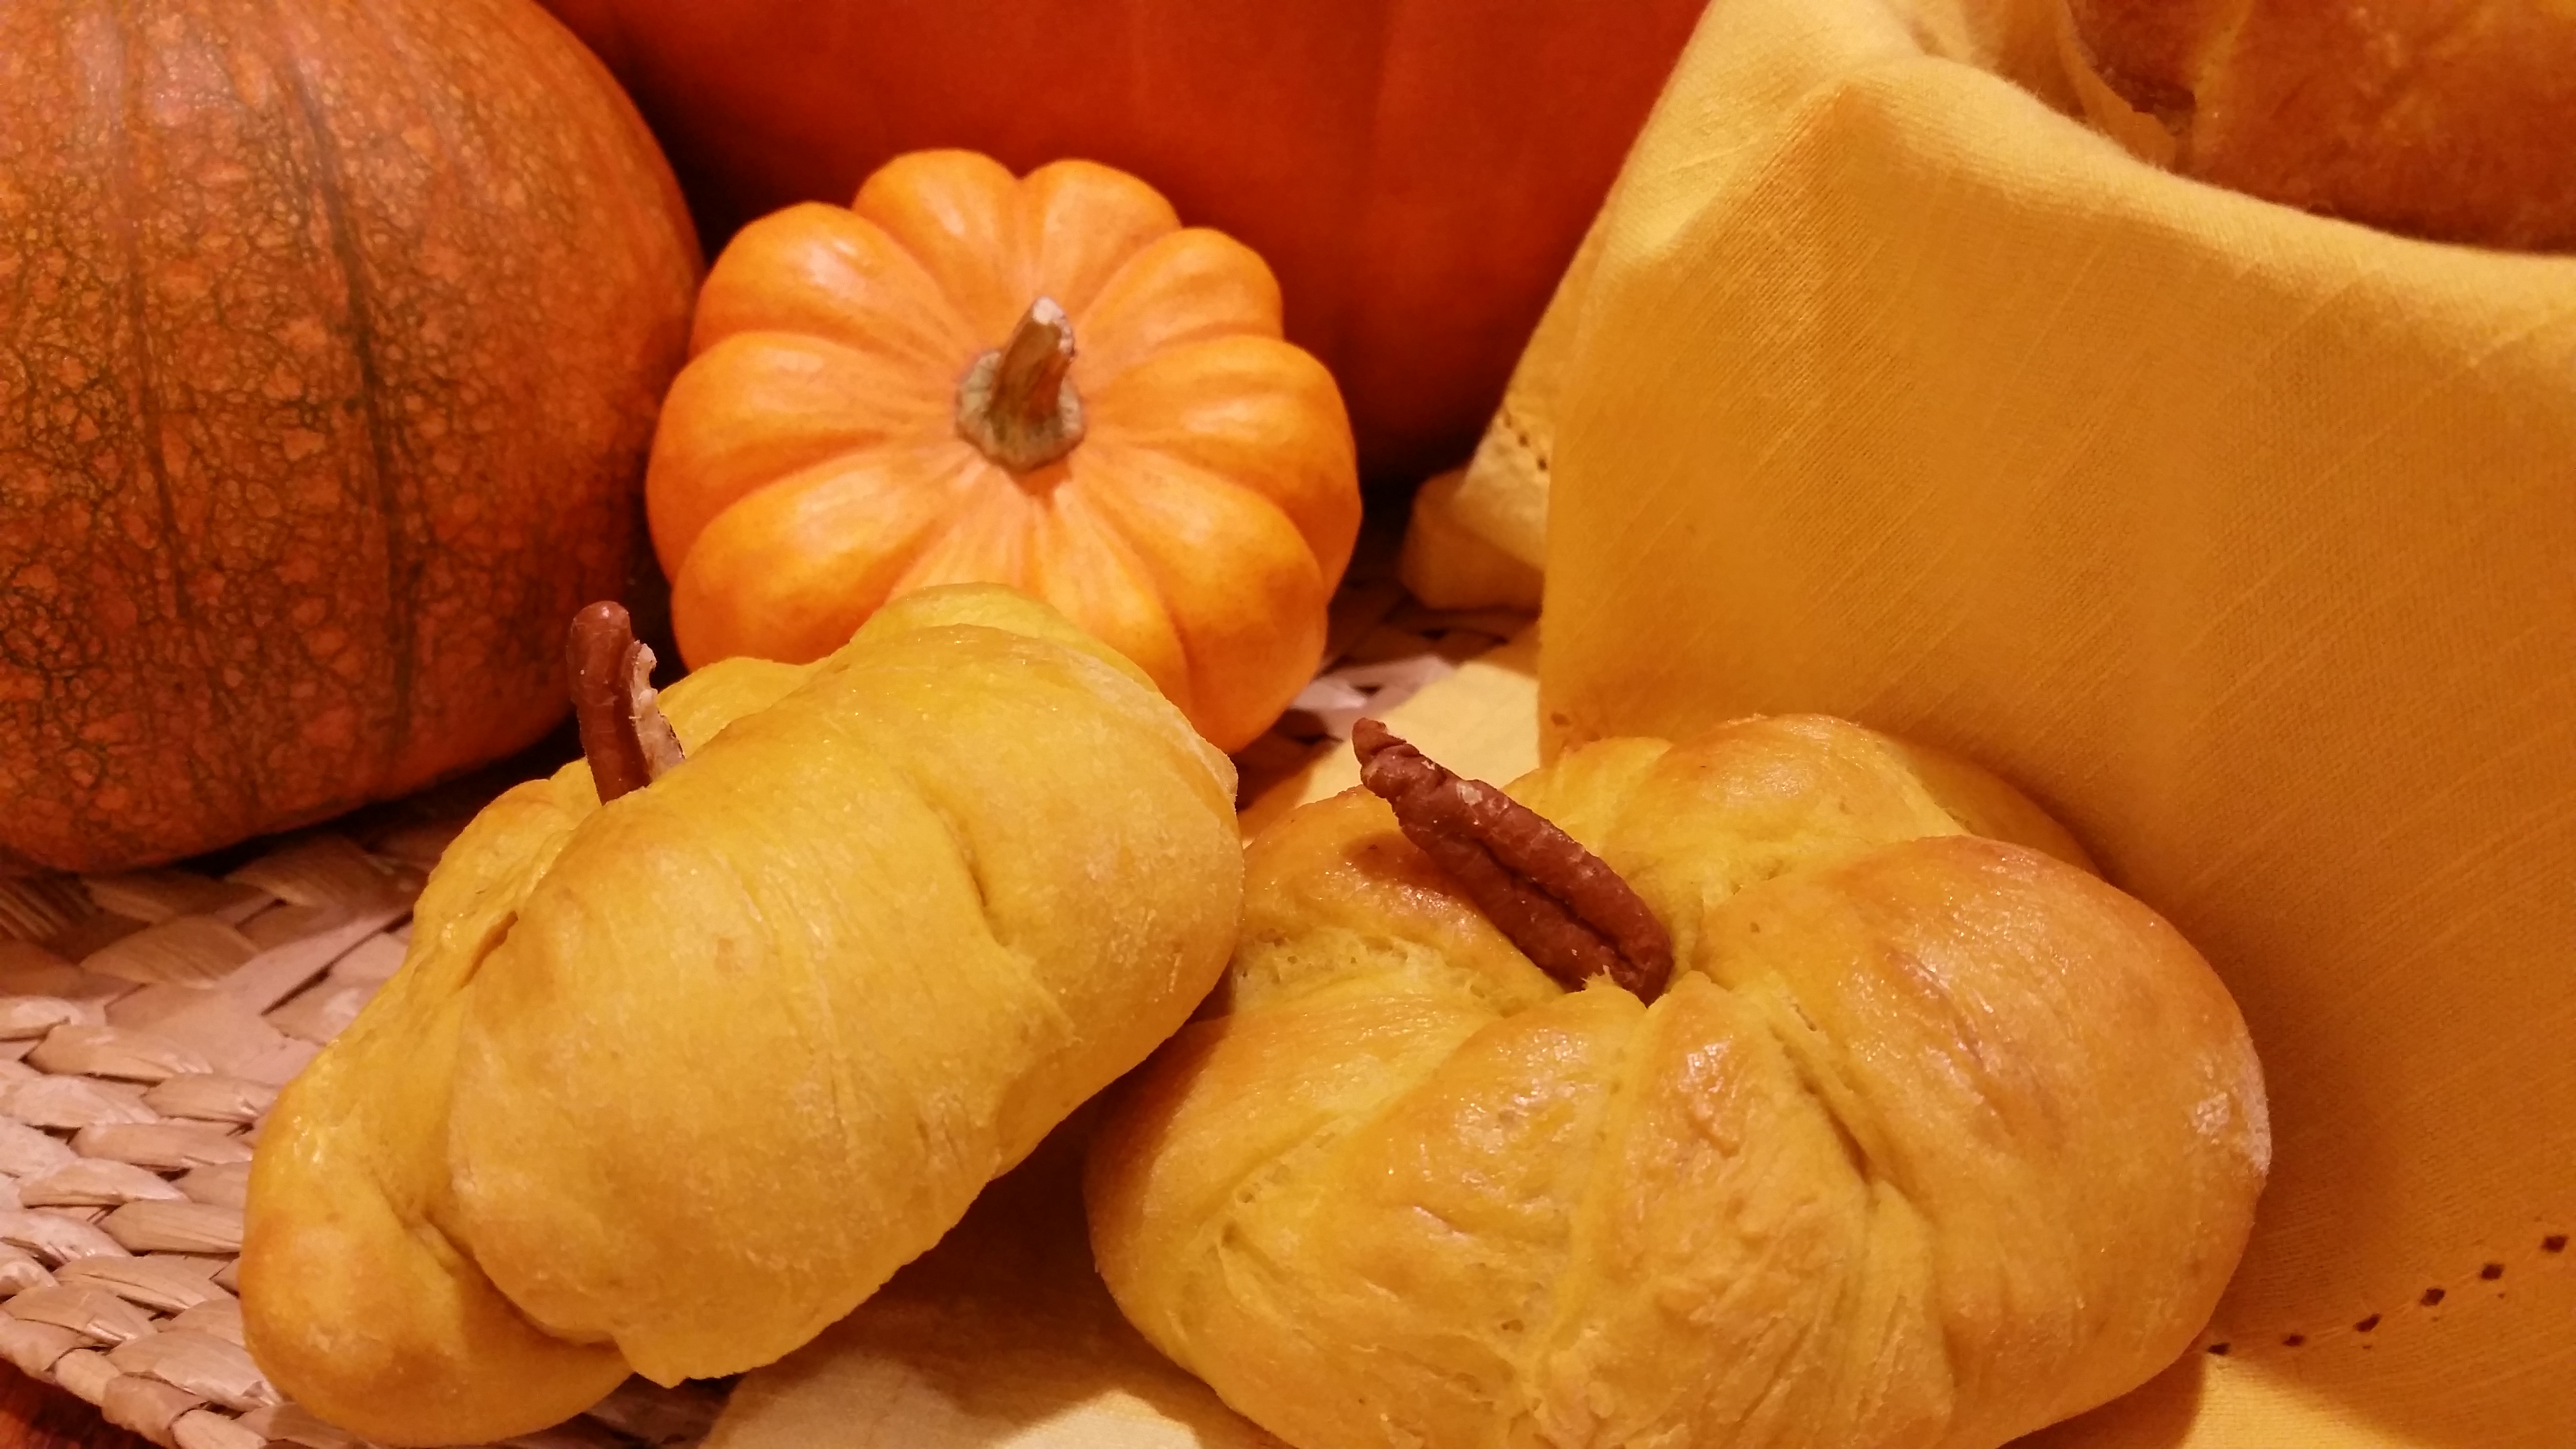
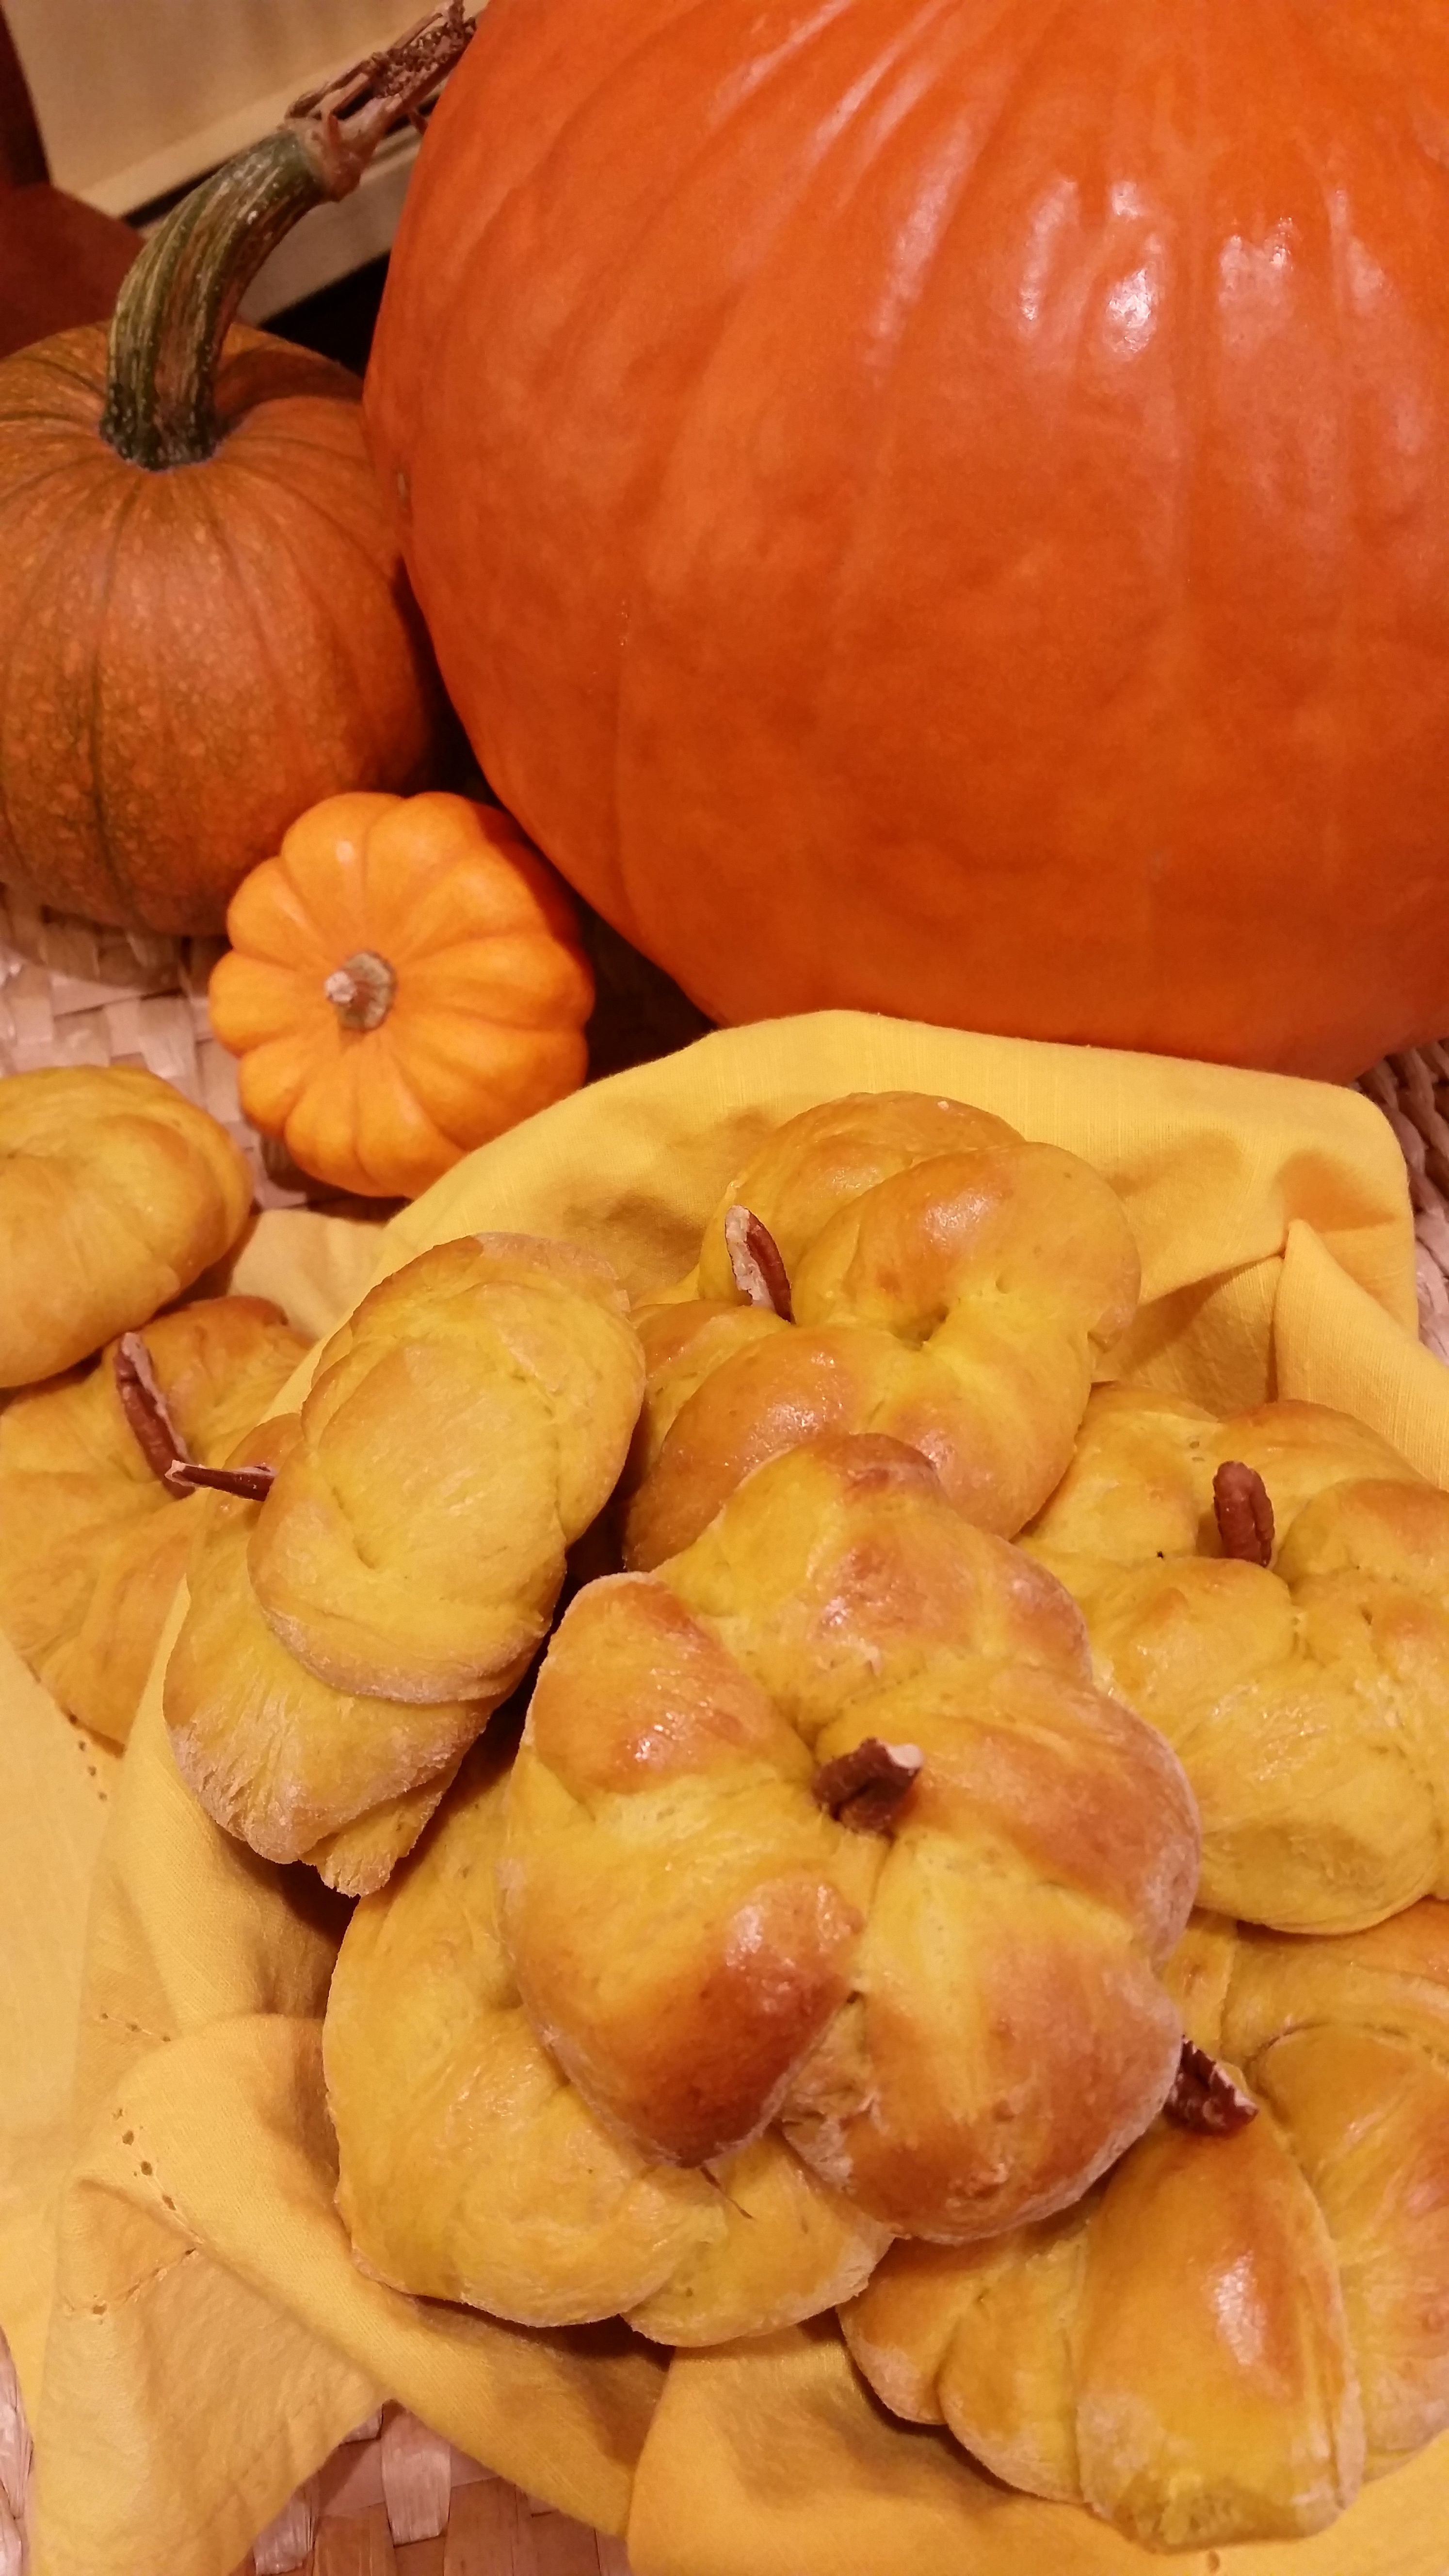
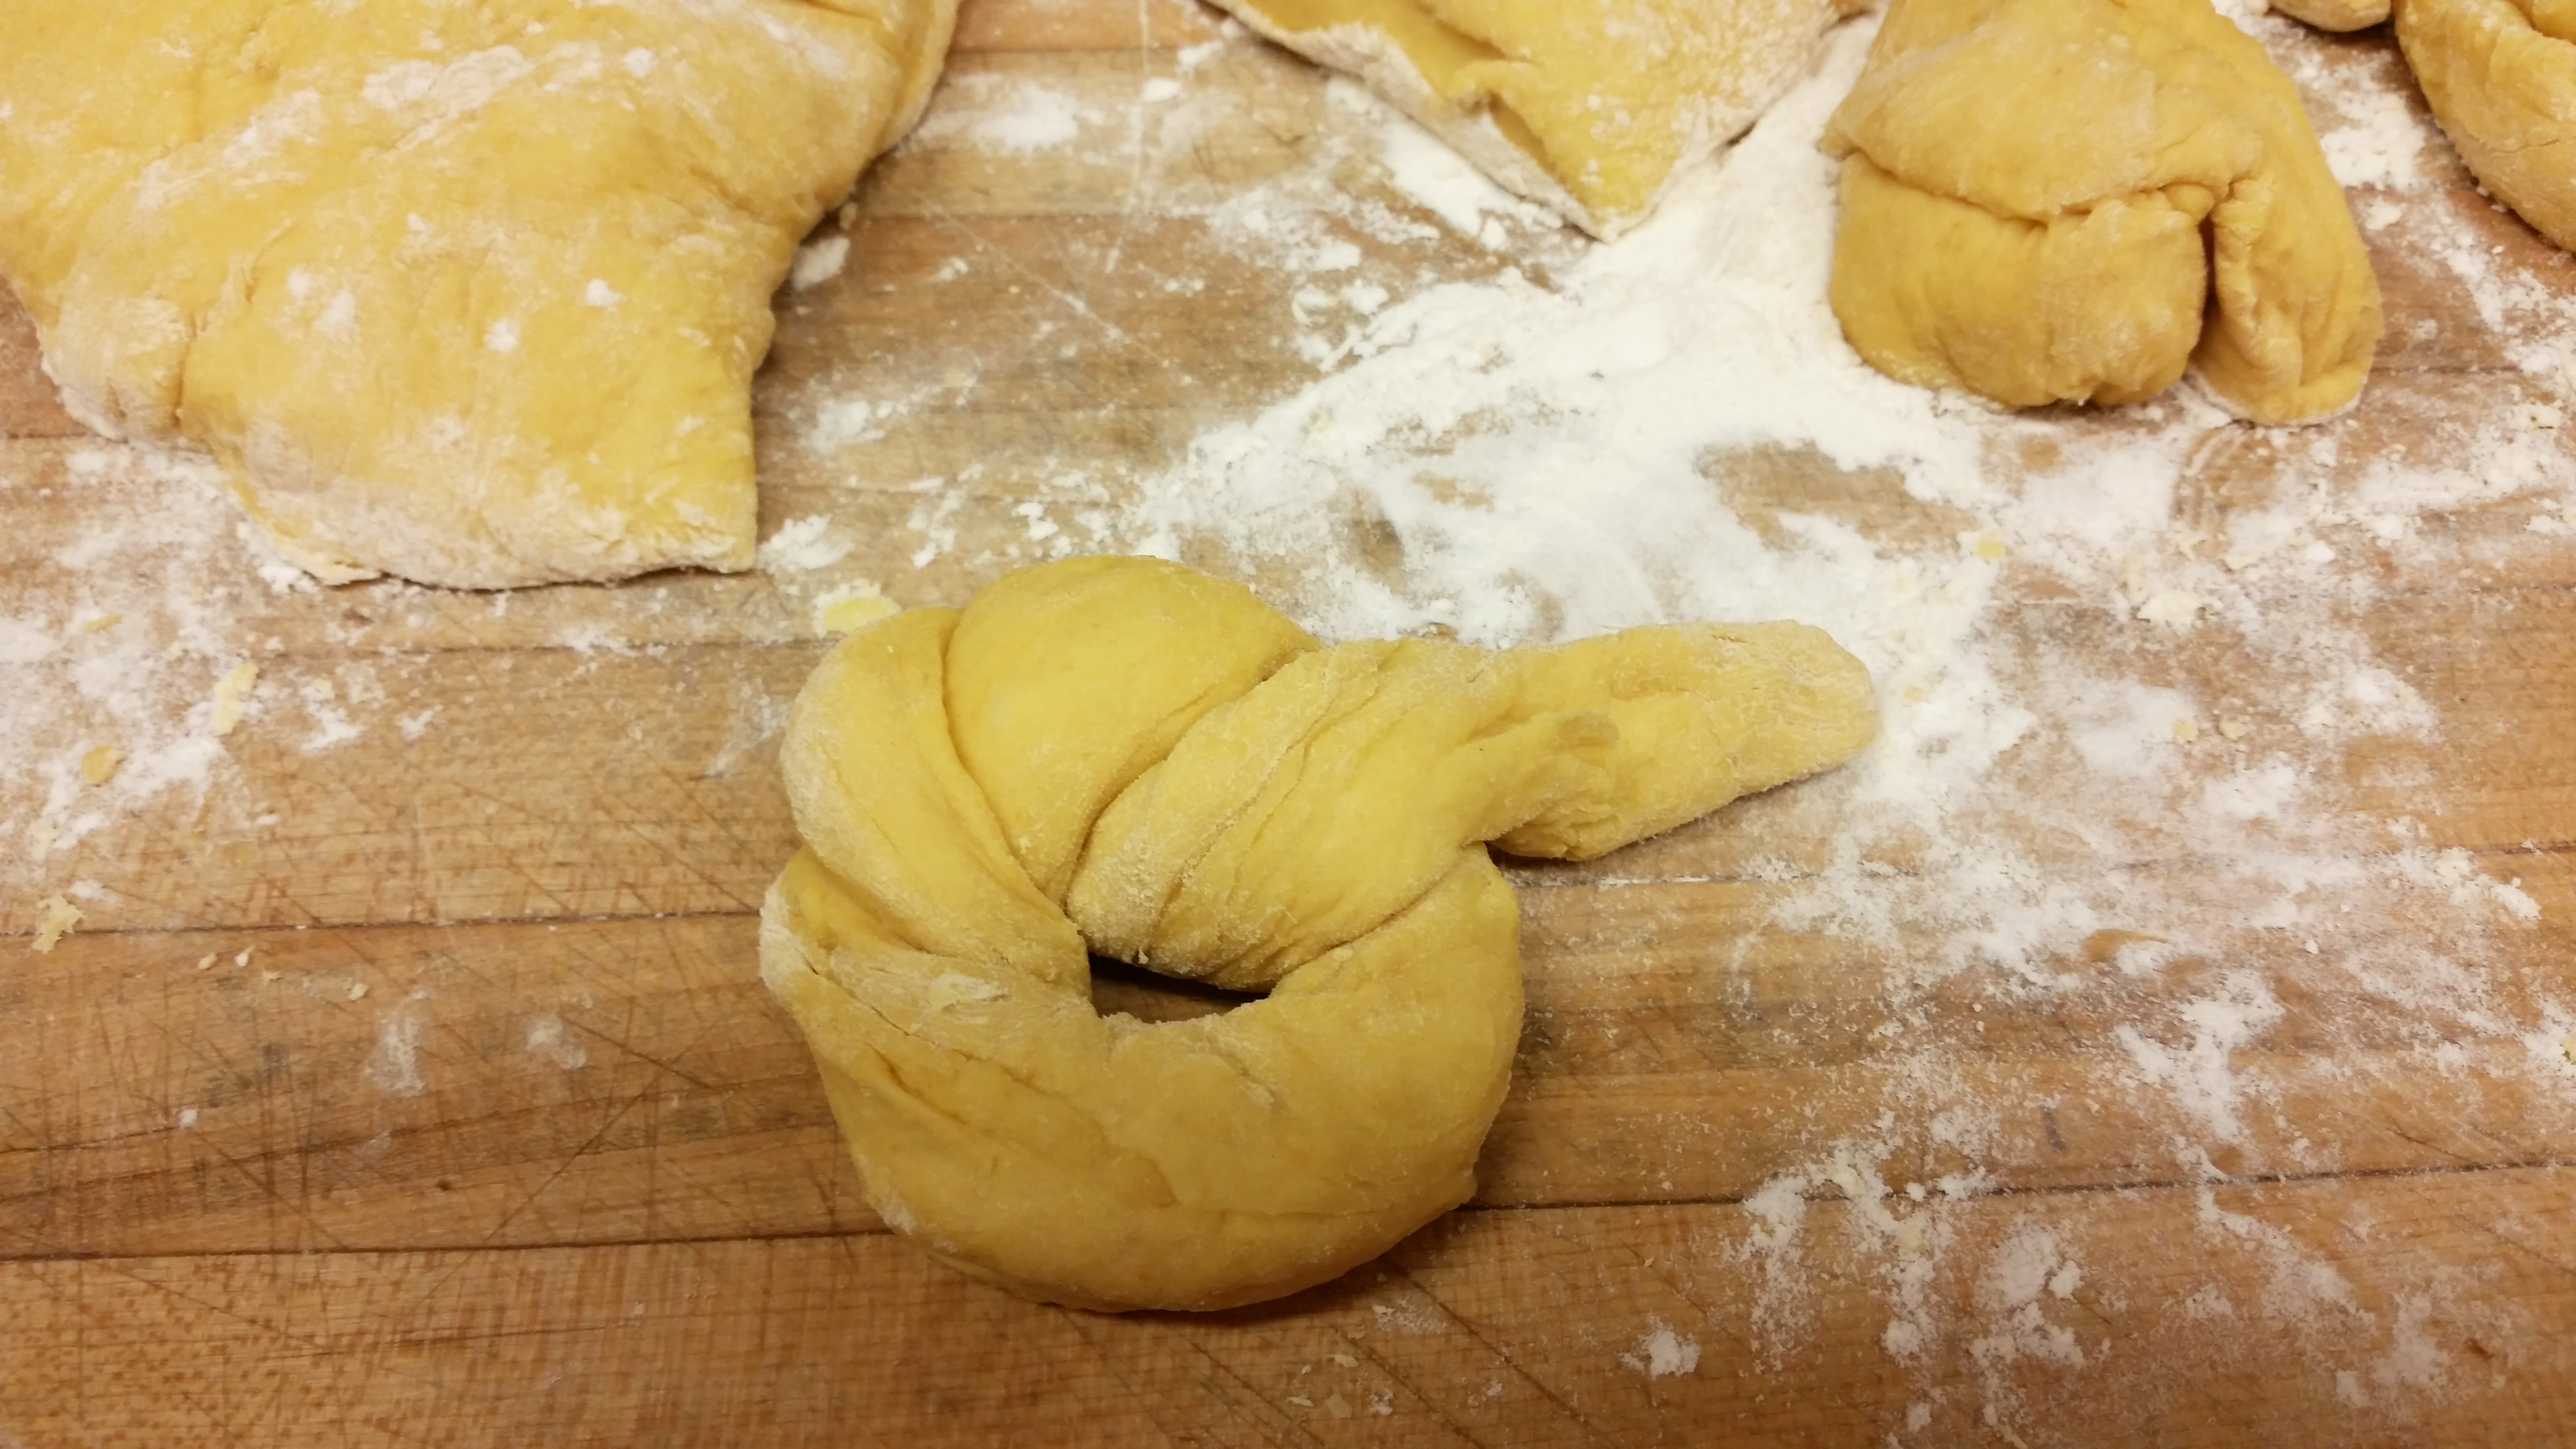
Our Convent bakers are always thinking ahead and experimenting — their thoughts and ideas are often very innovative! This week they were totally into Thanksgiving and enjoying it thoroughly. They assured me that I would be pleased with the final outcome of their efforts and how right they were! I had heard pumpkin being mentioned so I was expecting a pumpkin dessert of some sort. Instead they produced the tastiest dinner rolls which could not have pleased me more — whimsical little pumpkin-shaped creations, each complete with its own stem. I can’t wait to see the smiles on every person as they gather around the table this year.
Print Recipe
Votes: 1
Rating: 3
You:
Rate this recipe!
Tasty Pumpkin Rolls
SERVINGS2dozen
|
COOK TIME12-15 minutes |
PREP TIME40min + rising |
READY INapprox. 2hours |
Ingredients
Instructions
- In a bowl, dissolve yeast in warm water. Sprinkle with sugar; let stand for 5 minutes. Add milk, brown sugar, pumpkin, butter, salt, spices and 2 cups flour; beat until smooth. Stir in enough remaining flour to form a soft dough. Turn onto a floured surface; knead until smooth and elastic, about 6-8 minutes. Place in a greased bowl, turning once to grease top. Cover and let rise in a warm place until doubled, about 1 hour. Punch dough down.
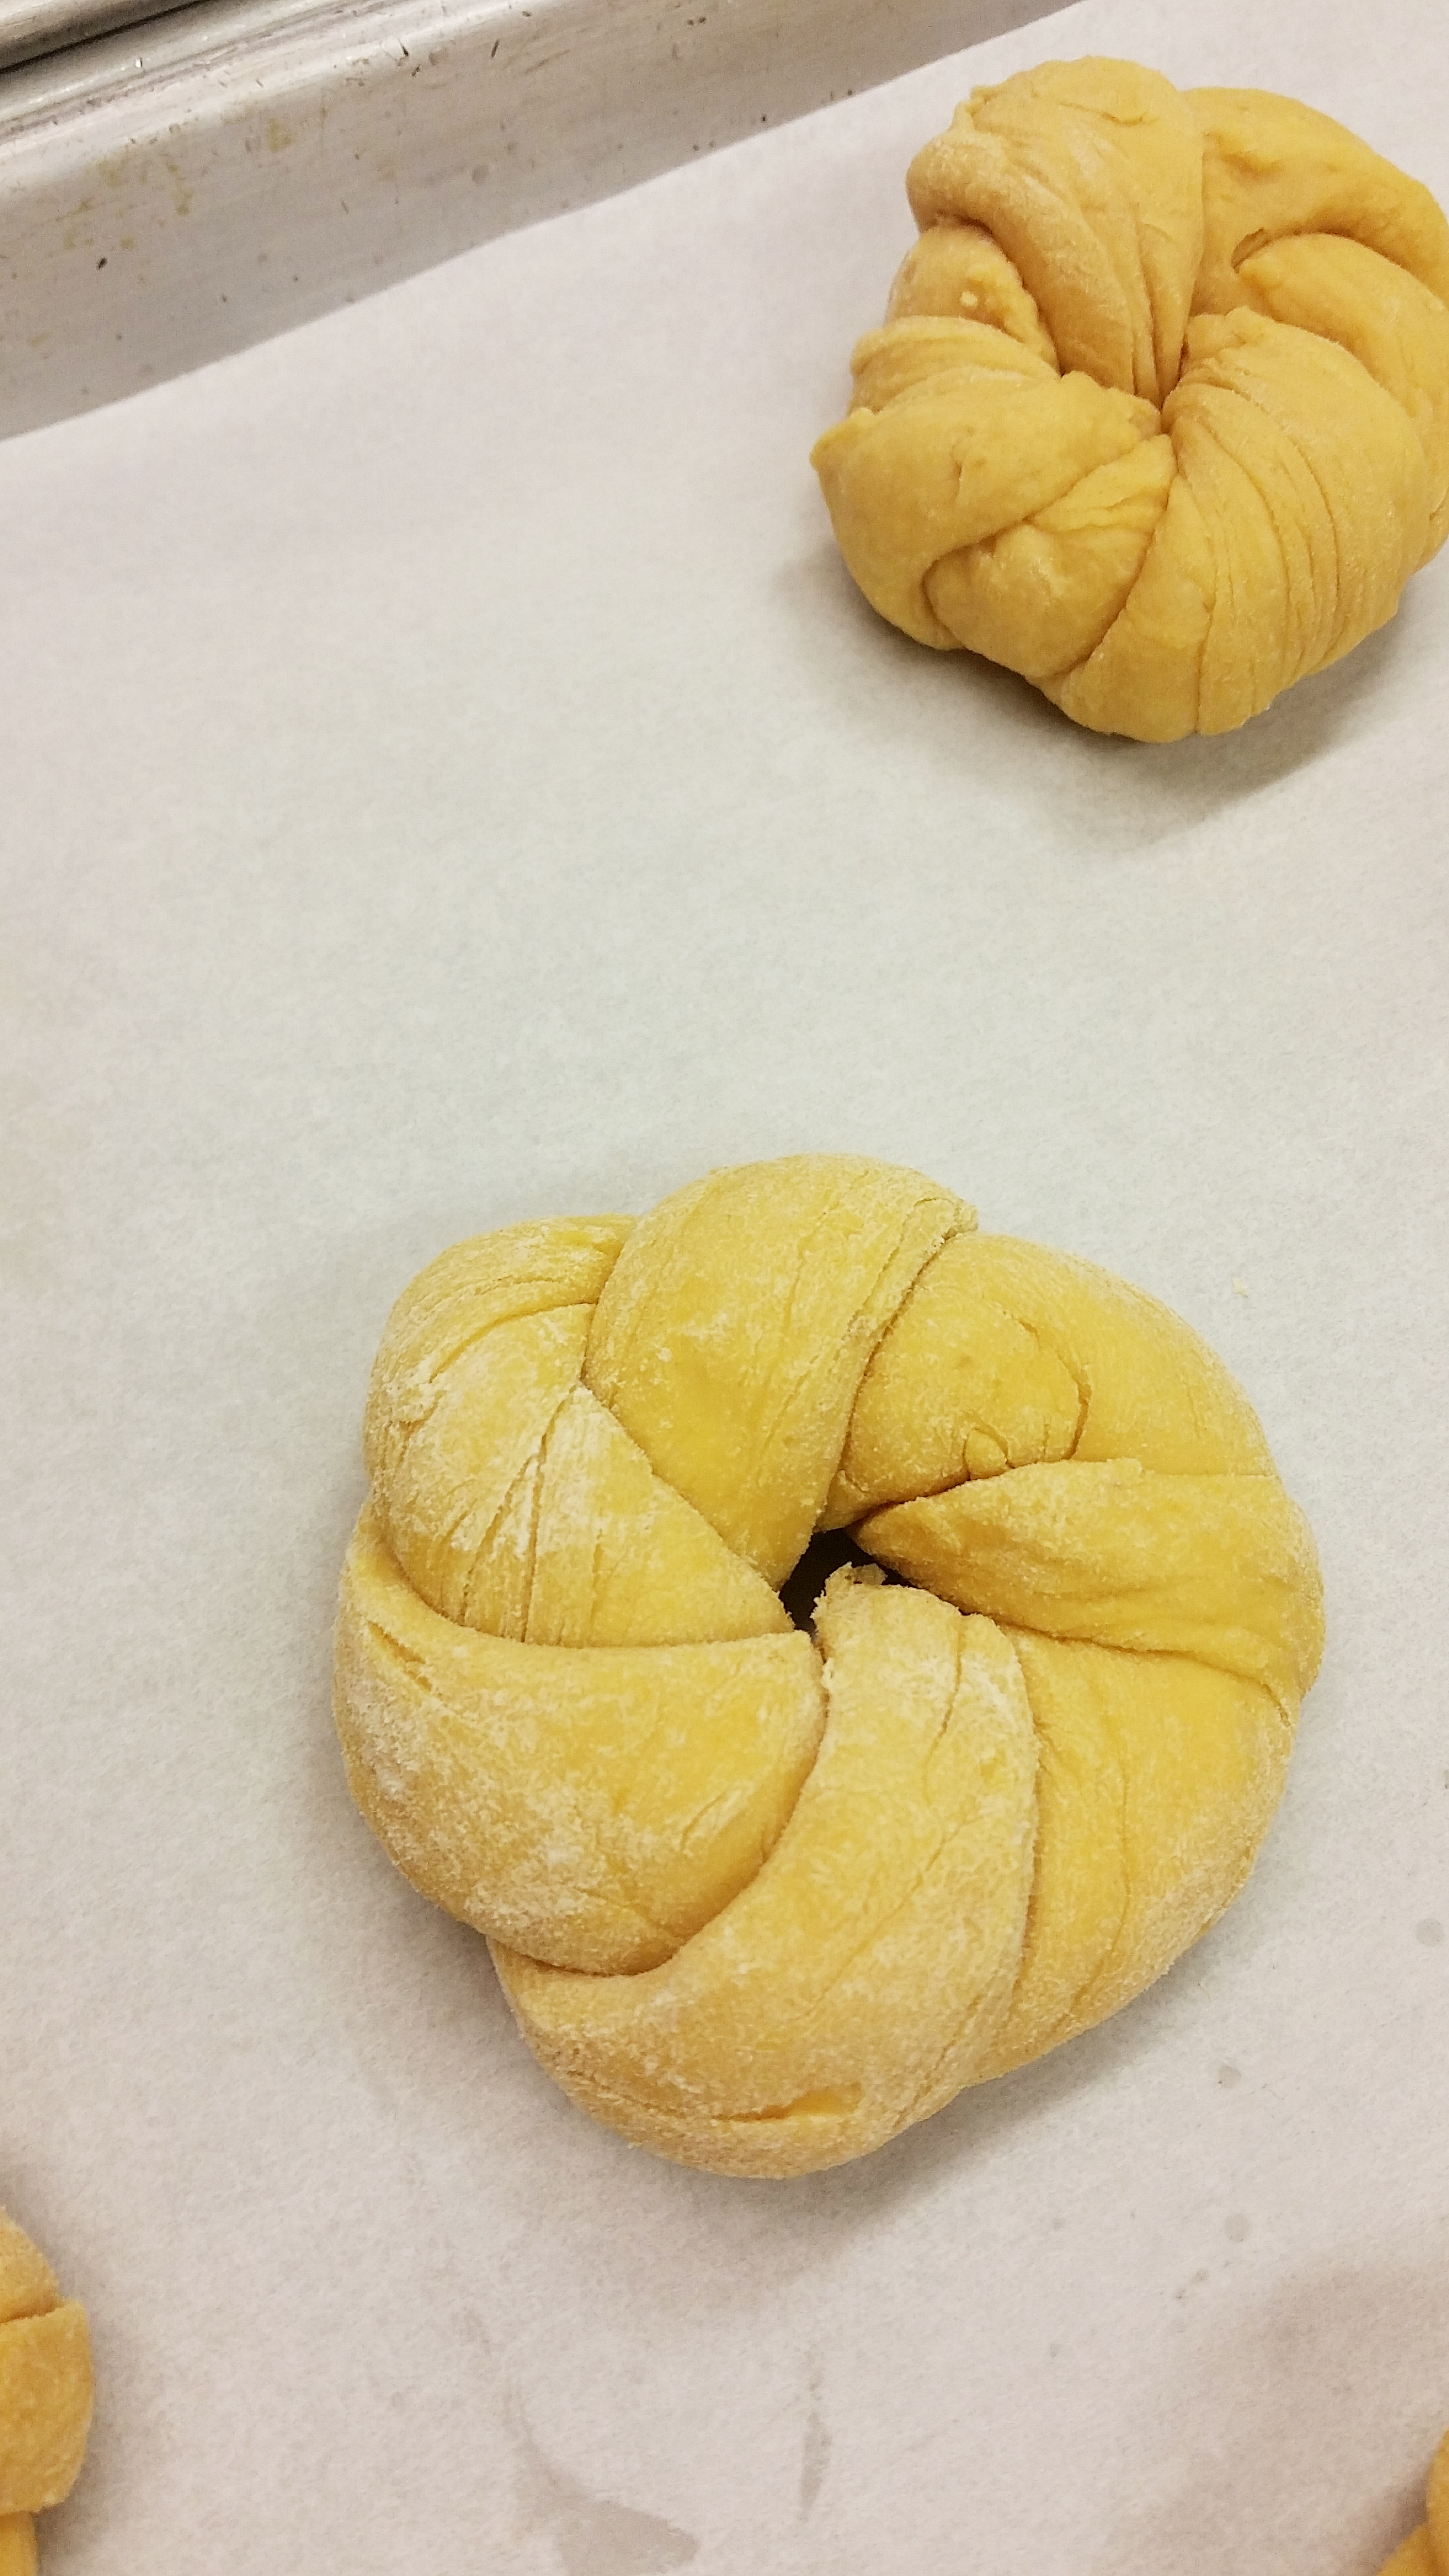
- Turn out the dough onto a lightly floured surface. Divide into 24 evenly-sized pieces. Working a few at a time, roll each piece of dough into a 12-inch rope on an un-floured surface. Before shaping, lightly dust ropes with flour, and then, with floured hands, turn each one into a pumpkin.
- Create a small loop in the rope with a long tail on one side and a short tail on the other. Wrap the long tail around the edge of the loop 2-to-3 times. Hold the remaining end of the long tail on the bottom-side of the loop with a finger to keep it from unraveling as you continue to work. Wrap the other tail around the edge of the loop, tucking it through the center of the loop.
- Pinch both of the ends together where they meet on the bottom side of the loop. If you’re not happy with the look of any of the rolls, simply set them aside for about 10 to 15 minutes and reshape. Place finished rolls on parchment lined baking sheets. Cover rolls loosely with plastic wrap and let rise for about 10 minutes.
- Just before baking, brush rolls with an egg wash for a shiny look or butter for a matte finish. Insert a sliced pecan into the center of each roll, pressing so the pecan touches the pan. In an oven preheated to 400° F, bake rolls for 12 to 15 minutes, rotating halfway through baking time. Rolls should be golden brown and gently firm to the touch. If not serving right away, shorten the baking time by several minutes and finish baking right before eating.
One of the beautiful things that I am learning about Italian cooking is that each ingredient is to be savored. So many times, we take wonderful ingredients and throw them all together and miss appreciating them as they were meant to be.
As I walk along the streets of Barga with the dogs in the morning or on my way to the Pannificio to get our bread for the day, I often take photographs of the menus hanging on the restaurant windows. When I return to the Villa and have a moment, I try to find a recipe and recreate them.
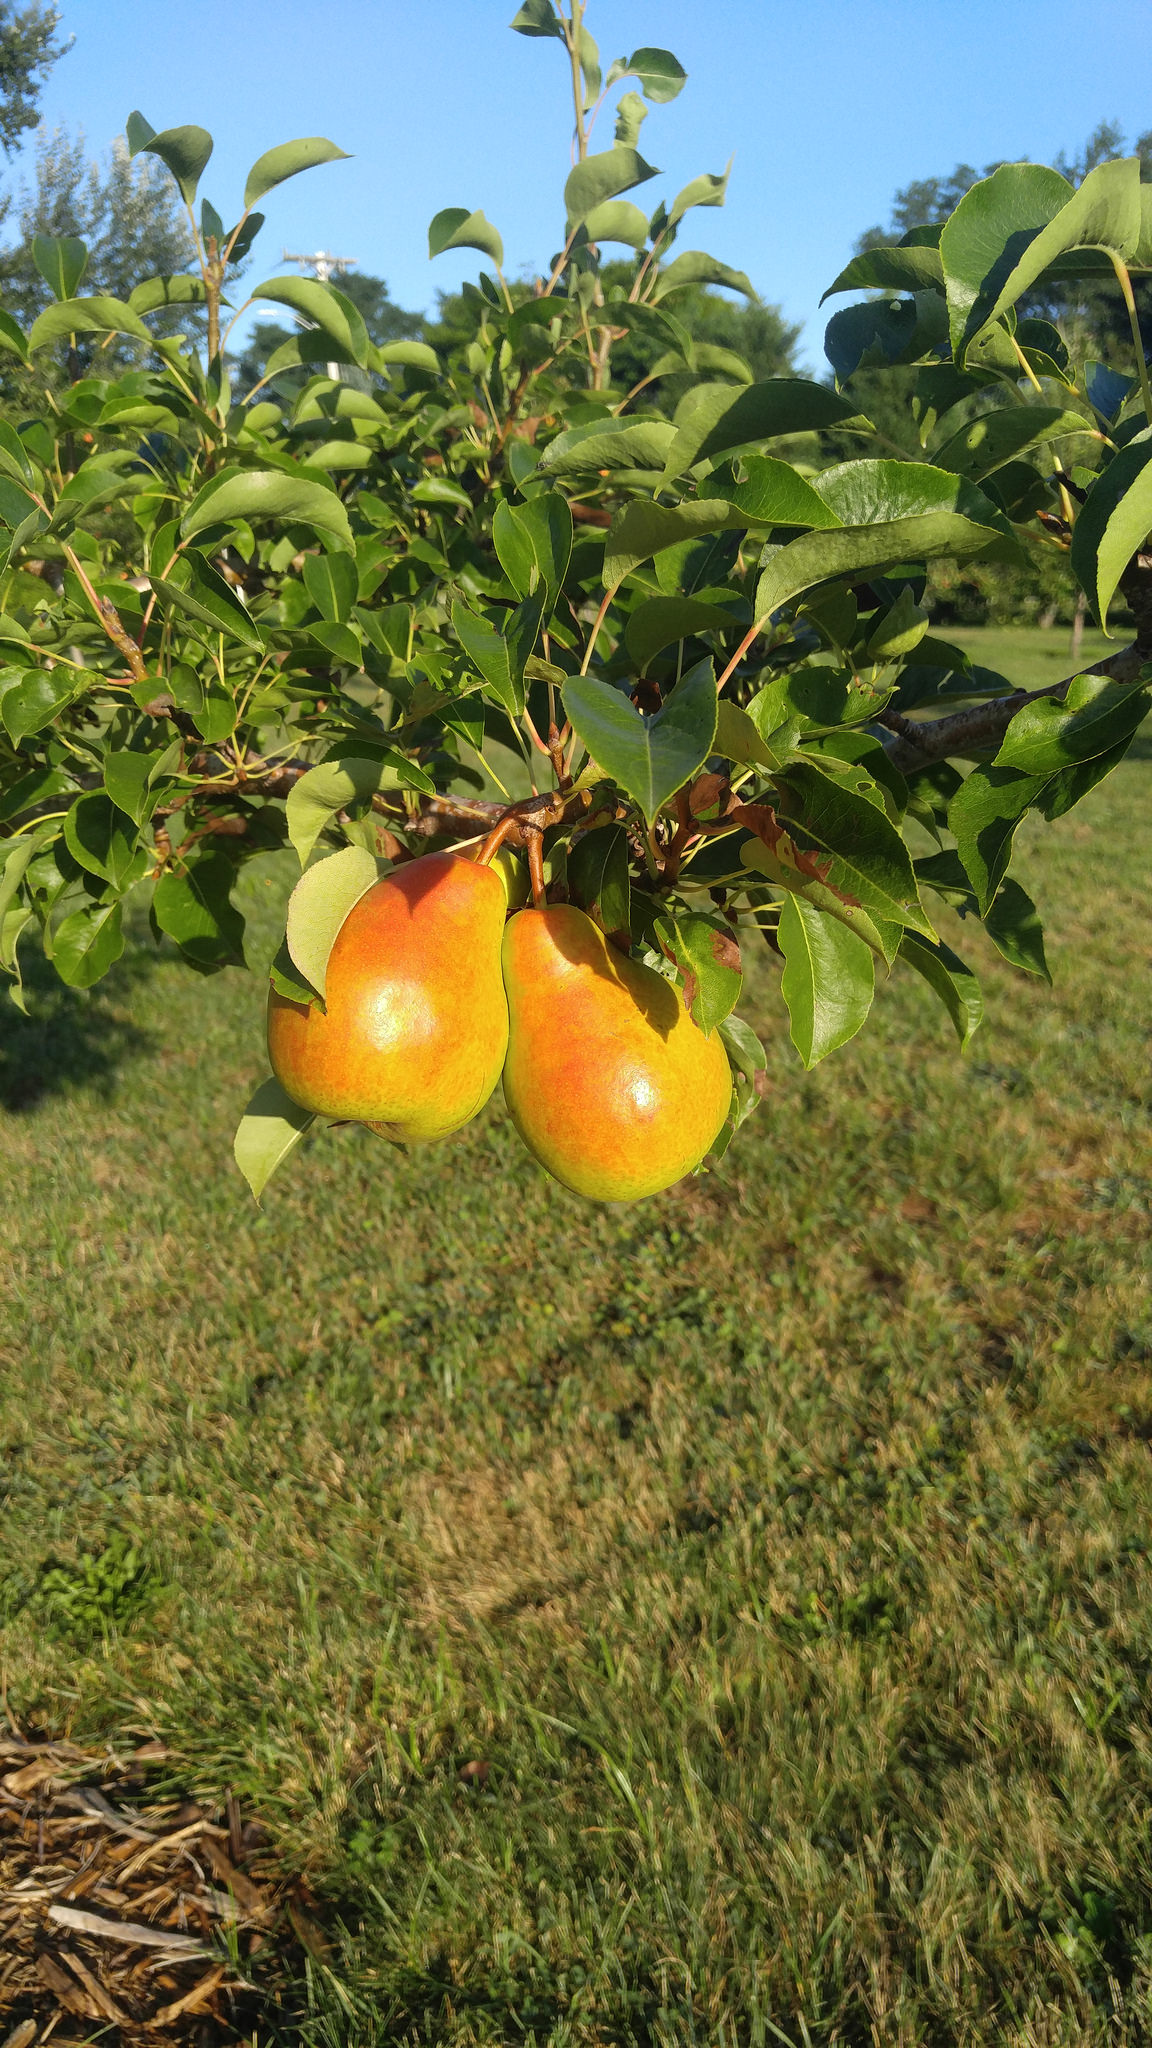
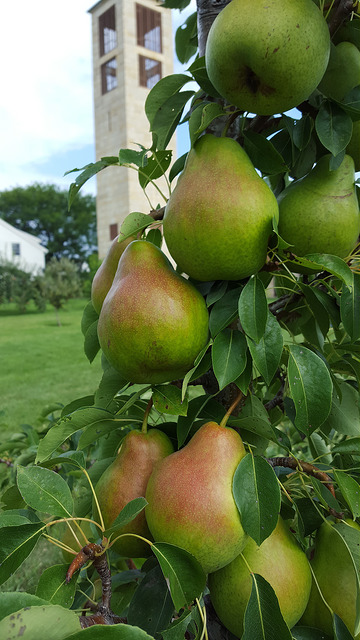
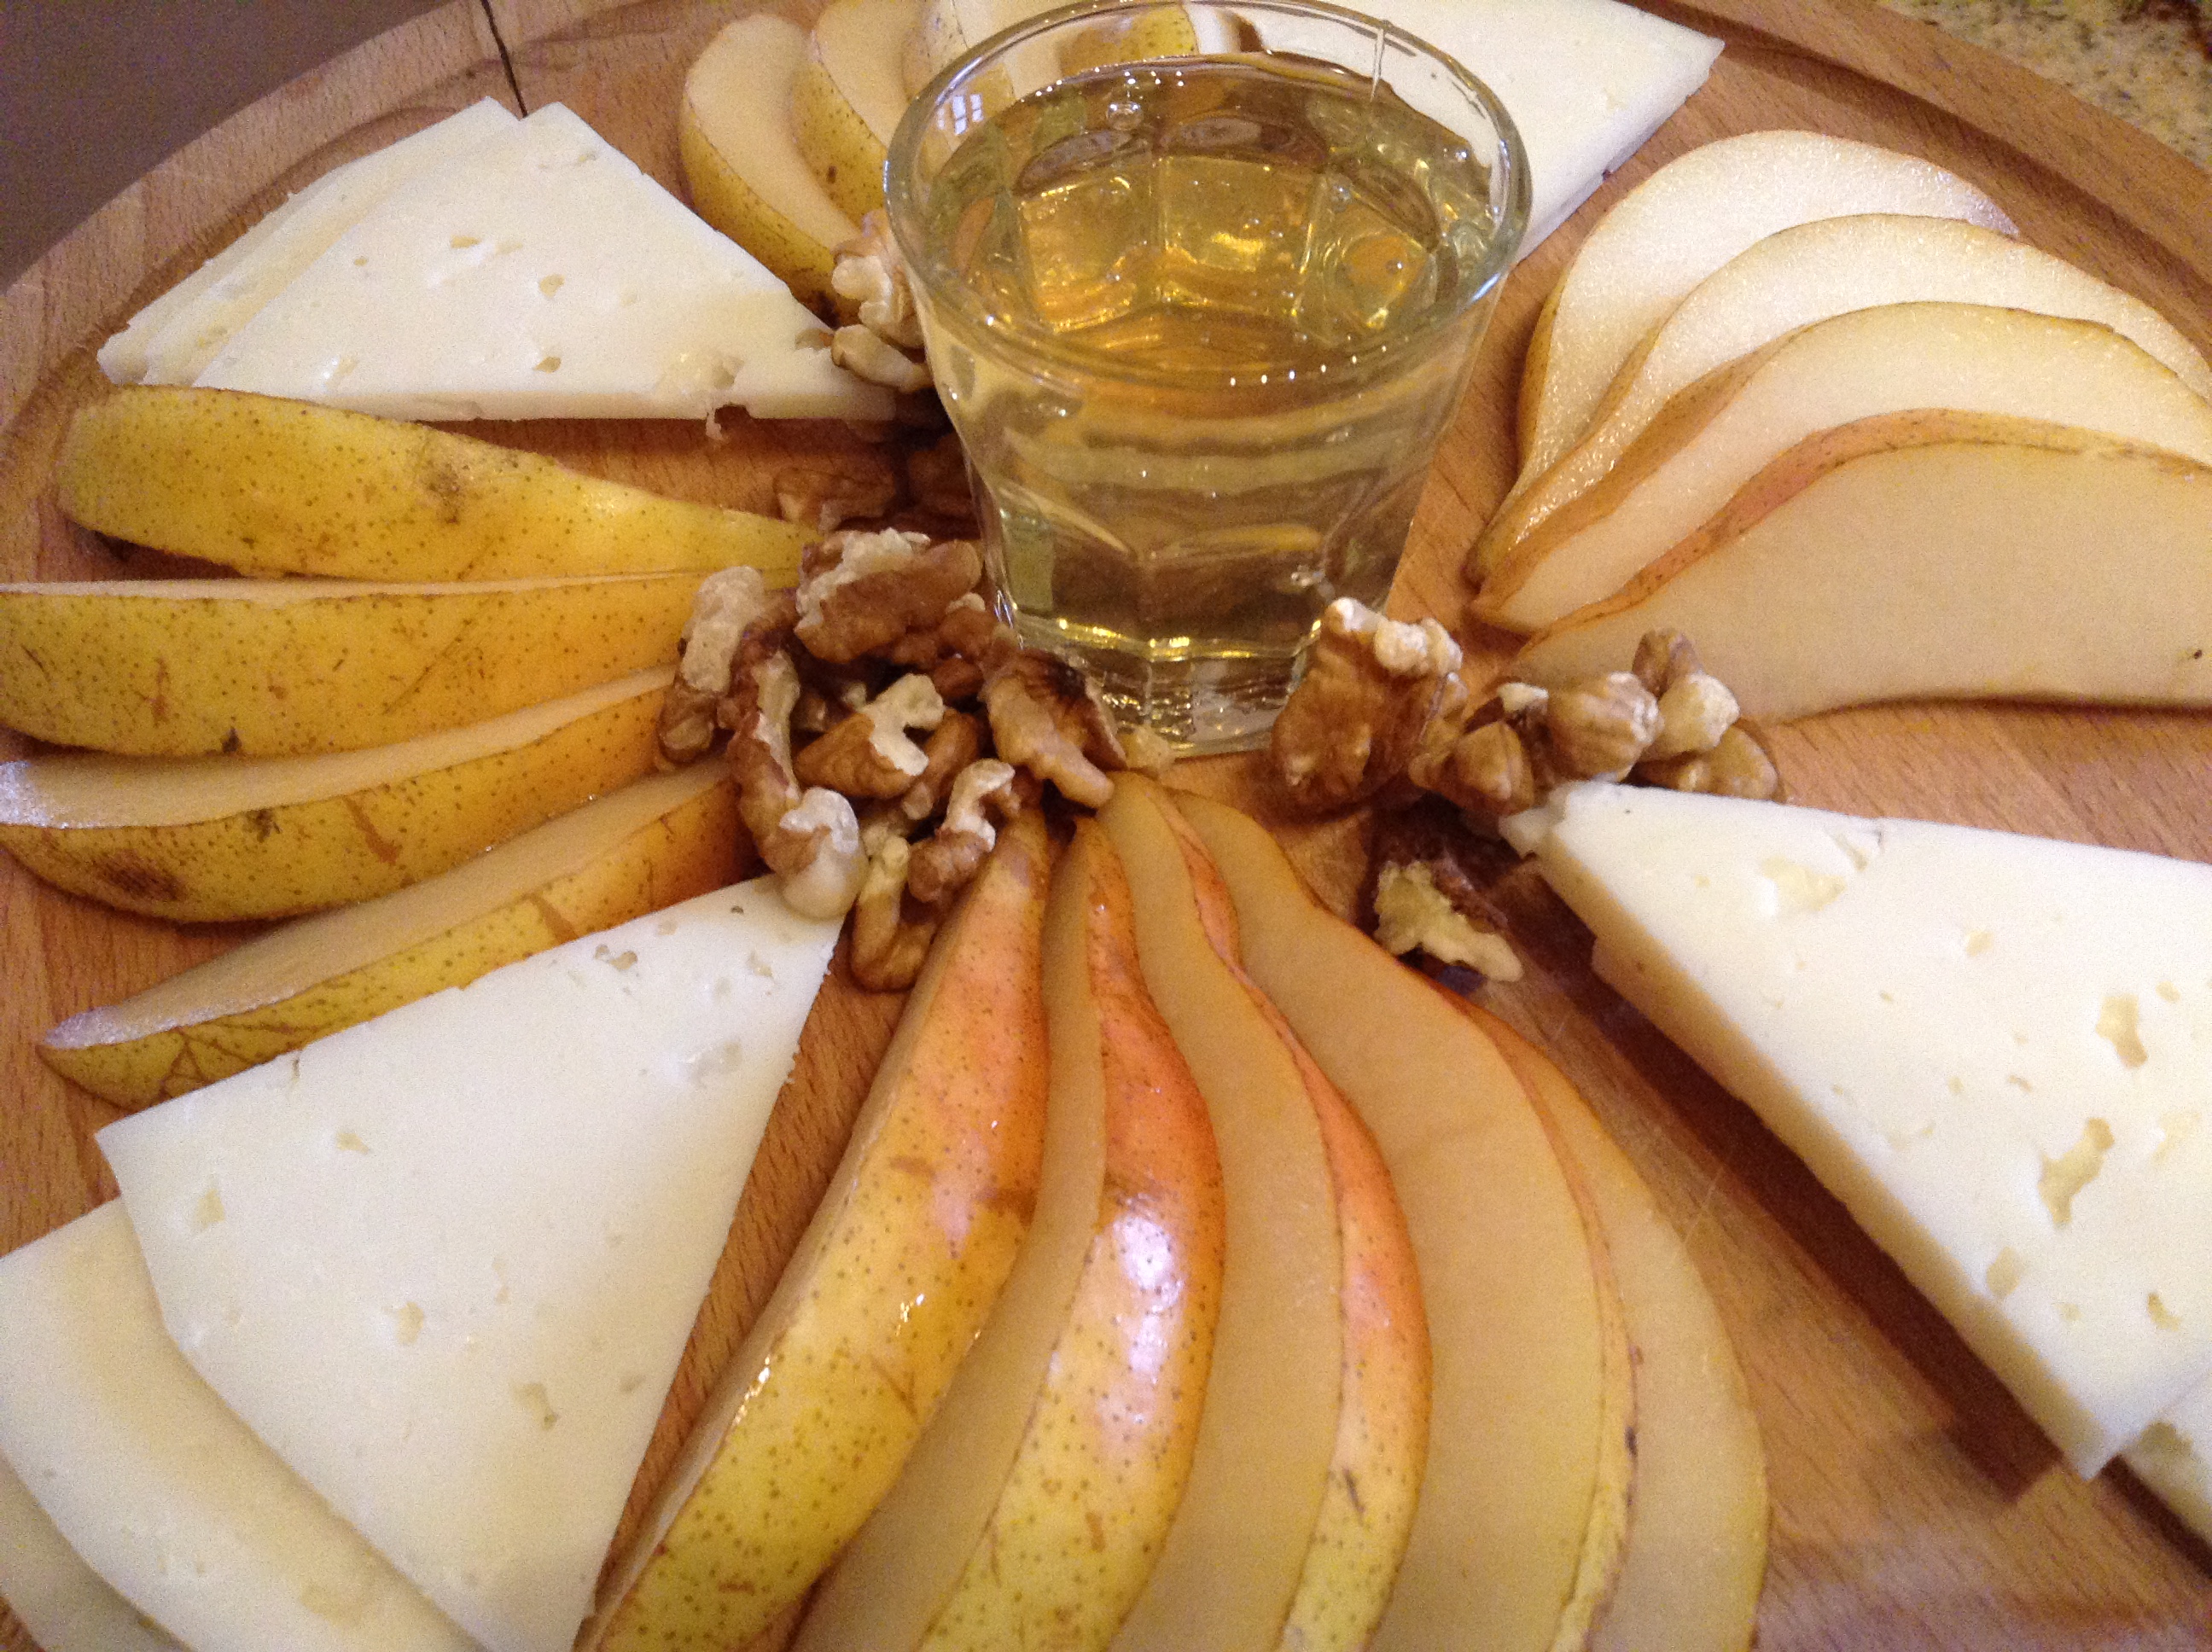
A featured item on the menu in the Garfagnana district, and much of Tuscany, is Pecorino pere e miele – Pecorino with pears and honey. Pecorino is a cheese made from sheep’s milk and each district or town here is very proud of their own version of the cheese. The taste of the cheese changes depending on what type of grass the sheep are fed and how the cheese is aged. Most popular and well known are those produced in Sardinia. A good Pecorino Stagionato is often the finish of a meal, served with pears and walnuts and drizzled with a strong chestnut honey or one of the lighter acacia honeys farmed locally. Their food is simple, but in this simplicity can be found tremendous beauty and taste. Savor the moment.
Print Recipe
Votes: 0
Rating: 0
You:
Rate this recipe!
Pecorino Pere e Miele
SERVINGS4people
|
COOK TIME0minutes |
PREP TIME10 minutes (or less..) |
READY IN10 minutes |
Ingredients
- 1 pears
- 4-5 oz. pecorino fresco, semi-stagionato or stagionato (fresco is a mild and soft form, semi-stationato is also soft but sharper and stagionato is the hardest and sharpest form)
- 1/4 cup honey
- walnuts either in the shell or toasted halves - as many as you prefer
Instructions
- Slice the pear in quarters from top to bottom and remove the core carefully with a pairing knife. Then slice each quarter into three or four thin slices, depending on the thickness you prefer.
- Slice the cheese into small thin wedges.
- Fan the pears on the cutting board or serving plate with the cheese slices in between the pear.
- Set a dish of honey in the center of the board and place your walnuts around.
- Enjoy sharing this with your friends and family. Andiamo mangiare!
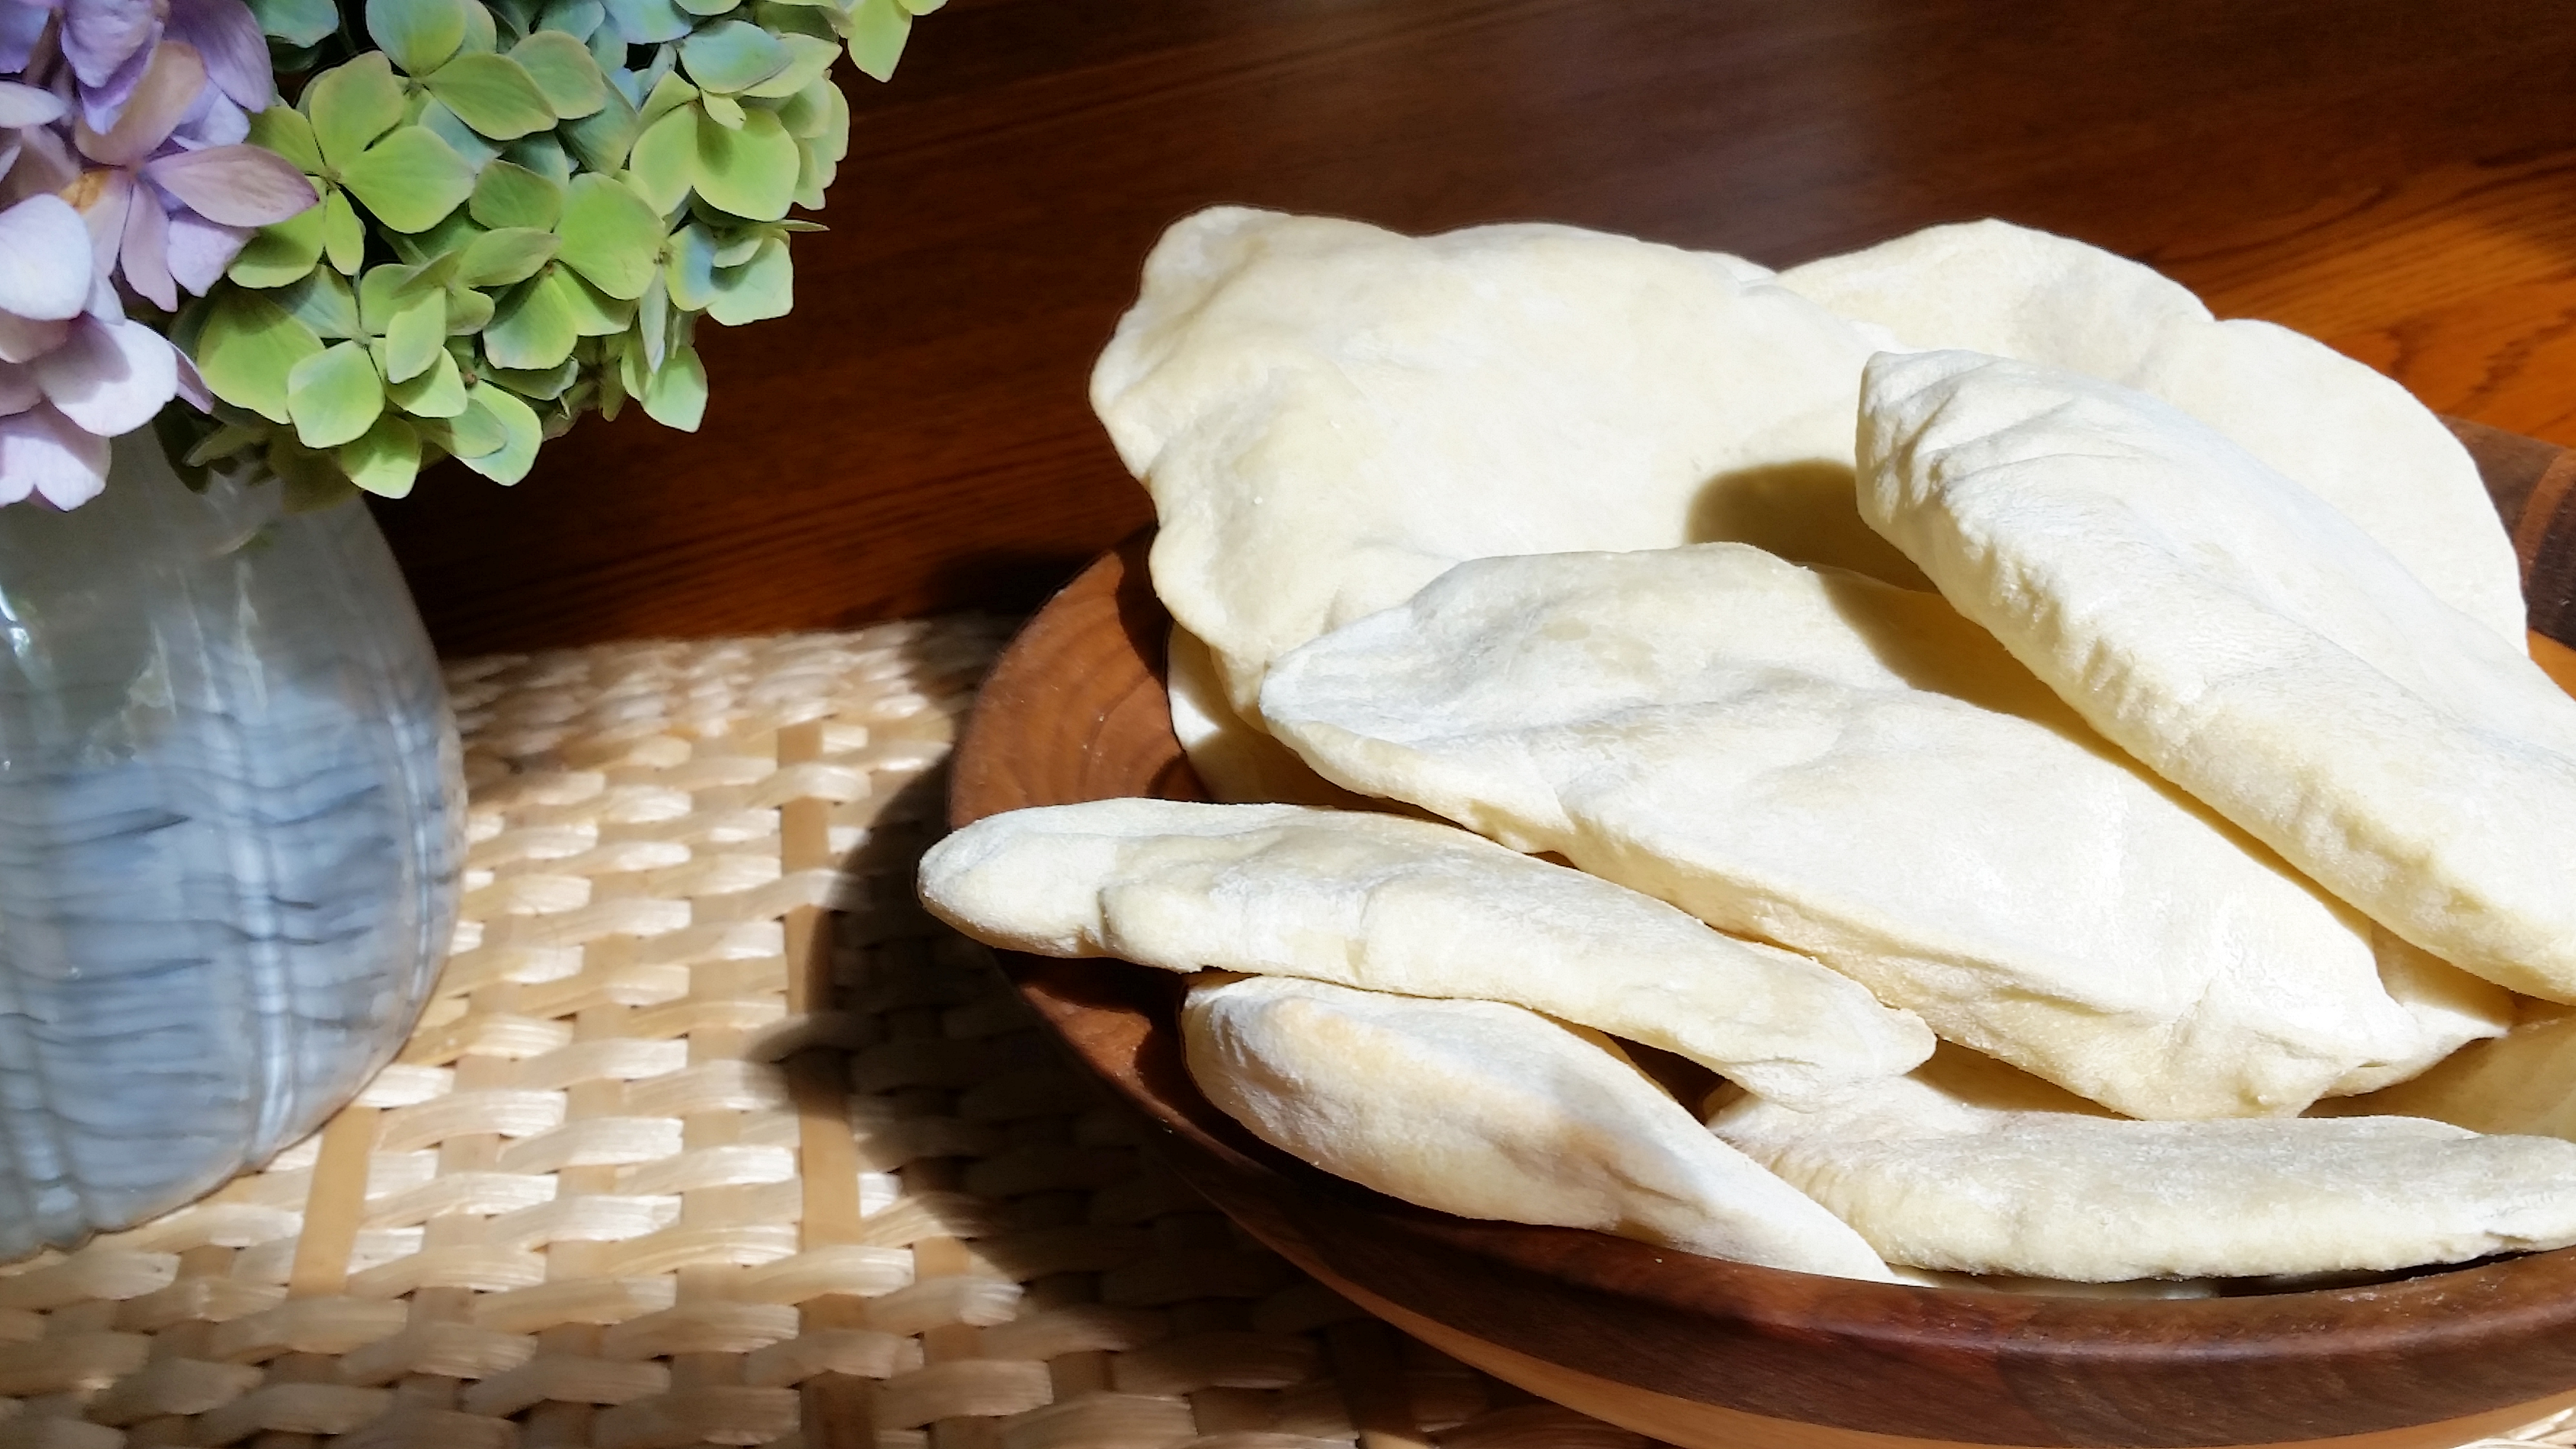
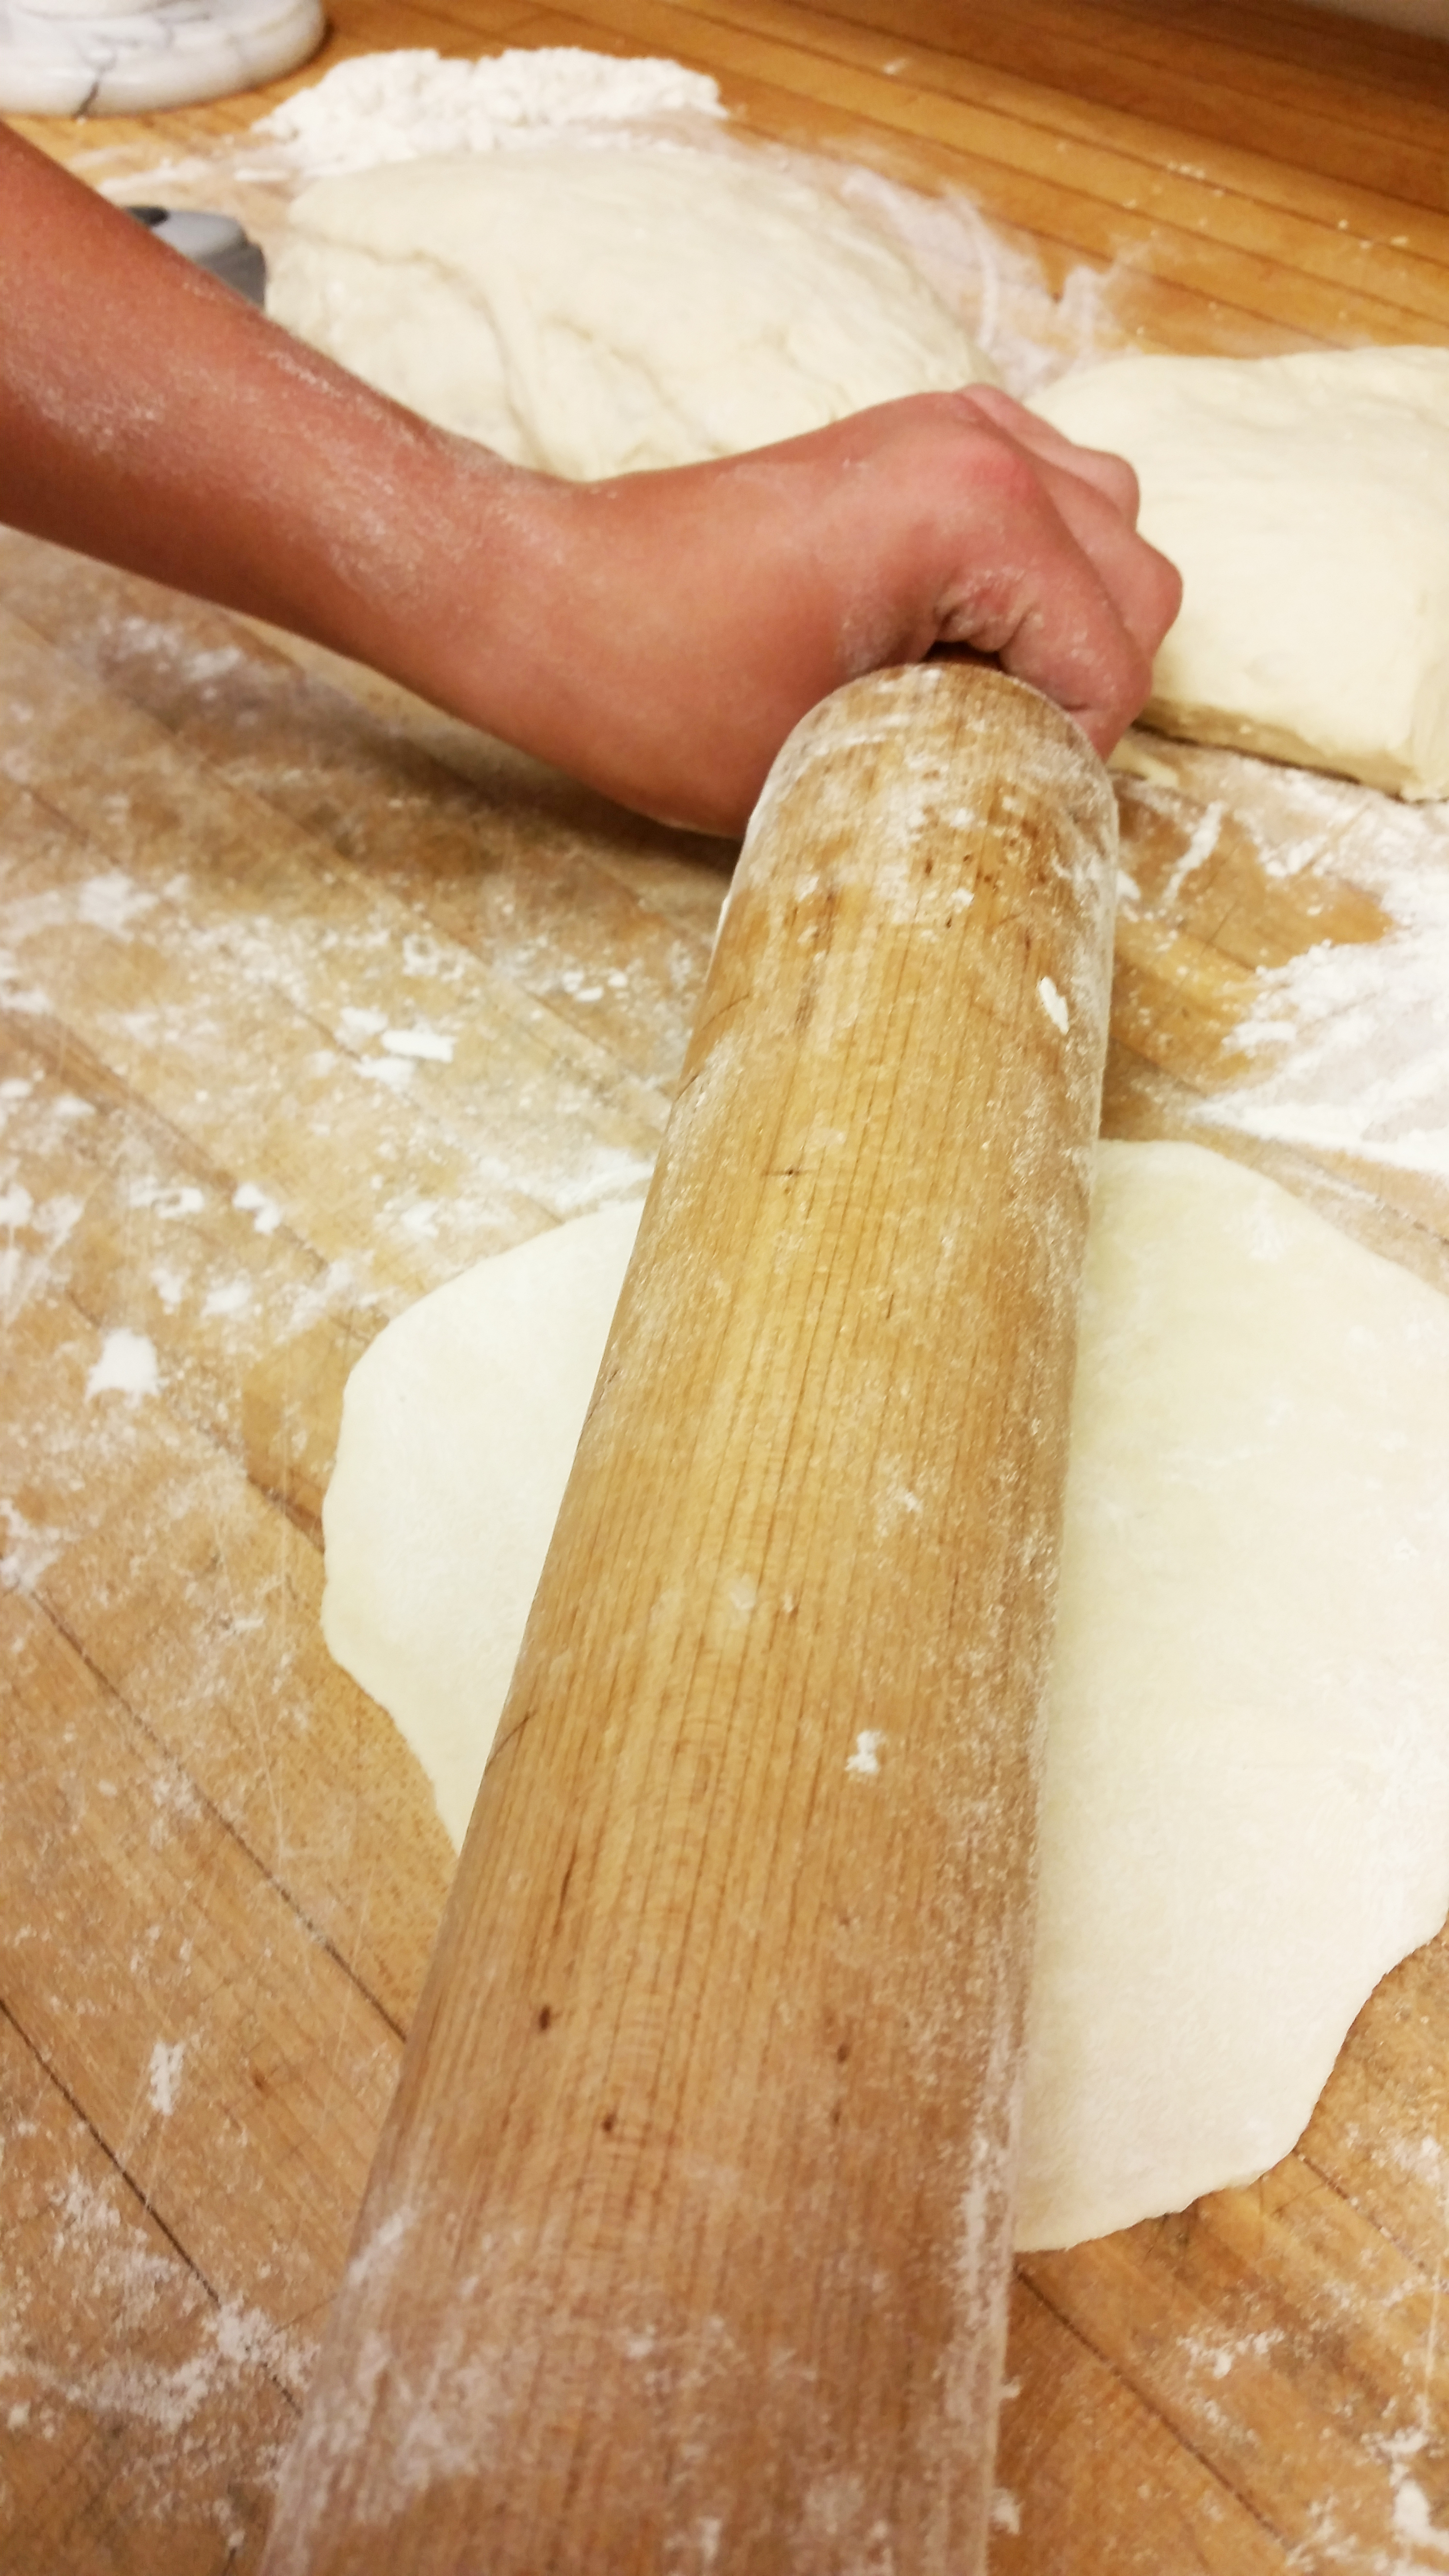
Years ago before pita pockets, as we now know them, had become so common and readily available commercially, they were a regular everyday staple in our home. We called these Syrian bread, because we had an authentic Syrian neighbor who baked it regularly for her household and taught my mother how to make it. I have many happy memories of helping my mother shape the dough into the round loaves. I loved watching these magically puff up into inflated discs in the oven as they baked; and then settle back down into their original shapes after they came out of the oven and cooled.
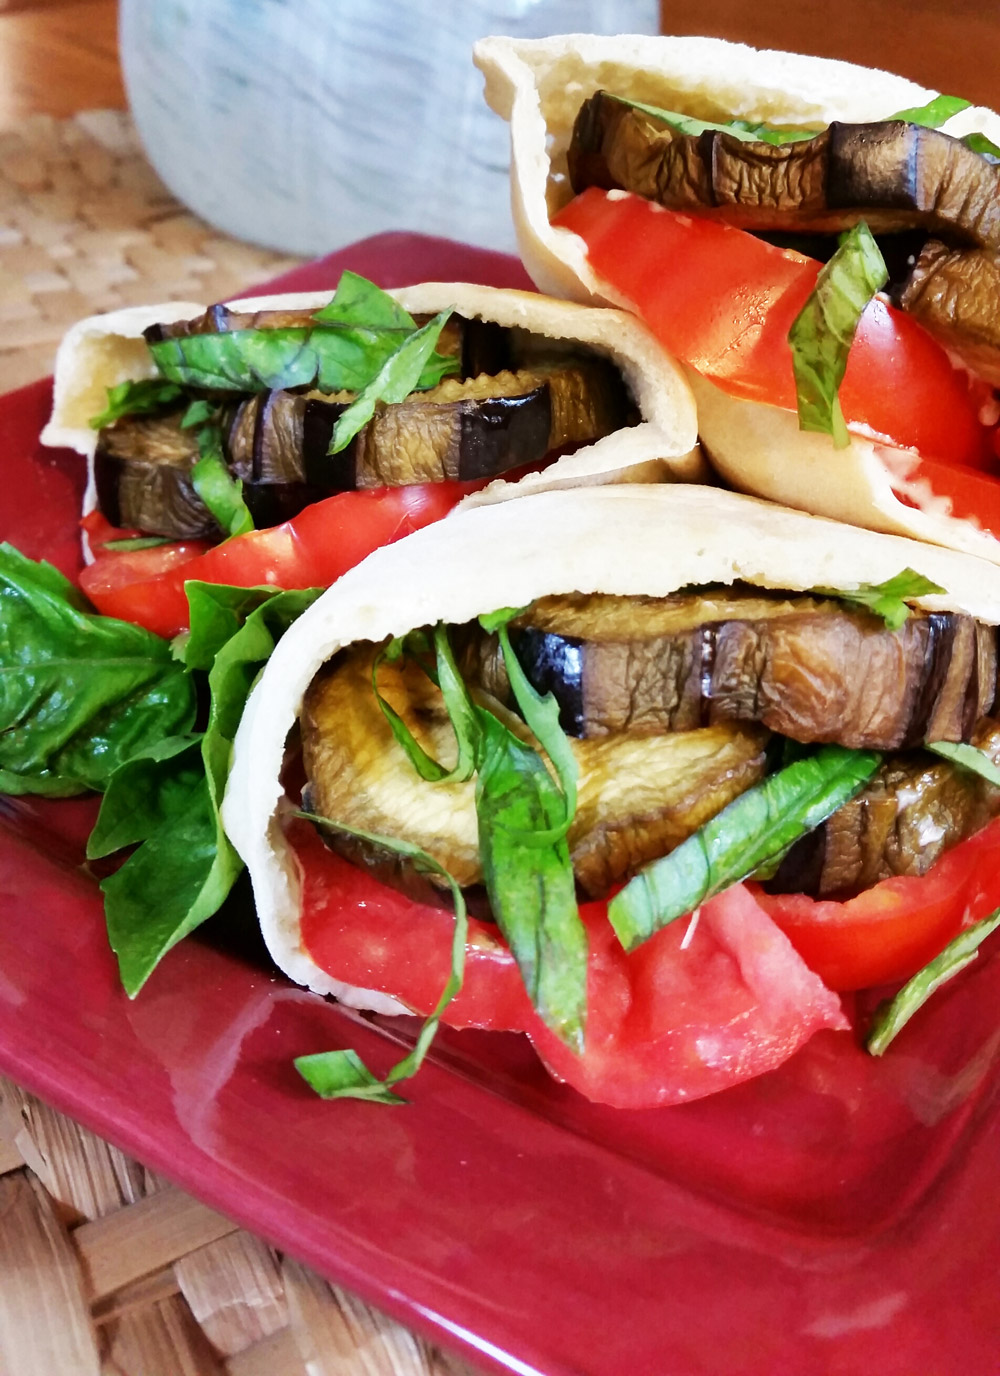
Always we would roll some of the bread up into towels while still warm; when it cooled this way it had a much chewier texture which I especially liked just with plain butter. However there are so many ways to enjoy it. Sisters particularly love it stuffed with fried or roasted eggplant and fresh sliced tomatoes, roasted onions, peppers, and zucchini or yellow squash slices, with a sprig of fresh basil.
Another favorite way we eat it is split in half, brushed with oil, herbs of choice, onion salt and grated Parmesan. Then baked in 400 degree oven for 5-10 minutes until brown and crisp. It is a fun bread to bake and a fun bread to eat in whatever way you like.
Print Recipe
Votes: 2
Rating: 2.5
You:
Rate this recipe!
Syrian Pita Bread
SERVINGS6-8pitas
|
COOK TIME5-7mins. |
PREP TIME1 1/2hrs. |
READY IN |
Ingredients
Instructions
- In a small bowl dissolve the yeast and the sugar in the water and allow to get bubbly.
- In a food processor, pulse the flour with the salt.
- With the machine on, pour in the yeast mixture and then the oil and process until the dough forms a ball.
- Turn the dough out onto a lightly floured work surface and knead it a few times.
- Form the dough into a ball.
- Lightly oil a bowl with olive oil.
- Transfer the dough to the bowl and turn to coat
- Cover the bowl with plastic wrap and let the dough rise in a warm place until doubled in bulk, about 1 hour.
- Take the dough and divide it up into 6-8 sections.
- On a floured surface, shape the dough into little flat circles.
- Heat your oven to 475 degrees Fahrenheit.
- Baking the breads 2-3 at a time bake them for 5-7 minutes. Just till they turn a nice golden brown.
- Take them out the oven, let them cool and then ENJOY!