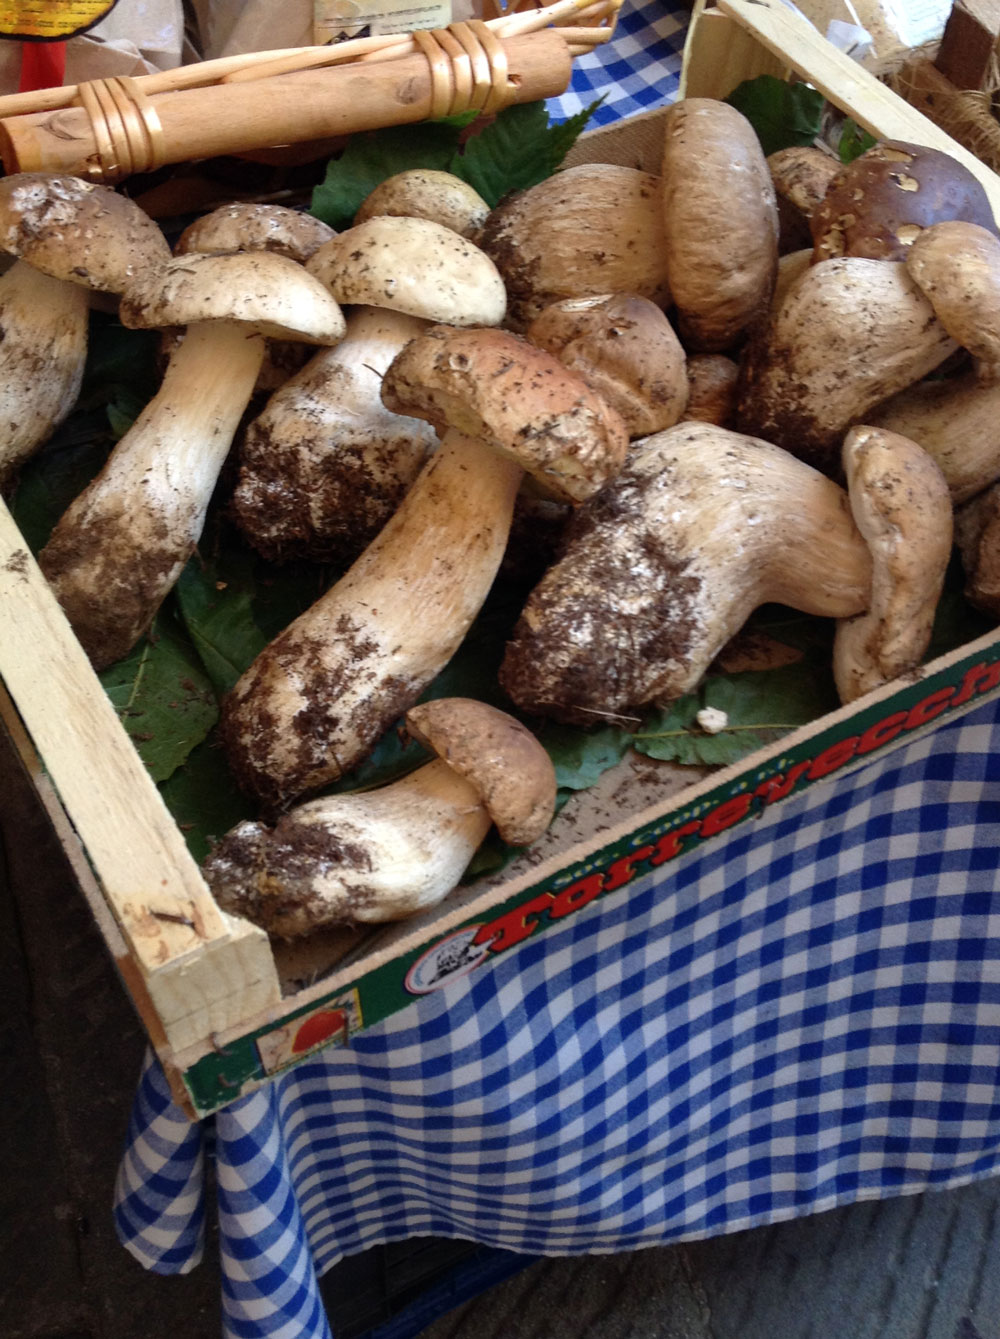
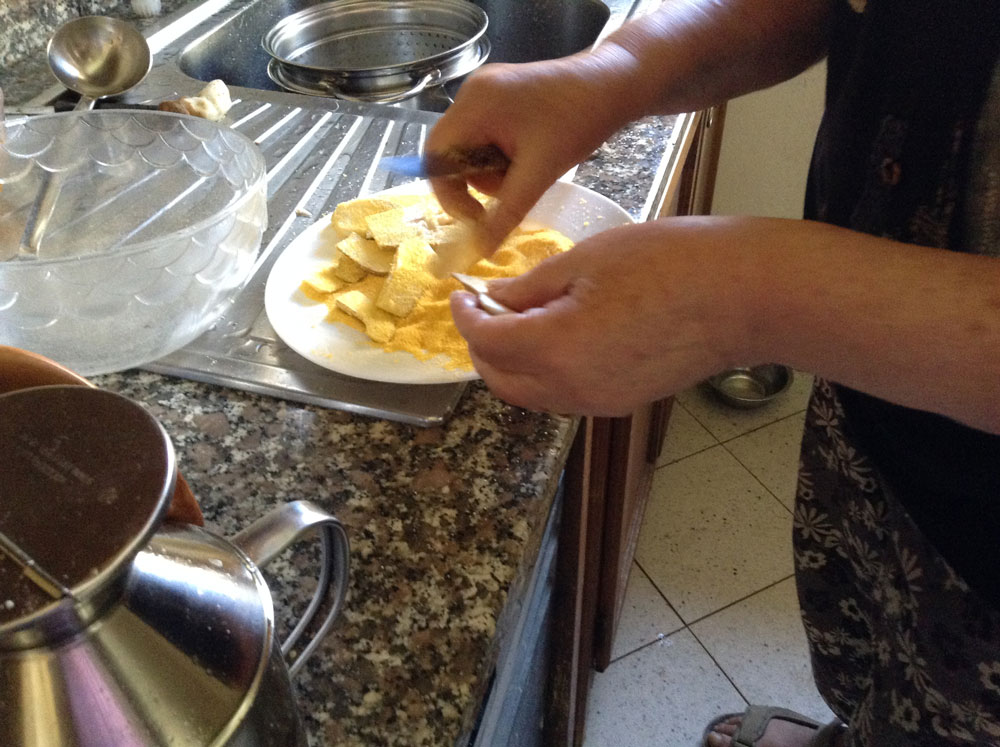
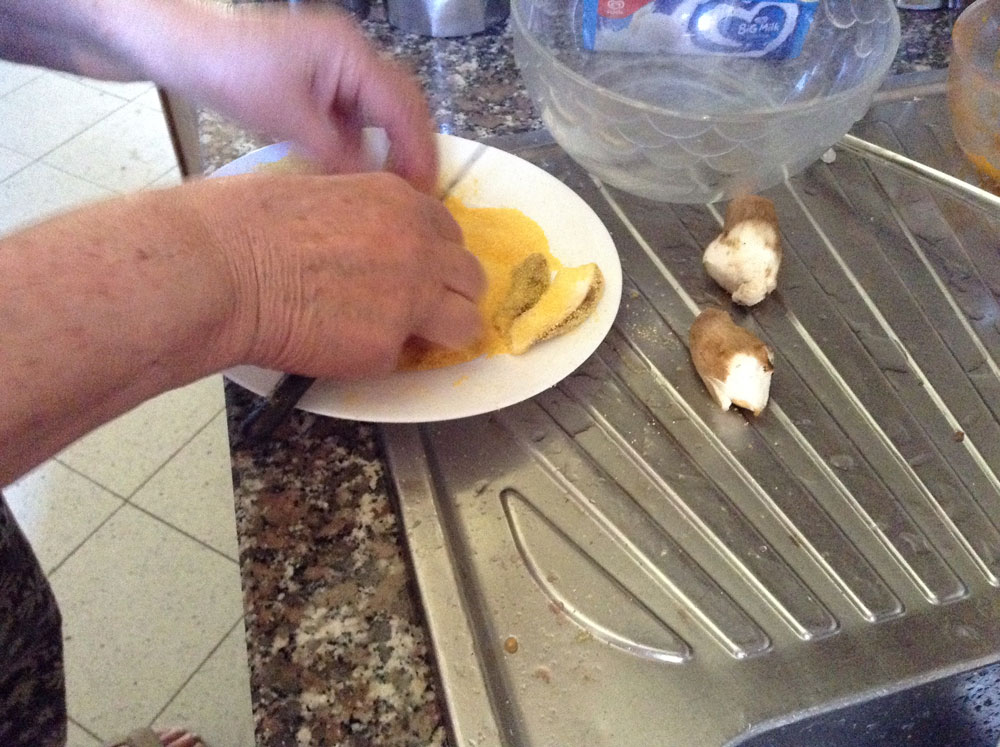
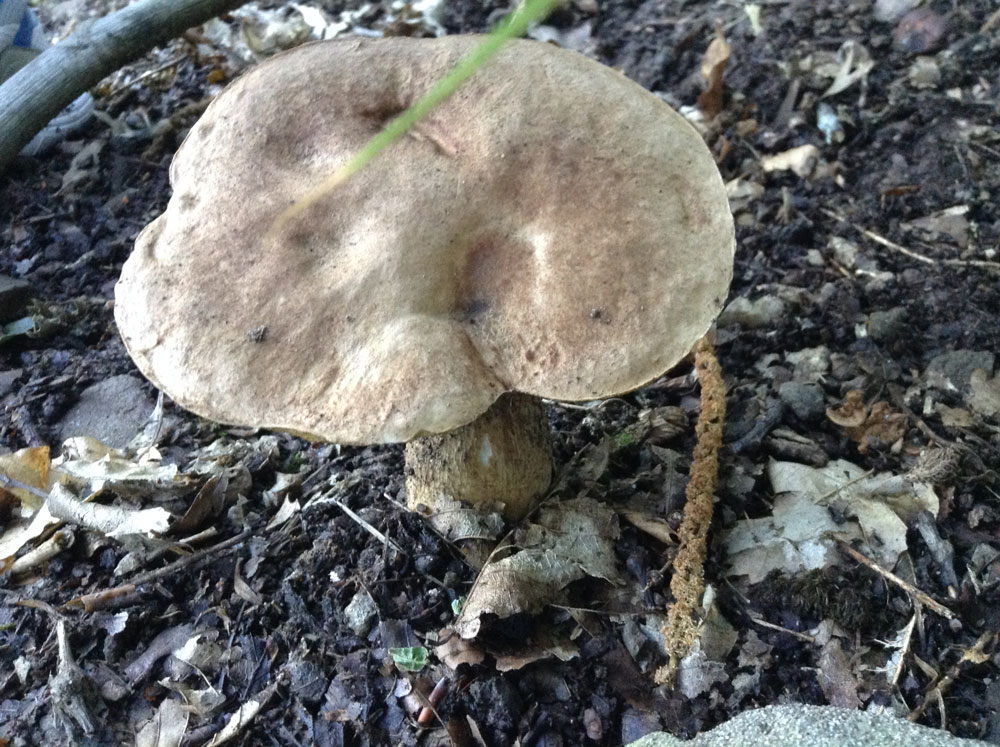
It is August in Tuscany, and that means the locals are out gathering Porcini! Our friends from the mountains heard that we might like to do this, and invited us to join them for an early morning “hunt.” I learned that porcini, which means “piggy,” is a reference to the stubby appearance of the mushrooms. The marvel of these fungi is the symbiotic relationships they have established with the trees and especially here with the Castagna (or Chestnut) Tree. The tree and the mushrooms actually exchange nutrients that enable each to flourish. Porcini thrive when hot dry weather is followed by a cooler rain, and this has been the case here in Italy this summer.
A few of us from the Villa set out at dawn to make the long, windy drive up to Renaio. Ten families live in this village that is set in the picturesque mountains above Barga. “Usually you can hunt for hours and maybe get one or two,” our friends warned us, but we didn’t let that deter us! After a few silent prayers to the patron saint of porcini hunting, we started roaming the mountains with great zeal and a sprightly Jack Russell Terrier at our heels. In between a brief run-in with a patch of stinging nettles and a tumble down the mountainside, we discovered we had found a basketful between us!
You never want to eat porcini before getting them checked by a master, so we rushed off to a lovely lady who has lived in the mountains all her life, and can separate the “buono” from the “non buono.” In true Italian style, Deana invited us to stay for “pranzo” (accompanied, of course, by a robust bottle of vino da casa). She smiled as I asked her questions in my faltering Italian and watched her prepare the porcini for lunch. I felt truly humbled. Friends are made easily here, conversation is boisterous and engaging, and food is not only for the body, but to nourish the soul.
Print Recipe
Votes: 0
Rating: 0
You:
Rate this recipe!
Deana’s Farina di mais Crusted Porcini
SERVINGS
CHANGE SERVING SIZE
COOK TIME
PREP TIME
READY IN
Ingredients
1Porcini(or Portabello) – stem removed, and both stem and cap sliced thinly
½ to 1cupcornmealFinely Ground (or Farina di mais, a grana fine)
Pour the olive oil into a shallow fry pan, about ½” in depth and slowly heat.
Once the oil “crackles” when a splash of water hits it, it is ready – at this point, lower the heat to medium and add the full clove of garlic to season the oil.
Pour about a ½ cup of corn meal onto a plate.
Gently wash the mushroom and dry with paper towel.
Remove the stem from the mushroom and thinly slice, then thinly slice the cap as well (about ¼” thick slices).
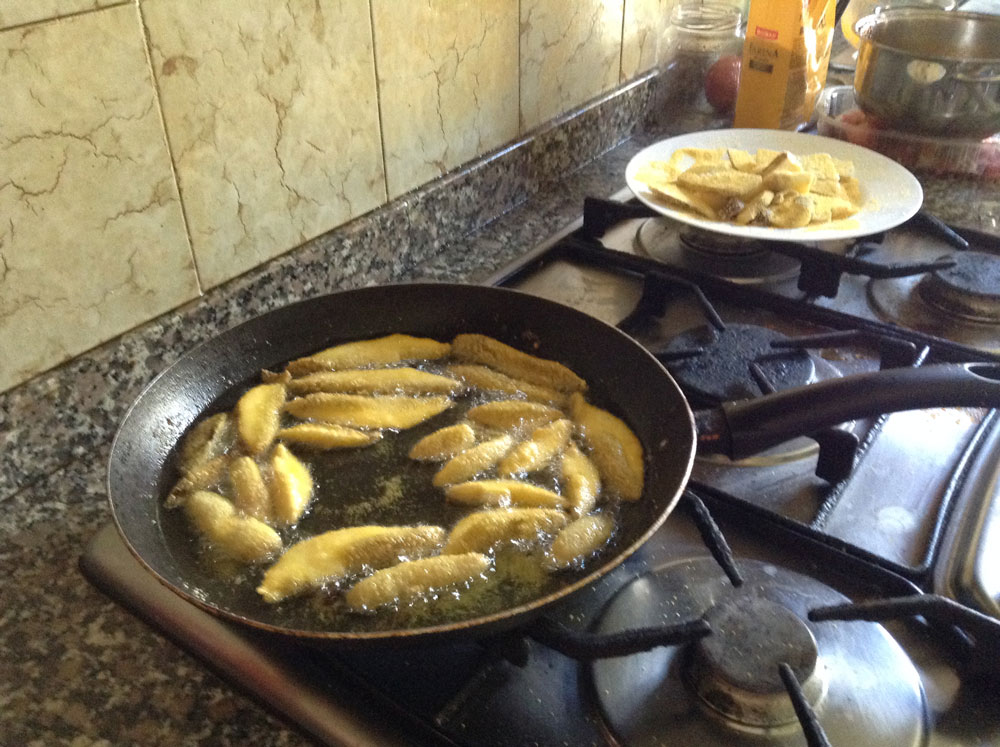
Lay each piece in the cornmeal, coating both sides, and then into the hot oil.
Fry until golden and then flip over and fry on the other side.
Remove the mushroom from the oil with tongs, suspending it above the fry pan for a couple seconds to rid the mushroom of extra oil.
Put on a plate and sprinkle with salt and pepper. Andiamo Mangiare!
Notes:
These make a wonderful side to a meal, or can be used as an appetizer.
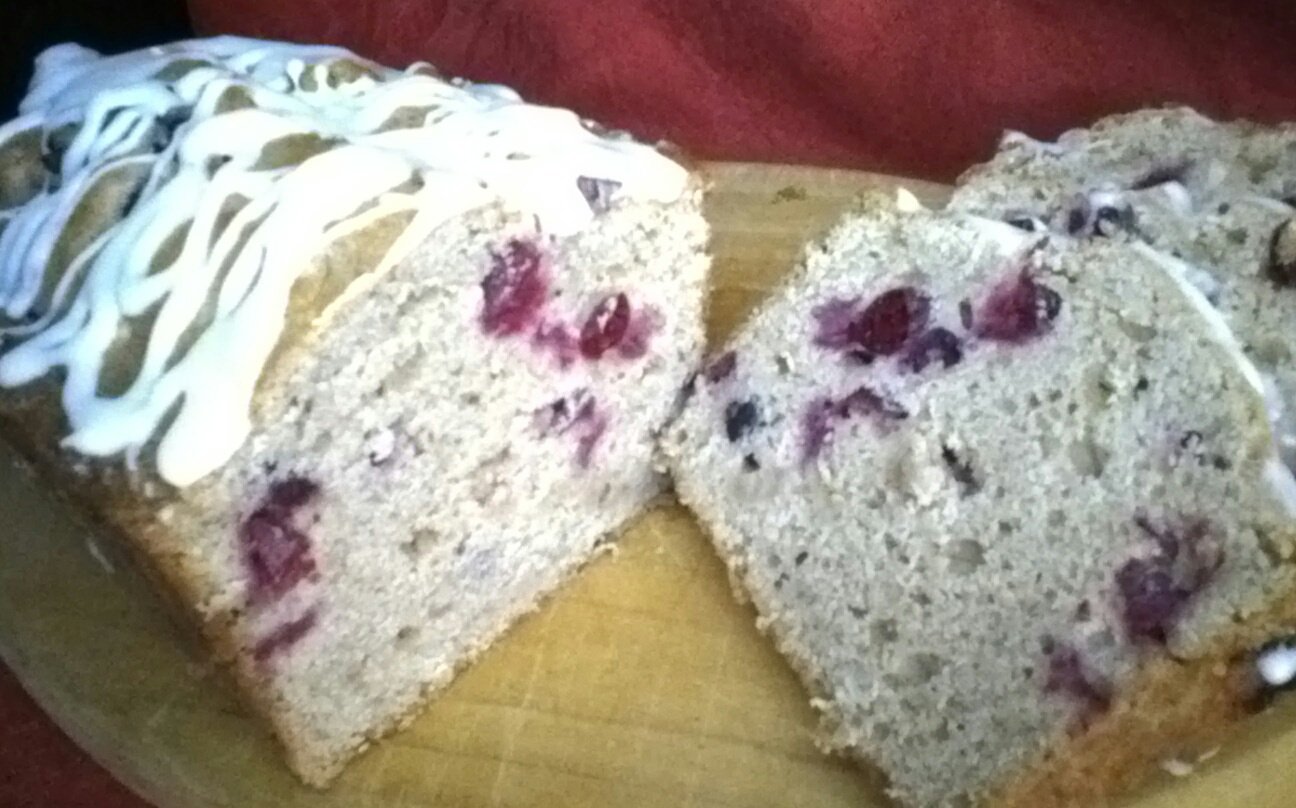
Today I am looking out on a winter wonderland! We are in the midst of a blizzard that has dumped an amazing amount of snow as far as the eye can see. One of those days to sit by the fire with a hot cup of tea and a slice of warm Apple cranberry bread.
We still have apples in the refrigerator from our fall harvest which are in surprisingly good shape – the one I munched on while making this bread wasn’t fresh from the tree, but still crisp and sweet. We also were given a large quantity of cranberries from a local bog, so it seemed like a good use of the two to put them together in a quick bread. We are always looking for different morning snack ideas to serve at our community work time break. I tried a couple of different recipes and actually left the peels on the Apple’s to give the breads a little more texture. Here is one variety that I thought the most flavorful and moist.
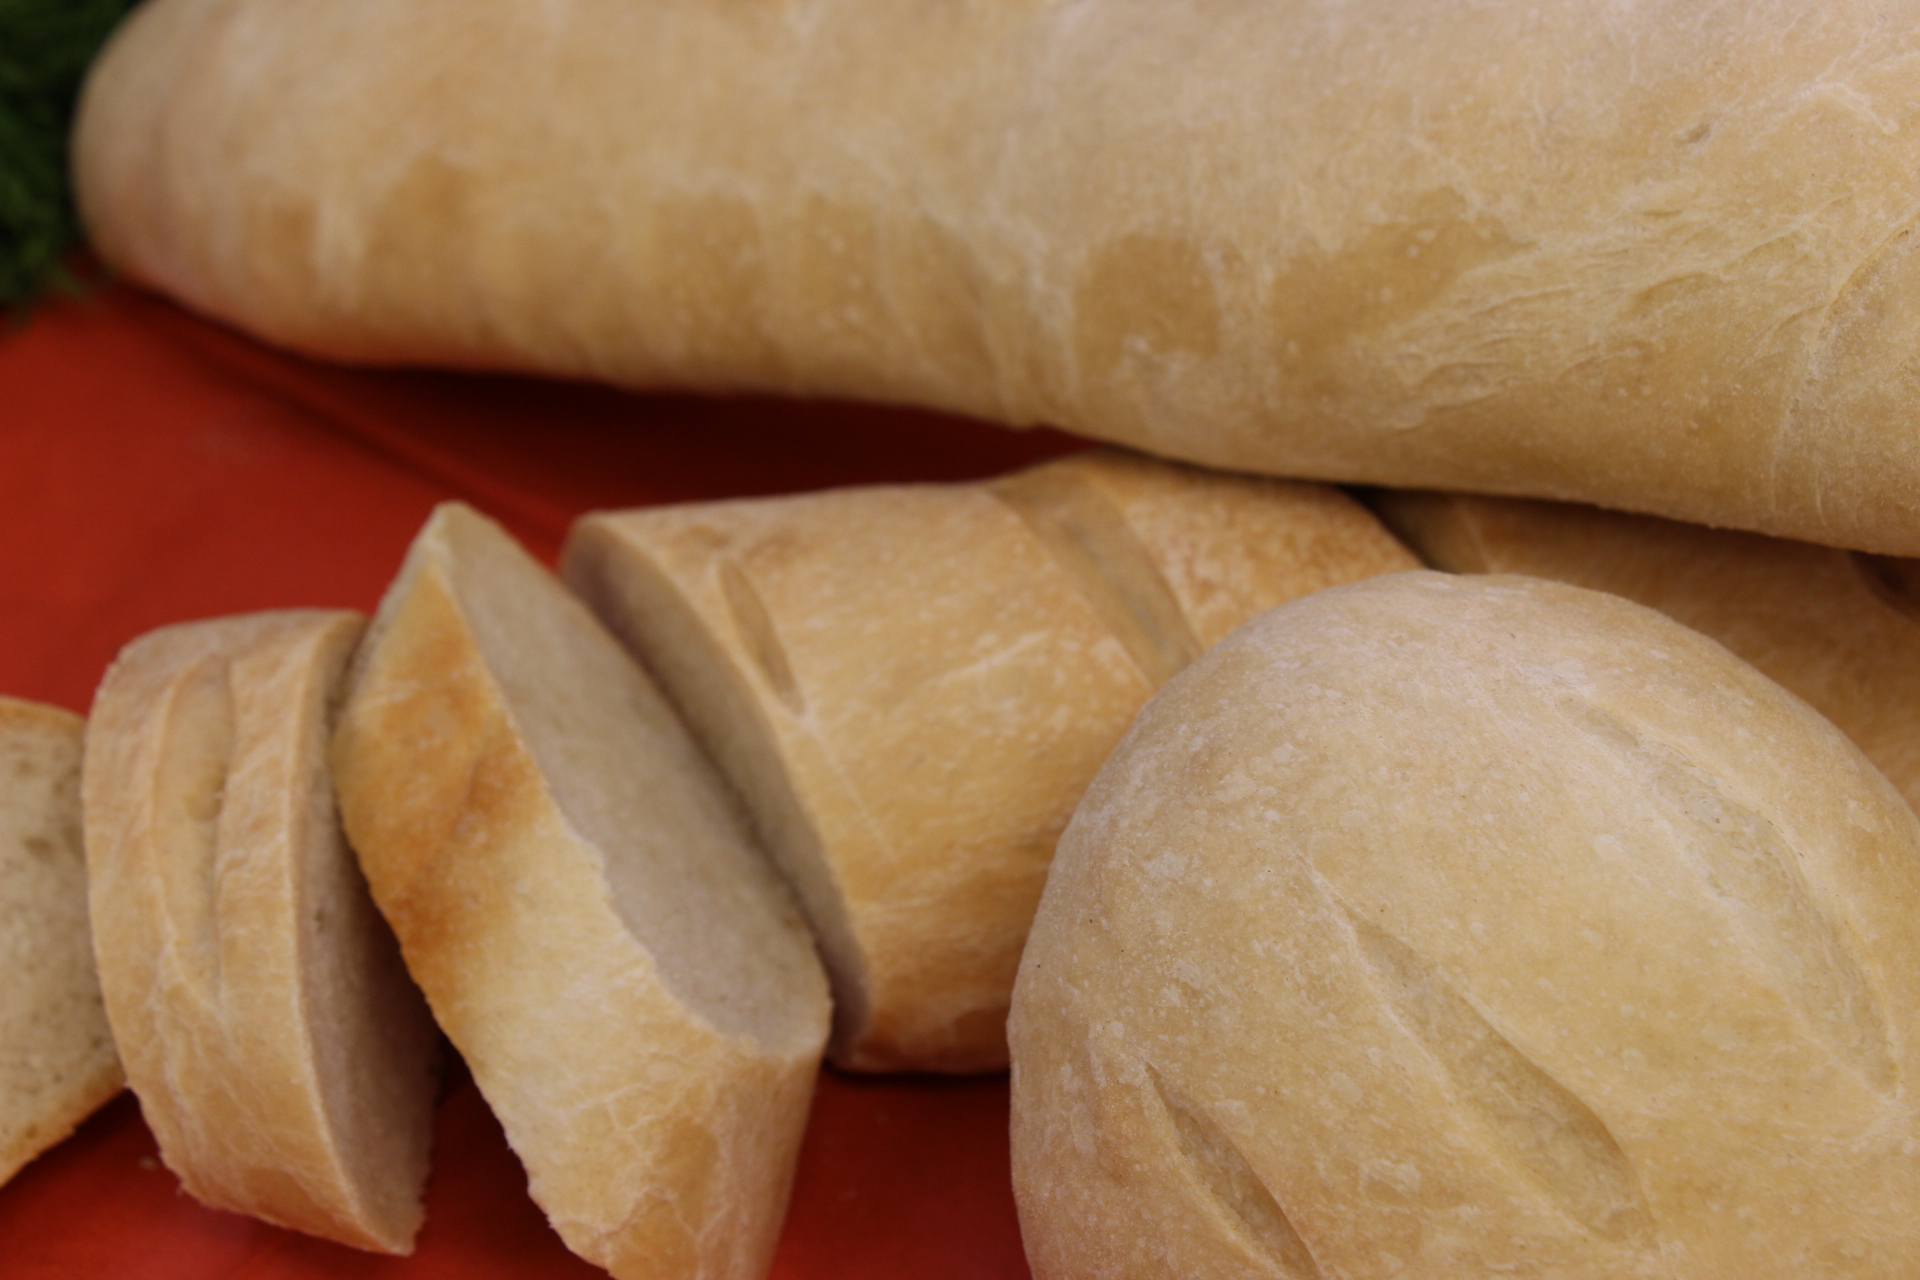
It is a bright sunshine-y day — somewhat rare for March on Cape Cod. I can see the signs of spring — the few brave crocuses in a sunny corner, some stalks of green daffodils, and tulip leaves in another protected spot. We are near some wetlands, and the first peeper piped up just the other night — a little early. So with all of this spring awareness, one would think that I am in the kitchen making up all sorts of goodies with lemon and asparagus, some lamb…but no, I am actually still looking back over my shoulder at winter — my favorite time of year to cook. Comfort food: stews, soups, bread, roasted chickens and vegetables. So today, since I am preparing lunch for a group on a Lenten Quiet Day, I thought it would be a good time to post my favorite “Italian” bread recipe. (I’ve actually made it into bread bowls as well!) This is not a crispy crusted bread, but it’s a nice dense moist bread — perfect for pairing with soups, stews, spaghetti, or toasting up on a morning with your favorite homemade jam. It also can be frozen, and pulled out for later use, and works well as french toast or in bread pudding. My indulgence is to warm it slightly, spread on some butter and our Cran-Strawberry Jam. Add a cup of coffee and you have a great breakfast!
Put water, yeast and sugar in the bowl of a mixer, and let sit for about 10 minutes.
With a dough hook and at low speed, add olive oil, salt, and flour.
Mix until dough pulls away from the sides of the bowl, and is just tacky, not sticky. (You may need to add a bit more flour, you want a firm but not dry dough.)
Let rise in the same bowl until doubled in bulk, about 1 to 1 and a half hours.
Preheat oven to 325 degrees F.
Turn out onto floured surface.
Divide in half and form into 2 long thin loaves. (punch down into oval, fold the sides into the middle, and then roll tightly into a thin loaf, using your fingers to pull the dough into the middle.)
Let rise until almost doubled. Brush with olive oil.
With a sharp knife, make about 8 diagonal slashes along the top of the loaf.
Bake for about 30 to 35 minutes, until golden and hollow sounding when tapped.
For Bread Bowls:
Divide dough into 5 equal pieces.
Form these into balls, brush with olive oil, slash 3 times on top, and bake for about 20 to 25 minutes, until golden and hollow sounding when tapped.
To serve, cut off the top, scoop out the inside to within about 1/2 inch of outside crust, and ladle in your favorite soup or stew.
Last night the Sisters had one of their most favorite comfort food meals. Old fashioned plain roast chicken with stuffing, mashed potatoes and gravy. That left us with ten chicken livers that I intended to sauté and add to today’s lunch for those who particularly enjoy them. But I wasn’t able to get to them in time. As I stood in the kitchen wondering what to do, our lace-making Sister came in to pack up a snack for seven or eight fellow lace-makers having their monthly Lace Makers Day tomorrow. As she prepared her fruit, cheese and crackers I had a sudden thought: “How would the ladies like a little liver pate for something different?” “Great idea” was her response and within twelve minutes she had whipped up her favorite pate recipe. One of the easiest (as well as tastiest) I have ever come across. Here it is in case you’d like to give it a try.
Last weekend Elements Theatre Company performed Henrik Ibsen’s “Pillars of the Community.” Each production we fed the cast and crew meals and snacks. This year I was feeling homey, so made some really good comfort food for them — what I like to eat, and what I know a number of them really enjoy. So it was meatloaf (a great recipe by Emeril Lagasse), macaroni and cheese, a really meaty lasagna, fried chicken (Ina Garten’s oven fried – my favorite)…you get the picture.The last night we decided to “pull out the stops,” making up big platters of antipasti, salad, home made bread with some of the lasagna, and as an afterthought, deviled eggs. Now I think I make a pretty mean deviled egg, and guess it’s true, because they were all gobbled up to rave reviews in the first wave of diners. I did this pretty much by “add a bit and taste.” I’ve tried to give you some measurements, but it’s really best if you make this to your level of devilishness.
This is a busy time of year for us in Paraclete House Kitchen. We are in the process of making baked goods and preserves for the holiday season, some of which will also be for sale in Priory Gifts. Most Saturdays there are about fourteen people of all ages in the kitchen — from 5 years to 80+ years — making jams, chutneys, baking loaves of bread, cookies, pies, and cakes, as well as putting together mid-morning snack for the 200 other people out working on various projects around the community. We have of course been making a lot of things with our plentiful apple harvest; caramel apple pies, apple harvest jam, and my favorite, apple carrot chutney. This is a delicious accompaniment to roast pork, ham, or chicken, and is also wonderful for ham and cheese sandwiches. It’s especially good with cheese on a cracker or mixed into a spread.