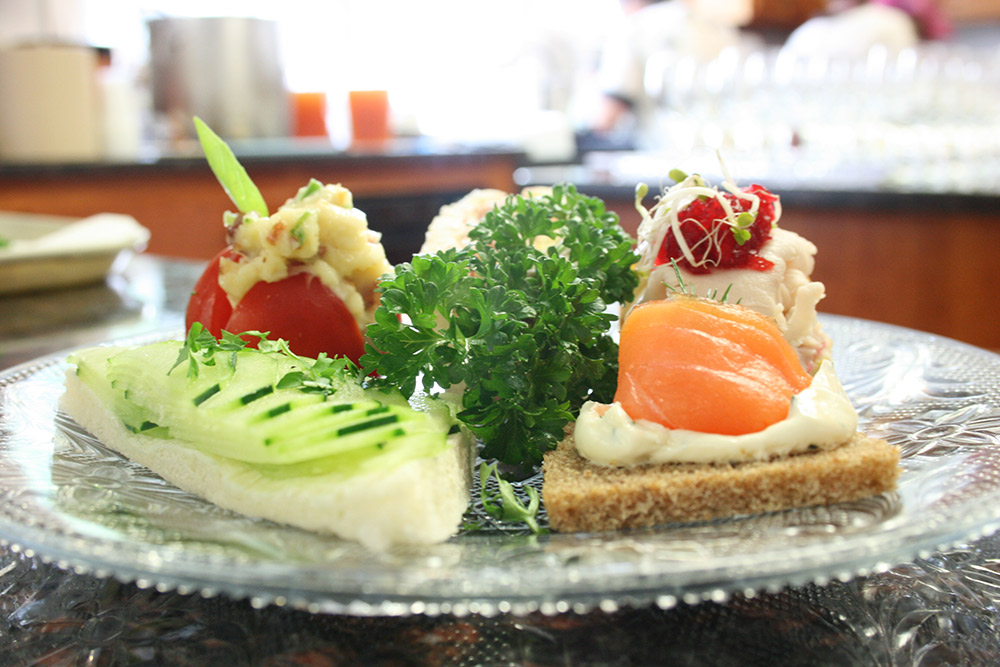
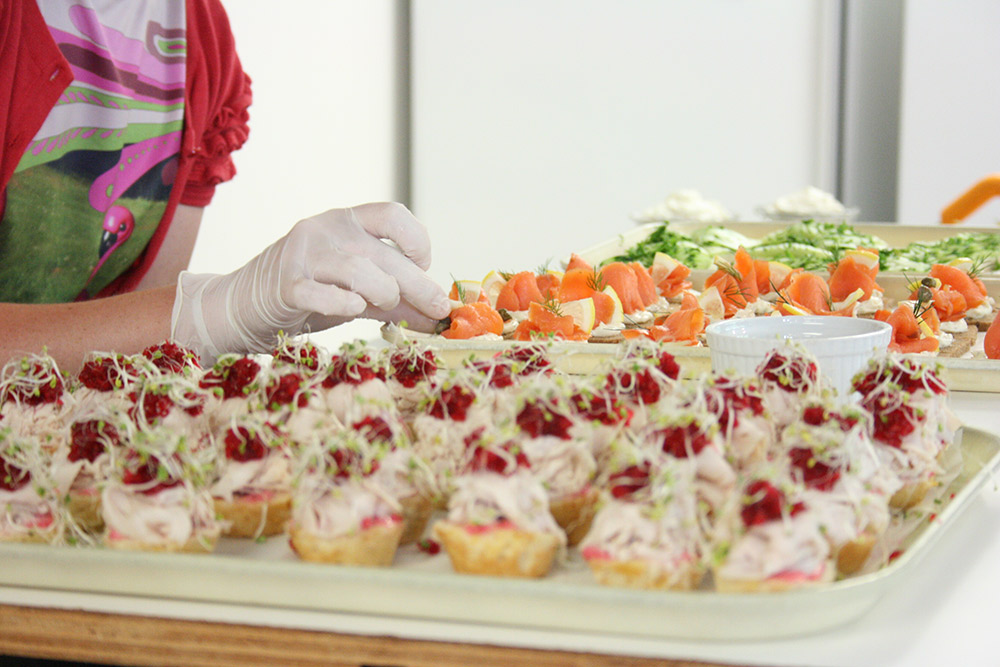
Years ago, before our Priory Gifts gift shop had come into being, a weekly sale of our arts and crafts took place every Friday out on the front lawn overlooking the Bay. At that time, a suggestion was made that we serve a plated tea in Bethany dining room. Several of us liked the idea and wanted to give it a try. Out of the butler’s pantry in Bethany kitchen came Mother Cay’s antique silver service, choice china tea cups and lovely fine linens, all of which had been used years before when Bethany, then known as Rock Harbor Manor, was one of Orleans’ foremost Bed and Breakfasts. They had been there all that time, just waiting to once again be put to use.
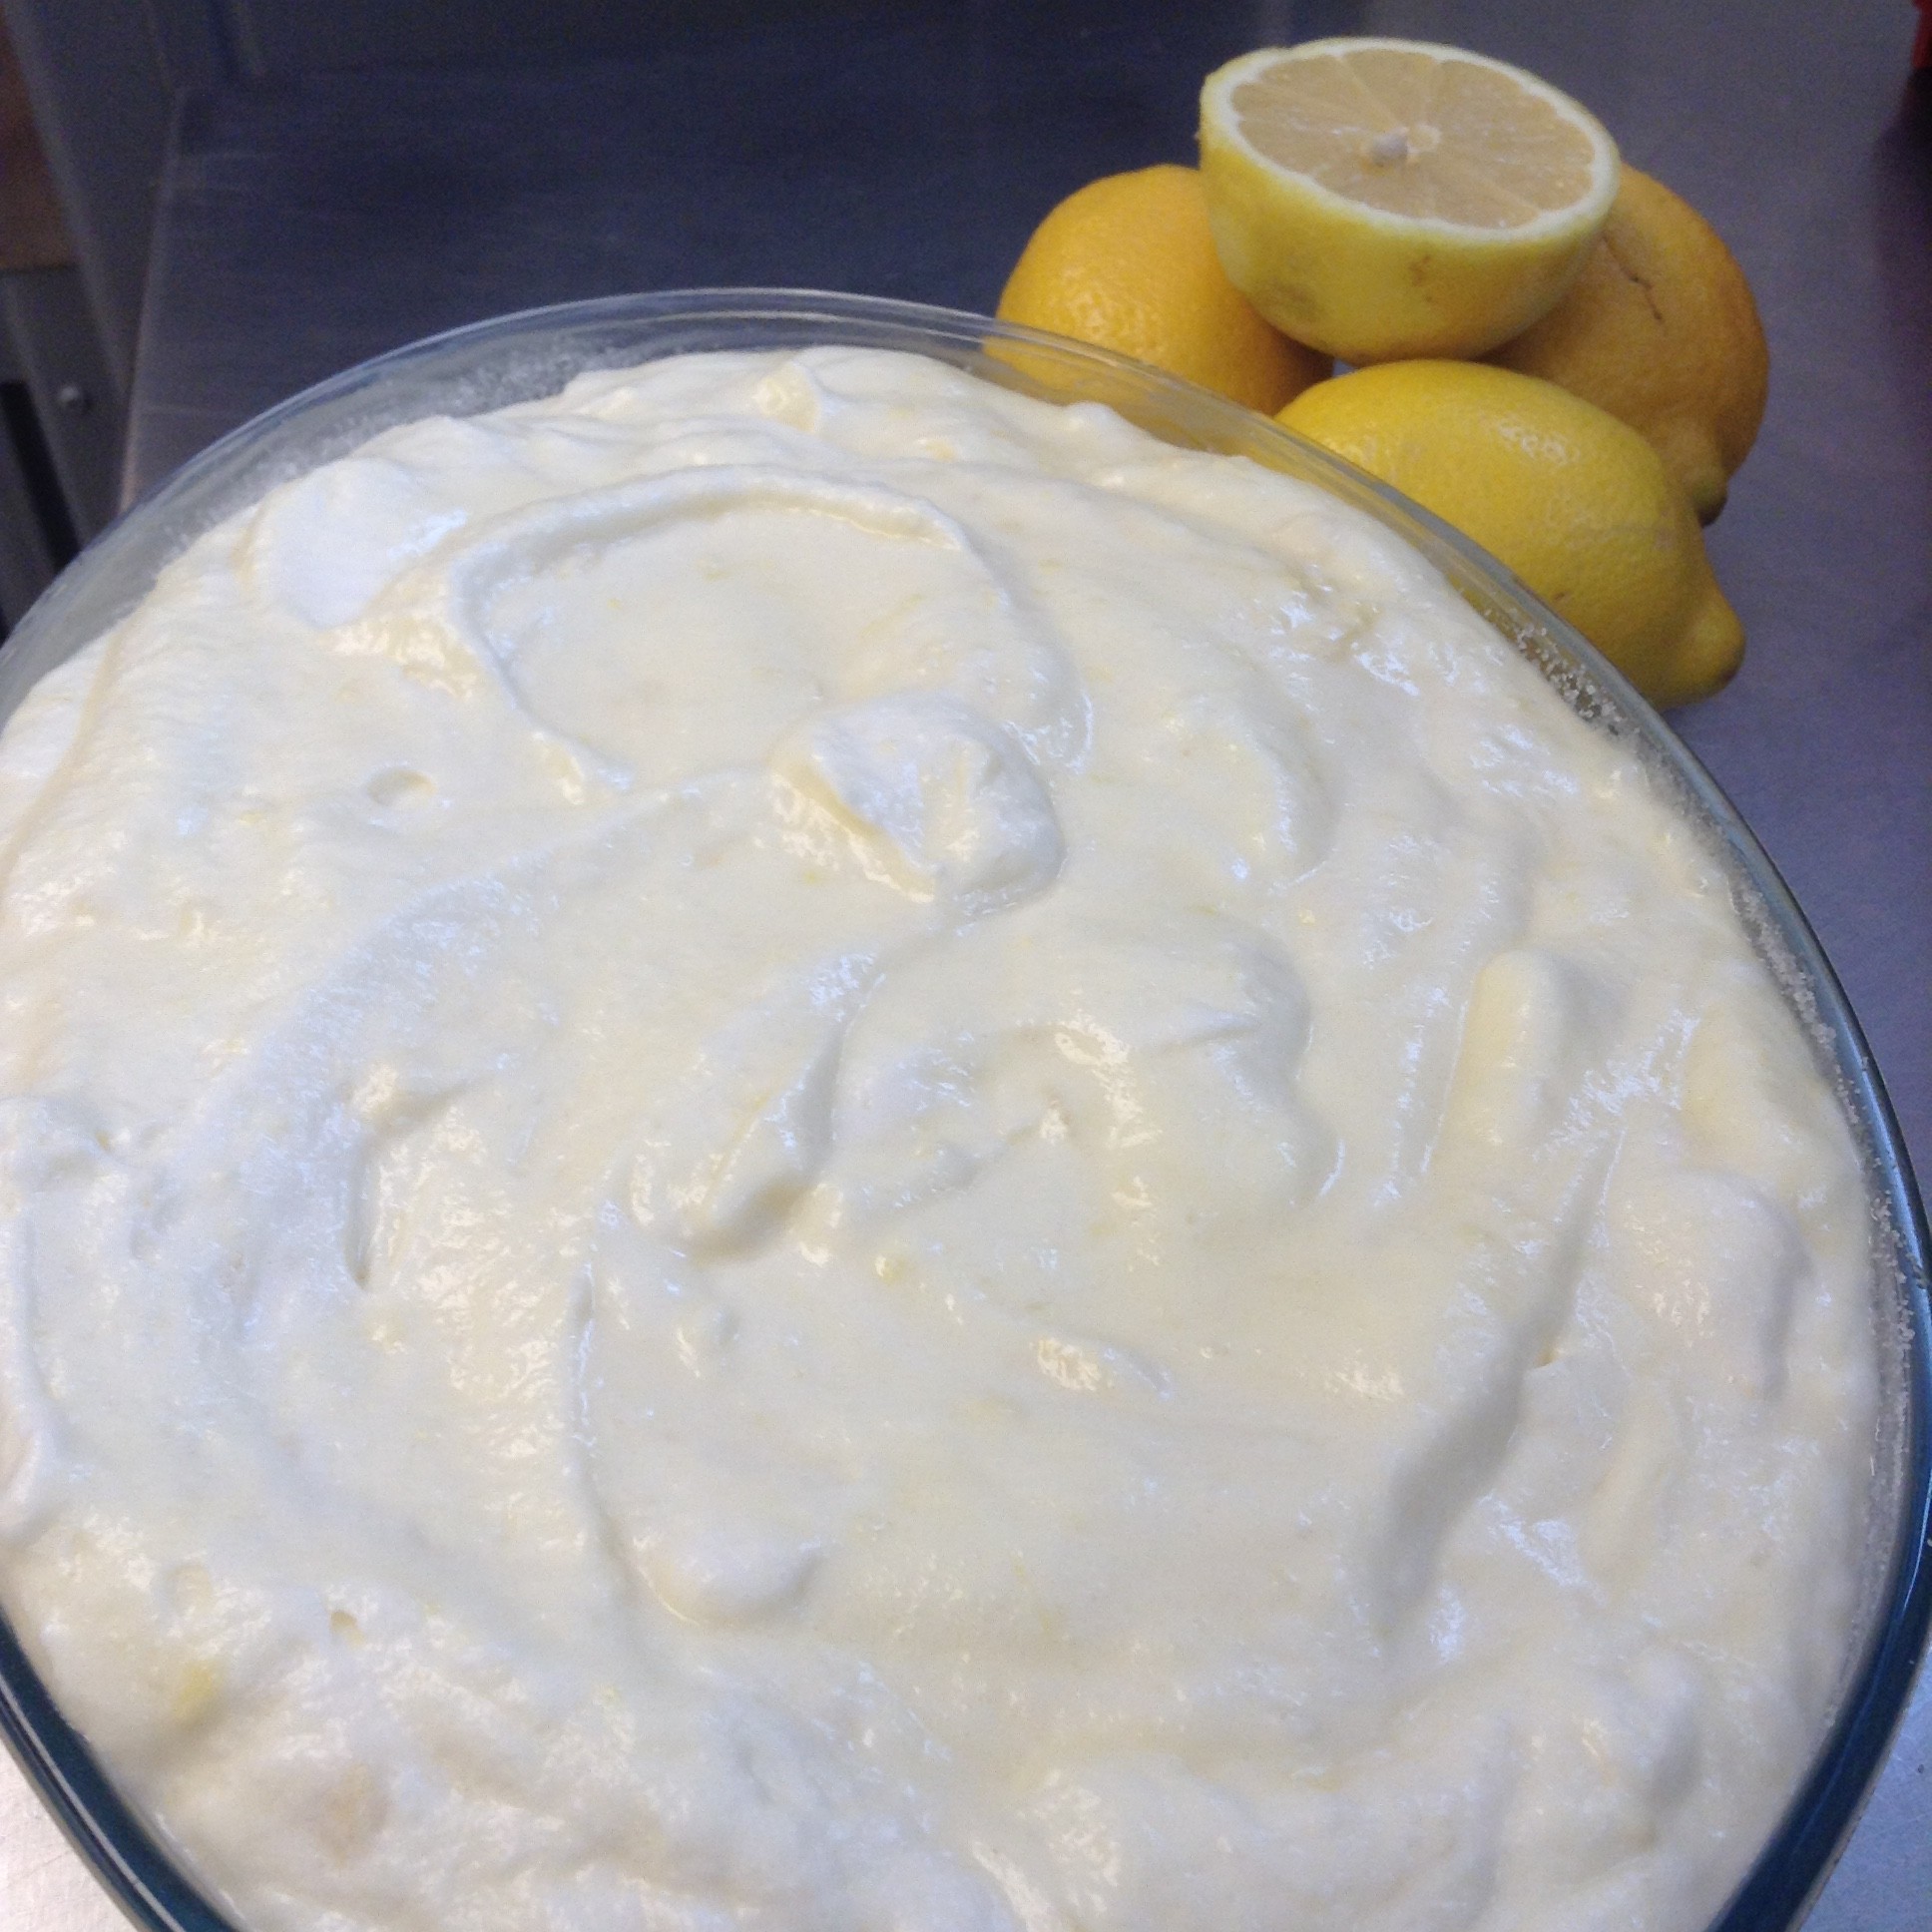
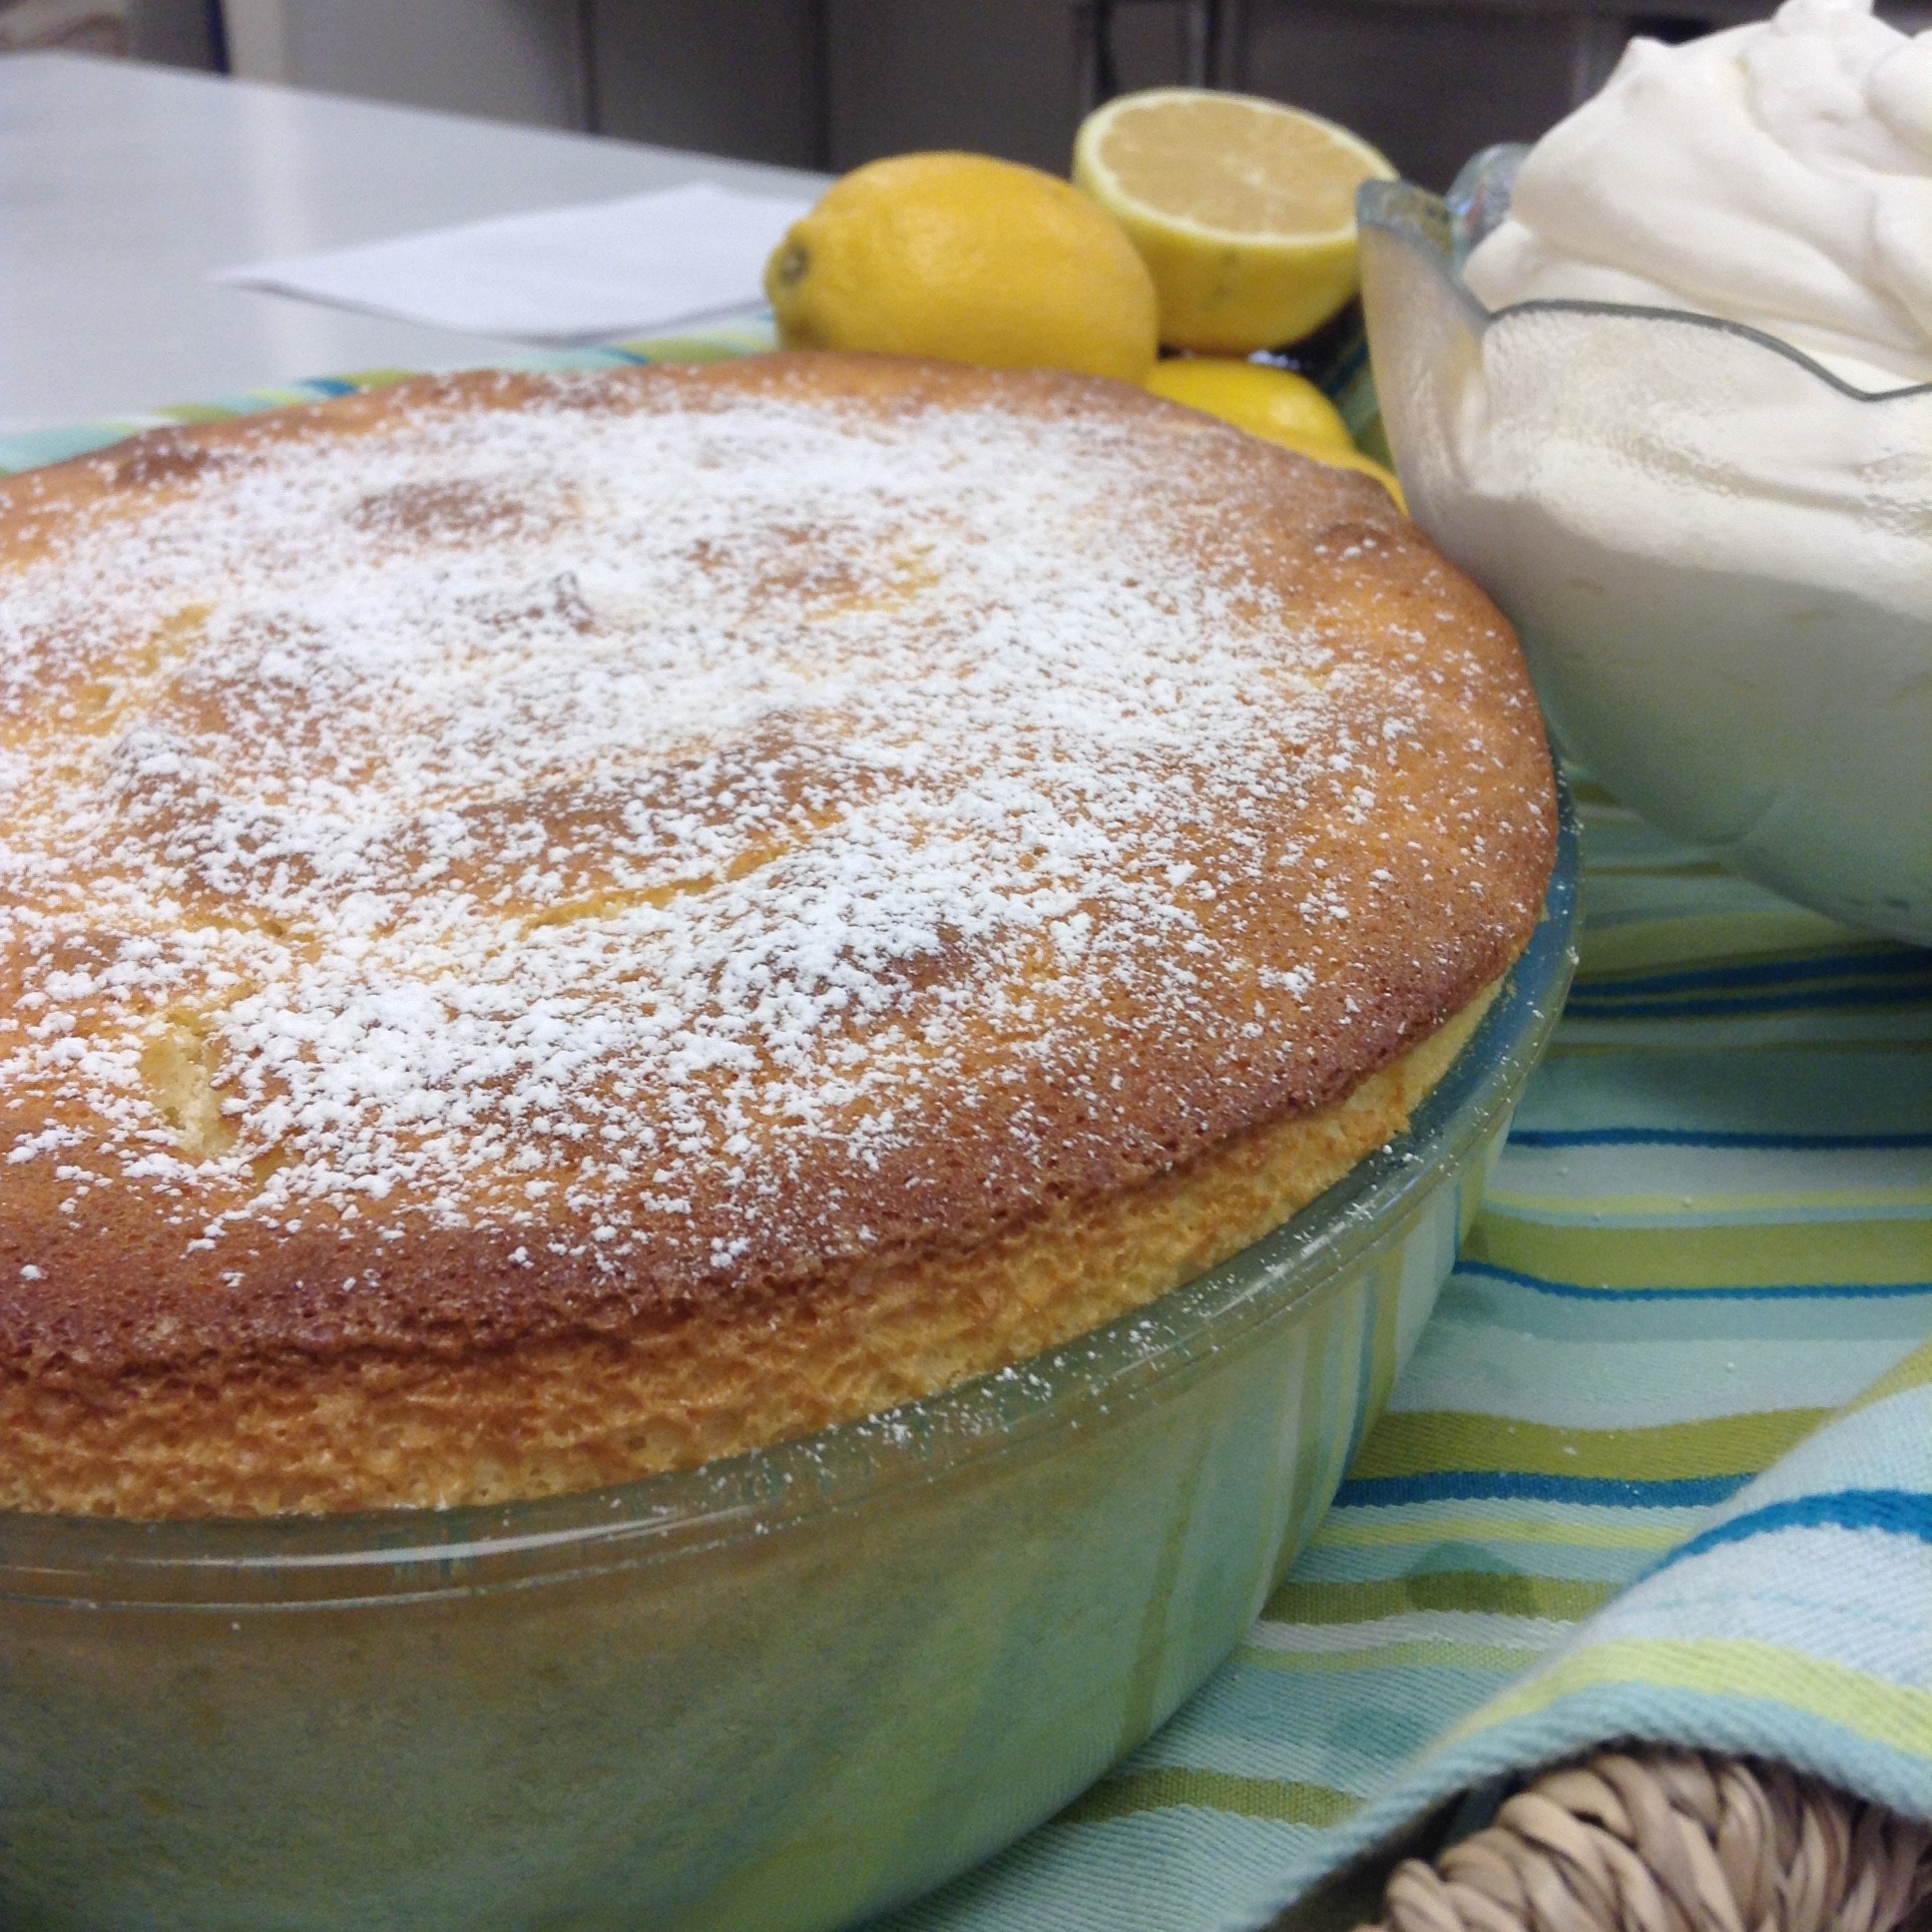
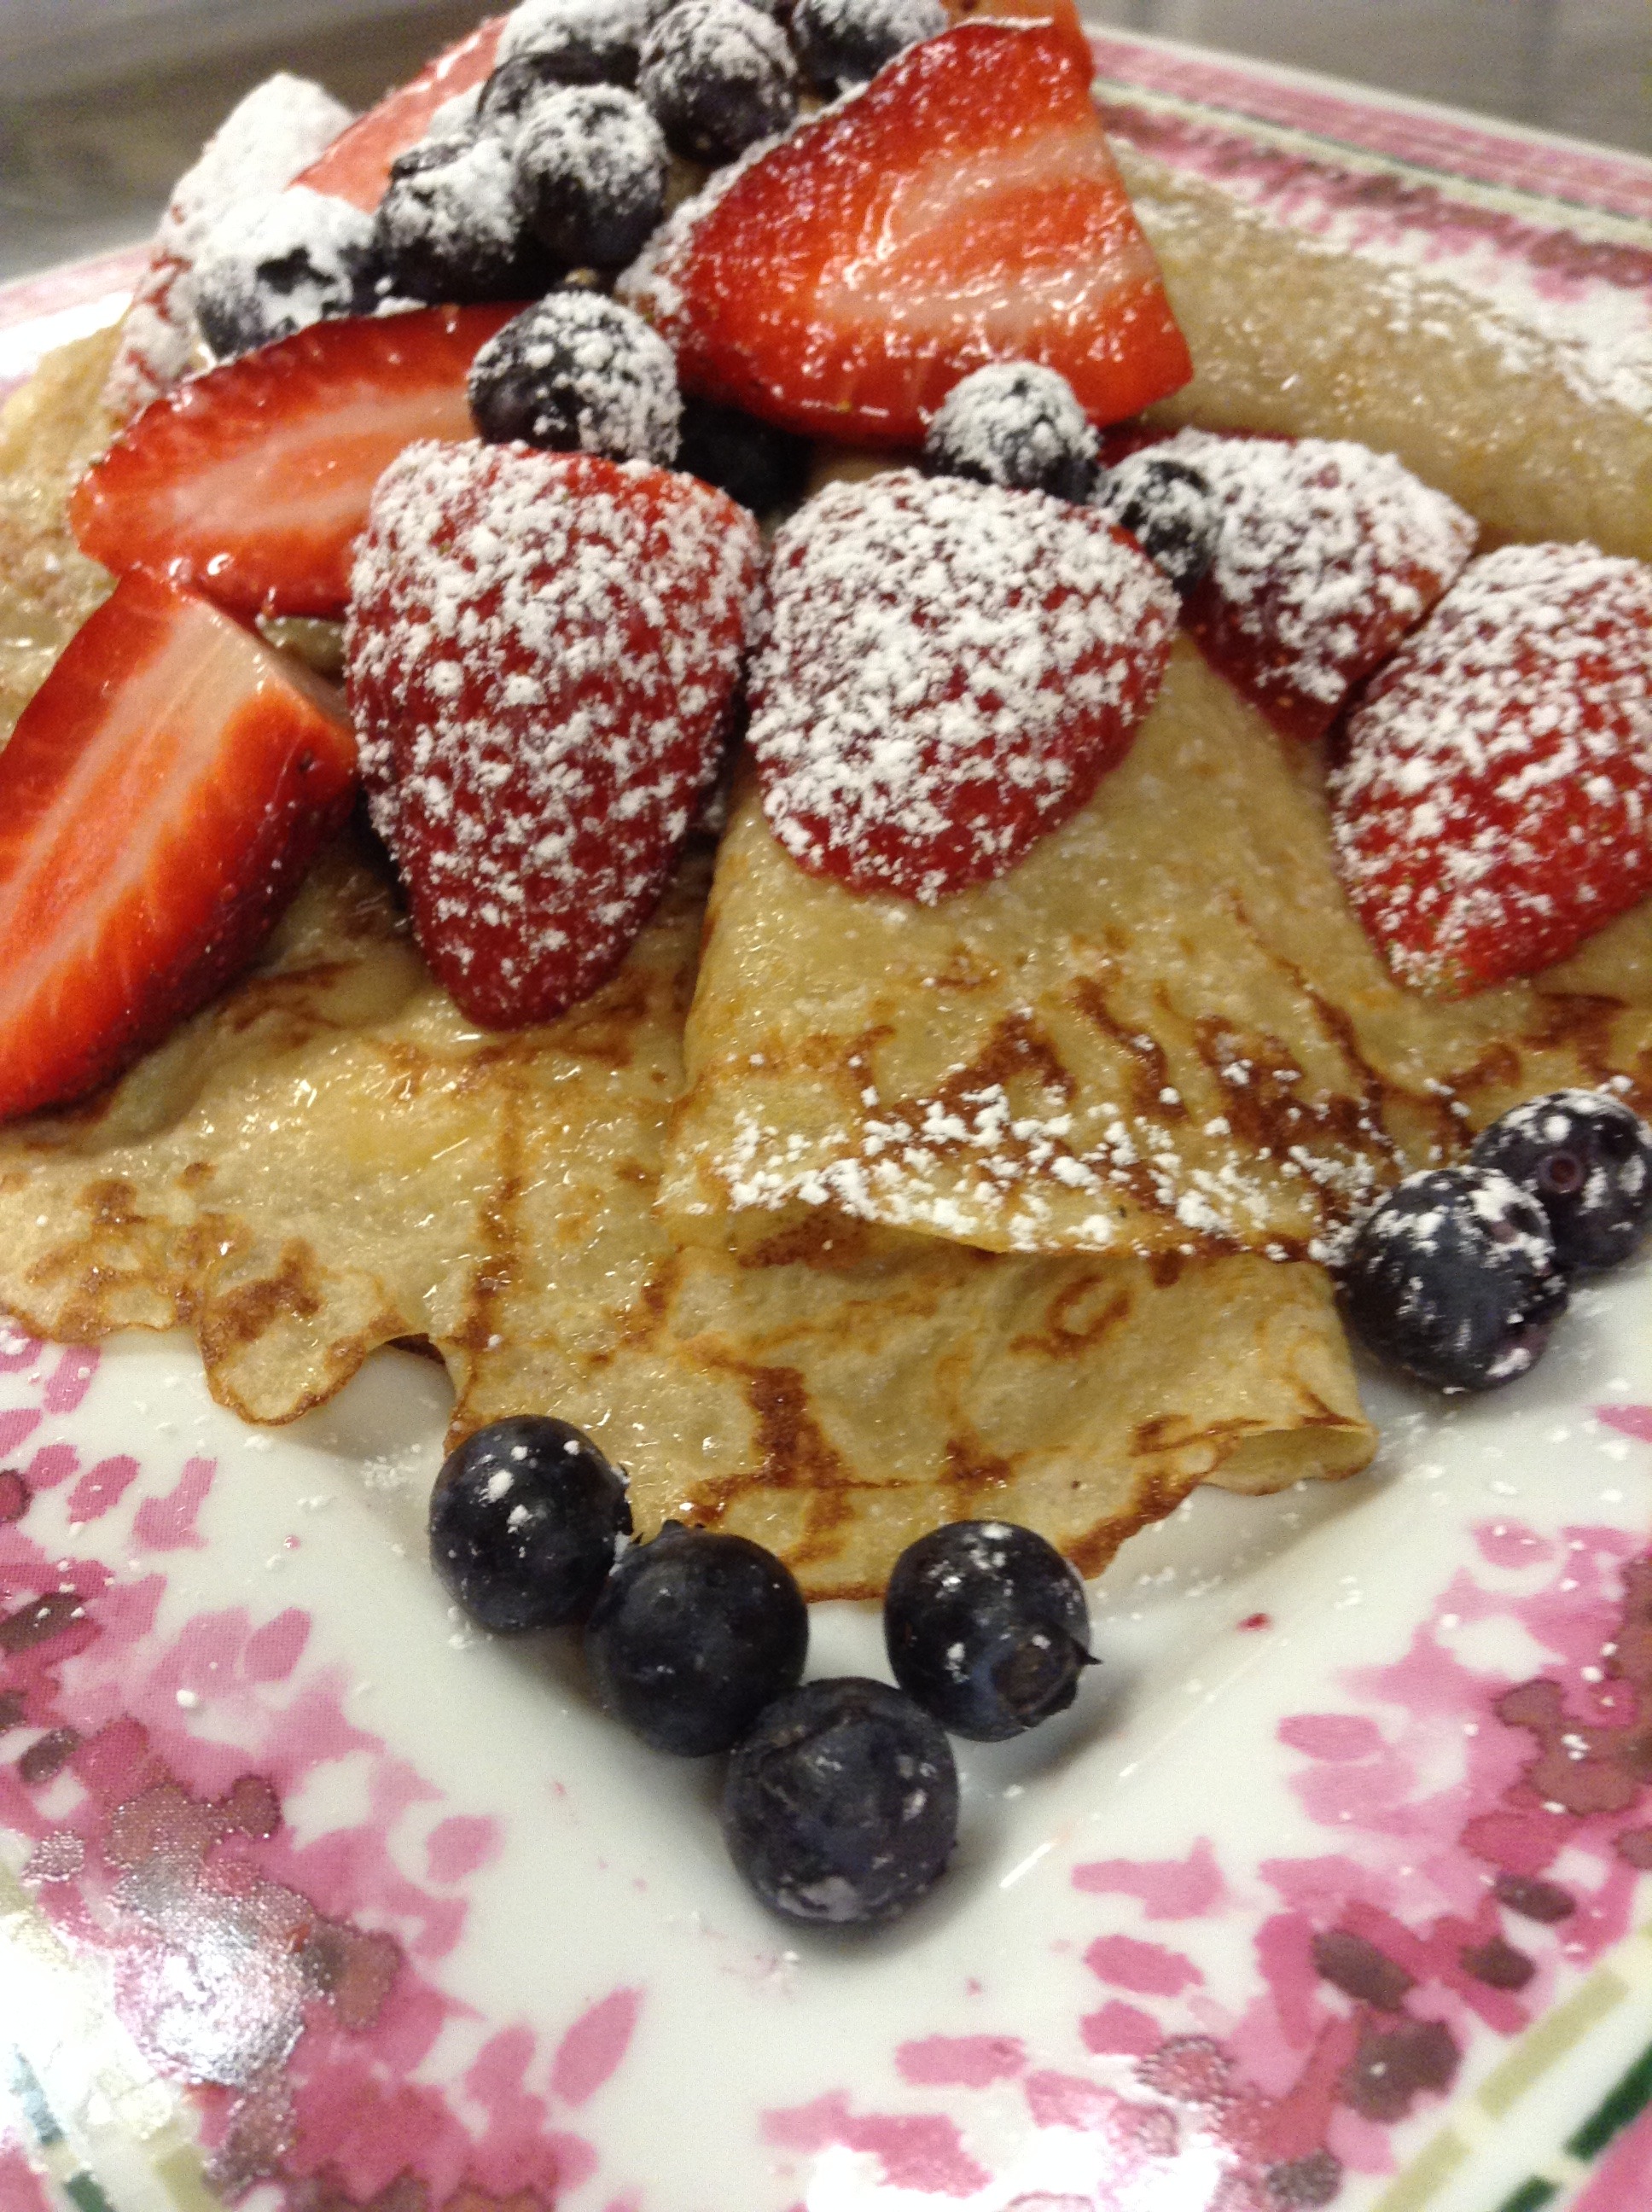
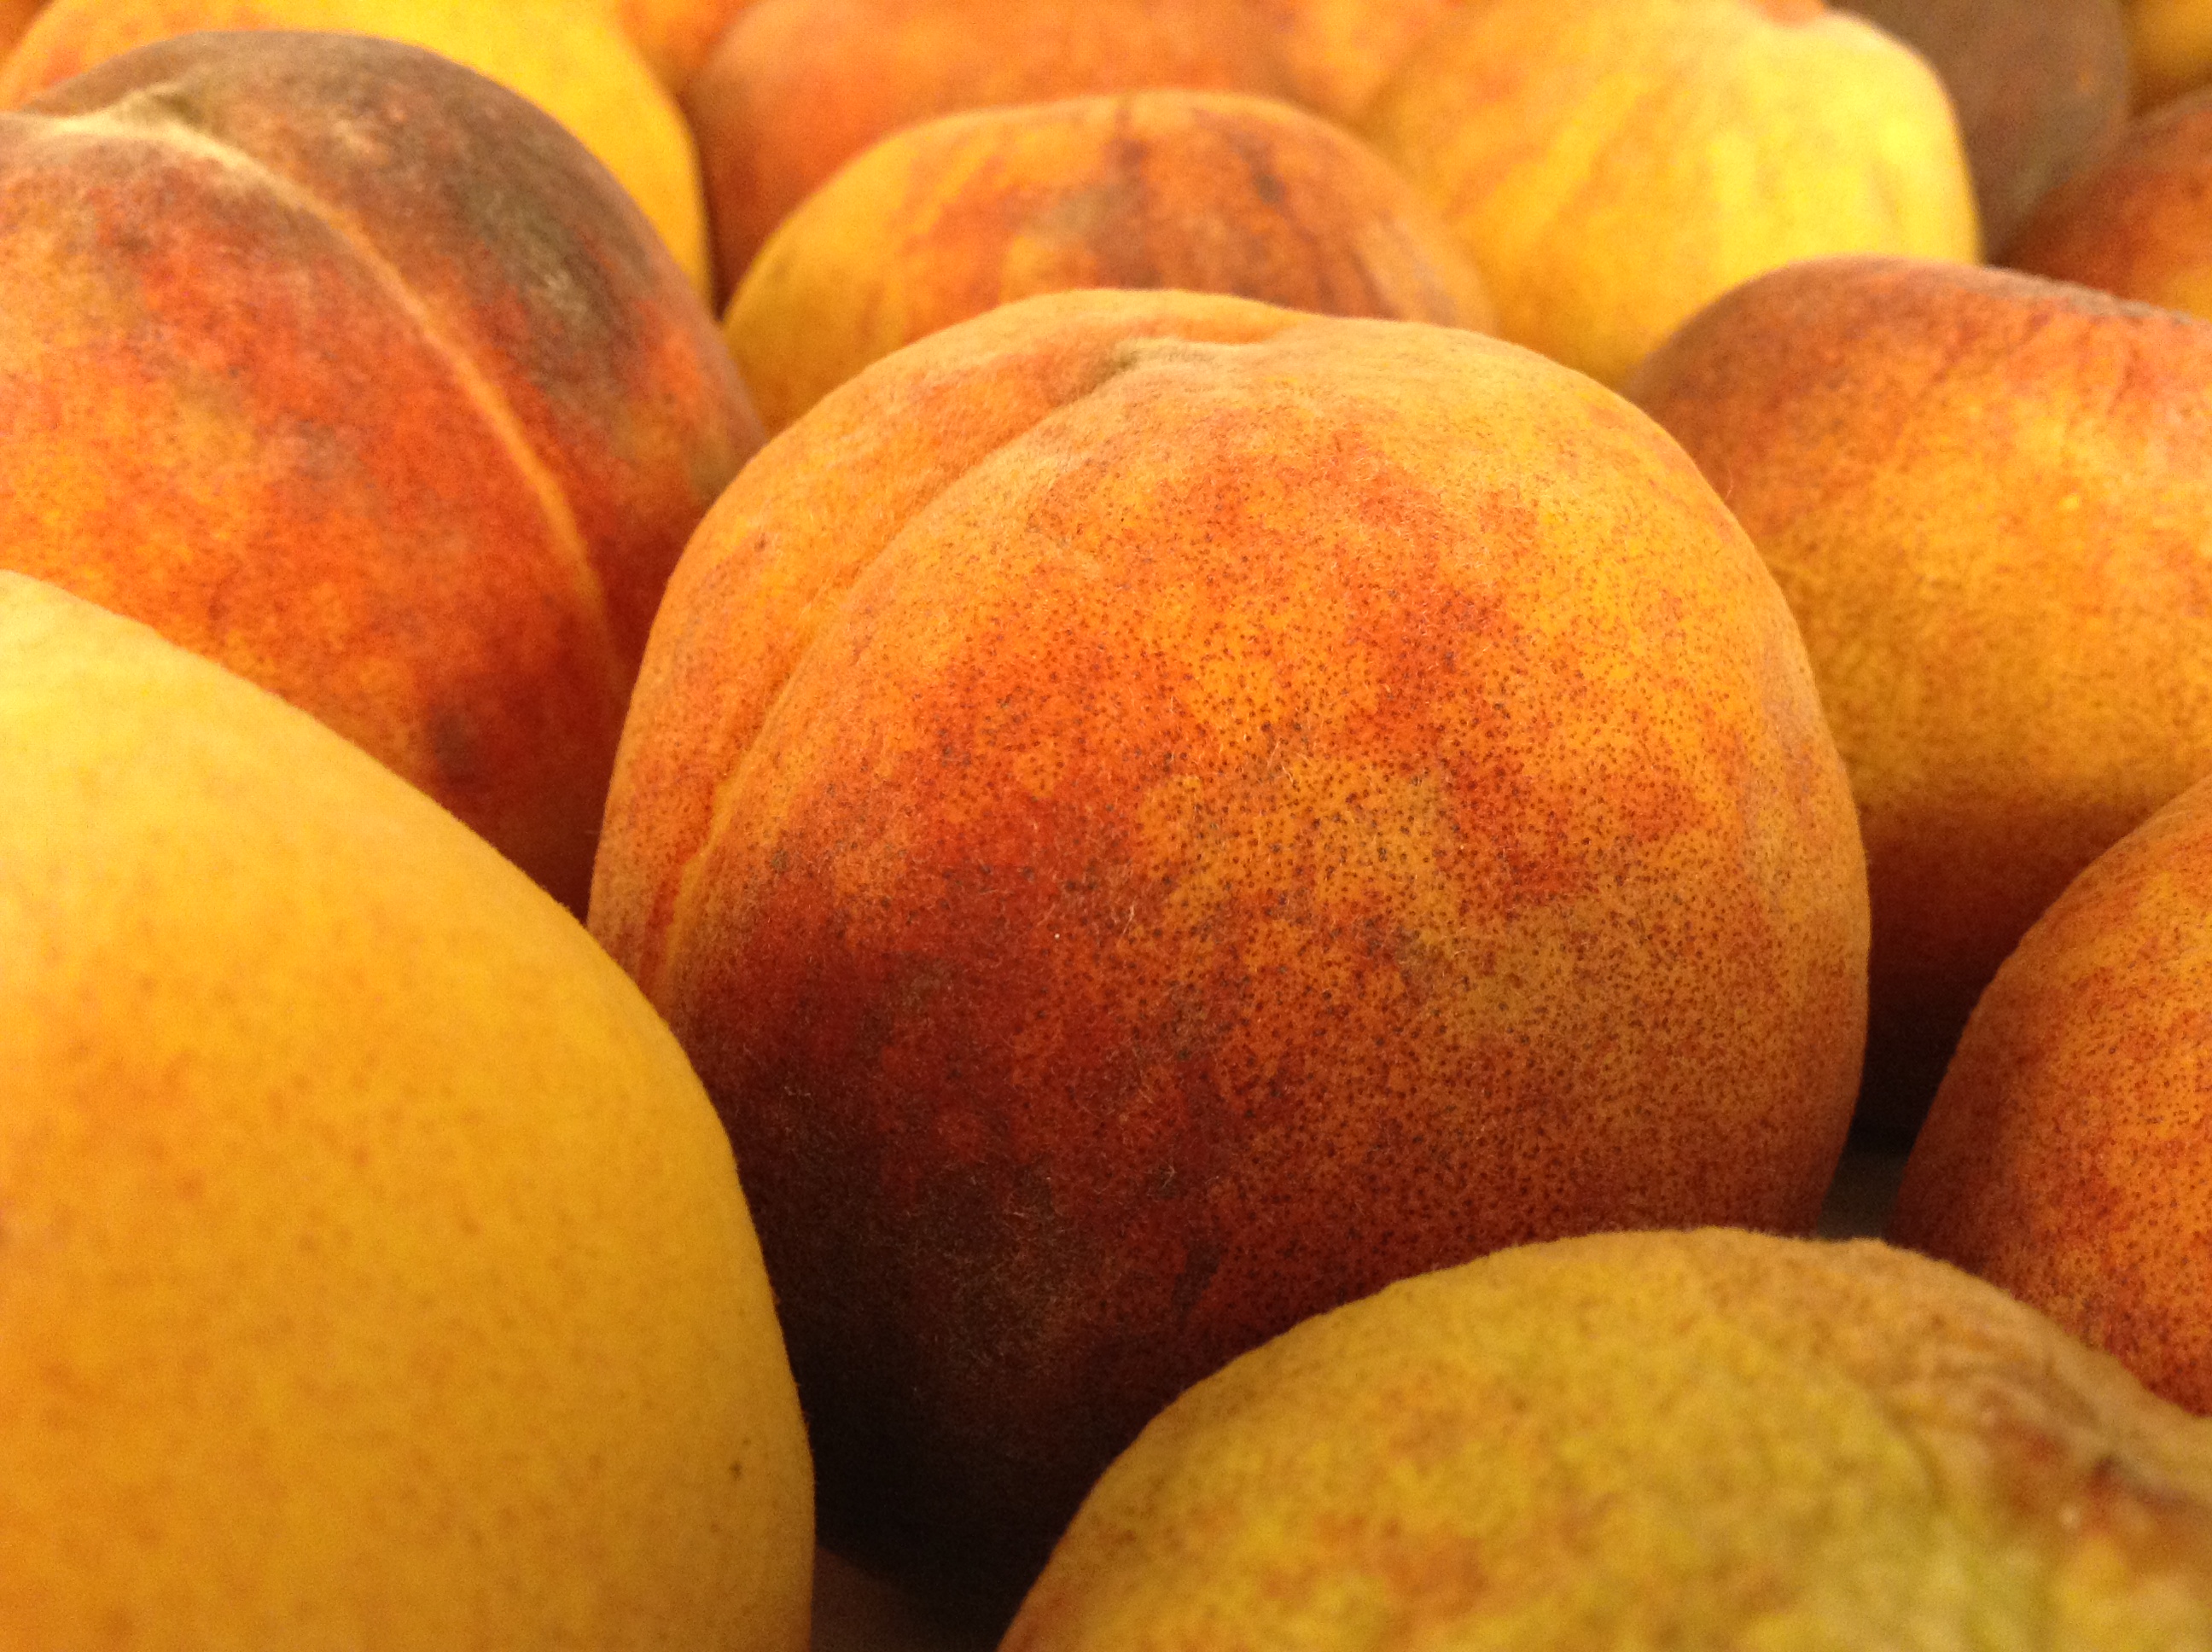
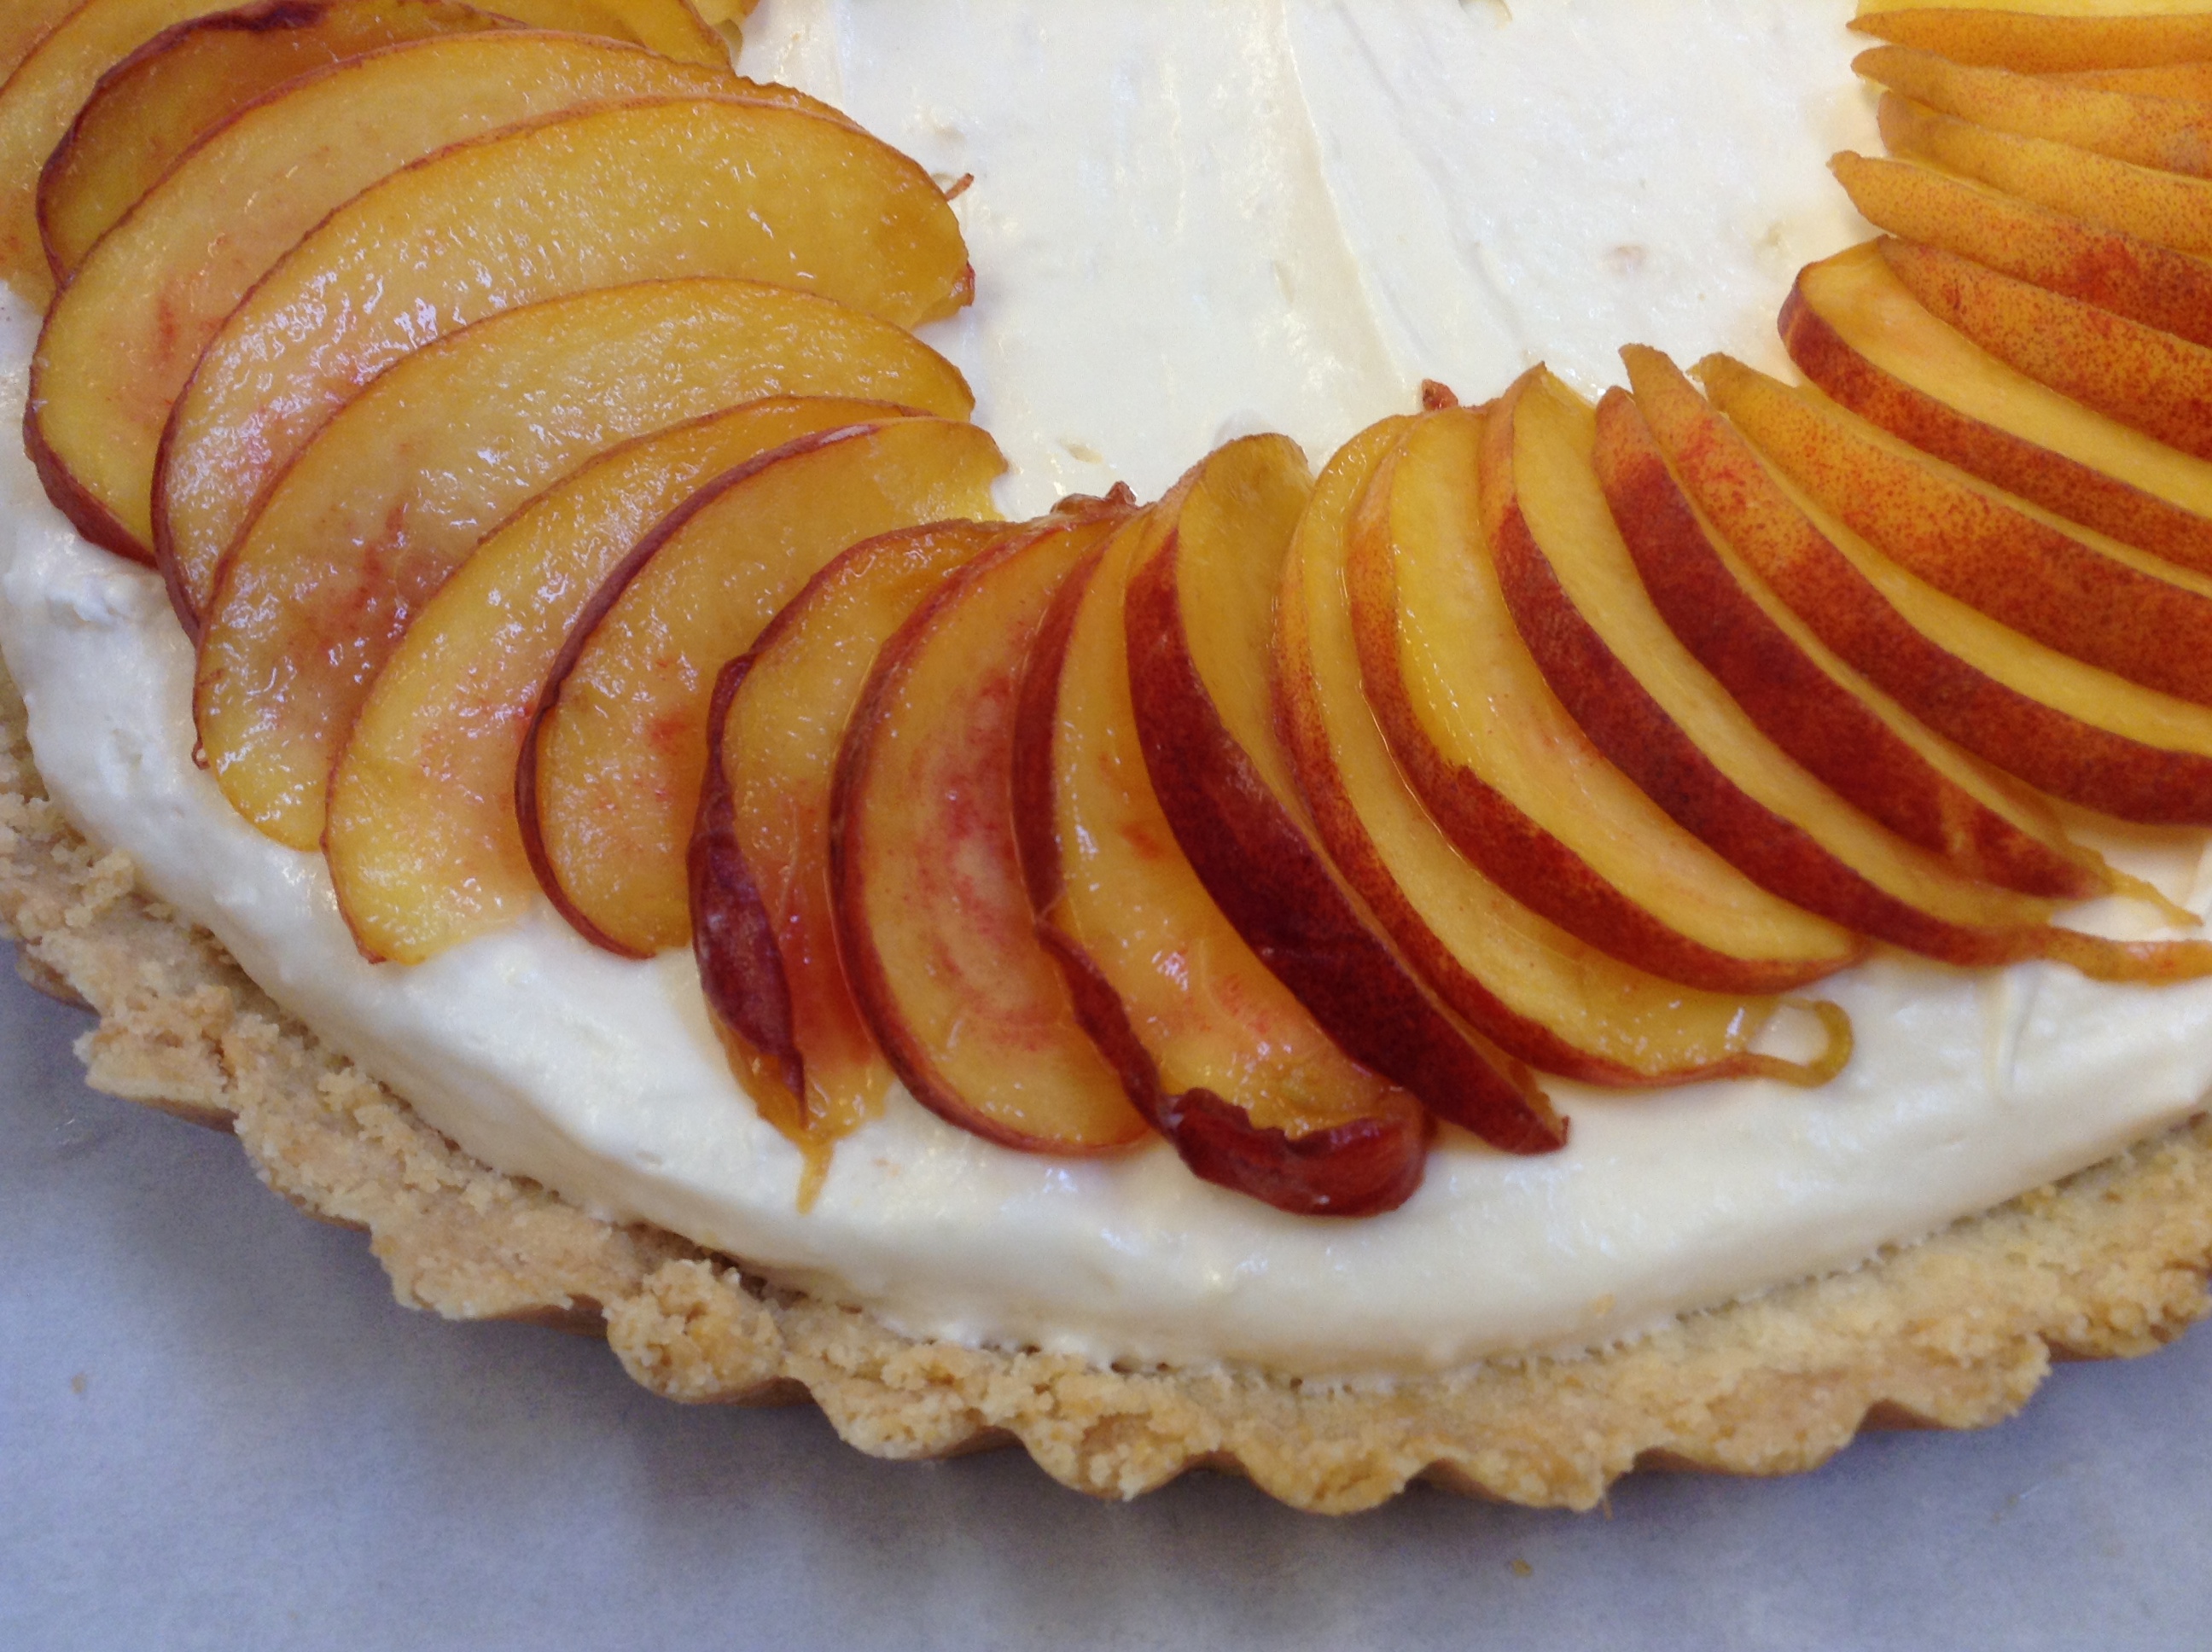
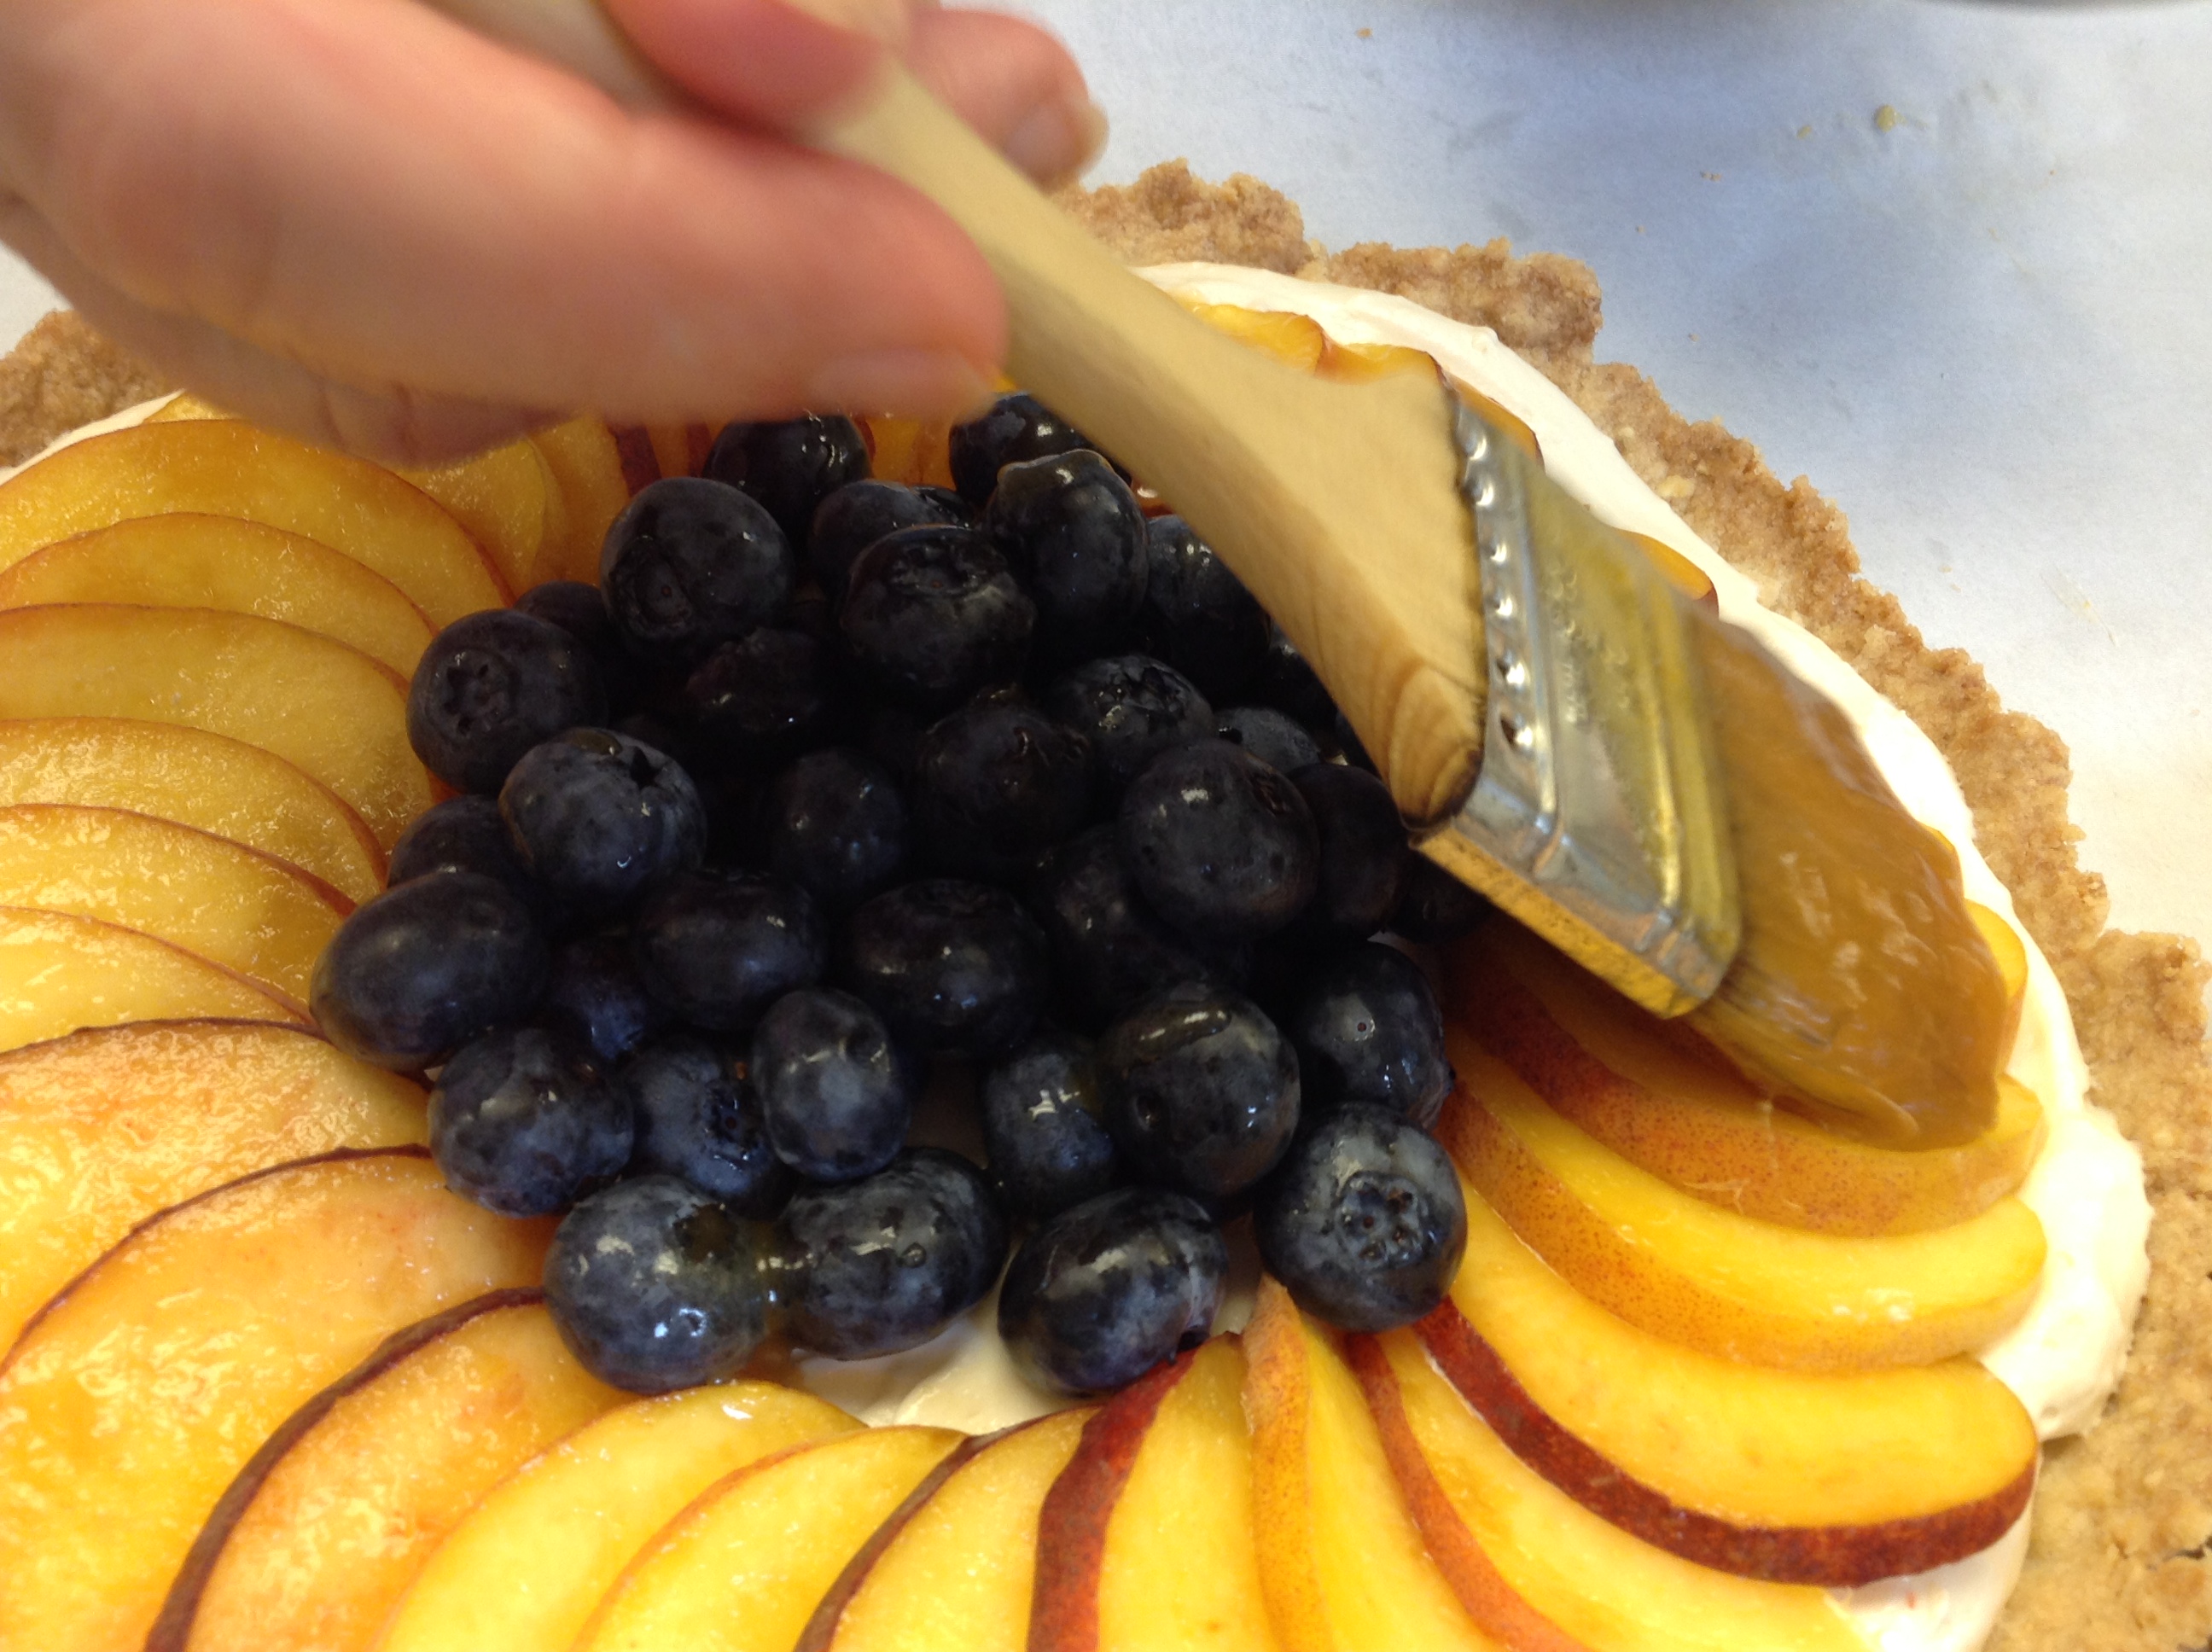
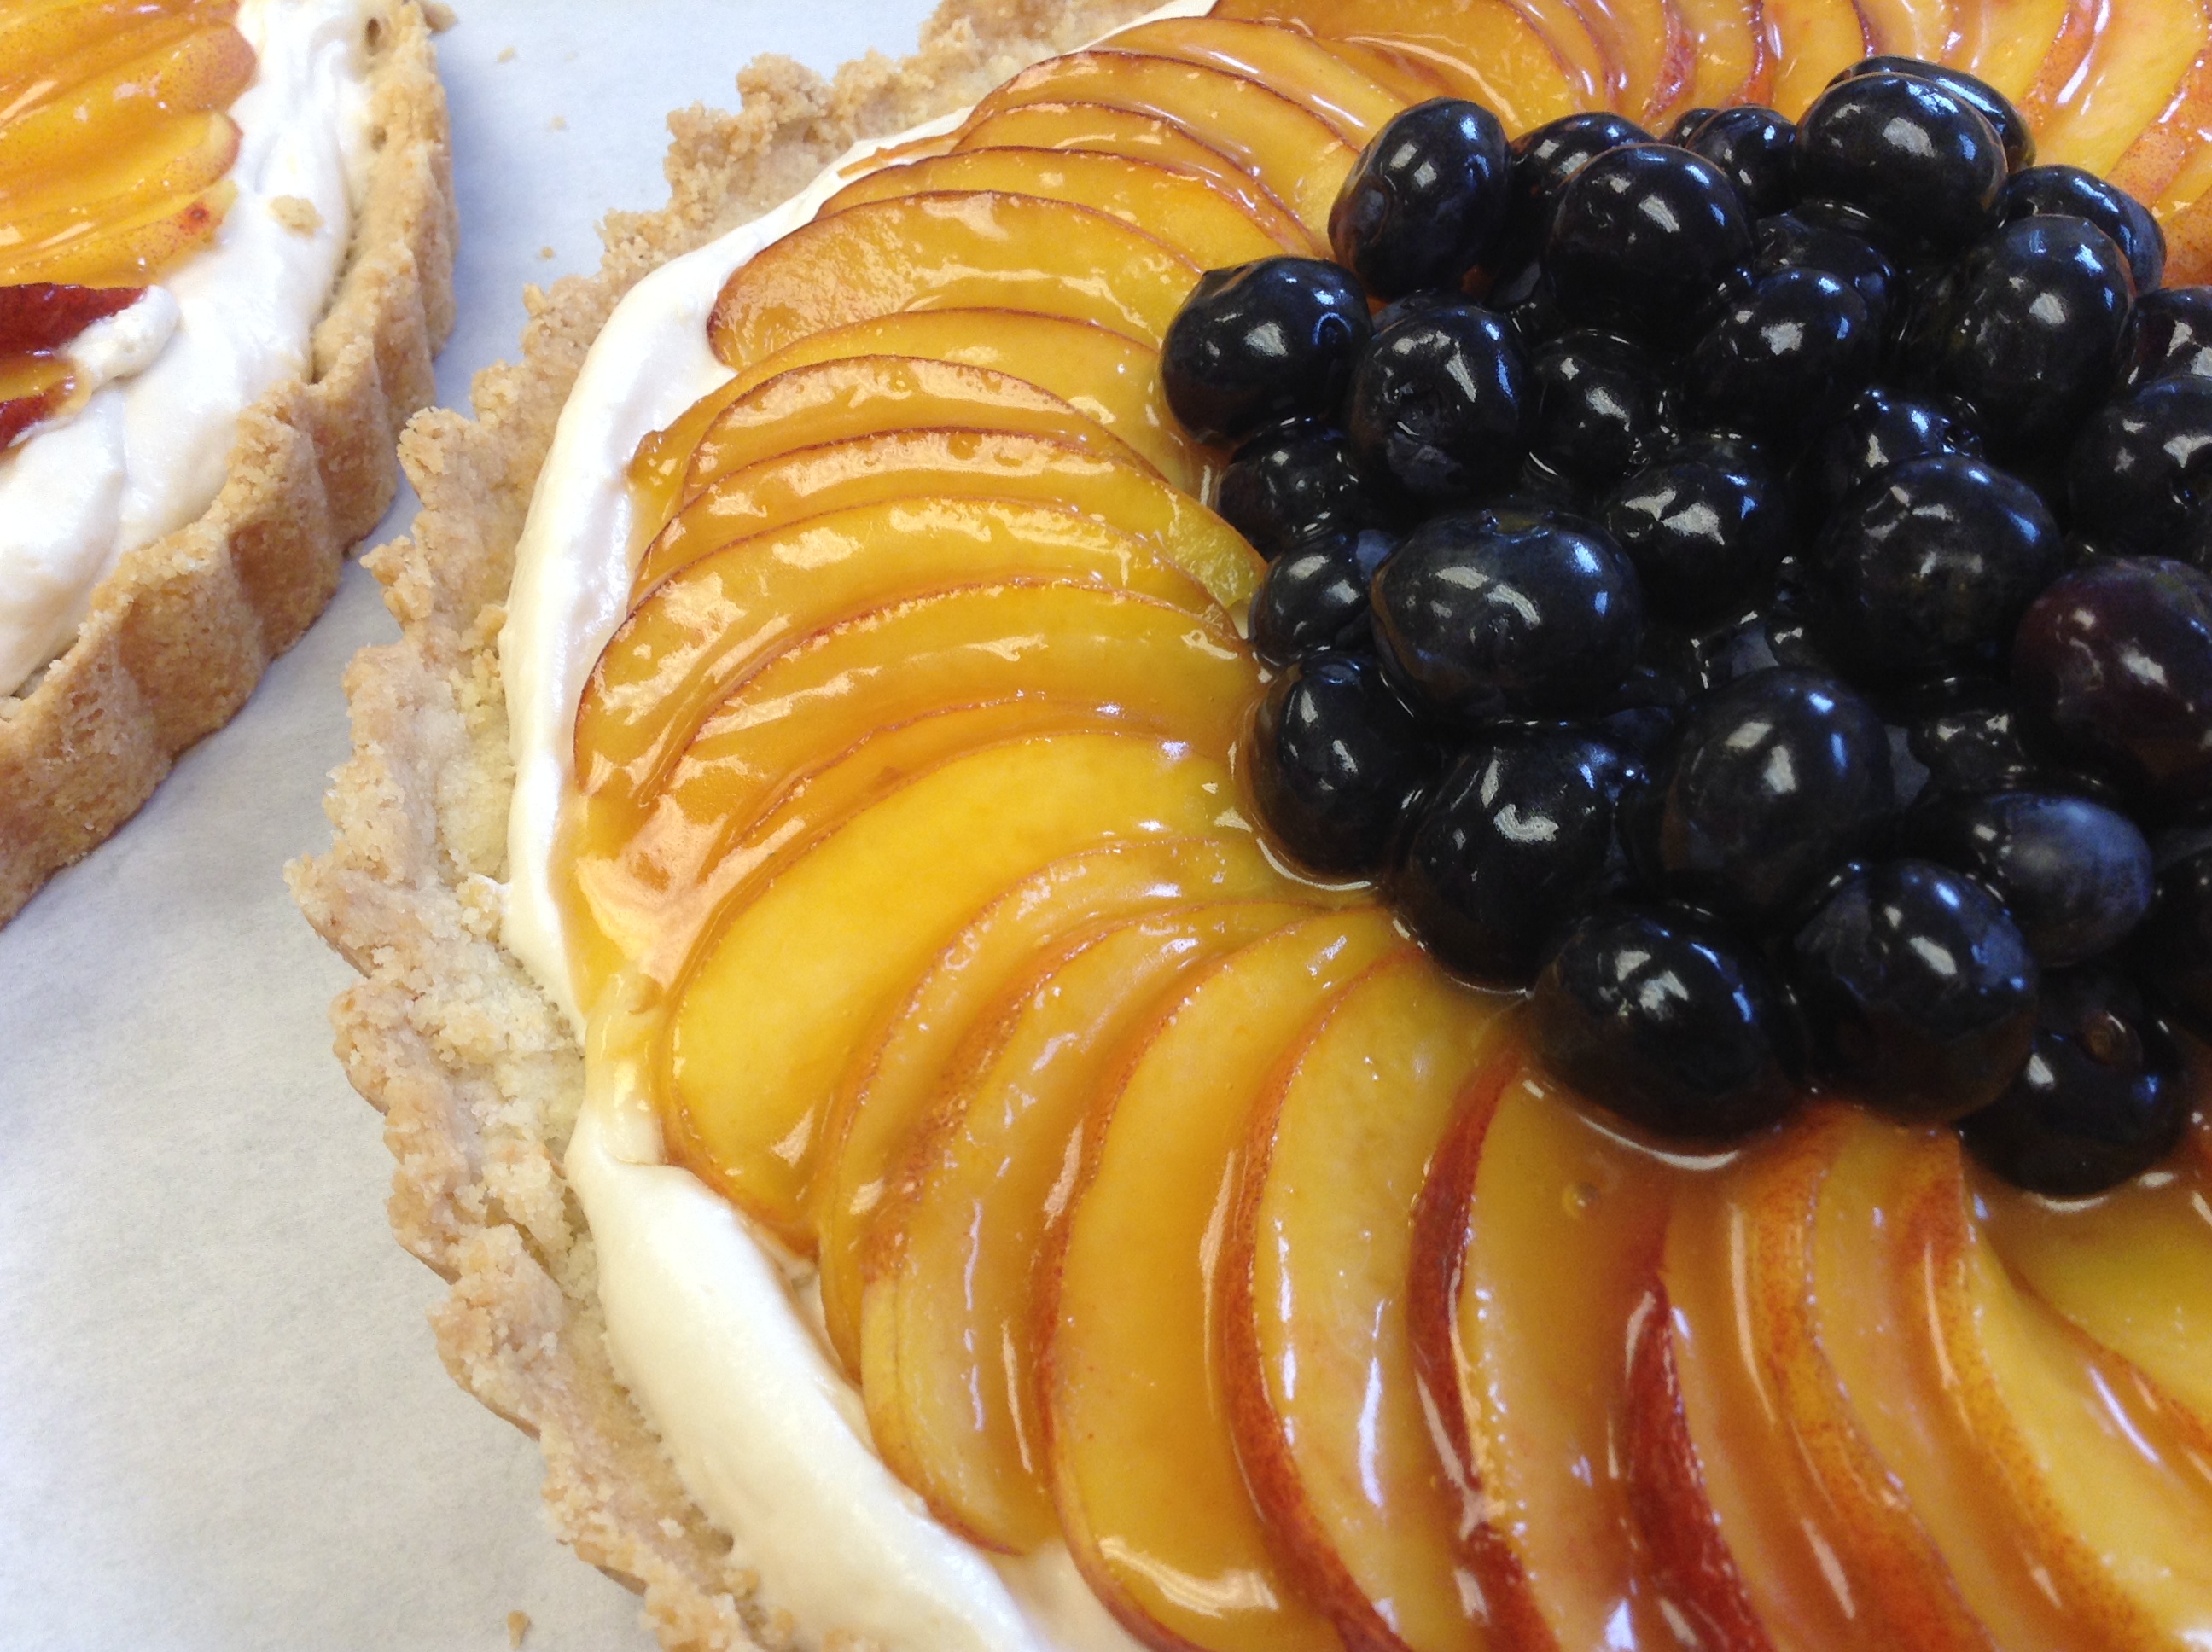
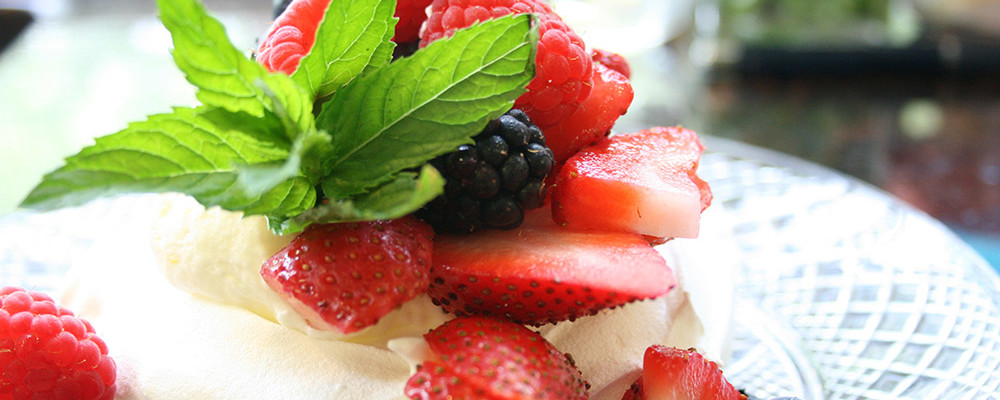
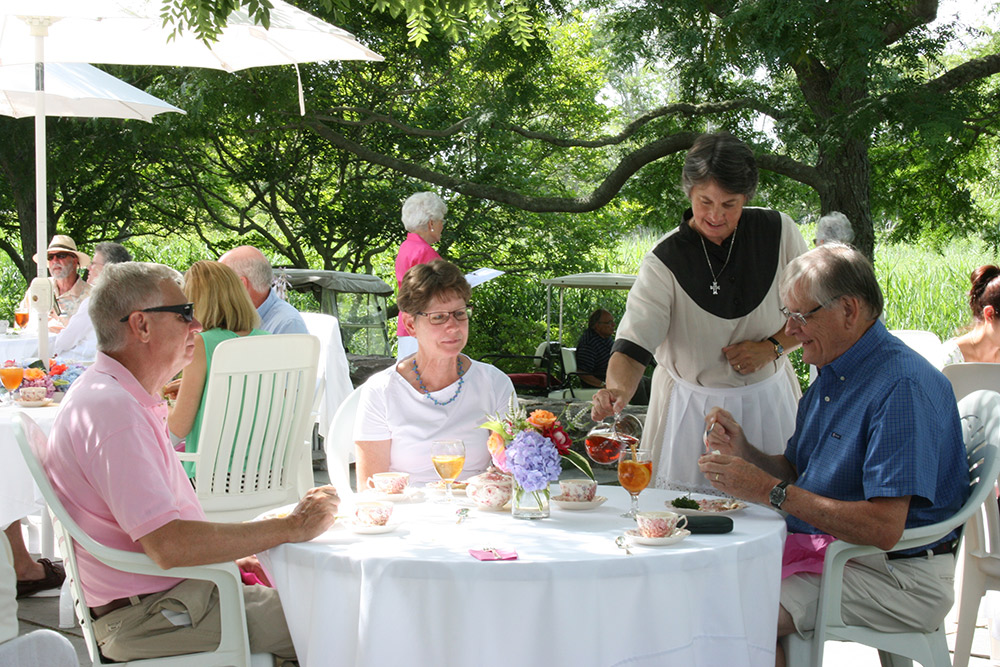
The speed with which attendance at these teas grew astonished us all. In no time the dining room was filled, overflowed into the living room, then to the sun-parlor, and from there out on to the patio and sometimes on to the lawn as well. I just learned that this Friday’s tea is already full. Our marvelous Fresh Fruit Lemon Curd Tarts are on the menu for dessert. These glorious tarts are not only a perfect finale for a scrumptious three course tea, but great summer dessert for any meal. The wide variety of fresh fruits that are now available make it an absolute joy to prepare.

SERVINGS201.5 inch cookiesCHANGE SERVING SIZE1.5 inch cookies |
COOK TIME1 3/4hr. |
PREP TIME15mins. |
READY IN |
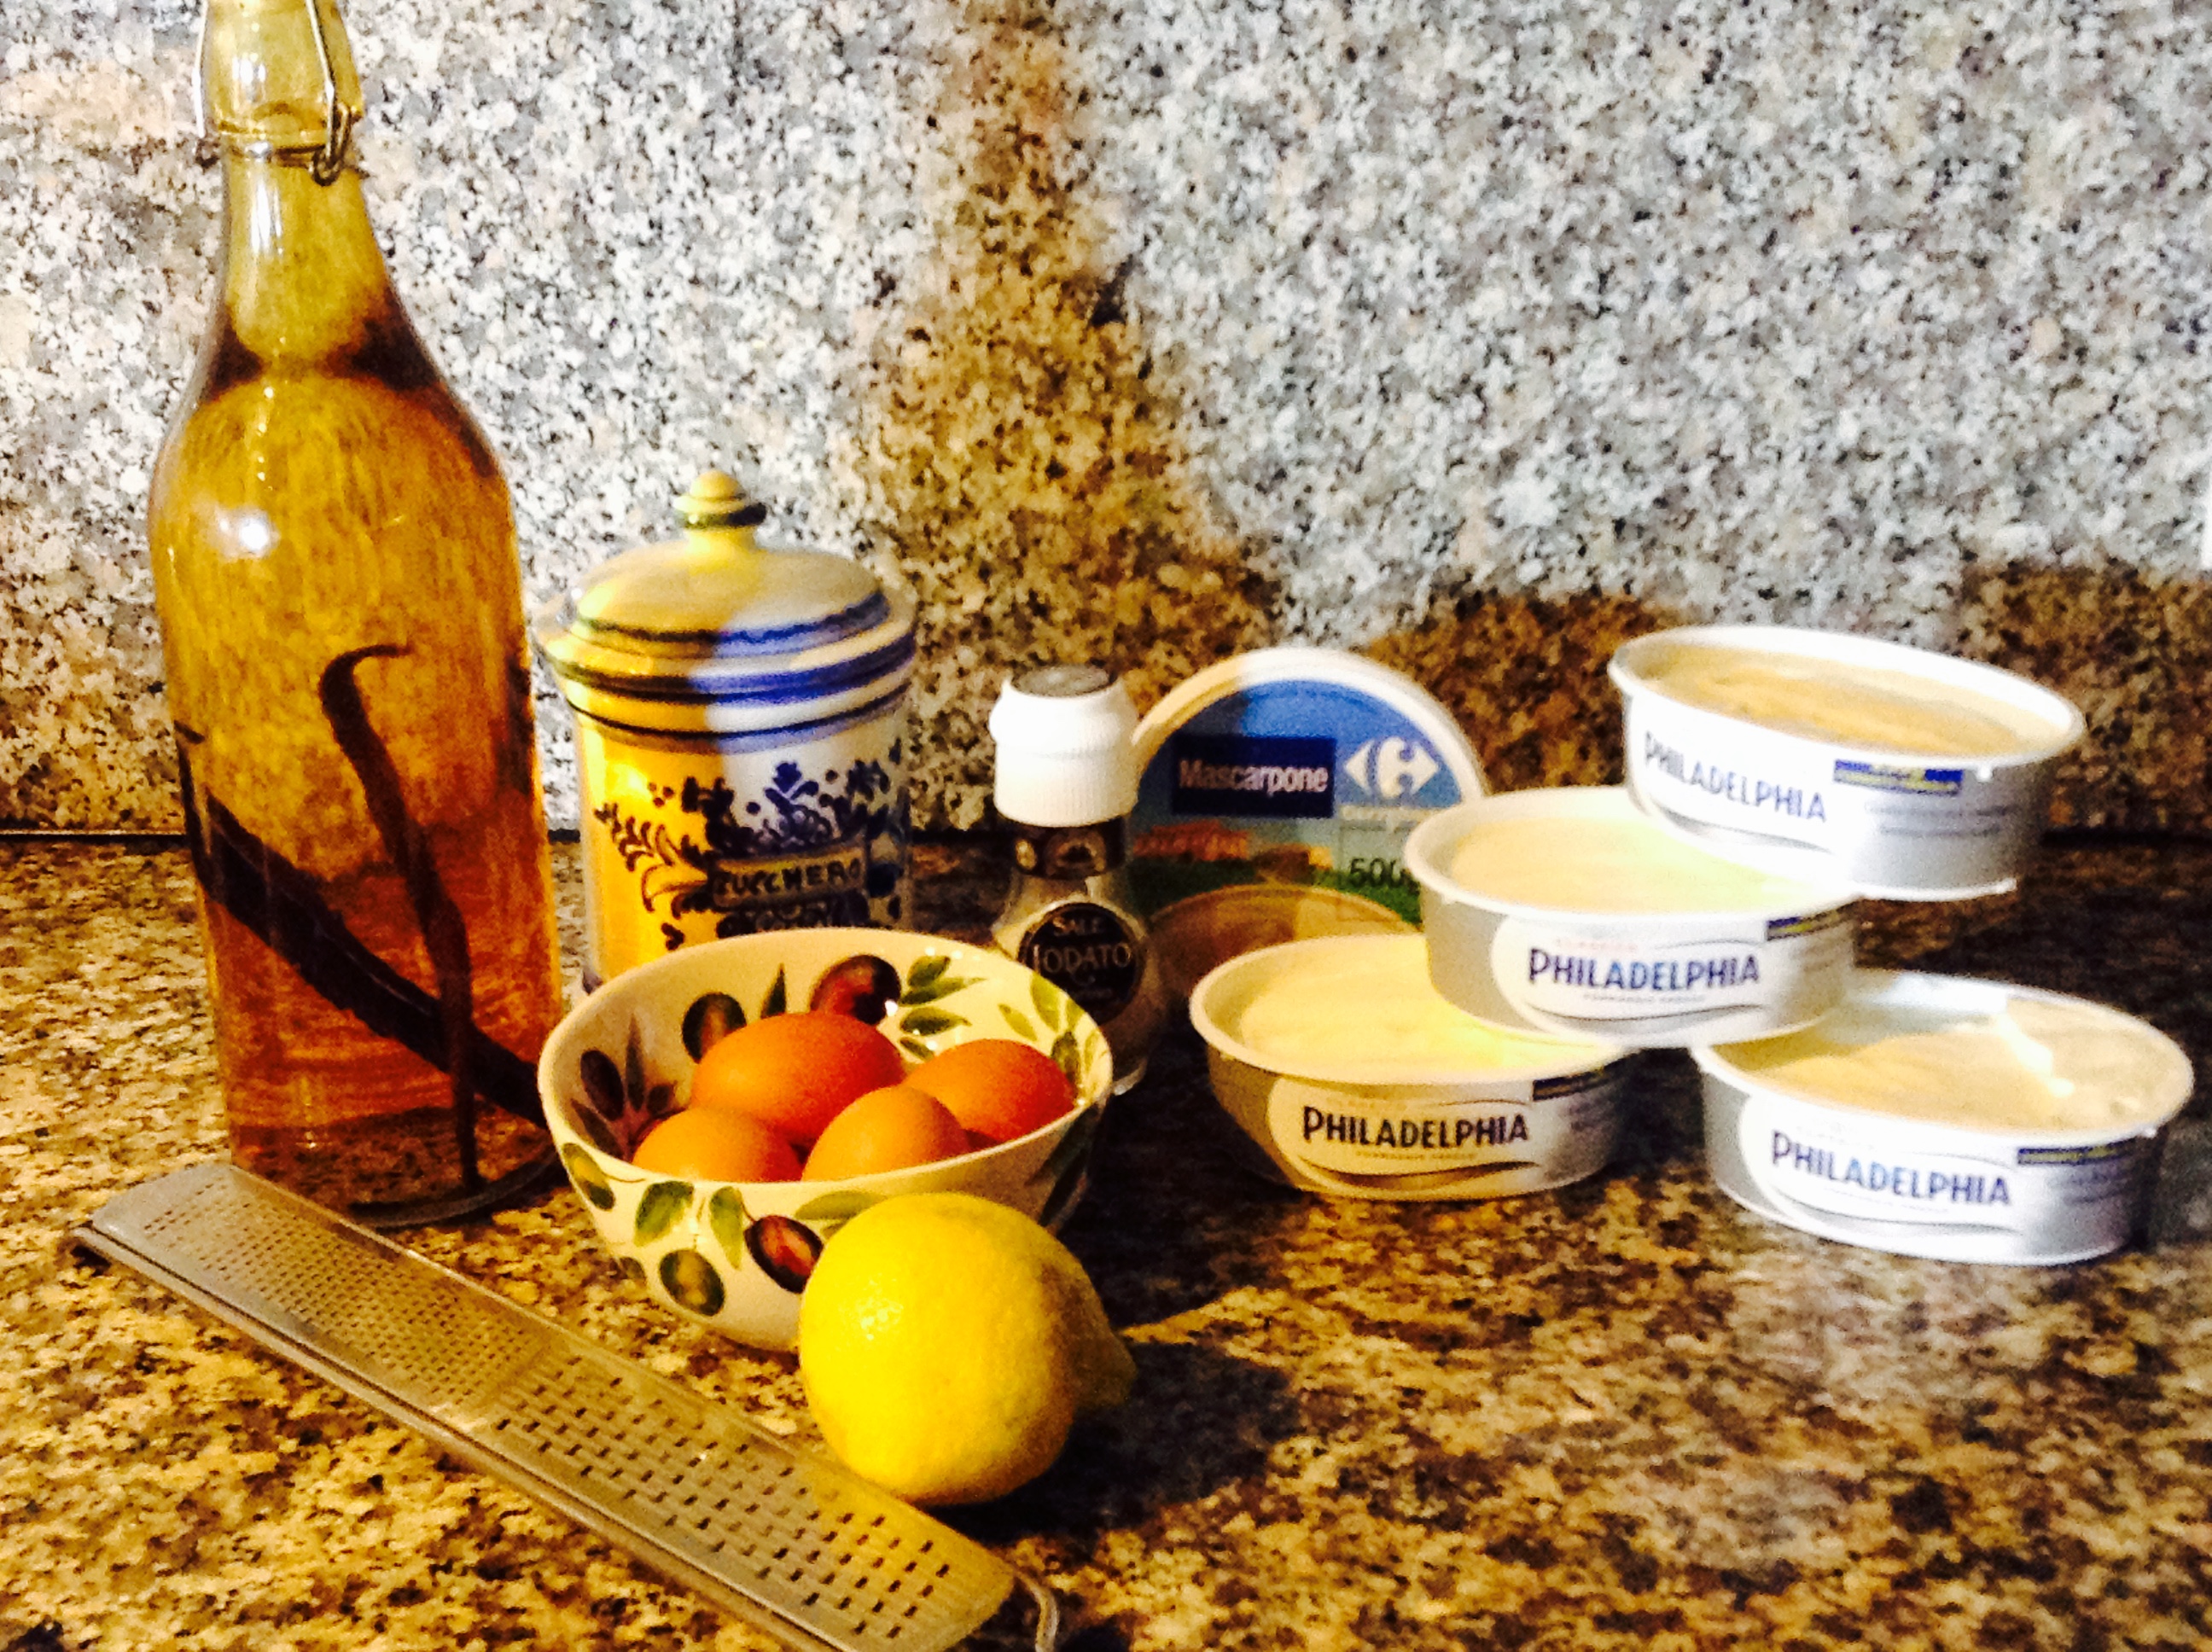
Ingredients
- 3 egg whites large, room temperature (see Tip)
- 1/4 tsp. cream of tartar
- 3/4 cup sugar
- 1/2 tsp. vanilla extract
- 1 jar lemon curd
- whipped cream
Instructions
- Separate one egg at a time into a small bowl, letting the white fall into the bowl and discarding the yolk. If there’s any trace of yolk in the white, discard the white and start over. If it’s yolk-free, transfer to a clean medium mixing bowl.
- Repeat with the remaining 2 eggs.
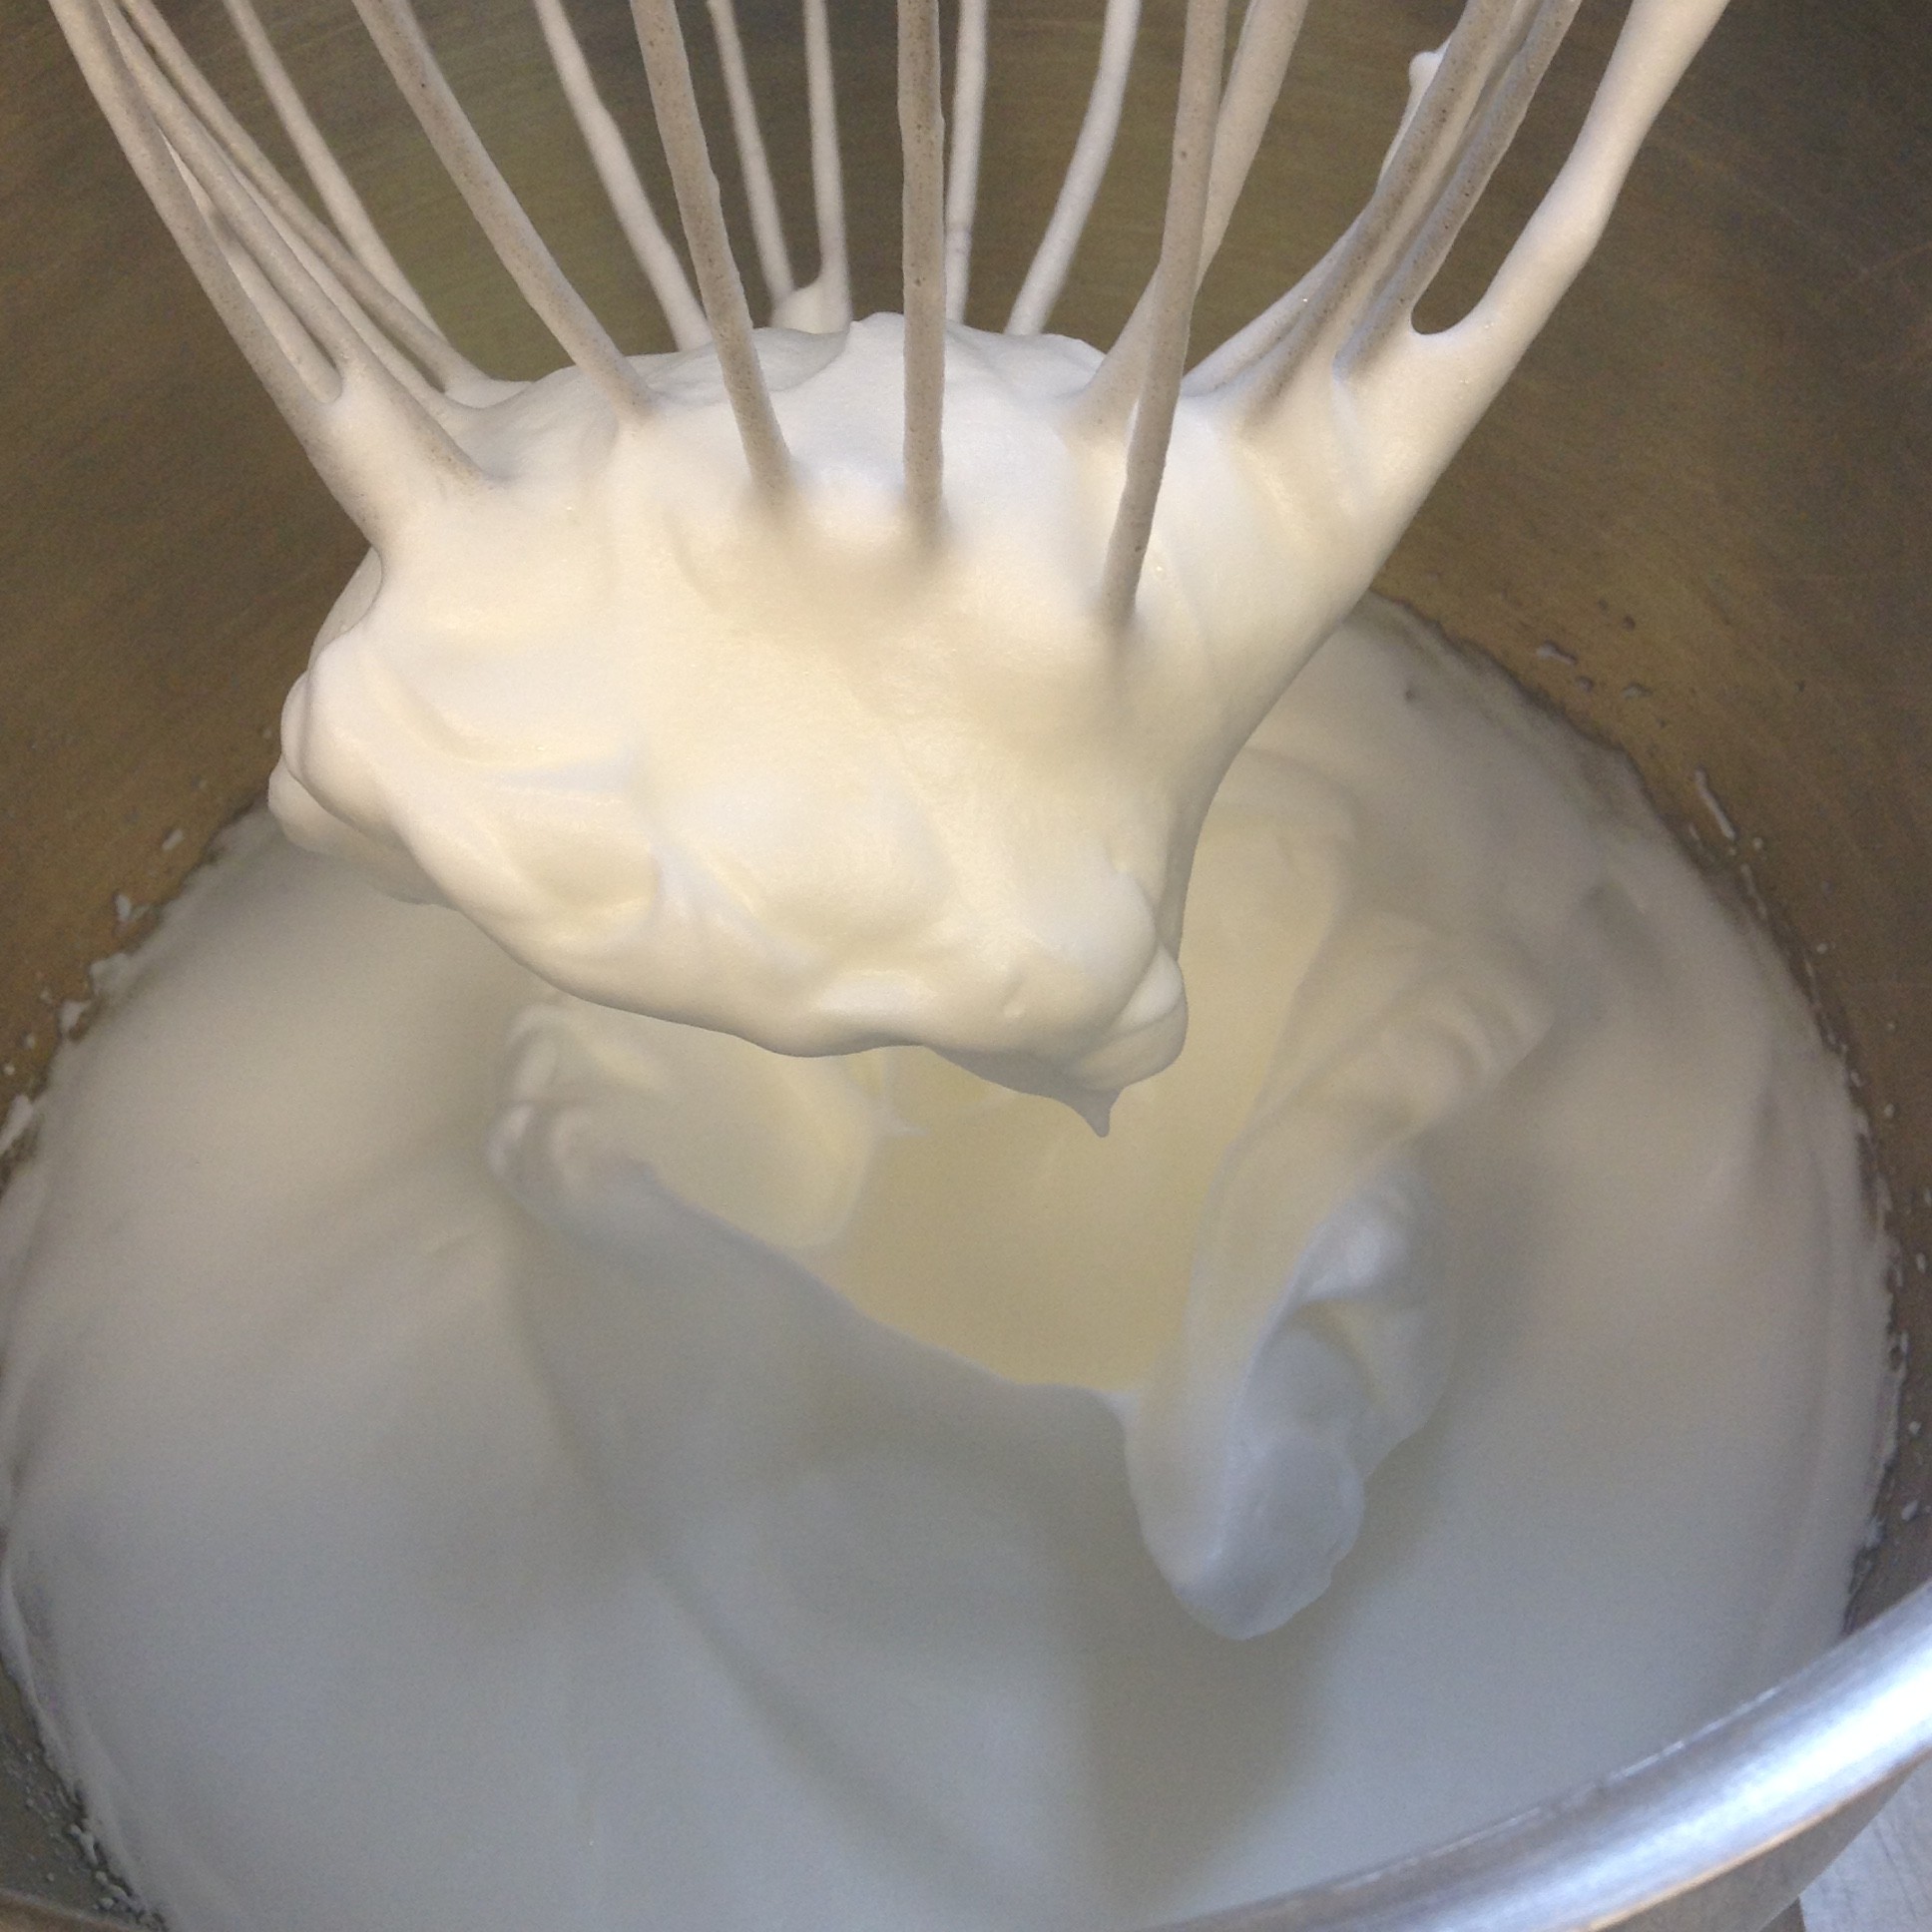
- Add cream of tartar to the whites and beat with an electric mixer on medium-high speed until soft peaks form.
- Slowly add sugar, about 1 tablespoon at a time, until all the sugar has been added.
- Continue beating until the whites are stiff and glossy.
- Add vanilla and beat for 30 seconds more.
- Position racks in the upper and lower thirds of the oven; preheat to 200 degrees Fahrenheit.
- Line 2 large baking sheets with parchment paper.
- Place a small amount of the meringue under each corner of the paper to secure it to the pan.
- Fill a 1-quart sealable plastic bag (or pastry bag fitted with a 1/2-inch plain tip) with the meringue.
- Seal the bag almost completely, leaving a small opening for air to escape from the top as you squeeze.
- Snip off one corner of the bag with scissors, making a 3/4-inch-wide opening.
- Fold the top of the bag over a few times, then gently push the meringue down to the snipped corner.
- Working with the bag perpendicular to the baking sheet, pipe the meringue into 2-inch-diameter tarts, spacing them about 1/2 inch apart.
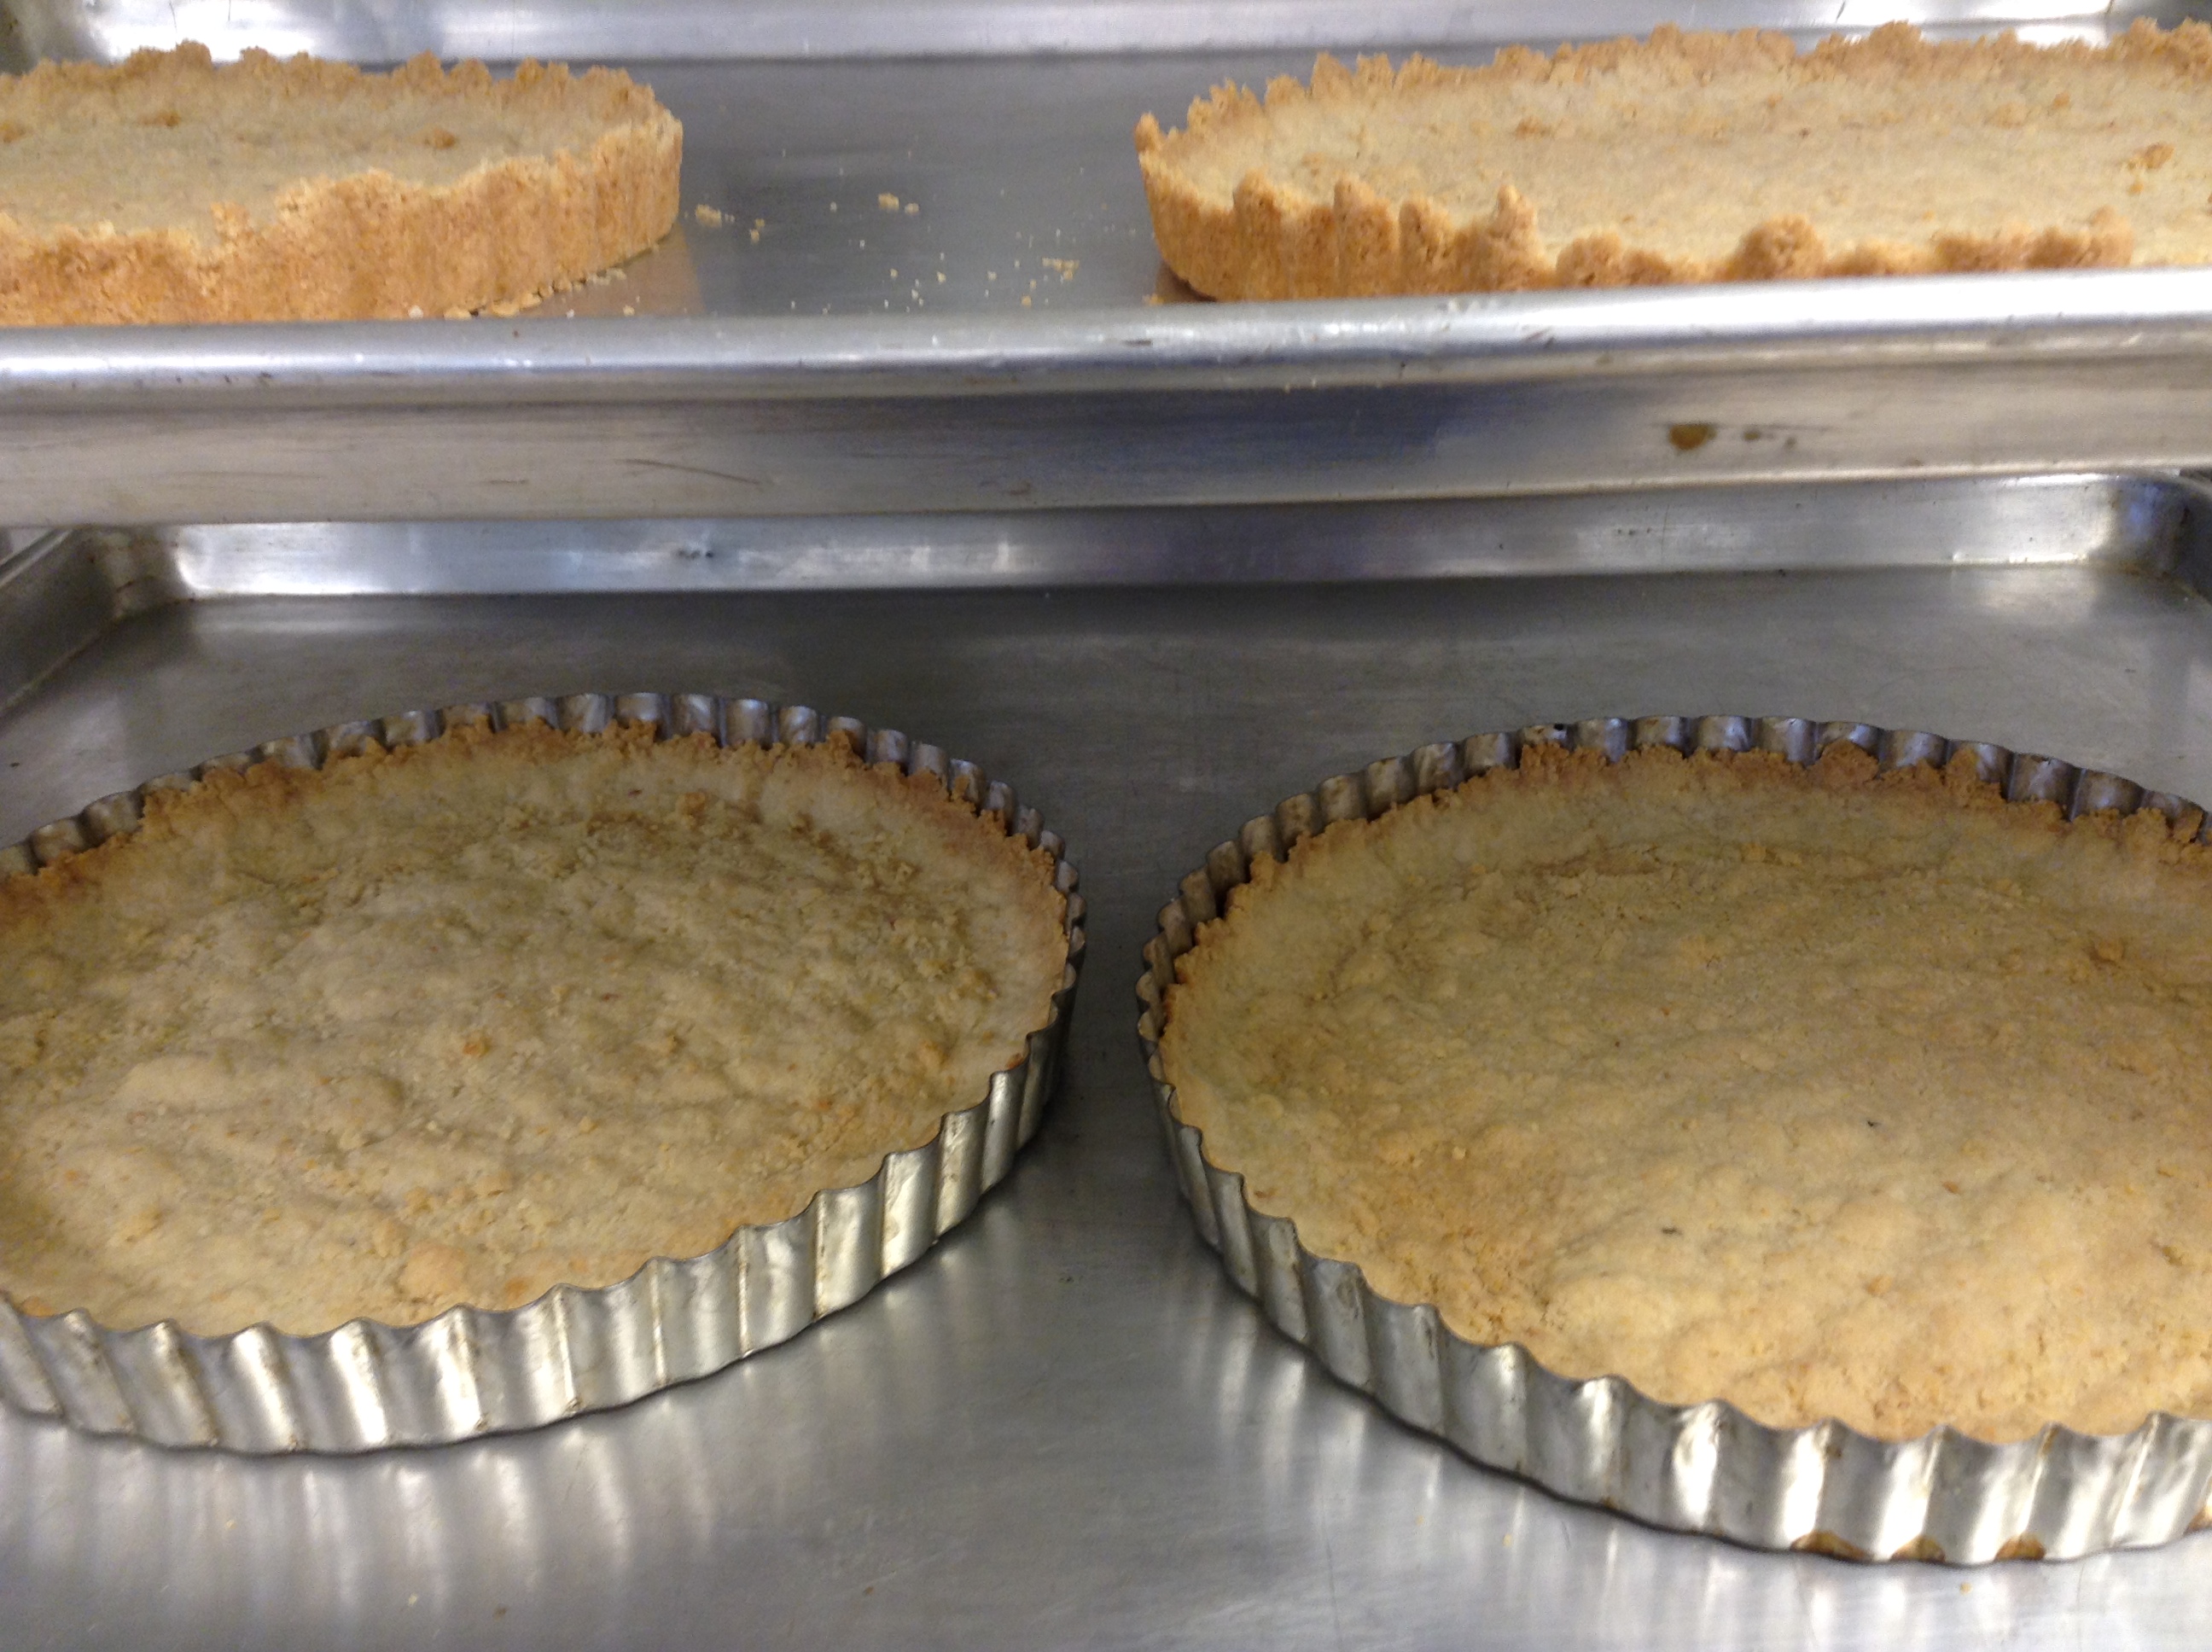
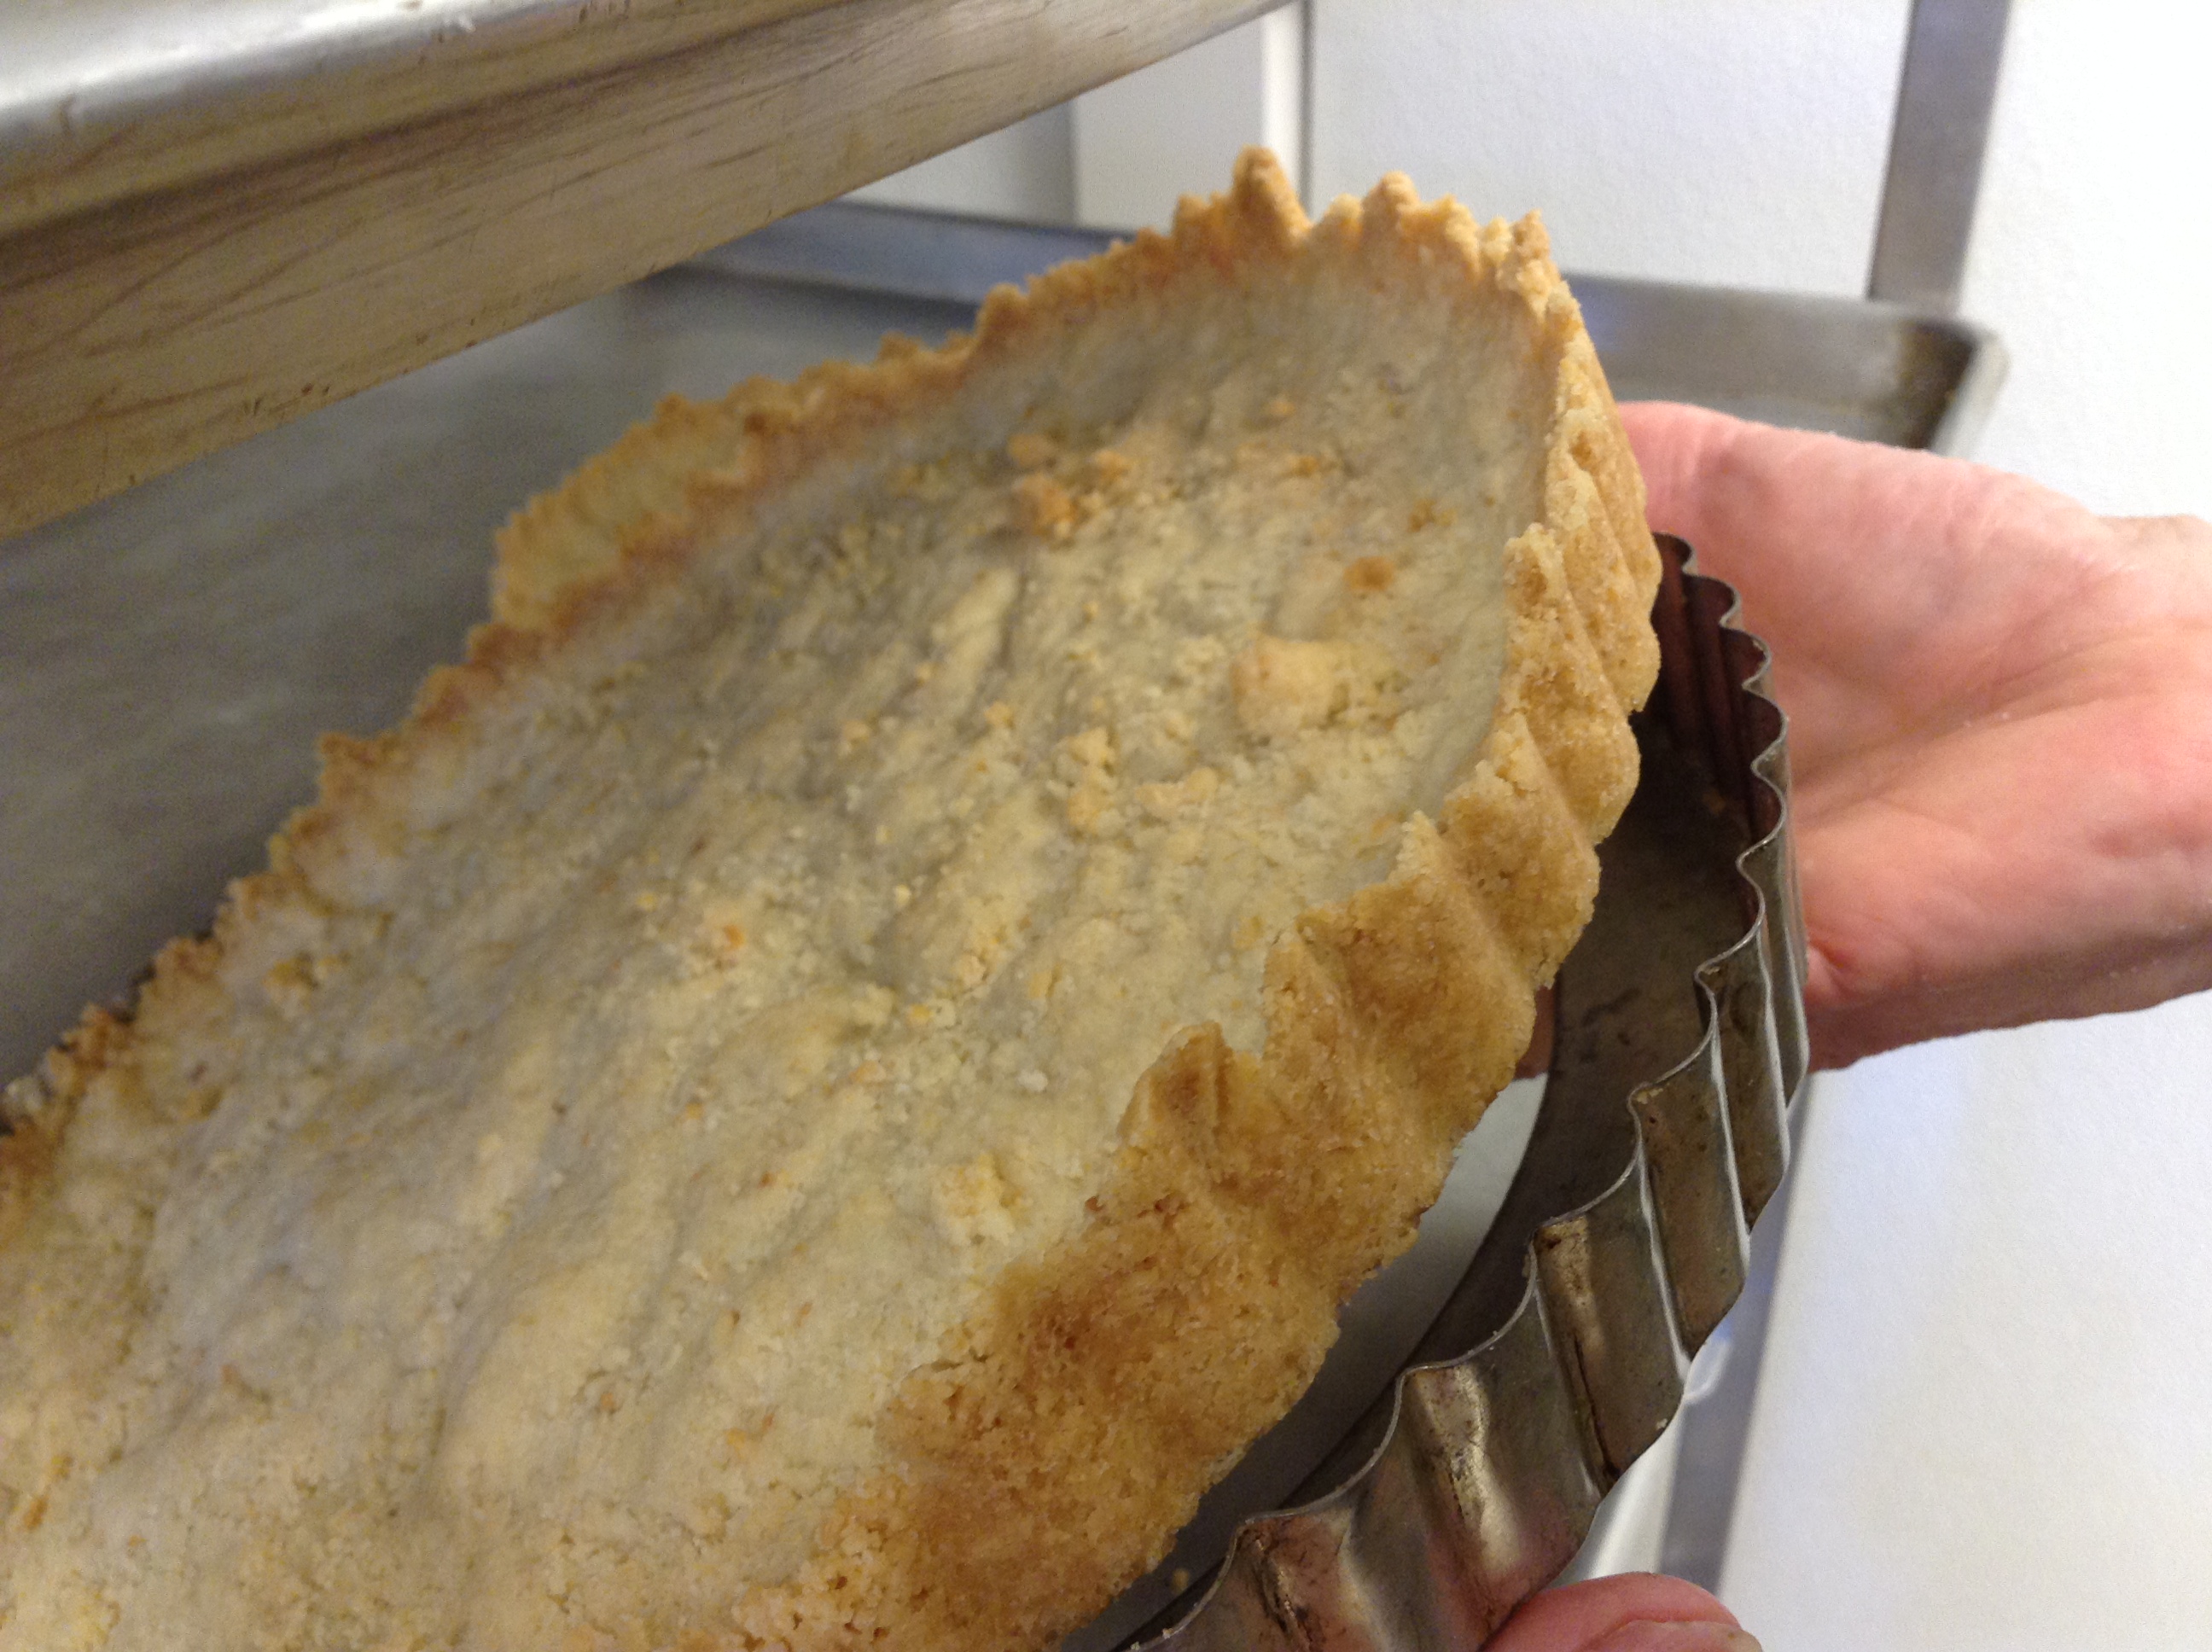
- Bake the tarts until dry and crisp throughout, about 1 1/2 hours.
- Transfer the pans to wire racks and let the tarts cool to room temperature, about 15 minutes.
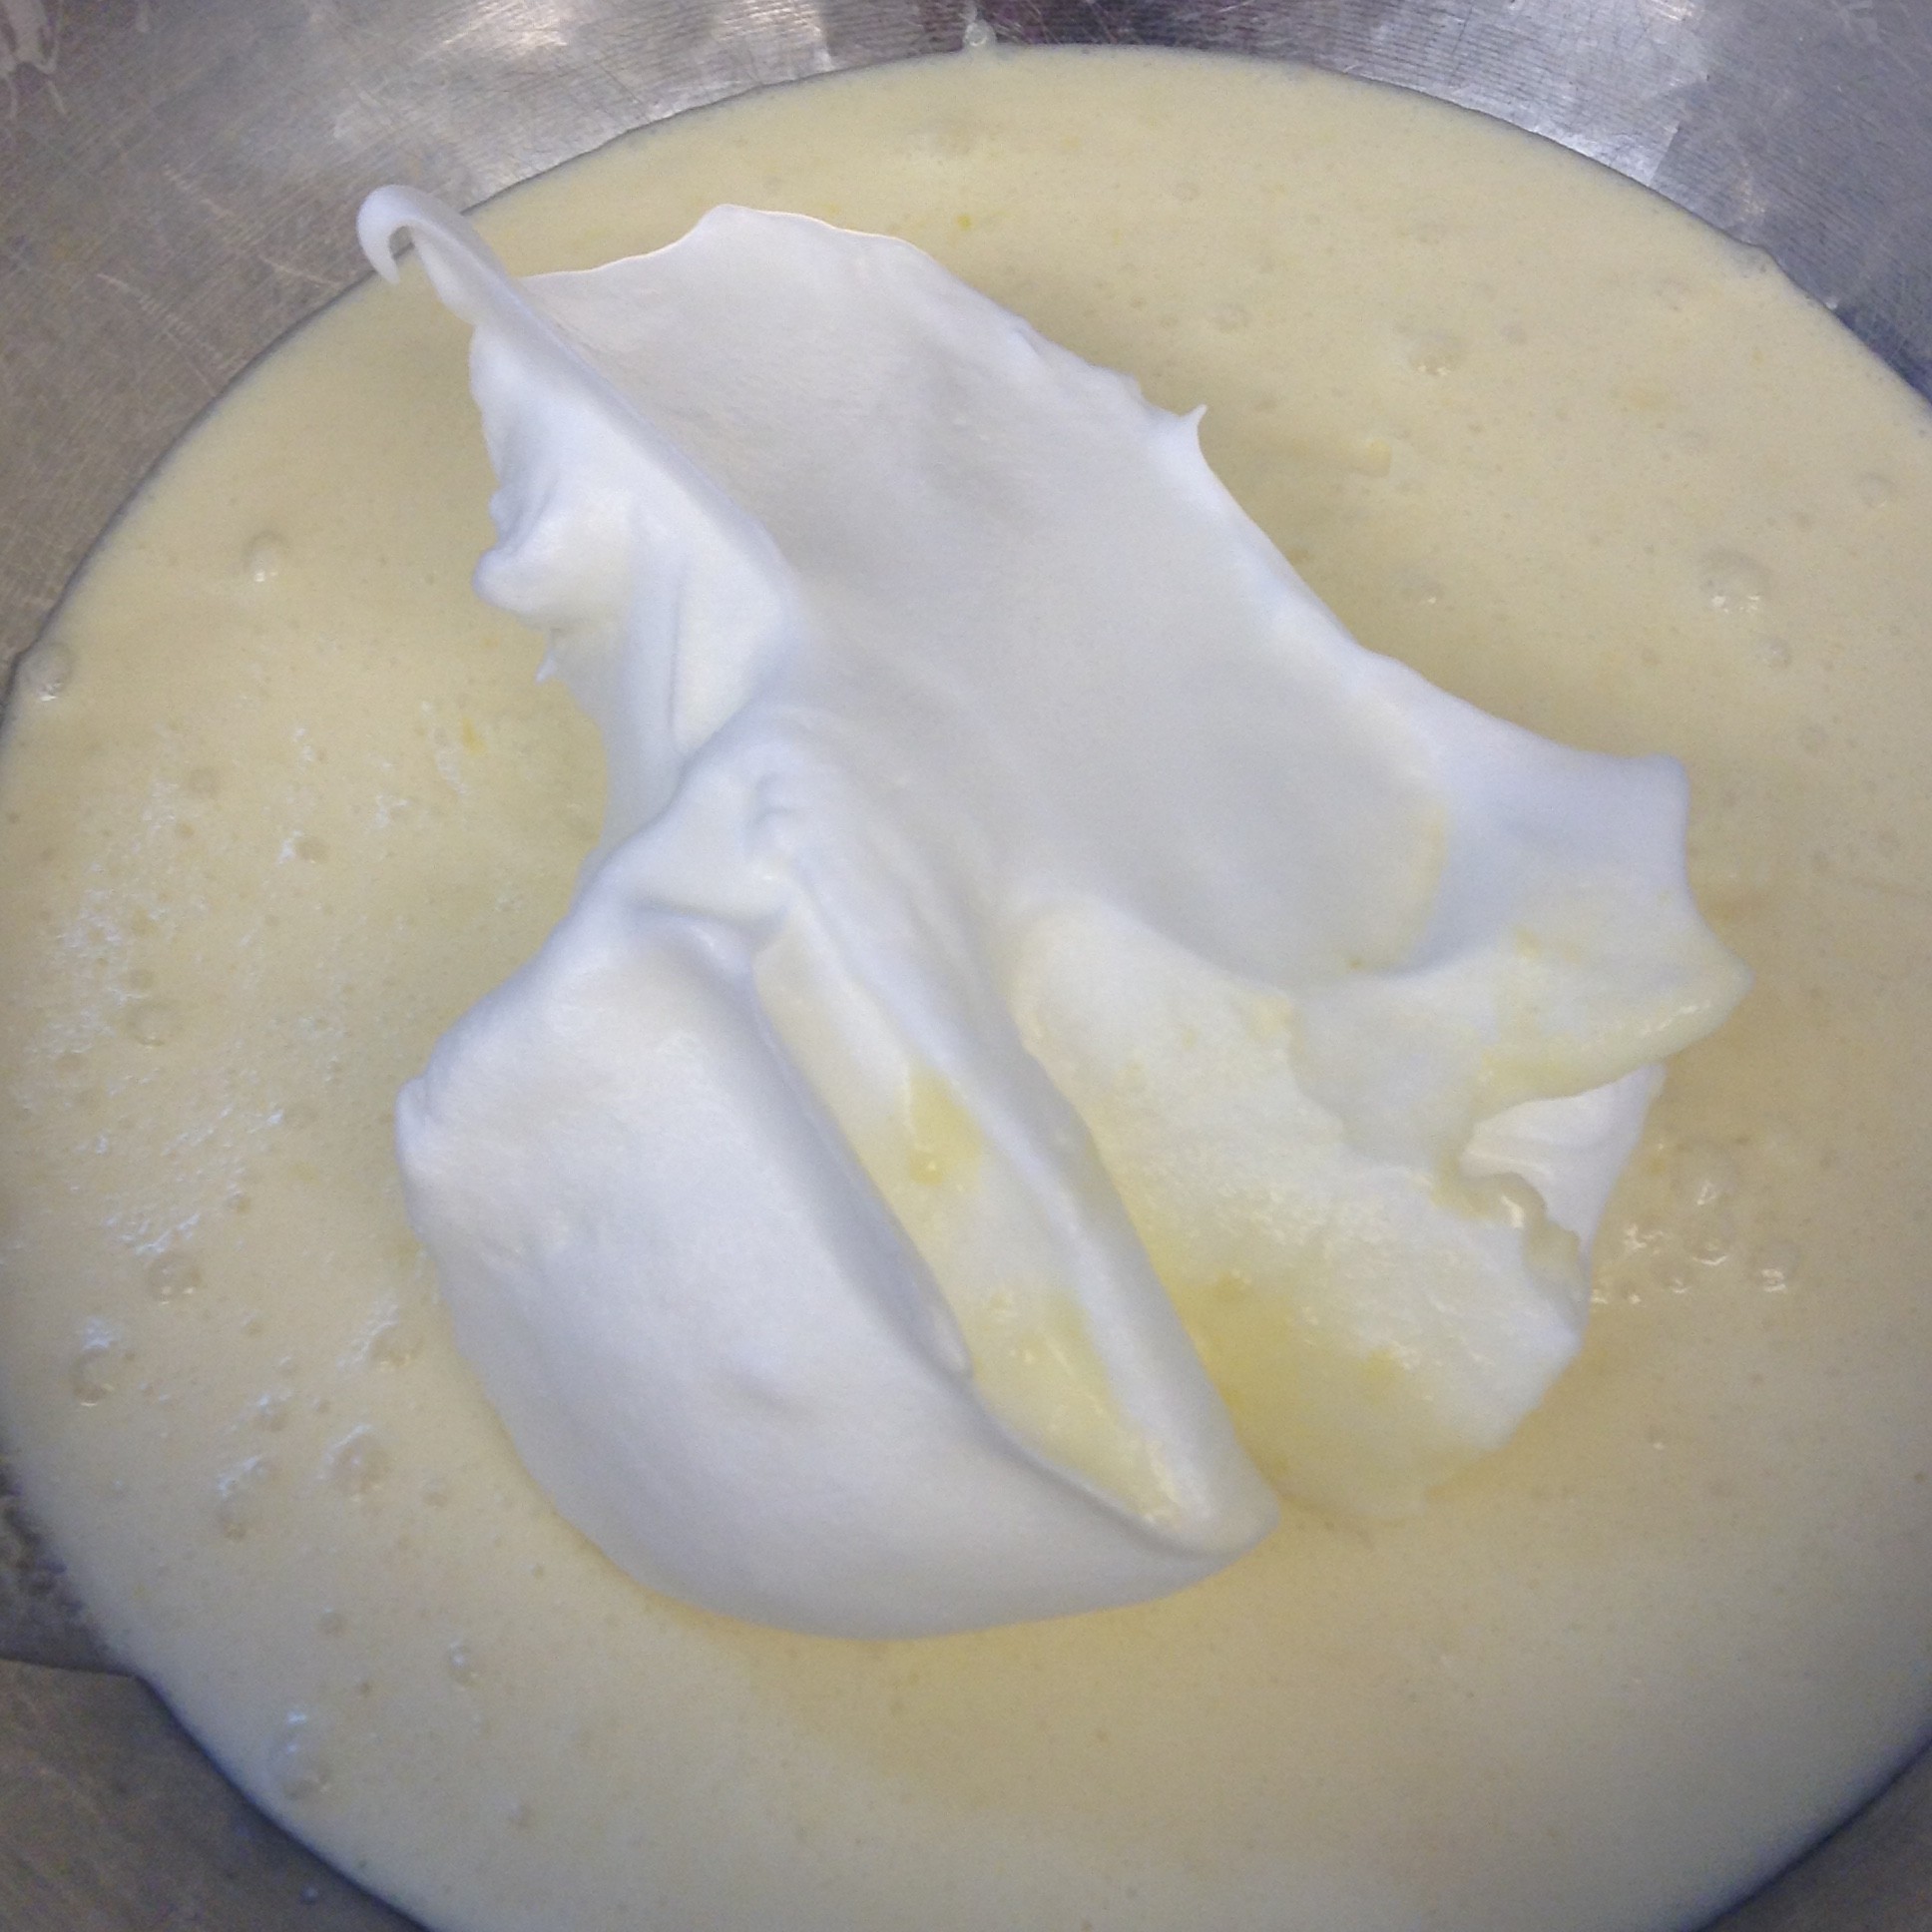
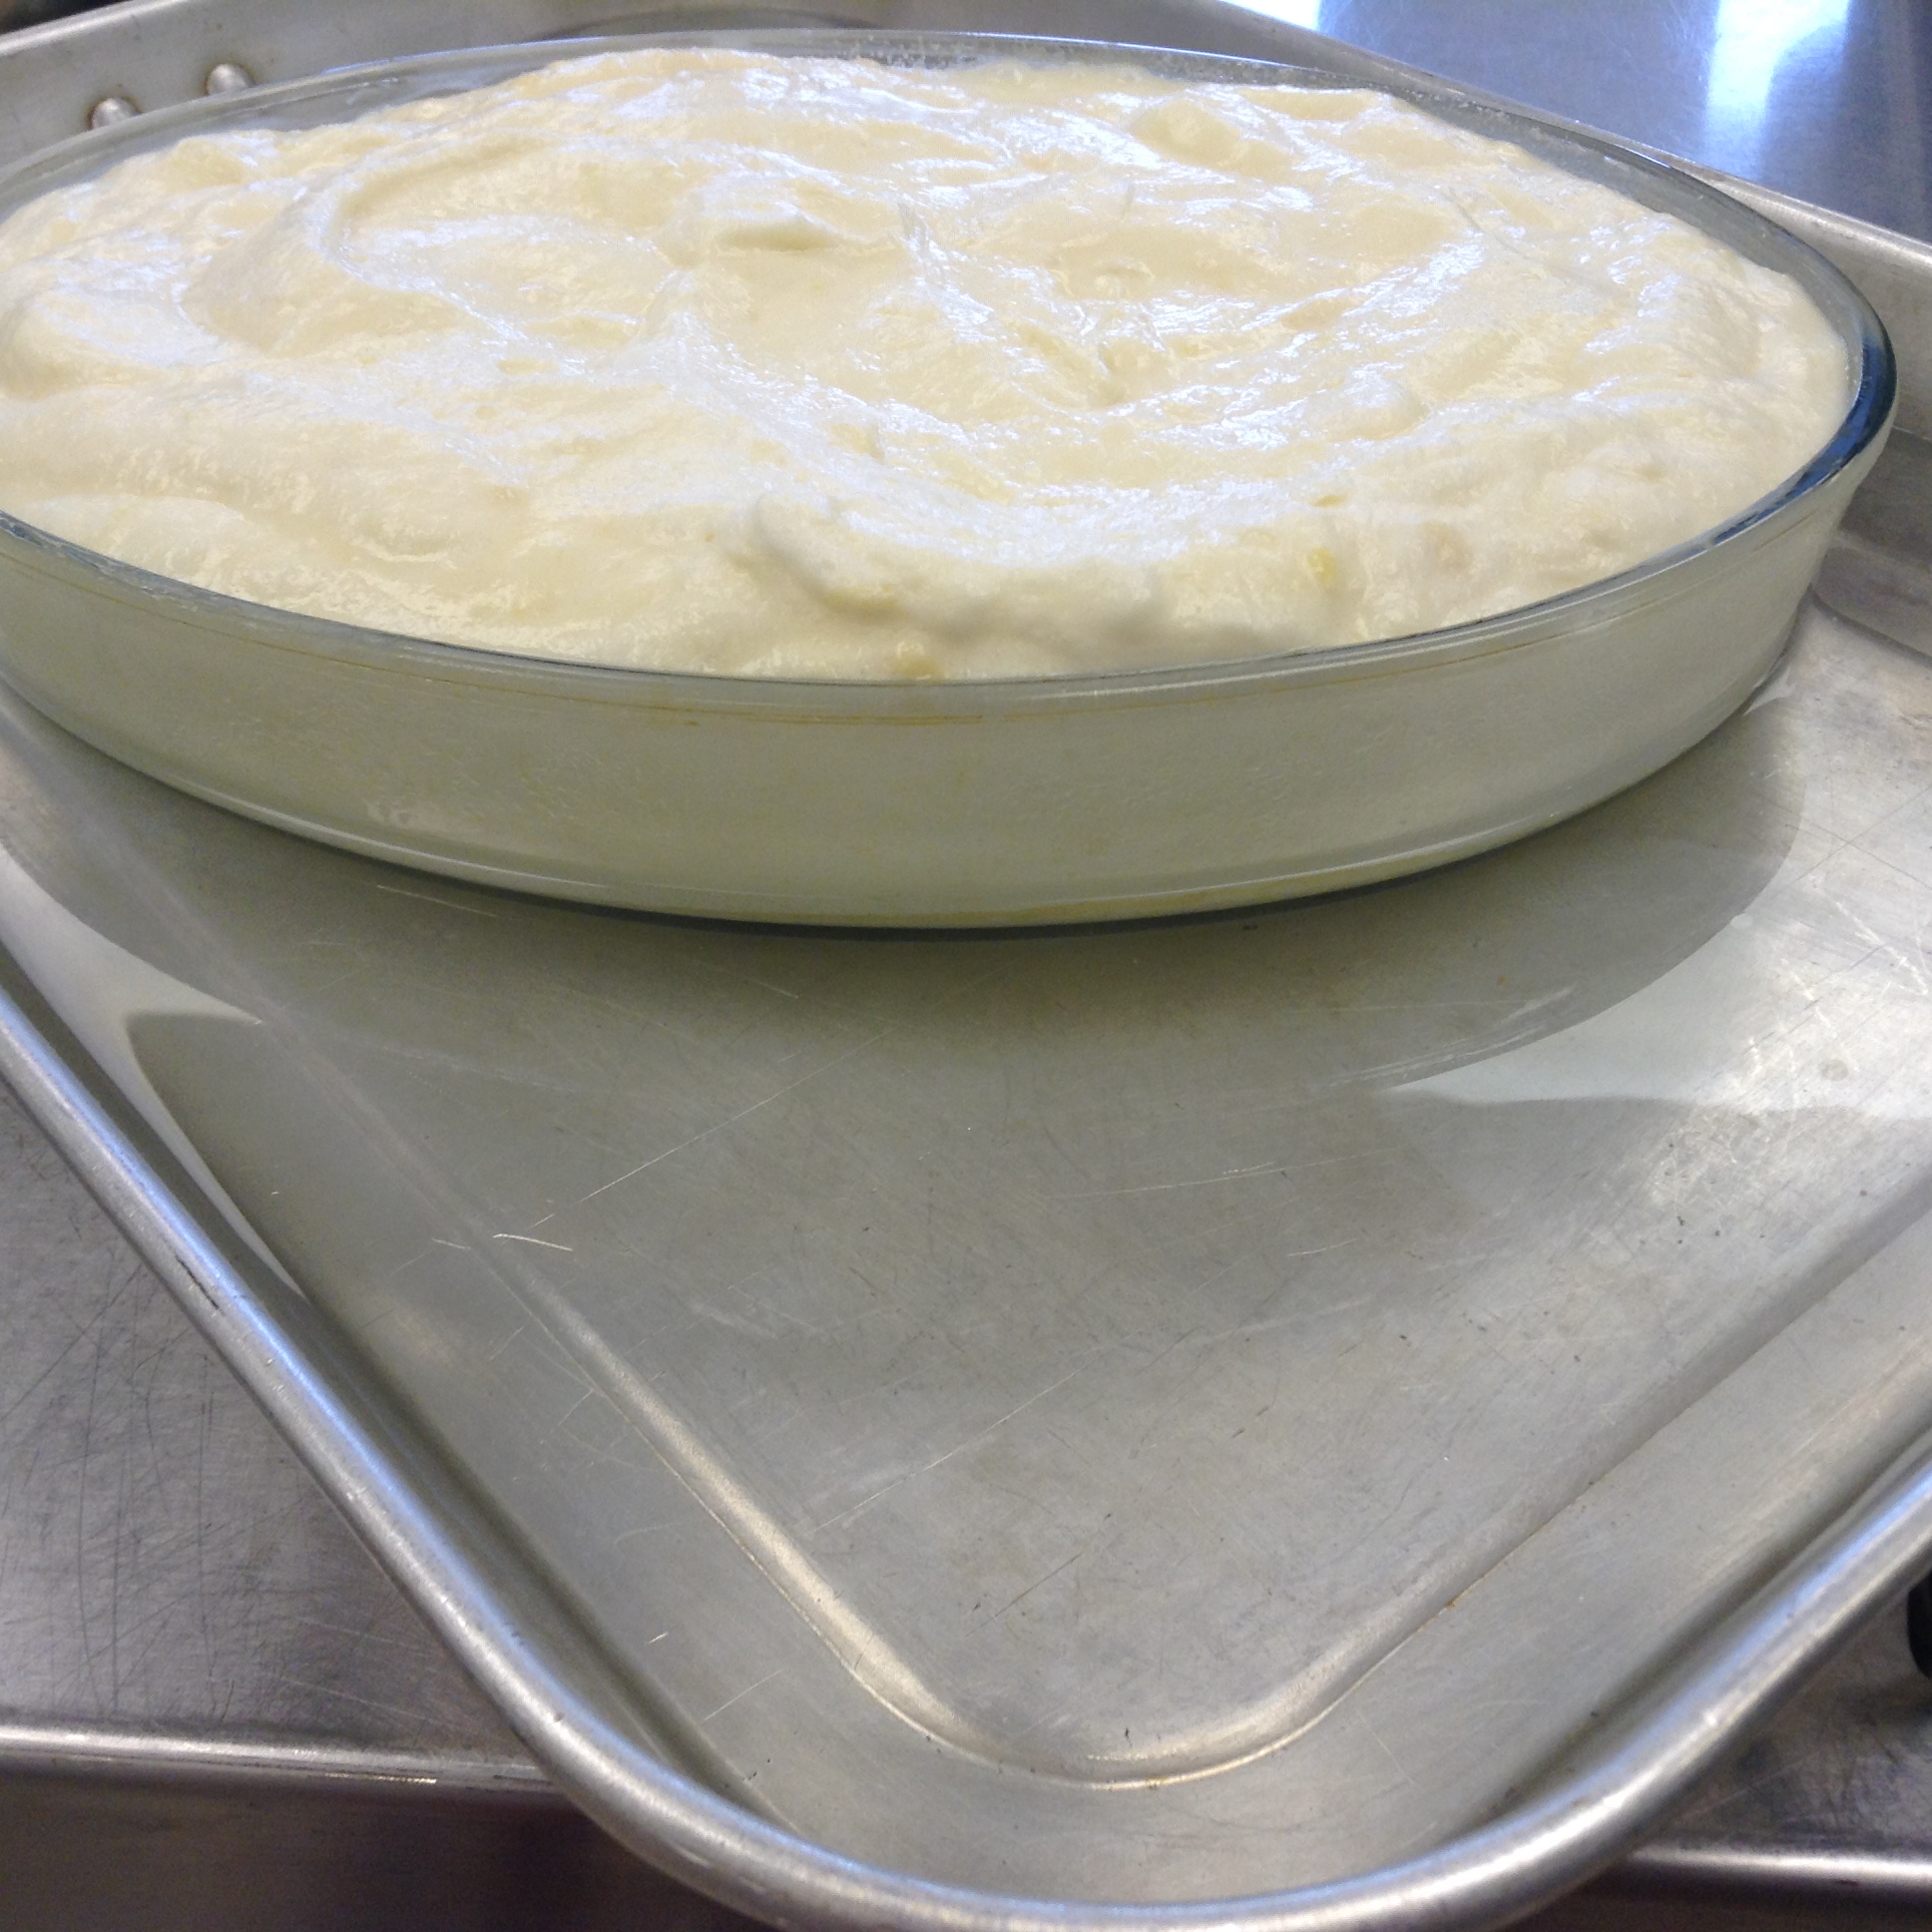
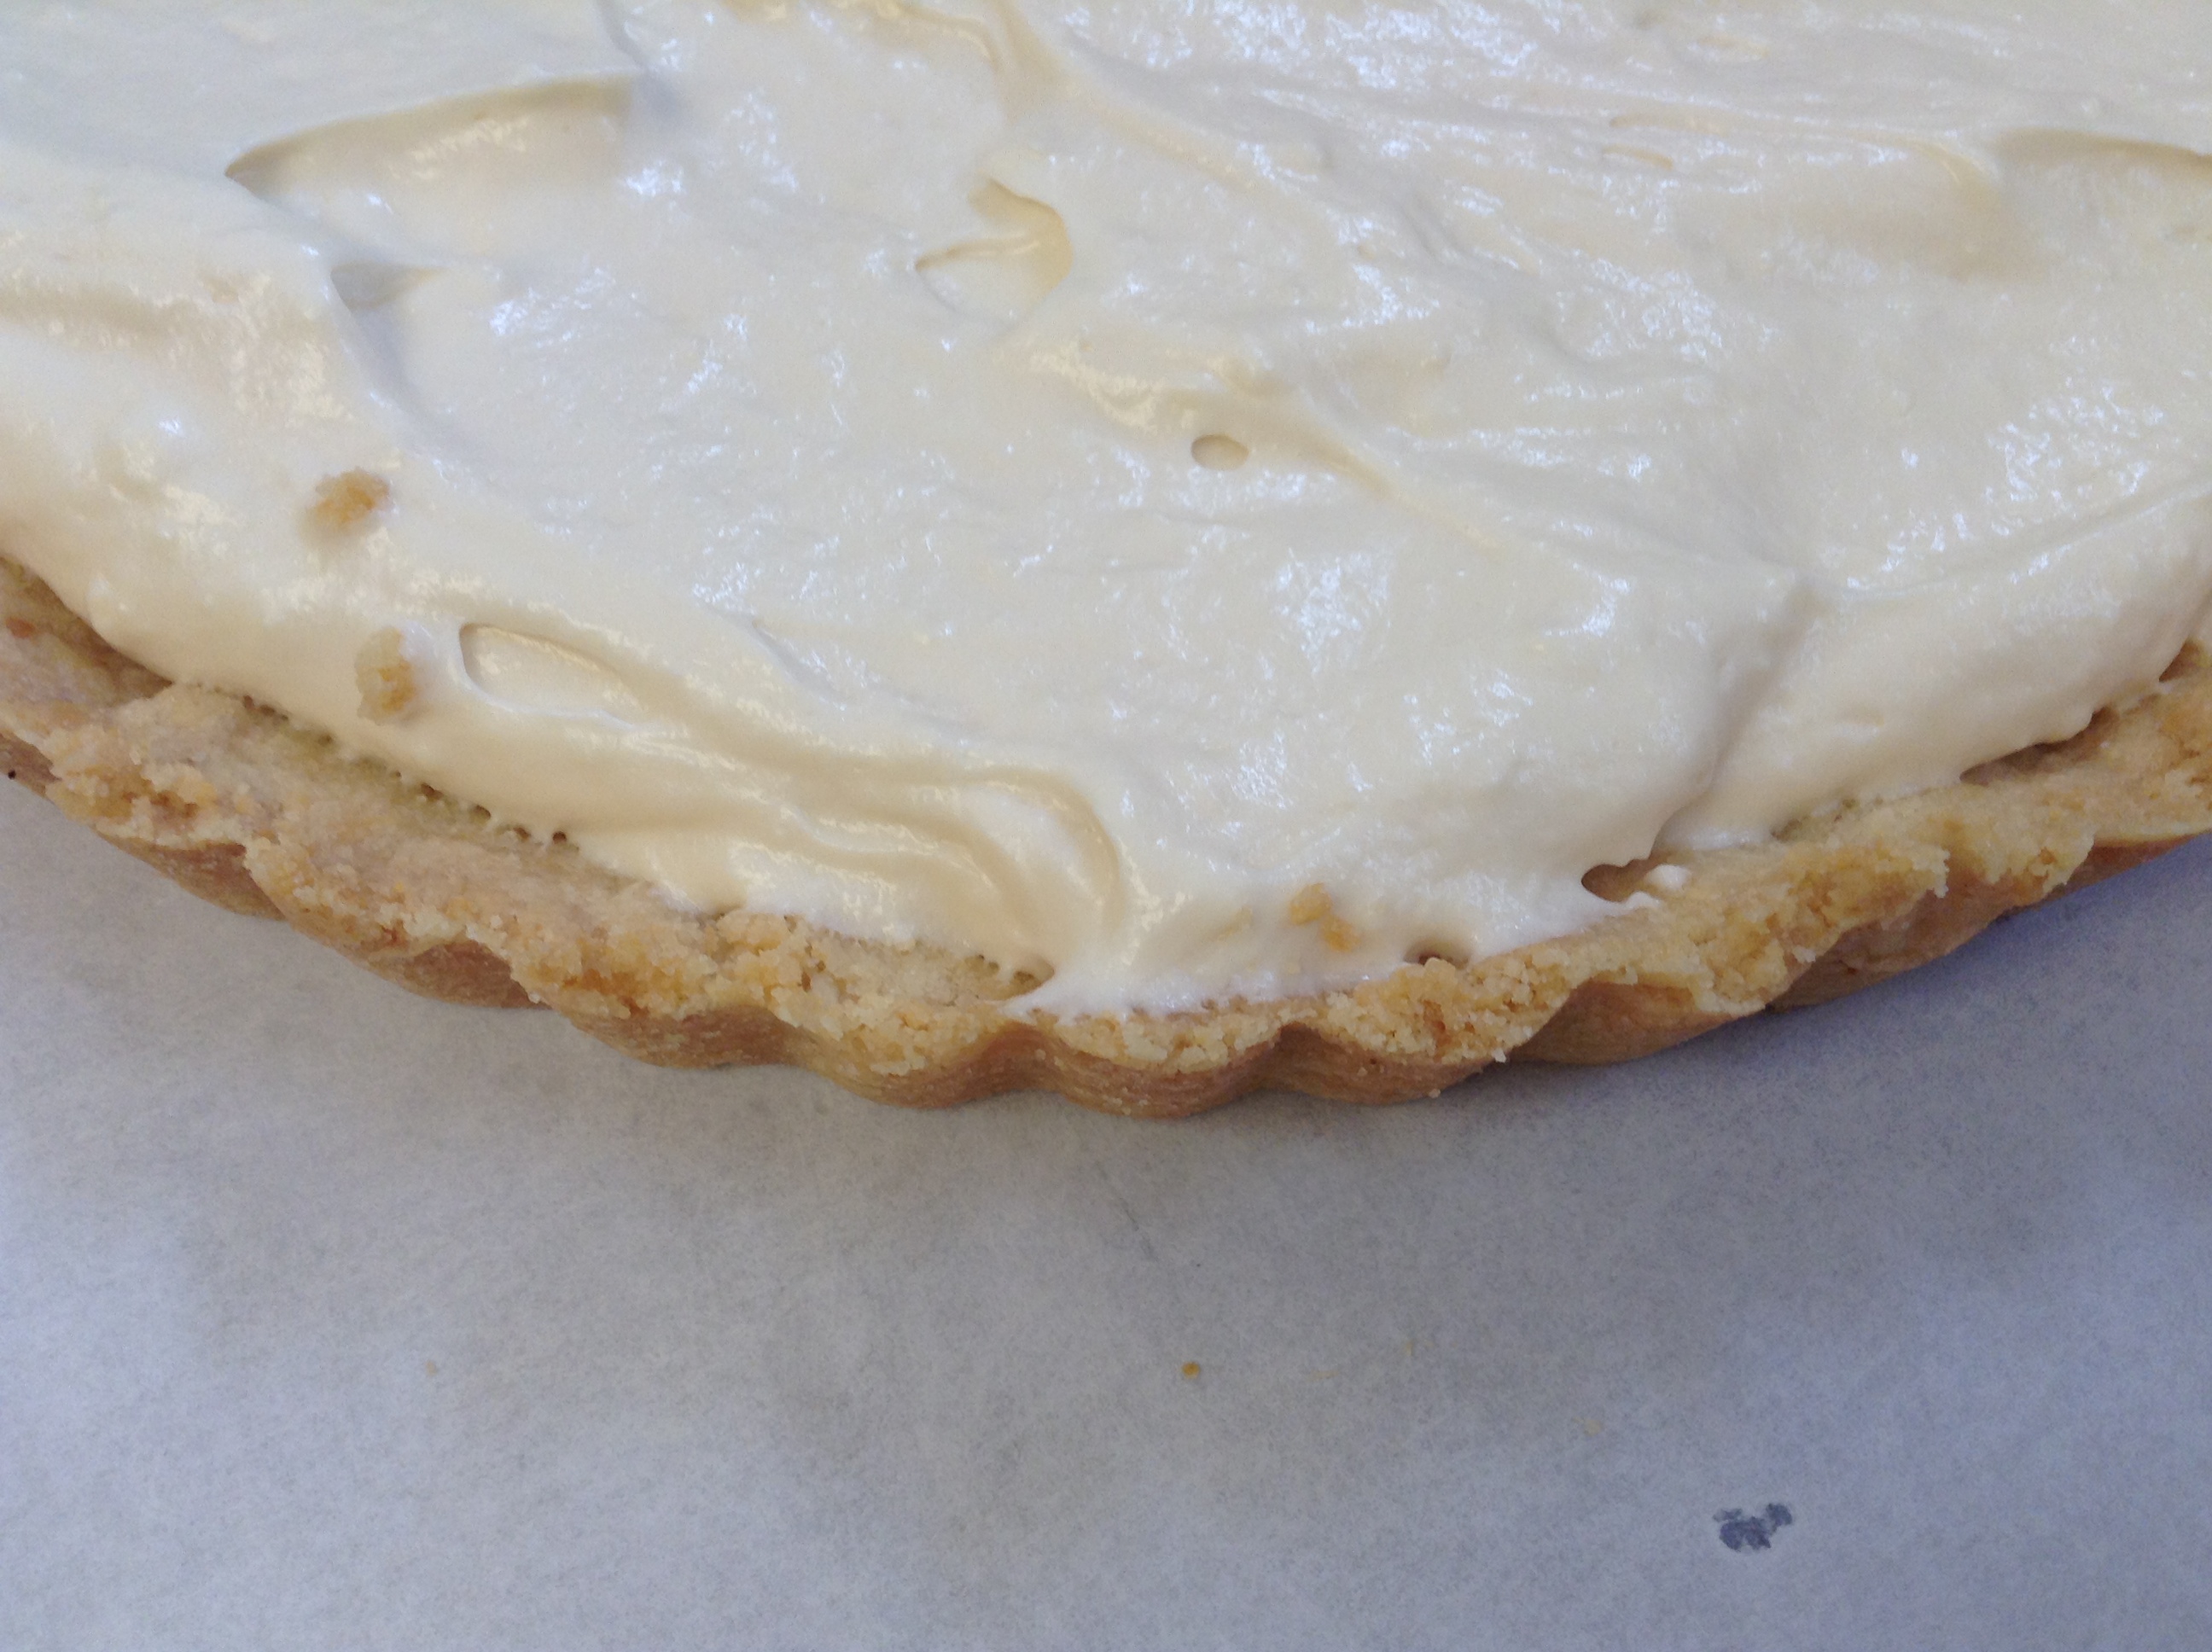
- Mix equal parts of lemon curd and whipped cream.
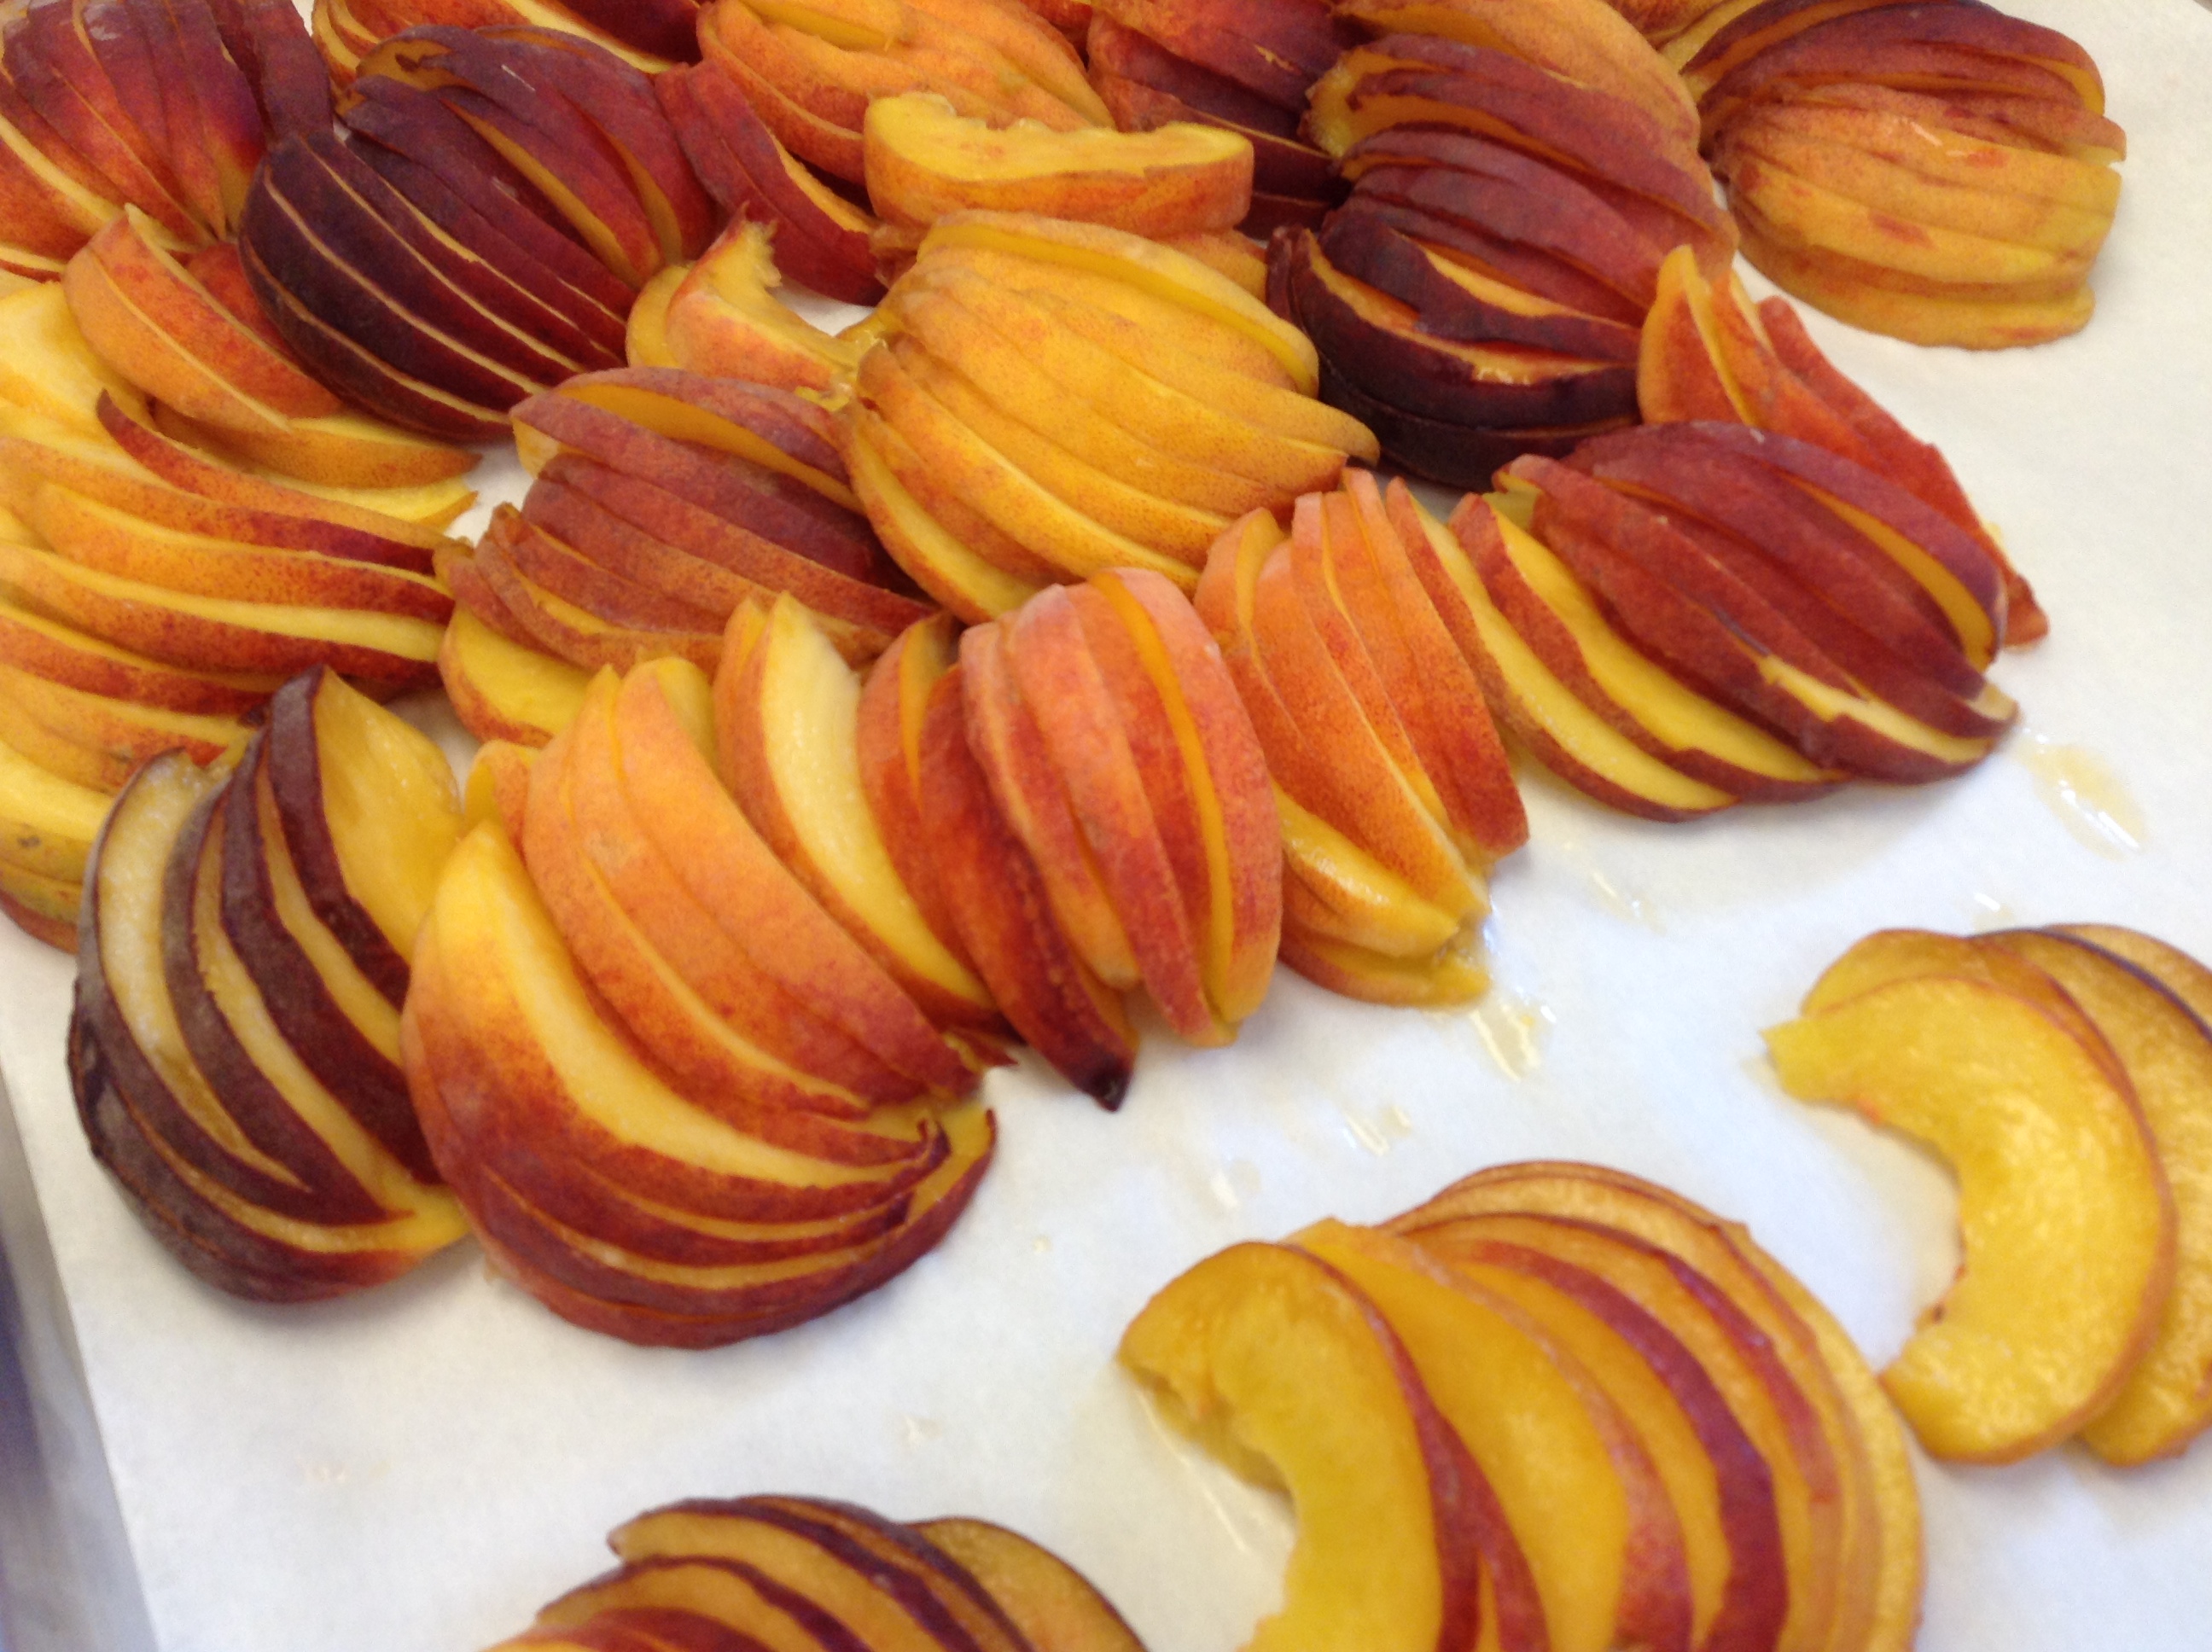
- Top with whipped cream and arrange fruit on top.
Tip: To get the most volume from beaten egg whites, it's best to start with whites at room temperature. Submerge them in their shells in a bowl of lukewarm (not hot) water for about 5 minutes before using.


Tip: To get the most volume from beaten egg whites, it's best to start with whites at room temperature. Submerge them in their shells in a bowl of lukewarm (not hot) water for about 5 minutes before using.