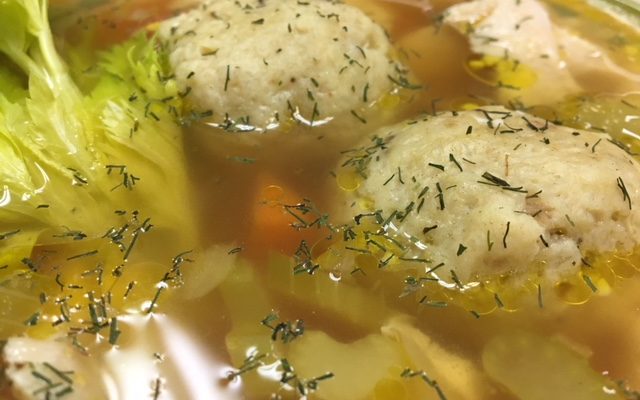
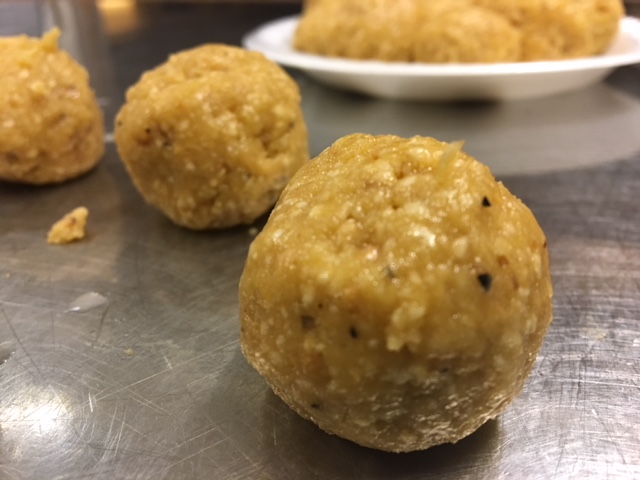
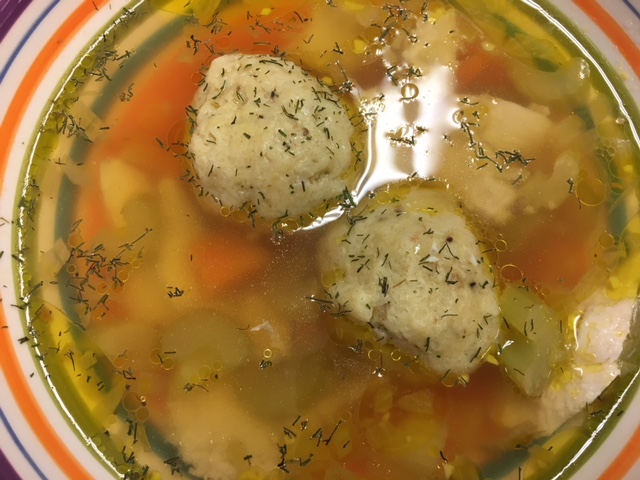
Just out of High School I was working in our city’s leading flower shop. The owner of the shop was Jewish and from time to time his mother would surprise all of us employed there with one of her home cooked Jewish dishes. Her chicken Matzo Ball soup with its distinctive flavor was my favorite.
When the sister cooking our convent lunch this week agreed to make this for us I could not have been happier. For many of the sisters this was a brand new taste experience. For me it was a reviving of one of my happiest early life memories.
Print Recipe
Votes: 8
Rating: 3.63
You:
Rate this recipe!
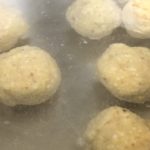
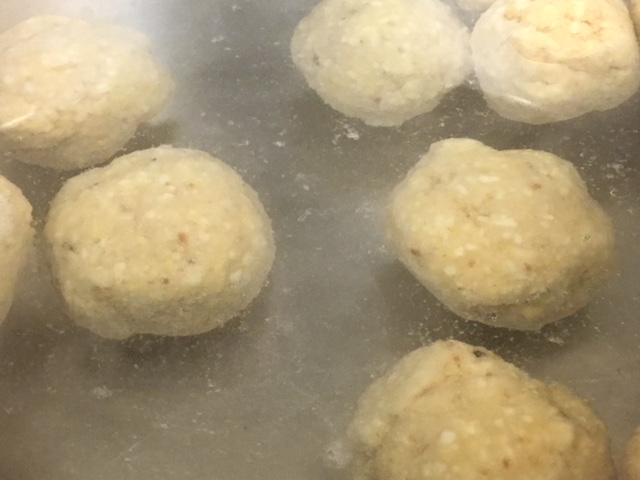
Original Streits Matzo Ball Recipe
SERVINGS4servings (16-20 Matzo Balls)
|
COOK TIME1 1/4mins |
PREP TIME10mins |
READY IN1 3/4hrs |
Ingredients
Instructions
Matzo Balls
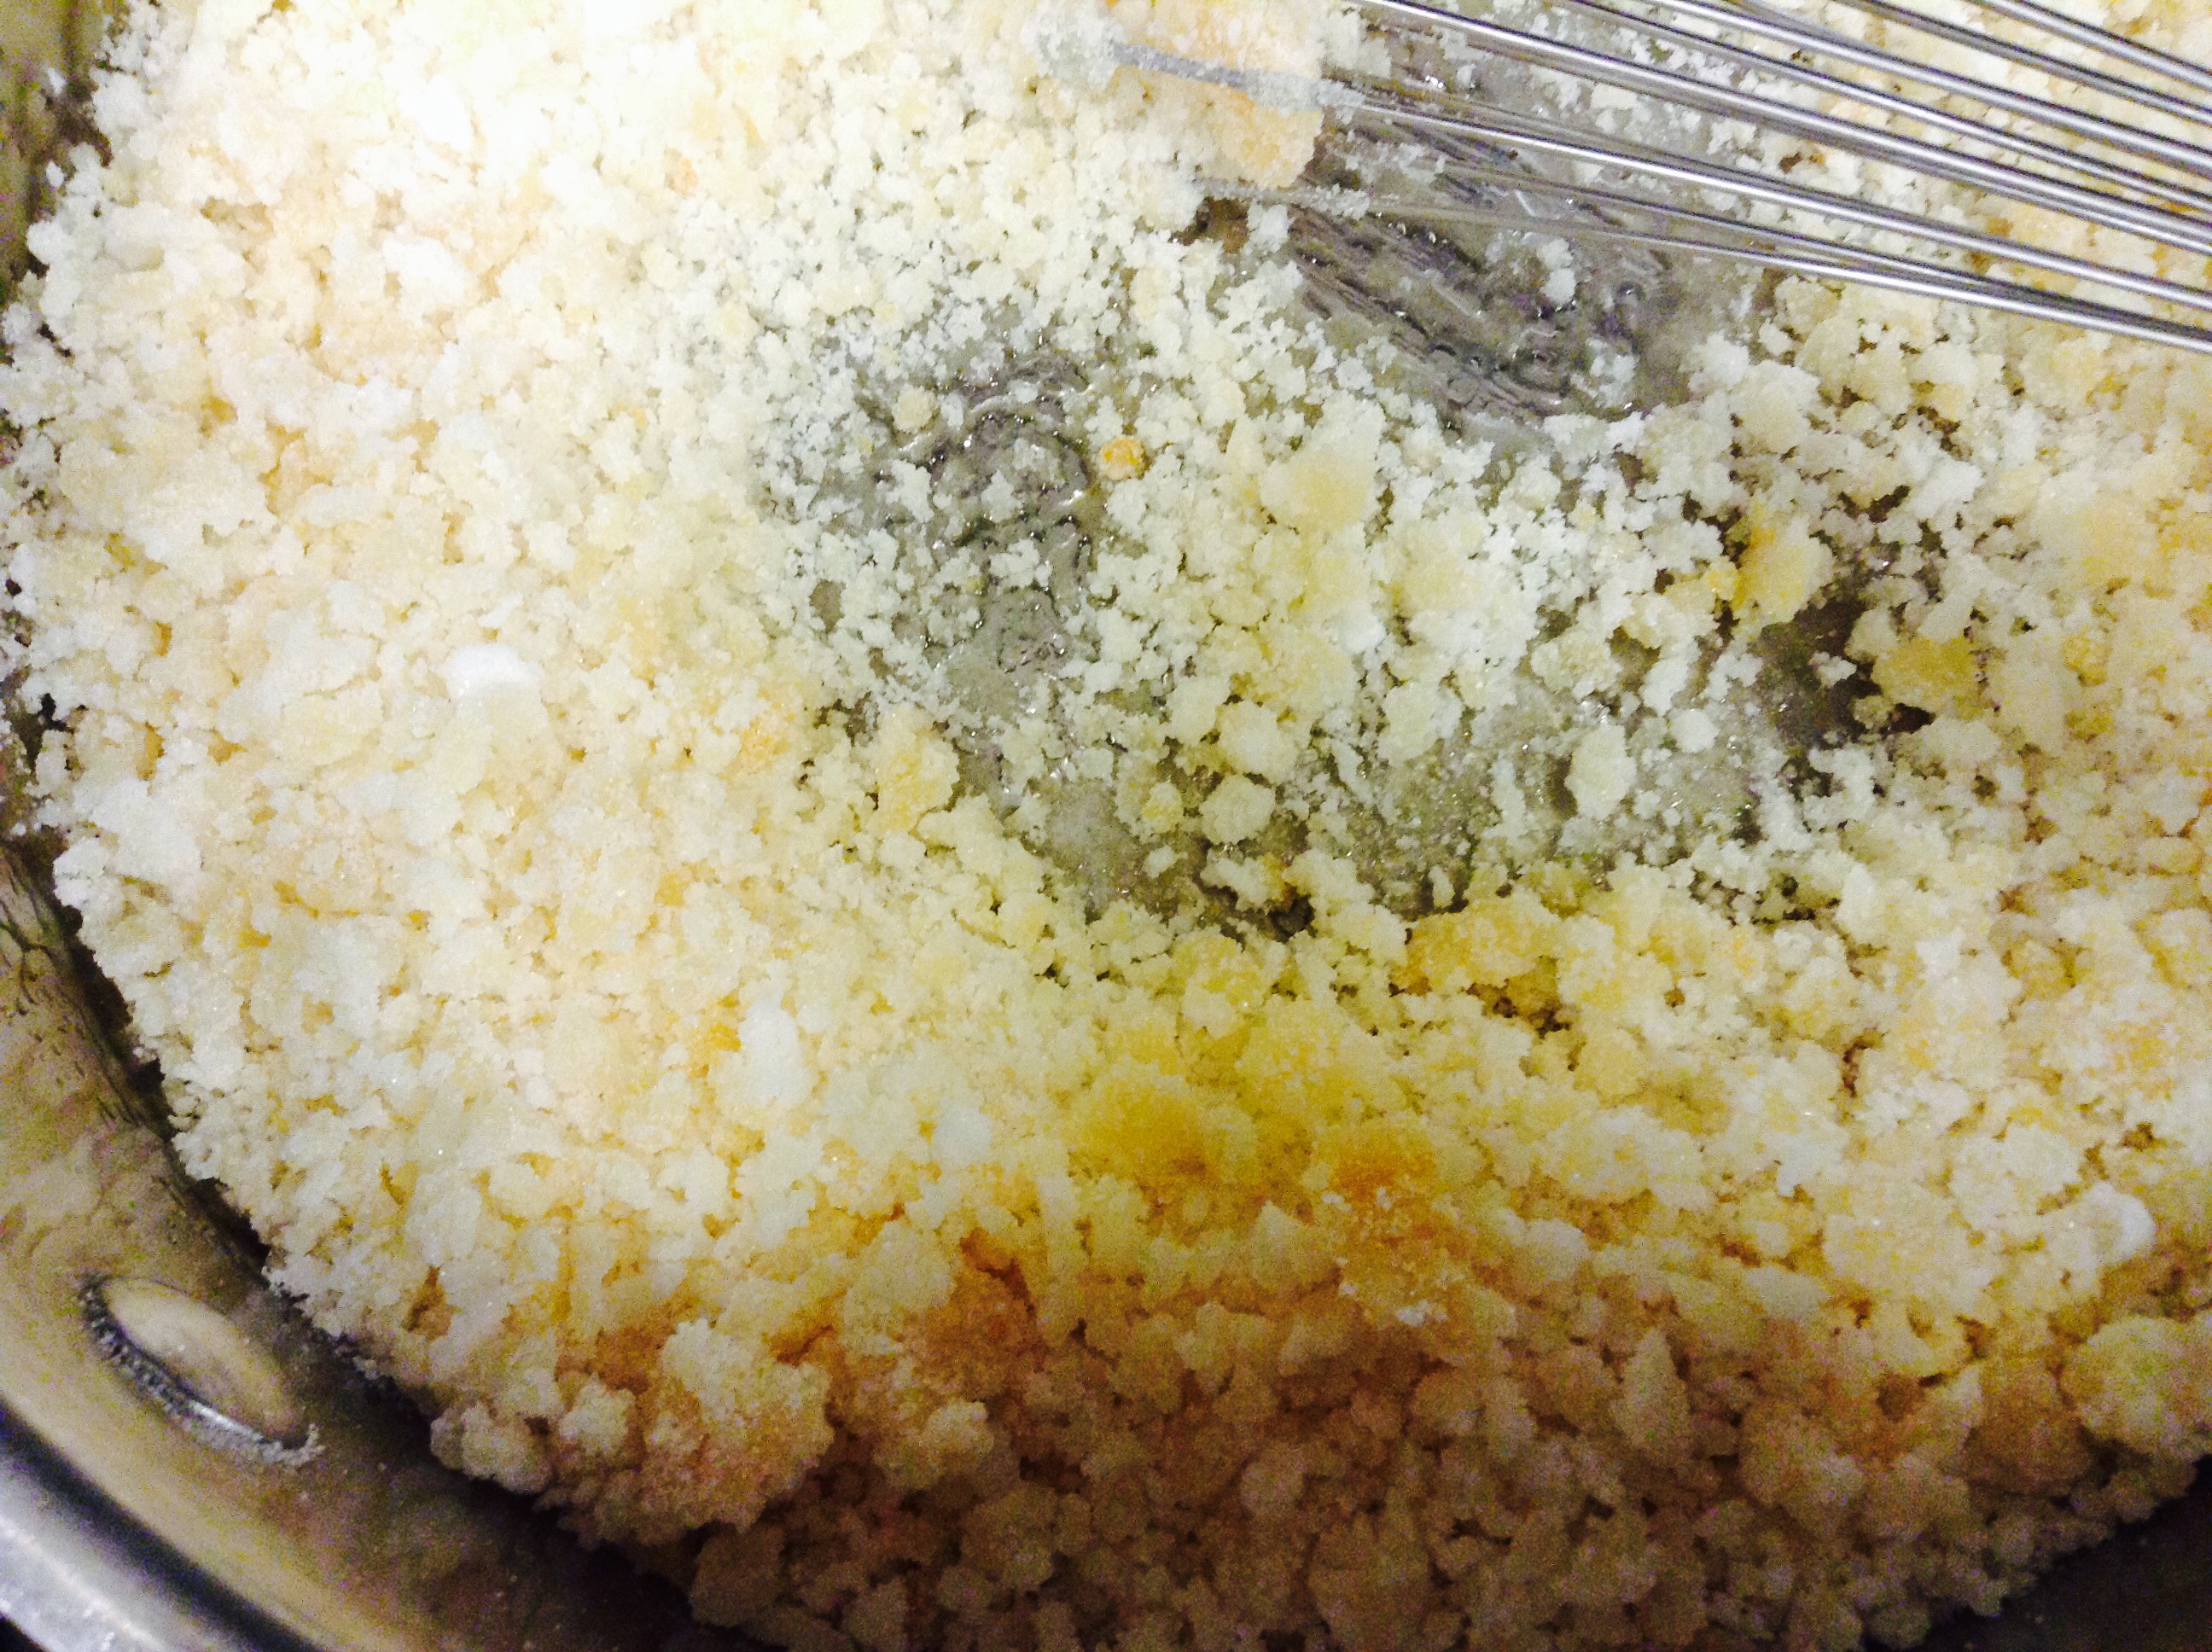
- Beat eggs in a bowl. Then add water, margarine/oil, salt and pepper to the beaten eggs. Mix well. Add Matzo meal and stir.
- Refrigerate at least one hour.
- Form into balls and drop into pot soup or boiling water. Cook 20 minutes.
Soup
- Mince the garlic and dice the onion, celery, and carrots.
- Sauté the garlic, onion, celery, and carrots with the vegetable oil in a pot
- until the onions become transparent.
- Add chicken broth, 2 cups water, pepper, and one or two sprigs of dill to the pot.
- Place a lid on the pot and let it come up to a boil. Once it reaches a boil, turn the heat down and simmer for 30 minutes.
- After the soup has simmered, add the shredded chicken breast to soup.
- Add matzo balls to the soup and let them simmer for 20 minutes without removing the lid.
- Garnish with fresh dill before serving
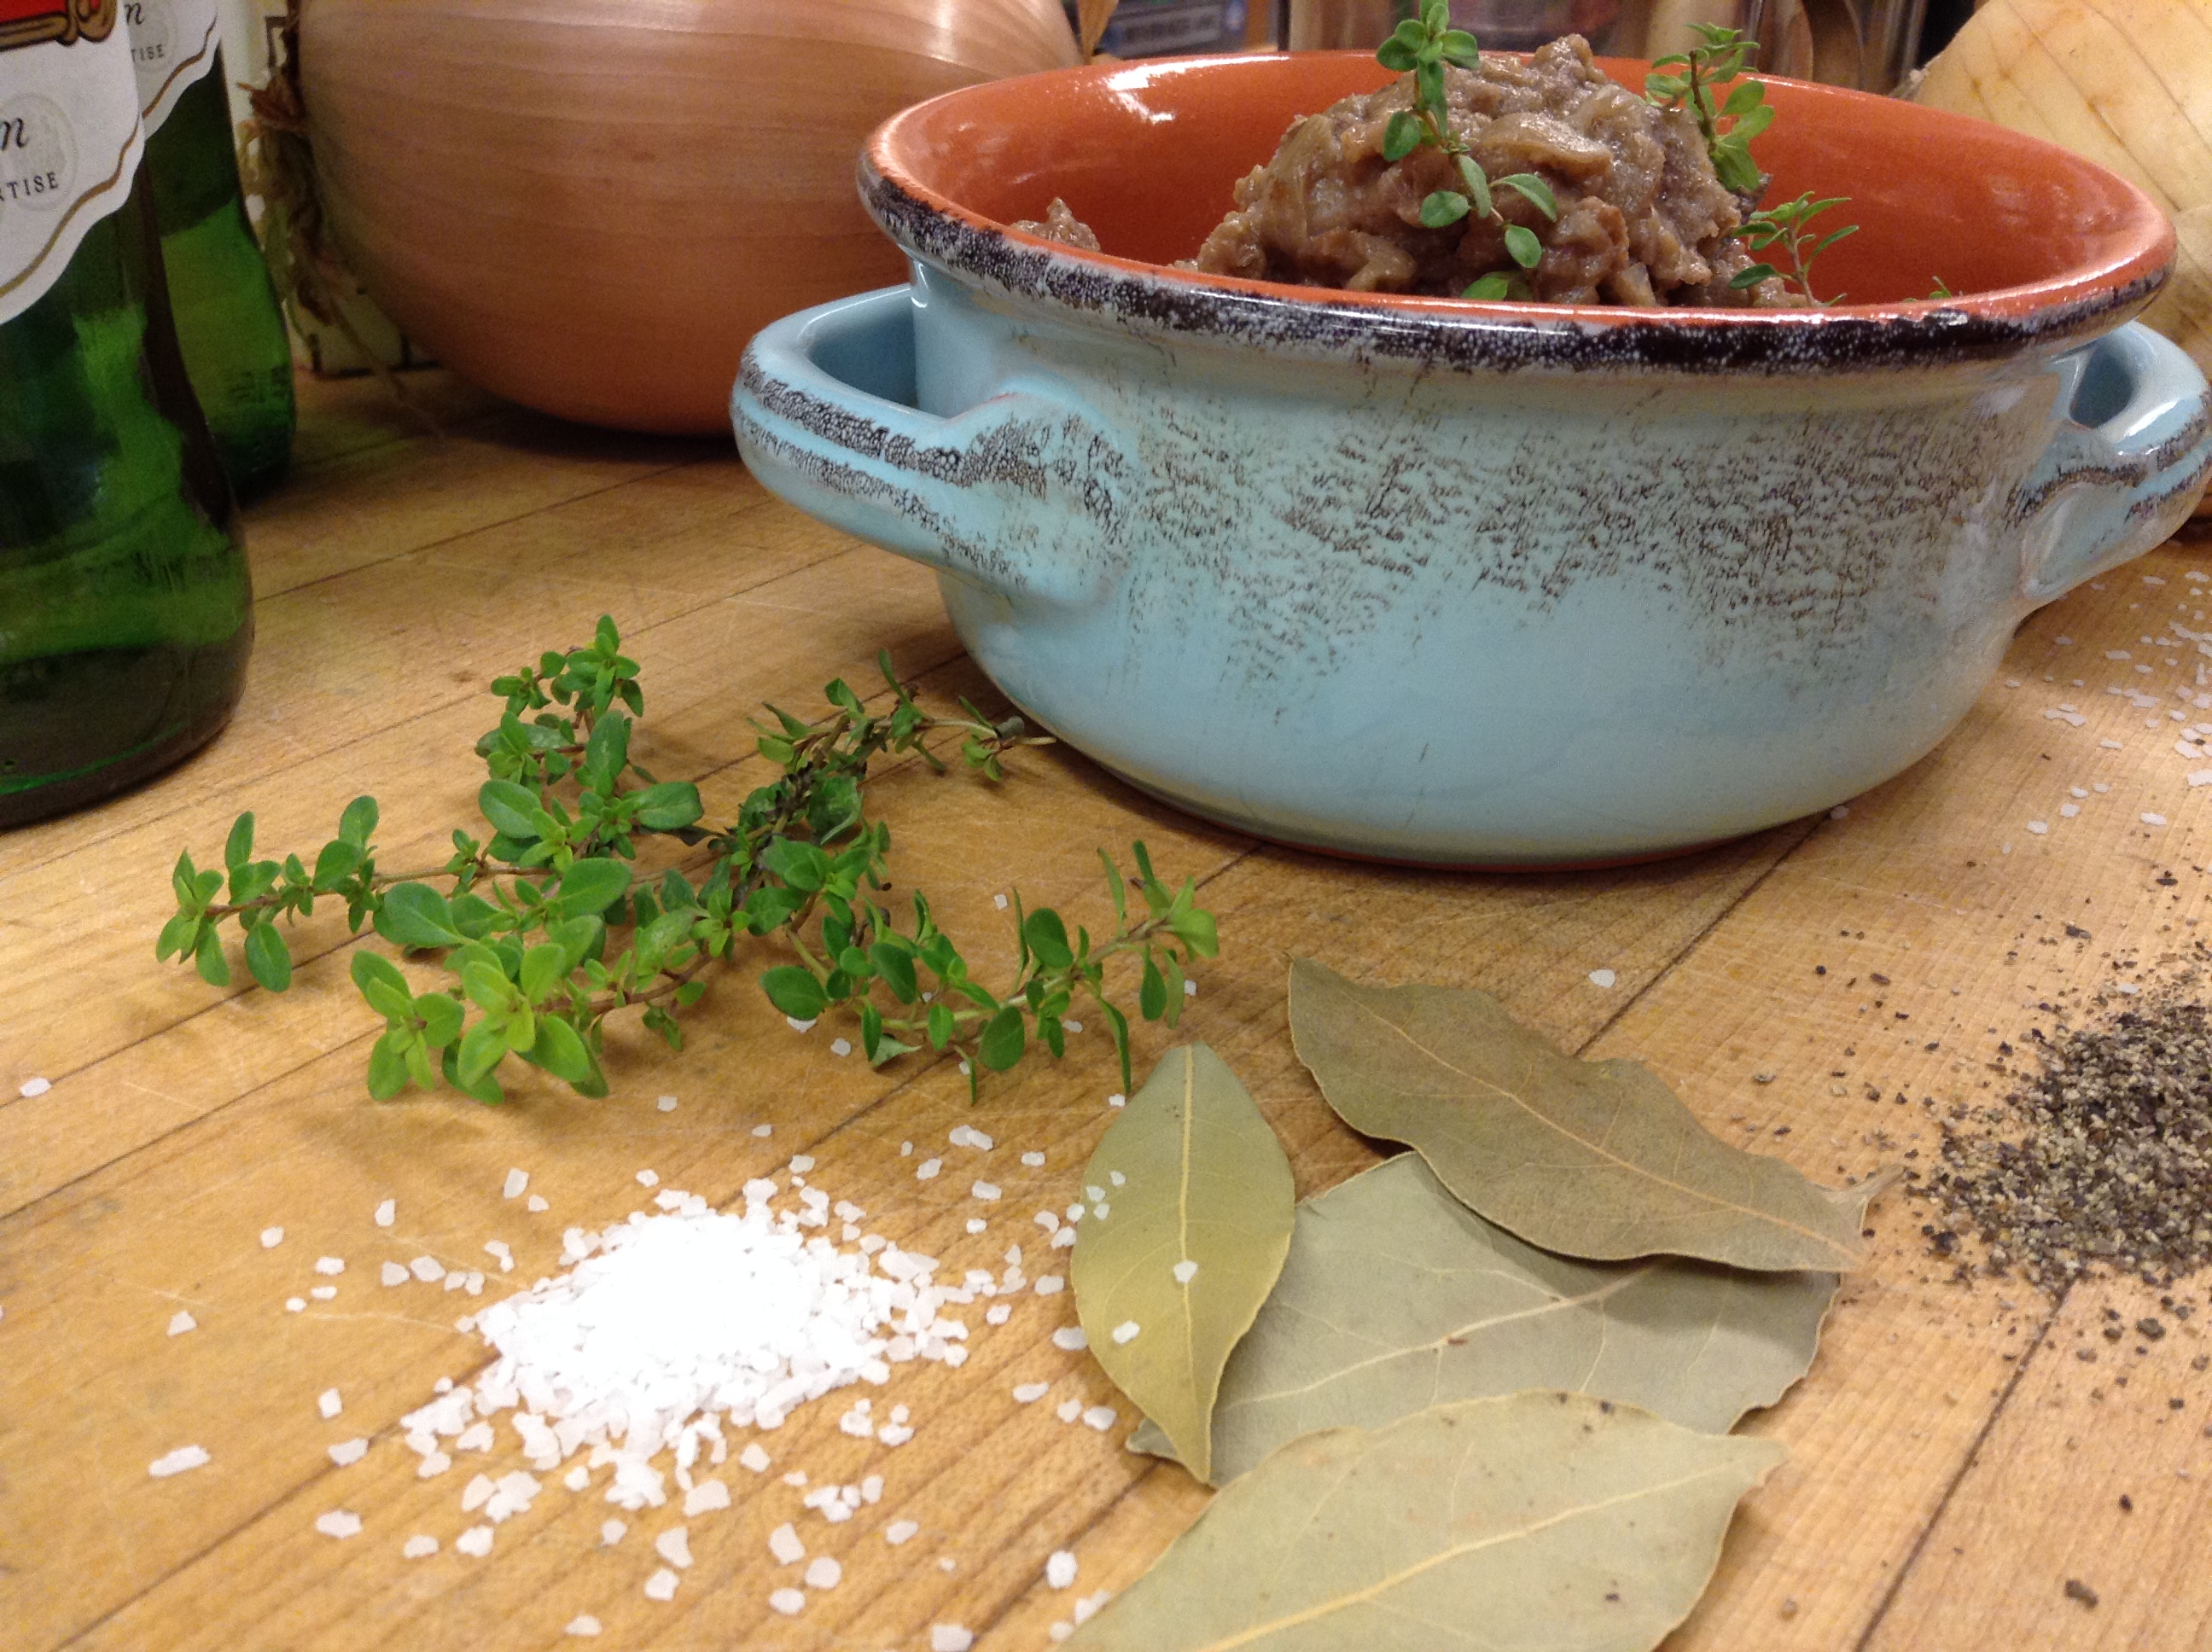
Every time our lace making sister comes home from Belgium, one of the first things she’s eager to do is cook something from her adopted homeland for all the sisters here at home. Not only does she want to introduce us to Flemish cooking, she also wants to be able to share the response of the sisters “here” with those “back there.”
This time, she’s chosen to make Flemish Beef stew, a simple stew with a unique flavor provided by one key ingredient, which is beer. Frequently when referring to this meal it will be said “The better the beer the better the stew.” Now beer is not something we regularly have on hand in the convent, but only when its given to us as a gift for some celebratory occasion, but our determined sister would not be put off by lack of one ingredient, even though it be the most important one in the recipe. She is known for having everything fall into place at the right moment regardless of the odds. So it was no surprise to anyone when a 6 pack of Stella Artois appeared on the kitchen counter. Without skipping a beat, she continued working on her stew while quietly throughout the convent sisters could be heard quietly chanting “The better the beer, the better the stew.”
Print Recipe
Votes: 0
Rating: 0
You:
Rate this recipe!
Flemish Beef Stew
SERVINGS8servings
|
COOK TIME15mins |
PREP TIME30mins |
READY IN8 hrs45 min |
Ingredients
Instructions
- Heat 2 teaspoons oil in a large skillet over medium heat. Add half the beef and brown on all sides, turning frequently, about 5 minutes
- Transfer to a slow cooker and drain any fat from the pan.
- Add the remaining 2 teaspoons oil and brown the remaining geef and add to the slow cooker.
- Add mushrooms to the skillet and cook, stirring often, until they give off their liquid (5-7 minutes).
- Sprinkle flour over the mushrooms and cook for half a minute. Add beer and bring to a boil, whisking constantly to reduce foaming, until thickened and bubbliing, about 3 minutes. Add the mushroom mixture to the beef in the slow cooker.
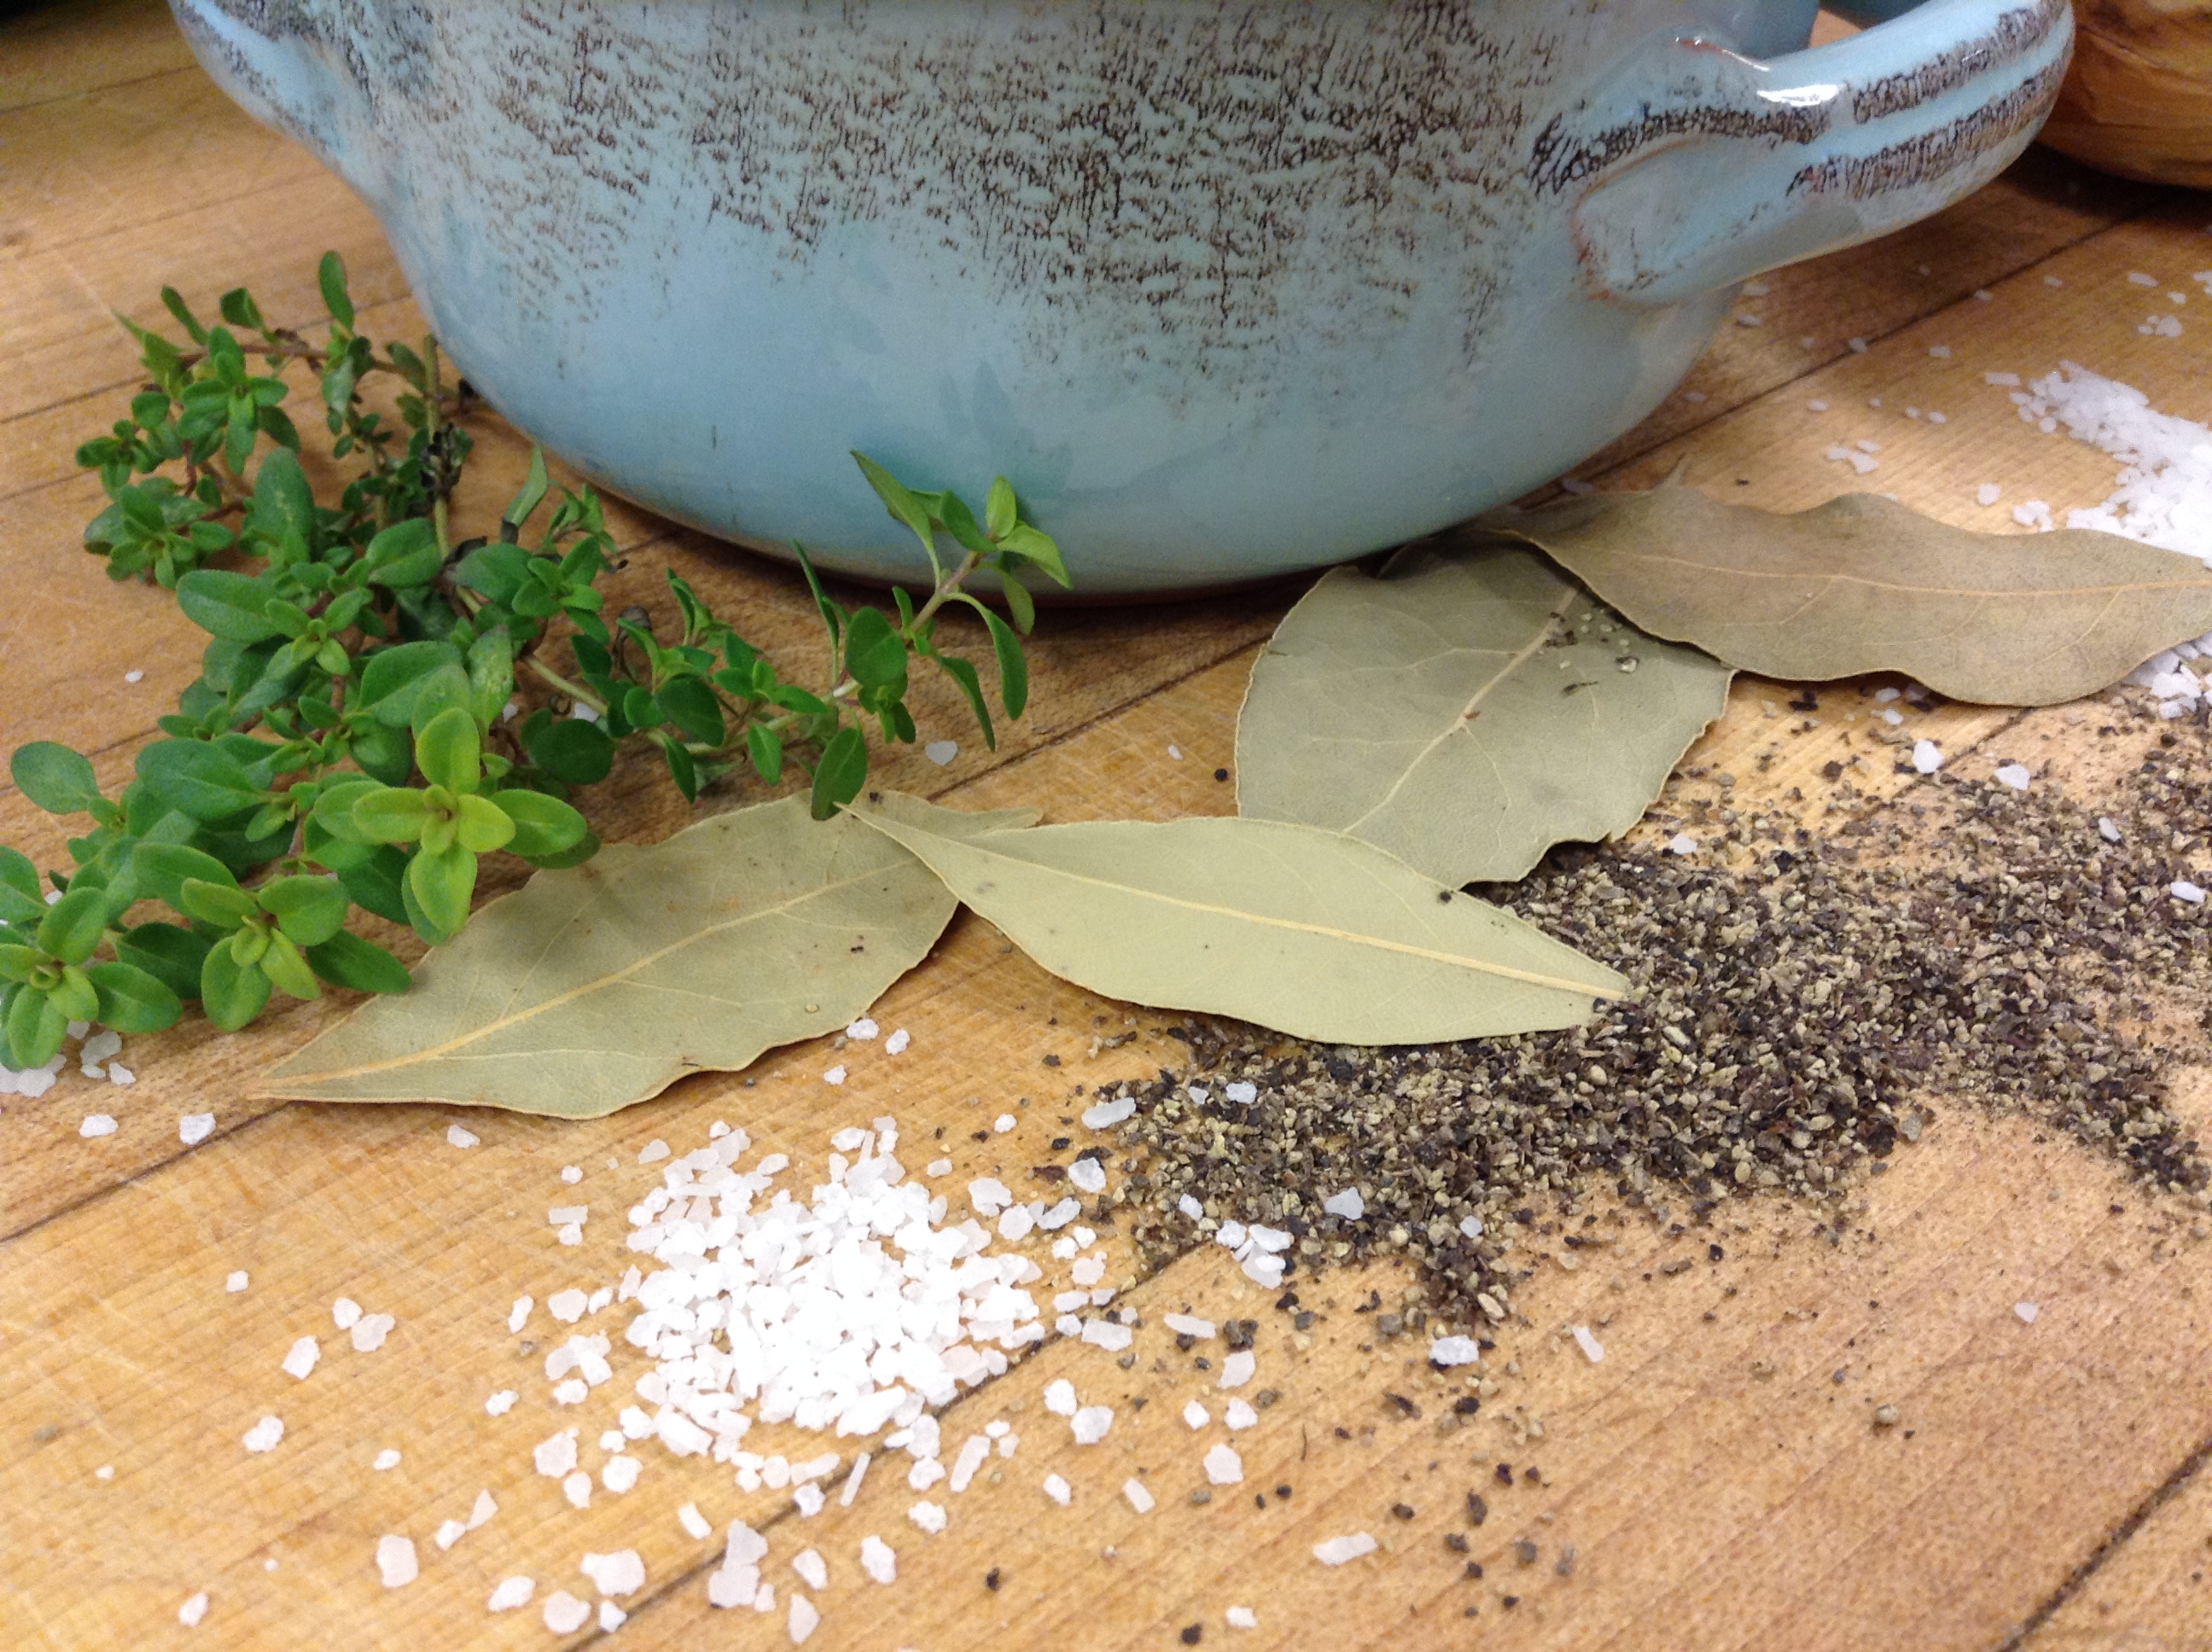
- Add carrots, onion, garlic, mustard, caraway seeds, salt, pepper and bay leaf to the slow cooker and stir to combine.
- Cover the slow cooker and cook on low until the beef is very tender, about 8 hrs.
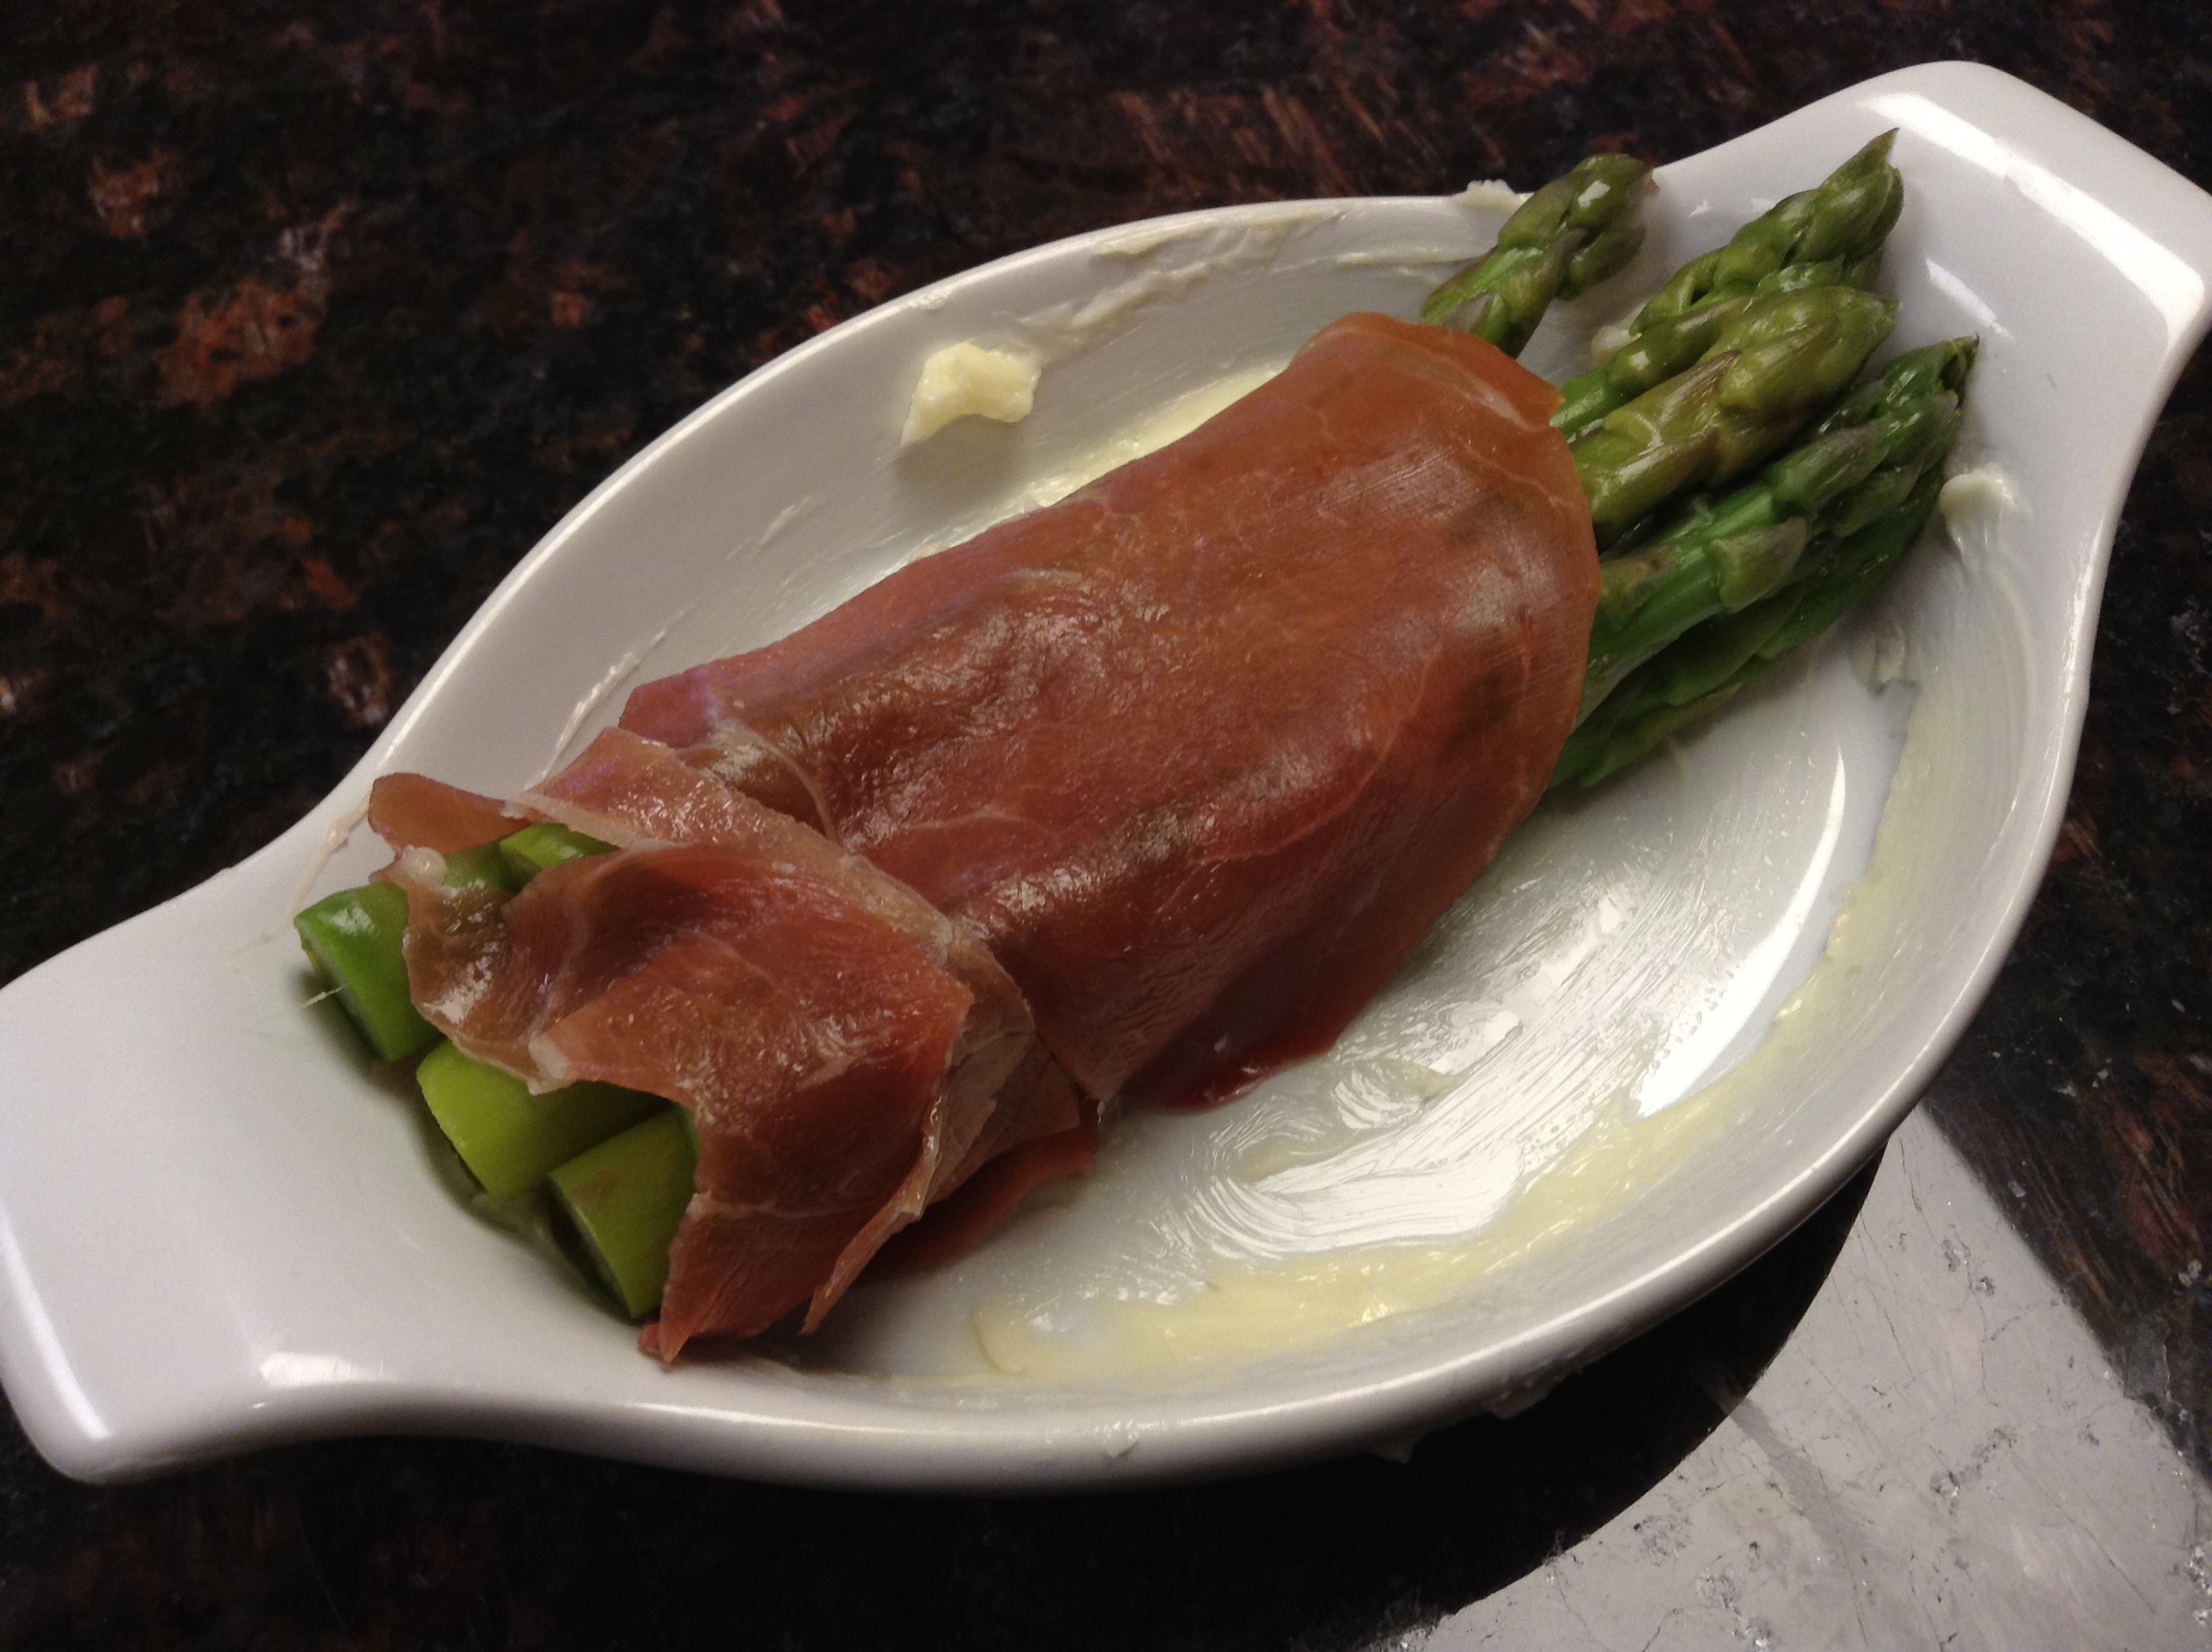
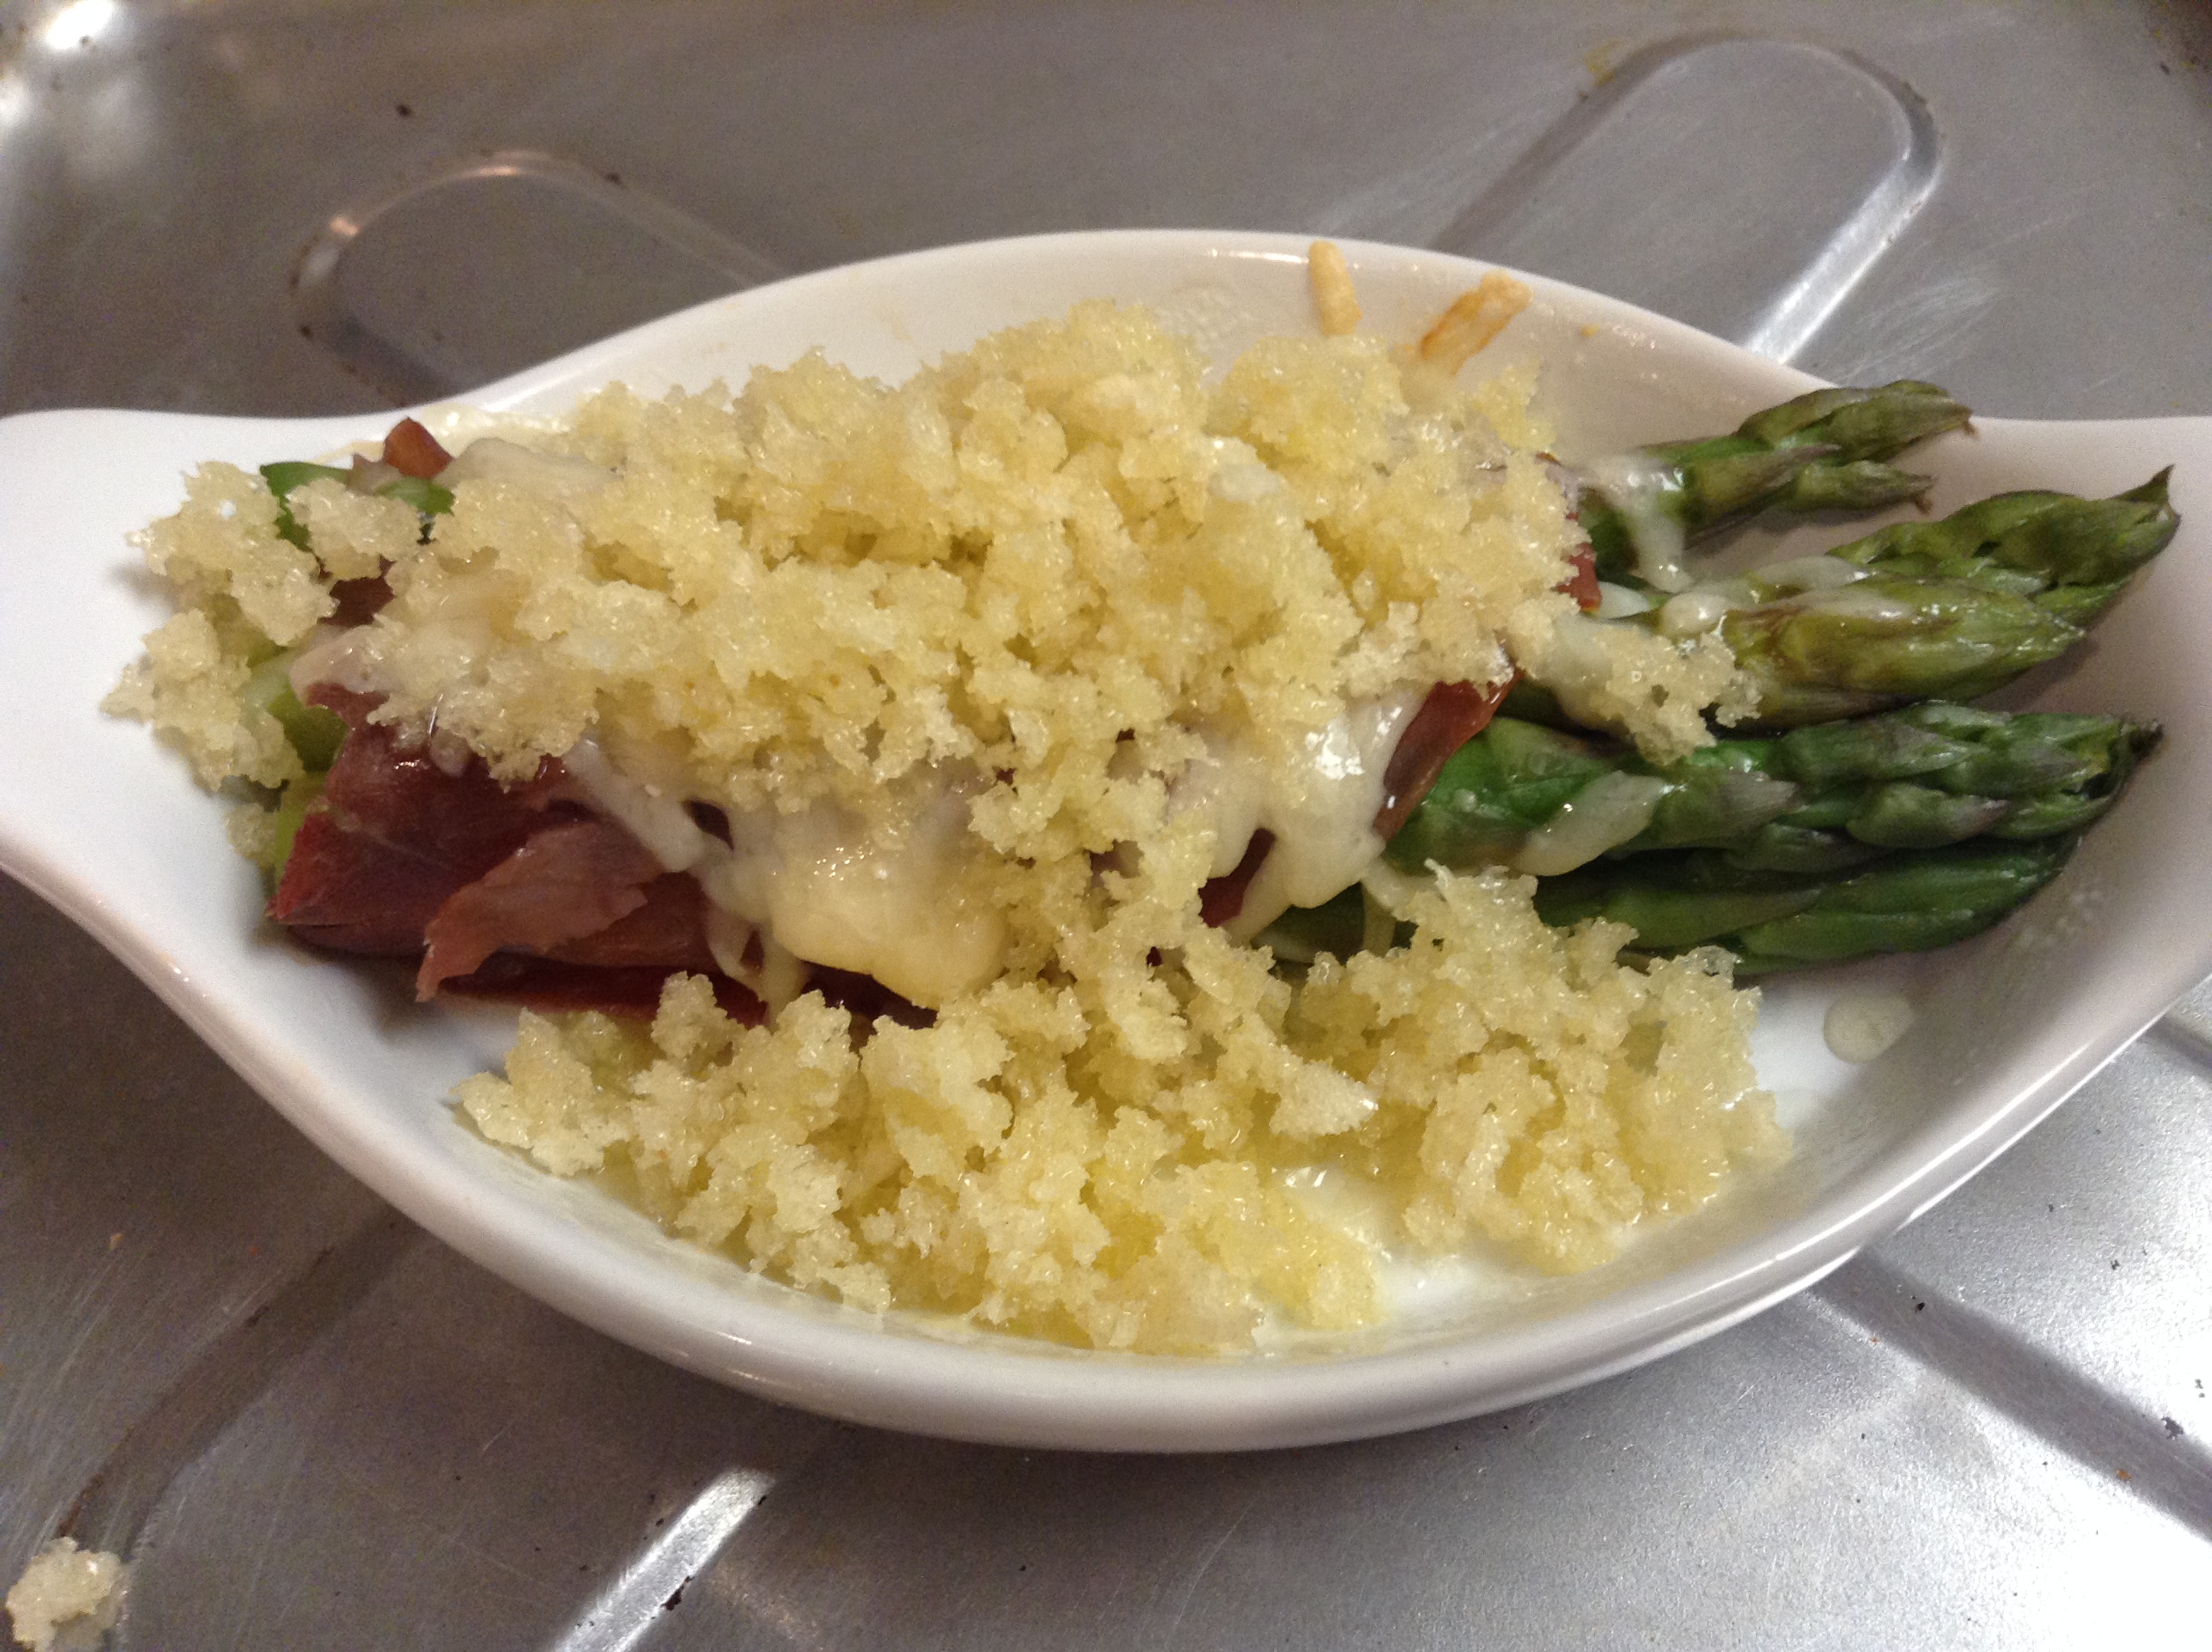
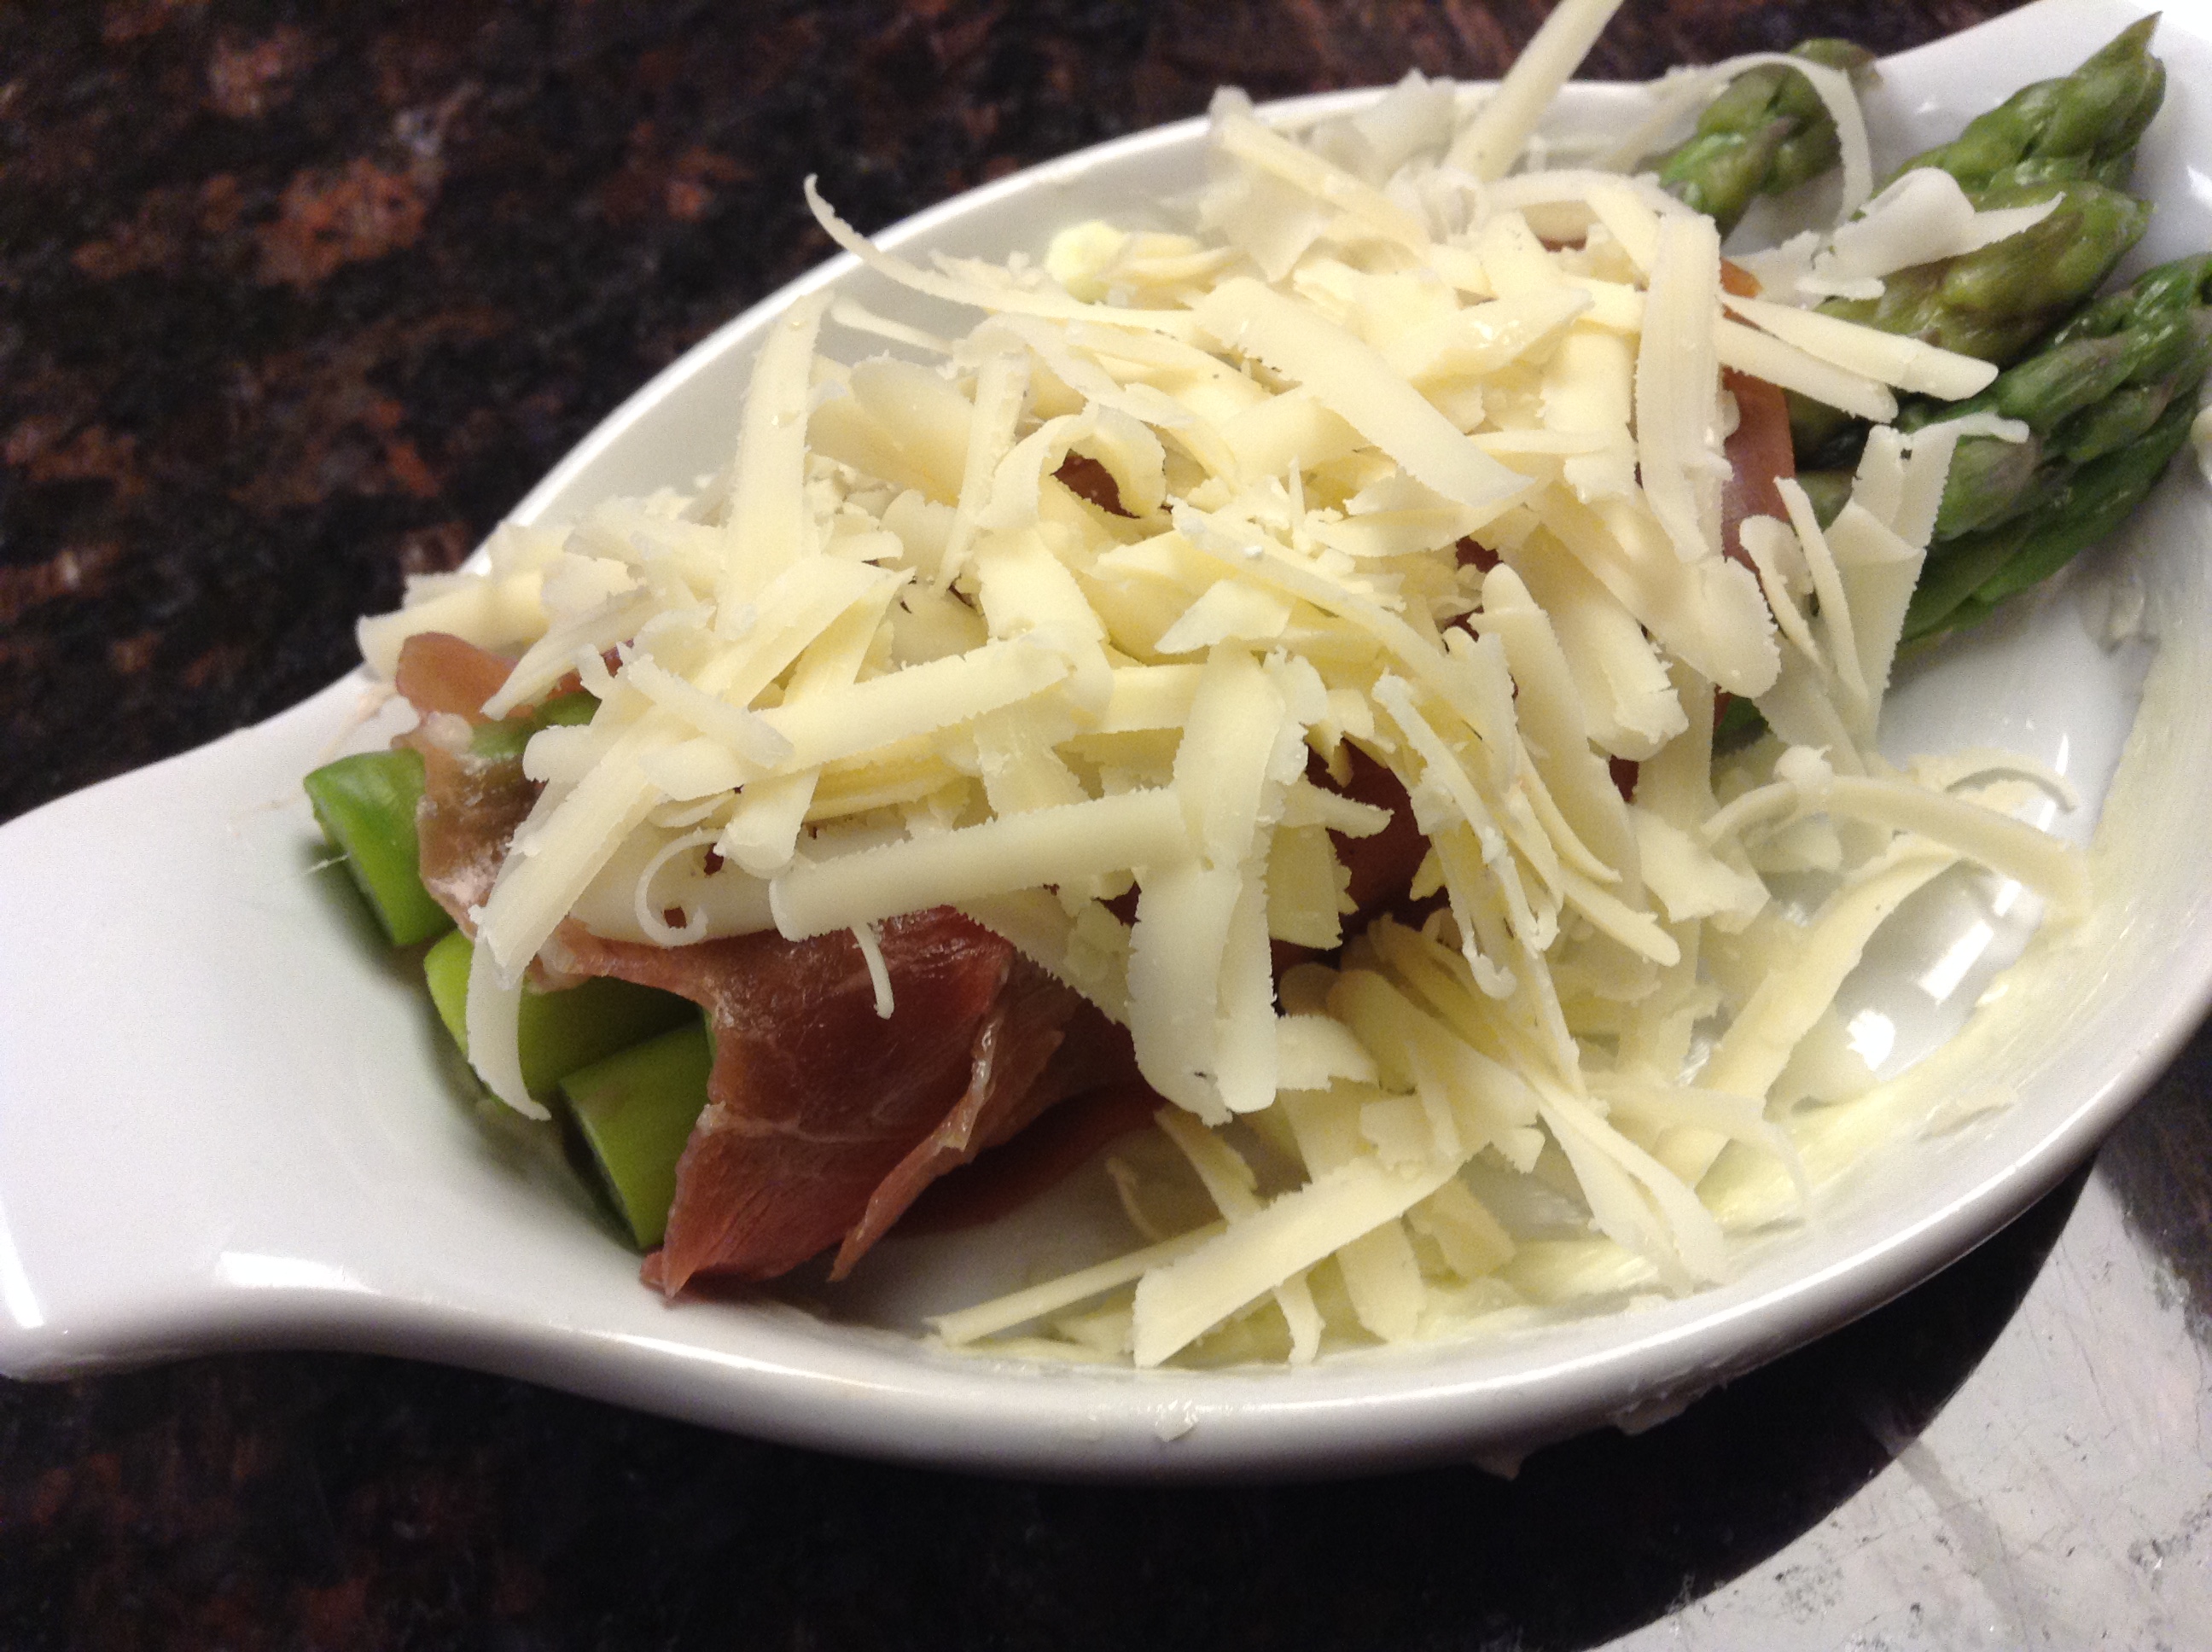
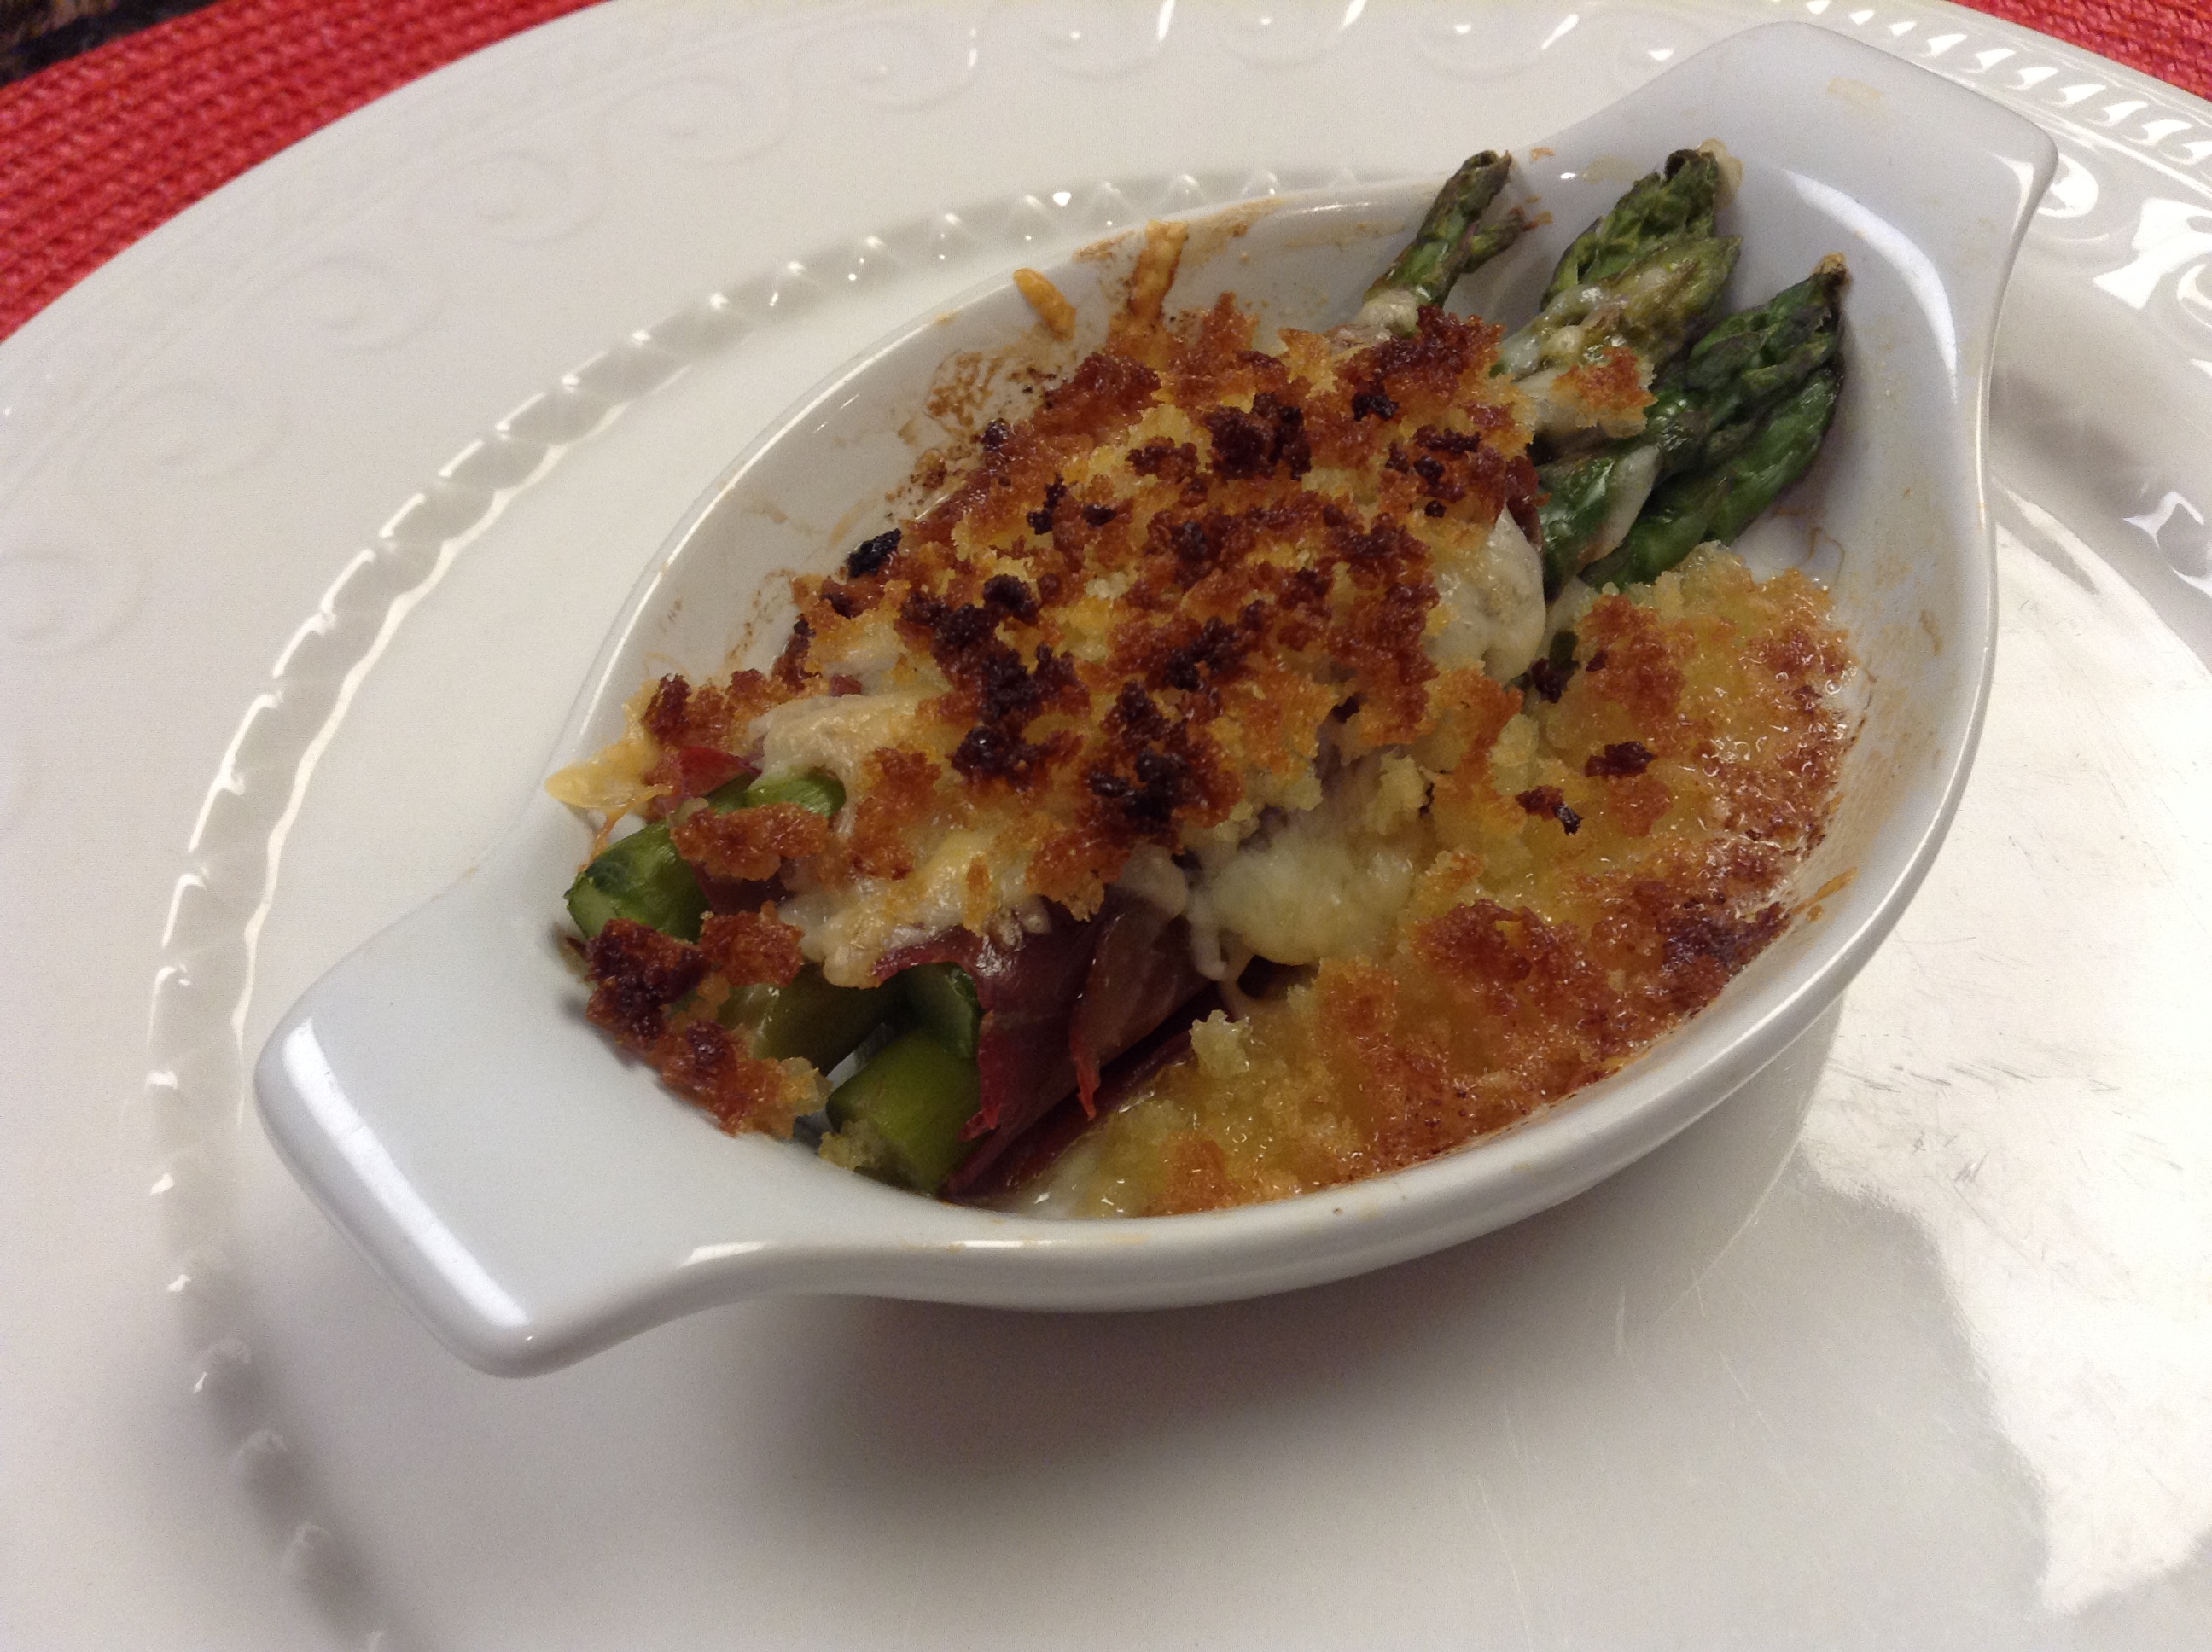
With all the meals we were serving in quick succession over this past weekend, we looked for a few vegetable recipes that could easily be prepared ahead but still maintain their beauty and freshness. We were so happy with the results of this asparagus dish. It was definitely a keeper – perfect for Christmas or even Easter! Never too early to start planning ahead! Asparagus Cordon Bleu is easy and a lovely addition for a dinner party or any holiday. It can be easily assembled in advance and popped in the oven shortly before serving.
Print Recipe
Votes: 1
Rating: 5
You:
Rate this recipe!
Asparagus Cordon Bleu
SERVINGS6servings
|
COOK TIME20mins |
PREP TIME15mins |
READY IN35mins |
Ingredients
Instructions
- Preheat oven to 375 degrees. Prepare a baking dish by brushing with melted butter or olive oil
- Prepare an ice bath. Bring a small pot of water to a rolling boil. Add approximately 1 tablespoon of salt. Drop the asparagus into the salted water. Cook 15-30 seconds or until asparagus turns bright green. Remove and immediately drop into the ice bath. Let cool thoroughly then pat dry with paper towels or a clean kitchen towel.
- Divide the asparagus into six even bundles. Wrap each in the prosciutto and place in the prepared baking dish.
- Top with grated cheese.
- Bake for 10-15 min. until cheese is melted
- Meanwhile, combine butter and panko in a small bowl. Sprinkle over the top of the cheese. Bake for an additional 5 minutes or until the breadcrumbs are golden.
- Sprinkle with chopped fresh parsley and serve immediately.
Can be prepared 24 hours in advance. Assemble and refrigerate. When ready to bake, preheat oven and bake per directions, holding panko to add later.
Recipe adapted from achefskitchen.com
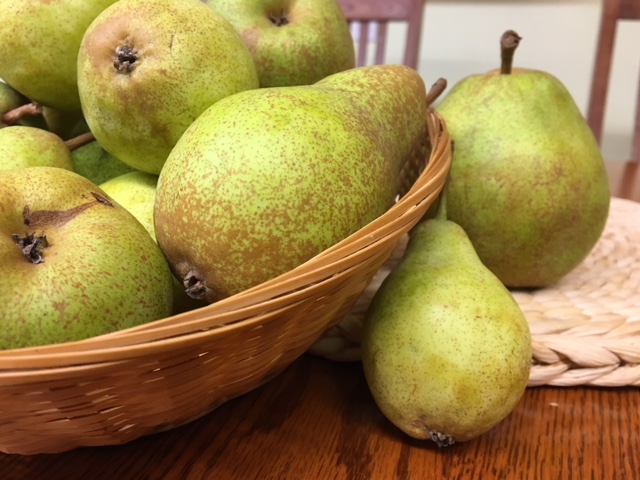
“Nothing that’s been given to us should ever be allowed to go to waste.” This has been a strong emphasis in the sisterhood from its earliest days. “No apple drop that has any edible part should be tossed. It should be turned into applesauce or butter.”
One convent sister in particular has a strong passion for turning all of our imperfect fruits into creative preserves. All summer long we have enjoyed a variety of jams and spreads on our breakfast toast, and occasional desserts. Plums, nectarines, peaches, apples have each in their season made their appearance in different forms.
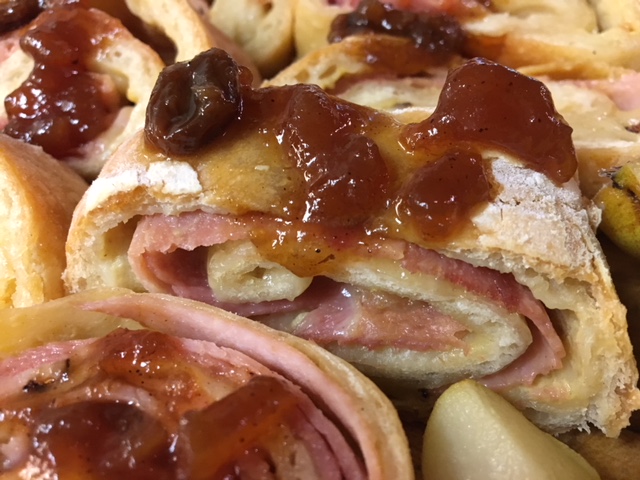
But perhaps the choicest of all was the rich creation that appeared this week and disappeared within days. Made with the last of our pears and laced with rich bourbon this superb pear chutney elevated an already elegant pork loin roast into a spectacular sensation. Yesterday’s lunch cook served it alongside of ham and swiss pinwheels—always a favorite just as they are on their own…over the top with this enhancement!
It suddenly occurs to me that little jars of this would make choice Christmas gifts. Give it a try and see what you think.
Print Recipe
Votes: 1
Rating: 5
You:
Rate this recipe!
Ginger Pear Chutney
SERVINGS6-7pint jars
|
COOK TIME1 hr30 mins |
PREP TIME45mins |
READY IN2 hrs15 mins |
Ingredients
Instructions
- Combine all ingredients in a heavy pot. A Dutch oven or a cast iron pot works well.
- Bring ingredients to a boil, stirring often.
- Reduce heat and let simmer for about 1 ½ hours, stirring occasionally.
- Serve as a condiment on the side, warm on pork or chicken, or dress up a deli ham sandwich. Enjoy!
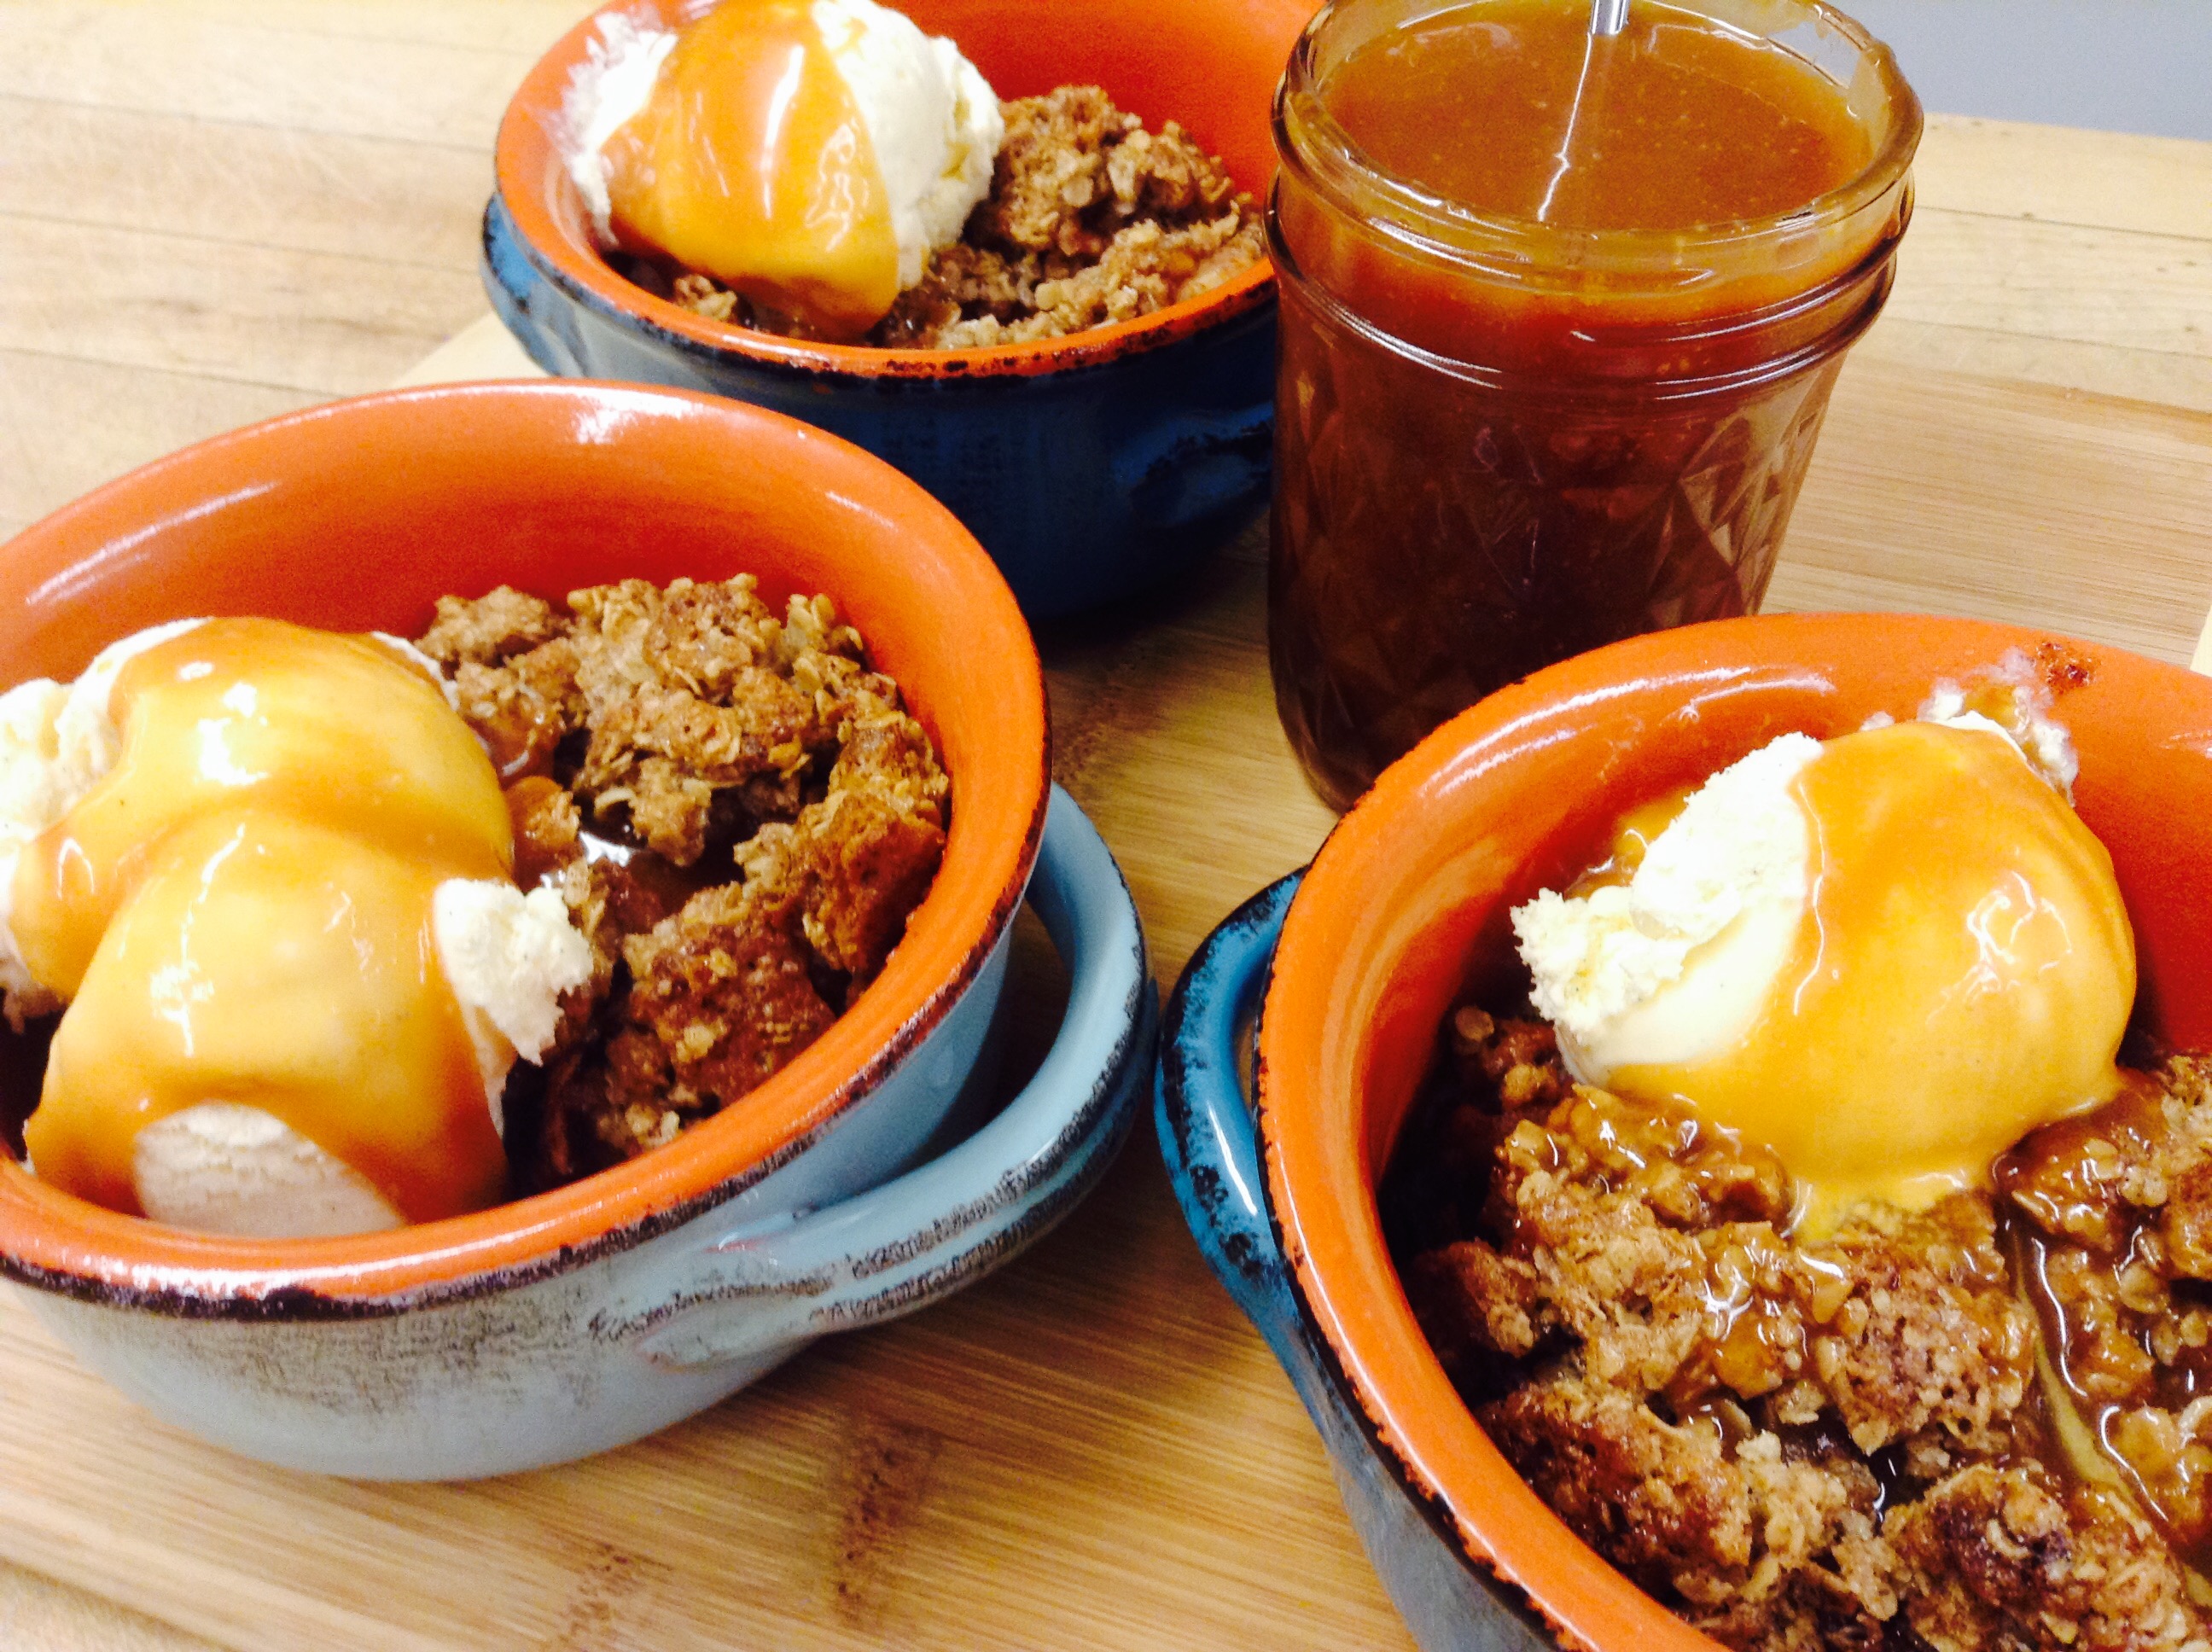
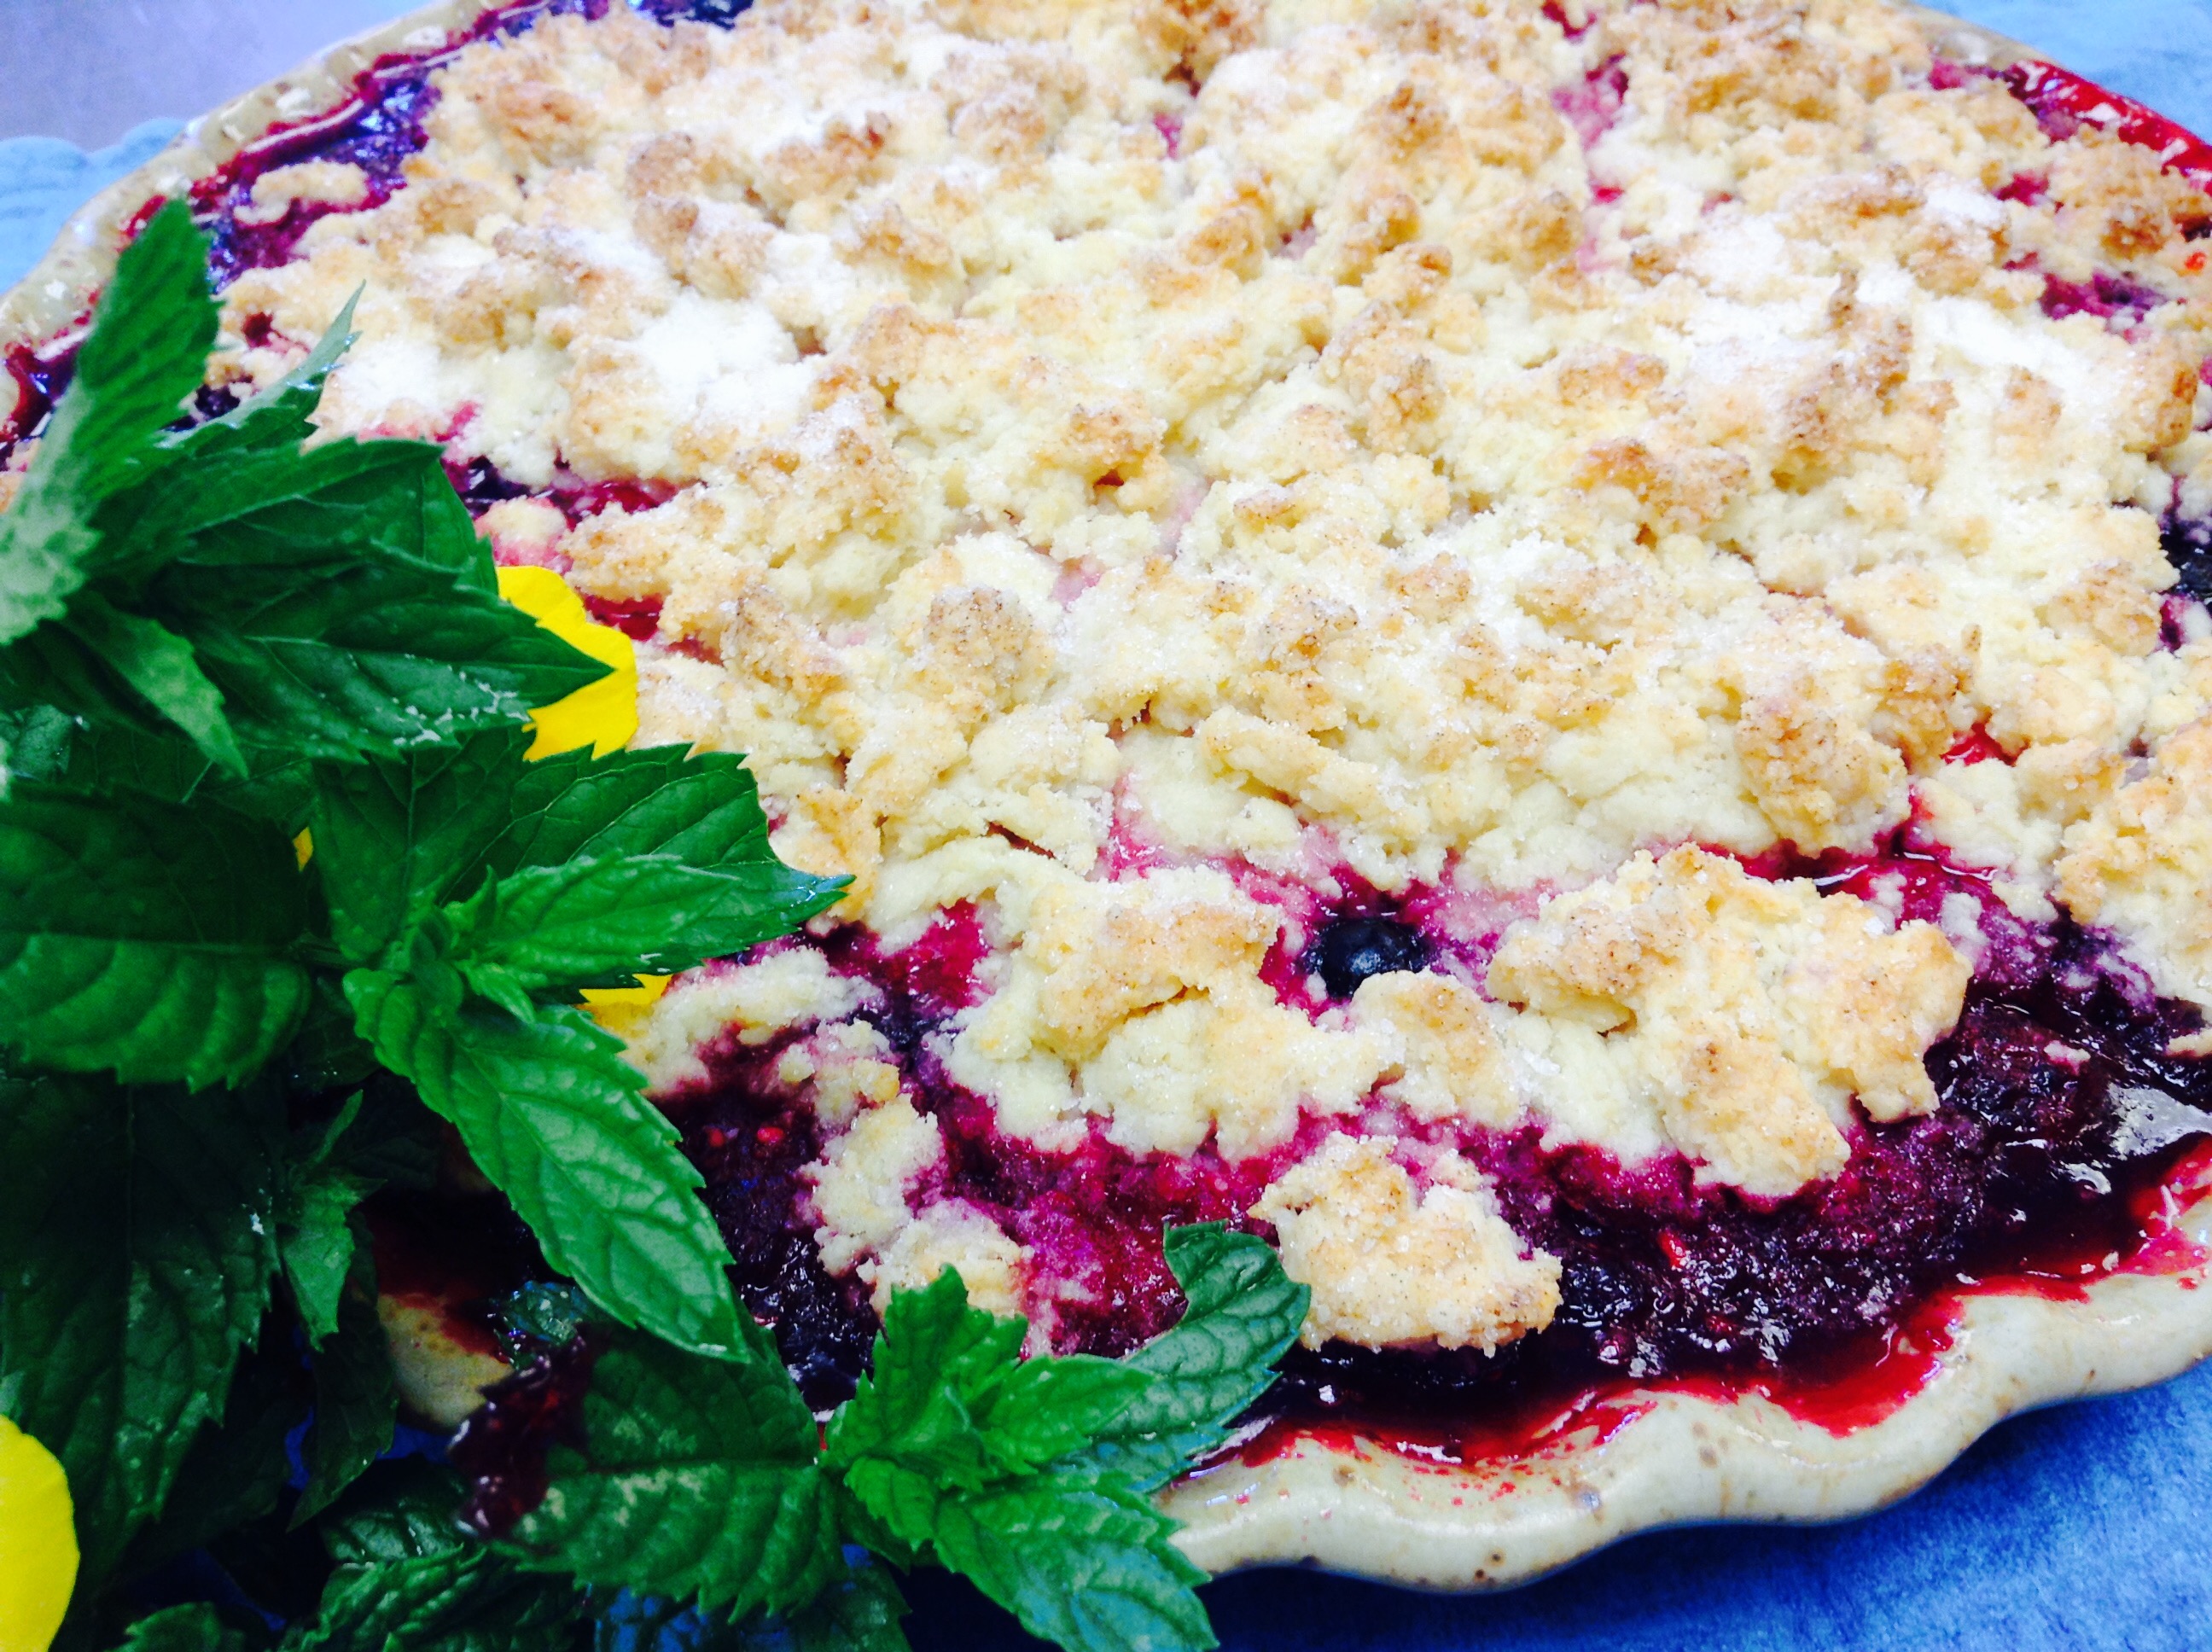
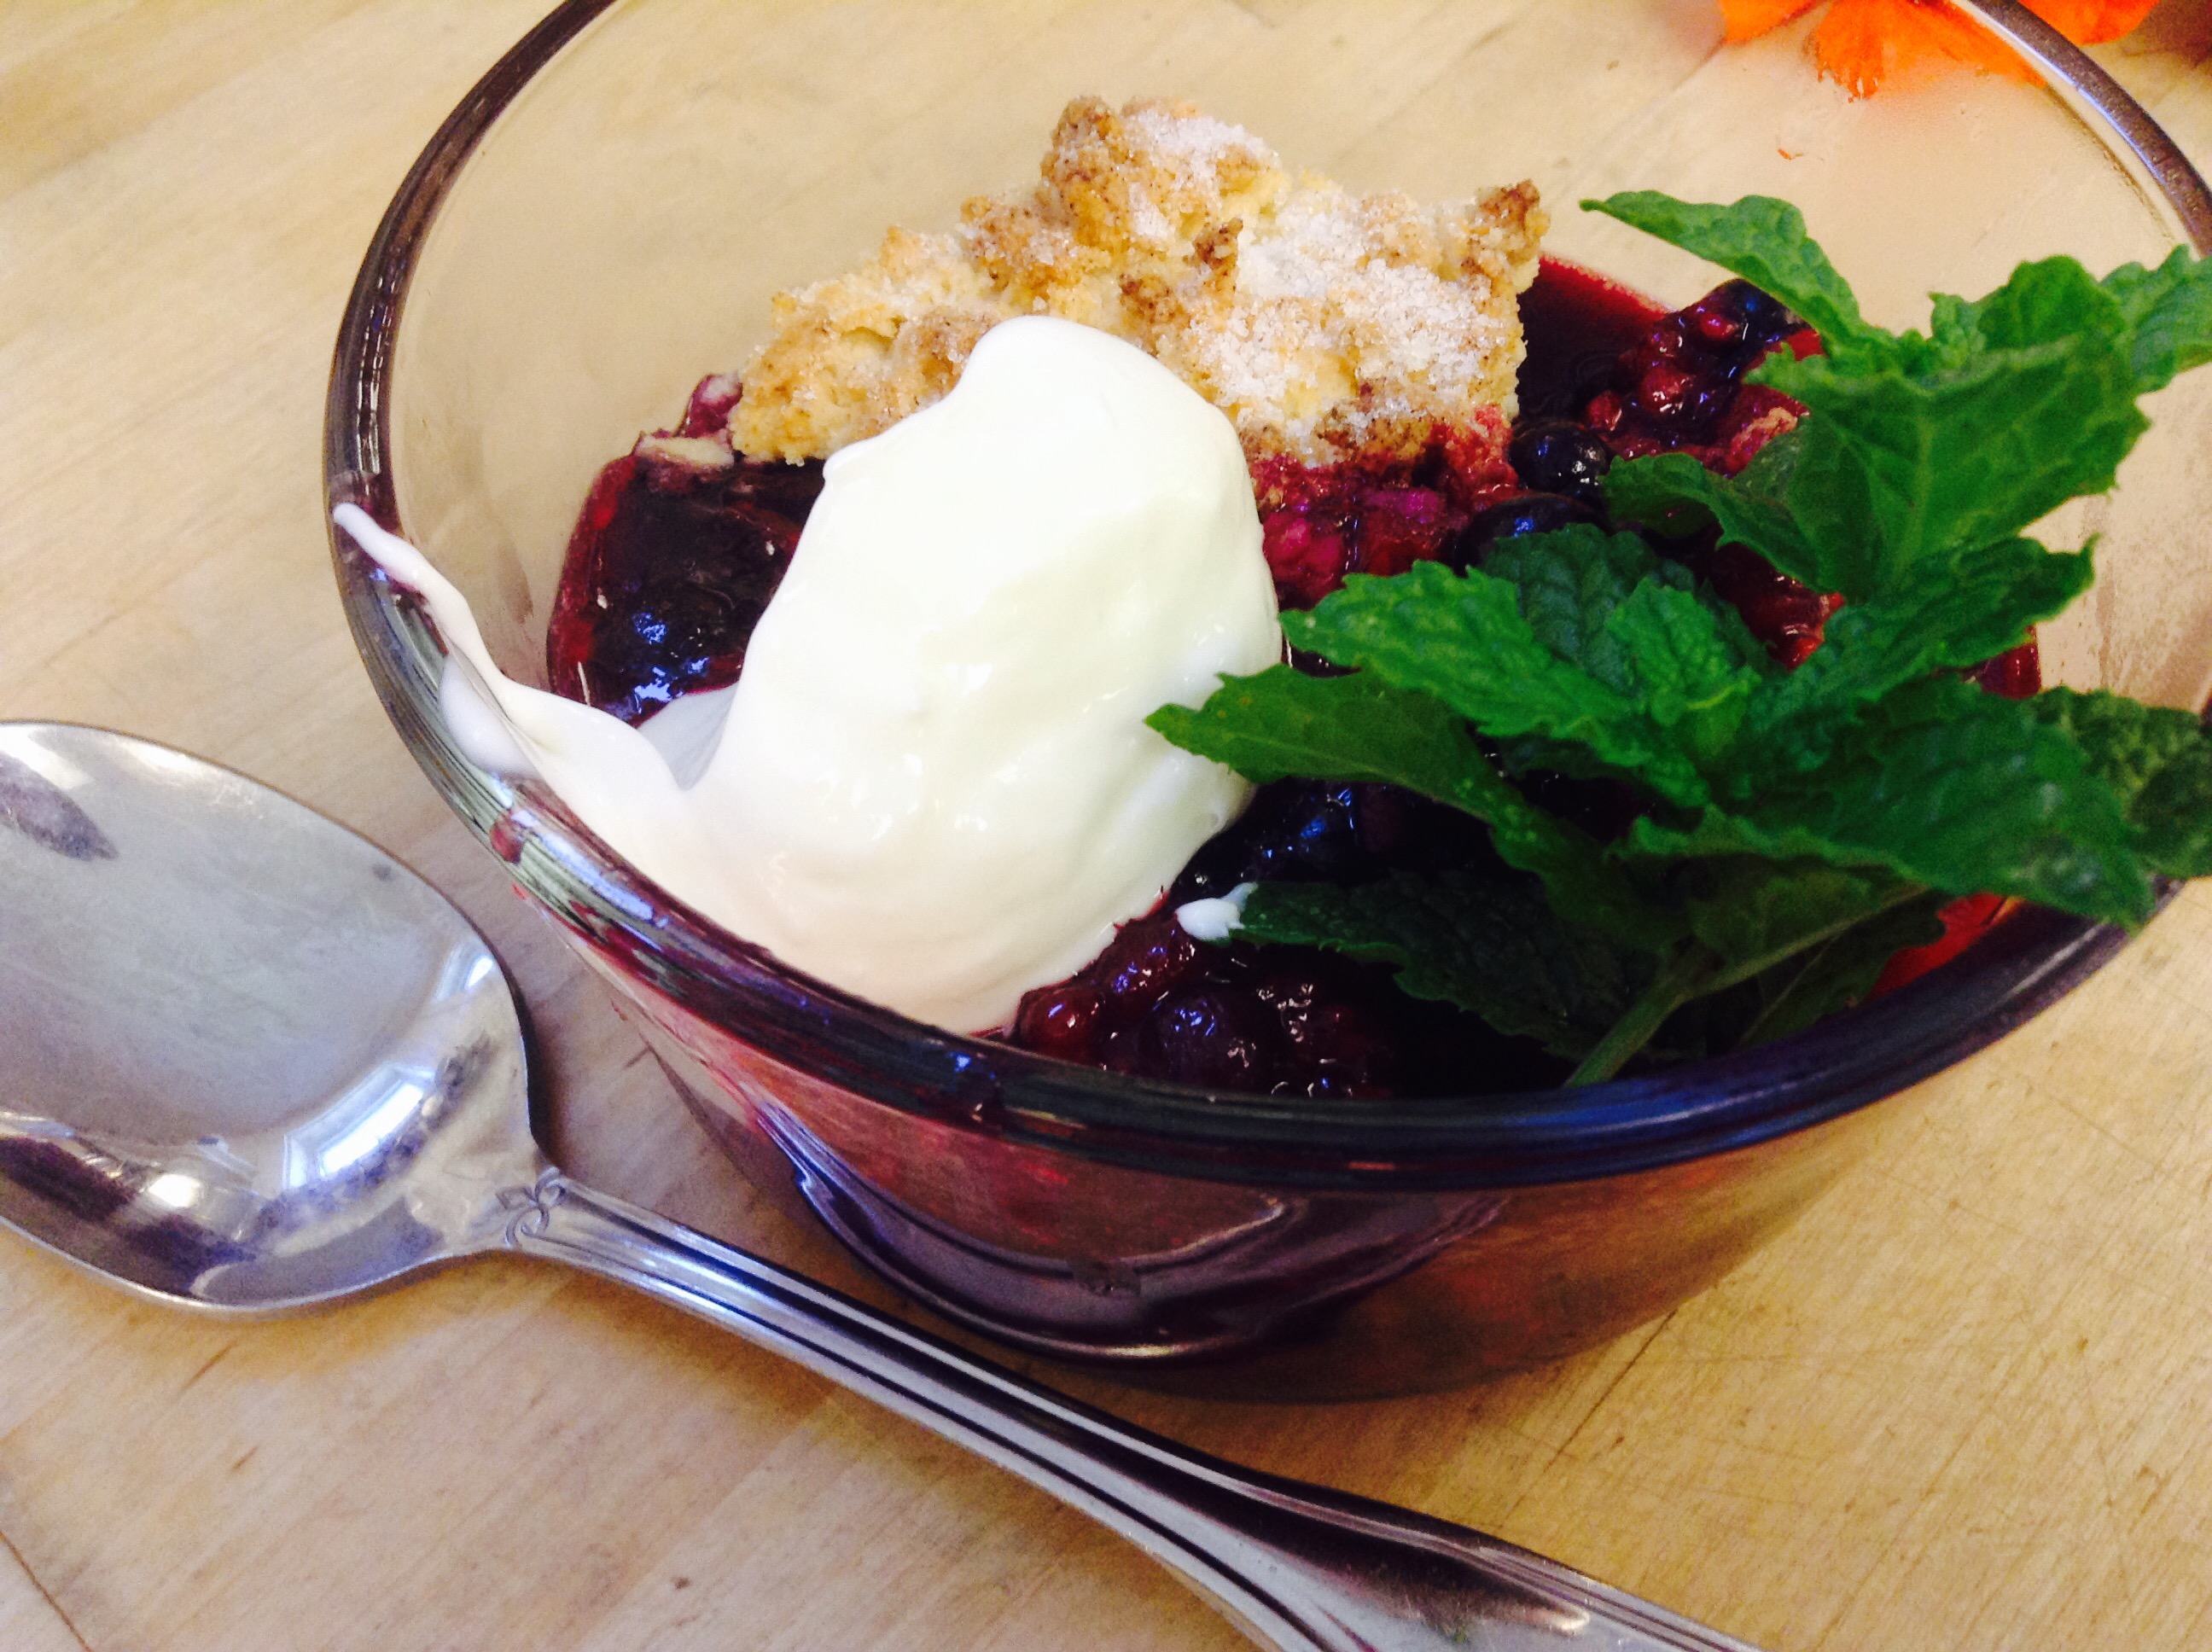
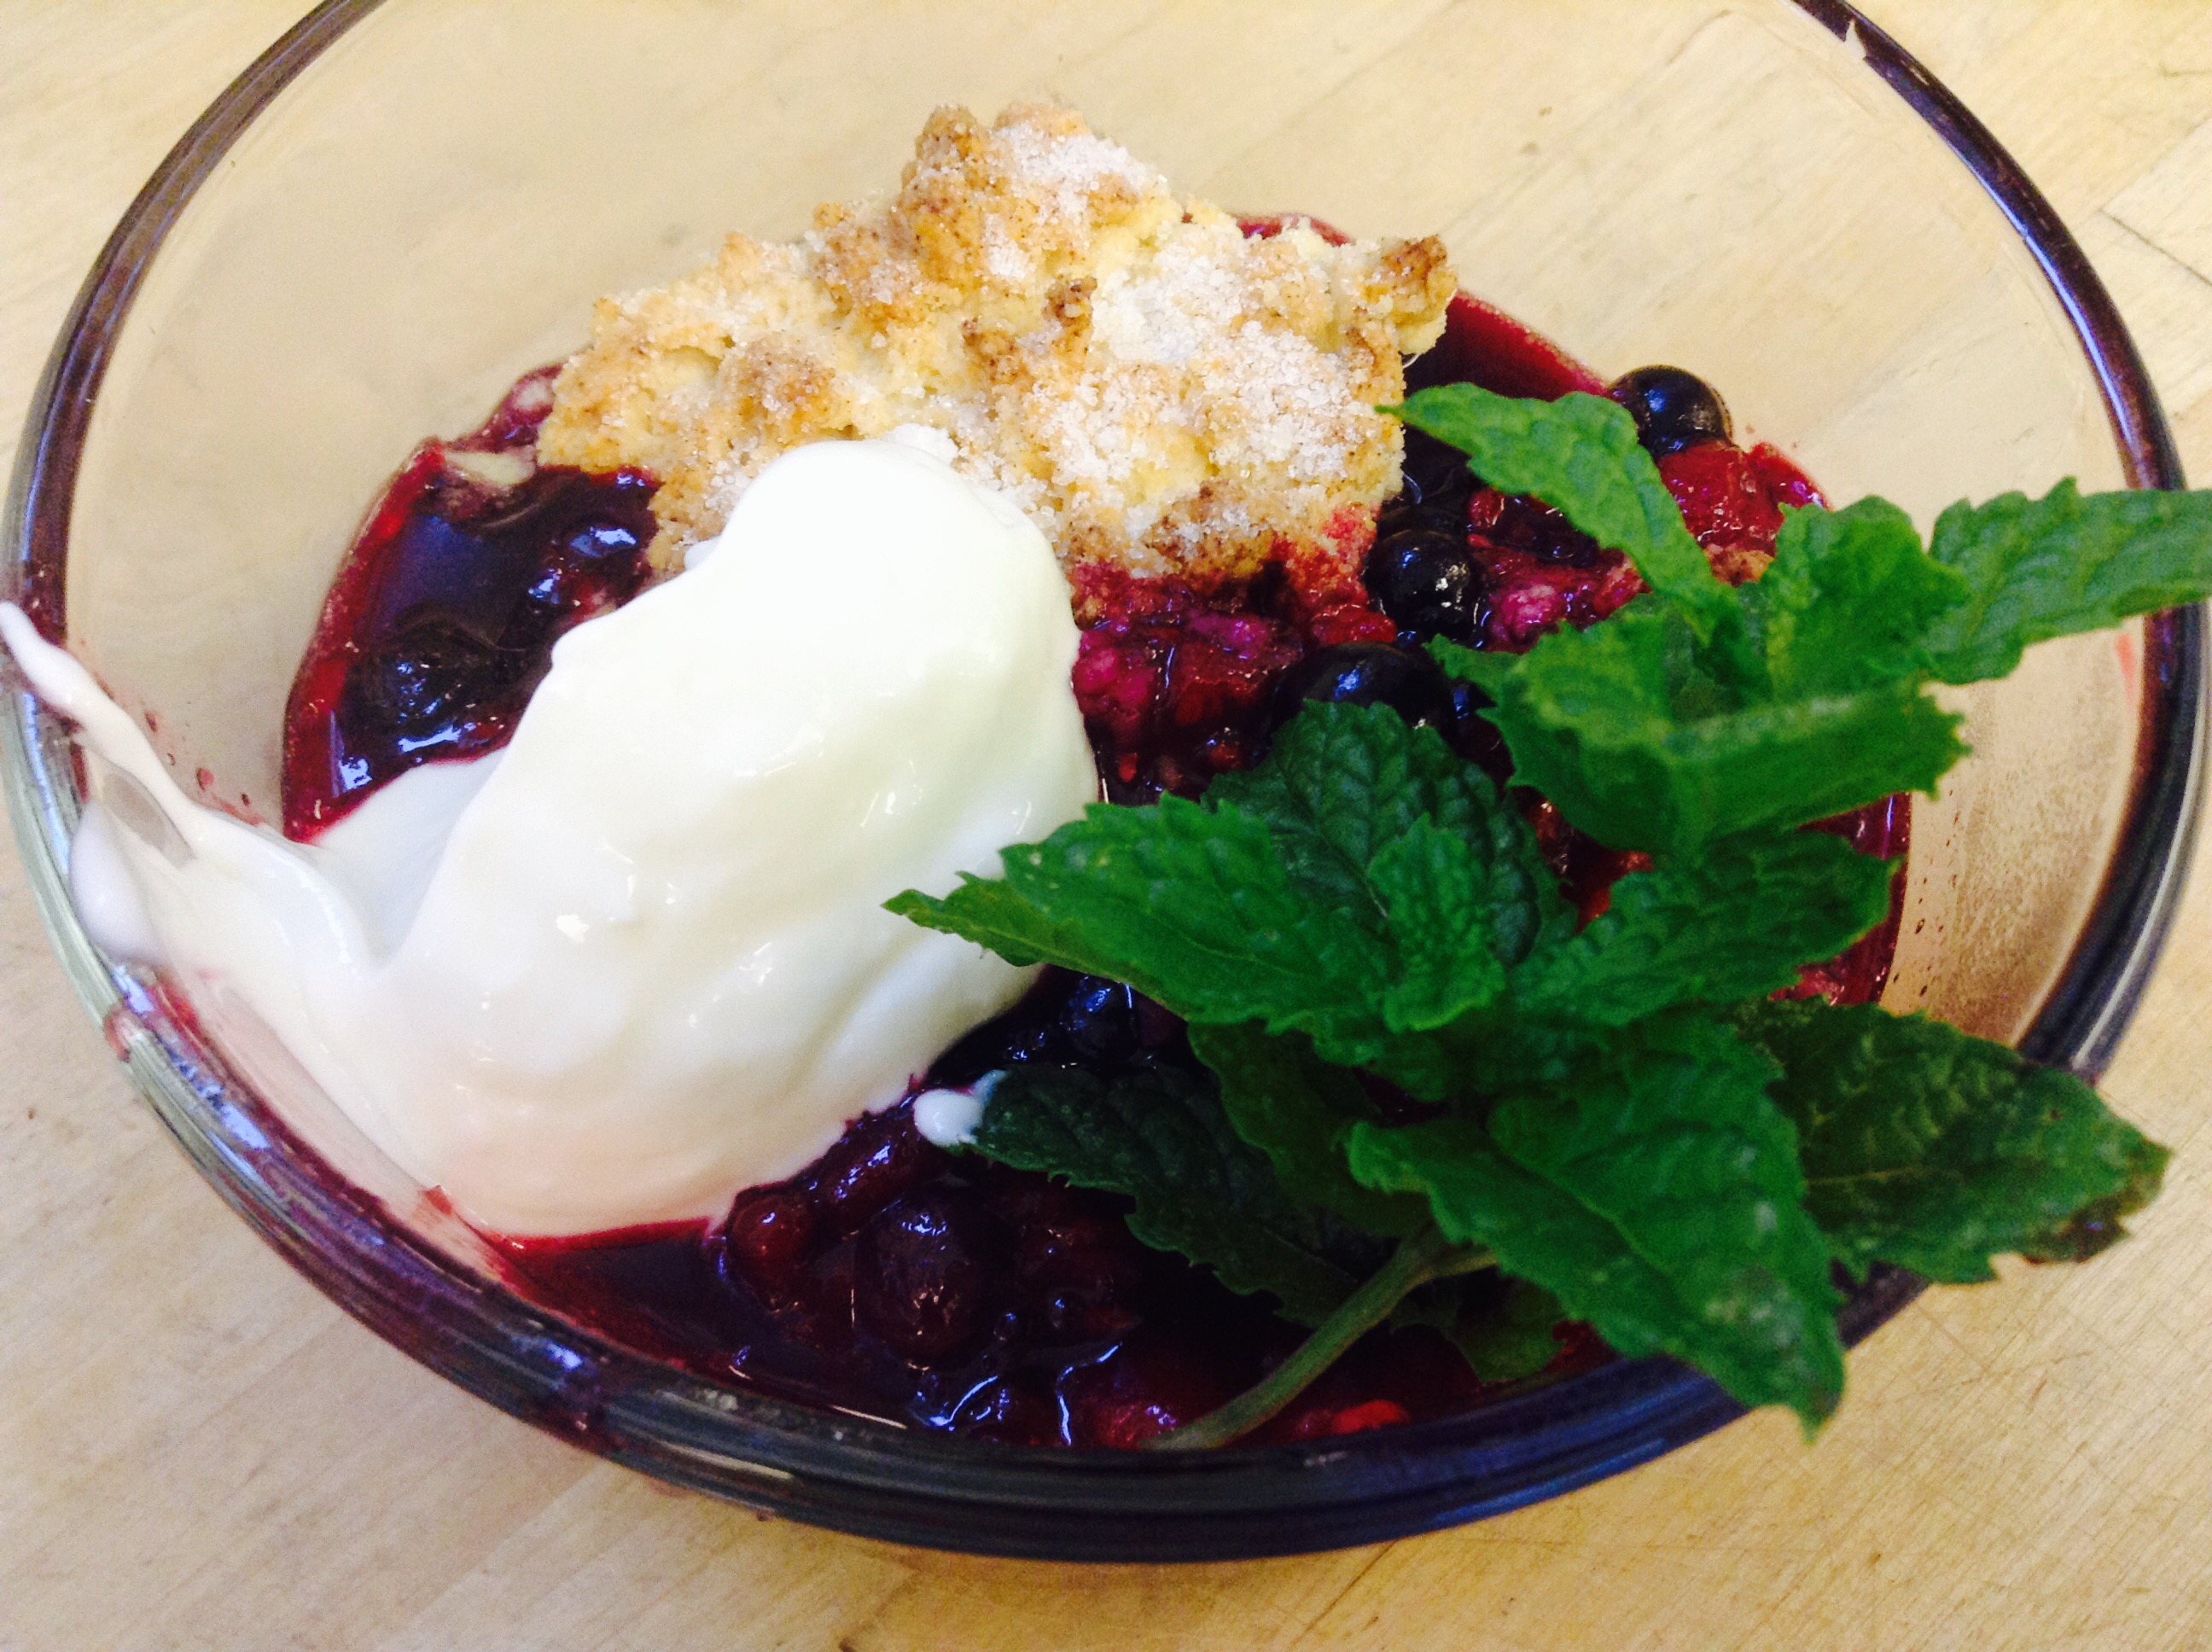
Many years ago, we had a cookbook from Maine that had the most extraordinary apple pie recipe. It had a layer of crushed graham crackers and caramel sauce underneath the apples. We lost that cookbook in the move to our new kitchen, but every fall when the apples are being harvested I think back to this recipe. This year, I decided to re-create it in an apple crisp. It sure took less time than making a pie, but the flavor combination was there.
For gluten-free cooking, try substituting gluten-free cookies for the graham crackers and brown rice flour for the flour. I think you might be pleased.
Print Recipe
Votes: 0
Rating: 0
You:
Rate this recipe!
Graham Cracker Apple Crisp with Homemade Salted Caramel Sauce
SERVINGS9servings
|
COOK TIME30-40mins |
PREP TIME20mins |
READY IN50-60mins |
Ingredients
Instructions
- Lightly grease 8x8” square baking dish
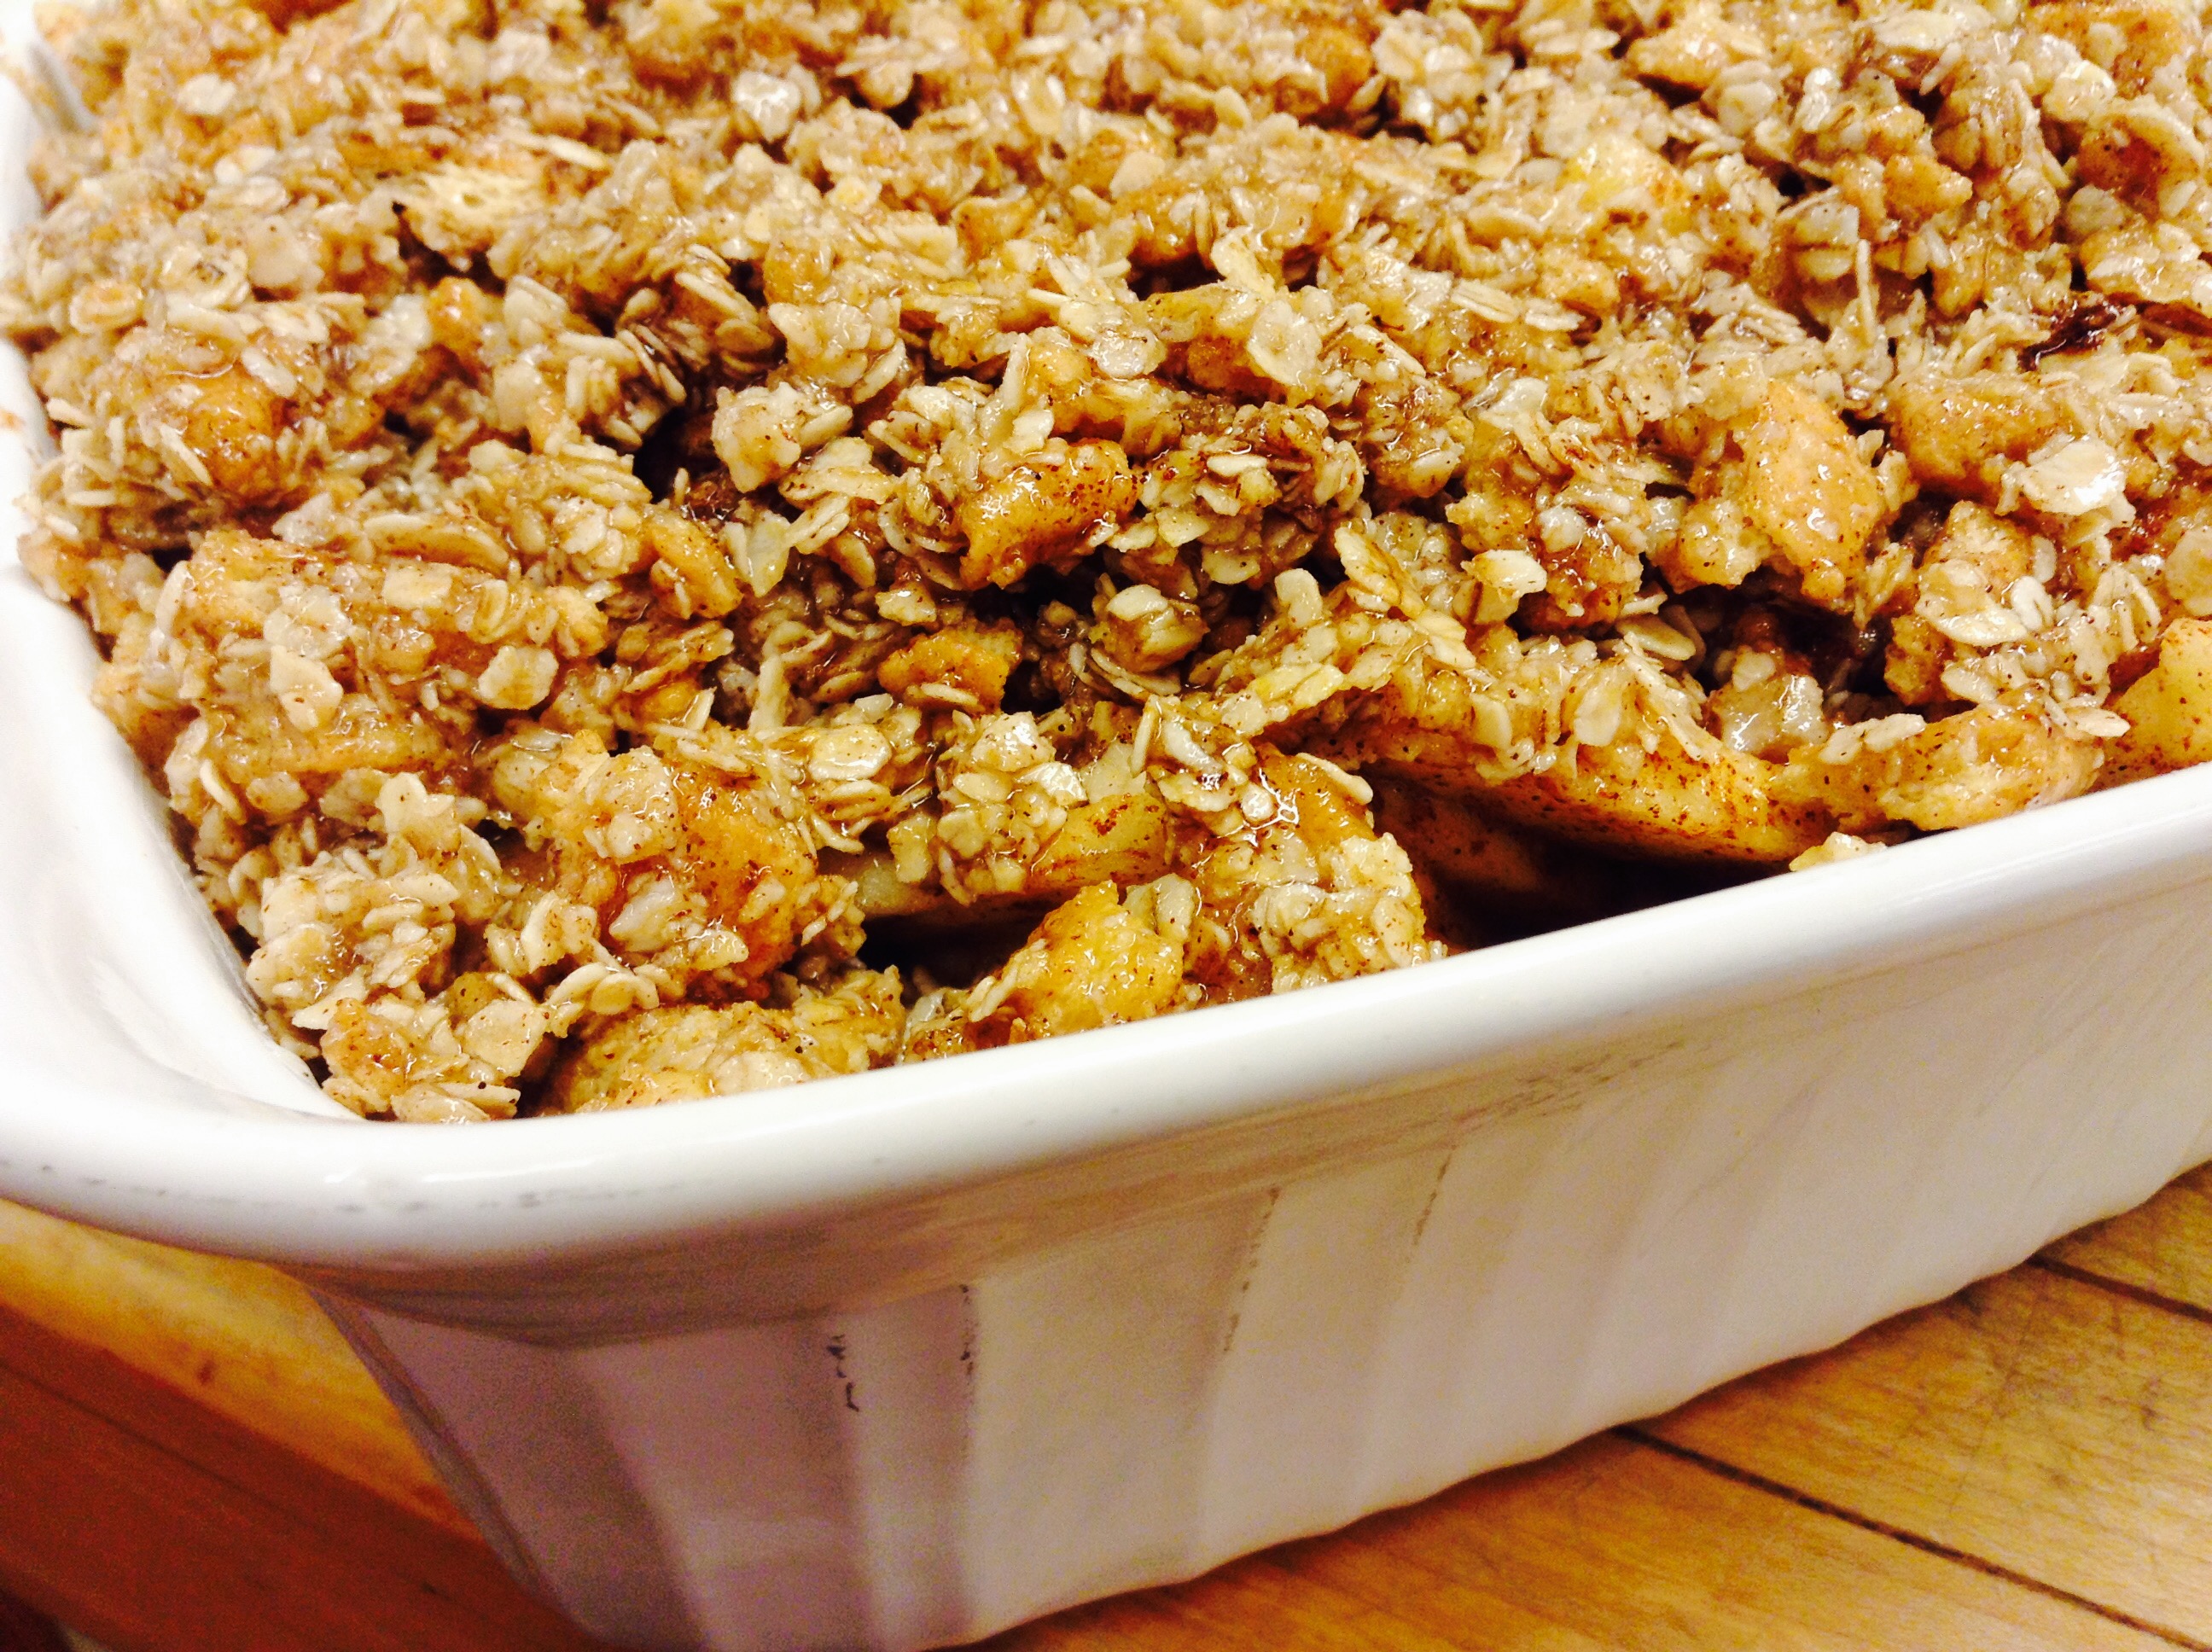
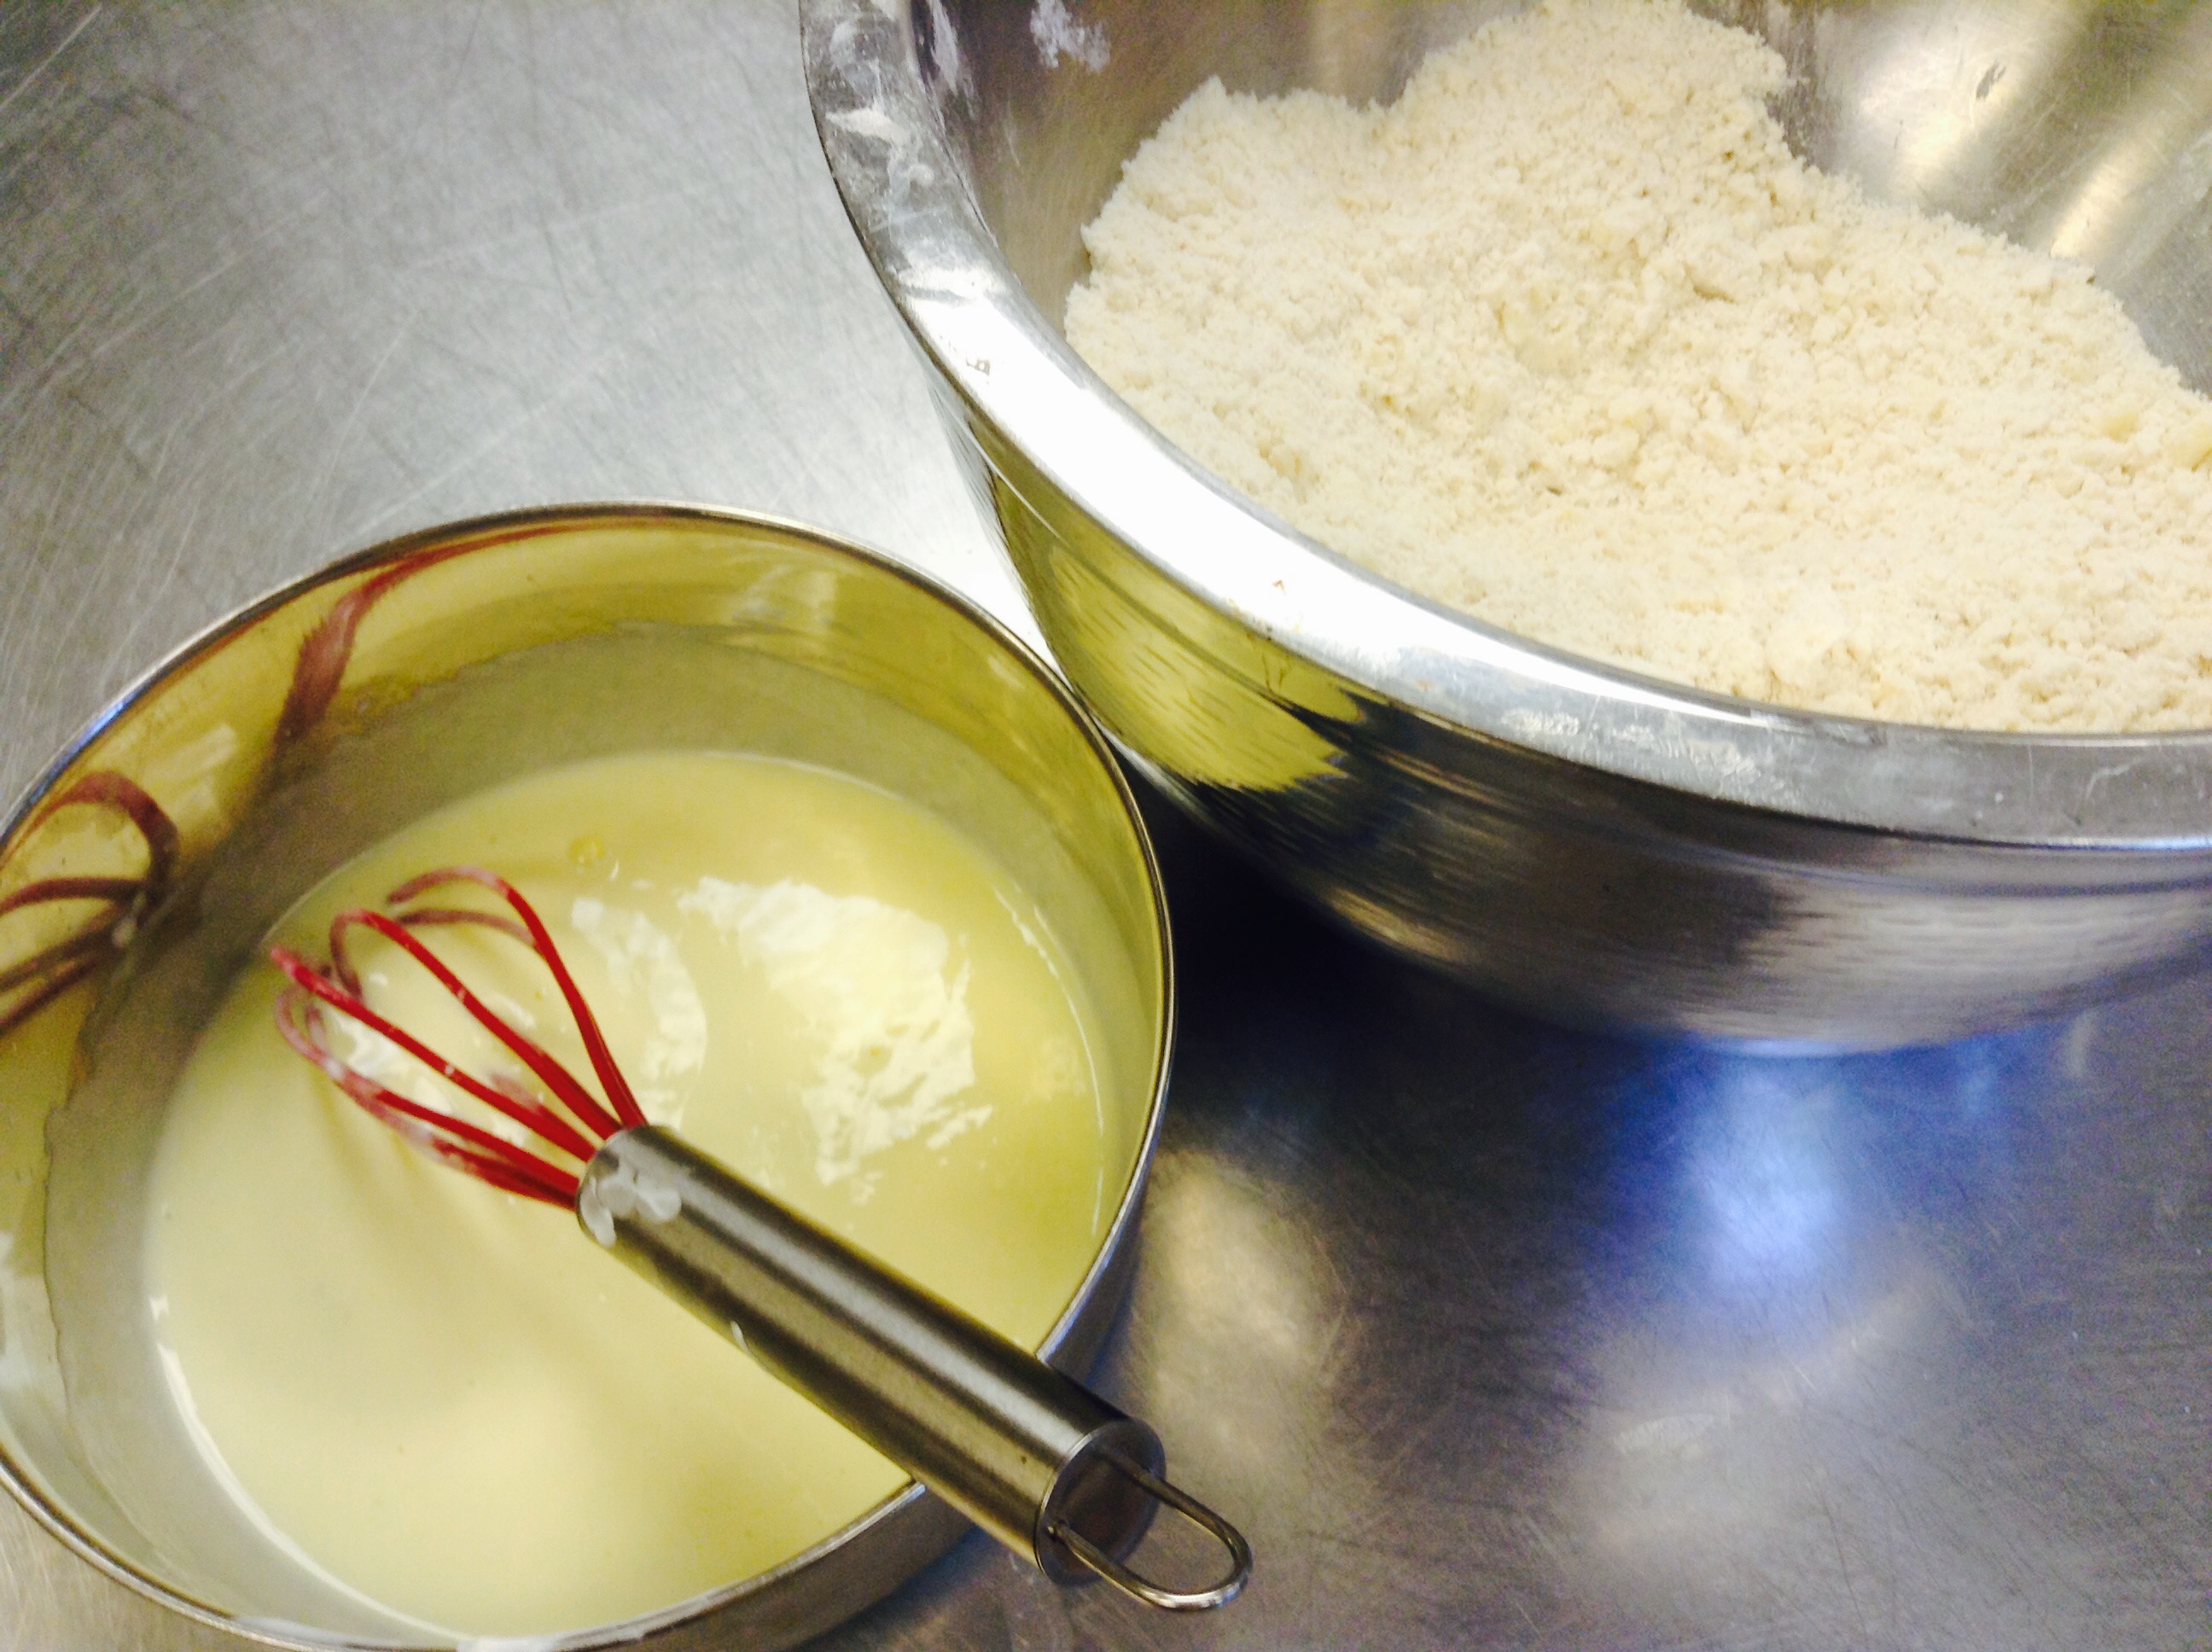
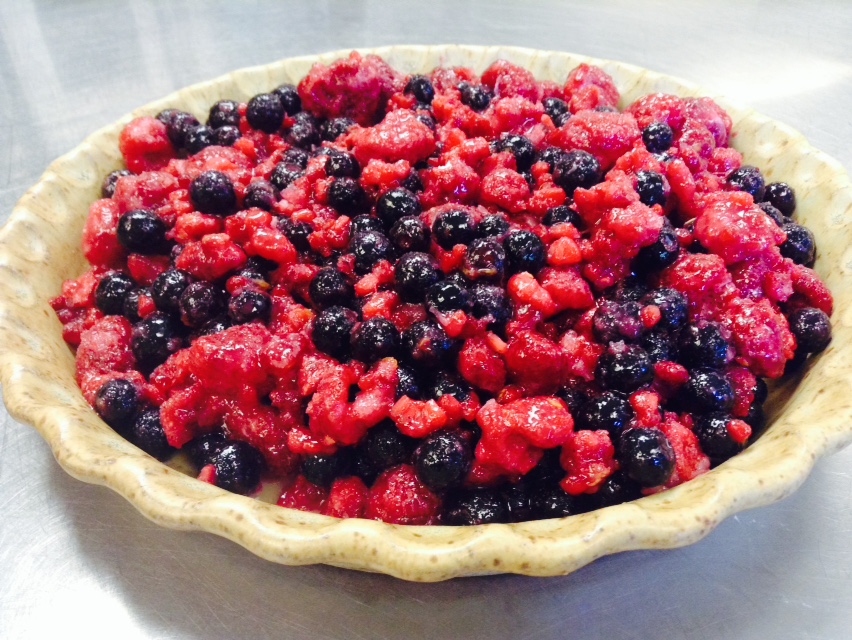
- Filling: Toss apples together with brown sugar, cinnamon, flour, salt, lemon zest, lemon juice and the melted butter.
- Topping: Melt butter in a medium bowl and add all other topping ingredients. Mix until crumbly and evenly mixed.
- Sprinkle over apples and pat down lightly. Bake at 350º for about 30-40 minutes, until apples are soft and the filling bubbles and the crisp is golden.
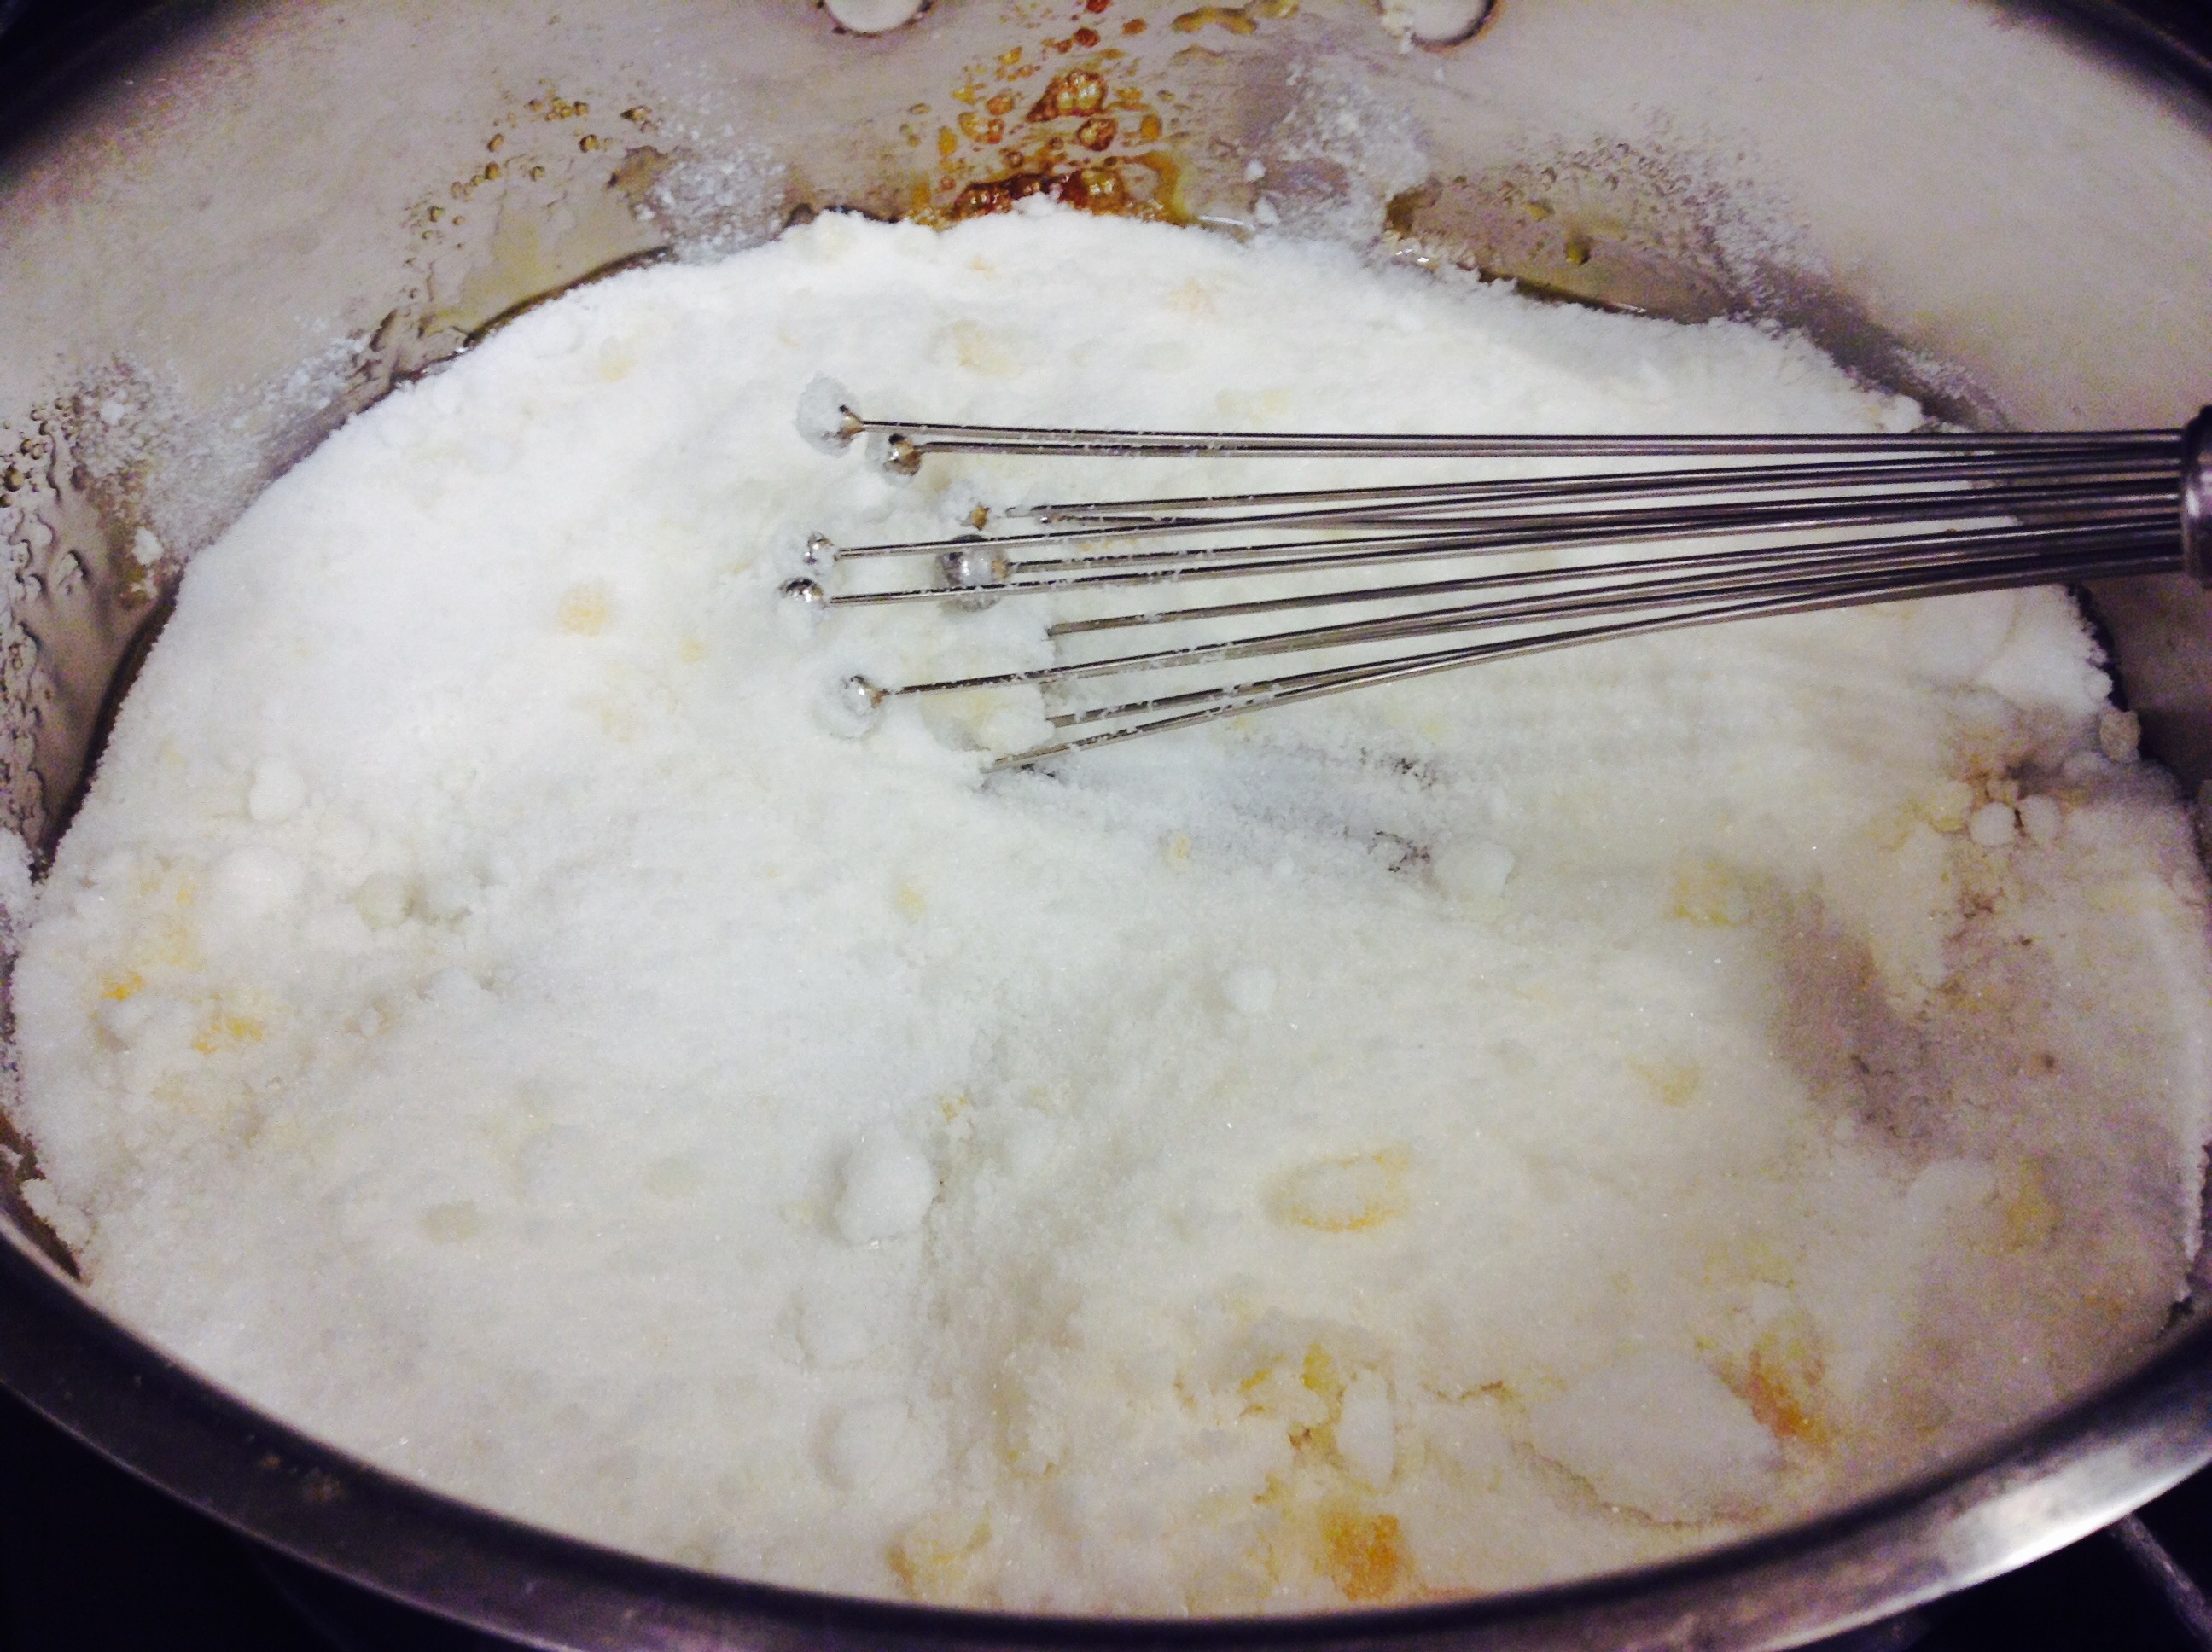
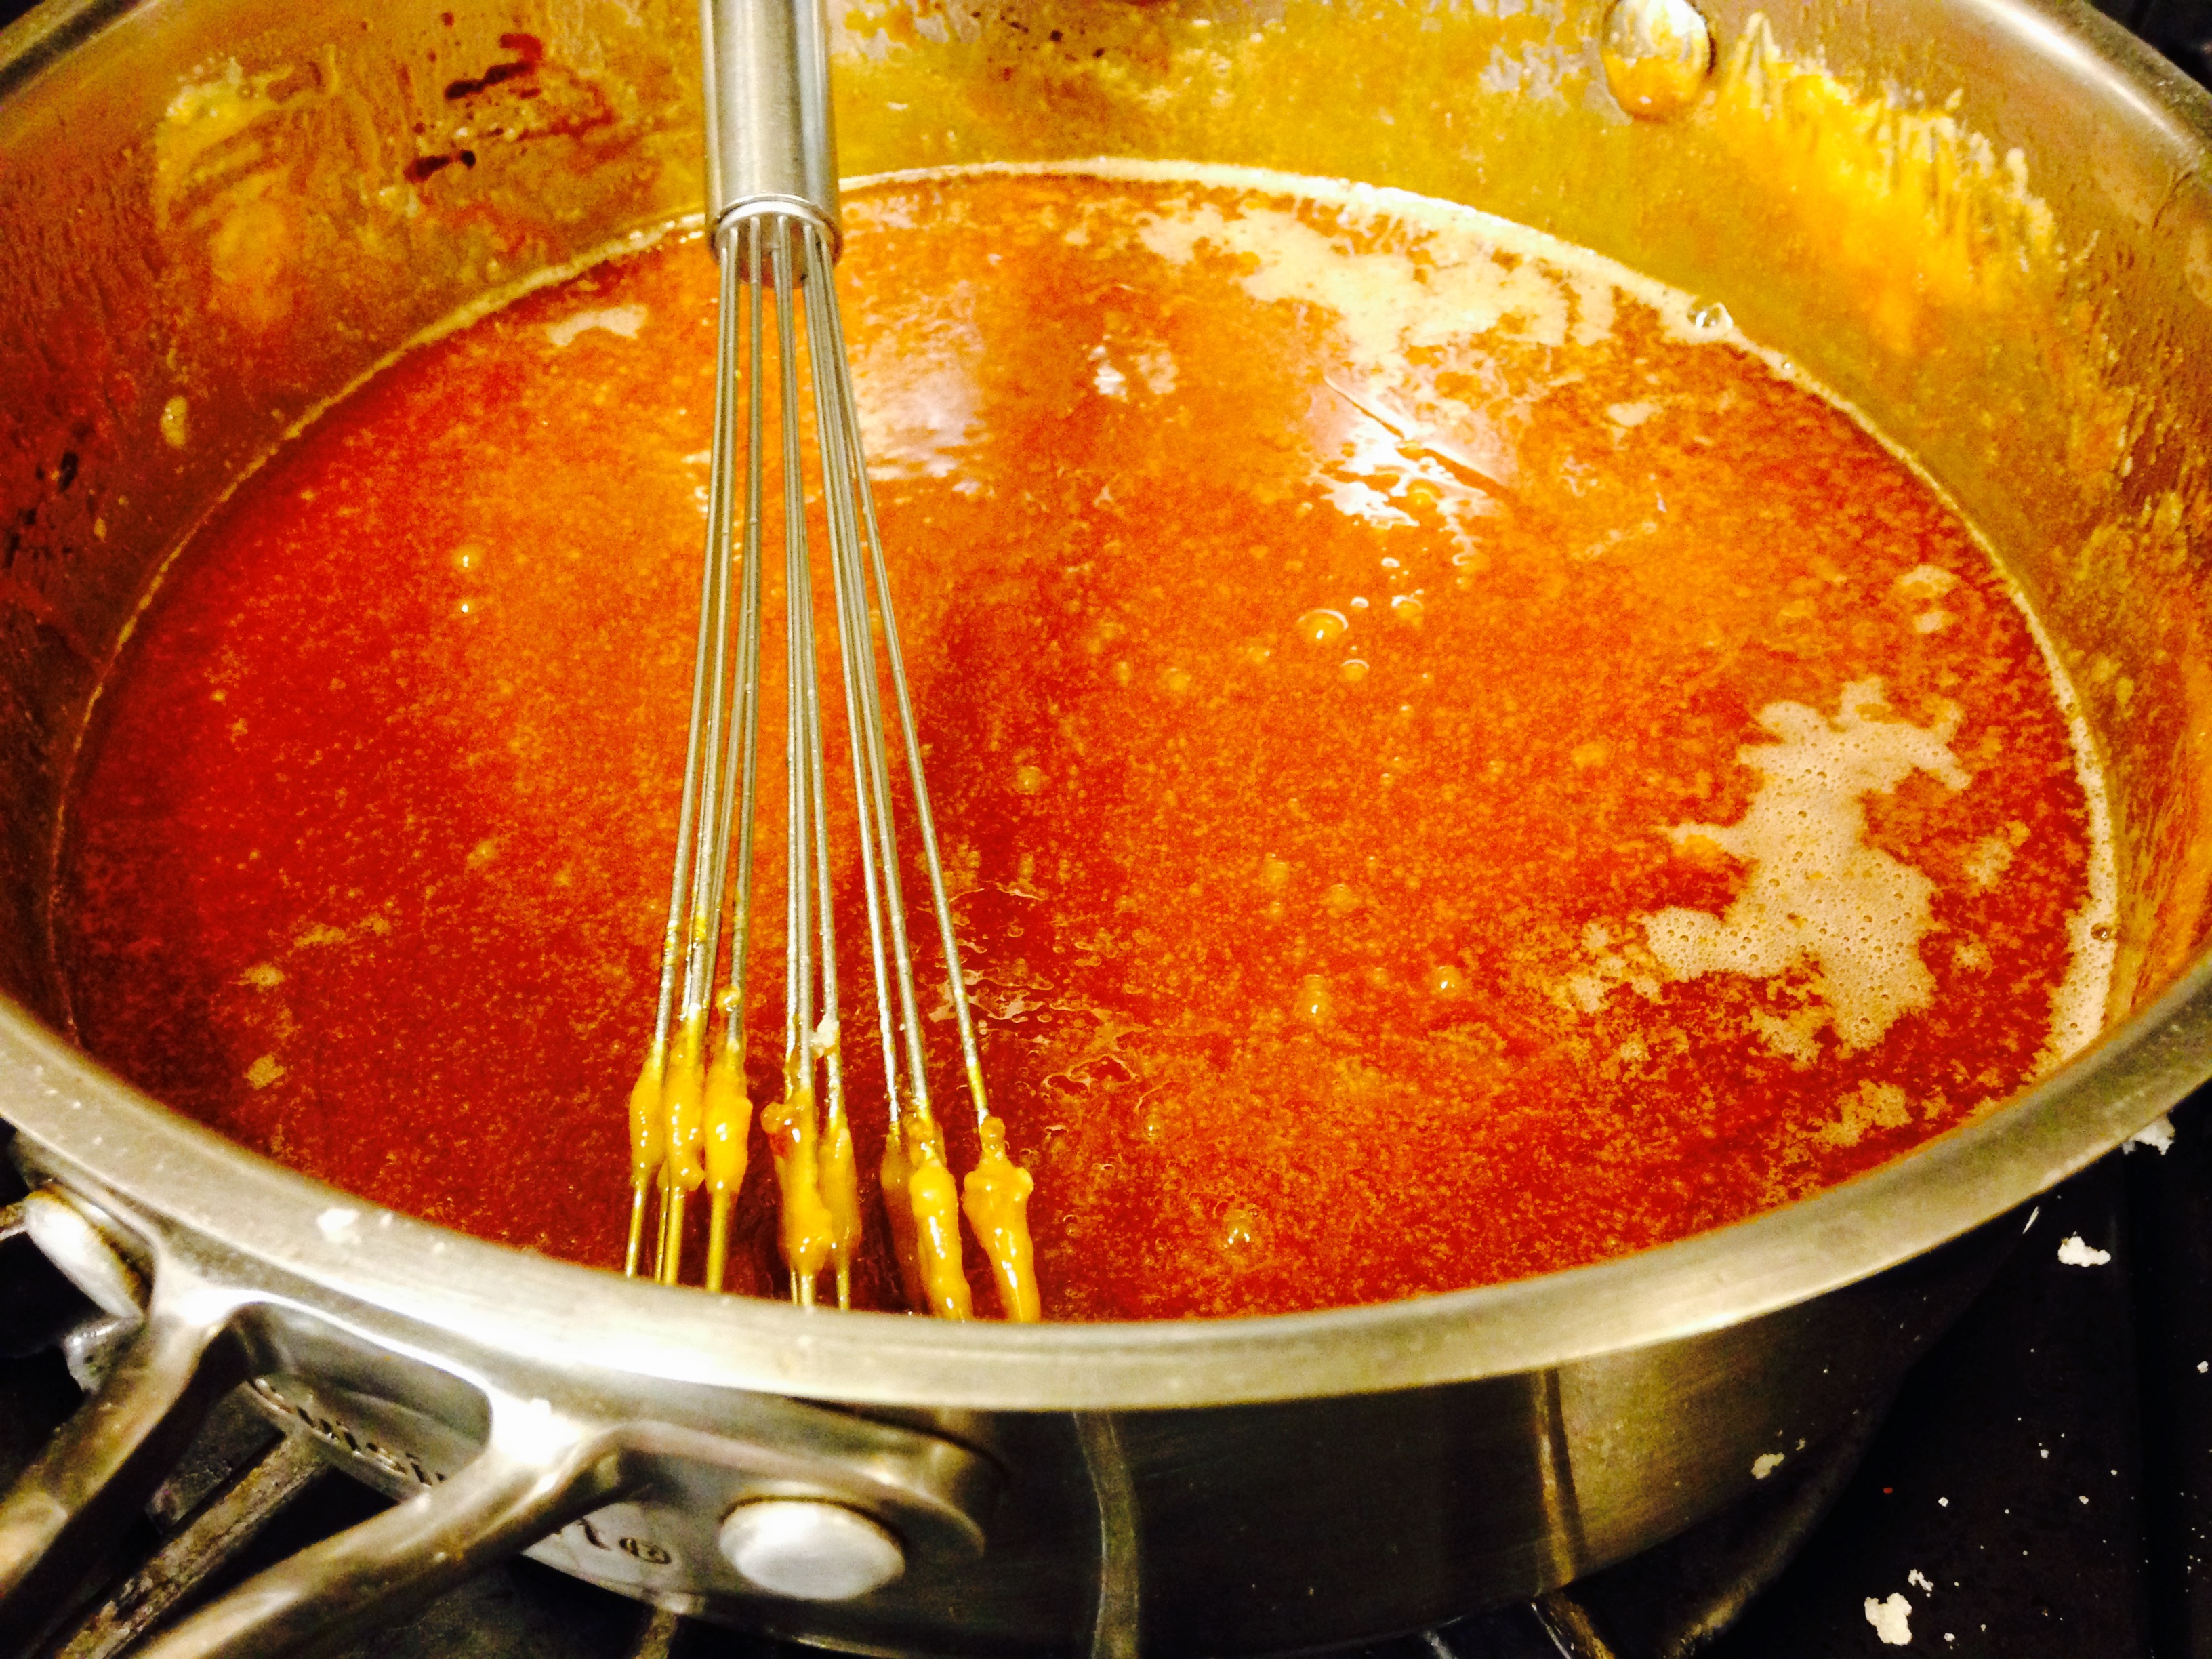
- Meanwhile make Salted Caramel Sauce: Add the sugar in an even layer over the bottom of a medium saucepan. Heat the sugar over medium-high heat, whisking it as it begins to melt. It's okay if the sugar begins to form clumps- keep whisking and as it continues to cook, they will melt back down. Stop whisking once all of the sugar has melted, and swirl the pan occasionally while the sugar cooks.
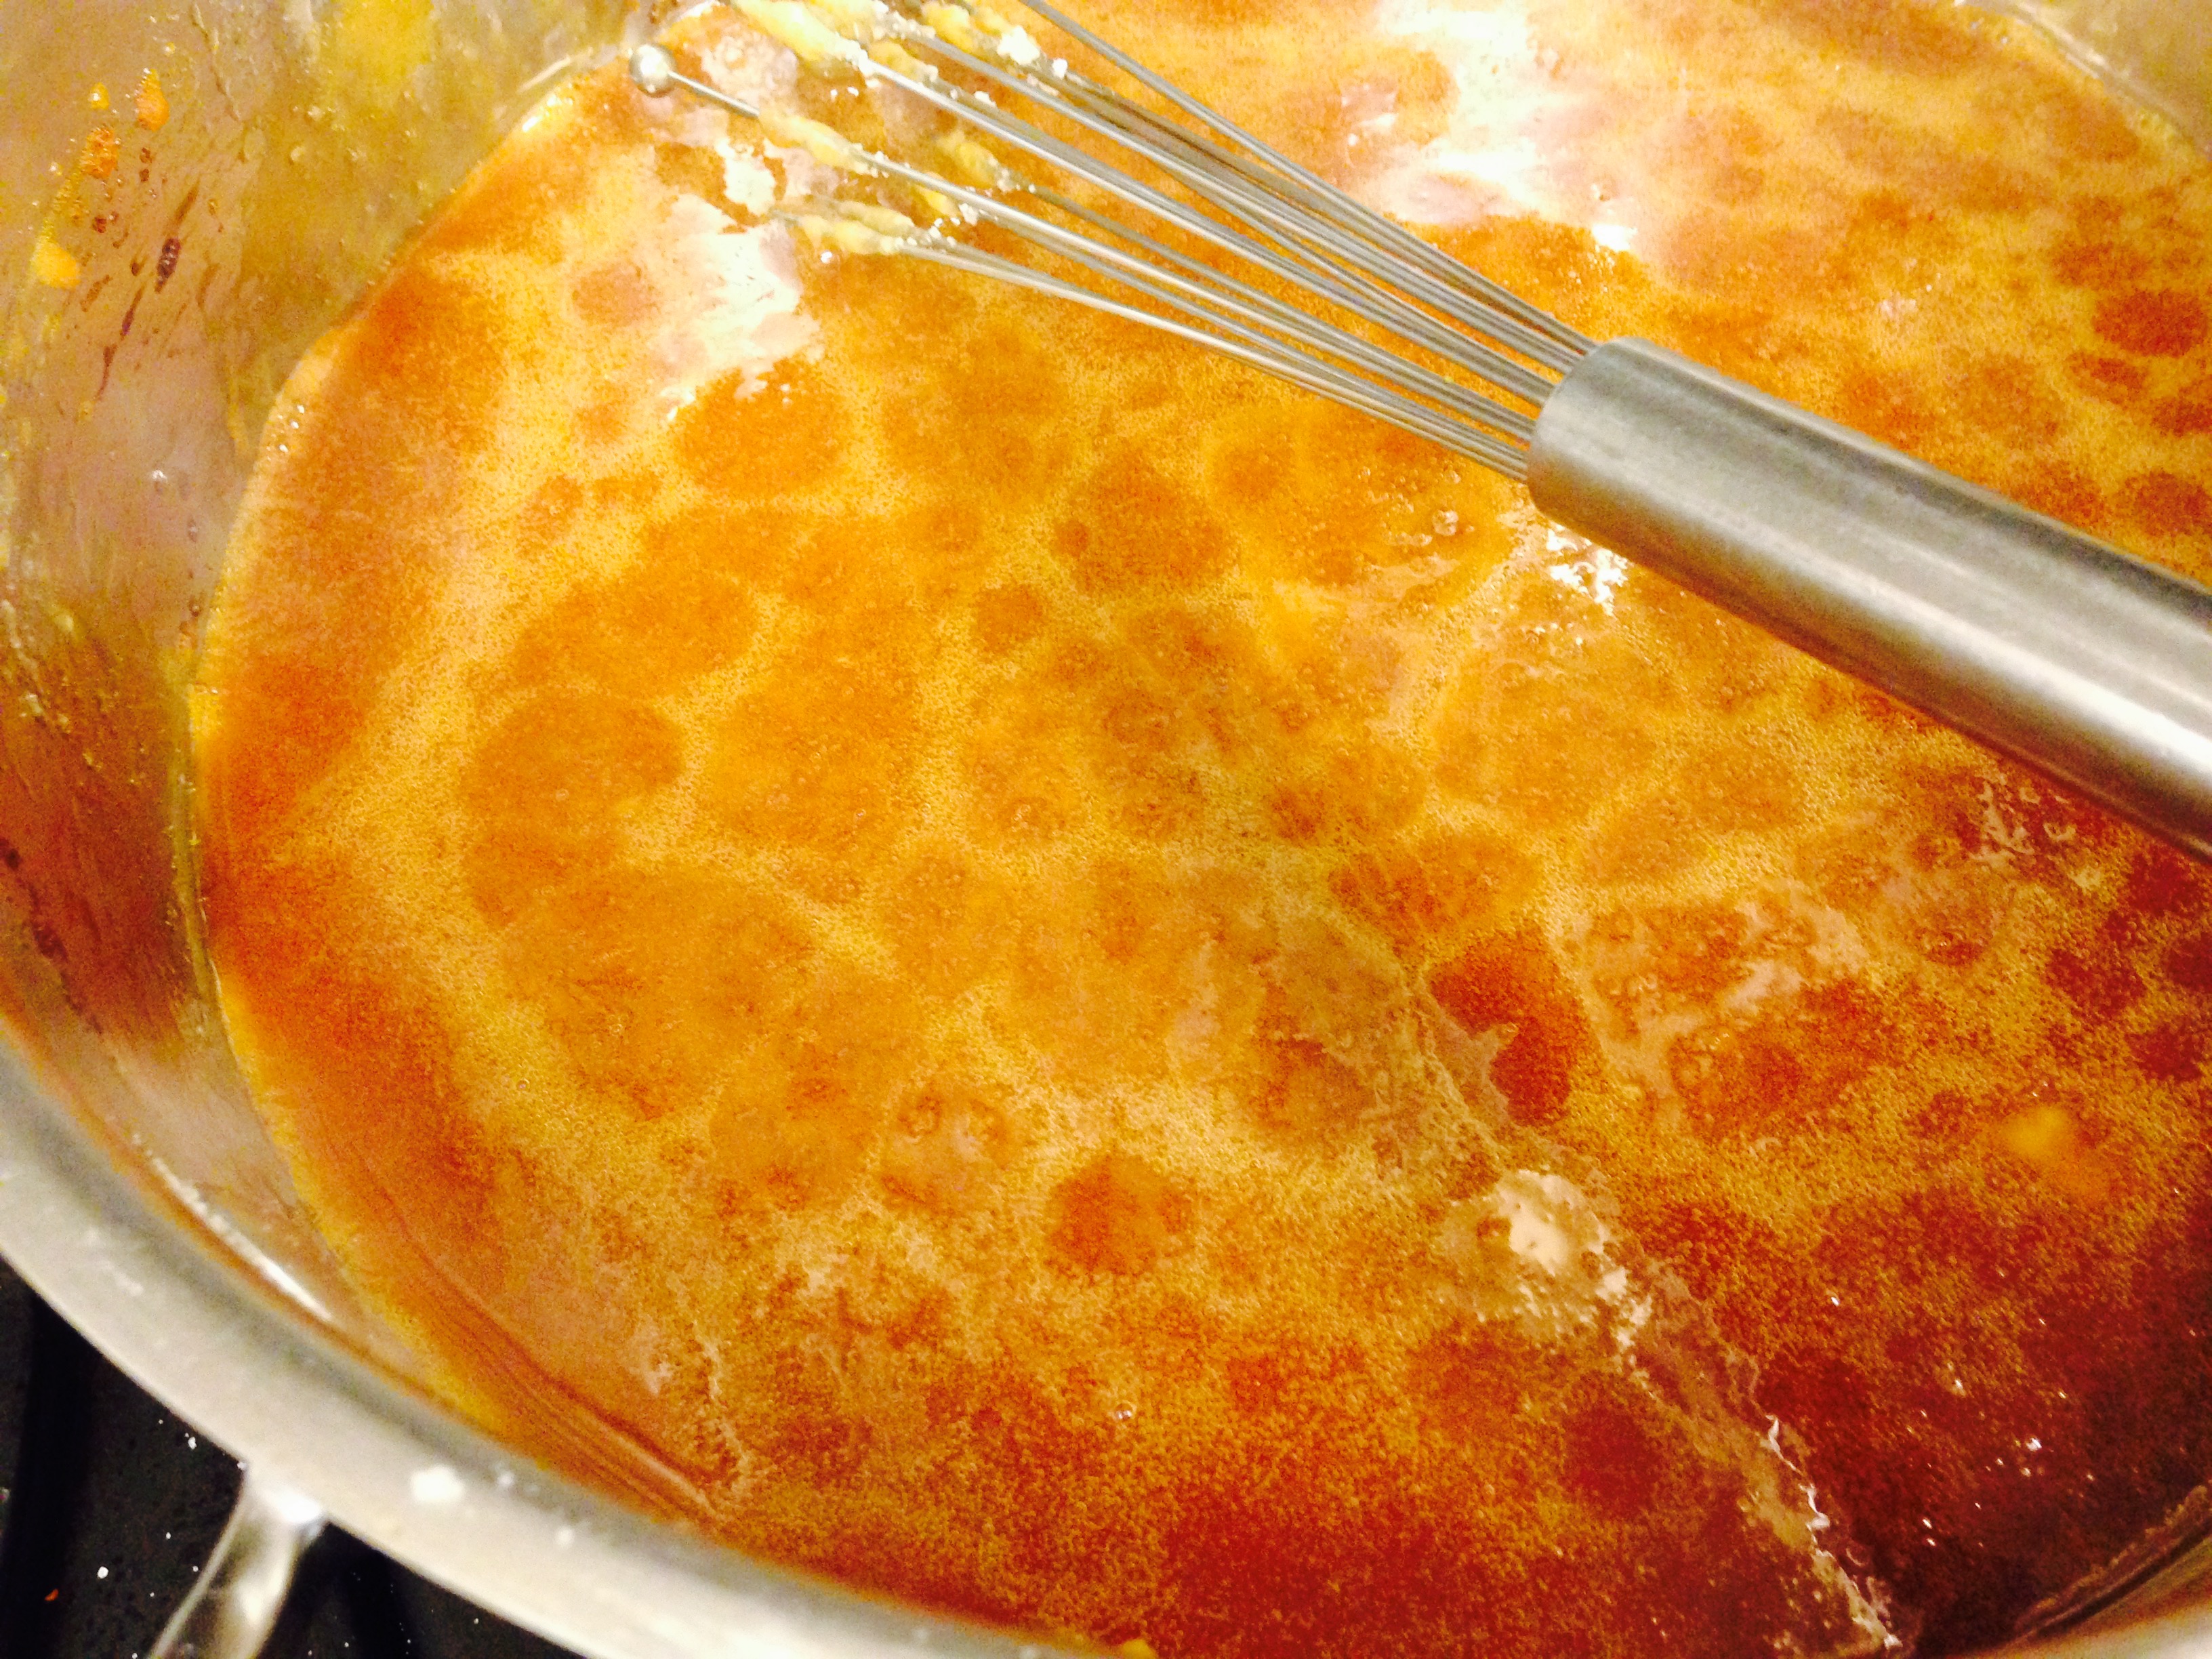
- Continue cooking until the sugar has reached a deep amber color. It should look almost a reddish-brown, and have a slight toasted aroma. This is the point where caramel can go from perfect to burnt in a matter of seconds, so keep a close eye. If you are using an instant-read thermometer, it will be around 350 degrees F. Watch this step very carefully!
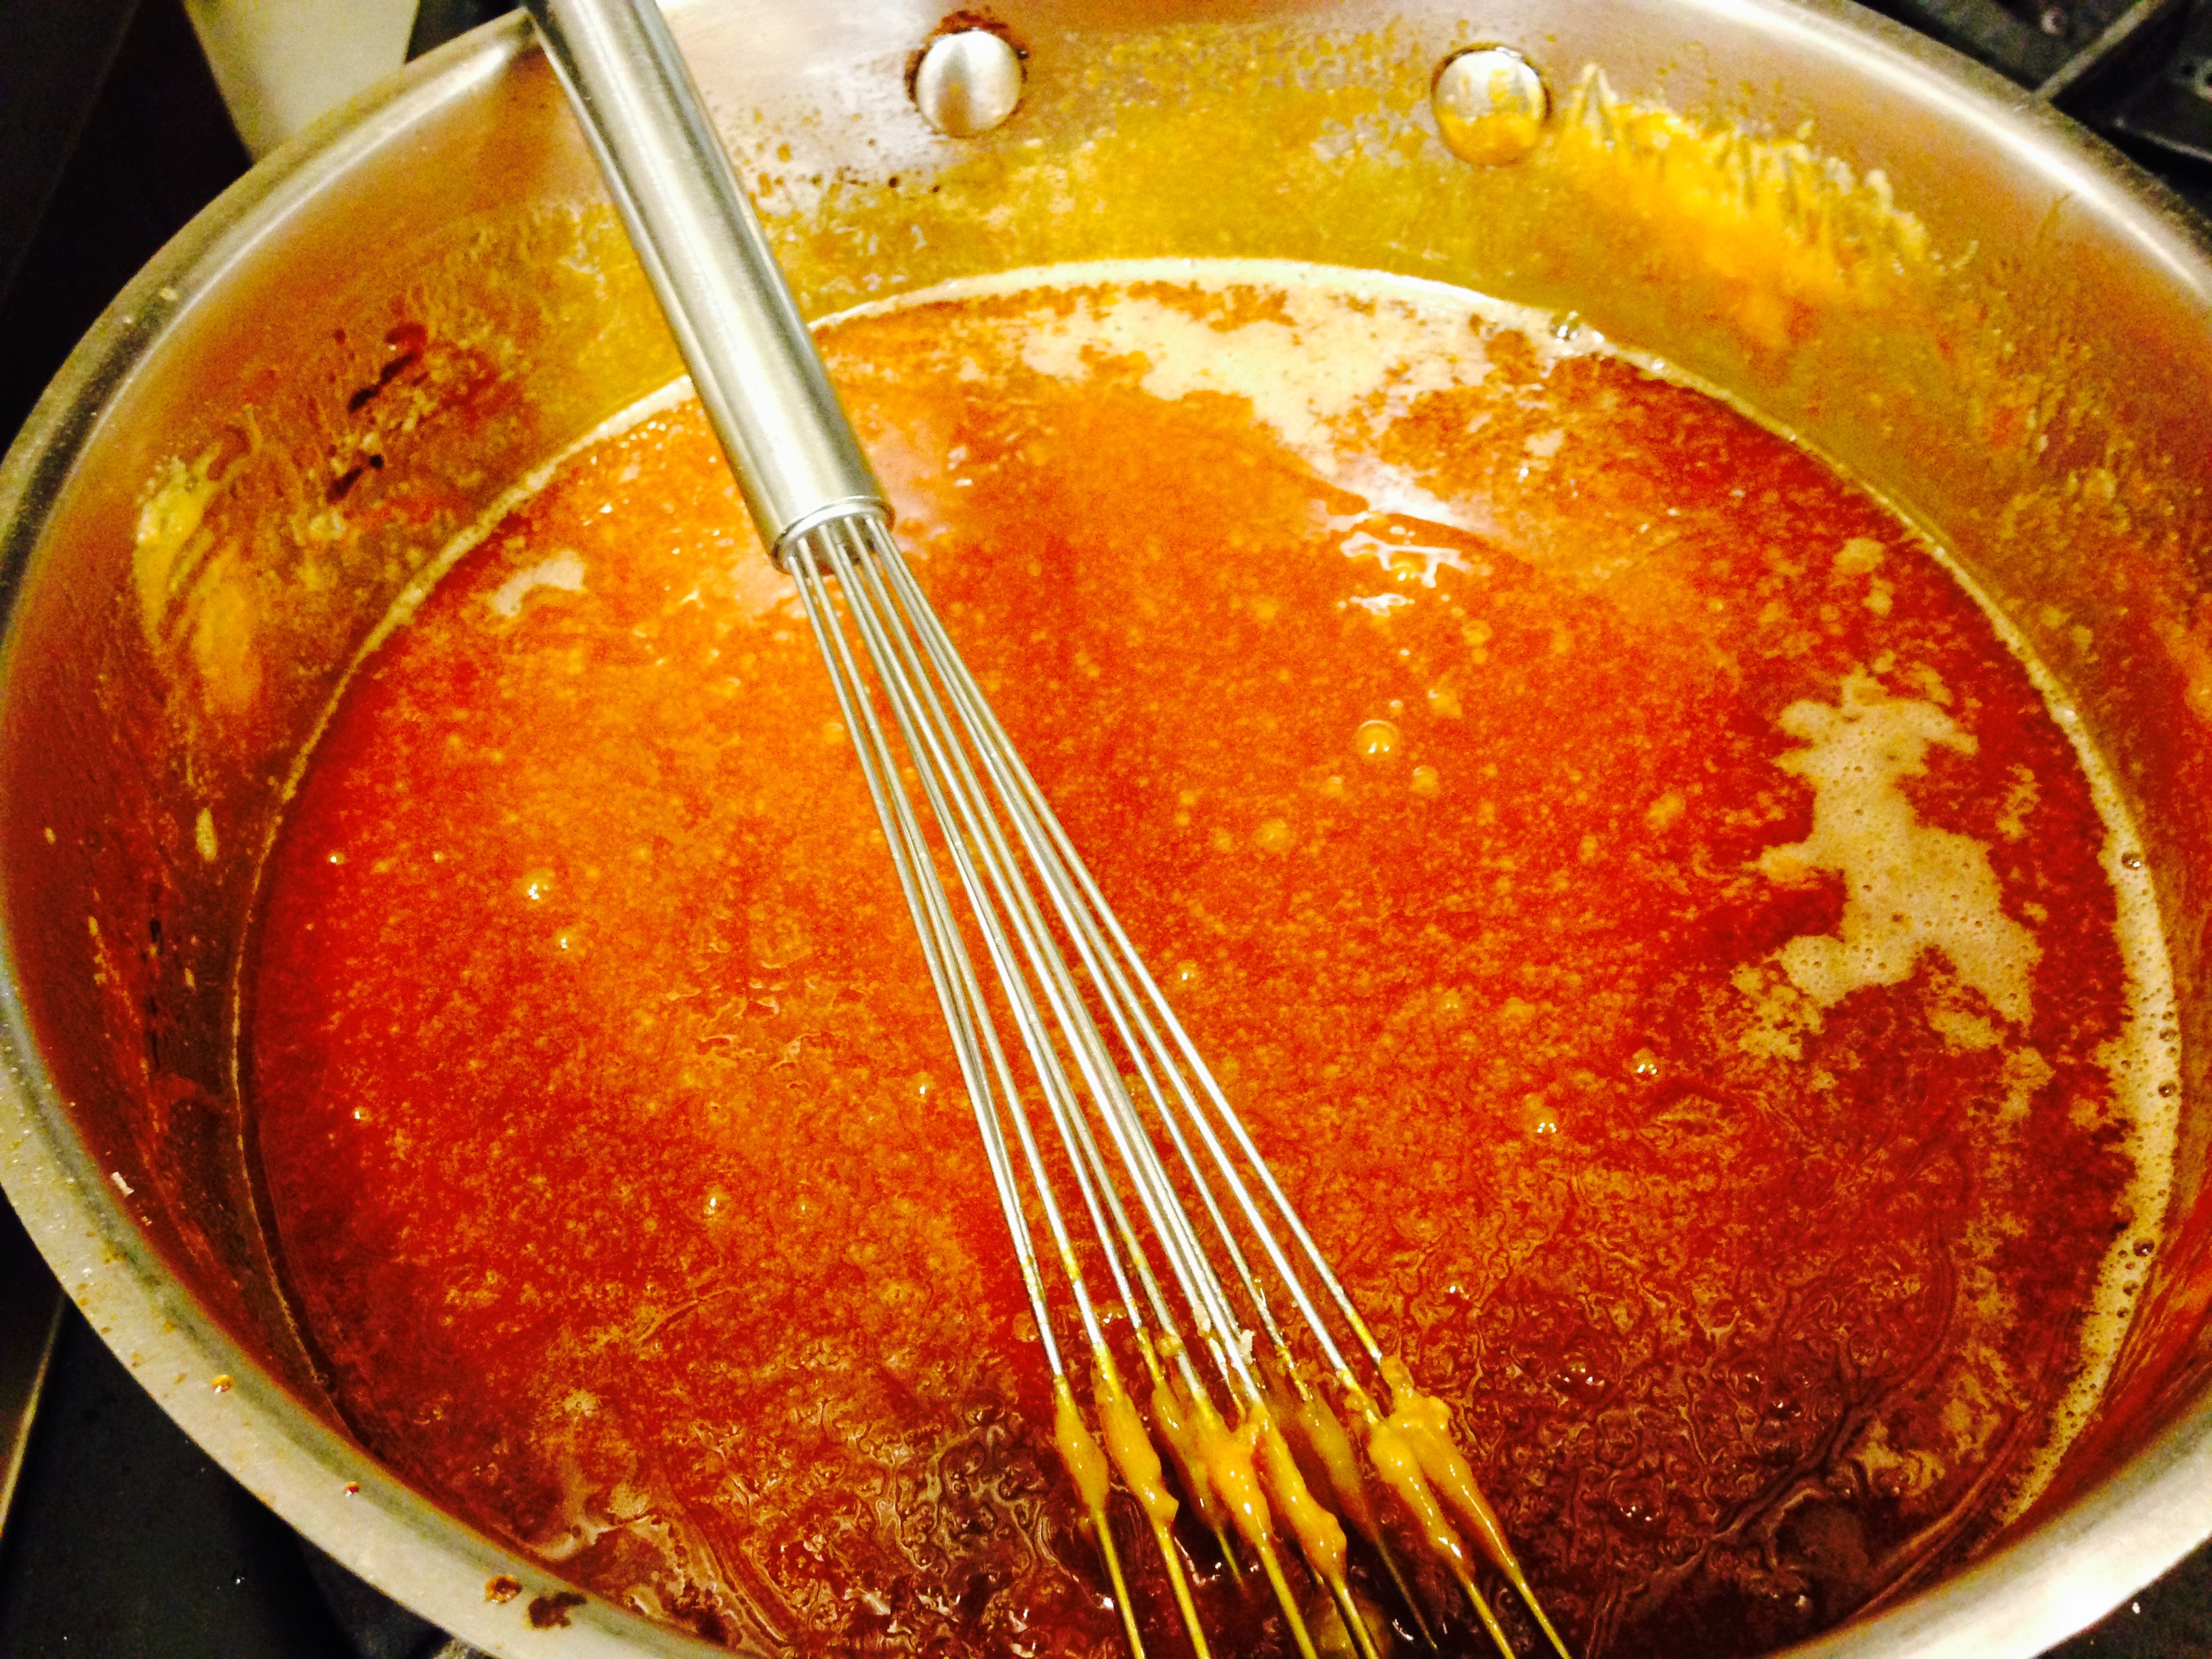
- Remove the caramel from the heat and add the butter all at once. Be careful, as the caramel will bubble up when the butter is added. Whisk the butter into the caramel until it is completely melted.
- Slowly pour the cream into the caramel. Again, be careful because the mixture will bubble up ferociously.
- Whisk until all of the cream has been incorporated and you have a smooth sauce. Add the fleur de sel or kosher salt and whisk to incorporate.
- Set the sauce aside to cool for 10 to 15 minutes and then pour into jars. The sauce can be refrigerated for up to 1 month.
- Serve crisp warm with a scoop of vanilla ice cream and salted caramel sauce.