As cooks in Bethany Guest House, we love to spend time whenever possible, coming up with new creative recipes. We’re also finding that more and more of our guests are trying to eat healthier or have dietary restrictions. This adds to the challenge but also to the fun. Sometimes we work with inspiring gourmet type recipes– and often we find that some of the time honored meals of past years can also be very satisfying and delicious.
Today, I was preparing a light lunch for one of our guests who is a vegetarian. After a little hunting around for something new and different– I thought — ”Wait! What about a Mushroom and Spinach Quiche?” It was a big hit!
Print Recipe
Votes: 0
Rating: 0
You:
Rate this recipe!
Vegetarian Spinach and Mushroom Quiche
SERVINGS2servings
|
COOK TIME40mins |
PREP TIME15mins |
READY IN55mins |
Ingredients
Instructions
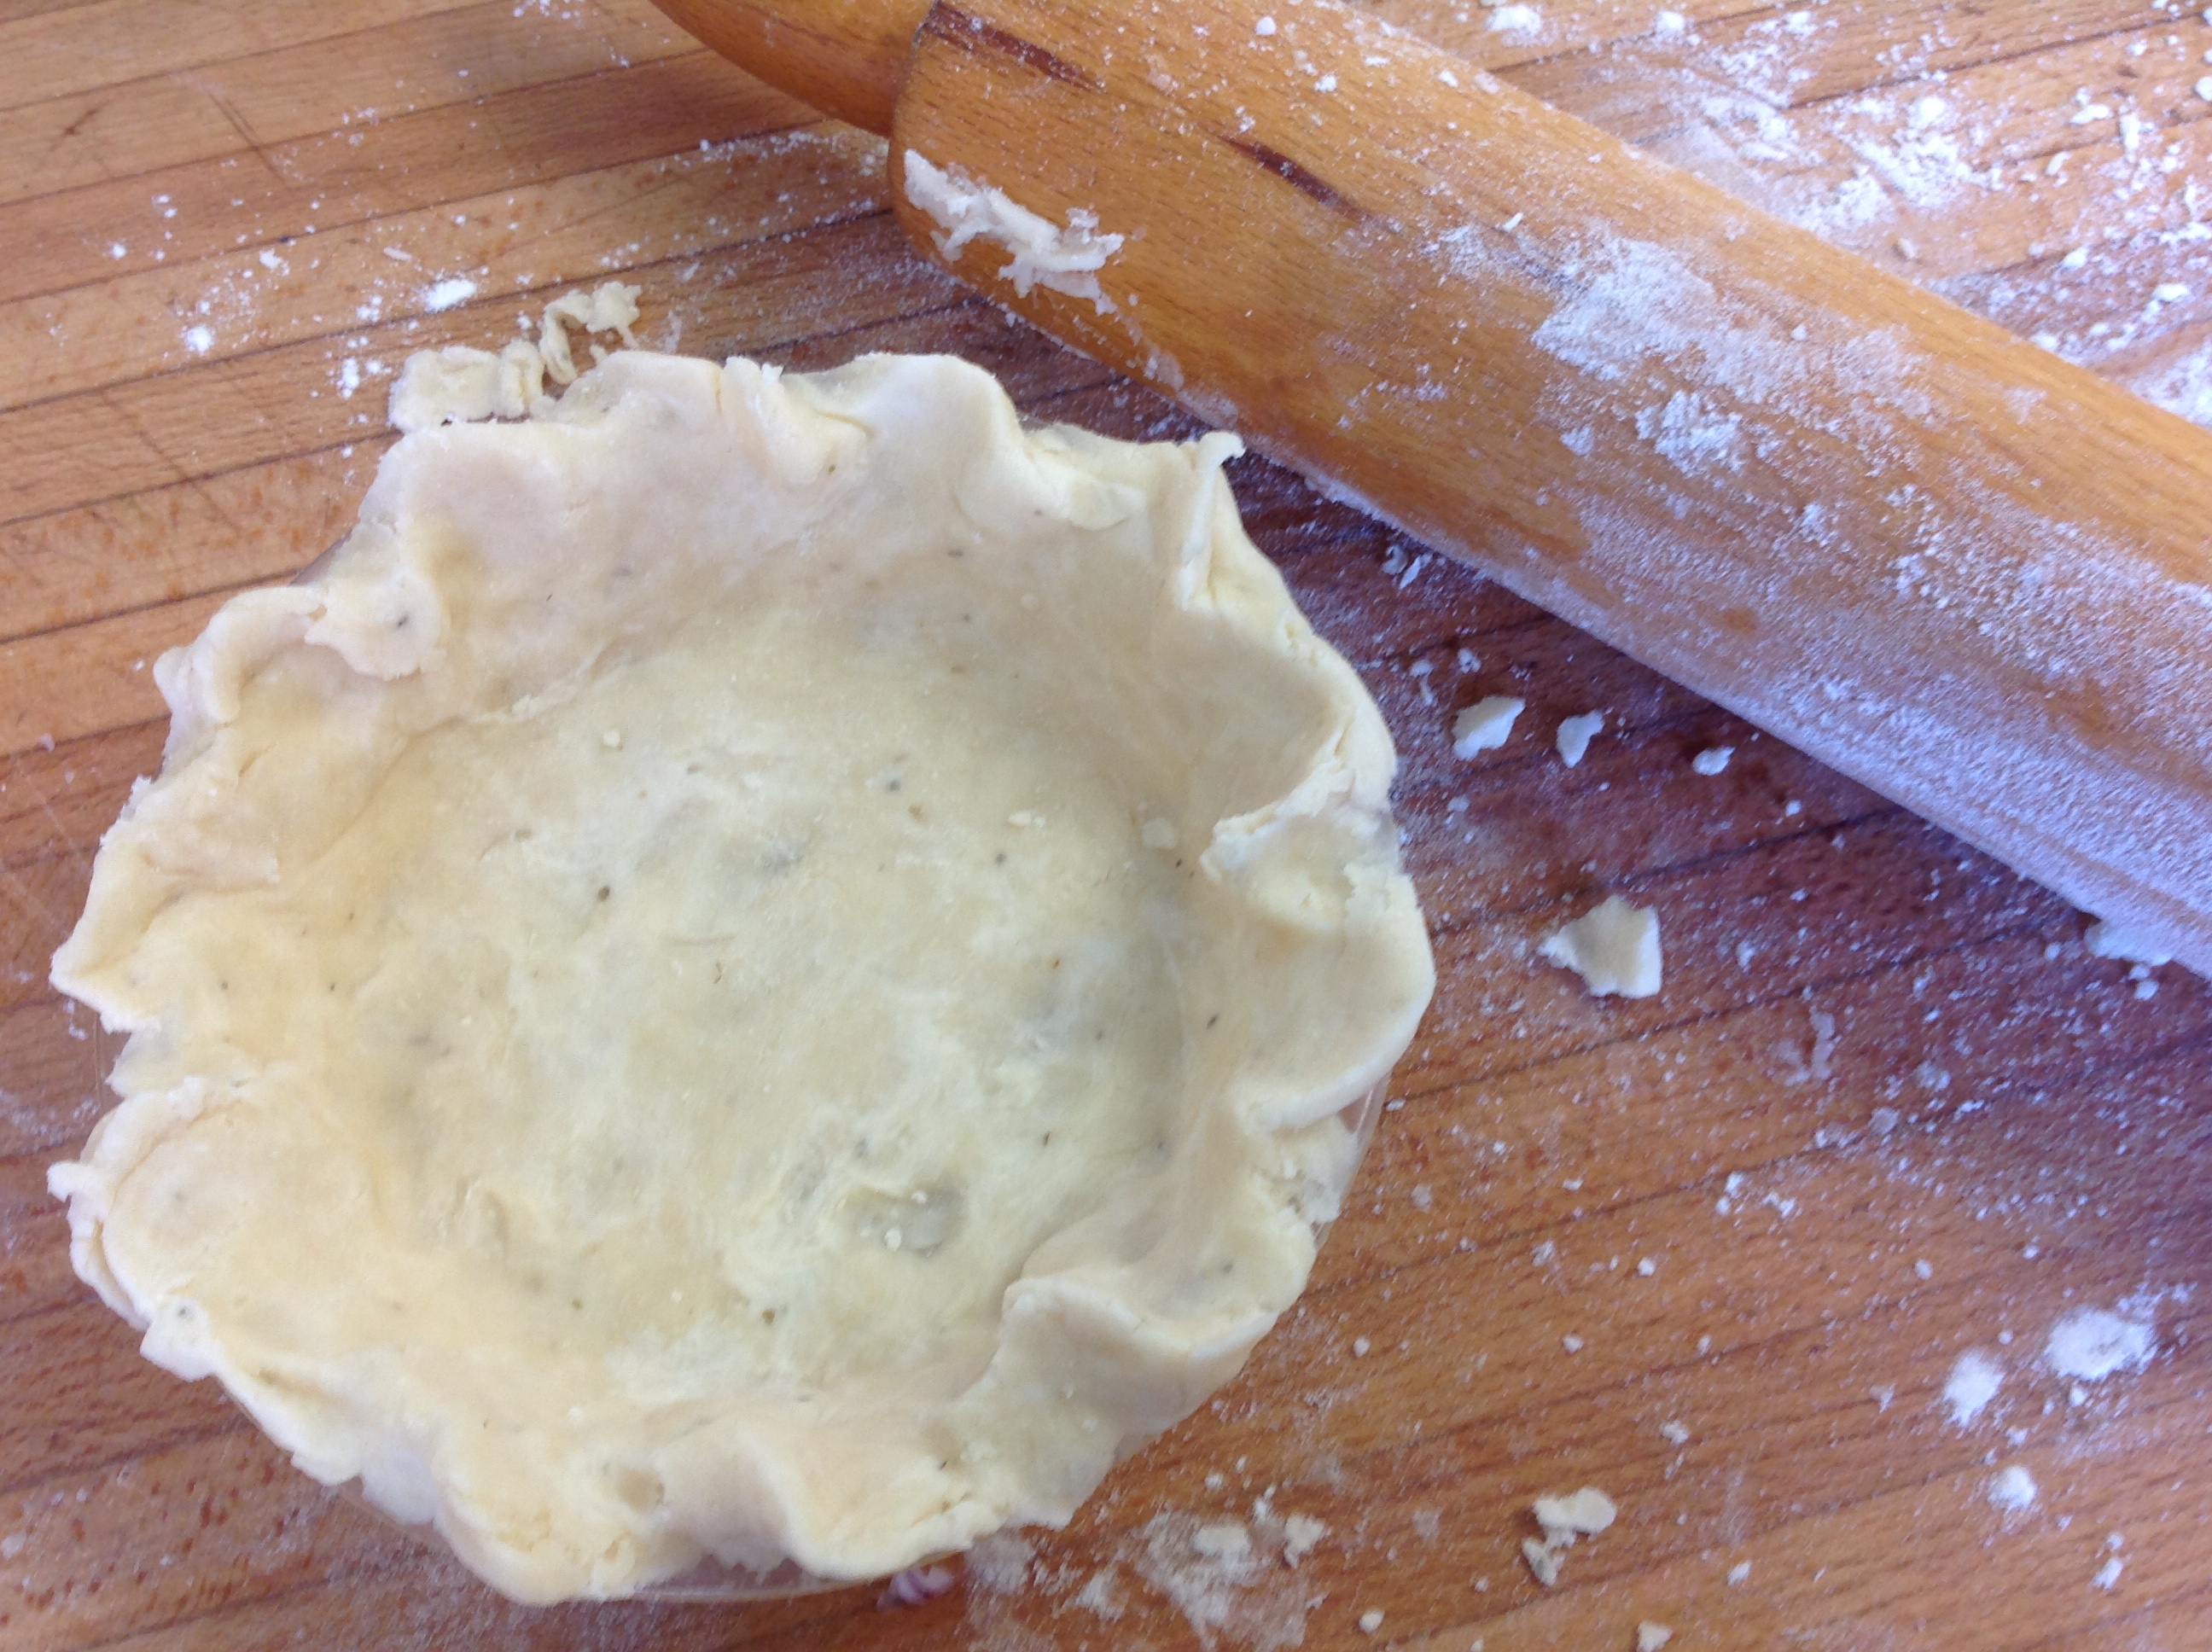
Pie Crust
- Cut the Crisco into the flour mixture until it is small and crumbly.
- Sprinkle the water in, lightly tossing / mixing it into the flour mixture. Toss in enough water, just until the mixture starts to hold together—no more water than what is necessary.
- Take 1/3 of the mixture, form into a ball, and gently roll out, lining a 6” pyrex pie plate (or the entire mixture for a 9” pie plate)
Quiche
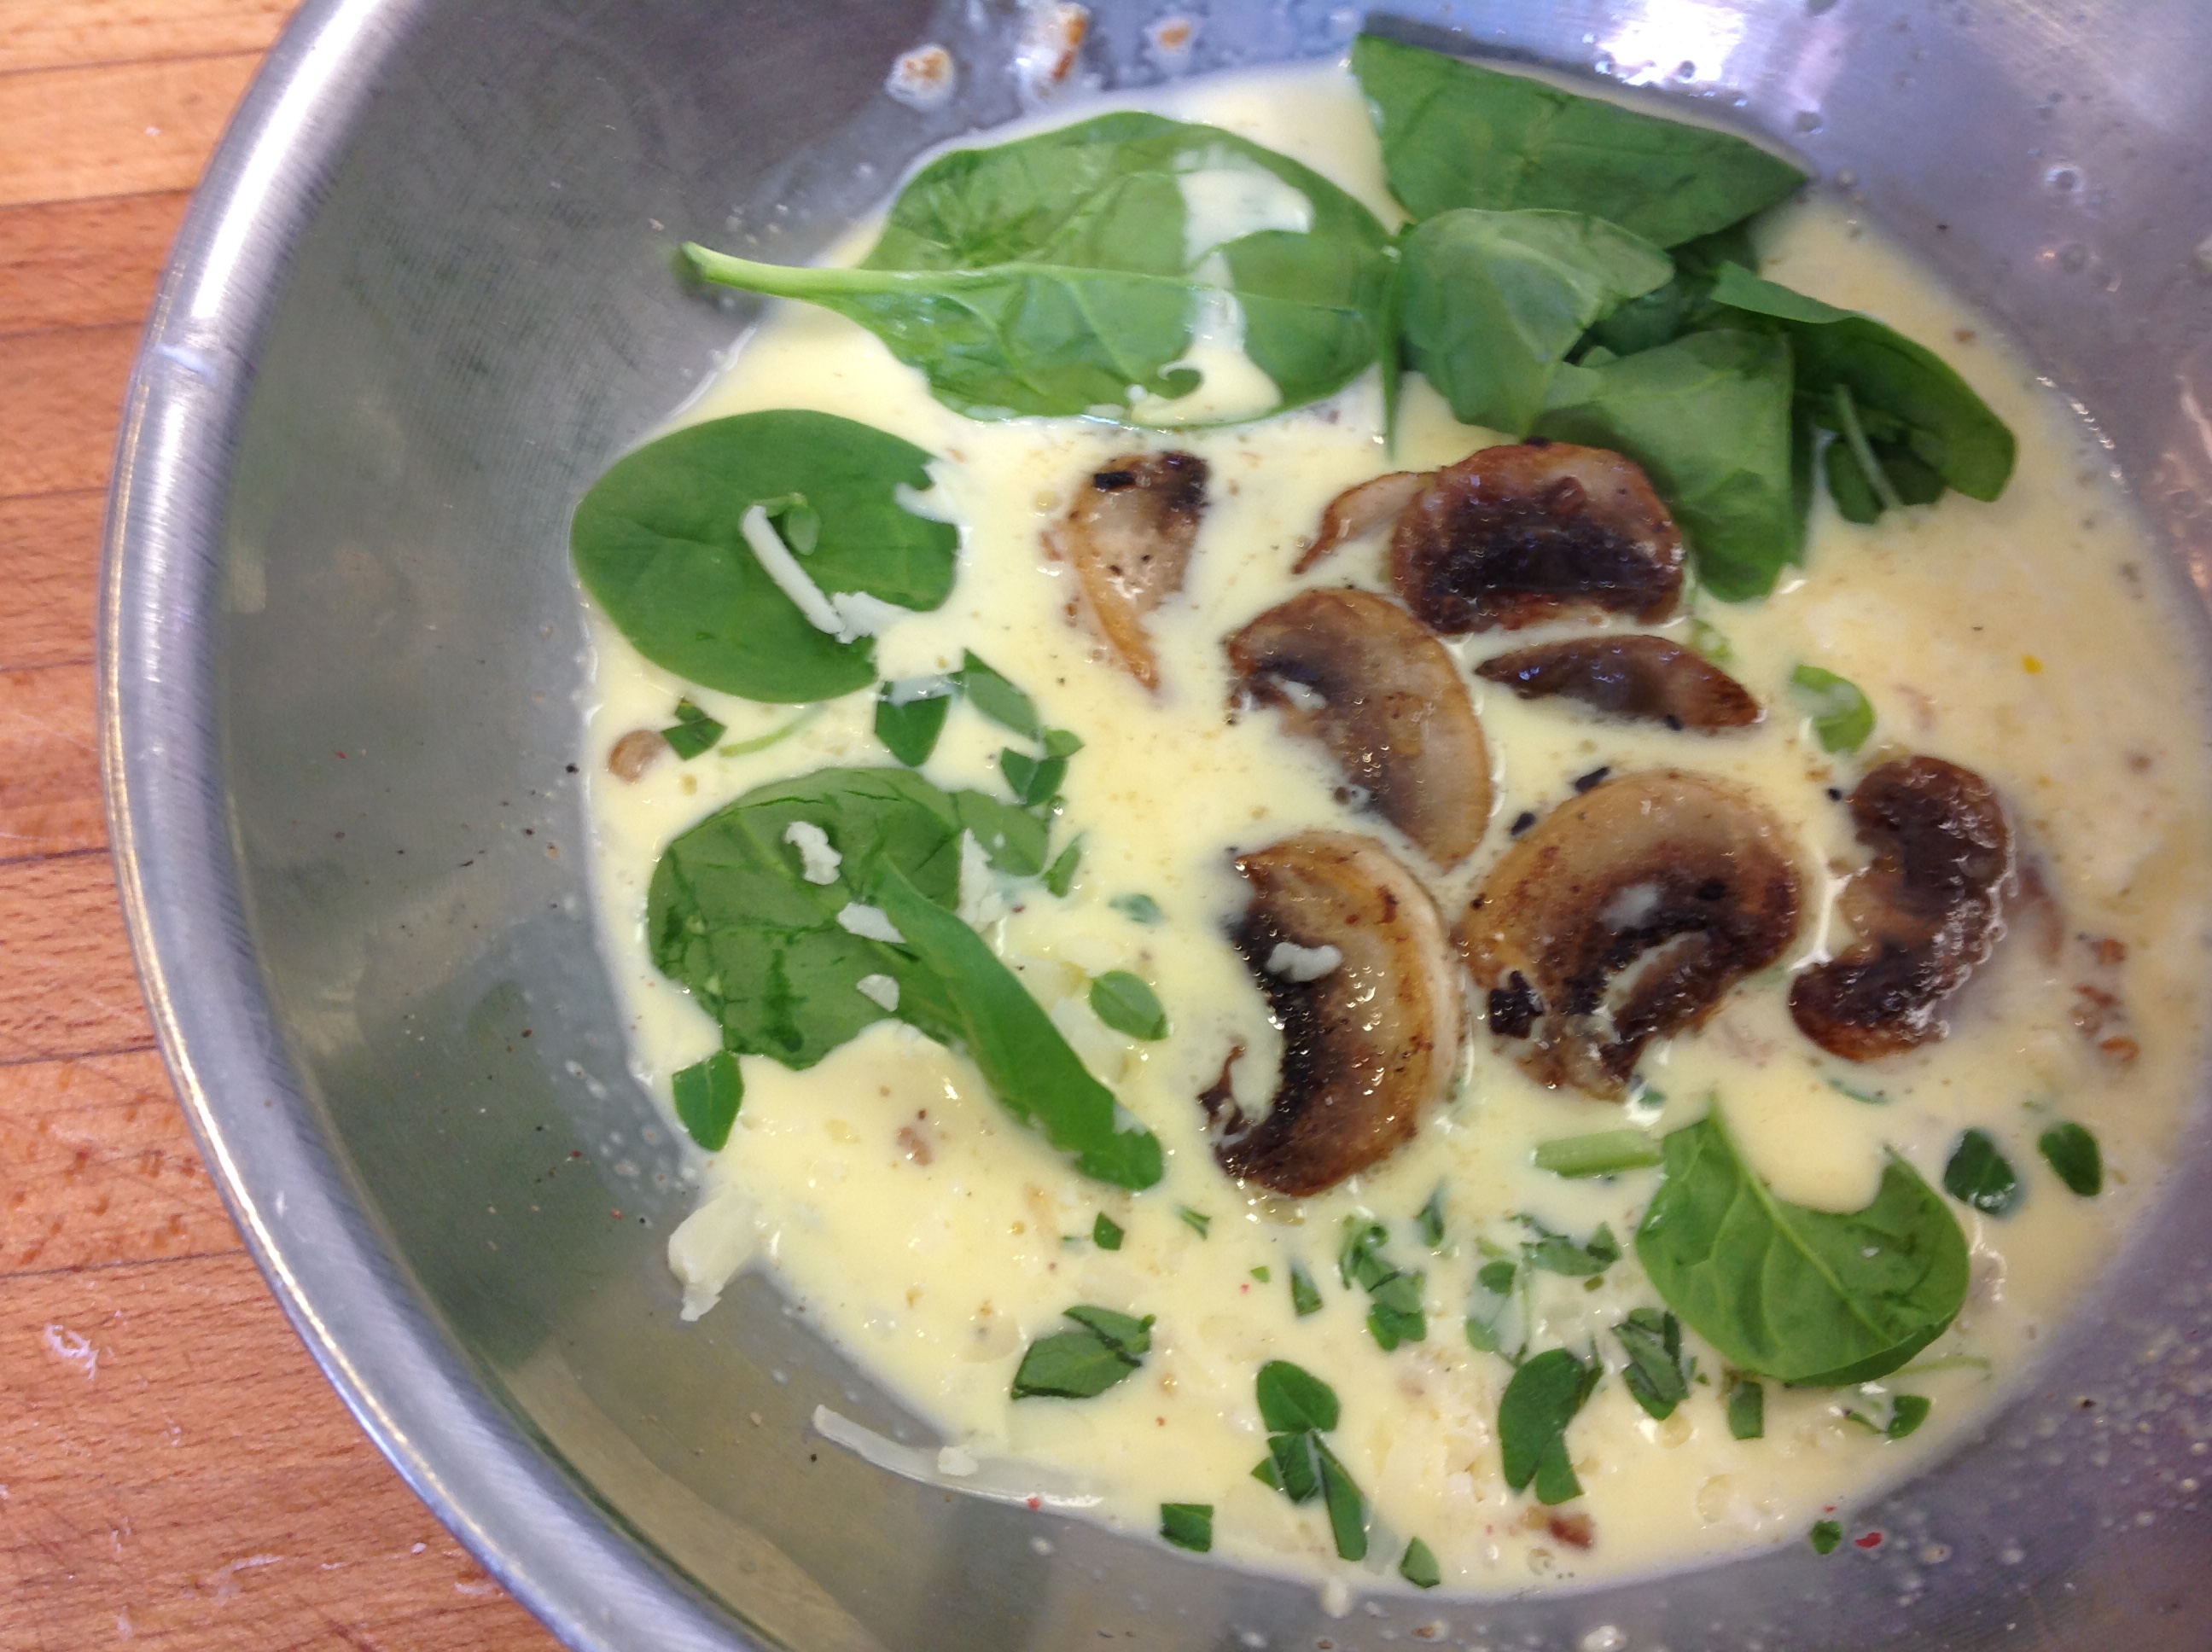
- Lightly sauté onion until soft, then brown the sliced mushrooms. Set aside.
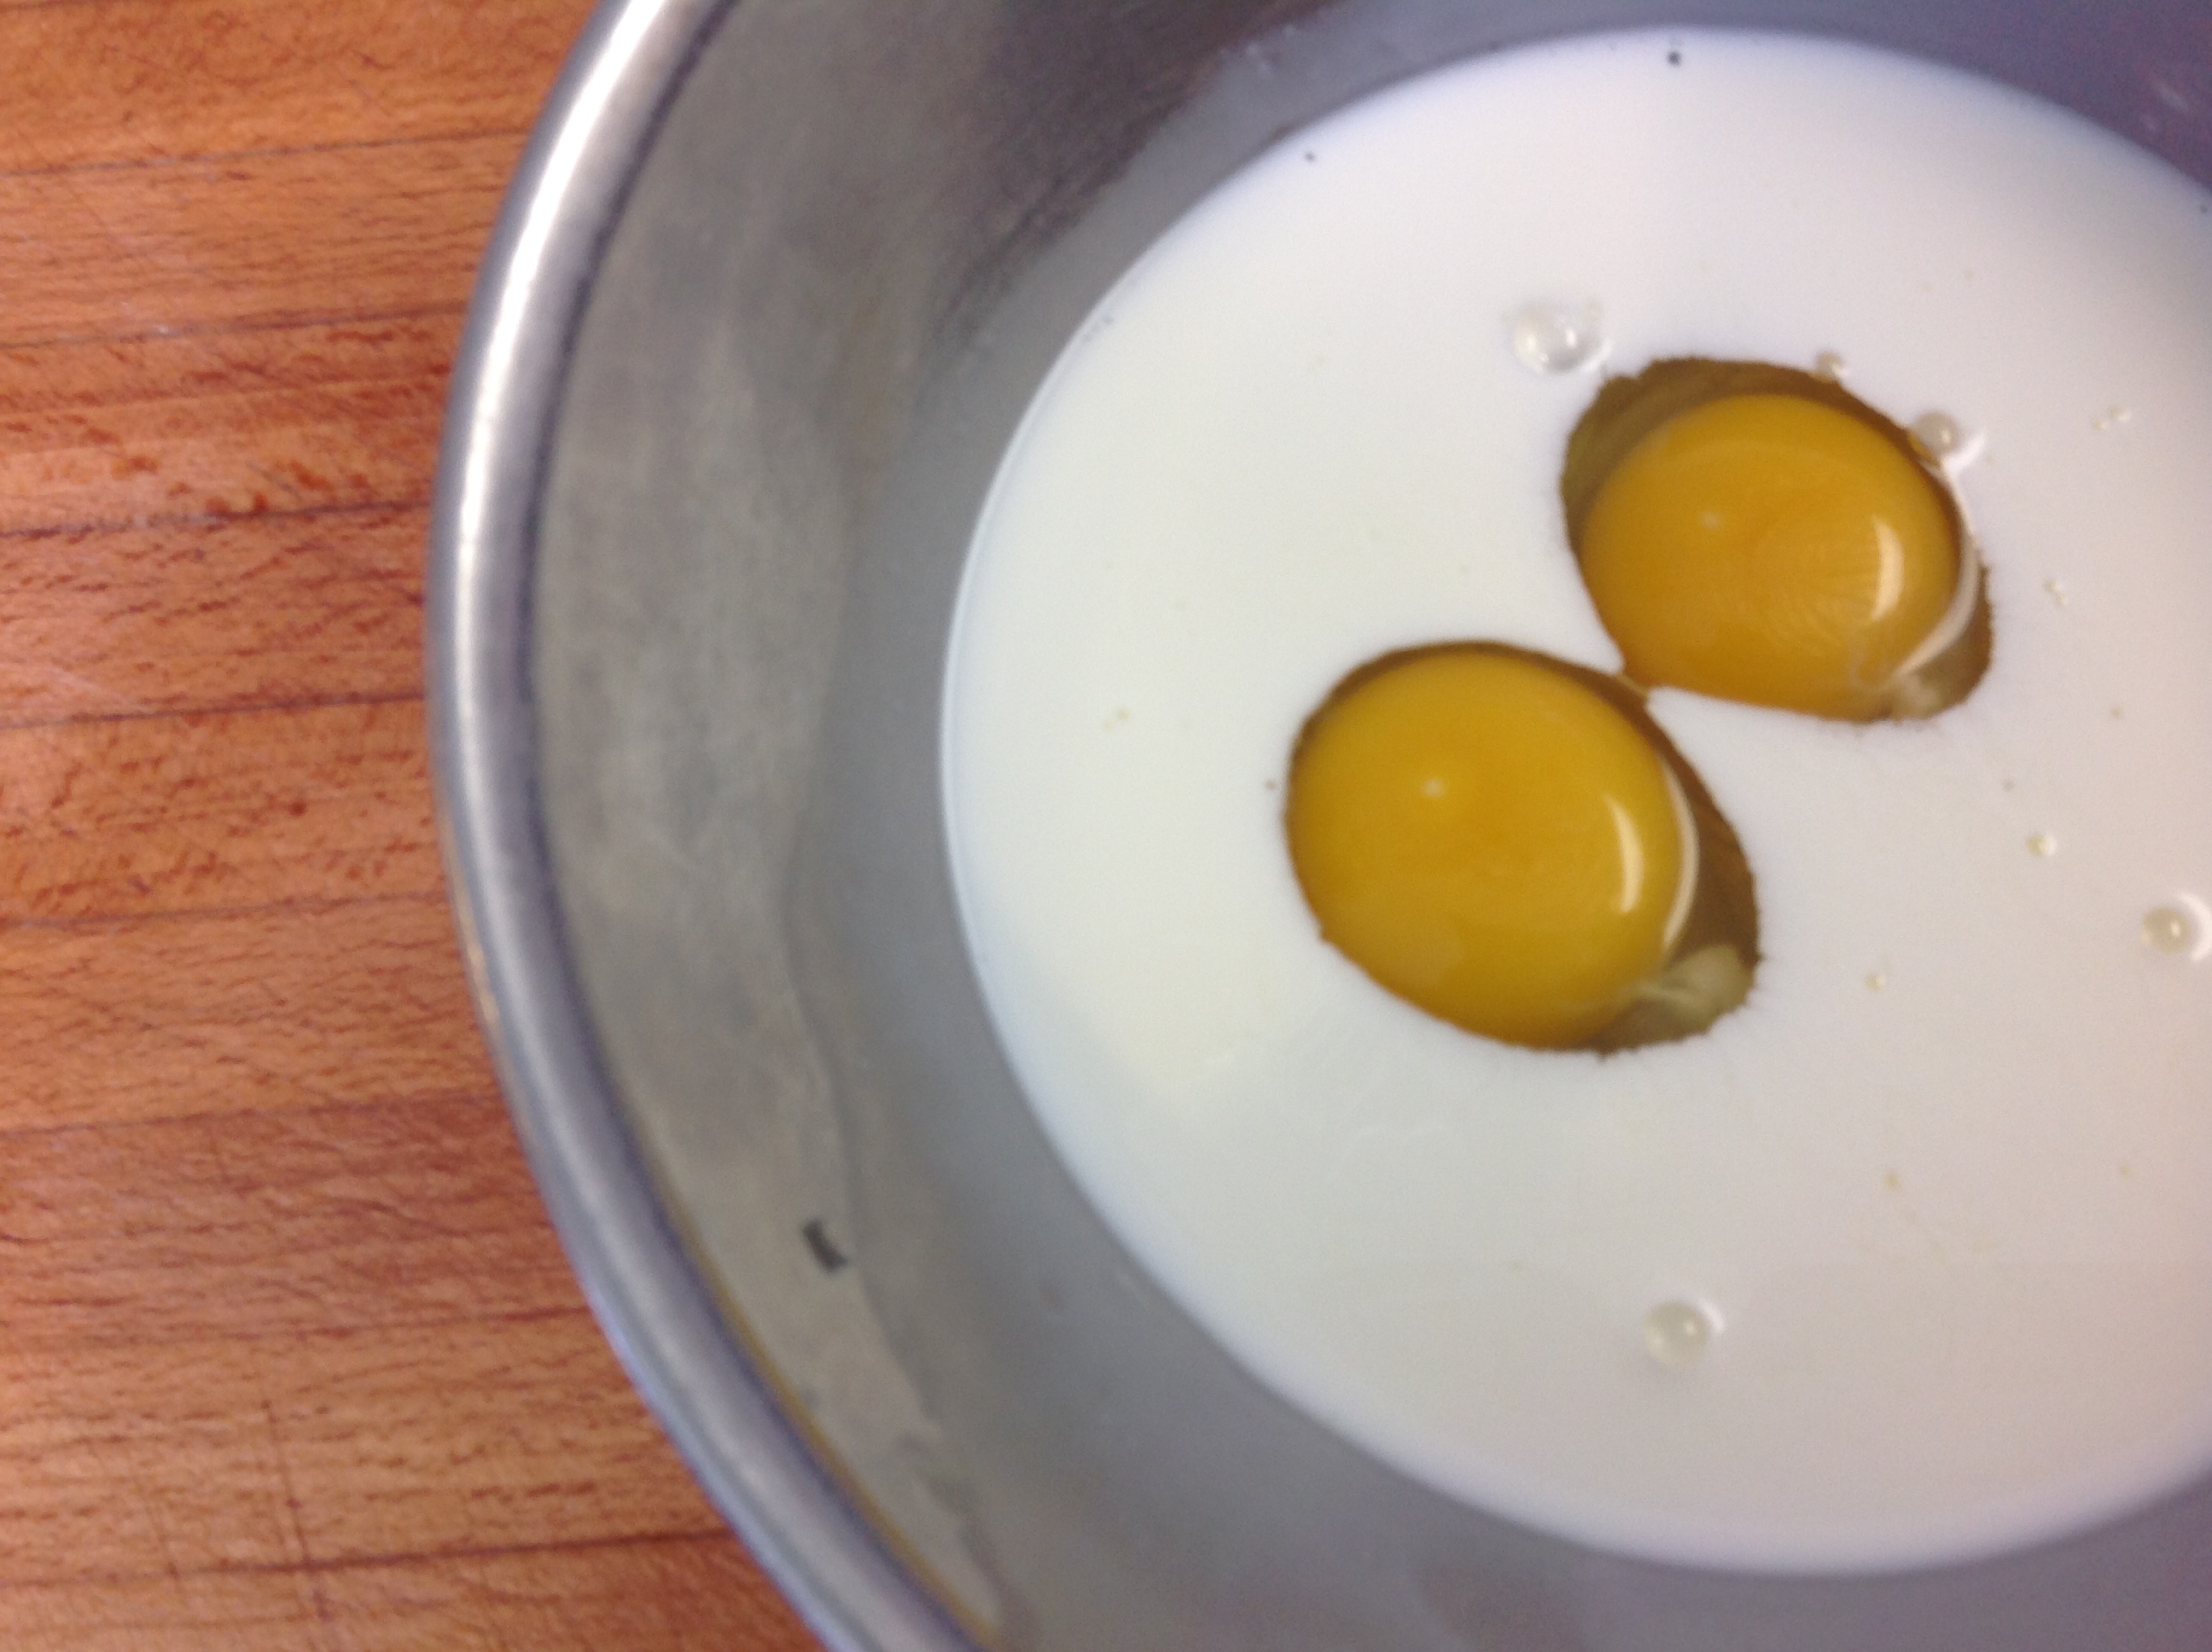
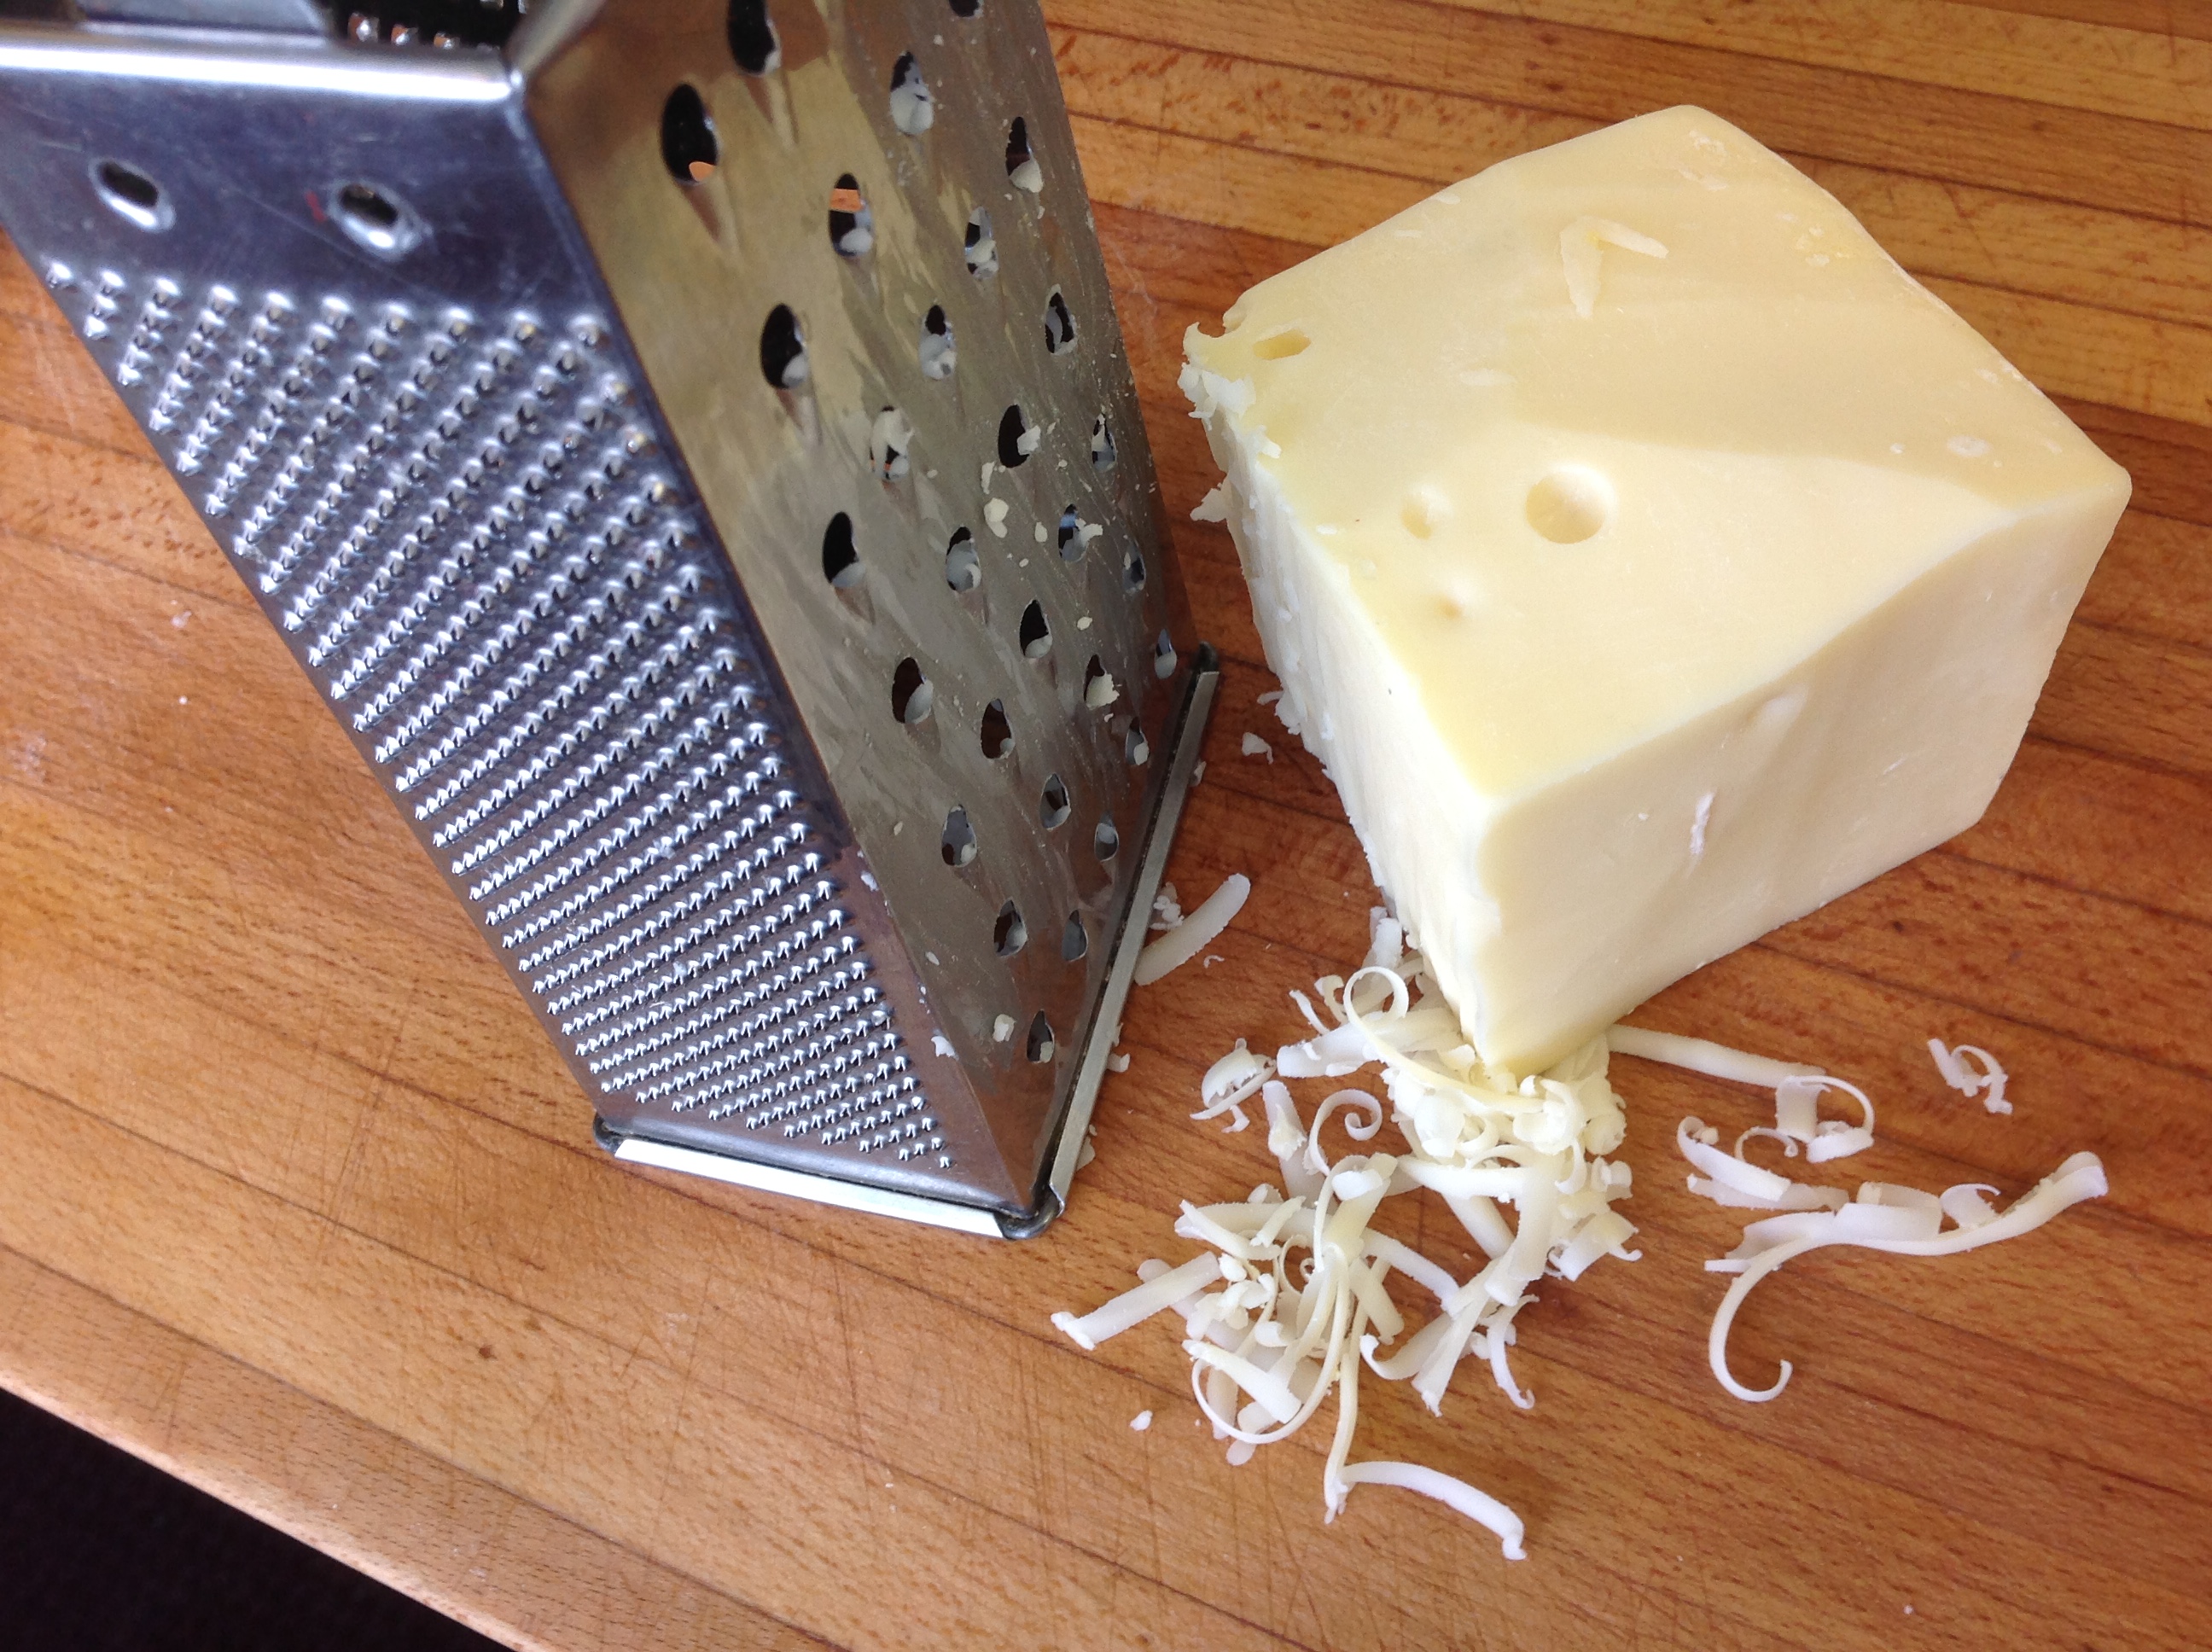
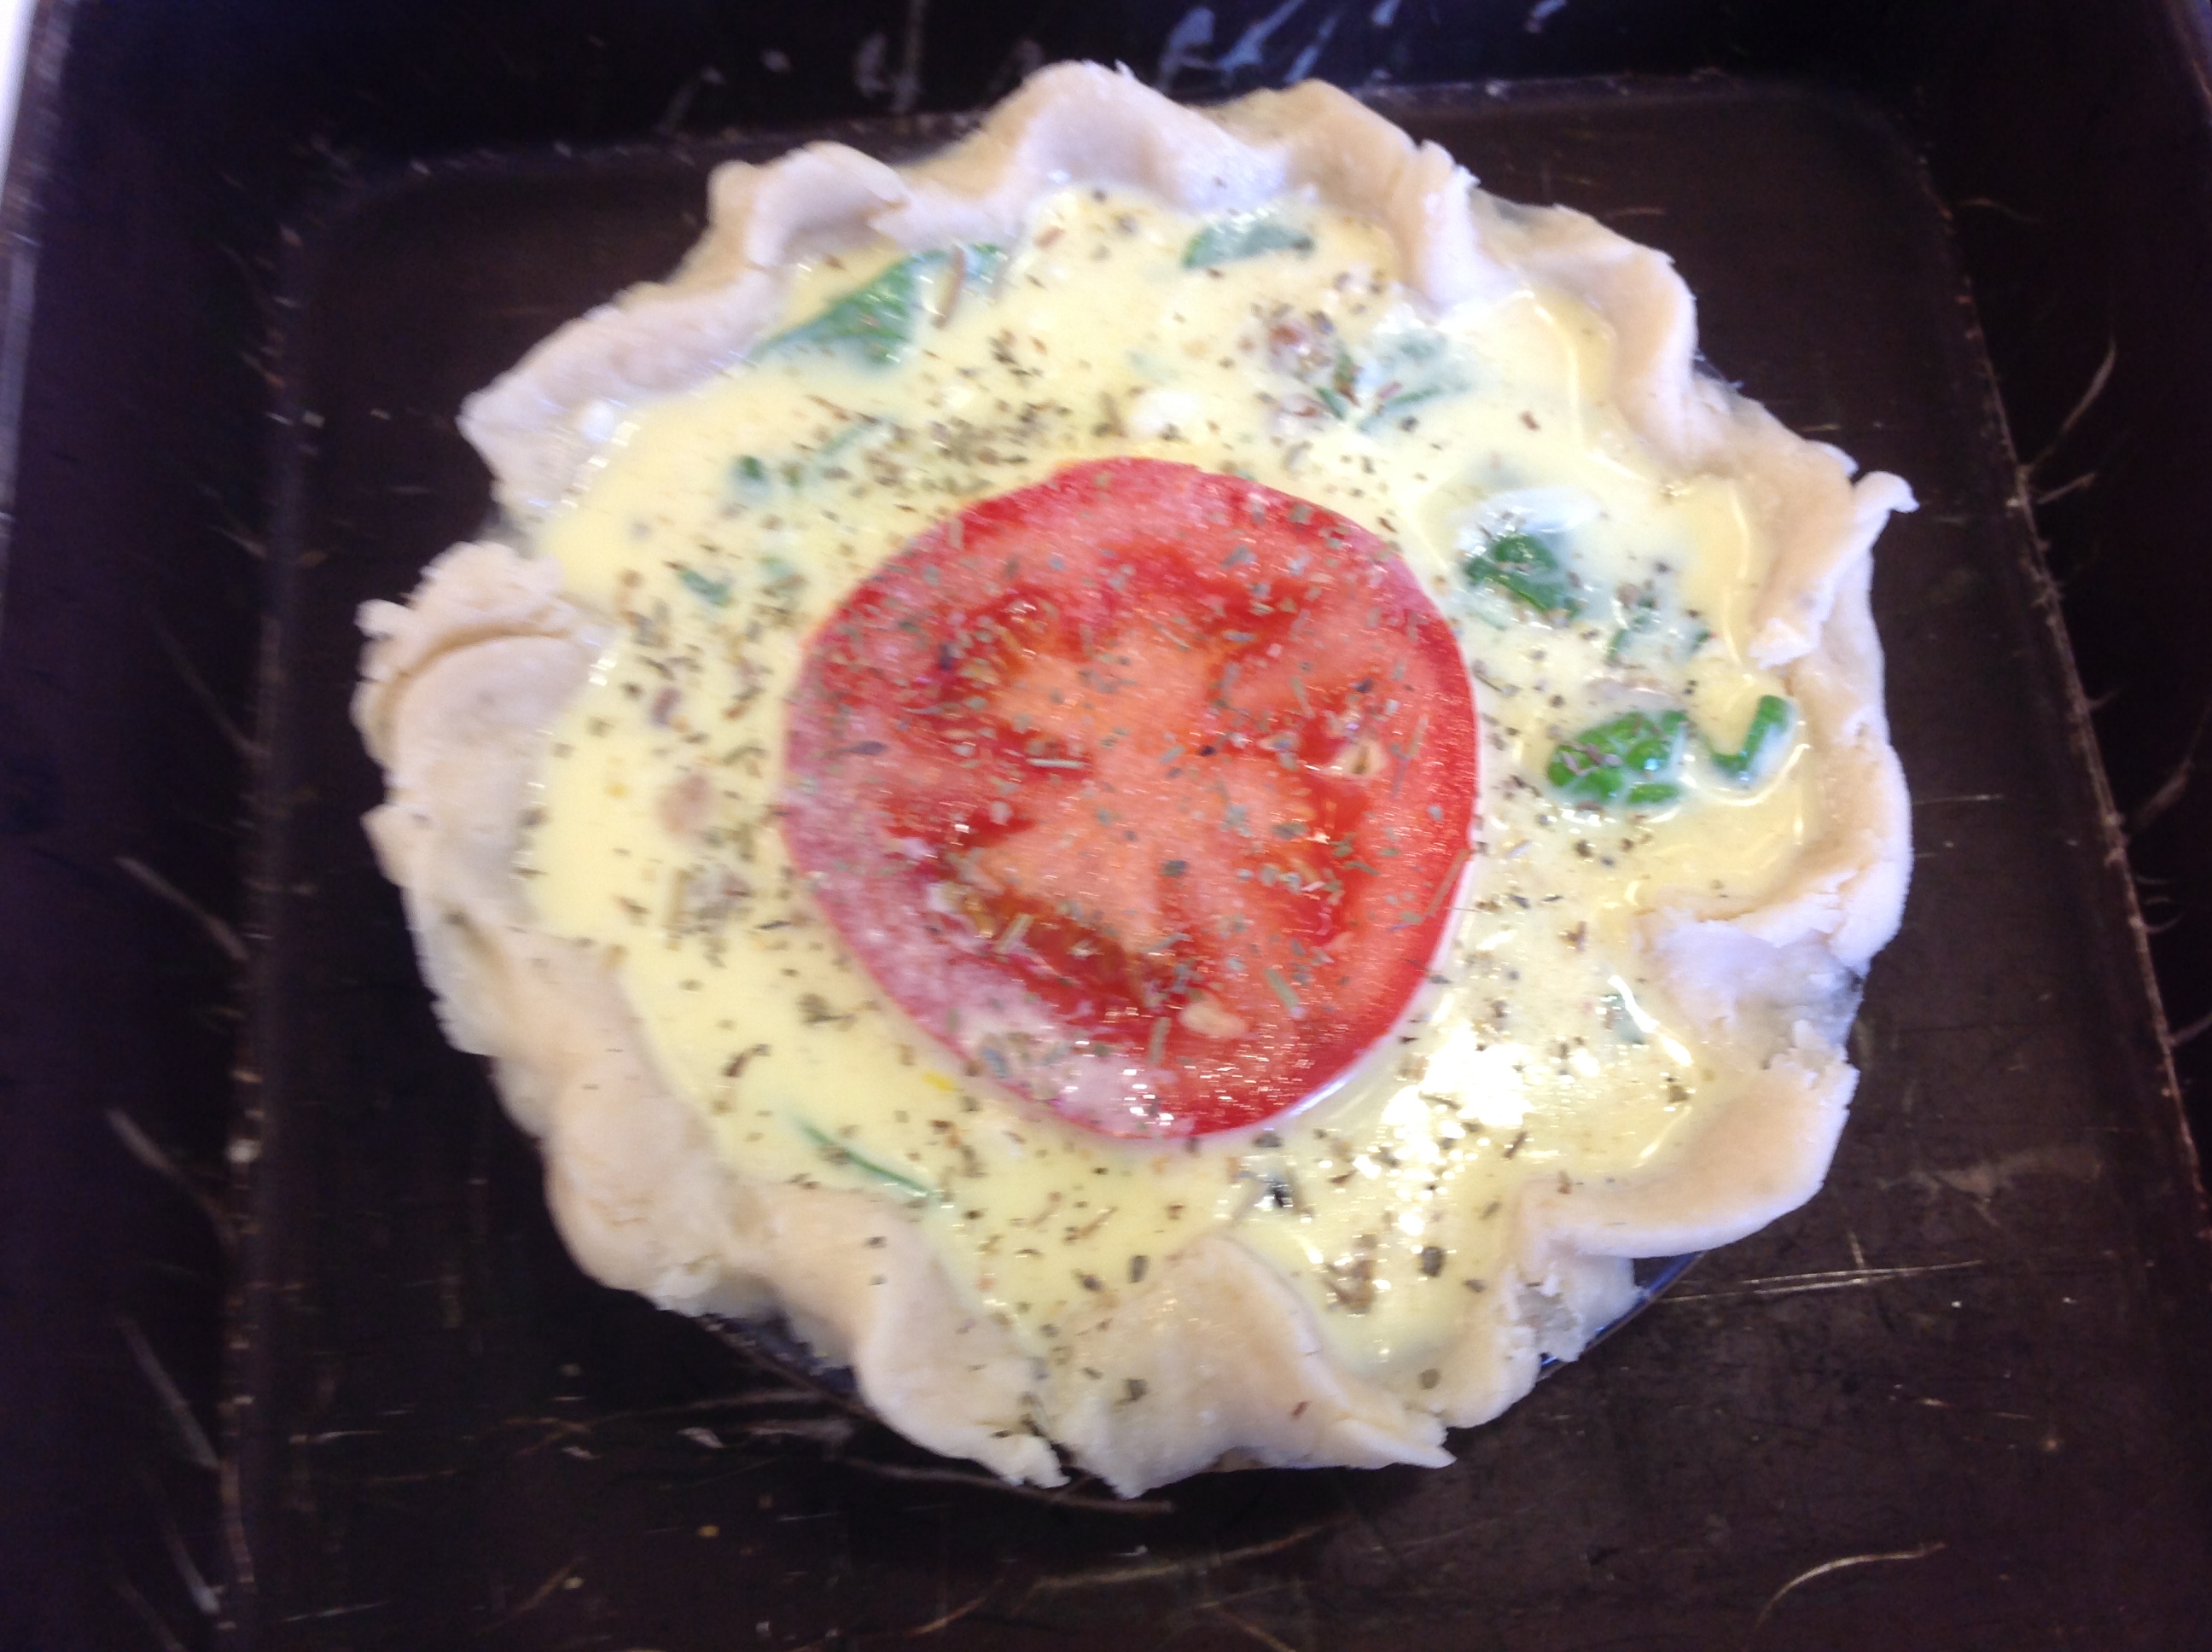
- Whisk the eggs with cream, salt and seasonings. Add the grated cheese, mushrooms and spinach. Gently mix, pour into pie shell and lay tomato slice on top.
- Bake at 350 for about 40 minutes; when checking for doneness, it should be firm when jiggled a little and a dinner knife should come clean when tested.
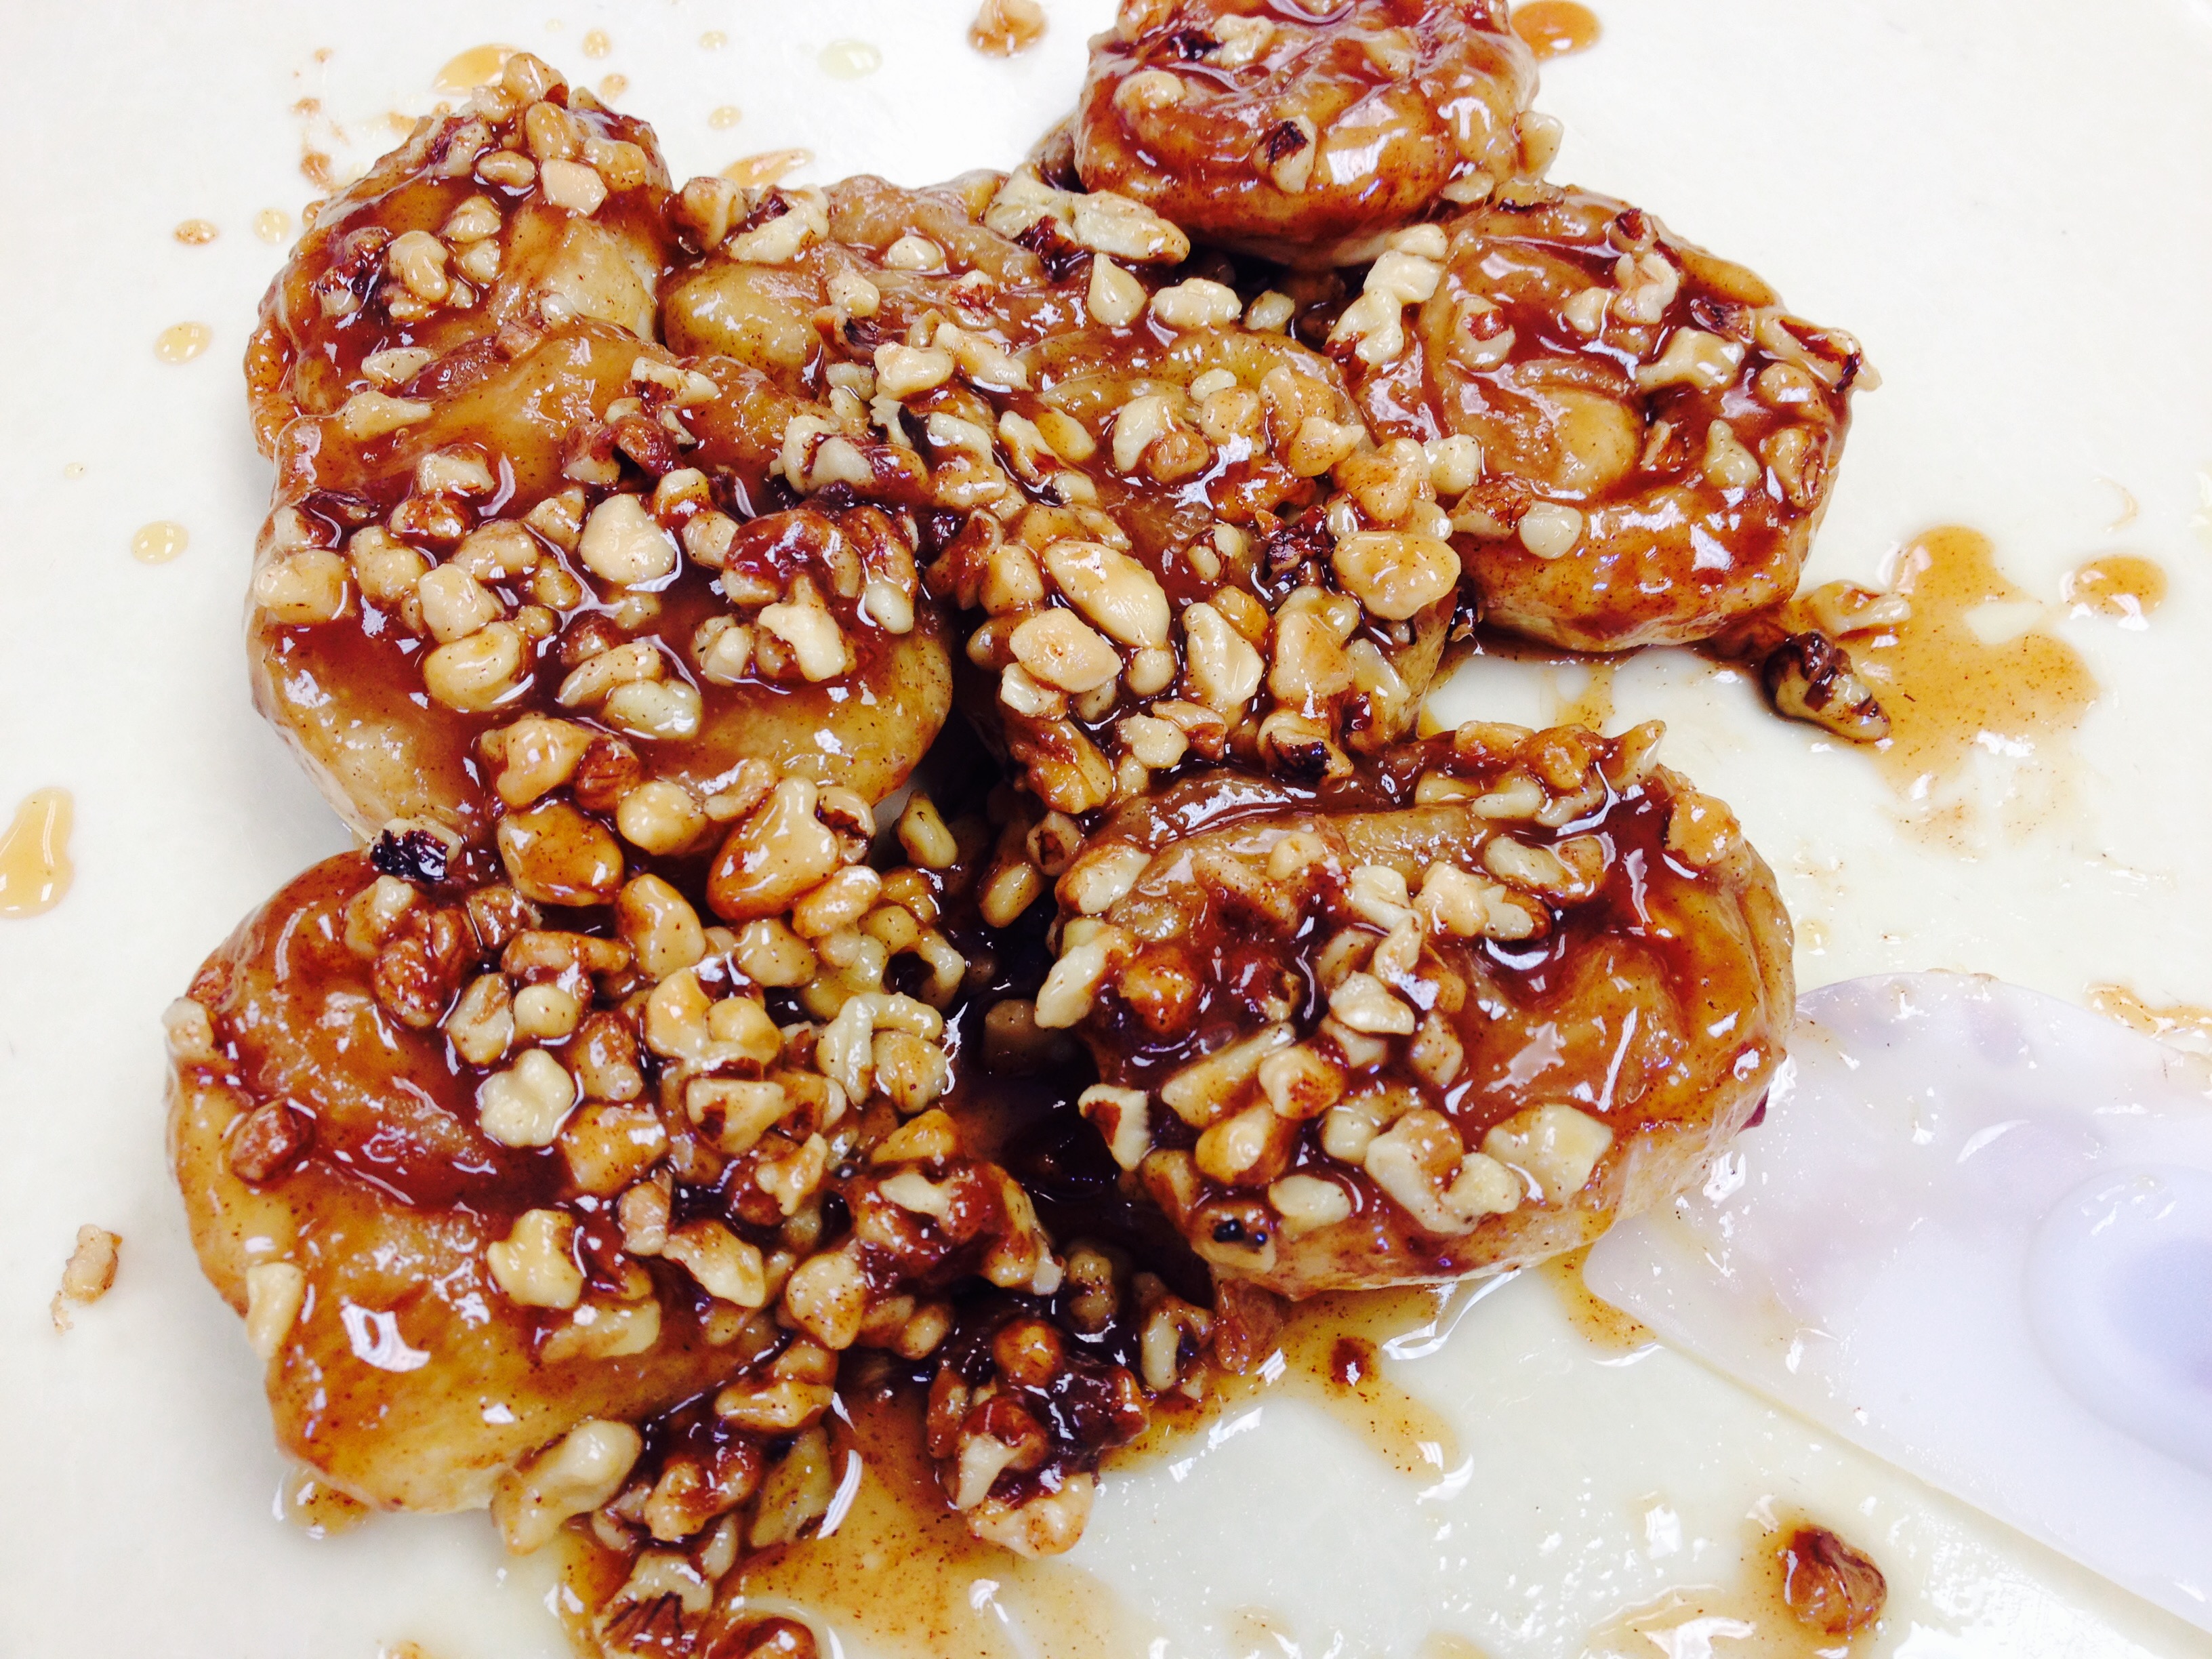
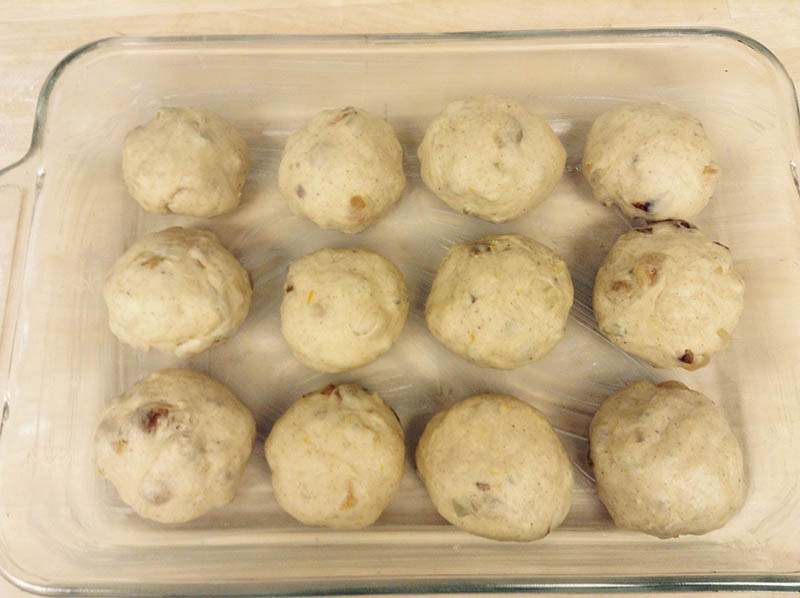
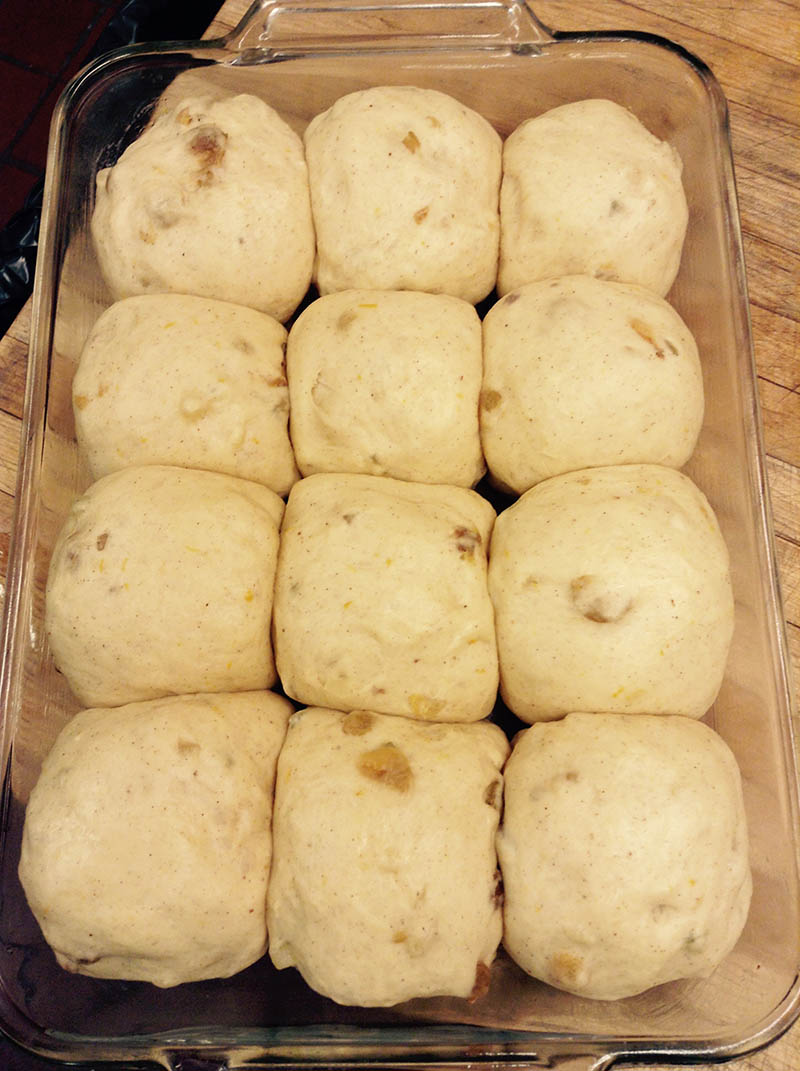
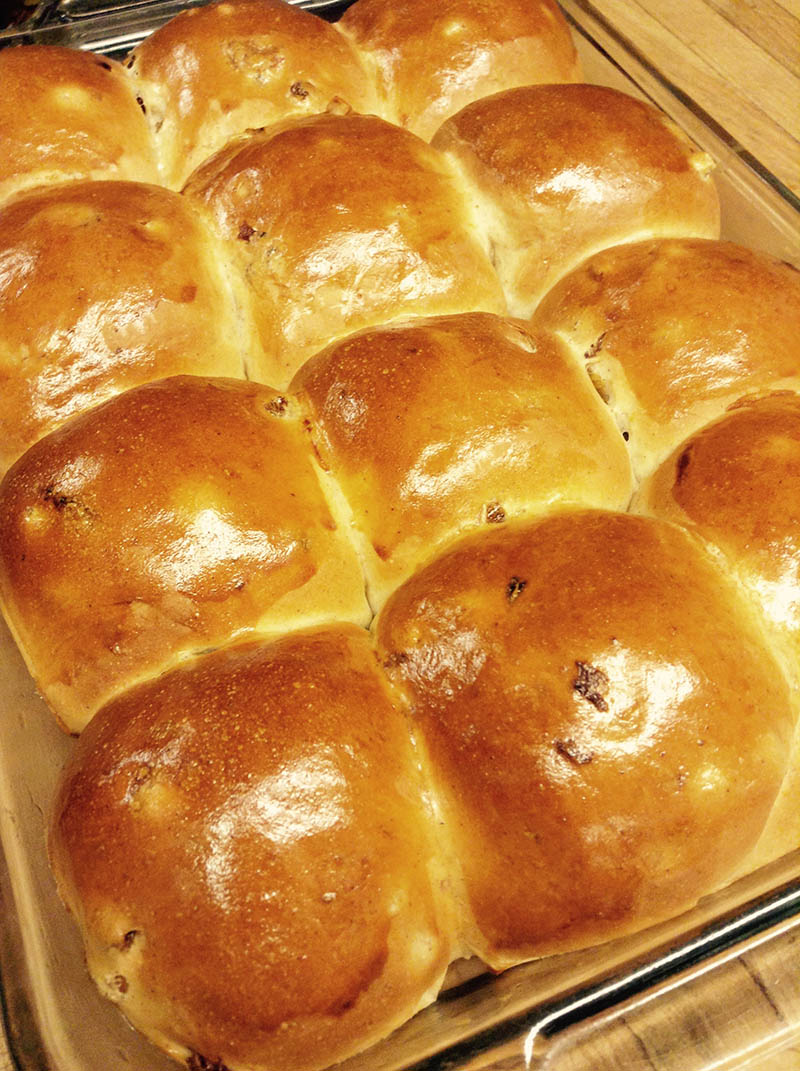
Nothing delights the Sisters more than warm, gooey sticky buns straight out of the oven on a Sunday morning. This year, we had the wonderful opportunity to offer baked goods to our community for Easter morning. We spent a good part of the weekend preparing over 50 pans of sticky buns. This year, I came up with a new recipe that we all decided was probably the very best sticky buns we have ever eaten. The comments back to us confirmed this was true. Even though I’d like to keep this recipe a secret, I thought we’d share it with you.
You won’t regret surprising your loved ones with these wonderfully fluffy and sinfully delicious breakfast treats! They are wonderful to eat year ’round!
Print Recipe
Votes: 0
Rating: 0
You:
Rate this recipe!
The World's Best Sticky Buns
SERVINGS24sticky buns
|
COOK TIME2hrs |
PREP TIME30mins |
READY IN2 hrs30 mins |
Ingredients
Instructions
For the Dough:
- Dissolve yeast in very warm water and let sit for 5 mins
- Add ingredients in order listed above.
- Add flour (dough will be slightly sticky, but should pull away from side of bowl).
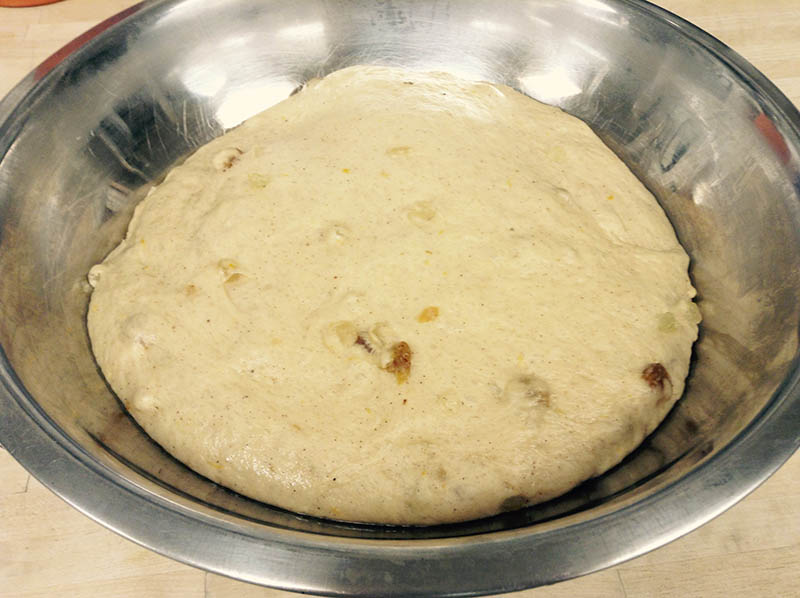
- Mix together the yeast dough, cover and let rise, until doubled in size in a warm, draft free place (approx.1 - 1 1/2 hrs) or overnight, covered, in the refrigerator)
Assemble:
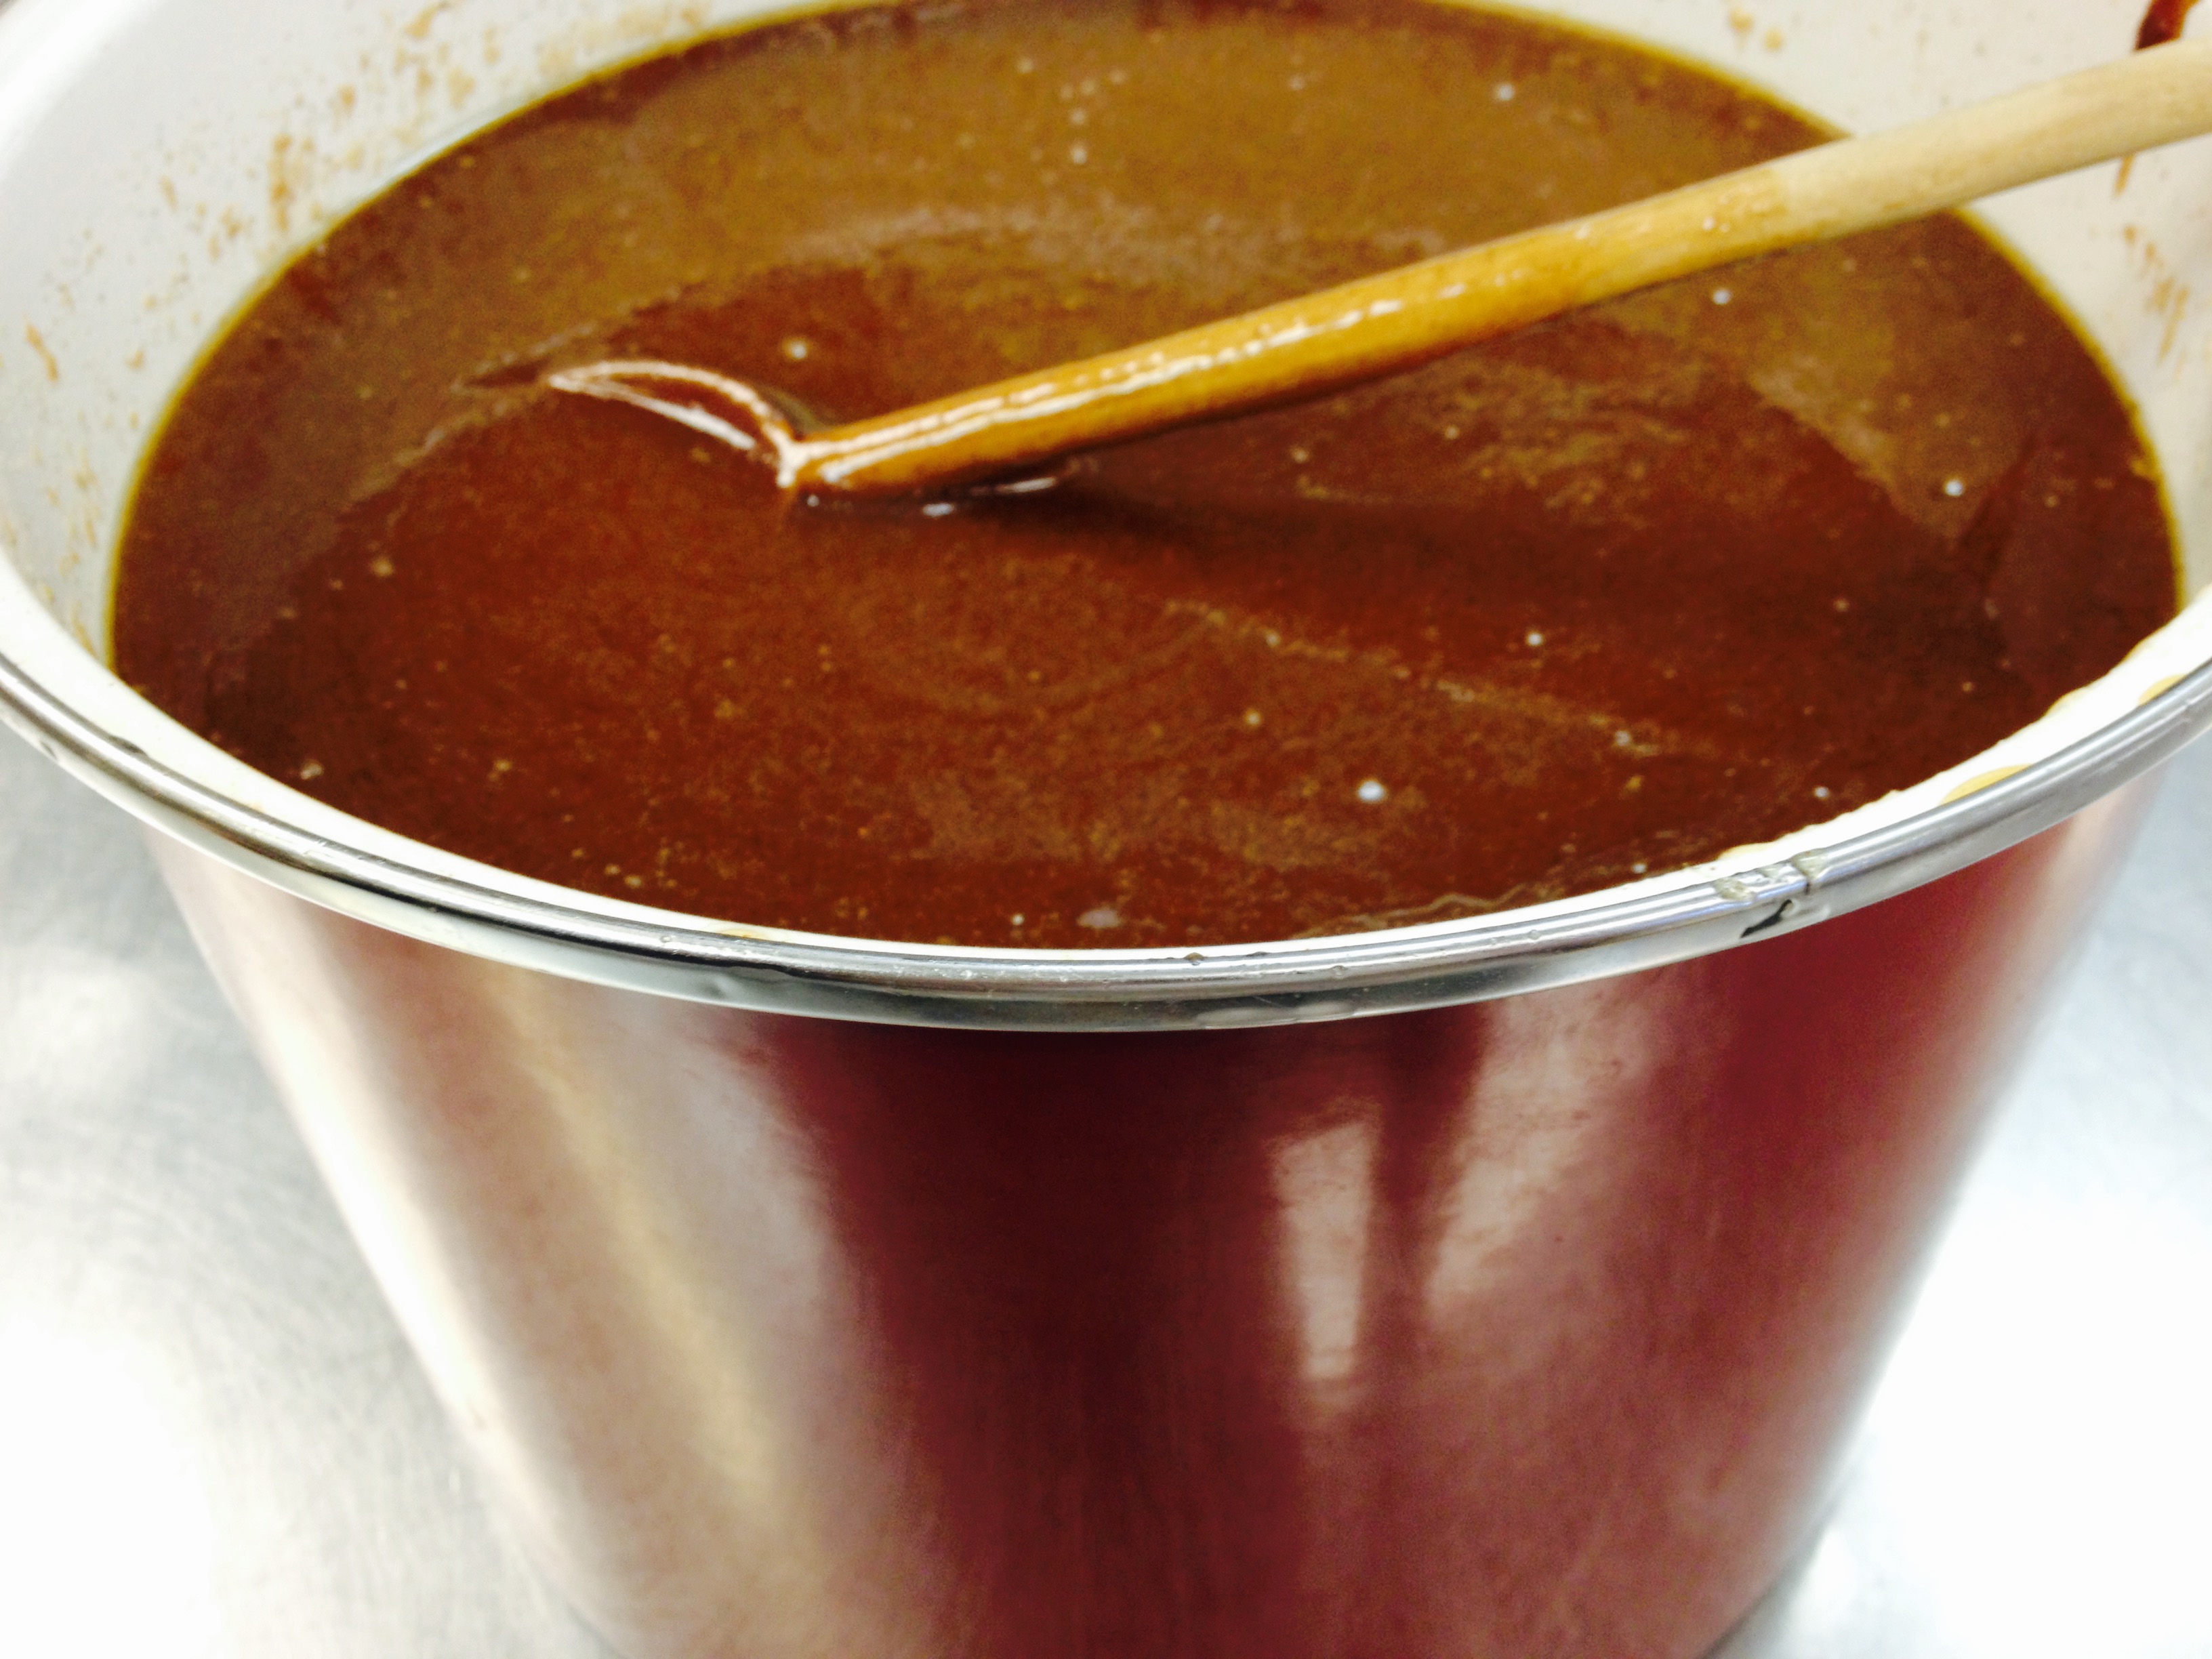
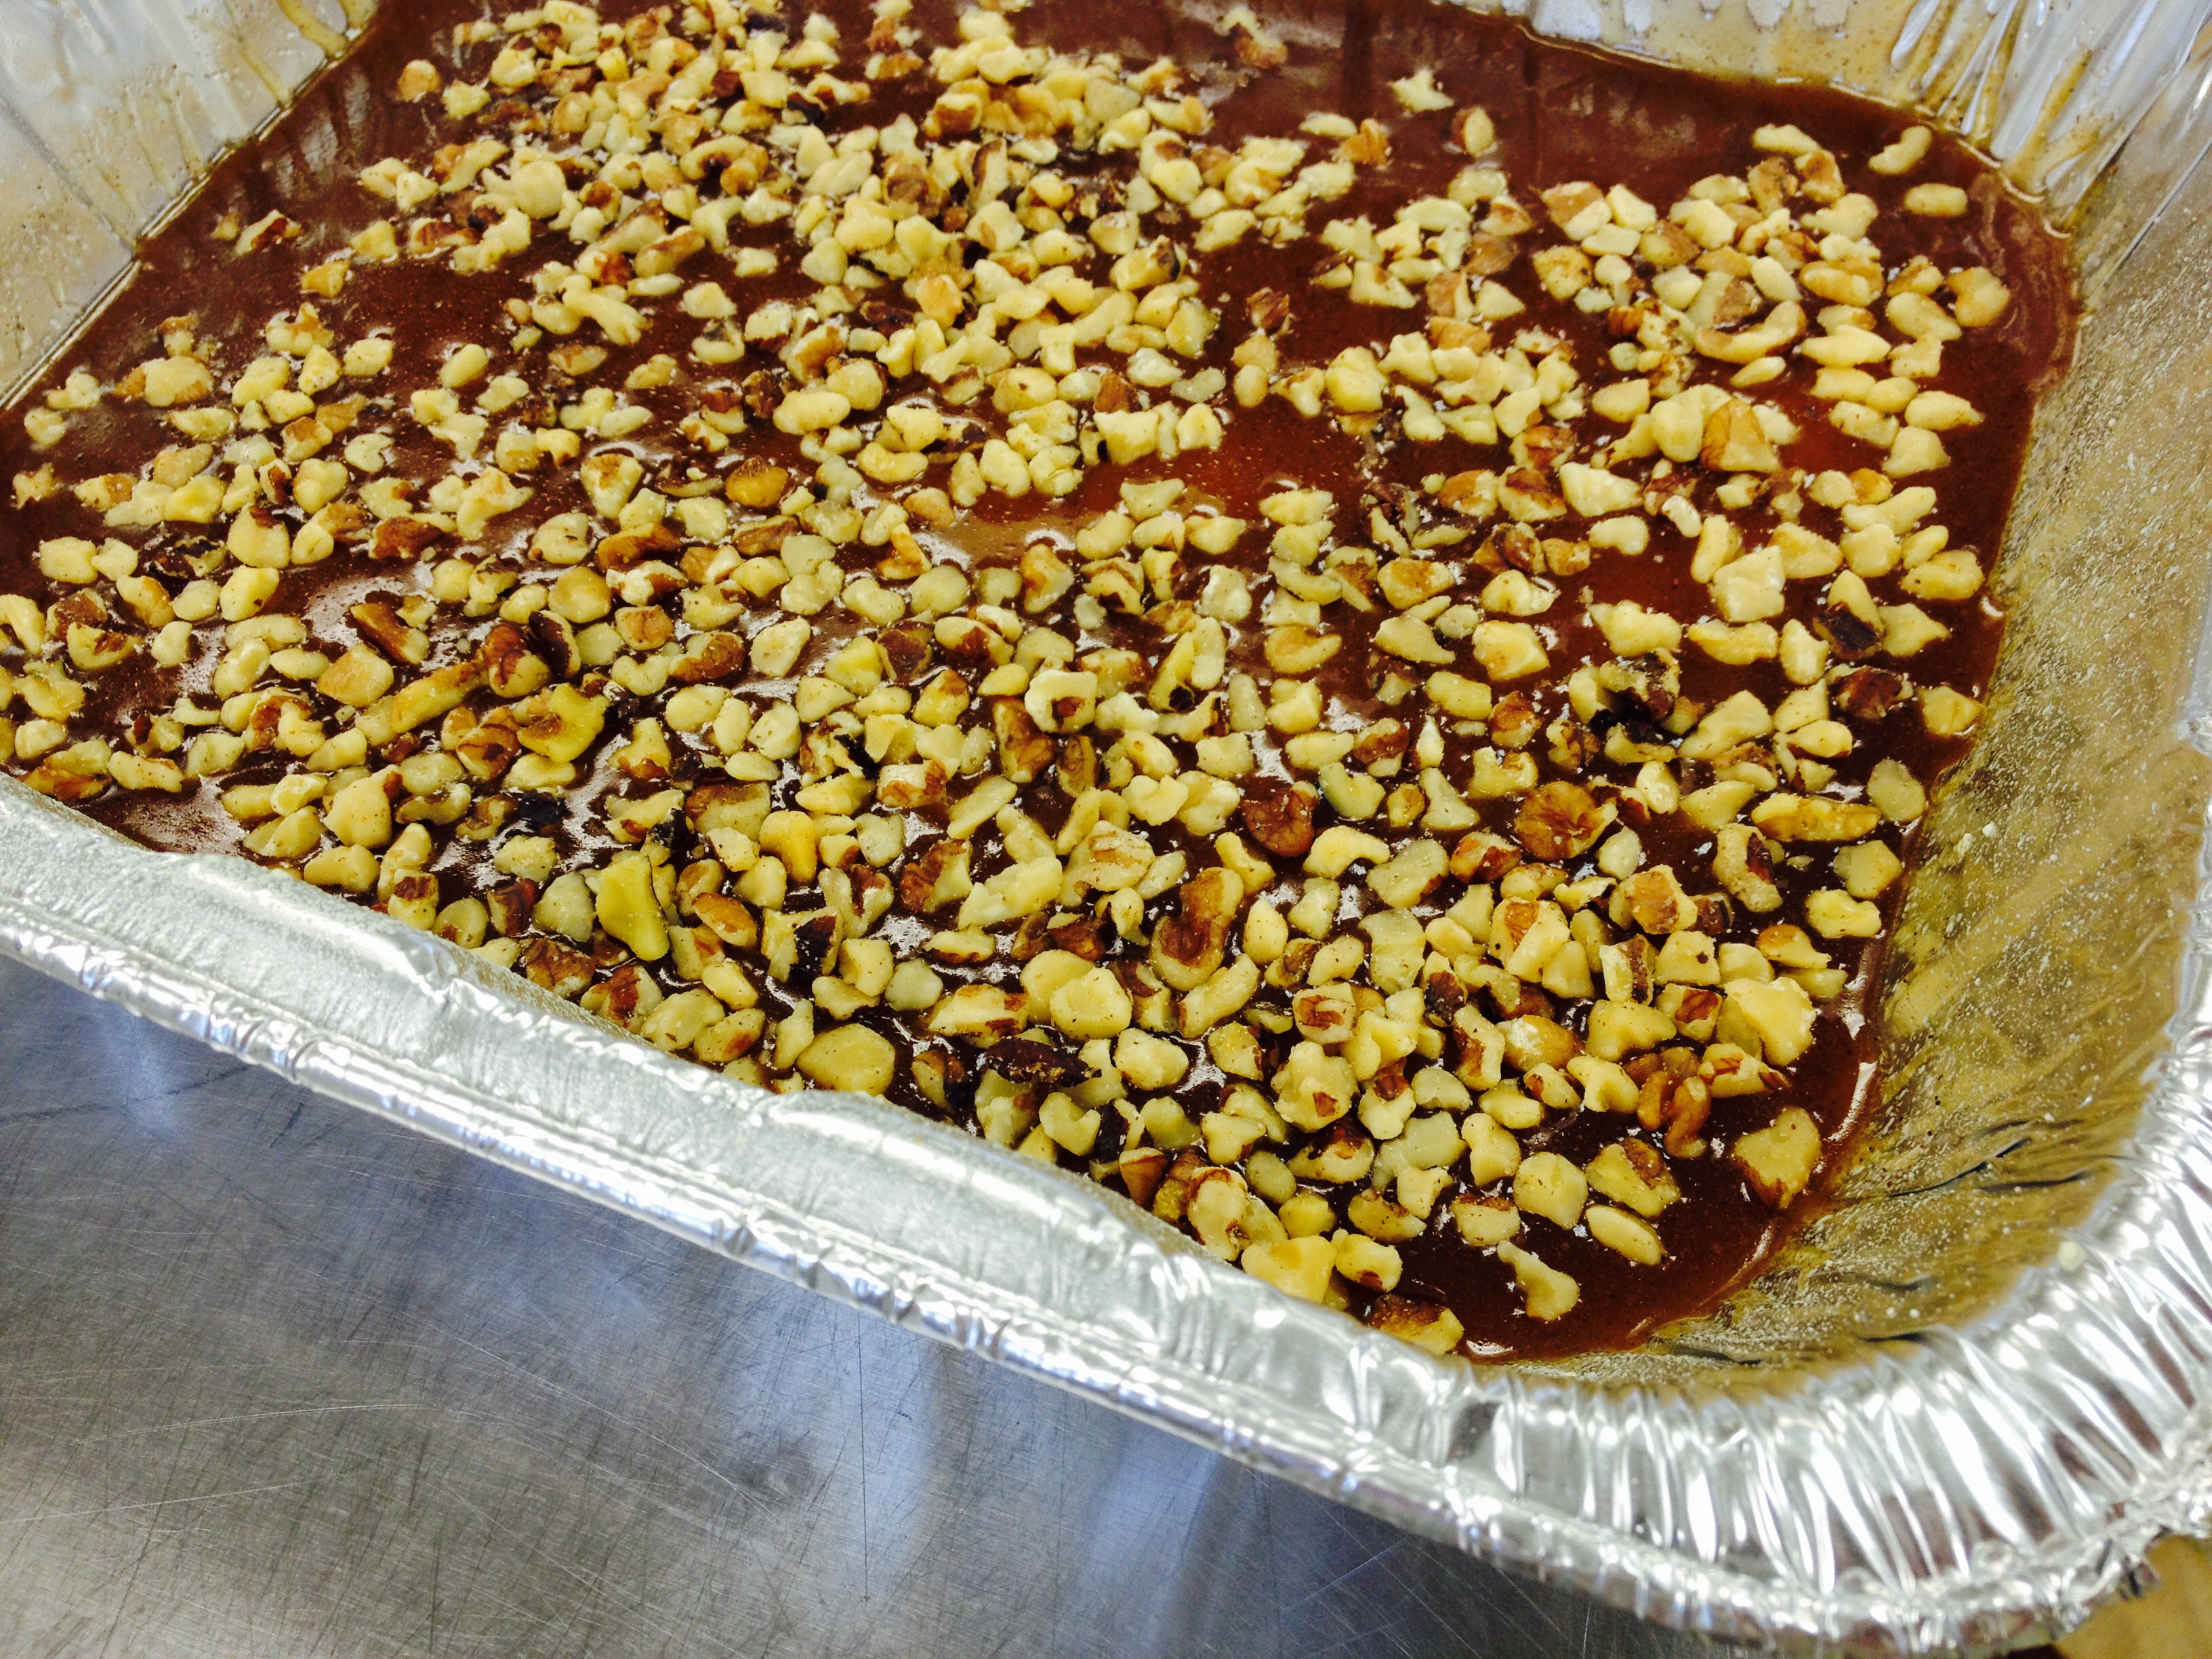
- For the filling: Mix together melted butter, brown sugar, honey and cinnamon. Divide in half, setting aside half the caramel for the filling.
- Using three 9-inch cake pans that have been sprayed with Pam, equally divide the rest of the caramel topping over the bottom of the pans. Scatter the pecans or walnuts over the caramel mixture and set aside.
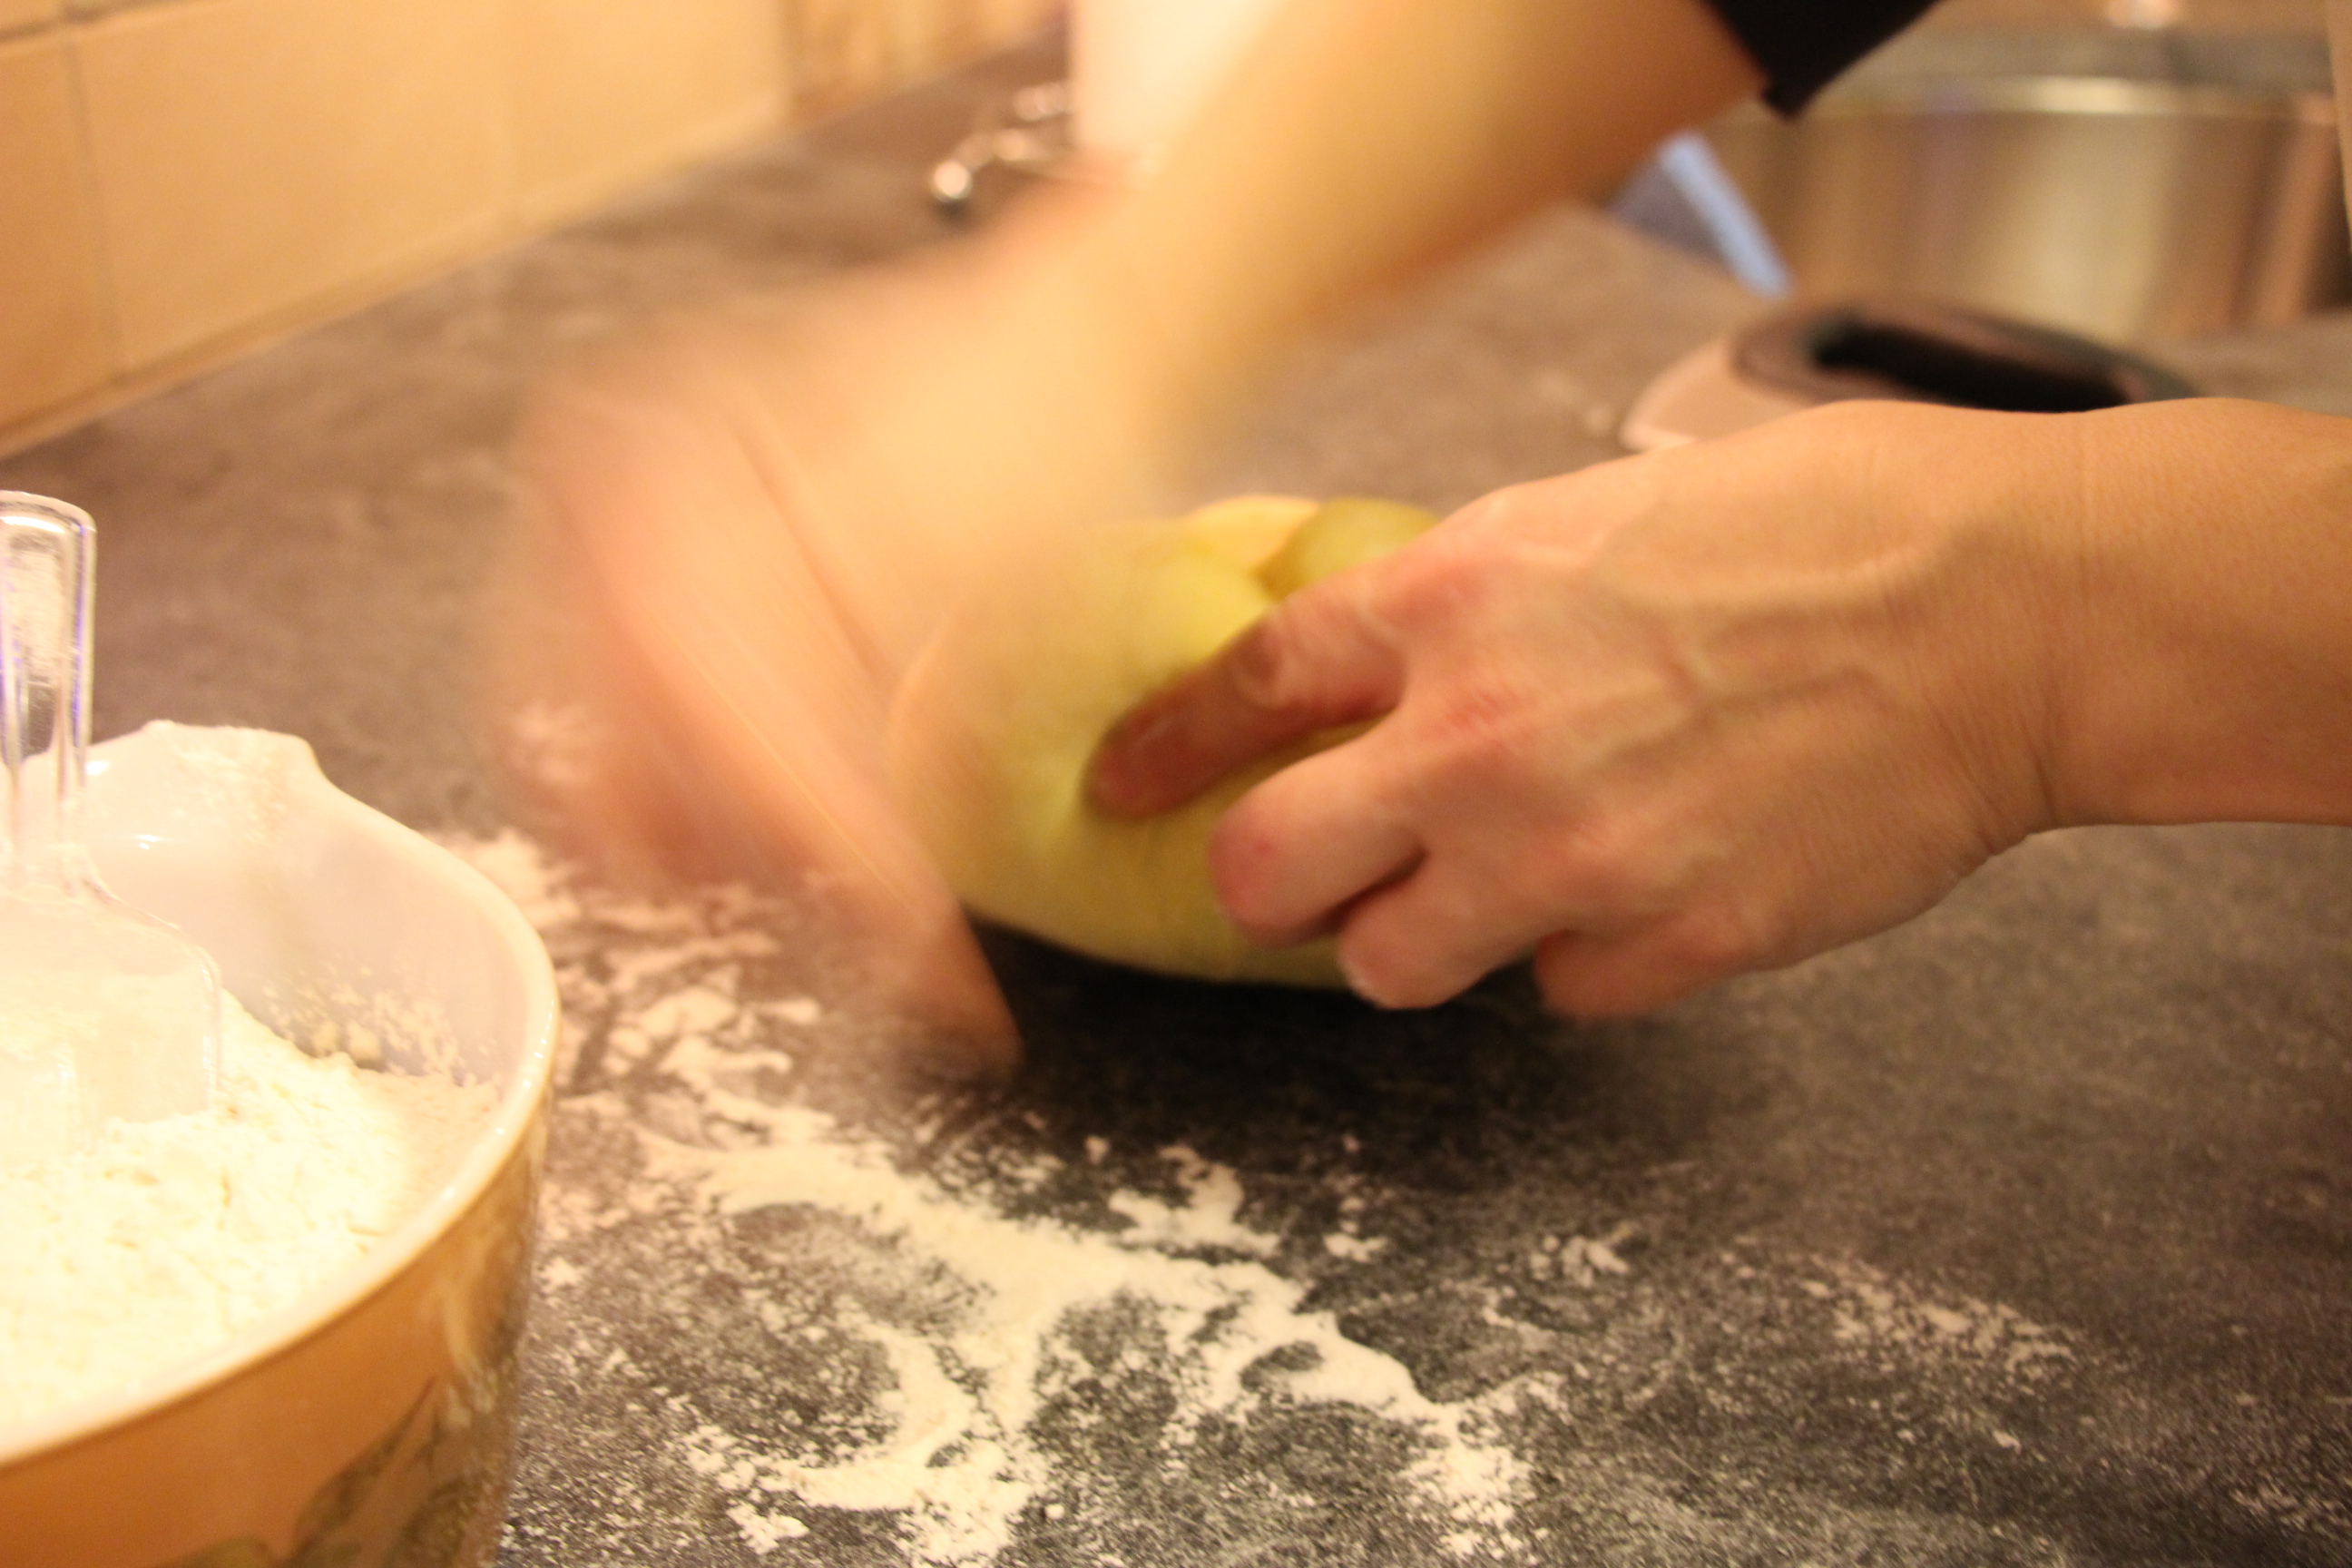
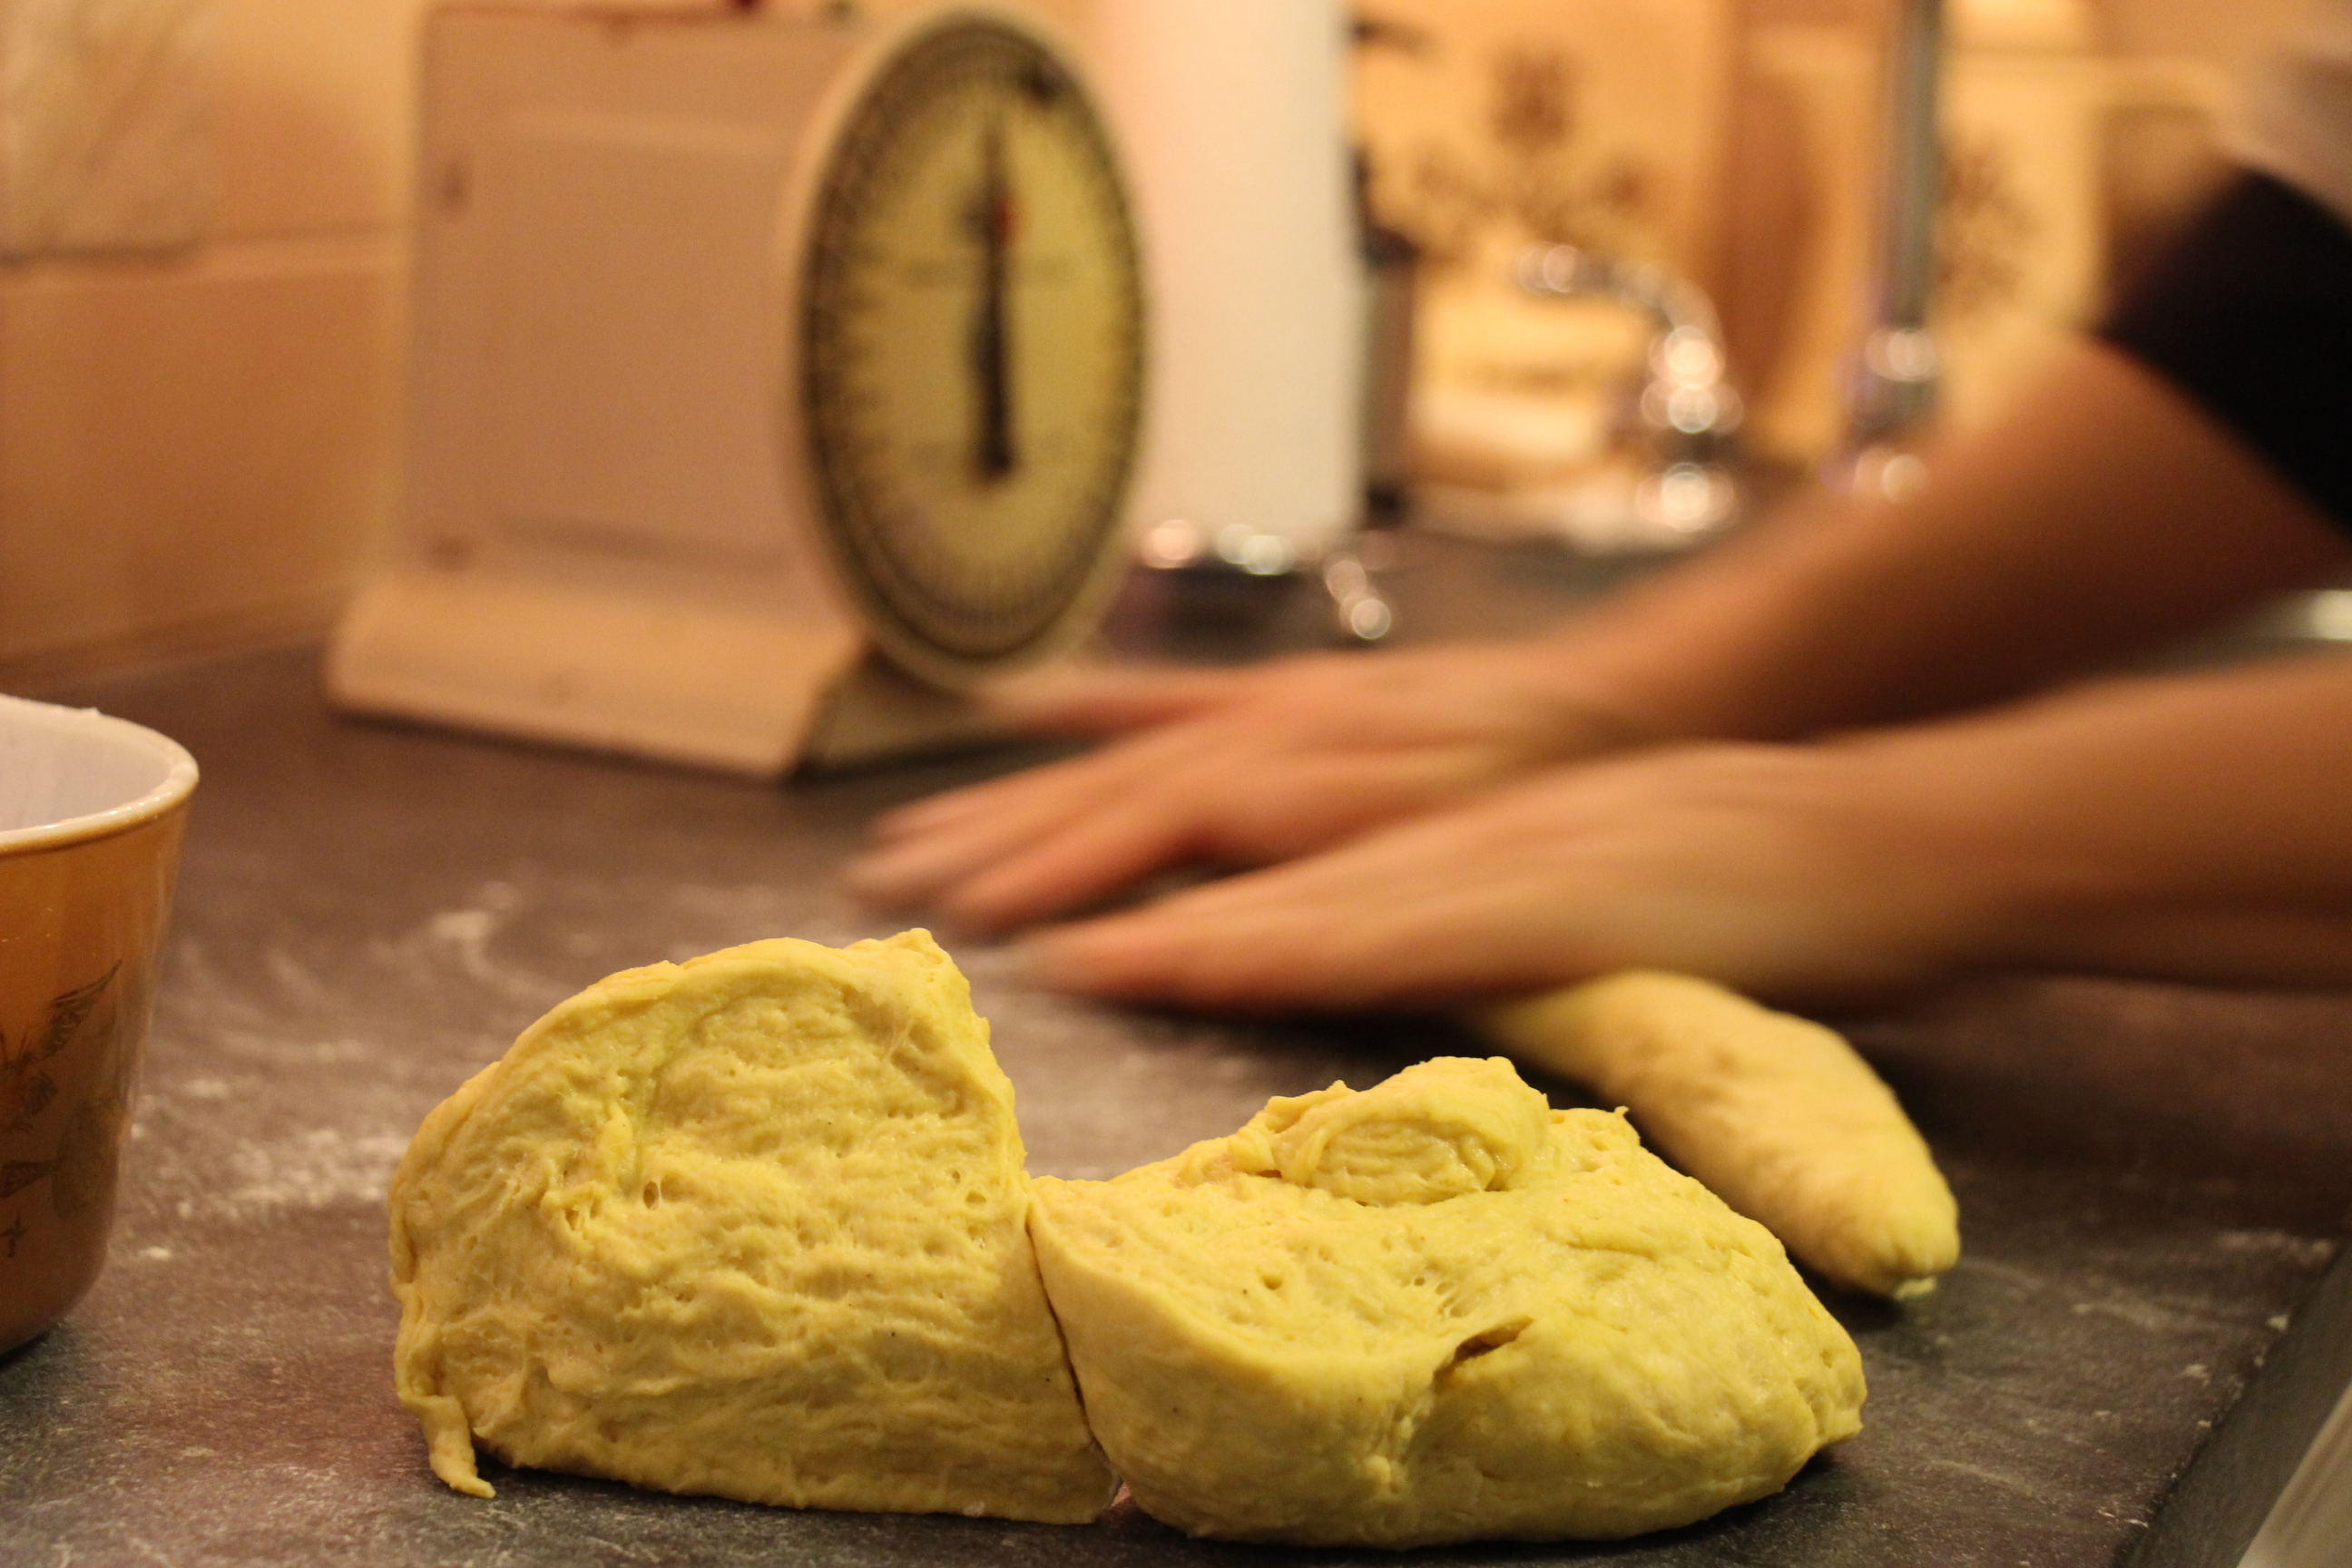
- Dust your work surface with flour. Divide the dough in thirds. Roll out the dough to a ⅛ -inch thick rectangle (around 20 inches long). As you roll out the dough, make sure there is enough flour to prevent it from sticking to the work surface
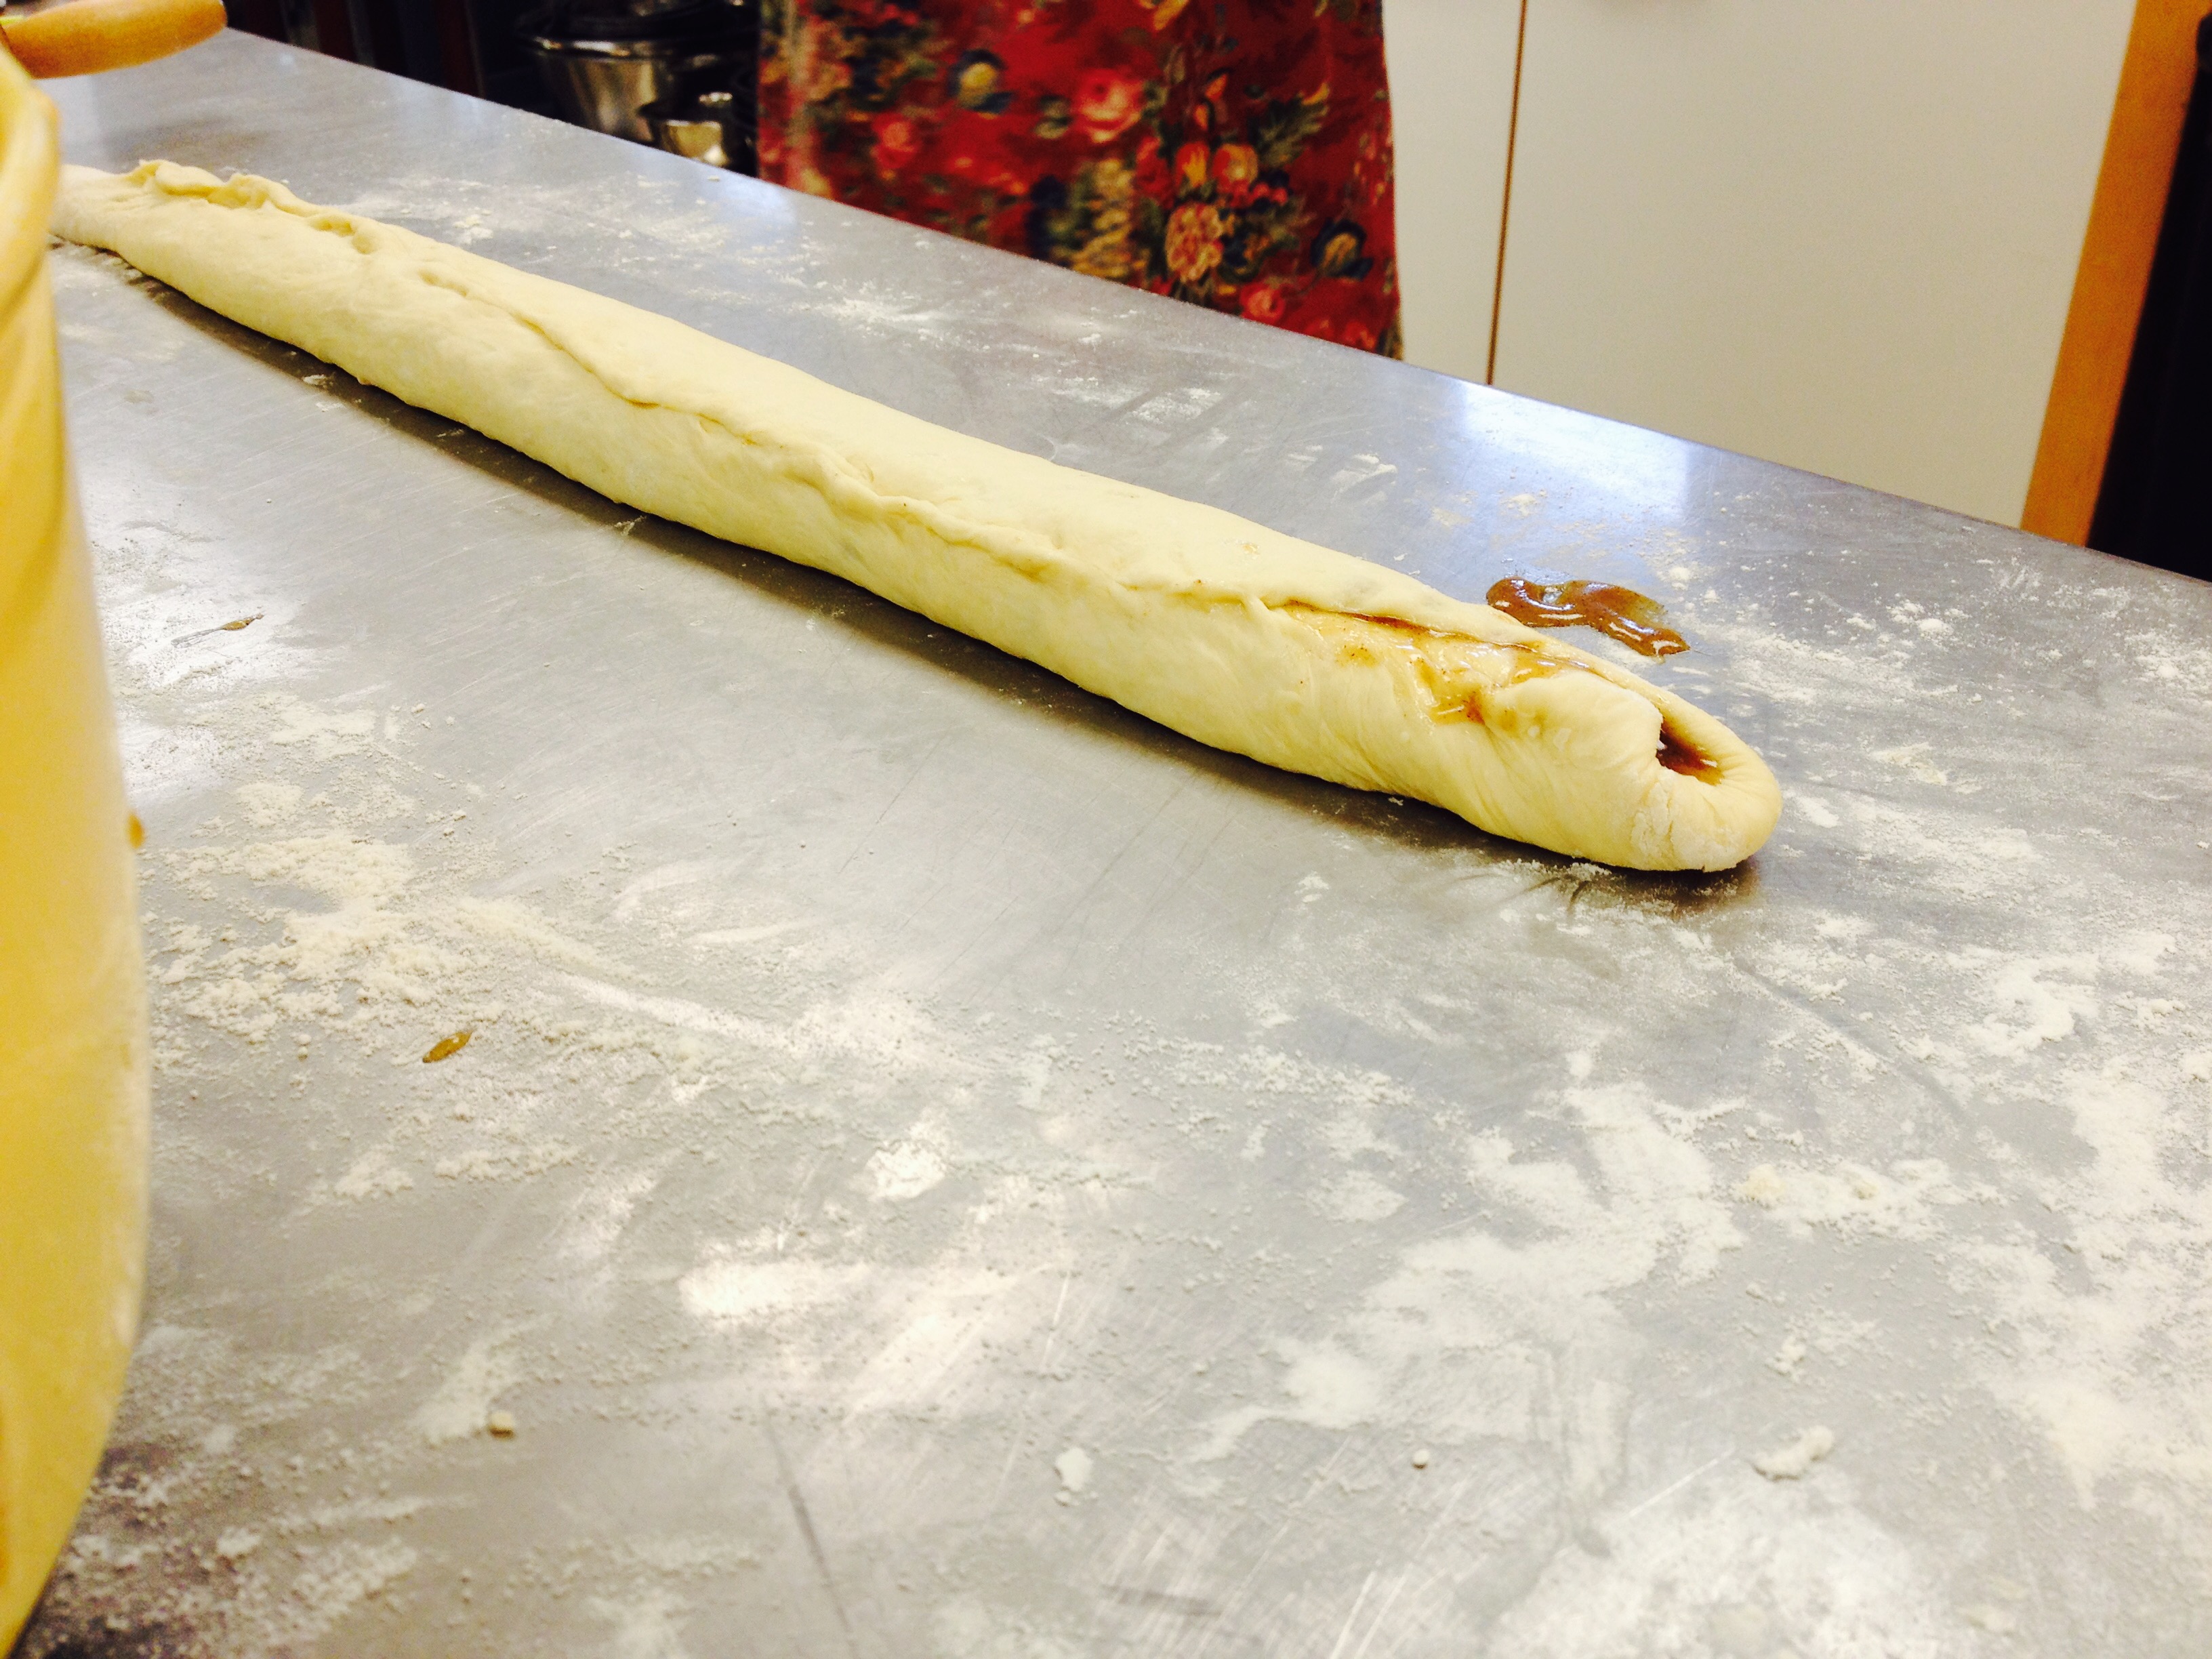
- Divide the remaining caramel mixture into thirds and evenly spread it over the rolled out dough leaving 1 inch around the edge of the dough without the filling.
- Starting with the long side, roll the dough into a log. Roll it over until the seam is underneath. Pinch the seam together with your fingers
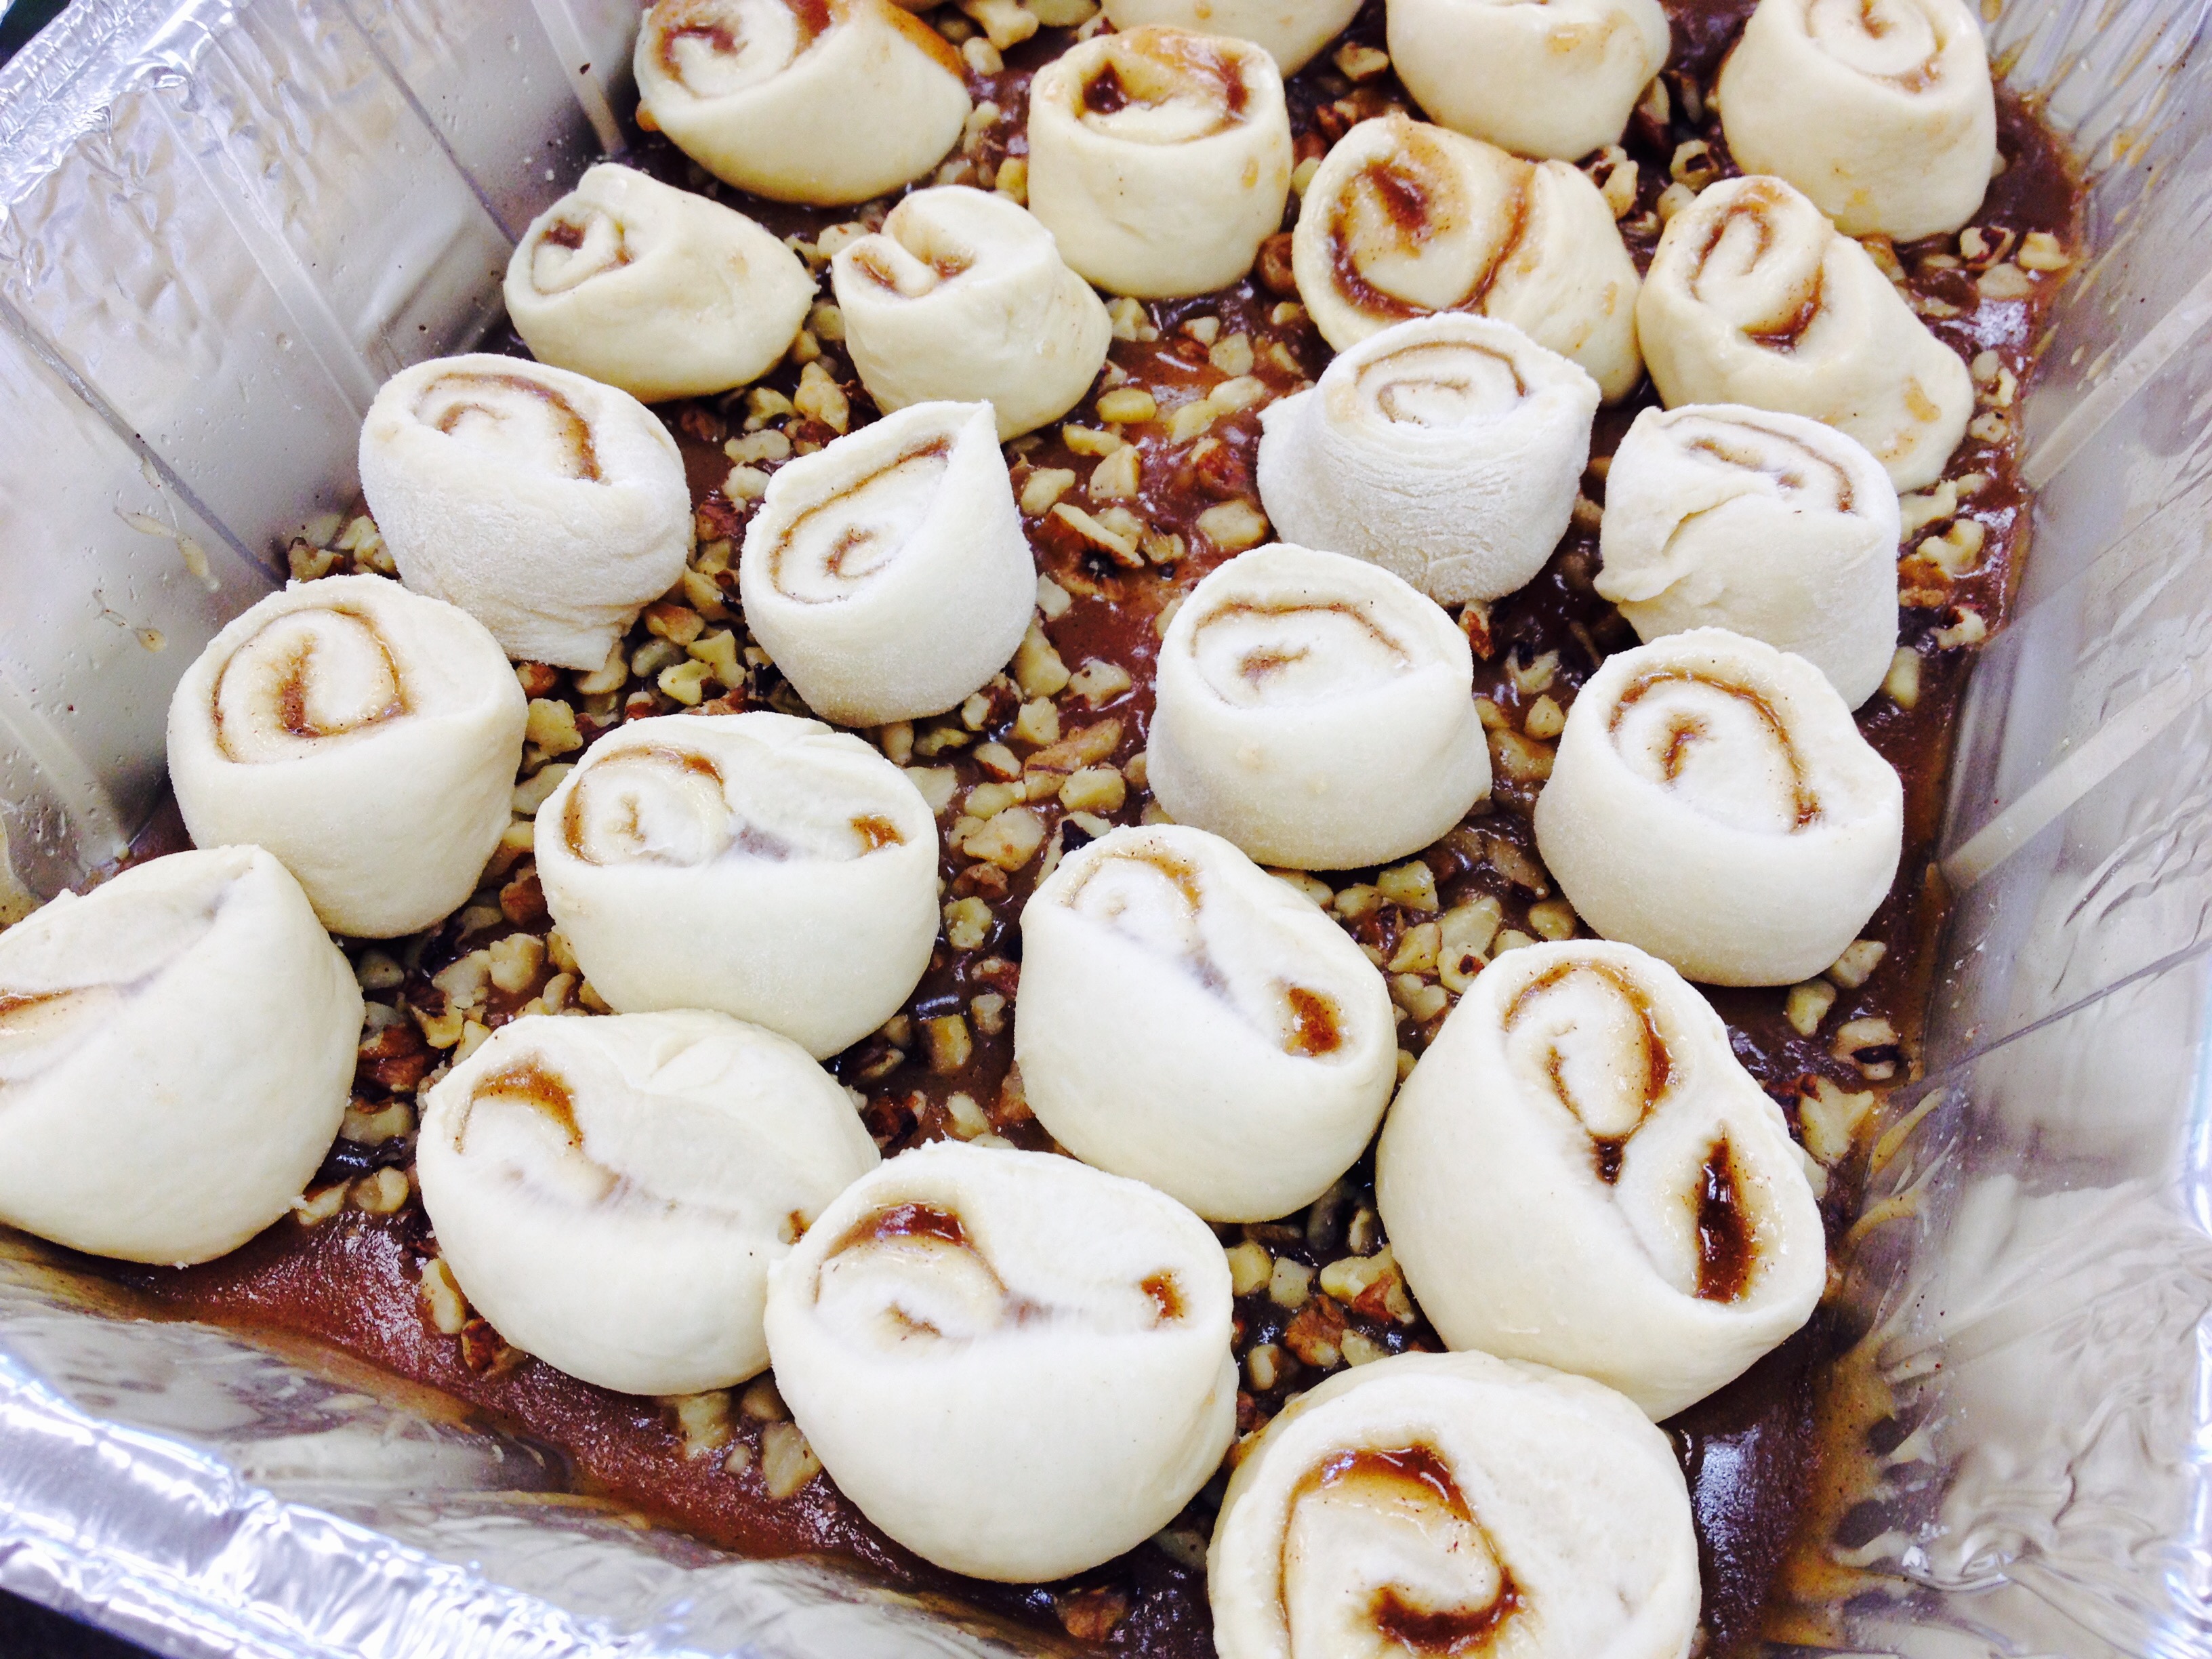
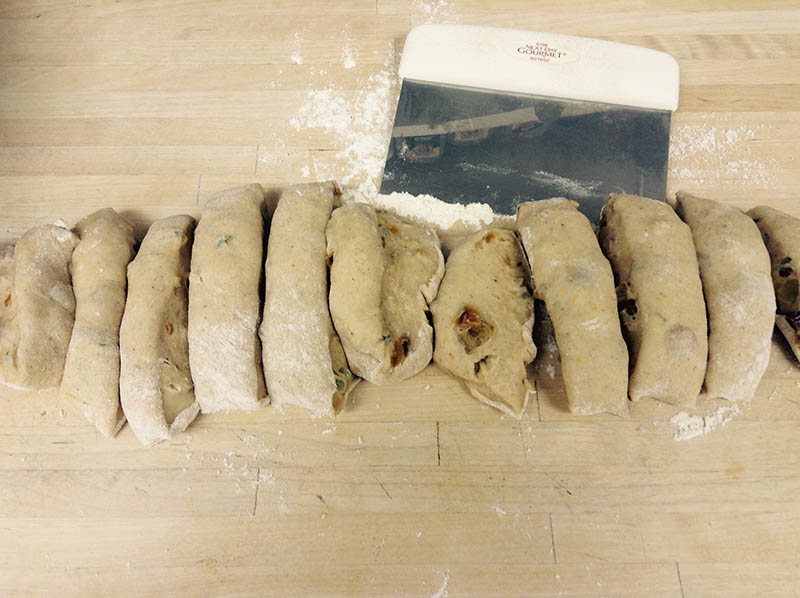
- Using a sharp knife, cut the log into 1 ½ -2 inch rolls.. Arrange the rolls over the nuts in the prepared pan, so that the swirled cut edge is facing upward.
- Repeat with the rest of the dough and filling.
- Cover the tin with plastic wrap and allow to rest for 1 hour. During this time they will rise up to meet the tin and becoming bubbly.
- Once proofed, place the rolls on a baking sheet covered with parchment, in case the caramel bubbles over.
- Preheat the oven to 350 F and bake for roughly 35- 40 minutes, or until golden brown and firm in the center.
- While still hot, run a thin spatula around the outer edge of the pan to release the caramel rolls, and invert immediately onto a serving dish. Enjoy warm!
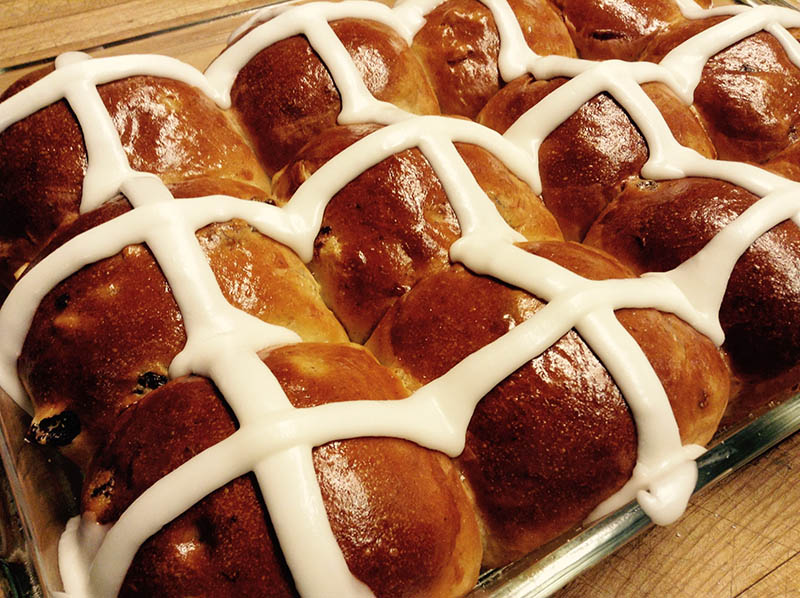
This year Good Friday and the start of Passover were on the same day—-a rare occurrence given the difference between the Gregorian calendar used by most Western countries and the lunar calendar observed by the Jewish faith. Indeed, the Seder plate used during the first night of Passover tells the dramatic story of the Israelites’ exodus from slavery in Egypt and includes reminders of their captivity: bitter herbs to signify the bitterness of slavery, haroset which is a reminder of the mortar used between bricks, a shank bone to remember the Passover sacrifice and an egg which represents the new life promised to them after the Red Sea crossing.
Borrowing from our Jewish roots, our own Good Friday dinner was a cross-section of the Judeo-Christian traditions that mark this holy season of the year. Beginning with a candle lighting and blessing at 6:45—the official start of the eight-day Passover festival—and continuing with the meal which included some dishes found at a traditional Passover Seder table including Matzo ball soup, roasted chicken (with haroset stuffing), marinated green beans, Israeli couscous and tabouleh salad. Also gracing our table was one of our year-round favorites: fresh Challah bread baked that afternoon. While Challah—and dishes containing yeast—are not eaten during Passover, we couldn’t help ourselves! This braided bread is so delicious and beautiful to look at and made an honorary appearance on our Good Friday Passover table. Best when eaten fresh, this versatile bread is also wonderful toasted the next morning day. Try out the recipe below and see for yourself!
With wishes for a joyful conclusion for the Passover and Easter seasons, we look forward to the promise of new life this spring!
Print Recipe
Votes: 0
Rating: 0
You:
Rate this recipe!
Challah Bread
SERVINGS3loaves
|
COOK TIME30mins |
PREP TIME15mins |
READY IN1 hr15 mins |
Ingredients
Instructions
- Combine the first three ingredients to dissolve the yeast. Let sit for 5 min. or until foamy.
- Add the next 4 ingredients and then the flour and salt, adding as much flour as you need for the dough to start pulling away from the side of the bowl.
- Remove to a floured surface and knead until the dough is no longer sticky.
- Place in an oiled bowl, turn over once, cover and let rise until doubled in bulk.
- Divide dough into 9 balls and roll each ball into a “rope” using your hands.
- Braid 3 ropes together into 1 braided loaf of bread and continue with the other 6 ropes, making 3 loaves in all.
- Let the bread rise again.
- Make an egg wash and brush on the bread and bake in a 325º oven until golden and cooked through, about 30 min.
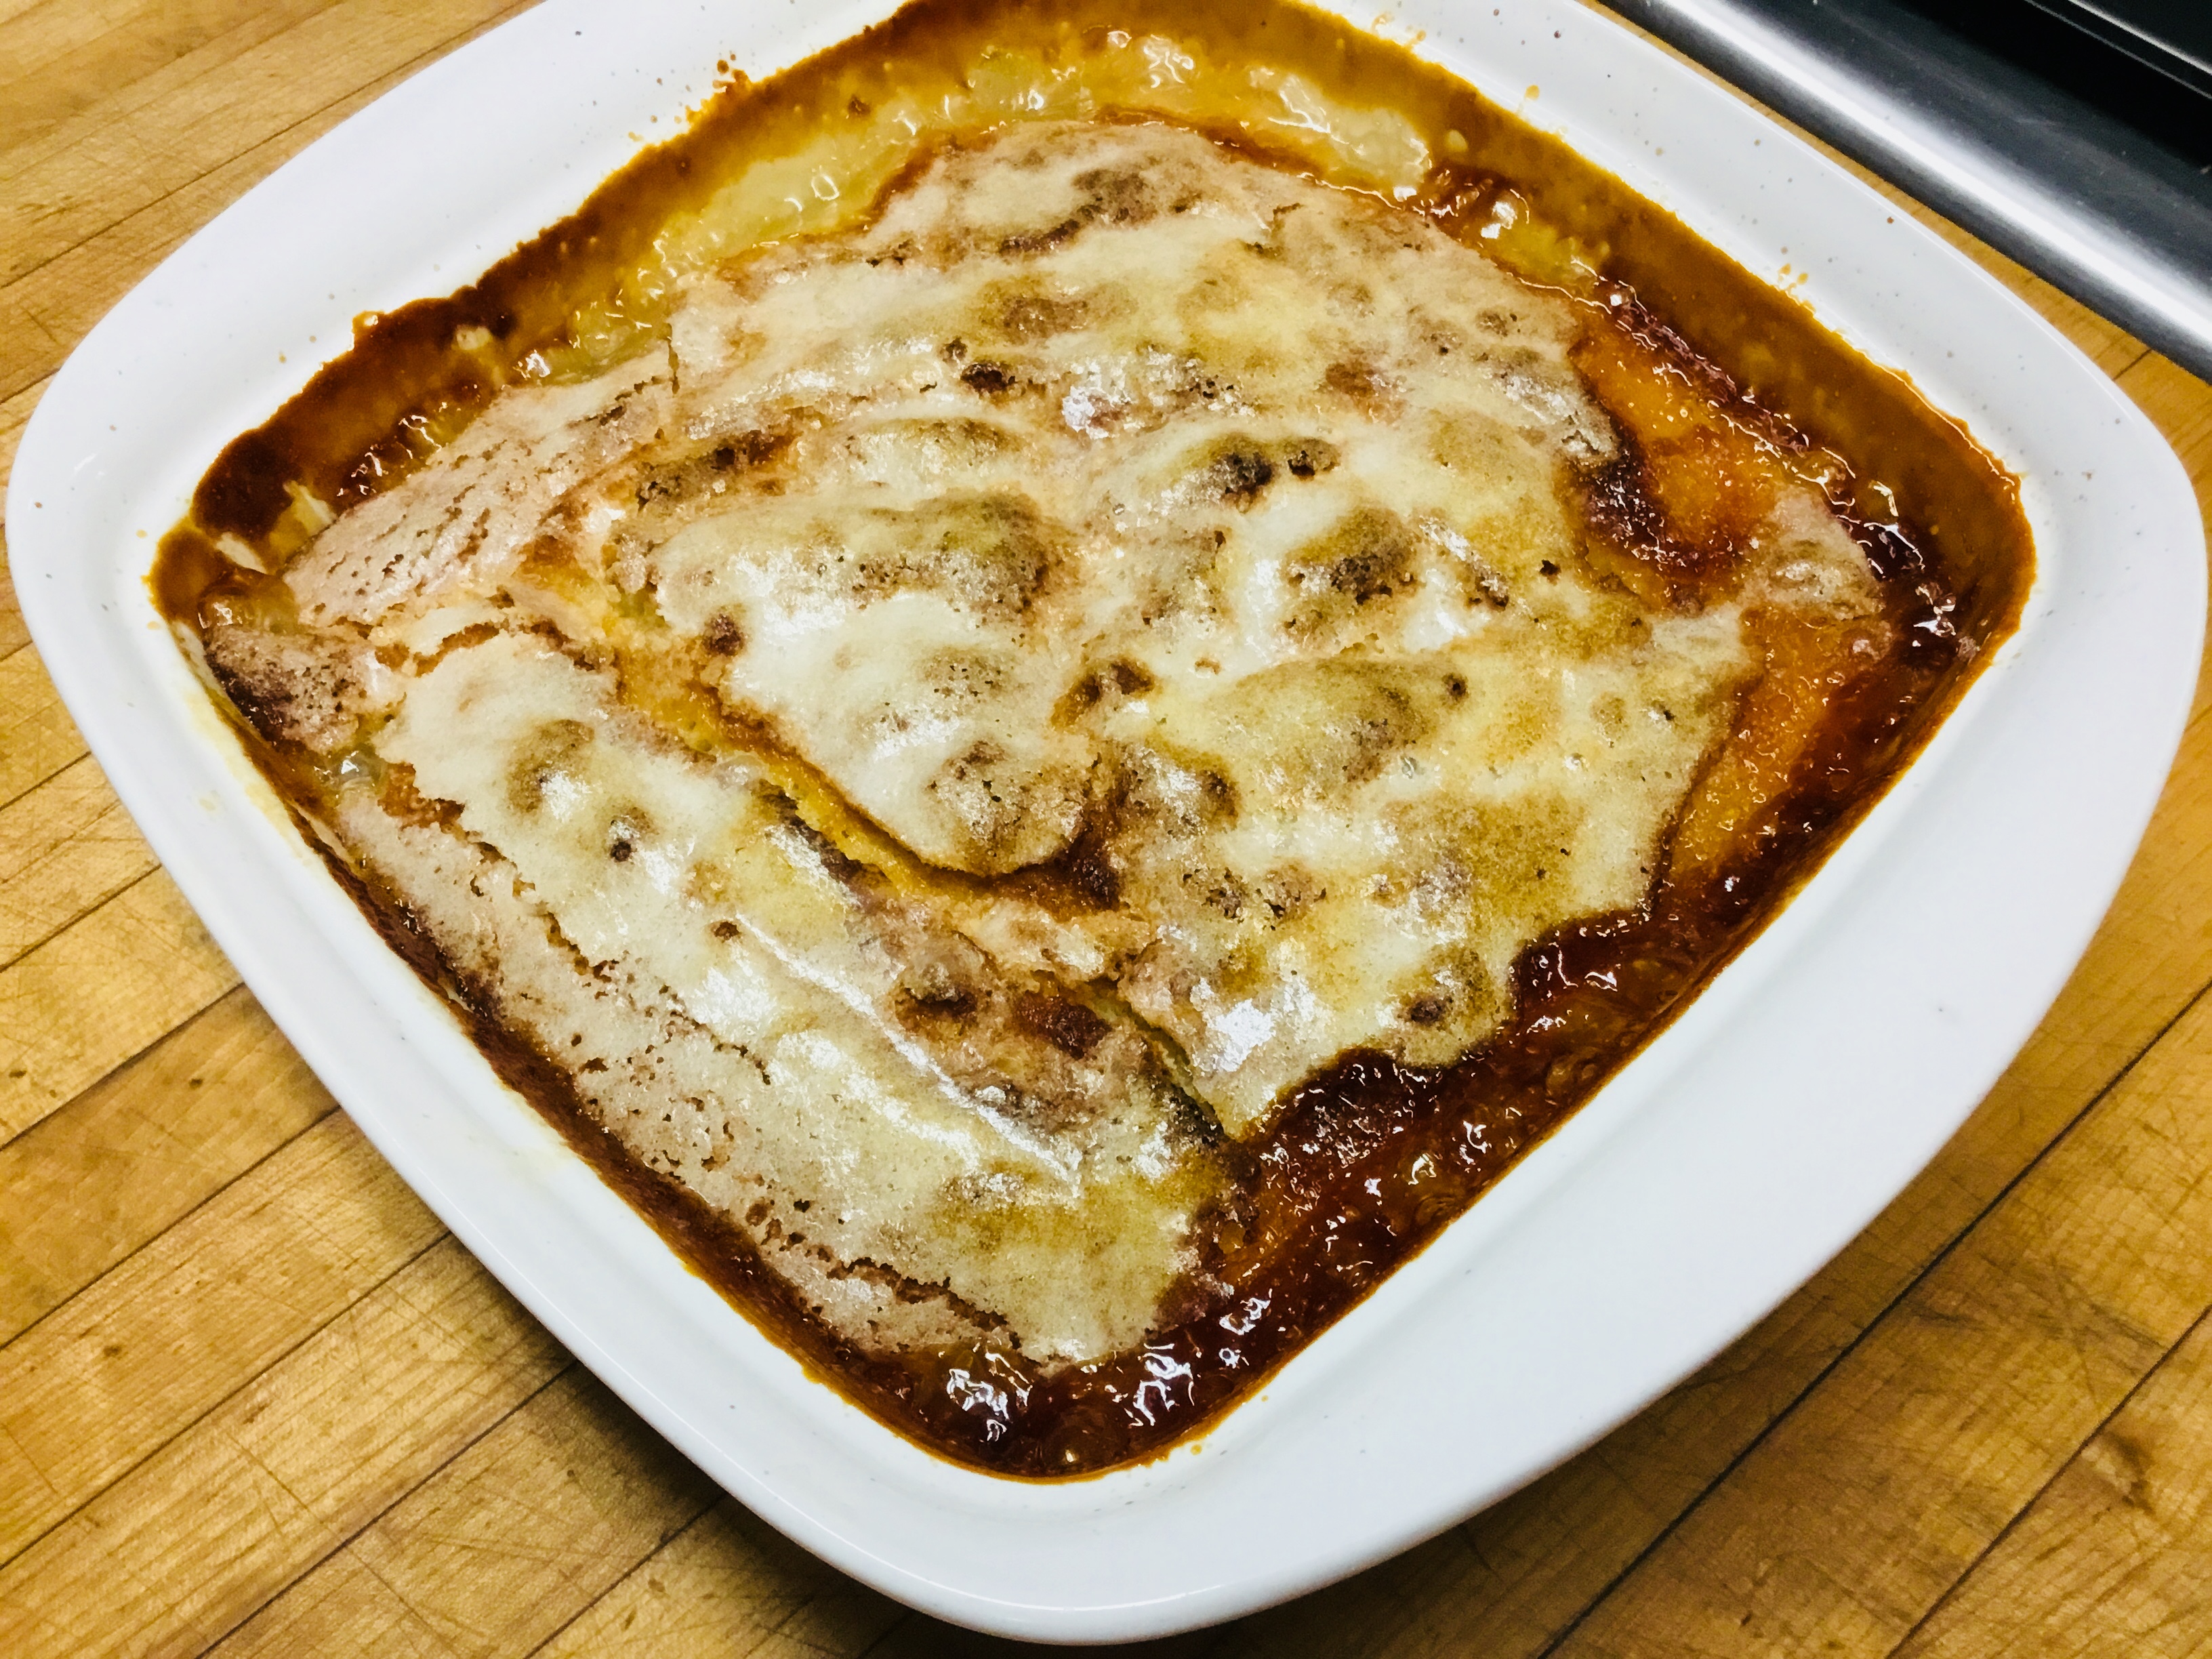
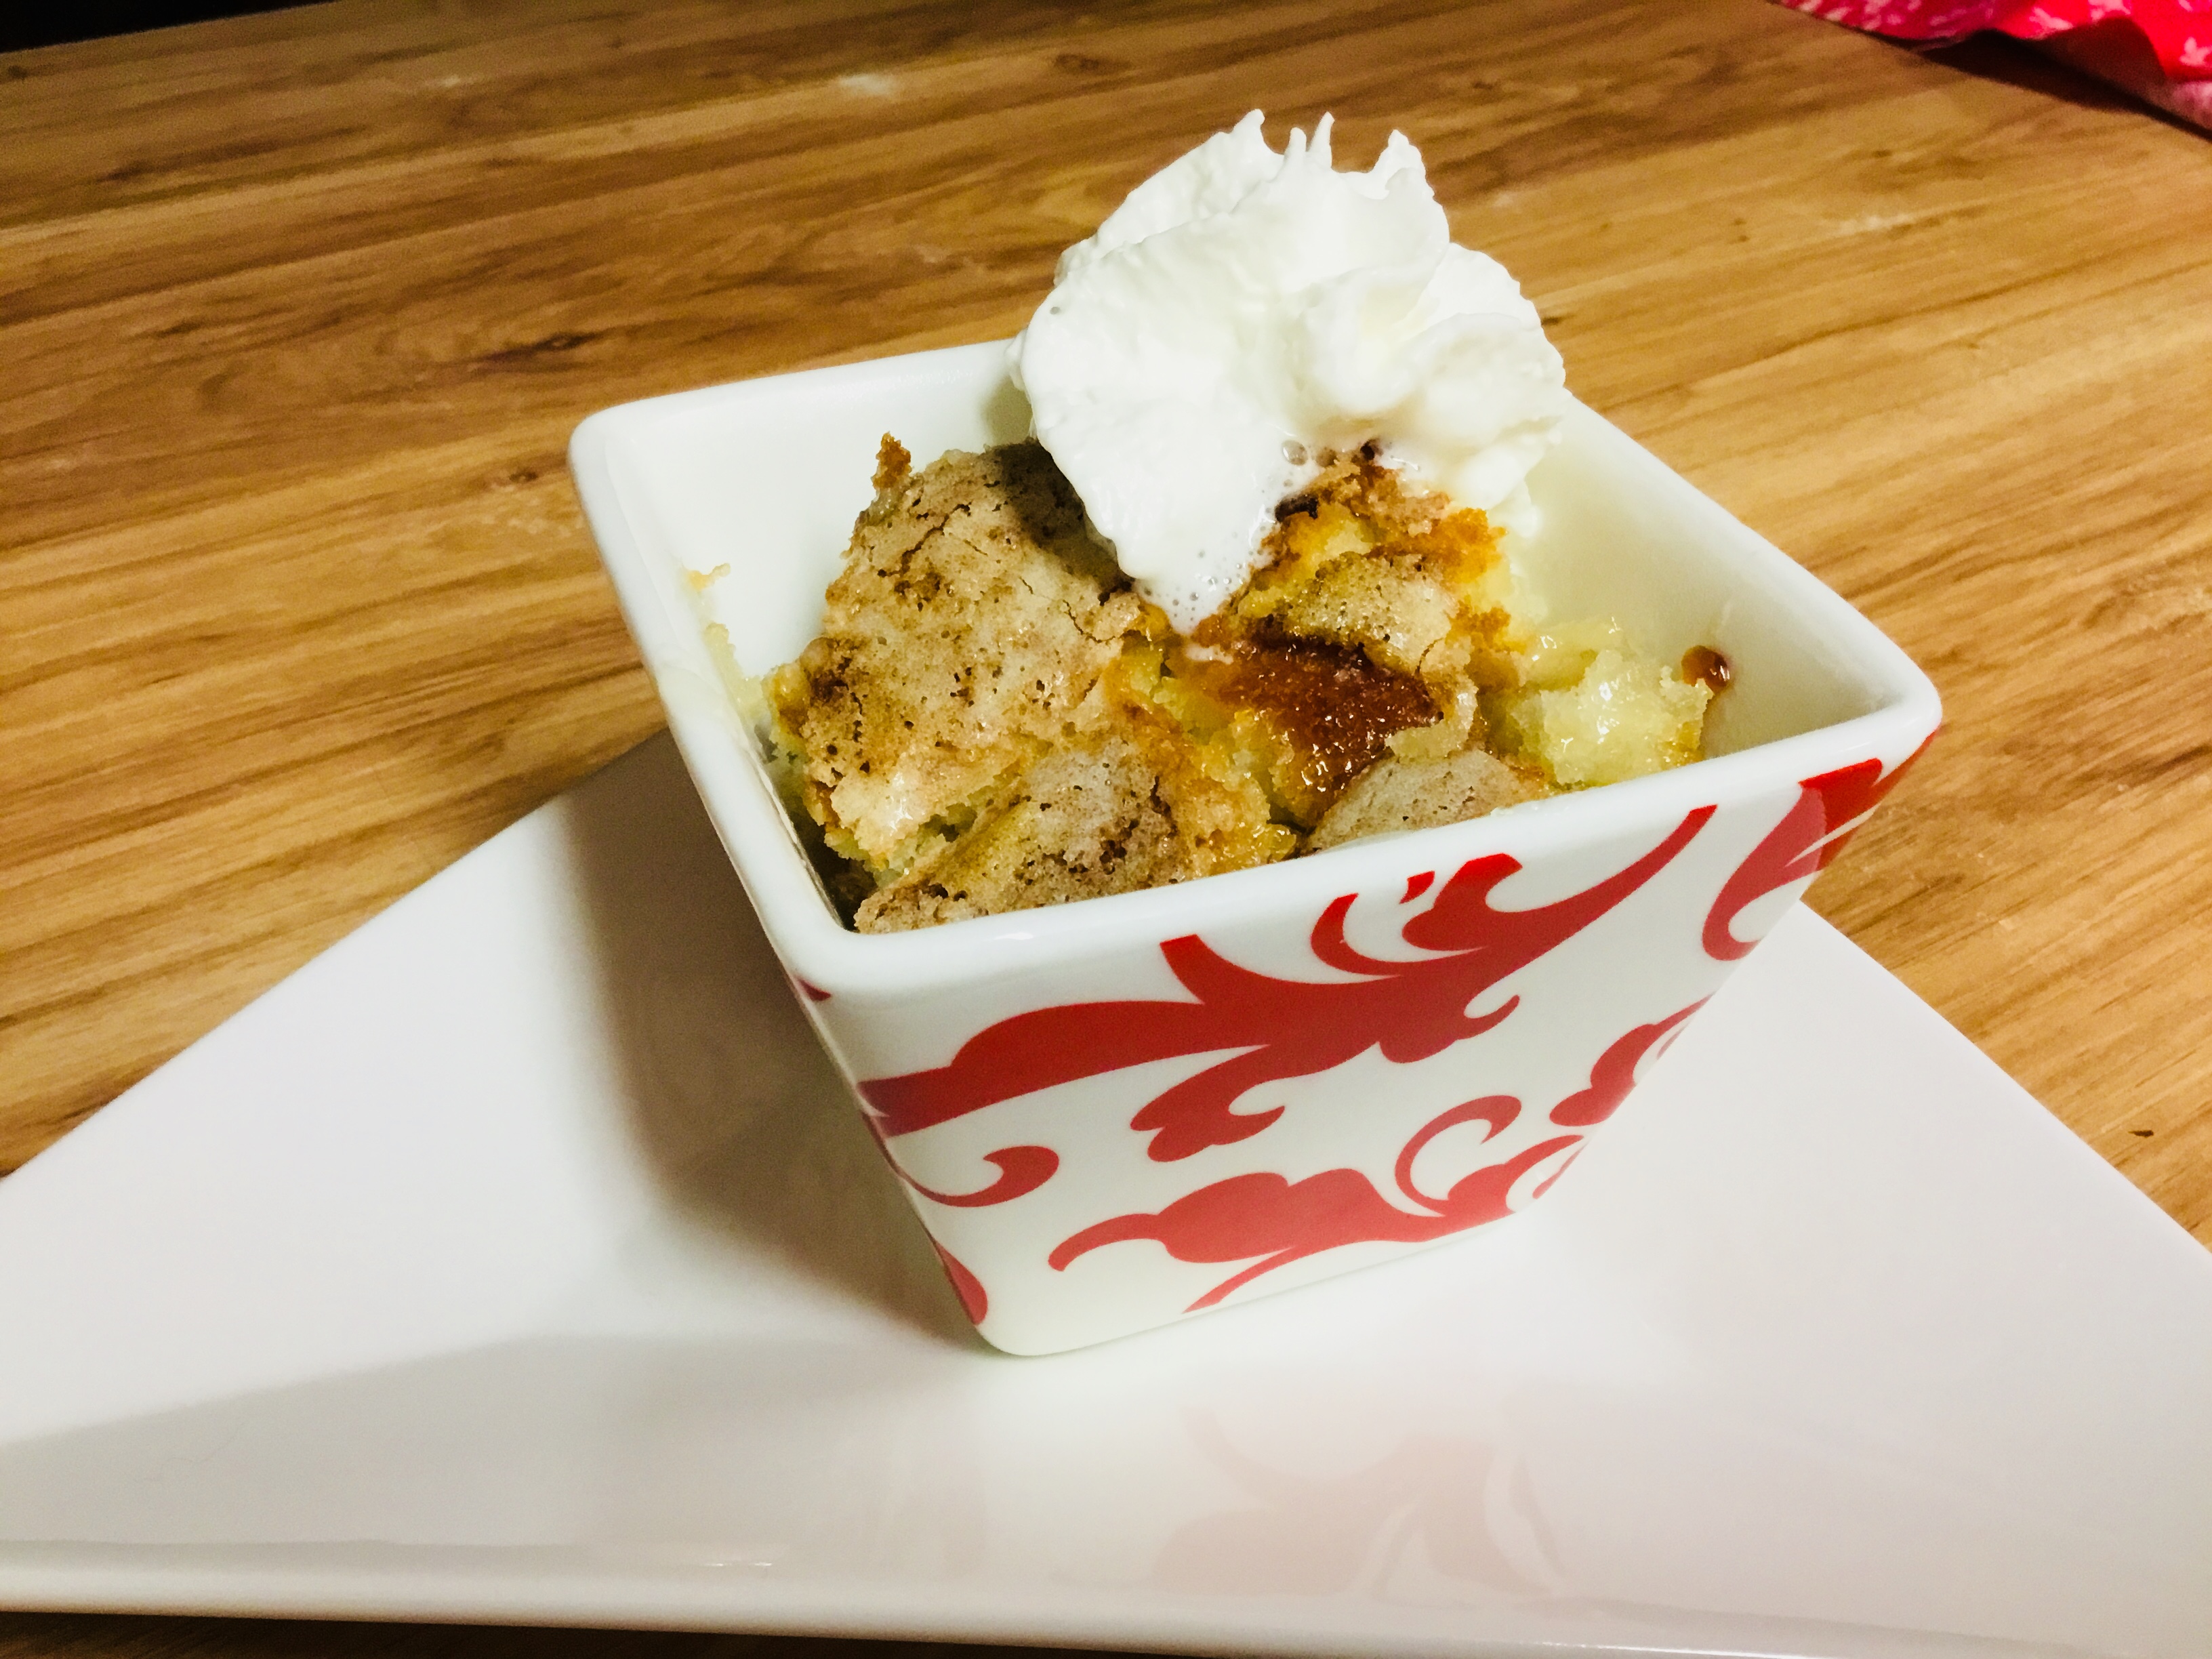
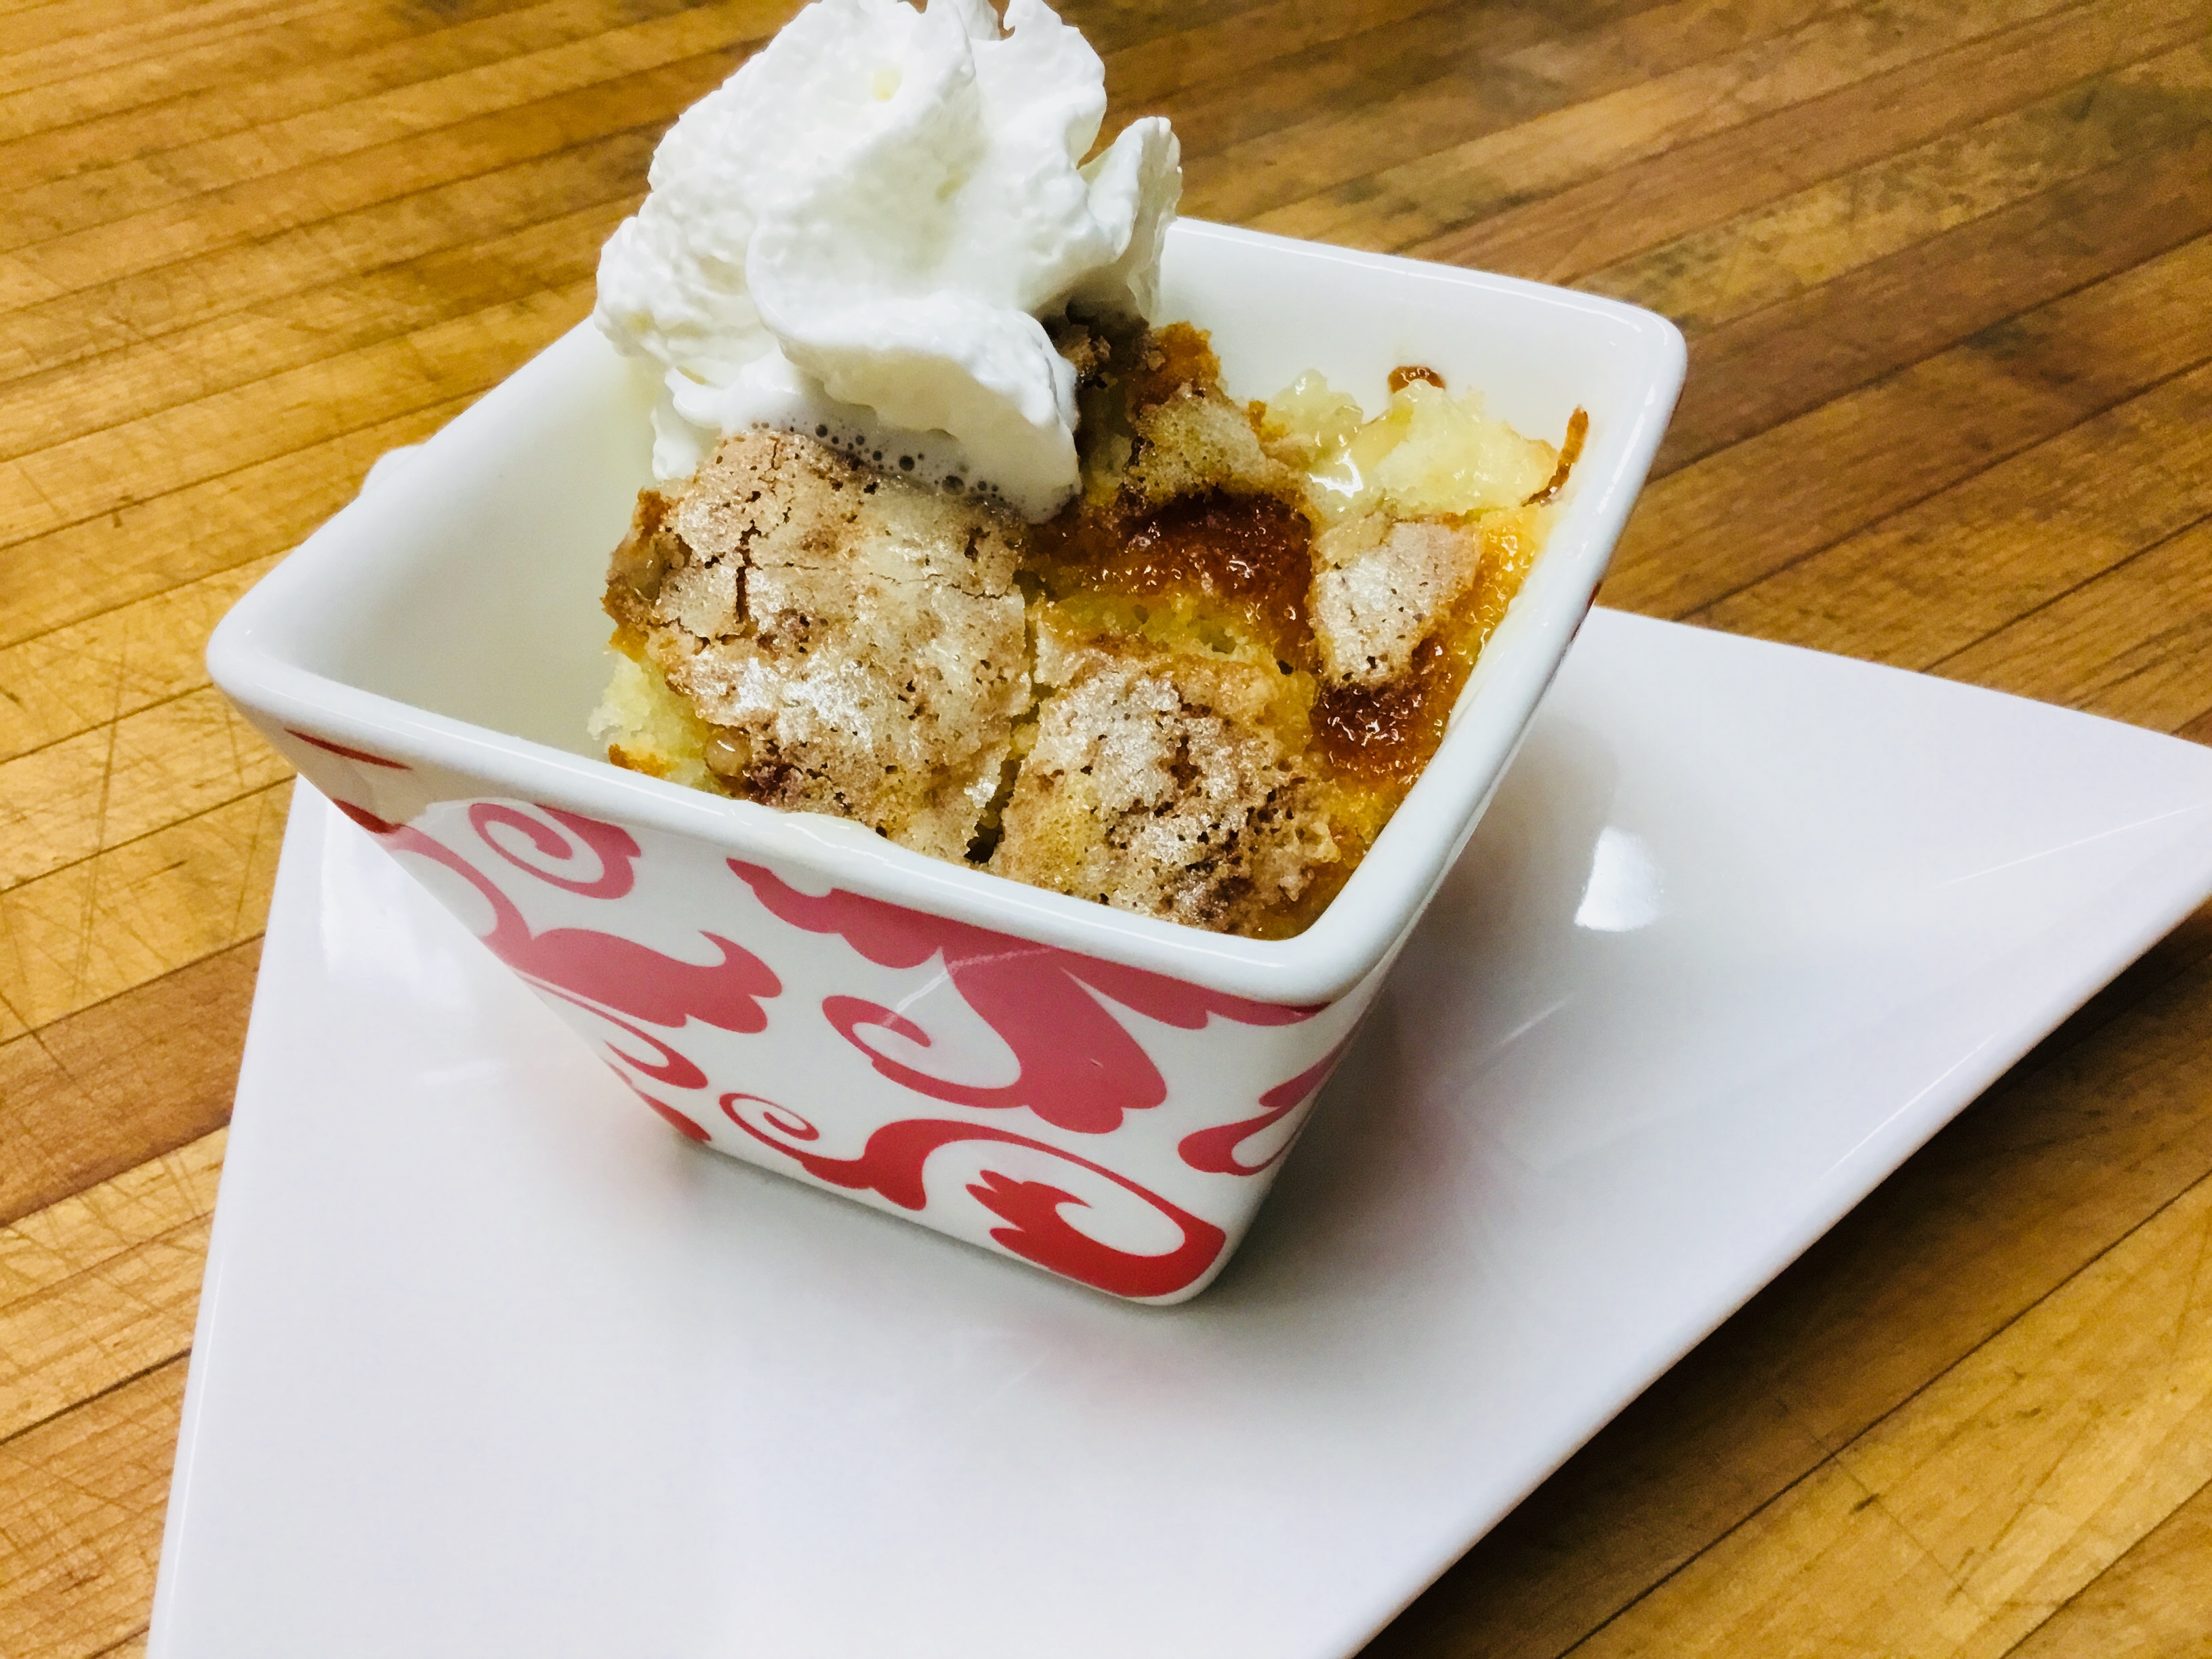
What shall we make for Easter Dinner dessert??? This is the question I kept asking myself all week. I have an idea, and someone else has offered me theirs, but before making the final choice, I decided to take a poll. I randomly asked six different sisters to answer this question. What immediately comes to mind when you think of choosing a most favorite Easter dessert?
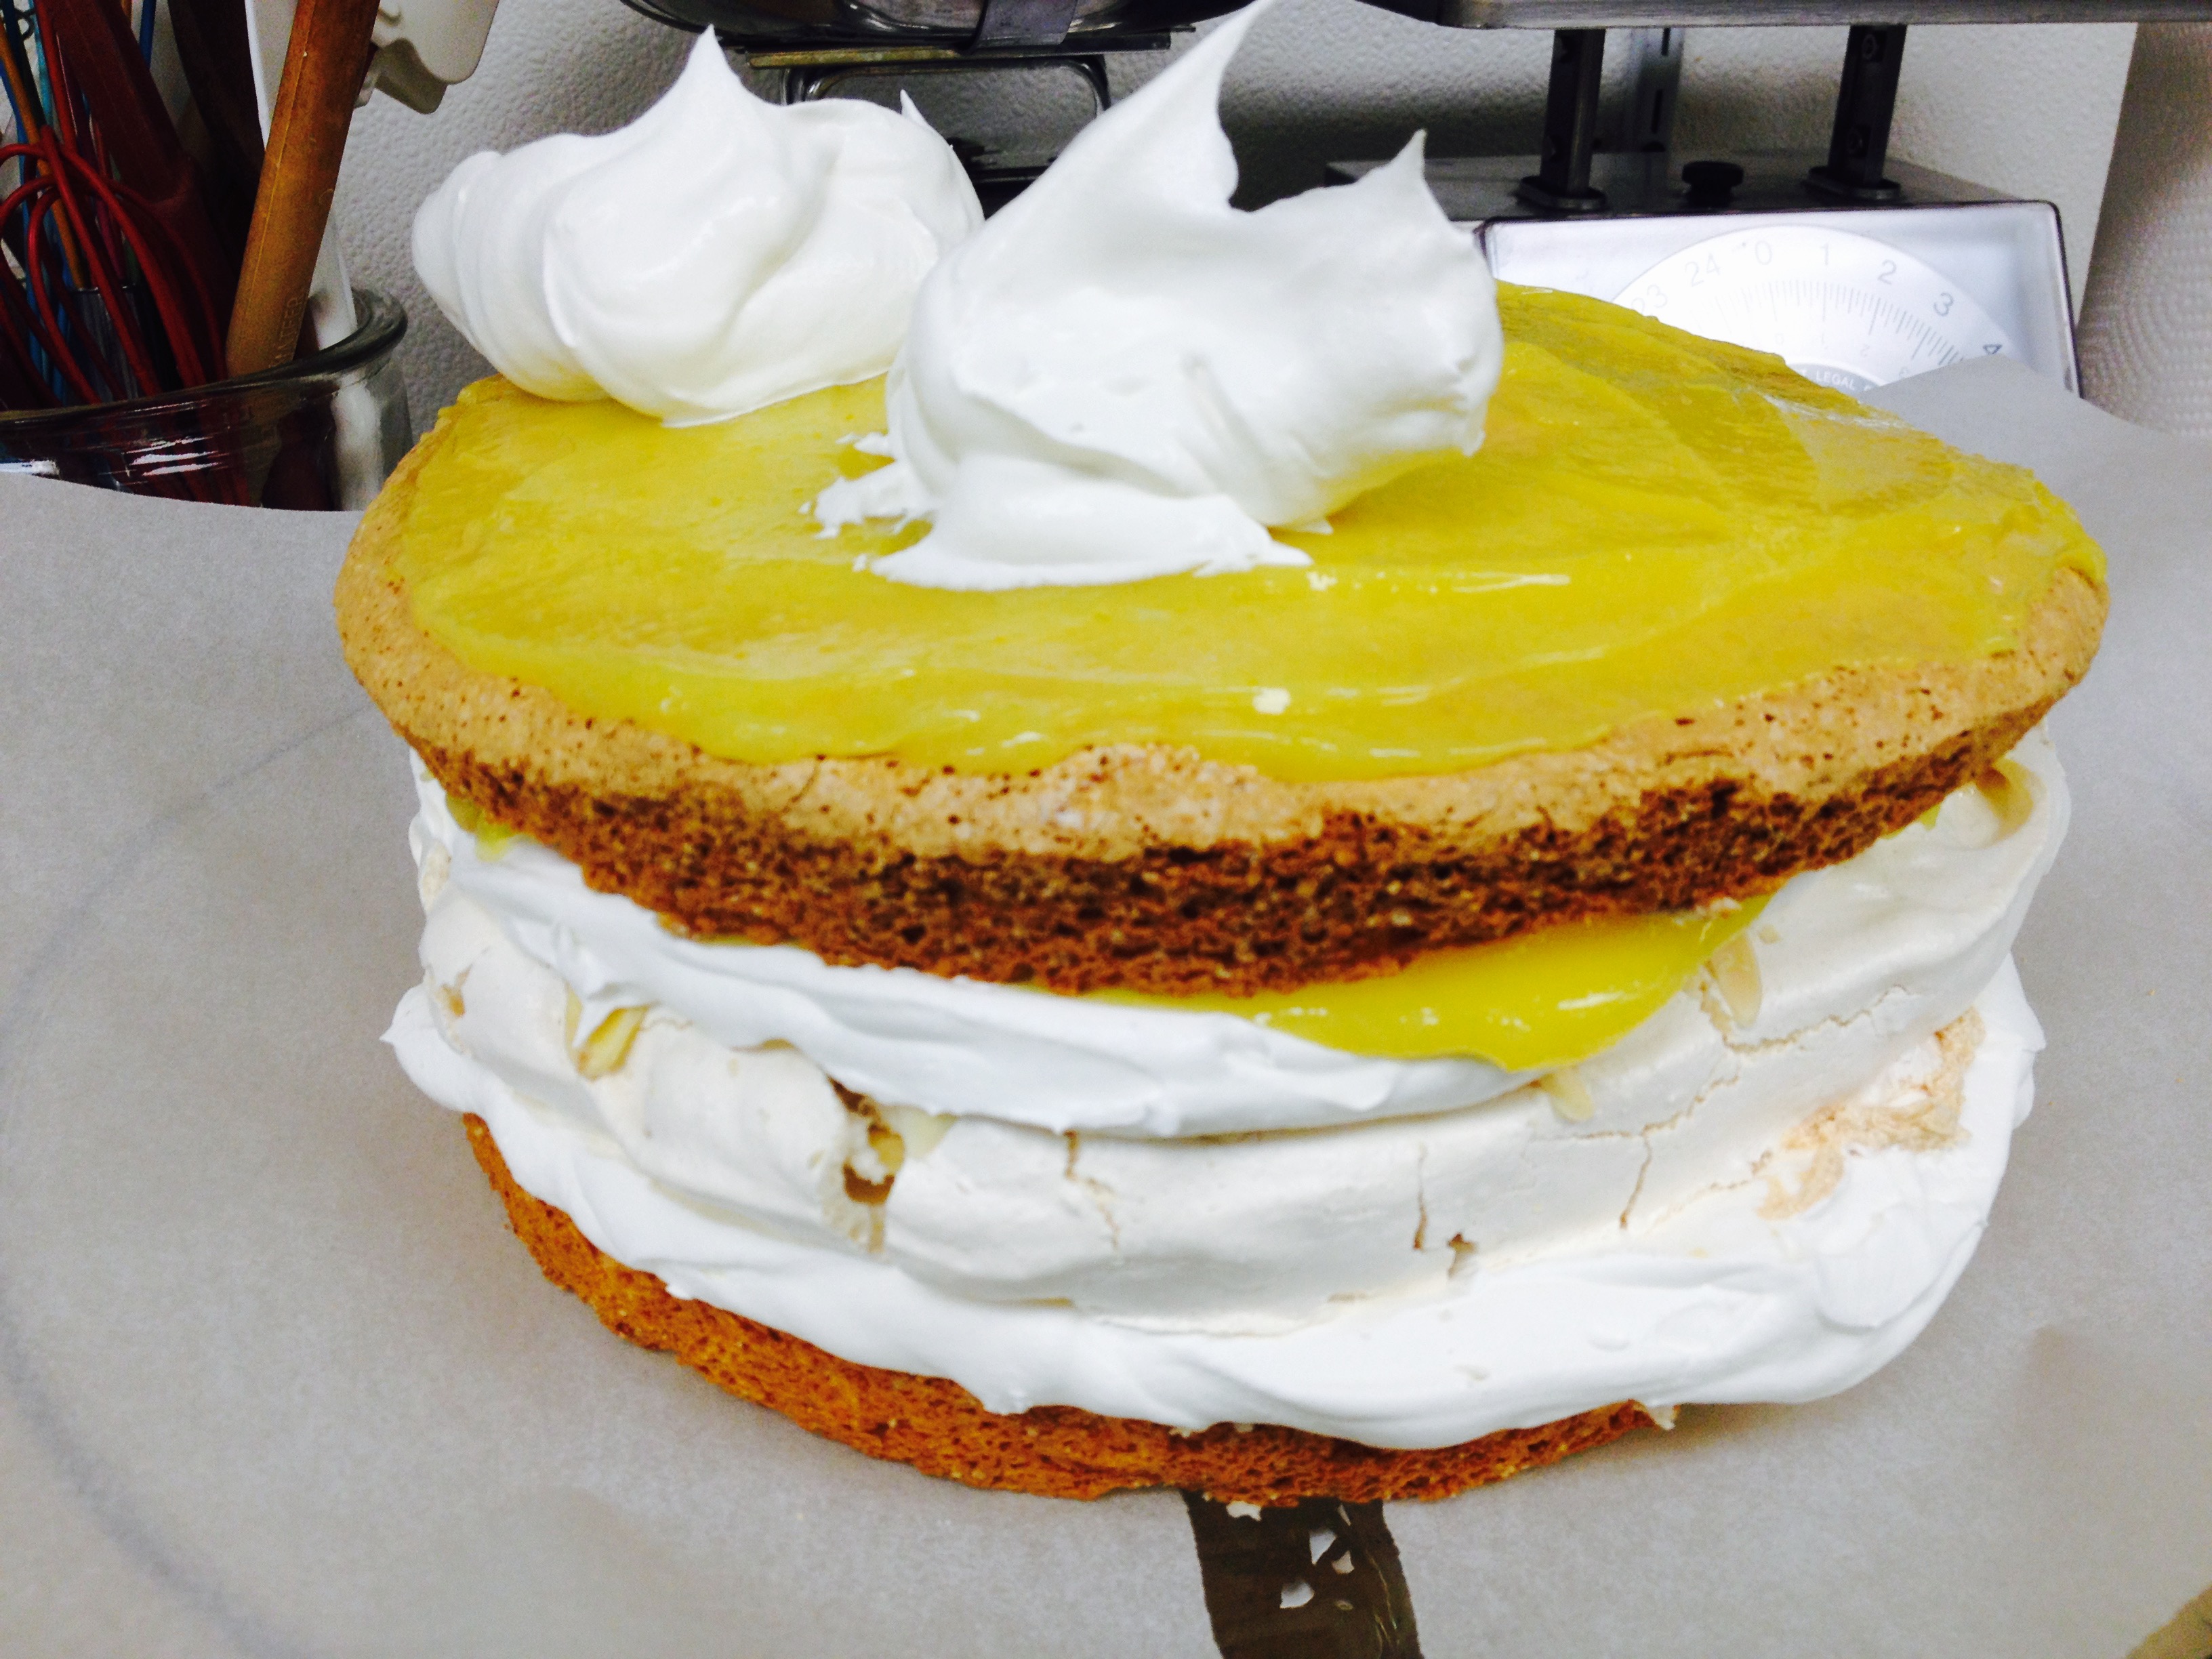
Five out of six said “…something light and fluffy.” Four out of six said “…cool and creamy.” Three out of six said “…something lemony.” Two out of six said “…white or light yellow.” Interestingly enough, each of our desserts fit these descriptions, so we ingeniously combined them into one spectacular creation which we hope that many will enjoy!
Print Recipe
Votes: 0
Rating: 0
You:
Rate this recipe!
Springtime Lemony Angel Food Meringue Torte
SERVINGS12servings
|
COOK TIME45mins |
PREP TIME1hr |
READY IN2hrs |
Ingredients
Instructions
To Make the Angel Cake:
- Preheat the oven to 350 F and arrange an oven shelf in the bottom third of the oven. Sift the flour and 3½oz of the sugar together in a bowl and set aside.
- Whisk the egg whites in a large bowl with an electric hand whisk or mixer on a high speed for one minute until frothy. Add the lemon zest, lemon juice, cream of tartar and salt and continue whisking for 2-3 minutes, or until soft peaks form when the whisk is removed from the bowl. Increase the speed and add the remaining 7oz of sugar, one tablespoon at a time to form firm, but not stiff peaks.
- Sprinkle over one-third of the flour mixture and fold gently to combine. Repeat with the remaining two-thirds of the flour mixture folding gently to keep as much air in the mixture as possible.
- Transfer the batter to a 10 inch angel food cake pan. Gently run a knife through the center of the batter to remove any pockets of air. Cook for 45-50 minutes, or until a skewer inserted into the center comes out clean.
- Remove from the oven and immediately turn upside down onto the tin’s cooling legs, or place over the neck of a wine bottle. Leave to cool for at least one hour.
Run a knife around the inner and outer edges of cake to remove it from the pan. Invert onto a plate. Carefully use a palette knife to separate the cake from the base of the pan. Leave to cool on a wire rack.
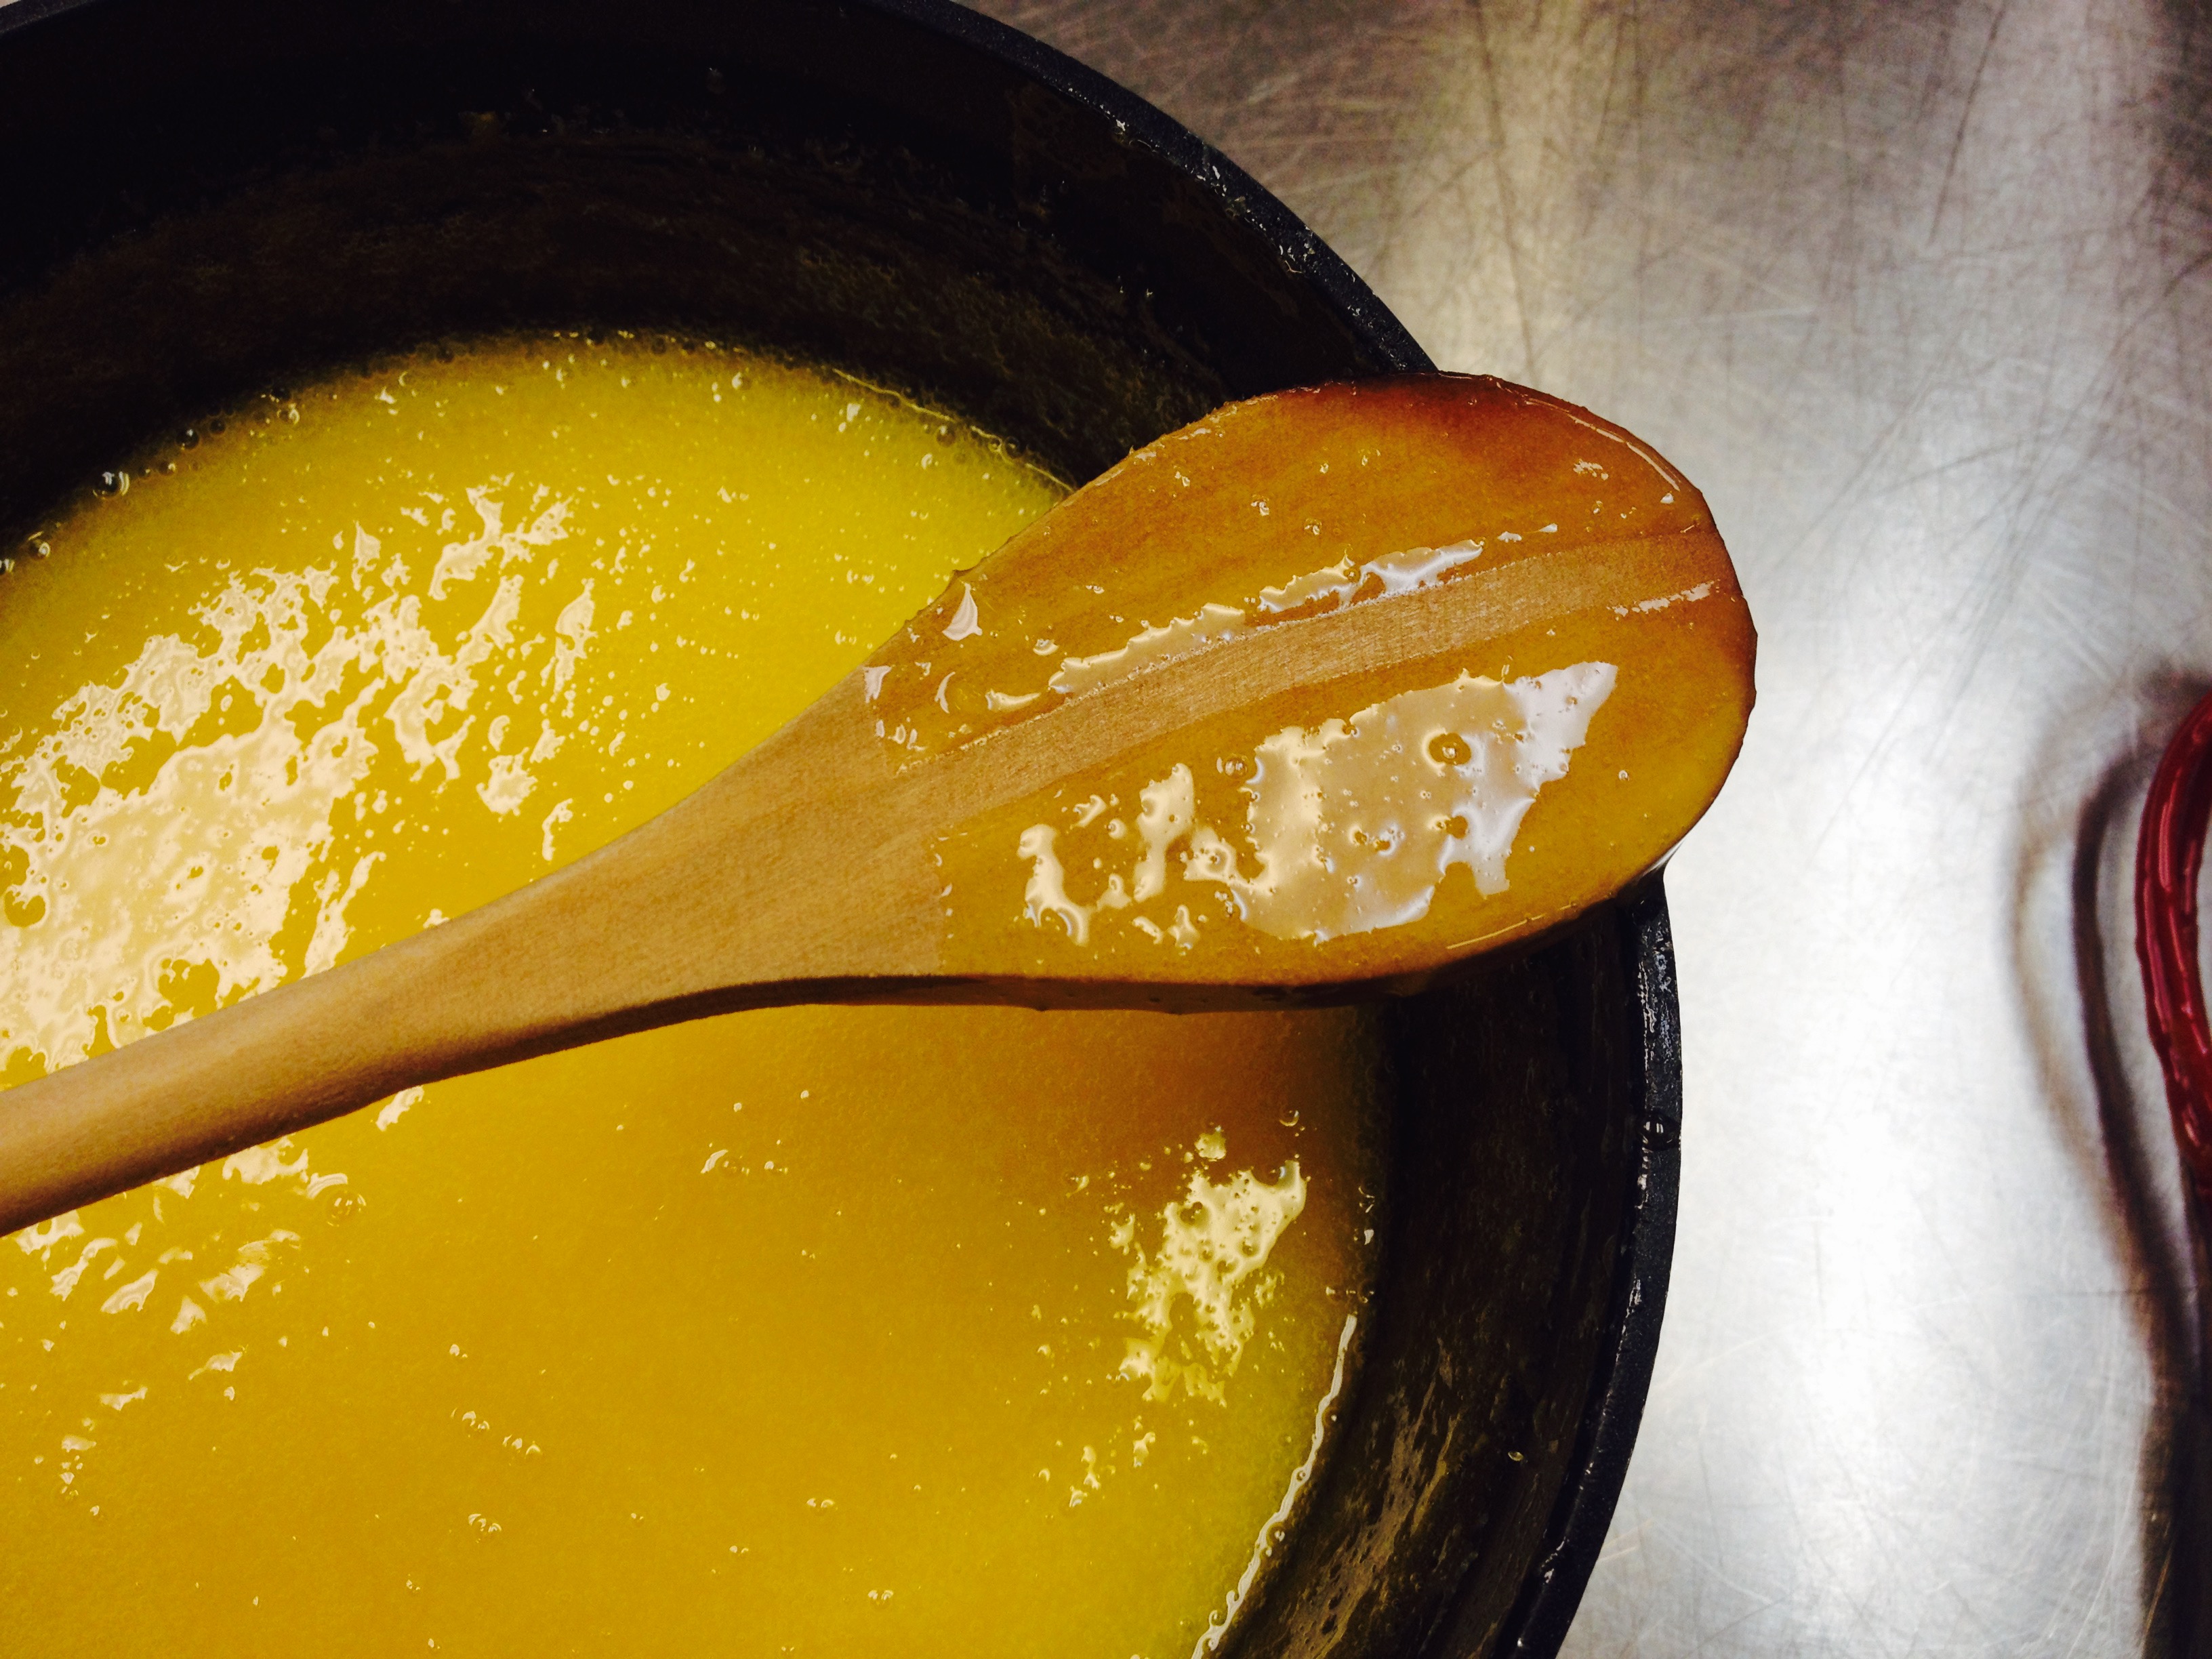
To Make the Lemon Curd:
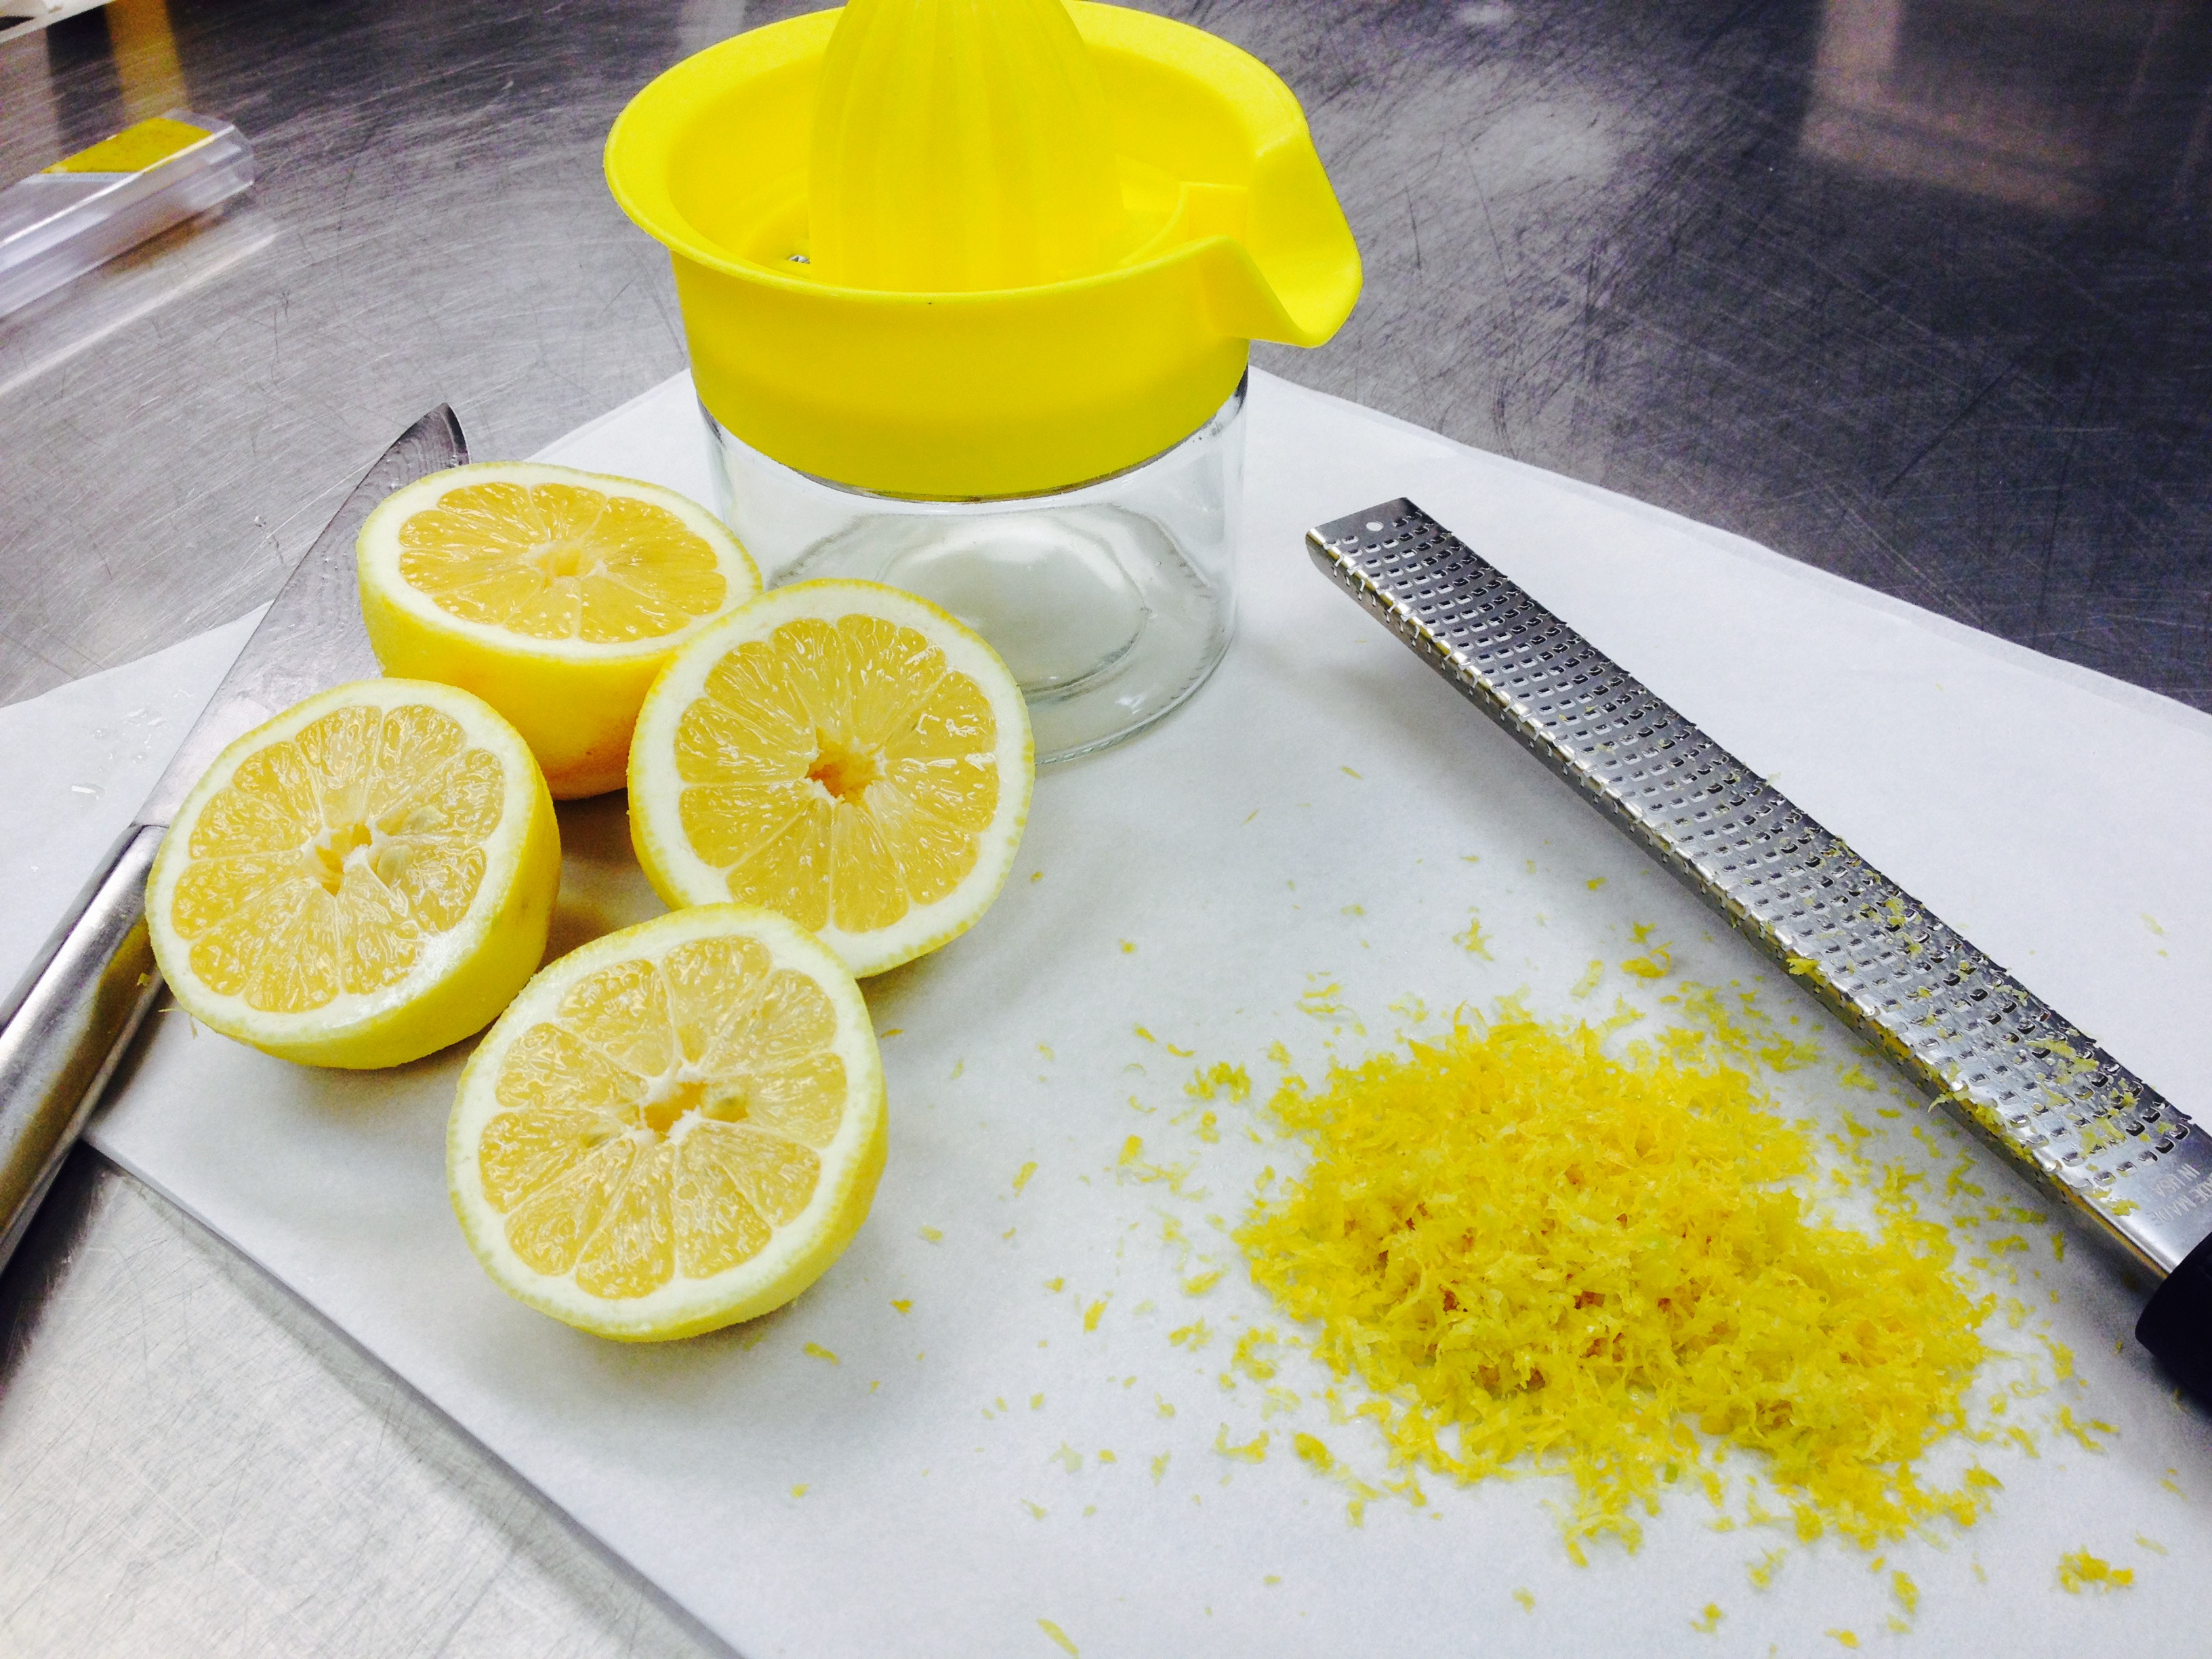
- Mix the egg yolks, sugar, lemon juice and lemon zest together in a large pan. Cook over a low heat, stirring with a wooden spoon, making sure to stir the sides and base of the pan.
- Cook for 5-7 minutes, or until the mixture coats the back of a spoon. Remove from the heat and stir in the butter. Pass through a sieve into a large jug. Fill two 12 oz glass jars with the lemon curd and seal with lids. Cover the remaining curd with cling film and leave to cool.
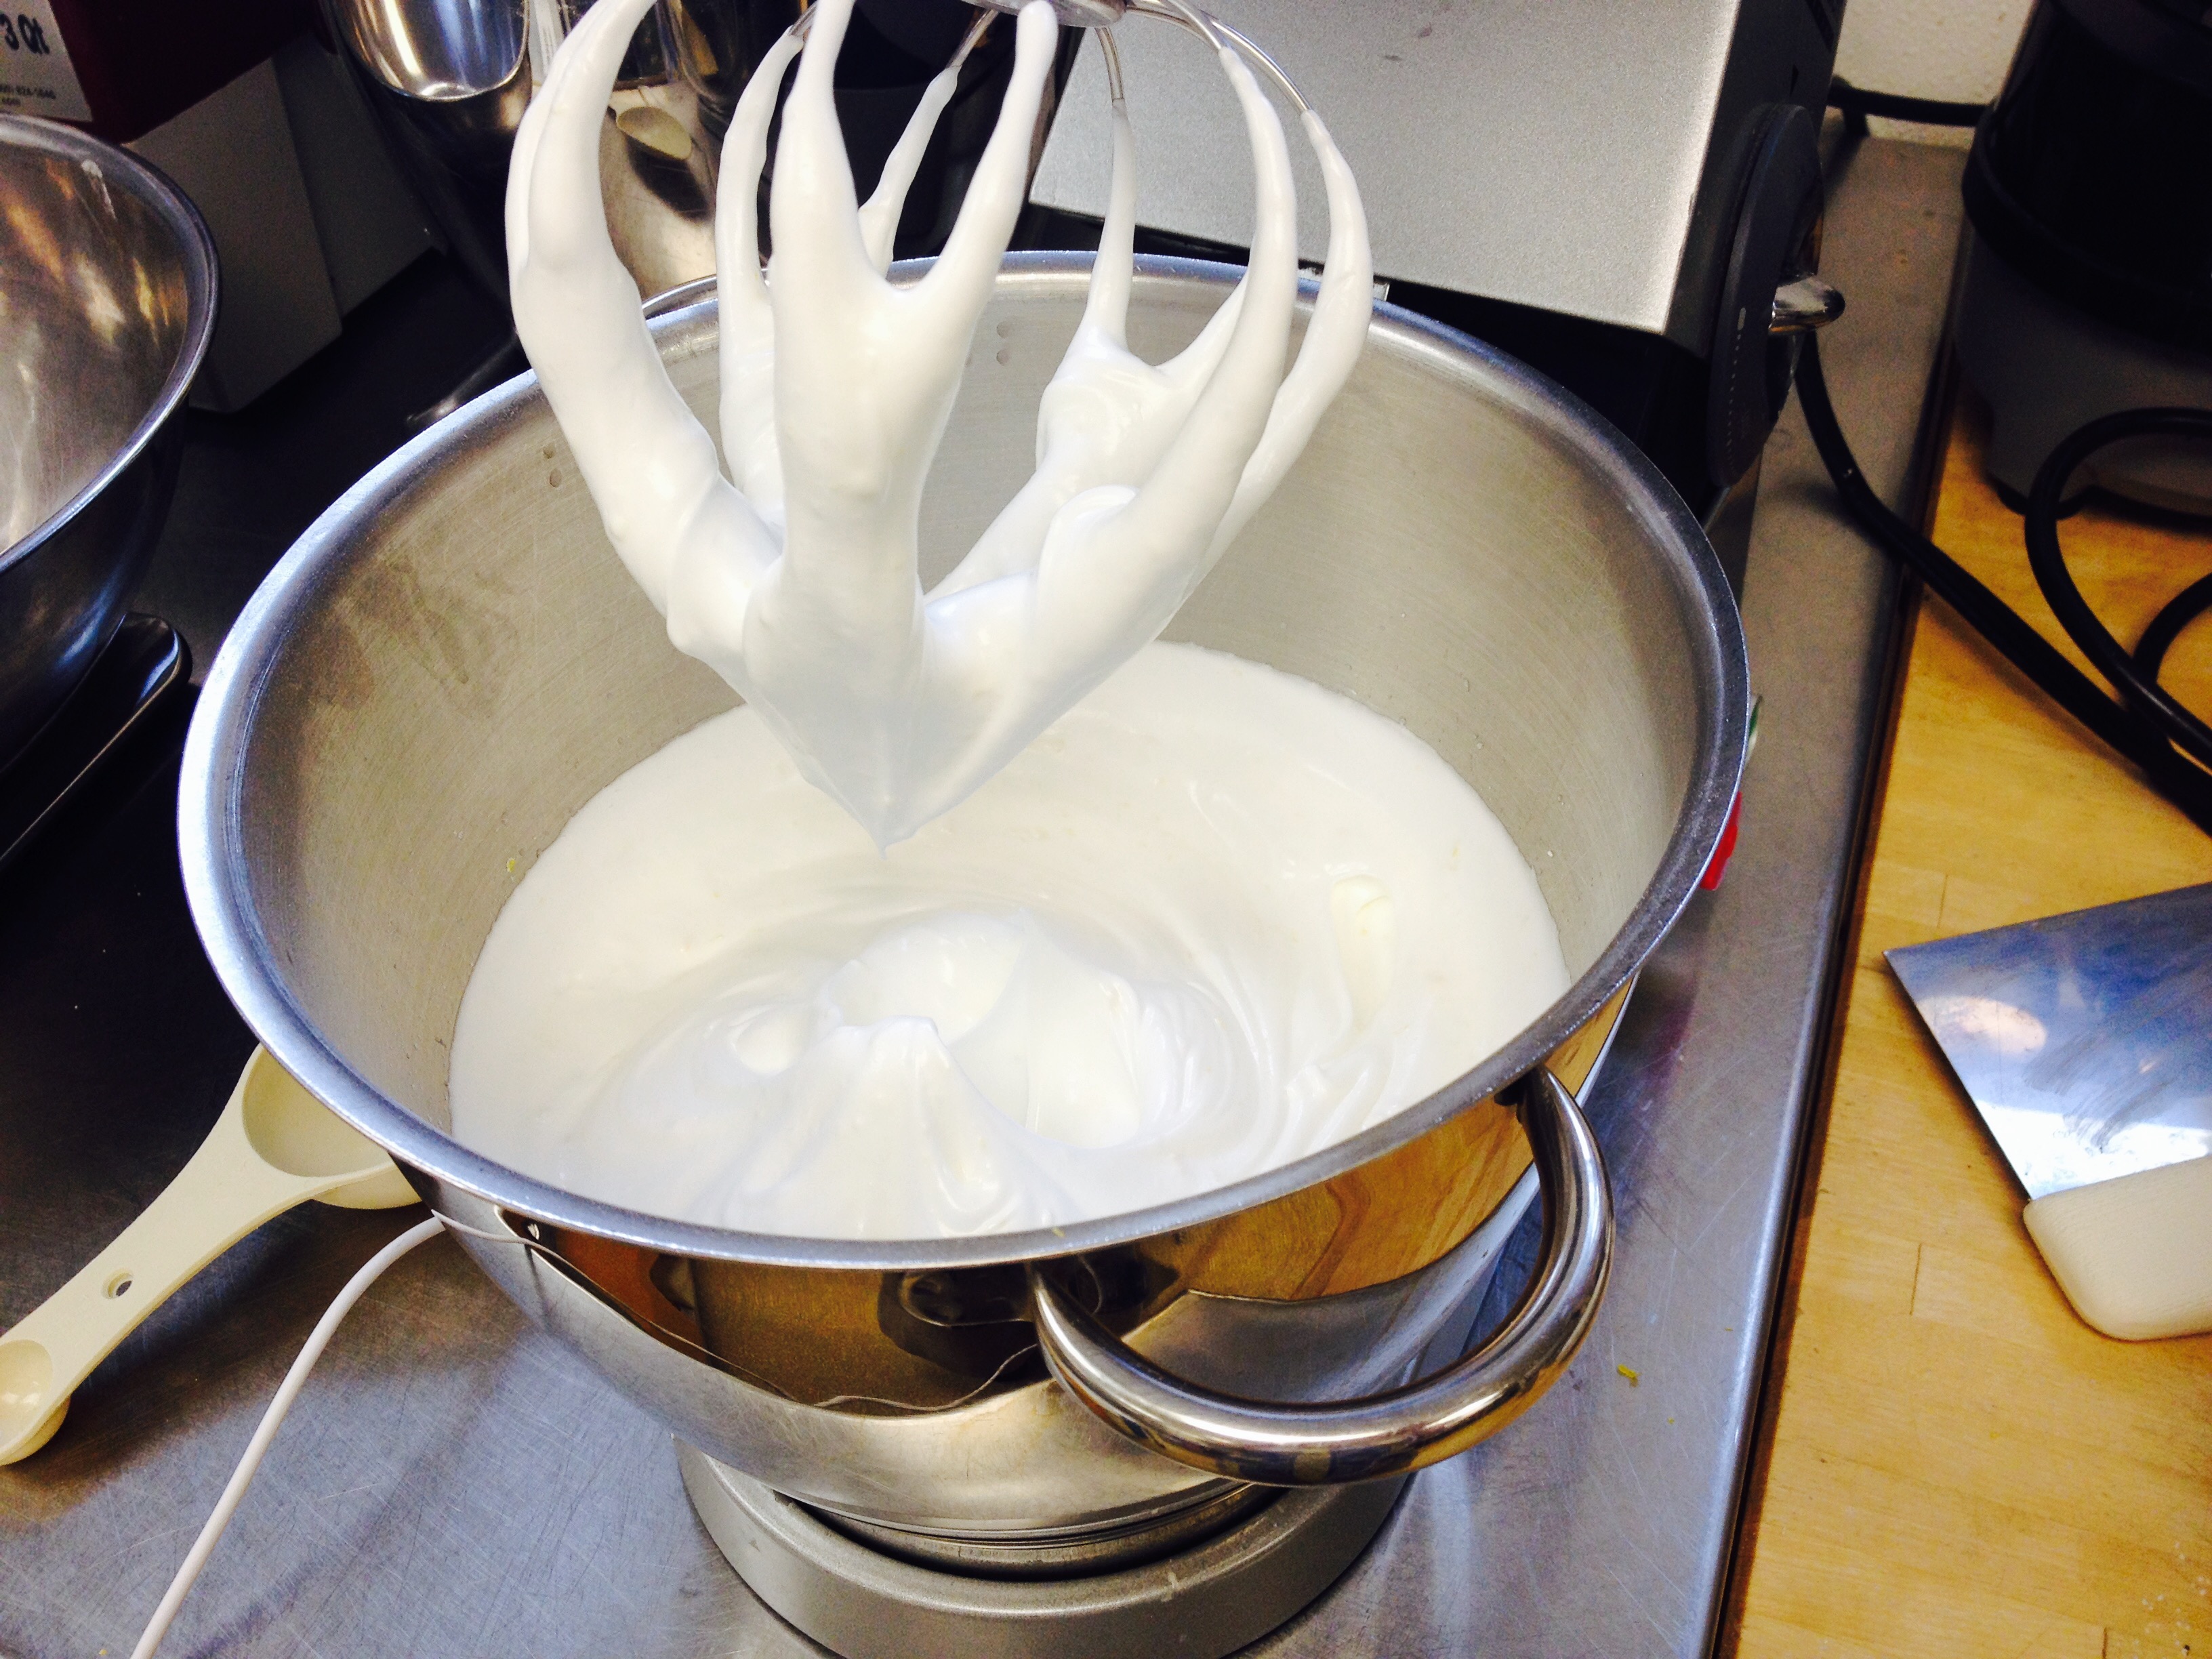
To Make the Meringue Layers:
- Preheat oven to 275. In a mixer, beat the egg whites on medium speed until foamy. Switch to high speed and gradually beat in the sugar until stiff and glossy peaks form and sugar is dissolved. Add the vanilla.
- Remove beater whisk and by hand, gently fold in 1/2 cup sliced almonds.
- Line two sheet pans with baking paper and trace two circles of the base of the angel food cake pan - 10" diameter on each. Divide meringue between the two circles and form into rounds - staying 1/4" within the border - they will be about 3/4" high. Sprinkle with the additional 2 Tbsp of sliced almonds.
- Bake at 275 degrees for 3-35 min. or until golden and crisp. Remove from oven and cool on a rack.
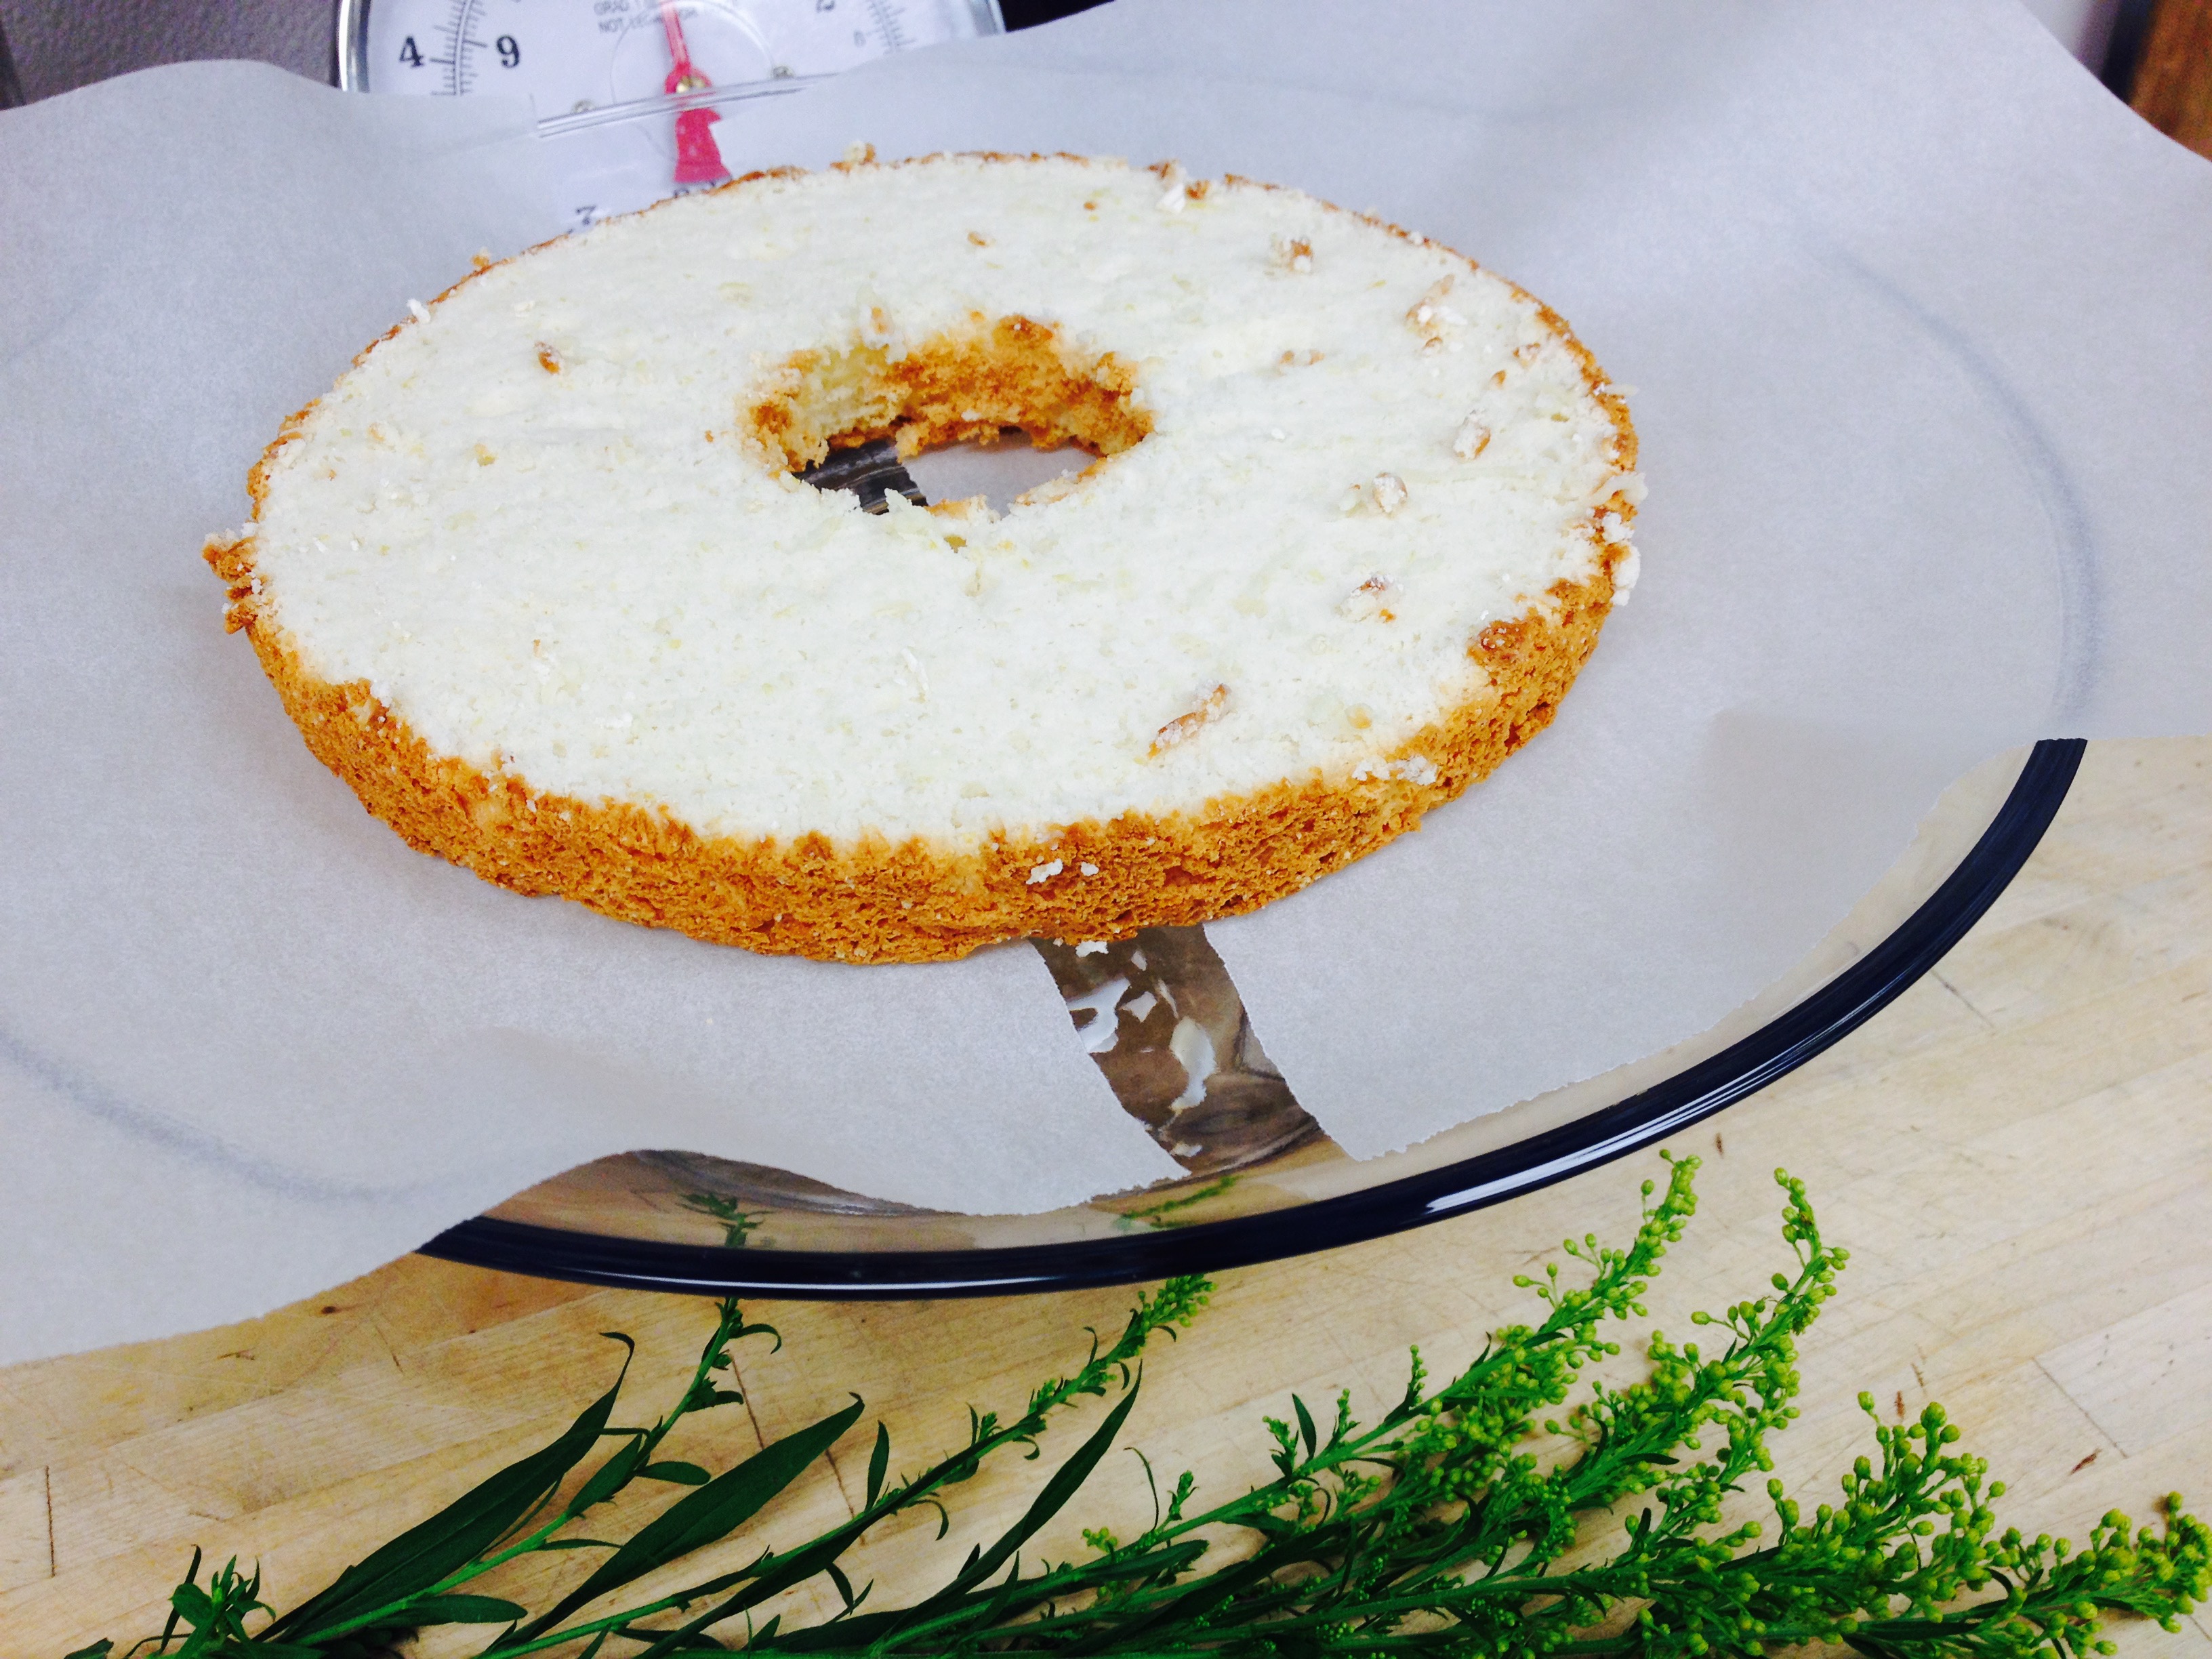
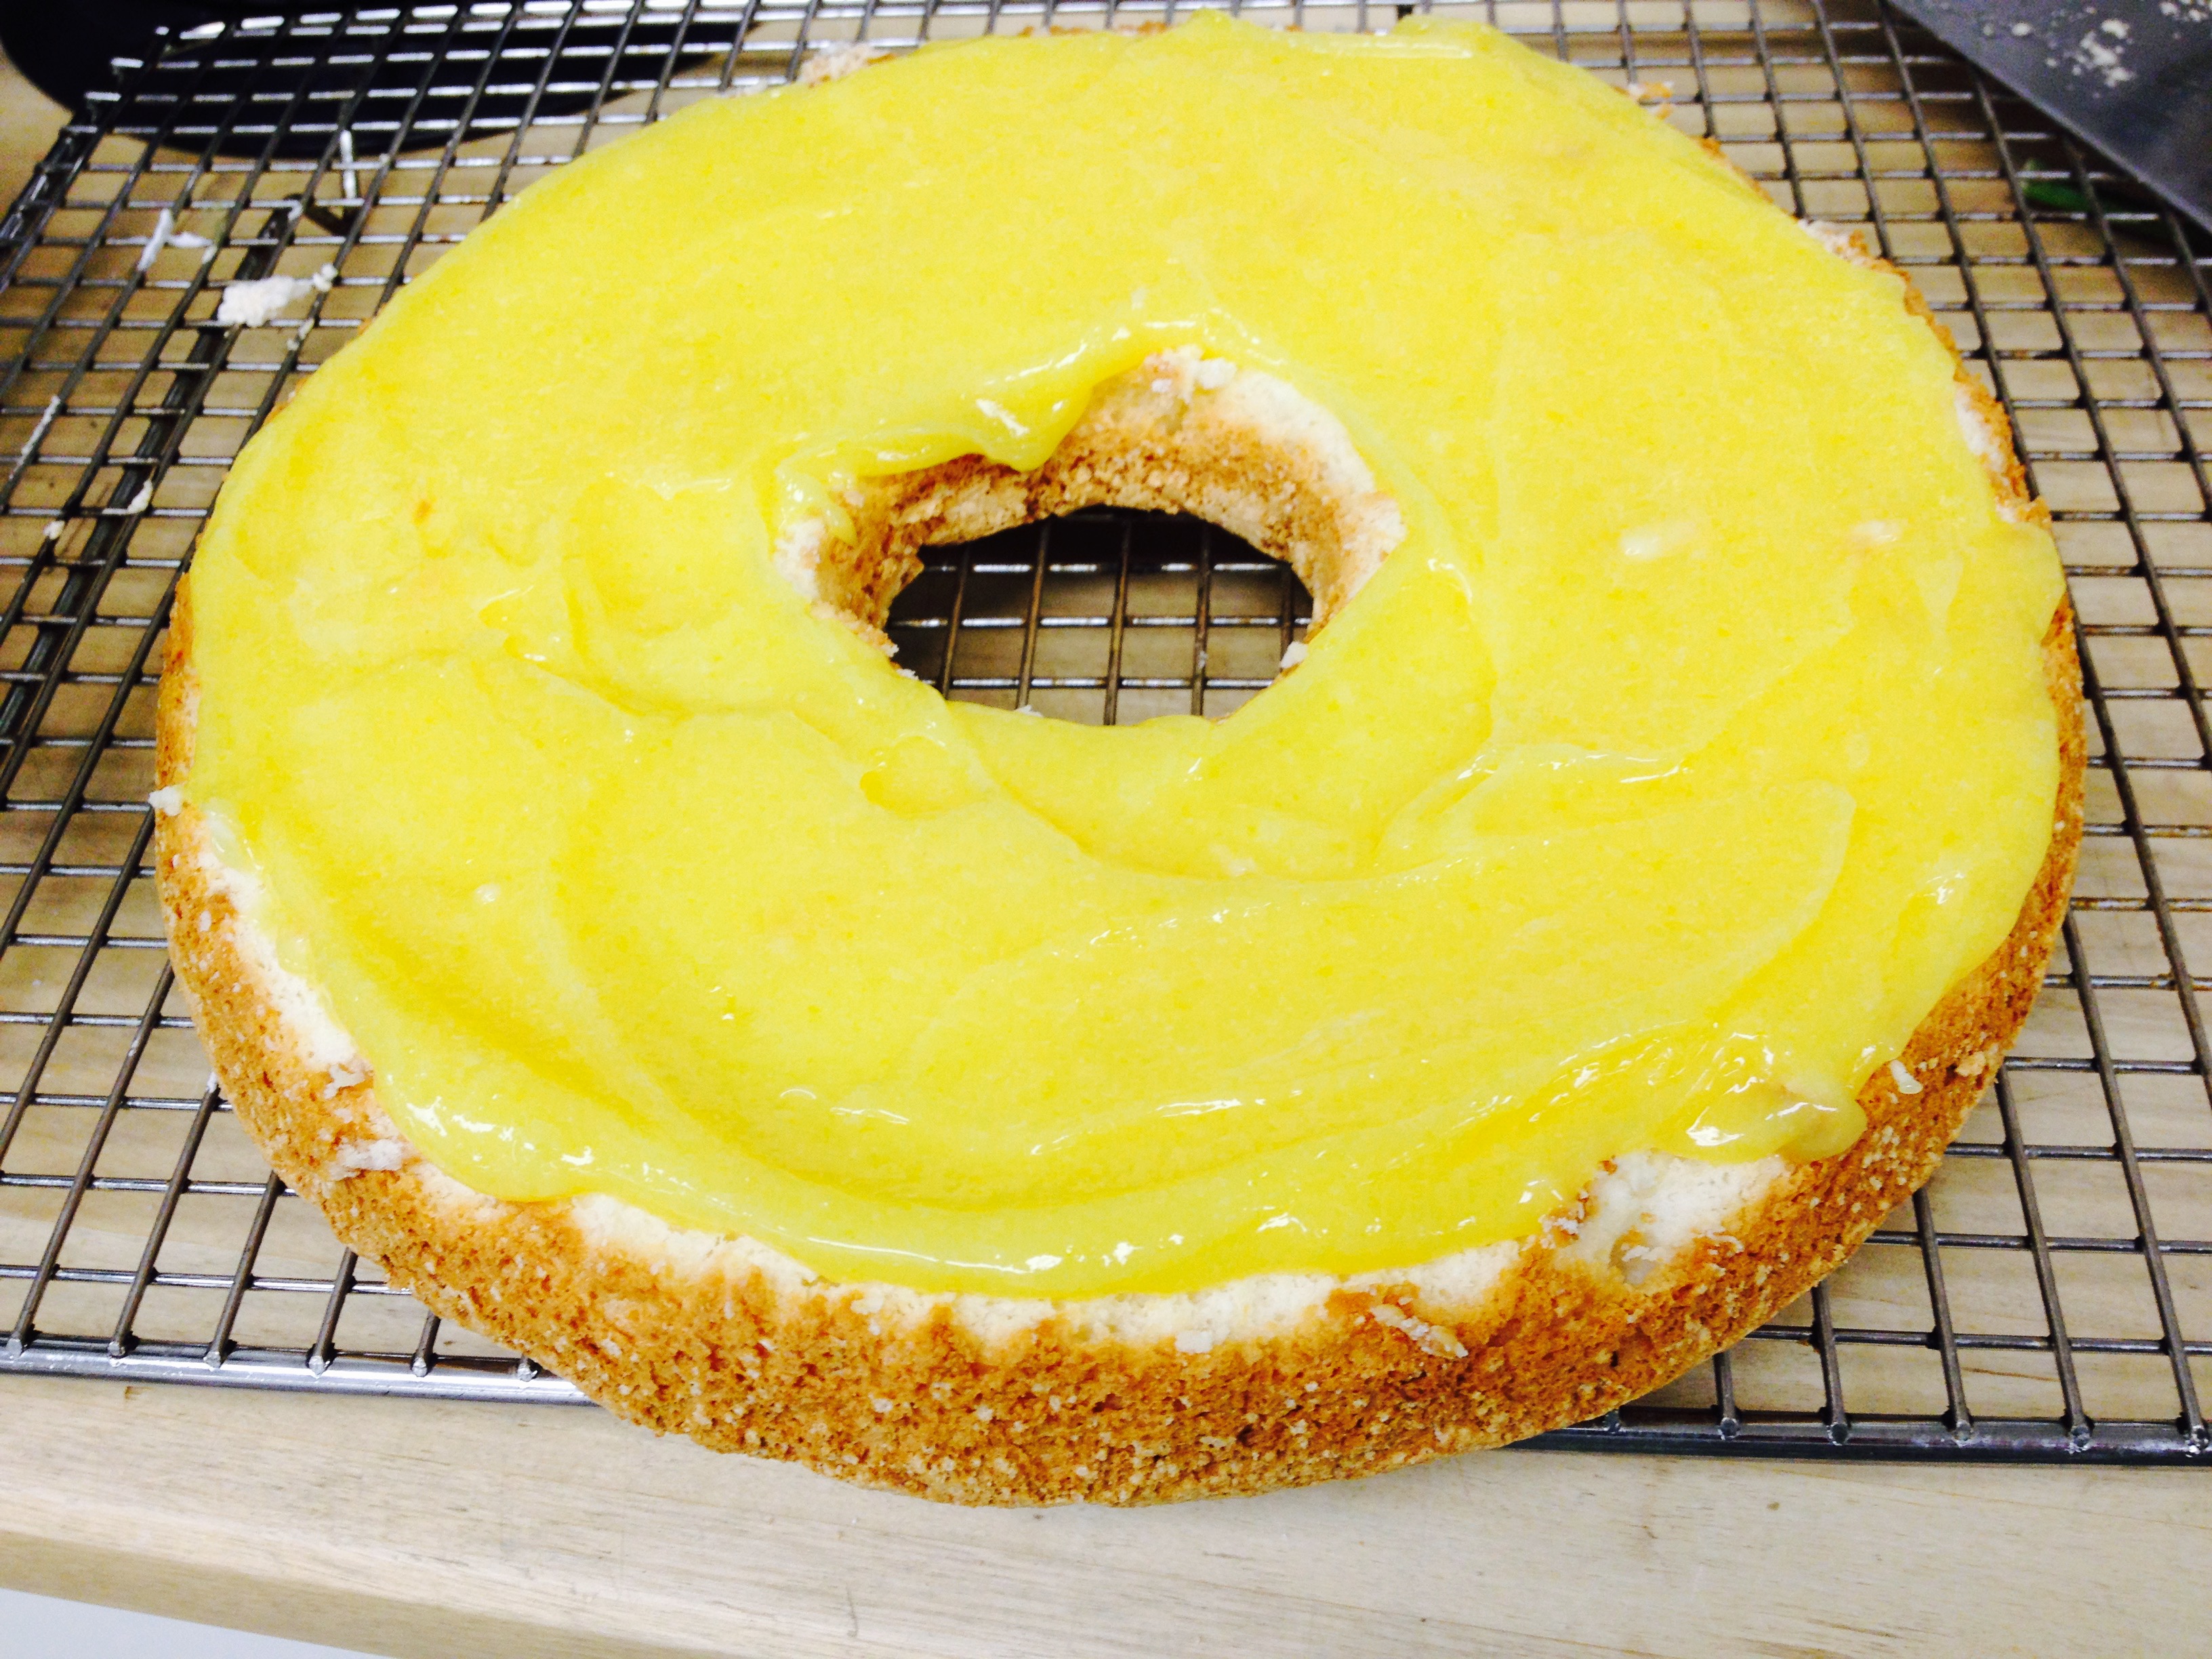
To Assemble:
- Cut the Angel food cake in half horizontally
- On the bottom layer, spread some lemon curd, followed by cool whip, meringue layer, then the top of the angel cake spread with lemon curd, cool whip and then the top meringue layer.