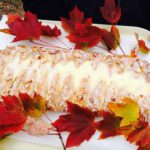
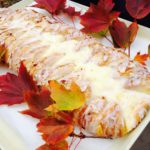
Cheese Danish Braid

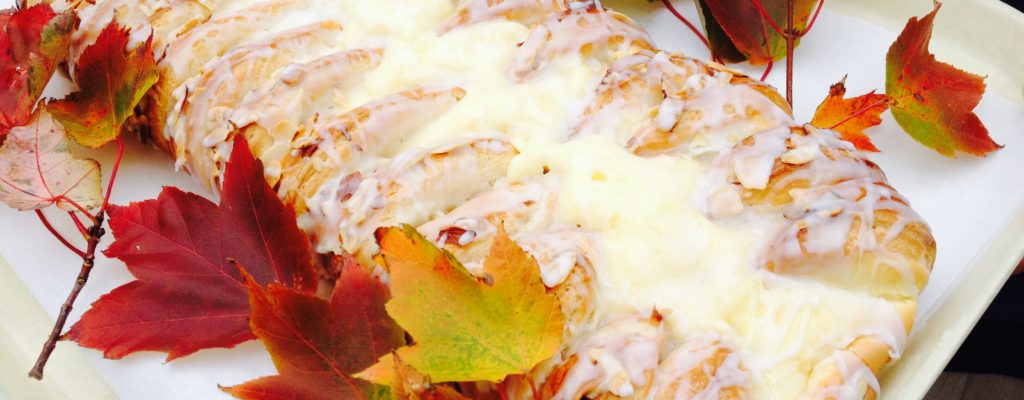
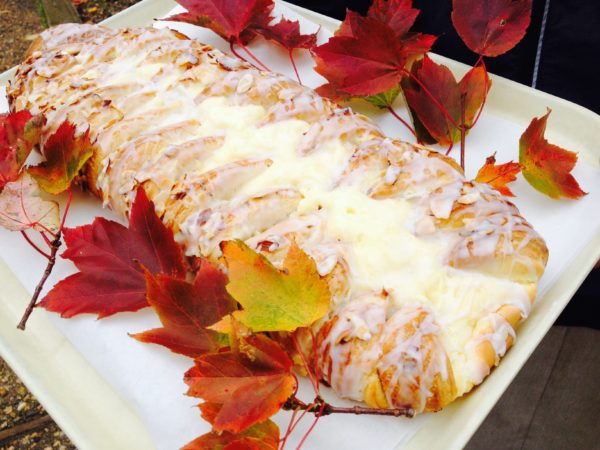
At our Thanksgiving feast we enjoyed celebrating God’s blessings. One of them, the best in my opinion, is of course, lovely breakfast treats. In specific, a golden cream cheese danish with a hint of almond…can you see where were going with this?

Danishes can be a little tricky – below is simple version of the recipe. If you’d like a flakier danish, I suggest doing the square of butter version (see notes at end of recipe).
But either way, with a straight-forward approach and a little bit of time, you can enjoy the sweet, flaky treat for a Sunday brunch or with your mid-morning coffee. We are so grateful to God’s many blessings and pray that you also were able to appreciate God’s goodness this year. Happy belated Thanksgiving!

Print Recipe
Votes: 2
Rating: 4.5
You:
Rate this recipe!
Cheese Danish Braid
SERVINGS
12servings
CHANGE SERVING SIZE
servings
COOK TIME
15-20mins
PREP TIME
20mins
READY IN
30mins (plus overnight for resting dough)

Ingredients

Instructions

  1. In a medium bowl, add the yeast, 1 teaspoon sugar, and warm water. Let the yeast rest until it proofs (5 minutes). Once the yeast has proofed, add the egg, milk, sugar, and salt. Stir with a whisk, and set to the side.
  2. Place the flour and 1/2 cup cubed butter into a large bowl. With a pastry blender, combine until the butter is in tiny pieces. (You can also use the food processor for this step.) **NOTE** If you'd like a flakier Danish, set aside 1/2 cup of butter and make into a butter square.
  3. Add the wet ingredients to the flour and combine until the dough comes together. Place the dough onto a floured work surface and shape into a square. Roll the dough into a rectangle 9 x 13-inches. If you'd like a flakier crust, place the butter square (see #8) in the middle and fold the dough lengthwise into thirds (similar to folding a letter to fit into an envelope). Roll the dough into a rectangle again, and then again fold into thirds. Repeat this process twice more, until you've done it a total of 3 times. Cut the dough in half, wrap each piece in plastic wrap, and place in the fridge overnight. The dough keeps for one week in the fridge and 2 months in the freezer.
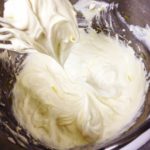
  4. Beat Cream Cheese till very smooth and no lumps remain. Combine with rest of filling ingredients.
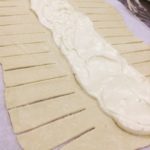
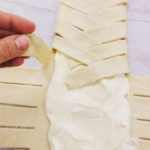
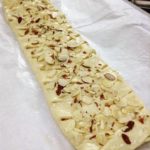
  5. Remove one piece of dough from the fridge, and save the other for a rainy day (the dough can last in the fridge for up to 5 days and in the freezer for 3 months). On a floured piece of parchment paper, roll out the dough into a 9 x 13-inch rectangle. Spoon some of the cream cheese filling in the middle of the dough. With the dough laid in front of you vertically (so that the smaller 9-inch end is facing you), make 1-inch diagonal cuts down the left and right sides of the dough (imagine you are making a Christmas tree). Once you have reached the bottom, cut away two triangle pieces, so that the dough now has a tree trunk. Fold the tree trunk flap over the apples, then go back to the top and fold each strip over the cheese filling, alternating from left to right and moving towards the bottom.Preheat the oven to 400º F.
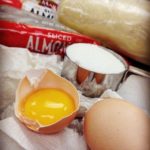
  6. Gently lift the parchment paper and the braid onto a baking sheet. Brush the top of the pastry with an egg wash (one egg white and a teaspoon of water). Bake for 15 to 20 minutes, or until brown on top.
  7. In a small bowl, whisk the powdered sugar, 1 tablespoon of milk, and vanilla until you get a desired consistency. Add a tablespoon more milk if the icing is too thick. (It should be pourable, but not so thin that it drips off of the pastry.) Drizzle over the top of the braid and sprinkle with powdered sugar. Serve warm. The danish lasts for 3 to 4 days. It's best to store in the fridge, covered in plastic wrap, and then reheated in the oven or microwave before eating.

*NOTE: Option for Flakier Dough: Before cubing butter, set aside 1/2 cup of butter. Cut into 4 squares, sprinkle with a little flour and roll to a 1/4" width between 2 sheets of parchment paper. Refrigerate till ready to use in Step #5.
Apple Fritter Quick Bread

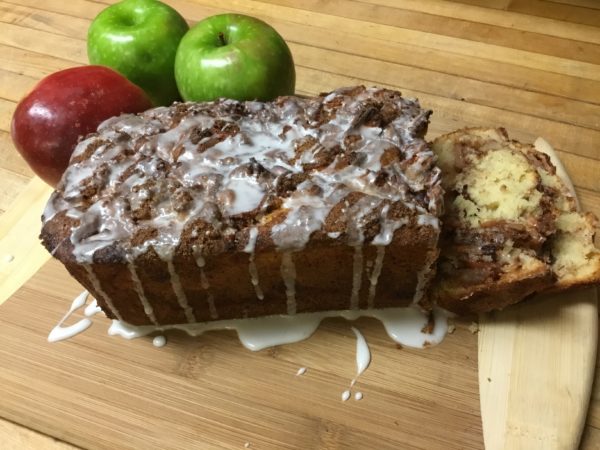
Several of us Sisters were recently sharing our favorite fall doughnut flavors, and it seemed the most popular Fall favorite was Apple Fritters. As a child, I remember getting these as a treat at our Fall fairs – crispy on the outside and slathered with creamy frosting, it just takes one quick bite to sink your teeth into the most delightful apple pieces covered with cinnamon. Yum! Just writing about it now makes my mouth water! Since our waistlines aren’t exactly what they were when we were kids, but still just dying to bring the memory back, I stumbled upon an Apple Fritter Bread. With a few modifications, this bread, although slightly healthier, still has those magical flavors. It’s a perfect recipe for young children to participate in making. And the aroma it brings into your kitchen…you don’t want to miss it!

Print Recipe
Votes: 4
Rating: 5
You:
Rate this recipe!
Apple Fritter Quick Bread
SERVINGS
8servings
CHANGE SERVING SIZE
servings
COOK TIME
1hr
PREP TIME
15mins
READY IN
1 hr15 mins

Ingredients

Instructions

  1. Preheat oven to 350 degrees. Use a 9x5 -inch loaf pan and spray with non-stick spray or line with foil and spray with non-stick spray.
  2. Mix brown sugar and cinnamon together in a bowl. Set aside.
  3. In another medium-sized bowl, beat white sugar and butter together using an electric mixer until smooth and creamy.
  4. Beat in eggs, 1 at a time, until blended in; add in vanilla extract.
  5. Combine flour, baking powder and salt together in another bowl and add into creamed butter mixture and stir until blended.
  6. Mix milk into batter until smooth.
  7. Pour half the batter into the prepared loaf pan; add half the chopped apple mixture.
  8. Sprinkle 1/2 of the brown sugar/cinnamon mixture you set aside earlier, on top of apple layer.
  9. Pour the remaining batter over apple layer and top with remaining chopped apples, then the remaining brown sugar/cinnamon mixture.
  10. Lightly pat apples into batter; swirl brown sugar mixture through apples using knife or spoon.
  11. Bake in the preheated oven until a toothpick inserted in the center of the loaf comes out clean, approximately 60 minutes.
  12. To make a glaze, mix powdered sugar and milk or cream together until well mixed.
  13. Let cool for about 15 minutes before drizzling with glaze.

(add chopped walnuts or pecans if you'd like)

Decadent Chocolate Cupcakes

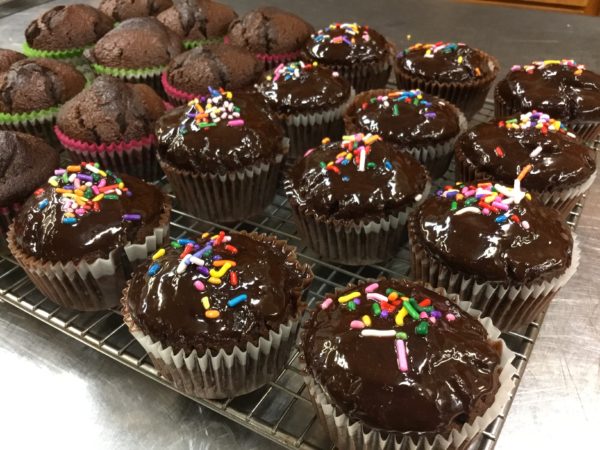
Recently, I had the privilege and gift of studying for a week in the Essentials of Pastry Arts at the International Culinary Center in New York City. Once known as the French Culinary Center, ICC has some of the most renowned pastry chefs in the United States – such as Jacques Pepin and Jacques Torres. Their alumni are some of the most noteworthy in the food and hospitality industry. It was a week of intense learning as well as exploring an area of personal inadequacy. Give me a savory dish over a fancy rolled fondant cake anytime! But, little did I know what a week of good, concentrated study could do to boost my confidence. Leaning into our insufficiency can sometimes prove “sweet” results.

Print Recipe
Votes: 0
Rating: 0
You:
Rate this recipe!
Decadent Chocolate Cupcakes
Tip - use a digital scale to weigh these ingredients and always be sure to "tare" your scale after putting your mixing bowl on it; that is, reset the scale to "0" before you start measuring ingredients
SERVINGS
16cupcakes (approx.)
CHANGE SERVING SIZE
cupcakes (approx.)
COOK TIME
15-20mins
PREP TIME
20mins
READY IN
45-60mins

Ingredients

Instructions

Cupcakes:
  1. Preheat oven to 350 degrees F
  2. Grease 16 cupcake tin or line with muffin papers.
  3. In a bowl, sift together the sugar, flour, salt and baking soda.
  4. Combine butter, oil, cocoa powder, and water in a bowl and whisk until warm over a bain marie.
  5. Whisk together the whole eggs, egg yolk, vanilla, and buttermilk until combined; add to butter mixture.
  6. Stir liquid ingredients into the sifted flour mixture until just combined.
  7. Portion the batter into the prepared cupcake molds until 3/4 full and bake in preheated oven for 15-20 min. (Bake as soon as you fill them; otherwise, they won't rise as much in the oven.)
  8. Test the cupcakes for doneness - your finger should bounce back to the touch.
  9. Immediately unmold the cupcakes onto a cooling rack Let them cool completely before icing.
Fudge Icing:
  1. Place all ingredients for the icing in a saucepan and warm, stirring to combine.
  2. Remove the pan from the heat and allow it to cool until desired consistency is reached.
  3. Dip the cupcake tops by inverting into the cooled icing and then twist and place right side up on a cooling rack. Iced cupcakes are best served the day they're made. Add sprinkles on top if desired.

Summer Strawberry Rhubarb Sauce Parfait

“Think the rain will hurt the rhubarb?”

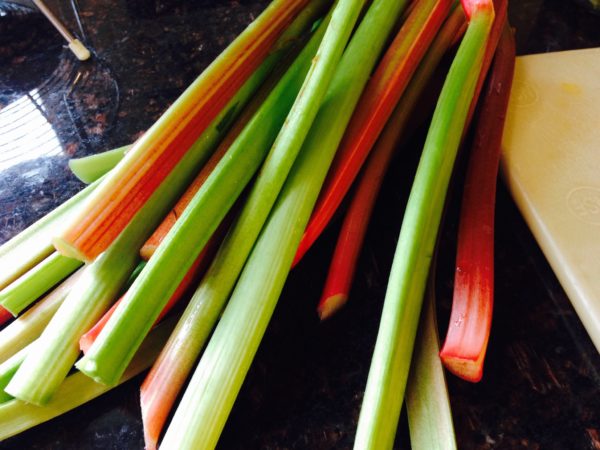
Well, I certainly hope not, because this has been the best year yet for our rhubarb patches. Never have they produced so much fruit and never have we tried so many new rhubarb recipes. We’ve had many more compliments and requests for more rhubarb in any form we’ve made it!

Personally, I don’t think anything can top a lovely dish of plain rhubarb or strawberry rhubarb sauce for the finishing touch on a favorite meal. Make it now while the fruit is available, and freeze a good amount for when it’s not.

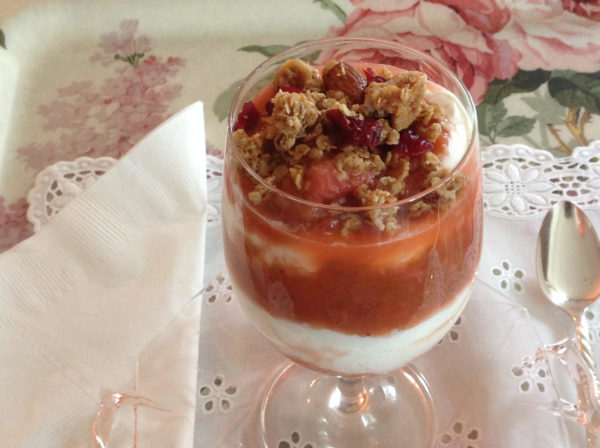
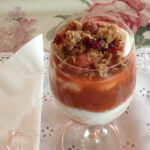
A favorite breakfast we often serve for those on retreat (or sisters!), is a strawberry rhubarb parfait made with our own yogurt, and topped with homemade granola. By the way, rhubarb is chock full of nutritional value which many people do not know!

Print Recipe
Votes: 2
Rating: 4
You:
Rate this recipe!
Summer Strawberry Rhubarb Sauce Parfait
SERVINGS
5parfaits
CHANGE SERVING SIZE
parfaits
COOK TIME
10mins
PREP TIME
10mins
READY IN
20mins

Ingredients

Instructions

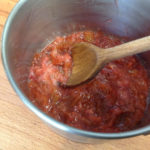
  1. Combine sugar, orange juice, cornstarch, and vanilla in a large sauce pan.
  2. Bring to a boil over medium heat.
  3. Add strawberries and rhubarb, reducing heat and cook together stirring occasionally, until tender (5--10 minutes).
  4. Remove from heat and mash the cooked berries with a fork.
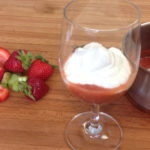
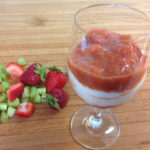
  5. Serve in a parfait glass, layering yogurt, sauce and granola as desired.

This sauce is also a treat served warm over vanilla ice cream!

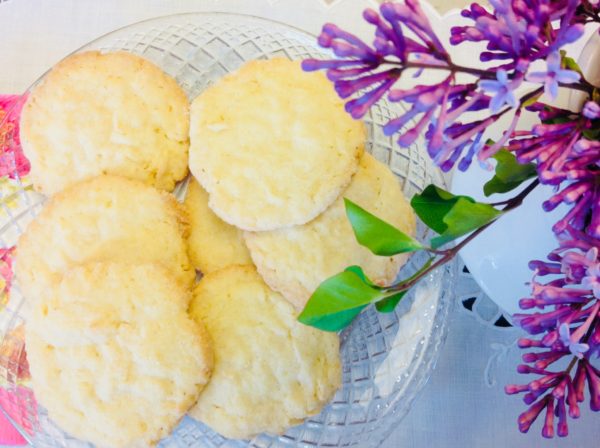
Crispy Coconut Cookies

Today is Springtime at its best on Cape Cod— robins chirping, rabbits and squirrels scampering about, flowers blooming everywhere.

Put’s me in the mood to try a fresh new cookie recipe, and I have indeed found one! Crunchy, rich, with added coconut and a bit of almond flavoring—I ended up making a second batch, as I know they’ll be needed for upcoming events.

Print Recipe
Votes: 1
Rating: 5
You:
Rate this recipe!
Crispy Coconut Cookies
SERVINGS
3dozen (approx. 40 cookies)
CHANGE SERVING SIZE
dozen (approx. 40 cookies)
COOK TIME
12-15mins
PREP TIME
15mins
READY IN
30mins

Ingredients

Instructions

  1. Preheat oven to 350 degrees F.
  2. In mixer bowl, beat the butter and sugar together until creamy. Add the egg and extracts.
  3. In a separate bowl, whisk together the flour, baking soda and salt.
  4. Slowly add the flour mixture to the wet ingredients just until blended. Add the coconut and mix well but don't over beat.
  5. Form into balls, a little larger than walnut size, roll in sugar, flatten with the bottom of a drinking glass. Bake for 15 minutes or until just barely golden around the edges.

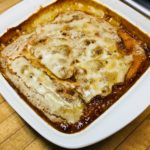
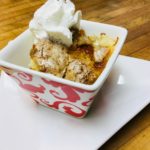
Strawberry Rhubarb Pudding Cake

For years, rhubarb has long been one of my favorite fruits. Always a bit of a wild child in the fruit family (since most people don’t have any idea what to do with it), I’ve loved it since I was a kid and always looked forward to my mom’s strawberry rhubarb pie – which I deemed ‘the best!’ When we moved to New England back in 1981, my great grandmother (who embodied Tasha Tudor) gave us her heirloom rhubarb plant to take with us. After 37 years, it’s still thriving in my mother’s garden!

This Mother’s Day, I decided to ‘pay it forward’ with a pie for mom and then my creative juices got going when, after delivering the pie, I left with a huge bag of freshly picked rhubarb from Grandma’s plant! So, next came this old fashioned pudding cake. Eaten warm, straight out of the dish, or with a squirt of whipped cream or a scoop of ice cream, it is melt-in-your-mouth goodness that will keep you going back for more. Super simple and quick to make, it’s the perfect go-to dessert for company or to make for your family after a long day. It can be made gluten free as well. Enjoy!

Print Recipe
Votes: 2
Rating: 5
You:
Rate this recipe!
Strawberry Rhubarb Pudding Cake
SERVINGS
8servings
CHANGE SERVING SIZE
servings
COOK TIME
40-45mins
PREP TIME
15mins
READY IN
55-60mins

Ingredients

Instructions

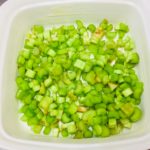
  1. Cover the bottom of a buttered glass 8 or 9 inch square pan with rhubarb and strawberries.
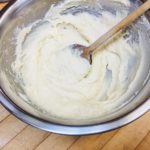
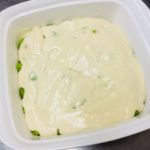
  2. Mix 3/4 cup sugar, butter, baking powder, salt, extracts, milk and flour together and pour over fruit. Mix remaining sugar and cornstarch; sprinkle over mixture in pan. Pour boiling water over the top- this will create a wonderful pudding around the fruit in the bottom of the pan.
  3. Bake at 375°F for 40 to 45 minutes or bubbly and golden.
  4. You can see that the sugar topping creates a glaze on the top of the cake, something like a creme brulee, as well as creating the pudding at the bottom. Serve warm in a bowl with ice cream or whipped cream, or let it cool a bit, slice and invert on your plate to show off the pudding. You may also substitute a gluten free flour blend for the flour - you may need to adjust the cooking time.