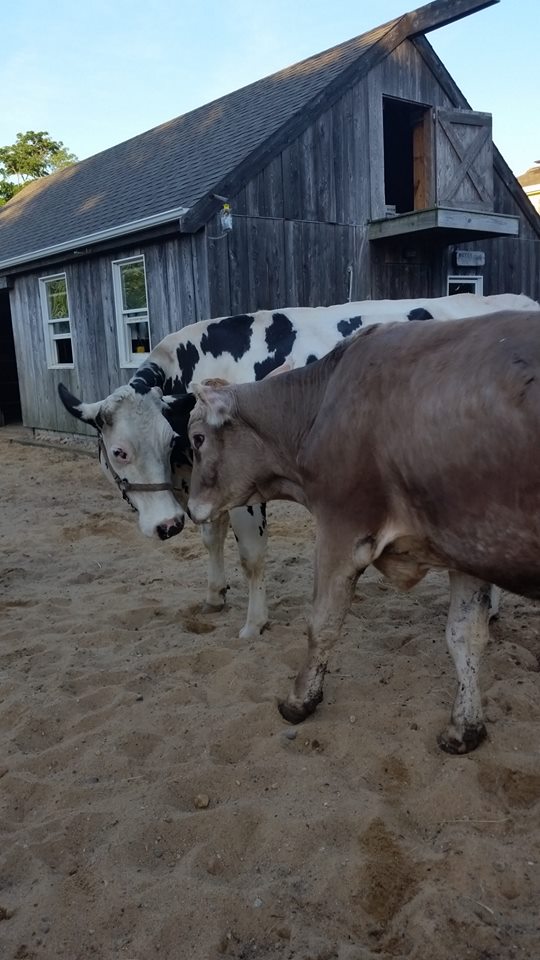
Our community is blessed with two dairy cows, and we enjoy fresh milk and yogurt each week!
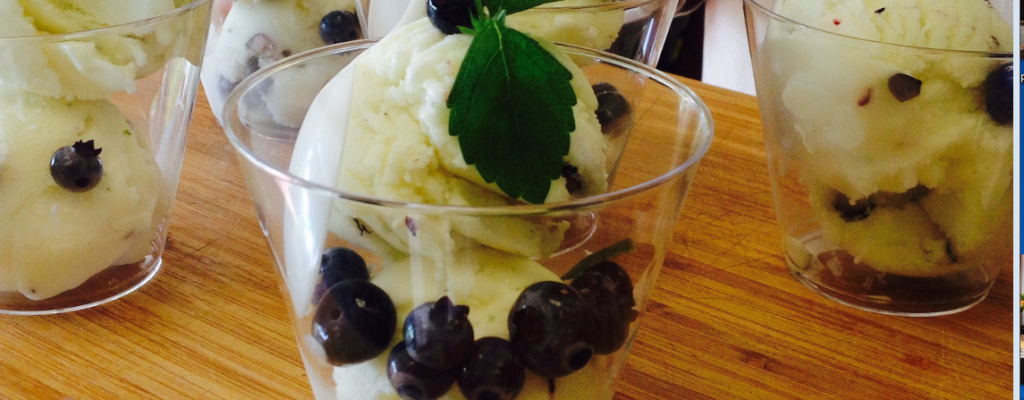
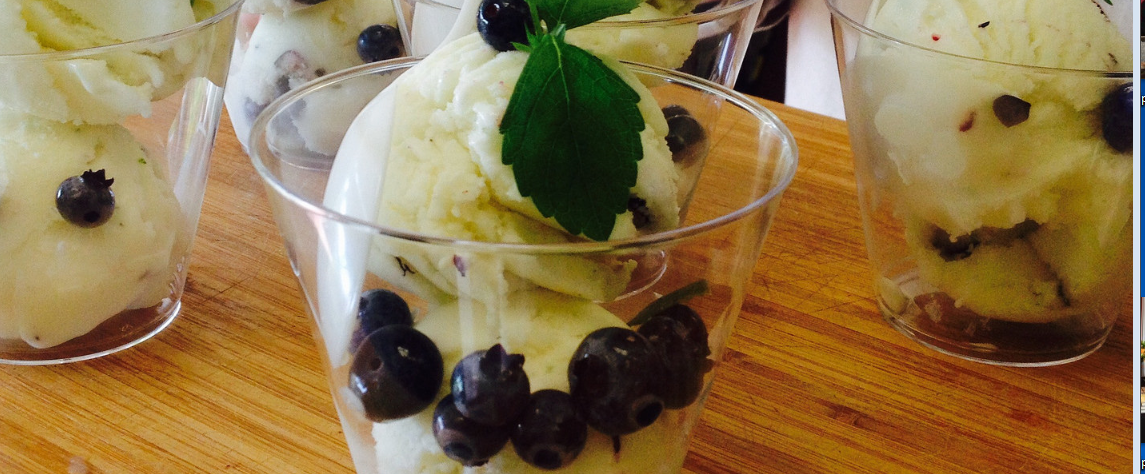
Sometimes we make ricotta for upscale recipes. My favorite? Fresh Ricotta Blueberry Ice cream.
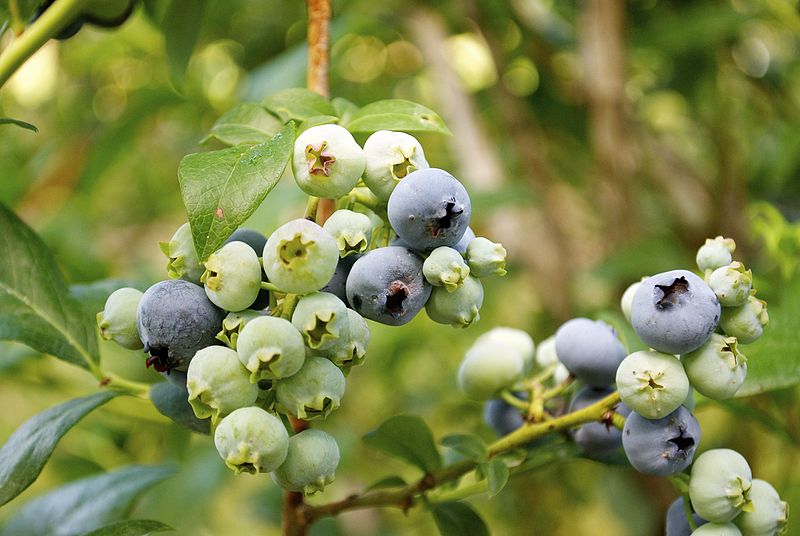
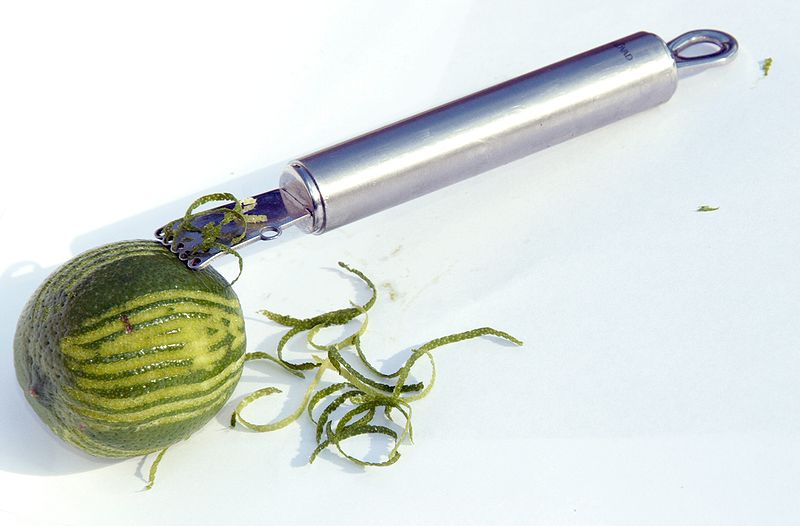
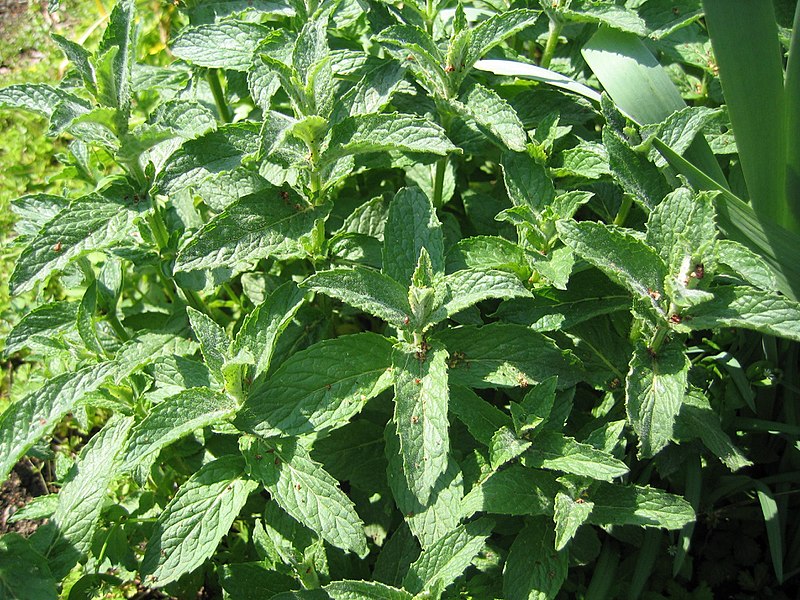
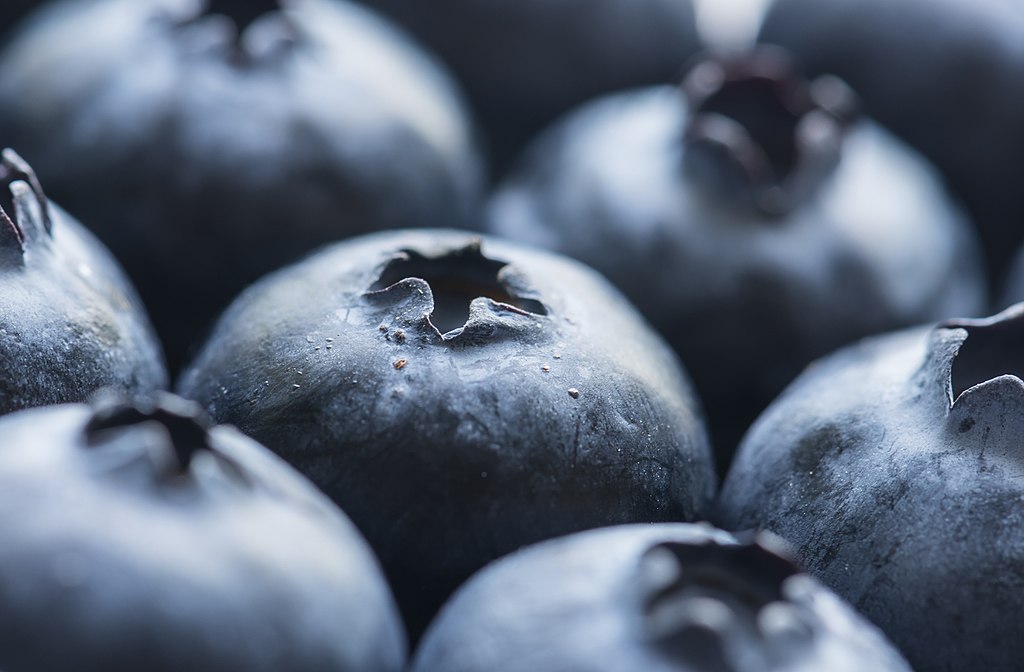
Last week, after enjoying delicious fresh ricotta, ham, and melon salad, I spotted some extra ricotta and remembered a recipe for ricotta ice cream. A friend from a nearby farm with blueberry bushes had invited us to pick berries earlier in the week, so our refrigerator also had a bucket overflowing with beautiful fresh blueberries. The ricotta, blueberries, and kosher salt turned out to be a delicious combination, but of course, this basic homemade ice cream recipe can be adjusted to include your favorite ingredients. At the last minute, I decided to add lime zest to this recipe — Blueberry Lime Jam is one of the favorites from the Monastery Kitchen line, so I thought that combination would be especially tasty. It’s also the season for fresh mint, which is a lovely garnish along with fresh blueberries.
Making homemade ice cream can seem daunting, but with an ice cream maker, it’s quite easy. The ingredients directly are mixed, placed in the ice cream maker for 30 – 60 minutes, then frozen for several more hours, or overnight in the freezer. This particular recipe was made to celebrate an exciting event, and would be perfect for a summer dessert for any special occasion!
Print Recipe
Votes: 1
Rating: 5
You:
Rate this recipe!
Fresh Ricotta Blueberry Ice Cream
SERVINGS2quarts
|
COOK TIME30-45mins (plus freezing time) |
PREP TIME30mins |
READY IN3hrs |
Ingredients
Instructions
- Lay blueberries out on a tray and place in the freezer.
- Blend ricotta, cream cheese, milk, sugar, vanilla and salt in a blender until smooth. Add lime zest & heavy cream. Blend until just combined.
- Freeze in an ice cream maker according to instructions. Blend in frozen blueberries. Transfer to an airtight container and put in freezer to harden.
Scoop and enjoy!
Also - nuts, candied citrus peeled or chopped chocolate can be added, as well as fresh mint and blueberries for garnish.
“Sr. Irene, you just have to taste this!” came a cry from the kitchen. One of our special event cooks had just tried out a new appetizer for an upcoming reception. I could tell from the sound of her voice she was quite happy with it.
“Be there in a minute,” I responded, unable to leave just then. The next day one of the kitchen sisters asked, “Wasn’t that new appetizer just the best?”
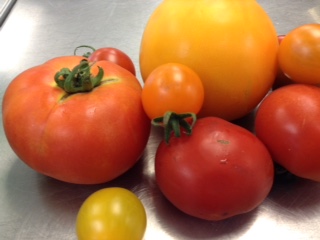
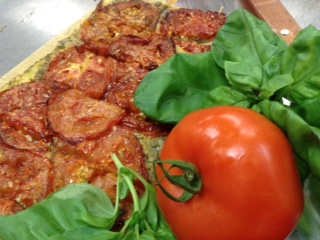
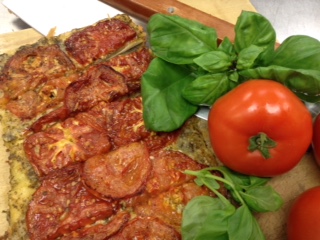
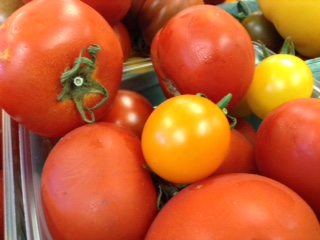
Oh no! How could I have forgotten? I chastened myself, vowing to get to the kitchen before the end of the day. When I finally arrived with much embarrassment and was able to locate and ravenously devour the one and only “Tasting Sample” that was left, I could only groan. The caramelized tomato bruschetta with fresh garden pesto was beyond delicious. Why oh why didn’t I get myself there the moment I was first called!
A savory twist on a summer classic, this bruschetta is a great way to enjoy both fresh garden tomatoes and basil!
Print Recipe
Votes: 0
Rating: 0
You:
Rate this recipe!
Caramelized Tomato Bruschetta
SERVINGS8-12servings
|
COOK TIME20mins |
PREP TIME15mins |
READY IN35mins |
Ingredients
Instructions
- Preheat oven to 400 degrees.
- Slice the tomatoes into 1/3 inch slices, brush with olive oil and sprinkle with salt, pepper and sugar.
- Place on a cookie sheet or sheet pan and roast in the oven until tomatoes turn a light to medium brown and the sugar is visually caramelized.
- While tomatoes are roasting, brush the flat bread with oil and spread the pesto overtop, then sprinkle with parmesan cheese.
- When tomatoes are finished, carefully remove them from the pan and arrange on top of the pesto and cheese. This is a delicate process as the tomatoes are likely to fall apart after roasting.
- Serve with a drizzle of balsamic reduction and enjoy a taste of summer!
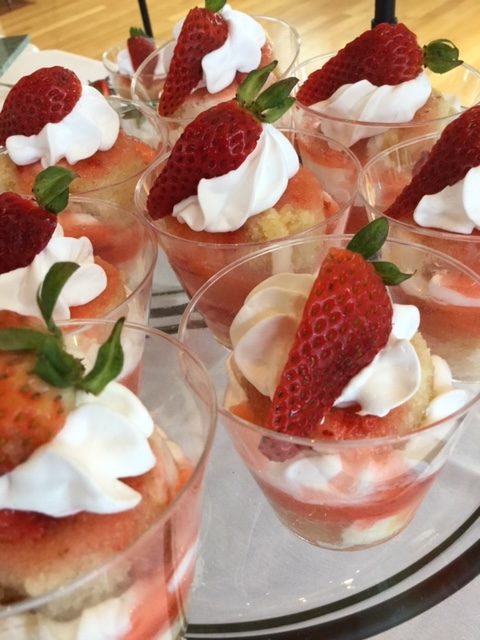
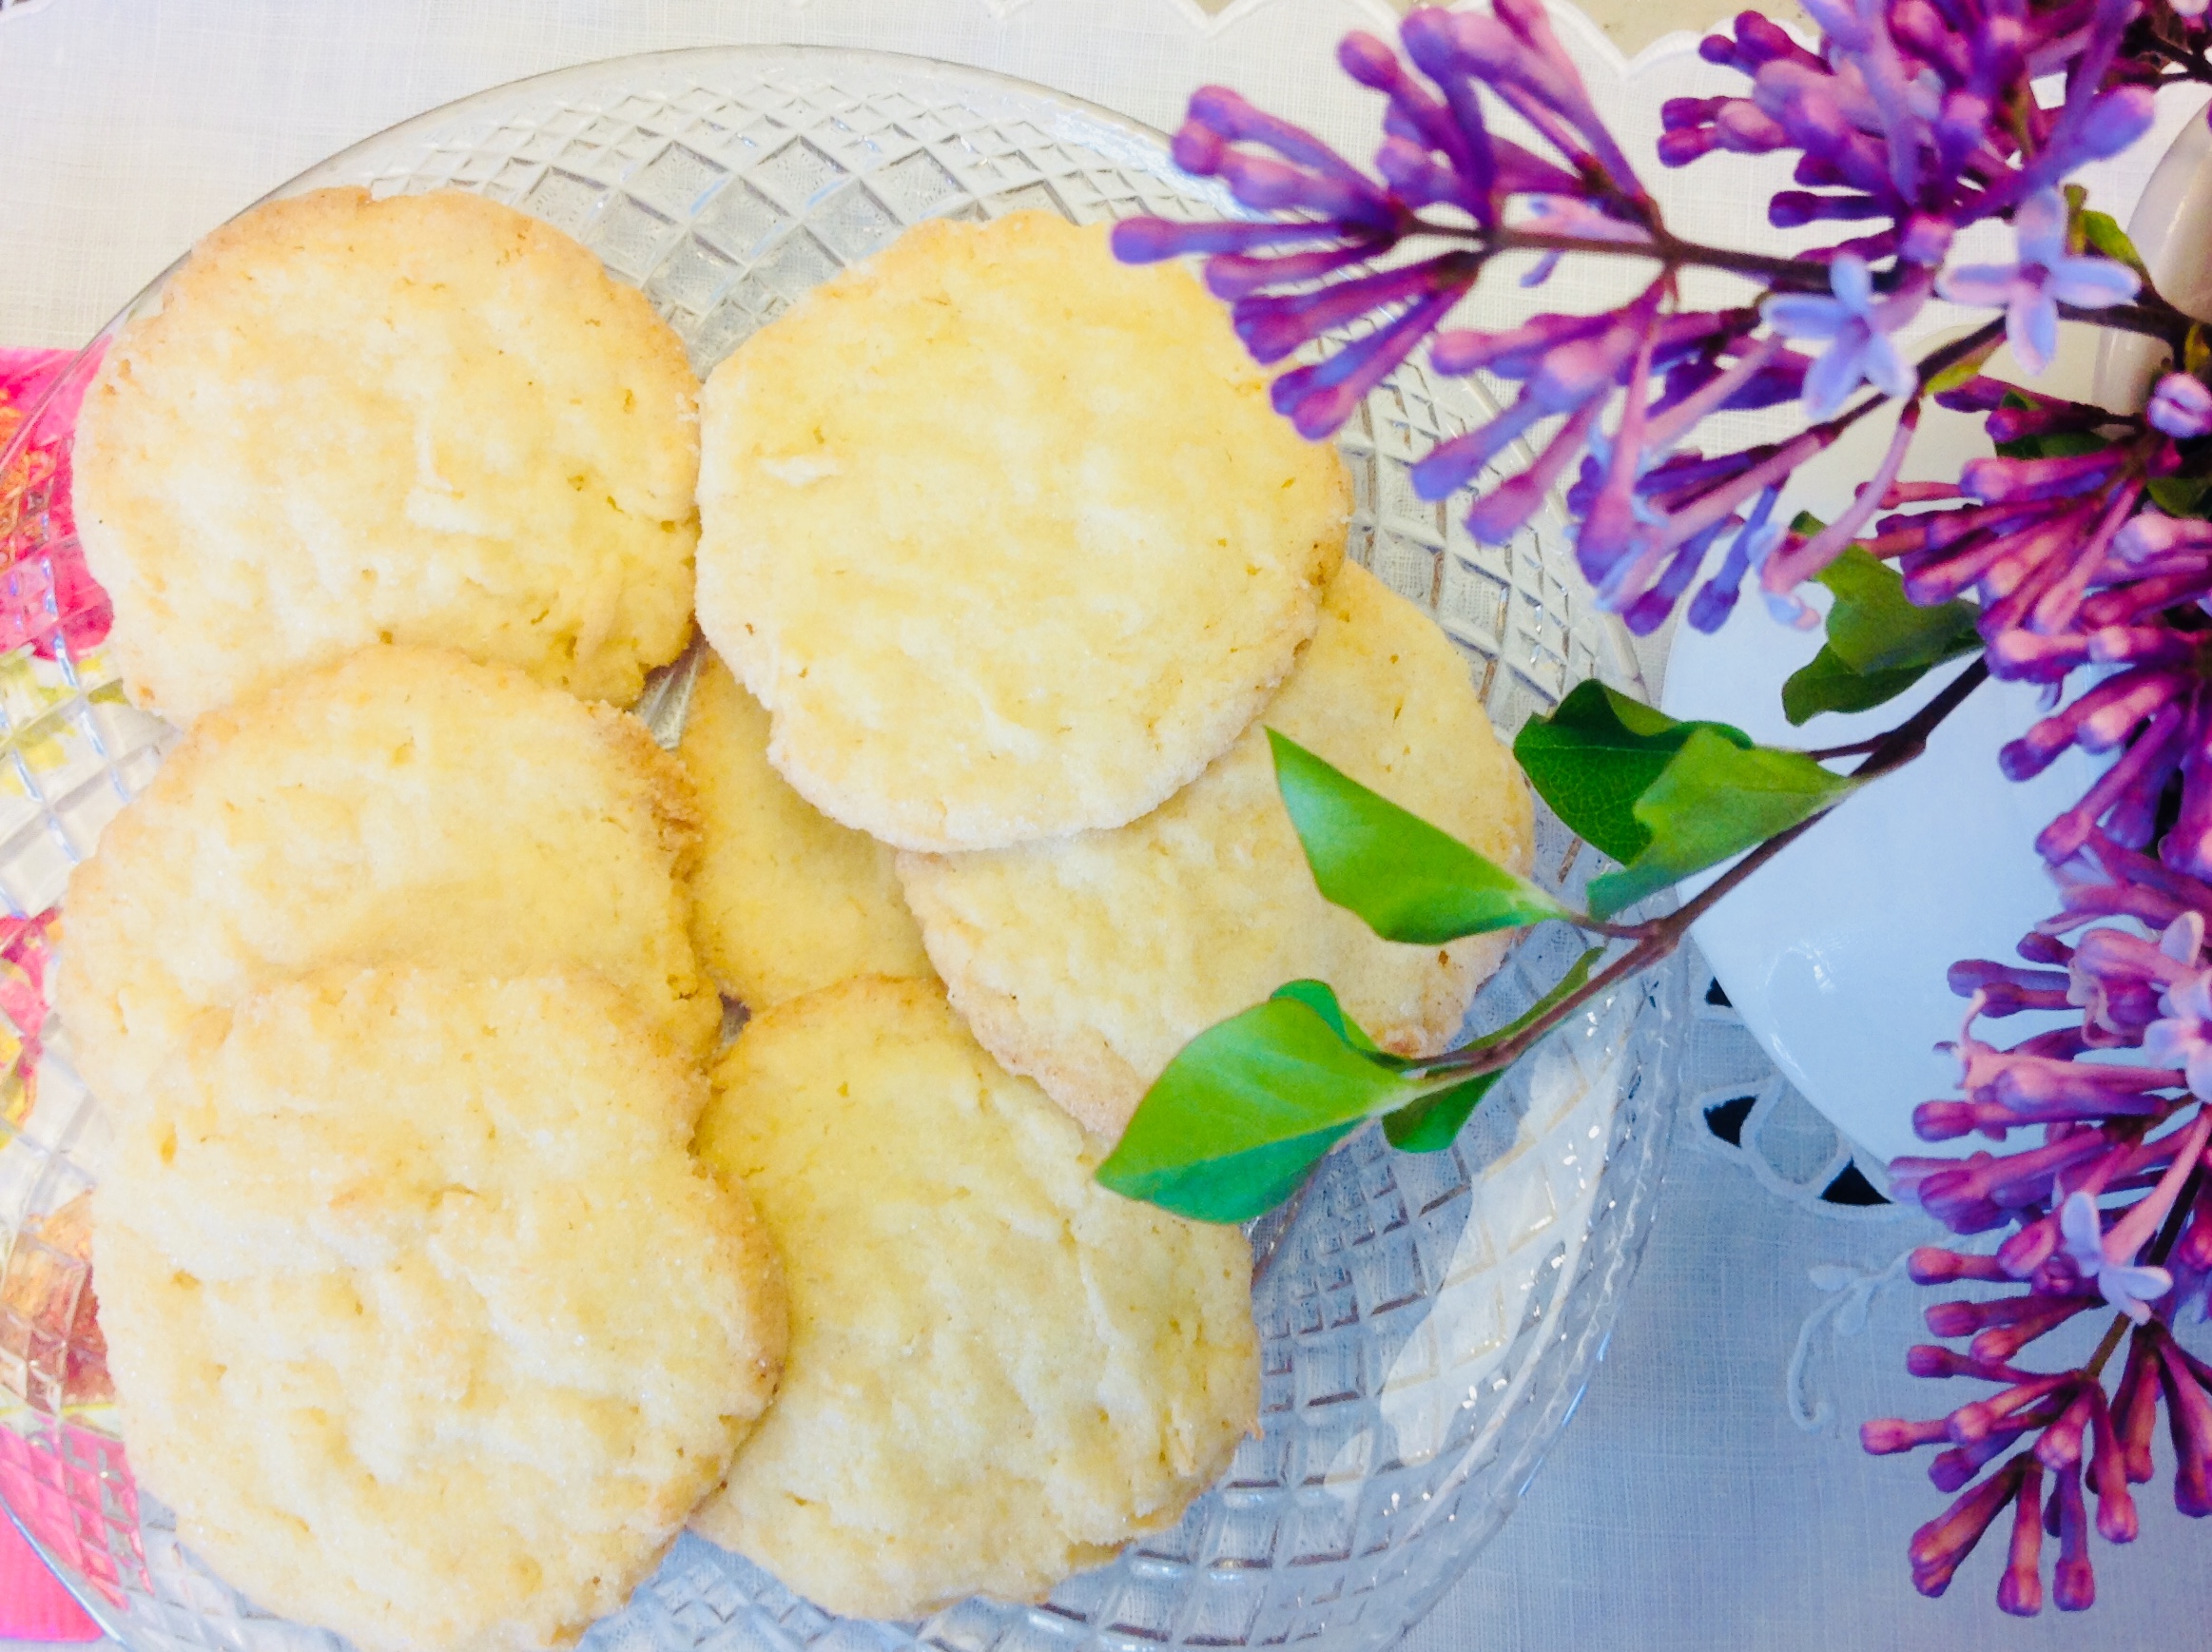
Years ago, we were asked by the local Episcopal church to help them with their annual Devonshire Tea, a lovely traditional English tea served every summer in the church gardens.
The lady who for many years had been responsible for them, met with me to discuss the details. The simple menu consisted of three items: biscuits, coddled cream, and strawberry preserves. Her main concern was the size and shape of the biscuits. To ensure their correctness, she carefully sketched them on a page from her personal notebook and gave the page to me.
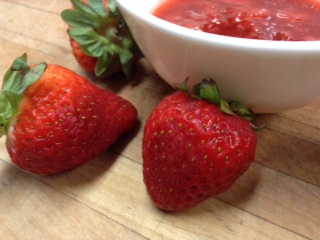
The biscuits’ size and shape were of utmost importance! She was certain I would make the cream perfectly, and as far as the preserves were concerned, any I chose would be fine. My choice was a vibrant colored fresh strawberry jam sometimes referred to as “freezer jam”, although none I’ve ever made stayed around long enough to reach the
freezer!
Perfect for the occasion, it met with great applause and added a most beautiful touch to this splendid event.
Print Recipe
Votes: 1
Rating: 5
You:
Rate this recipe!
Strawberry Freezer Jam
SERVINGS
|
COOK TIME5mins |
PREP TIME10mins |
READY IN25mins (plus 24 hr setting time) |
Ingredients
Instructions
- Combine crushed strawberries with sugar, and let stand for 10 minutes.
- While the strawberries sit, dissolve the pectin into the water in a small saucepan and bring to a boil over medium-high heat and boil for 1 minute.
- Remove from heat and add the salt and lemon juice to the saucepan.
- Stir the boiling water into the strawberries and allow to stand for 3 minutes.
- Pour jam into containers and let set overnight or for 24 hours.
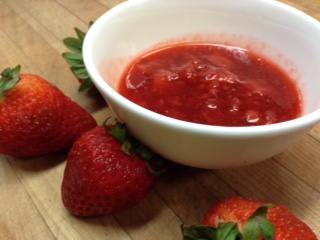
Enjoy with coddled cream and biscuits or as an ice cream topping, in a milkshake, or on toast...the possibilities are endless!
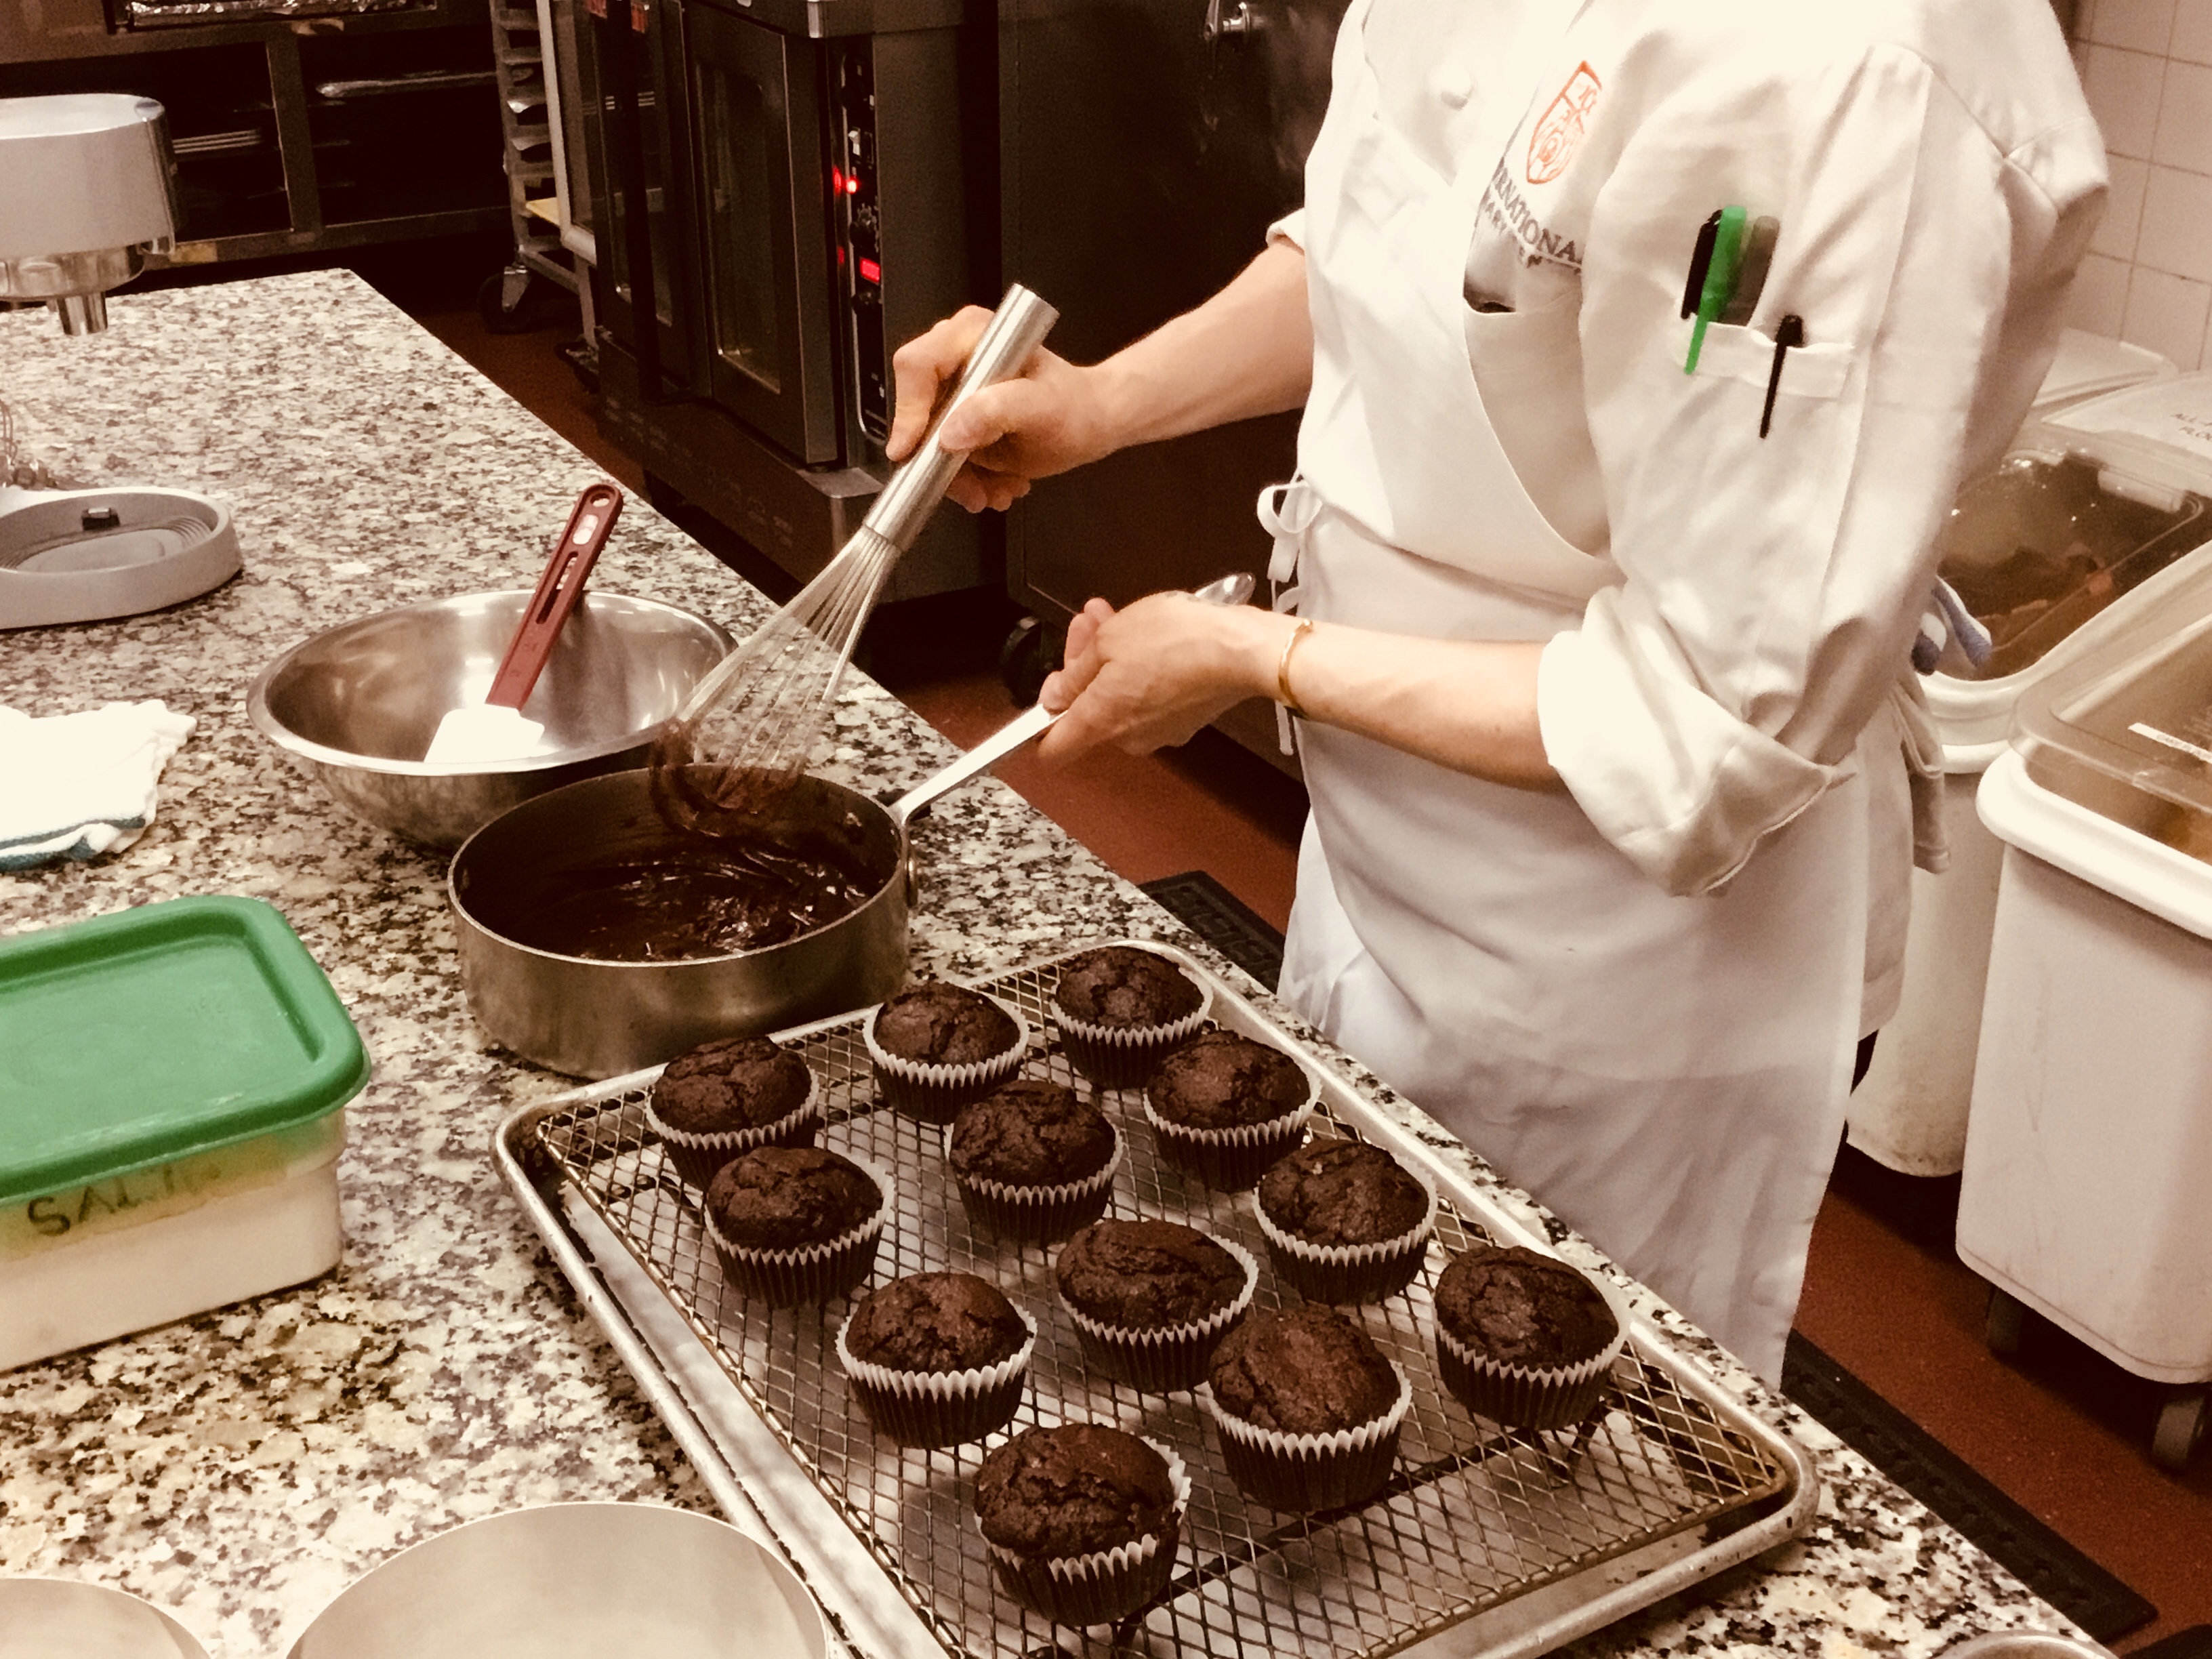
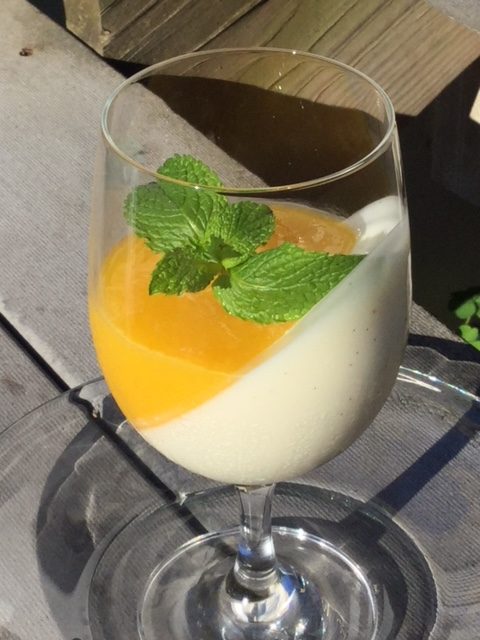
Birthdays are joyous occasions, and with so many Sisters in the Convent, there are bound to be several birthday celebrations each month. This is especially true with what we refer to as “big birthdays”, birthdays that mark a new decade in the life of a sister. Over the weekend, we celebrated the 70th birthday of one of our sisters with a beautiful dinner for all. The meal ended with one of our most favorite desserts: Vanilla Bean Panna Cotta. While not a traditional birthday cake, this was no less festive as it also featured a delicious mango puree.
Dense, creamy and with minimal ingredients you most likely already have in your kitchen, this is a great way to mark special occasions this summer. Served chilled with fresh berries, this may well become a favorite with you and your guests!
Print Recipe
Votes: 0
Rating: 0
You:
Rate this recipe!
Vanilla Bean Panna Cotta with Mango Puree
SERVINGS6-8servings
|
COOK TIME15mins, plus chilling time (overnight/6hours) |
PREP TIME15mins |
READY IN30mins, plus chilling time |
Ingredients
Instructions
- Place the cream in a saucepan and scrape out the seeds of the vanilla bean with a knife, adding the seeds to the cream.
- Add the sugar and bring to a simmer over medium-low heat, stirring occasionally.
- In a separate bowl, sprinkle the gelatin over the milk and let stand until the gelatin softens, about 5 minutes.
- Pour the gelatin mixture into the cream and vanilla bean mixture and stir until dissolved.
- Add the yogurt and stir to thoroughly incorporate.
- Pour evenly into six to eight ramekin and cover with plastic wrap. Chill for 6 hours or overnight for the panna cotta to set.
- As this is chilling, prepare the mango puree by combining the fruit, sugar, lemon juice and salt in a blender or food processor. Chill in a bowl until panna cotta is ready to serve.
To Serve
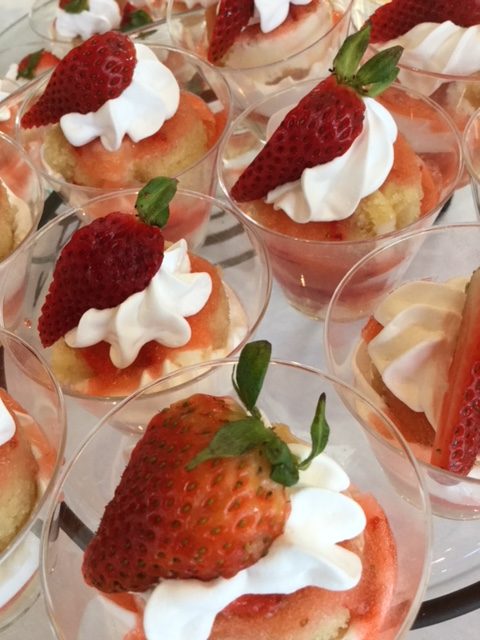
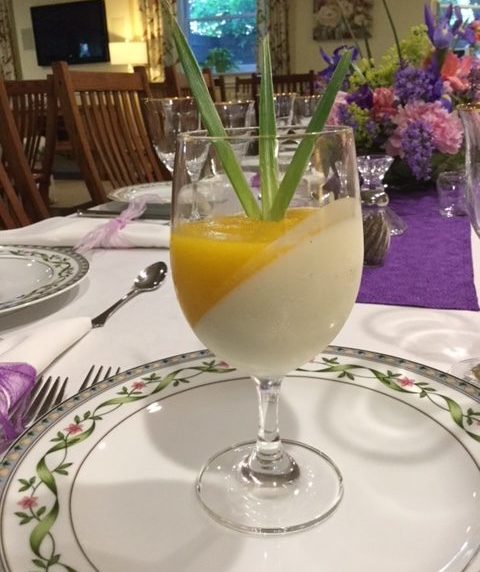
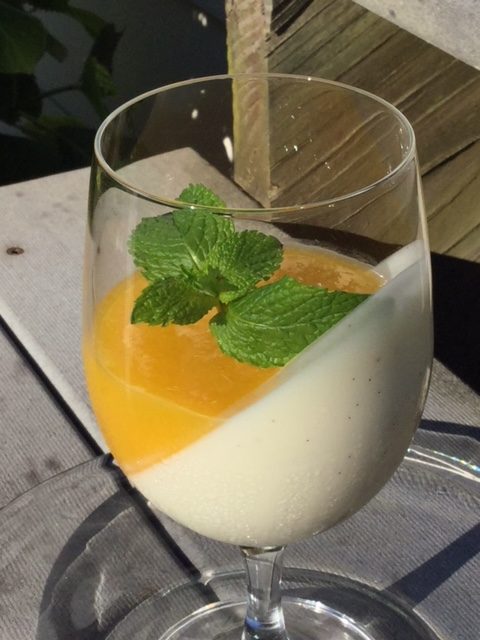
Note: There are several ways to serve this dessert. As shown, we chose to chill the panna cotta at an angle and serve in a clear water goblet for a pleasing visual effect. For the more ambitious, panna cotta can be served inverted on a plate, similar to flan. Below are two methods of serving this dessert--both are equally impressive!
Inverted Method
- Once the panna cotta has set, place each ramekin in warm water--the water should be halfway up the sides of the ramekin.
- Once this has been in the water bath 1-2 minutes, put your serving plate on top of the ramekin and invert the panna cotta onto the plate.
- Spoon the puree over the top and garnish with fruit and fresh mint as desired.
Angled Method
- Before making the panna cotta, prepare the glasses you will be serving in, tilting them securely at an angle on a tray. An egg carton works well for this.
- When pouring panna cotta mixture, use a funnel and gently fill the tilted glasses to the desired height.
- Carefully transfer the tray into the refrigerator, taking care not to bump or jostle the tray, as this will leave a milky residue on the side of the glass.
- When fully set (6 hours or overnight) stand the glasses upright and pipe in the mango puree. Piping helps control the puree and keep it from smearing on the glass.
- Garnish with fruit or mint and serve.