Our corner of the world becomes pretty bleak at this time of year with bare trees, plowed under gardens and occasional winter storms that blow through.
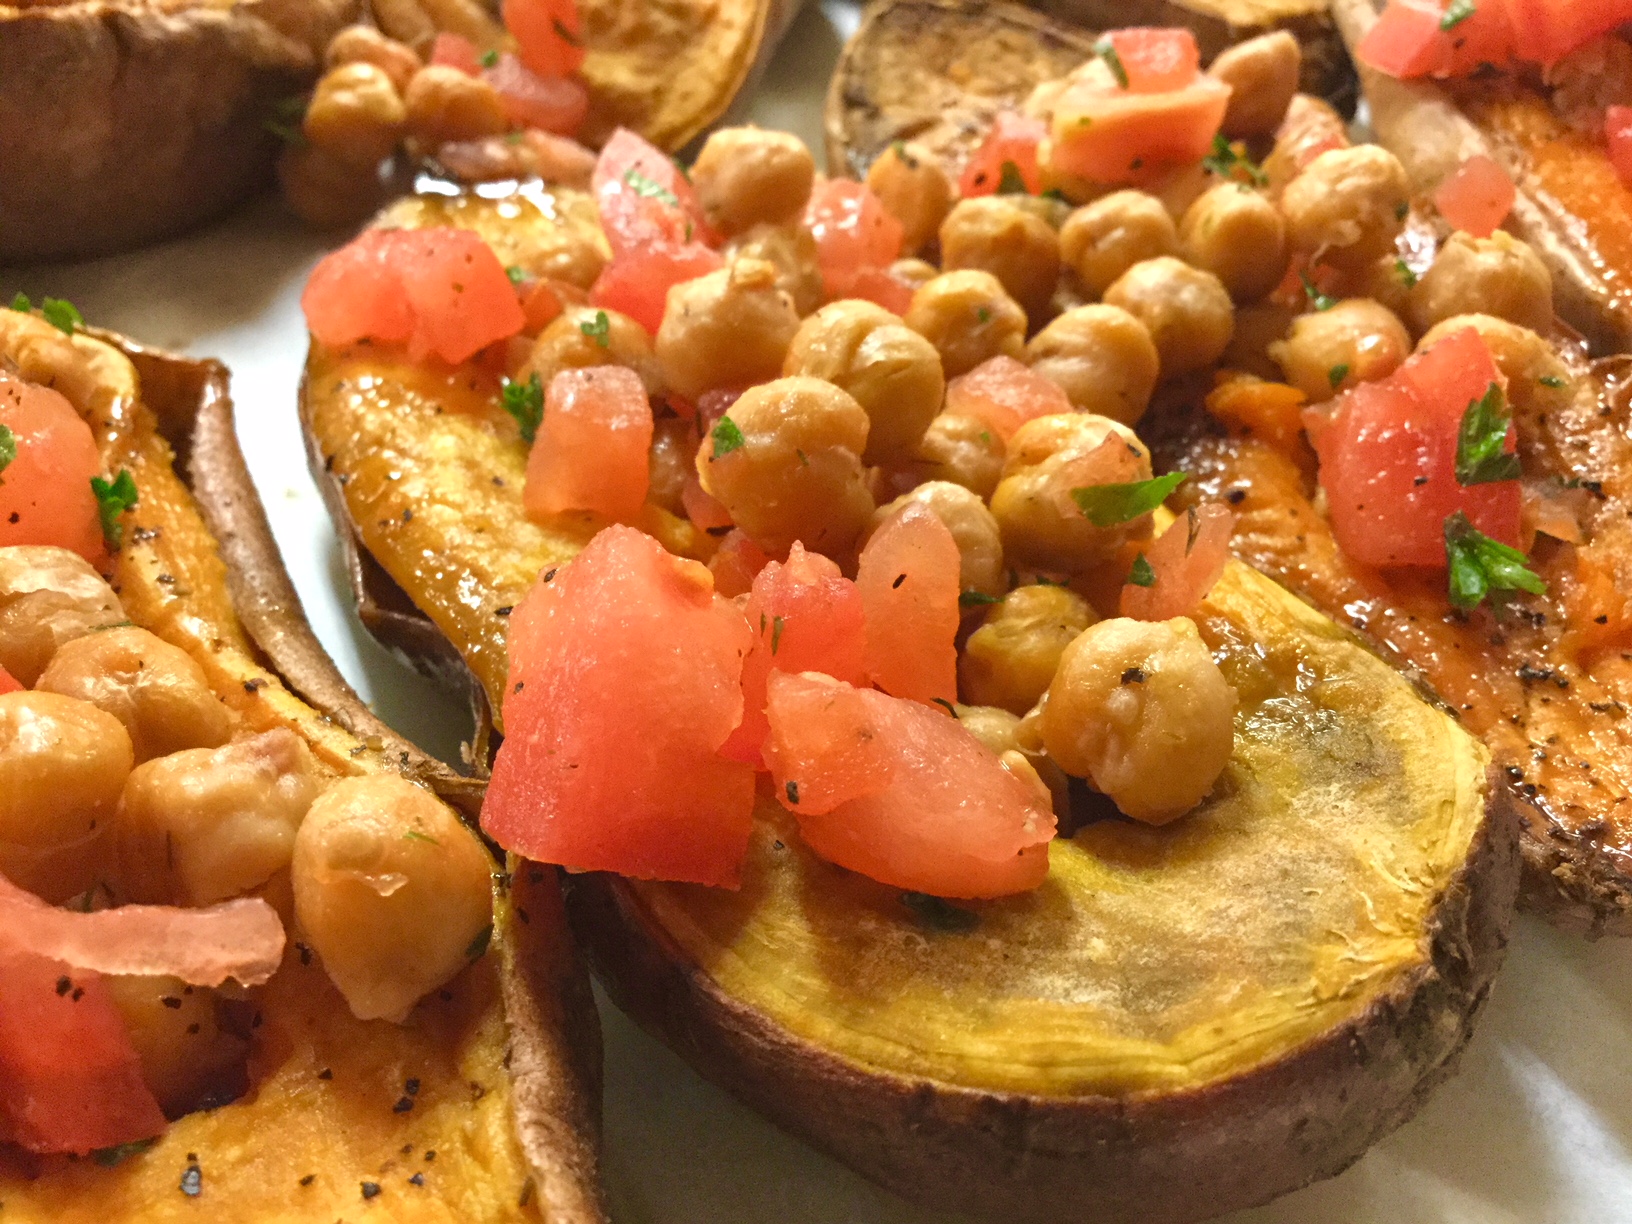
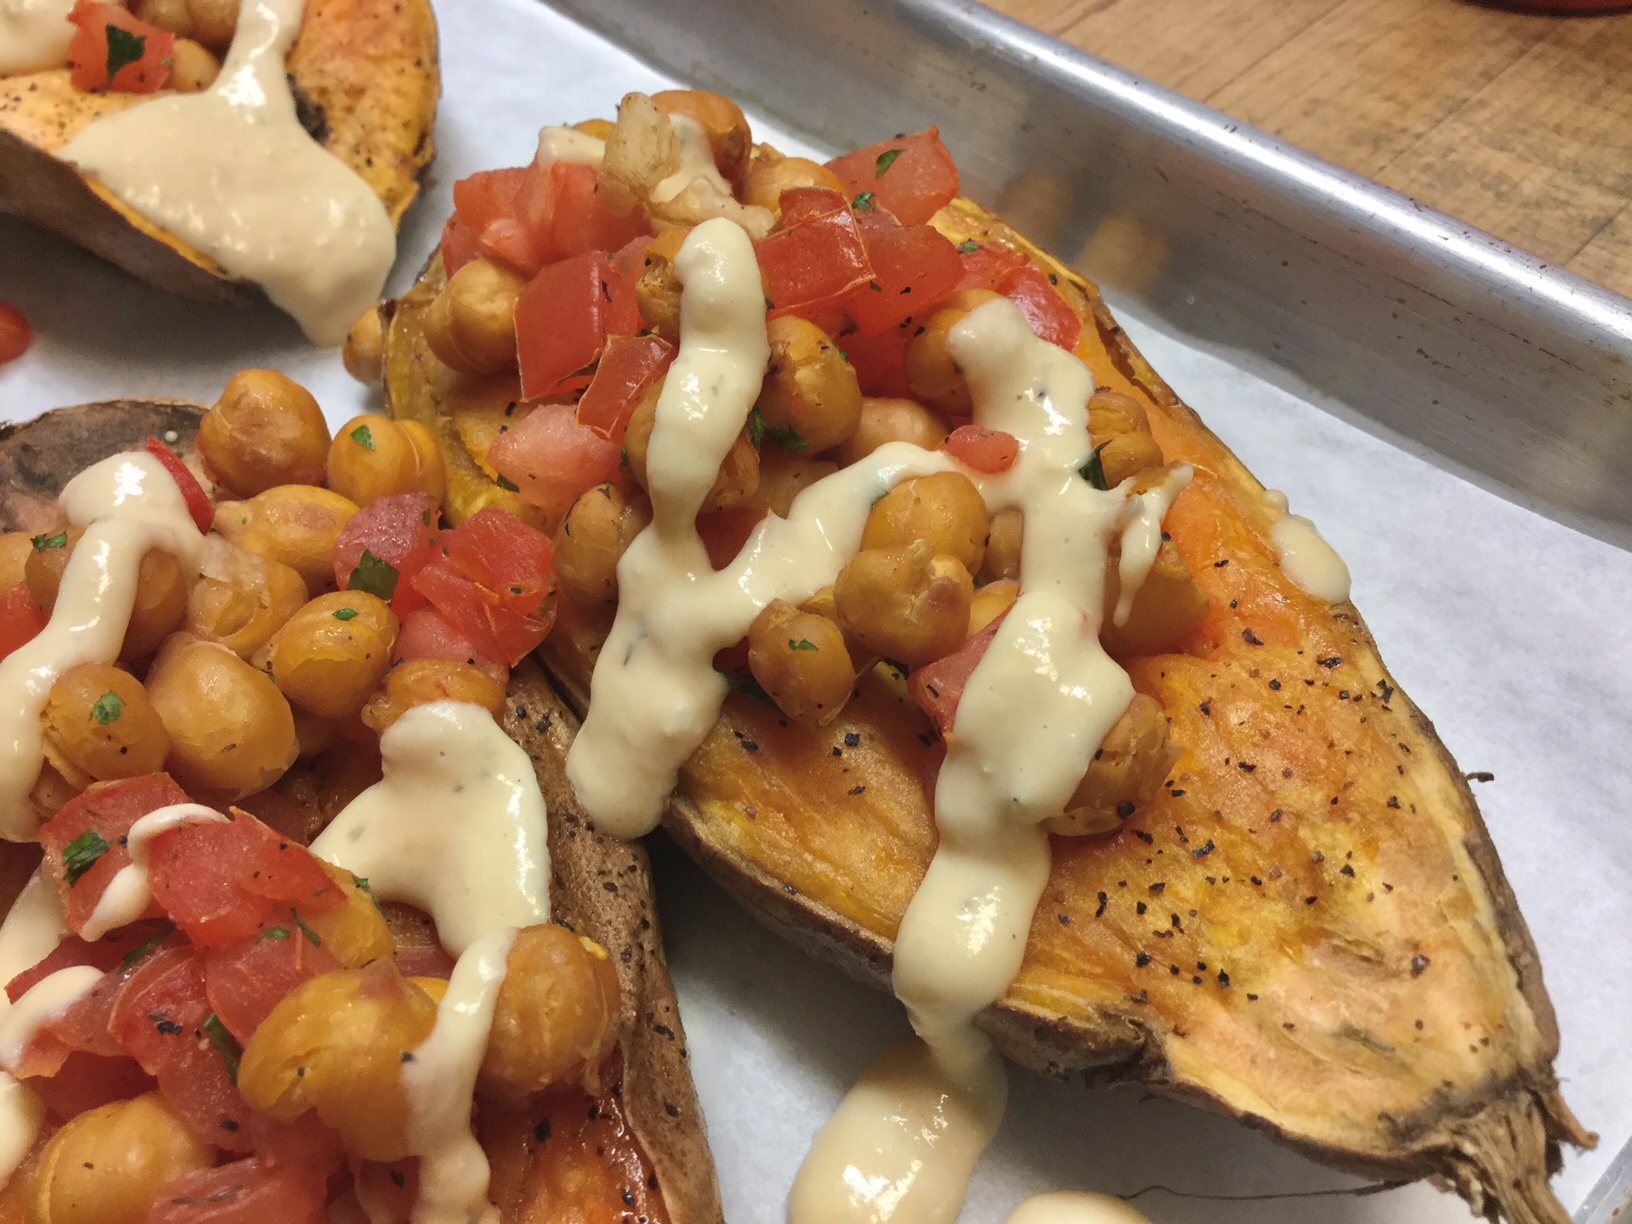
Ever on the lookout for new recipes, this one for sweet potato, roasted chickpeas and creamy hummus sauce caught our eye: tasty, colorful and with flavors that evoke a warmer time and place, this proved to be a great way to beat the winter blues! We’ve adapted it to our tastes and feel free to do the same. Filling–and meatless–this recipe will most likely find its way back on the table right into spring.
Print Recipe
Votes: 0
Rating: 0
You:
Rate this recipe!
Baked Sweet Potato with Roasted Chickpeas and Creamy Hummus Sauce
SERVINGS4
|
COOK TIME20mins, plus 45 minutes roasting time |
PREP TIME10mins |
READY IN |
Ingredients
Instructions
- Preheat oven to 400. Line 2 metal cookie sheets with baking paper.
- Place the sweet potato halves on one cookie sheet and set aside.
- Place 1 cup of chickpeas in a bowl and lightly drizzle with olive oil. Dust with salt and pepper and gently toss until lightly coated. Pour in a single layer on the second cookie sheet.
- Put the potatoes and the chickpeas in the oven for roasting. Roast the chickpeas until they become a medium shade of brown, about 15 minutes. The sweet potatoes should be cooked until they are fork tender, about 45 minutes.
- While the potatoes and chickpeas are roasting, prepare the hummus sauce.
- Place remaining 2 cups of chickpeas in a food processor.
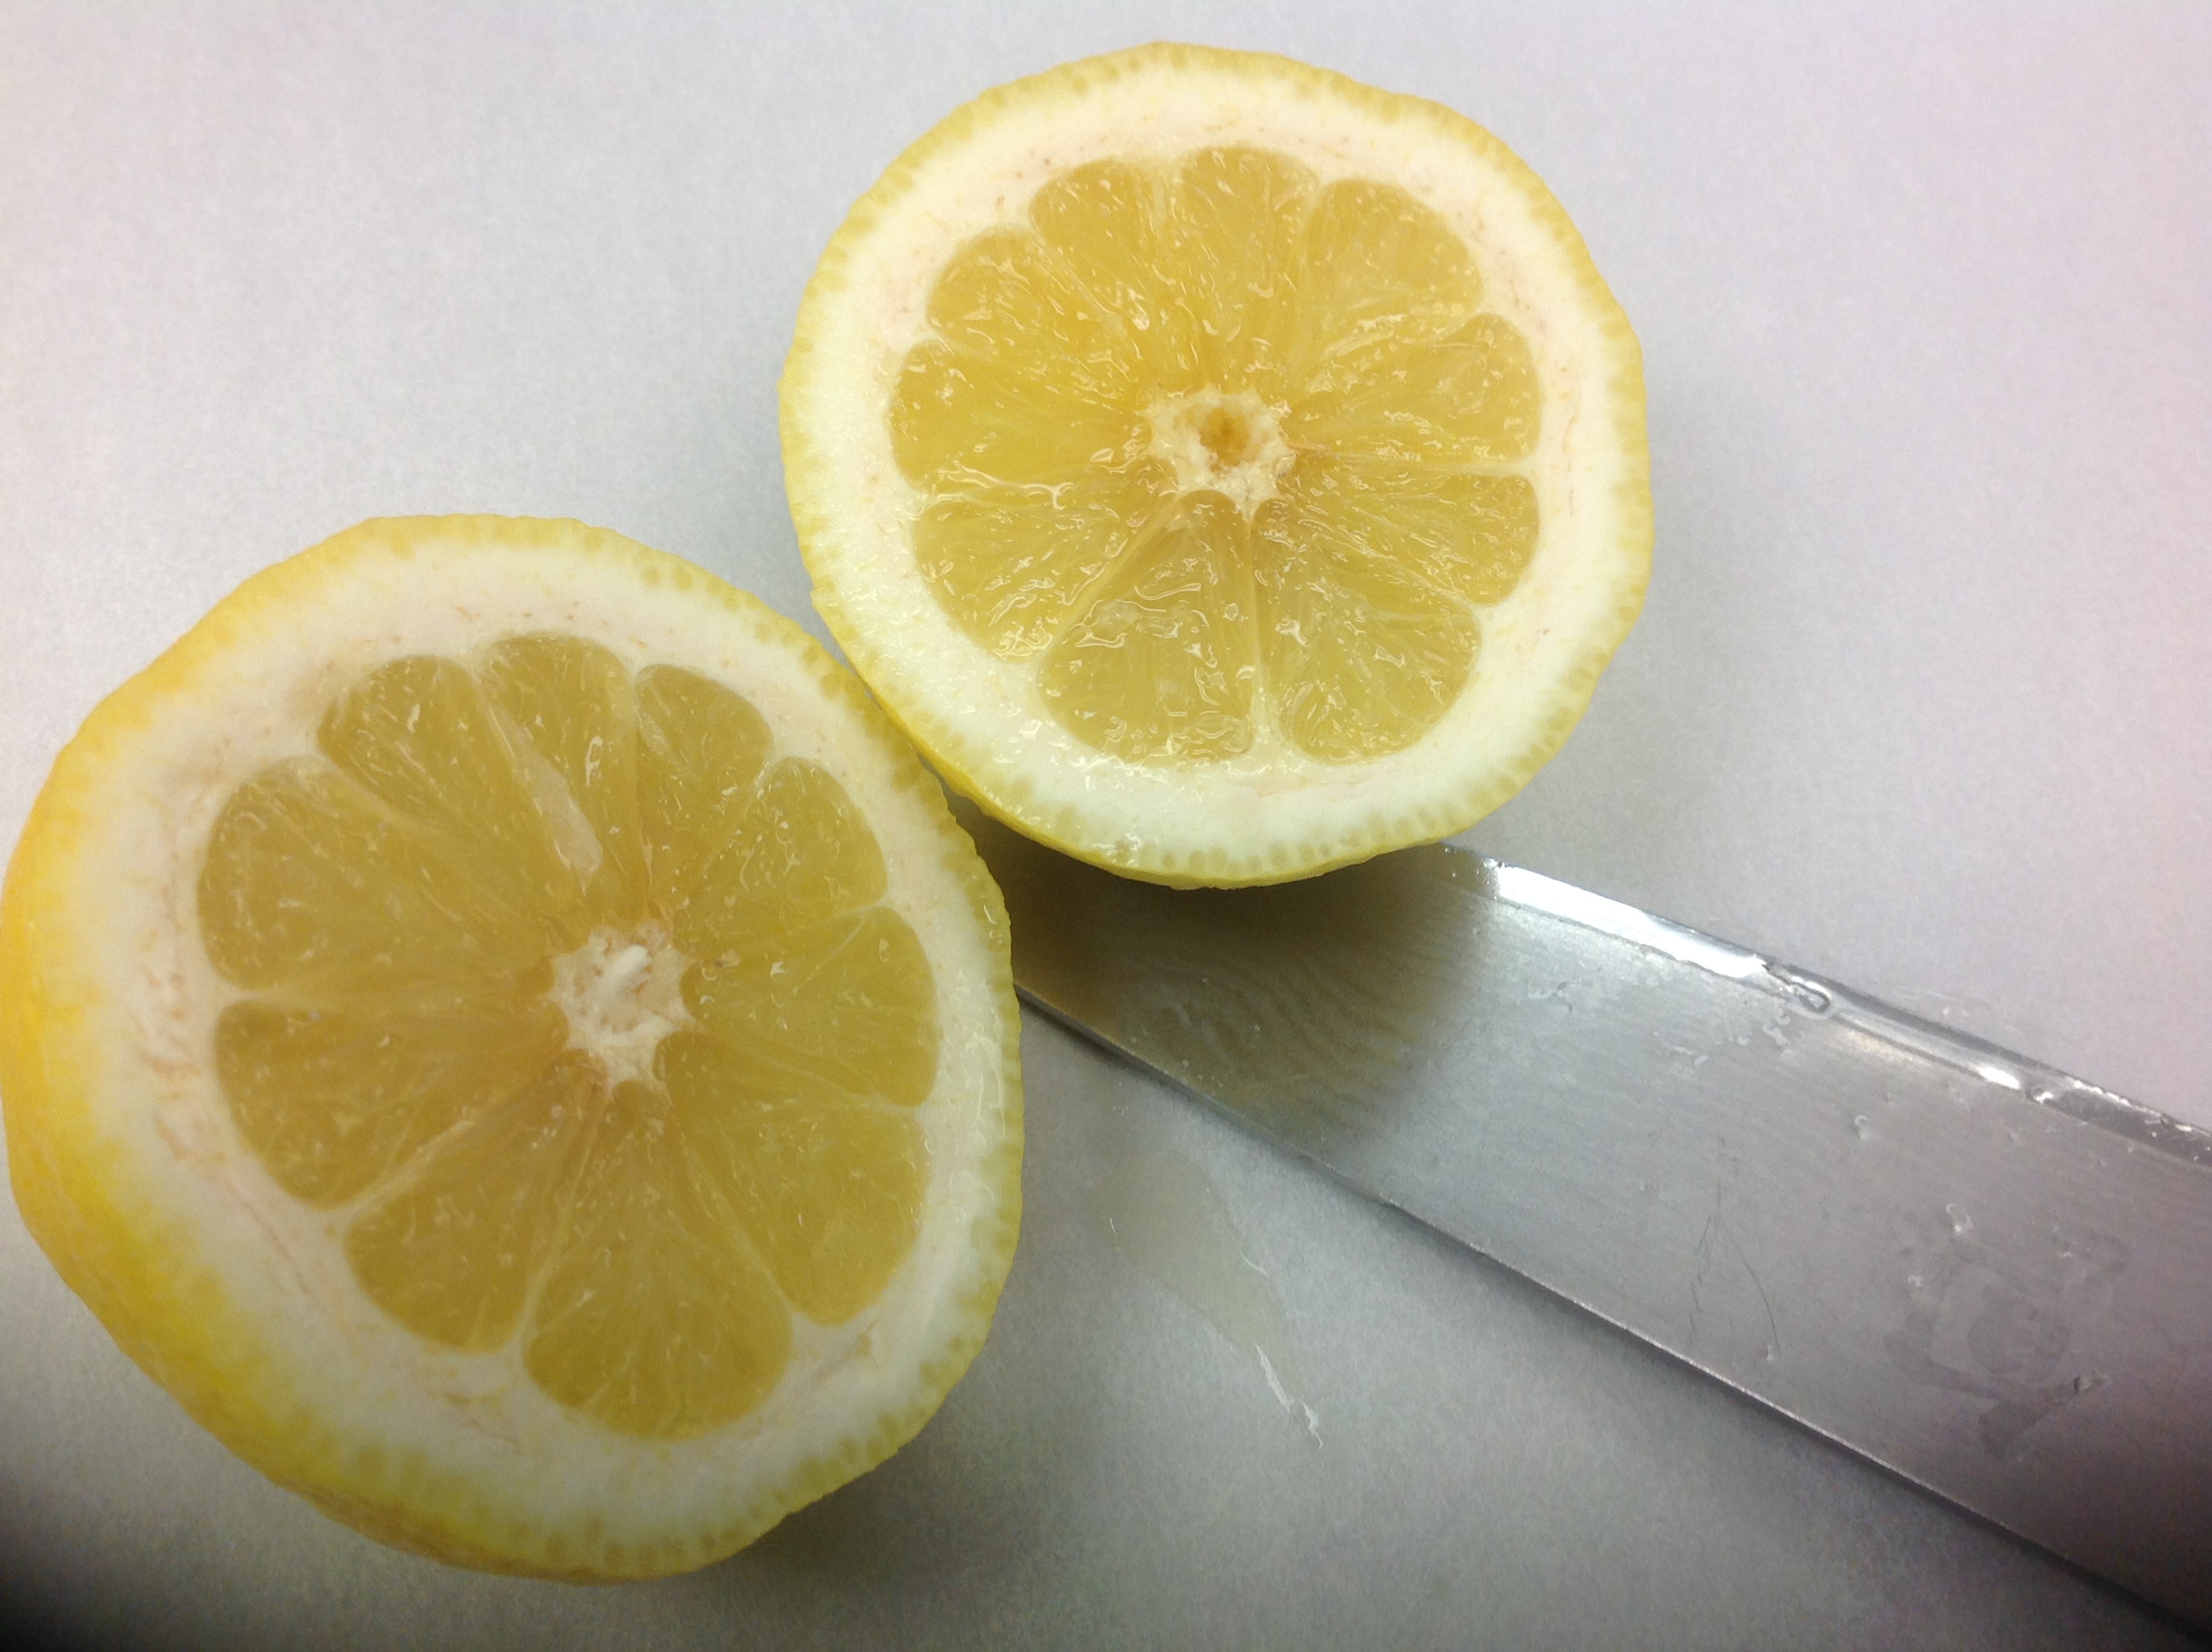
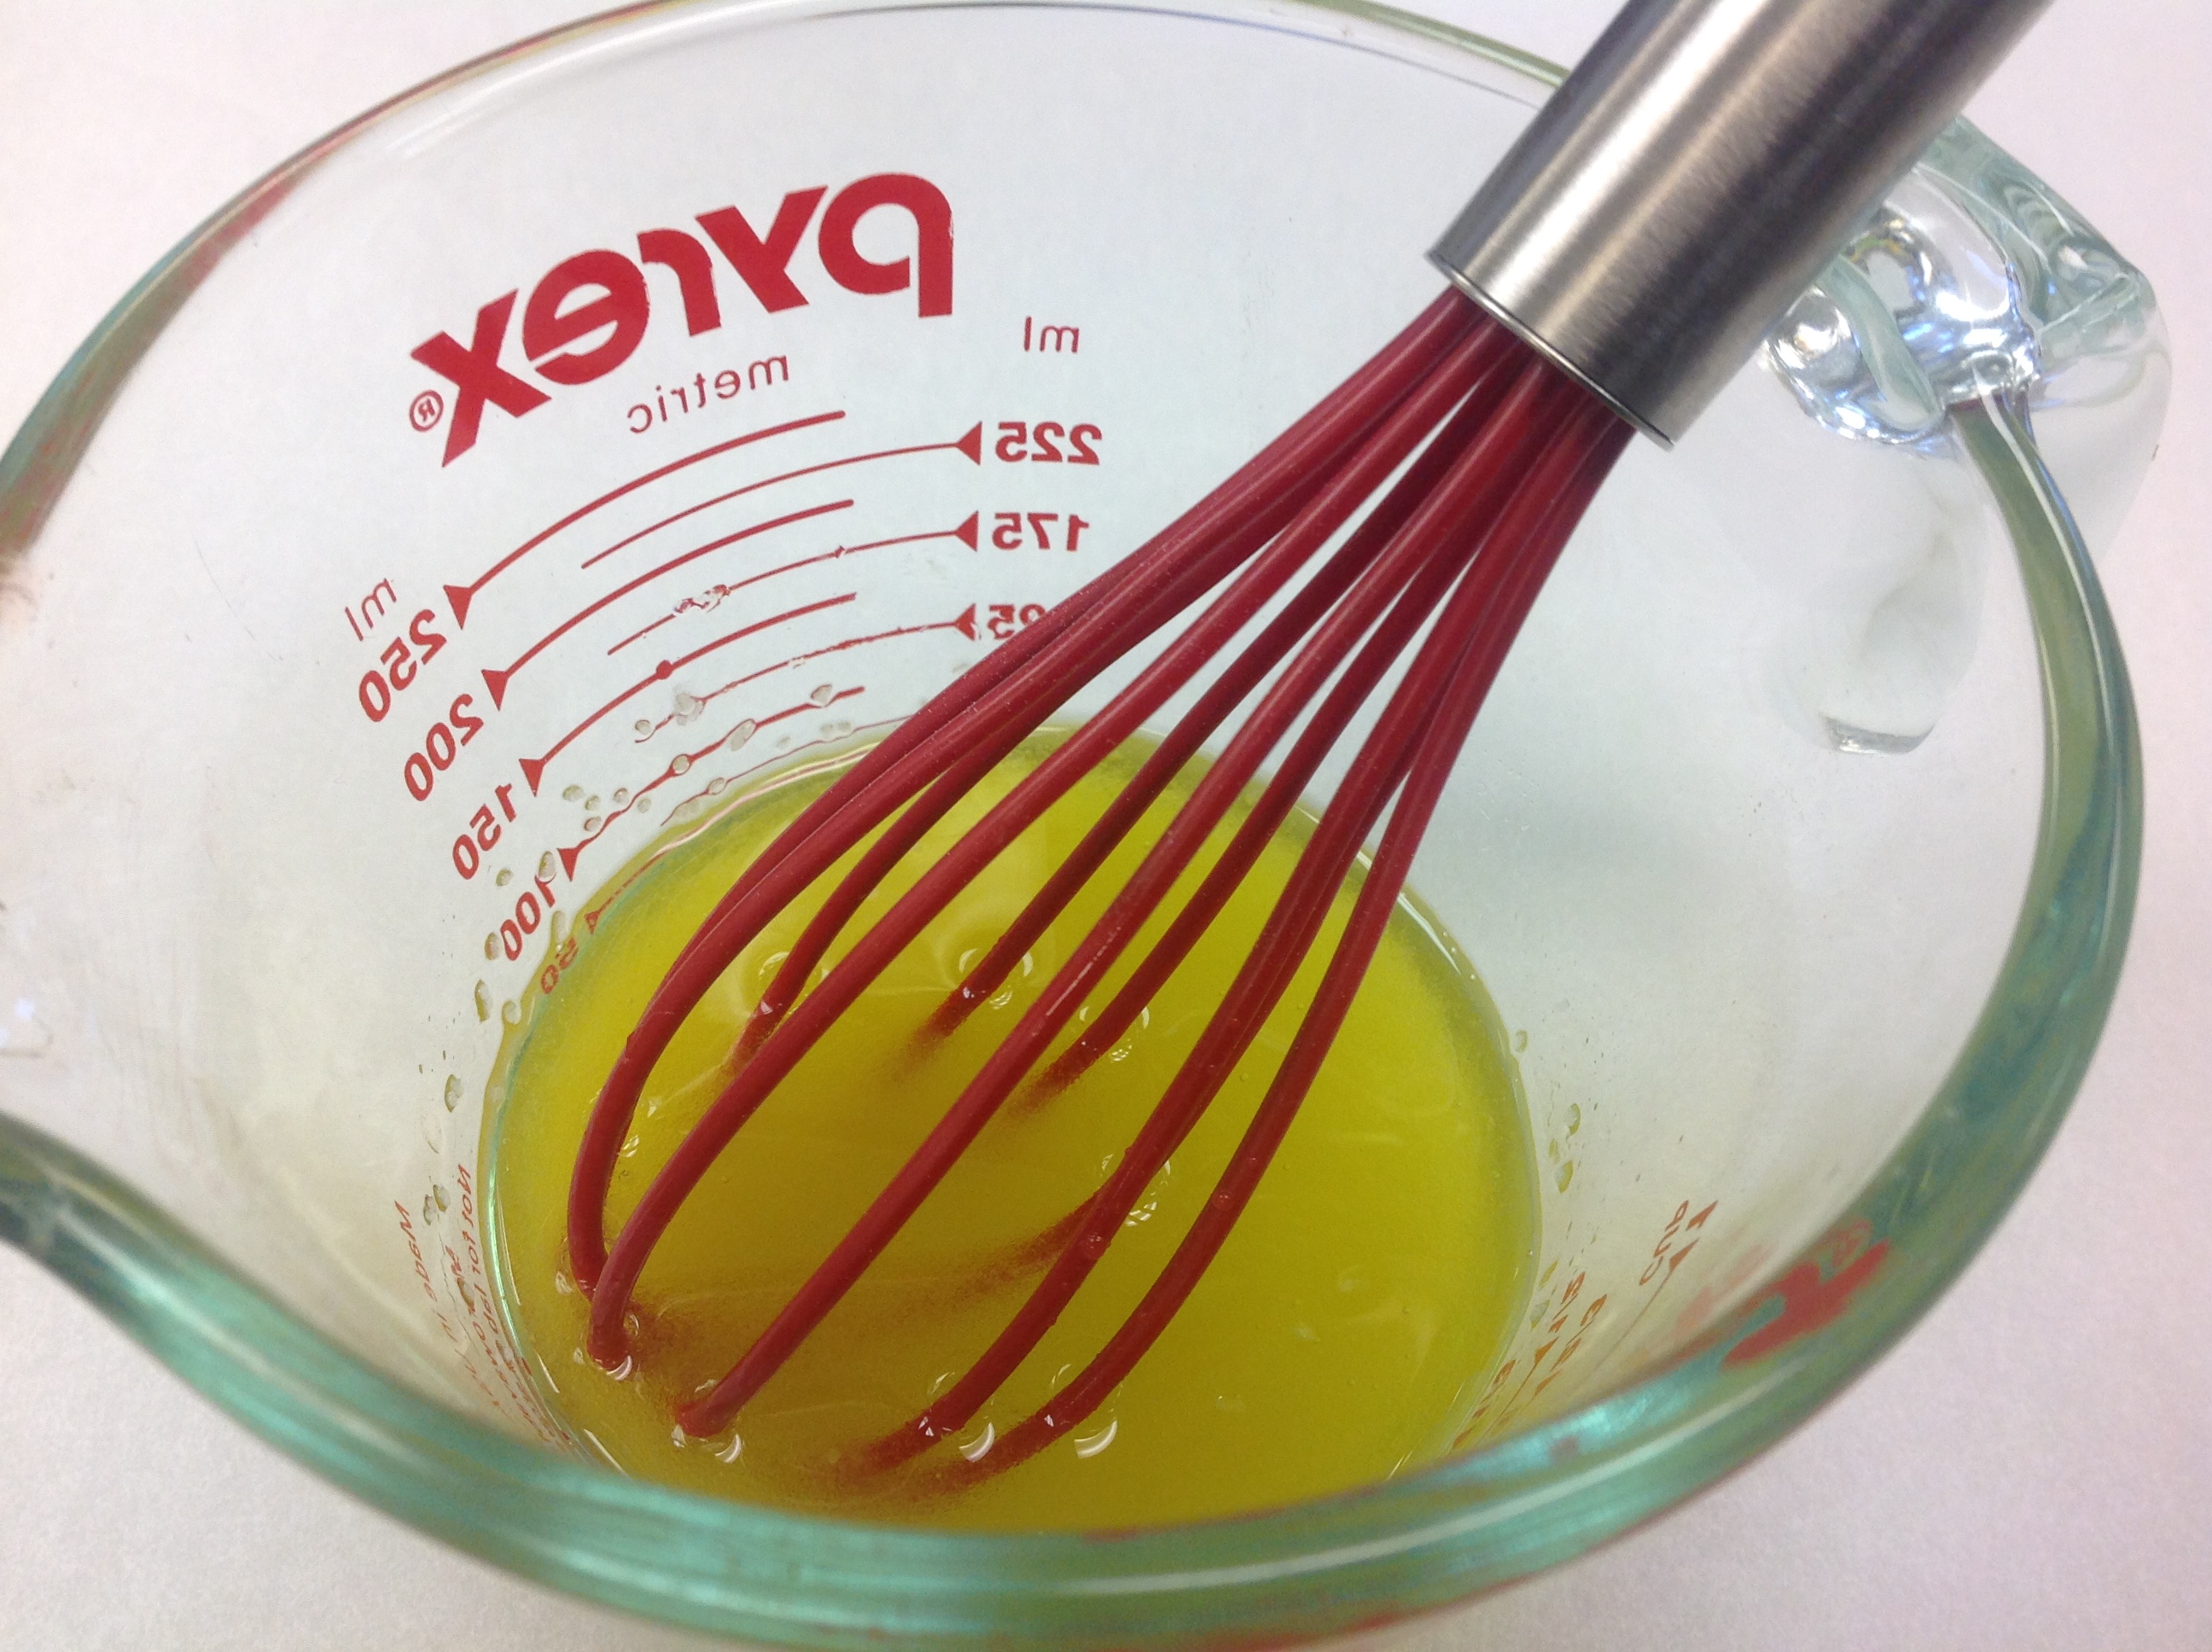
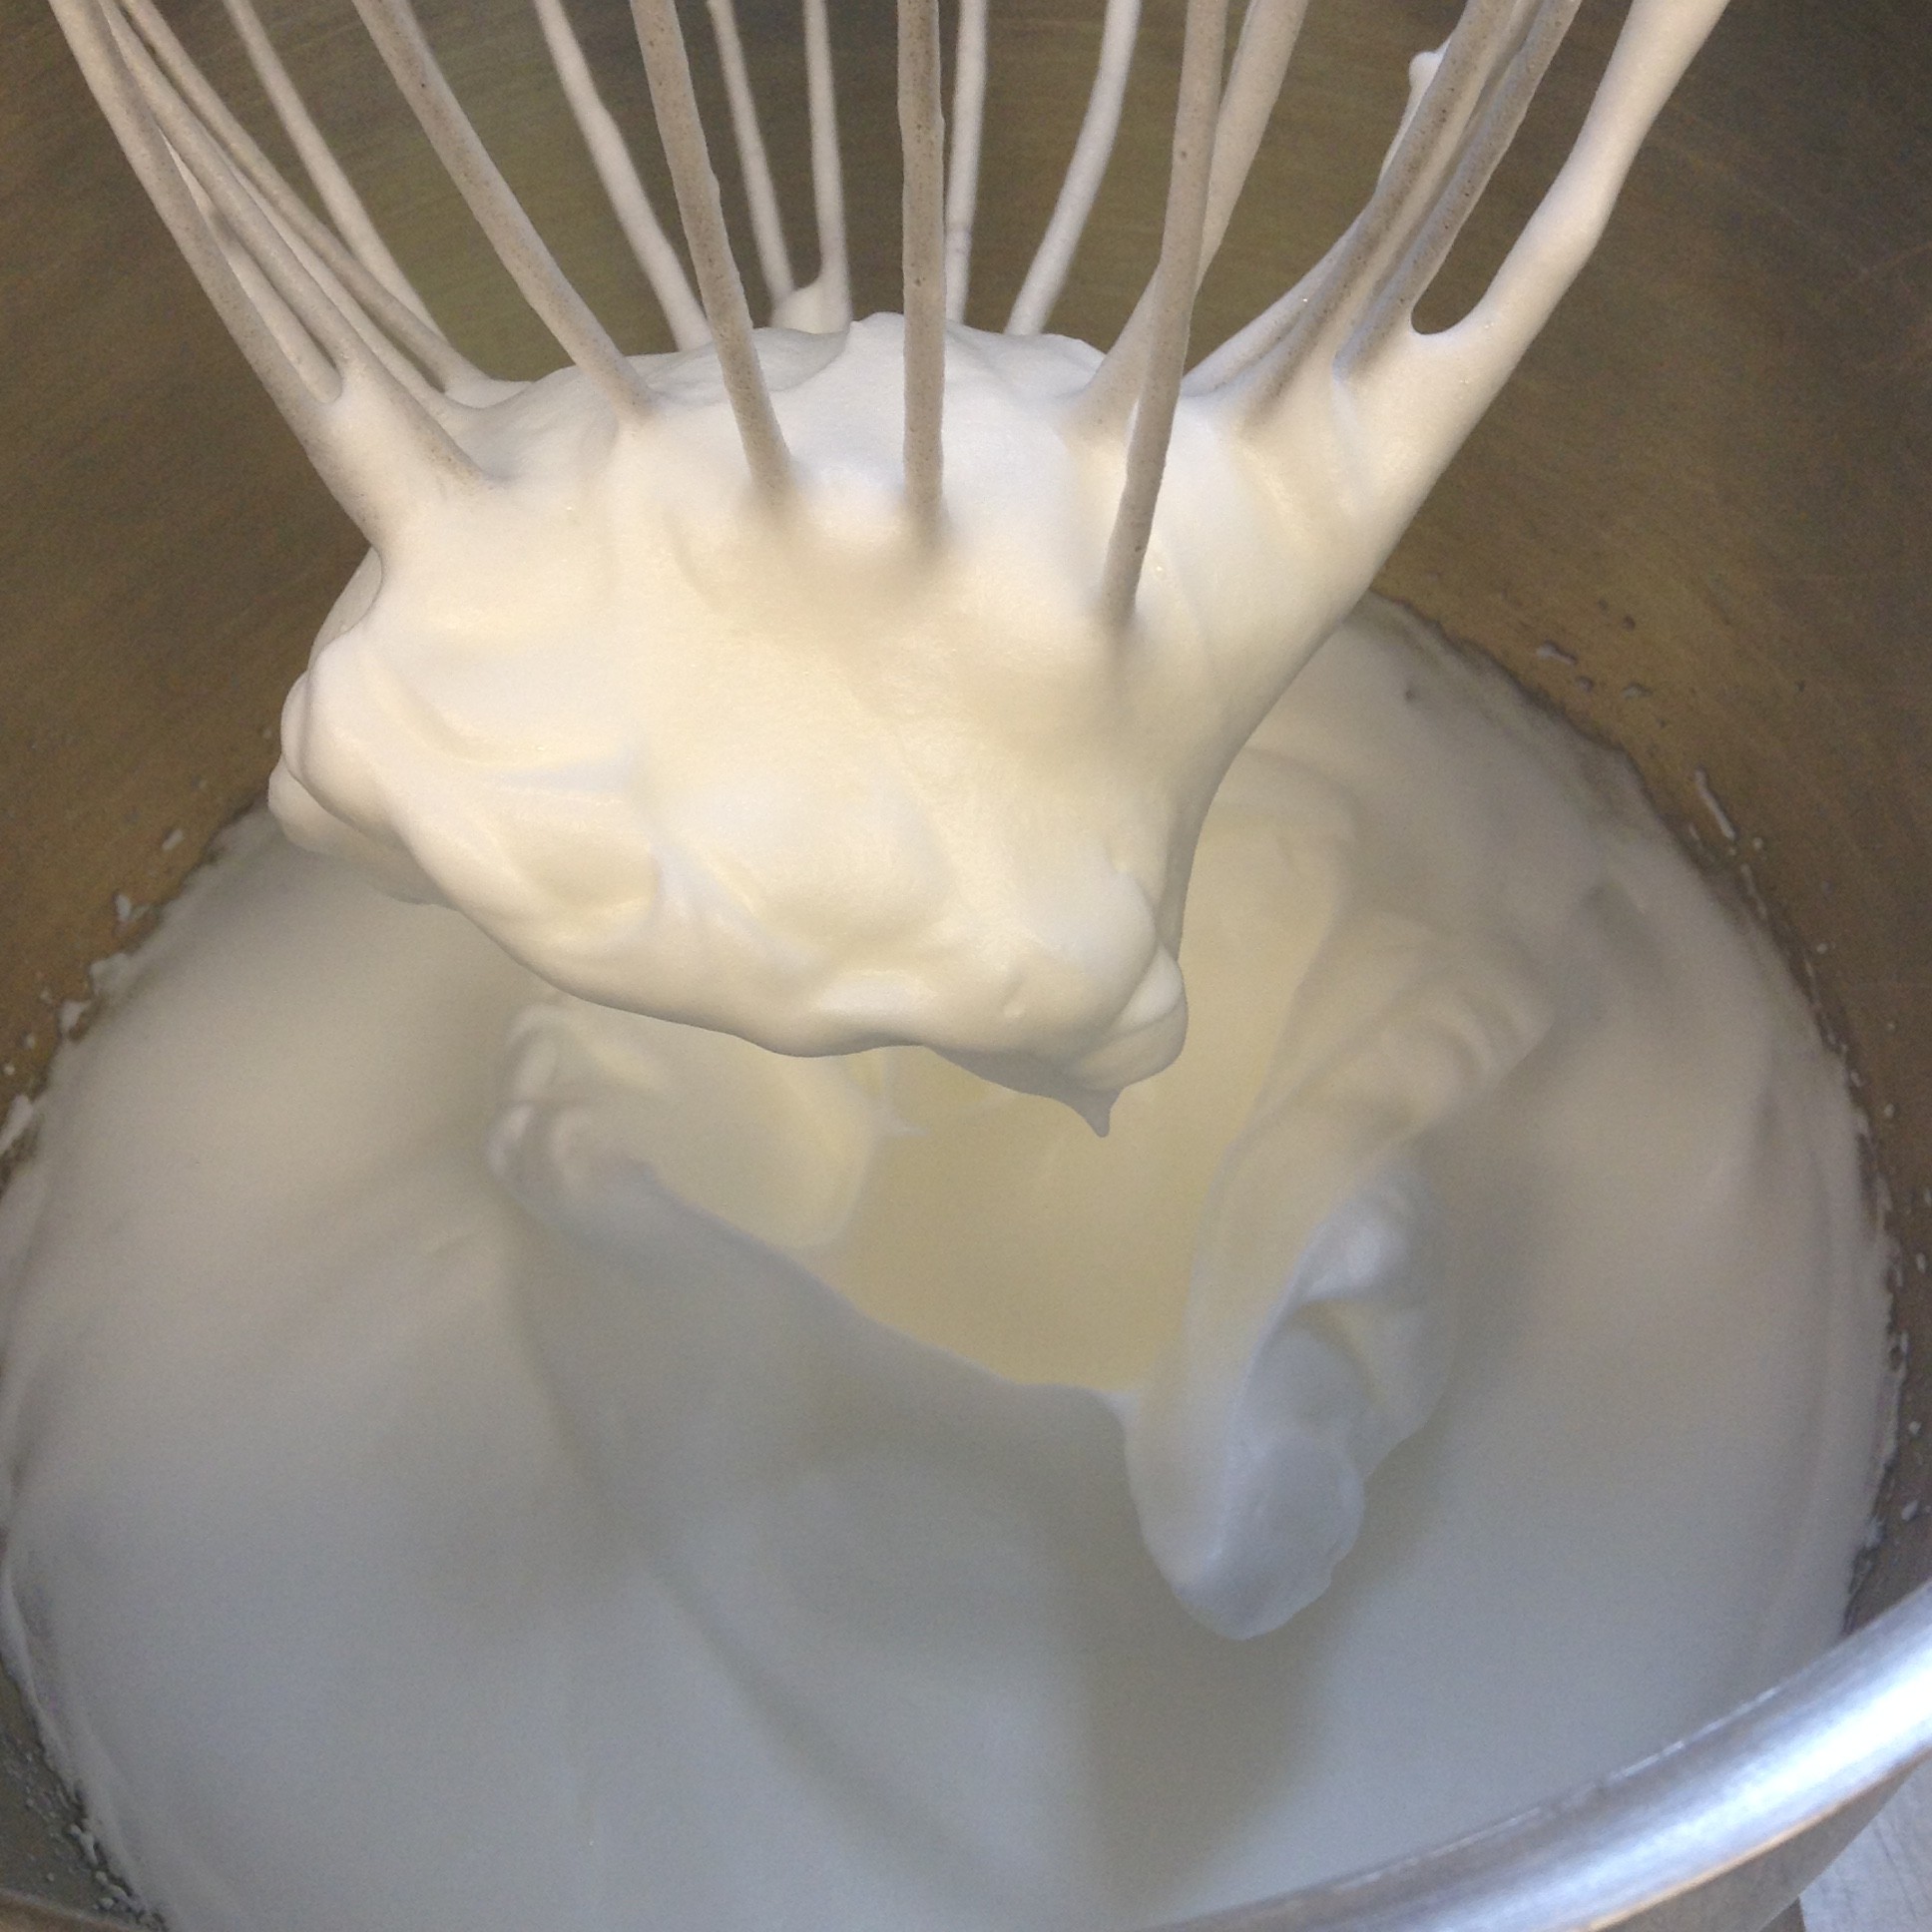
- Place remaining 2 cups of chickpeas in a food processor and begin to process while pouring in a thin stream of olive oil. Once the chickpeas begin to become a paste, add milk, lemon juice, zest, garlic, salt and pepper. The consistency should be thin enough to drizzle on the potatoes, but still be visible (not watery).
- Once the potatoes and chickpeas have finished in the oven, top the potatoes with the roasted chickpeas and drizzle them generously with the hummus sauce. For added color, garnish with fresh parsley or feta cheese and serve warm or room temperature.
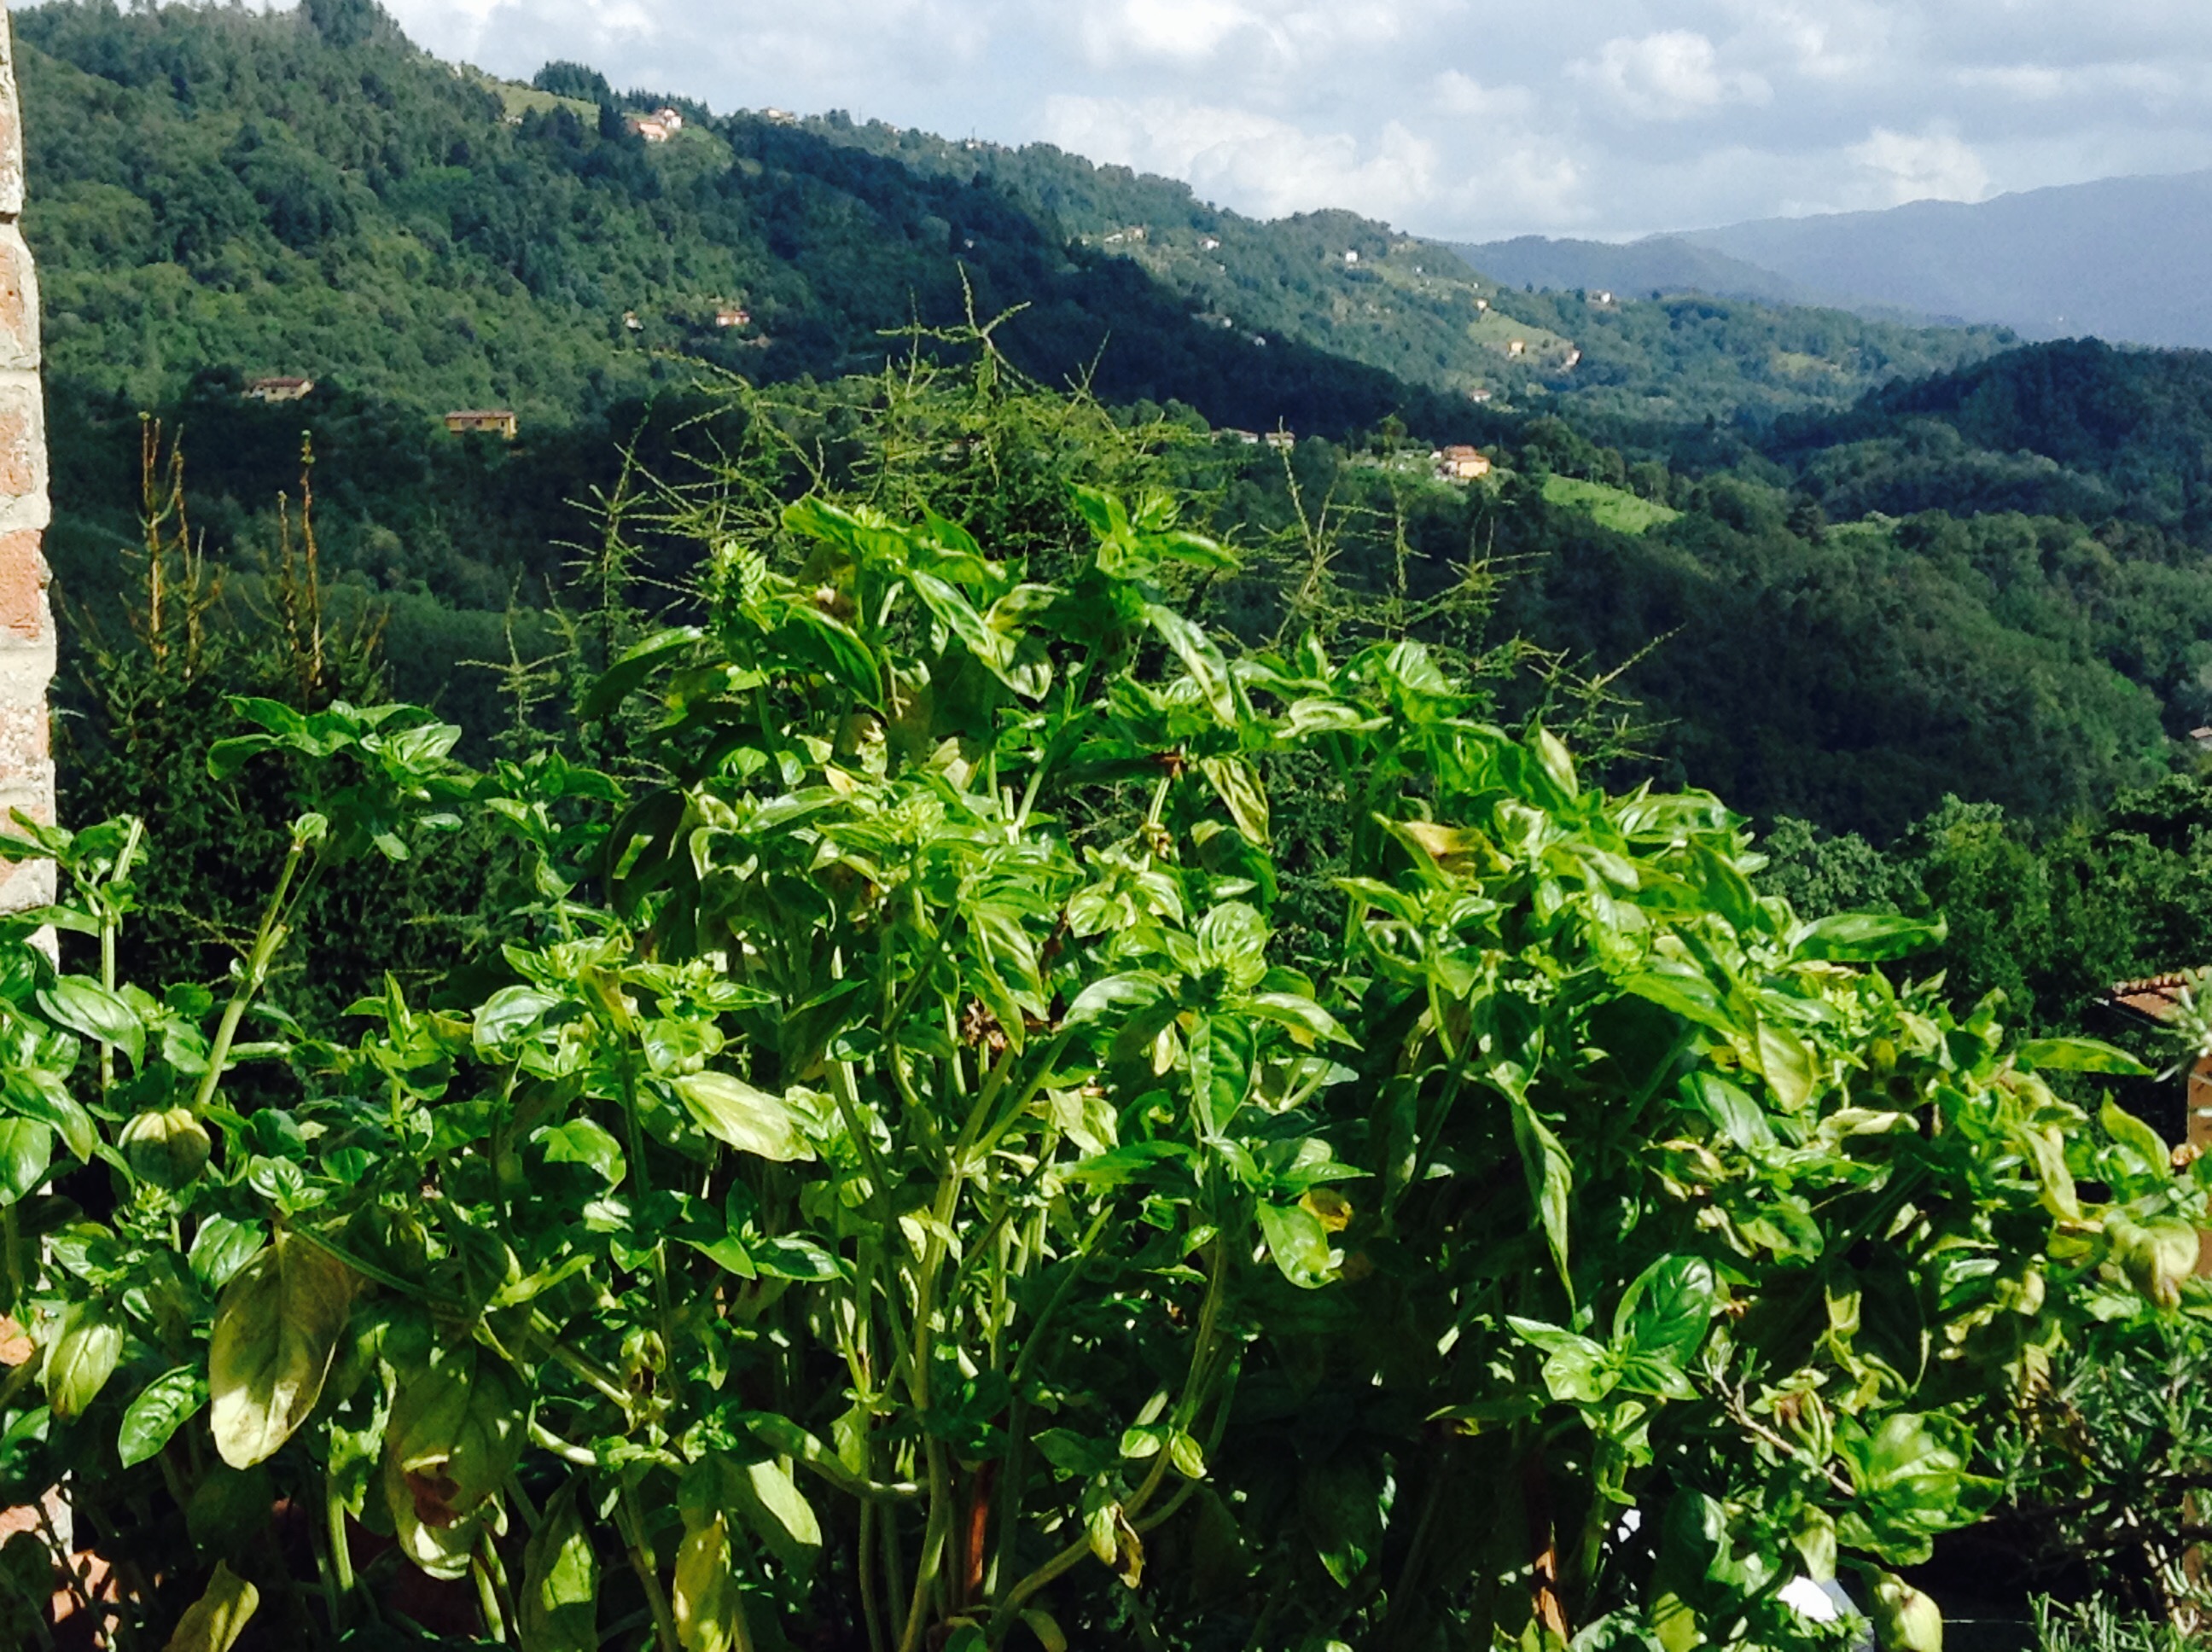
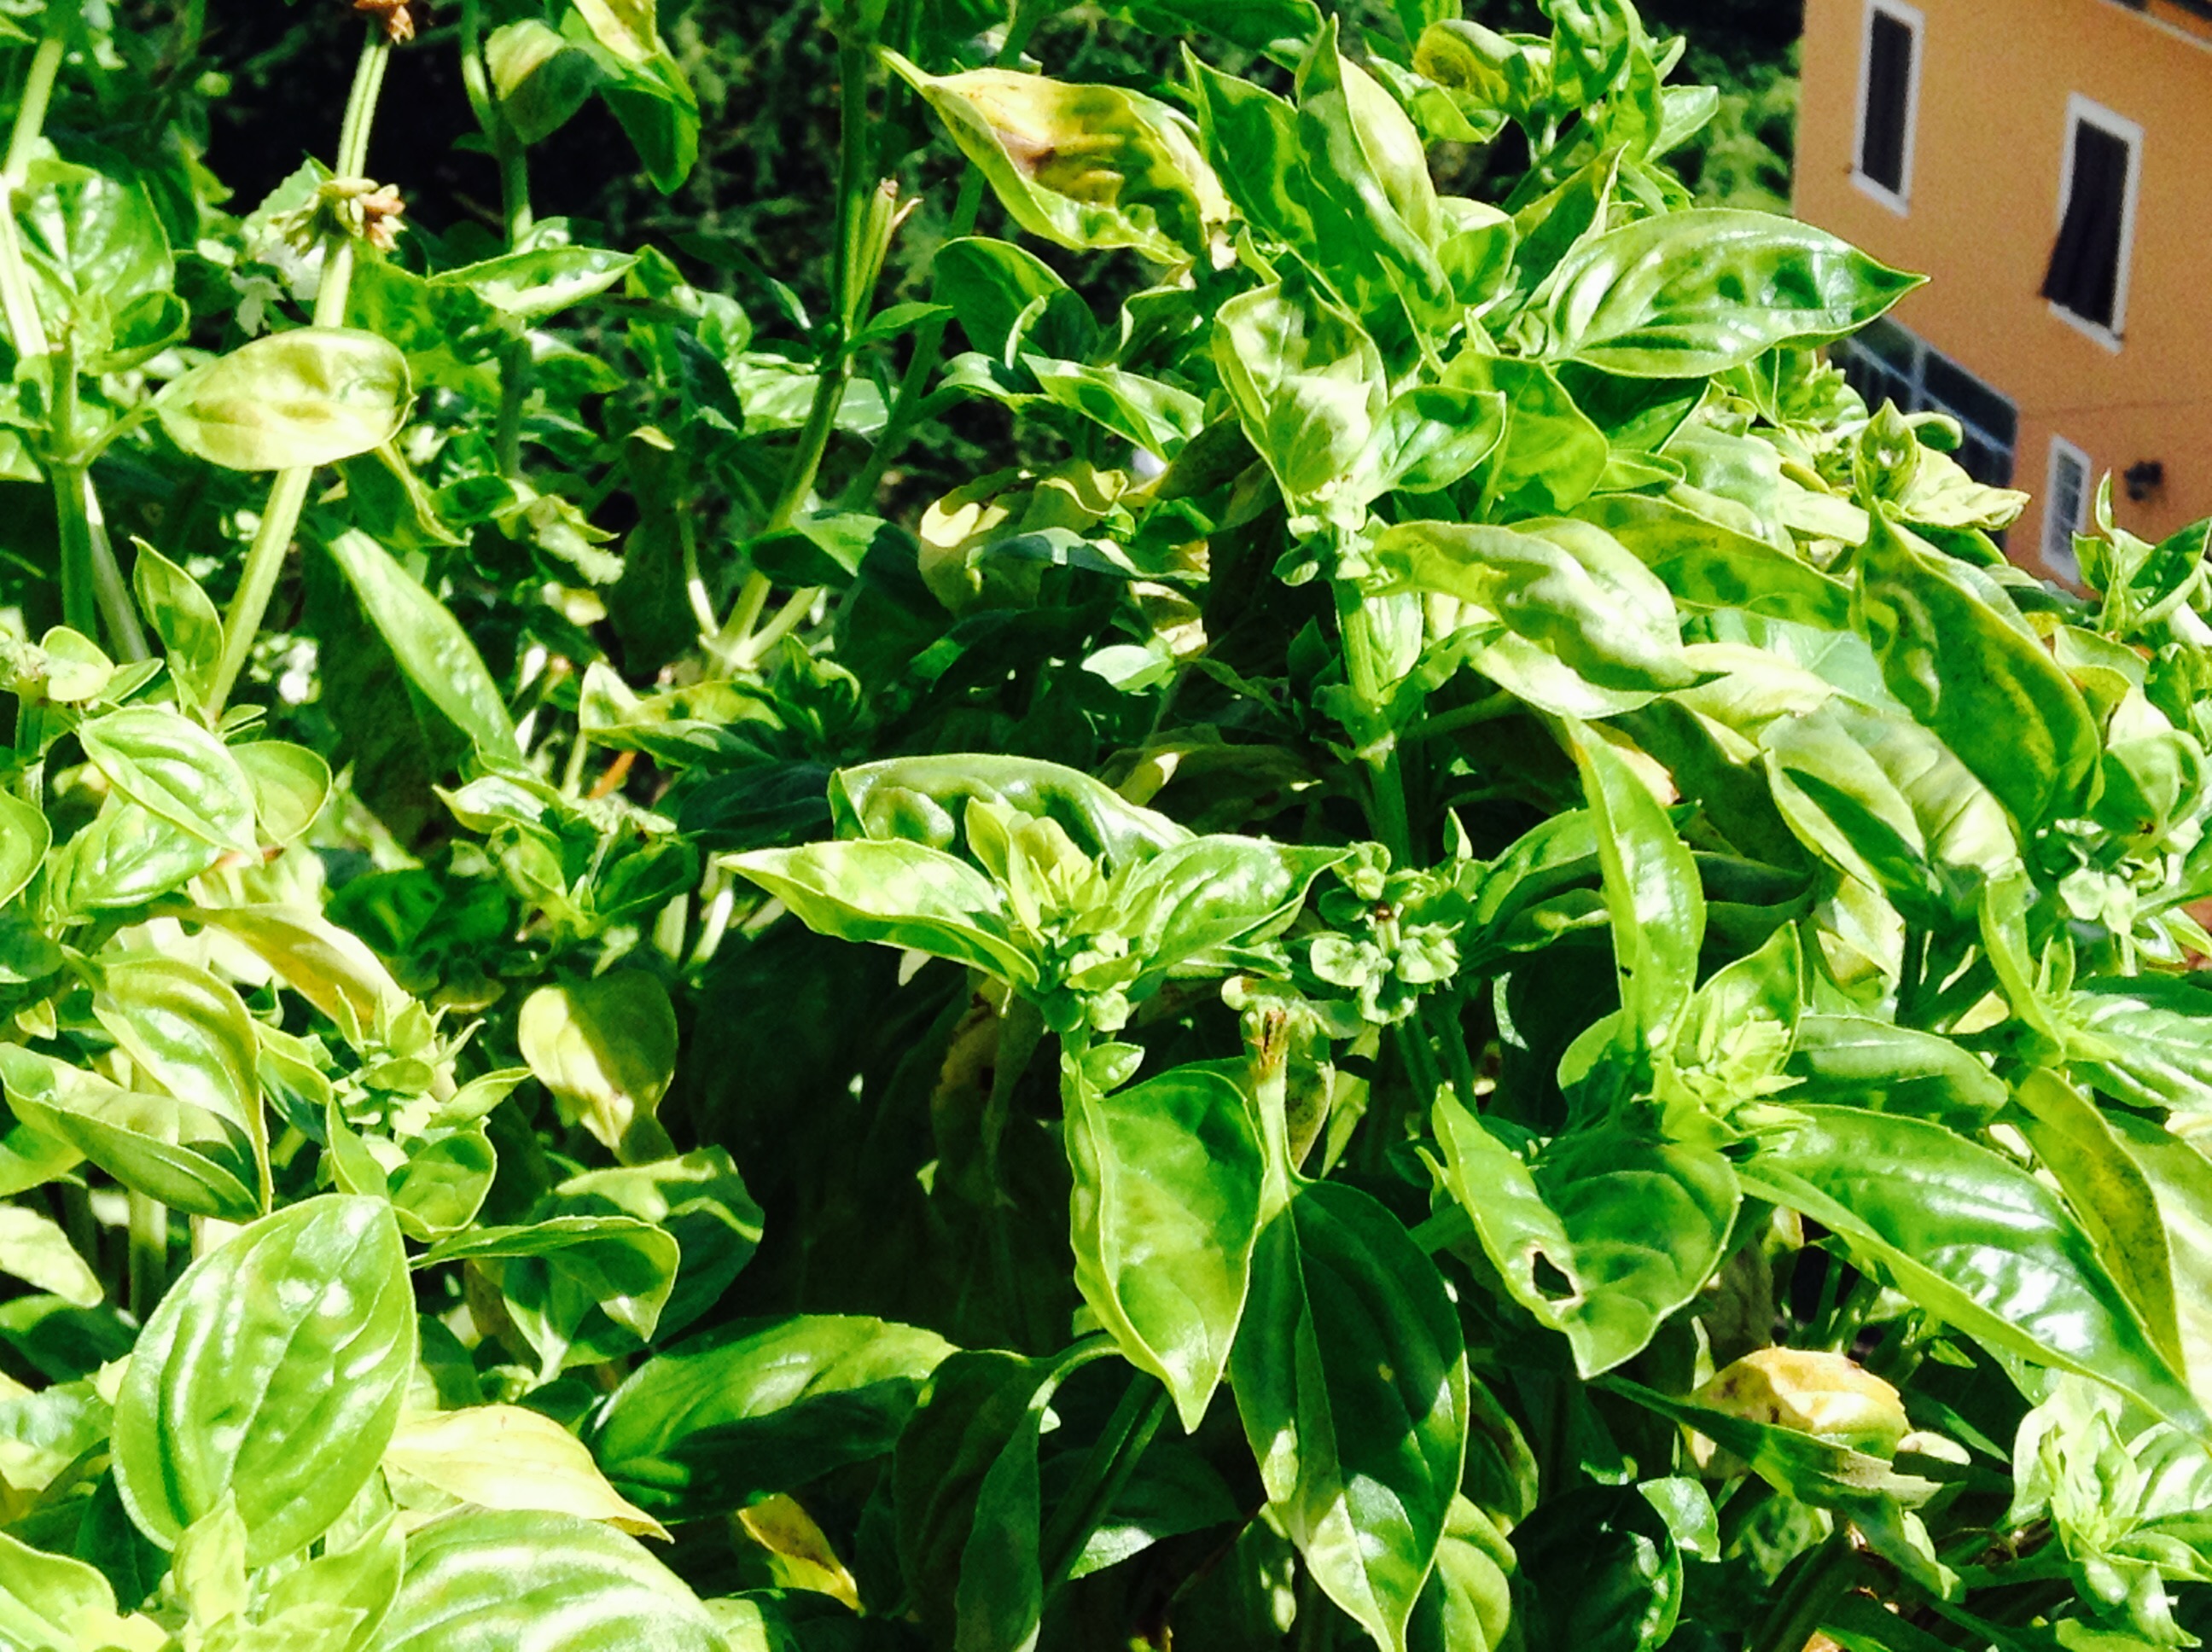
The Sisters have been rising with the sun over the past couple of months to get our gardens going for summer. We have six different vegetable gardens in plots of land all over our community. Some cover acres of land and others are smaller plots, but they all need the love and care it takes to get them going. As we were working this morning, putting the last of our basil seedlings in the ground, I was getting excited about the prospect of harvesting and cooking some of my favorite dishes. Who doesn’t love a big bowl of steamy pasta tossed in pesto and sprinkled with parmesan cheese?
This recipe is one of my favorites for pesto. It’s a bit lighter and more of a sauce. It’s loaded with flavor and makes an elegant dish when used with tortellini, fettucini or one of the other heartier pastas that can stand up to pesto. It introduces the aromatic flavor of parsley with the basil and the lemon juice helps keep the herbs vibrant. If you’re making a regular pesto, I was taught in Italy to throw an ice cube in when blending the basil as this also helps keep the color bright and green. This can be refrigerated or frozen indefinitely for future use; just warm it up at room temperature – do not cook or heat.
Print Recipe
Votes: 0
Rating: 0
You:
Rate this recipe!
Pesto Sauce
SERVINGS2pints
|
COOK TIME0mins |
PREP TIME10mins |
READY IN15mins (or less) |
Ingredients
Instructions
- Put all the ingredients except the basil into a blender and grind thoroughly.
- Add the basil and grind until creamy texture is achieved. No cooking is needed.
- This amount of sauce is enough for 1 pound of pasta of your choice.
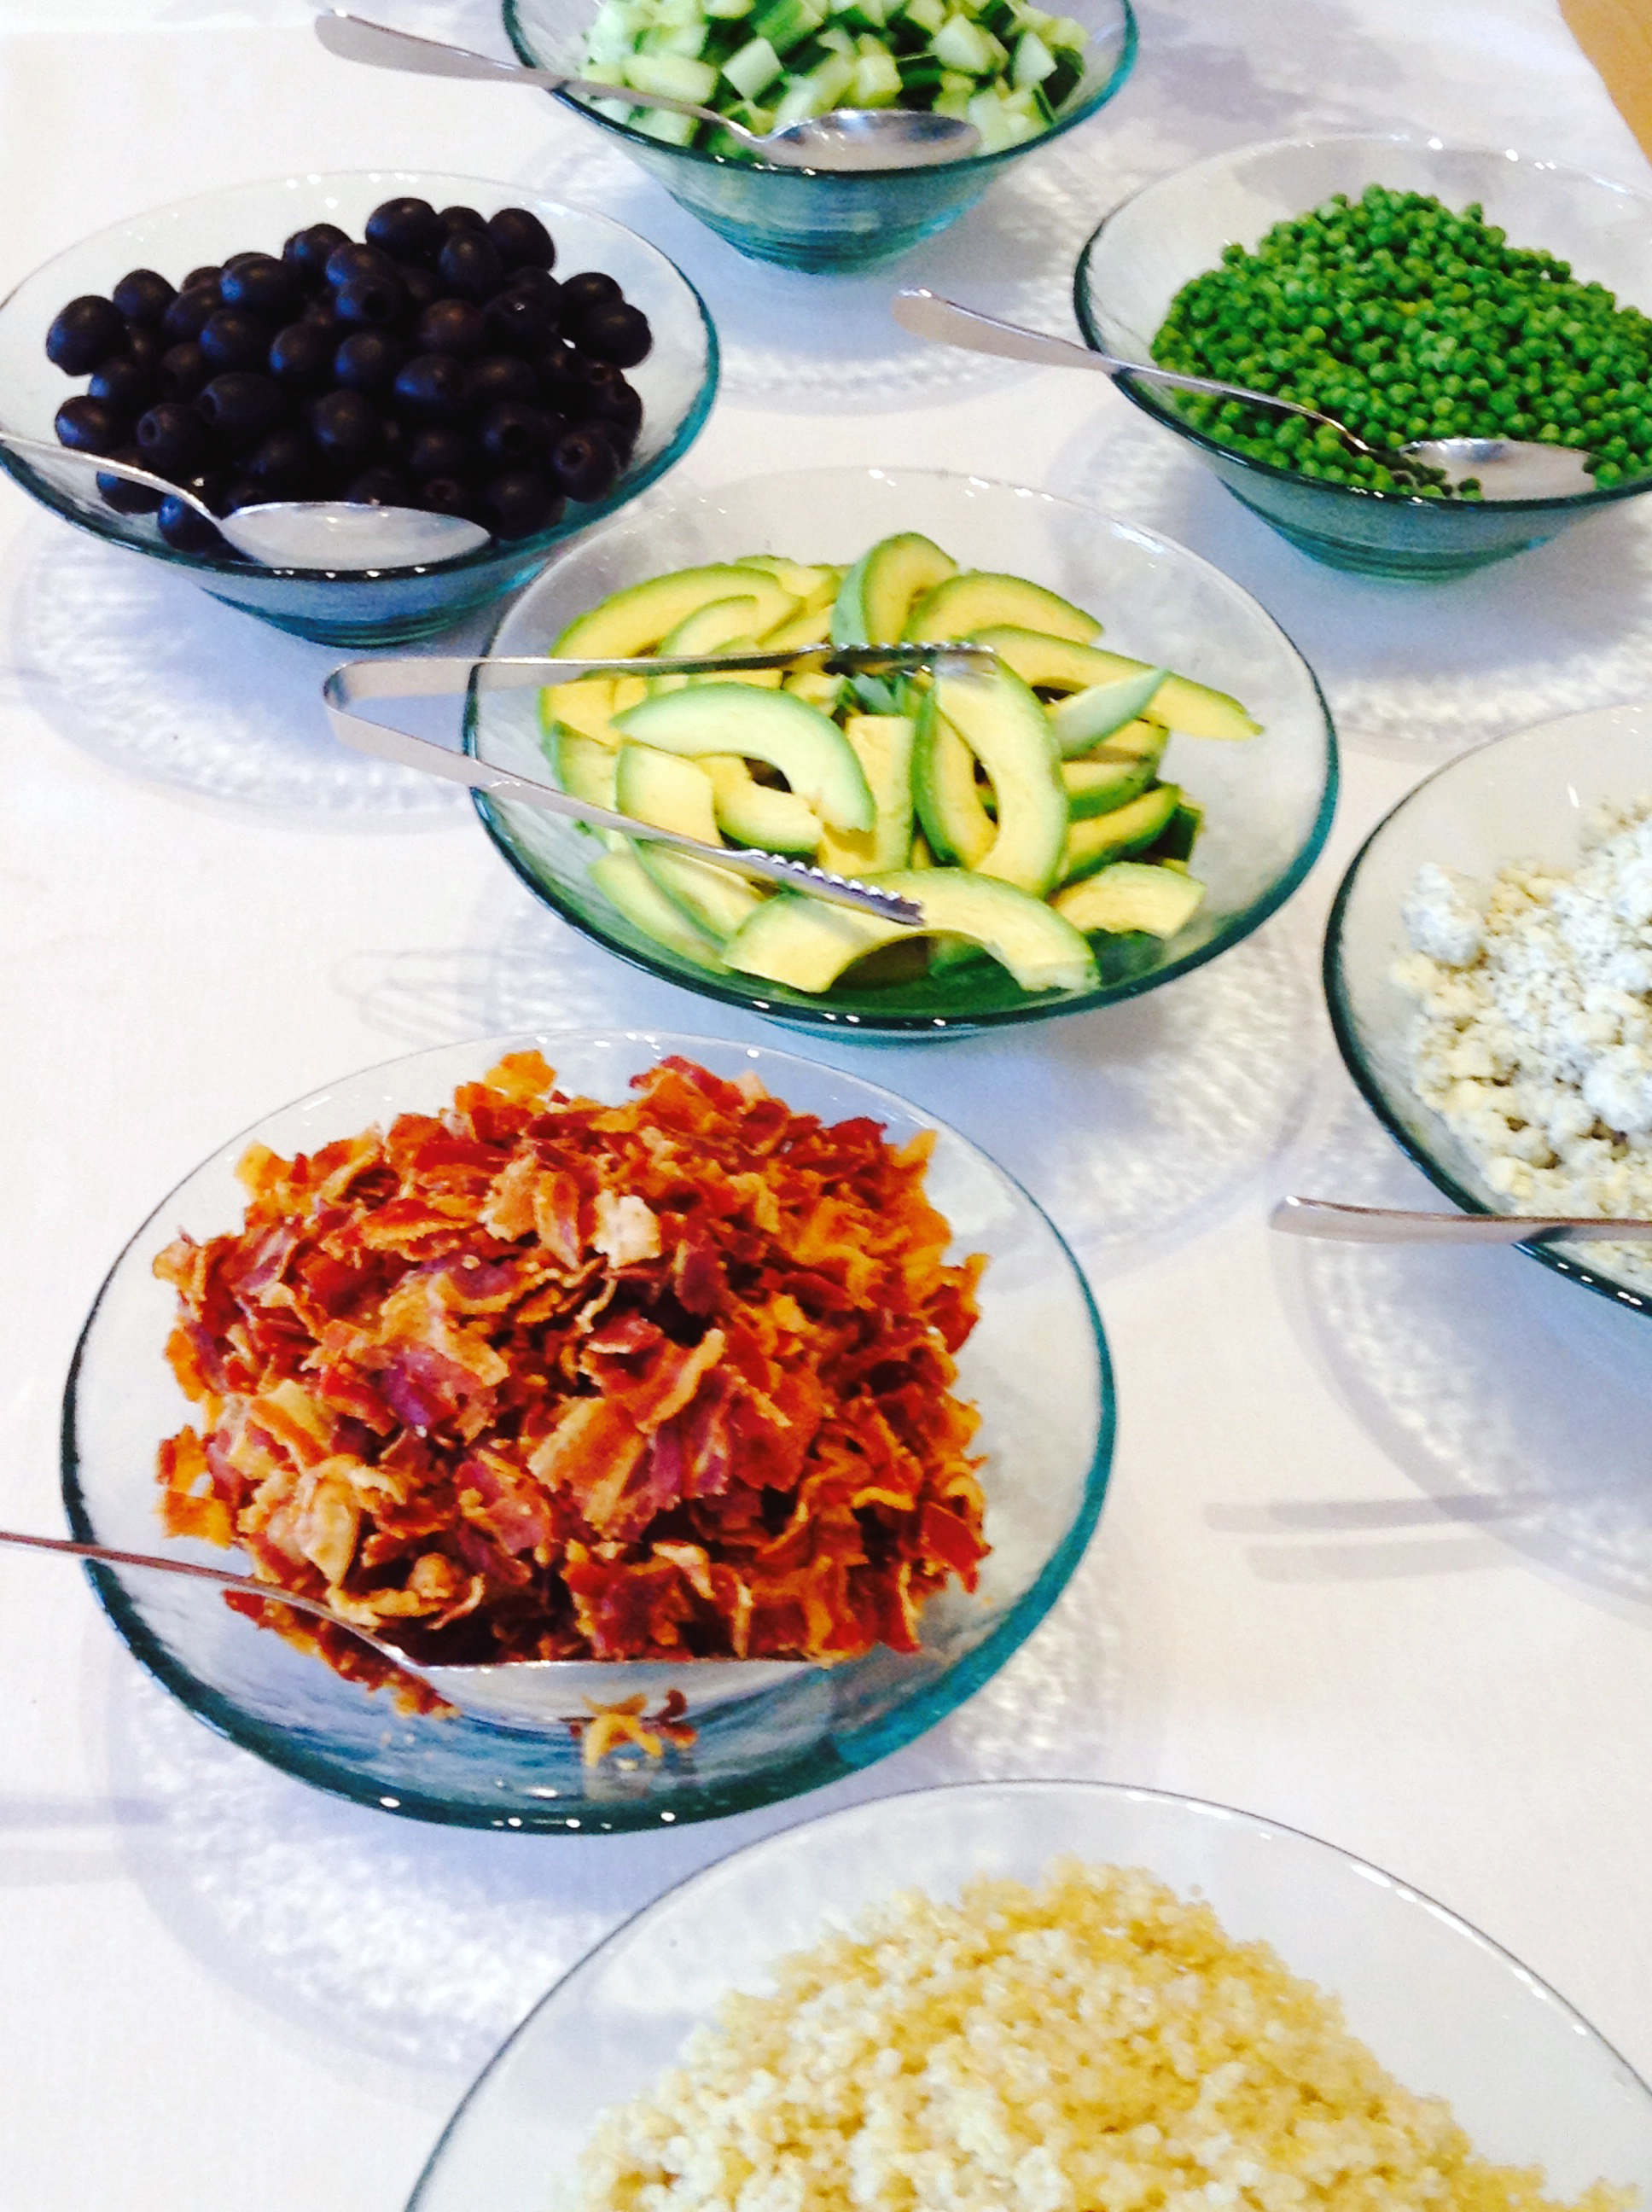
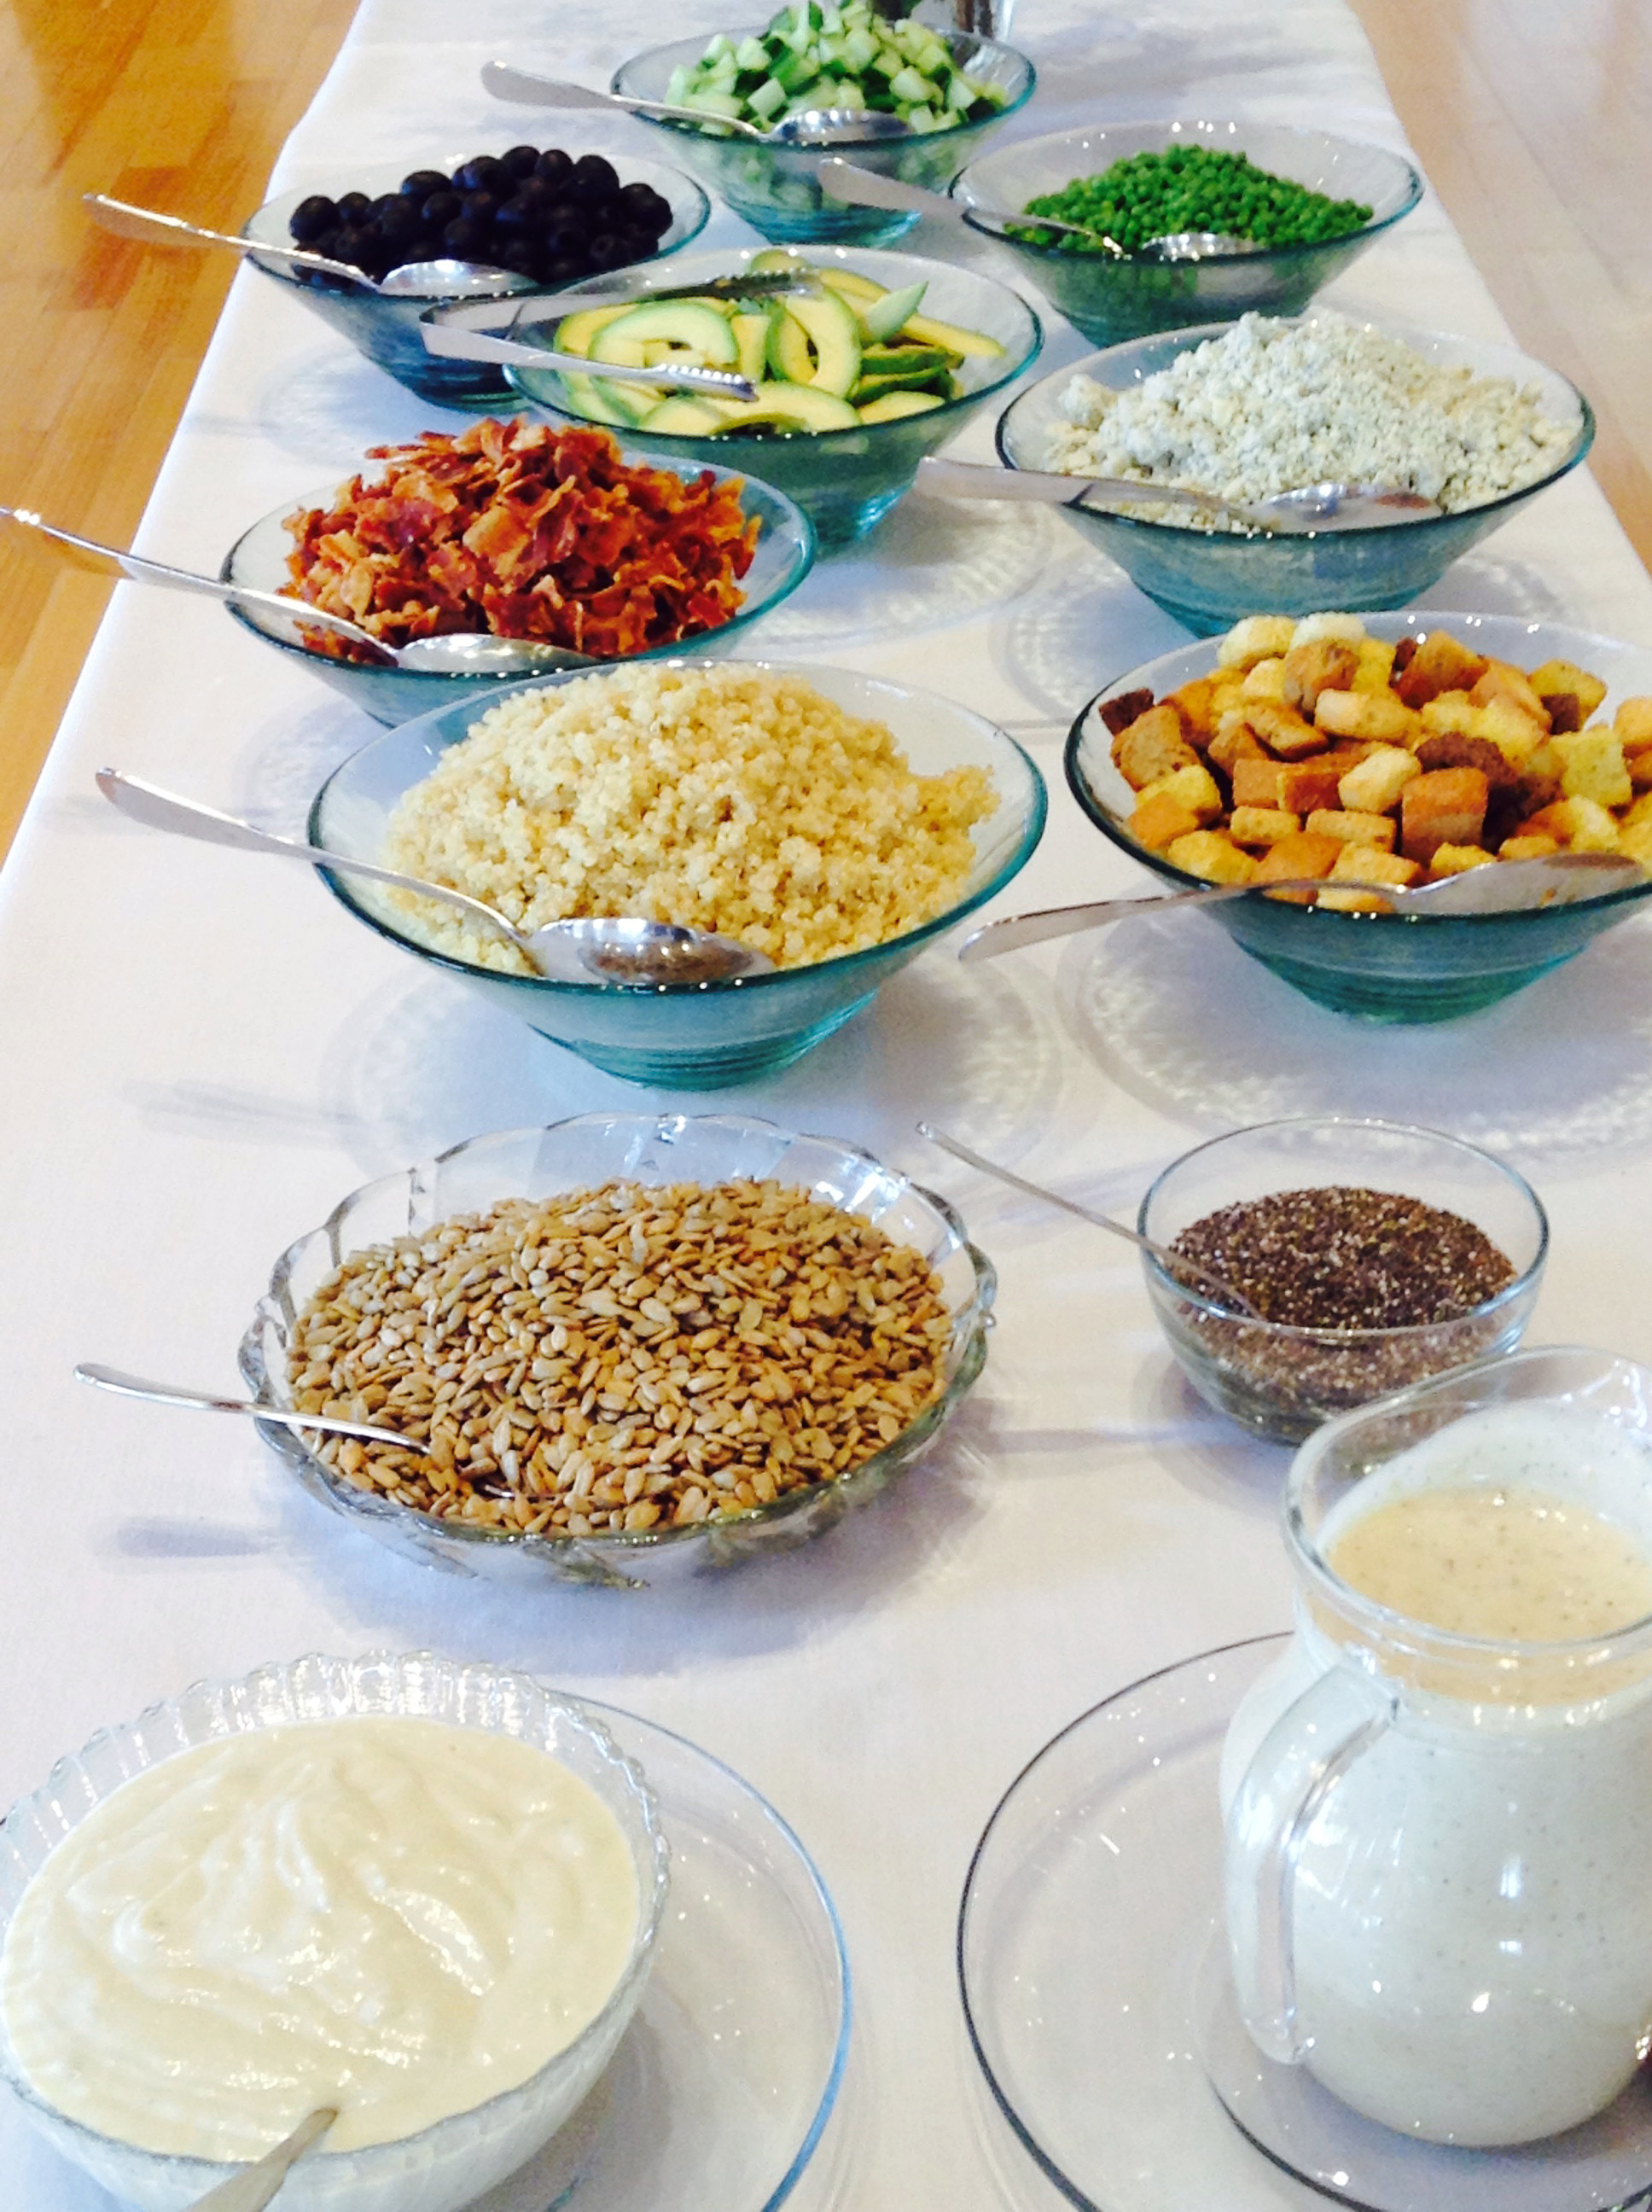
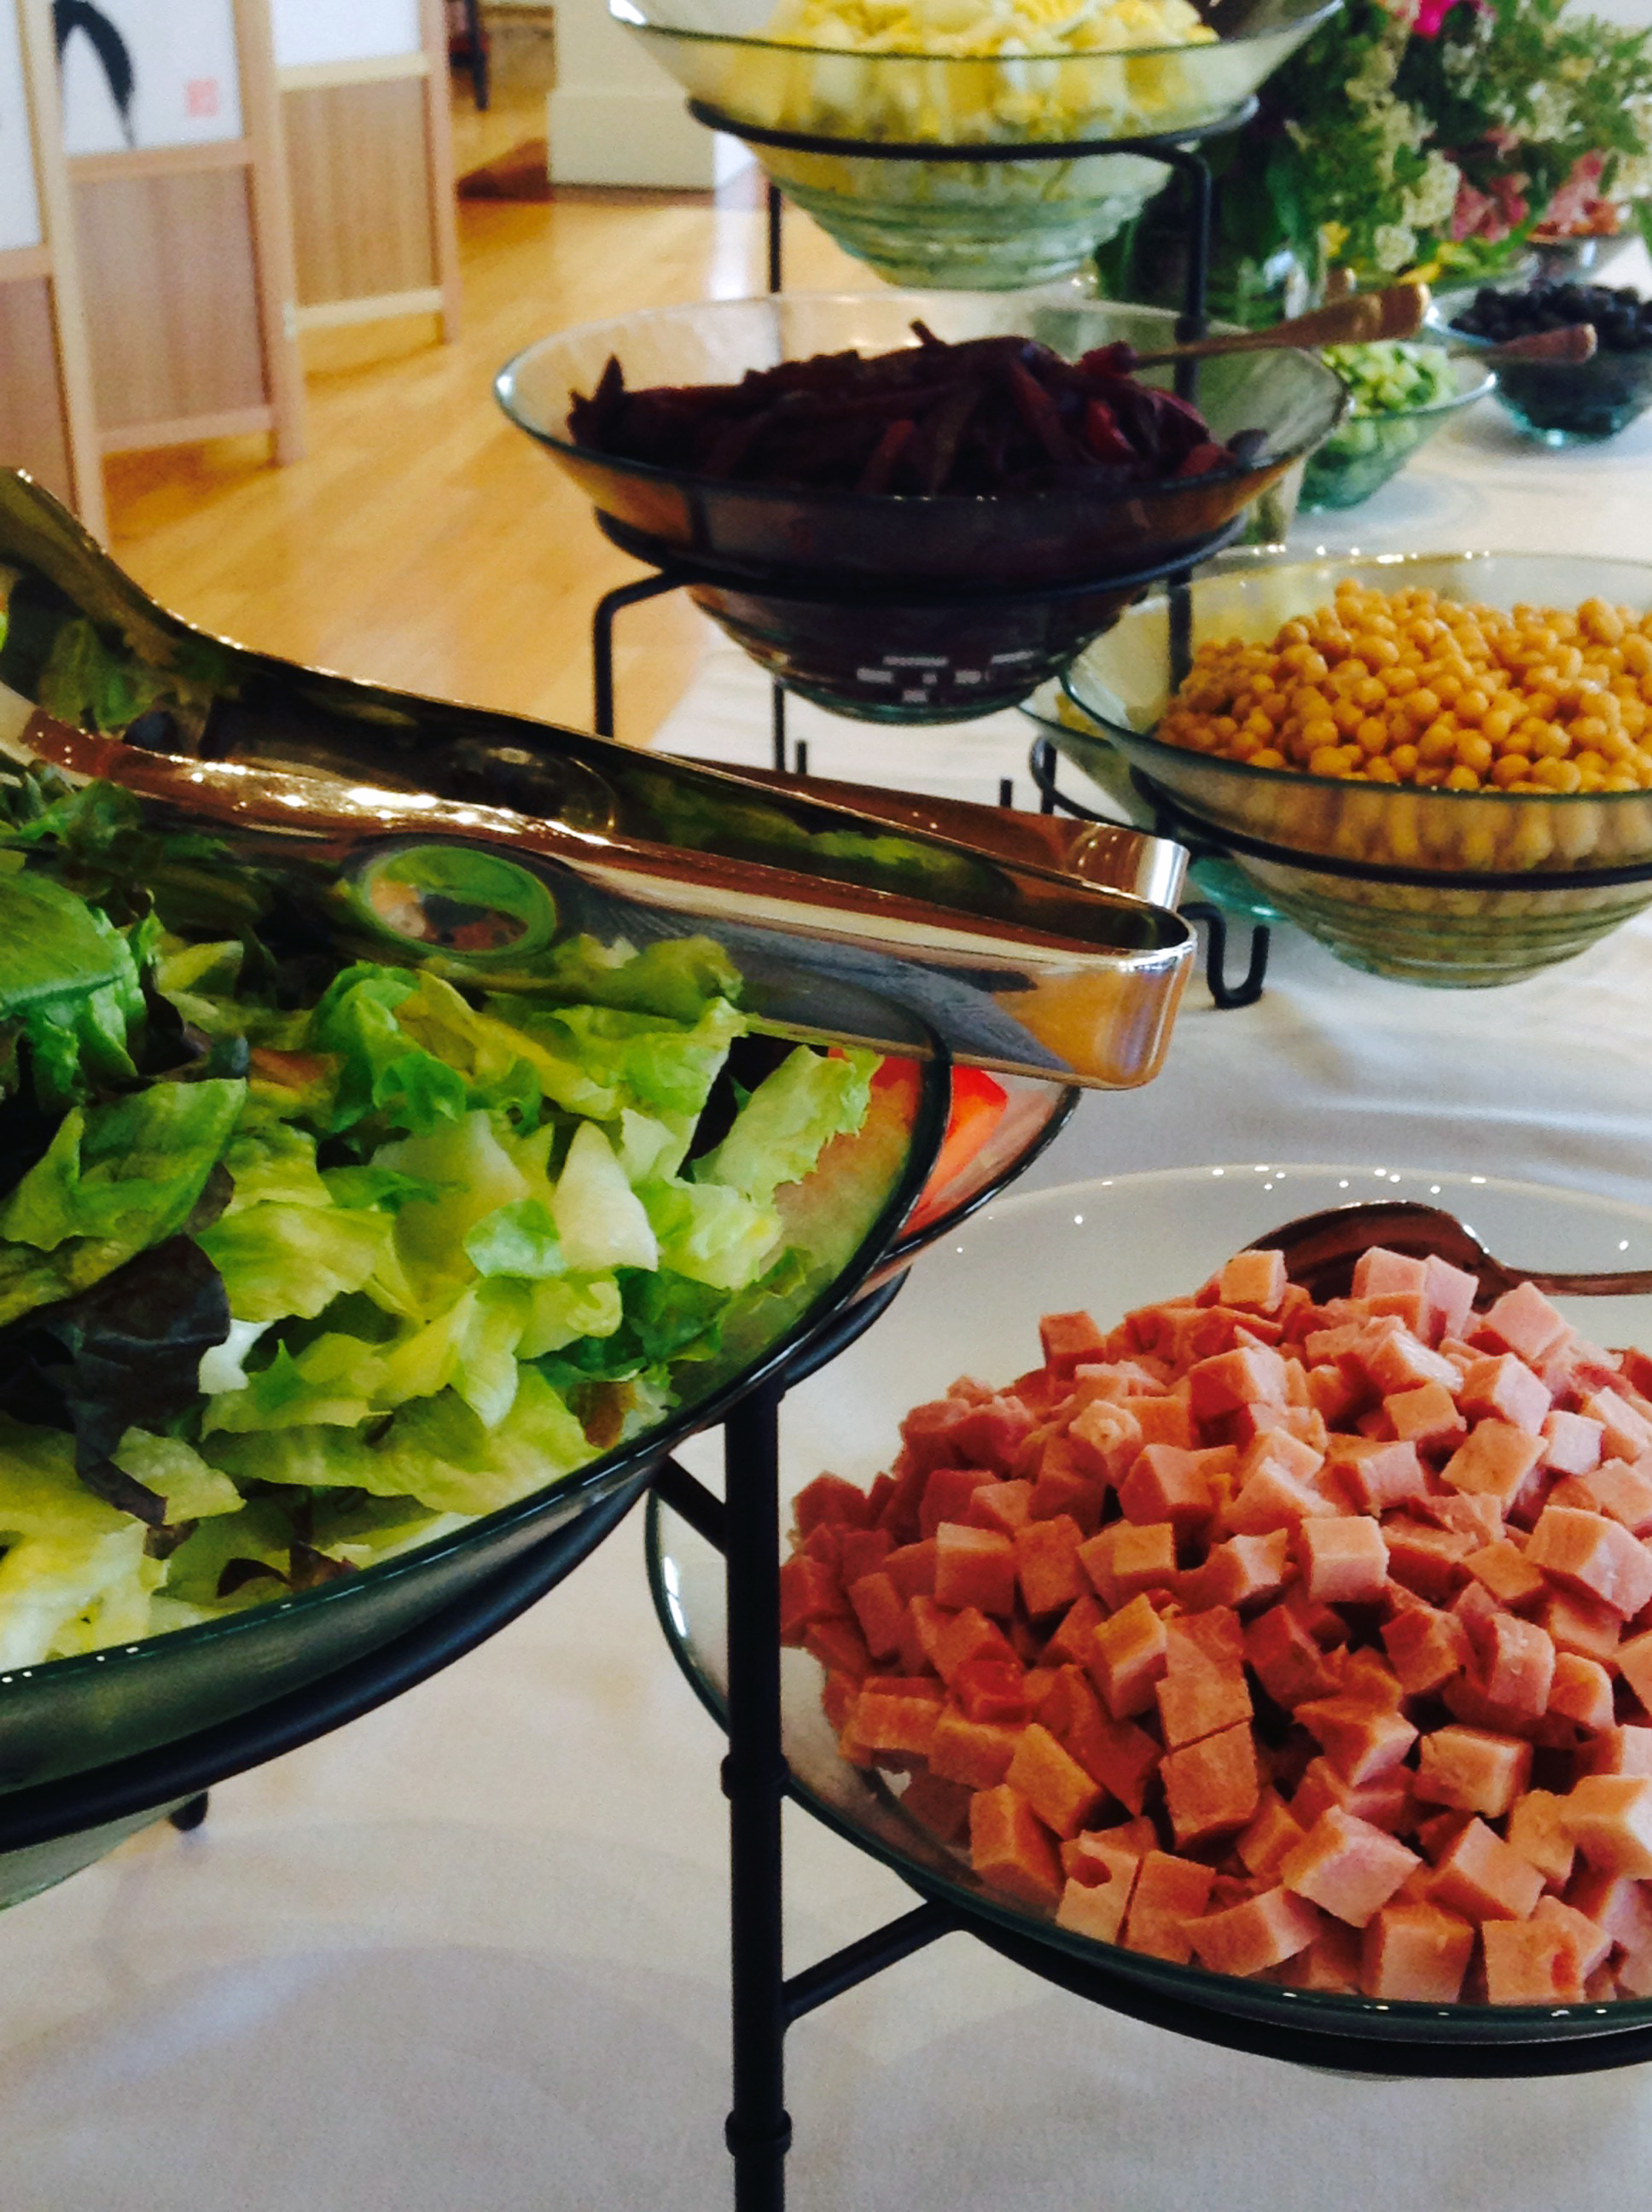
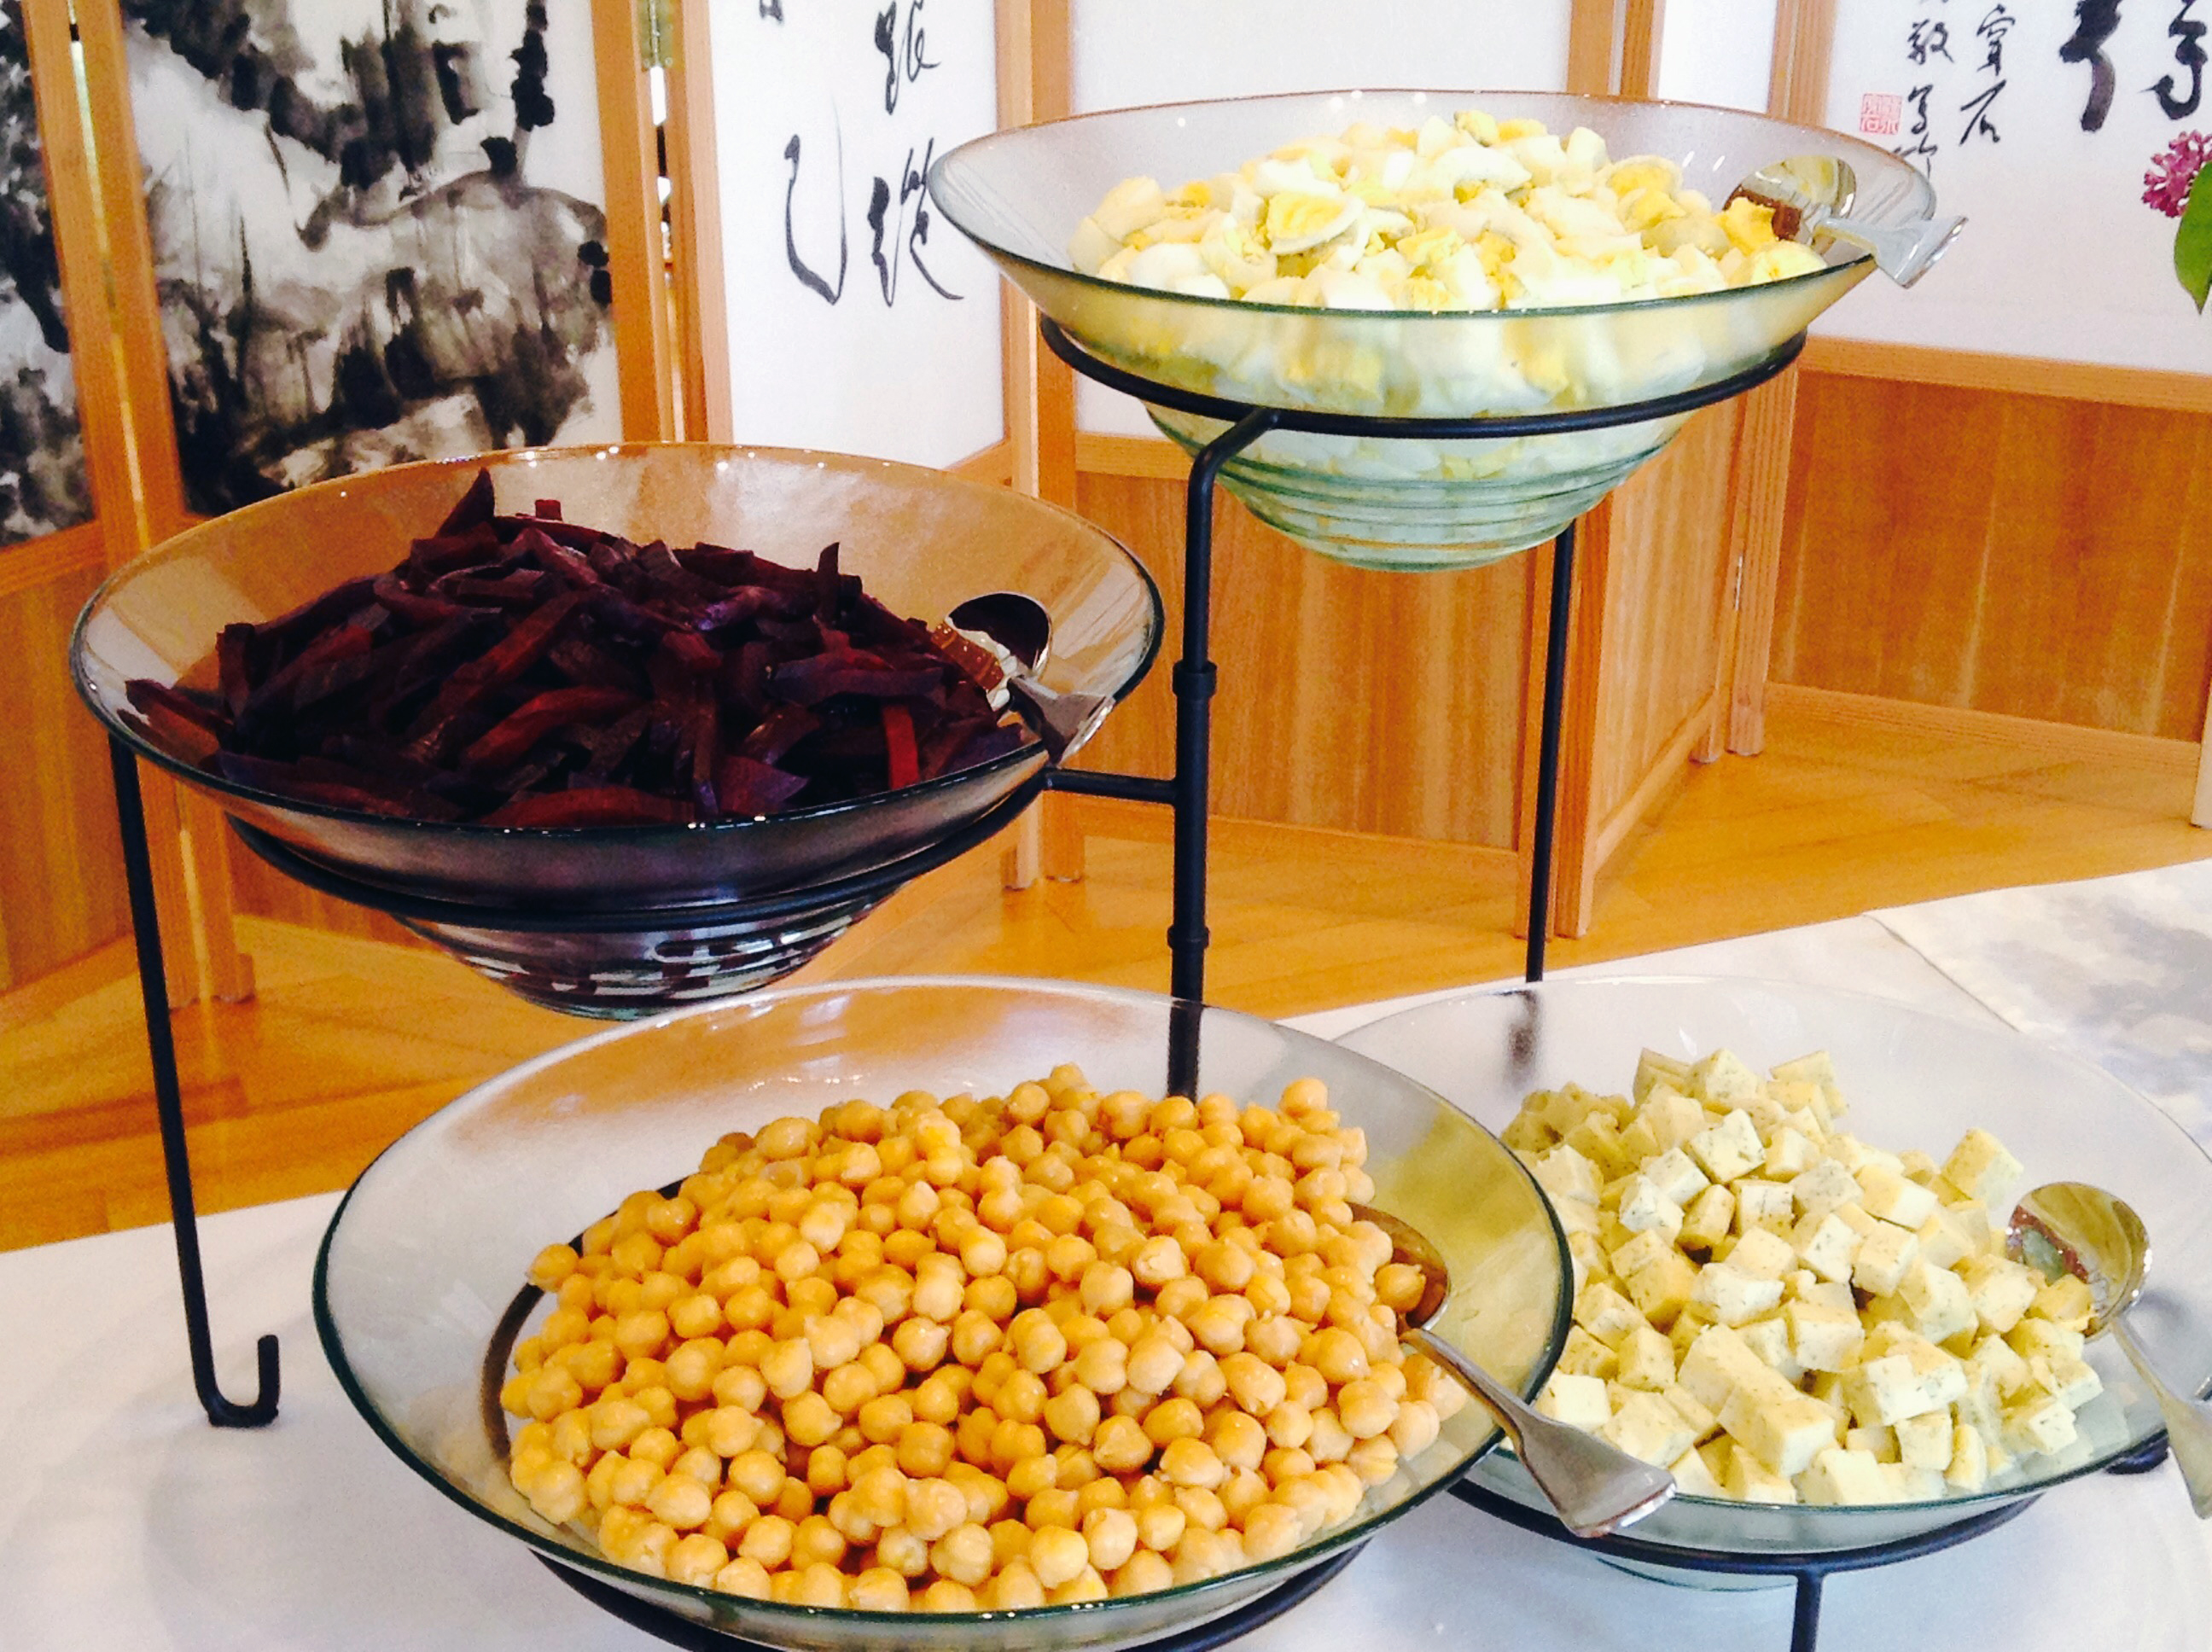
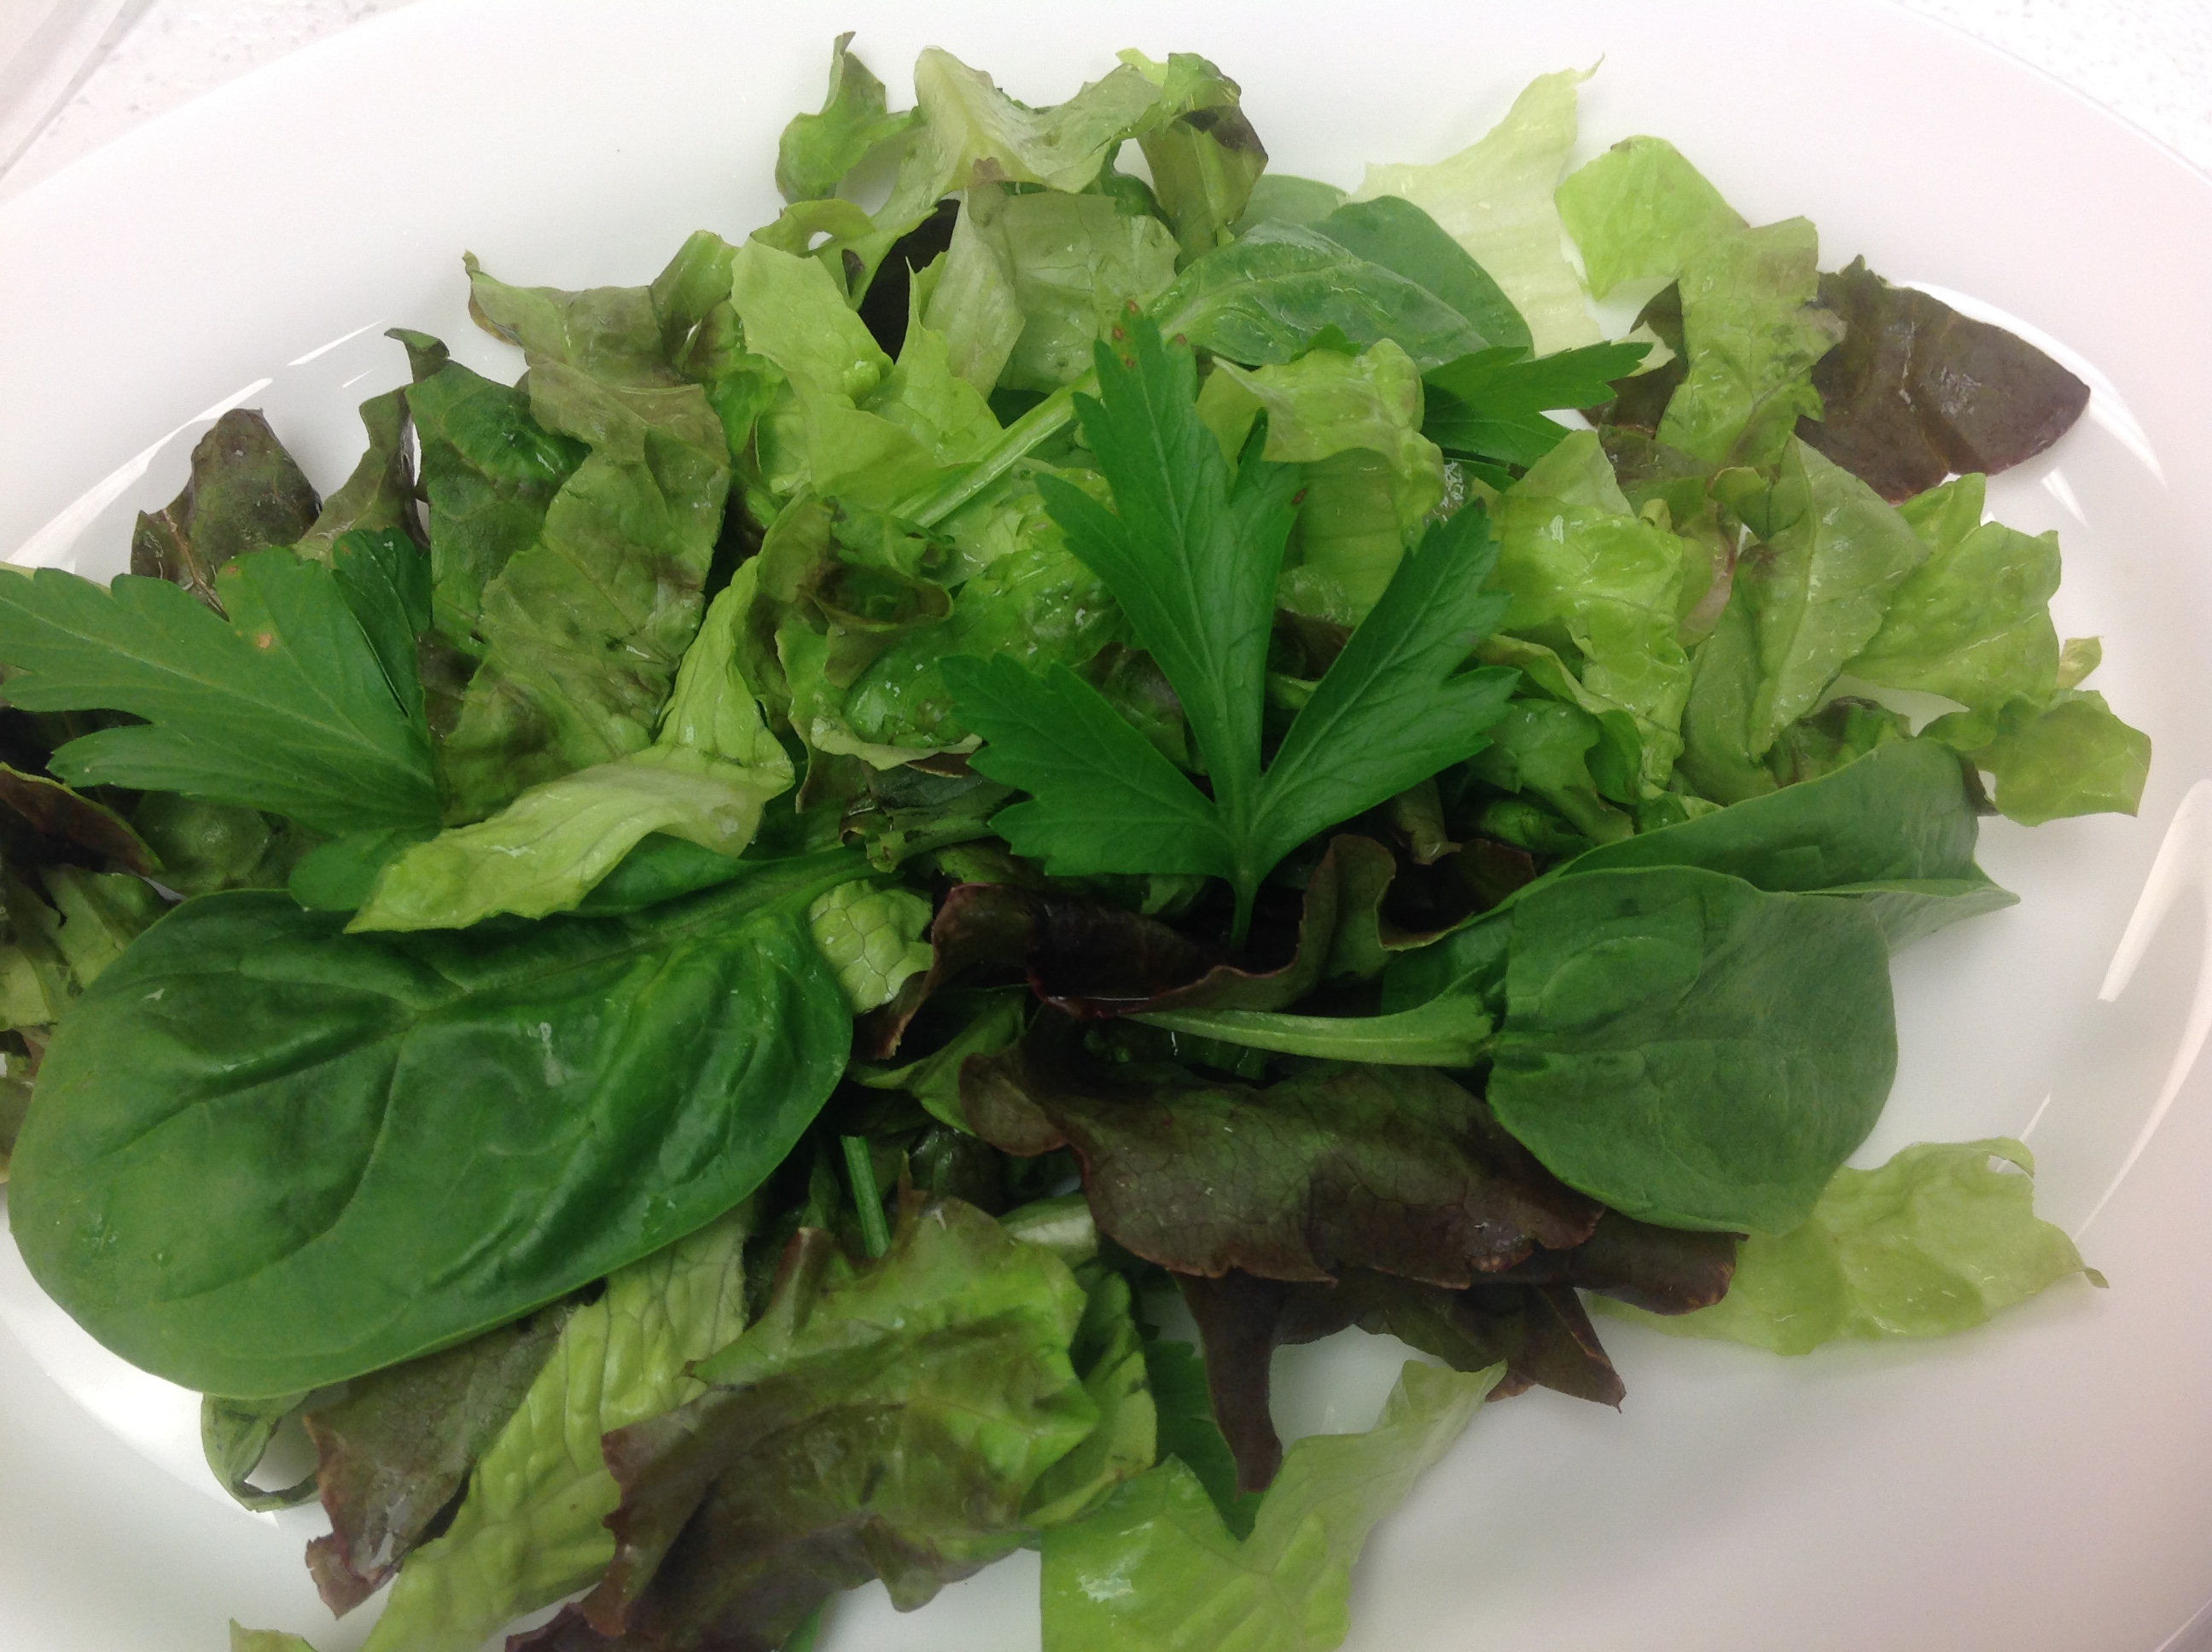
Who doesn’t want to sit down to a fresh, colorful and crispy salad topped with your favorite dressing? The simplicity, the beauty, the different textures all combine to make this lunch time treat such a pleasing and healthy option.
Recently we served this for a retreat, and it received such rave reviews that we thought we’d share our salad bar ideas with you. We haven’t included amounts, because you can make as little or as much as you want. As a guide, people would probably want to plan on 1 Tbsp. of toppings per person. It’s also the perfect “to go” meal – just prep all the toppings, throw them in zip-lock bags or containers and then dish up before serving.
We hope you enjoy some of these ideas as much as we do.
Salad Bar Suggestions:
Lettuce – a blend of iceberg, romaine, bibb and red leaf is nice
diced ham
diced turkey or chicken
hard boiled eggs
cheese – Havarti, swiss, cheddar – all recommended
crumbled gorgonzola
tomatoes, wedged or grape or cherry tomatoes
roasted beets, julienned
avocado
cucumber
celery
olives
grated carrot
broccoli and/or cauliflower flowerets
peas
chopped scallions
sliced red onion
colored peppers
garbanzo beans
cooked lentils
diced cooked bacon
cooked quinoa
sunflower seeds, roasted and salted
chia seeds
toasted nuts – such as walnuts or pecans
croutons
An Assortment of Homemade Dressings – click on the link for the recipes
Homemade Bleu Cheese Dressing
Green Goddess Salad Dressing
English Garden Salad Dressing
Balsamic Vinaigrette
Print Recipe
Votes: 0
Rating: 0
You:
Rate this recipe!
Salad Bar!
SERVINGSHowever much you want
|
COOK TIME0 |
PREP TIME1 hour (or less) |
READY IN1hour |
Ingredients
Instructions
Homemade Bleu Cheese Dressing
- Makes 1 cup (250ml), about four servings
If you can’t get buttermilk, mix one part milk (whole or lowfat) with one part plain yogurt (regular or lowfat) to approximate the taste. Any kind of blue cheese, domestic or imported, should work well.
- In a medium bowl, mash the blue cheese with the salt and pepper with the back of a fork until the pieces of cheese are finely broken up.
- Stir in the chives, sour cream, buttermilk, and lemon juice or wine vinegar until well mixed.
- Add a few drops of red wine vinegar. Taste, and adjust any of the seasonings to your liking and if the dressing too thick, add a bit more buttermilk.
*Recipe adapted from David Lebovitz
Green Goddess Salad Dressing
- Place the mayonnaise, scallions, basil, lemon juice, garlic, anchovy paste, salt and pepper in a blender and blend until smooth.
- Add the sour cream and process just until blended. Refrigerate the dressing until ready to serve.
English Garden Salad Dressing
- Combine all but the oils in a bowl and whisk. Slowly whisk in the oils to combine.
Balsamic Vinaigrette
- Combine the olive oil, balsamic vinegar, honey, Dijon mustard, shallot, garlic, salt, and black pepper together in a glass jar with a lid.
- Replace lid on the jar and shake vigorously until thoroughly combined.
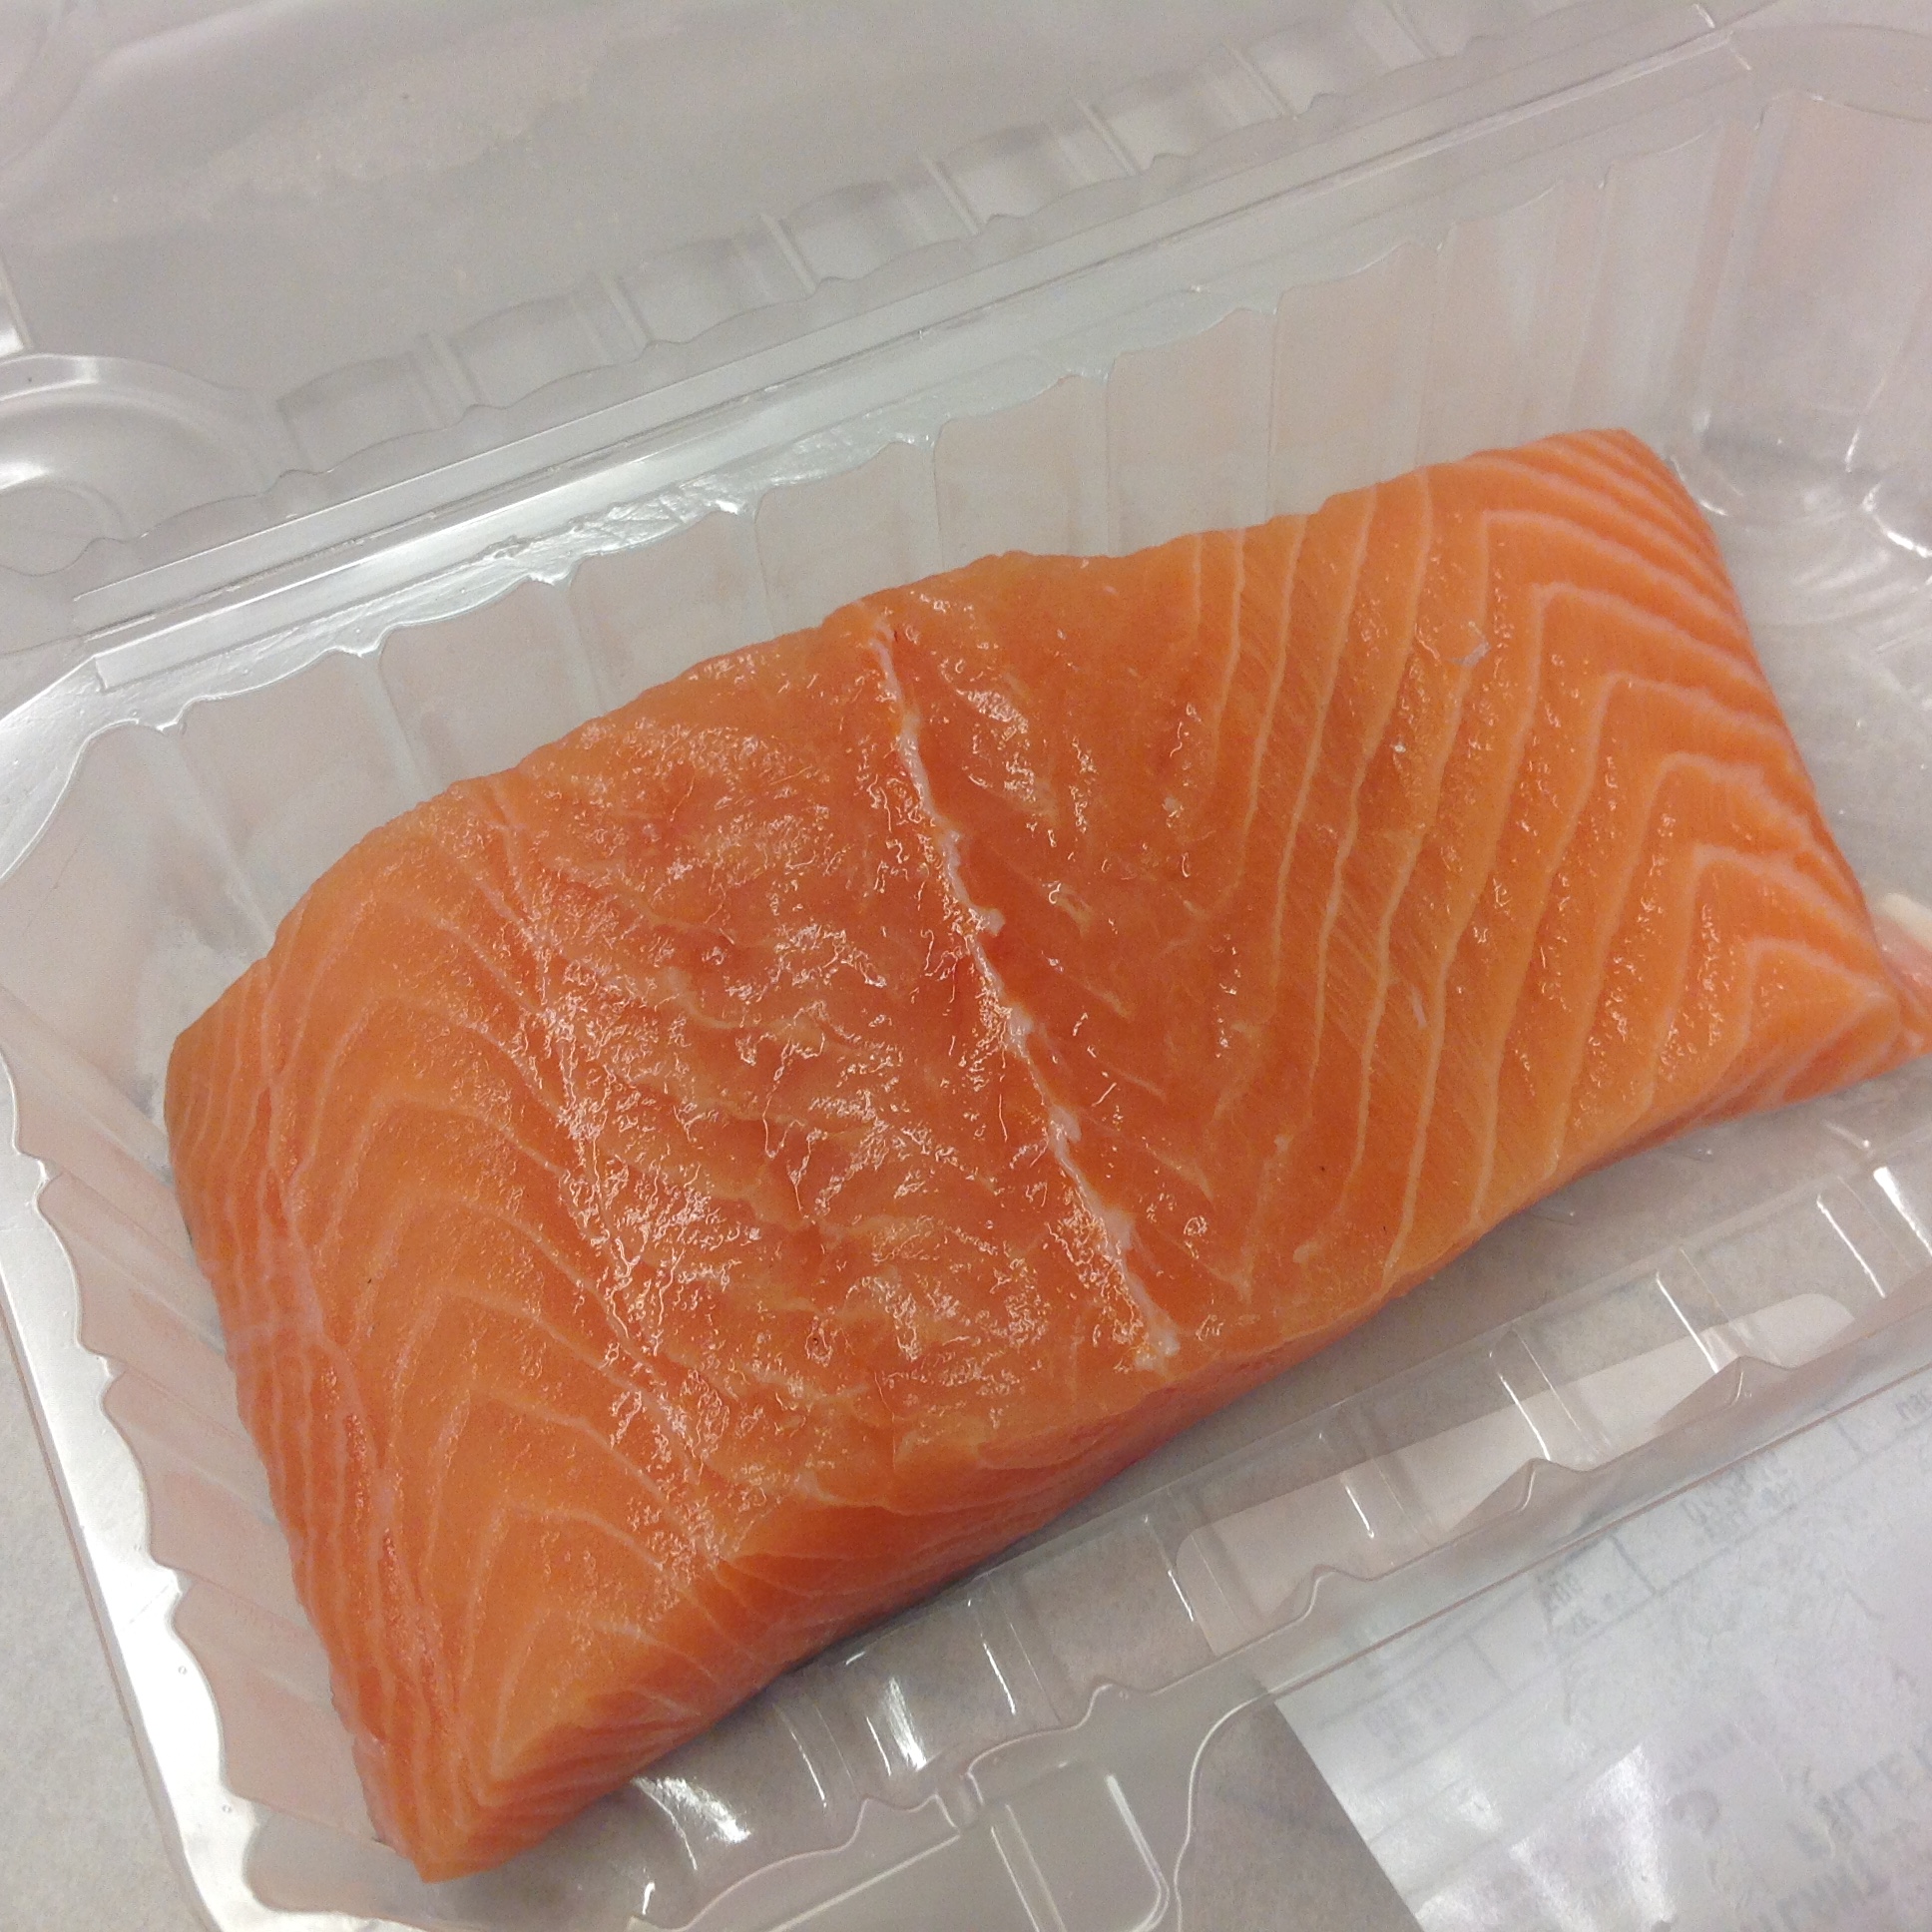
“Ooh” I gasped under my breath as the waiter deftly lowered my plate, carefully centering it in front of me. Before I could gain my composure he had swept away with an enthusiastic injunction to me to “enjoy”.
I had been taken to lunch by a friend who was convinced that I would love the fabulous salmon salad this restaurant was known for. This was years ago just when blackened salmon was just becoming a new sensation. Although I’d heard of it, I’d never yet seen it, nor was I at all expecting my salmon at this lunch to be blackened, but here it was before me…..and very black indeed..
Determined to make this a positive experience for the sake of my friend I bravely, though skeptically, took my first taste, and with that taste I became a fan. Now, years later I now have developed my own version, somewhat modified but very flavorful. I highly recommend it to all salmon lovers, especially at this season of the year.
Print Recipe
Votes: 1
Rating: 5
You:
Rate this recipe!
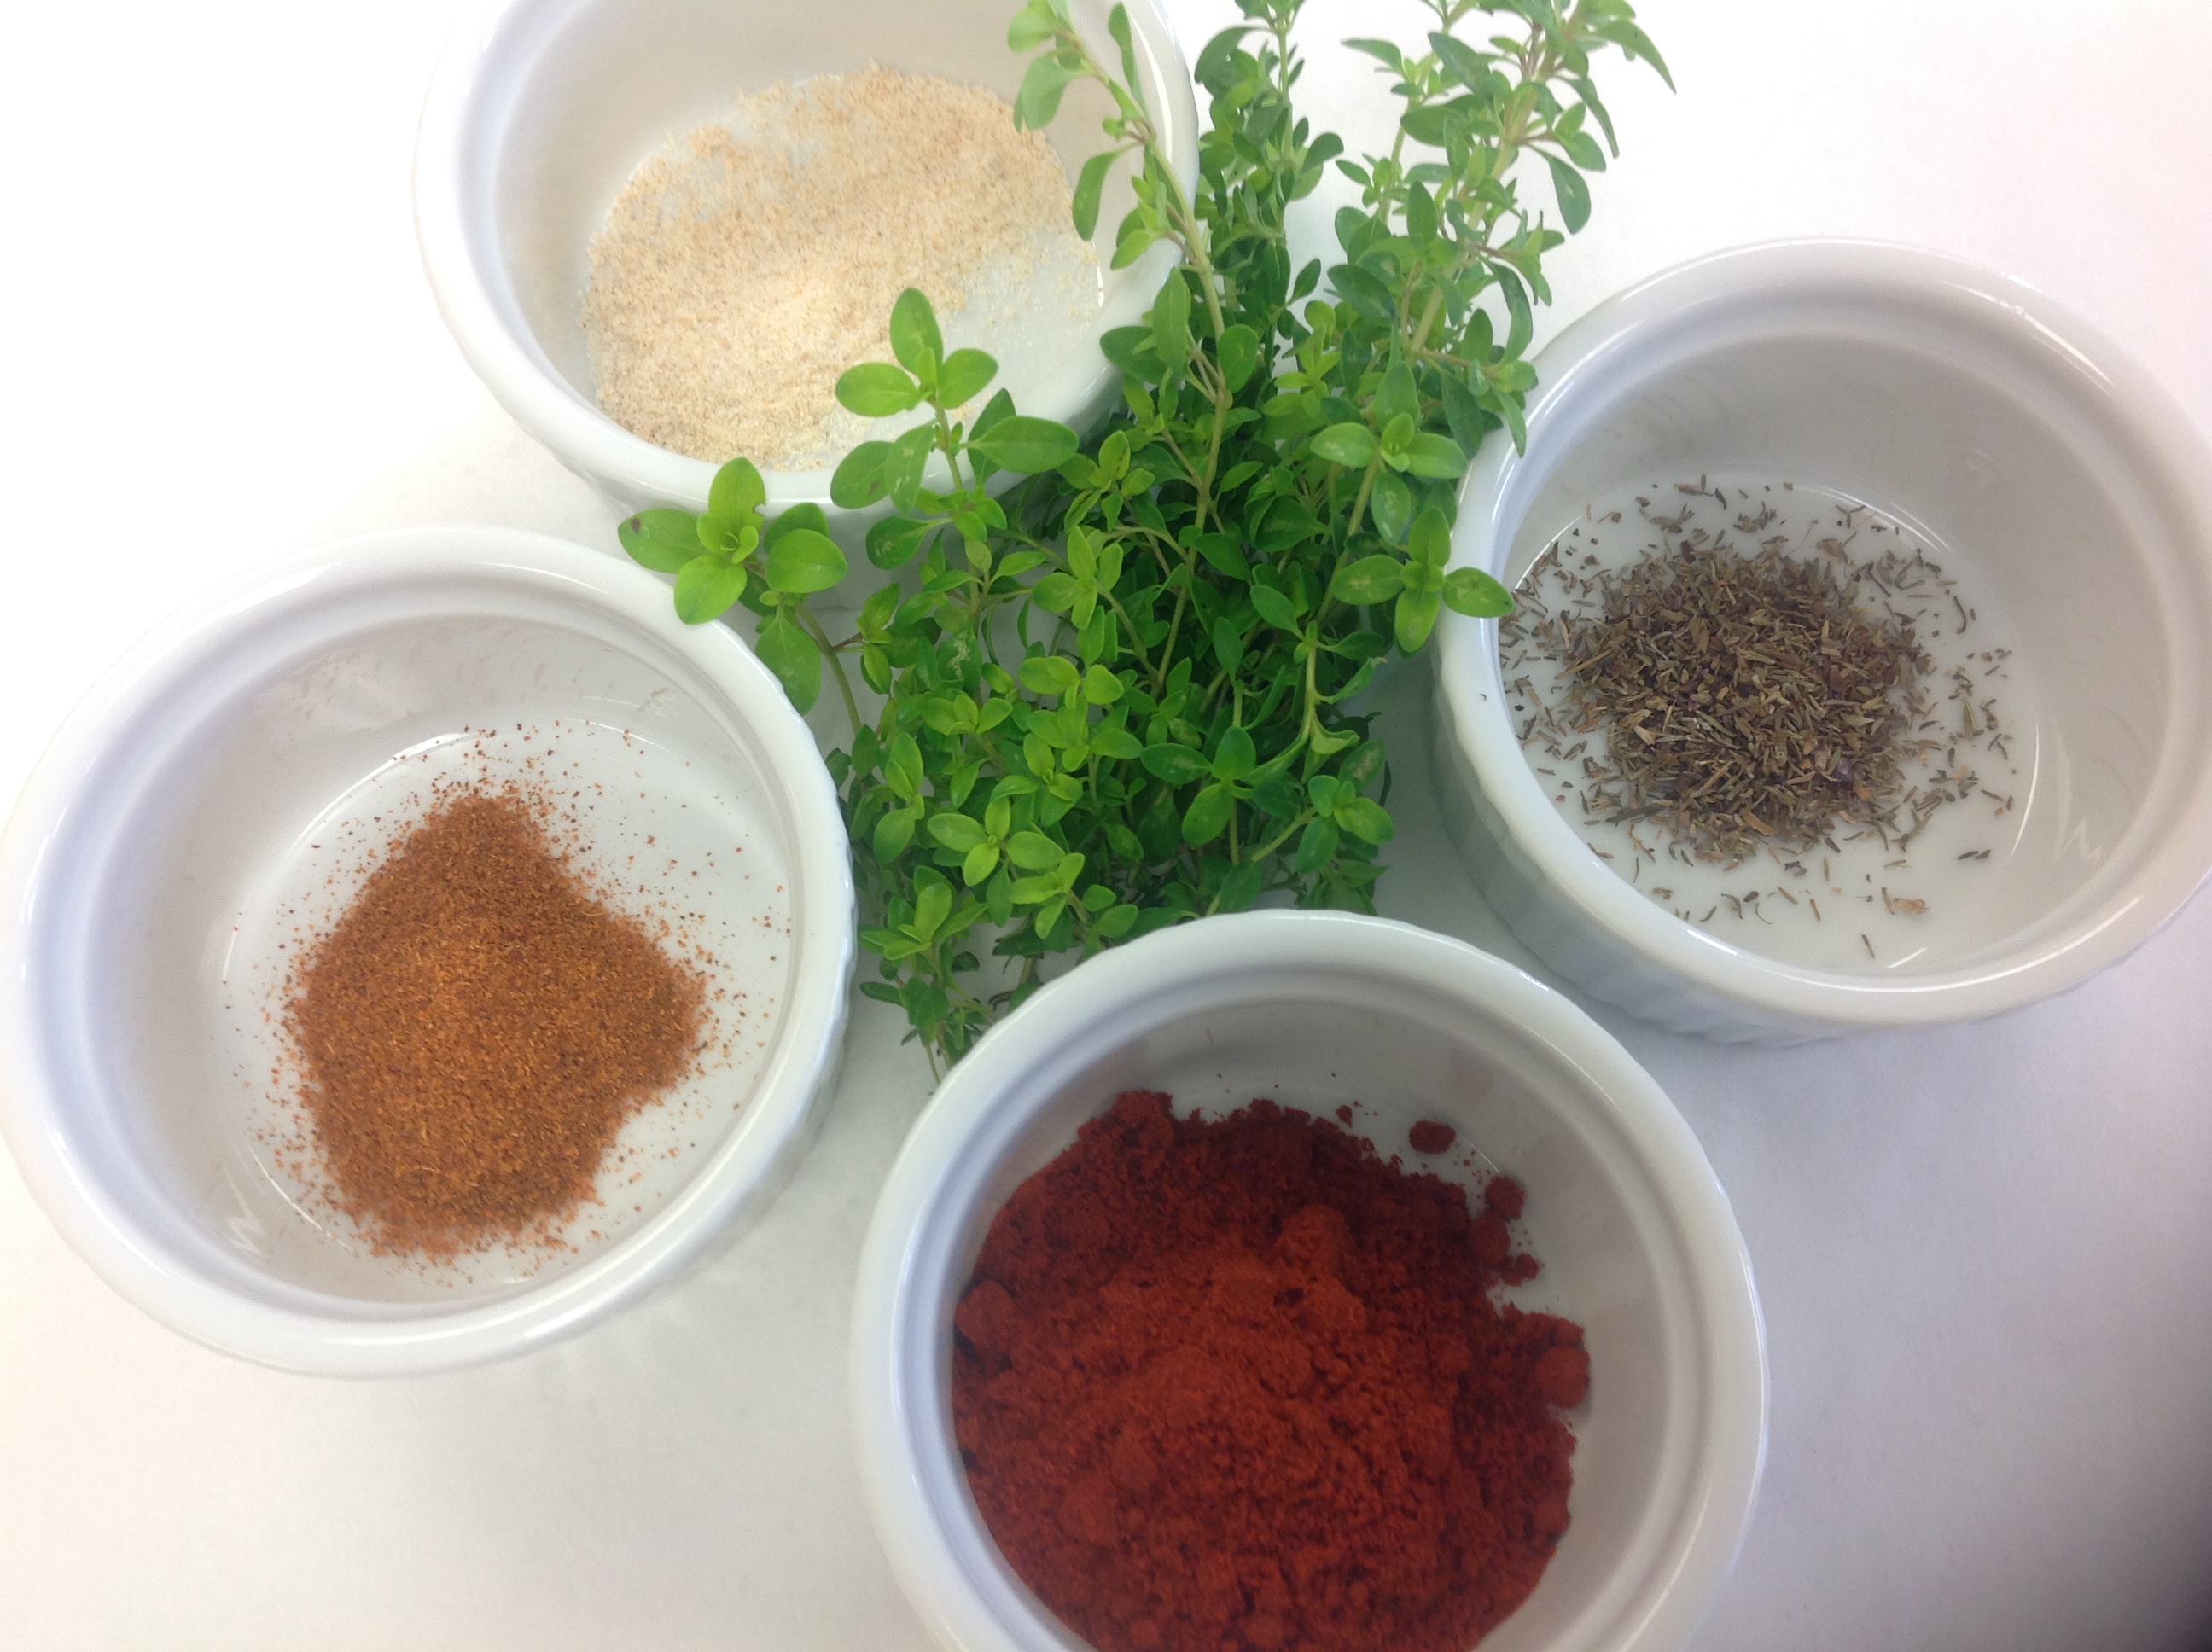
Blackened Salmon
SERVINGS4people
|
COOK TIME10minutes |
PREP TIME10 minutes |
READY IN20minutes |
Ingredients
Instructions
- Heat oven to 400° Fahrenheit.
- In a shallow bowl, combine the paprika, cayenne, thyme, teaspoon of the onion salt.
- In a saucepan, over medium heat, melt 2 ½ tablespoons of the butter. Add the lemon juice.
- Working with 1 salmon fillet at a time, dip the top and bottom halves first in the lemon butter, then in the spices.
- Heat a large ovenproof skillet over medium-high heat. Cook the salmon until blackened to your liking about 2 minutes per side. Transfer to the oven for 8 minutes.