Tonight, our Convent was humming with Christmas cheer as we readied our home for Christmas. Some wrapped presents to send to families, other Sisters spent time catching up with old friends as they penned their lovely cards. In the kitchen, we turned on Bing Crosby and poured over old fashioned family recipes as we pondered which cookies we would make this year. The royal icing was prepared and crispy butter cookies were being decorated with sprinkles covering every surface. I remembered a cookie that I hadn’t baked in years and a favorite to be sure. In fact, you won’t find this anywhere else on the internet, at least I couldn’t. Cut from an old magazine, pressed onto an index card and covered in plastic, this shows how treasured this recipe is. Sometimes baking can restore wonderful memories of times past and other times it just puts a smile on your face, honey in your belly and much joy for the adventures ahead. I love Christmas. The beauty, the magic and most of all the precious gift that is awaiting us in the form of a little baby on Christmas morning.
May the season of light be yours this year. Blessed Christmas!
Print Recipe
Votes: 1
Rating: 5
You:
Rate this recipe!
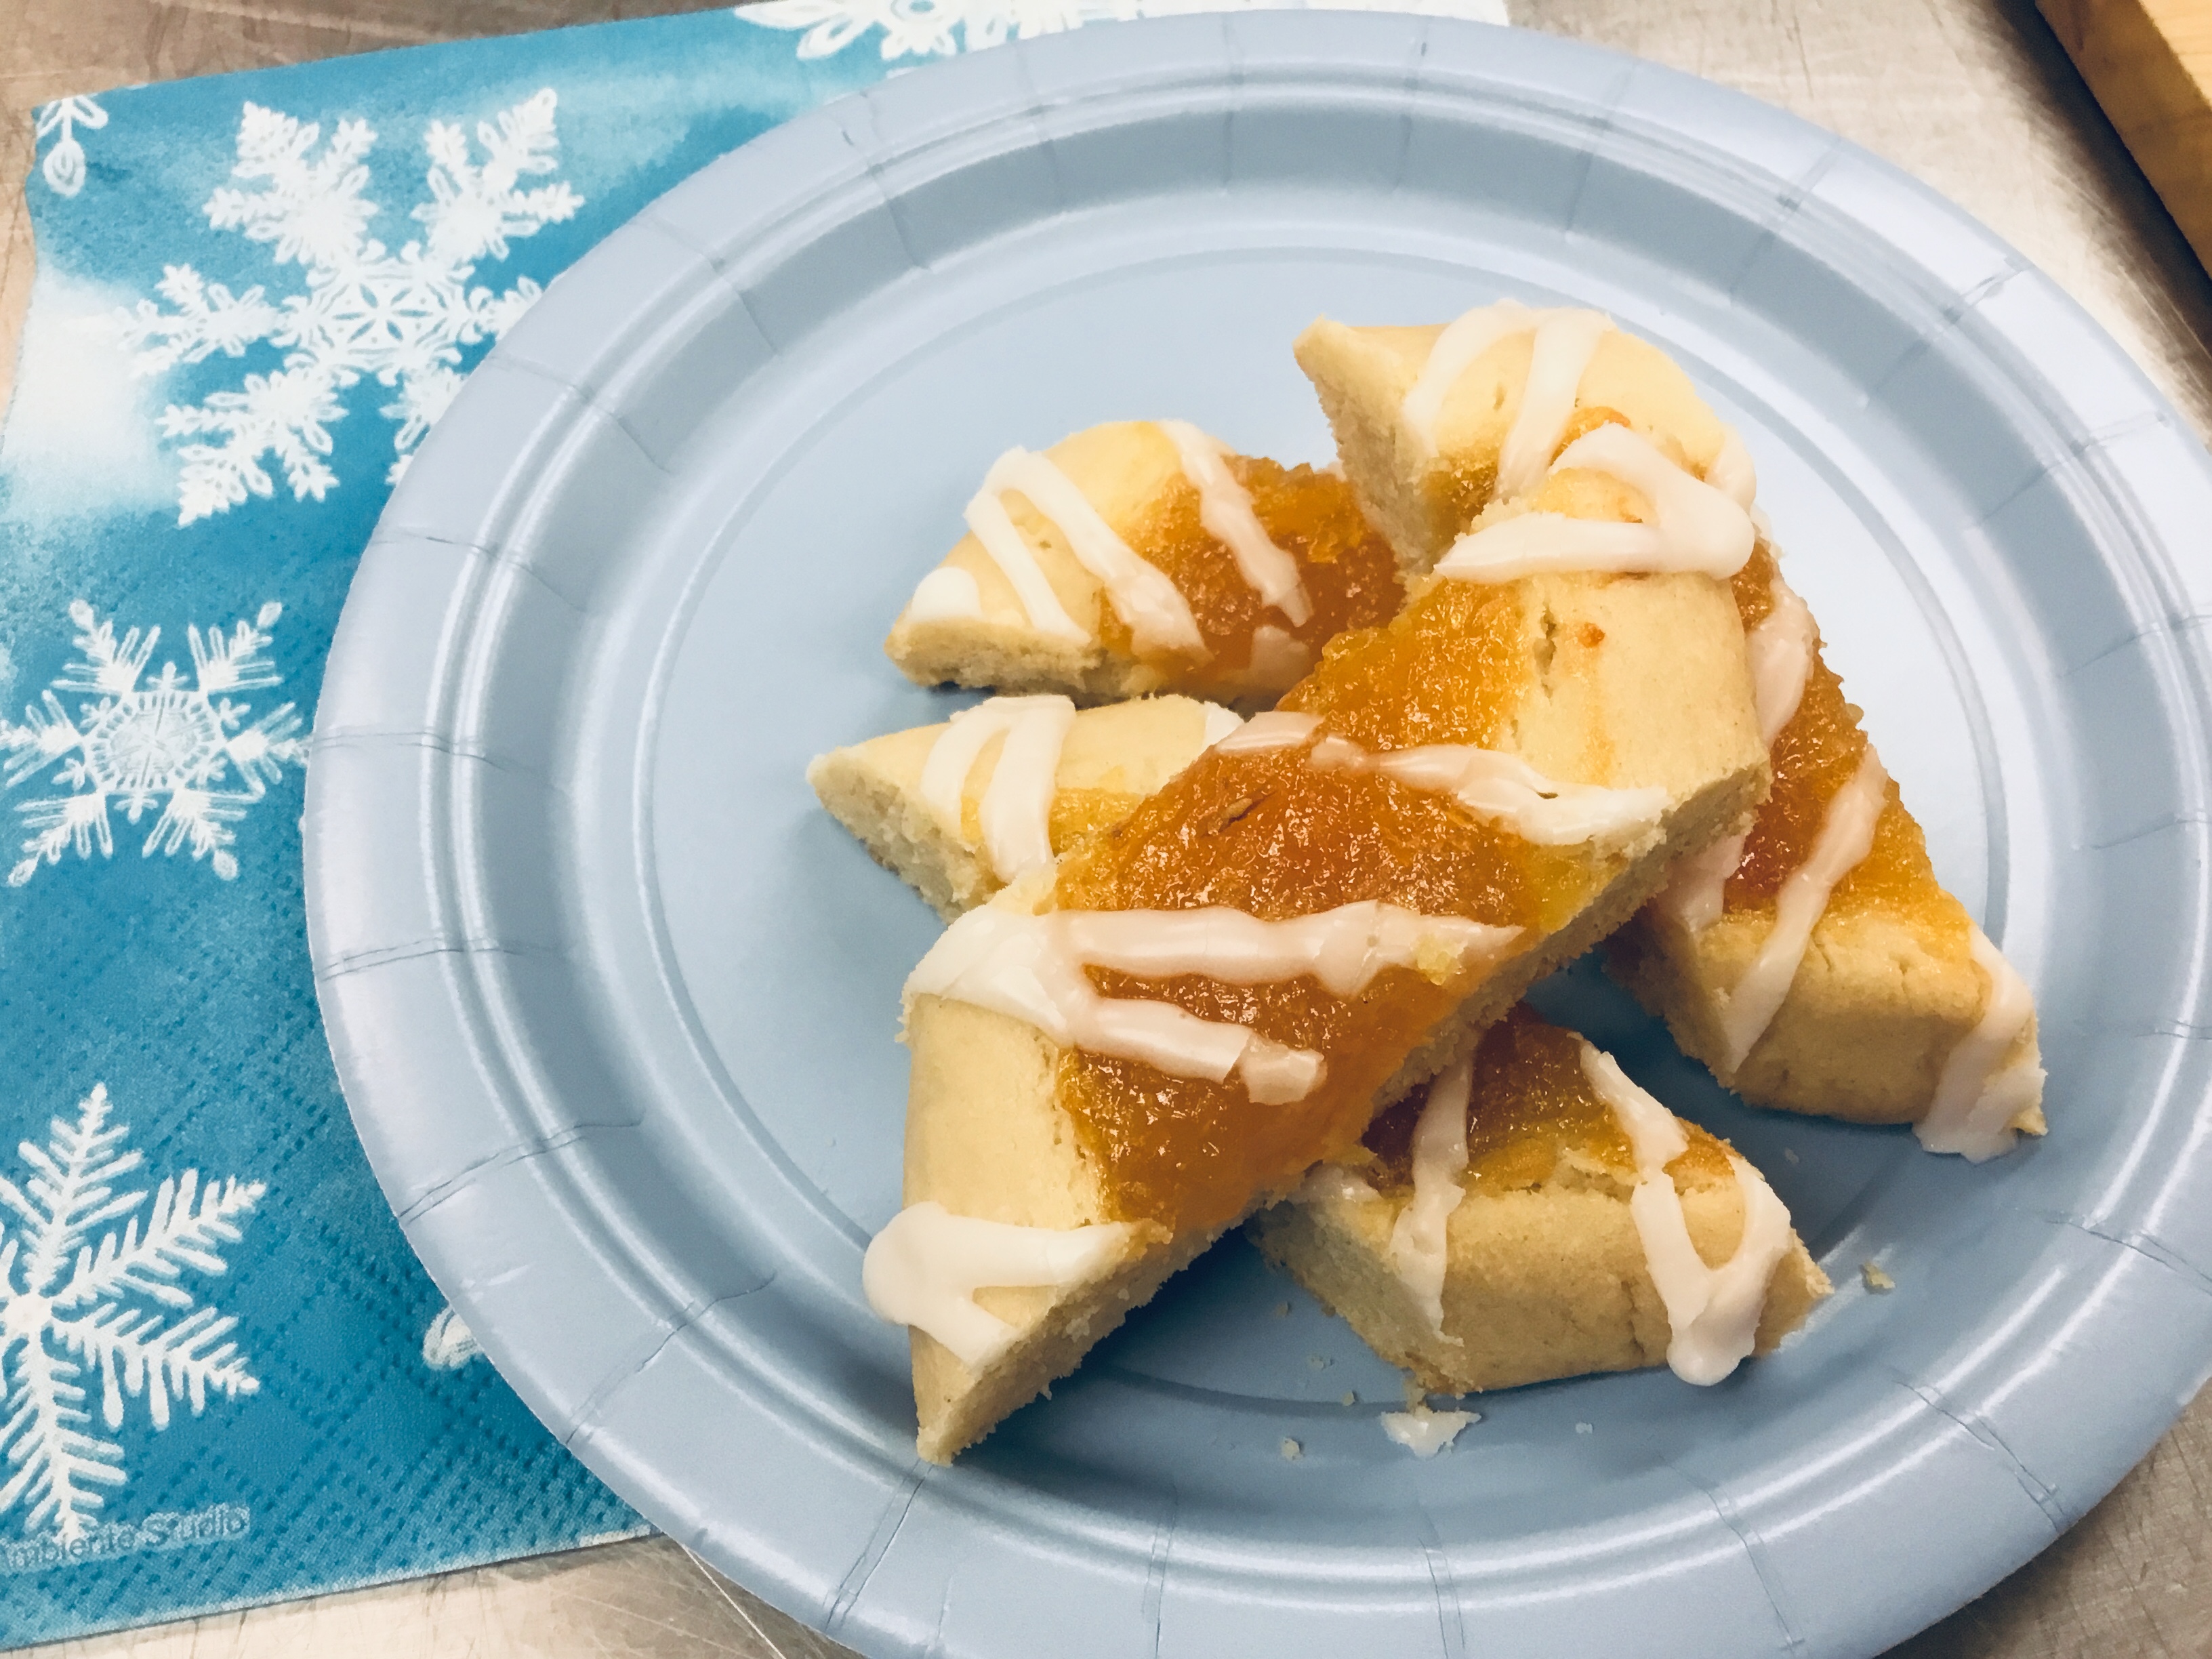
Apricot Butter Cookies
SERVINGS32cookies
|
COOK TIME30mins |
PREP TIME10mins |
READY IN1 1/2hr |
Ingredients
Instructions
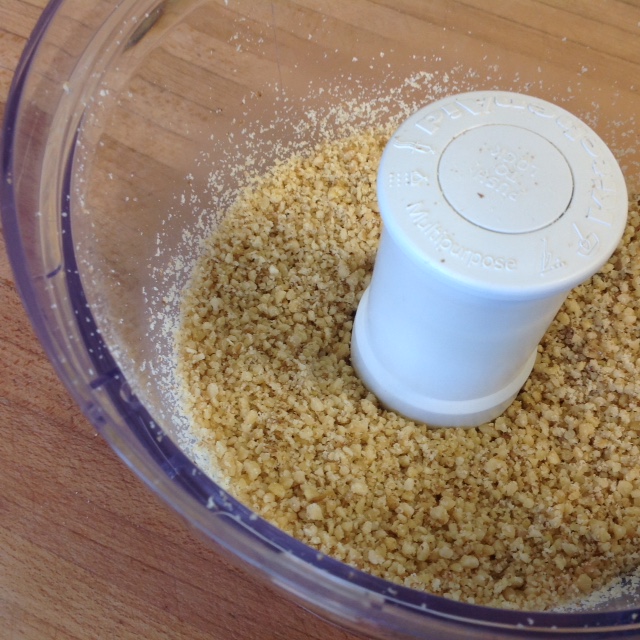
- To make the filling: In a small saucepan, combine the apricots, sugar and water and simmer for 15-18 min. or until the liquid is reduced by half and add the rum or brandy. Let the mixture cool slightly and in a food processor or blender, puree it.
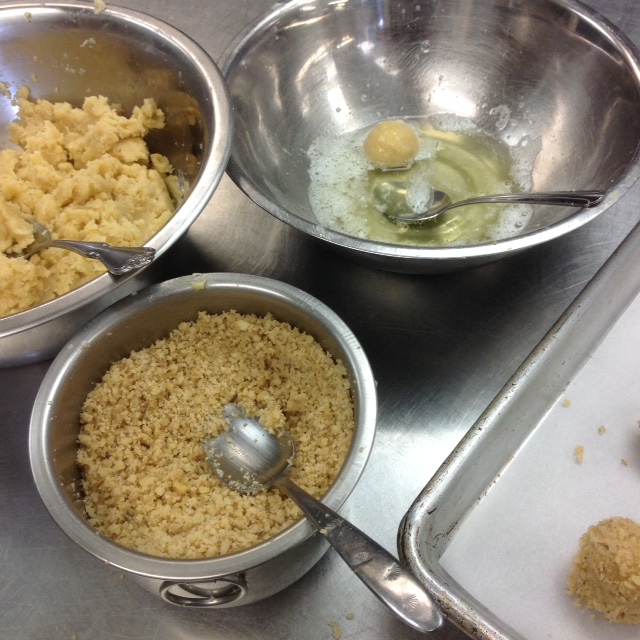
- Make the shortbread cookie dough. In a bowl, whisk together the flour, baking powder and salt. In a separate standing mixer, beat together the butter, sugar, and brown sugar until the mixture is light and fluffy. Beat in the vanilla and the egg, beating the mixture until it is well combined. Slowly, add the flour mixture in stages and mix until just combined, but don't over mix or your shortbread will be tough.
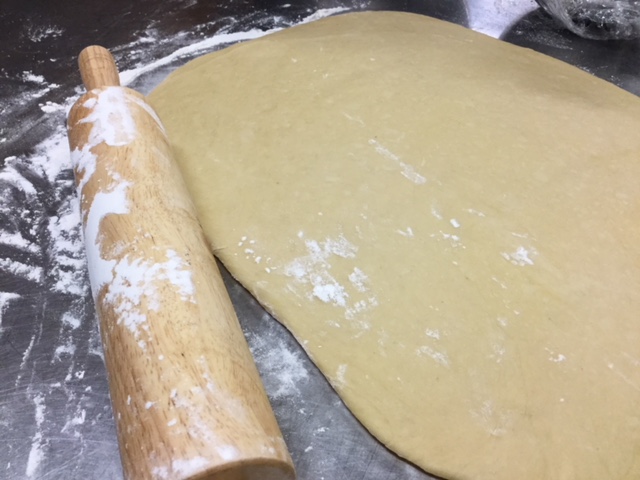
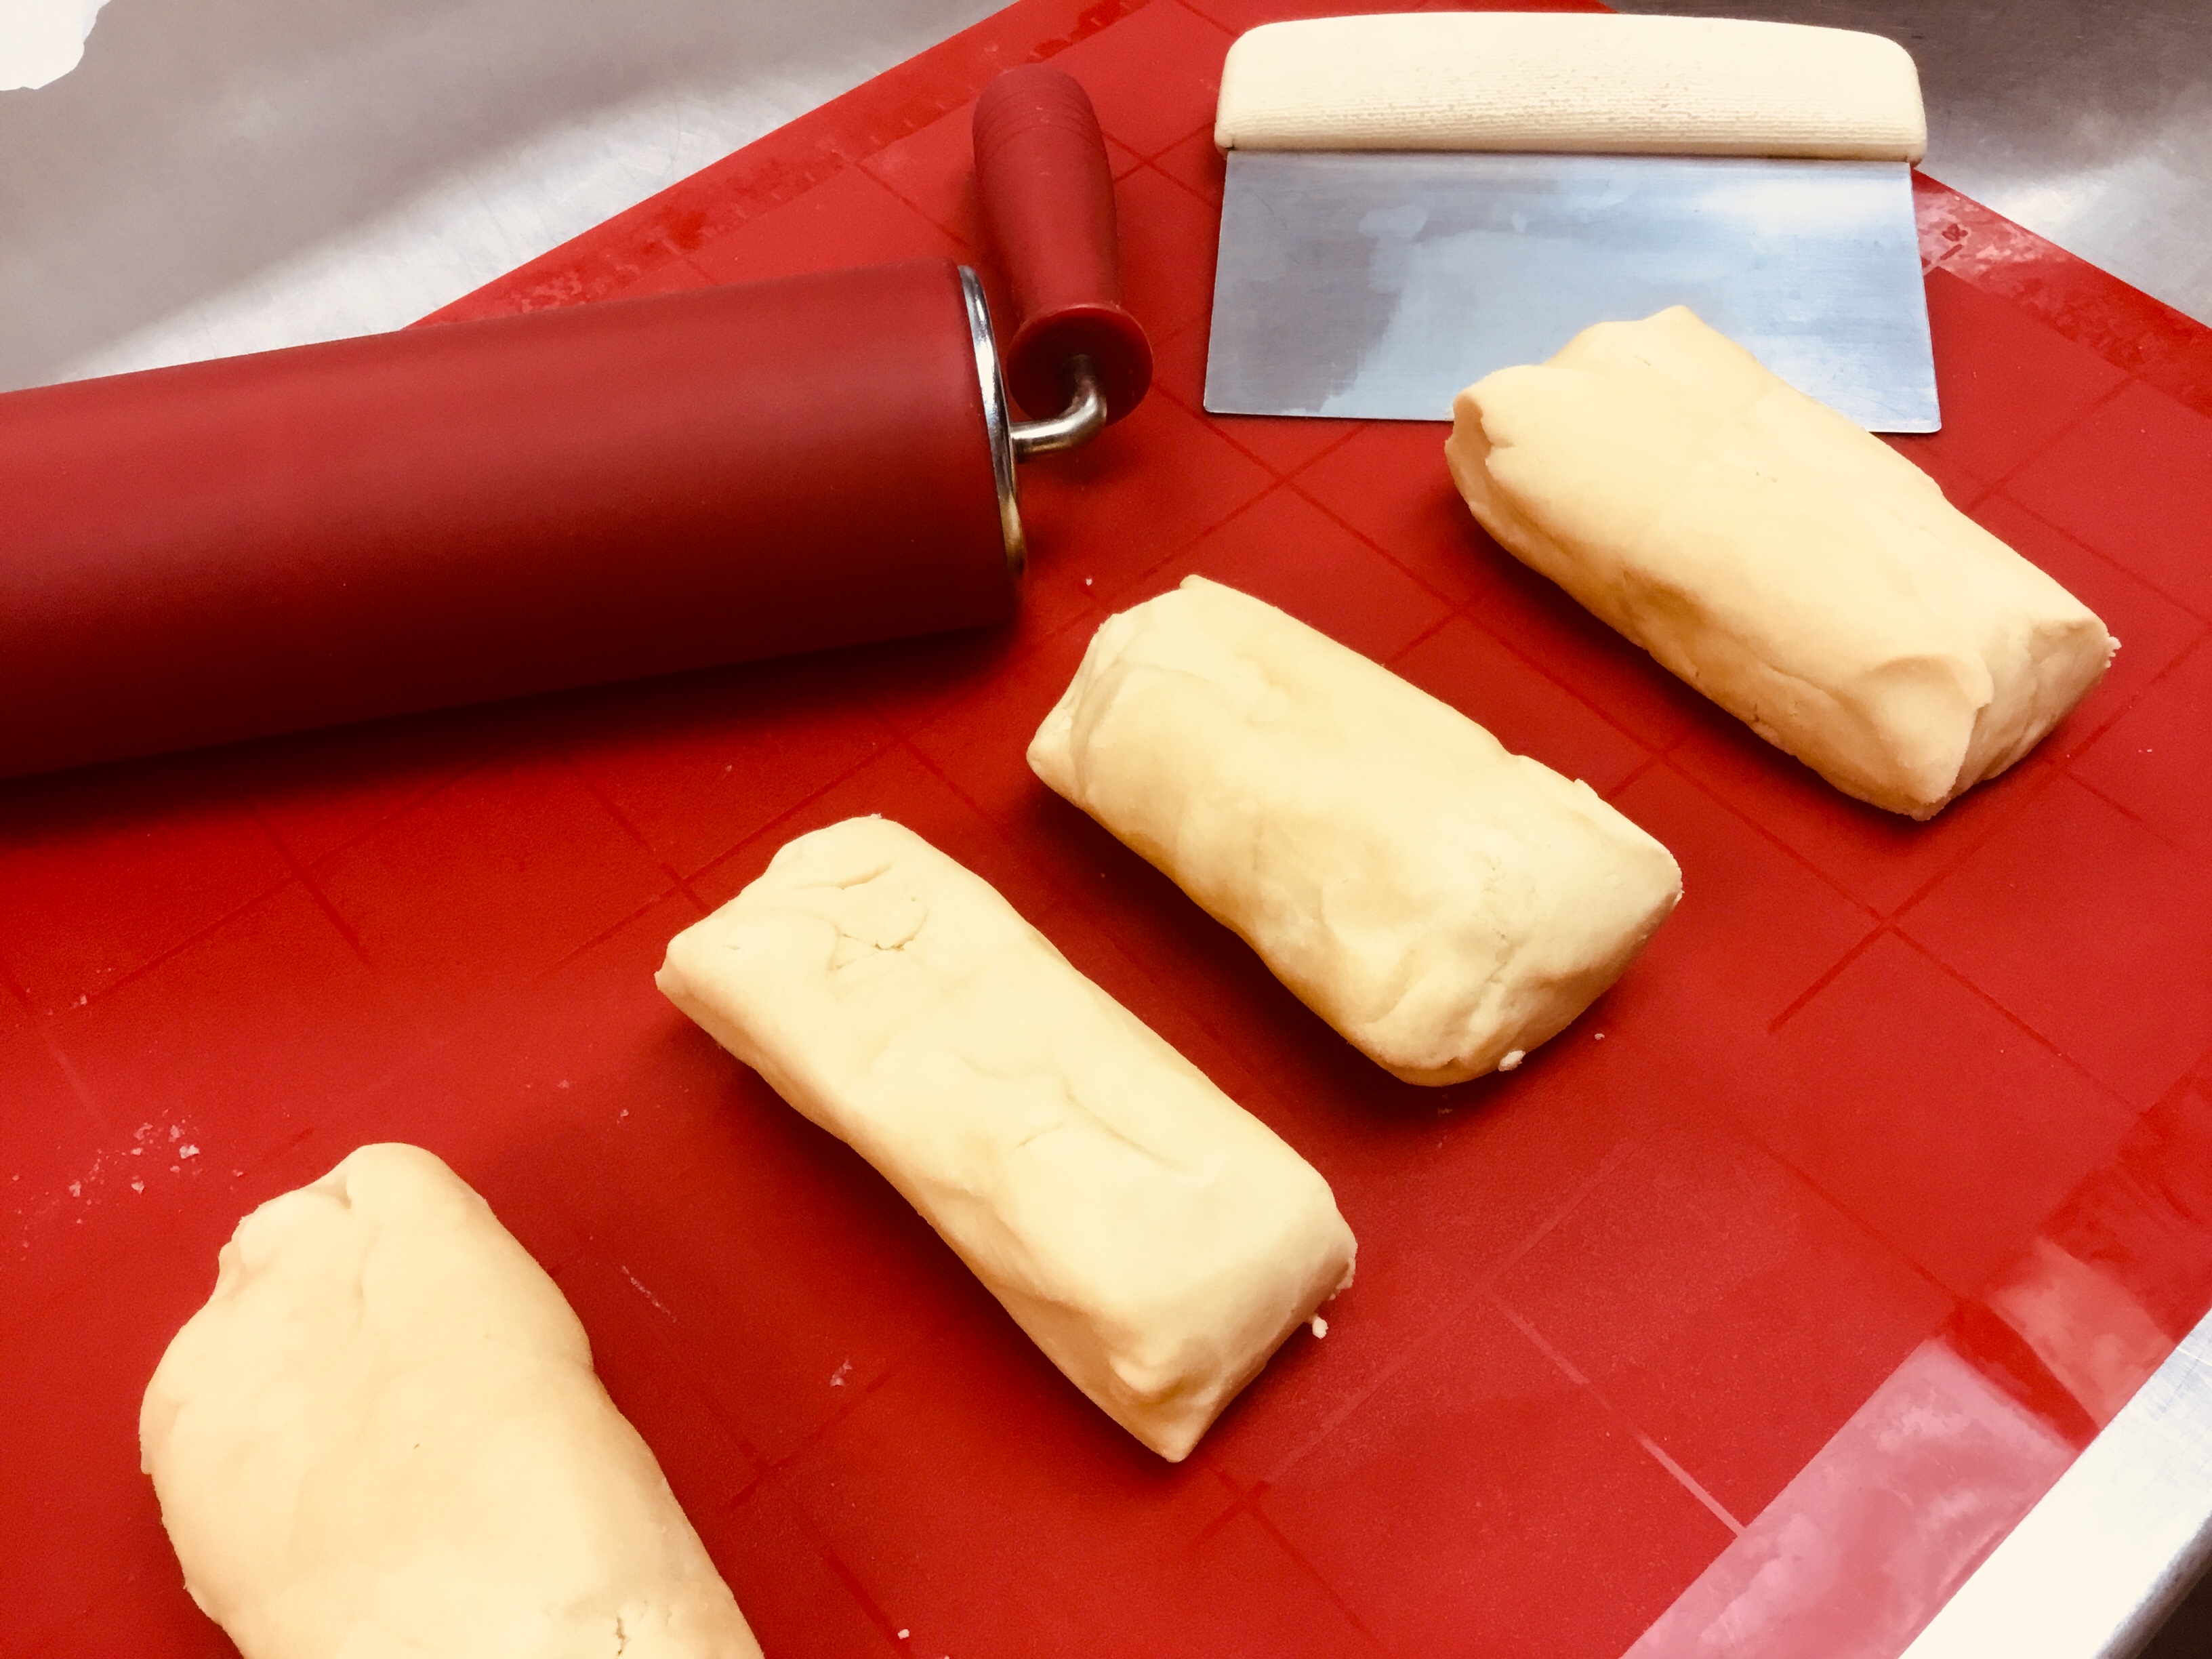
- Form the dough into a log, wrap well in plastic wrap and chill for 1 hr. Divide the log into 4 pieces.
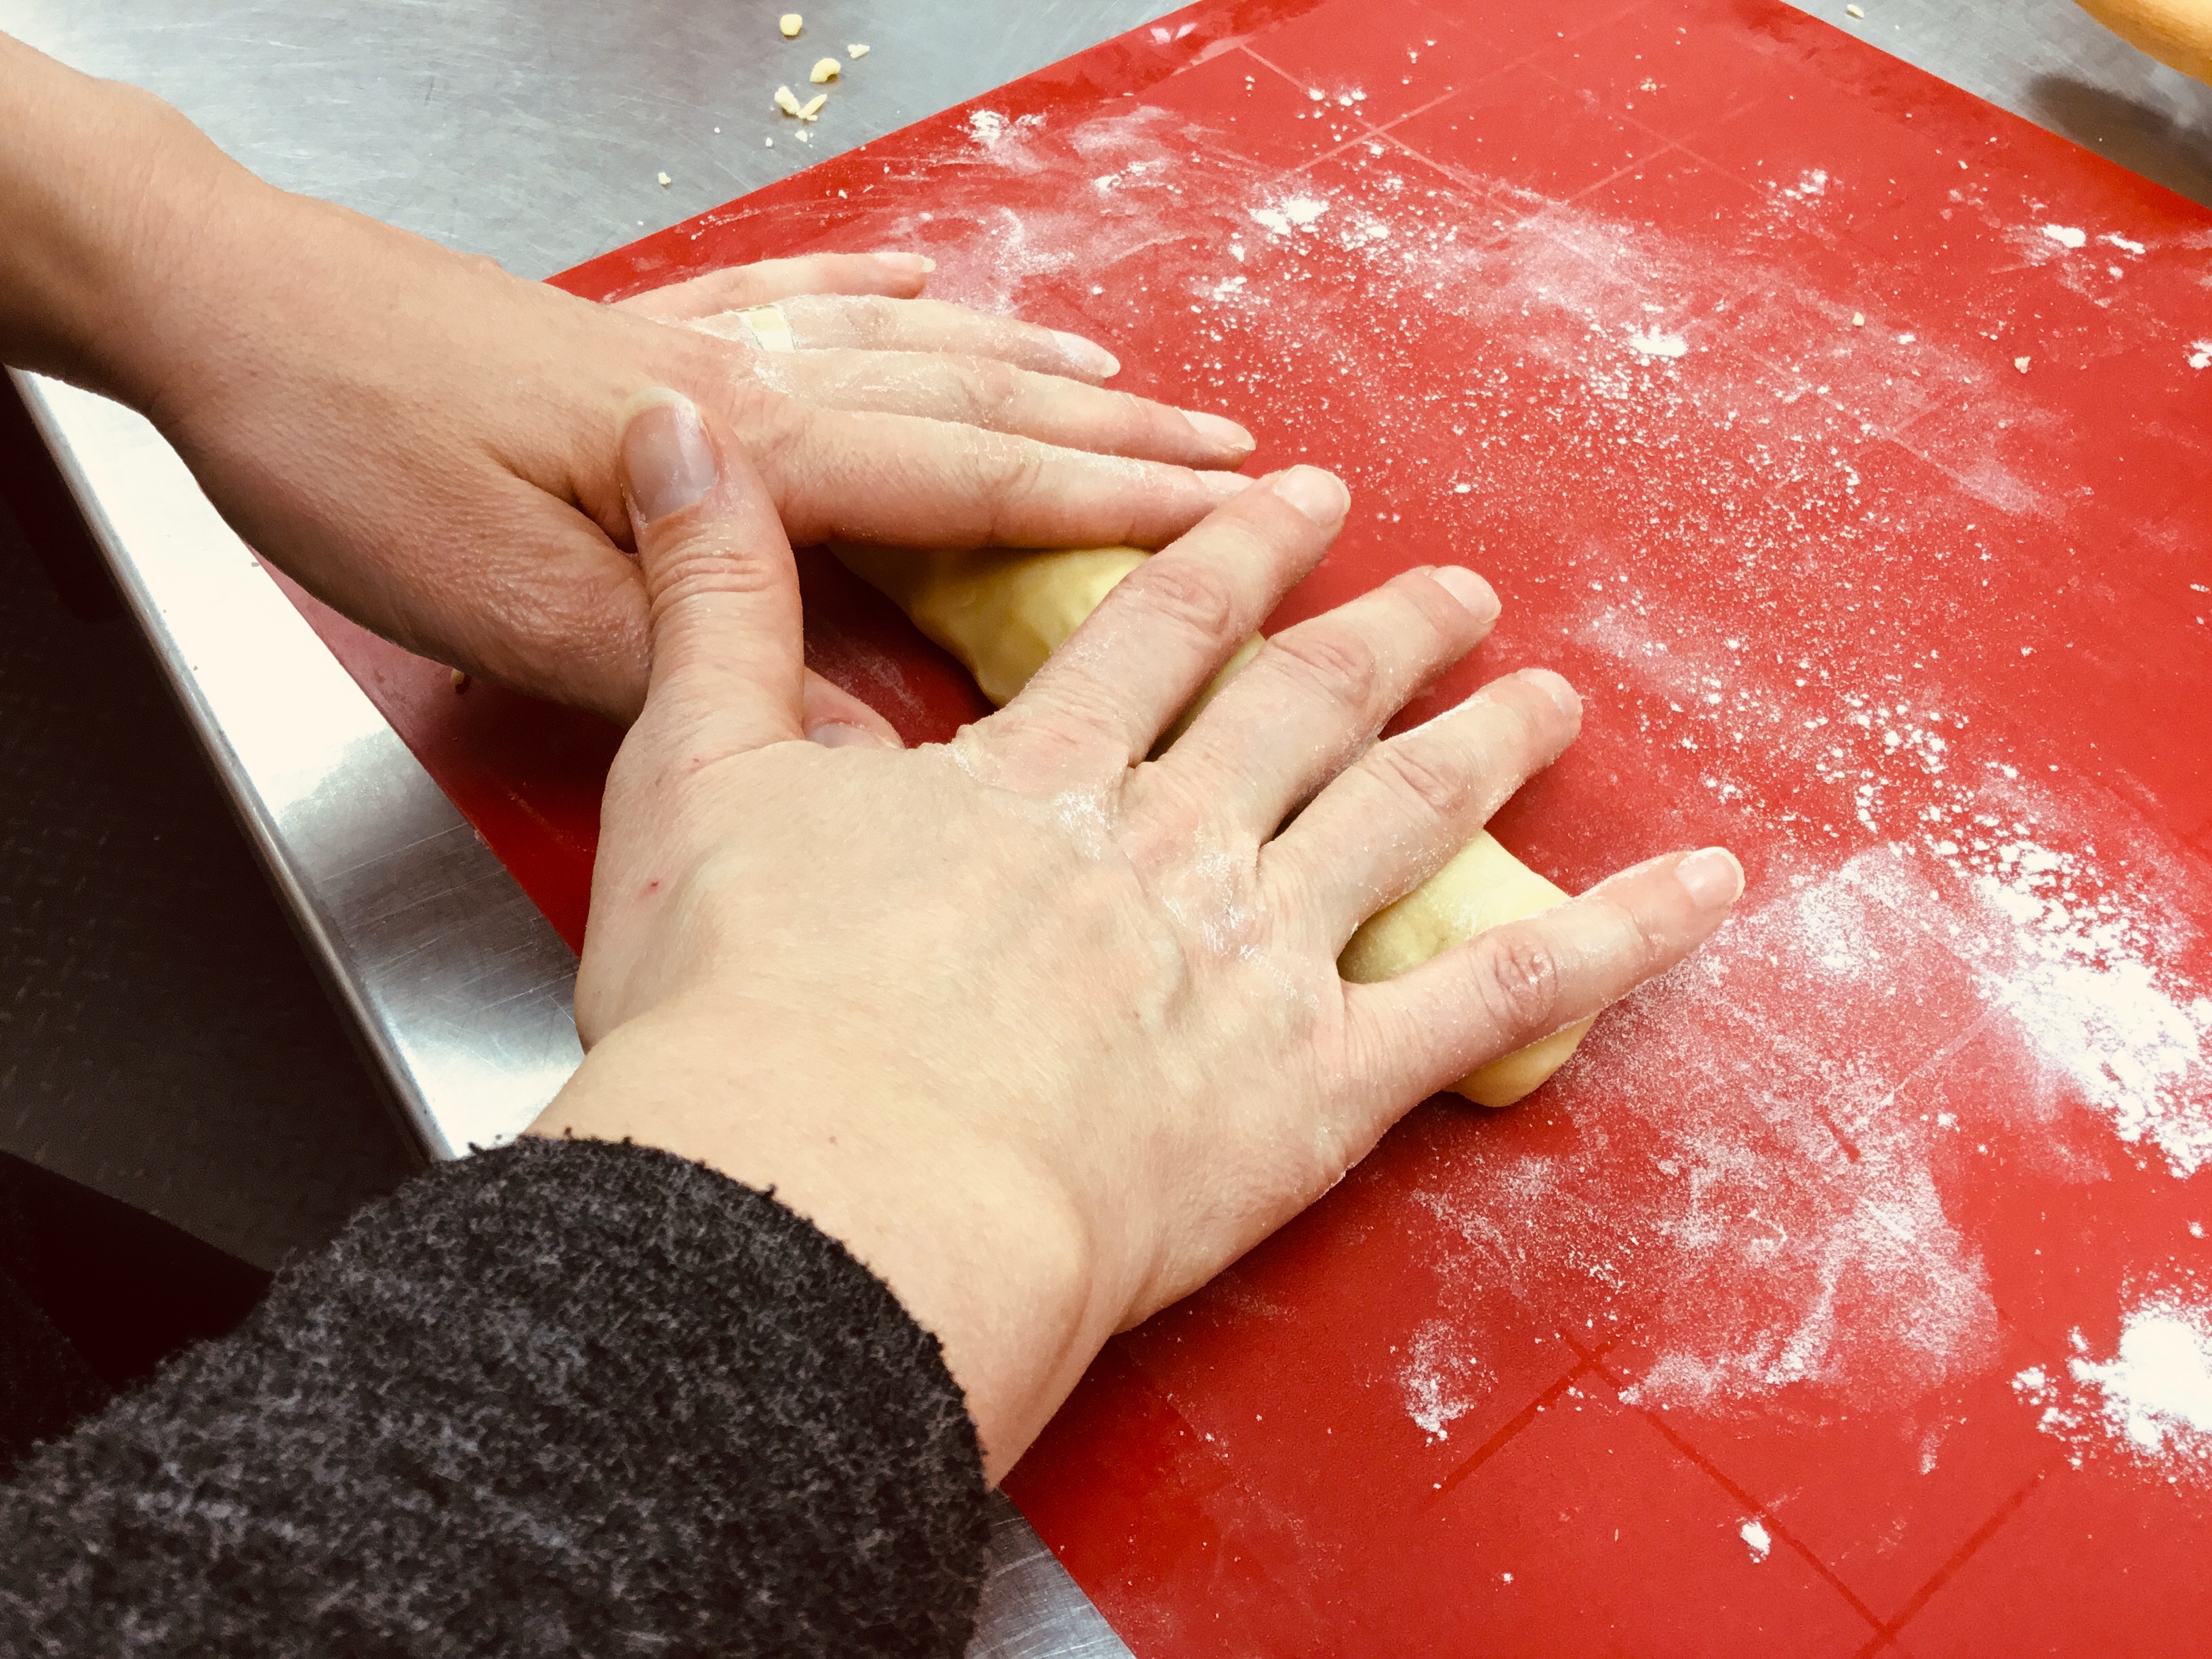
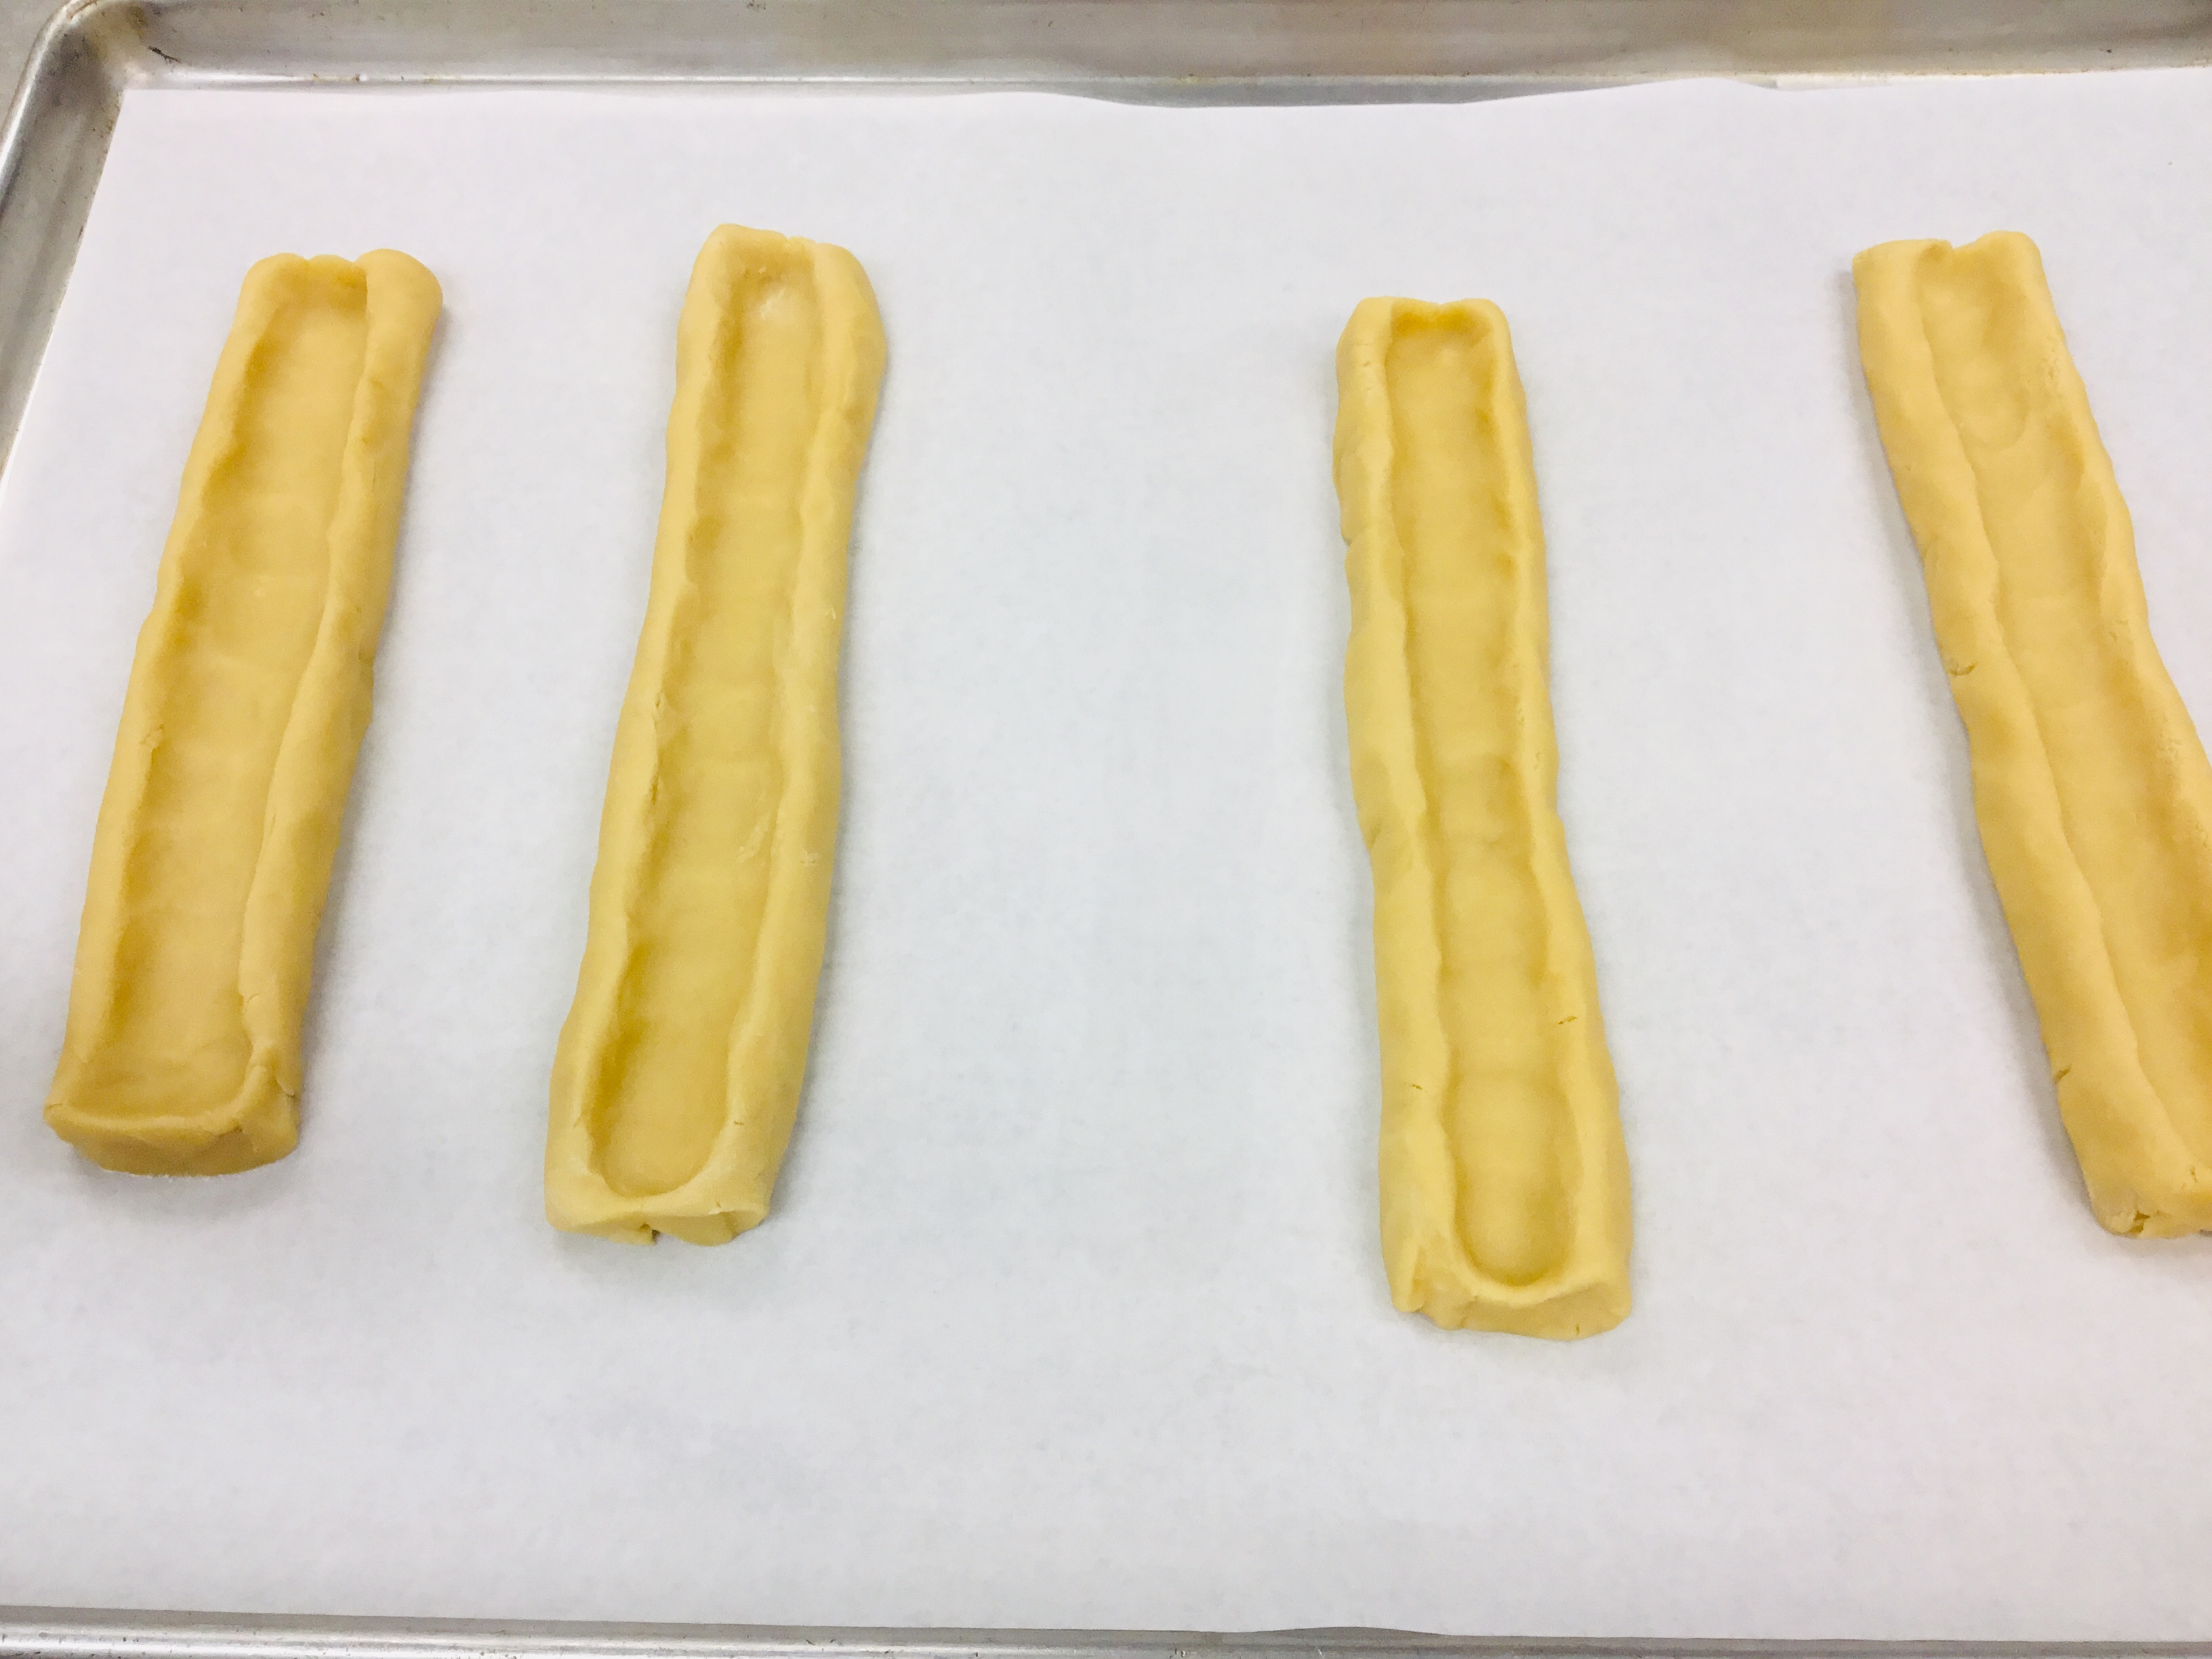
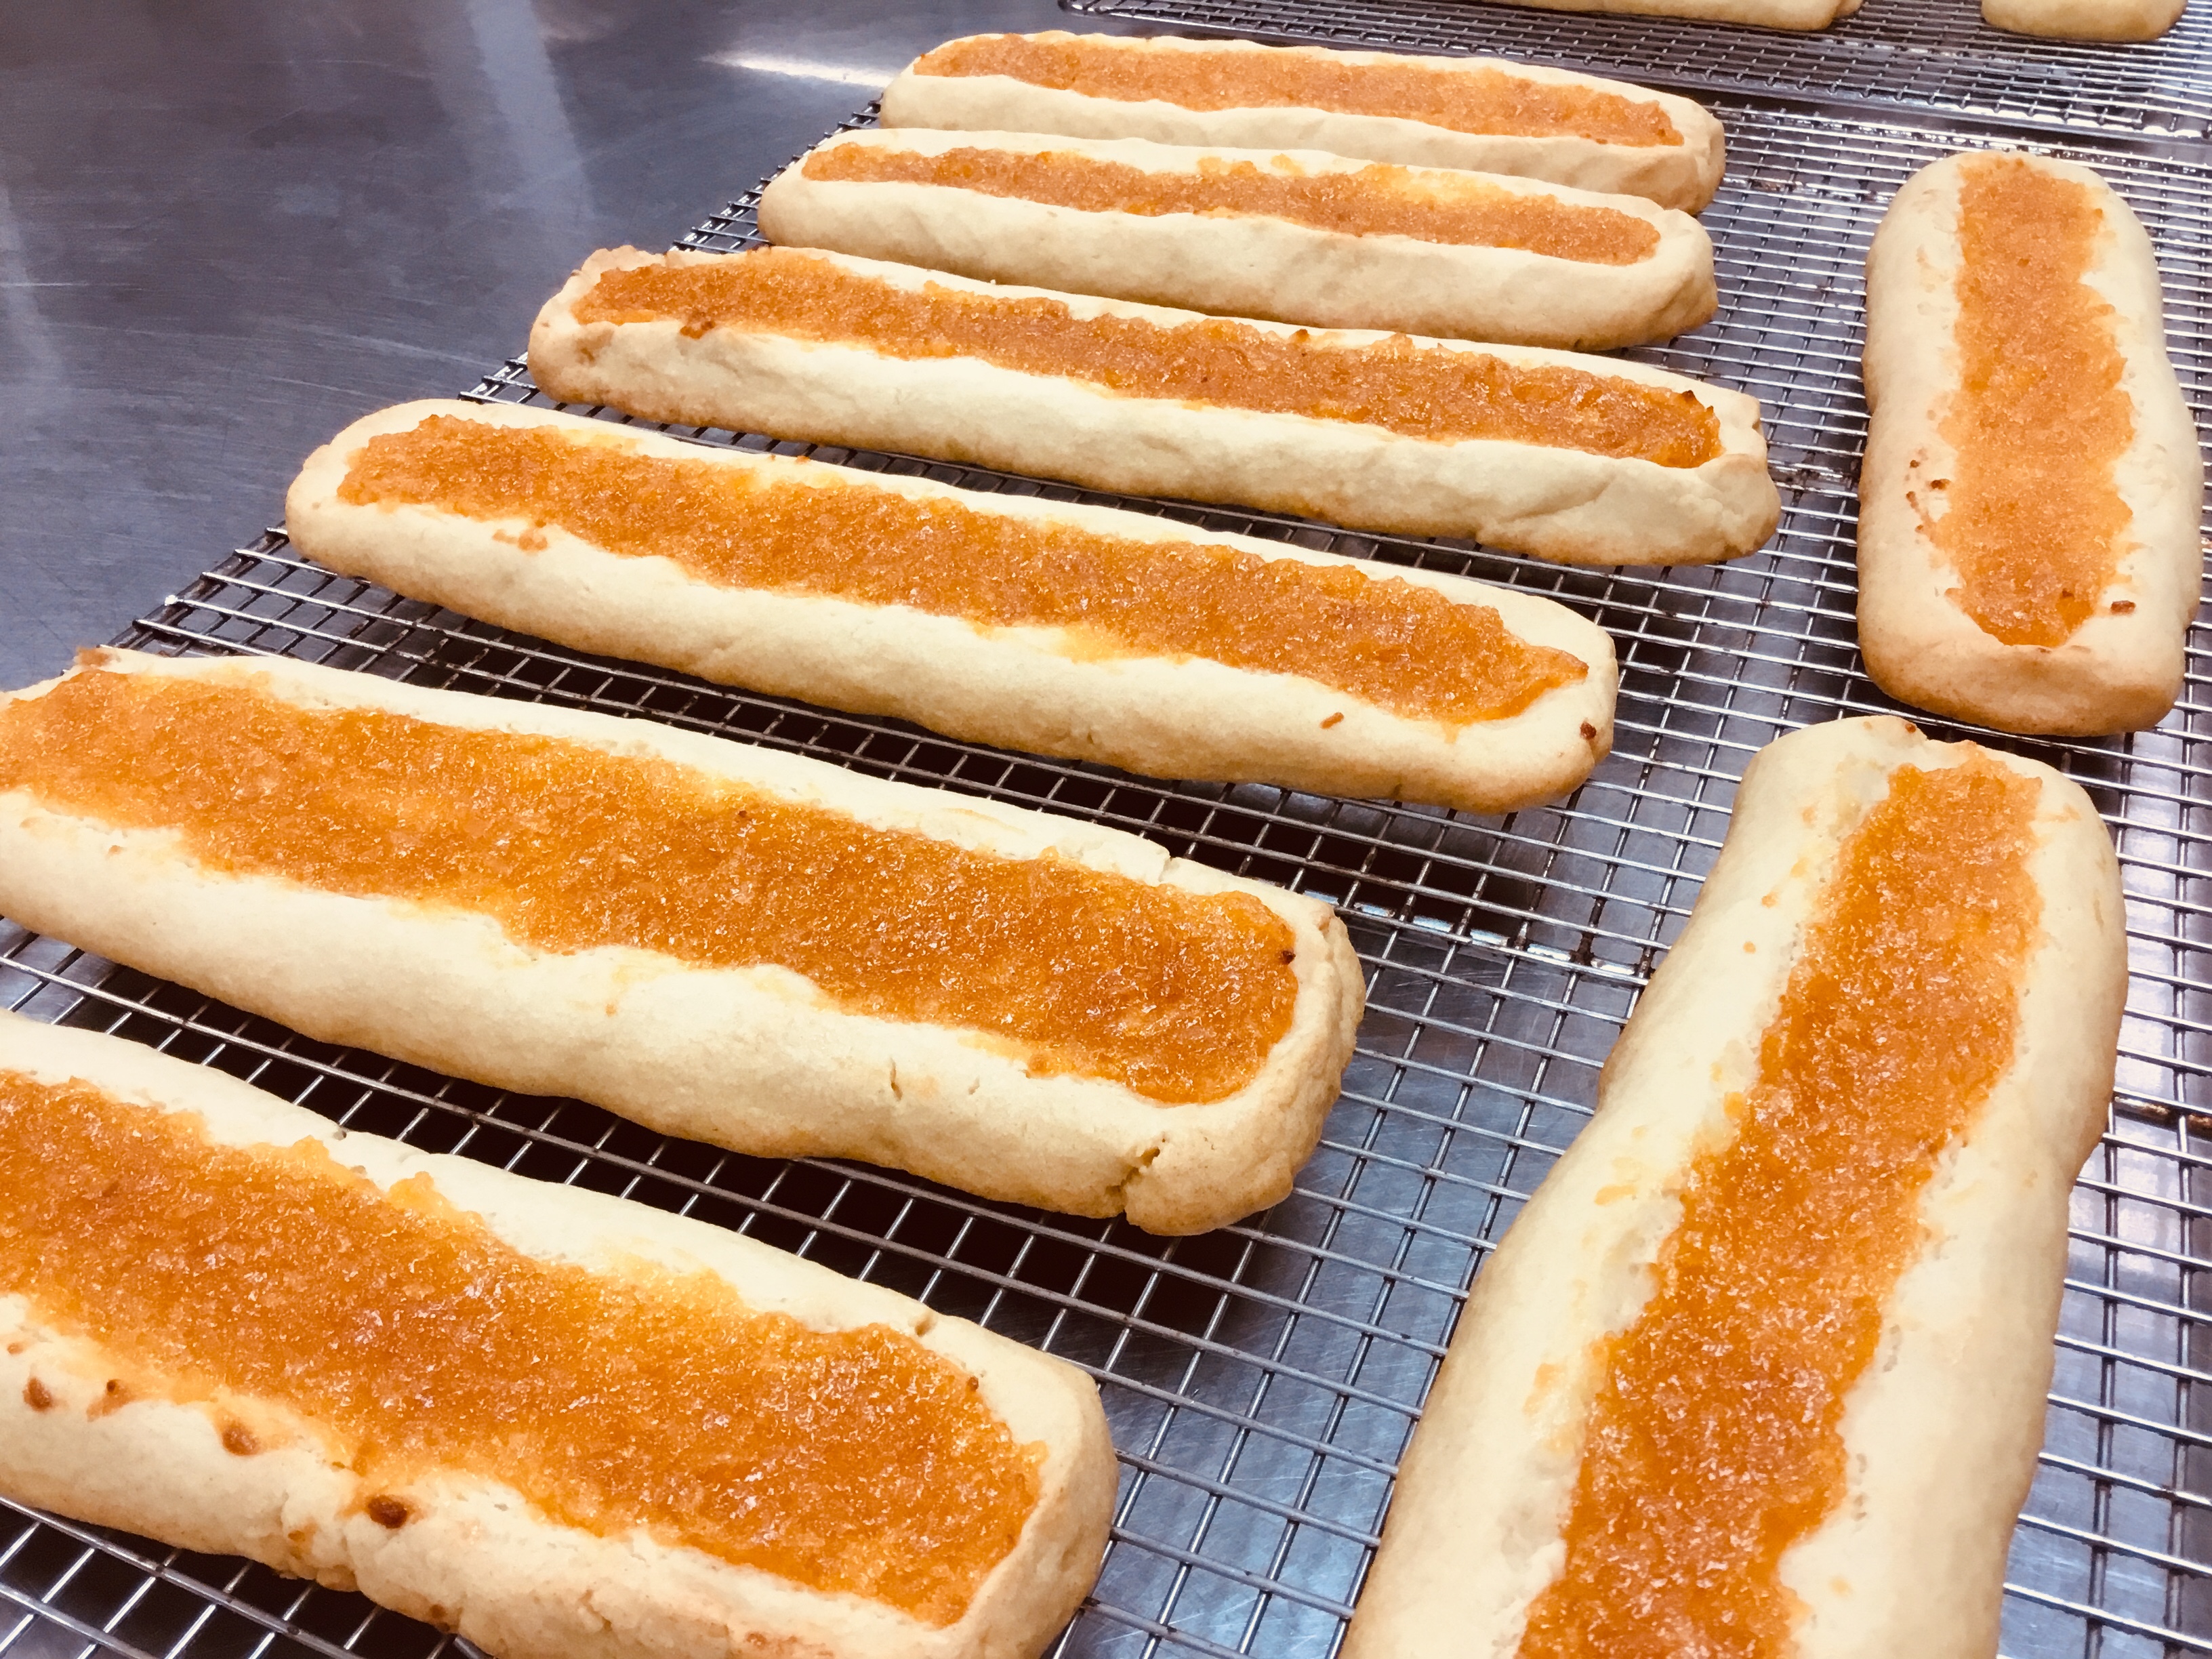
- Working with one piece of dough at a time, place the dough in plastic wrap and roll into an 8 inch long rope - place on a parchment covered sheet pan and make a canal down the center with your finger so the log becomes a 8 x 2" rectangle with a channel in the middle.
- Spread the apricot puree in the canals.
- Bake the cookie sticks in a 350 degree oven for 18-20 min. until the edges are slightly golden.
- Transfer to a rack and let them cool.
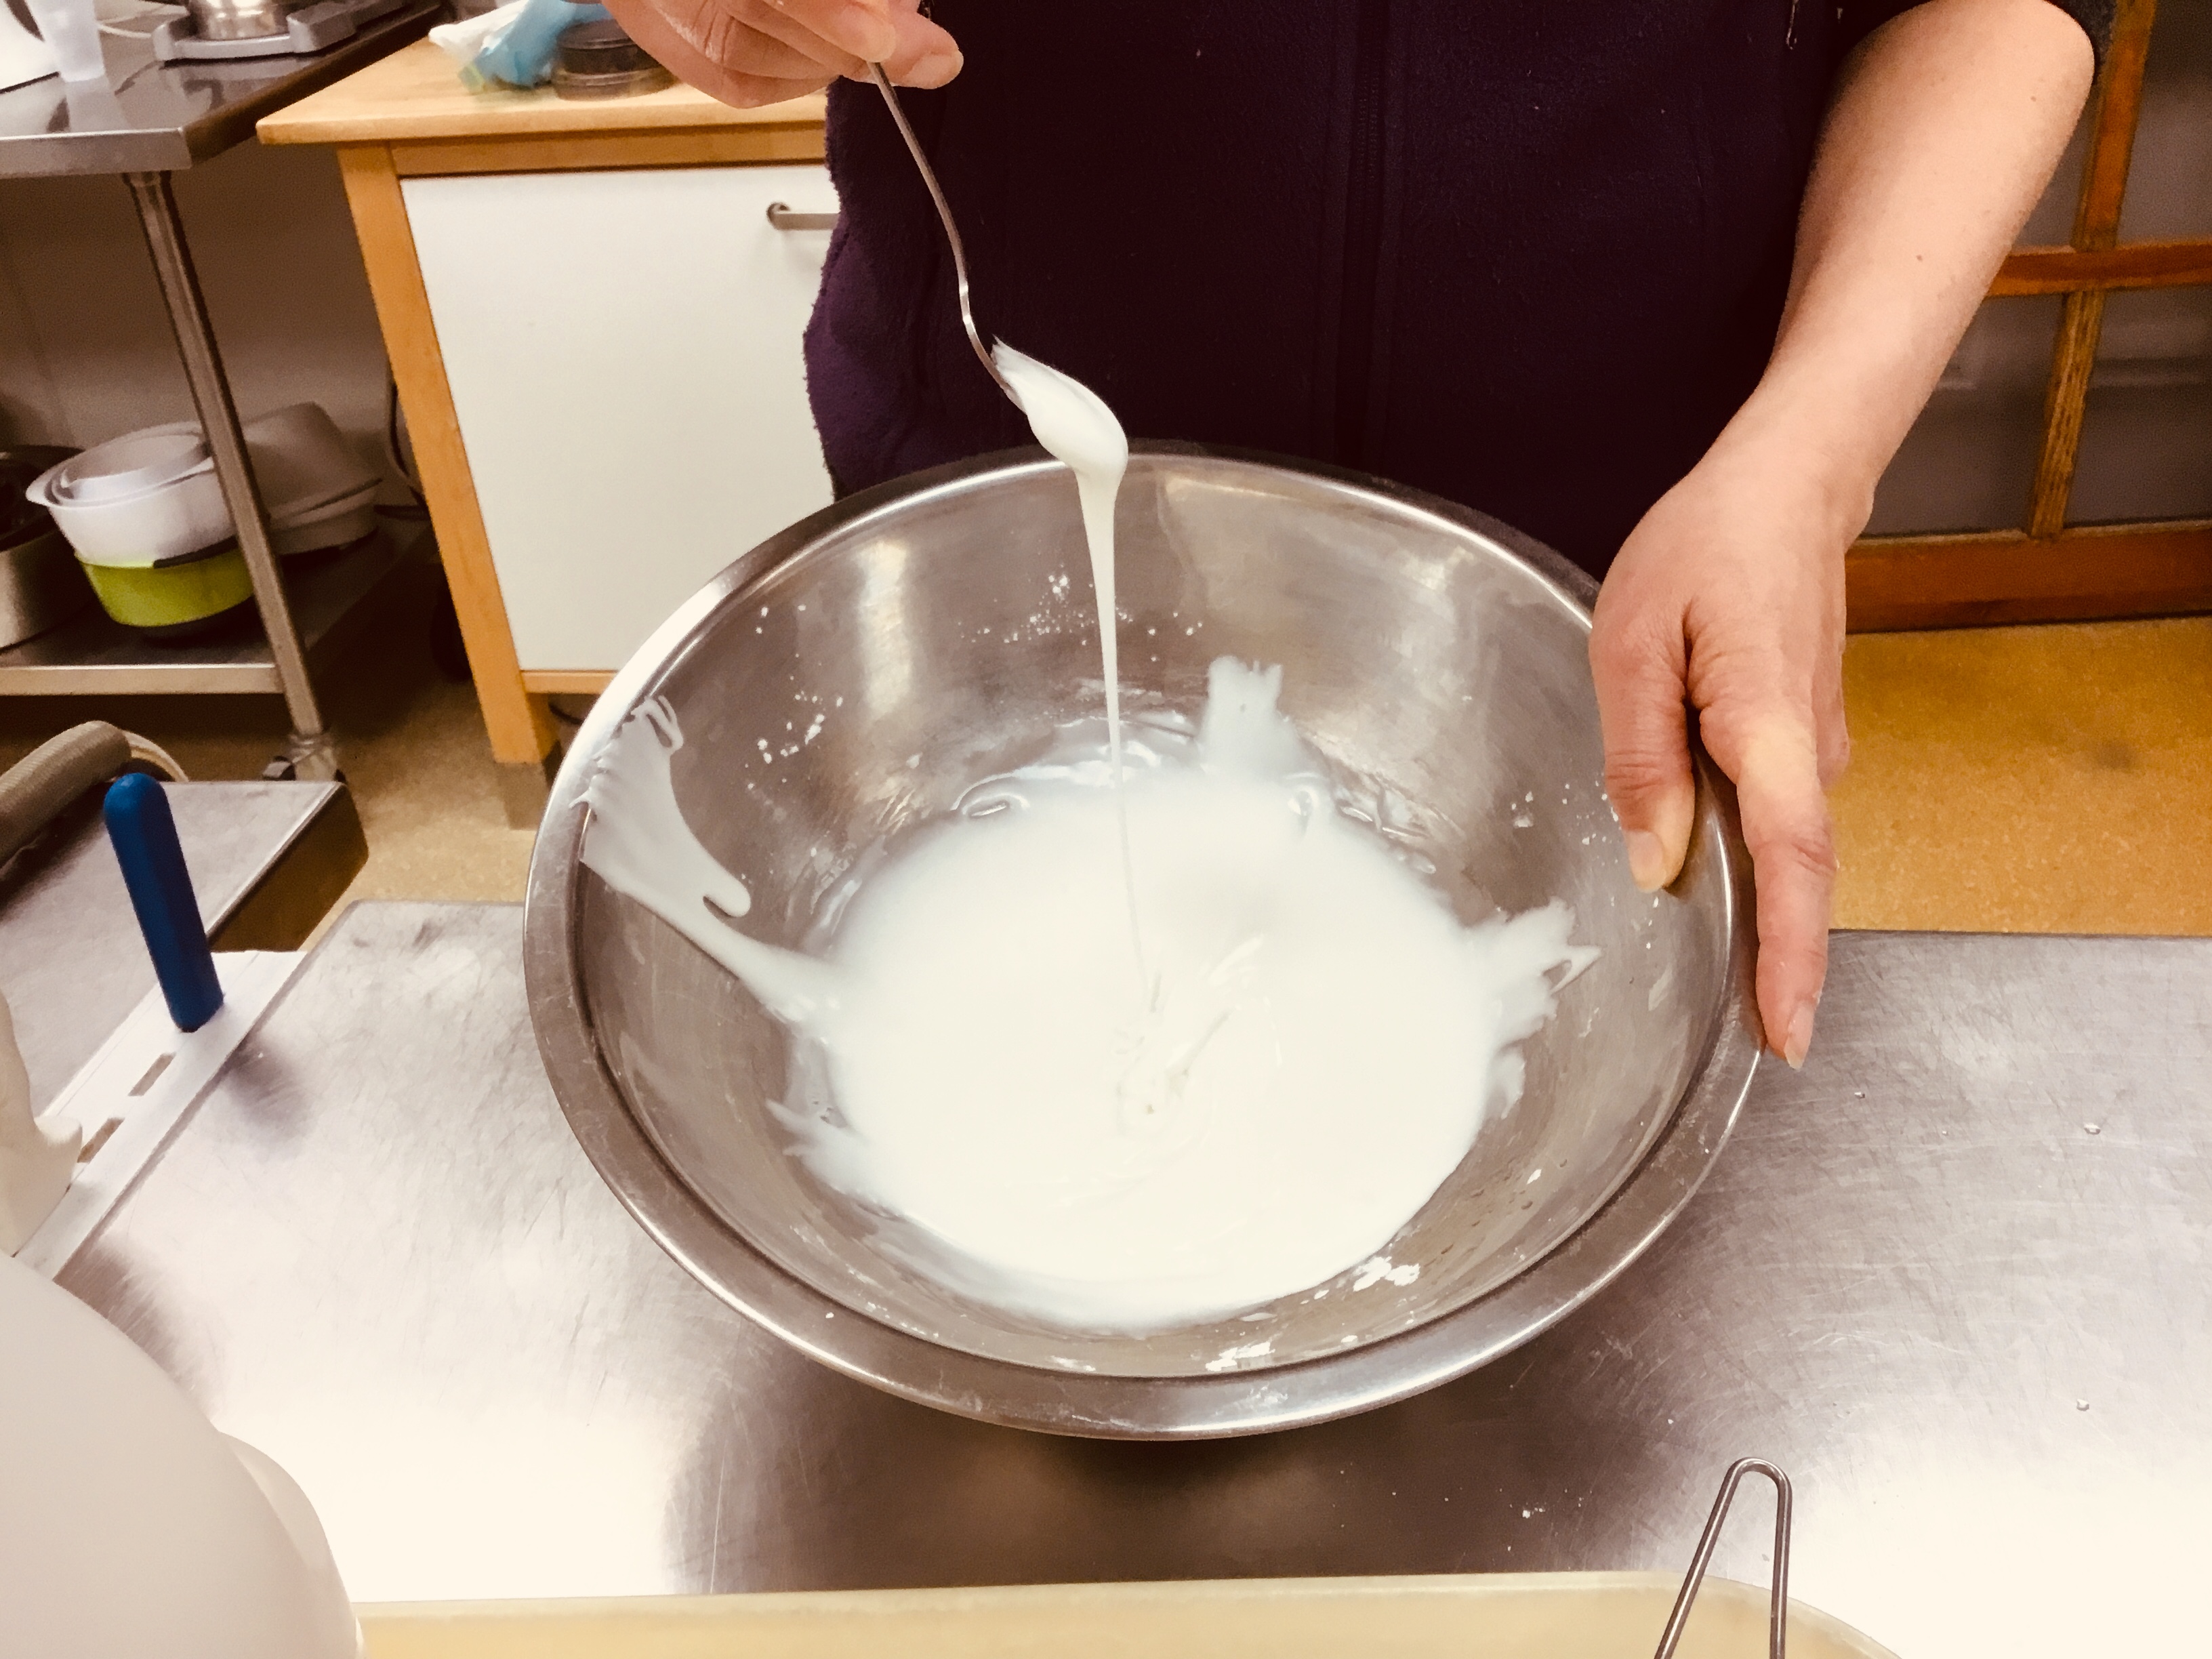
- In a small bowl, whisk together the glaze ingredients and add just enough water to make a thick but pour-able icing - you want it to be on the thick side.
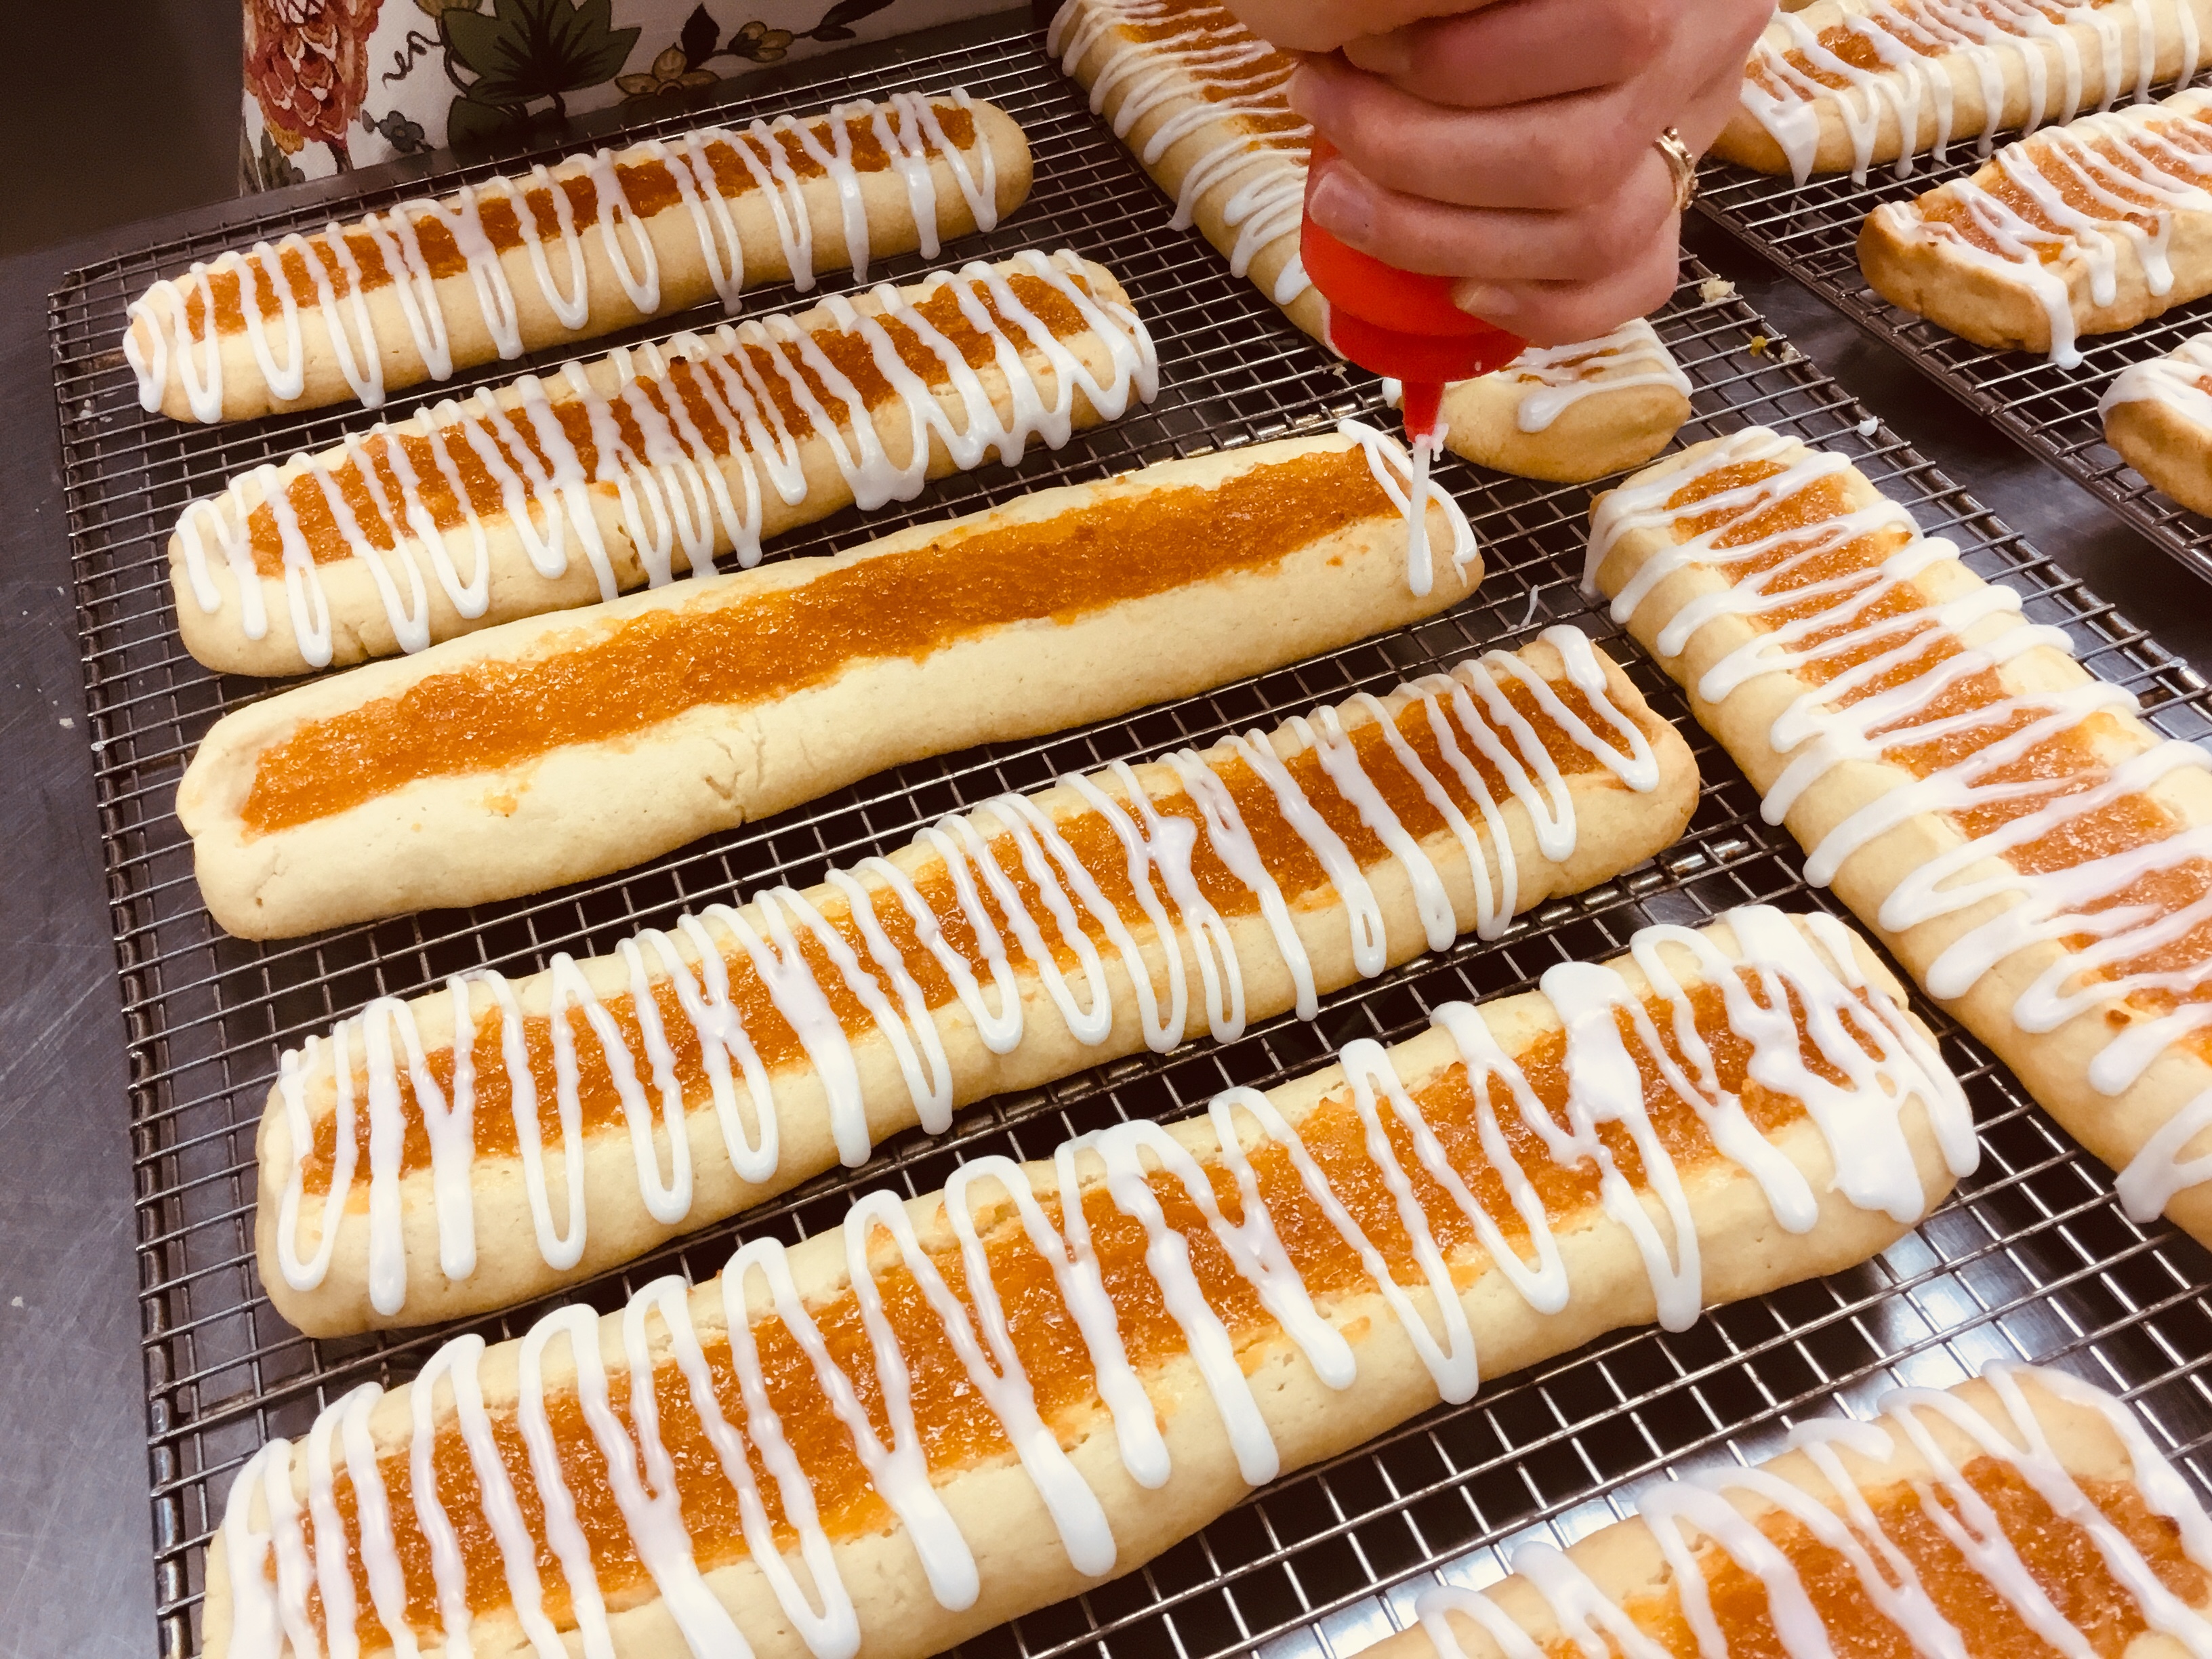
- If desired, transfer the glaze to a squeeze bottle or piping bag and drizzle the icing over the cookies.
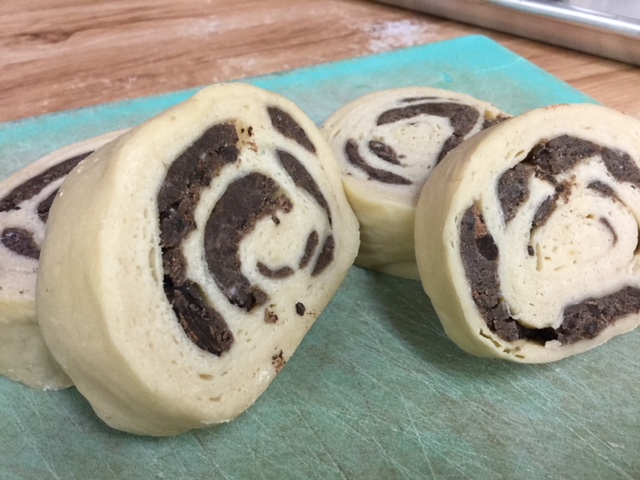
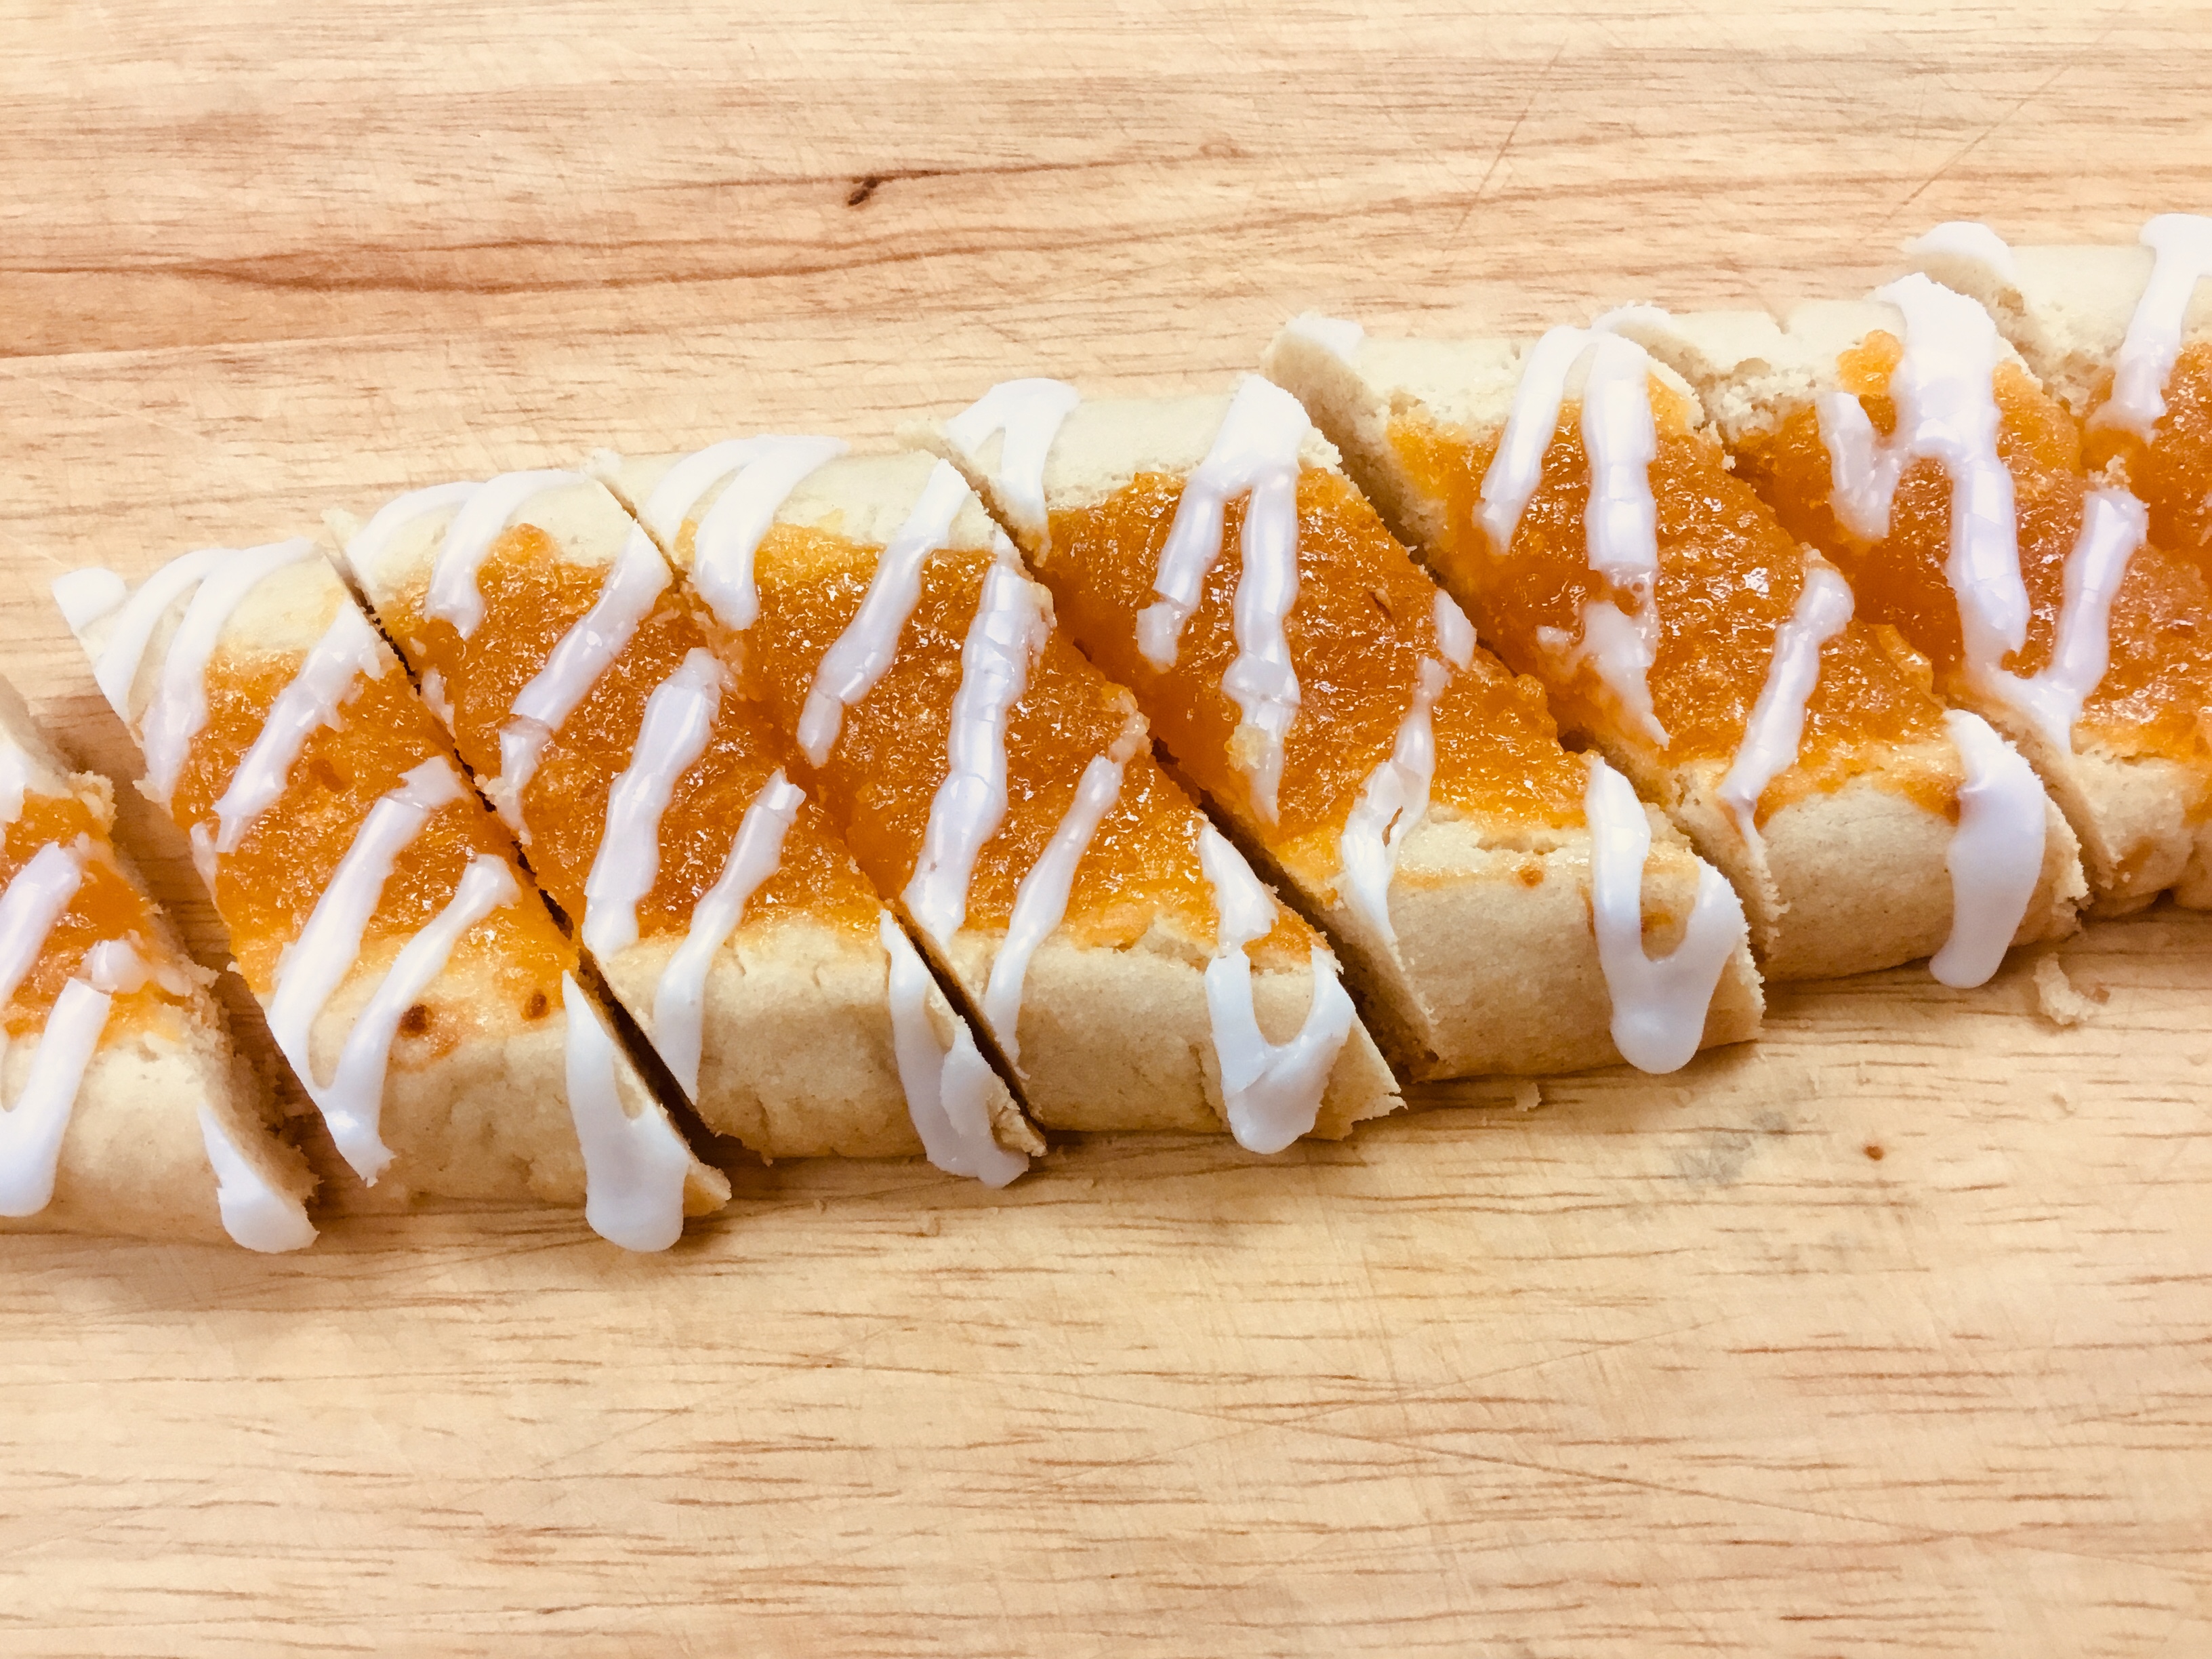
- Cut the rectangles diagonally into 1" strips.
- The cookies will keep in the freezer or in an airtight container for 1 week.
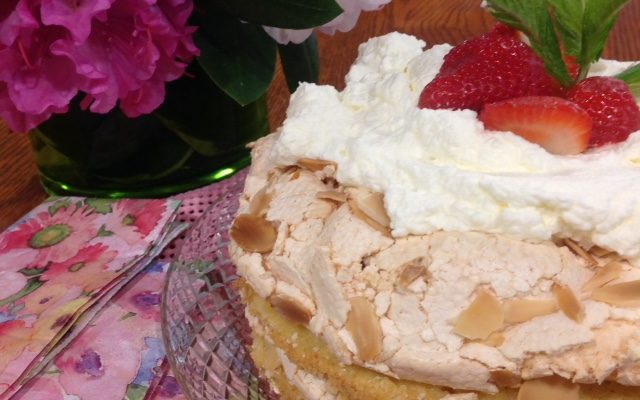
Merry Christmas from our home to yours!
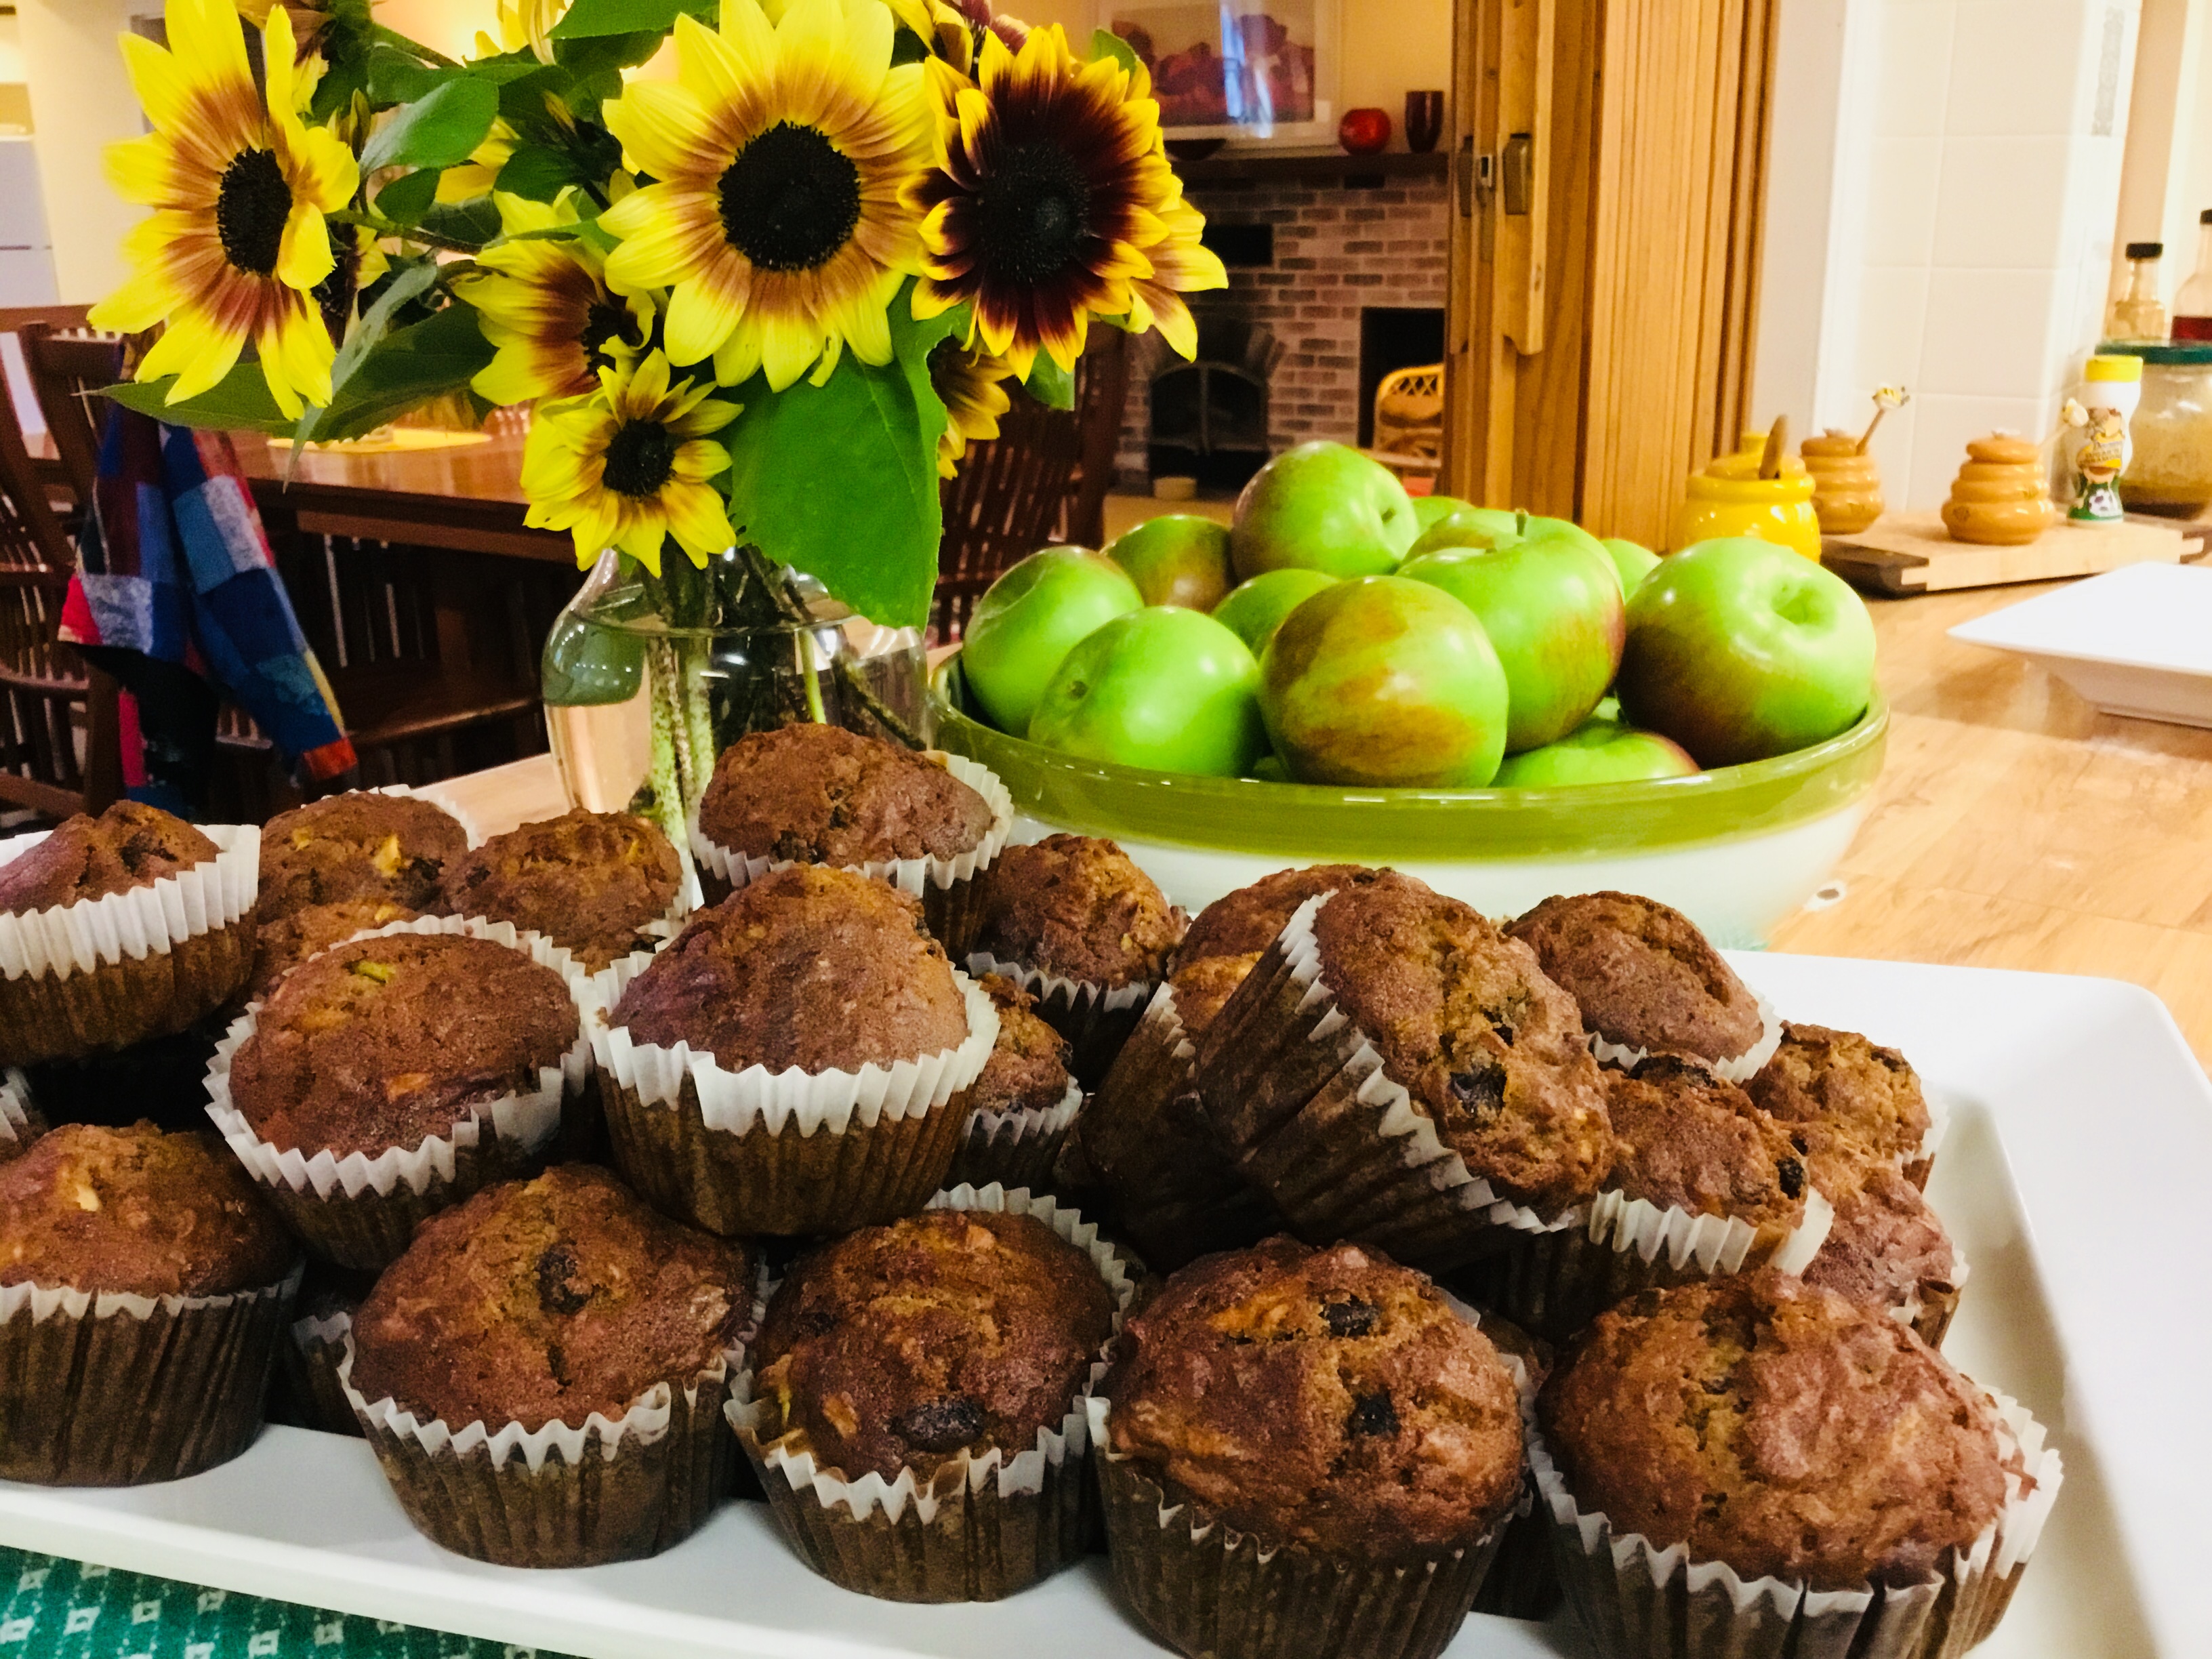
There’s a crispness to the air, a welcome relief to the humidity and heat of our 2018 Cape Cod summer! This past Saturday, our entire community joined in a “beehive” of activity as we
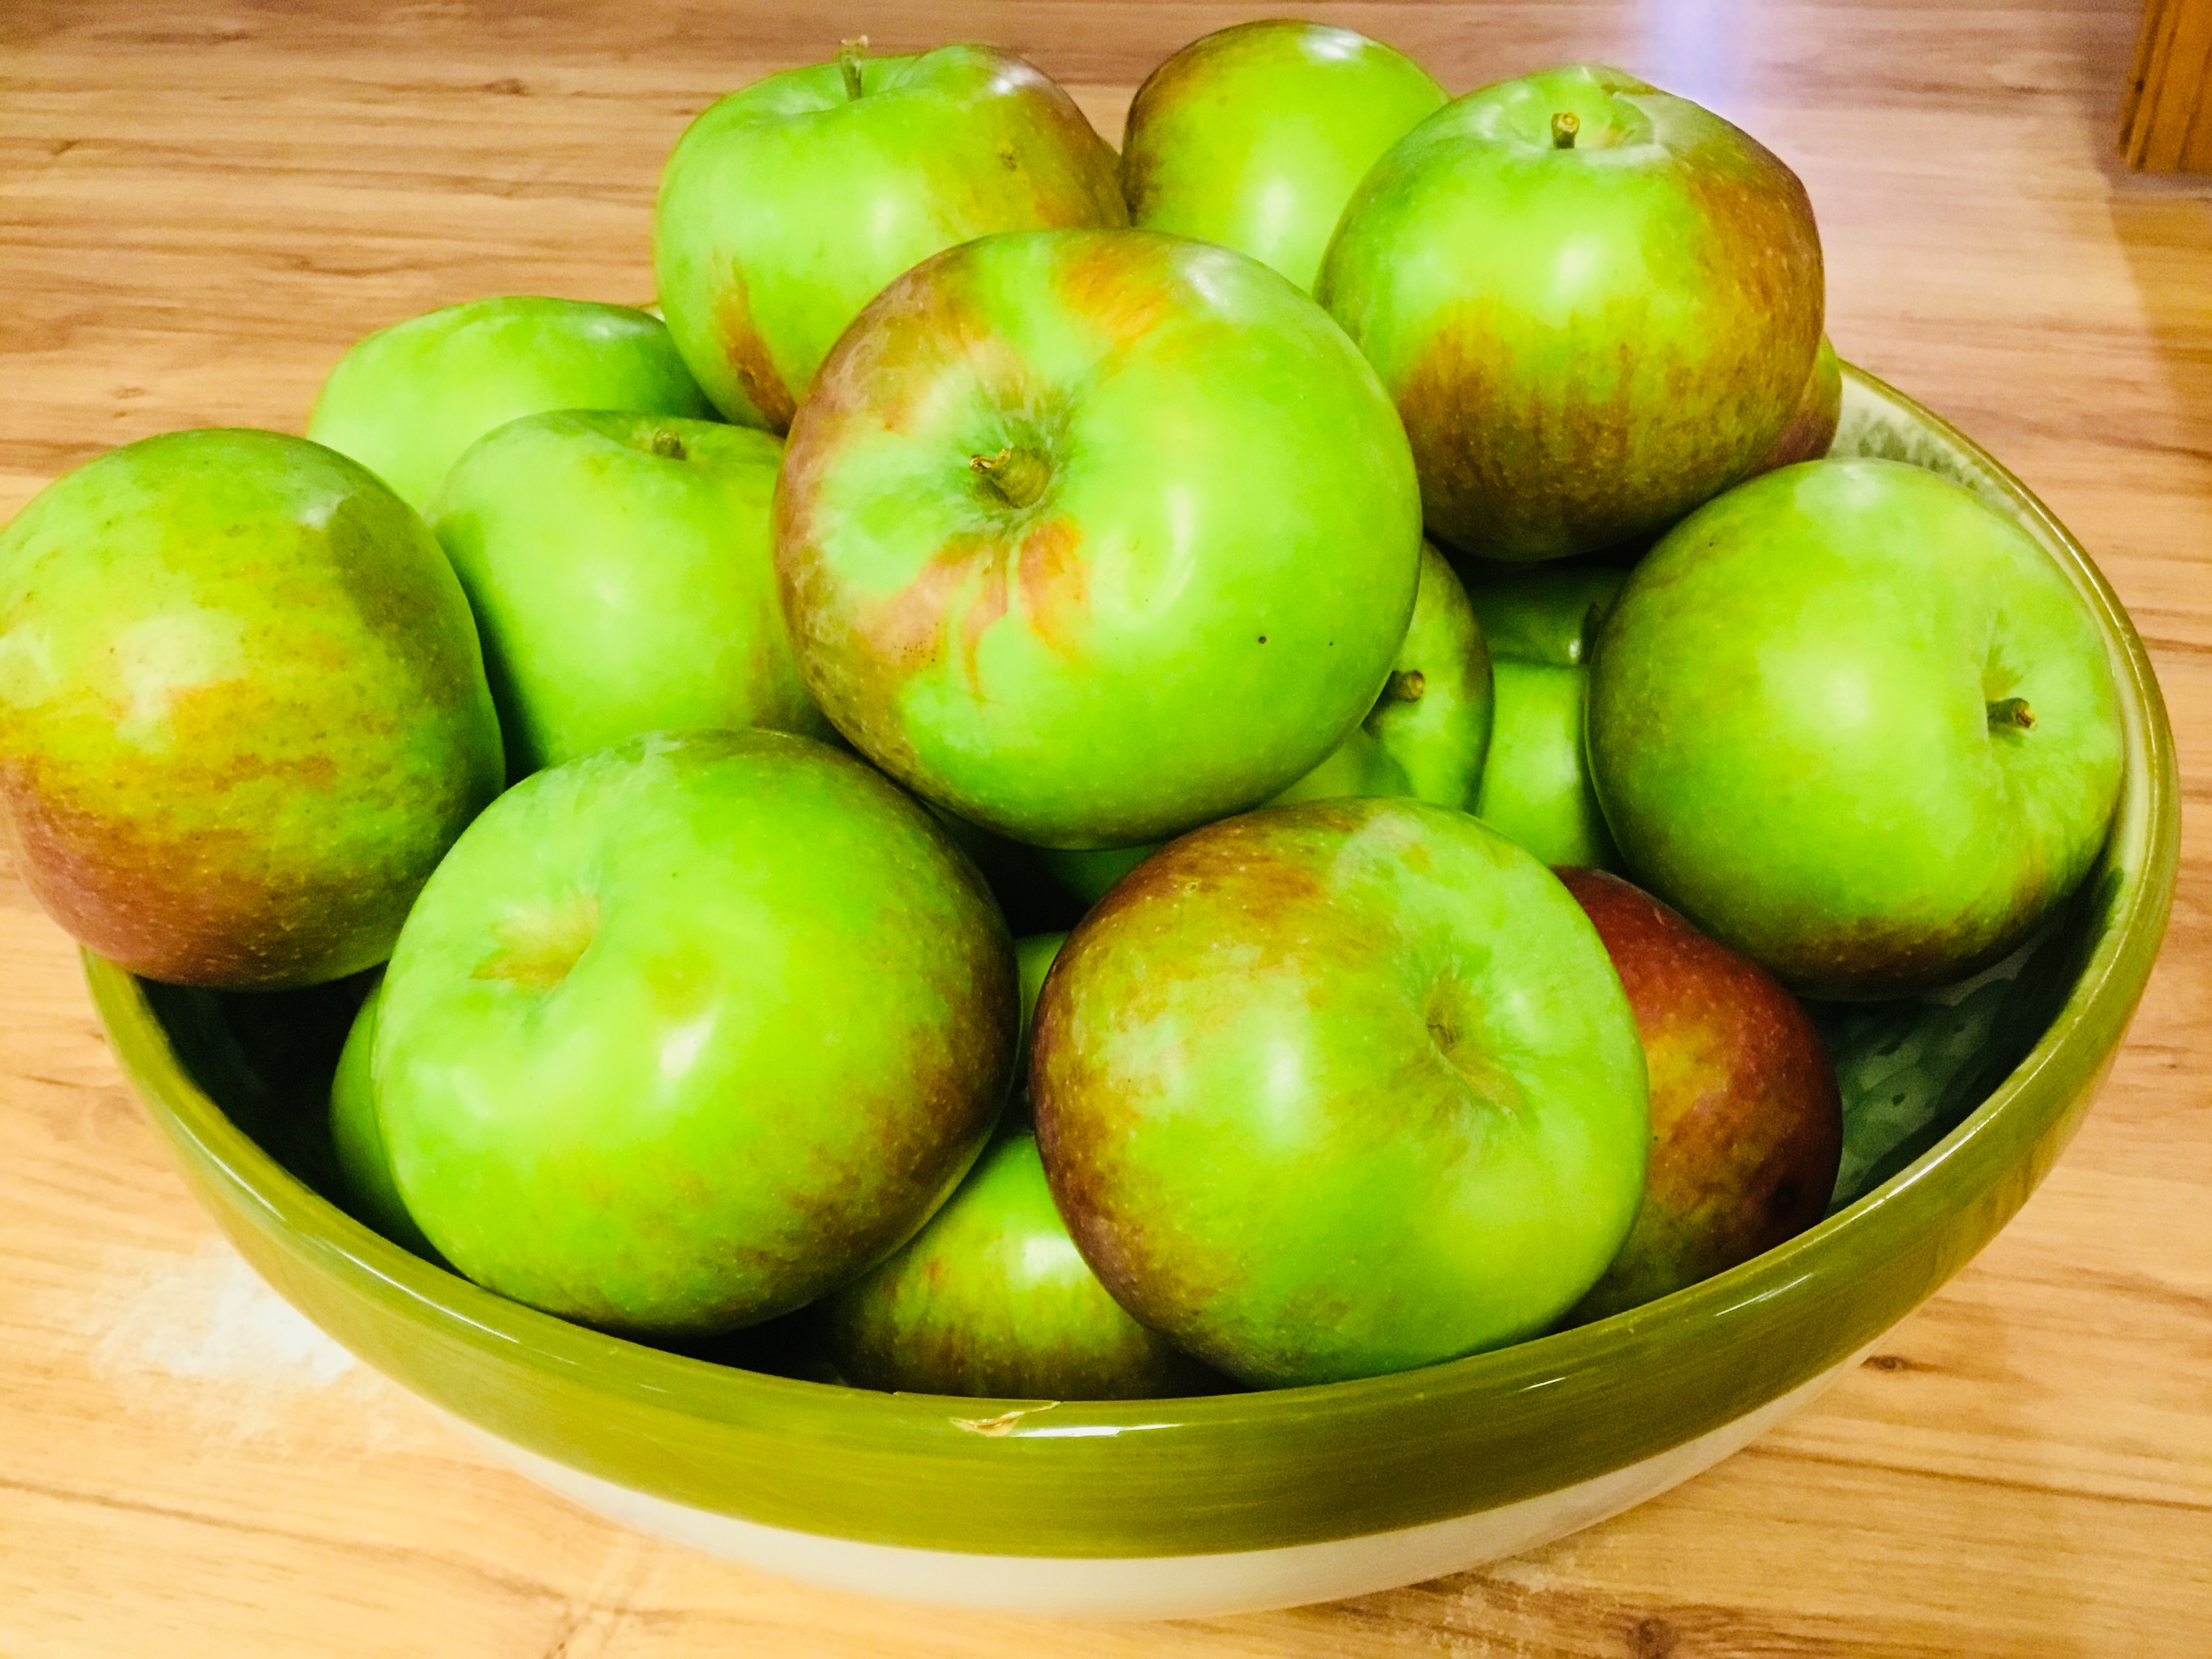
tackled a daunting list of tasks and projects, left in the wake of a busy summer. Digging out attic spaces, weeding gardens, scrubbing the bell tower floor, getting the barn clean and ready to house animals for winter, and cooking meals ahead for an upcoming choir recording were some of the projects accomplished last weekend. But it was also the beginning of harvest time. We culled apples and pears and gratefully recognized what a bountiful harvest it was going to be. The Sisterhood celebrated with brunch on Sunday. And since I was “in the mood,” I whipped up some ingredient-packed muffins that had all the essence of Fall – complete with cinnamon!
Print Recipe
Votes: 1
Rating: 2
You:
Rate this recipe!
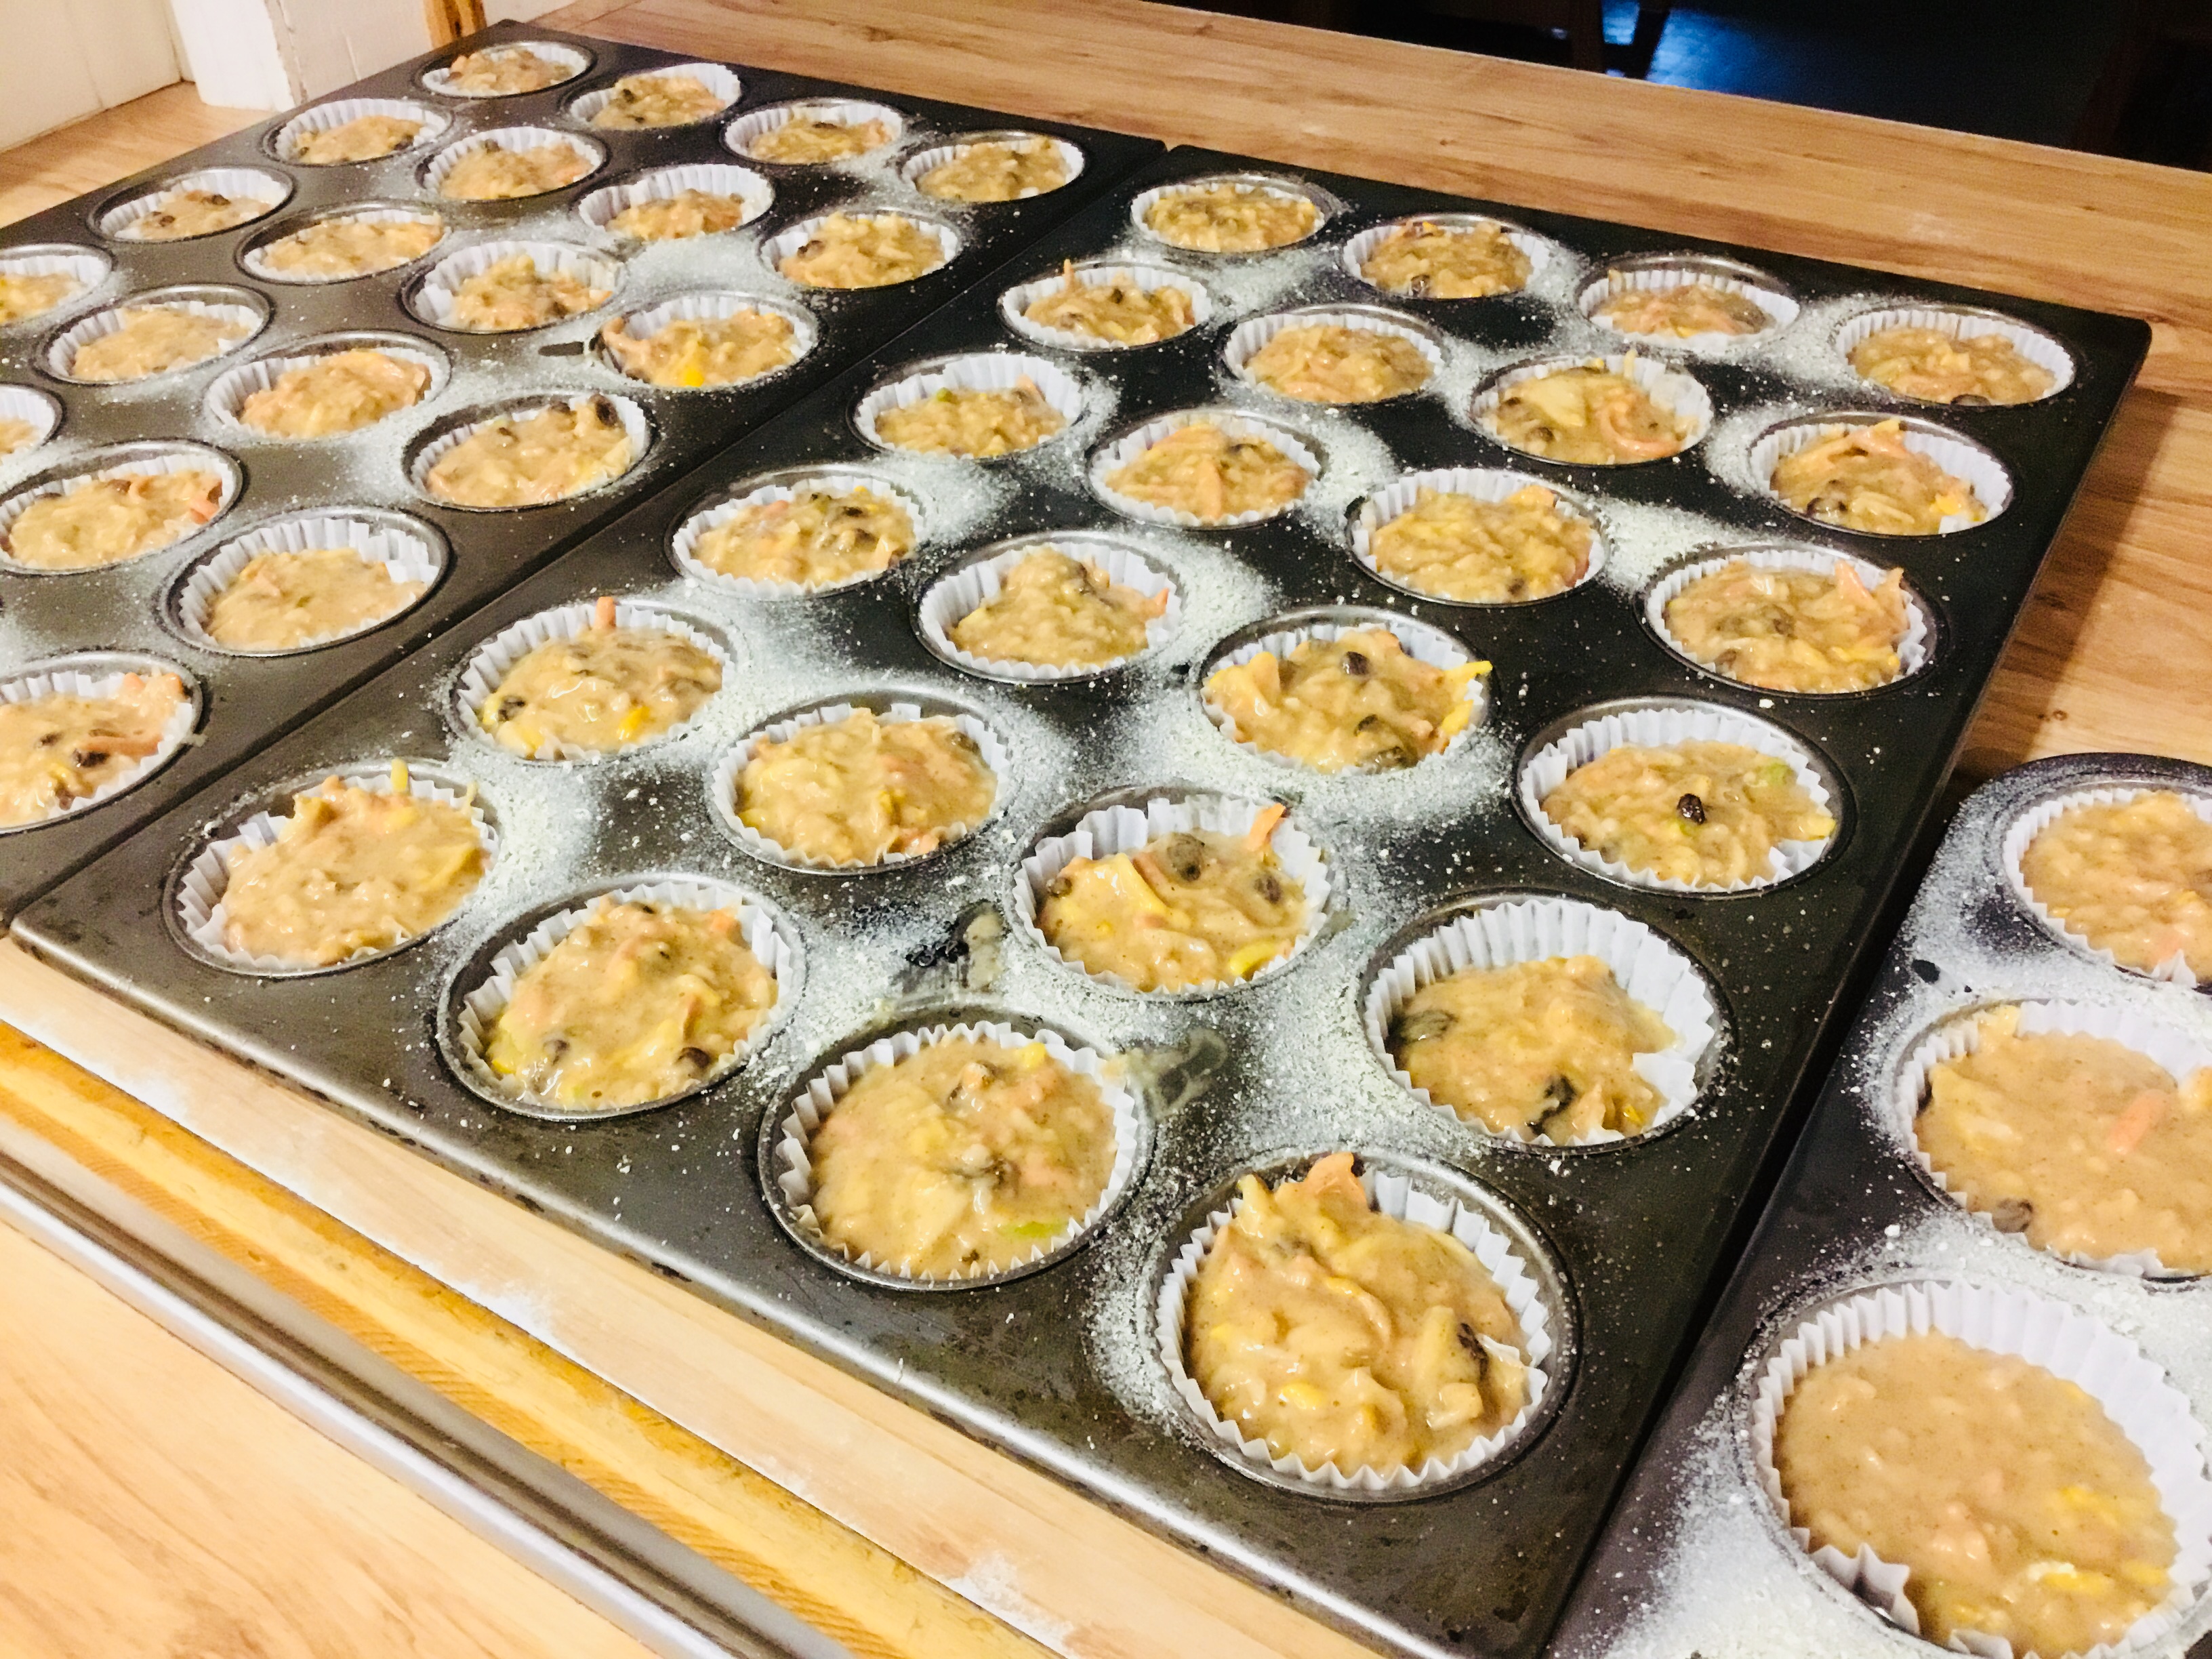
Harvest Muffins
SERVINGS20muffins (approx.)
|
COOK TIME20-25mins |
PREP TIME15mins |
READY IN35mins |
Ingredients
Instructions
- Preheat oven to 375 degrees F.
- Grease muffin cups with non-stick spray and line with muffin papers
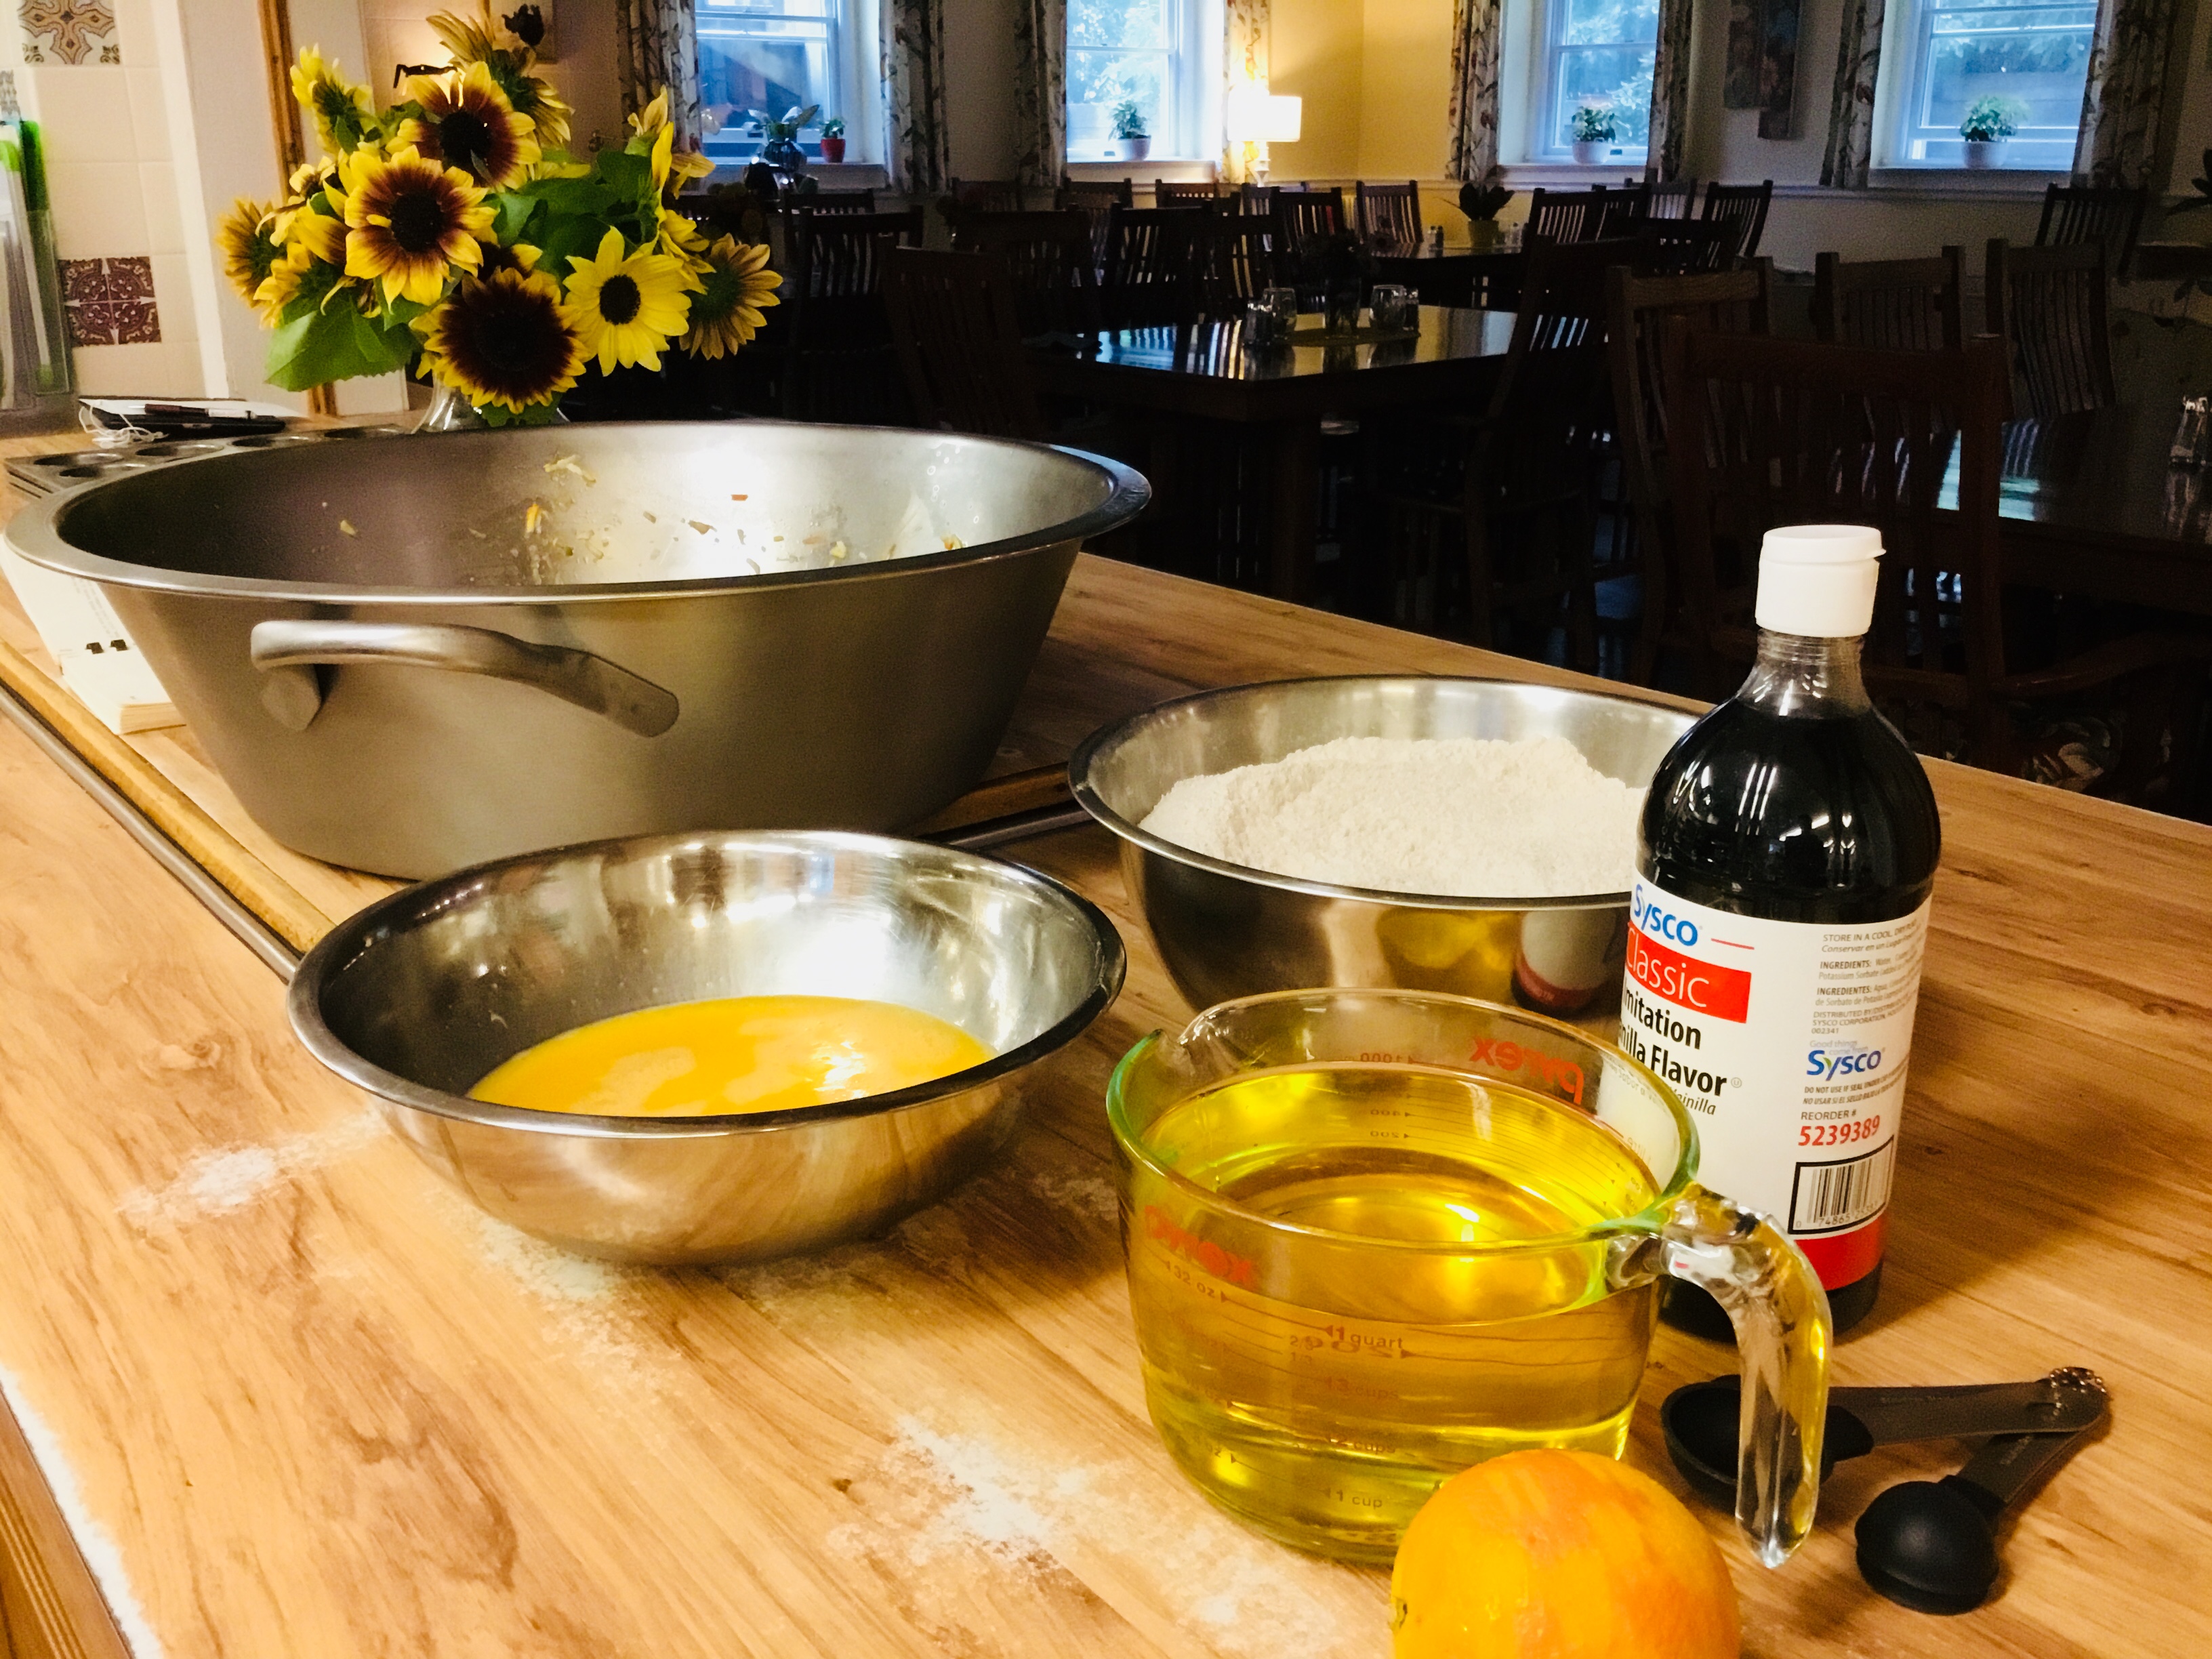
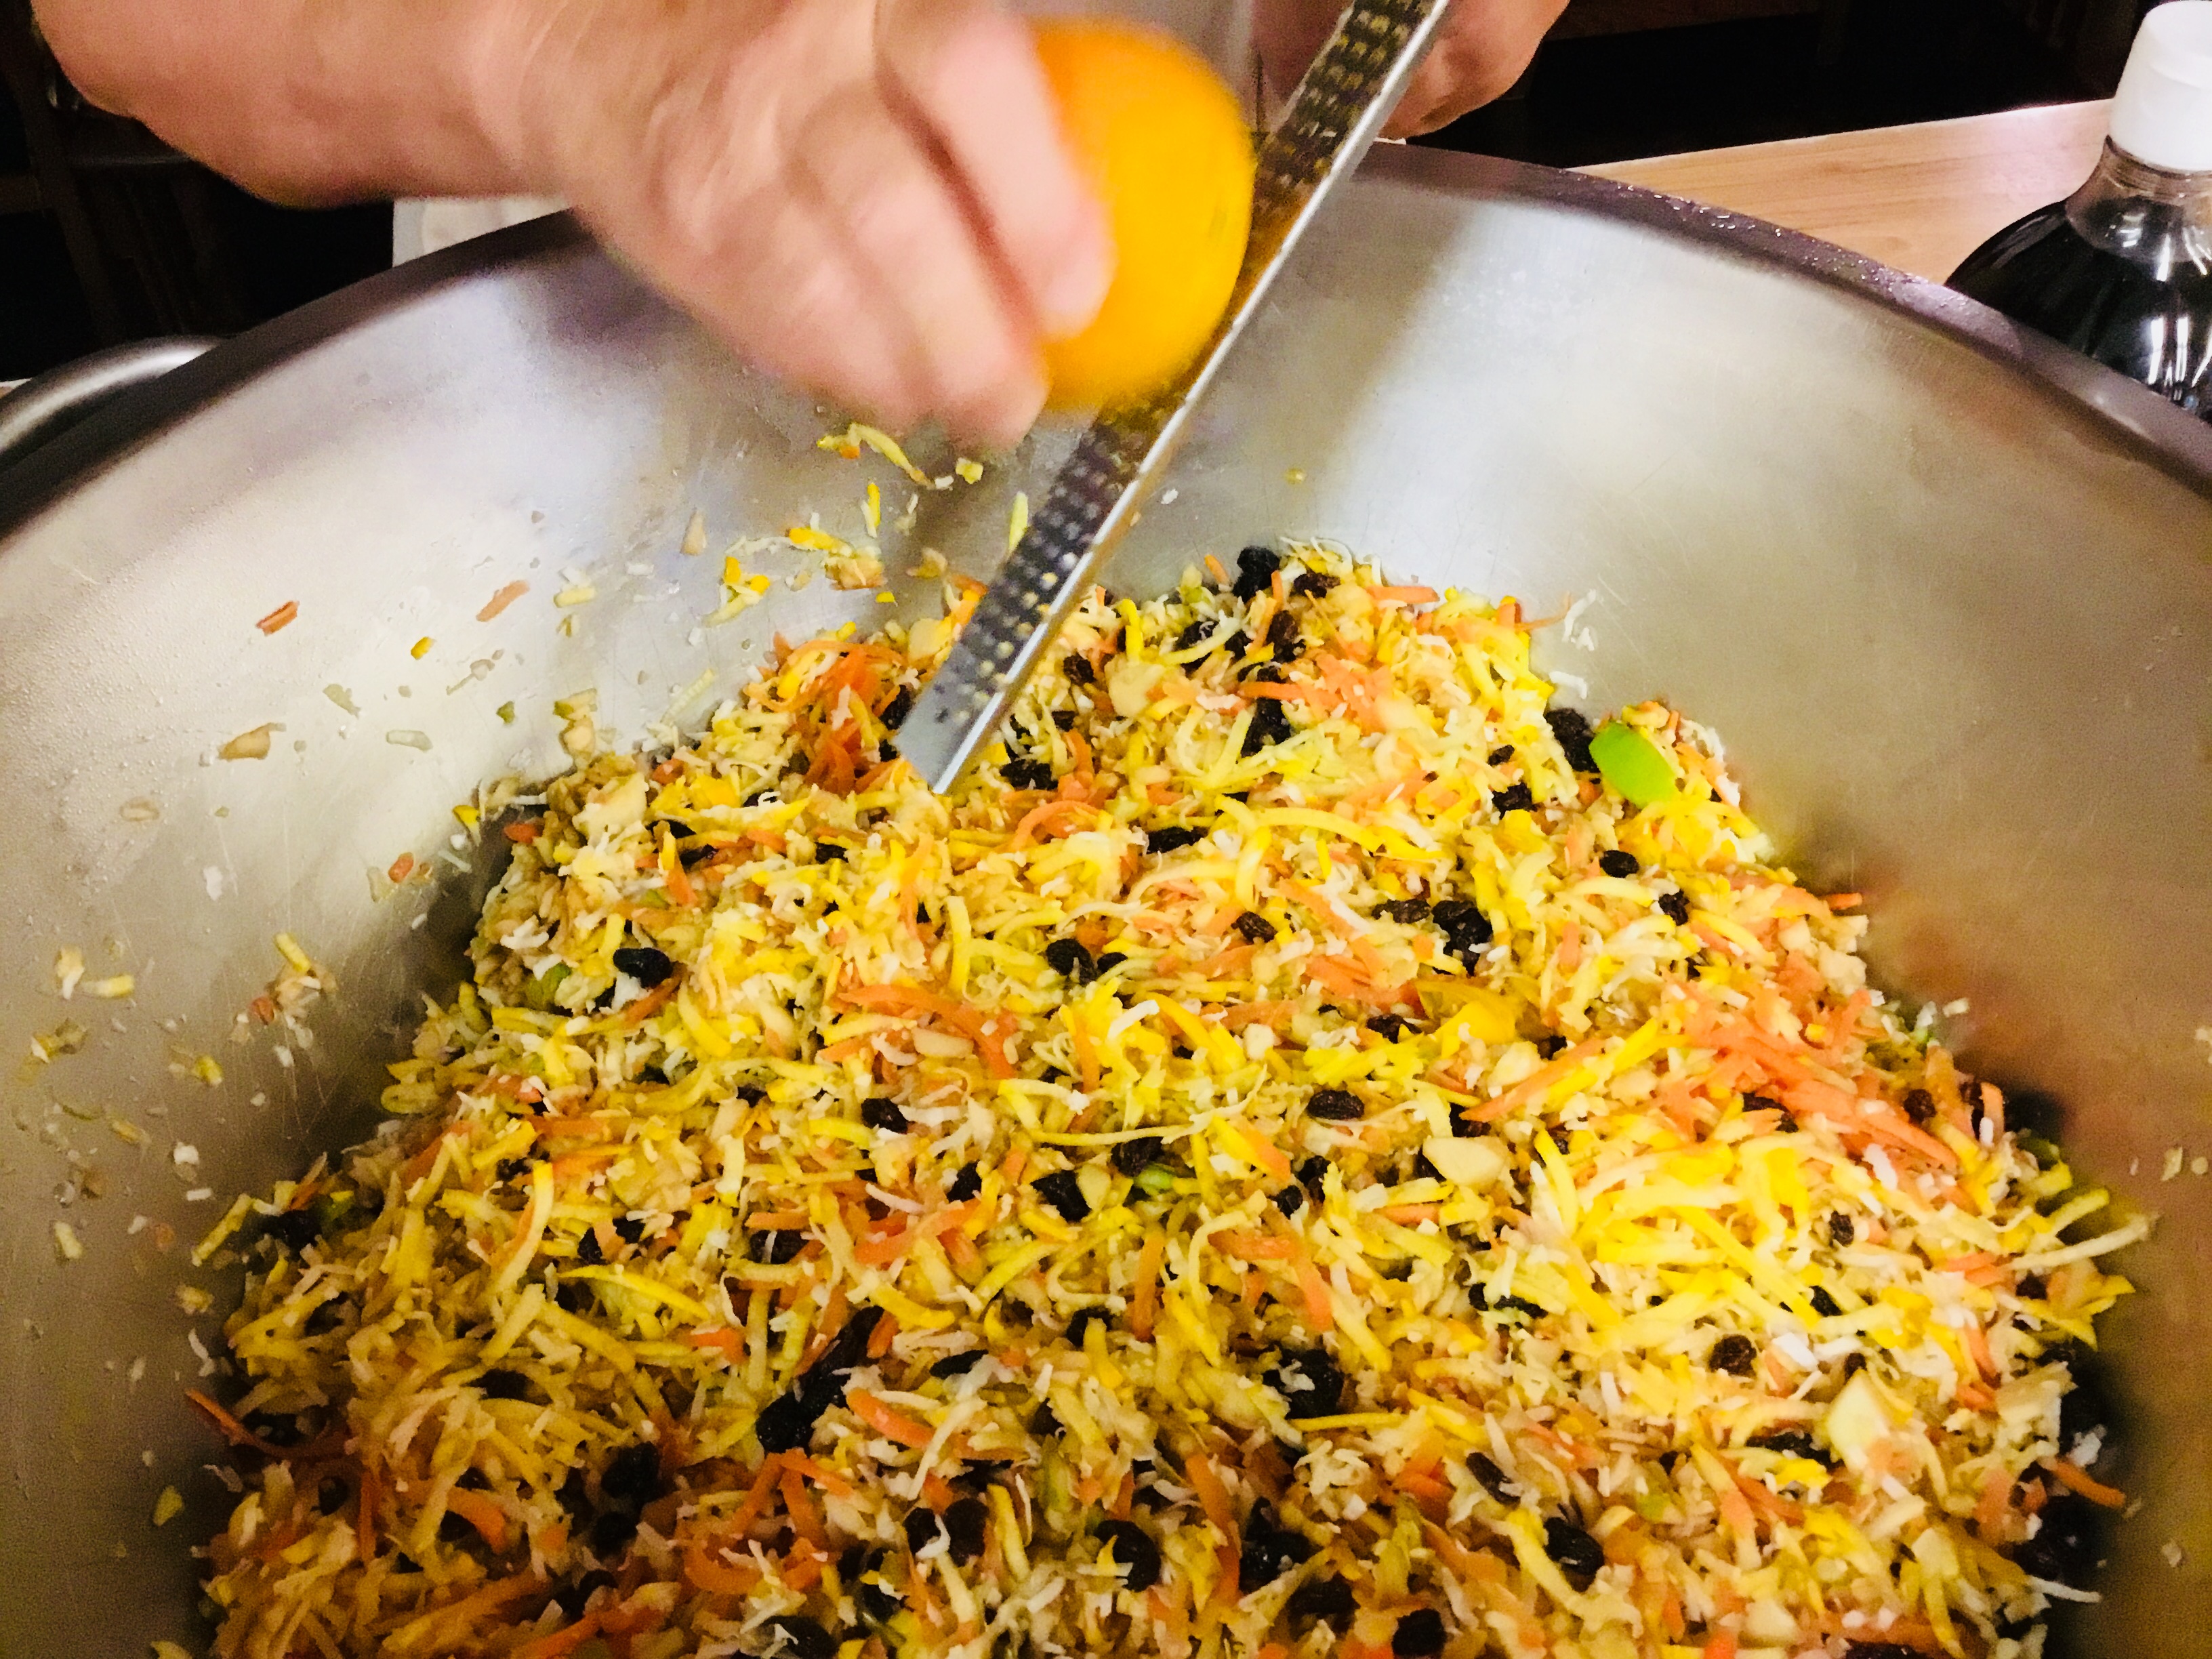
- Beat eggs, oil, orange zest and vanilla in a bowl to blend
- Combine flour, sugar, baking soda, cinnamon and salt together in a bowl
- Separately, mix carrots, zucchini, apple, raisins, coconut, and almonds together - add the egg and oil mixture
- Sift flour mixture into the vegetable mixture and mix all together by hand until well blended.
- Using an ice cream scoop, fill each muffin cup with one scoop of batter.
- Bake until center of muffin springs back to touch - about 20-25 min.
- Serve warm or at room temperature.