We have just entered Advent, celebrated Thanksgiving, and are now headed into the holiday season with all our favorite foods ahead of us. So we want to keep our menus tasty but also healthy without including too many rich heavy dishes at this time.
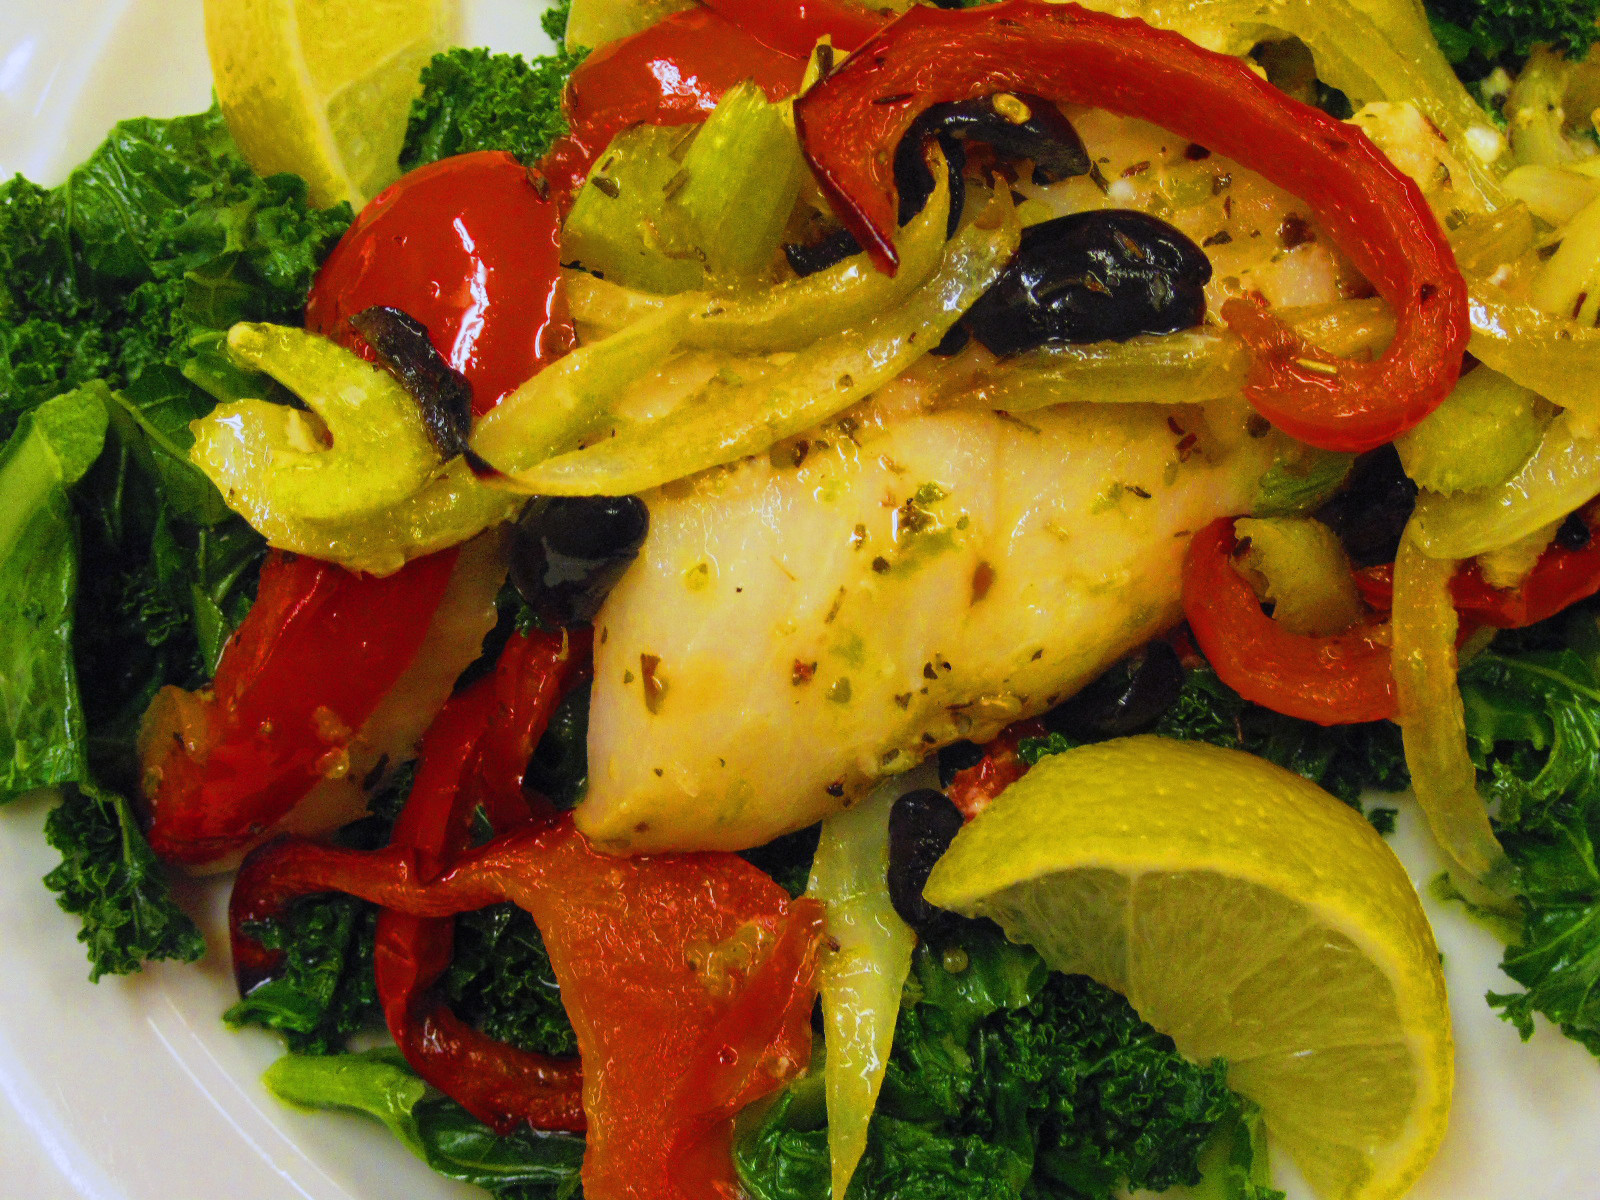
Fish is perfect for right now. Not only because of its nutritional value but also because it’s so convenient, fast and easy to cook during these busy days when time is at premium. Here at the convent we include fish weekly in our meal planning and prepared in this Mediterranean way it appeals to many. We often serve it with fresh kale which is still growing in our garden and continues to provide us with many healthy benefits through the winter months.
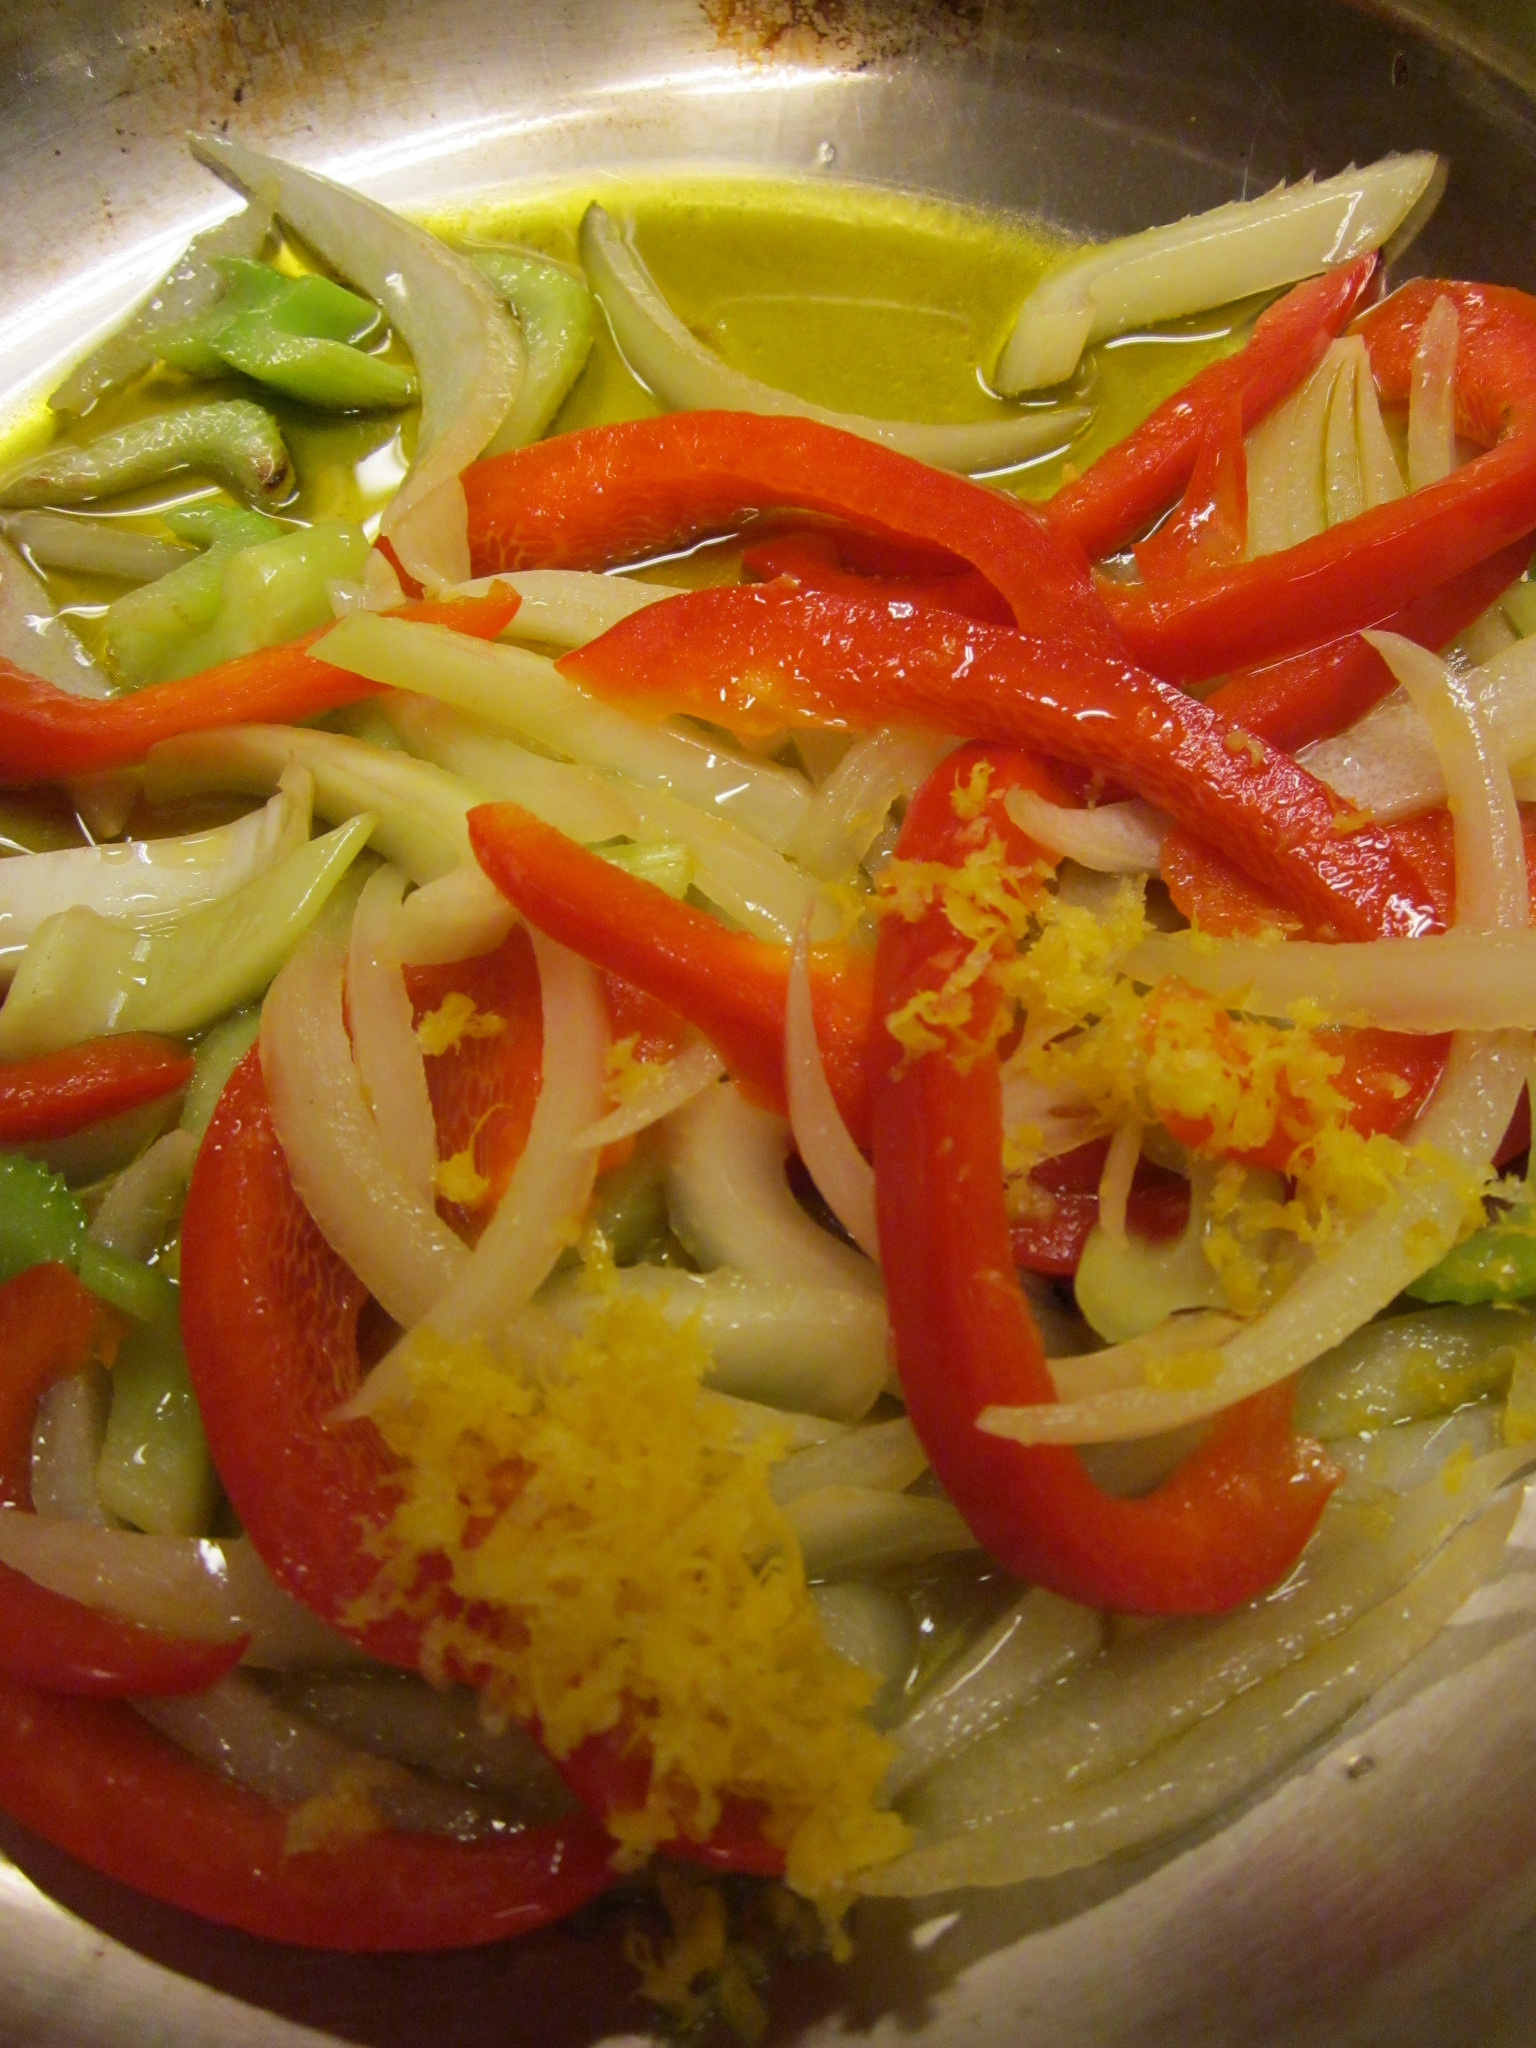
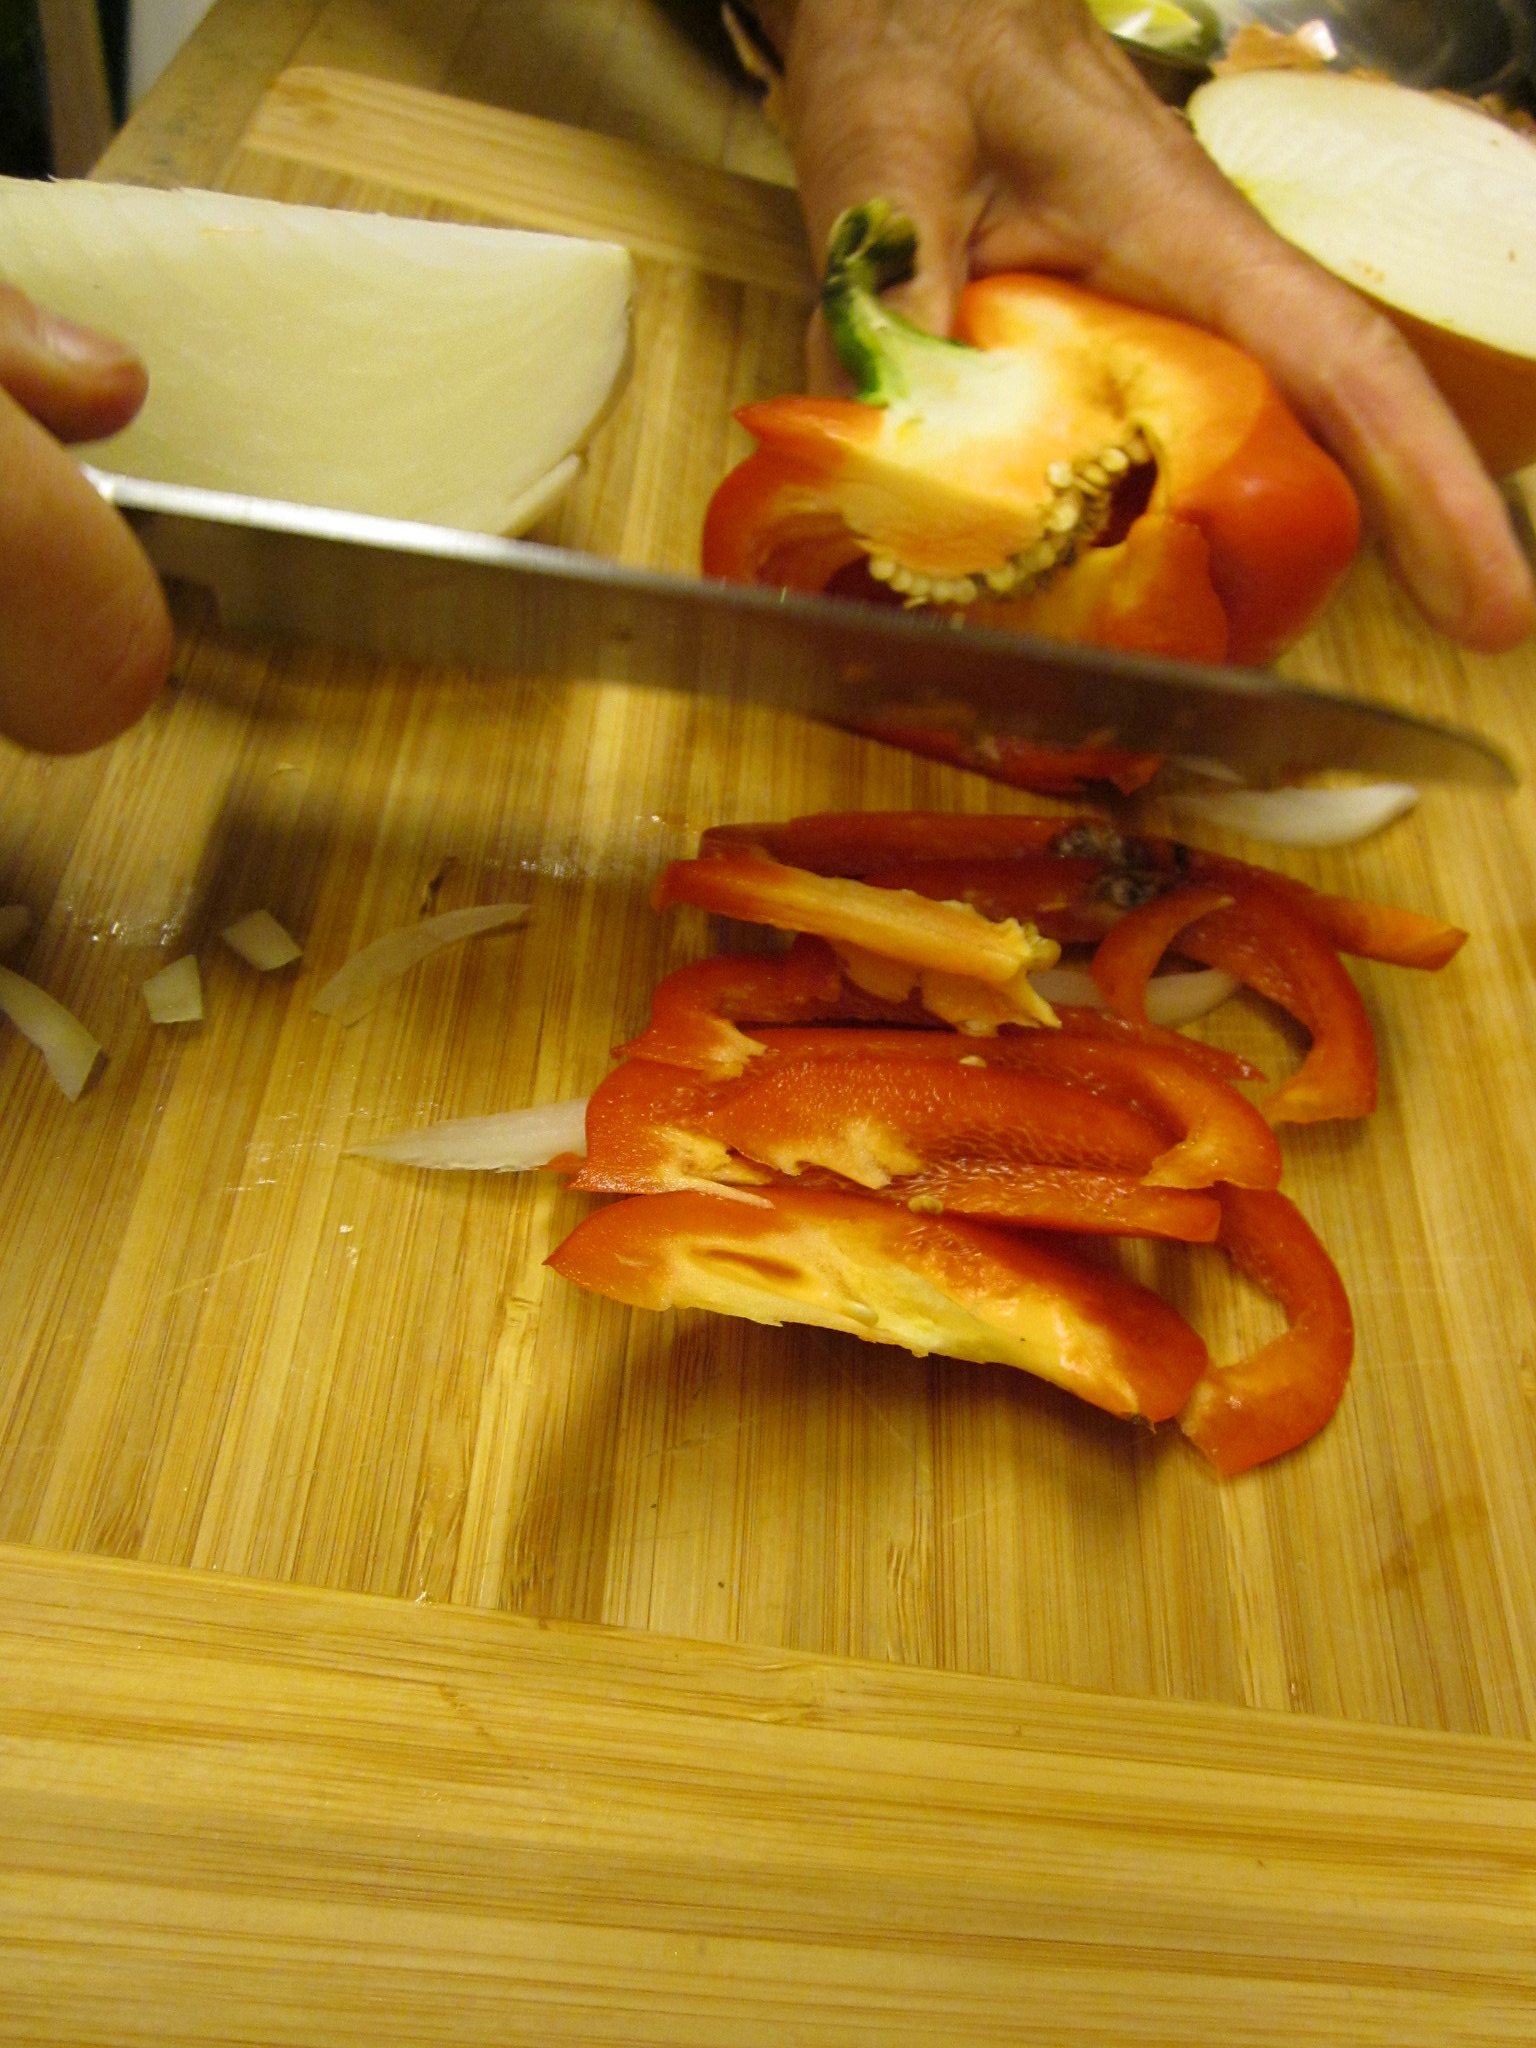
Heat oil in medium skillet over medium-high heat. Add onion, red pepper, celery and anchovies. Cook stirring often, until lightly browned.
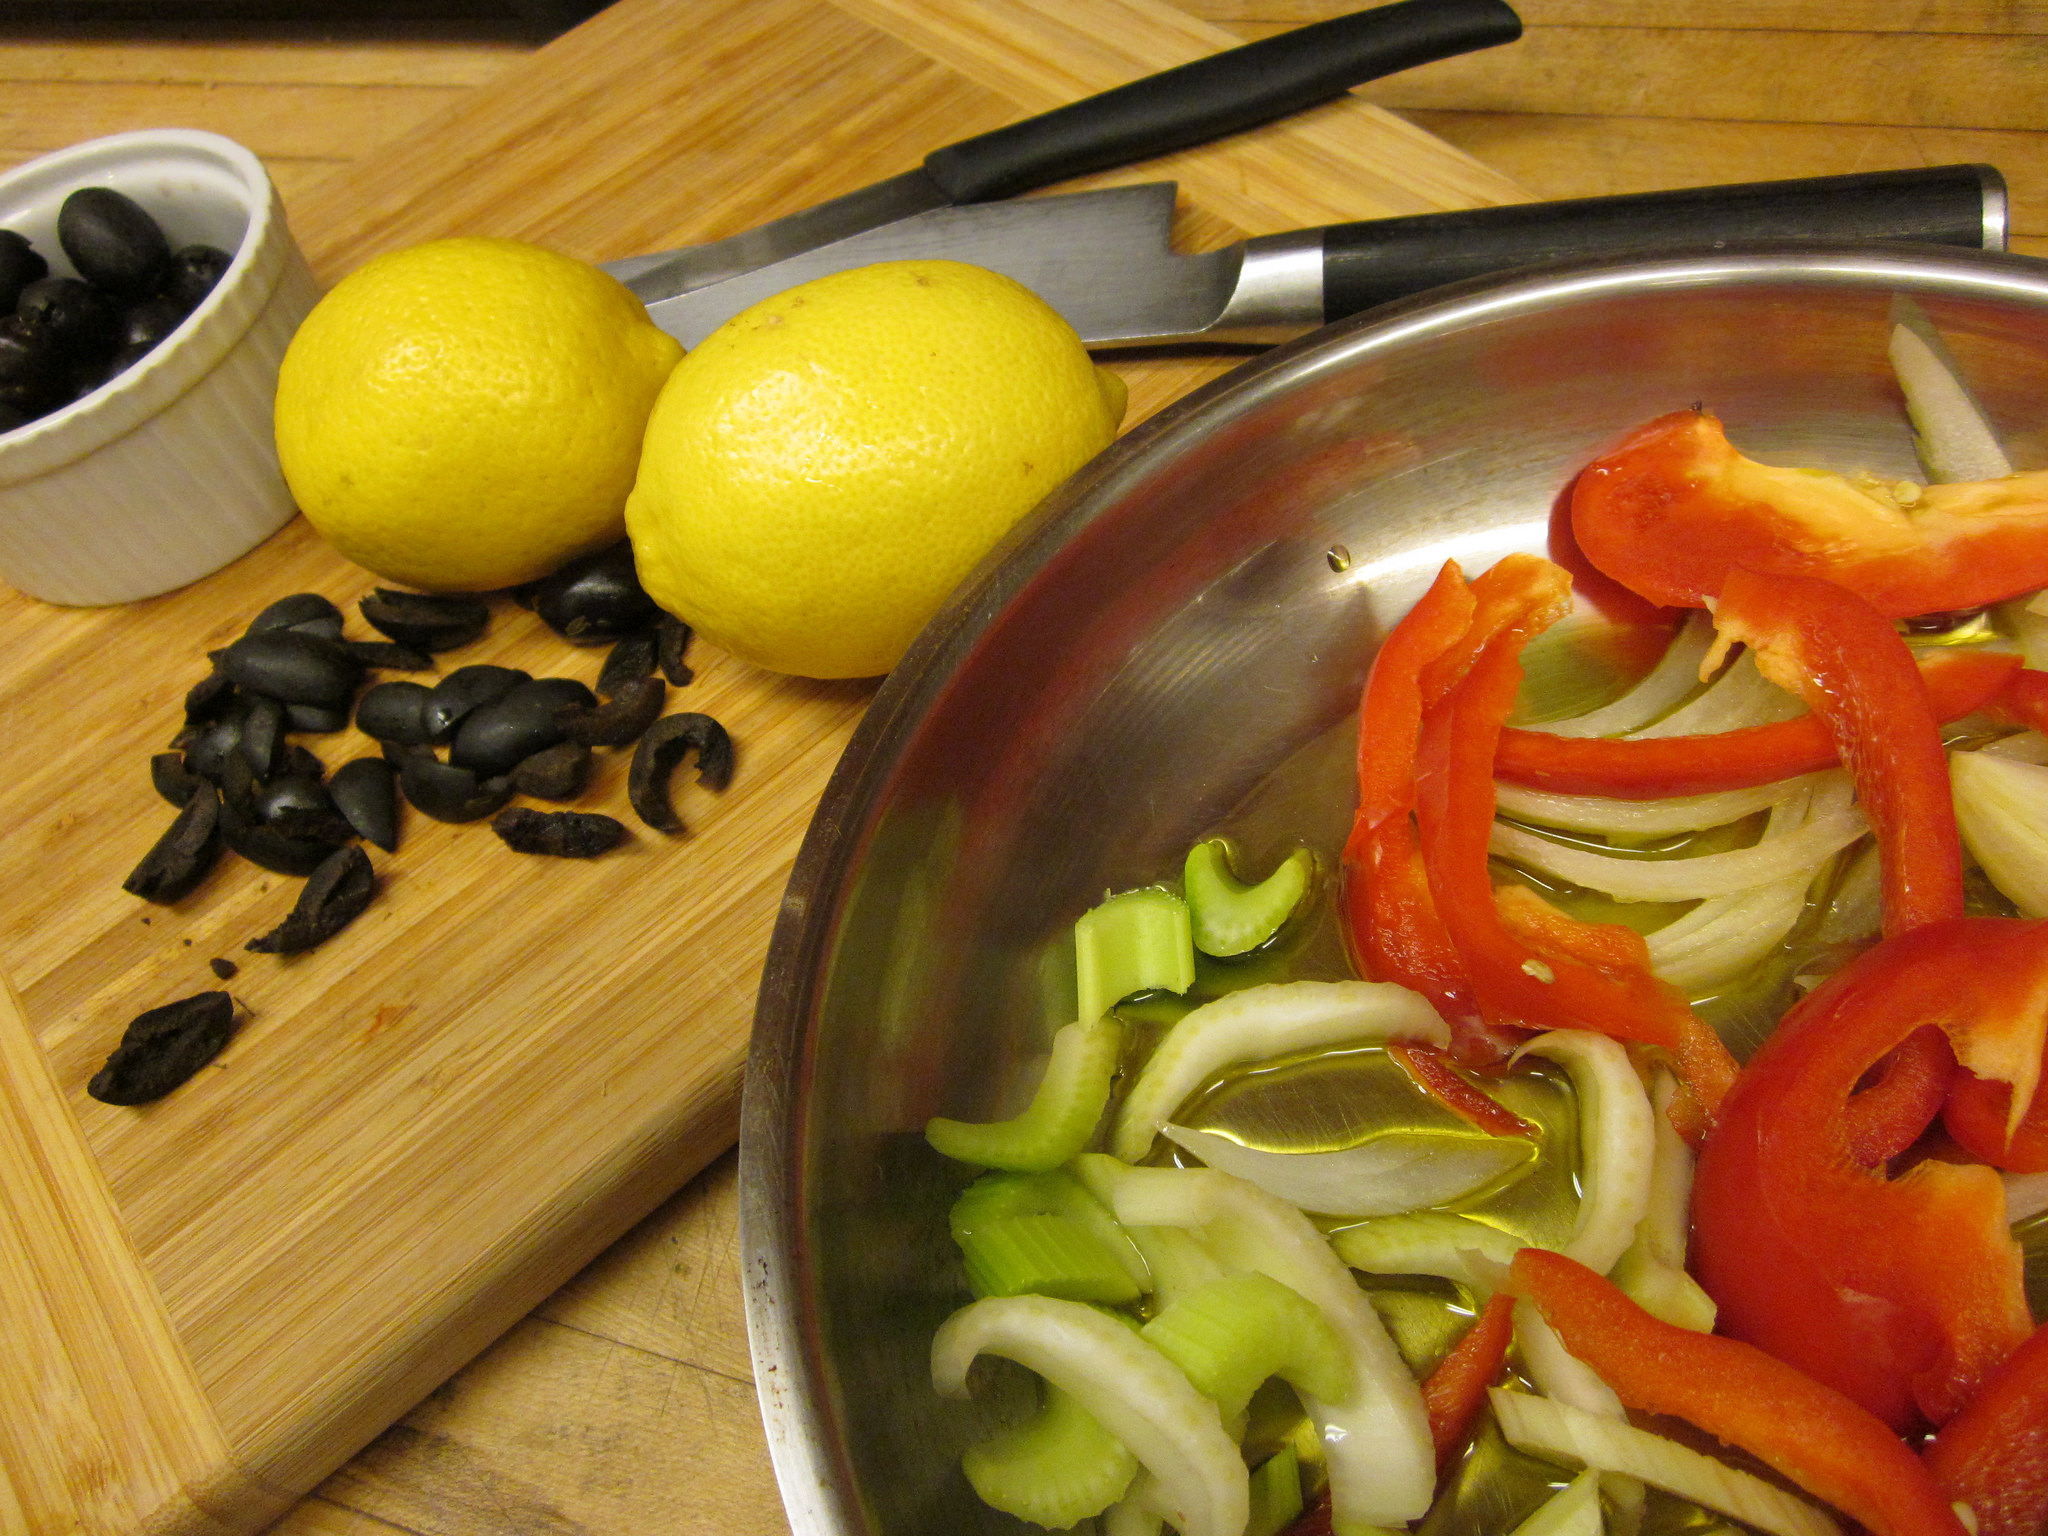
Add wine and garlic and simmer for 30 seconds. Stir in olives, oregano and lemon zest.
Season with 1/8 teaspoon salt, 1/8 teaspoon pepper and capers. Season fish with the remaining salt and pepper.
Arrange the fish in a single layer in a pie pan or baking dish. Spoon the vegetable mixture over the fish and give a light sprinkle of red pepper flakes. Bake uncovered, until the fish is just cooked through, 10 to 20 minutes.
Divide the fish into 2 portions and top with vegetables and their juices.
This weekend, we will be harvesting the last of our peppers from our garden. We have been so blessed to have such an abundance of beautiful vegetables this year, so much so, that we are still reaping the benefits of the eggplant, leeks, butternut squash, and pumpkins. My brain goes into overdrive, as recipe after recipe comes to mind.. what magical combination can we concoct next?
We had a special request for stuffed peppers from one of our Sisters. She adores them, and has happy childhood memories from her Pennsylvania roots. I was delighted to fulfill her request. While in Italy, I came across this wonderfully spicy stuffed pepper recipe. I modified it with the ingredients I had on hand. I’ve never been a big fan of green peppers, but I love the sweet, colored varieties, as recommended here. The flavors of Italy abound: balsamic, red pepper flakes, fennel and spicy sausage. This is sure to be a family favorite.
Bring rice and water to a boil in a saucepan over high heat. Reduce heat to medium-low, cover and simmer until the rice is tender, and the liquid has absorbed, 20-25 min. Remove from heat and set aside
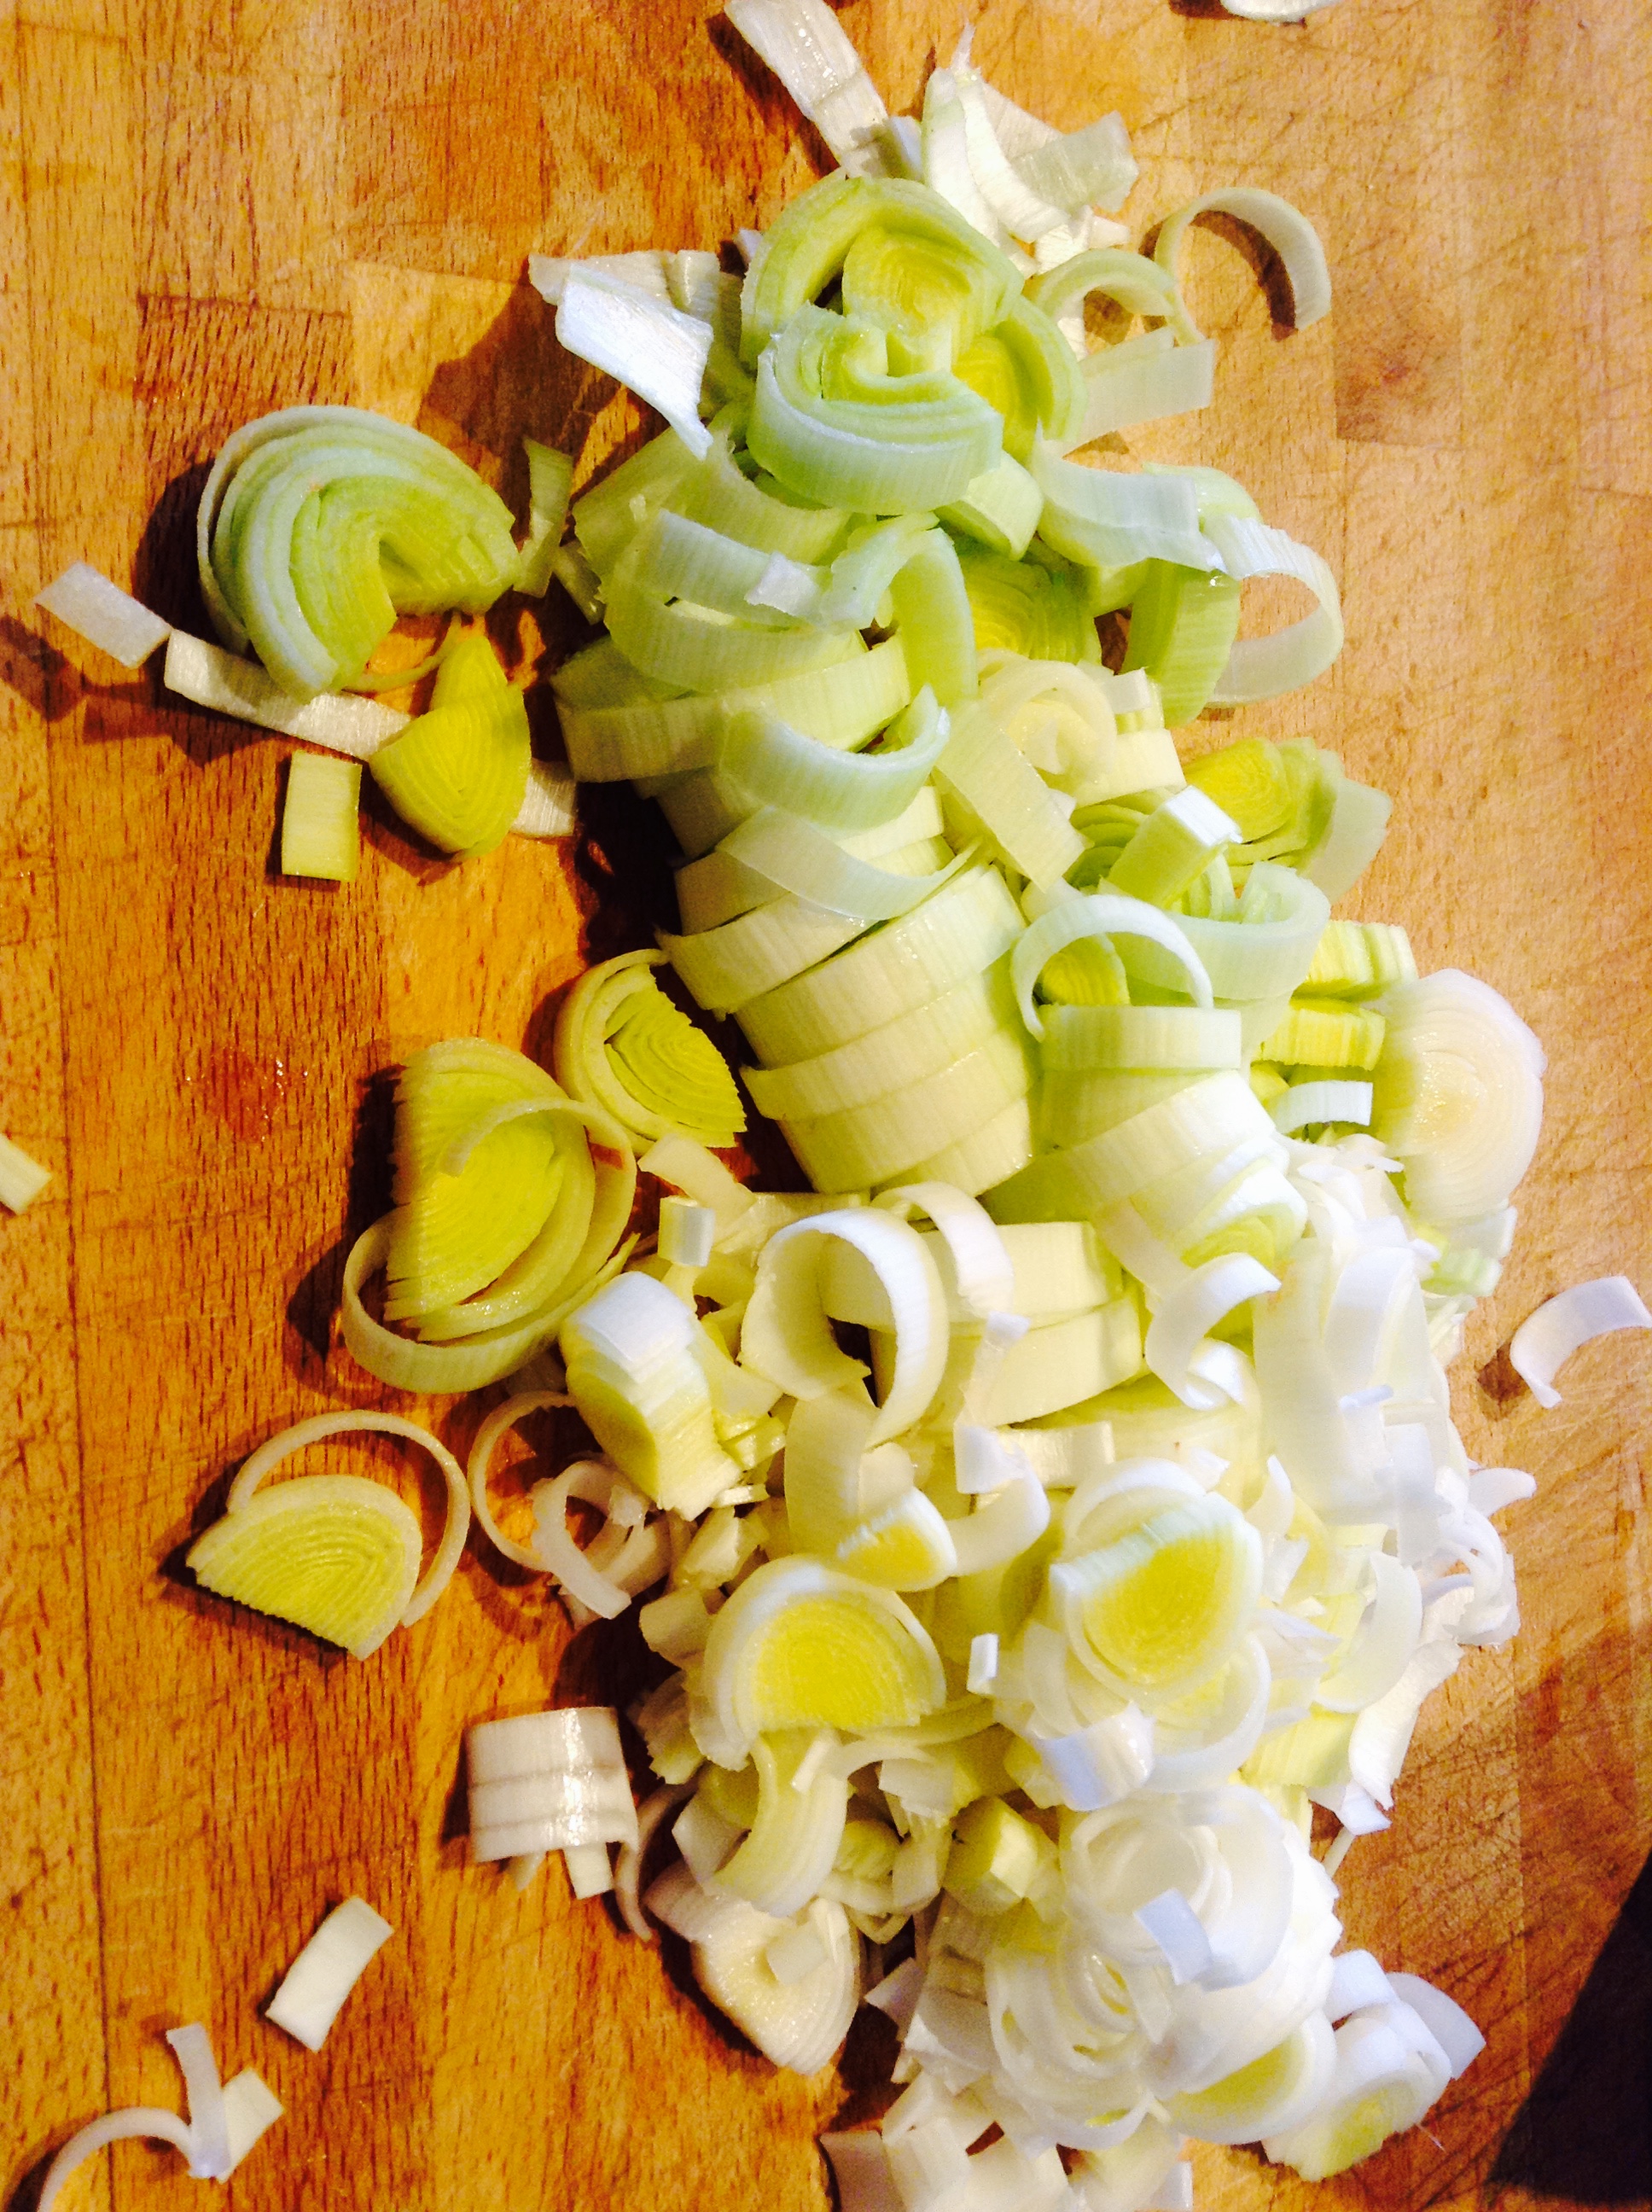
Cook the chopped leek in olive oil over medium low heat until the leek begins to soften (watch that it doesn’t burn), about 5 min. Transfer half of this mixture to a large bowl and set aside.
Stir tomato sauce, beef broth, balsamic vinegar, and red pepper flakes into the skillet with half the leek mixture; cook and stir for 1 minute.
Pour tomato sauce mixture into a 9x13-inch baking dish and set aside.
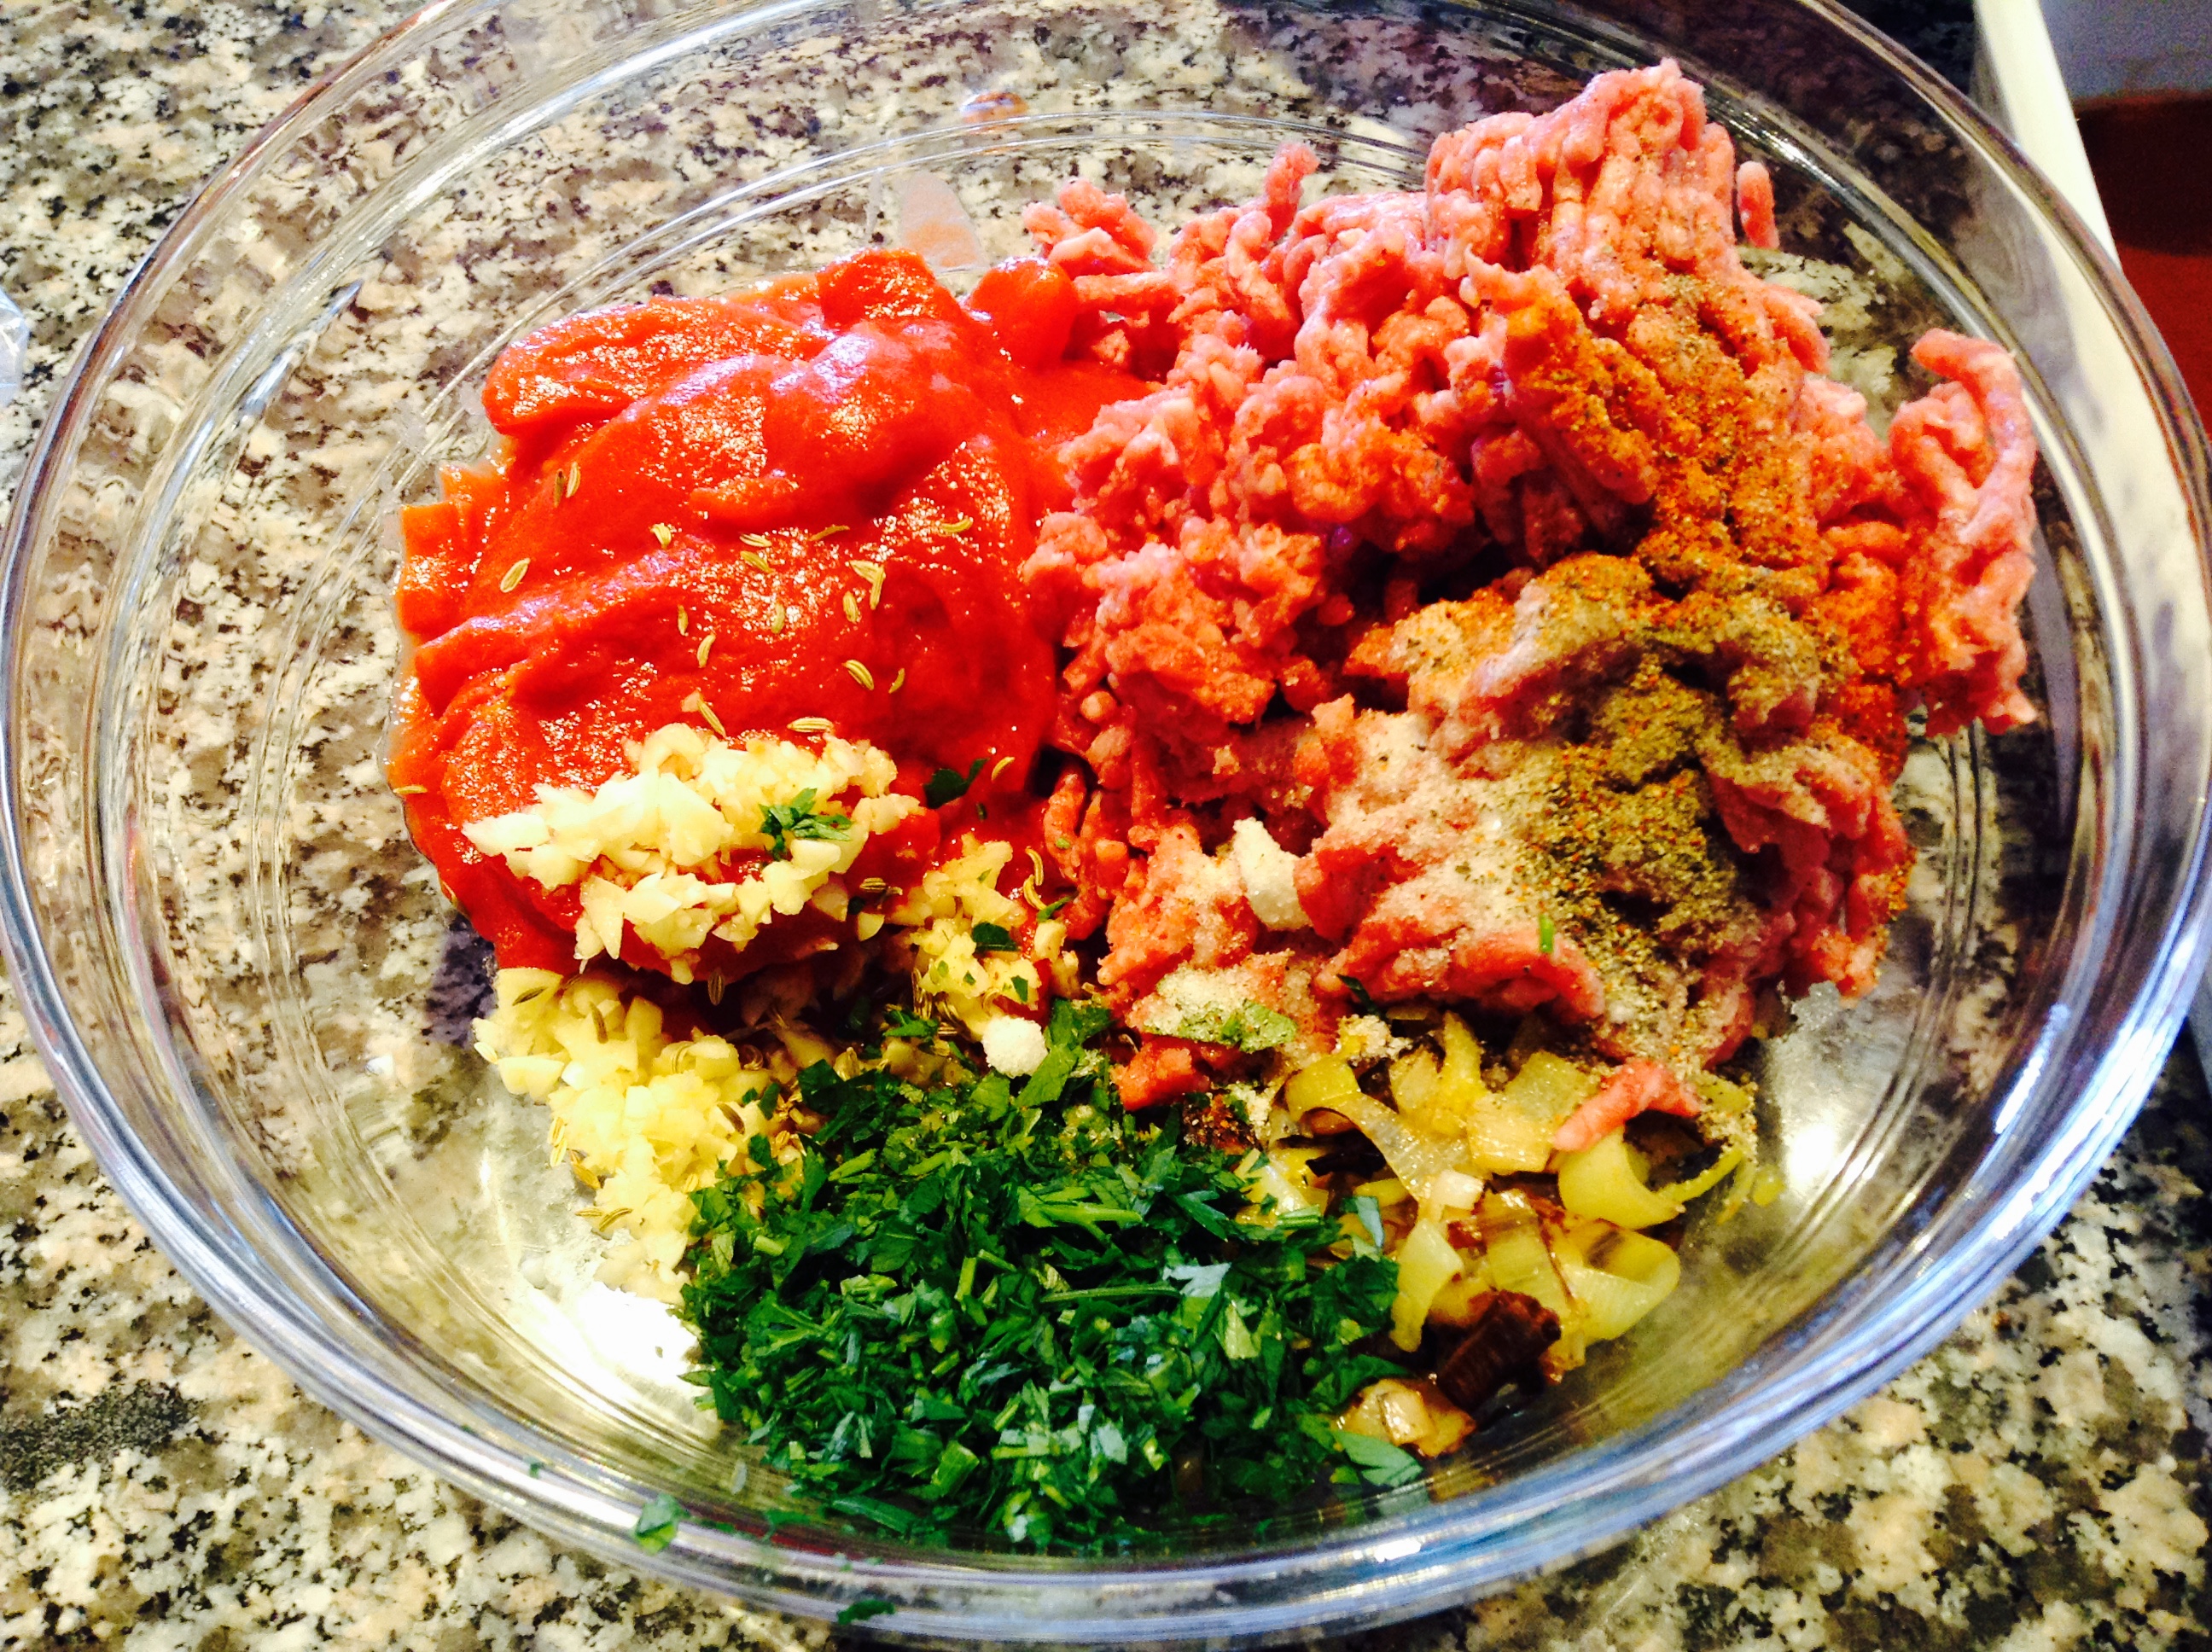
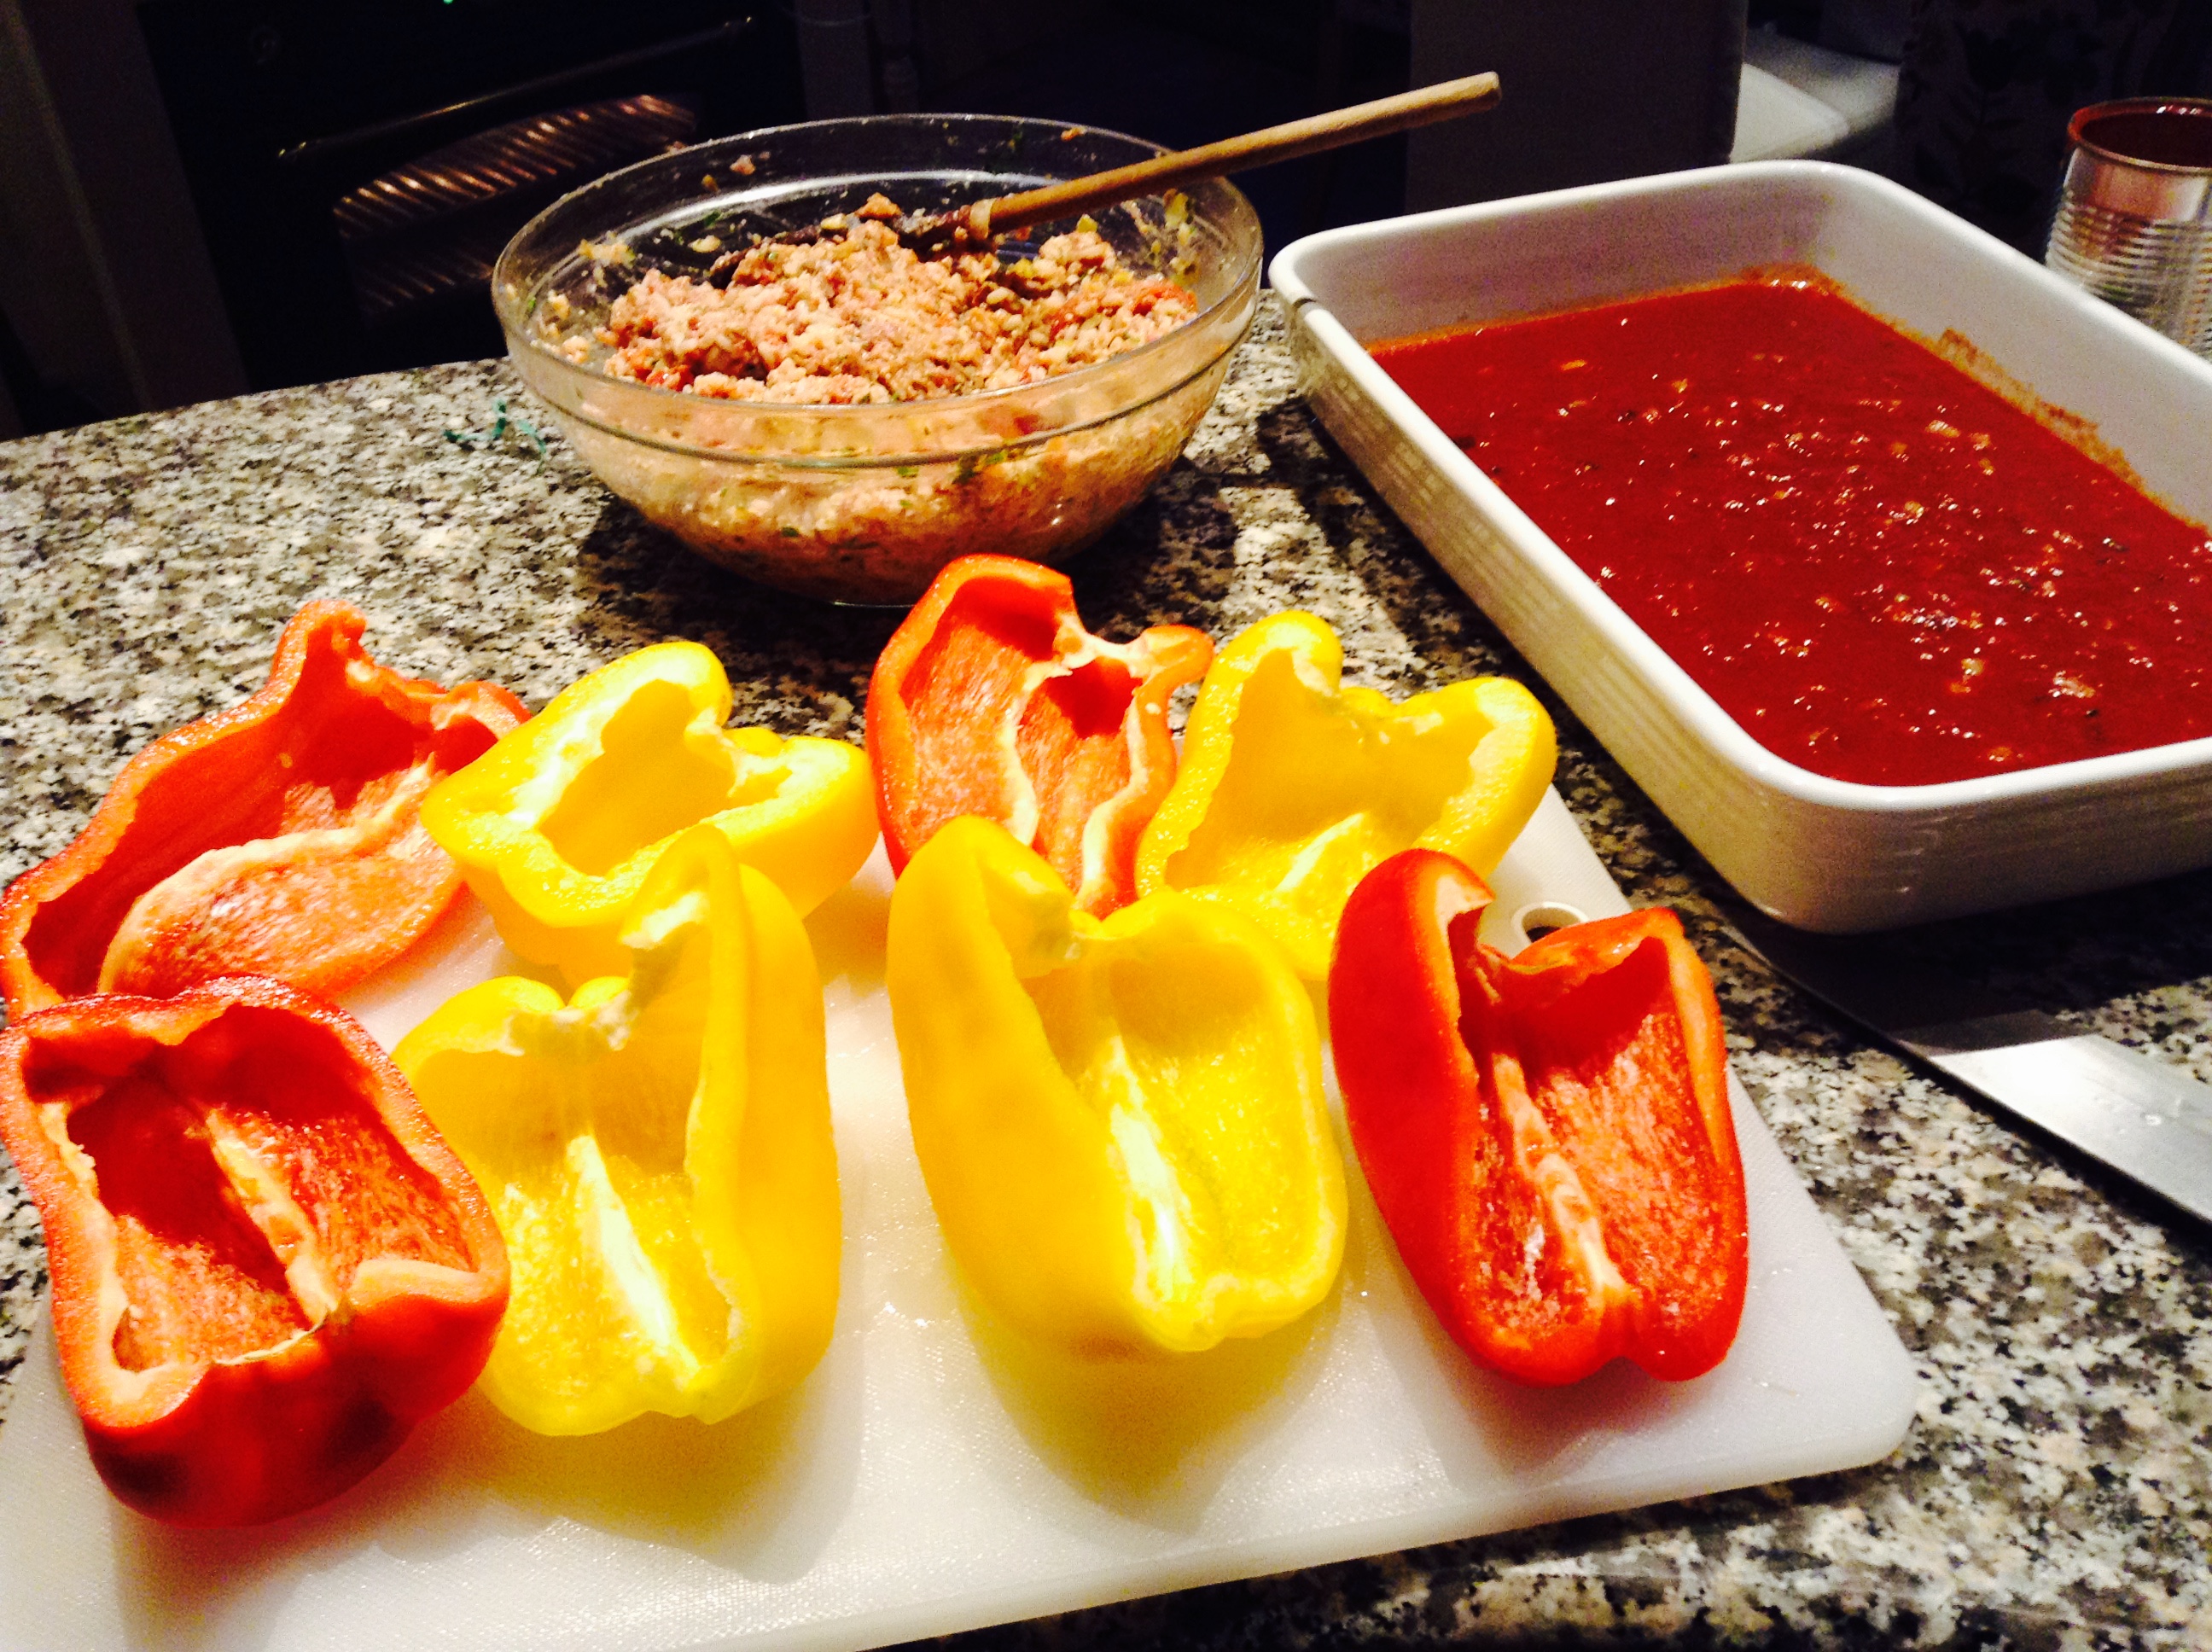
Combine the ground beef, Italian sausage, fennel seeds, diced tomatoes, parsley, garlic, salt, black pepper, and cayenne pepper into bowl with reserved leek; mix well. Stir in cooked rice and 1 cup of Parmigiano Reggiano. Stuff bell peppers with beef and sausage mixture, heaping slightly.
Place stuffed bell pepper halves in the baking dish over tomato sauce; cover baking dish with aluminum foil, and bake in the preheated oven for 45 minutes.
Remove aluminum foil, sprinkle with remaining Parmigiano-Reggiano, and bake until the meat is no longer pink, the peppers are tender and the cheese is browned on top, an additional 20 to 25 minutes. Andiamo Mangiare!
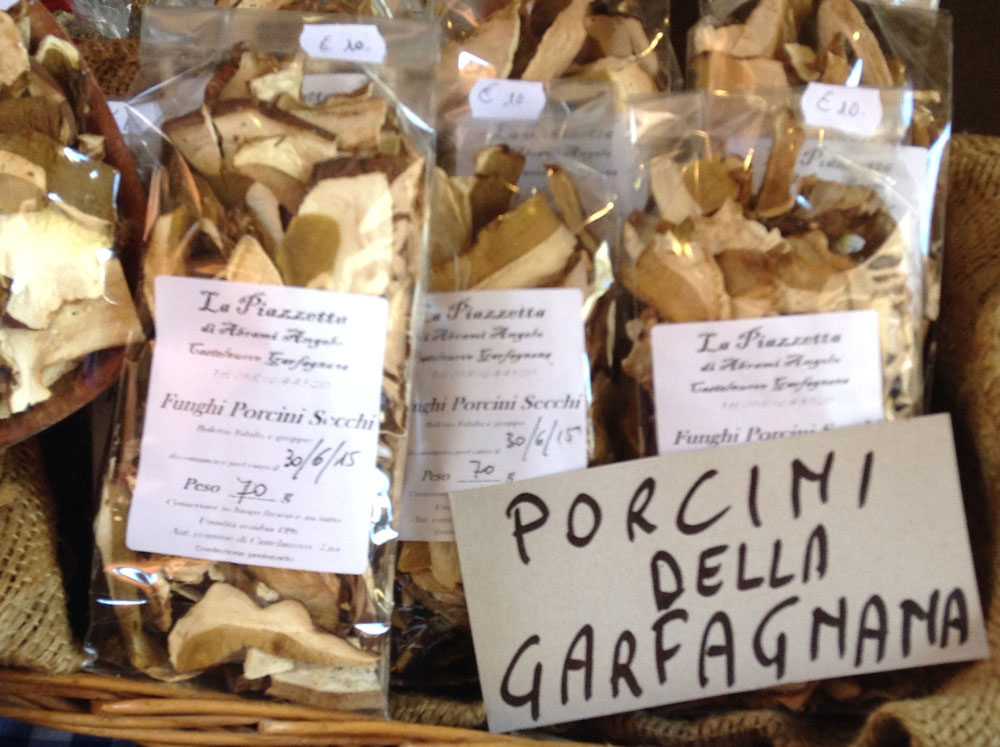
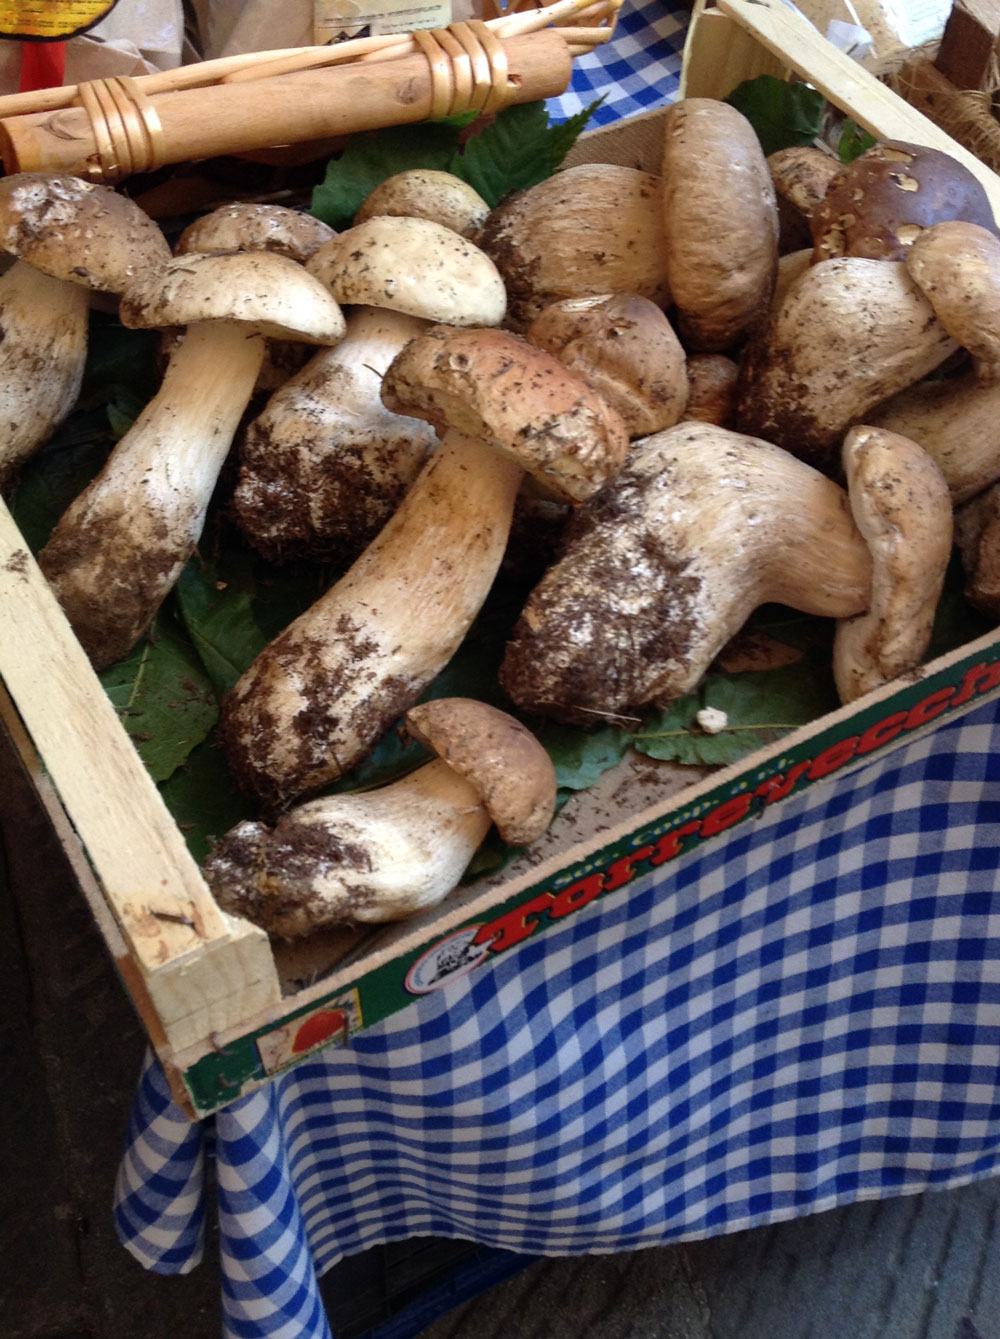
It is August in Tuscany, and that means the locals are out gathering Porcini! Our friends from the mountains heard that we might like to do this, and invited us to join them for an early morning “hunt.” I learned that porcini, which means “piggy,” is a reference to the stubby appearance of the mushrooms. The marvel of these fungi is the symbiotic relationships they have established with the trees and especially here with the Castagna (or Chestnut) Tree. The tree and the mushrooms actually exchange nutrients that enable each to flourish. Porcini thrive when hot dry weather is followed by a cooler rain, and this has been the case here in Italy this summer.
A few of us from the Villa set out at dawn to make the long, windy drive up to Renaio. Ten families live in this village that is set in the picturesque mountains above Barga. “Usually you can hunt for hours and maybe get one or two,” our friends warned us, but we didn’t let that deter us! After a few silent prayers to the patron saint of porcini hunting, we started roaming the mountains with great zeal and a sprightly Jack Russell Terrier at our heels. In between a brief run-in with a patch of stinging nettles and a tumble down the mountainside, we discovered we had found a basketful between us!
You never want to eat porcini before getting them checked by a master, so we rushed off to a lovely lady who has lived in the mountains all her life, and can separate the “buono” from the “non buono.” In true Italian style, Deana invited us to stay for “pranzo” (accompanied, of course, by a robust bottle of vino da casa). She smiled as I asked her questions in my faltering Italian and watched her prepare the porcini for lunch. I felt truly humbled. Friends are made easily here, conversation is boisterous and engaging, and food is not only for the body, but to nourish the soul.
Print Recipe
Votes: 0
Rating: 0
You:
Rate this recipe!
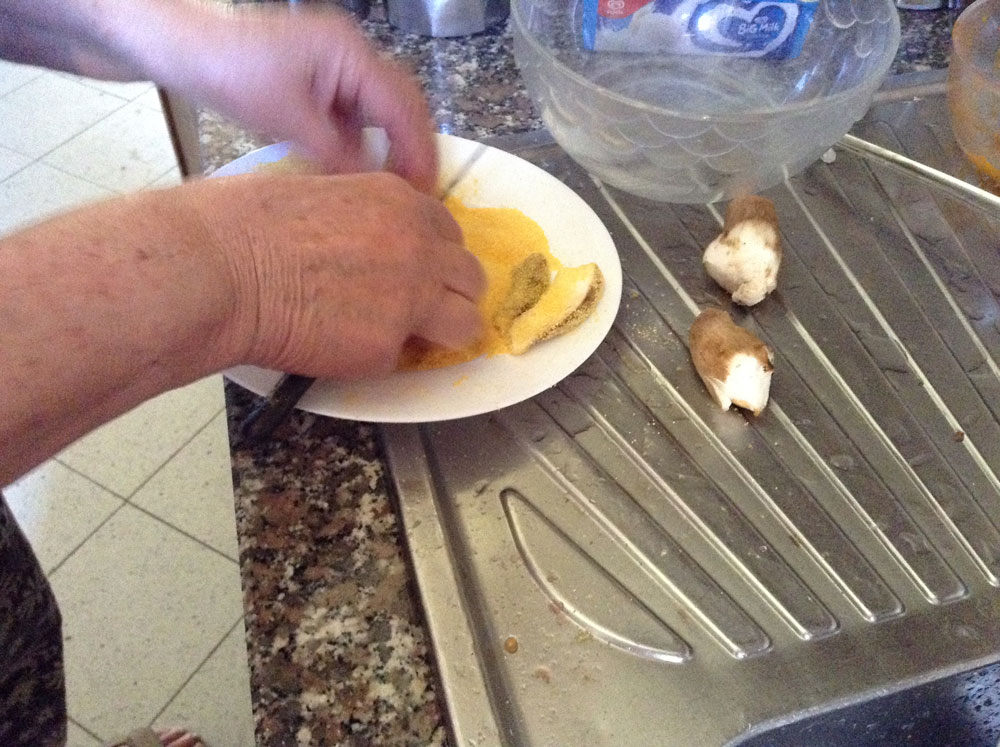
Deana’s Farina di mais Crusted Porcini
SERVINGS
CHANGE SERVING SIZE
COOK TIME
PREP TIME
READY IN
Ingredients
1Porcini(or Portabello) – stem removed, and both stem and cap sliced thinly
½ to 1cupcornmealFinely Ground (or Farina di mais, a grana fine)
Pour the olive oil into a shallow fry pan, about ½” in depth and slowly heat.
Once the oil “crackles” when a splash of water hits it, it is ready – at this point, lower the heat to medium and add the full clove of garlic to season the oil.
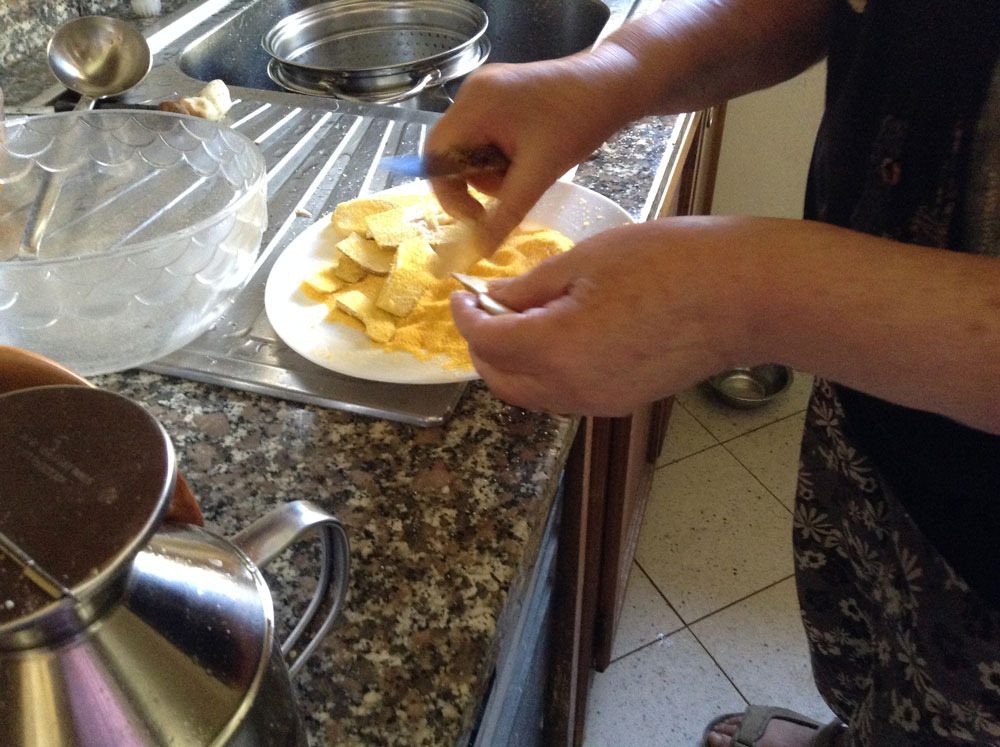
Pour about a ½ cup of corn meal onto a plate.
Gently wash the mushroom and dry with paper towel.
Remove the stem from the mushroom and thinly slice, then thinly slice the cap as well (about ¼” thick slices).
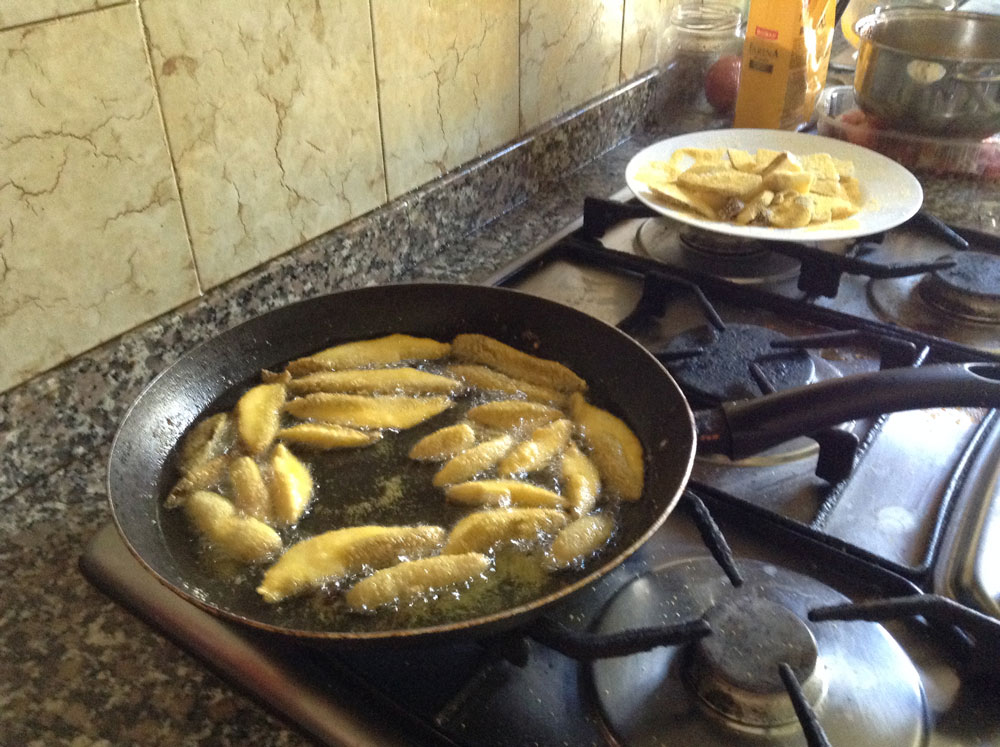
Lay each piece in the cornmeal, coating both sides, and then into the hot oil.
Fry until golden and then flip over and fry on the other side.
Remove the mushroom from the oil with tongs, suspending it above the fry pan for a couple seconds to rid the mushroom of extra oil.
Put on a plate and sprinkle with salt and pepper. Andiamo Mangiare!
Notes:
These make a wonderful side to a meal, or can be used as an appetizer.
Some meals can be almost as enjoyable to prepare as to eat. Short ribs are an example of this, especially in cold blustery weather as we have been having this winter. Cooking them is a most pleasurable culinary experience, engaging all the senses from start to finish.
Thick well cut ribs are a joy to handle while rubbing in the seasonings. Then there is the visual thrill of watching them beautifully brown before your eyes in the sizzling hot skillet. This begins to produce a mouthwatering aroma to savor, while slowly nursing them along to desired tenderness.
As a final treat to the senses, I hear the sound of delighted exclamations from those coming to dinner whose appetites are peaked from shoveling snow out in the cold. Could anything be more heartwarming and rewarding than that? Well yes….sitting down and eating one of my most favorite meals with them!
Last week the Food Network pronounced chicken to be currently the most popular choice of meat, and kale the most popular vegetable. I was not surprised about the chicken. I was a little surprised about the kale, but also delighted because we still have a vibrant crop of it in our garden….healthy and wholesome as ever having survived wind, sleet, rain and snow….just like the old fashioned US Postman of the past.
I think most cooks would agree that it’s wise to always have a supply of chicken on hand, especially boneless breasts. They have saved many a chef from disaster in a time of crisis or emergency.
My recipe is one I concocted on the spur of the moment when I was suddenly called on to produce an unscheduled and completely unexpected meal in a very short period of time, using only what was on hand, and available from the freezer, fridge, and pantry. To my surprise and delight it was a success that received many compliments, while no one eating it ever knew the circumstances under which it came to be.
Citrus Chicken Cutlets on a chiffonade of garlic-sautéed Kale
Last week lamb was on sale (something that does not occur too often), so I happily took advantage of it and bought a nice leg. In general, most people either really like this meat or do not like it at all. Few seem to be neutral about it, mainly, I think, because of its distinctive flavor, which is precisely what makes it appeal to lamb lovers.
I myself prefer it simply roasted or broiled, but for the sake of those whom I knew would like it a little more dressed up I decided to make colorful kabobs with a few favorite vegetables and serve it with Greek rice, the way my father always prepared it.
The first step is to marinate the lamb preferably overnight, if possible, then cube the vegetables and add to the marinade for whatever length of time is convenient.
Arrange both meat and vegetables on skewers that have been soaked in water for at least 1 hour.
Broil for 12 to 15 minutes or until browned and to desired doneness, turning frequently.
Prepare rice well in advance.
Saute rice in oil and butter. Add salt, parsley, mint, garlic and water.
Cover and simmer on low heat untill all liquid is absorbed and rice is thoroughly cooked, adding additional water if needed. The earlier the rice is cooked, the more flavorful it will be when served.