Leaving the noon church service today I got into a conversation that resulted in my late arrival for lunch. As I entered the refectory I heard happy exclamations regarding the meal…”What a great lunch! I loved this…so fresh and beautiful so colorful and tasty.”
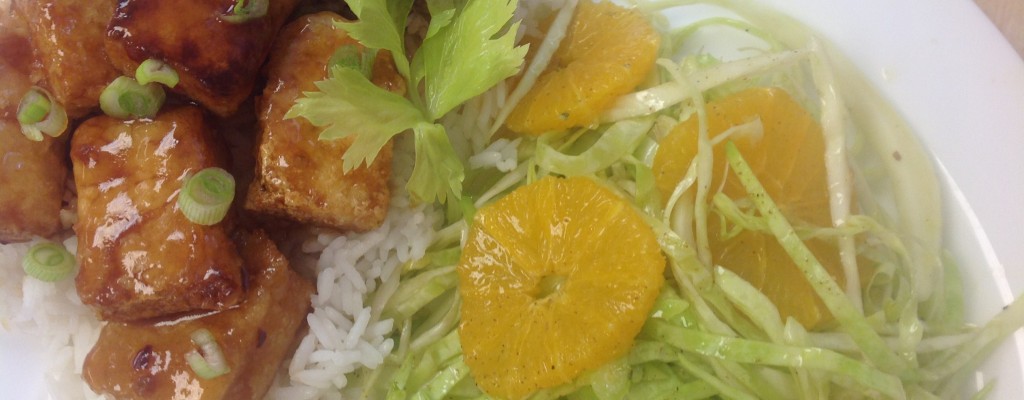
What was it they were raving about? It was a brand new crisp, crunchy tofu recipe and it was all they described it to be! Truly sensational and remarkably satisfying.
Print Recipe
Votes: 0
Rating: 0
You:
Rate this recipe!
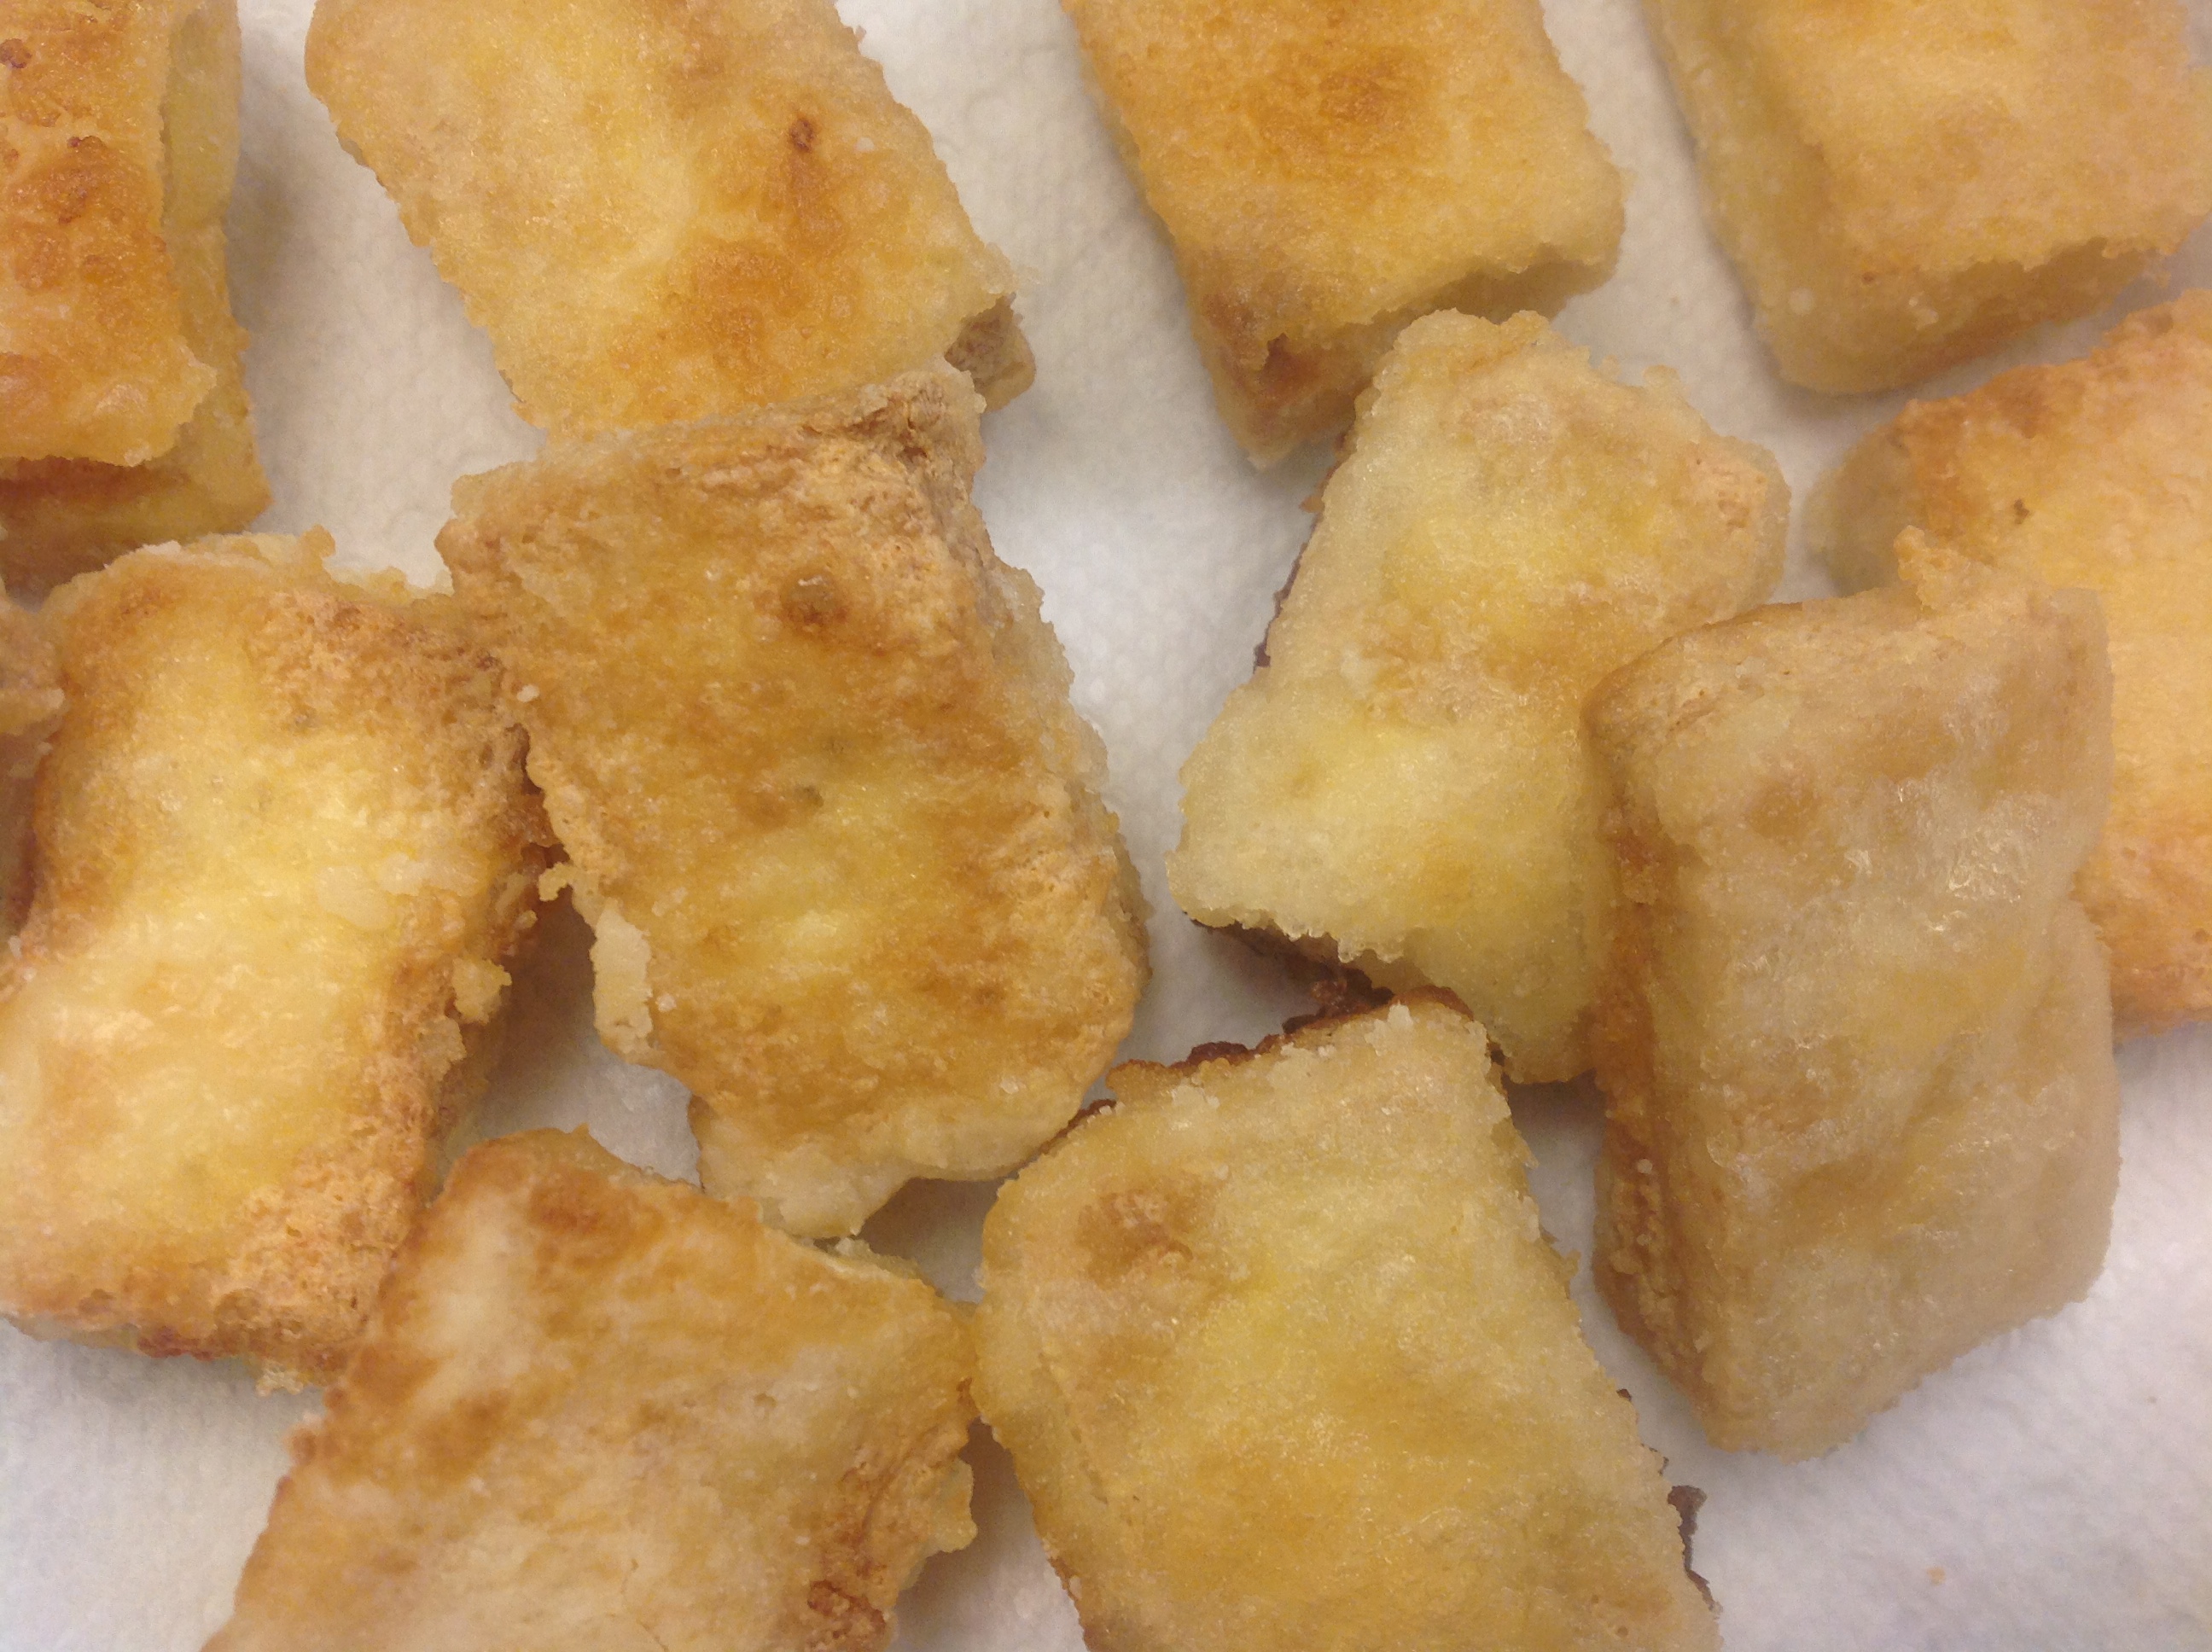
Citrus Cabbage Salad with Crispy Tofu
SERVINGS4
|
COOK TIME15-20mins |
PREP TIME45mins |
READY IN1hr (approx) |
Ingredients
Instructions
Tofu
- Drain tofu of excess water. Let sit 20 minutes to drain.
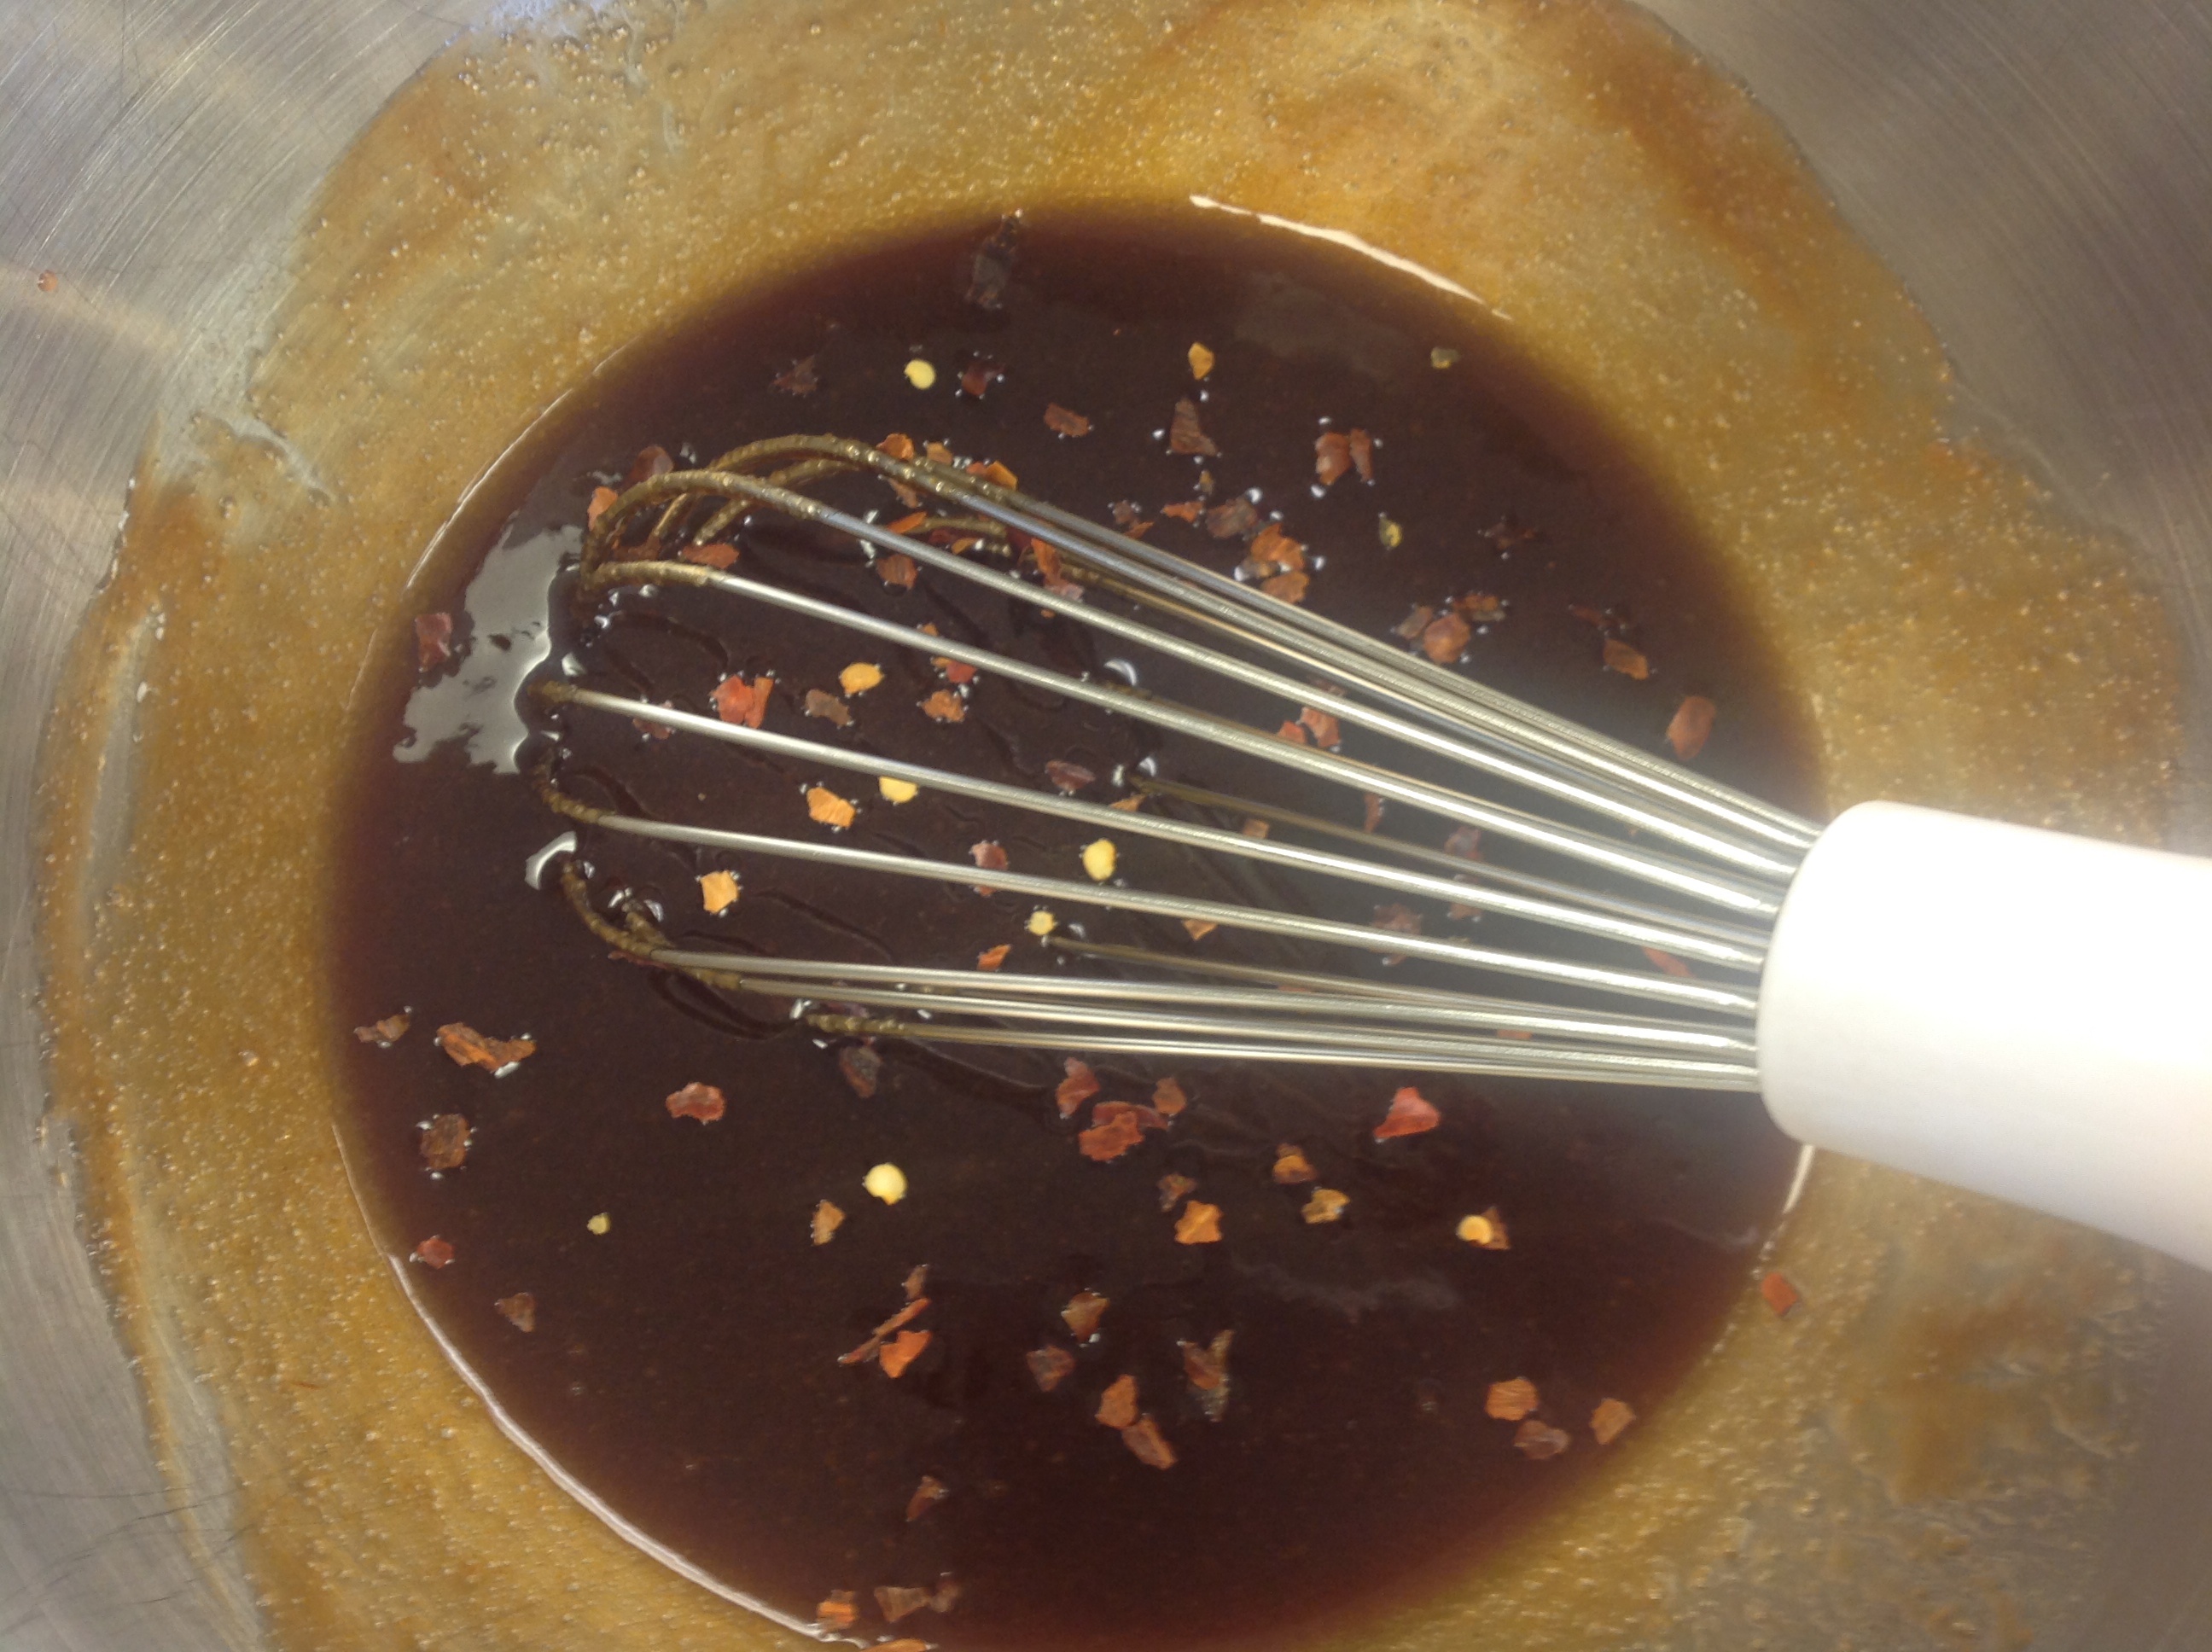
- While waiting for tofu, mix together the first 7 ingredients and set aside.
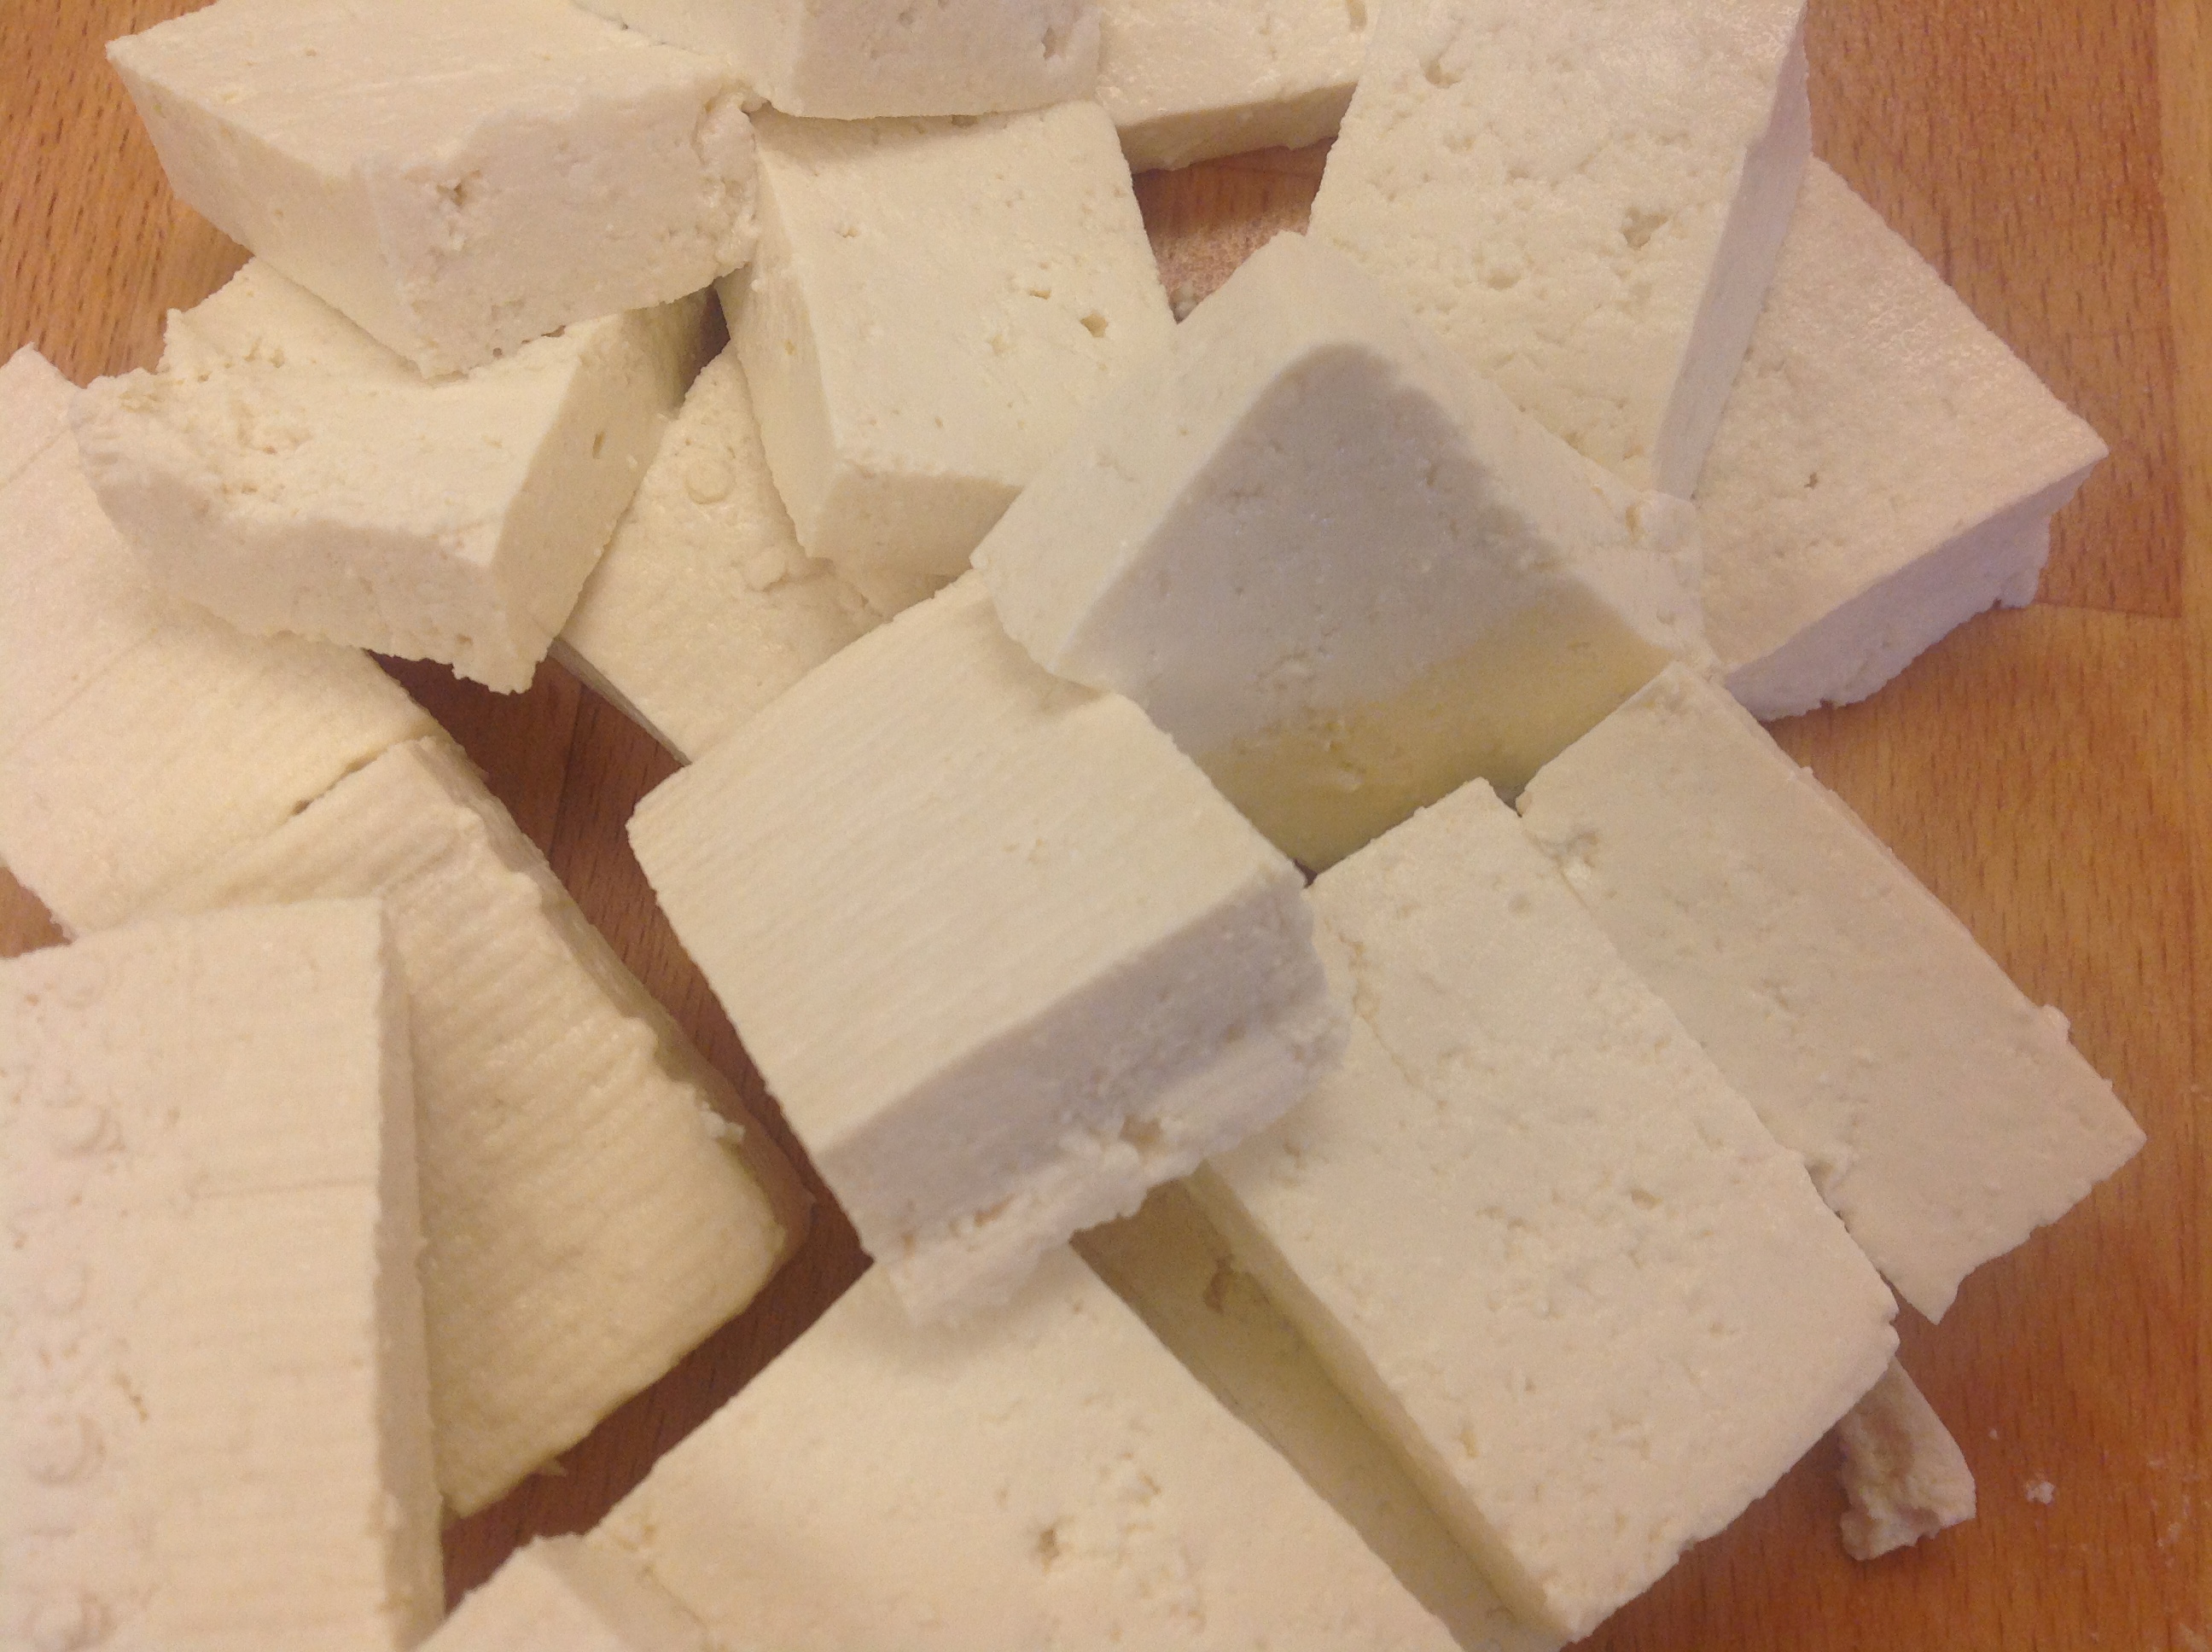
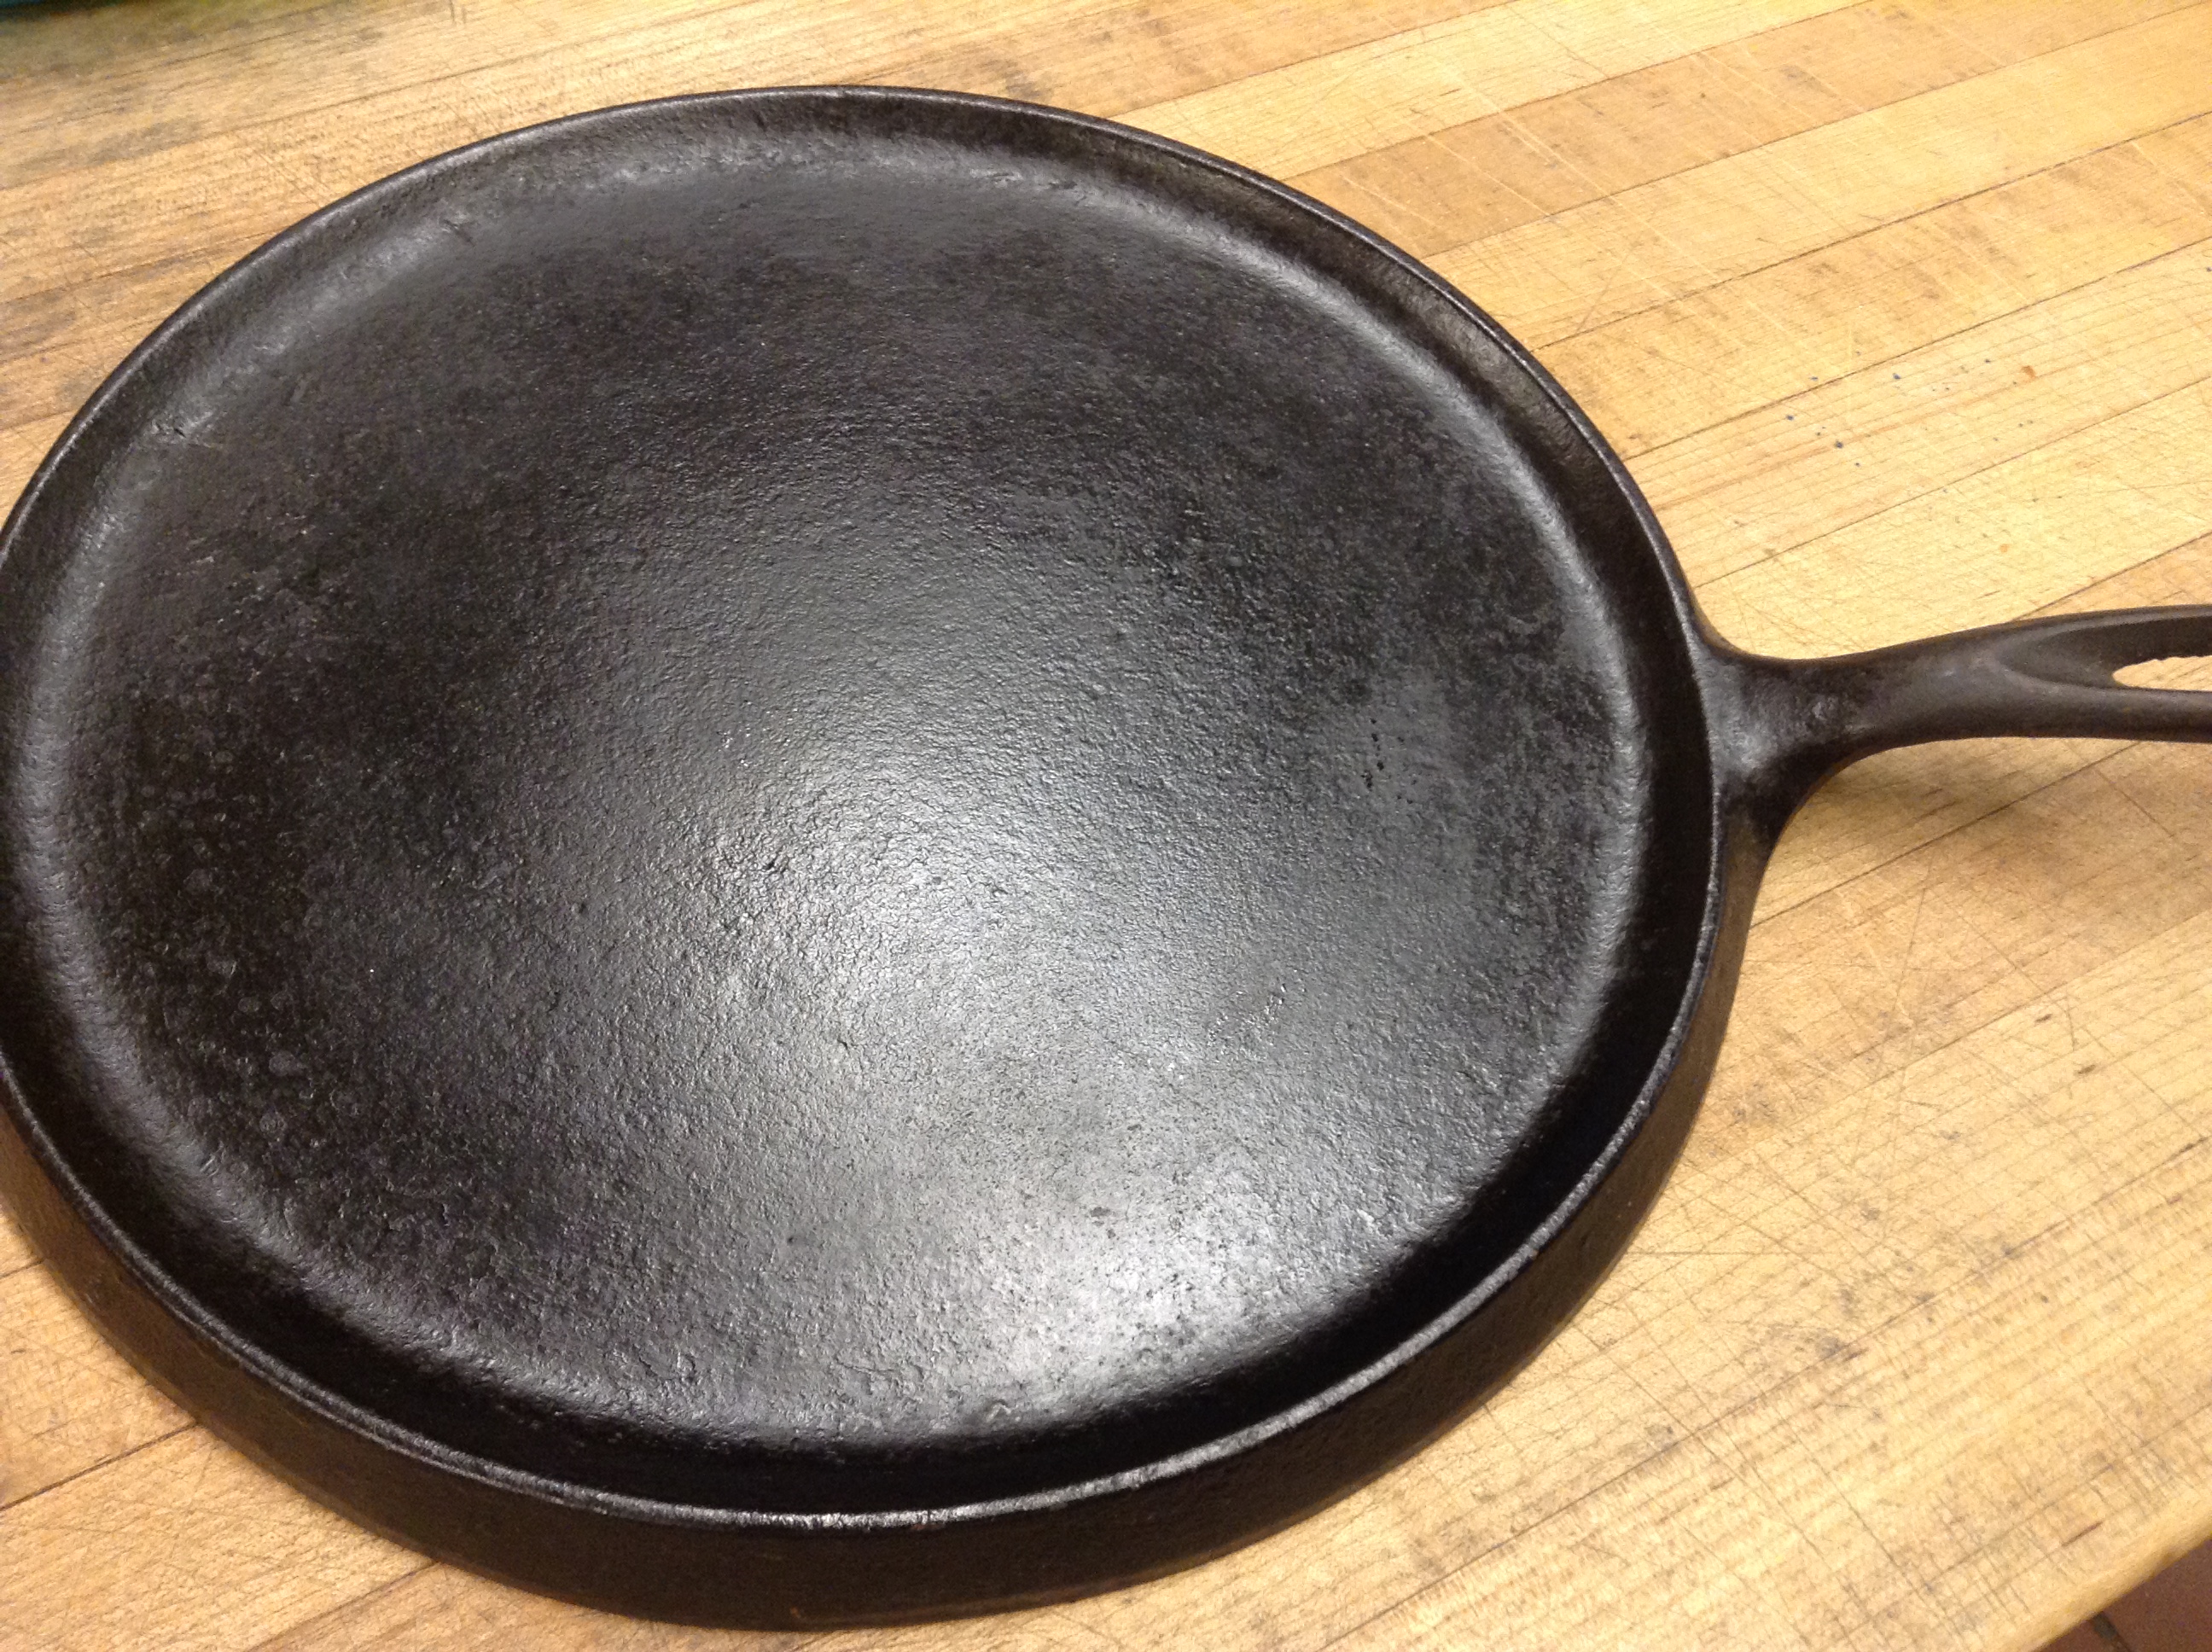
- Heat a skillet on medium with about a 1/2 inch of vegetable oil inside. While heating, slice tofu into 1/2" slices, then cut each slice into thirds. Coat each cube lightly with cornstarch using a sifter and then place into pan until browned and crispy. You may have to turn up the heat under the pan a bit. Remove from frying pan sprinkle with salt and pepper to taste and set aside on paper towels.
- Wipe pan clean with paper towel and add sesame oil, onions, and
chopped ginger. Cook about 1 minute, until fragrant. Add sauce mixture to pan, bring to a boil, and simmer about 2 minutes. Add tofu back to mixture, toss to coat. Top with green onions if desired.
Cabbage Salad
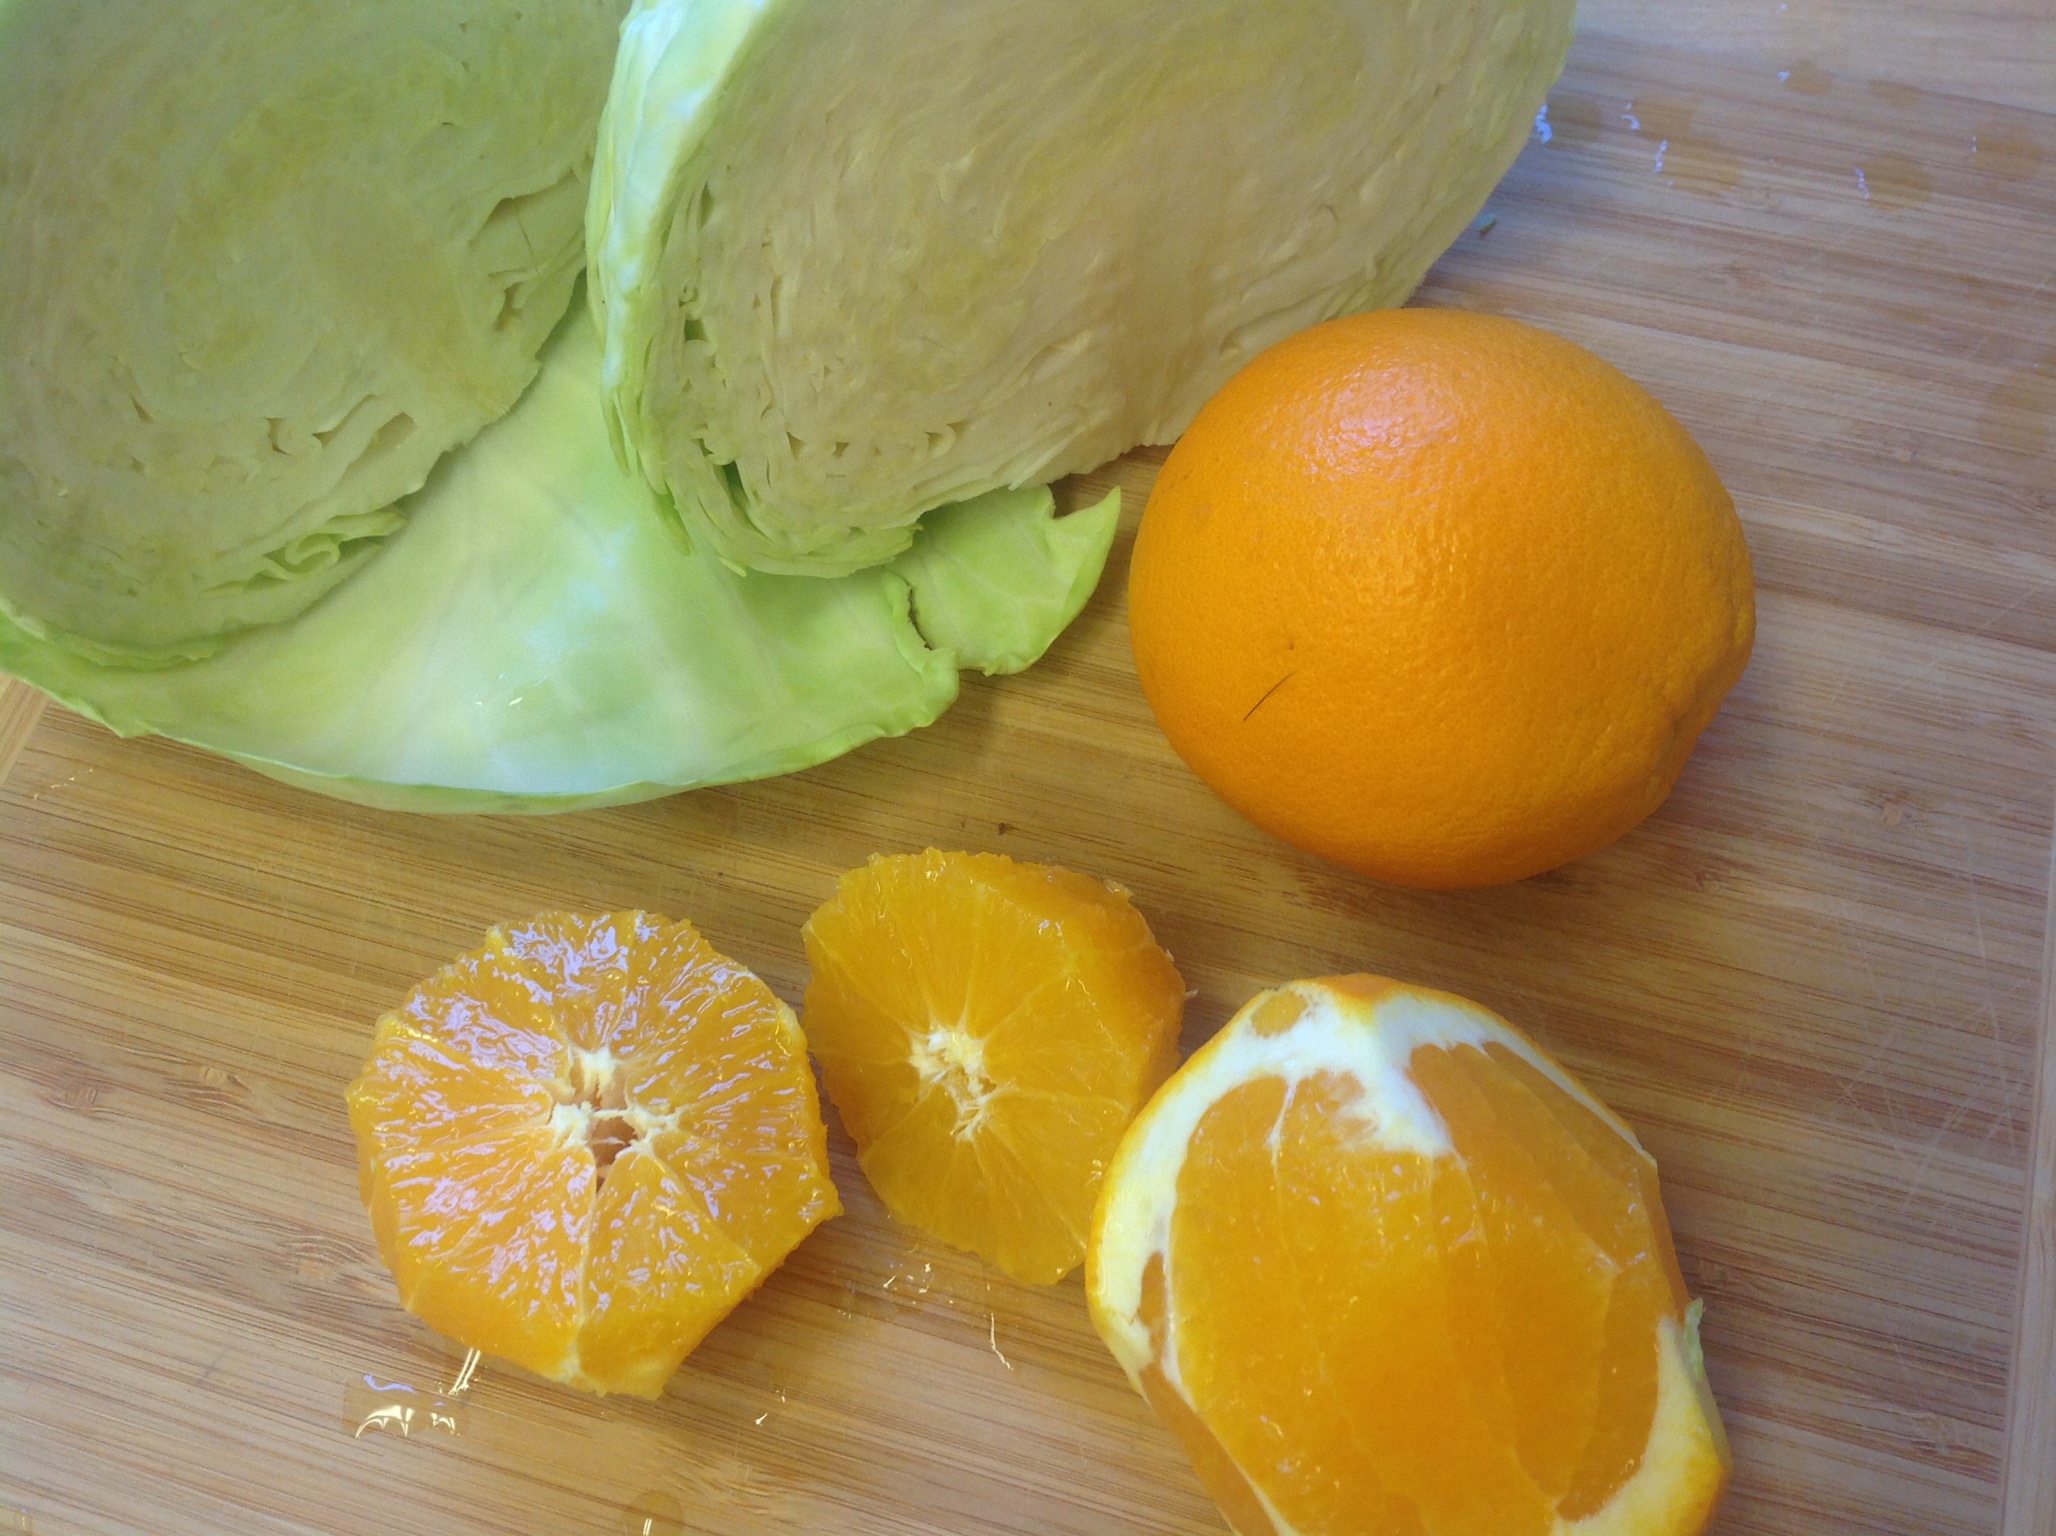
- Put the cabbage in a large bowl, with the celery, cut the skin and pulp from the oranges ...slice them into wheels (cut out any seeds) and add to the cabbage. Whisk the oil, lemon juice, balsamic and oregano and salt and pepper and pour over the cabbage.
- Mix well. Let it settle then mix through a few more times so that it is completely coated. Toss prepared tofu over salad before serving.
Lemon meringue pie has always been my most favorite lemon dessert, but recently I was introduced to another lemon dessert that really rivals it: Lemon Cream Custard Pie. Similar in its fresh tangy flavor, but different in texture and topped with whipped cream instead of meringue. I have only had it once but definitely want it again.
Lemon Cream Custard Pie
Print Recipe
Votes: 2
Rating: 1.5
You:
Rate this recipe!
Lemon Cream Custard Pie
SERVINGS1pie
|
COOK TIME15 mins. |
PREP TIME |
READY IN12hrs. |
Ingredients
Instructions
- In saucepan, mix sugar, pinch of salt, cornstarch, butter, lemon peel, lemon juice, egg yolks and milk; stir and cook until thick, about 5-10 minutes.
- Cool.
- Fold in sour cream.
- Pour into pastry shell.
- Refrigerate at least 12 hours.
- Serve with sweetened whipped cream.
- Garnish as desired.
It is a sunny, slightly warm day here on the Cape, but cold weather is on its way again soon. I’m not quite ready for spring, though, I am still waiting for the BIG snow of the season. We did have a couple of snow falls of a couple of inches, but I would really love a good 10 to 12 inches. Snow is also great for the garden, and we are already planning what vegetable seeds to buy, along with starting another plot for a garden, so please pray that we get the big storm!
I recently had a birthday and was given one of my favorite desserts — a coconut cream trifle. I have served this in little glasses, and called it coconut cake in a glass — and it is truly divine. This recipe is a little complicated and time consuming, but I promise it is well worth the effort for any event or family gathering.
Coconut Cake in a Glass, or Coconut Cream Trifle
Print Recipe
Votes: 0
Rating: 0
You:
Rate this recipe!
Coconut Cake In A Glass, Or Coconut Cream Trifle
SERVINGS
|
COOK TIME30mins. |
PREP TIME |
READY IN40mins. |
Ingredients
Instructions
First make the simple syrup:
- Bring water and sugar to a boil.
- Stir in the coconut, remove from the heat and let sit for about 30 minutes.
- Strain the liquid into a clean saucepan, bring to a boil and let cook until the mixture is slightly reduced, about 5 minutes.
- Let cool.
Then the custard:
- Bring milks to a simmer over low heat in a nonreactive saucepan.
- Whisk together the yolks, sugar, and cornstarch in a large bowl.
- Whisk in a small amount of the milk mixture to the egg mixture to temper the eggs, then slowly whisk in the rest until smooth.
- Return mixture to the pot over medium heat, and bring to a boil, whisking constantly, until thickened.
- Scrape mixture into a bowl, and whisk in the rum and vanilla extract. Let cool to room temperature, then cover with plastic wrap and refrigerate until cold.
Now the cake:
- Preheat the oven to 350 degrees F.
- Generously butter and flour 2 (9″by 2″) cake pans and line bottoms with parchment paper.
- Whisk together the milk, egg whites, vanilla in a medium bowl.
- In the bowl of a mixer fitted with a paddle attachment, mix together the flour, sugar, baking powder and salt.
- With mixer running at low speed, add the butter, one piece at a time, and continue beating until mixture resembles moist crumbs.
- Add all but 1/2 cup of milk mixture to crumbs and beat at medium speed until the mixture is pale and fluffy, about 1 1/2 minutes.
- With mixer on low speed, add remaining milk mixture, increase speed to medium and beat 30 seconds more.
- Scrape sides of bowl and mix for another 20 seconds.
- Divide batter between the 2 pans and smooth tops with a spatula.
- Bake until a toothpick inserted into the center comes out with a few crumbs attached, about 22 to 24 minutes.
- Cool for 10 minutes on a rack, then invert onto the rack, removing the parchment. Let cool completely.
- Toast the 1 cup of coconut until golden for topping.
- Whip the 1 1/2 cups of cream, and fold 2/3 of it into the cooled custard for the filling between layers of cake, reserving the last 1/3 for the final layer of the dessert.
To assemble:
- Slice each cake into 2 layers, brush with the simple syrup, and then chunk up into bite size pieces.
- You can make these either individually in glasses, or for a crowd in a large glass bowl.
- Put a layer of cake pieces in the bottom of your container, then a layer of the custard mixture, continuing until your container is full, final layer being the last 1/3 of the whipped cream, and sprinkle with the toasted coconut.
- This is most delicious if you refrigerate it for a couple of hours so the flavors meld.