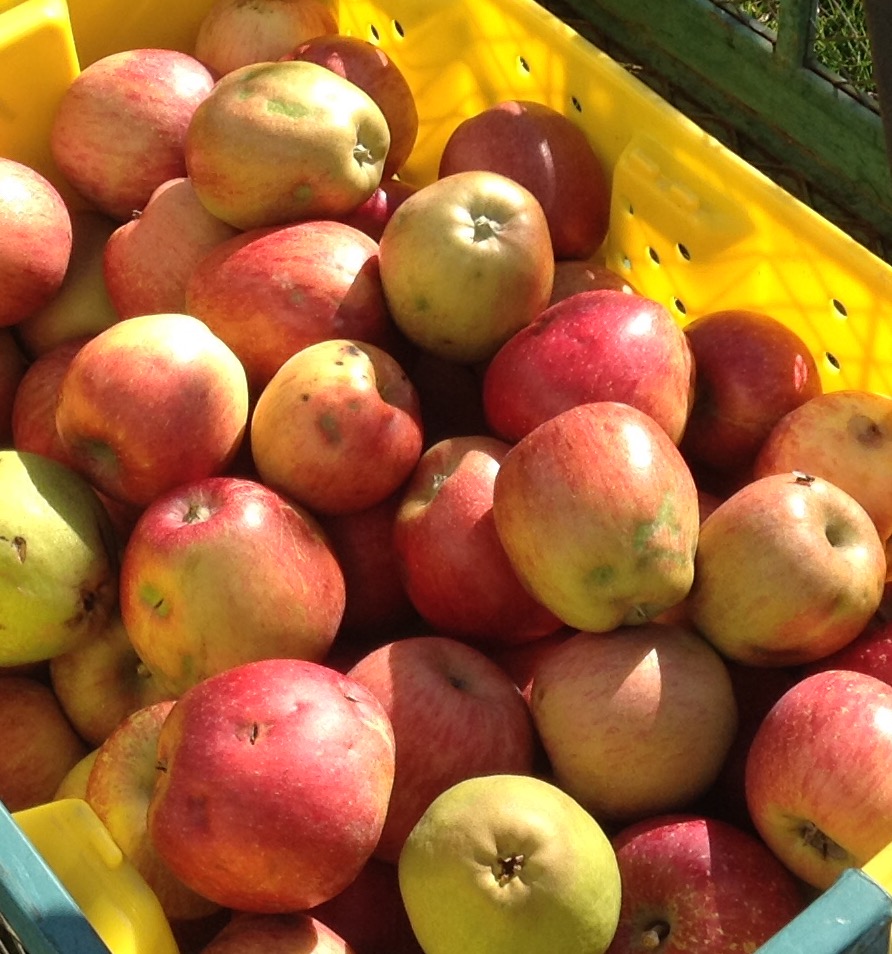
Apple Fritters… crunchy, sweet, and melt-in-your-mouth on the outside, cinnamon-y dough with apple chunks on the inside. I can’t think of a better use for our apple drops that we are collecting in the early hours of the morning. A delightful early morning treat to pair with a steaming cup of coffee on a crisp fall morning.
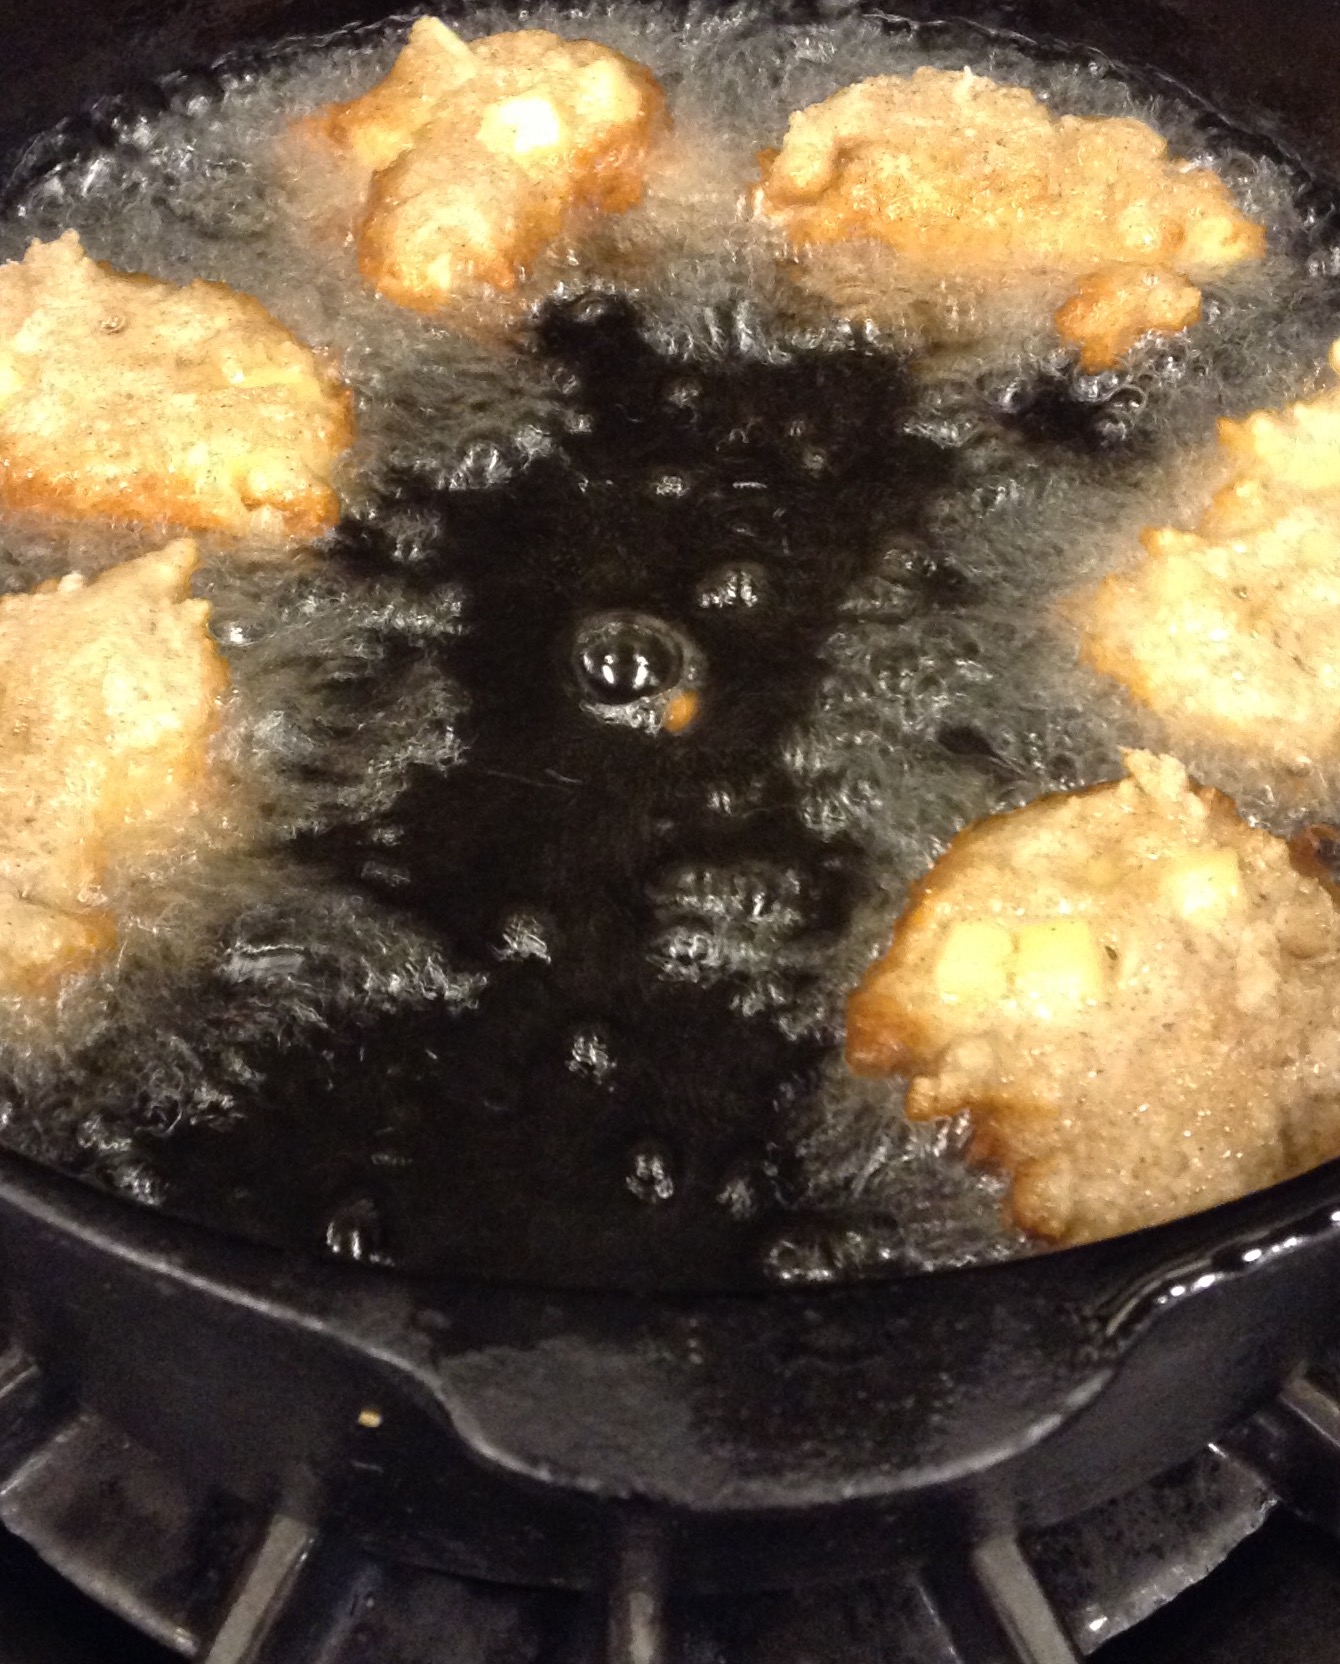
Pour oil into a cast iron or other heavy duty skillet so that it is approximately 1 ½” deep. Heat oil on medium high. Oil is ready when dough floats to top. (don’t let it get too hot or the fritters will burn!)—do a little tester with the dough to be sure the oil is hot enough.
Prepare the glaze by stirring the milk (or half and half) and sifted powdered sugar together in a small bowl—you want it to be a fairly thick glaze.
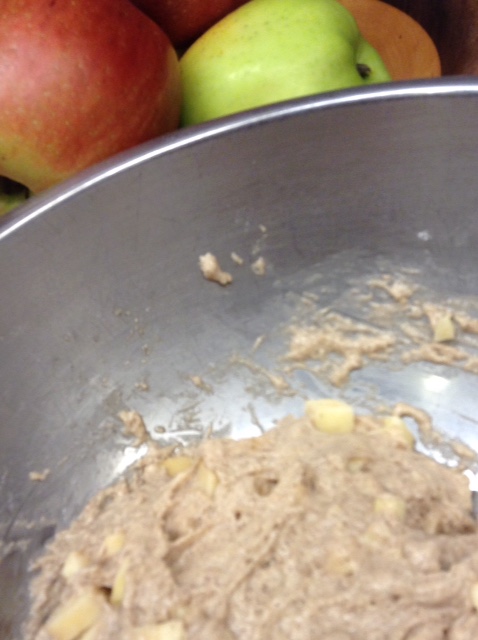
Prepare the fritter by combining the flour, sugar, salt, baking powder and cinnamon. Stir in milk, vanilla and egg until just combined (add enough milk to make a thick batter).
Fold in apple chunks
Carefully add dough to the oil in heaping tablespoons. Cook until golden brown, about 2 minutes, then flip. Cook another 1-2 minutes, until both sides are browned.
Transfer briefly to paper towels to absorb excess oil, then transfer to cooling rack.
Drizzle glaze over the apple fritters while they are still warm. Wait approximately 3 minutes for glaze to harden, then flip fritters and drizzle glaze over the other side.
Best served warm. Enjoy!
September is season unto itself on Cape Cod. As many of our visitors return home to school and work, there is a quieter spirit. Yet the air is warm, gardens are full, the beaches are less crowded and the sunsets are beautiful. We are enjoying the best month of the year here. There is still lots of outdoor living to be done before the crispness comes with days of shorter daylight. Thought this recipe for one of the best and freshest tasting gelatos might be just the thing for some of those late summer warm nights.
It’s strawberry season on Cape Cod! If you take a walk around the community, you’ll see an abundance of perky little red berries peeping out from under their lazy green foliage in many of our gardens. If we can get to them before the deer and rabbits, then we are bound to have some scrumptious desserts here in the Convent, which is a rare and welcome treat!
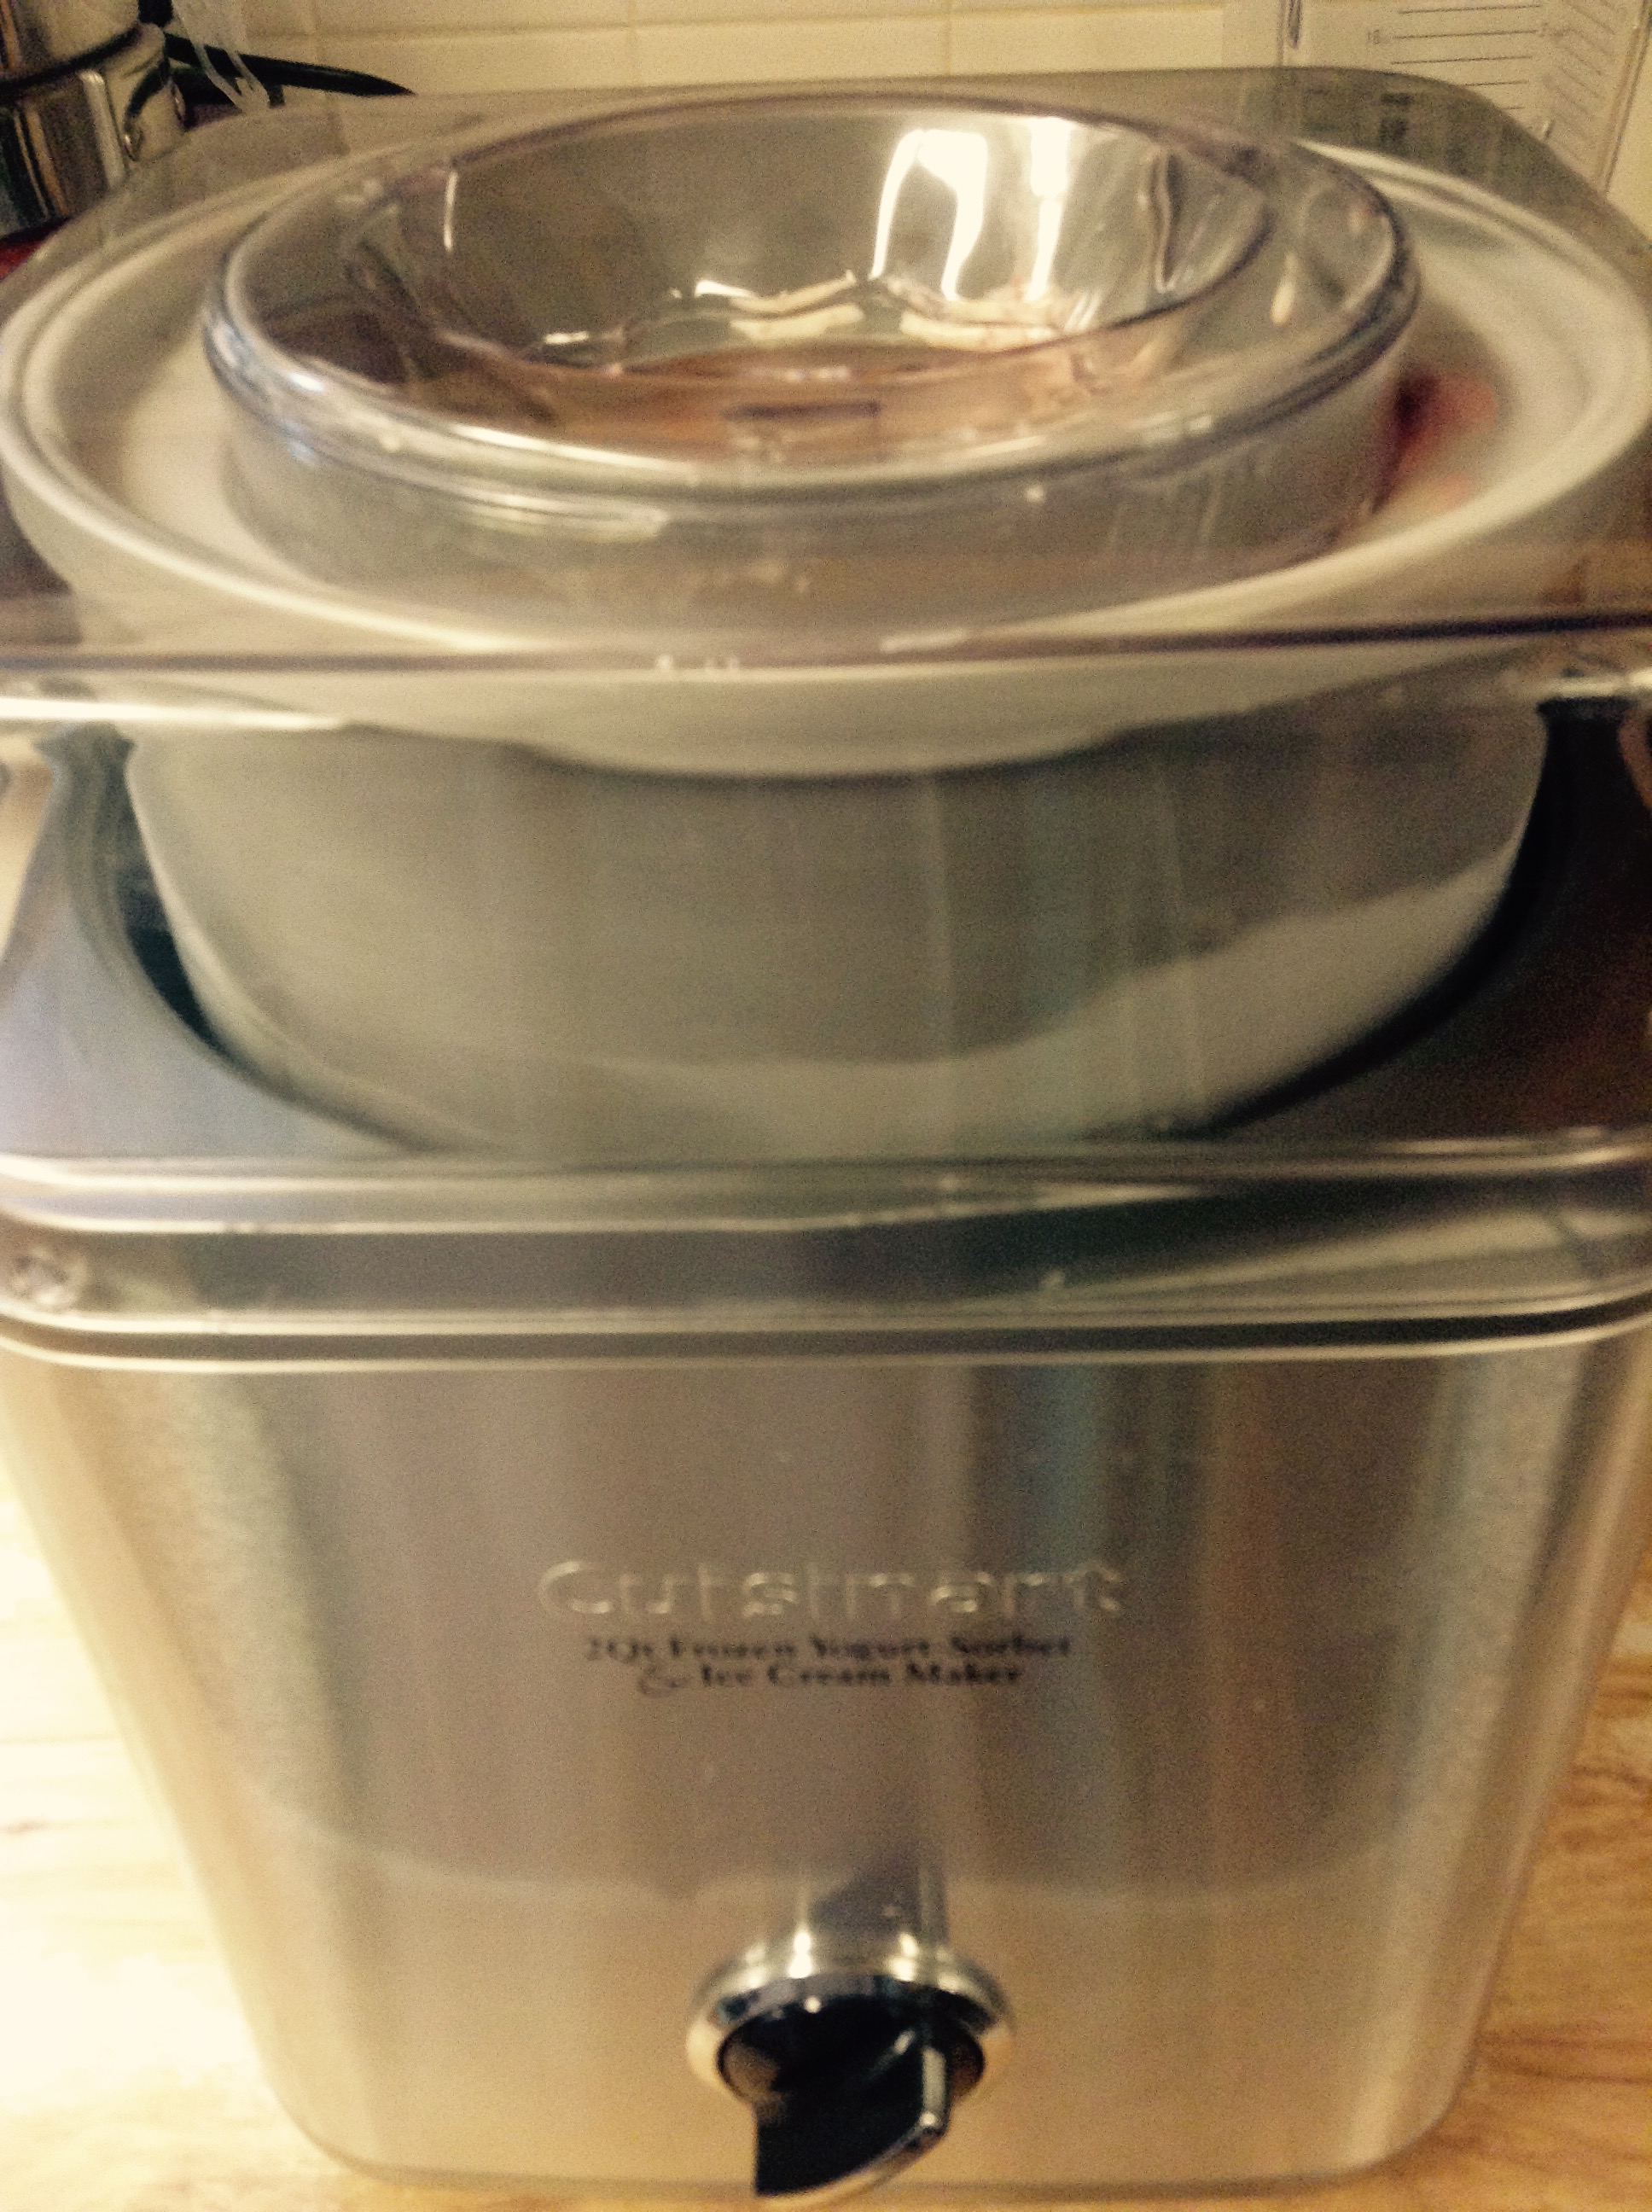
Summer on Cape Cod usually conjures up images of days at the beach followed by ice cream and sunsets. We are fortunate to have cream from our Jersey cows, freshly picked strawberries, and a generous donation of agave nectar, so I set out to make a creamy homemade strawberry ice cream. I found just the recipe to pull all of these together. Start it the day before as it needs to chill before transferring to your ice cream maker. Enjoy this on a hot and humid summer day and you are sure to feel refreshed!
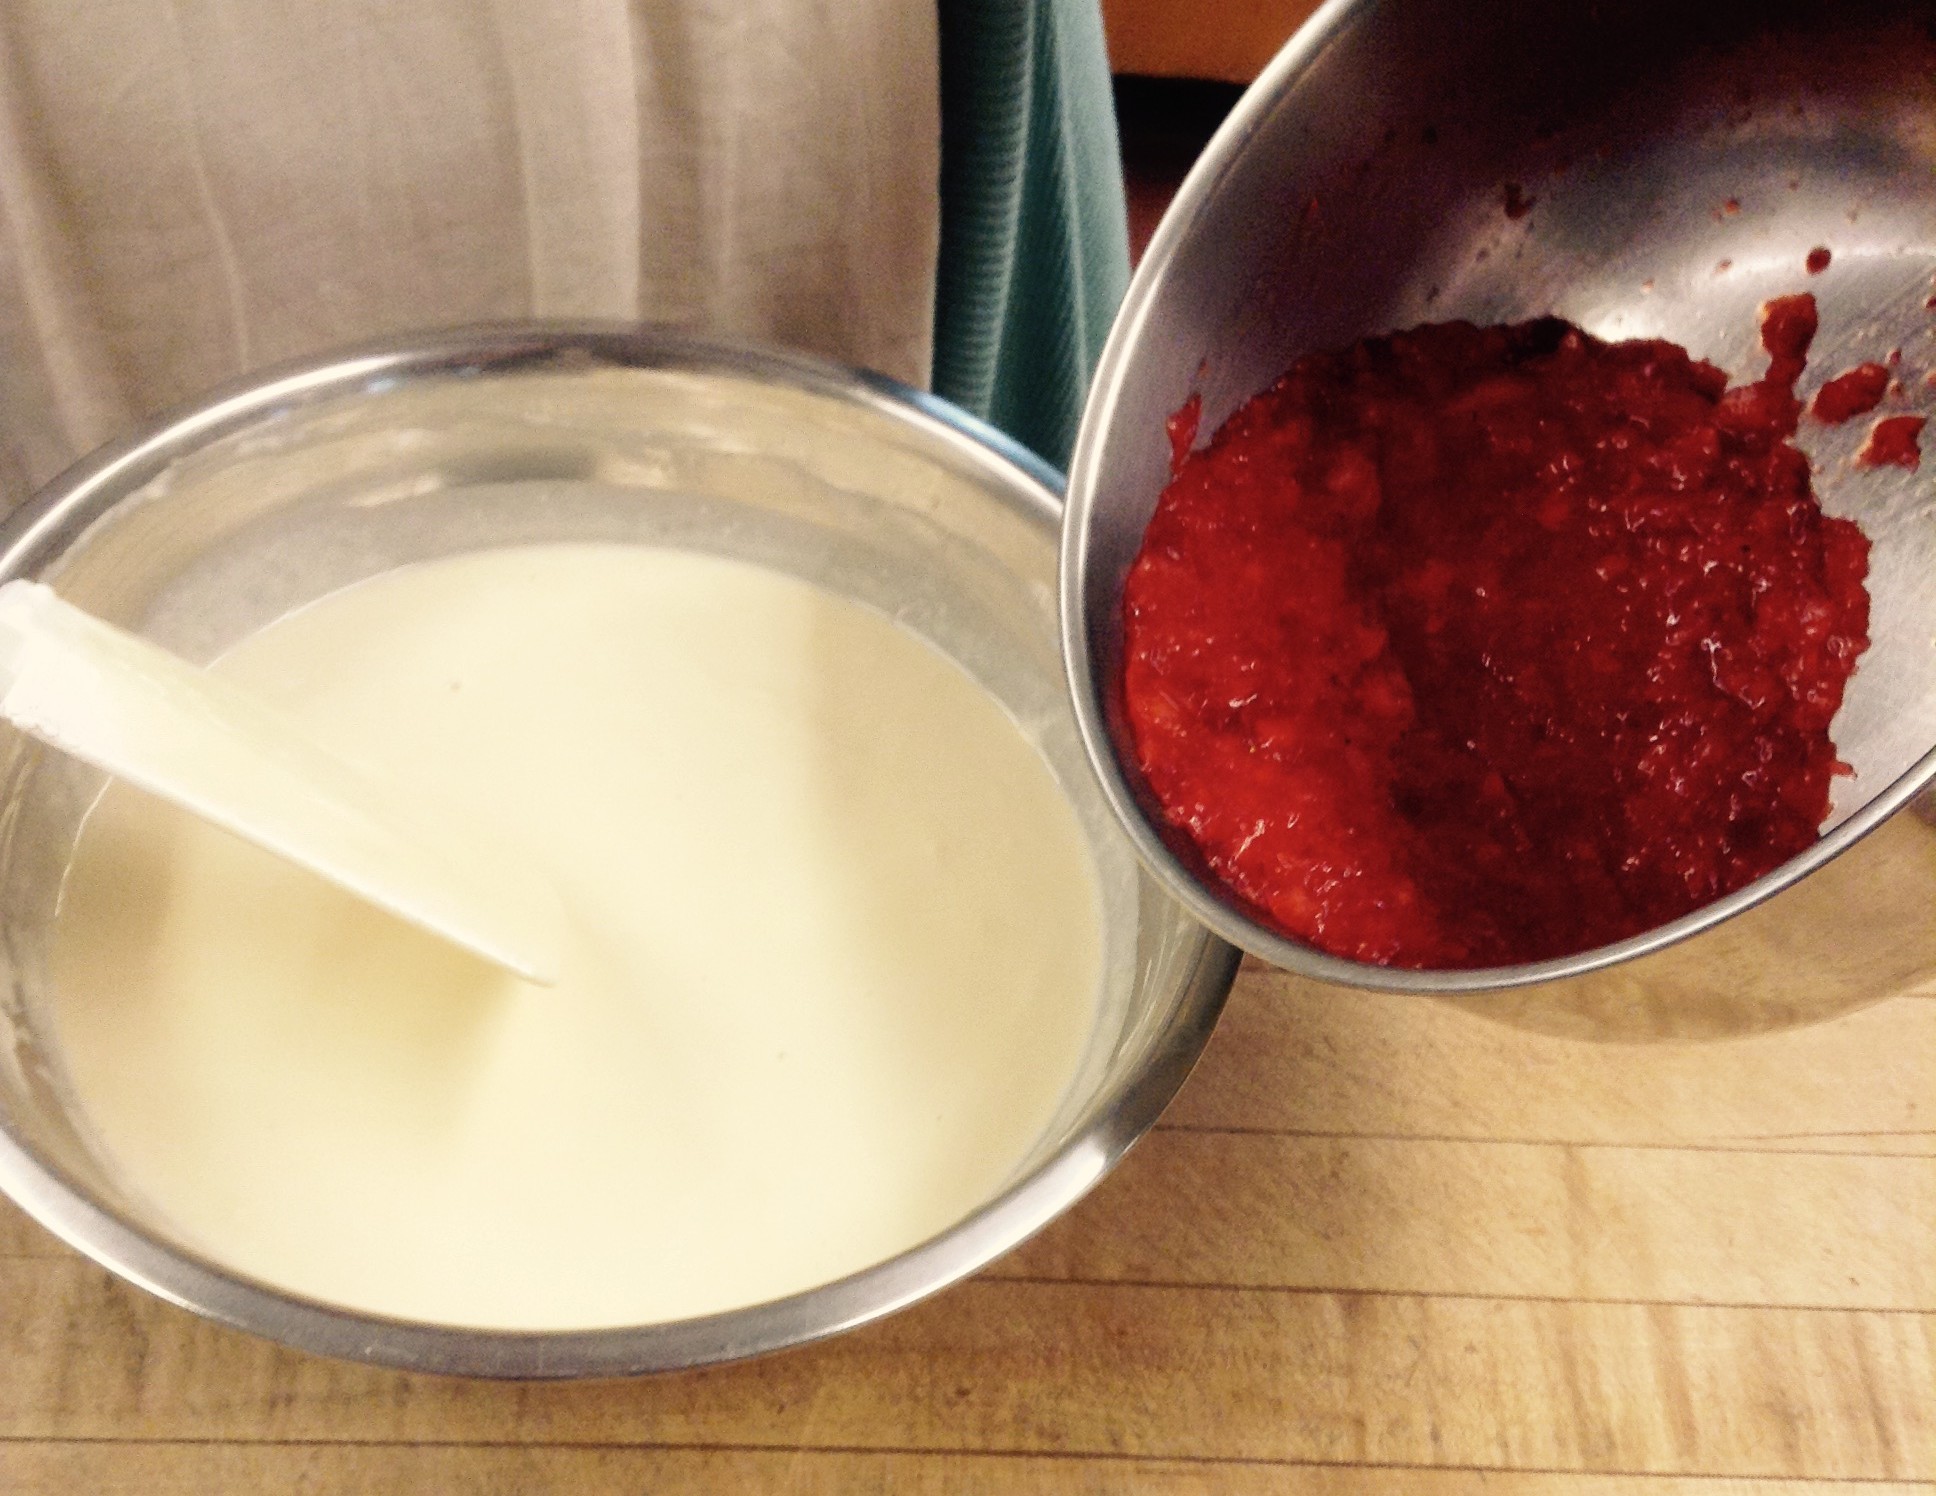
If your strawberries aren’t already pureed, do that in a Cuisinart (I used a potato masher to leave some good chunks). Add lemon juice and set aside.
Beat eggs and egg yolk together very well. Set aside.
In a heavy pot, heat half and half and agave nectar over med-high heat until temperature is 180 F. Stir frequently.
Drizzle ½ cup of hot mixture into eggs, whisking briskly. Add another 1/2 cup in the same manner. (This keeps the eggs from scrambling).
Then, drizzle egg and cream mixture back into the pot, whisking briskly.
Turn heat down to med-low and bring to 190 F, stirring bottom constantly. To check for doneness, dip a metal spoon in the pot. Remove. Run a finger through the custard coating the spoon (like parting the 'custard sea'). If the custard stays on either side of the stripe (doesn't run in to fill the space), then it's done.
Strain into a 2 qt. bowl and add all but 1/3 cup of the strawberry puree to this.
Cool in an ice bath and then transfer to fridge overnight.
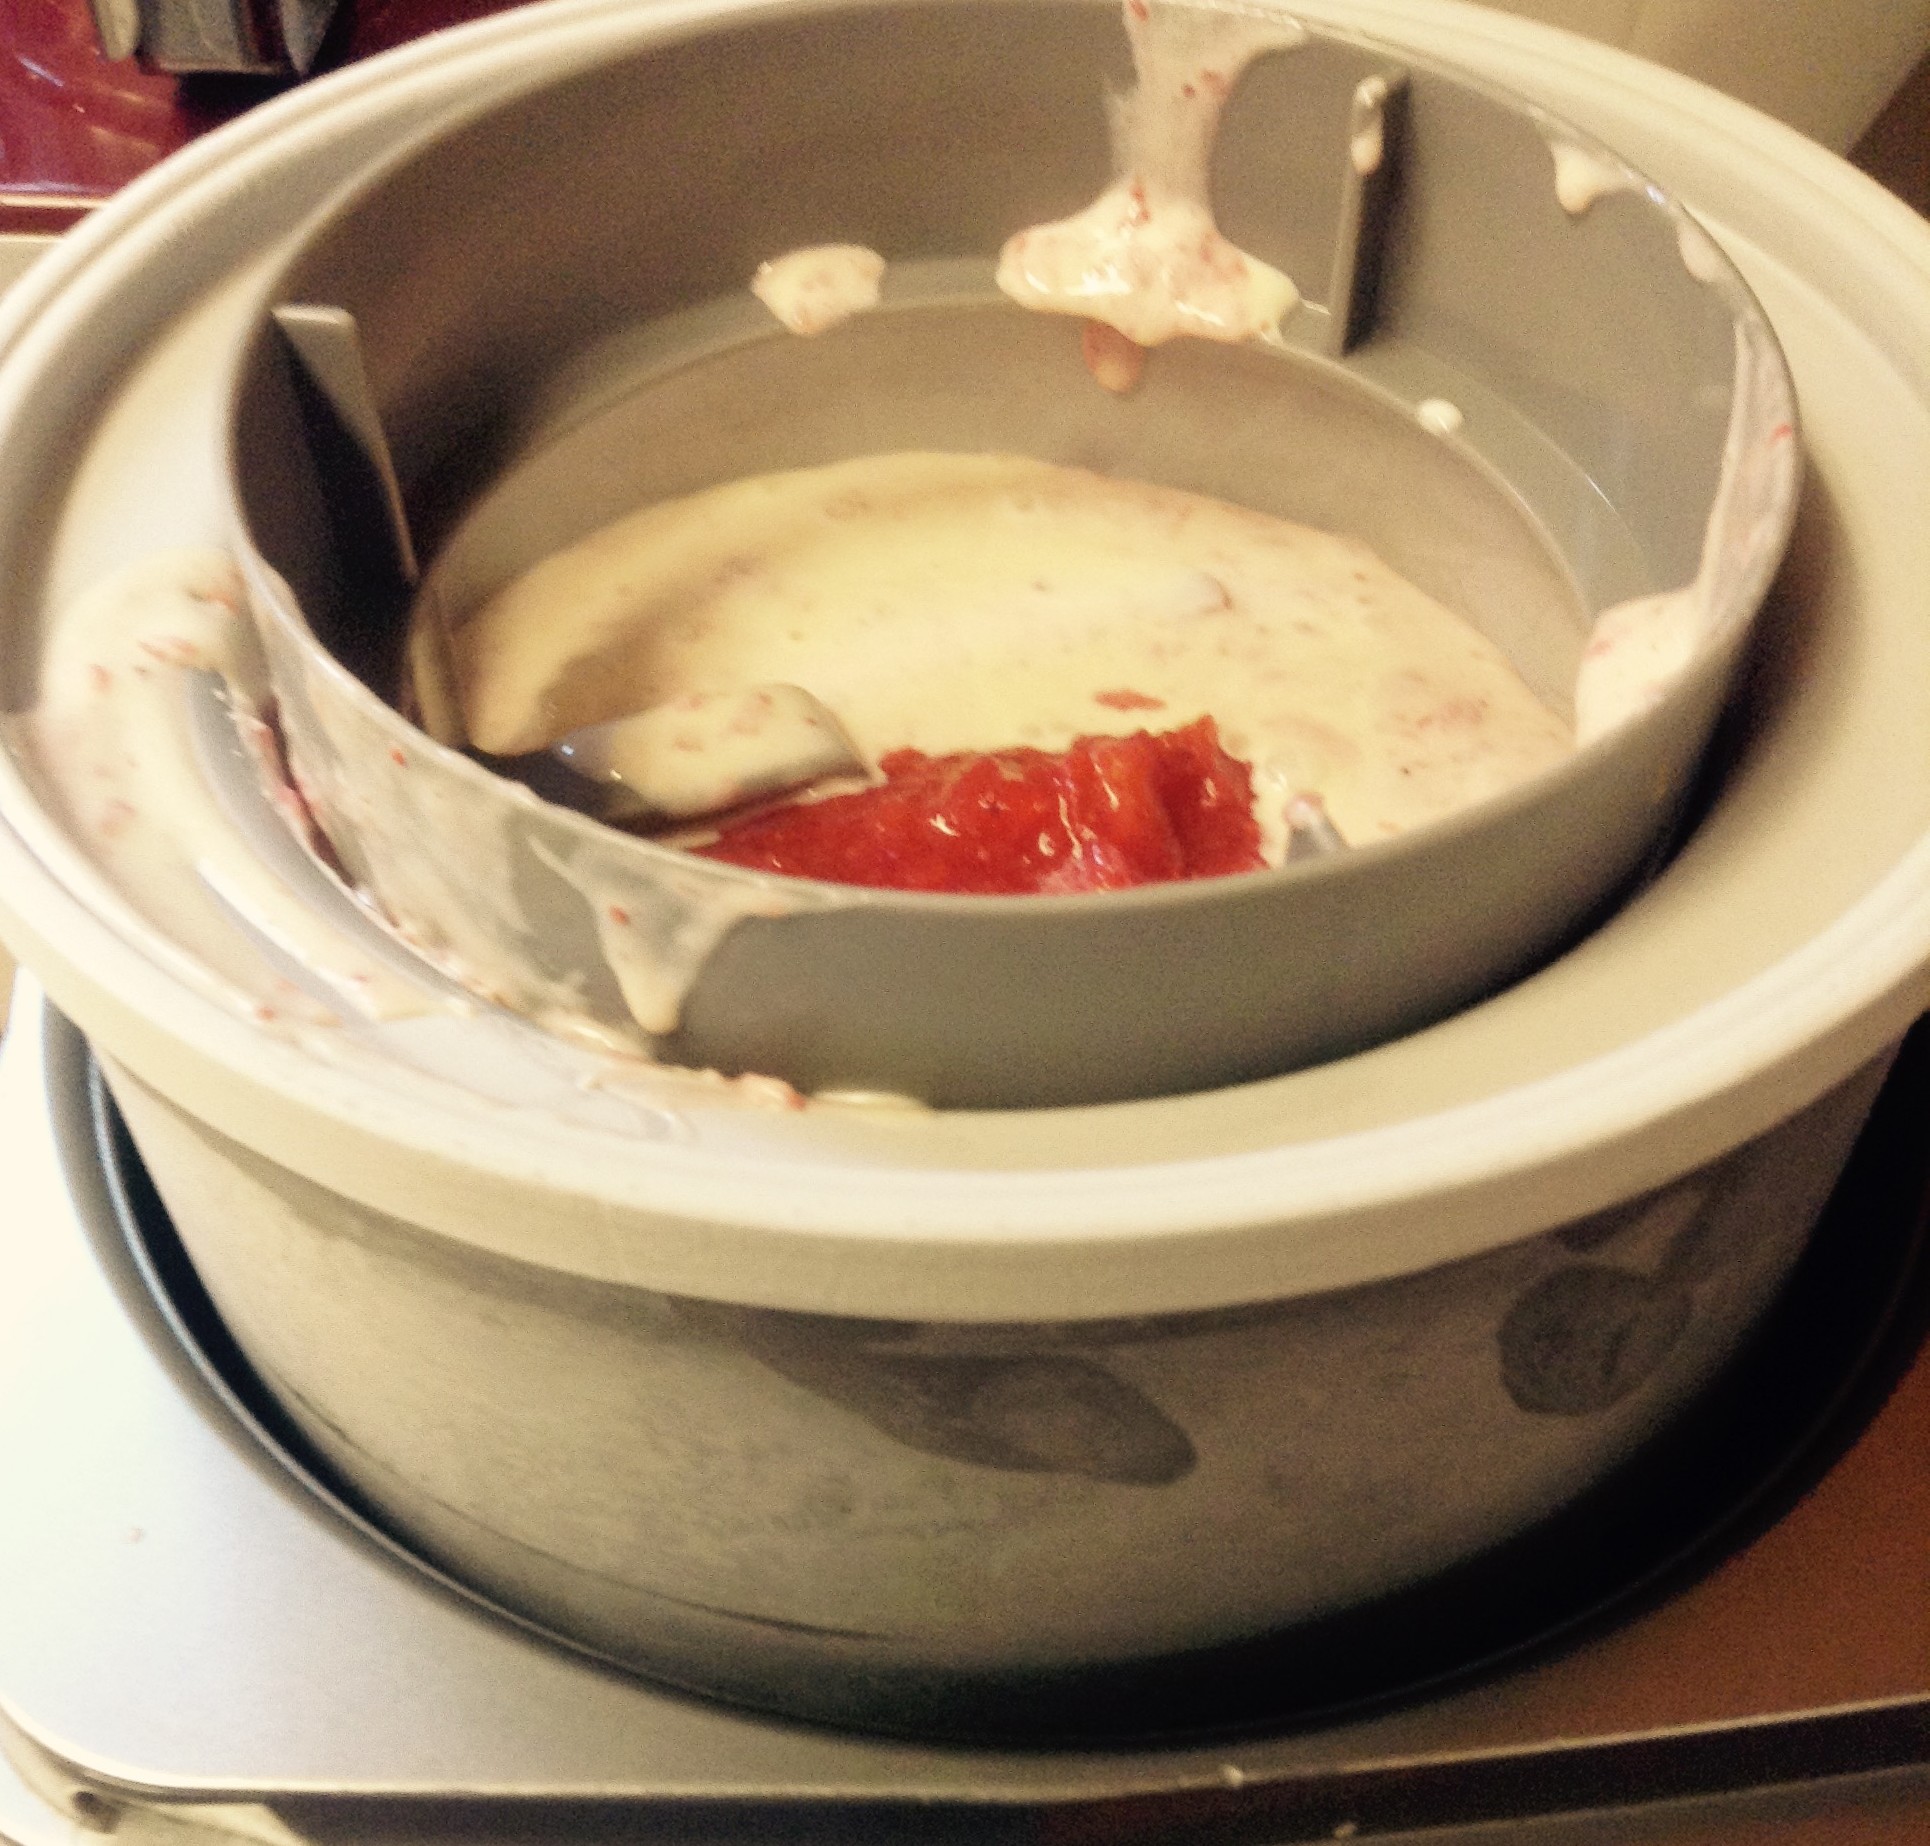
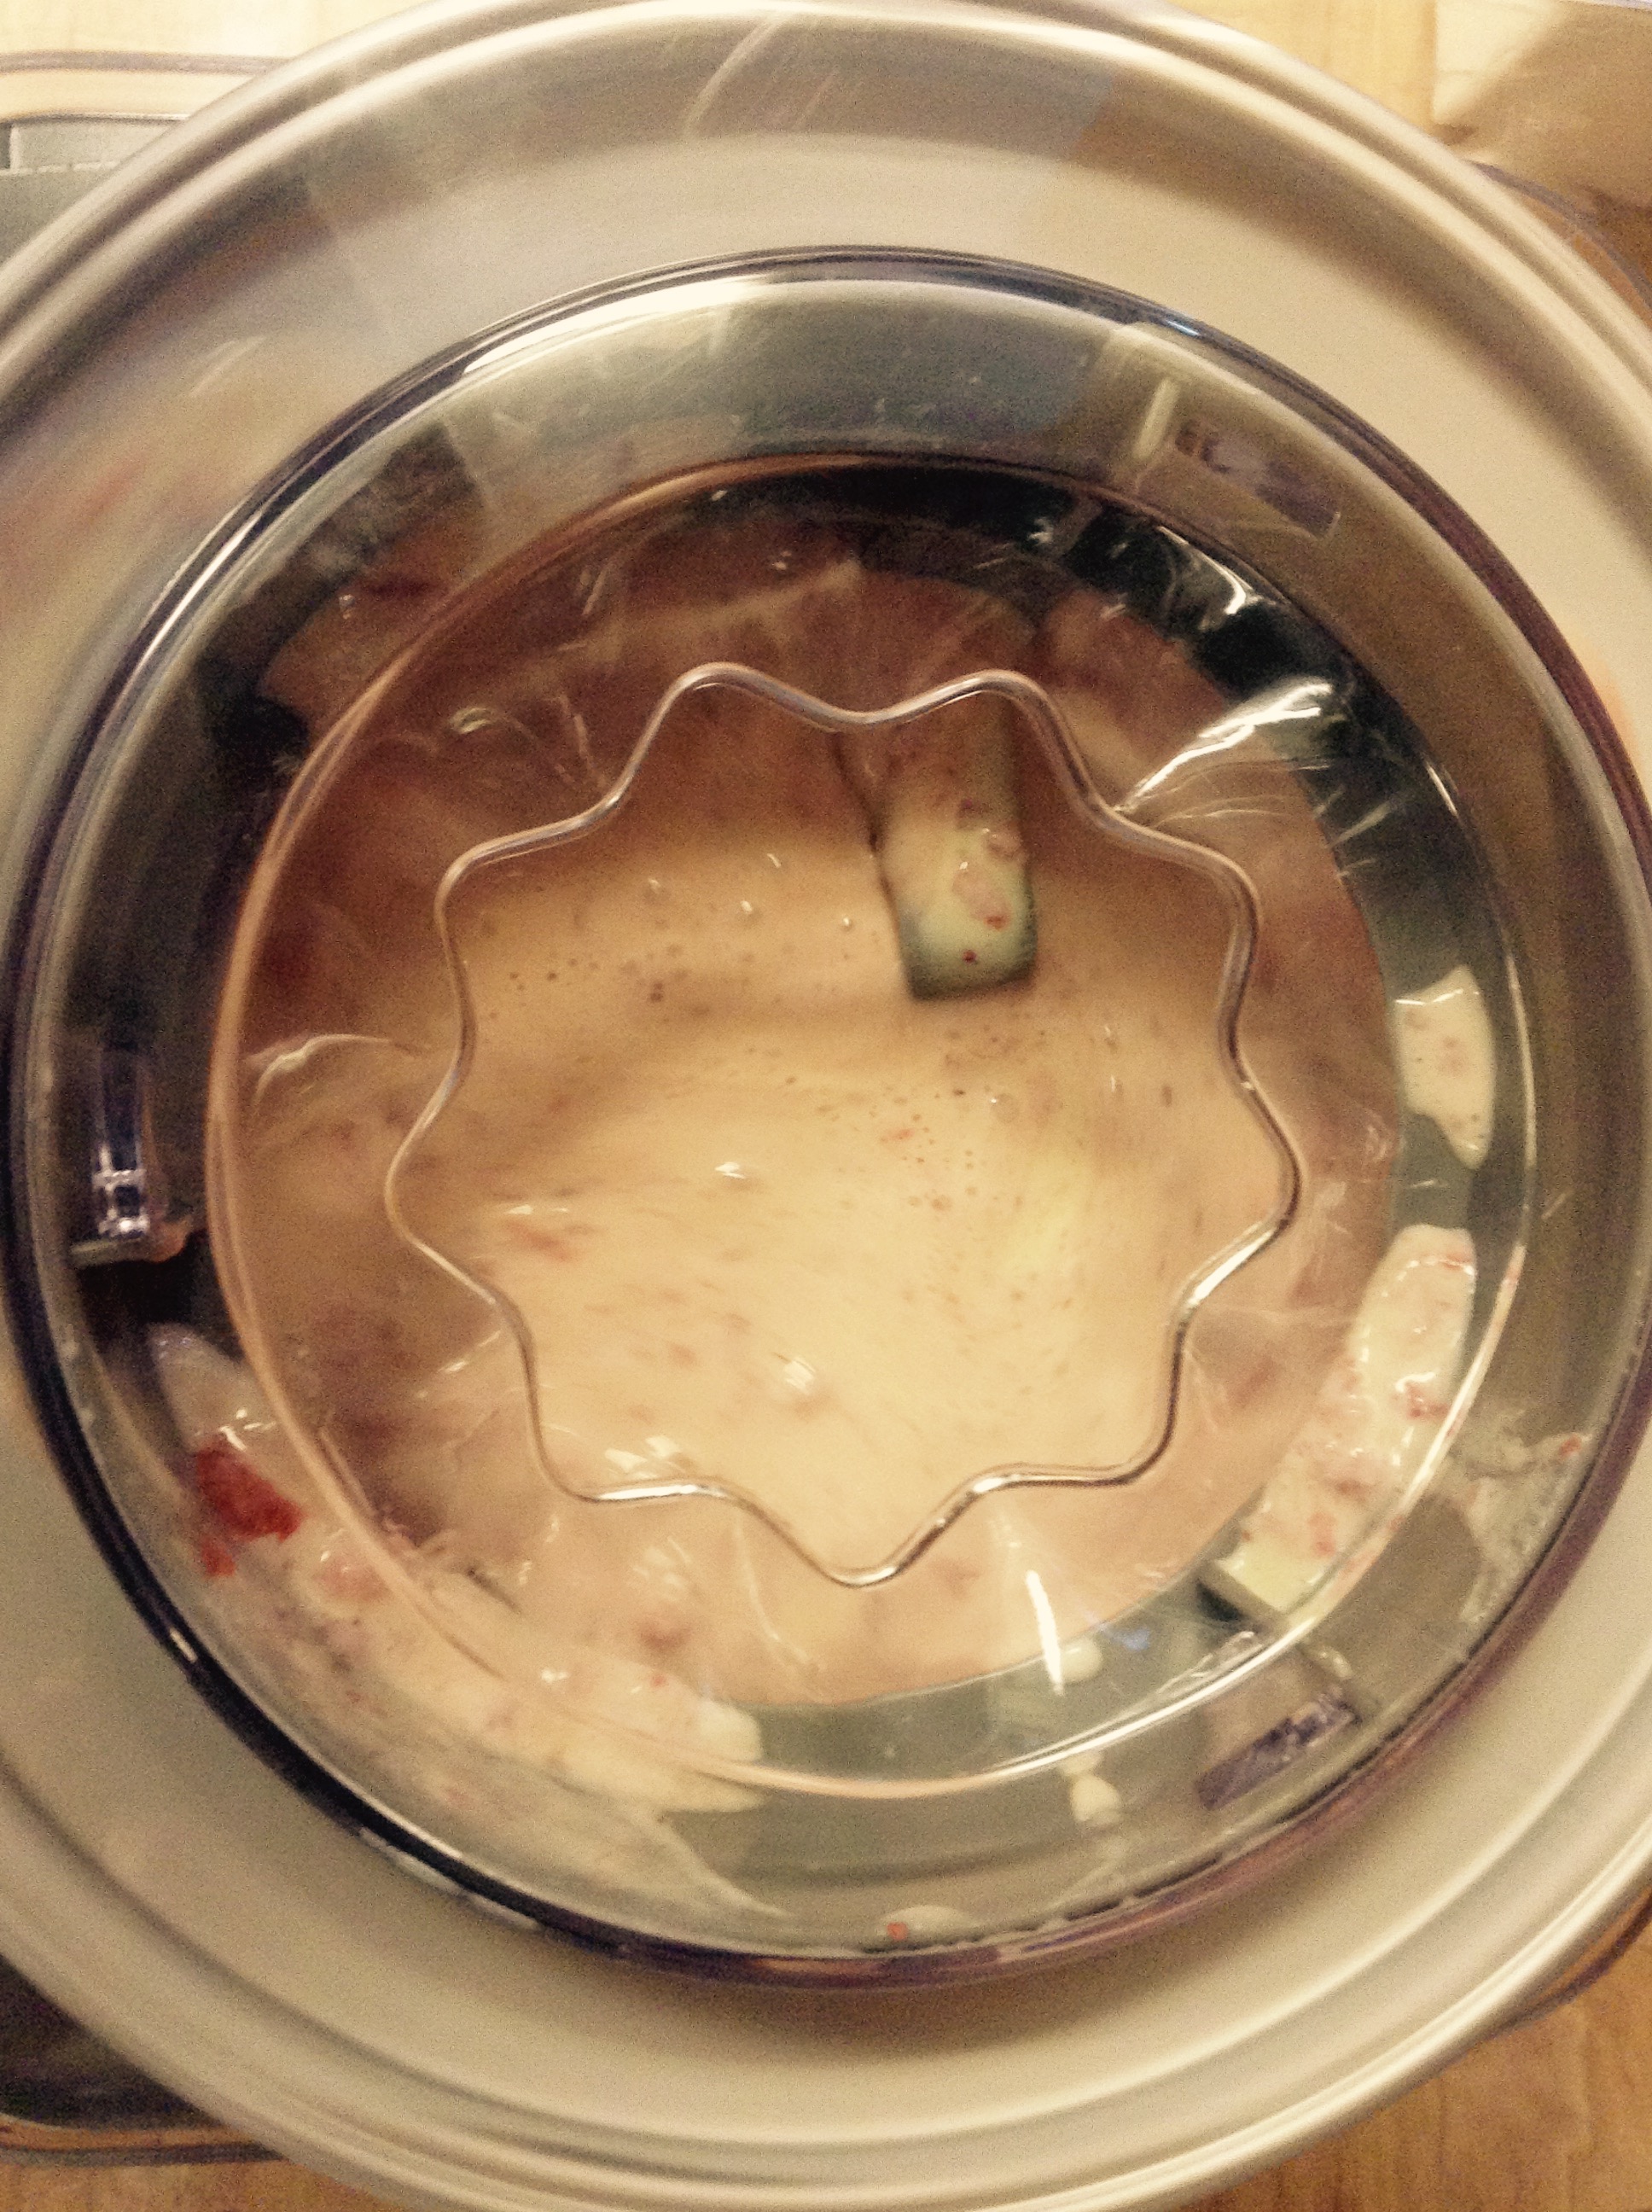
Freeze according to manufacturer's instructions. When the ice cream is done, take the remaining 1/3 cup of the strawberry sauce and swirl it directly into the finished ice cream. Freeze again, if needed, before serving.
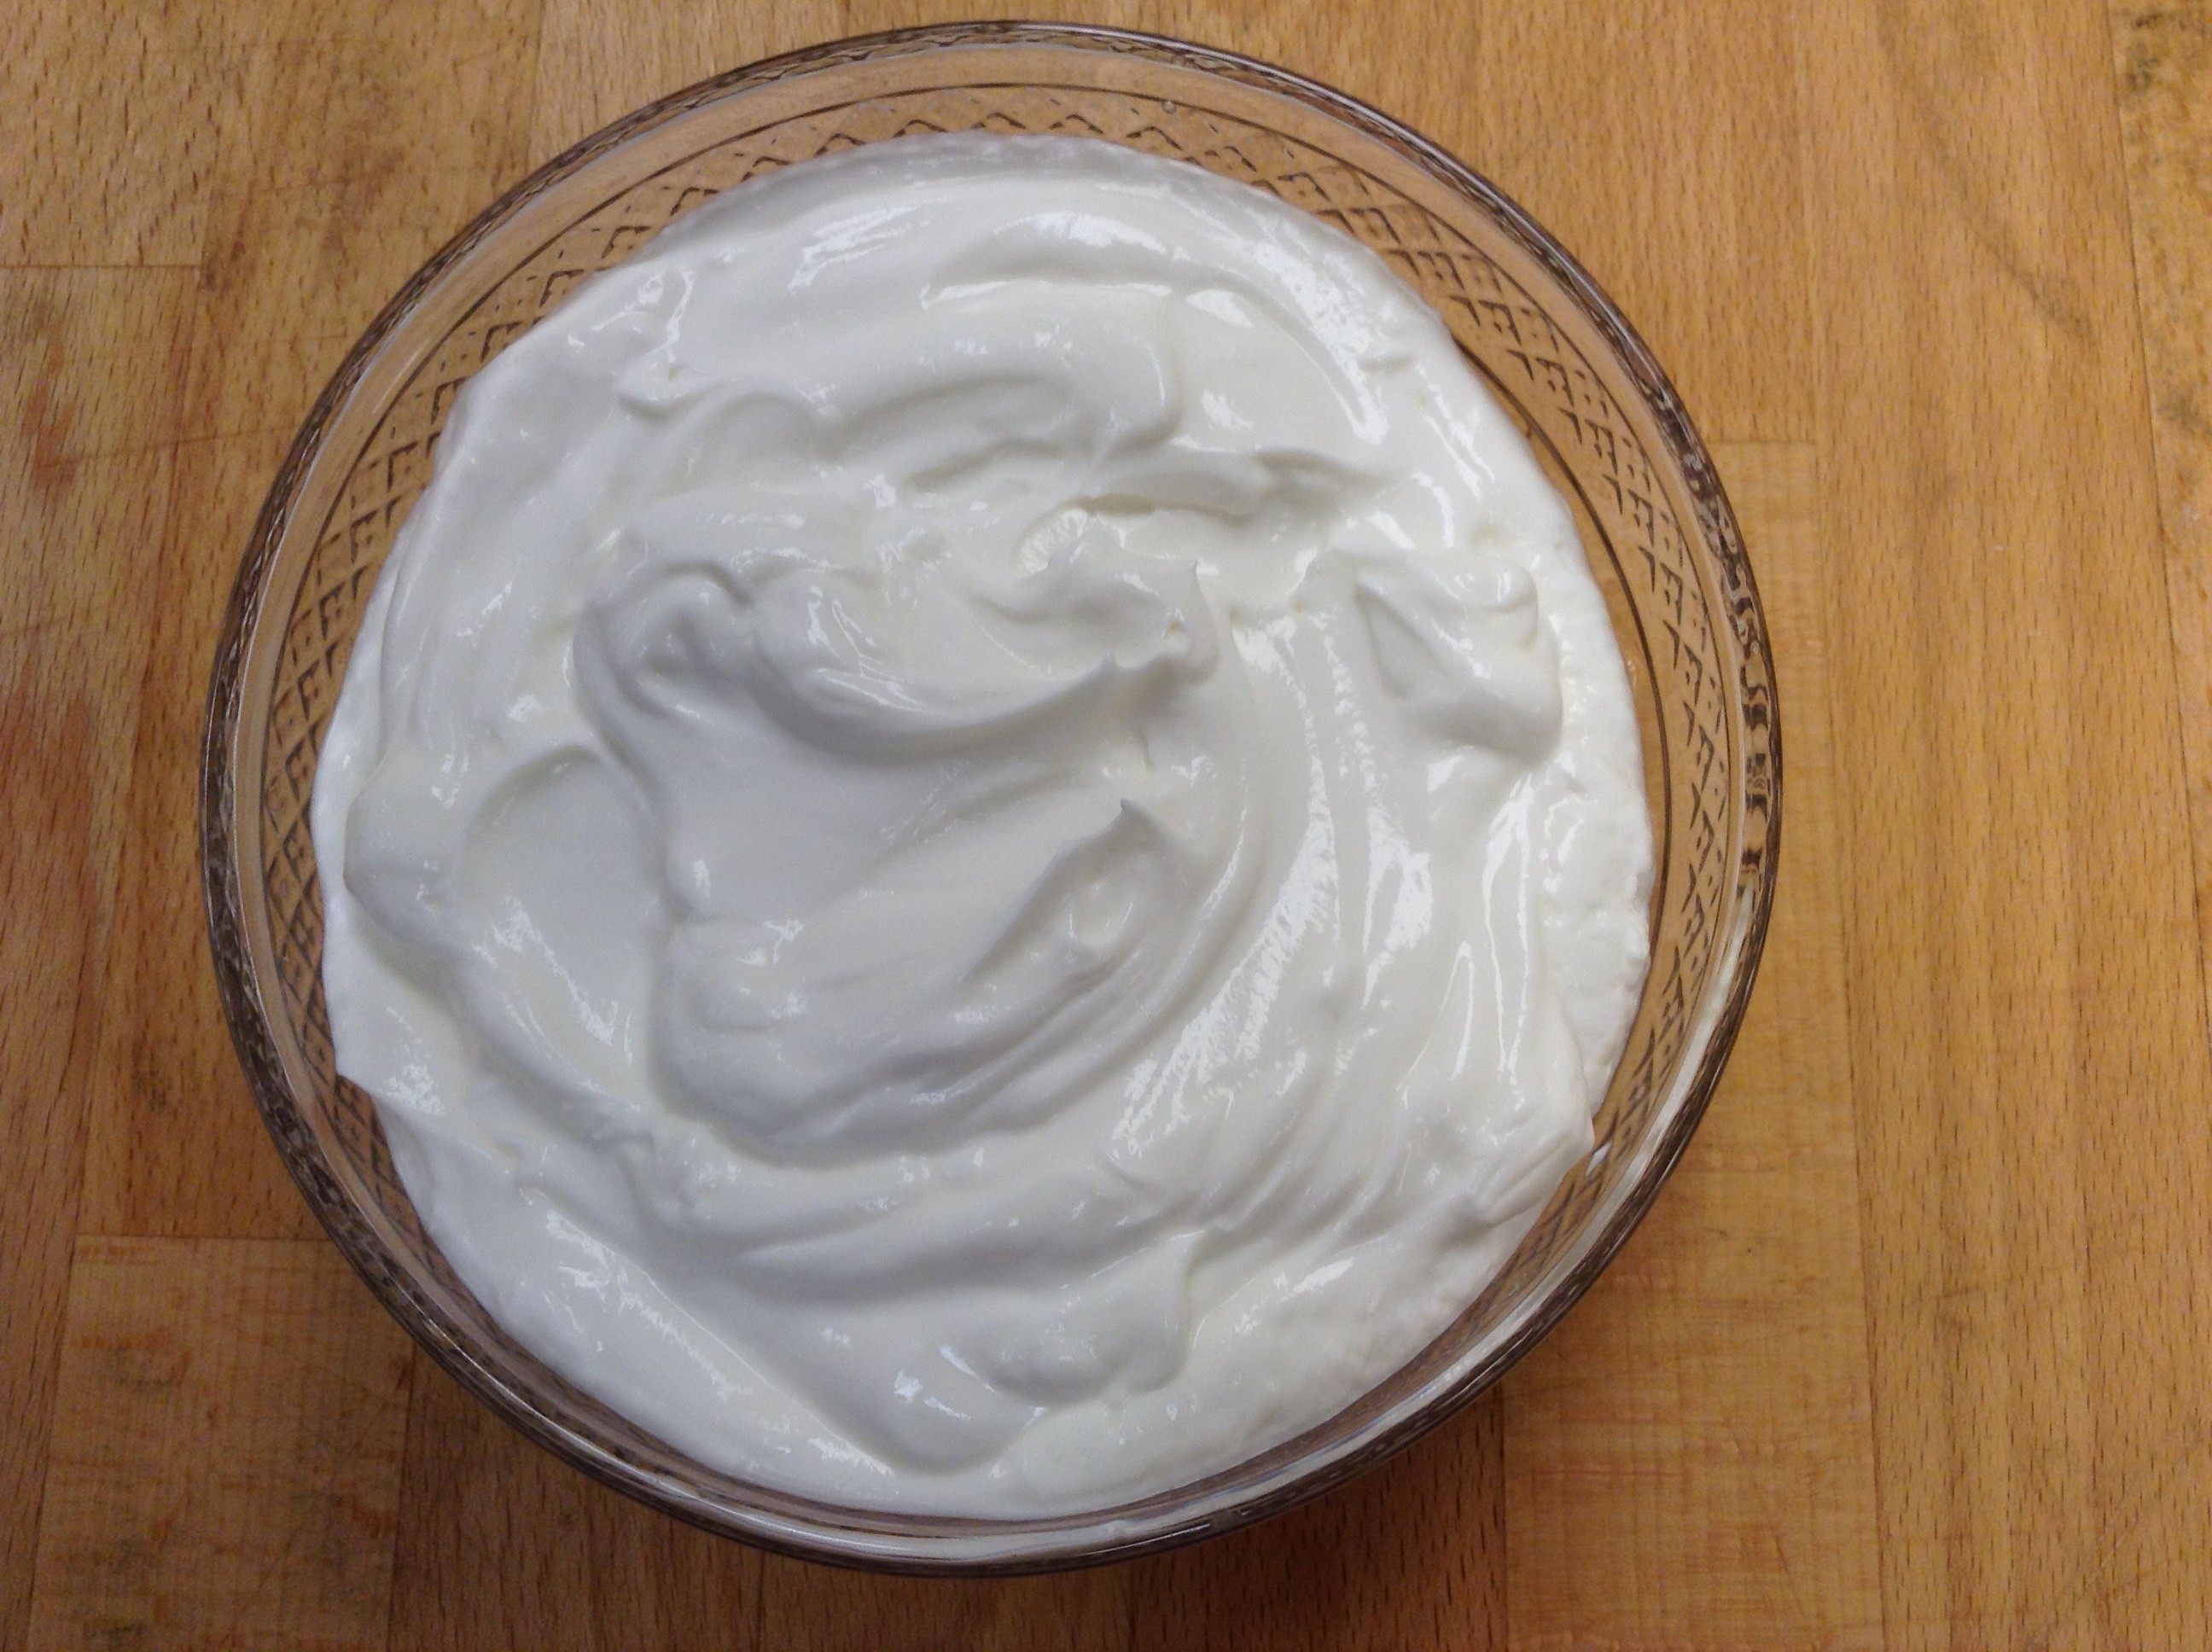
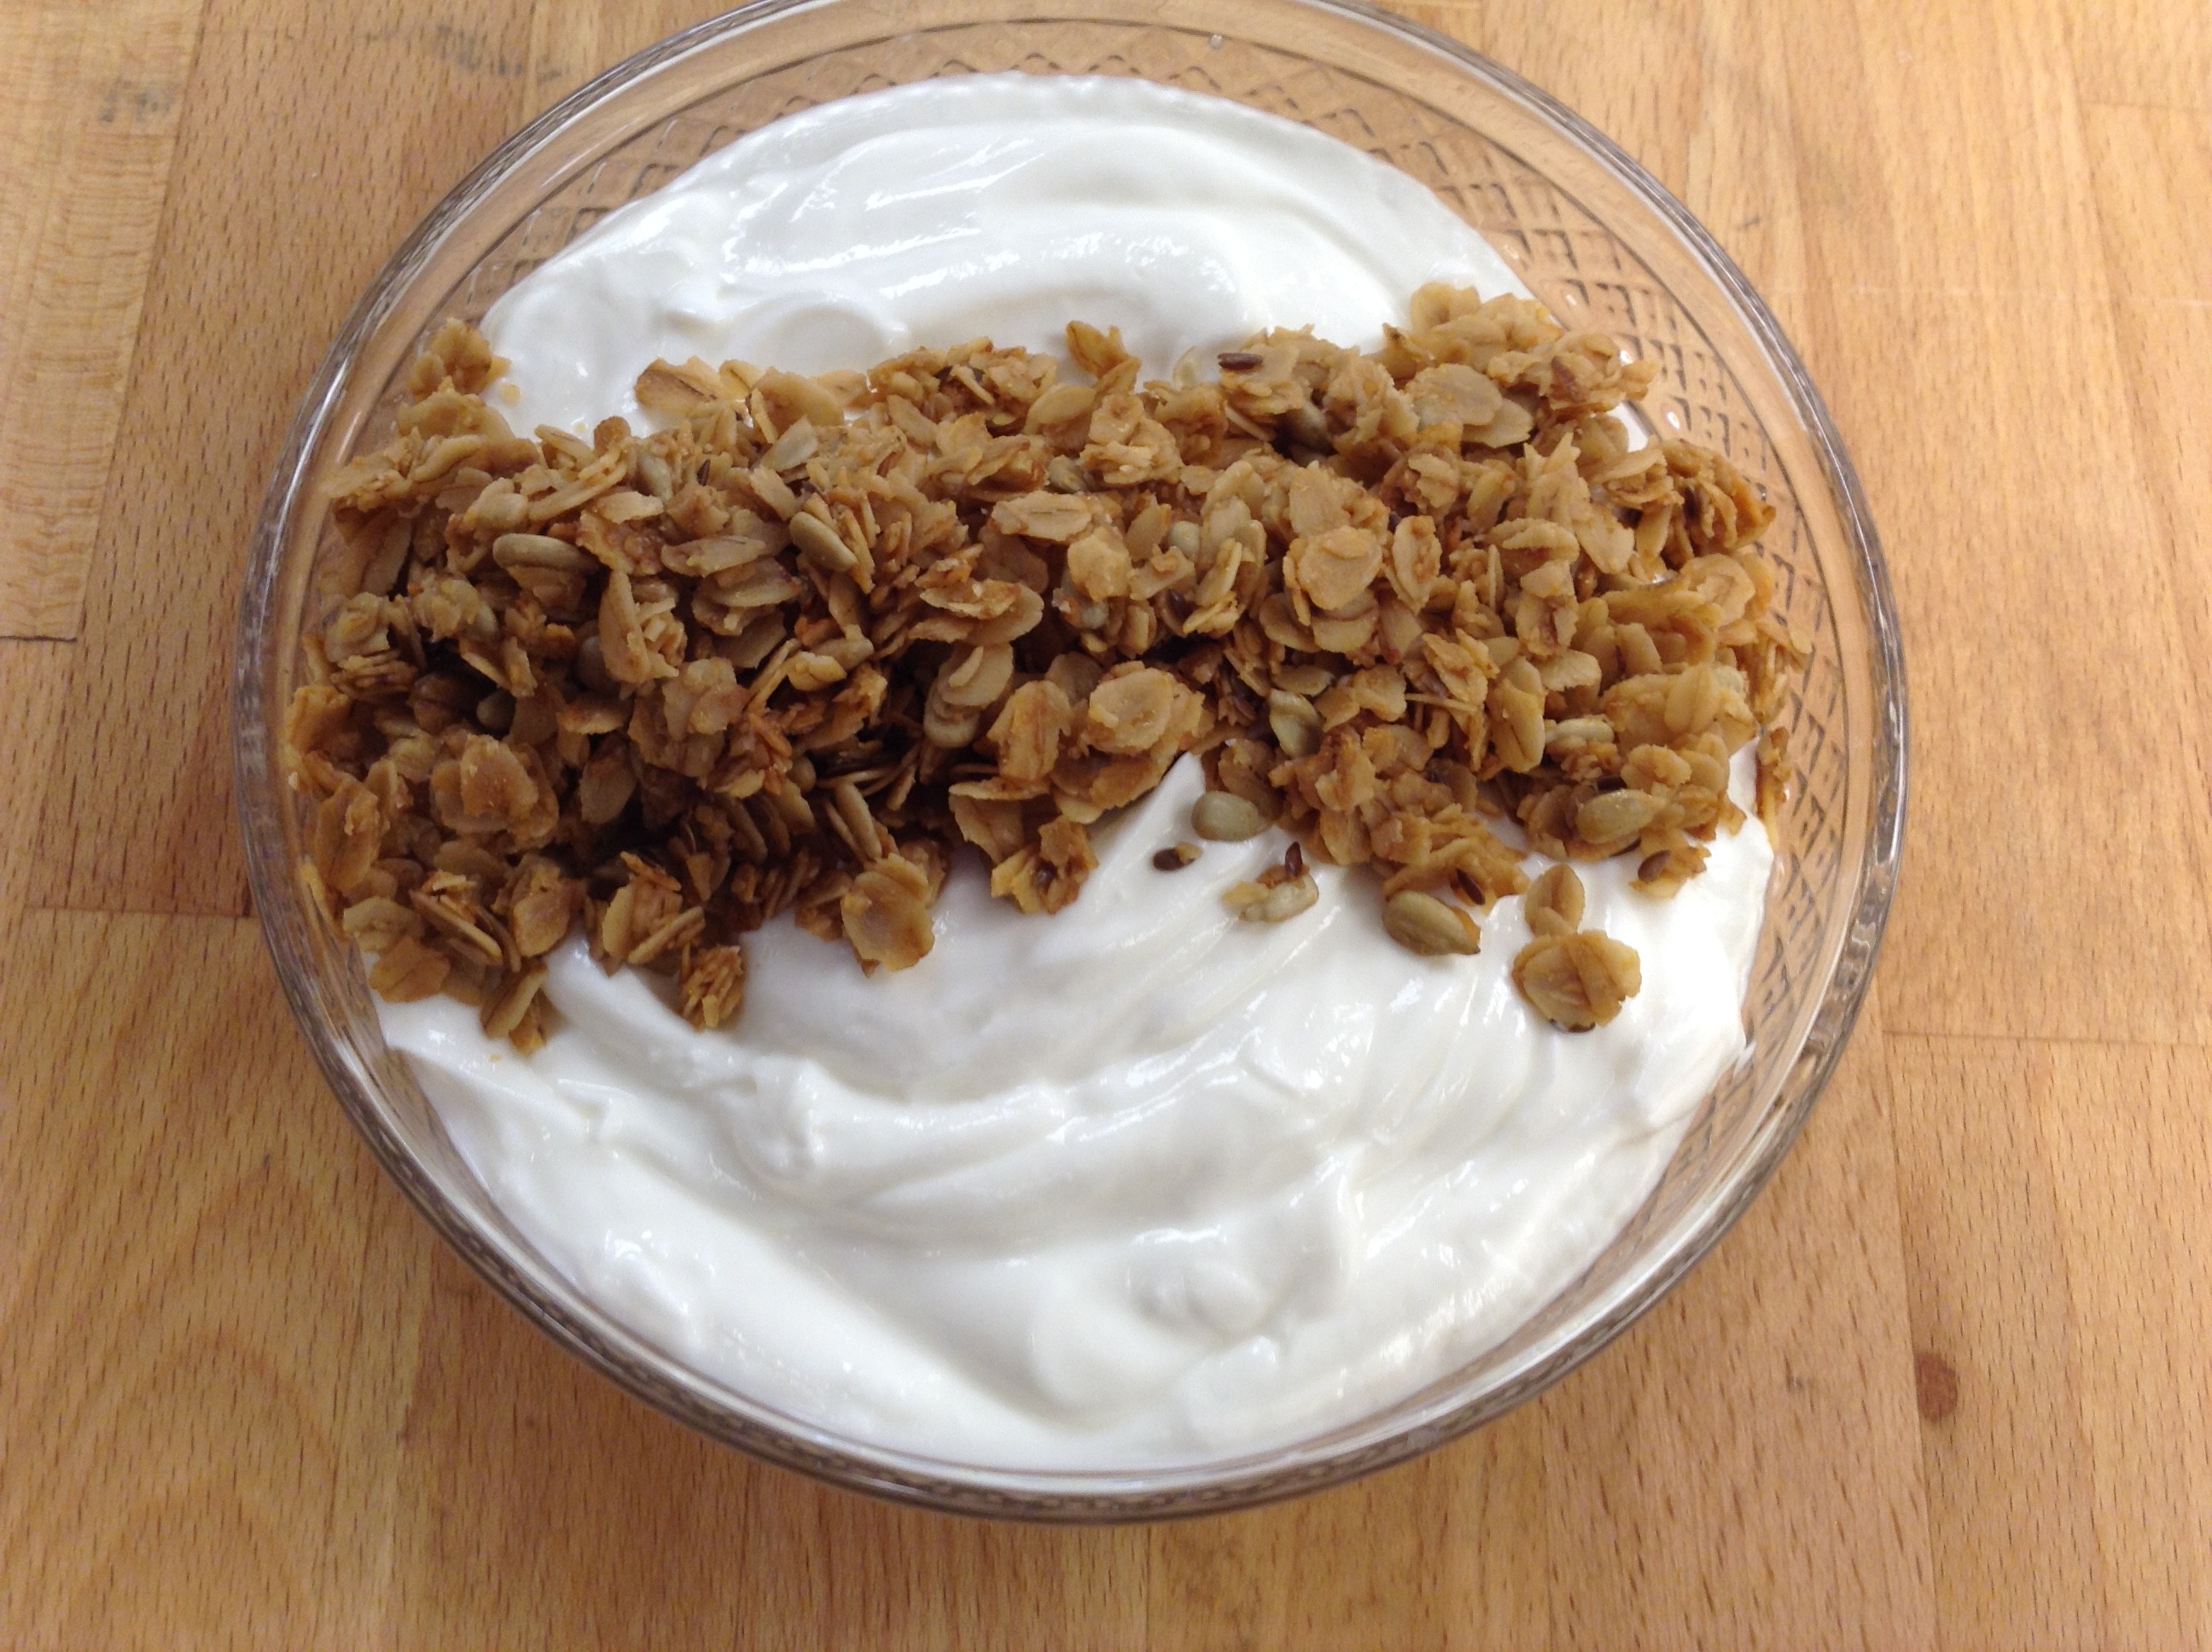
If you should be up and around at 5:30 every a.m. you are apt to see two young sisters making their way down the road to the barn to milk our 3 cows. These gorgeous brown guernseys keep us well supplied with quality fresh milk every day. This makes it possible for us to produce our own yogurt and soft cheeses which we have doing for some time. Only recently however, have we begun to use the Crockpot method which results in a wonderfully thick satisfying yogurt with little to no effort. Combine this with our homemade granola and some fresh fruit and you have a beautiful, bright, healthy breakfast that is a favorite at the convent.
We decided to offer it for our last oblate retreat and it was met with such overwhelmingly positive response from so many we have decided to serve it again in the near future. Perhaps you would like to give it try even if you don’t have any cows of your own. Healthy Summer Breakfast!
Crockpot Yogurt -
Serves 16
Prep Time: 10 minutes
Cook Time: 20 minutes approximately
Cool Time: 3.5-4 hours
Cure Time: 10-12 hours
Drain Time: 2 -4 hours (if thicker yogurt is desired)
Ready In: Next day
What You will Need:
Electric Crockpot
Some Type of Cooking or Dairy Thermometer
A Wisk or Fork
A Colander
Muslin, Plyban Cheescloth or some woven type of woven cloth
Bath towel or woolen scarf
Oven or Other draft free warm location
Heat the first four ingredients (through the vanilla) in a skillet,
then add the next 2 items (oats and cinnamon) and mix well
Spread evenly on paper lined sheet pans. Bake 1 hr 15 min on 225 degrees Fahrenheit.
Leave granola in oven overnight and package the following day --
mixing in the raising first and breaking up chunks
Crockpot Yogurt
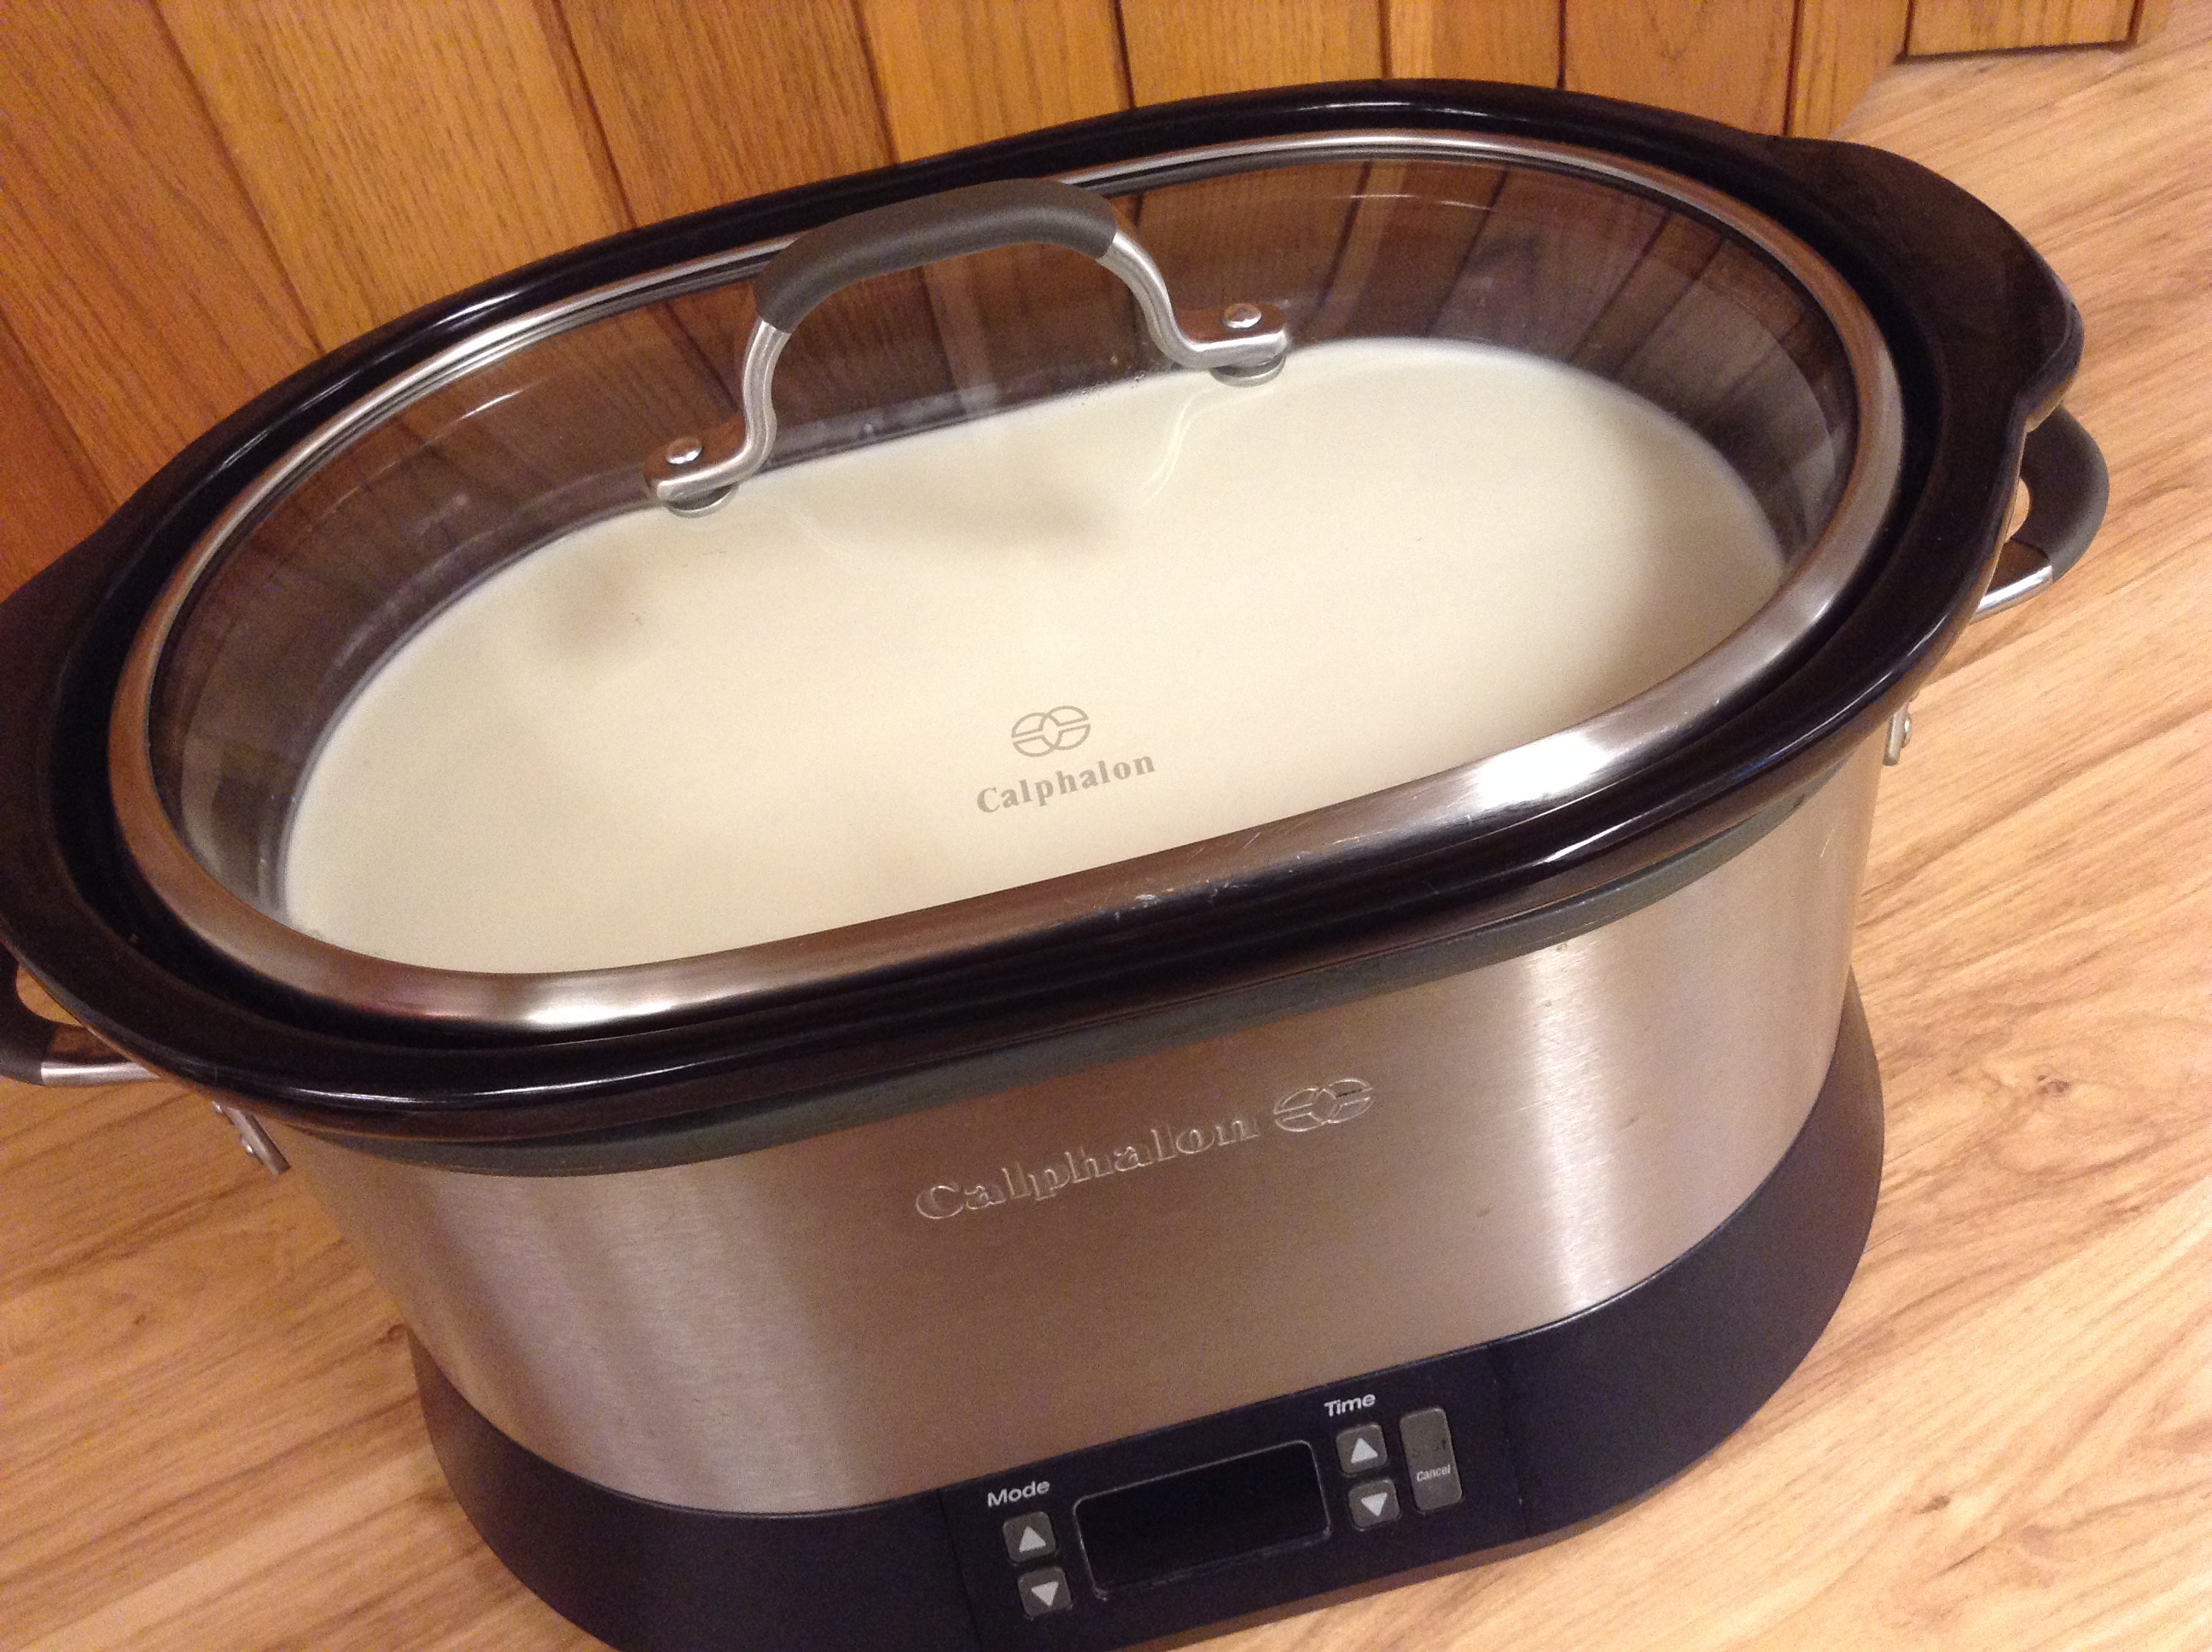
Place the gallon of milk into the crock pot and cover. Heat the milk
slowly until the milk is between 180 Fahrenheit - 190 Fahrenheit it is vital to heat
the milk to at least 180 Fahrenheit.
Allow the milk to cool to 110 Fahrenheit (takes 3.5 - 4 hours). Milk should not be
a higher or lower temperature. There may be a skin formed on the milk
(if you are using non homogenized or raw milk). If so, carefully remove it.
Place 1 cup of the warm milk in a separate small bowl. Add 2 Tablespoons of
starter yogurt to the cup of milk. (no more than 2 Tablespoons - that is all you
need)
With a fork or whisk, gently stir the starter yogurt into the milk.
Next, pour the milk back into the crock pot and stir gently from side
to side. Do not stir in circles, use a careful and slow up and down
lifting motion across the length of the crock.
Lift it out of the electric base and place it in a cool oven. Lay a
bath towel or shawl around the crock and leave it undisturbed
overnight or for 10 - 12 hours. You want the milk to stay nice and
warm. An oven with a pilot light or electric light turned on works
great. Do not disturb the milk and keep the oven door closed. After
10 -12 hours your yogurt should be solid with a layer of whey on the
top. If you like thicker yogurt, you'll need to drain or carefully
pour off the whey by pouring it into a colander lined with cheesecloth
that has been set on top of a large pot.
It takes about 2 hours of draining to make a thick natural yogurt, and
about 3 or 4 hours to make a Greek style yogurt. Next, yogurt can be
stored in a refrigerator or cooler to keep it sweet tasting. Some
people prefer a tart yogurt and leave it out at room temperature for
over 24 hours. The longer it stays at room temperature, the tarter it
will become. Save a little back for the next batch!
*(any kind of yogurt, but must have both the active
and live cultures of lactobacillus bulgaricus and streptococcus
thermophilus. Read the label to be sure that you have the right
starter bacteria)
Yogurt can be sweetened with jam, sugar, honey, or whatever you like.
At the convent, we received a wonderful donation recently of Agave
nectar. This natural sweetener has made some lovely batches of yogurt
for our guests!
Crepes are one of my favorite foods and can be quite versatile. Used for dessert, they can be filled with a variety of ingredients: chocolate, Nutella, mascarpone to name a few. Or served at breakfast with ricotta cheese and just a touch of sweetness. At lunch or dinner, they can be filled with spinach, chicken and mushroom cream sauce, or thinly sliced ham and a lightly scrambled egg or even an herbed cream cheese with smoked salmon and sliced radish. Any way you serve them, they are delightful, and light on carbohydrates.
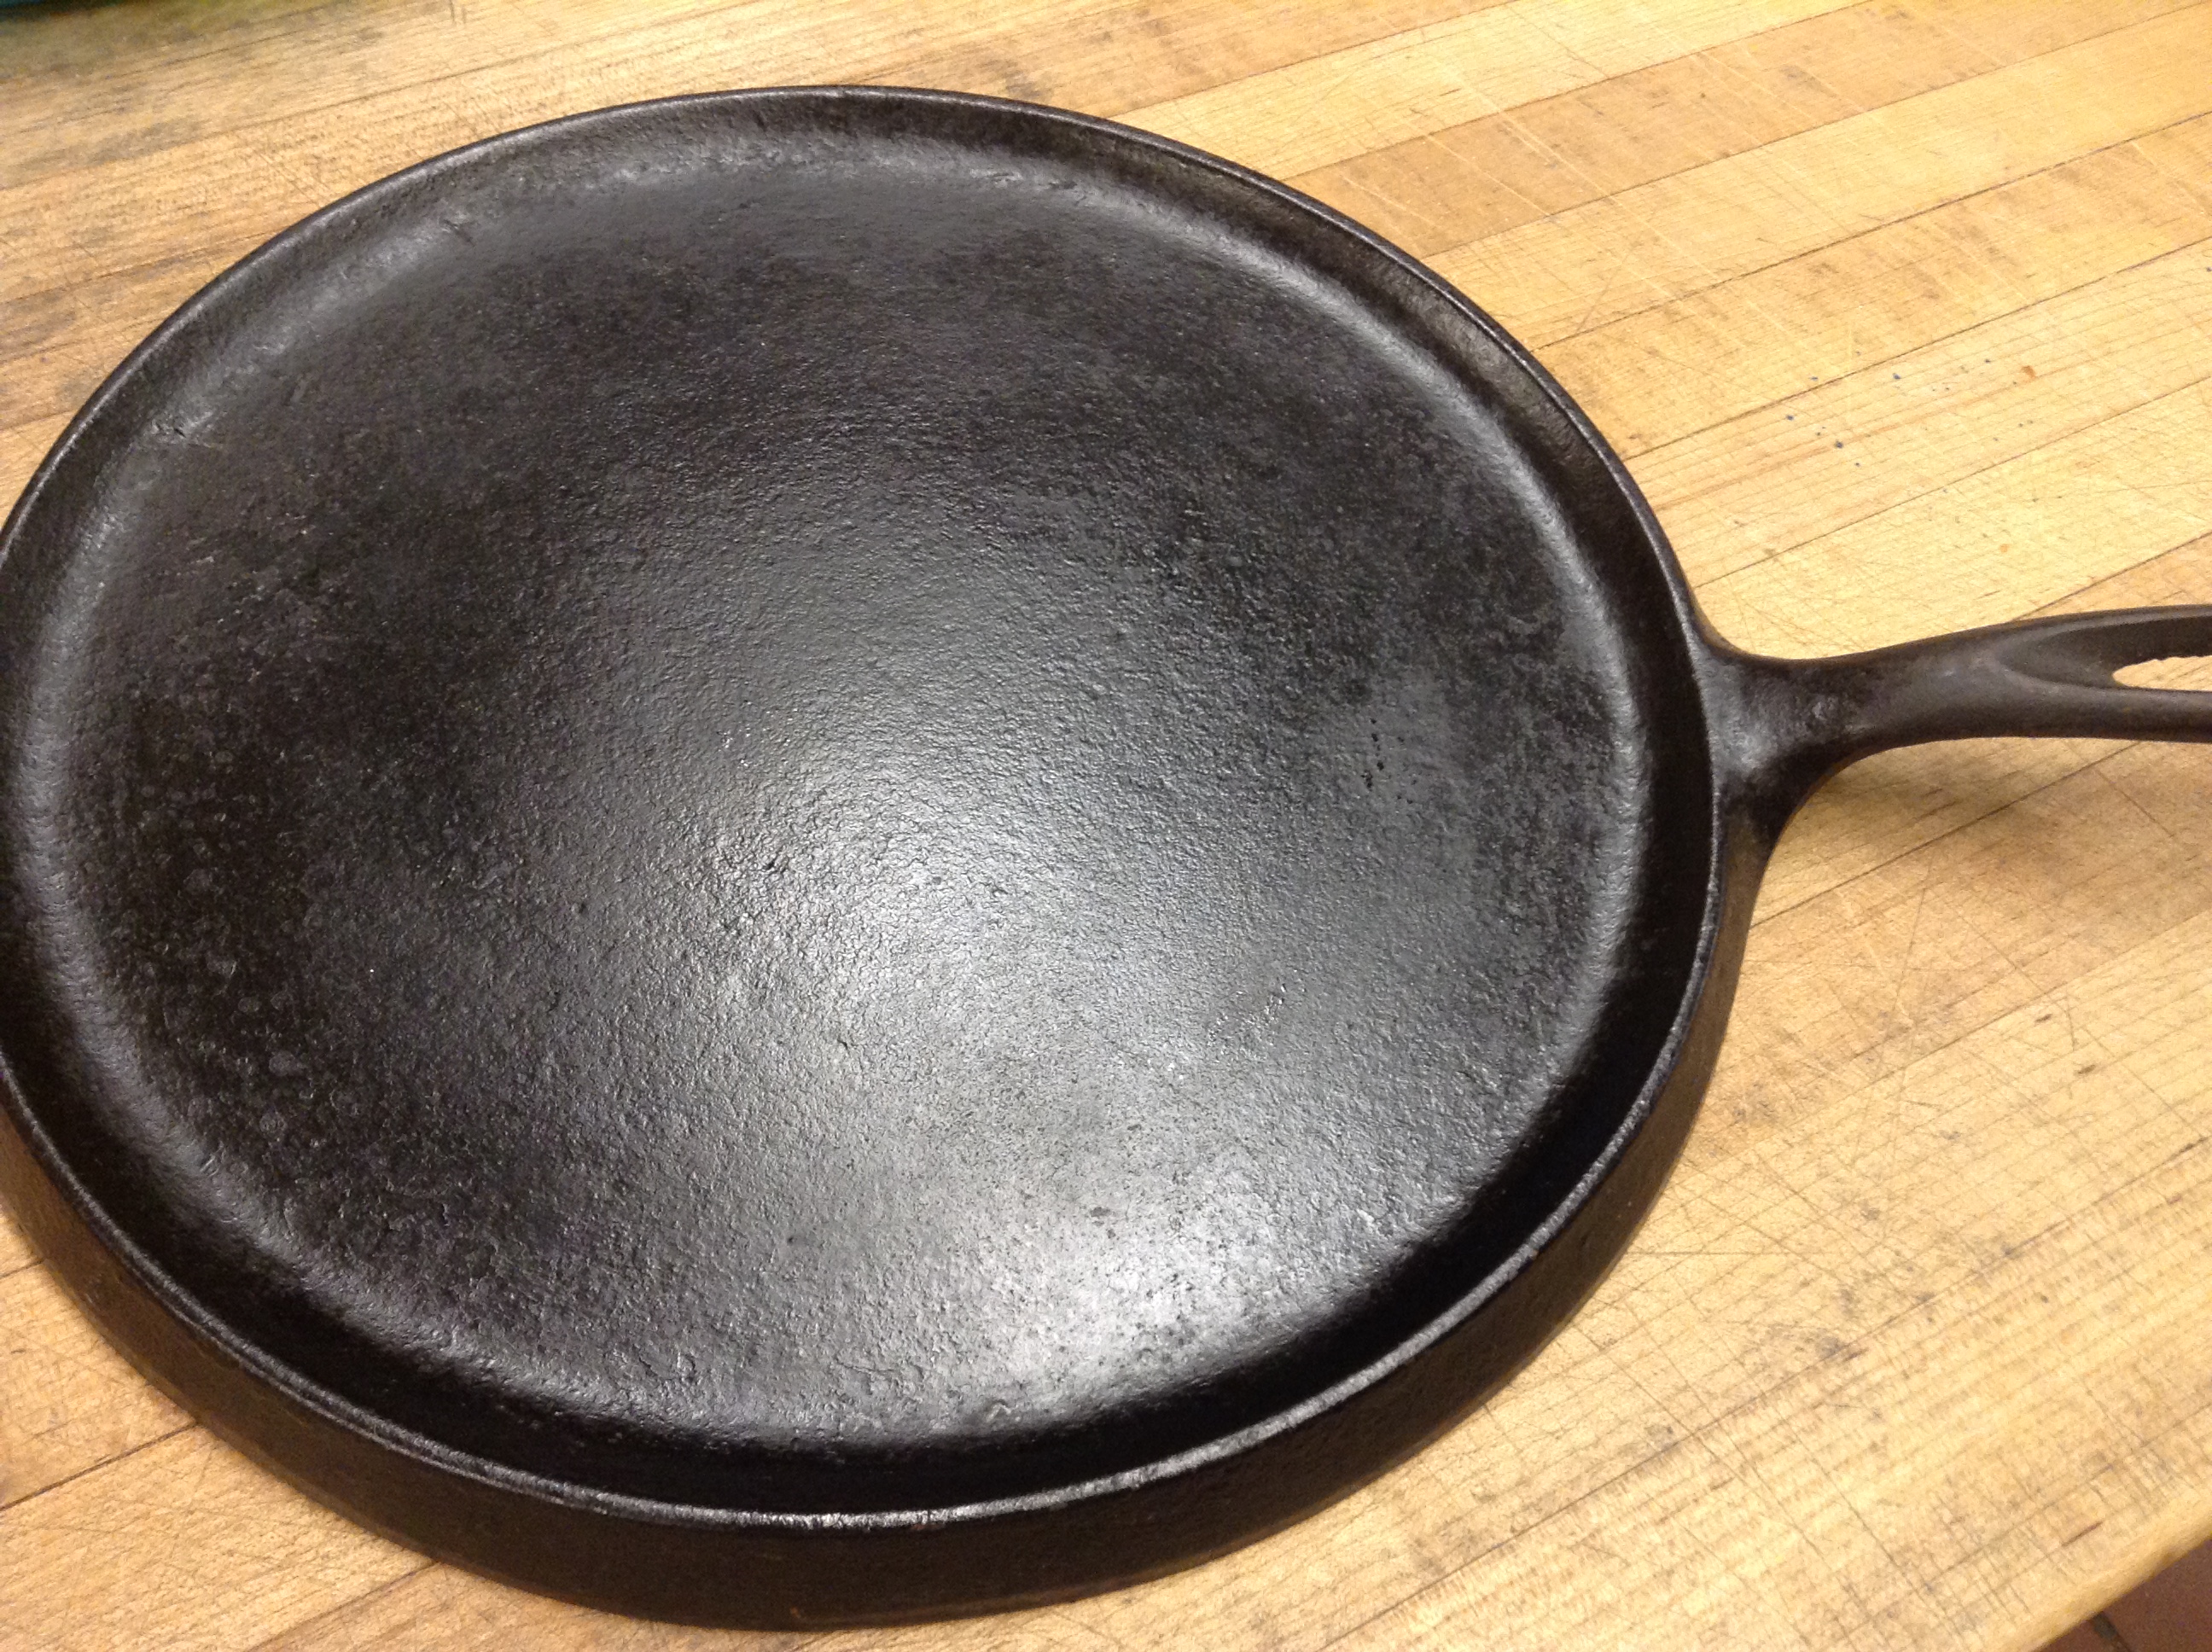
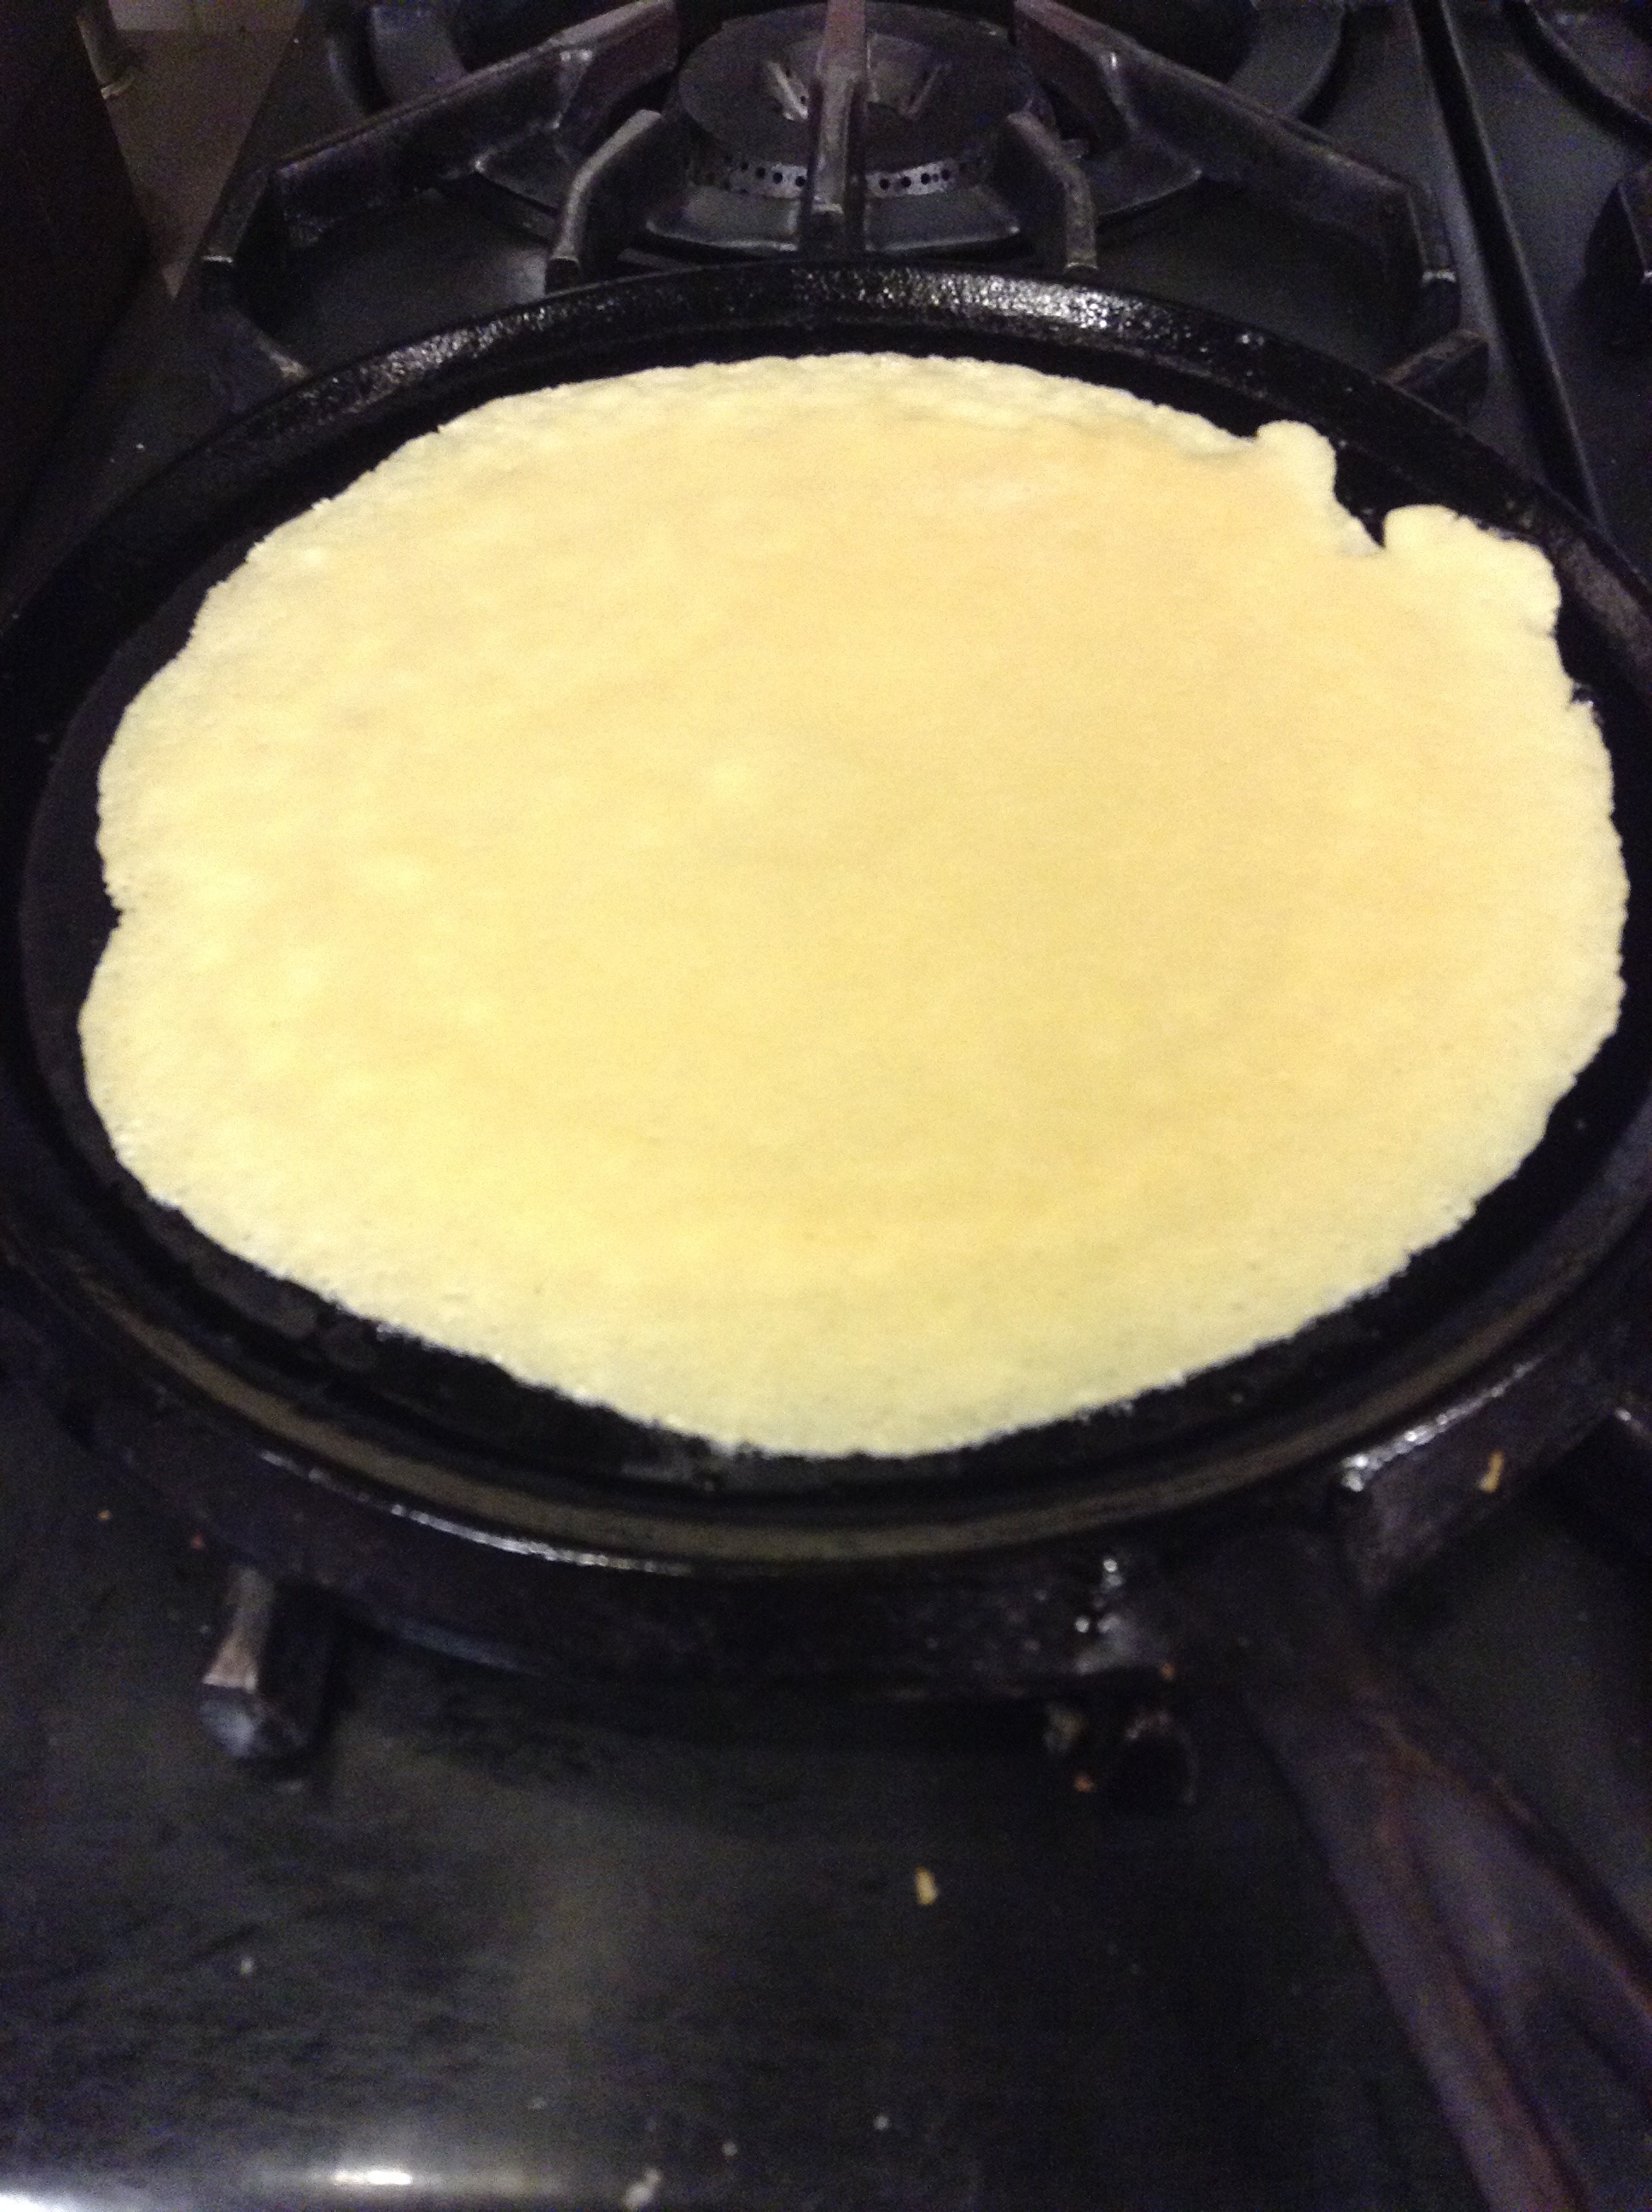
I was cleaning out our coal stoves, and discovered an old cast-iron crepe pan. I couldn’t resist! Passion took over and I set about cleaning it up, trying out recipes, and finding something that I wanted to share. This simple breakfast crepe will be a nice change on the weekend, when you want to do something a little more special for your family.
Blessed New Year!
Print Recipe
Votes: 17
Rating: 3.82
You:
Rate this recipe!
Crepes with Lemon Ricotta Filling
Makes about 6 8-inch crêpes, recipe can be doubled as needed
Place the flour, milk, eggs, salt, and melted butter (and optional sugar and vanilla) in a blender and blend for about 20 seconds until batter is smooth. Alternatively, whisk everything together in a bowl until thoroughly combined and frothy.
Cover the bowl and let the batter sit for at least 1/2 hour on the counter or overnight in the refrigerator.
Before cooking the crêpes, assemble everything you'll need by your stove top: the batter, the pan, the oil and pastry brush and a spatula. If your bowl doesn't have a pour spout, have a ladle or 1/4-cup measuring cup handy.
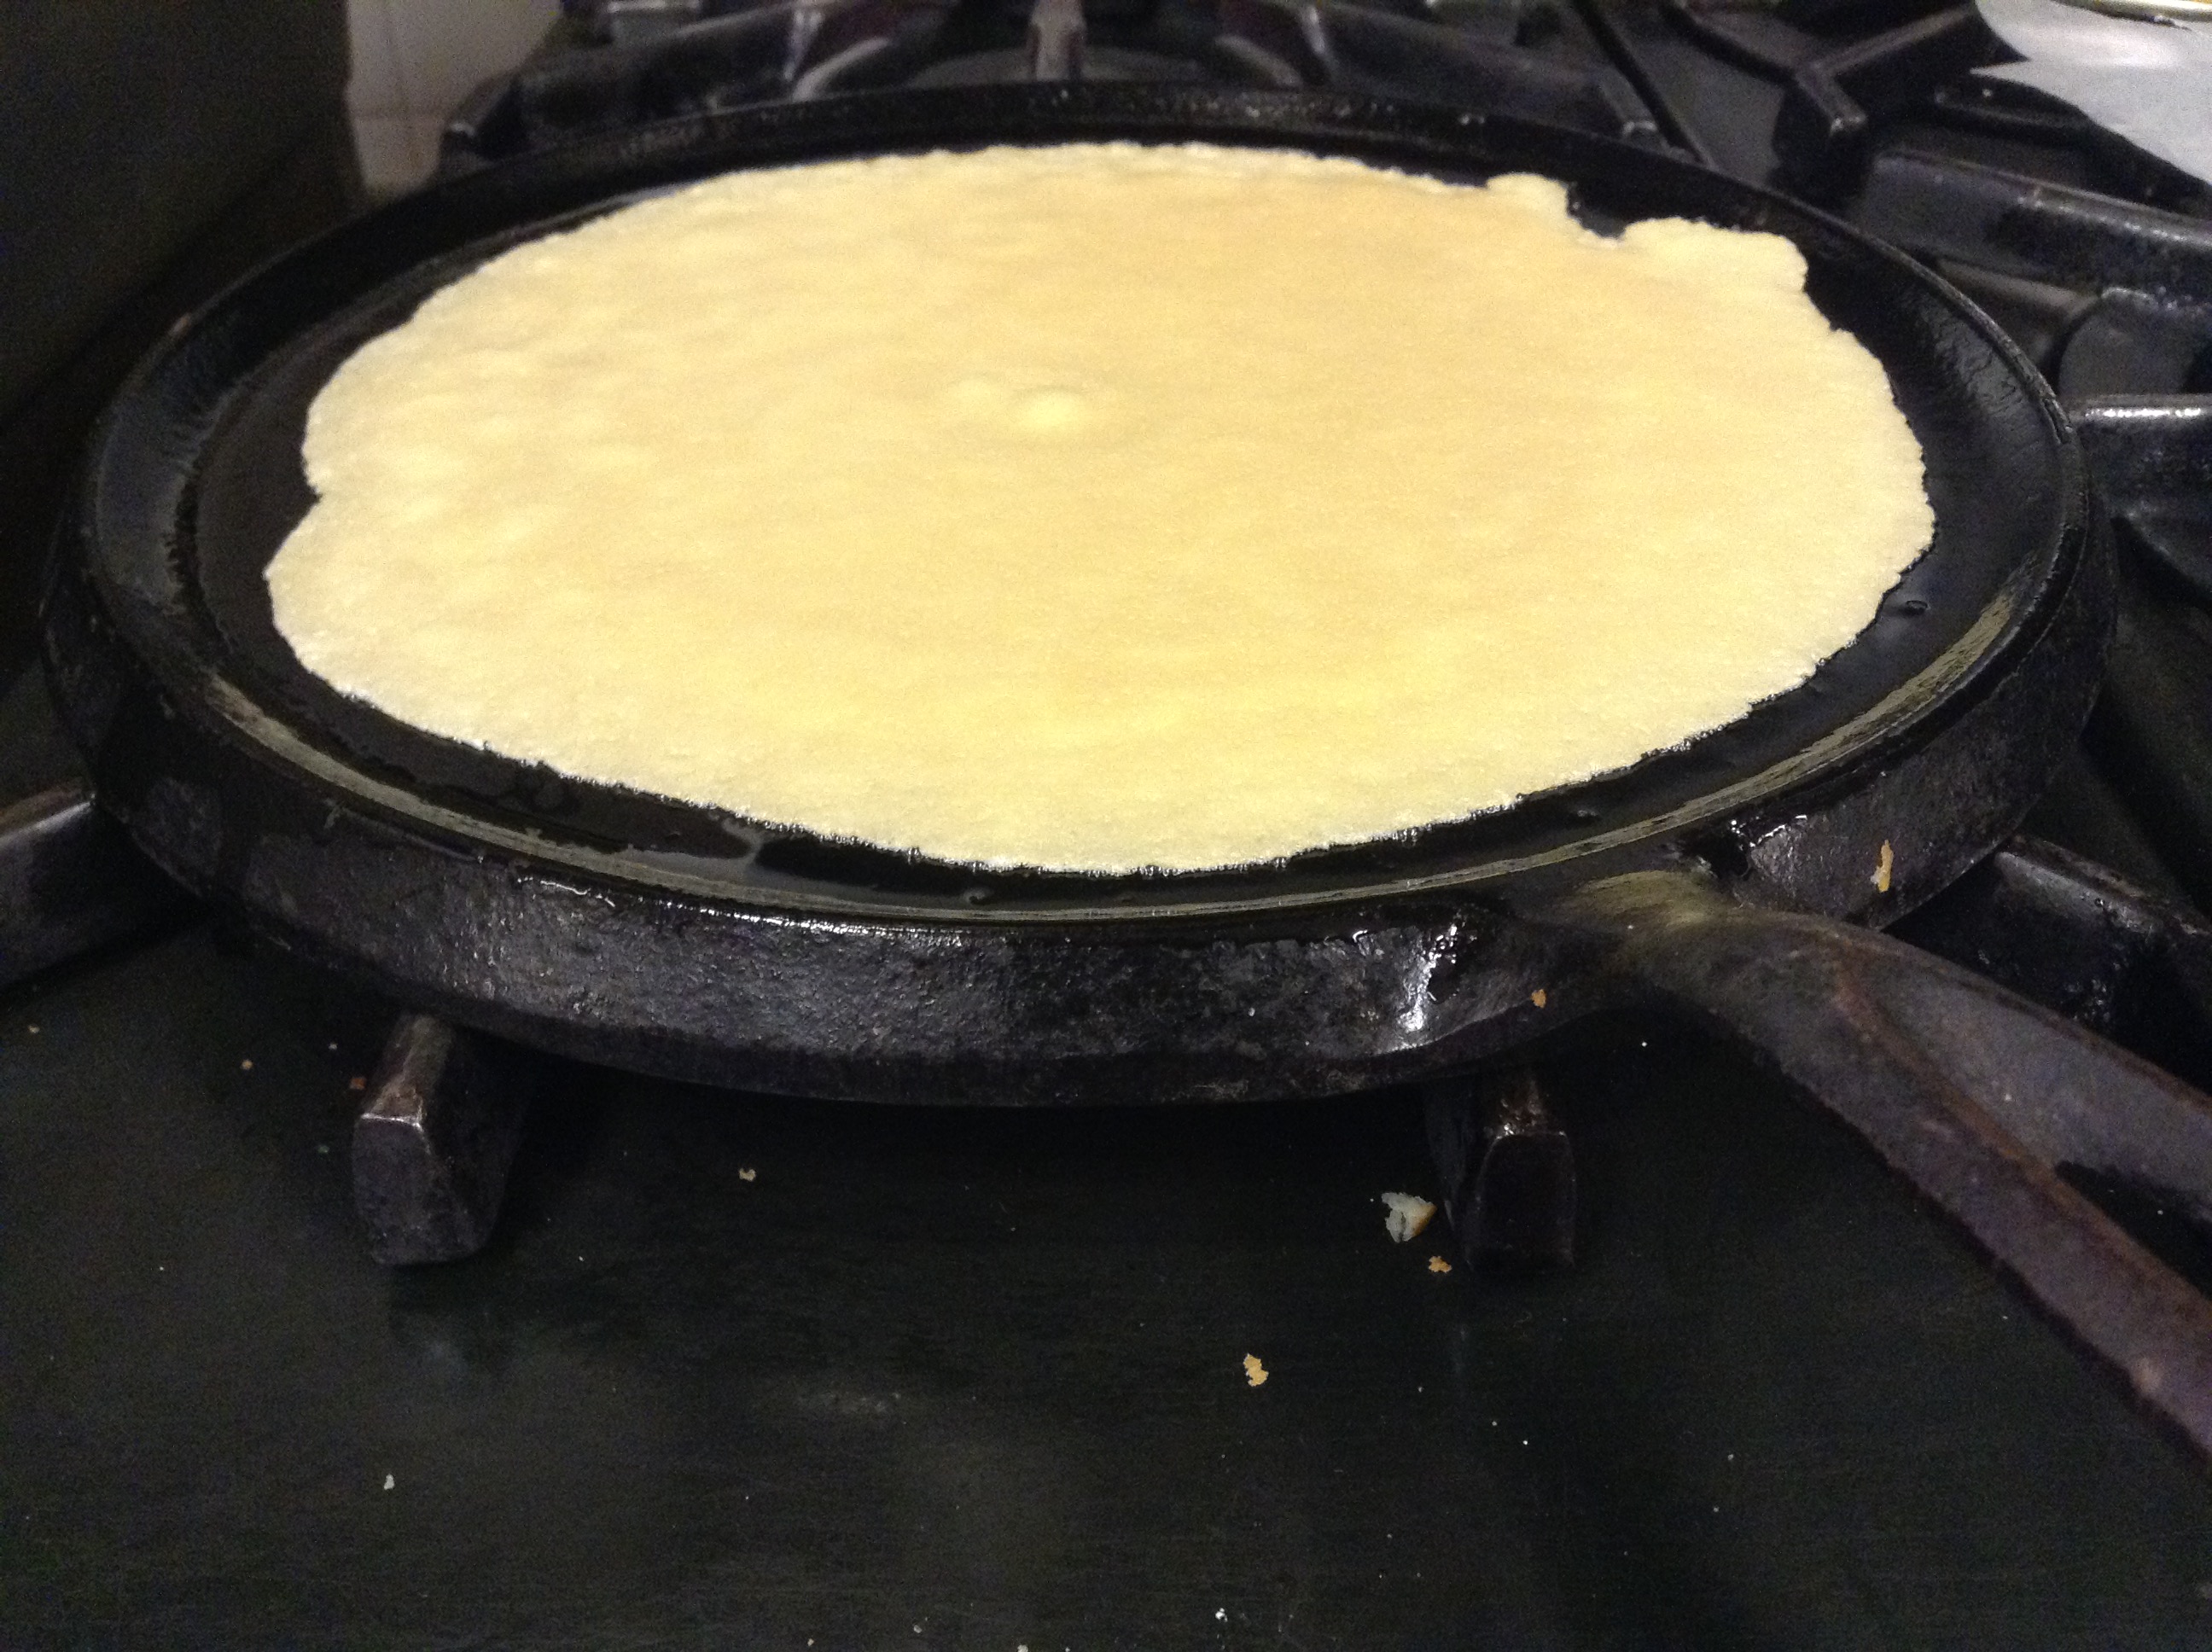
Place the pan over medium heat and brush your pan with oil to coat the bottom. Let it sit on the flame for a minute to get hot. Pour in about ¼-1/3 cup of batter. Immediately, pick up the pan and swirl it to coax the batter into an even layer on the bottom of the pan.
When the crêpe has browned slightly on the bottom, carefully work a spatula underneath it and flip. Cook the second side briefly, just to set the batter.
Tilt the pan and loosen the crêpe, then slide it onto the cooling rack or wax paper
Continue making crêpes with the rest of the batter, brushing more oil on the pan as needed to keep the crêpes from sticking.
If not eating the crêpes immediately, stack them one on top of the other as they cool. If they seem sticky, place a square of wax paper or parchment between them. Place the stack in a sealable plastic bag and store in the refrigerator for a few days or in the freezer for a few months.
Lemon Ricotta Filling
Whip all of the above ingredients together in a mixer until smooth and creamy. If using cream cheese, whip this first until creamy and then add the other ingredients
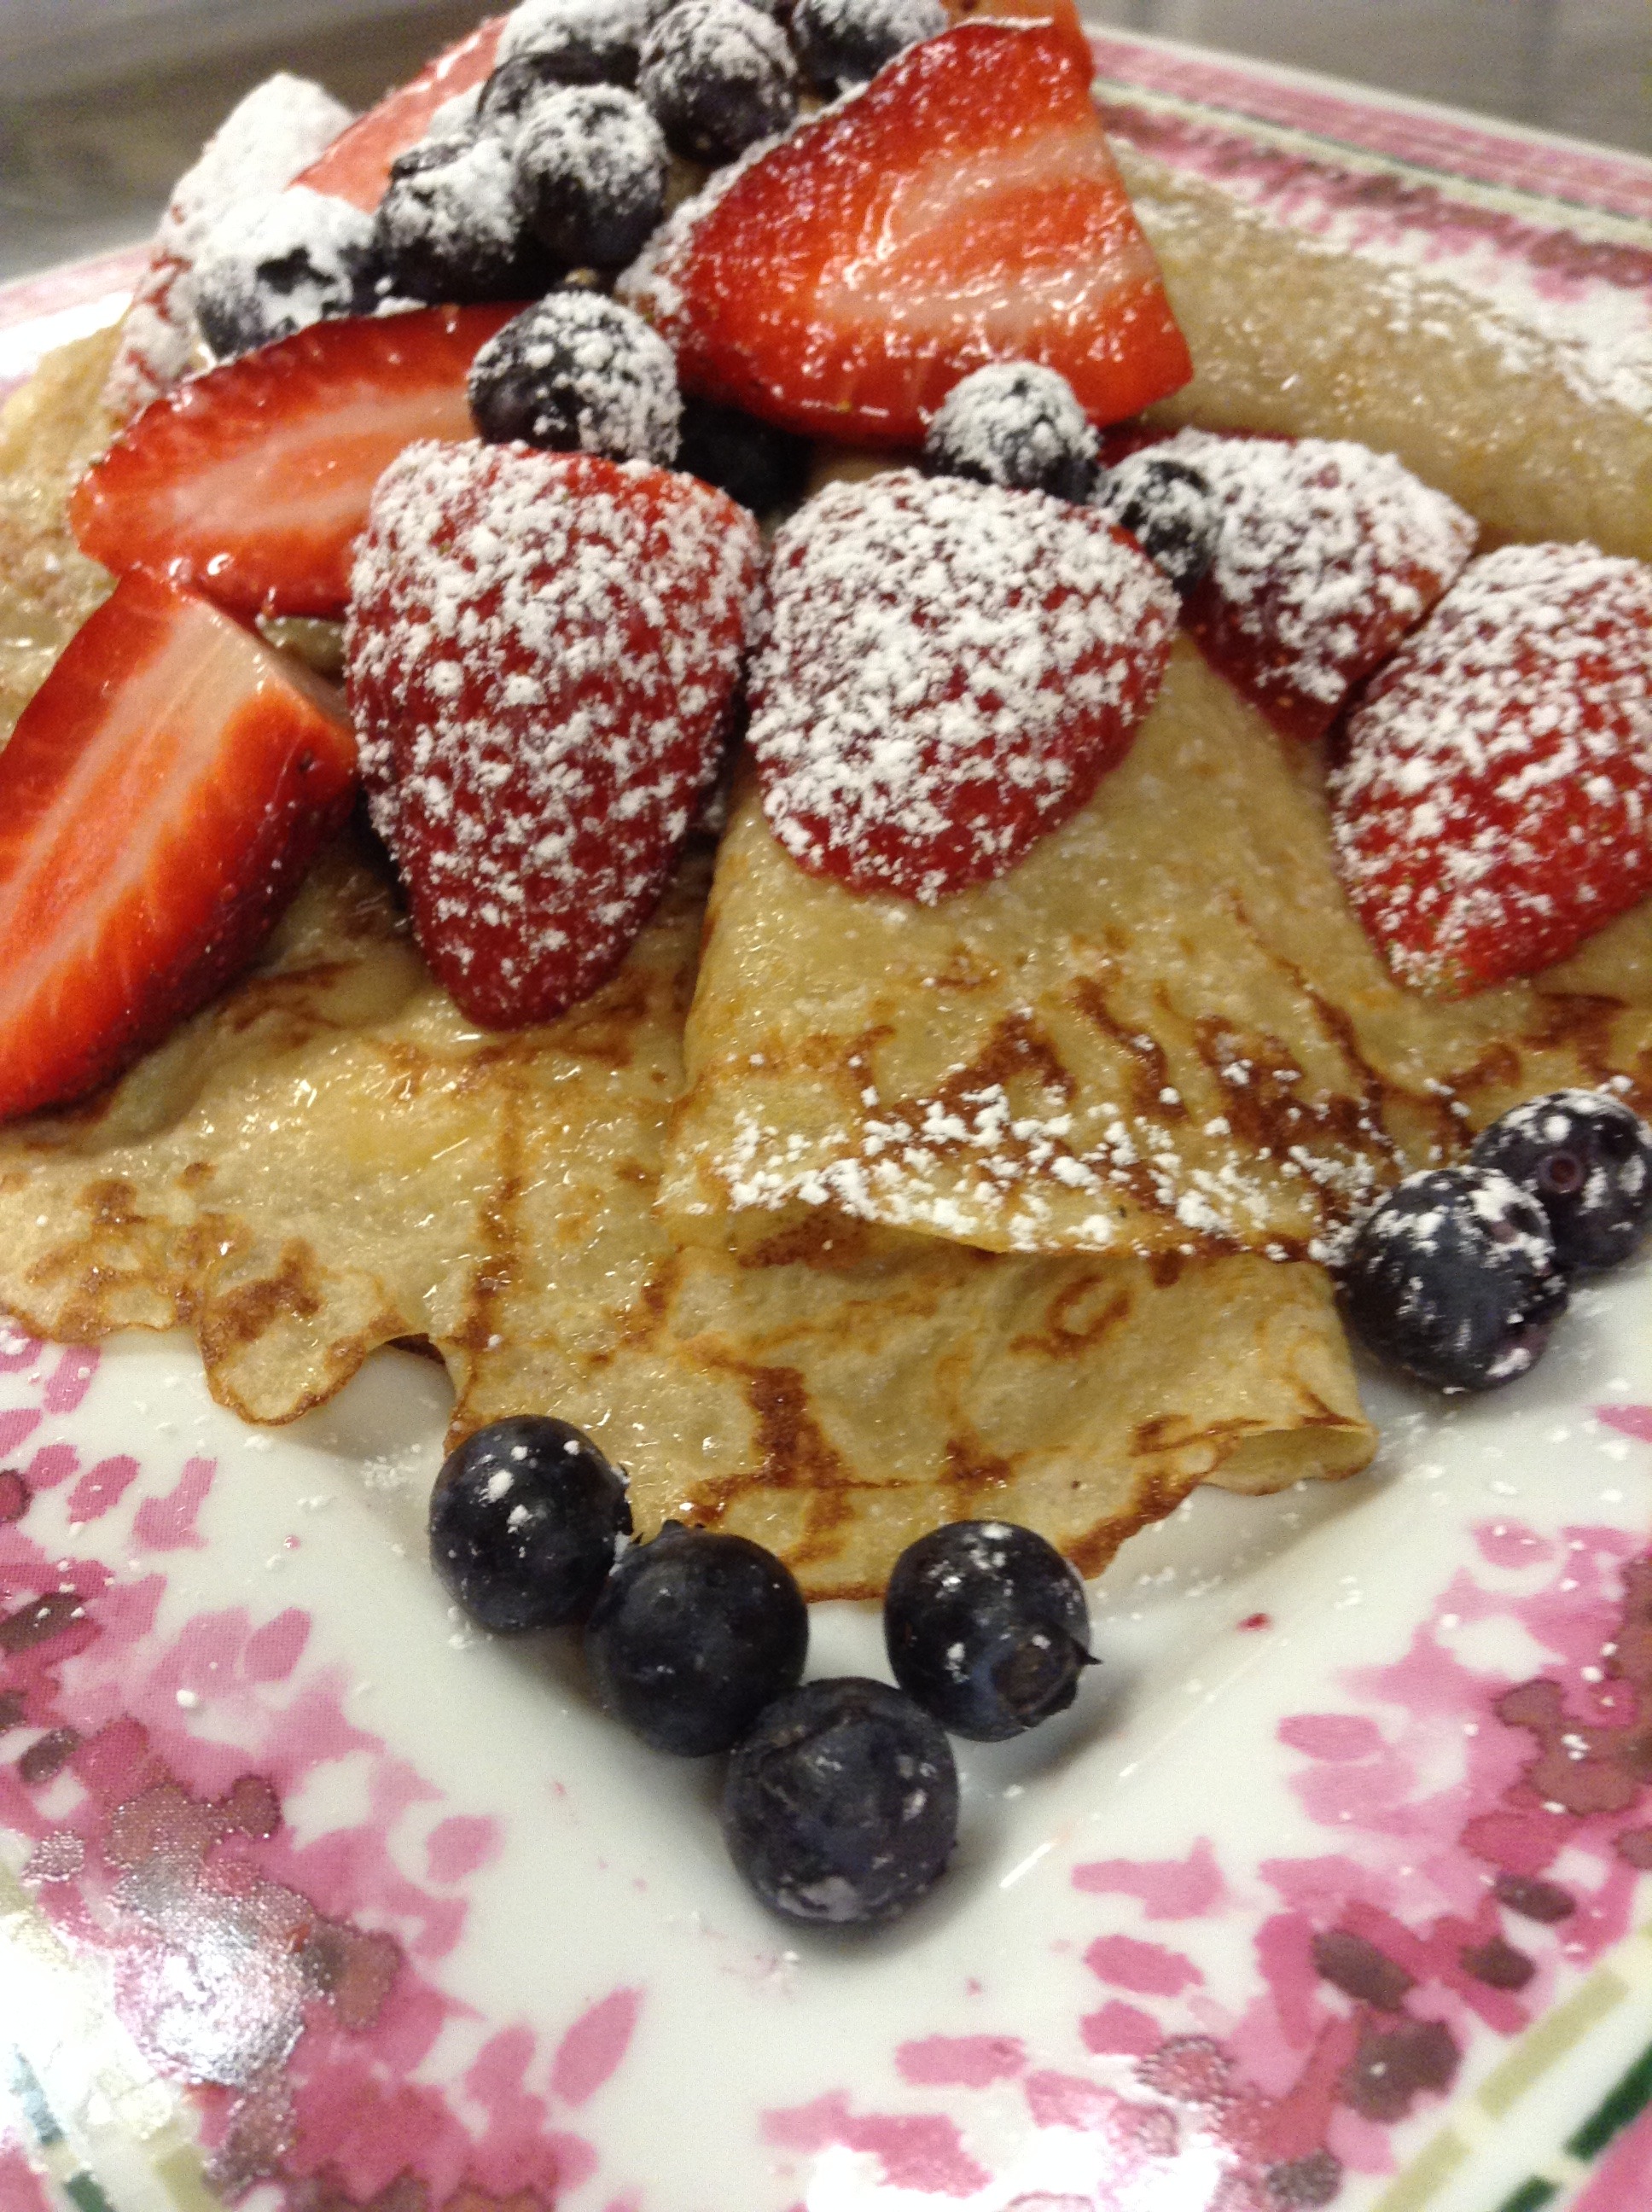
Spoon about 2 Tbsp of the filling into one of the “corners” of the crepes and fold into ¼’s
Arrange on plate and sprinkle with mixed berries and powdered sugar to serve, or serve with homemade blueberry sauce (below).
Homemade Blueberry Sauce
In a medium saucepan over high heat, combine sugar, water, cornstarch,
and lemon juice.
Whisk until blended, then add blueberries.
Bring to a boil. Reduce heat to medium and cook, stirring constantly, until juice is clear and sauce is slightly thickened, about 2 minutes.
What’s cool, fun, beautiful to look at, satisfying, refreshing, easy to eat, pleasing to young and old alike, simple to make, nutritious and delicious?
A smoothie of course! They have definitely established themselves in our normal everyday diet. No longer unusual as they originally were.
Recently a group of friends wanted to do a little something more than just give a gift to someone on their 60th birthday. This “someone”, having many friends and well wishes had already received a number of invitations to lunch, dinner, tea and coffee hours. What would be an appropriate way to enhance the giving of their gift? Aha! A “smoothie break”. Just right. Perfect in every way.
They knew their birthday girl loved fresh fruit so they arranged a beautiful basketful as a center piece. Then they blended up a tray full of assorted smoothies. For hers, they combined strawberries, bananas, mangoes and peaches, all her favorites. It was a tremendous success! She loved everything about it and made it very clear that it pleased her as much, if not more, than some of her more elaborate expressions of care. What a rewarding experience for all.