There is no better time than the present to spread some JOY! Thanks to our friends at King Arthur Flour, I did some baking this weekend. In our Convent, Sr. Elizabeth loves to bake chocolate chip cookies, and if you’re lucky enough to be walking through the kitchen when she’s baking, she’ll always stop and give you the one “that didn’t come out quite perfect.”
With children home from school and spouses trying to work remotely, why not take some time to make a batch of these yummy cookies and enjoy the smiles they’ll bring. Another side benefit are the wonderful smells that come into your kitchen. In these uncertain times, warm cookies fresh from the oven warm hearts as well!
(Note: If you use a digital scale to measure the ingredients, they will come out perfectly!)
Print Recipe
Votes: 2
Rating: 5
You:
Rate this recipe!
Easy and Delicious - Chocolate Chip Oatmeal Cookies
Preheat oven to 325 degrees F. Line 4 cookie sheets lined with parchment
paper.
Beat together the butter and sugars until smooth.
Beat in the egg, egg yolk, and vanilla.
Whisk together the flour, oats, baking powder, baking soda and salt, and
add to the butter mixture in the bowl.
Mix until everything is incorporated (no need to over mix), scraping the
bottom of the bowl.
Stir in the chocolate chips
Using a 1" cookie scoop or ice cream scoop, drop a dozen cookies on each
sheet pan in rows of 3 - spreading evenly apart.
Bake at 325° for 12 to 13 minutes or until golden brown on the edges. Remove from the oven, cool on the sheet pan for another couple of minutes (they will continue baking slightly)and then carefully slide the parchment with cookies to the counter to cool.
This recipe will make 50 cookies.
HANDS-DOWN, ONE OF OUR SISTERHOOD’S MOST FAVORITE TREATS!
This is a dessert / snack that I think is fair to say, always brings a smile and sparkle to the eye. Whether served as a plated reception option, a surprise snack for a hard-working crew, a dessert tucked into a bag lunch, it always hits the mark—and is never refused! And as a living testimony to this—today, I left the batch of fresh baked Carmelitas on the counter, only to find when I returned to do my blog “photo shoot”, that the Sister on duty saw them and couldn’t resist offering a few to some Brothers doing a spackling job; I’m still hearing how much they loved them!
Over the years, both the Sisters and Brothers have developed and sold granola at Priory Books & Gifts and through Paraclete Press. We are both proud of our two very different recipes. The Brothers’ granola is chock full of dried fruits and nuts and flavored with maple to add just that little New England touch. The Sisters’ granola is very simple and sweetened with honey and cinnamon. We like to think of ours as the healthier option! We’ve been running a little secret competition on the side to see whose granola is more popular, and we respectfully concede to the Brothers, who have won — hands down!
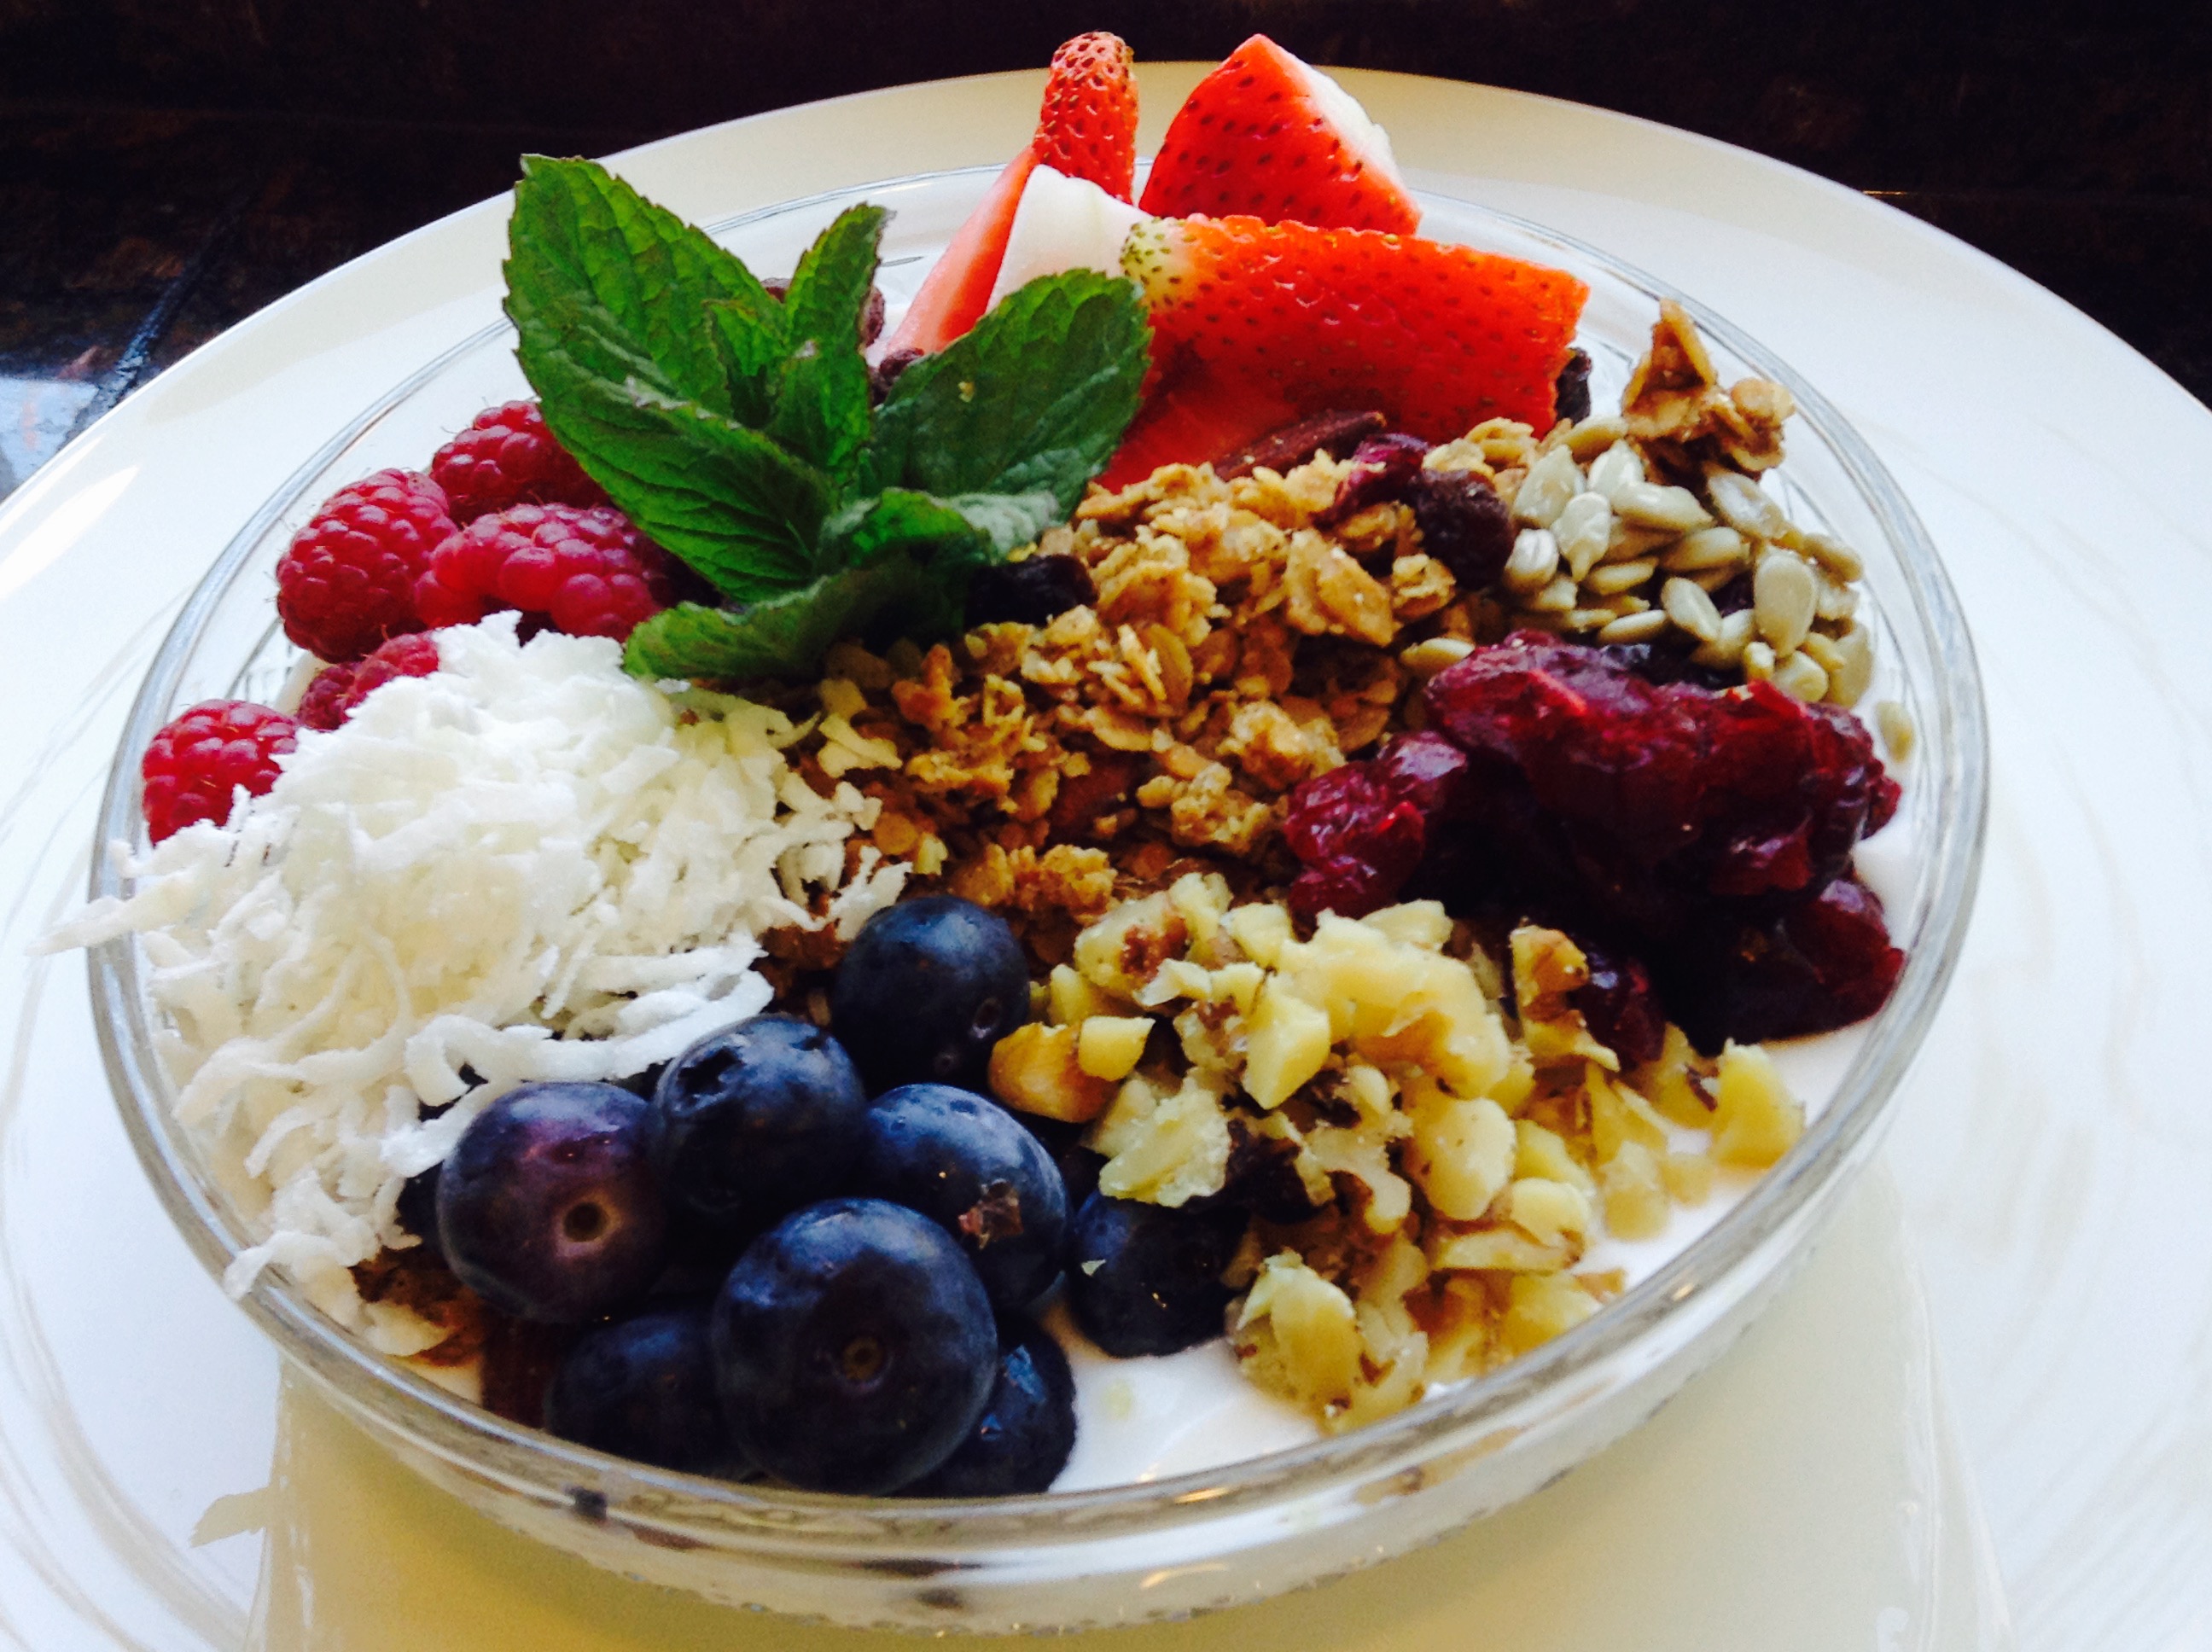
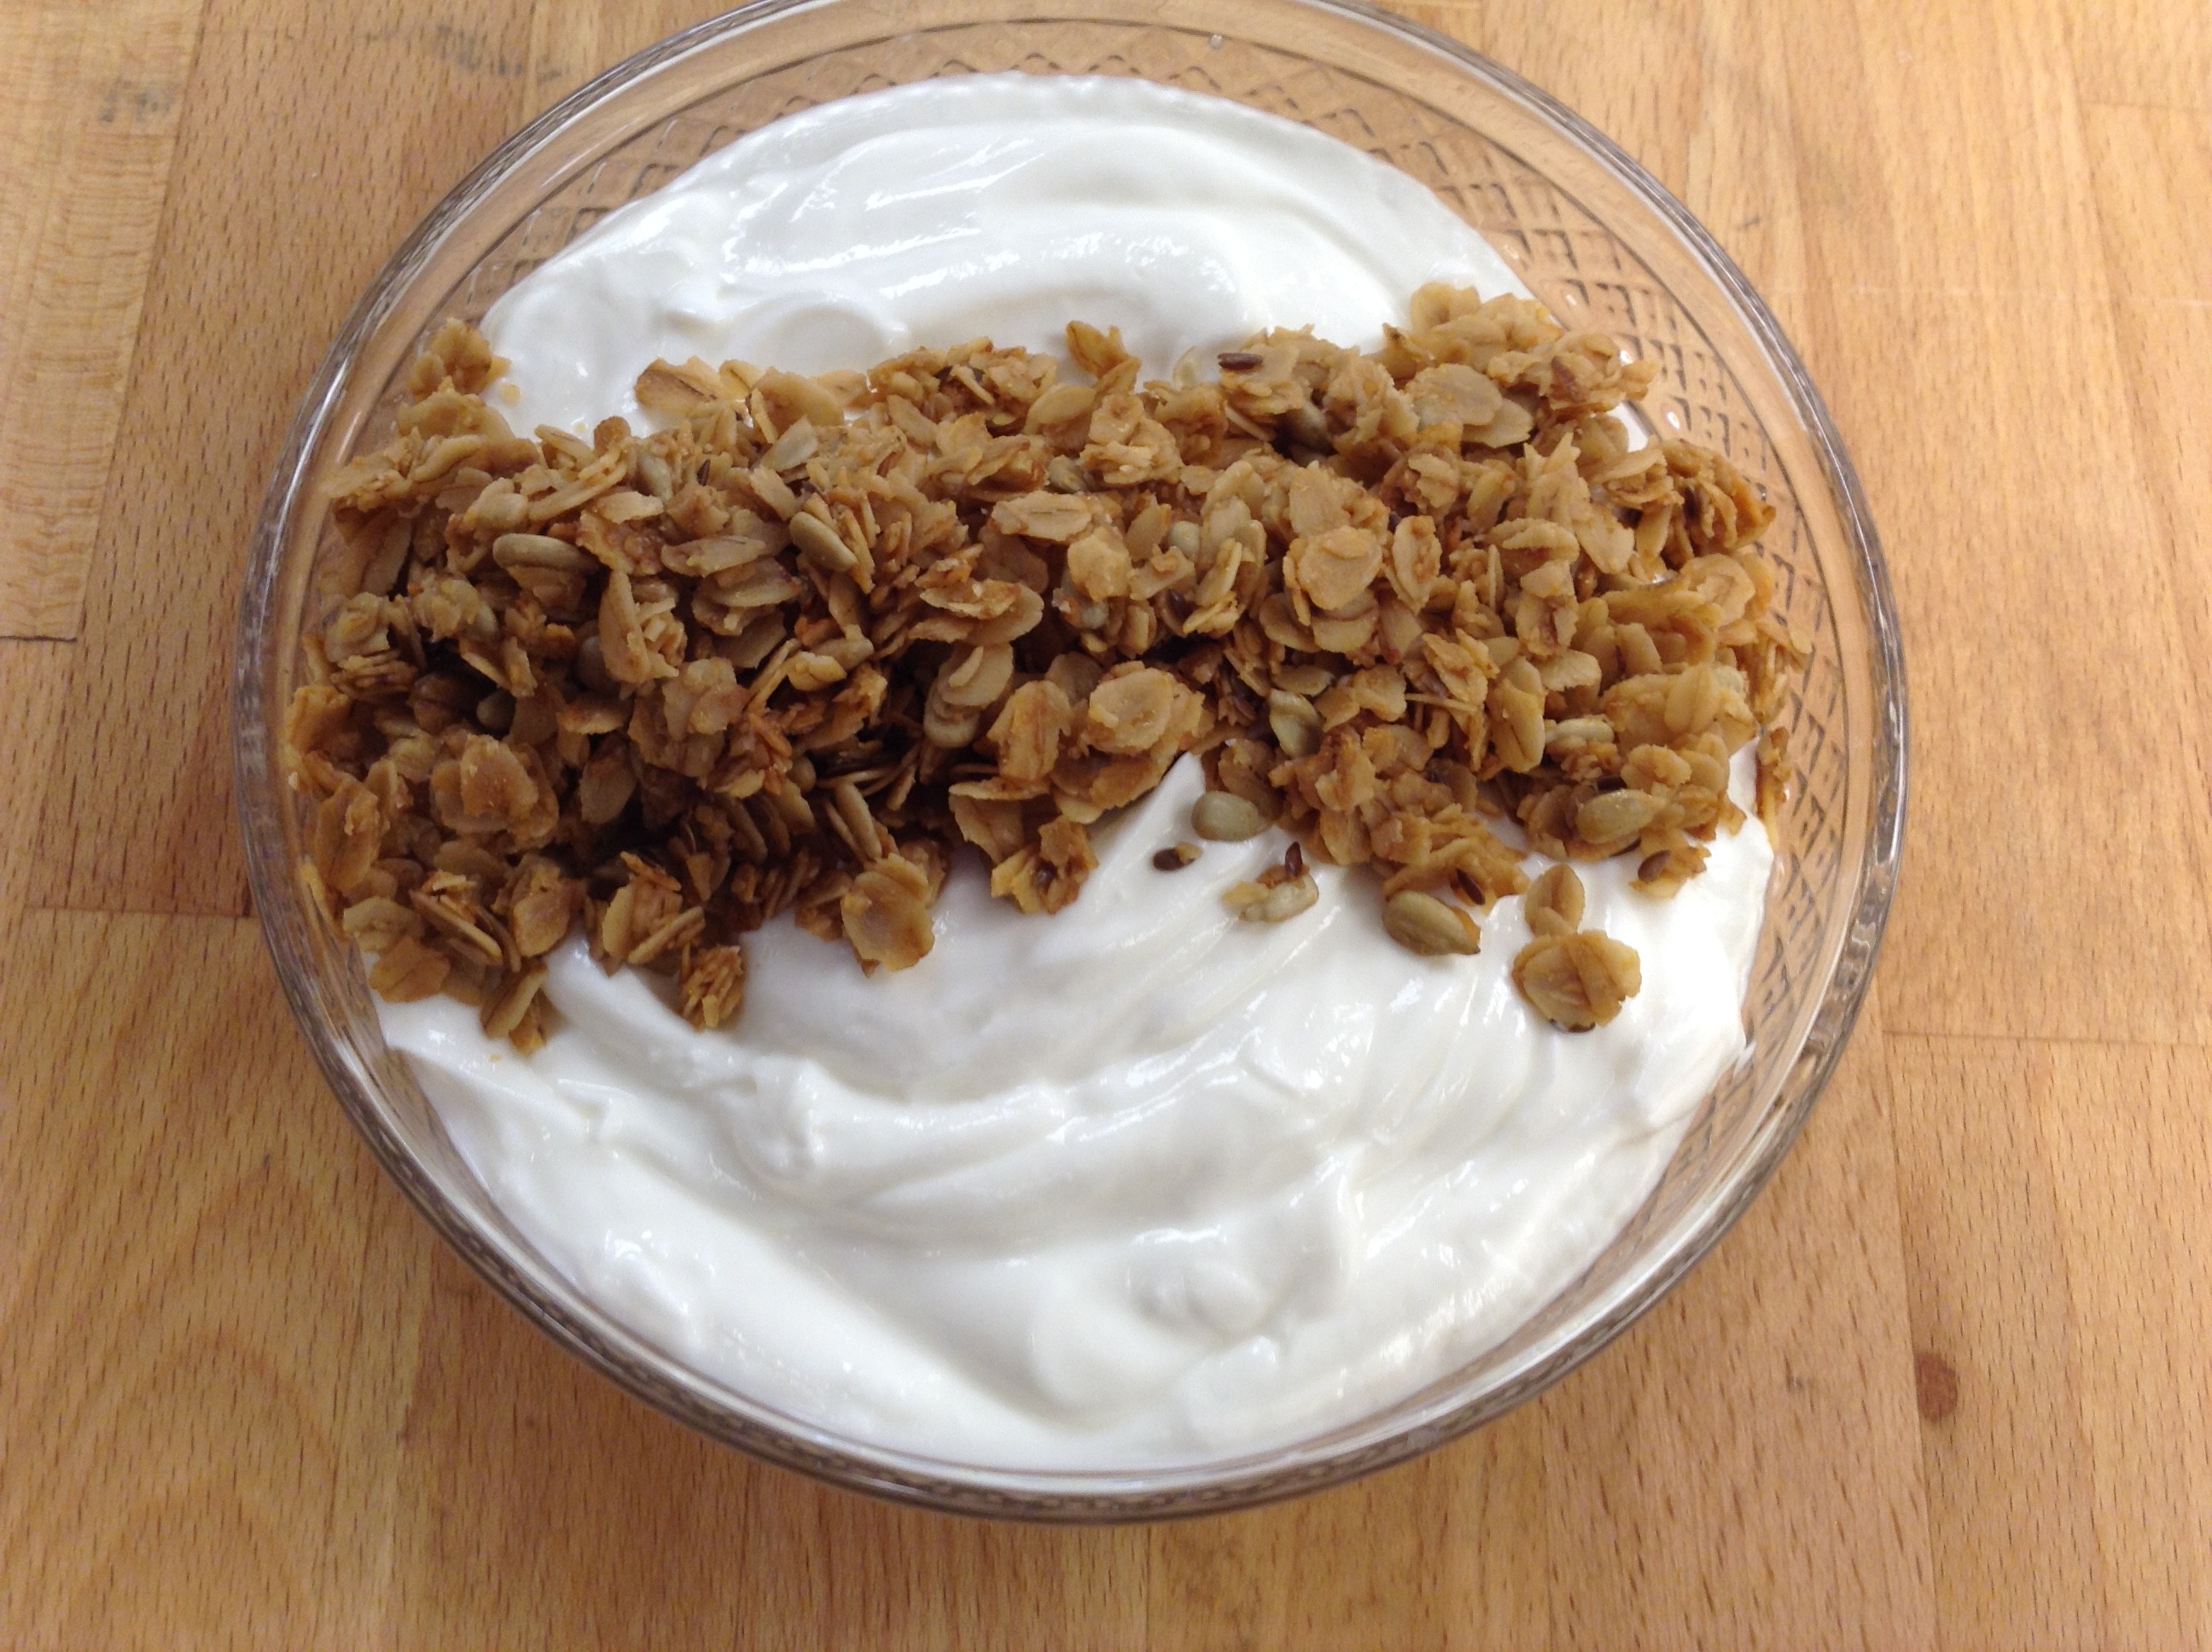
Even though I’m not at liberty to give away our secret recipes, I have adapted my own that is what I call a “blend of the best” – a combo of the two. Sprinkled over our homemade yogurt and garnished with fresh fruit, this has become one of our signature breakfast menus at Bethany. A terrific way to start your day! Click here for our recipe of crockpot yogurt!
If you should be up and around at 5:30 every a.m. you are apt to see two young sisters making their way down the road to the barn to milk our 3 cows. These gorgeous brown guernseys keep us well supplied with quality fresh milk every day. This makes it possible for us to produce our own yogurt and soft cheeses which we have doing for some time. Only recently however, have we begun to use the Crockpot method which results in a wonderfully thick satisfying yogurt with little to no effort. Combine this with our homemade granola and some fresh fruit and you have a beautiful, bright, healthy breakfast that is a favorite at the convent.
We decided to offer it for our last oblate retreat and it was met with such overwhelmingly positive response from so many we have decided to serve it again in the near future. Perhaps you would like to give it try even if you don’t have any cows of your own. Healthy Summer Breakfast!
Crockpot Yogurt -
Serves 16
Prep Time: 10 minutes
Cook Time: 20 minutes approximately
Cool Time: 3.5-4 hours
Cure Time: 10-12 hours
Drain Time: 2 -4 hours (if thicker yogurt is desired)
Ready In: Next day
What You will Need:
Electric Crockpot
Some Type of Cooking or Dairy Thermometer
A Wisk or Fork
A Colander
Muslin, Plyban Cheescloth or some woven type of woven cloth
Bath towel or woolen scarf
Oven or Other draft free warm location
Heat the first four ingredients (through the vanilla) in a skillet,
then add the next 2 items (oats and cinnamon) and mix well
Spread evenly on paper lined sheet pans. Bake 1 hr 15 min on 225 degrees Fahrenheit.
Leave granola in oven overnight and package the following day --
mixing in the raising first and breaking up chunks
Crockpot Yogurt
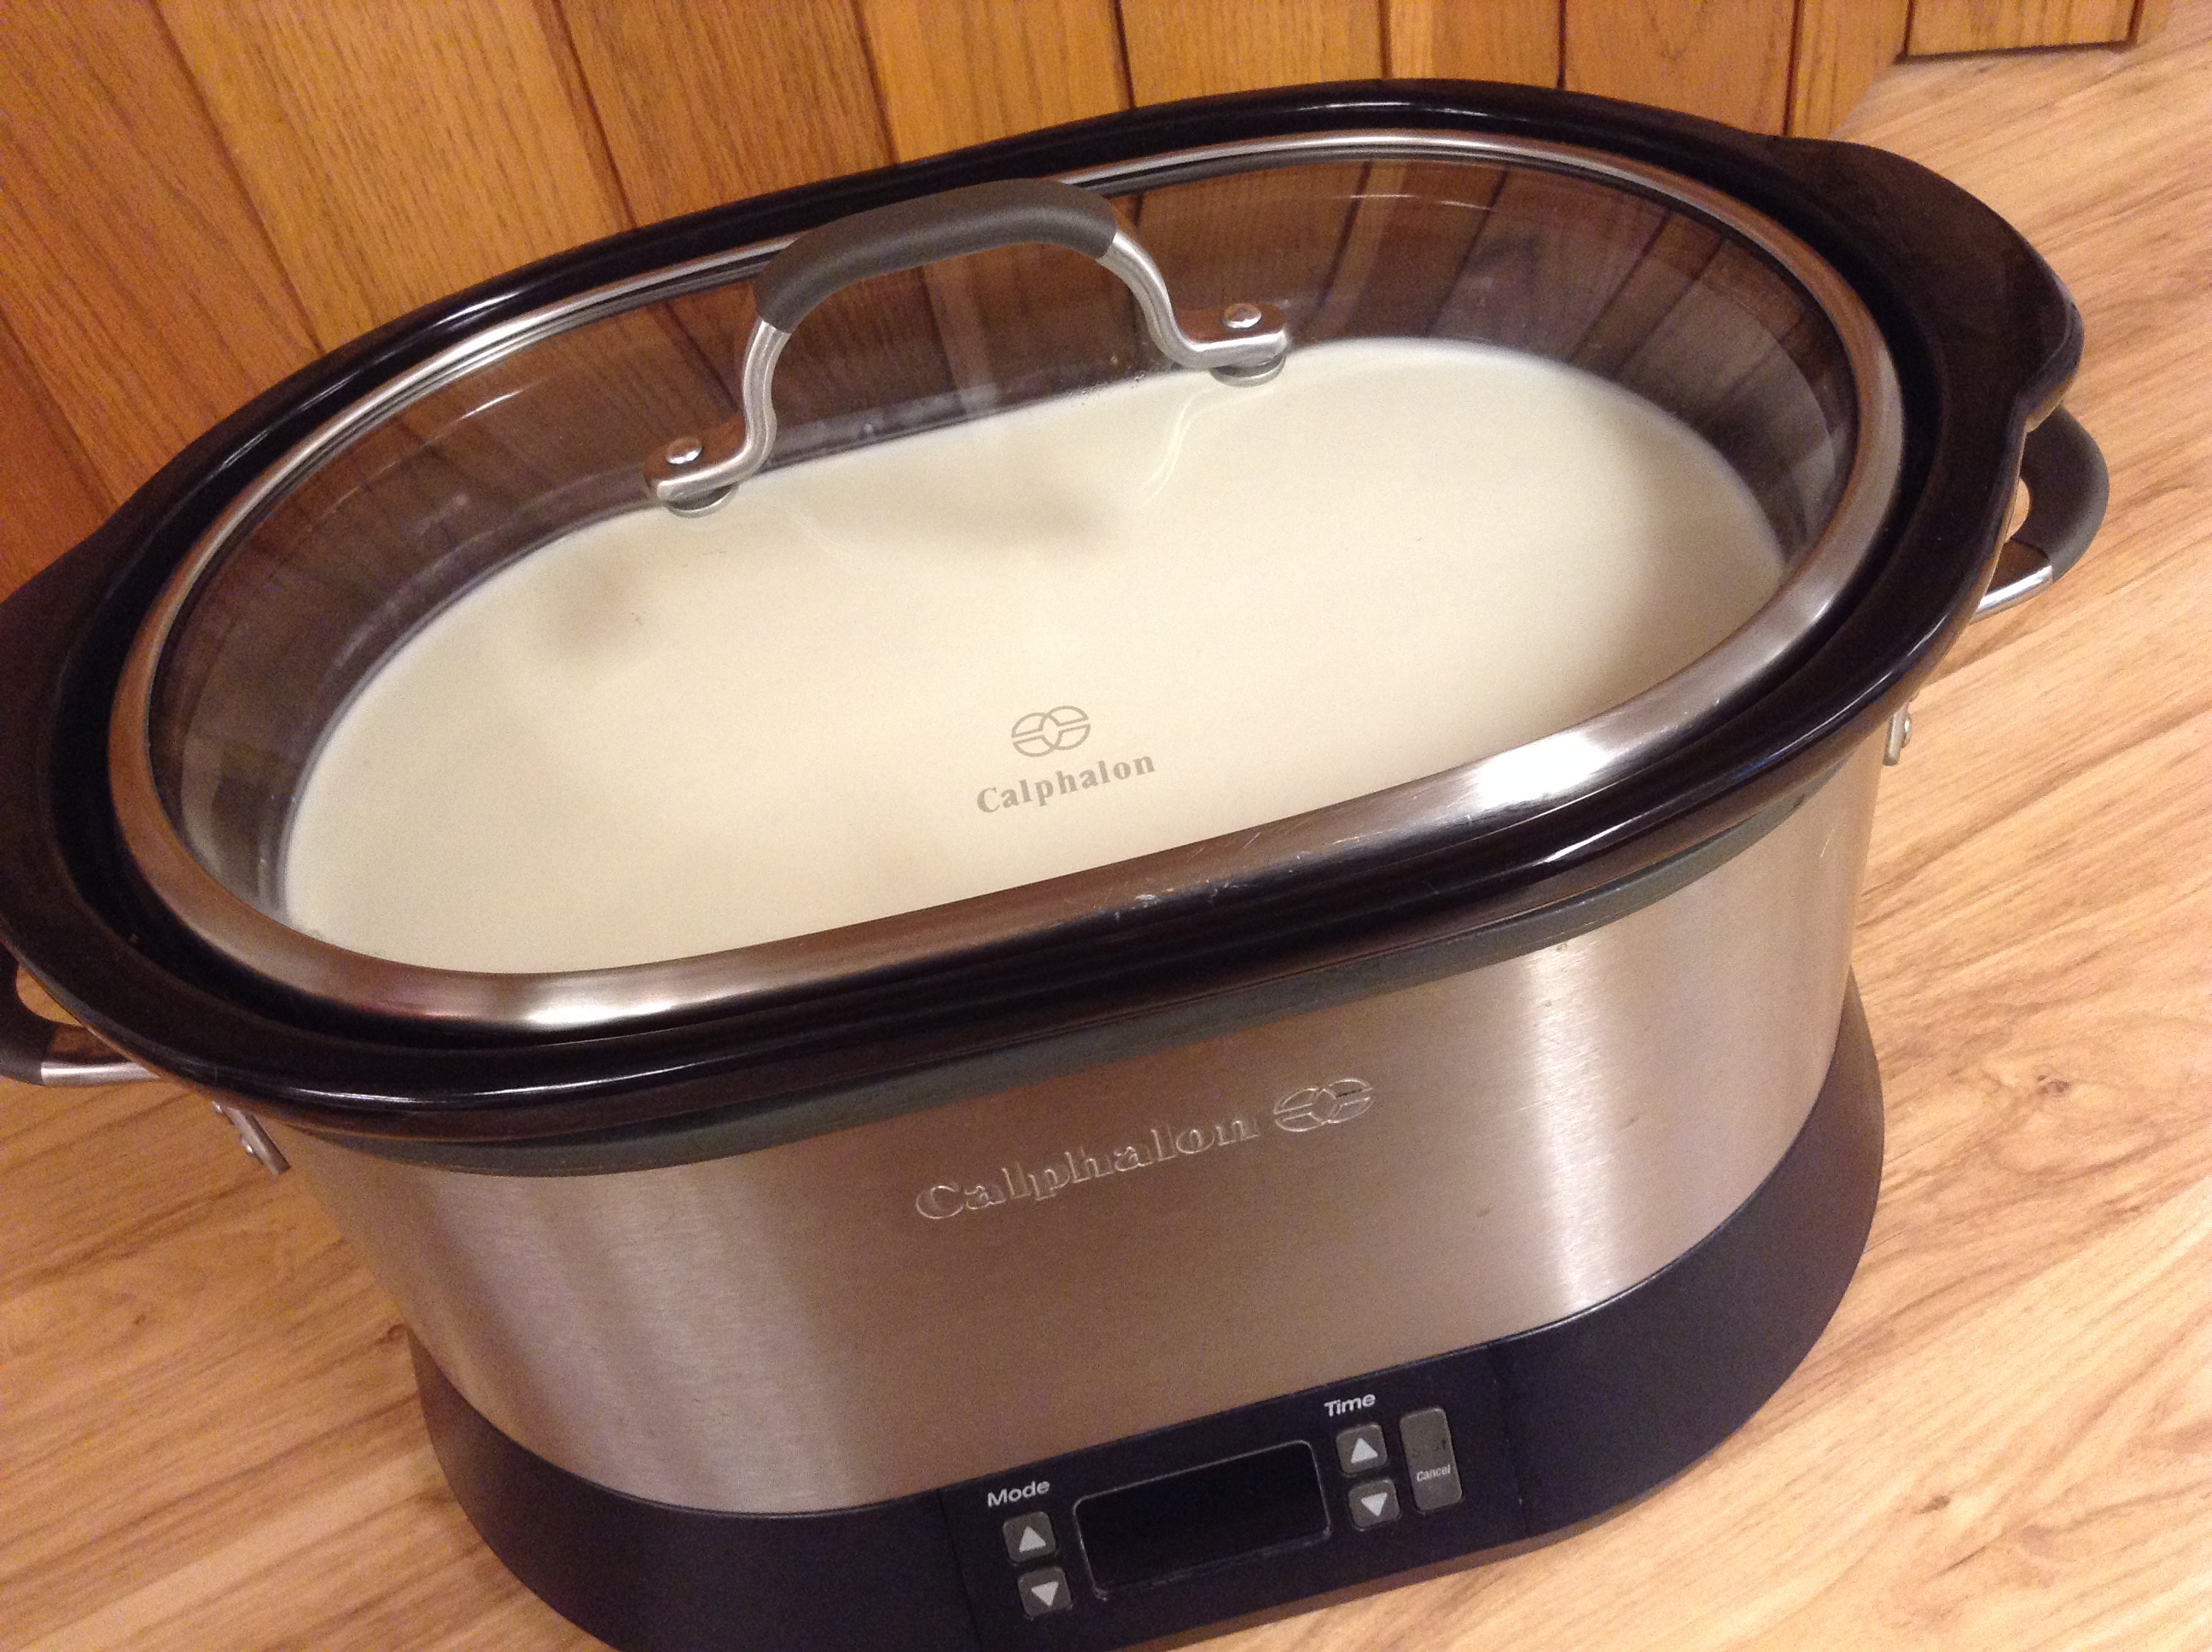
Place the gallon of milk into the crock pot and cover. Heat the milk
slowly until the milk is between 180 Fahrenheit - 190 Fahrenheit it is vital to heat
the milk to at least 180 Fahrenheit.
Allow the milk to cool to 110 Fahrenheit (takes 3.5 - 4 hours). Milk should not be
a higher or lower temperature. There may be a skin formed on the milk
(if you are using non homogenized or raw milk). If so, carefully remove it.
Place 1 cup of the warm milk in a separate small bowl. Add 2 Tablespoons of
starter yogurt to the cup of milk. (no more than 2 Tablespoons - that is all you
need)
With a fork or whisk, gently stir the starter yogurt into the milk.
Next, pour the milk back into the crock pot and stir gently from side
to side. Do not stir in circles, use a careful and slow up and down
lifting motion across the length of the crock.
Lift it out of the electric base and place it in a cool oven. Lay a
bath towel or shawl around the crock and leave it undisturbed
overnight or for 10 - 12 hours. You want the milk to stay nice and
warm. An oven with a pilot light or electric light turned on works
great. Do not disturb the milk and keep the oven door closed. After
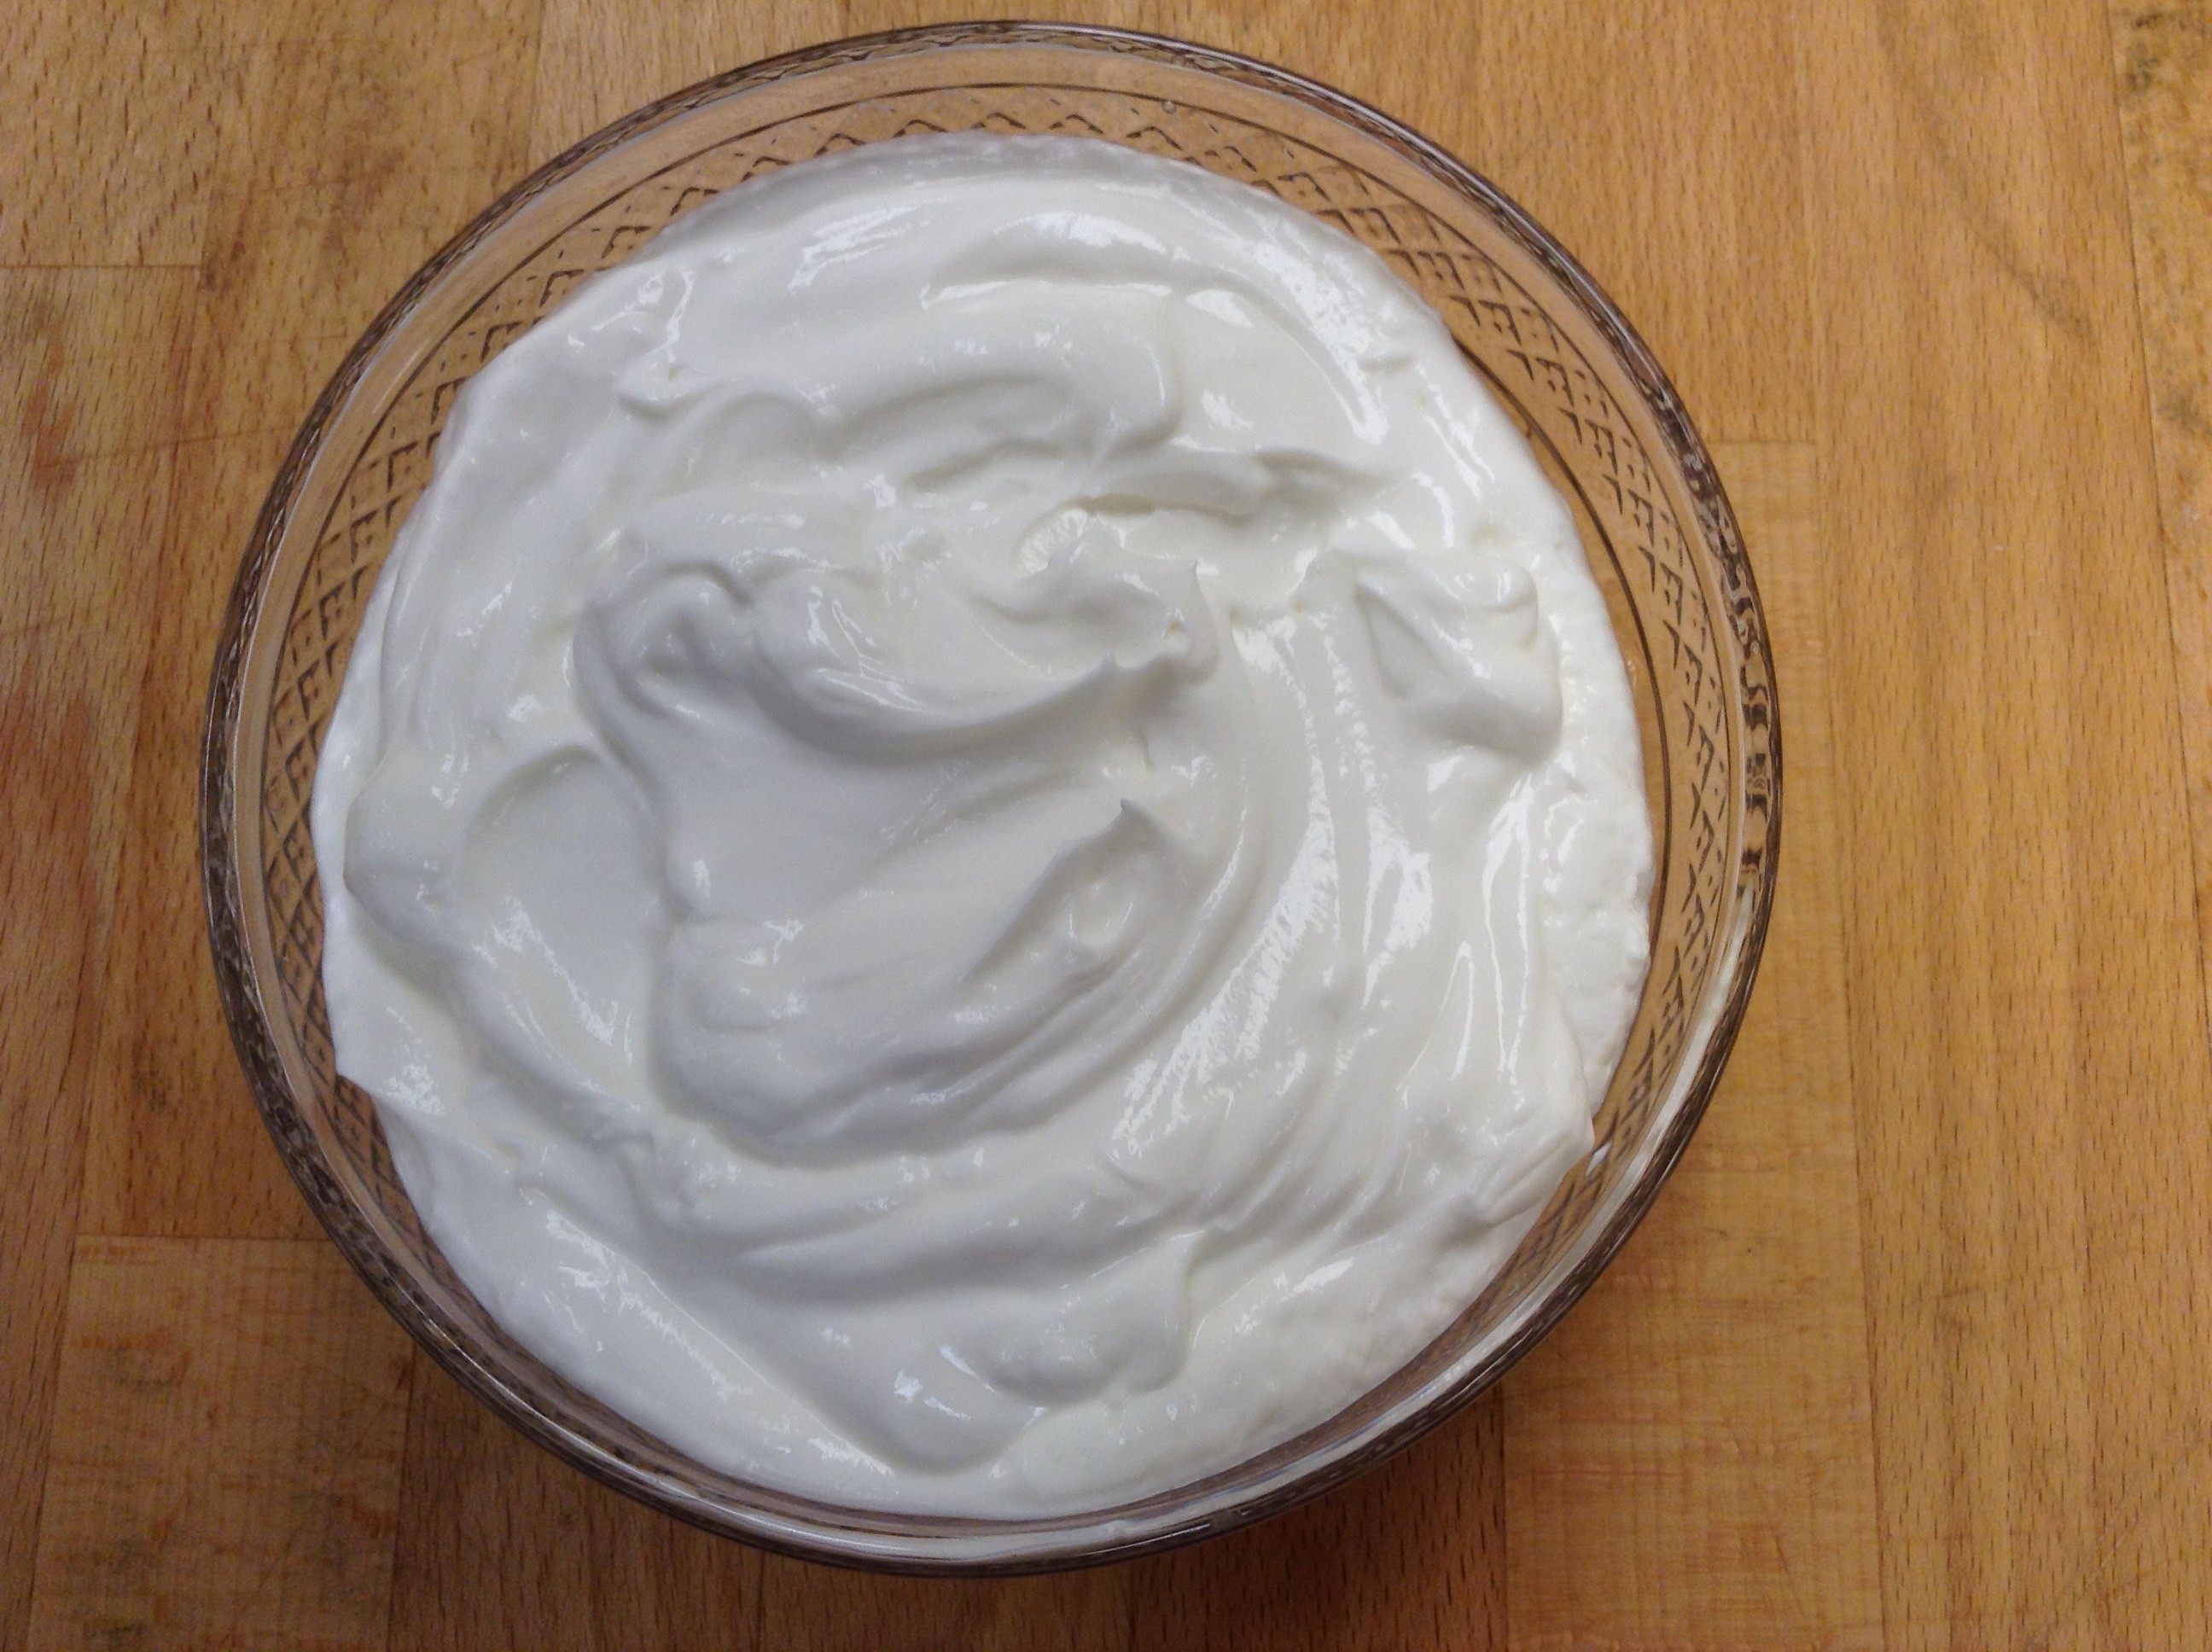
10 -12 hours your yogurt should be solid with a layer of whey on the
top. If you like thicker yogurt, you'll need to drain or carefully
pour off the whey by pouring it into a colander lined with cheesecloth
that has been set on top of a large pot.
It takes about 2 hours of draining to make a thick natural yogurt, and
about 3 or 4 hours to make a Greek style yogurt. Next, yogurt can be
stored in a refrigerator or cooler to keep it sweet tasting. Some
people prefer a tart yogurt and leave it out at room temperature for
over 24 hours. The longer it stays at room temperature, the tarter it
will become. Save a little back for the next batch!
*(any kind of yogurt, but must have both the active
and live cultures of lactobacillus bulgaricus and streptococcus
thermophilus. Read the label to be sure that you have the right
starter bacteria)
Yogurt can be sweetened with jam, sugar, honey, or whatever you like.
At the convent, we received a wonderful donation recently of Agave
nectar. This natural sweetener has made some lovely batches of yogurt
for our guests!


")


")