After having had so many special meals over Christmas and New Year’s
we wanted to come up with a simple yet satisfying supper on New Year’s
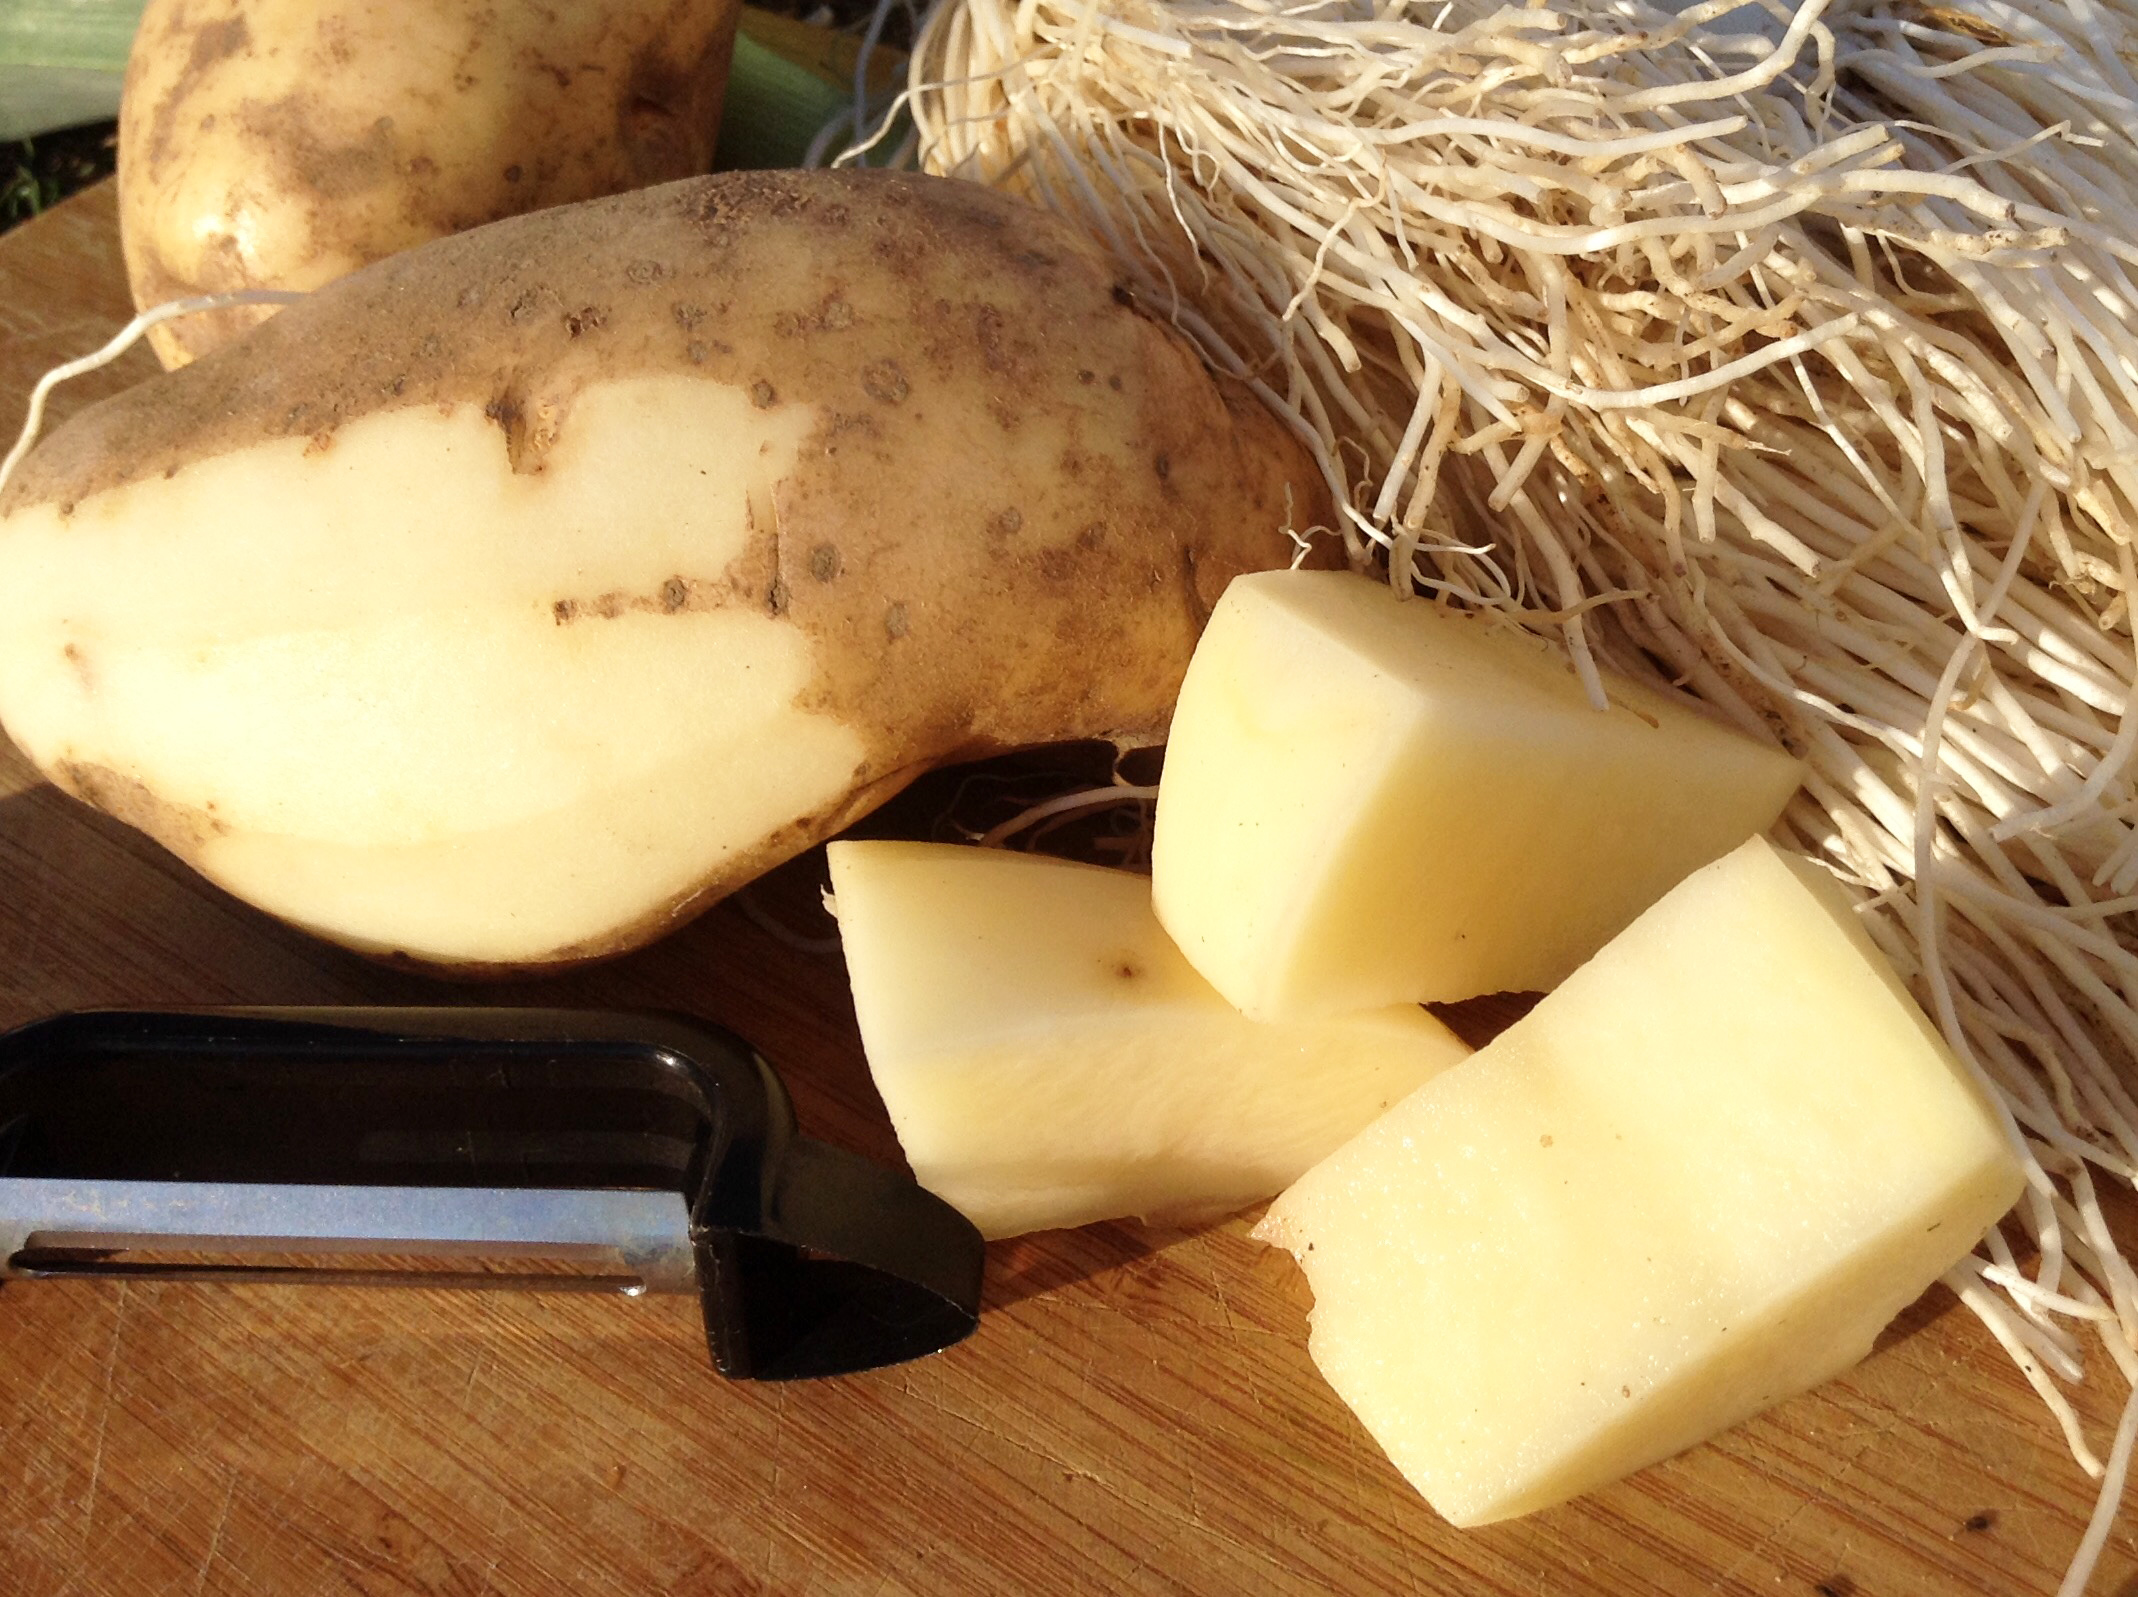
day. Remembering that we still had some leeks braving the cold out in our
almost barren gardens we decided on a potato leek soup, homemade bread
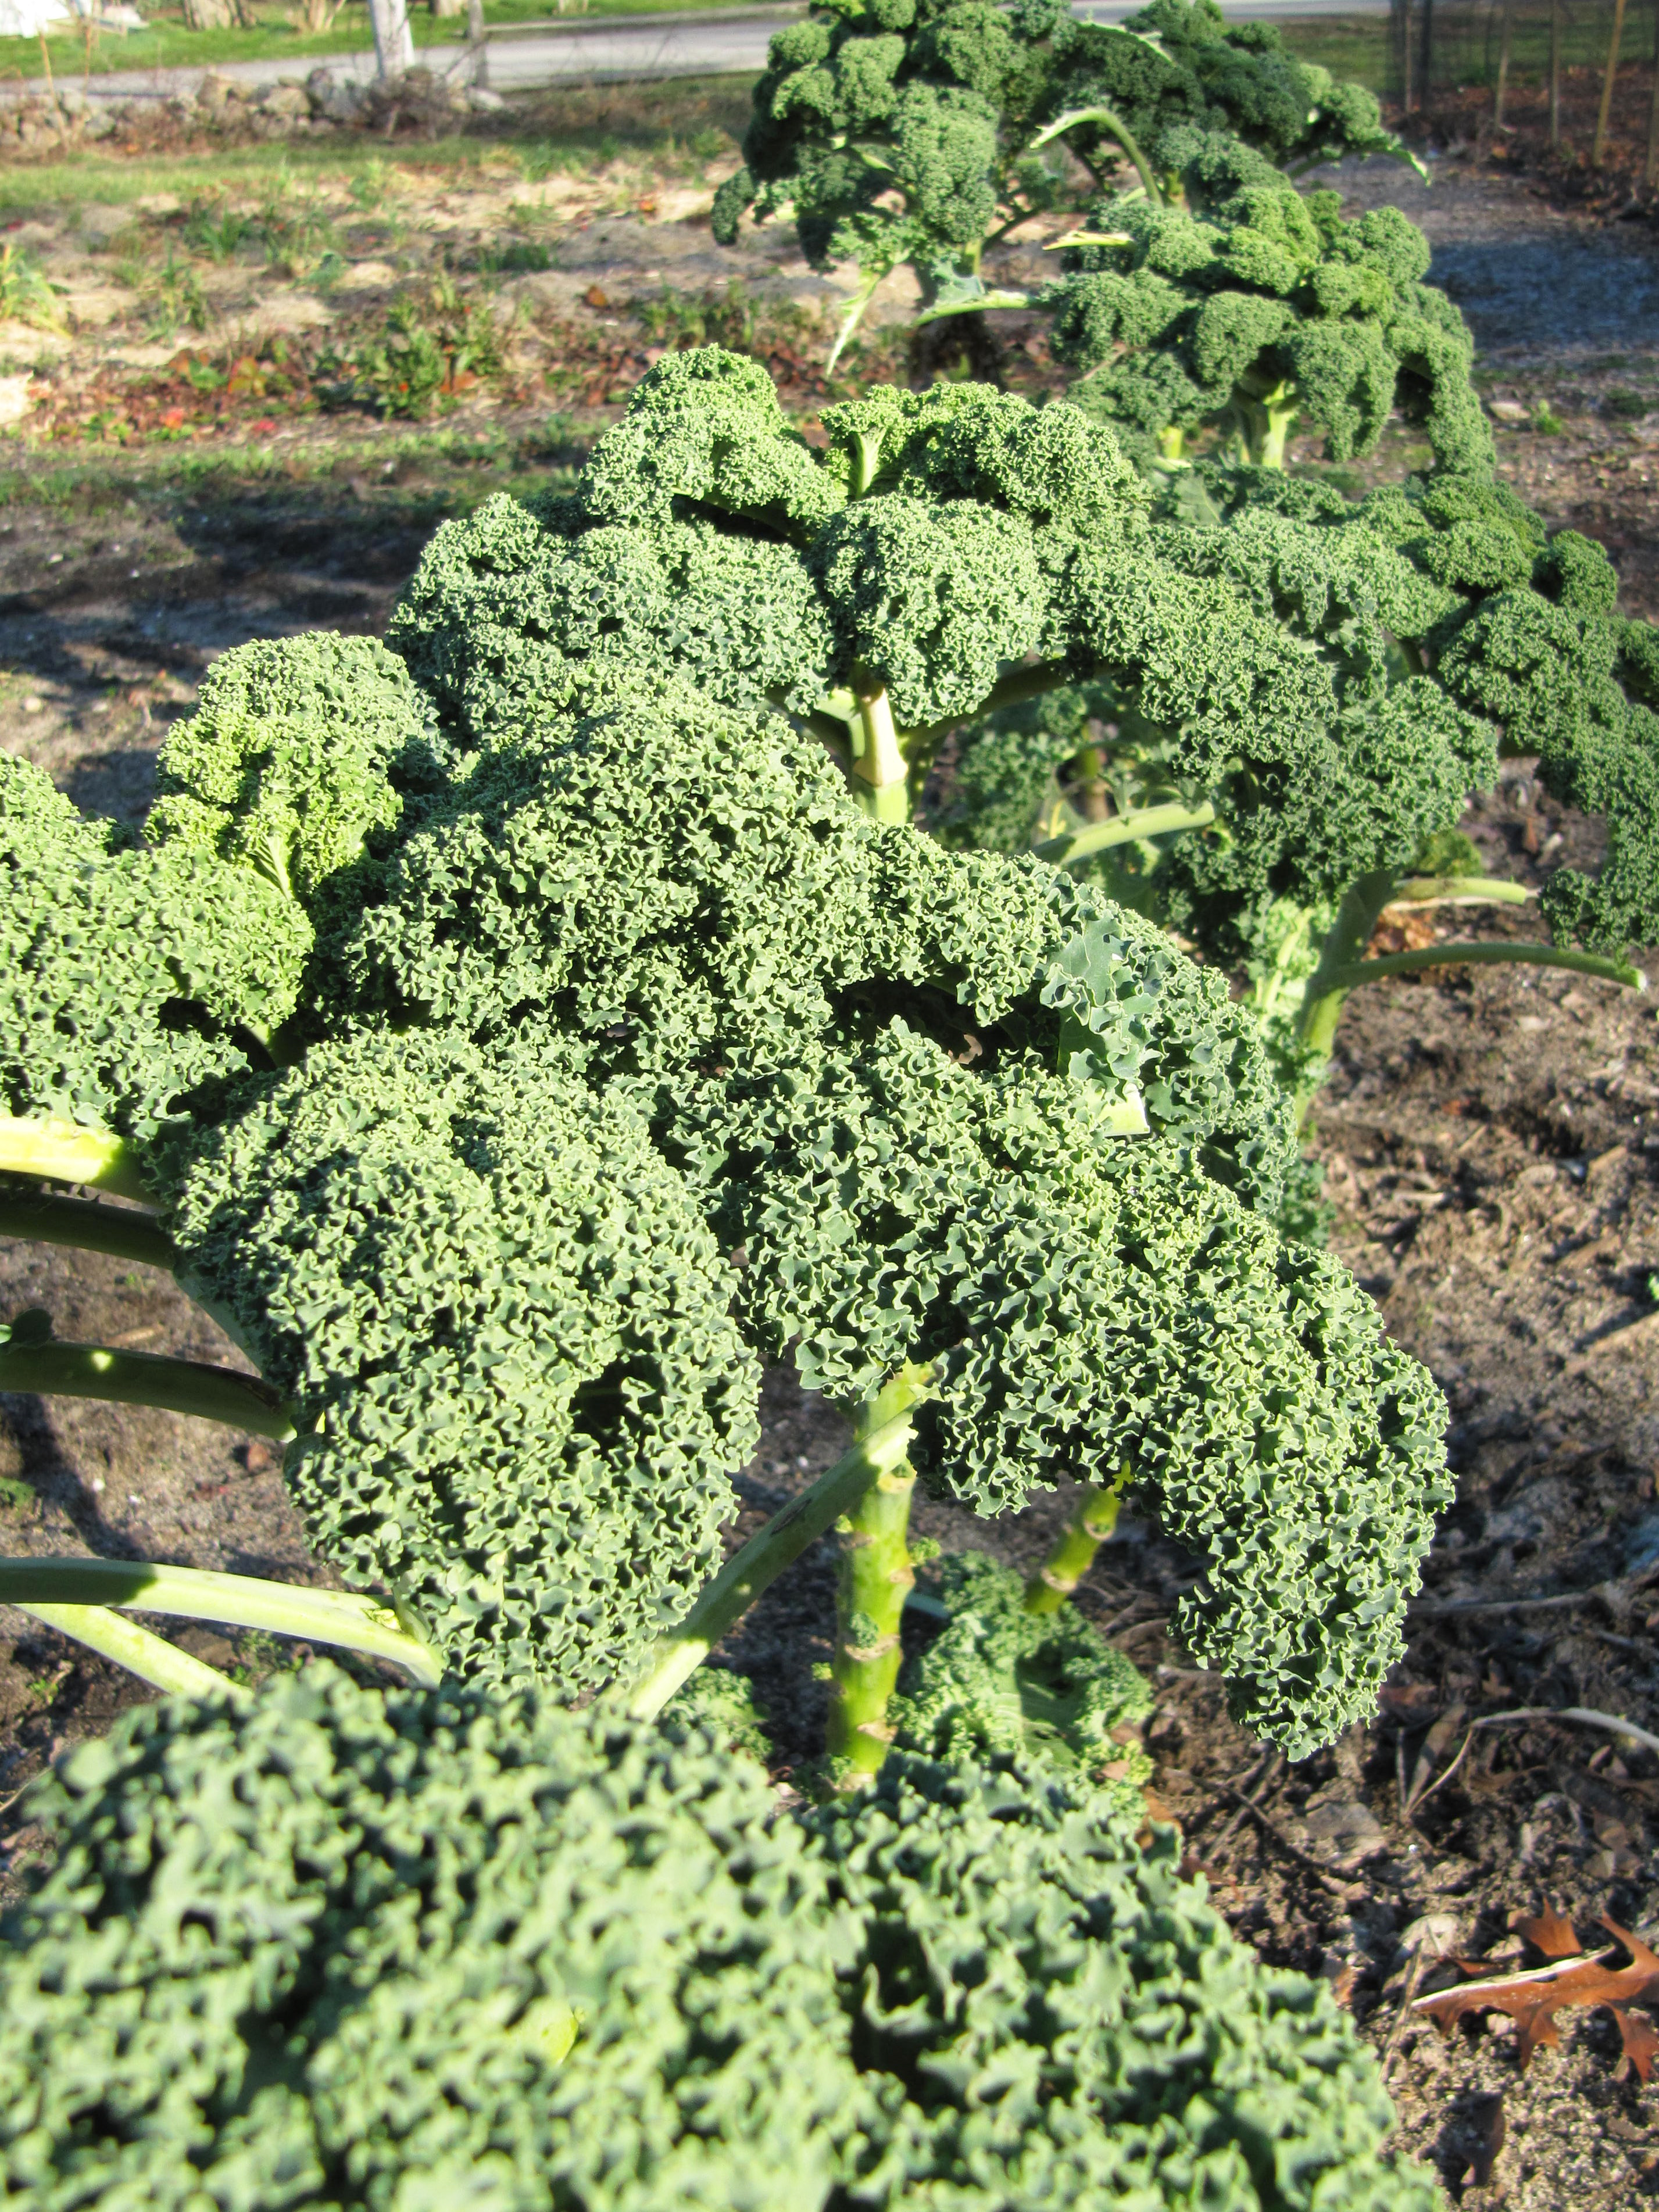
and a hearty salad. Since there was also some kale fighting for
survival out there why not add that to the soup making it even
healthier and giving it yet another dimension?
Our decision turned out to be a good one and everyone enjoyed it! They especially
appreciated its being light as well as very flavorful and heart-
warming,(the flavor was even better the next day) so when we make
it again I will suggest we make it a day or two before actually serving it.
We garnished it with a dollop of sour cream and chopped kale. A few bacon bits
or curls, if desired, could also add to its look and flavor.
*Whether you get your leeks from your garden or your grocery store it is important
to wash them ever so thoroughly because they often have soil hidden between the leaves
at their stems.
Heat the oil in a large (6-plus quart) stockpot or dutch oven over medium heat. Add the leek and potato and kale . Cook, stirring occasionally, until the vegetables have begun to soften and brown slightly, about 8 to 12 minutes (this time will vary greatly depending on the surface area of the bottom of your pot).
Add the vegetable stock and bay leaves, and bring to a boil. Reduce the heat to low, and simmer for 30 to 40 minutes, or until the vegetables are tender.
Blend until smooth, either using an immersion blender or by carefully transferring to a blender in batches.
Add the cream, and season to taste with salt (I start with 1 teaspoon and go from there, tasting frequently) and lemon juice and freshly ground pepper to taste.
Ladle into bowls, and garnish with a dollop of sour cream and a healthy sprinkling of kale or bacon bits.
I have been exploring “superfoods” for a while now, wanting to incorporate some healthier eating habits into our Convent diet. We live a very active life-style within our Benedictine motto: Ora et Labora (Pray and Work). My task is to make sure we are all eating well and taking care of our bodies (since we are called to be temples of the Holy Spirit).
In my research, I learned about the wonderful nutty grain-like seed quinoa. Quinoa is native to Bolivia and a relative of swiss chard, spinach and beets. We usually think of quinoa as a grain, but it is actually the seed of a plant. It’s also a complete protein, which means it provides all nine essential amino acids necessary for good health, hence the name “essential.” Your body can’t produce these nutrients itself, so you have to get them frequently through food. Quinoa’s slow-releasing carbohydrates help to maintain blood sugar levels. It can be eaten on its own as a side dish, with a bit of butter or oil, salt and pepper, or other seasonings. Quinoa also makes a great breakfast dish mixed with dried fruit, cinnamon, milk, and maple syrup or honey. A healthy substitute for rice, it also makes a tasty pilaf.
I found and adapted this flavorful and surprising salad side dish recipe for the Sisters and everyone loved it. Last weekend we served it to our Oblates who were here on retreat, and promised that we’d share it with all of you. Enjoy!
Prepare the quinoa according to the package directions. 1 cup dry quinoa should yield over 4 cups of cooked quinoa. Cool quinoa.
In a large bowl add the cooled quinoa, diced pears, green onions, spinach and bell pepper. Reserve the crumbled bacon and toasted almonds for later.
For the dressing: Combine all of the dressing ingredients in a small bowl and pour over quinoa mixture. Toss gently. You might not want to use all of the dressing depending on how wet you want your salad so add a little at a time. Add salt and pepper to taste.
Chill in the refrigerator for at least an hour before serving so that the flavors can meld.
Mix the crumbled bacon and toasted almonds into the salad just before serving, reserving a bit to garnish the top as well.
Note: To toast almonds, brown them for a couple of minutes in a skillet over medium high heat. To roast them, bake them in the oven for 8-10 minutes at 350 degrees. When you smell them, they are done!
Cape Cod faced an historic winter storm this week. As I was leaving work at Paraclete Press on Monday night, one of my customers emailed me and said, “Sister, don’t forget to stop and get your bread and water on the way home! Be safe in the storm!” I chuckled to myself because, little did she know, we were planning to bake fresh bread that night!
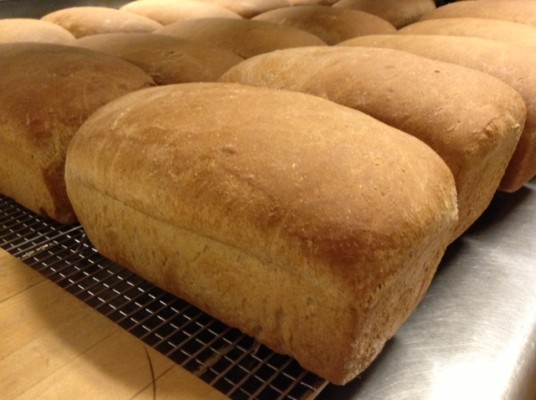
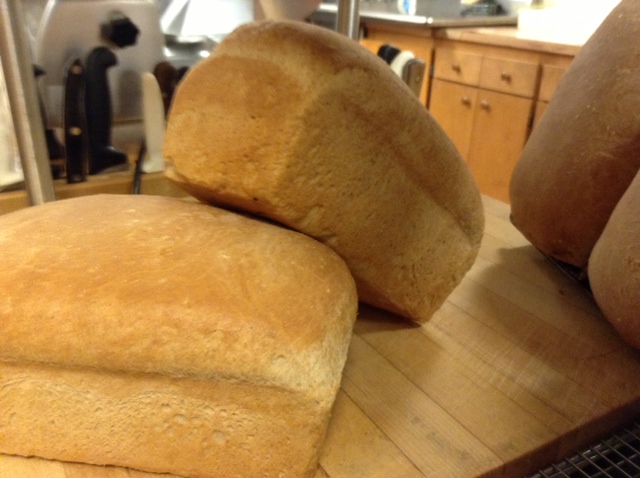
The recipe here has become one of our staples for the Convent. It’s a lovely light whole wheat bread that we have been making for years. Shortly after it comes out of the oven, I always expect to see one of the Sisters sheepishly cutting a heel off one of the loaves and slathering it with butter and honey. I imagine you might too!
Pour water into a large mixing bowl equipped with a dough hook, sprinkle yeast over and add sugar. Wait at least 5 min until bubbles form on the surface and the yeast is active.
Add the honey and the oil and mix well on low speed.
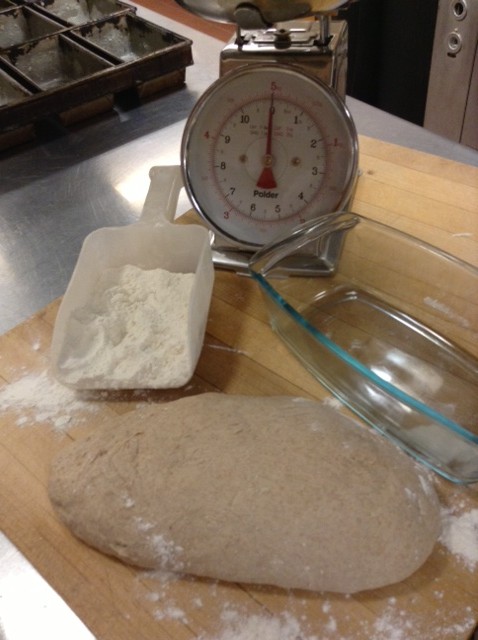
Add the white flour and salt and continue mixing
Add the whole wheat flour, a cup at a time, just until it starts pulling away from the sides of the bowl. You may not need all the flour listed here, or you may need more depending on the humidity of the day.
Dough will be barely sticky when it is ready - press your finger into it and see if it springs back
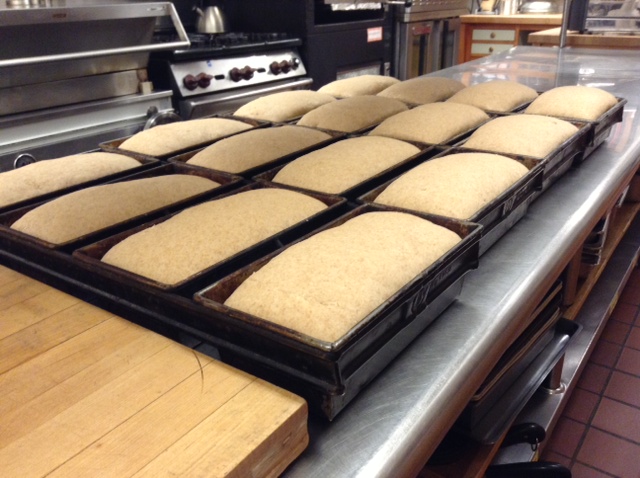
Divide the dough into 4 equal pieces. Knead the dough, shape into an oblong loaf and place in well-greased bread pans.
Let rise in a warm, draft-free place for about 15 min. or until the dough is about 1 ½ to 2 inches above the pans.
Bake in a 375 degree oven for 30-40 min. The bread should pull away from the sides of the pan and sound hollow when you tap on it.
Transfer to a wire rack to cool … or slice and slather with fresh butter and jam!
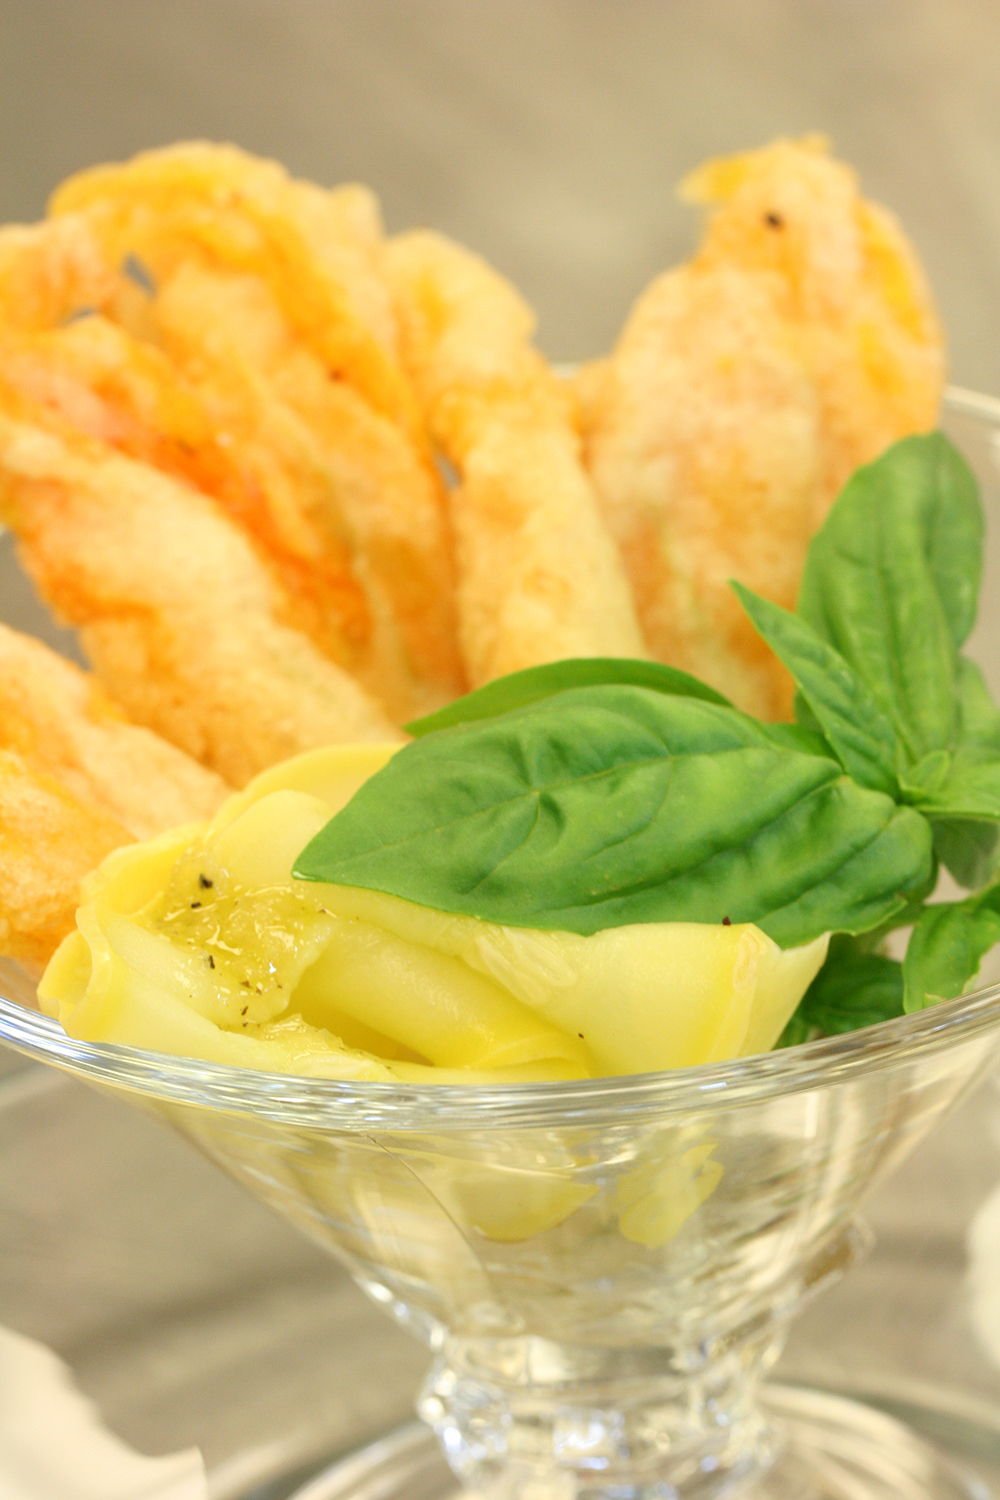
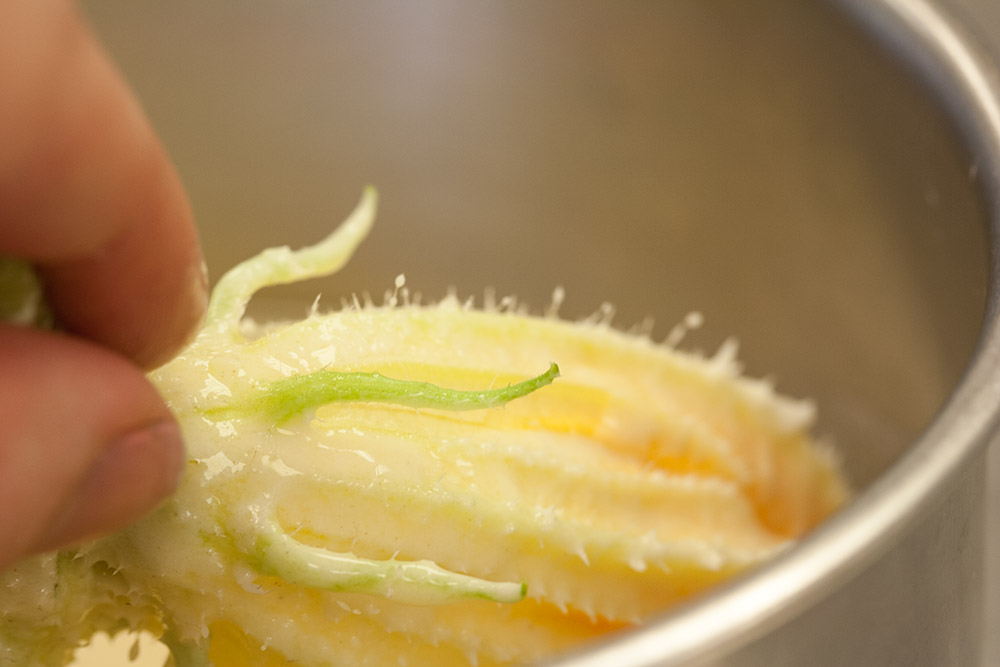
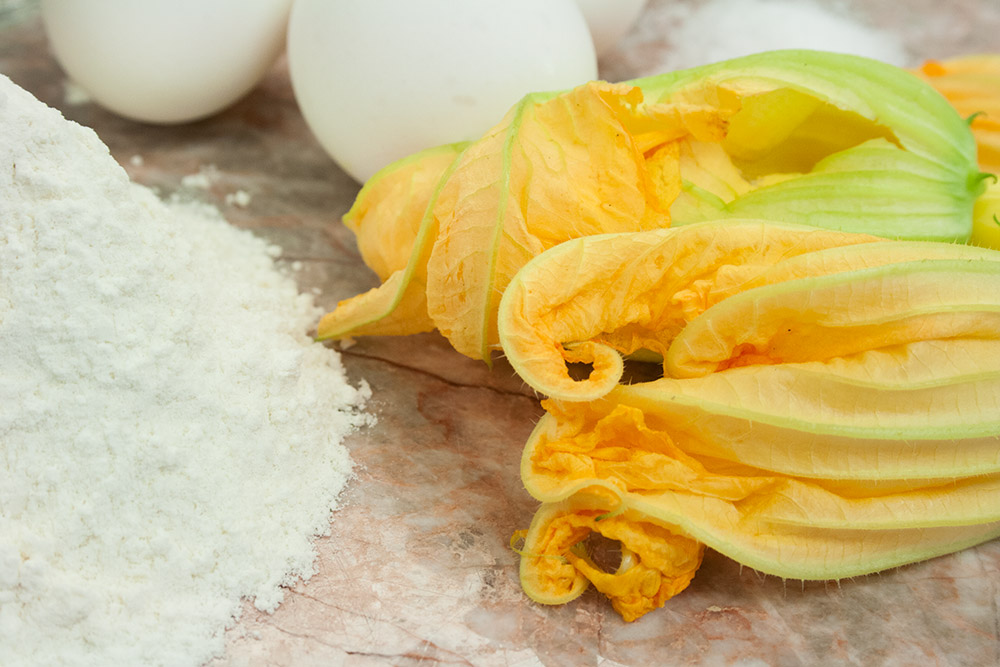
There’s something about squash blossoms that always brings a smile to my face. Their color is like a bright summer’s day and they are …whimsical, that’s the word! I had a “Julie and Julia moment” this summer, where I made it my mission to try out as many recipes as I could to find the perfect fried squash blossom. Their season is short in Italy, so I purchased them at every opportunity. I only wished that if we had a kitchen garden, I would have that true Tuscan garden-to-table experience. Since they make a wonderful antipasti, I served them to different groups and guests that came to the Villa — each time they were greeted with great delight. Morning is the best time for harvesting squash flowers. Flowers from summer squash, zucchini and late-season pumpkins and winter squash can be used. The plants produce both male and female flowers; the female blossoms will become the vegetable, so in order to preserve your harvest, it is best to pick the male blooms. Male squash blossoms are hairier and have a thin base where they attach to the stem. Females have a thick bulge, where they grow from the plant. Pick the squash with about 6 inches of the stem attached. The wonderful thing about them is that they are very inexpensive! If you have a garden with zucchini, then voila!, you have an appetizer for lunch at your fingertips. The recipes are endless – blossoms stuffed with ricotta, fresh herbs and lemon zest and then baked; blossoms cut open and filled with seabream; or a chiffonade of squash blossoms served over pasta. I think my favorite is just the simplest form – Fried Squash Blossoms. The following recipe is almost like a tempura batter. Light and airy, it clings to the blossom and after being fried, creates a magical sensation with your taste buds. Since zucchini is plentiful in the States this time of year, I recommend a jaunt to your garden to make this simple recipe! This recipe can also be used with other vegetables and whole sage leaves.Andiamo mangiare!
Prepare the batter by mixing the flour, salt, pepper and beer in a mixing bowl with a wire whisk, and let rest for 20 min.
Meanwhile, gently pry open each flower and remove the yellow stamen inside (tweezers work well for this). Delicately rinse, if needed, and lay gently on paper towels to dry.
In a medium skillet, heat the oil until it registers 350 degrees on a thermometer, and maintain this temperature throughout the cooking process.
Carefully, run each flower through the batter and drag along the inside of the mixing bowl to remove the excess batter before laying it in the oil.
Fry until crisp and golden on each side, flipping only once, about 2 min. per side.
Remove with tongs and drain quickly on a paper towel lined tray.
If desired, before serving, mist with a warm salt water spray and serve immediately. Andiamo mangiare!
The Sisters have so grown to love and appreciate fresh vegetables, that if occasionally we do not have a full salad bar for lunch they actually feel deprived. Each day they look forward to new and interesting combinations of ingredients which keep the lunches from becoming dull or boring. Their enthusiasm gives incentive to the cooks to creatively come up with bright new healthy additions. One of the more popular combinations of late that has made a hit with most everyone is a crisp cauliflower creation. It’s color appeals to the eye while it’s crunch and zesty flavor pleases the palate.