Our retreats, both group and personal, often include guests with specific dietary restrictions. We support them, trying our best to accommodate the needs of those concerned—and it broadens the scope of our menu planning and recipe research.
We’re discovering all kinds of recipes—gluten-free, dairy-free, vegan, vegetarian, and more. I’ve selected a gluten-free recipe, which is a proven winner with our Sisters that need gluten-free foods. We find these hot rolls fresh out of the oven are eagerly received by non-gluten-free Sisters as well! They’re easy to make and taste fantastic when hot and crispy, a little chewy inside, and with a generous dollop of butter!
Combine milk, oil, and salt in a saucepan; bring to a gentle boil, stirring occasionally, and remove from heat as soon as you see big bubbles coming through the milk.
Add the tapioca flour and stir with a wooden spoon until all the flour is blended; it will be sticky and gelatinous.
Transfer the dough to a mixing bowl, and let cool for a few minutes. Then with the paddle attachment, beat for a few minutes.
Beat the eggs in, one at a time, on medium speed
Beat in the cheese until fully incorporated; dough will be sticky and stretchy.
Scoop the dough with a medium-size ice-cream scoop, dipping it in warm water between scoops, spacing them about 2 inches apart on a cookie sheet lined with baking, parchment paper.
Place in oven, and immediately turn the oven down to 350 degrees. Bake for 15 minutes until puffed, outsides are dry and crispy; rotate pan and bake another 10 minutes, and bottoms are golden brown,
and the tops not too golden.
Merry Christmas from Bethany Convent! This year, the Sisters enjoyed this lovely Grilled Ceasar Salad with our Christmas meal. It was so easy and delicious, we wanted to share it with you. Our prayers are with each one of you as we close out 2019 and look forward with hope and expectation to a new year together!
Prepare the dressing: In a bowl, add the mayonnaise, Worcestershire, lemon juice, Dijon, vinegar and garlic and whisk until combined. Slowly whisk in the olive oil. Add the Parmesan and continue to whisk. Season the dressing with salt and pepper. This can be made ahead and kept refrigerated until ready to use
Preheat a grill to medium-high heat.
Brush olive oil on the romaine hearts and season with salt and pepper. Place the romaine cut-side down on the grill and cook until nicely marked, 2 to 3 minutes.
Brush the lemon halves with olive oil and grill cut sized down until you have grill marks on the lemons and they are soft and golden
Preheat an oven to 375 degrees. Prepare croutons: tear up the bread into bite sized chunks and drizzle with olive oil. Toss until the oil is well distributed. Toss with Italian seasoning, garlic powder and salt until well seasoned to your liking. Spread on a baking sheet and bake until crispy and golden about 10-15 min. Remove from oven and let cool.
With a vegetable peeler, flake your Parmesan cheese into large pieces.
To assemble: lay your grilled romaine hearts on a platter, drizzle with the dressing and finish off with croutons, flakes of Parmesan cheese and the grilled lemon halves. Enjoy!
I’m always intrigued as to what makes a quiche top notch—which in general, mine are not. But after playing around with a number of recipes, I came up with one that hit the mark; and I think the secret really is the number of eggs—more than I’ve generally used. The rich, creamy cheese custard with a crunchy crust is a winner. With a nice Caesar salad and crusty bread, it makes for a delicious lunch, especially during these nippy days of Fall!
It’s so easy to slip into being comfortable with the familiar, which can apply to just about everything, including cooking! “Lunch for guests tomorrow? How about ham and cheese paninis, chips, and a nice cup of soup. No wait—I’m on auto-pilot!” So it goes until the Holy Spirit gets involved—something refreshingly different—He does it again. Tortellini salad came to mind, with pesto, sunflower seeds, black olives, cherry tomatoes, Parmesan cheese—and whatever else you might want to add: fresh spinach, basil, artichoke hearts, pieces of ham or salami. It makes for a delicious lunch and a nice change from the more traditional!
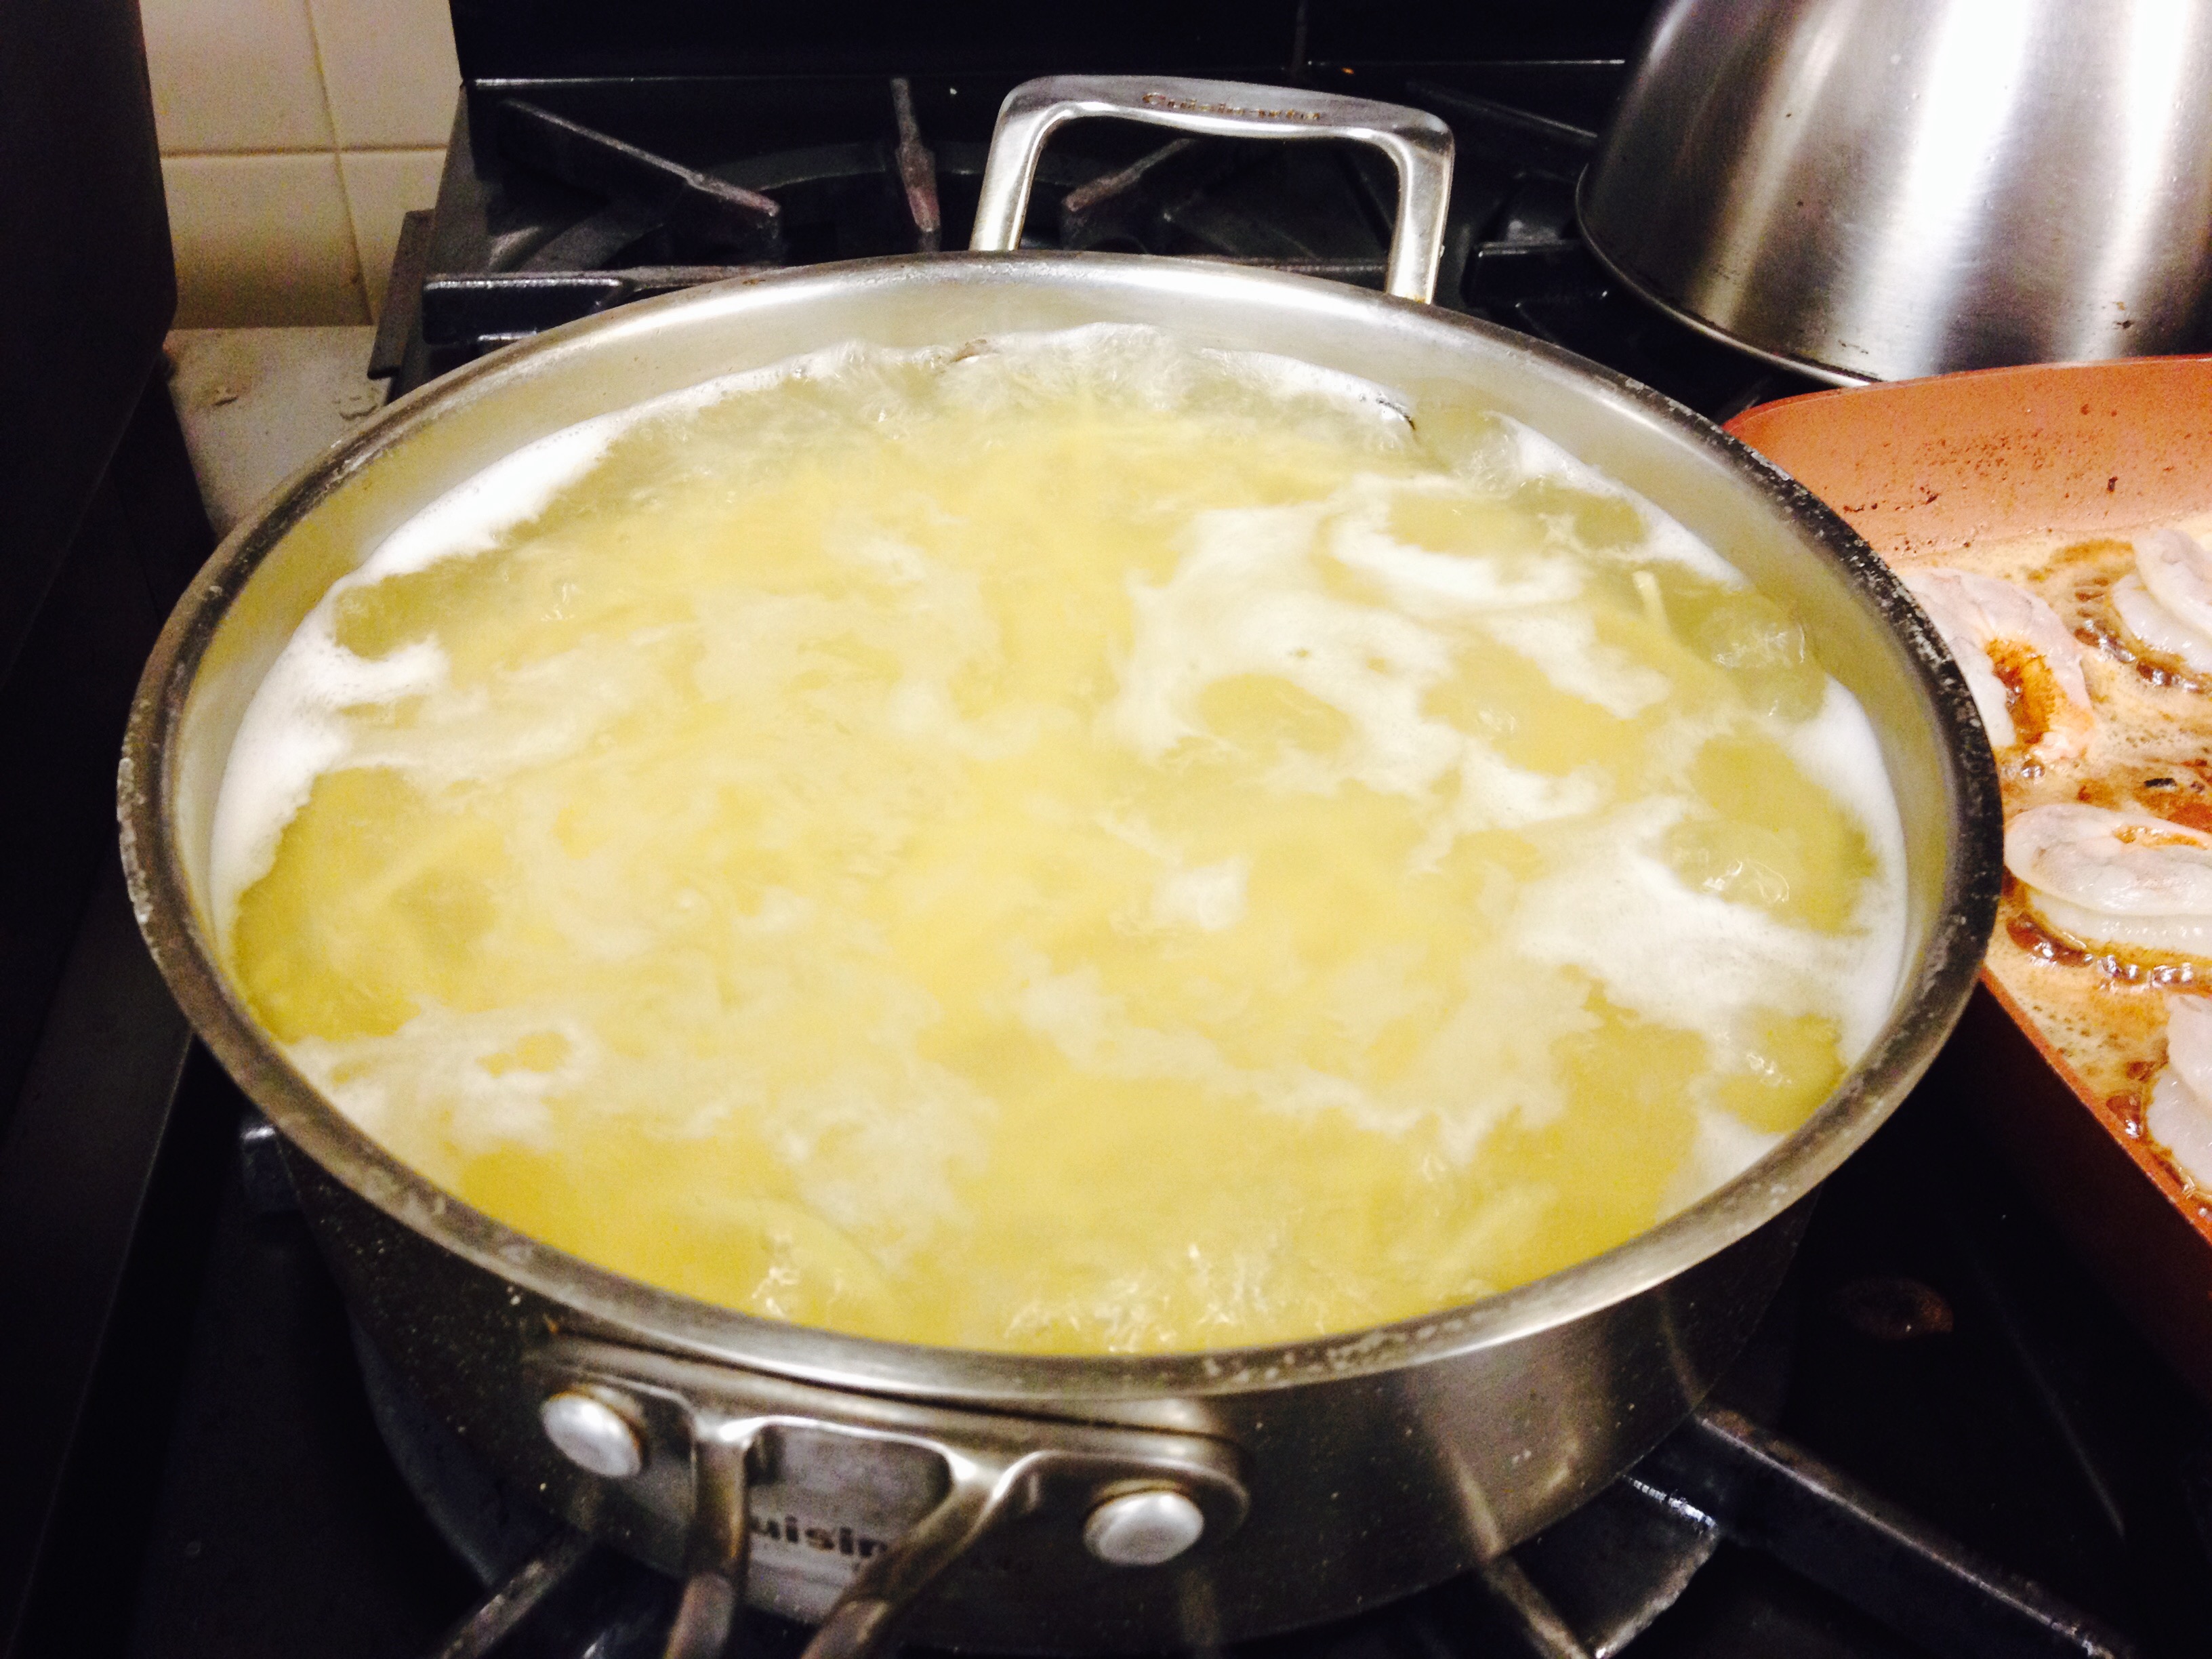
Bring 2 quarts of water to a boil, adding salt if desired. Add Tortellini and cook for about 8 - 10 minutes, testing for desired consistency.
Set aside and let cool
Gently fold in all ingredients together and serve on a bed of lettuce, garnished with a plume of parsley - and accompanied with some crunchy cheese toast
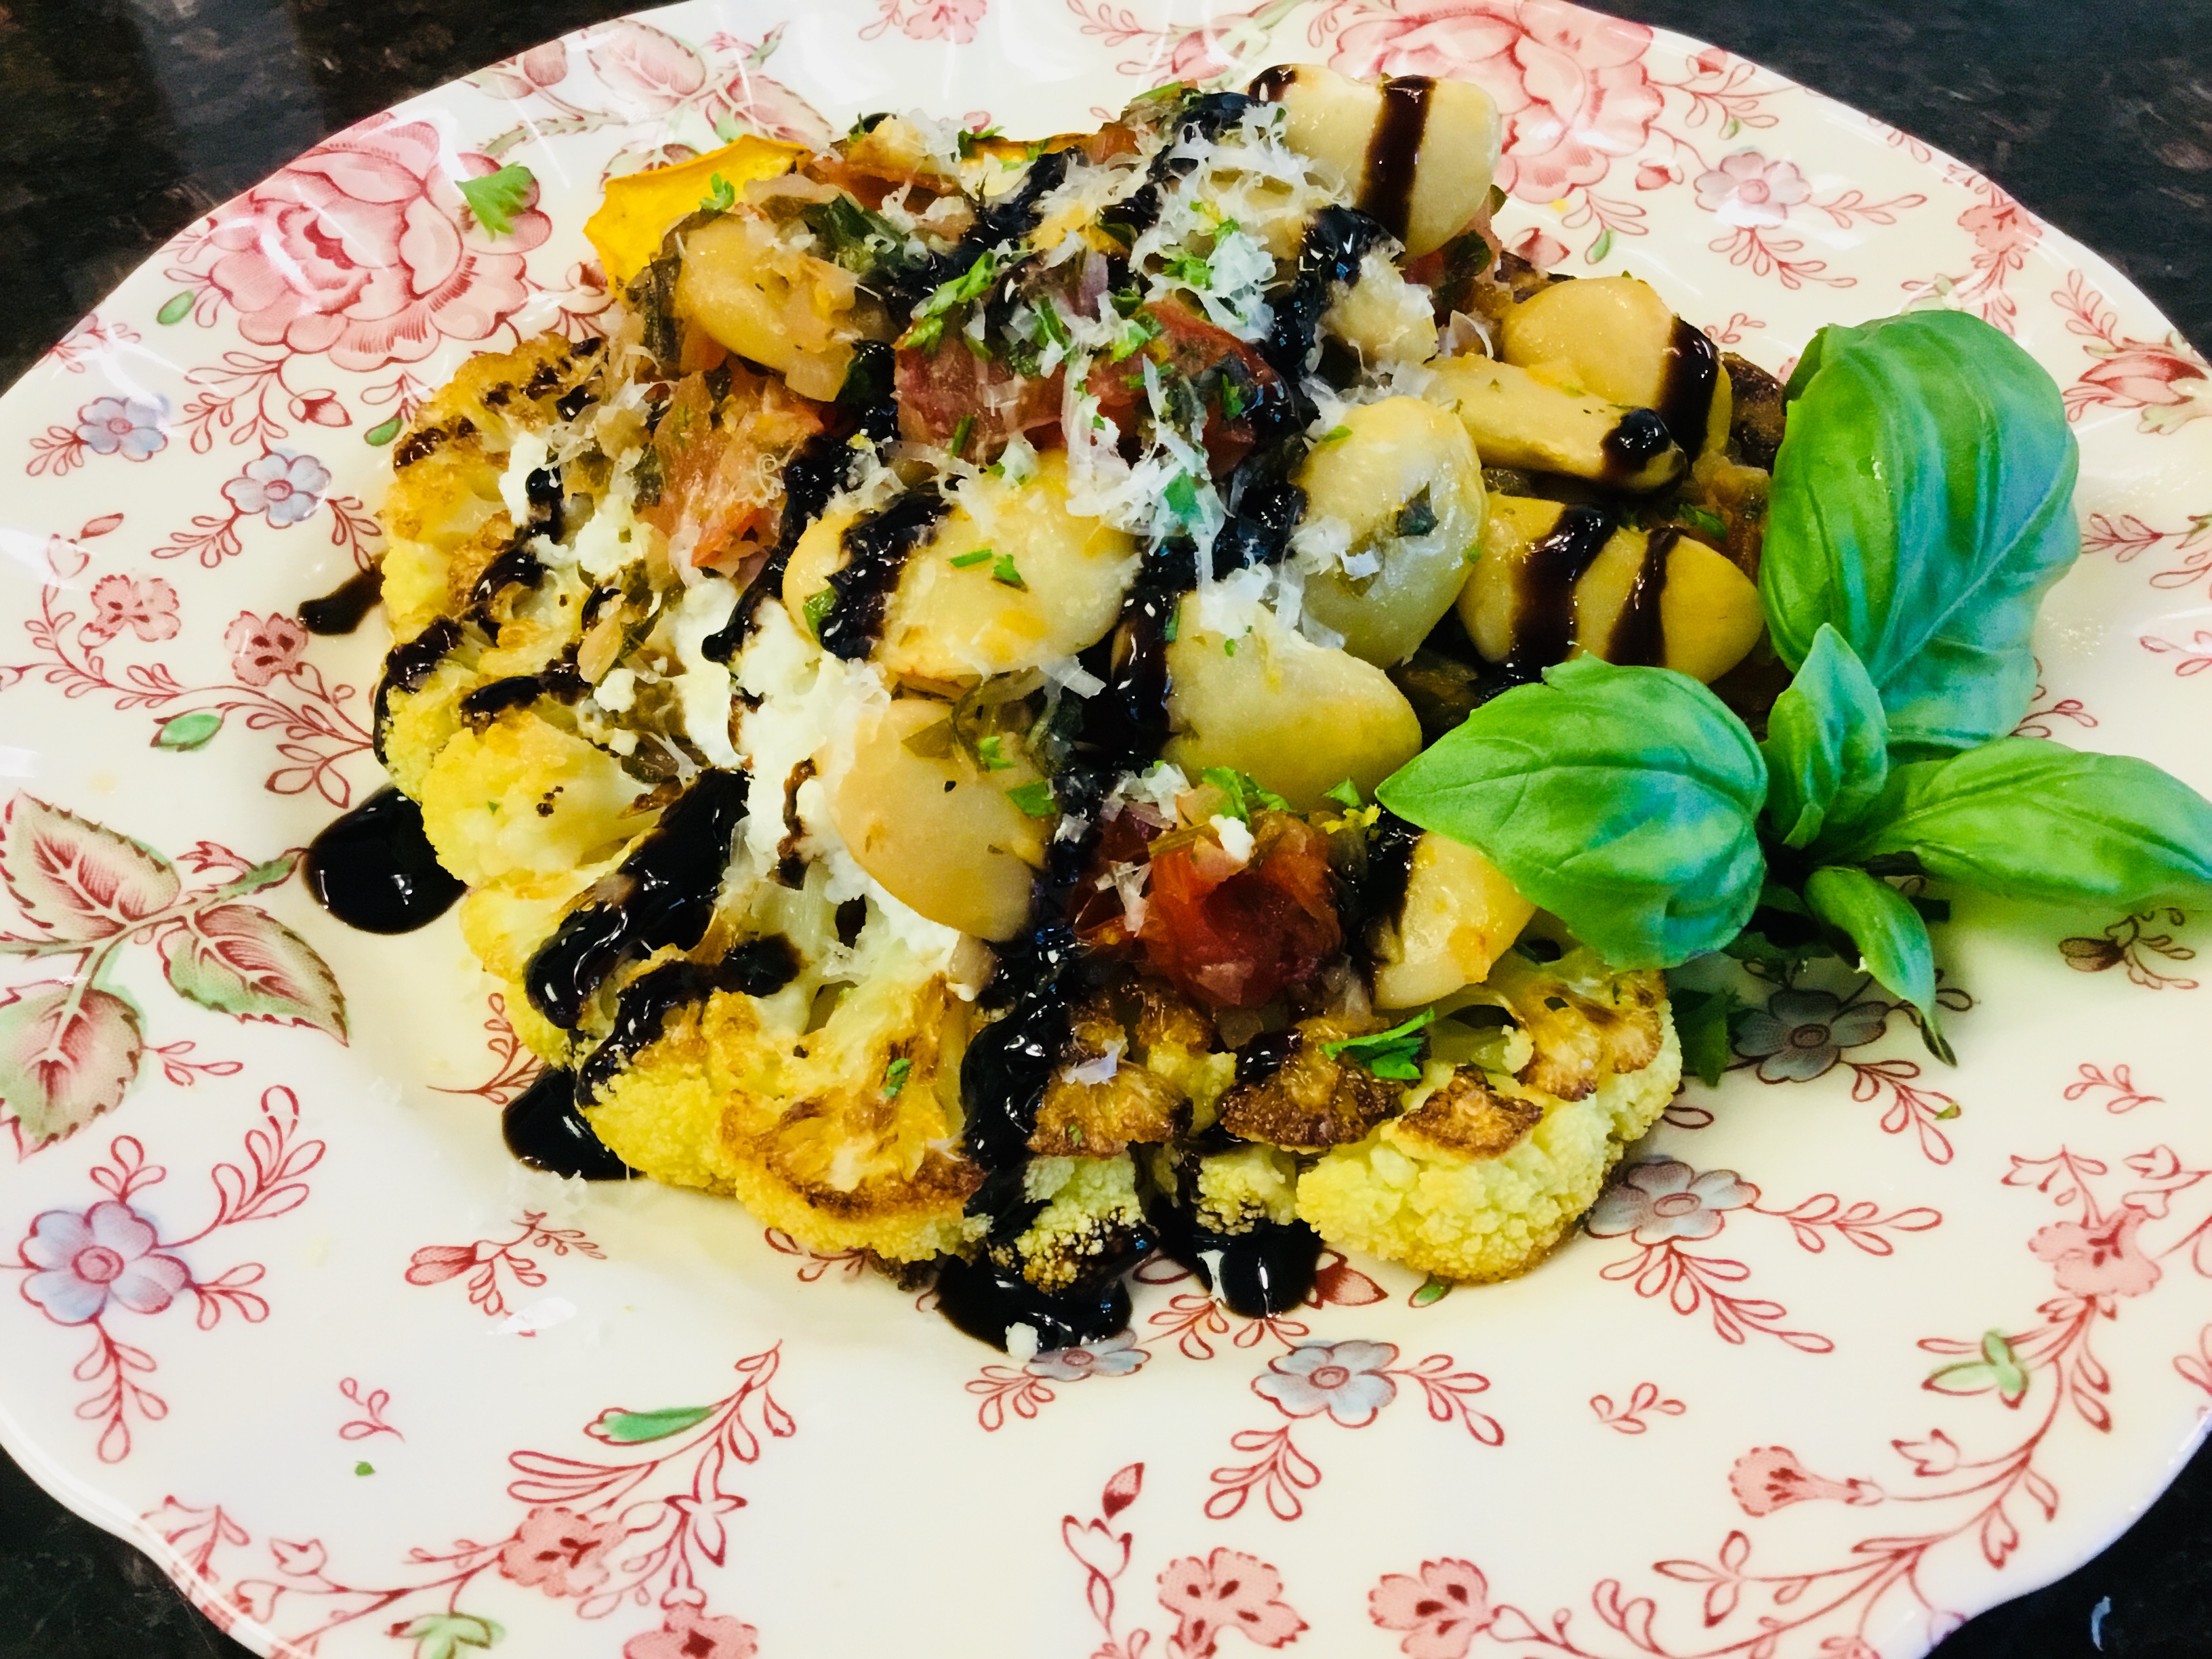
We want to be sure that vegetarian meals are provided for our guests or those attending events that prefer them. But often I simply enjoy just experimenting with fresh, garden ingredients. Here’s a new dish that is both vegetarian and gluten free. It also contain legumes – a wonderful and healthy source of protein. With lovely vegetables being harvested from our gardens, why not be creative? A friend in our community was my taste tester and she told me she couldn’t wait for me to post this recipe. It has all the flavors of summer with the basil, tomato and lemon. Buon appetito!
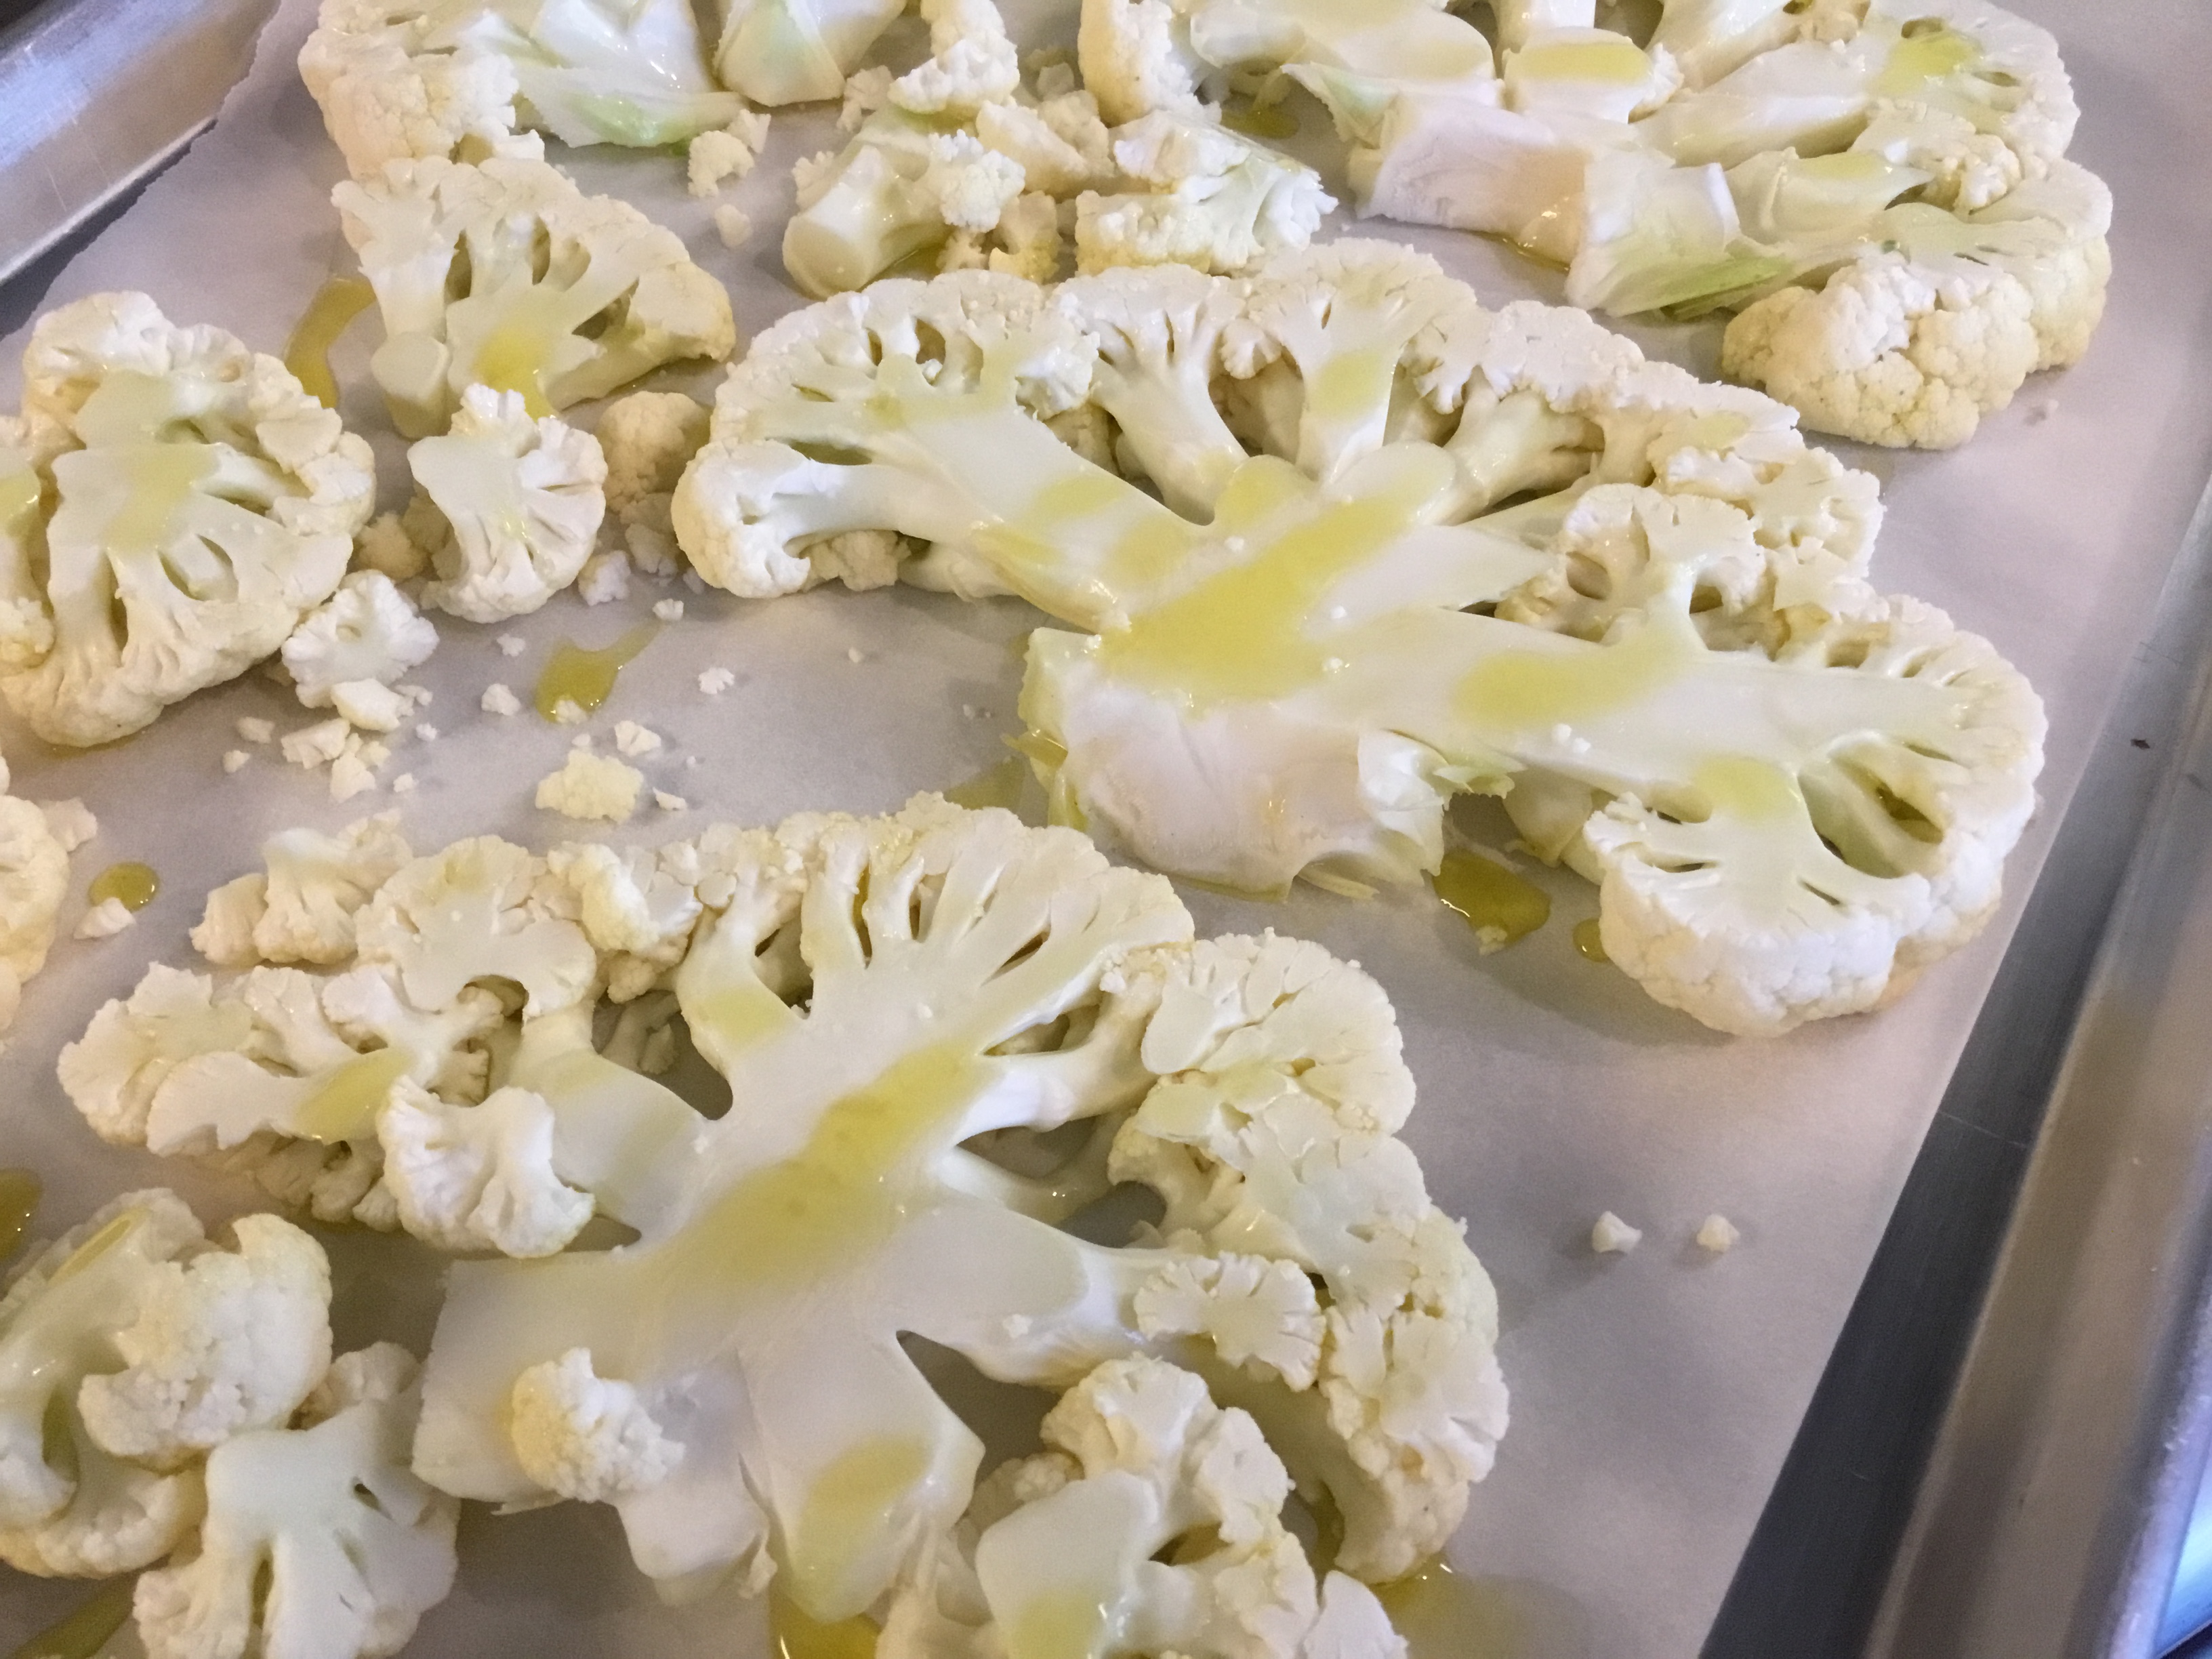
Cut a head of cauliflower into 1/2 inch ‘steaks’ from top to bottom
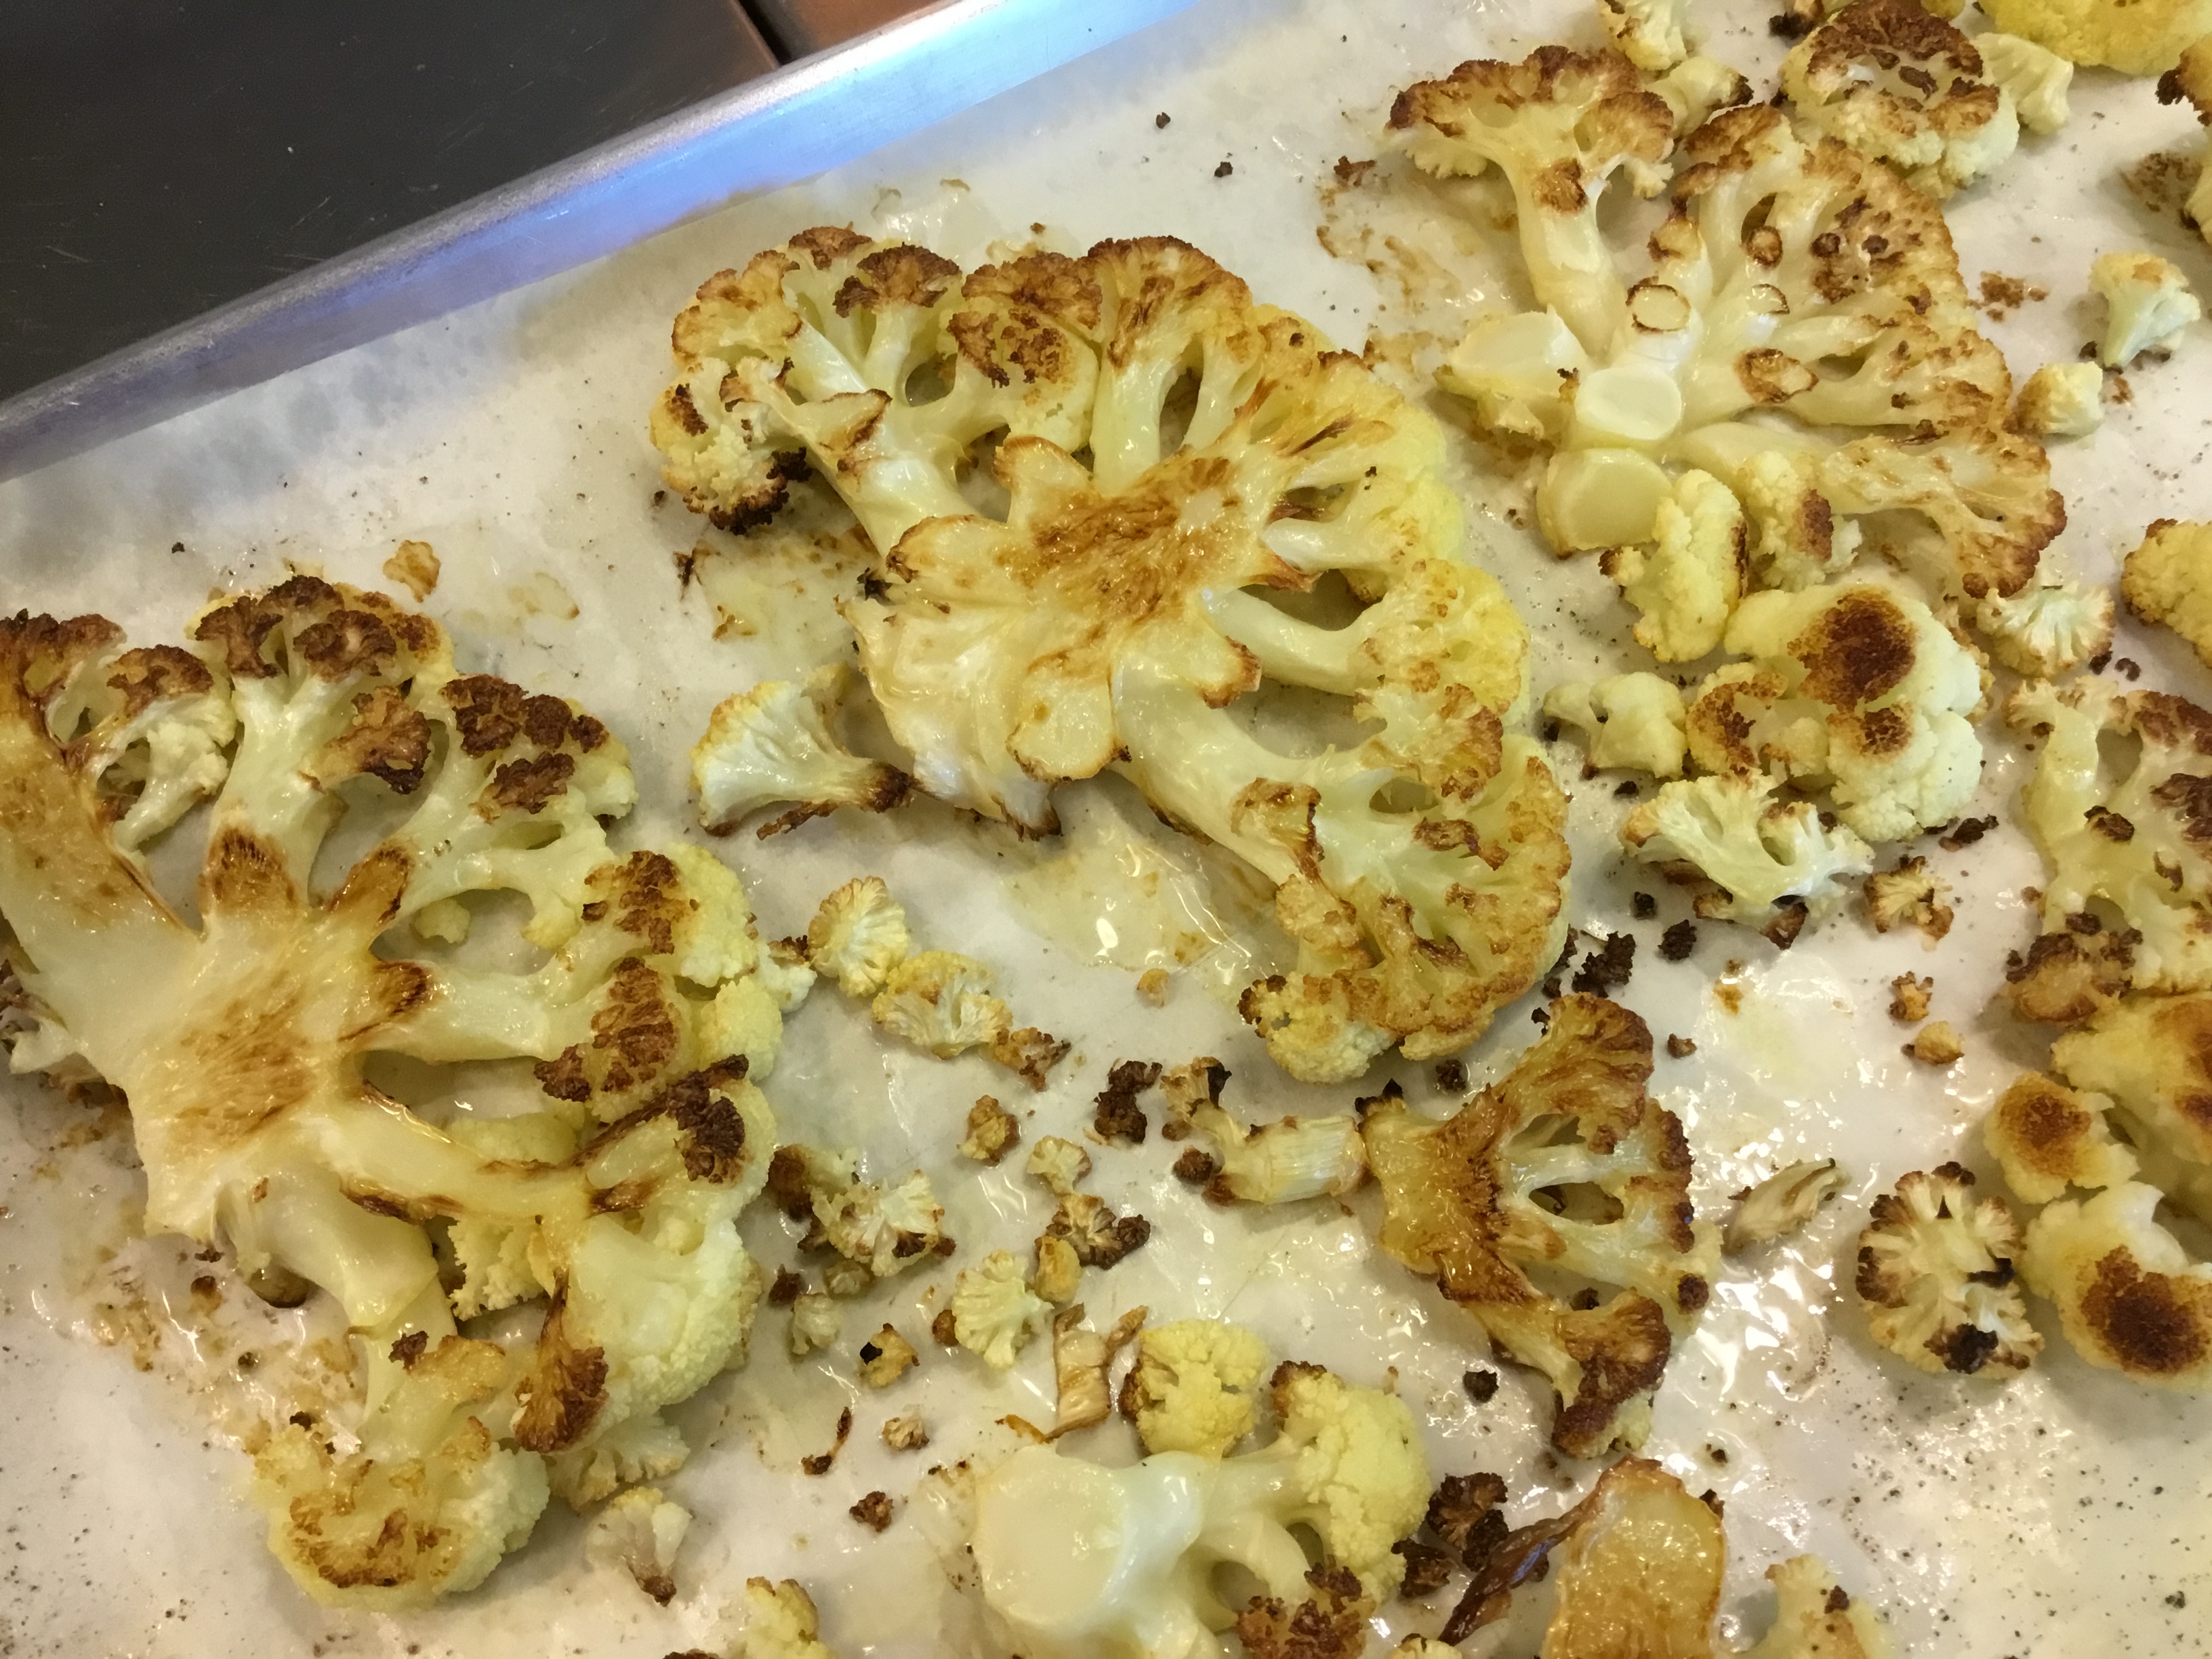
Put cauliflower on a parchment lined tray and brush with olive oil and sprinkle with onion salt. Roast at 425 degrees F for 35 min or until golden brown and tender.
Meanwhile, add 2 Tbsp of olive oil to a sauté pan and heat. Add diced red onion and sauté over medium low heat until soft. Add the garlic, parsley, basil and tomato and cook for another minute. Add the white wine and juice of one lemon and simmer until liquid is reduced. Season with salt and pepper.
Add the legumes and lemon zest - taste and adjust seasonings.
When ready to eat, spoon the bean mixture over your roasted cauliflower steaks and sprinkle with freshly grated Parmesan cheese and chopped parsley. Serve warm with a drizzle of balsamic glaze and garnish with a sprig of fresh basil. Enjoy!
Sisters birthdays are a special day of celebration in our Convent. Much prayer and discussion goes into the place setting at the table, the beautiful word that is specially picked just for her and then a few carefully and lovingly wrapped gifts (which are usually a few treat foods that she rarely gets). The Sister gets to choose her dinner entree and dessert from a menu. It’s really such fun – some sisters take up to a week deciding what they’re going to ask for on their special day. This past week, I had the great fun of cooking for one such occasion. I made my signature shrimp dish – a little like a scampi, but made richer by the fettucine tossed with cream and parmesan. The fresh lemon in this recipe is a must – don’t skip it. The Sister slowly savored her meal, a smile emanating after every bite. What a blessing it is to bless others – that’s what I love so much about the gift of cooking.
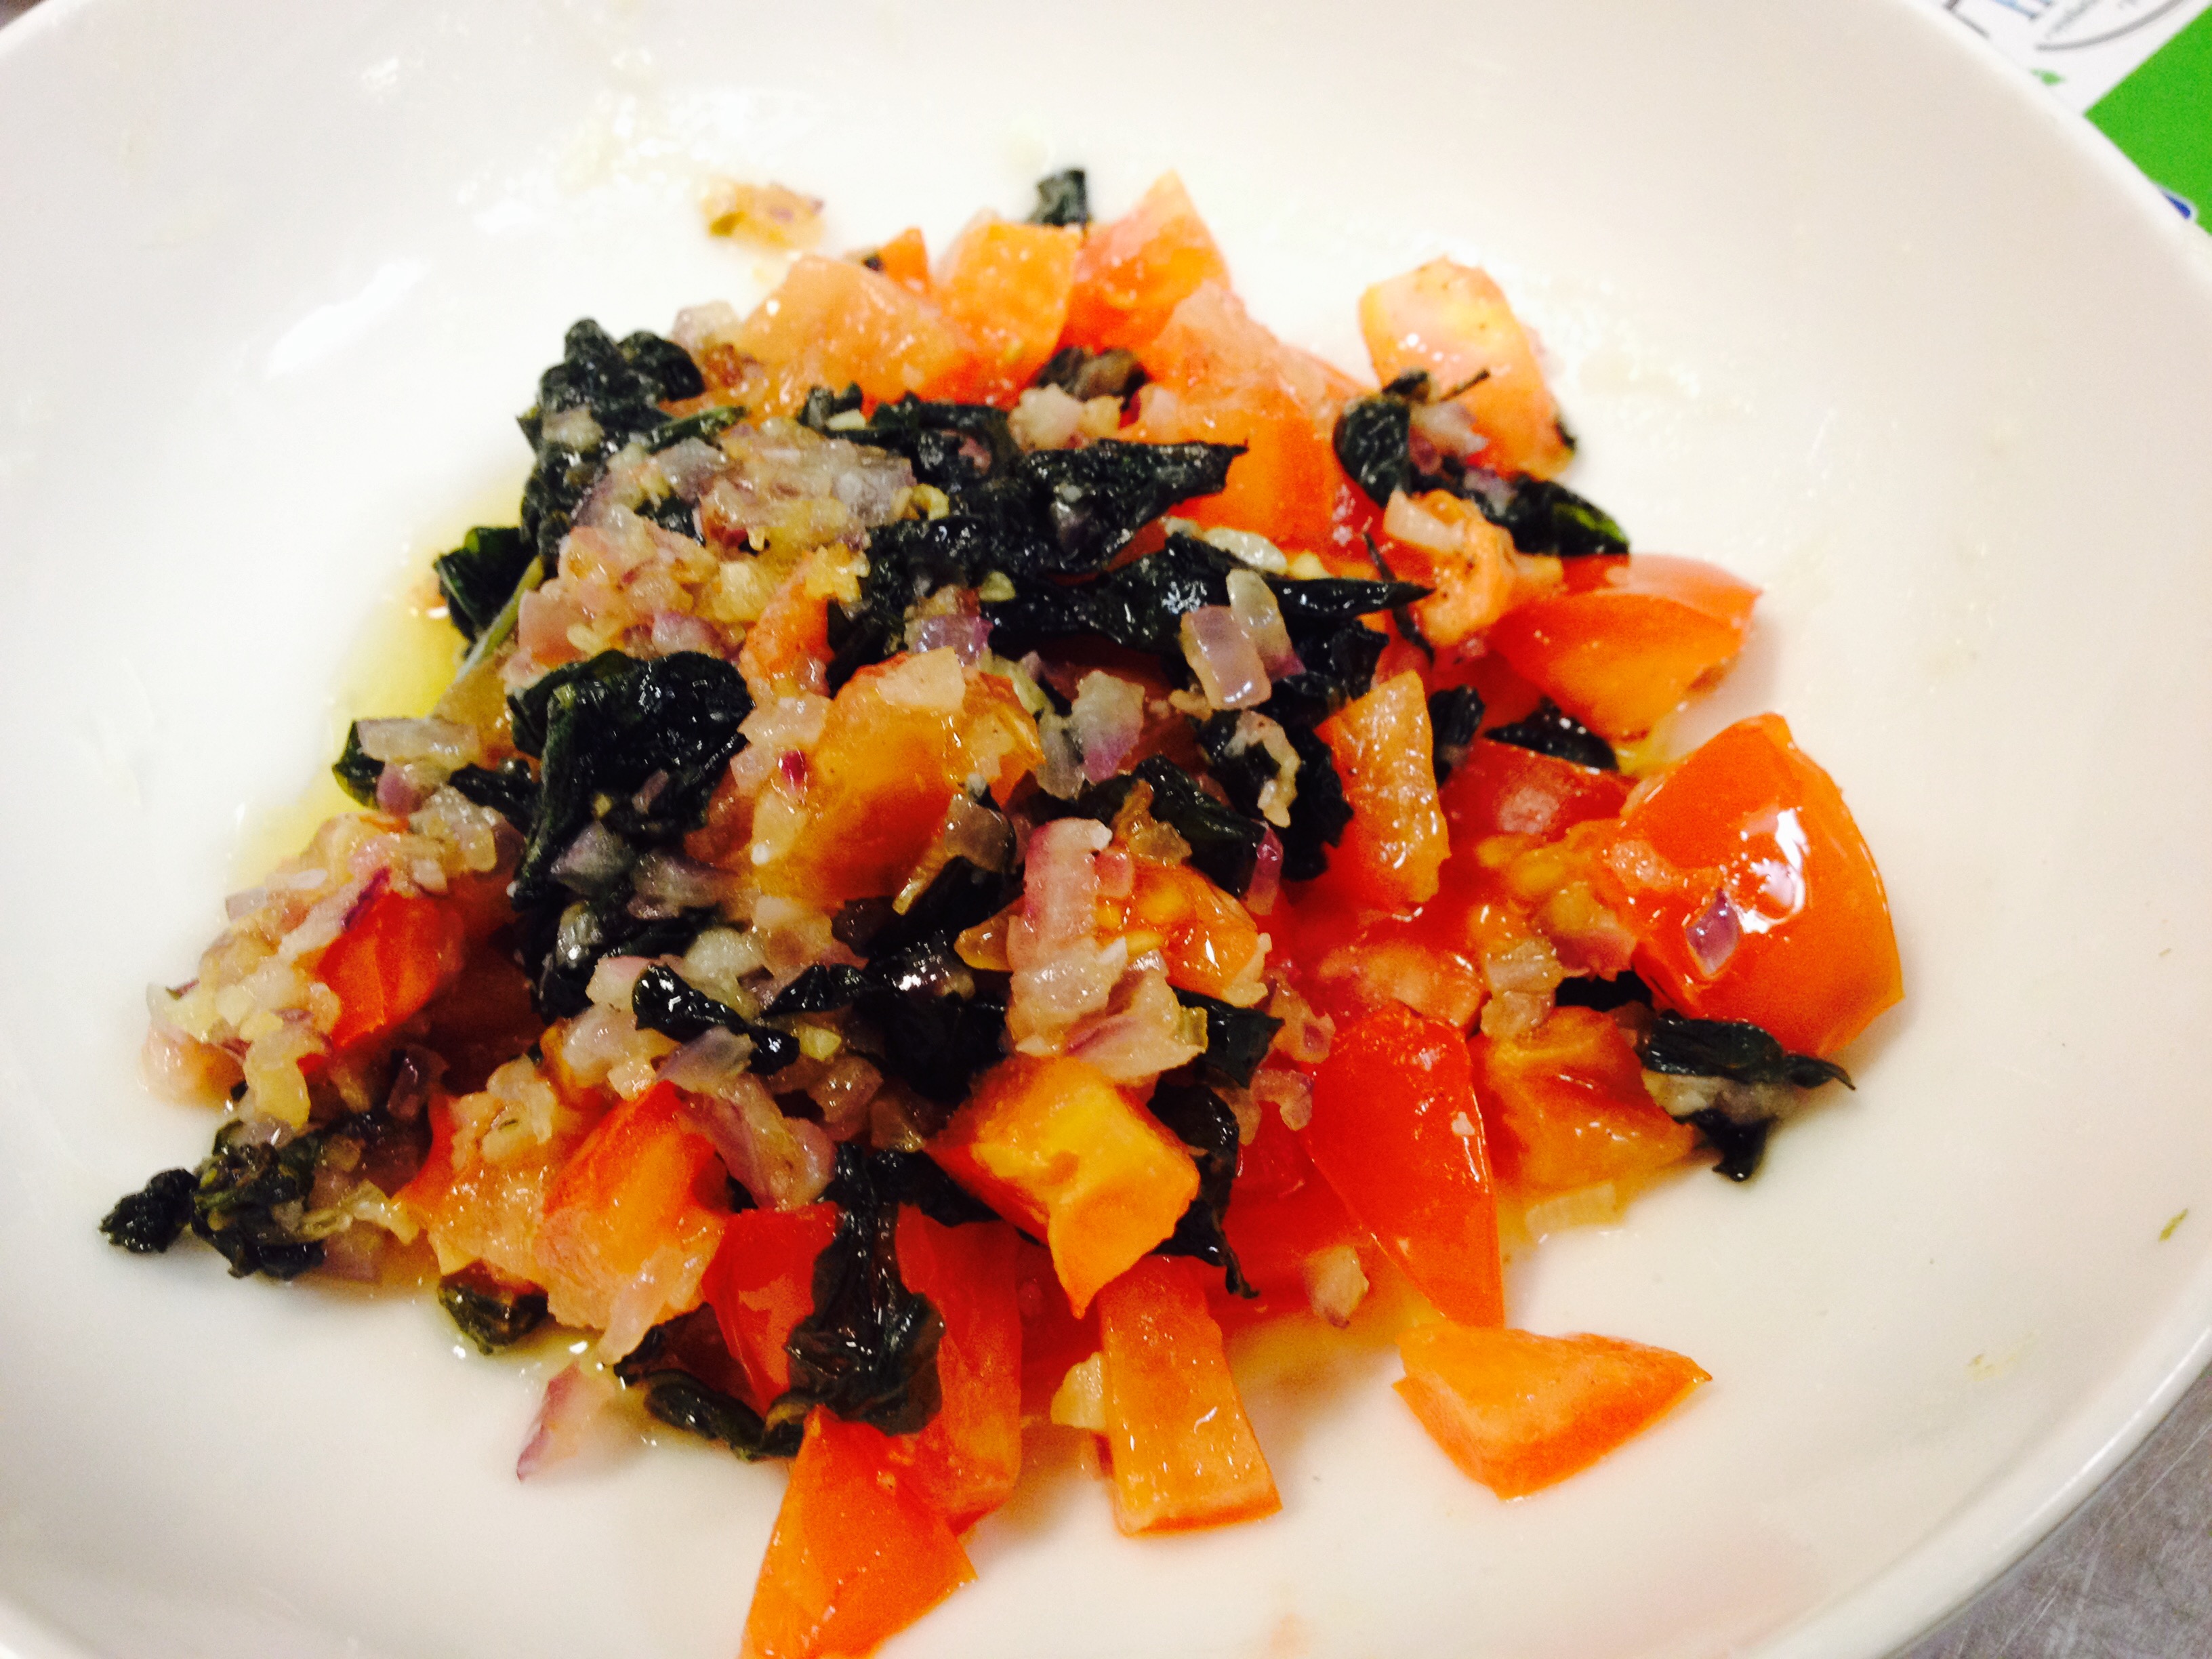
Meanwhile, sauté ¼ c. diced onion and crushed garlic clove until translucent over medium low heat. Watch carefully so you don't burn the garlic. Add chopped basil leaves and chopped tomato – lightly toss, sauté and remove from heat and into a dish to hold.
Cook your pasta and when finished, toss with 4 Tbsp. butter, warmed heavy cream and 1/2 cup fresh parmesan until you have an “Alfredo” – add onion salt and fresh ground pepper - seasoning to taste.
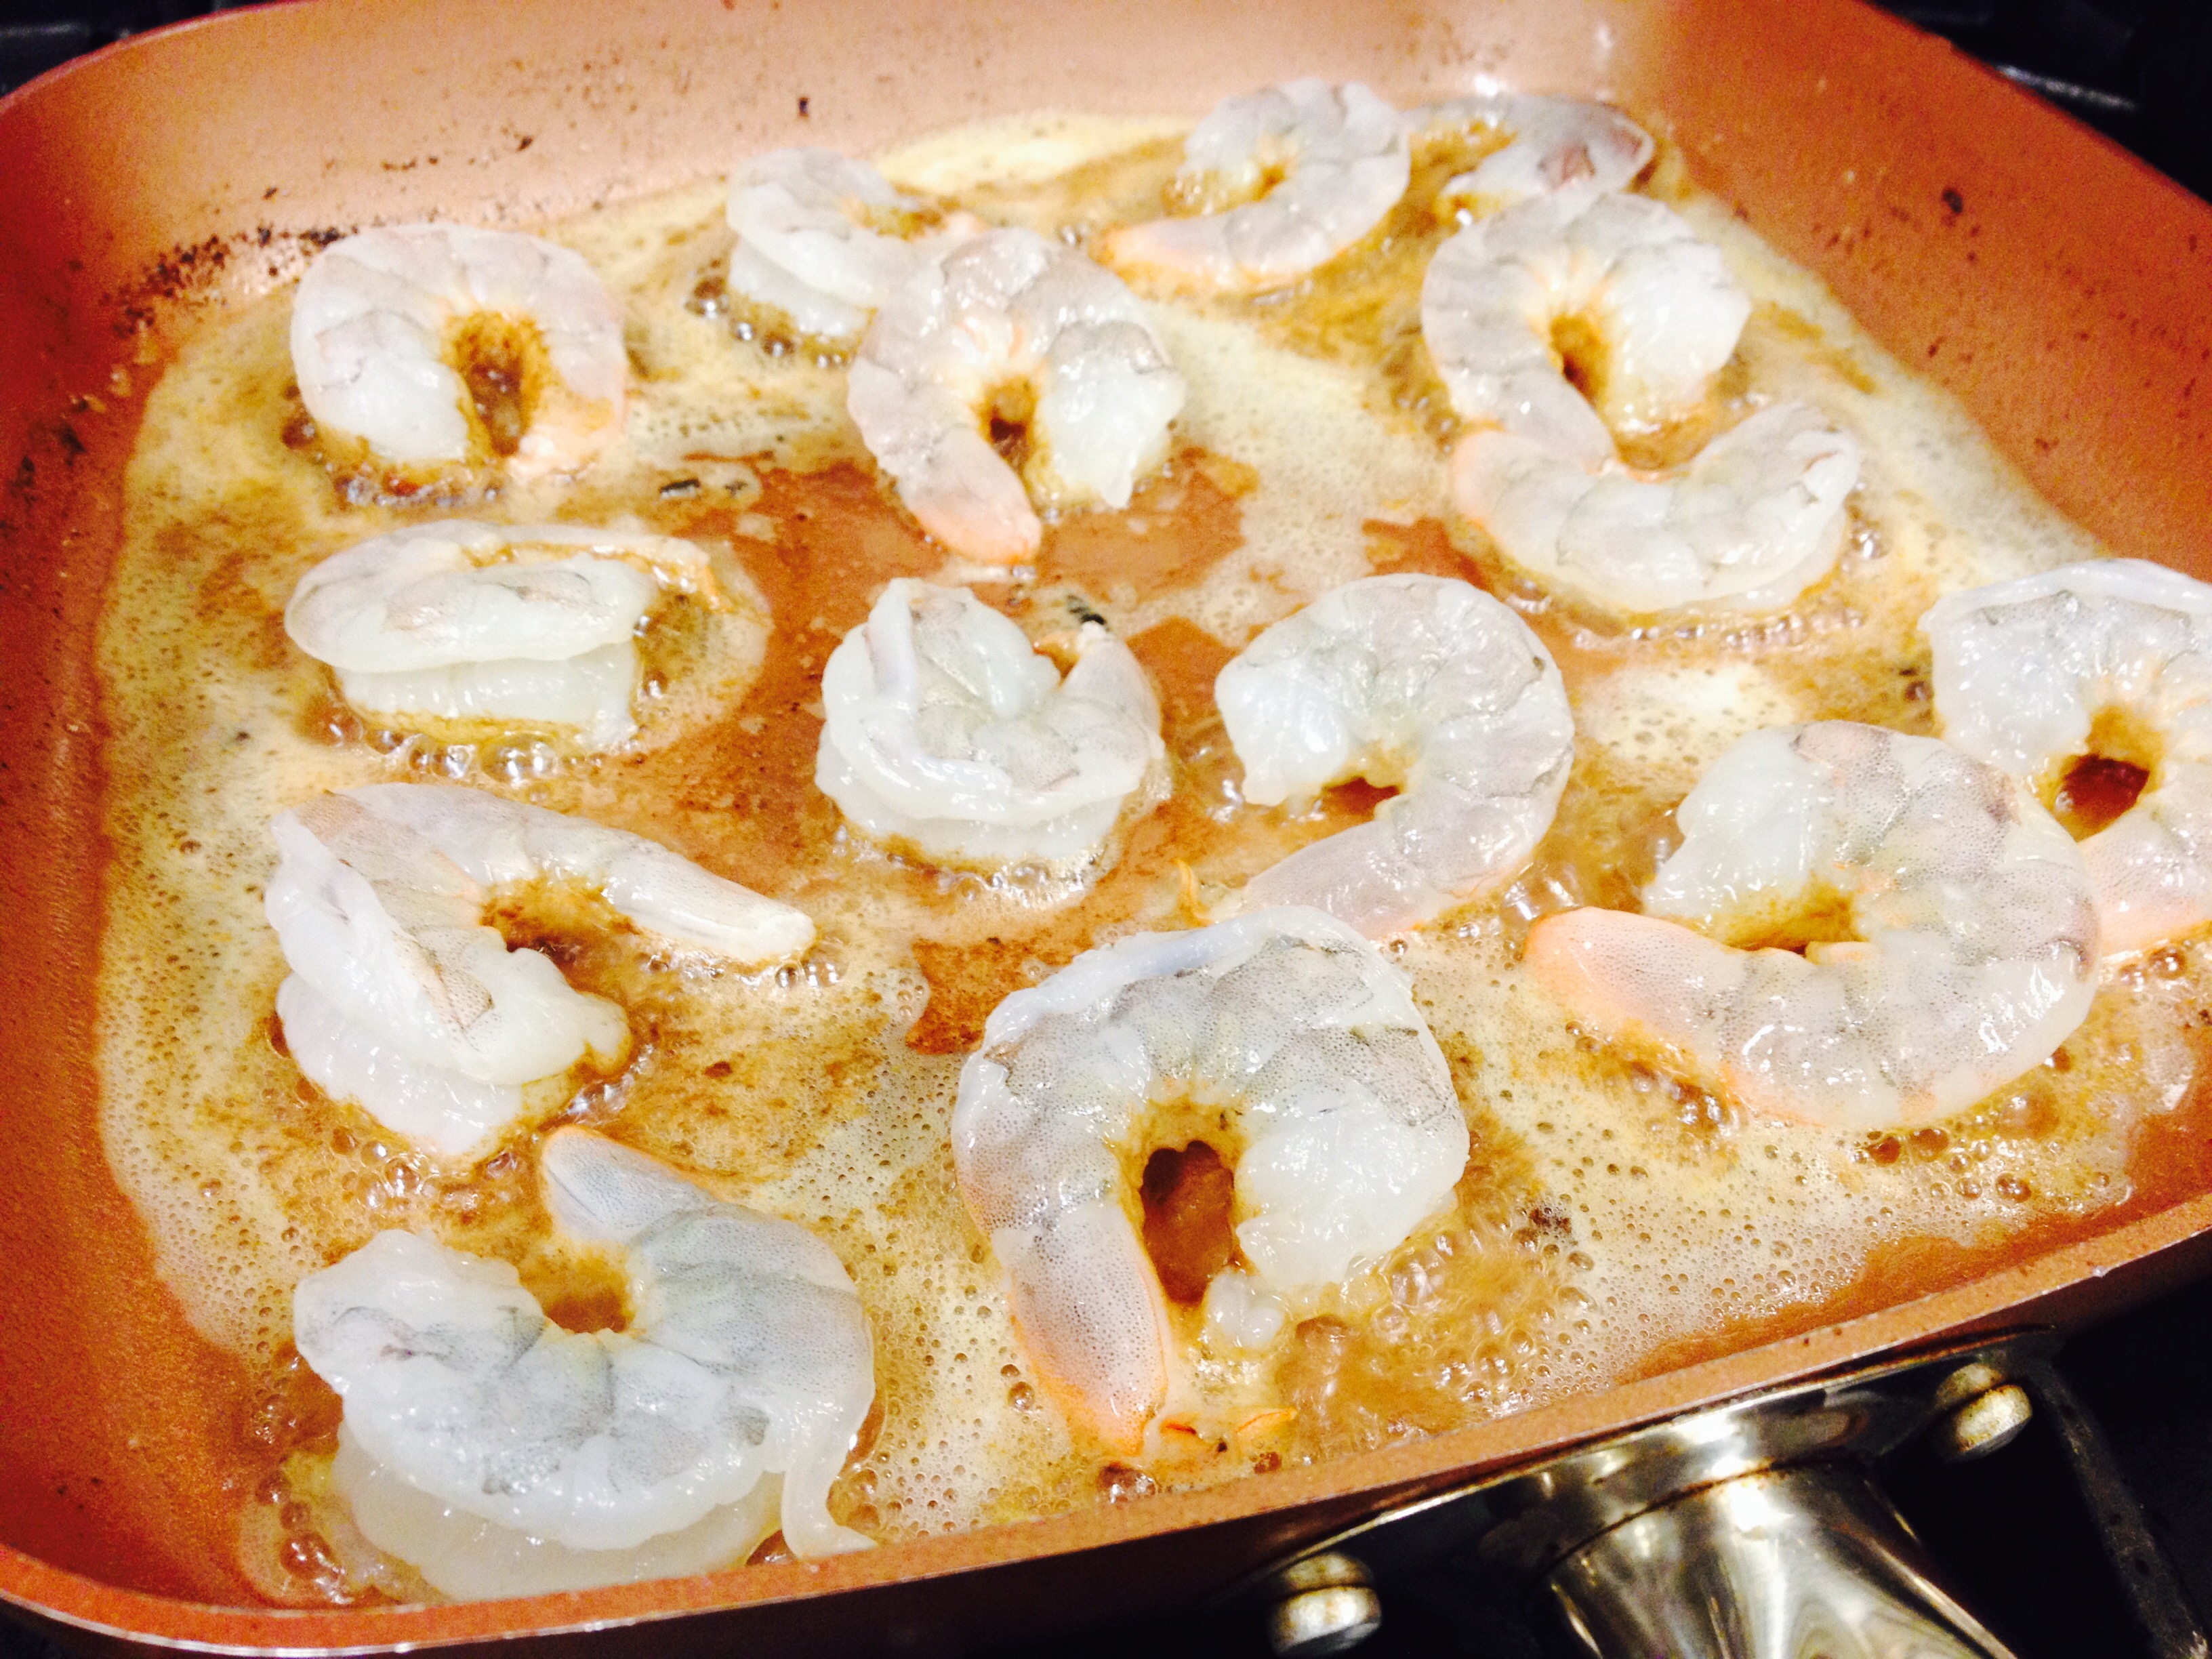
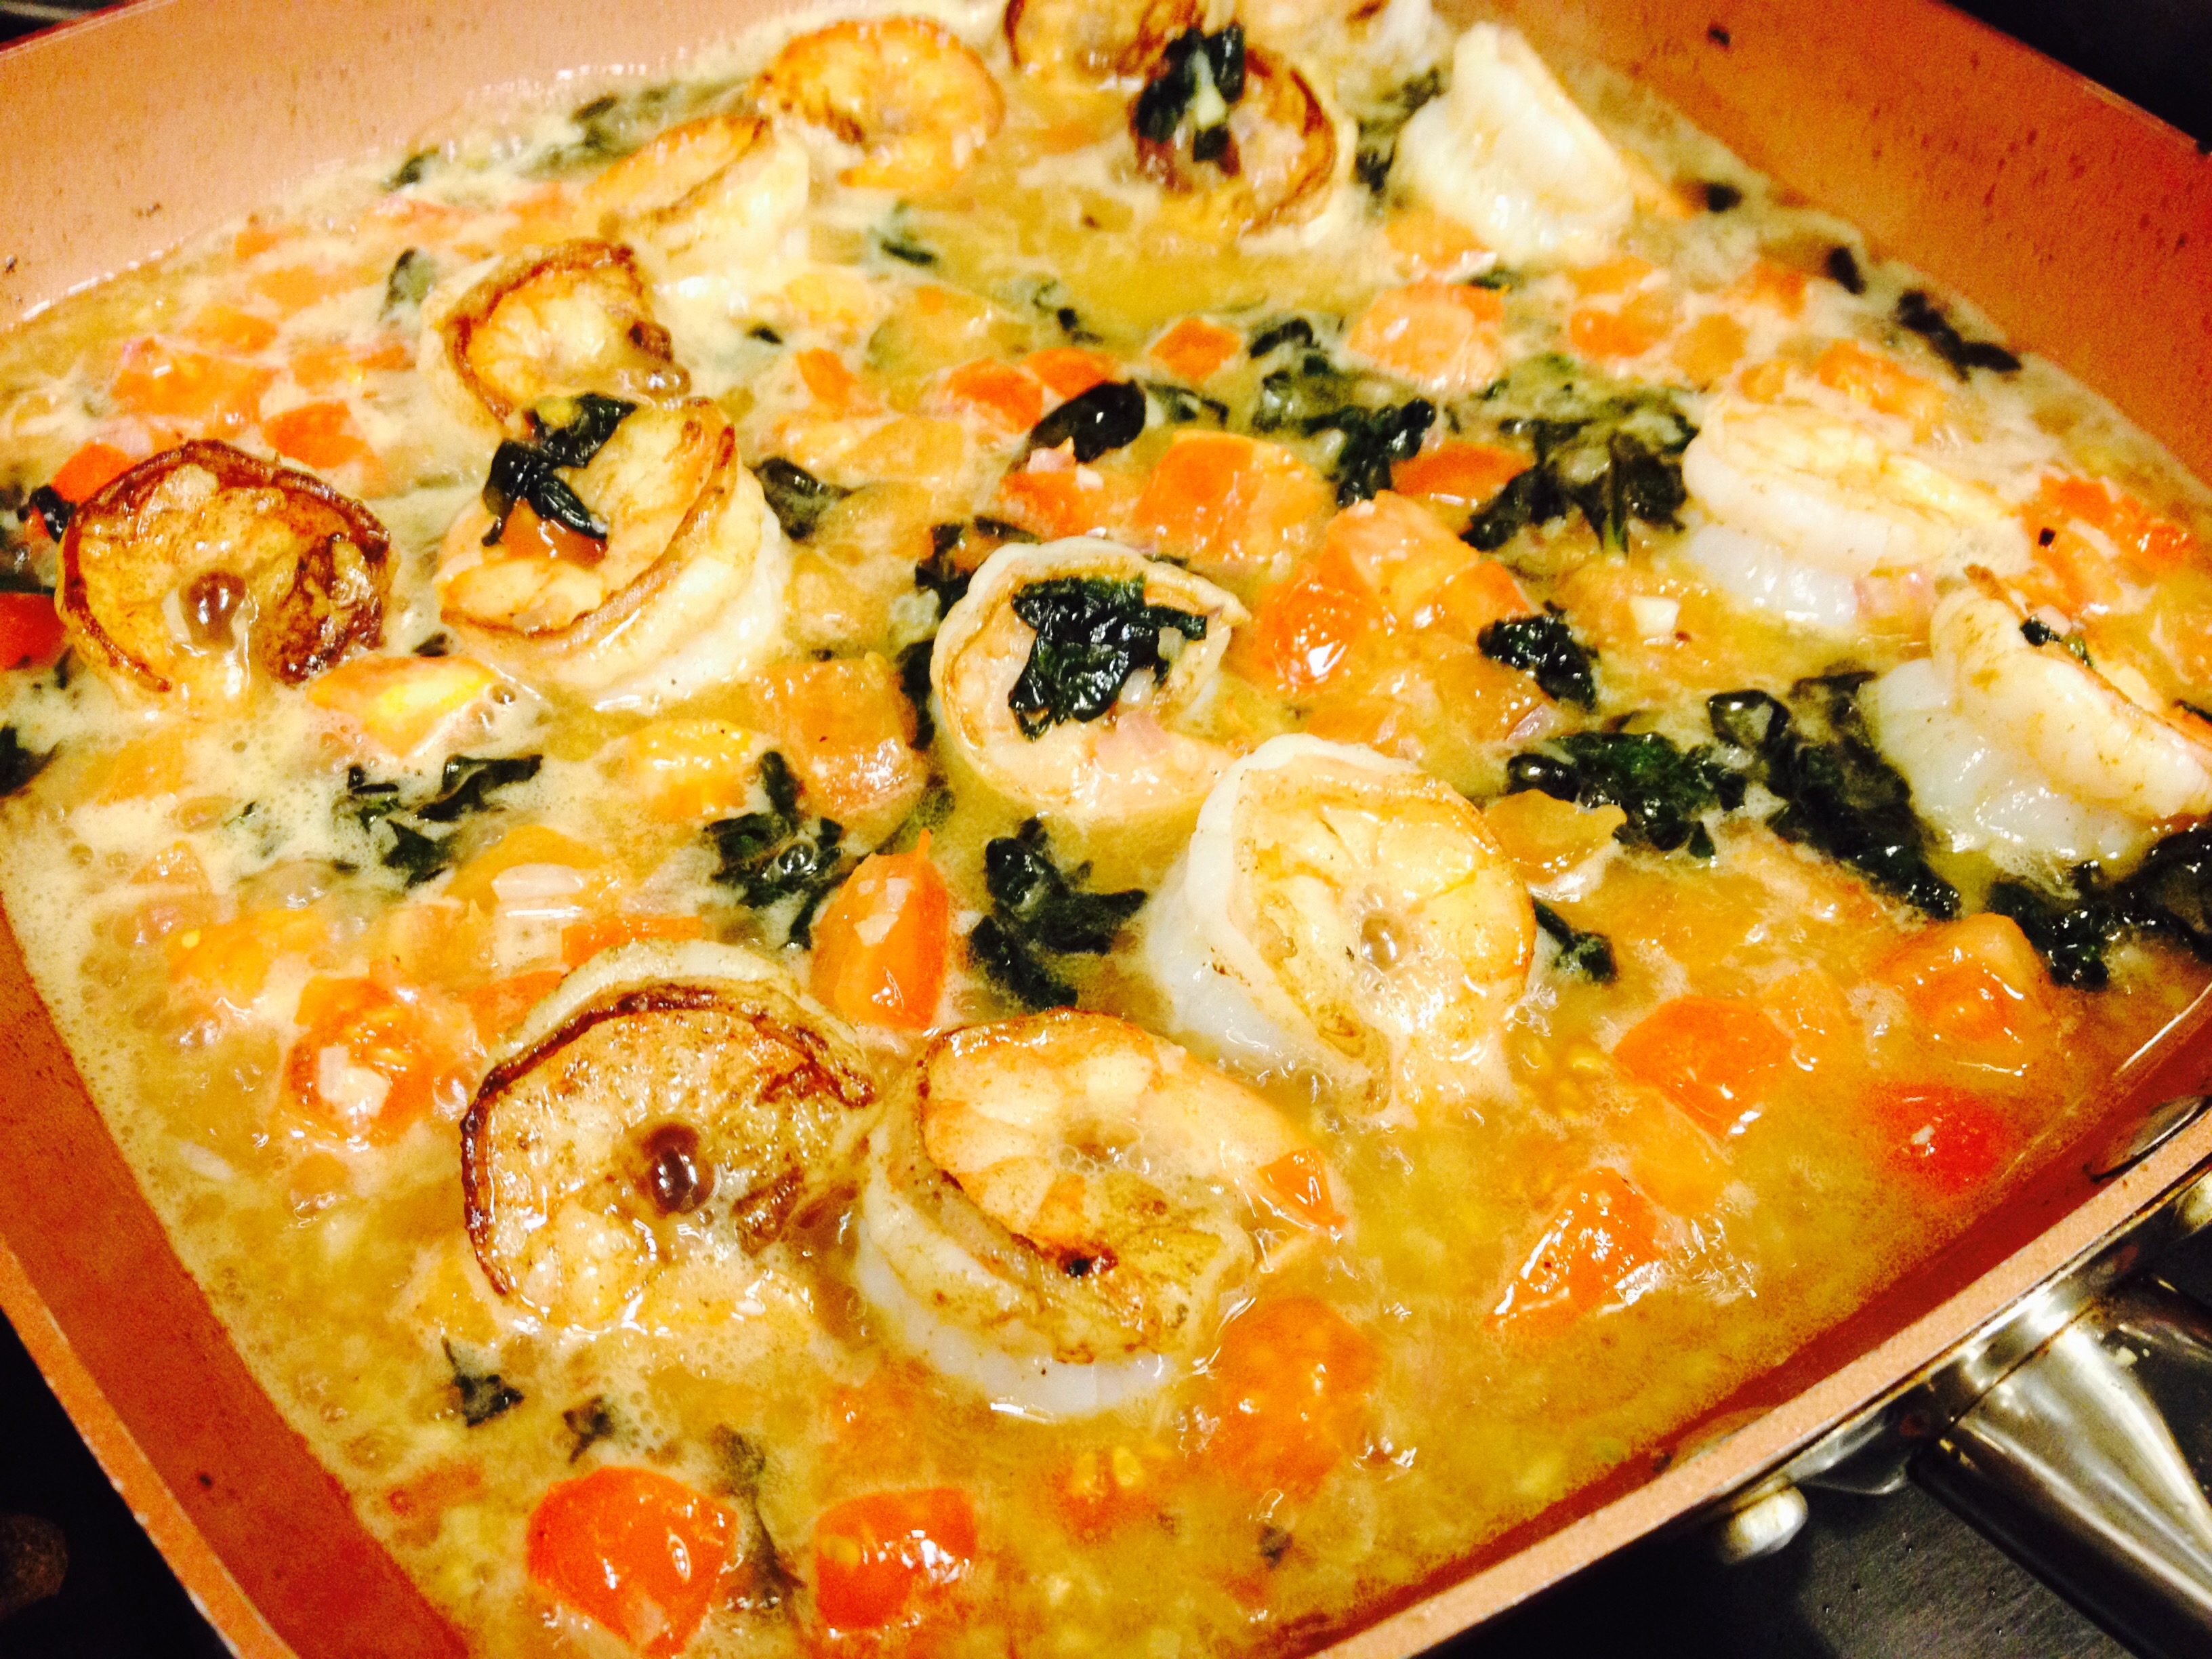
Quickly sauté your shrimp in butter, once golden on both sides, add white wine and juice of one lemon. Simmer slightly and then add the tomato mixture back to the pan and combine - season to taste.
Serve fettuccine with the shrimp tossed over – sprinkle with the lemon rind, freshly grated Parmesan cheese and chopped parsley.
Stella’s Shrimp and Fettuccine. To subscribe to the weekly Recipe blog from the Monastery Kitchen at the Community of Jesus click here: http://monasterykitchen.org/
")
")
")


")
")
")