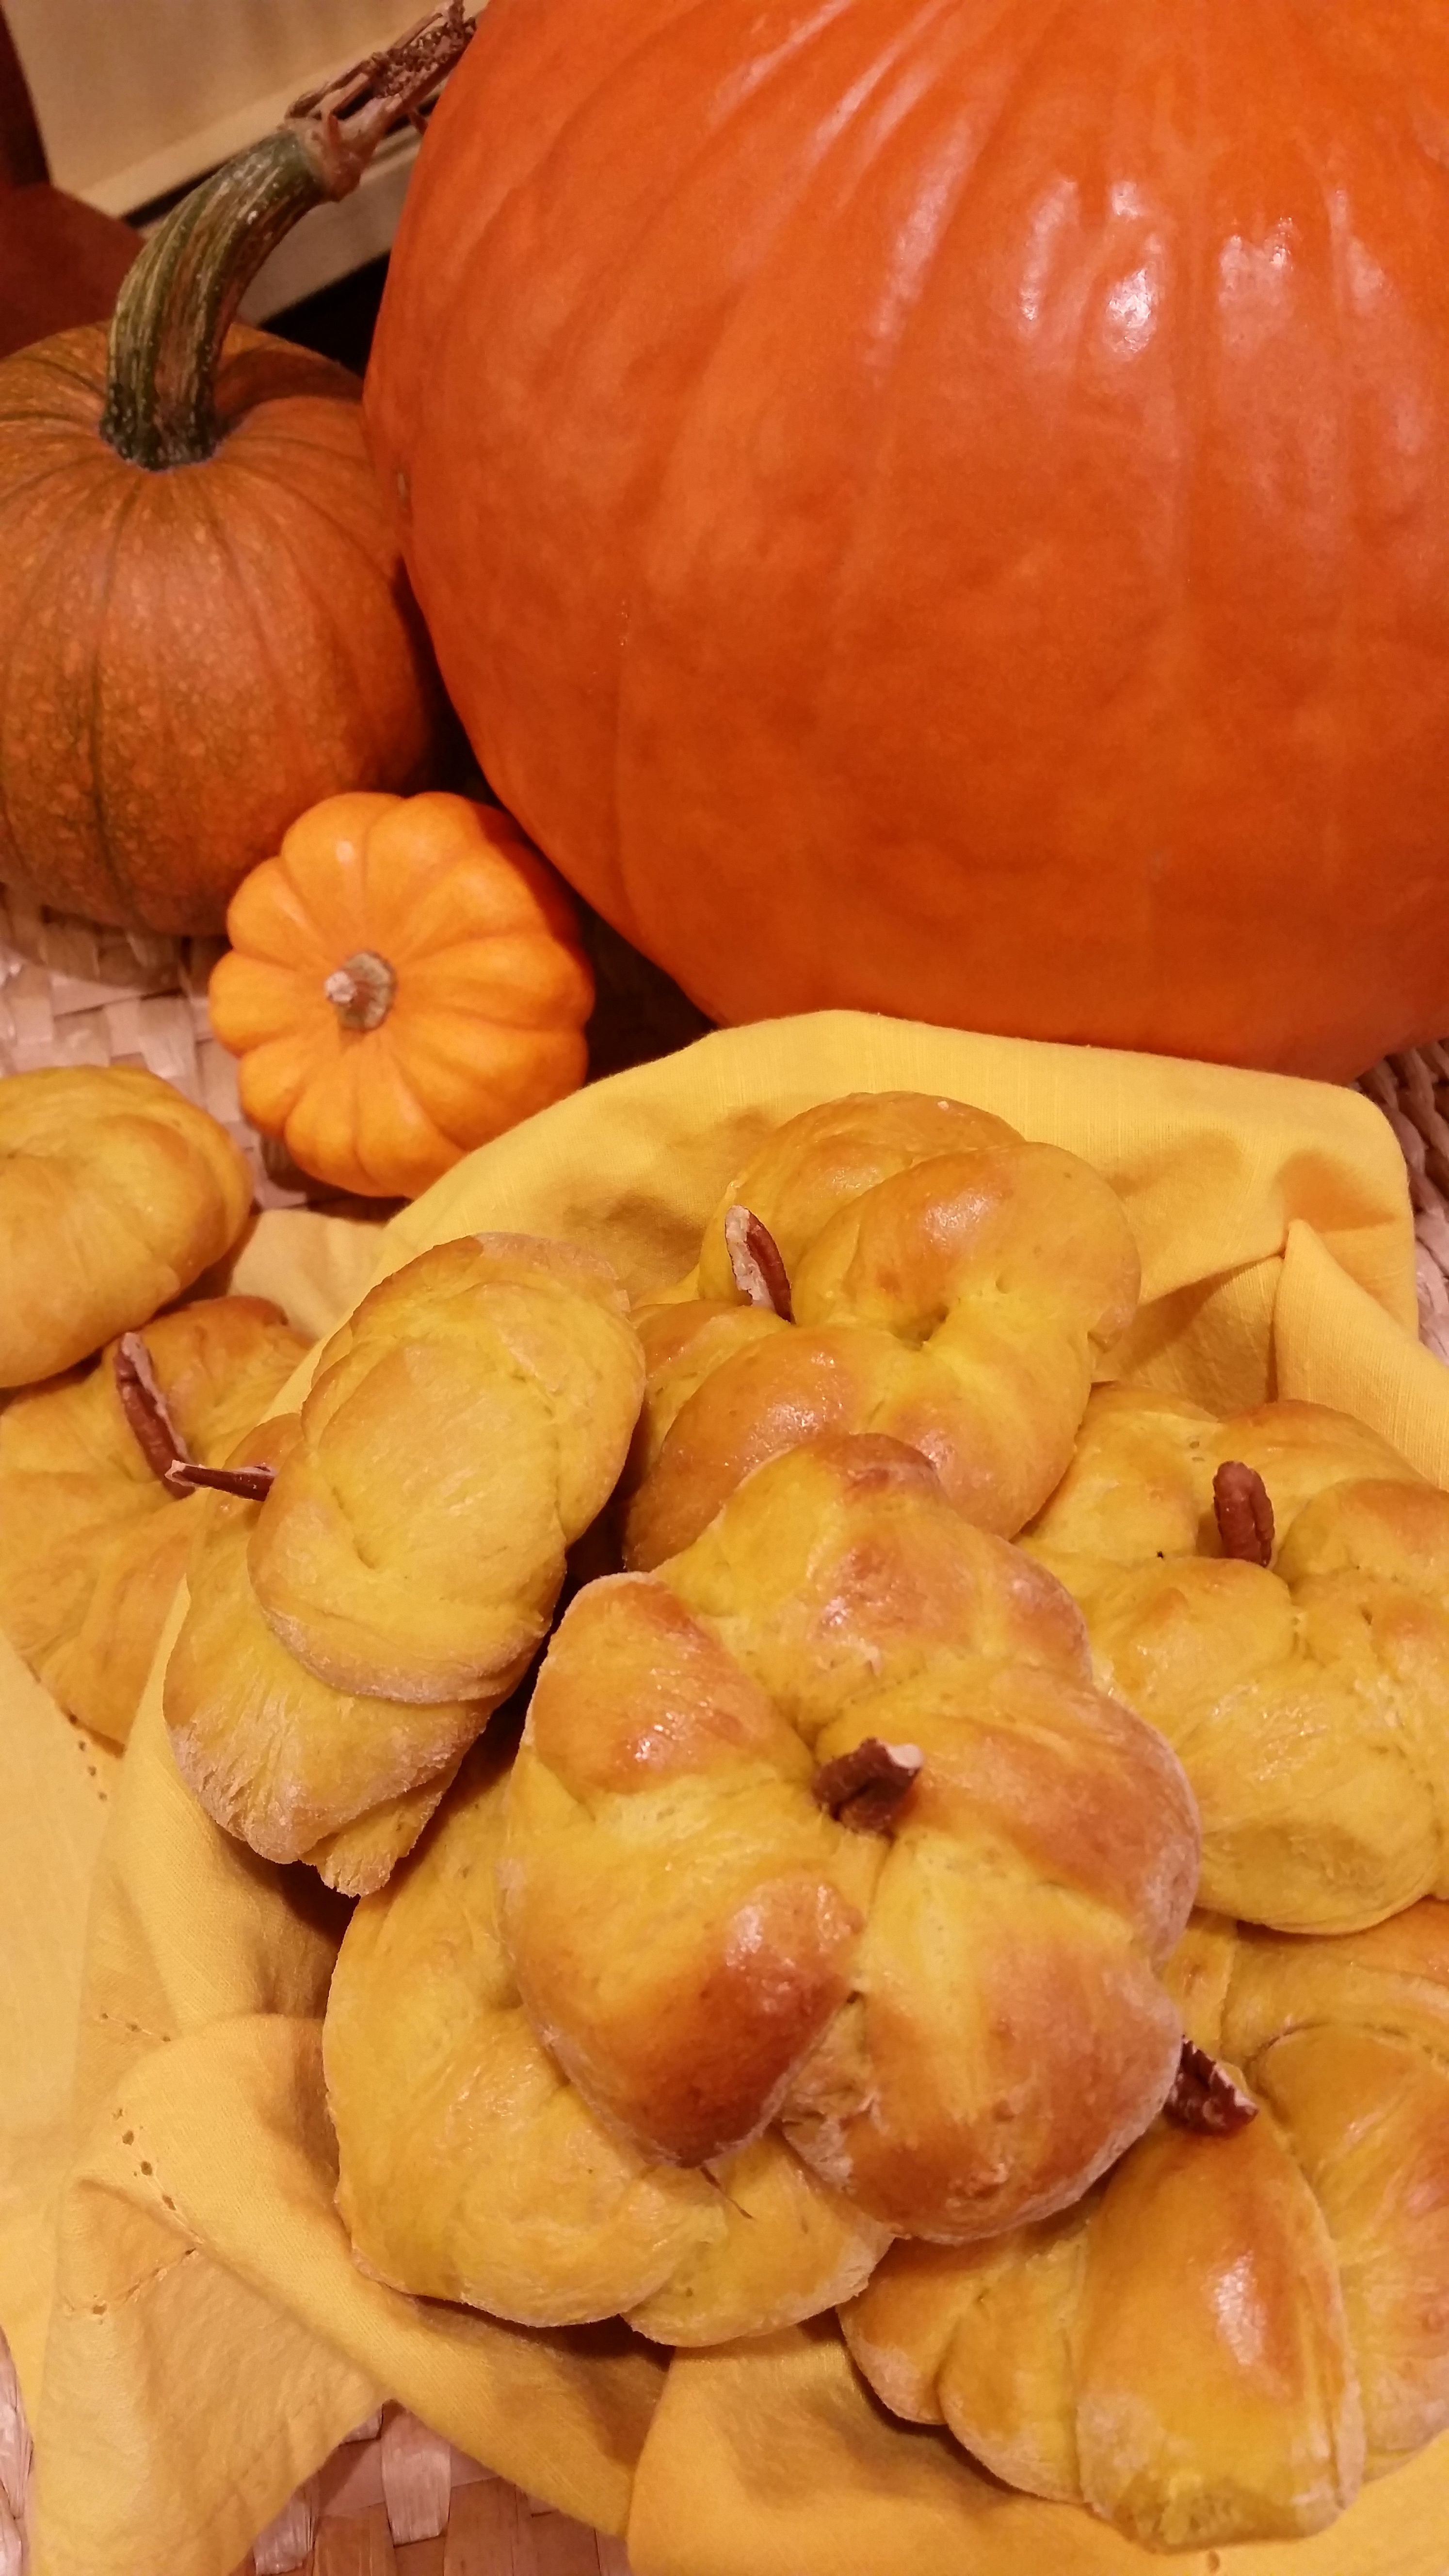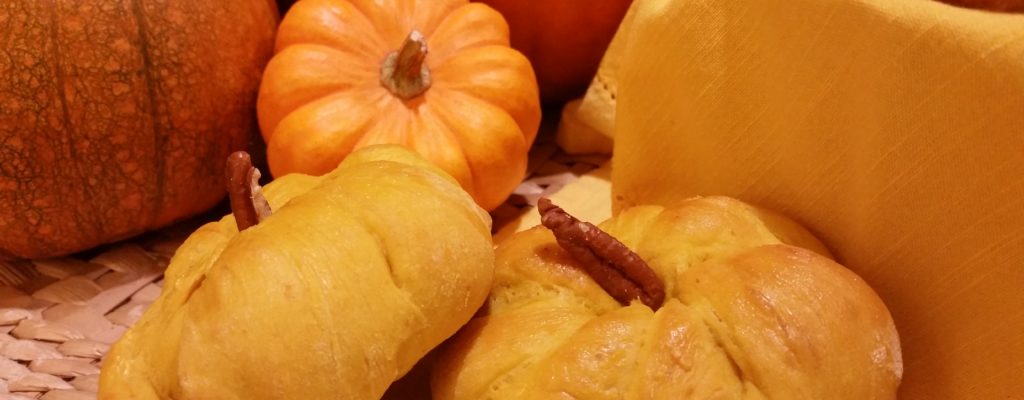
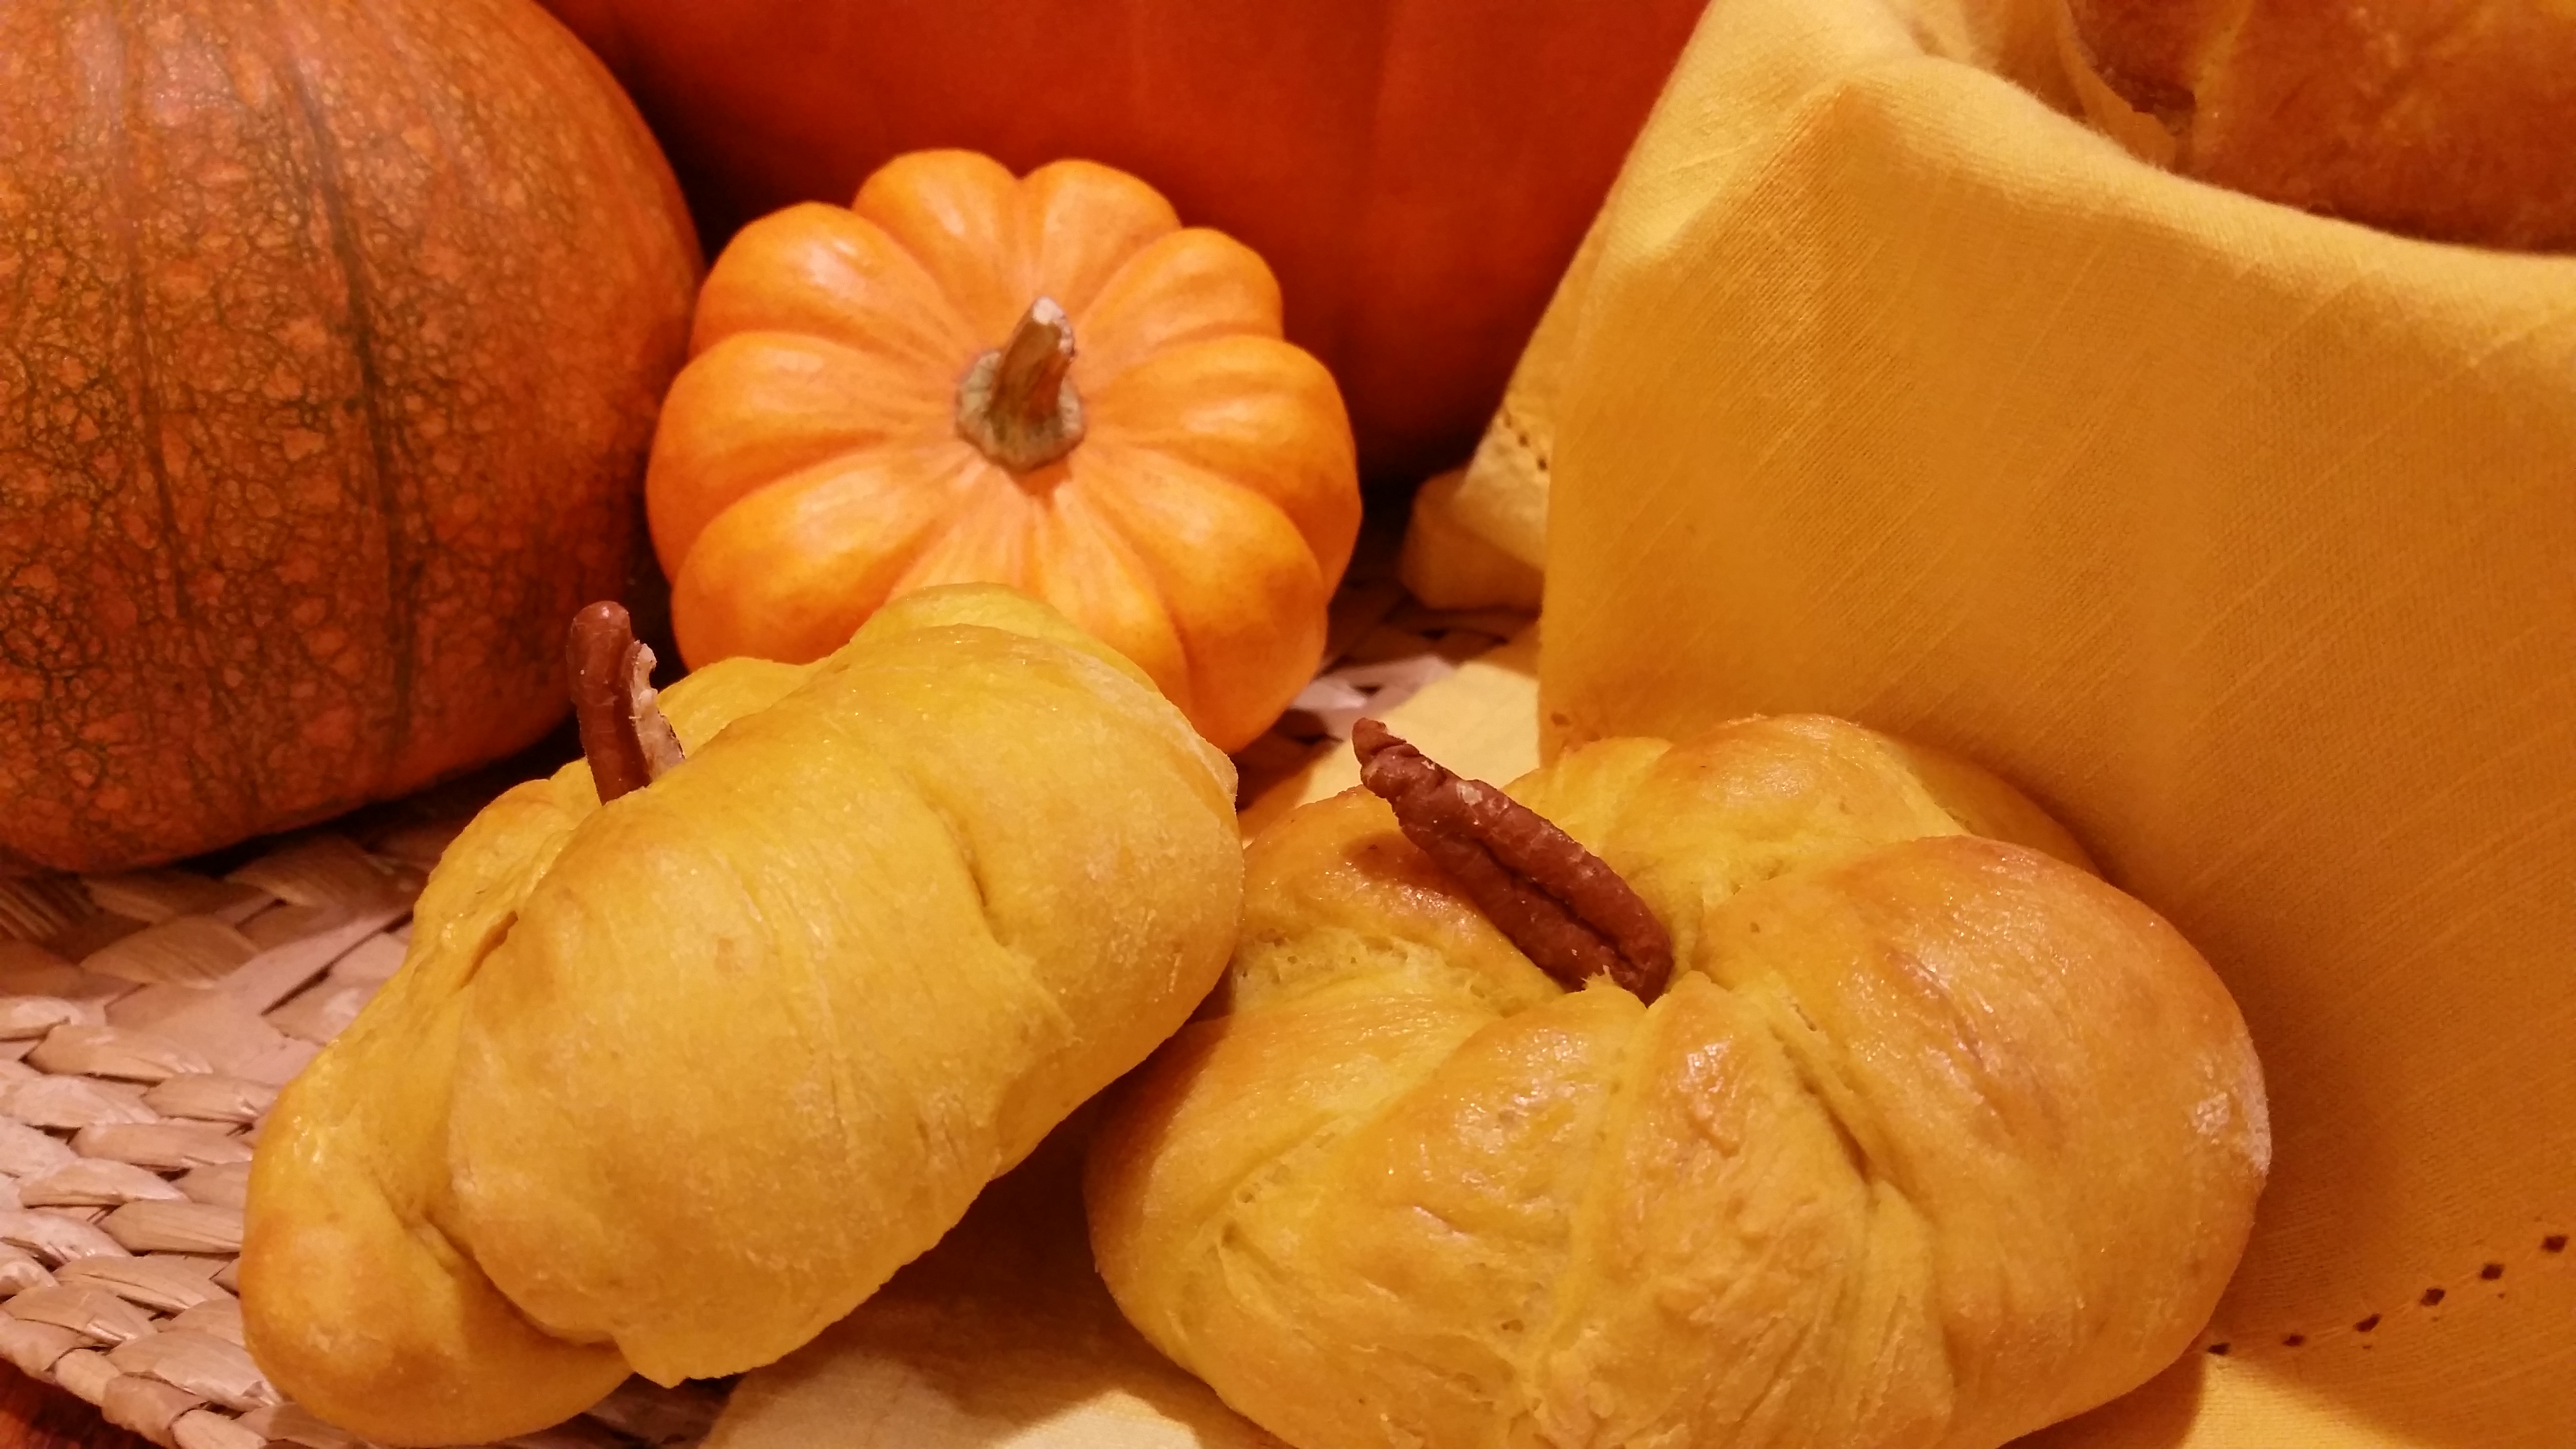
Our Convent bakers are always thinking ahead and experimenting — their thoughts and ideas are often very innovative! This week they were totally into Thanksgiving and enjoying it thoroughly. They assured me that I would be pleased with the final outcome of their efforts and how right they were! I had heard pumpkin being mentioned so I was expecting a pumpkin dessert of some sort. Instead they produced the tastiest dinner rolls which could not have pleased me more — whimsical little pumpkin-shaped creations, each complete with its own stem. I can’t wait to see the smiles on every person as they gather around the table this year.
SERVINGS2dozenCHANGE SERVING SIZEdozen |
COOK TIME12-15 minutes |
PREP TIME40min + rising |
READY INapprox. 2hours |
Ingredients
- 2 packages yeast active, dry (1/4 ounce each)
- 1/2 cup warm water (110 to 115)
- 1/2 tsp sugar
- 3/4 cup warm milk (110 to 115)
- 1/2 cup brown sugar packed
- 1/2 cup canned pumpkin
- 3 Tbsp butter melted
- 1 tsp salt
- 1/2 tsp ground ginger
- 1/4 to 1/2 tsp ground nutmeg
- 1/4 to 1/2 tsp ground cloves
- 4 to 4 1/2 cups flour all purpose
- 1 egg(s) lightly beaten
- sliced pecans
Instructions
- In a bowl, dissolve yeast in warm water. Sprinkle with sugar; let stand for 5 minutes. Add milk, brown sugar, pumpkin, butter, salt, spices and 2 cups flour; beat until smooth. Stir in enough remaining flour to form a soft dough. Turn onto a floured surface; knead until smooth and elastic, about 6-8 minutes. Place in a greased bowl, turning once to grease top. Cover and let rise in a warm place until doubled, about 1 hour. Punch dough down.
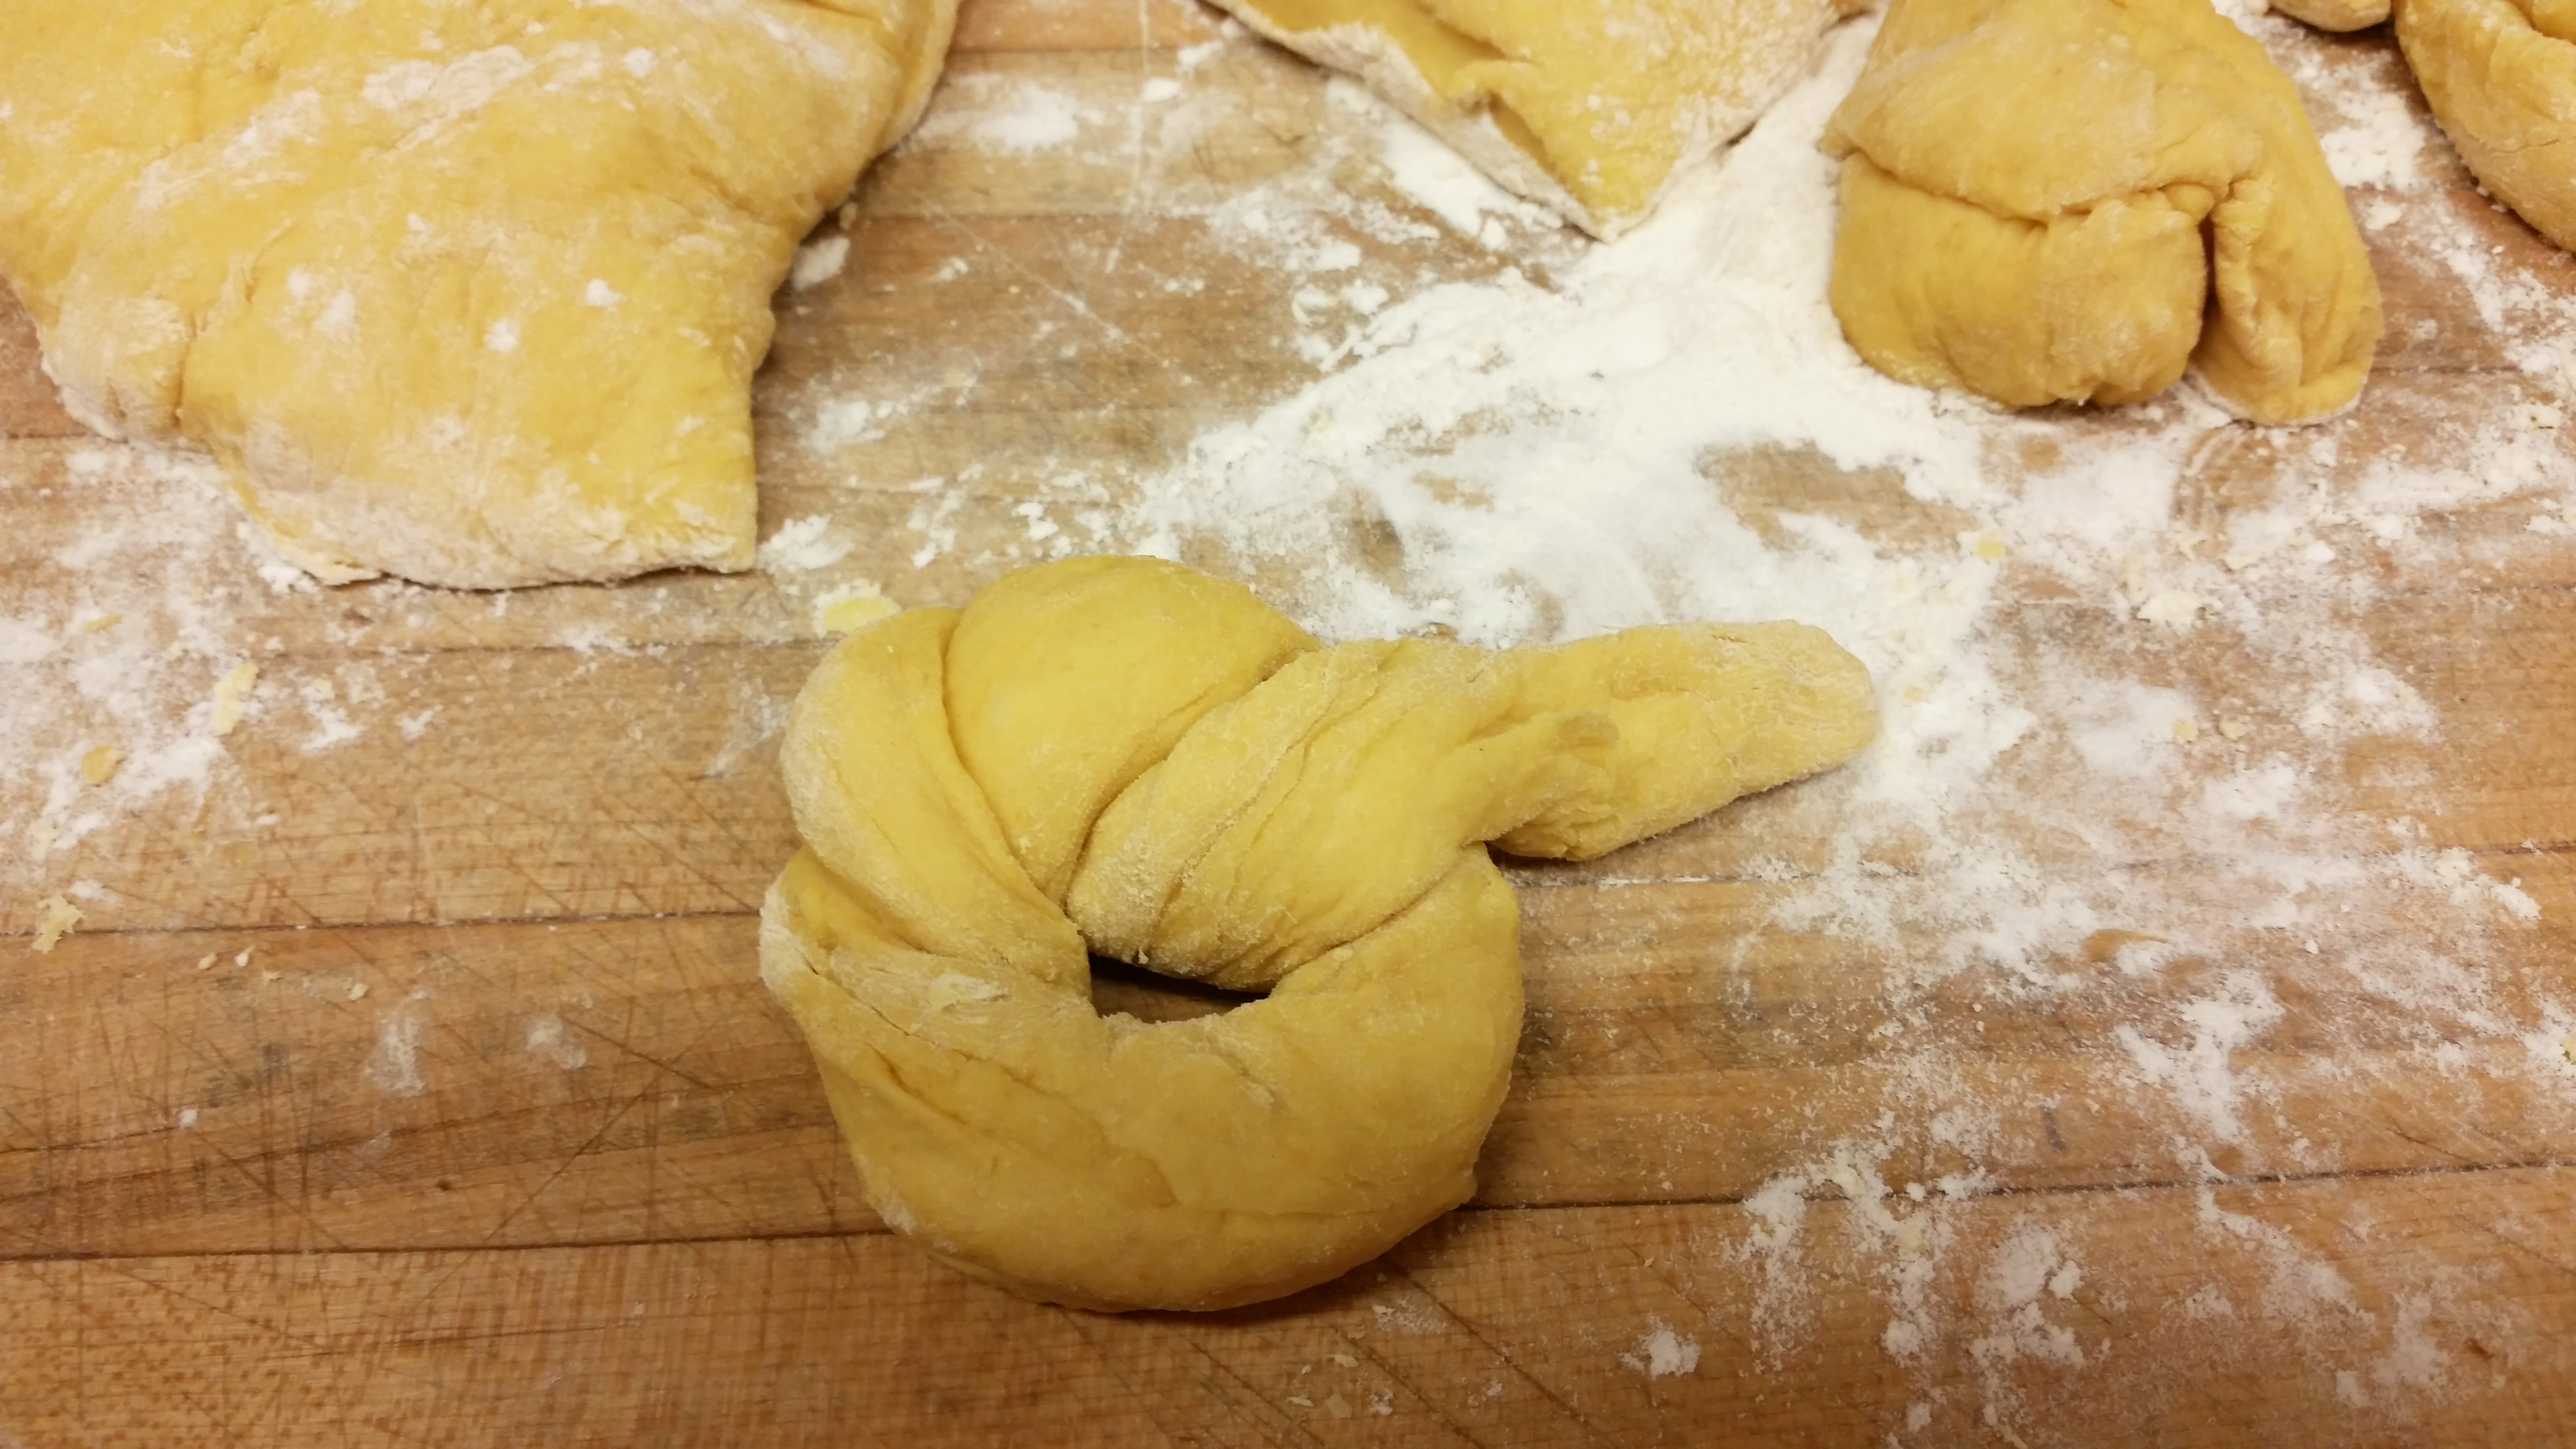
- Turn out the dough onto a lightly floured surface. Divide into 24 evenly-sized pieces. Working a few at a time, roll each piece of dough into a 12-inch rope on an un-floured surface. Before shaping, lightly dust ropes with flour, and then, with floured hands, turn each one into a pumpkin.
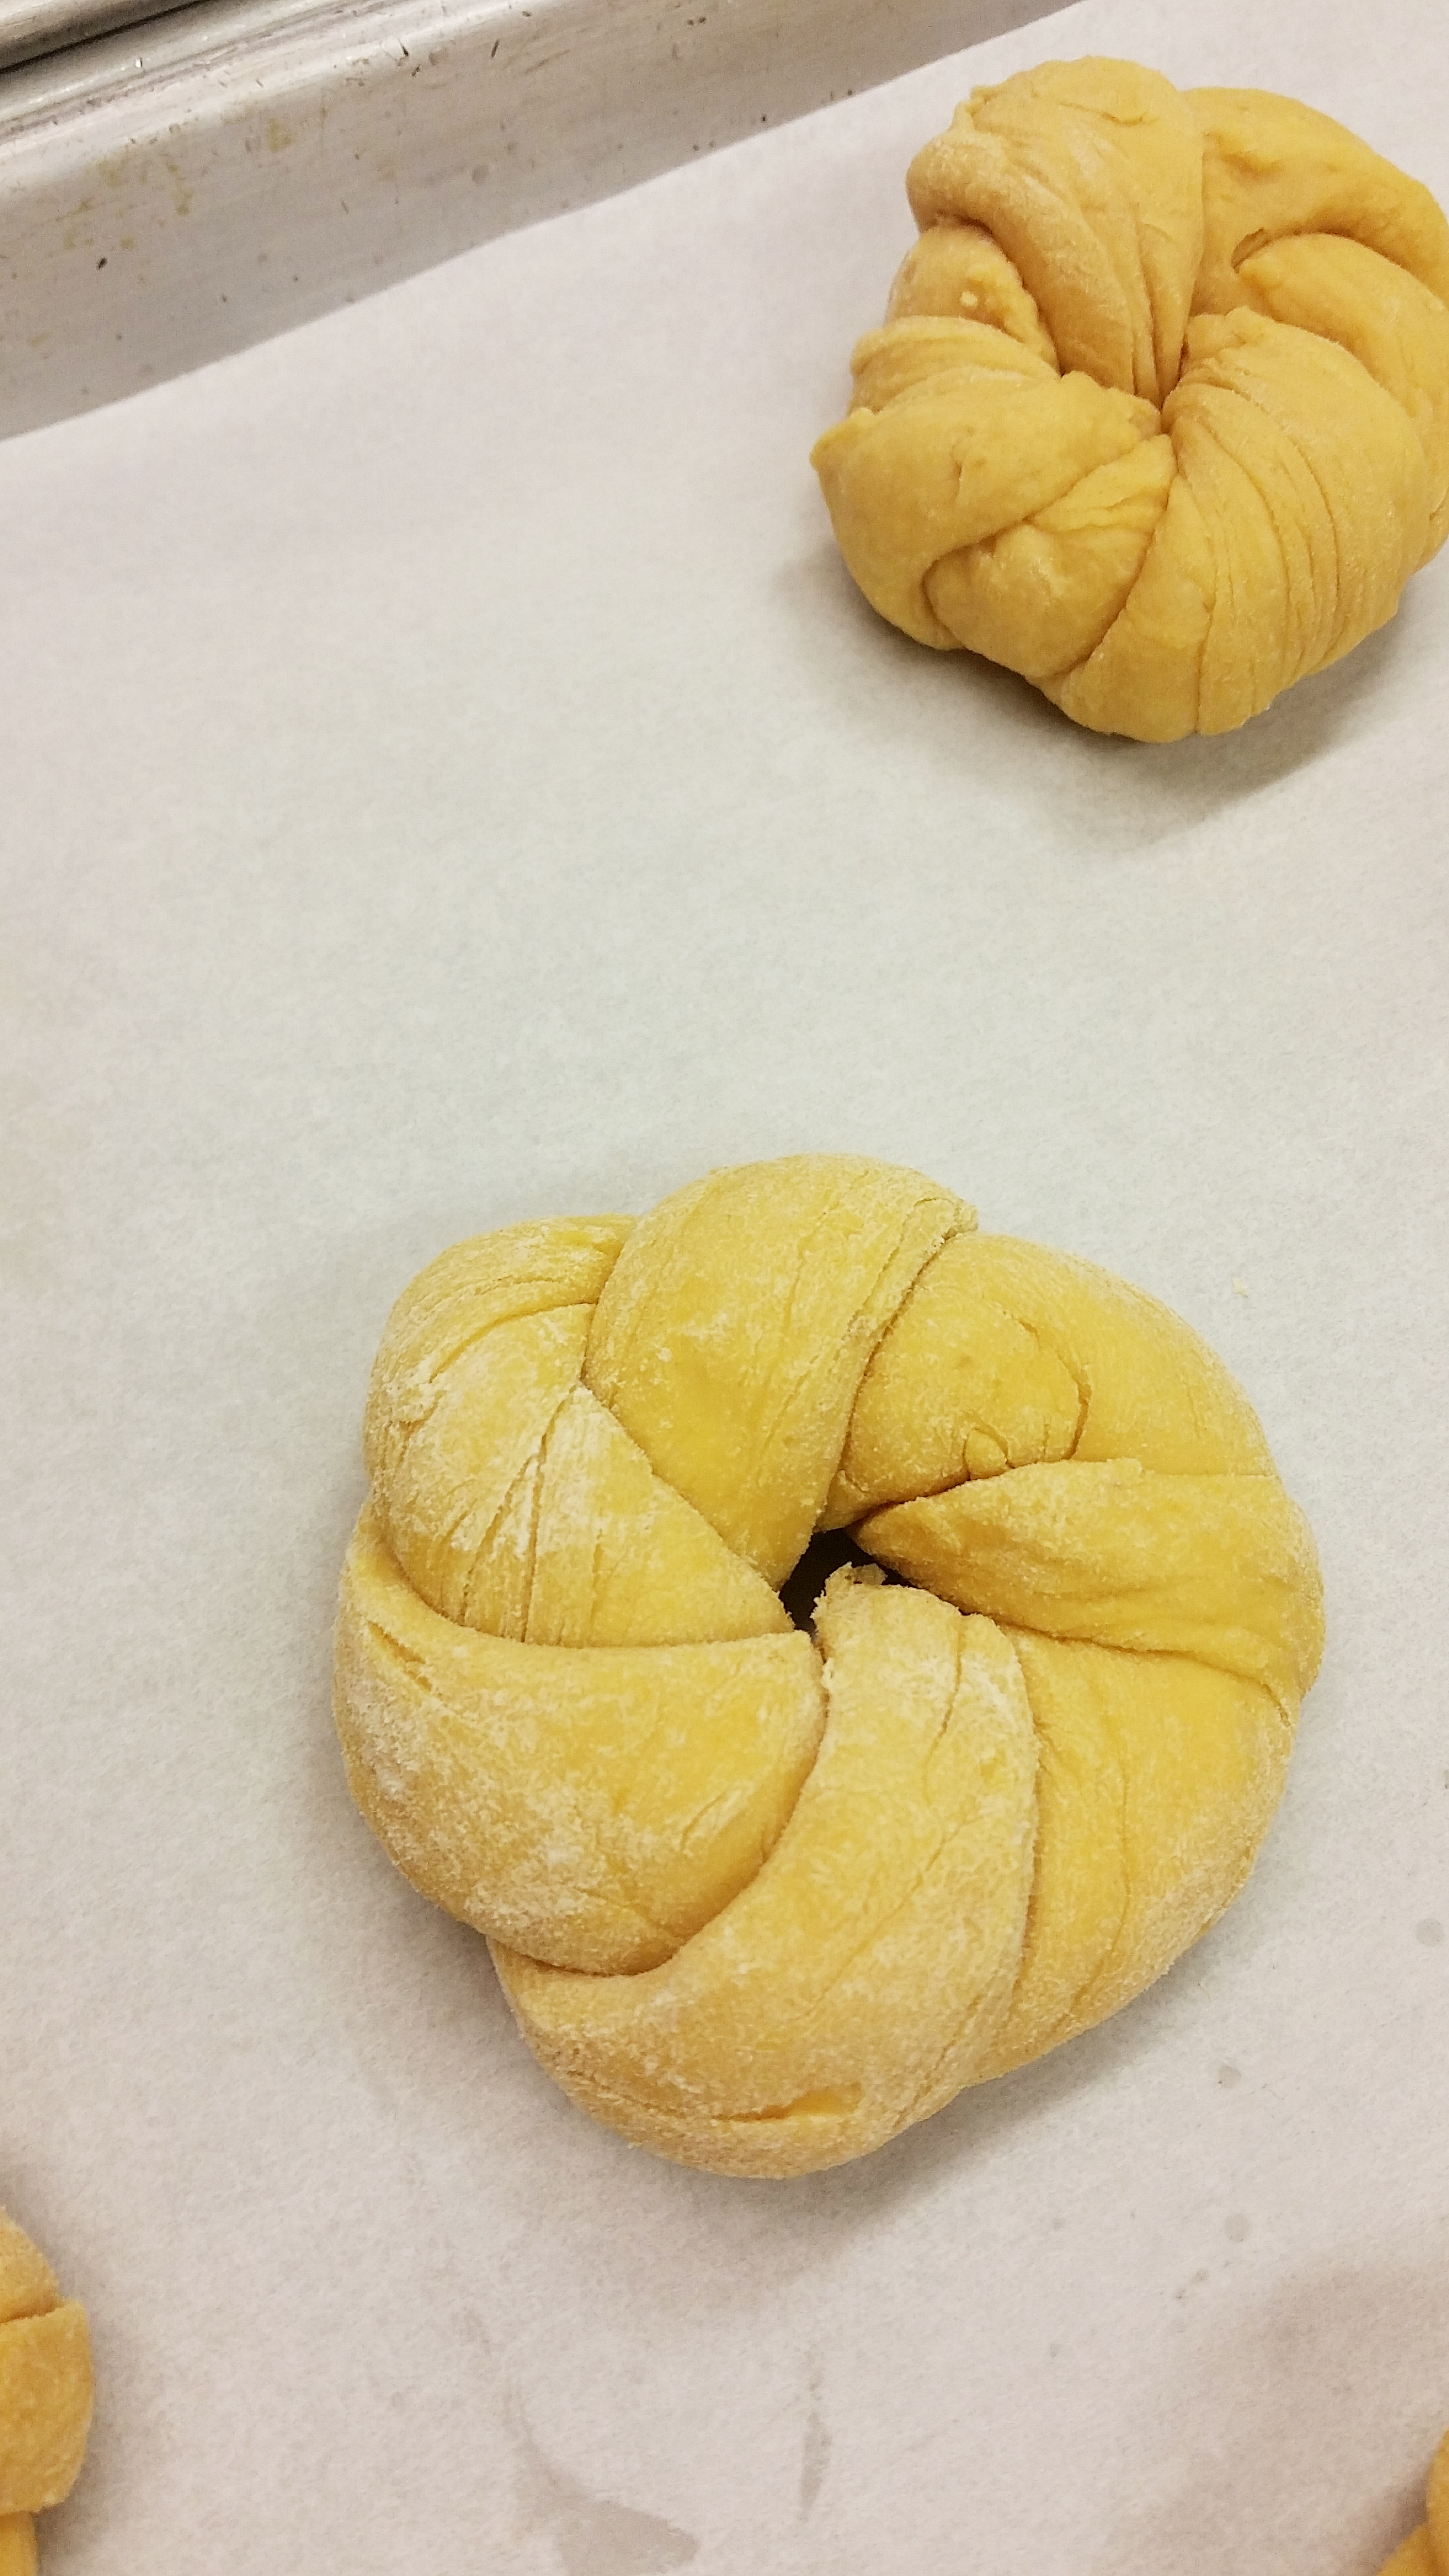
- Create a small loop in the rope with a long tail on one side and a short tail on the other. Wrap the long tail around the edge of the loop 2-to-3 times. Hold the remaining end of the long tail on the bottom-side of the loop with a finger to keep it from unraveling as you continue to work. Wrap the other tail around the edge of the loop, tucking it through the center of the loop.
- Pinch both of the ends together where they meet on the bottom side of the loop. If you’re not happy with the look of any of the rolls, simply set them aside for about 10 to 15 minutes and reshape. Place finished rolls on parchment lined baking sheets. Cover rolls loosely with plastic wrap and let rise for about 10 minutes.
- Just before baking, brush rolls with an egg wash for a shiny look or butter for a matte finish. Insert a sliced pecan into the center of each roll, pressing so the pecan touches the pan. In an oven preheated to 400° F, bake rolls for 12 to 15 minutes, rotating halfway through baking time. Rolls should be golden brown and gently firm to the touch. If not serving right away, shorten the baking time by several minutes and finish baking right before eating.