“Who wants to take on care of the rhubarb patch?” This question went out a few days ago to the sisterhood from the sister in charge of our vegetable gardens. Before the day was over the question had been answered, the patch had been watered, and the fertilizing process begun.
We love our rhubarb patch. We love to watch it come into fruition producing its rich beautiful leaves and stems. We love to see it harvested and prepared for the many different ways we use it.
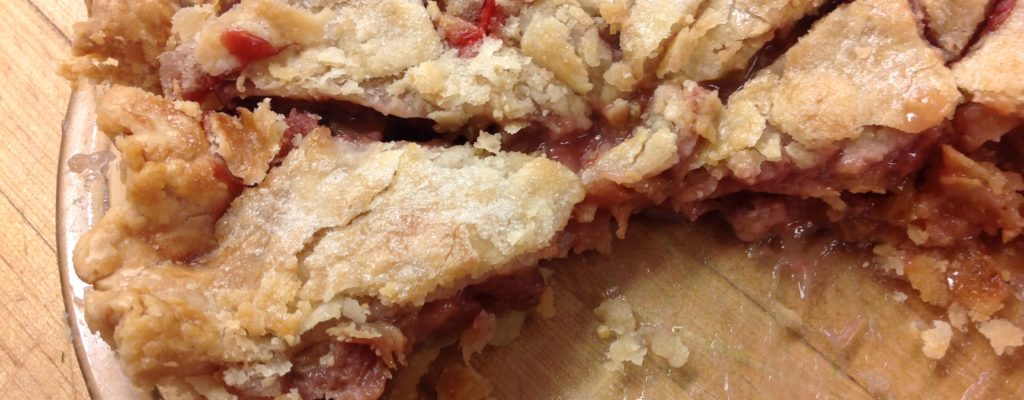
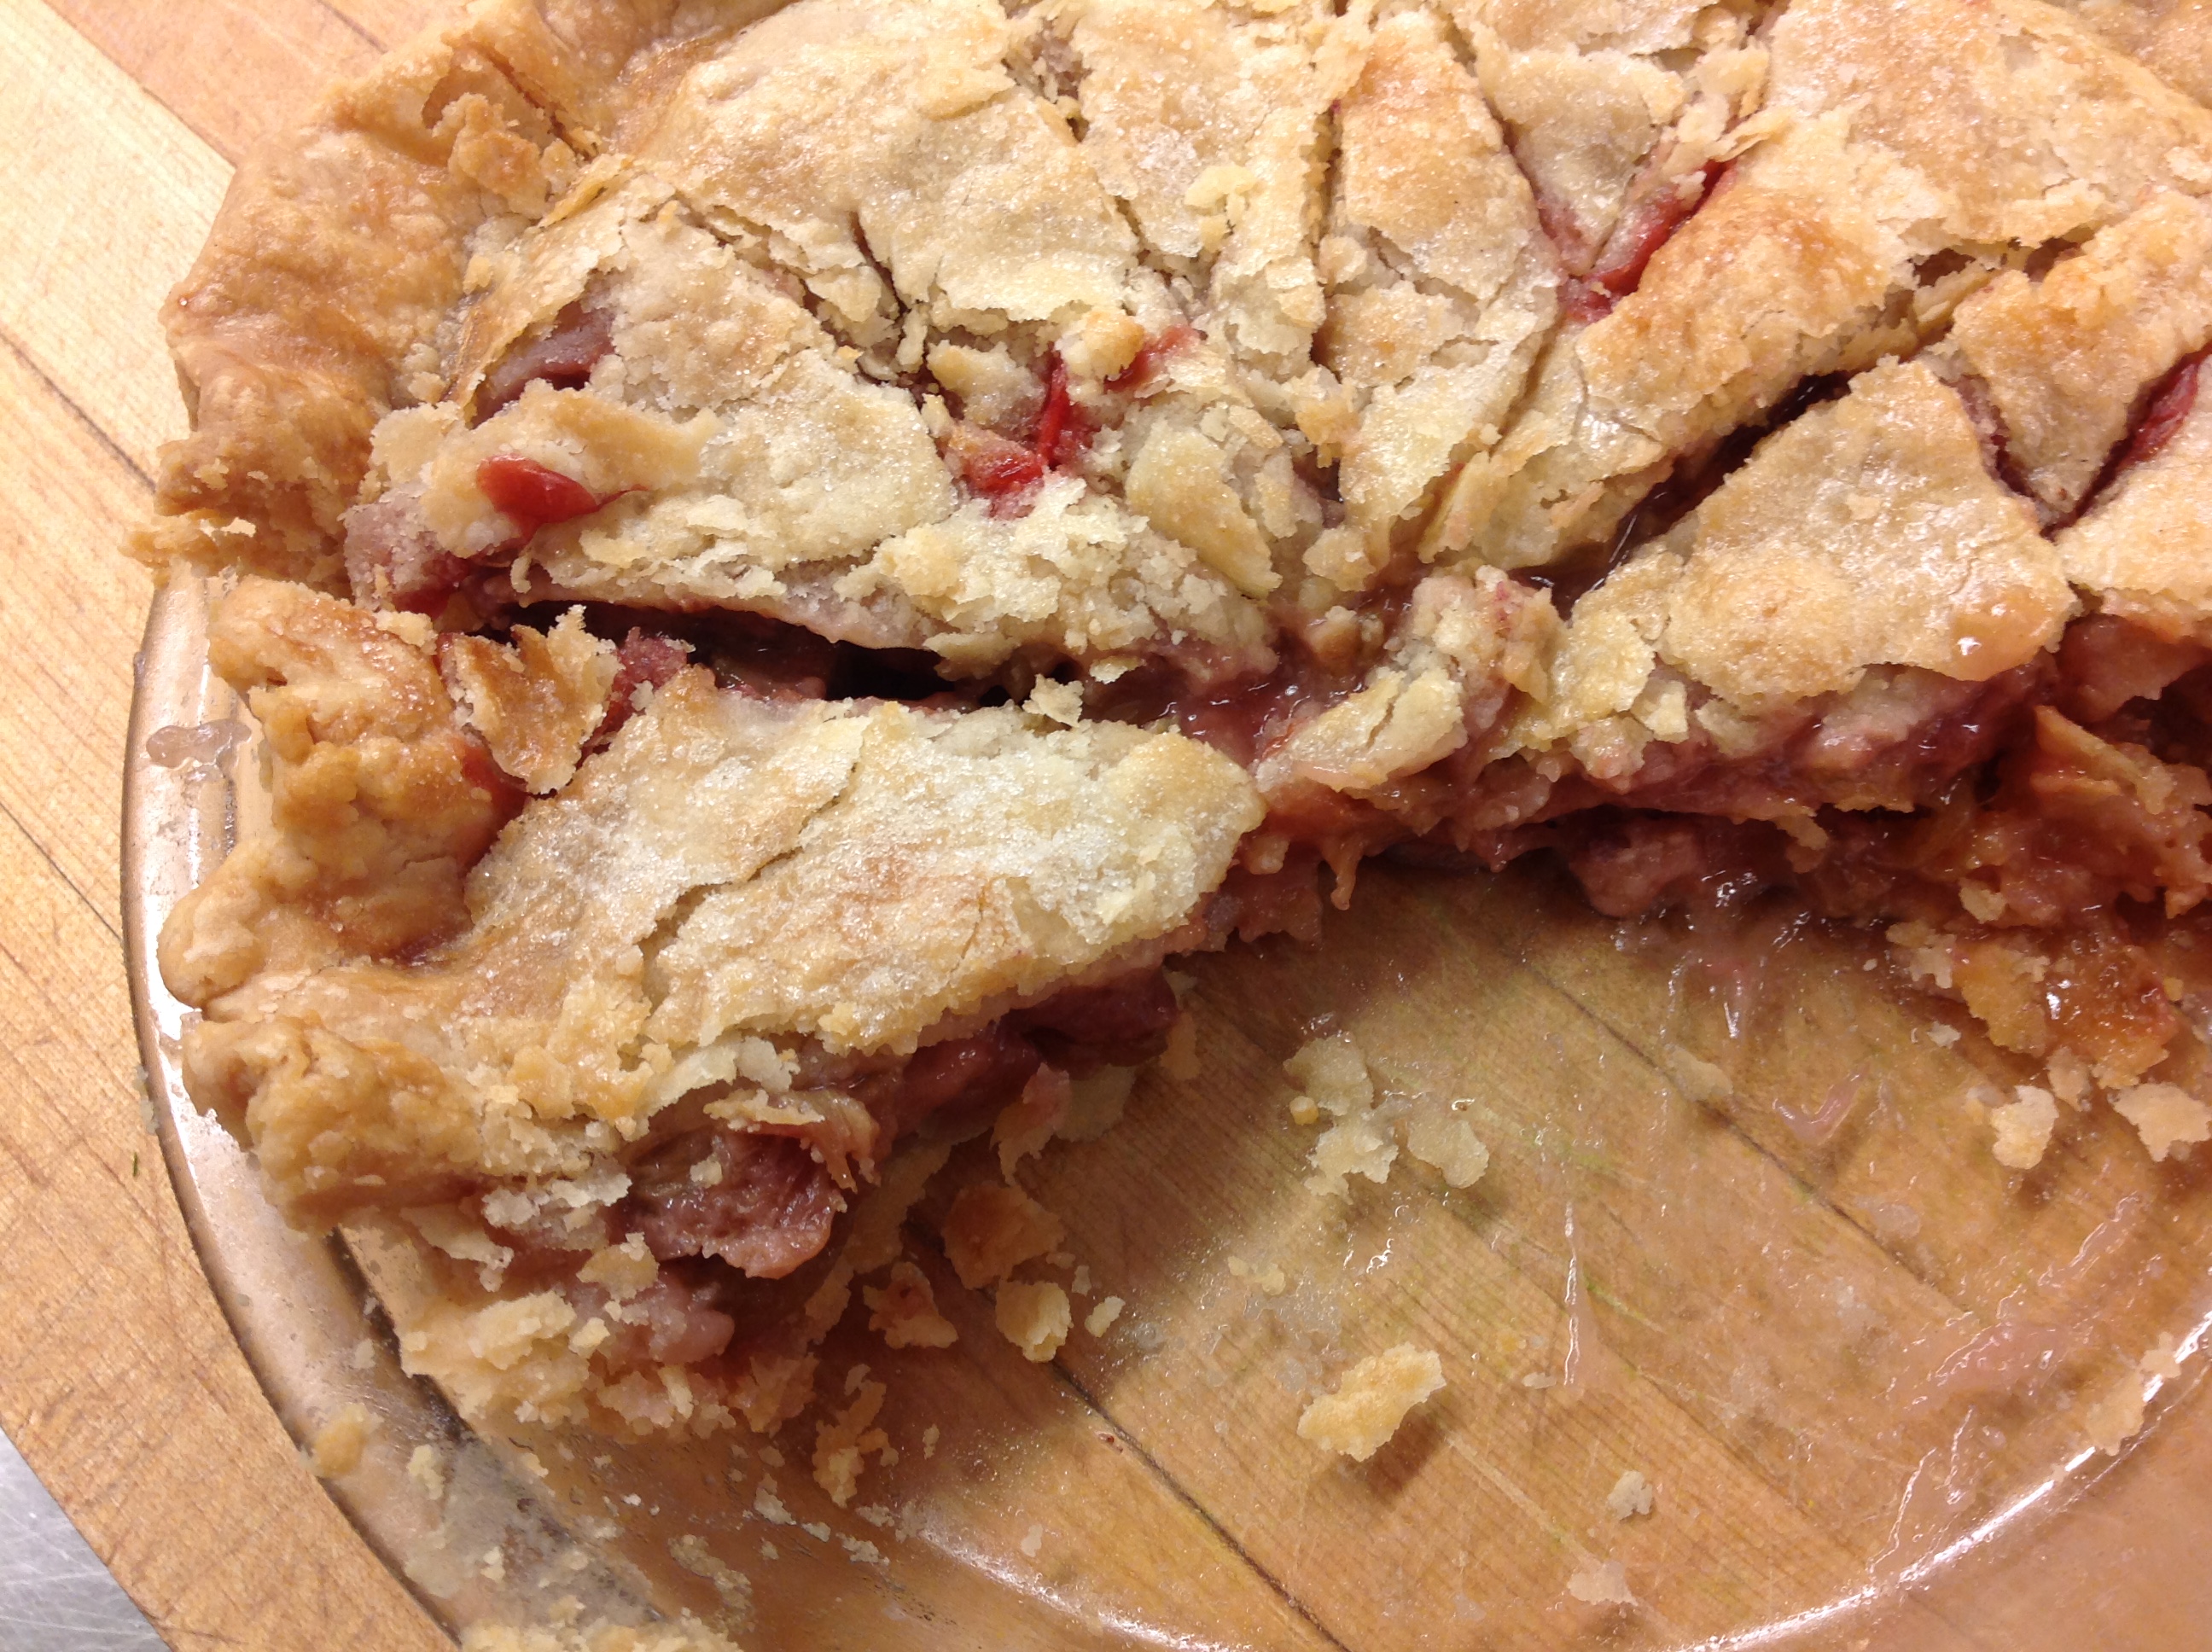
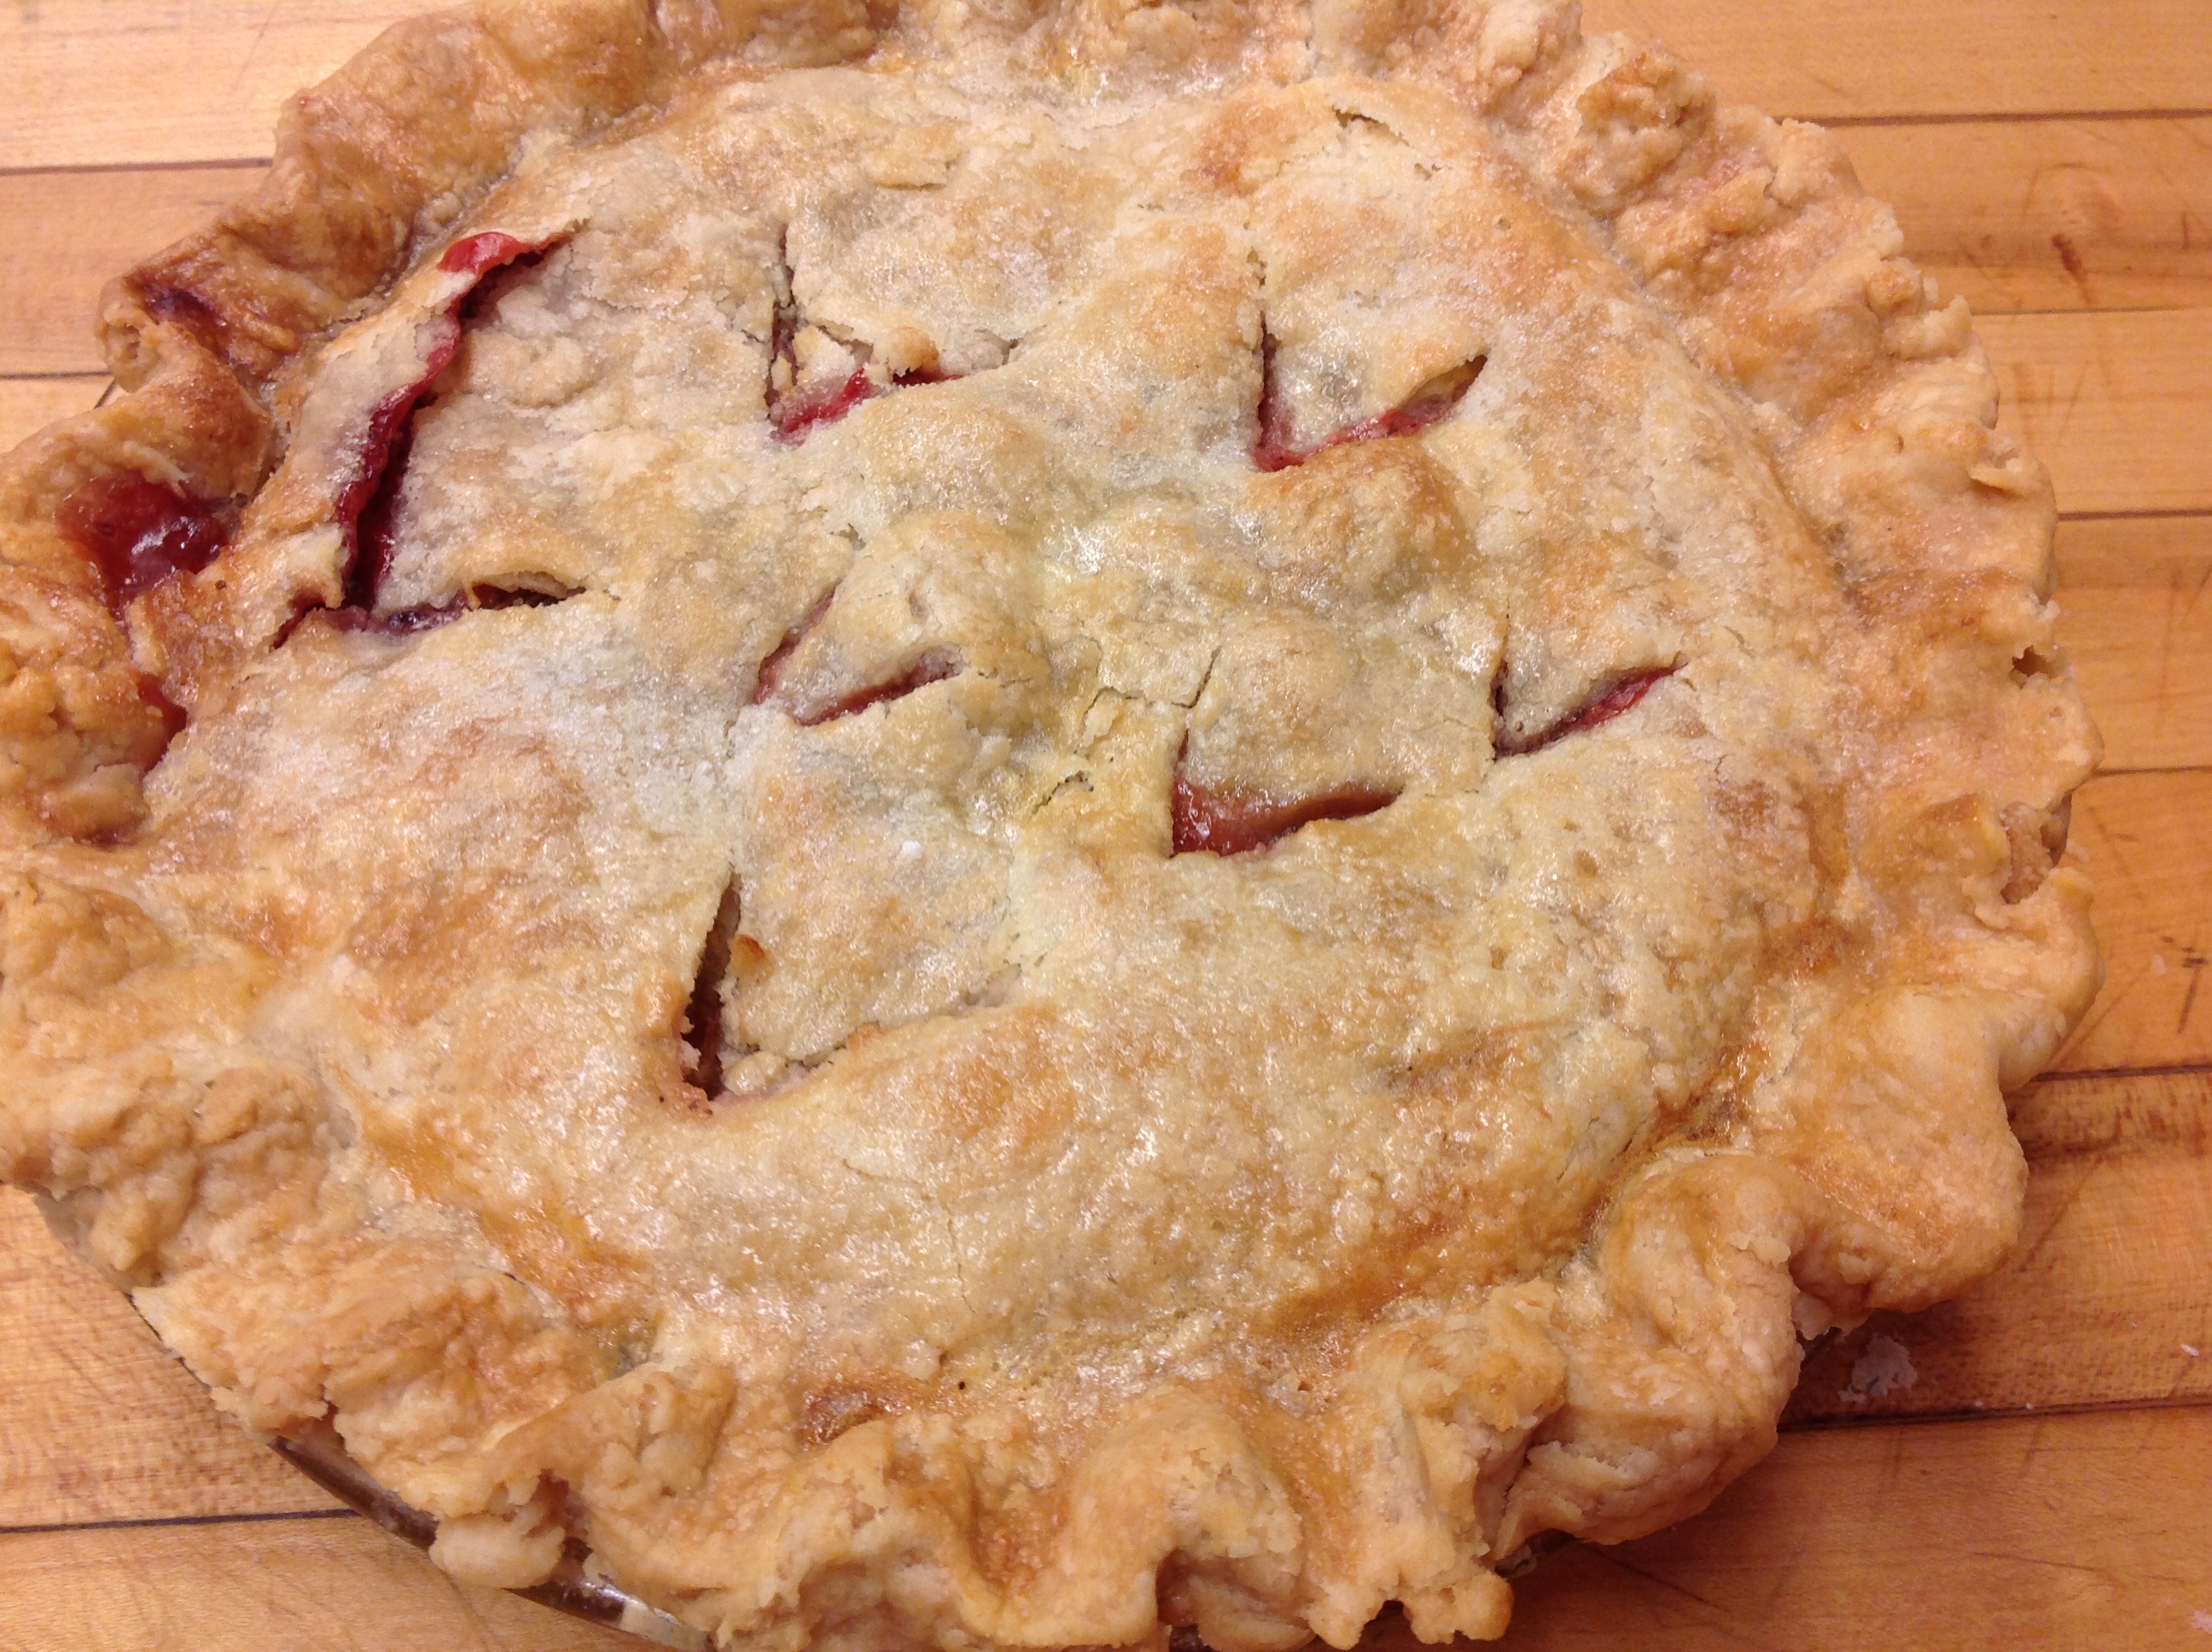
For this year’s Easter dinner various sisters volunteered to make a variety of very special desserts. There were several decadent chocolate wonders. There were tortes and trifles piled high with tantalizing toppings. There were brand new gourmet creations anyone of which could have taken a prize, and then there were a number of humble pies. So…which dessert do you think was most requested? You’re absolutely right. It was our old-fashioned, flavorful strawberry rhubarb pie. Unfortunately, some had to go without!
Print Recipe
Votes: 0
Rating: 0
You:
Rate this recipe!
Strawberry Rhubarb Pie
SERVINGS8 people
|
COOK TIME45-50mins |
PREP TIME30mins |
READY IN1 hr20 mins |
Ingredients
Instructions
- Preheat oven to 425° Fahrenheit.
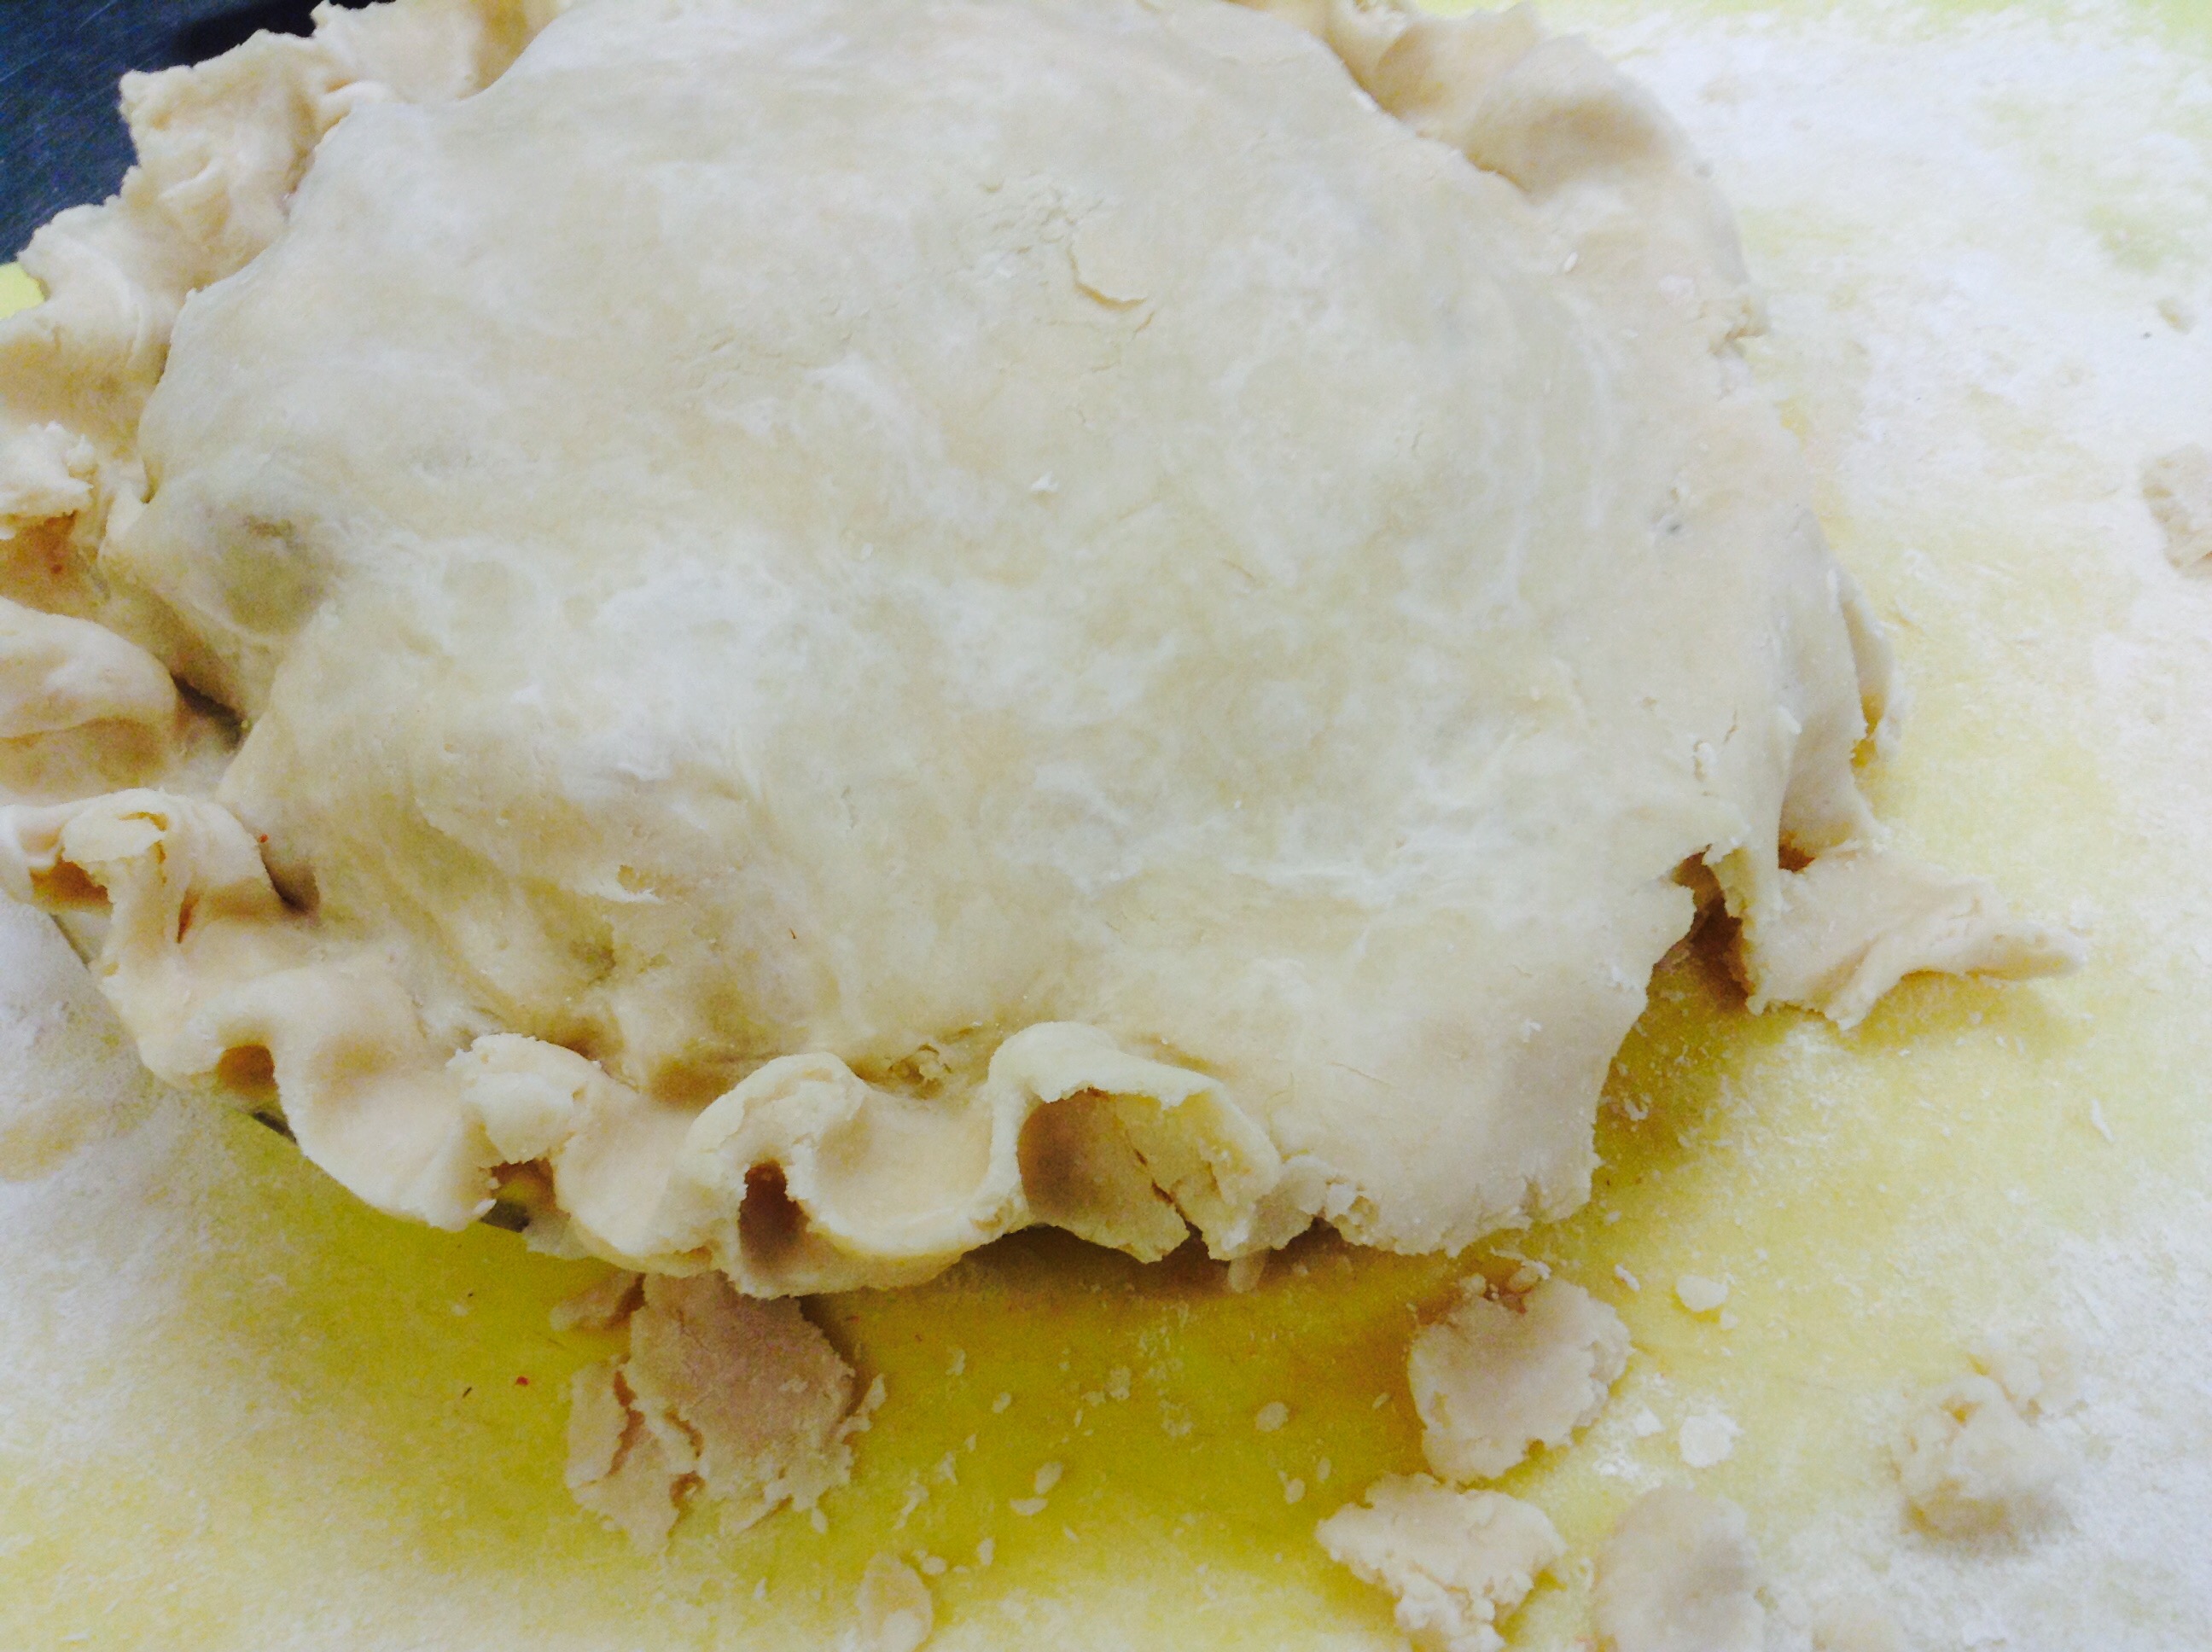
- For the pie crust: Combine the salt and flour together.
Cut the shortening into the flour mixture using a pastry cutter until it is about pea-size pieces.
- Add the water to the flour a little at a time using a fork to lightly mix it. Continue to add the water until the dough just comes together – don’t over work the dough or it will become tough.
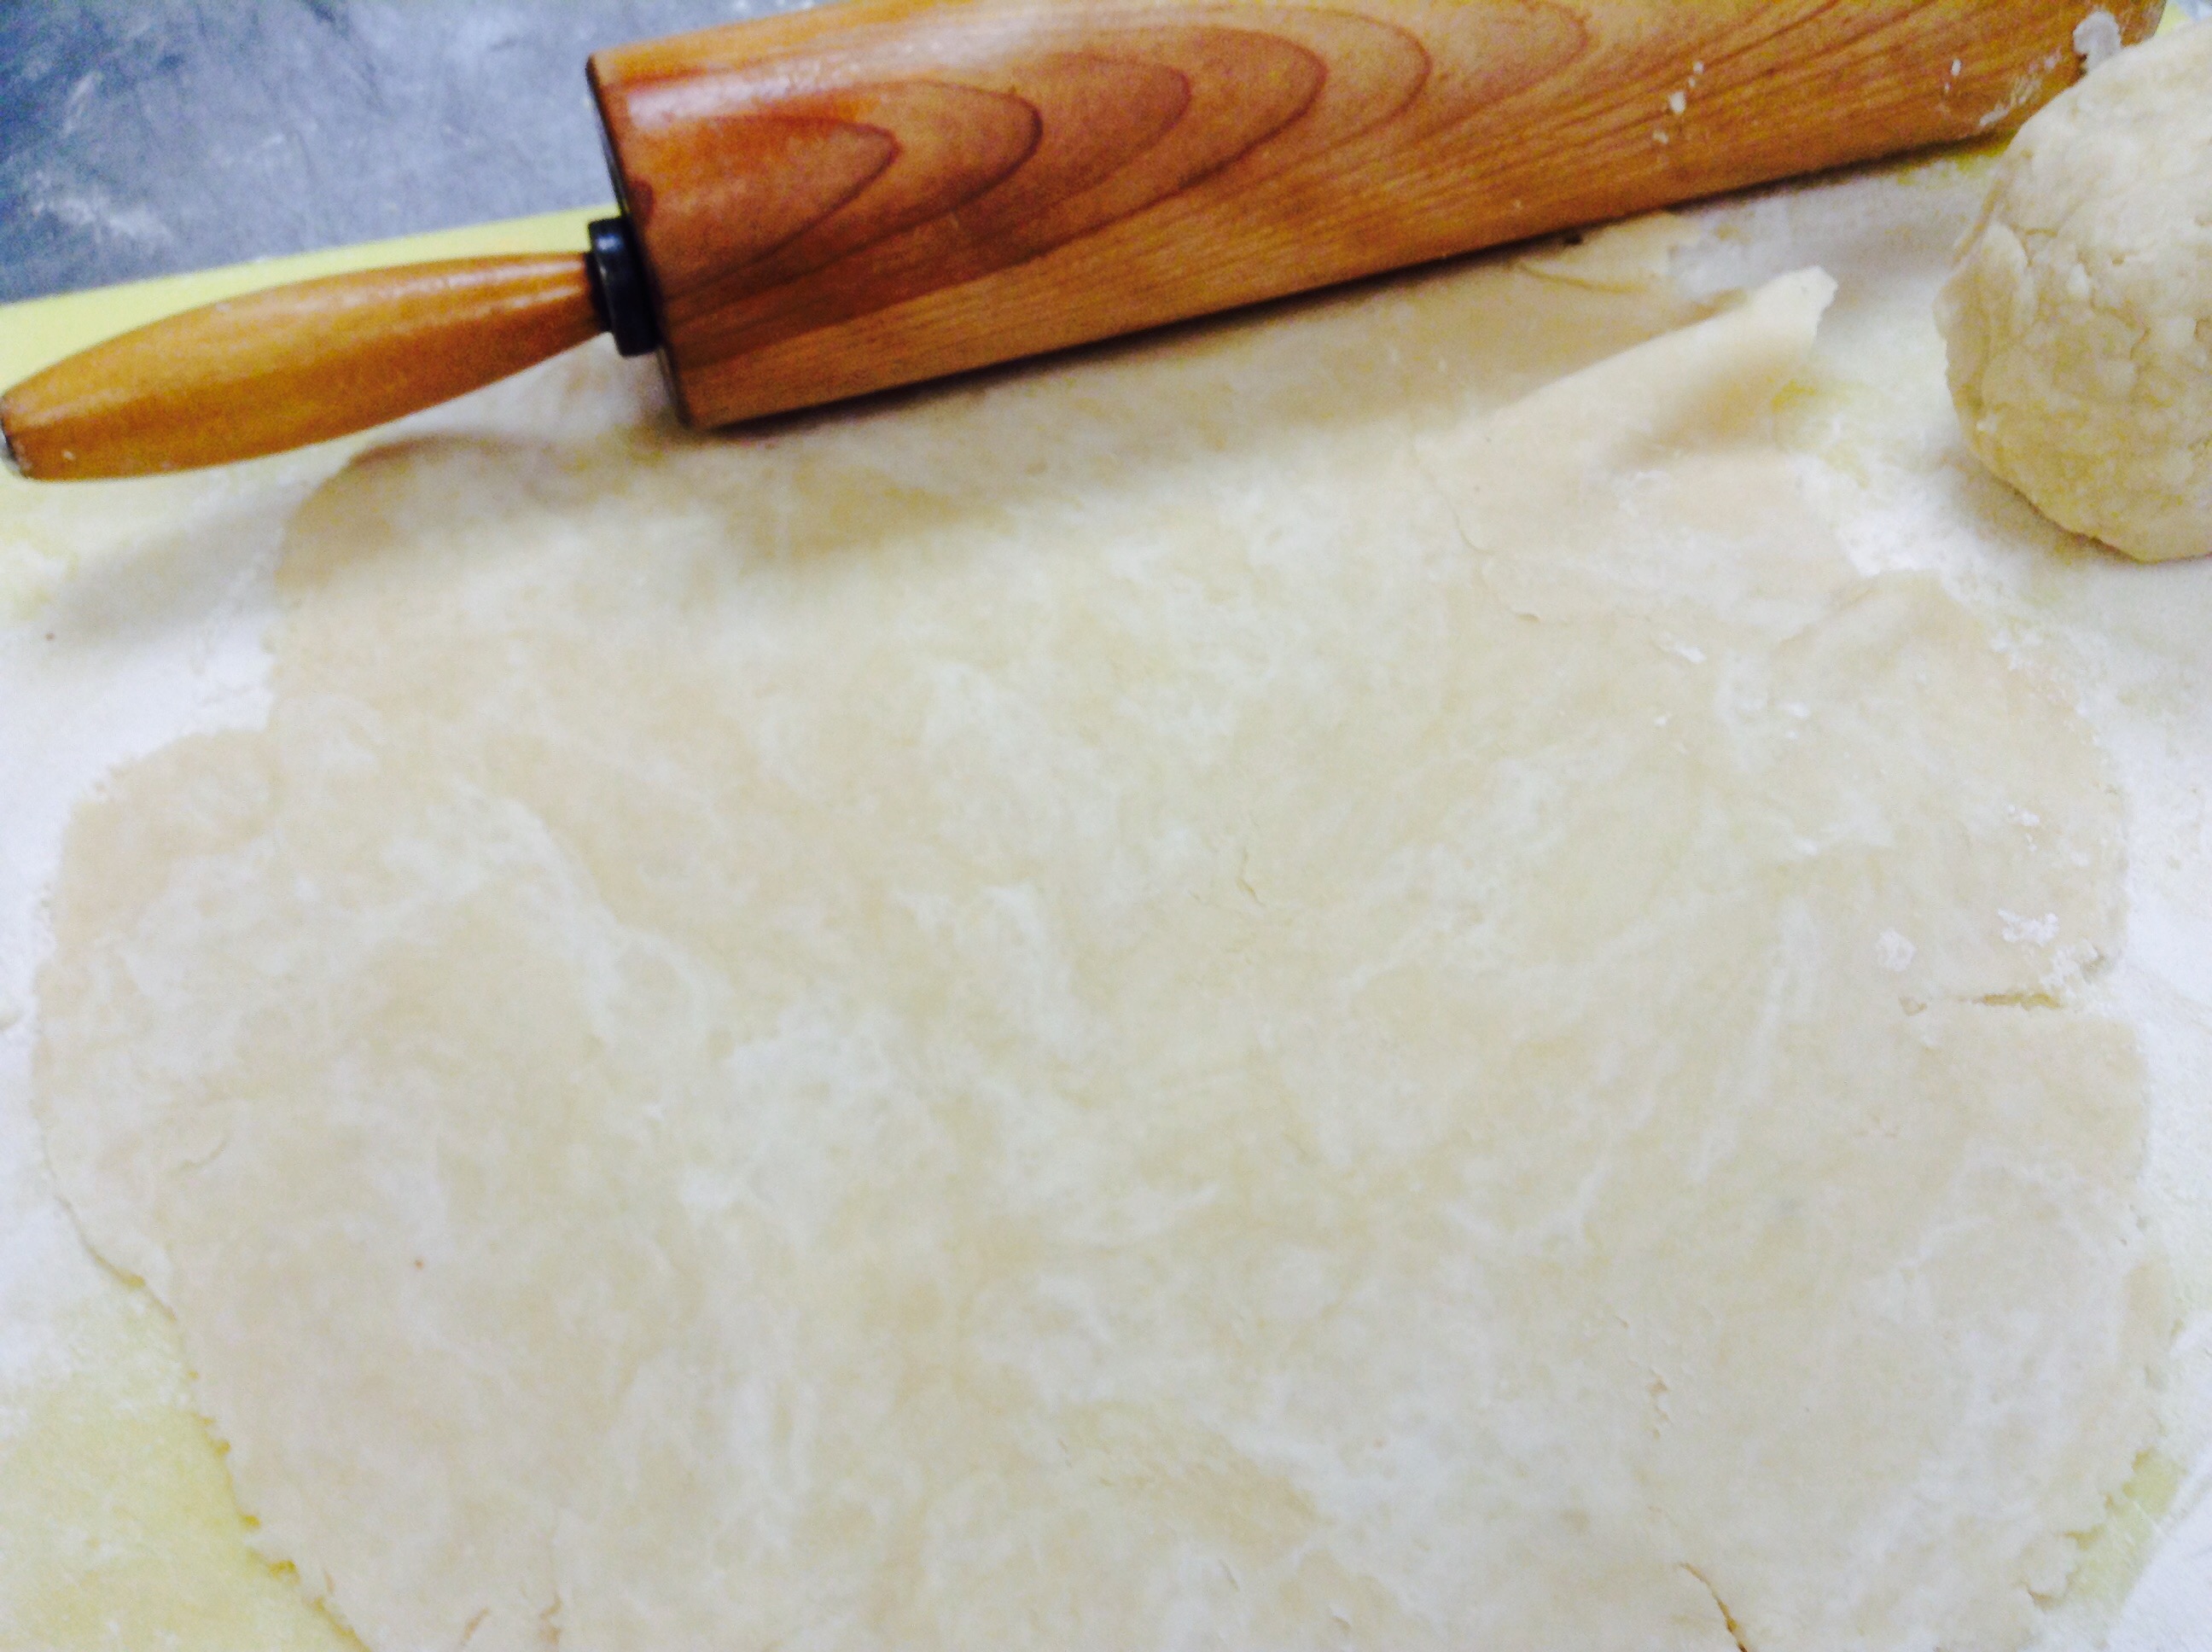
- Shape the dough into a flat disk, cover it in plastic wrap, and refrigerate for at least 30 minutes.
Once it is ready divide the dough in half and roll out the bottom crust and place in a pie dish.
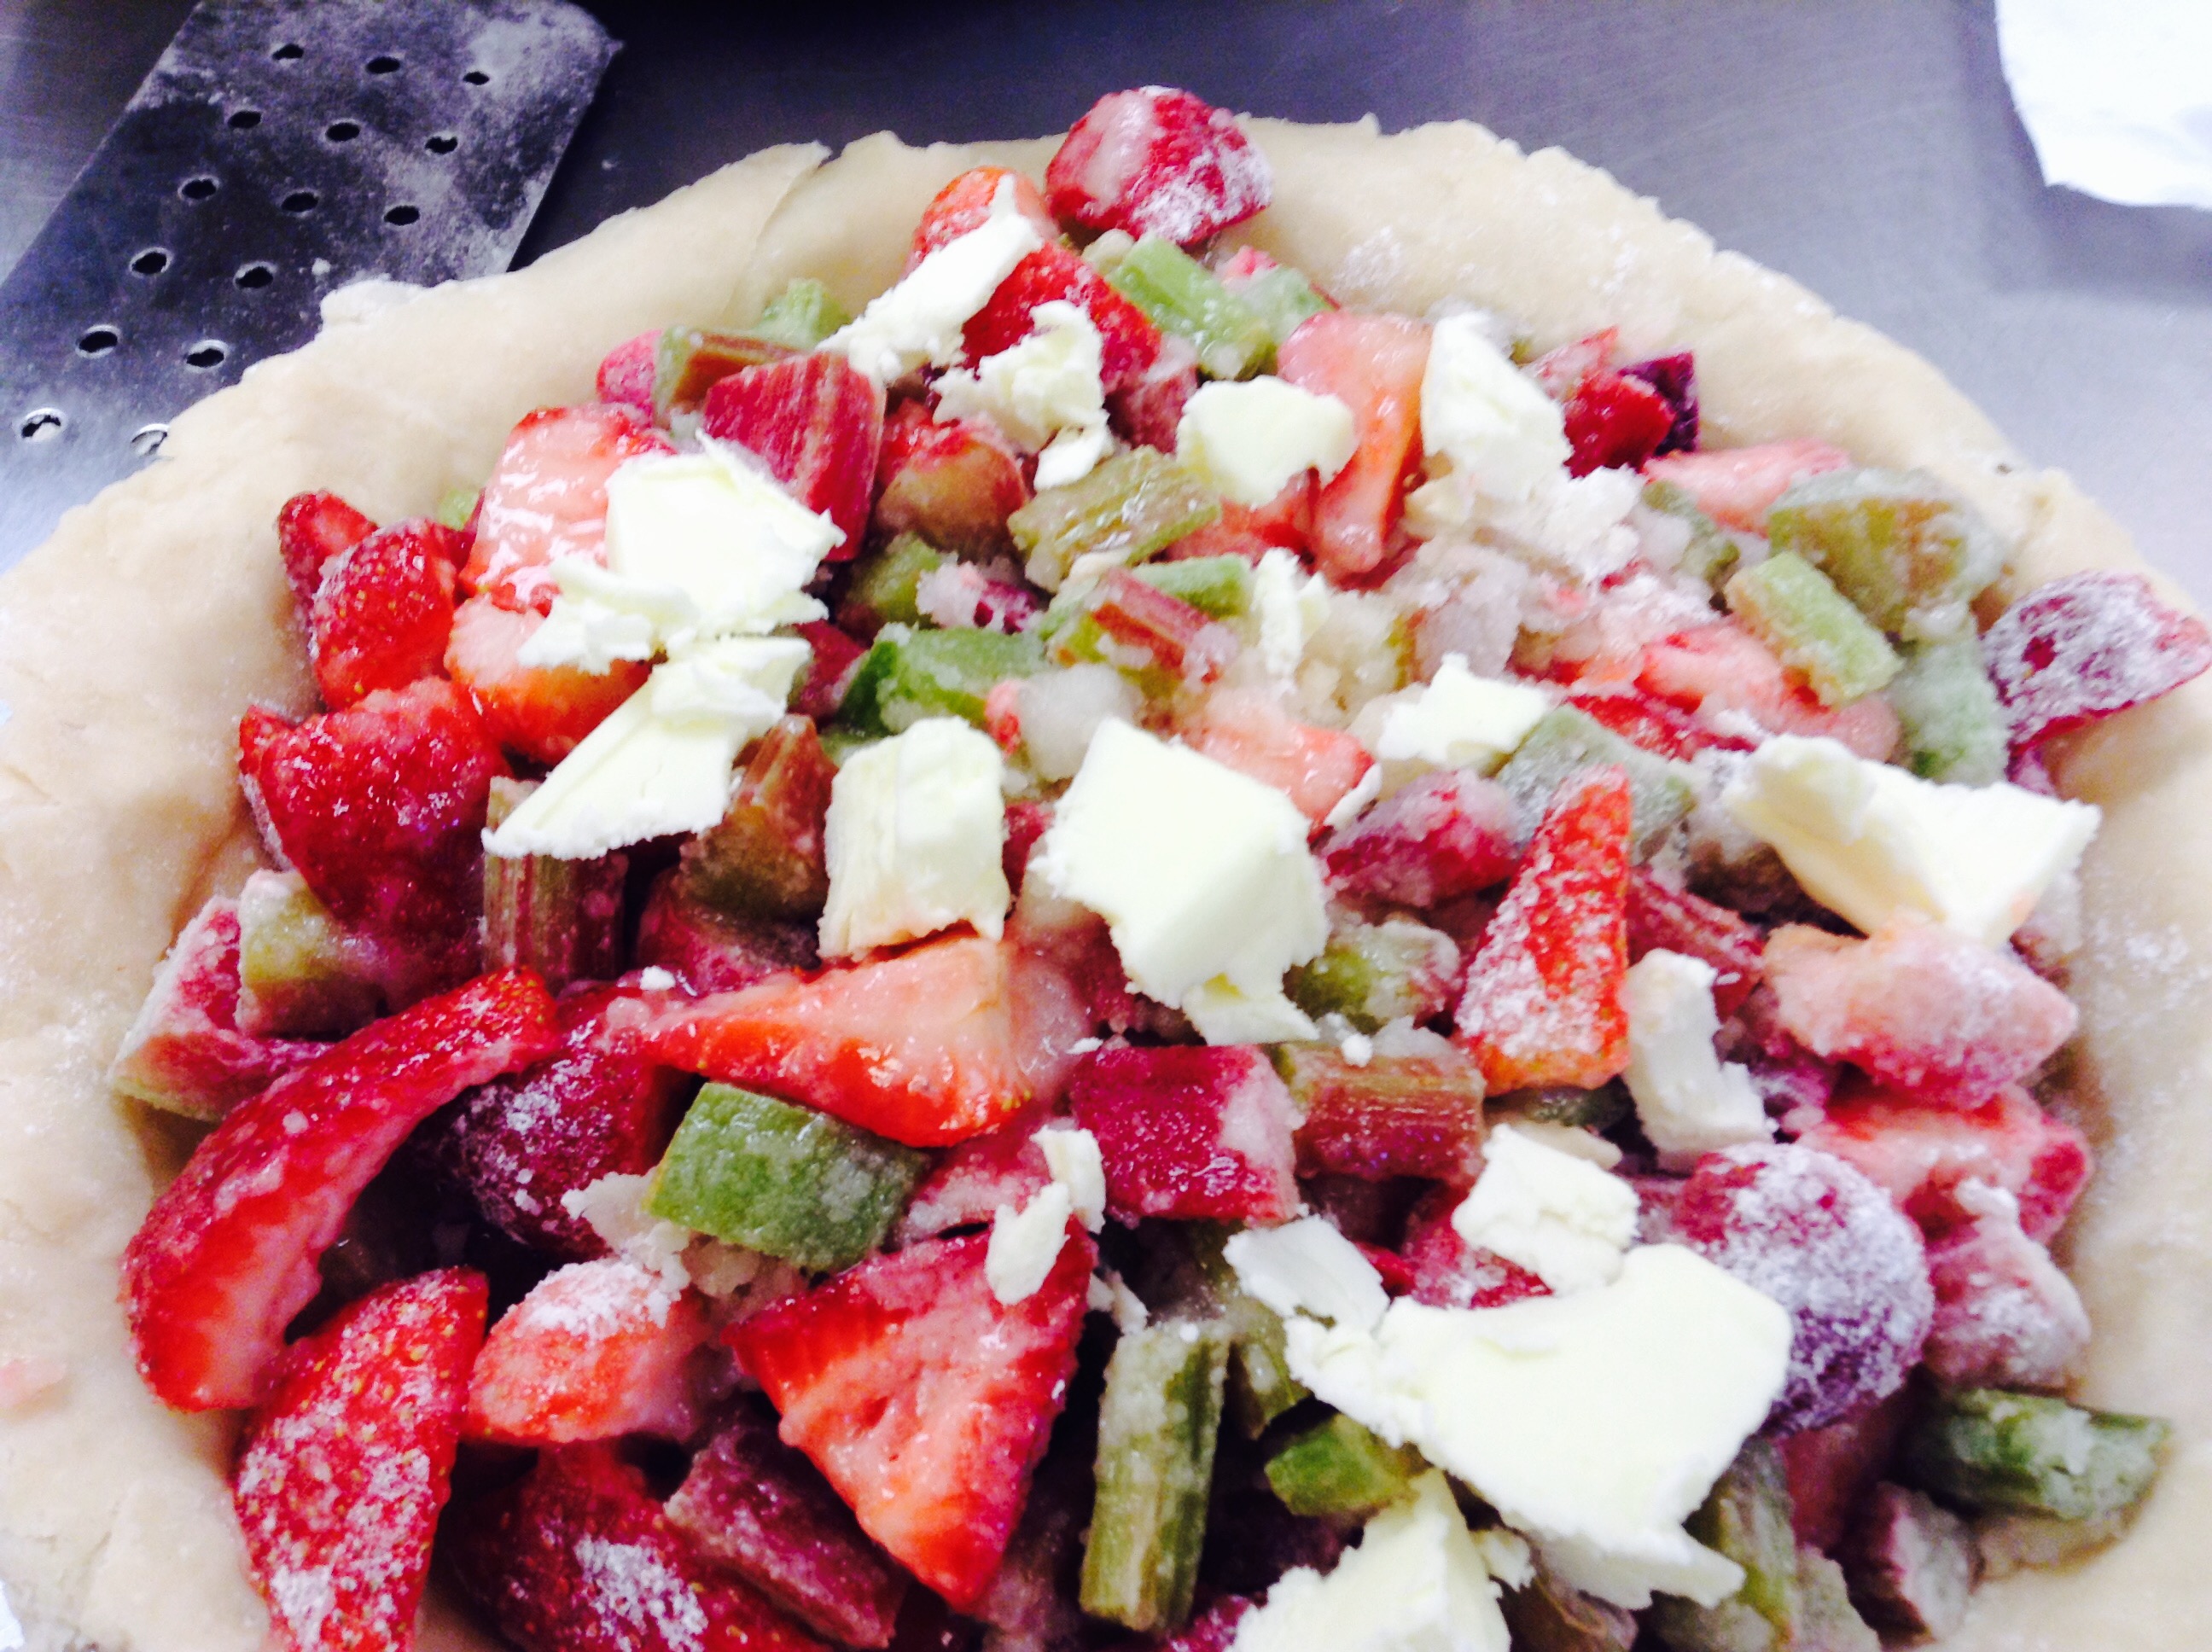
- Combine the rhubarb, strawberries, sugar, flour, and salt.
Turn into the unbaked pie shell.
- Roll out the top crust and place over the filling. Crimp to seal edges and make a few slits along the top.
Brush with egg white wash and garnish with large granule sugar.
- Bake at 425 degrees Fahrenheit for 15 minutes.
Decrease temperature to 375 degrees Fahrenheit and bake for an additional 45 to 50 minutes, or until the filling starts bubbling.
Note: Rhubarb is tart. The strawberries provide sweetness but, depending on your taste, you might want to add more sugar.
In the coming months, you will from time to time be treated to new recipes from “guest bloggers”. These are old and new friends — dedicated chefs and passionate voices who share our love of cooking. After all, we are Recipes from a Monastery Kitchen, and these kitchens extend far and wide, all over the world. Tables that welcome the “Stranger as Christ”, kitchens that “practice the presence of God” as Brother Lawrence taught, and communities that are built by hospitality, love and prayer. Our lives are enlarged as we welcome them and listen to their unique voices, share in their story and try our hand at their creativity.
This week’s guest blog post comes from Brother Victor-Antoine d’Avila-Latourrette, a Benedictine monk who lives at Our Lady of the Resurrection monastery in Lagrangeville, New York. He is also an internationally acclaimed, best-selling author of several cookbooks. He is also the author of a new book from Paraclete Press, Christ the Merciful.
The son of man came eating and drinking . . .
– Matthew 11:19
The quote above was one of Dorothy Day’s favorites from the Gospels. It reminds us that Christ, in the fullness of His humanity, partook of food and drink and gave us Himself under the auspices of bread and wine.
These thoughts are on our mind as we prepare a simple dessert for the anniversary of the death of Saint Benedict on March 21. Known as the Transitus of Saint Benedict, this is the day that monks and nuns celebrate his birthday in heaven. During evening vespers we hear the story of how he prepared himself for the passage into the next life by receiving communion. Then, with the assistance of some of his monks, he positioned himself in the form of the cross to die like his savior. He insisted on remaining in an upright position with his arms extended in prayer until his final breath.
Saint Benedict is considered the founder of Western monasticism. In this humble dish we celebrate his life while maintaining his Rule of simplicity and moderation in all things.
Print Recipe
Votes: 2
Rating: 4.5
You:
Rate this recipe!
Oranges for St. Benedict’s Day
SERVINGS6people
|
COOK TIME25–30minutes |
PREP TIME |
READY IN |
Ingredients
Instructions
- Preheat the oven to 350˚F.
- Cut the oranges evenly in half and, using a spoon, carefully remove the pulp from the inside, keeping the shells intact. Remove the seeds and cut the pulp into tiny pieces. Place in a deep bowl.
- Add the candied fruit kirsch, and sugar to the orange pulp. Mix well and fill the orange shells with this mixture.
- Bake for 25–30 minutes. Serve warm.
As a youngster I loved the story of the spoiled young prince who traveled far and wide in search of the best tasting food in the world. Coming upon a woodchopper in the forest who assured him he could give him that food, he agreed to spend the day working with him. At the close of the day the woodchopper handed the prince a chunk of coarse crusty bread which the tired, famished prince eagerly consumed. Beaming with satisfaction he loudly proclaimed, “At last, I have found the best food in the world!
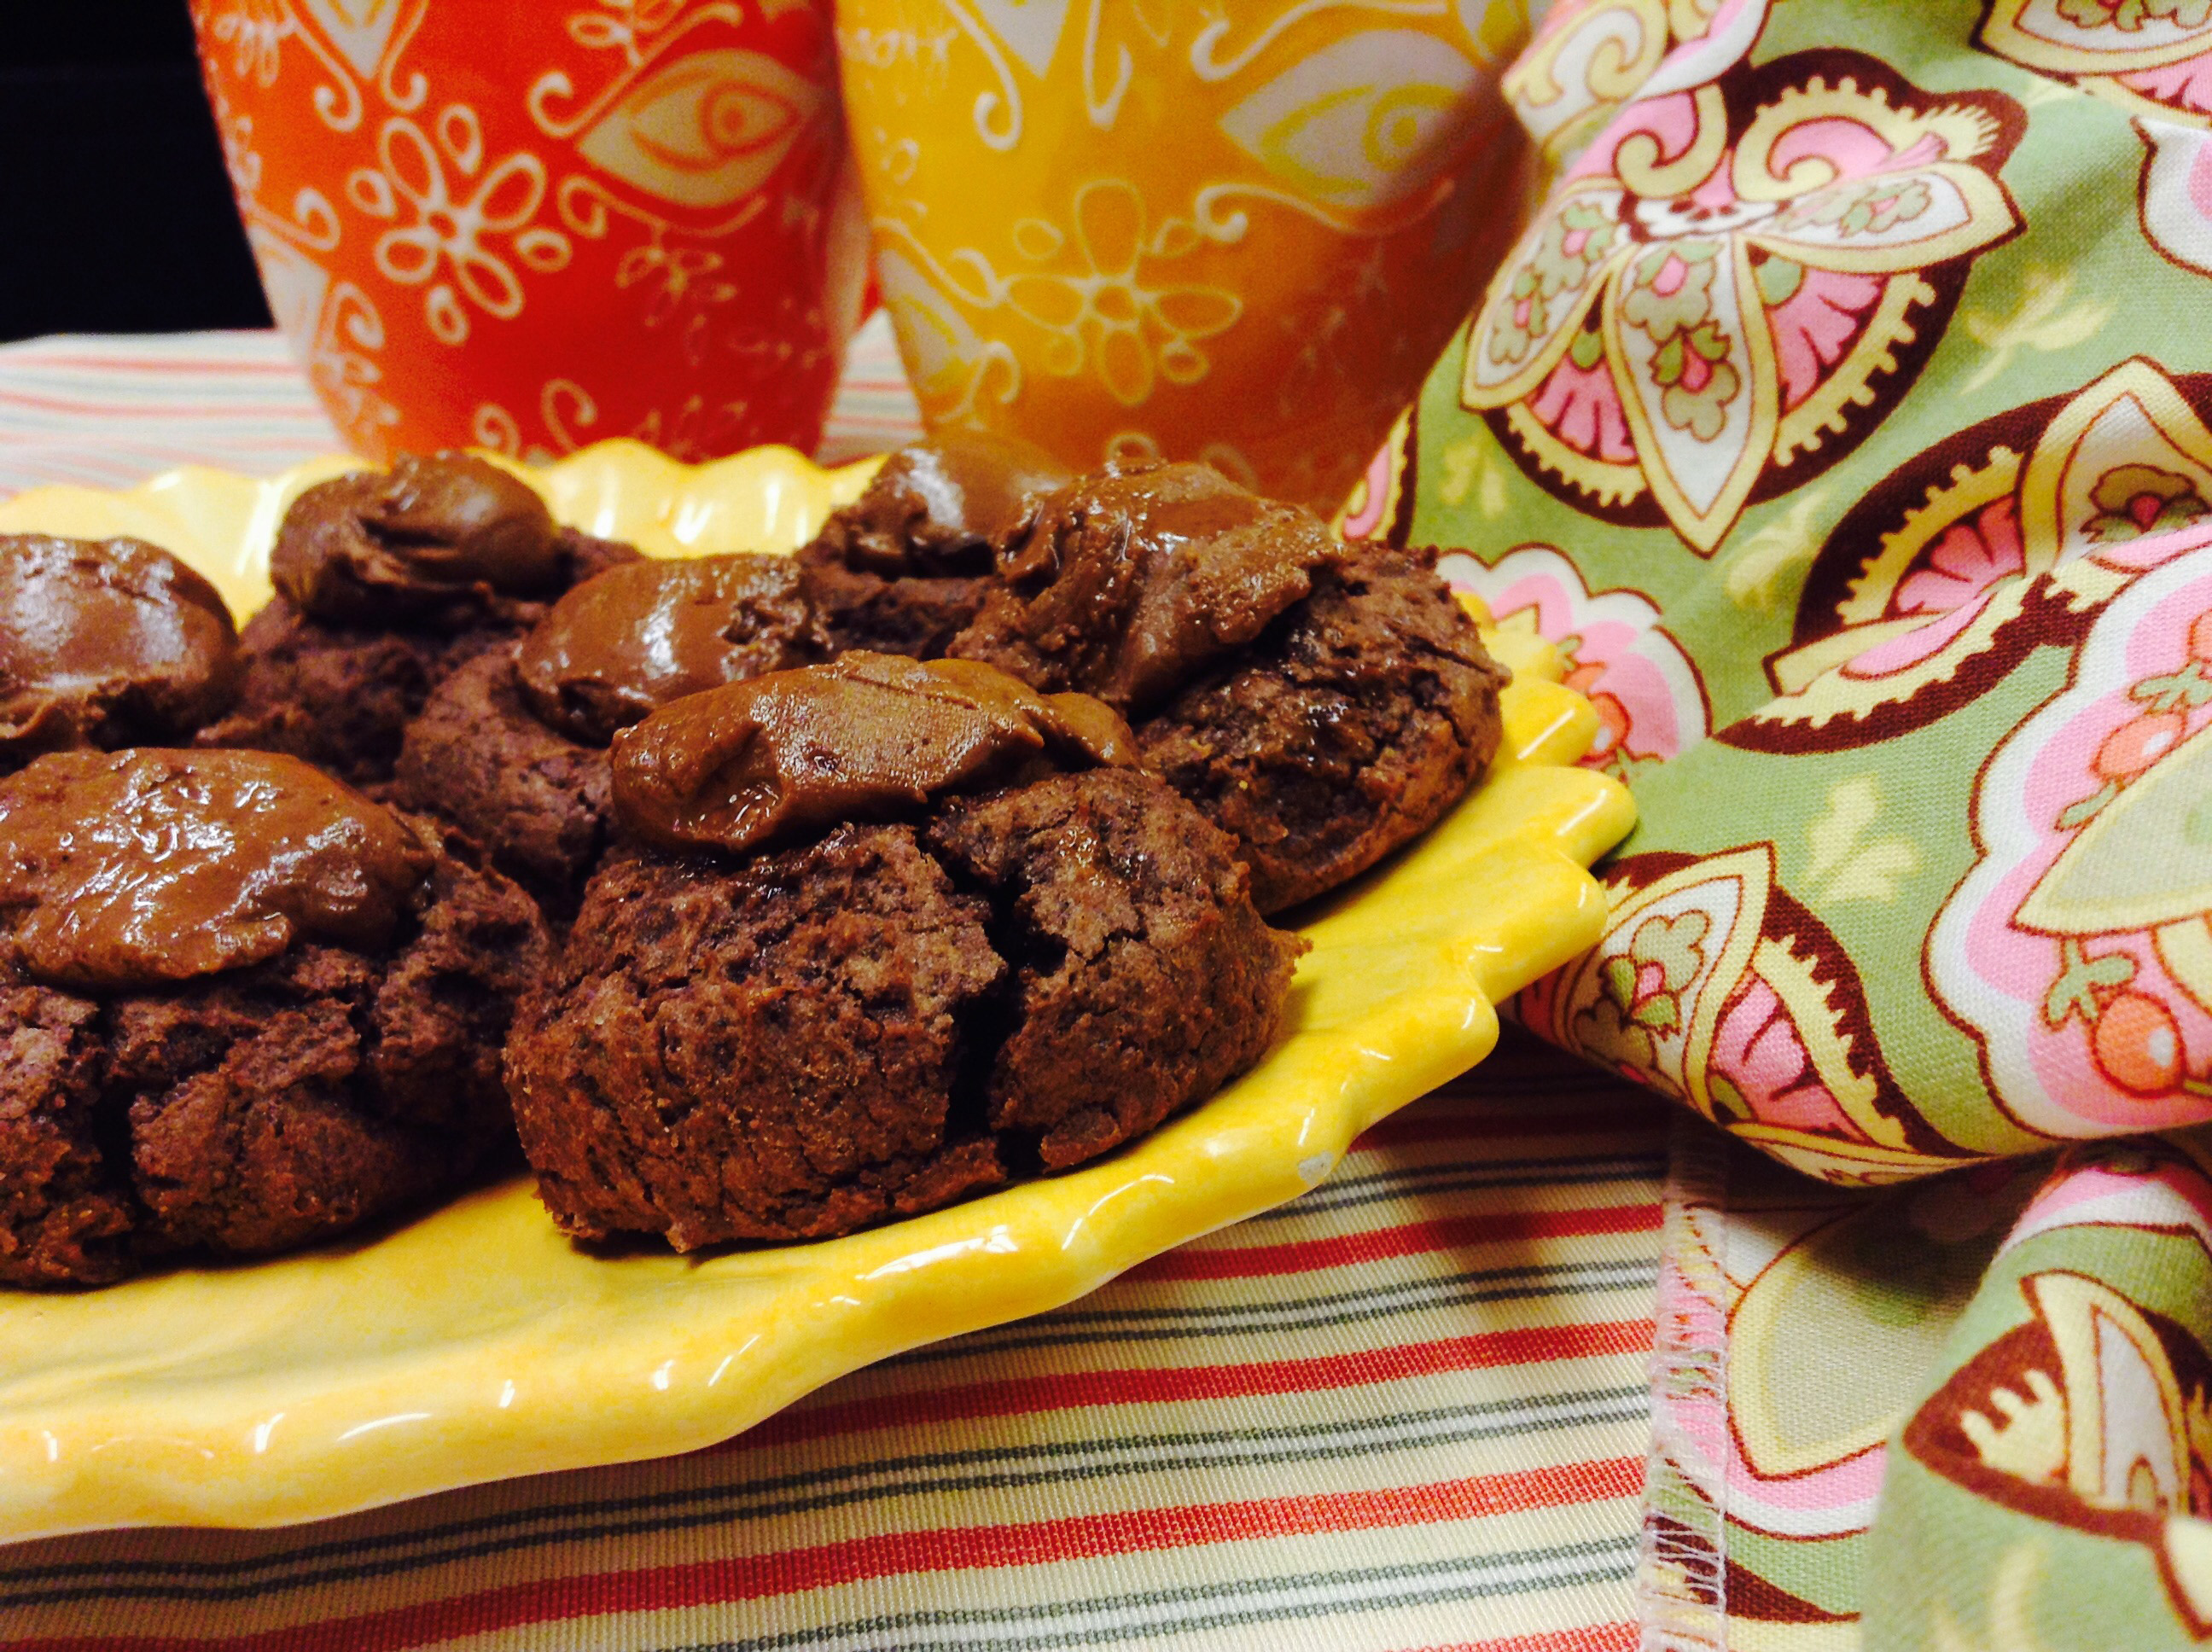
On the morning of the 9th day of Christmas, without any effort or searching abroad for it, I found the best cookie in the world! It was a scrumptious little chocolate peanut butter creation on a little plate on my desk with an attached note signed, “from a Christmas angel”… I felt just like the spoiled young prince.
Print Recipe
Votes: 0
Rating: 0
You:
Rate this recipe!
Chocolate Peanut Butter Ball Cookies
SERVINGS2dozen
|
COOK TIME24minutes |
PREP TIME30minutes |
READY IN54minutes |
Ingredients
Instructions
- Heat oven to 350 degrees Fahrenheit. In a medium bowl, beat the brownie mix, butter, cream cheese, and egg. The dough will be a little sticky.
- Scoop the dough onto an ungreased cookie sheet, making about 24 cookies.
- Smooth the edges of each to form a round cookie.
- In a separate bowl, mix the powdered sugar and the peanut butter until it is completely combined.
- Form the mixture into about 1 inch balls. Make sure you have one ball for each cookie. Set aside.
- Bake for the cookie dough 12 minutes, keeping an eye out to make sure the cookies doesn't overcook or undercook.
- As soon as the cookies come out of the oven, press a peanut butter ball lightly into the center of each cookie.
- The peanut butter mixture will soften slightly, but that is OK. Let the cookies cool for 5 minutes, then transfer them to a wire rack to cool completely.
- Melt the chocolate chips in a microwavable bowl for 45 seconds. Stir the chocolate and melt for additional 15 seconds or until the chocolate is completely melted.
- Spoon about 1/2 a tablespoon of melted chocolate on top of each cookie so it covers the peanut butter ball.
- Let the chocolate set. Store in an airtight container.
At our Convent and Community each year, it is tradition for us to celebrate the Twelve Days of Christmas. Advent is a time of waiting and the twelve days that follow Christmas allows time for us to reflect and live the “Incarnation of Christ” as we journey towards our yearly profession of Vows on Epiphany. It’s a time of Enclosure for us when we can withdraw from the busyness of our daily lives and set aside time of quiet for Christ and community.
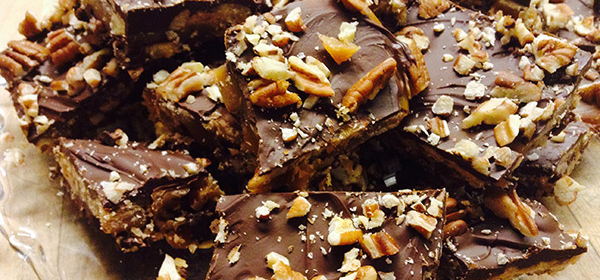
This Christmas, each of us cooks decided we’d make one special gift for the sisters over each of the twelve days. I chose Monday the 26th and couldn’t wait to make this decadent candy. We have lots of chocolate lovers in the Sisterhood, so I thought it might just be ‘the bomb’ and it was! With just a couple tweaks, it is now going to become my favorite holiday indulgence. I had to quadruple the recipe in order to make enough for 65 Sisters and have some extra for gifting, so it will multiply out well. This recipe is just too special to make for just “any” time of year, so save it for a special occasion.
Blessed Twelve Days of Christmas to you!
Print Recipe
Votes: 0
Rating: 0
You:
Rate this recipe!
Holiday Buttercrunch
SERVINGS24pieces
|
COOK TIME10-15minutes |
PREP TIME10minutes |
READY IN1hour |
Ingredients
Instructions
- In a large, deep heavy-bottom saucepan, melt the butter.
- Stir in the salt, sugar, water, and corn syrup, and bring the mixture to a boil. Boil gently over medium heat, without stirring, until the mixture reaches hard-crack stage (300°F on an instant-read or candy thermometer). The syrup will bubble without seeming to change much for awhile, but be patient; all of a sudden it will darken, and at that point you need to take its temperature and see if it's ready, about 10 to 12 minutes. Pay attention; too long on the heat, and the syrup will burn.
- While the sugar mixture is gently bubbling, spread half of the toasted nuts (1 cup), in a fairly closely packed, even single layer, on a lightly greased baking sheet or 1/2 sheet pan.
- Top with half the chocolate chips (1 1/3 cups).
- When the syrup is ready, pour it quickly and evenly over the nuts and chocolate. Immediately top with the remaining chocolate (1 1/3 cups).
- Wait several minutes for the chips to melt, then gently, using the back of a spatula, spread the chocolate evenly and top with the remaining toasted nuts (1 cup).
- Allow to cool at room temperature and the chocolate will harden. When cool, break it into uneven chunks.
- Store cooled candy tightly wrapped; it'll stay fresh for a couple of weeks at room temperature. Freeze for longer storage.
I’ve heard it said that the sense of smell is the earliest and strongest to develop in humans. I remember once at a restaurant there was a special on oysters that came from the town where I grew up. I splurged and ordered them just for fun. When they arrived and the fresh, salty smell wafted up to me, tears came to my eyes along with so many wonderful memories of my childhood there on the water.
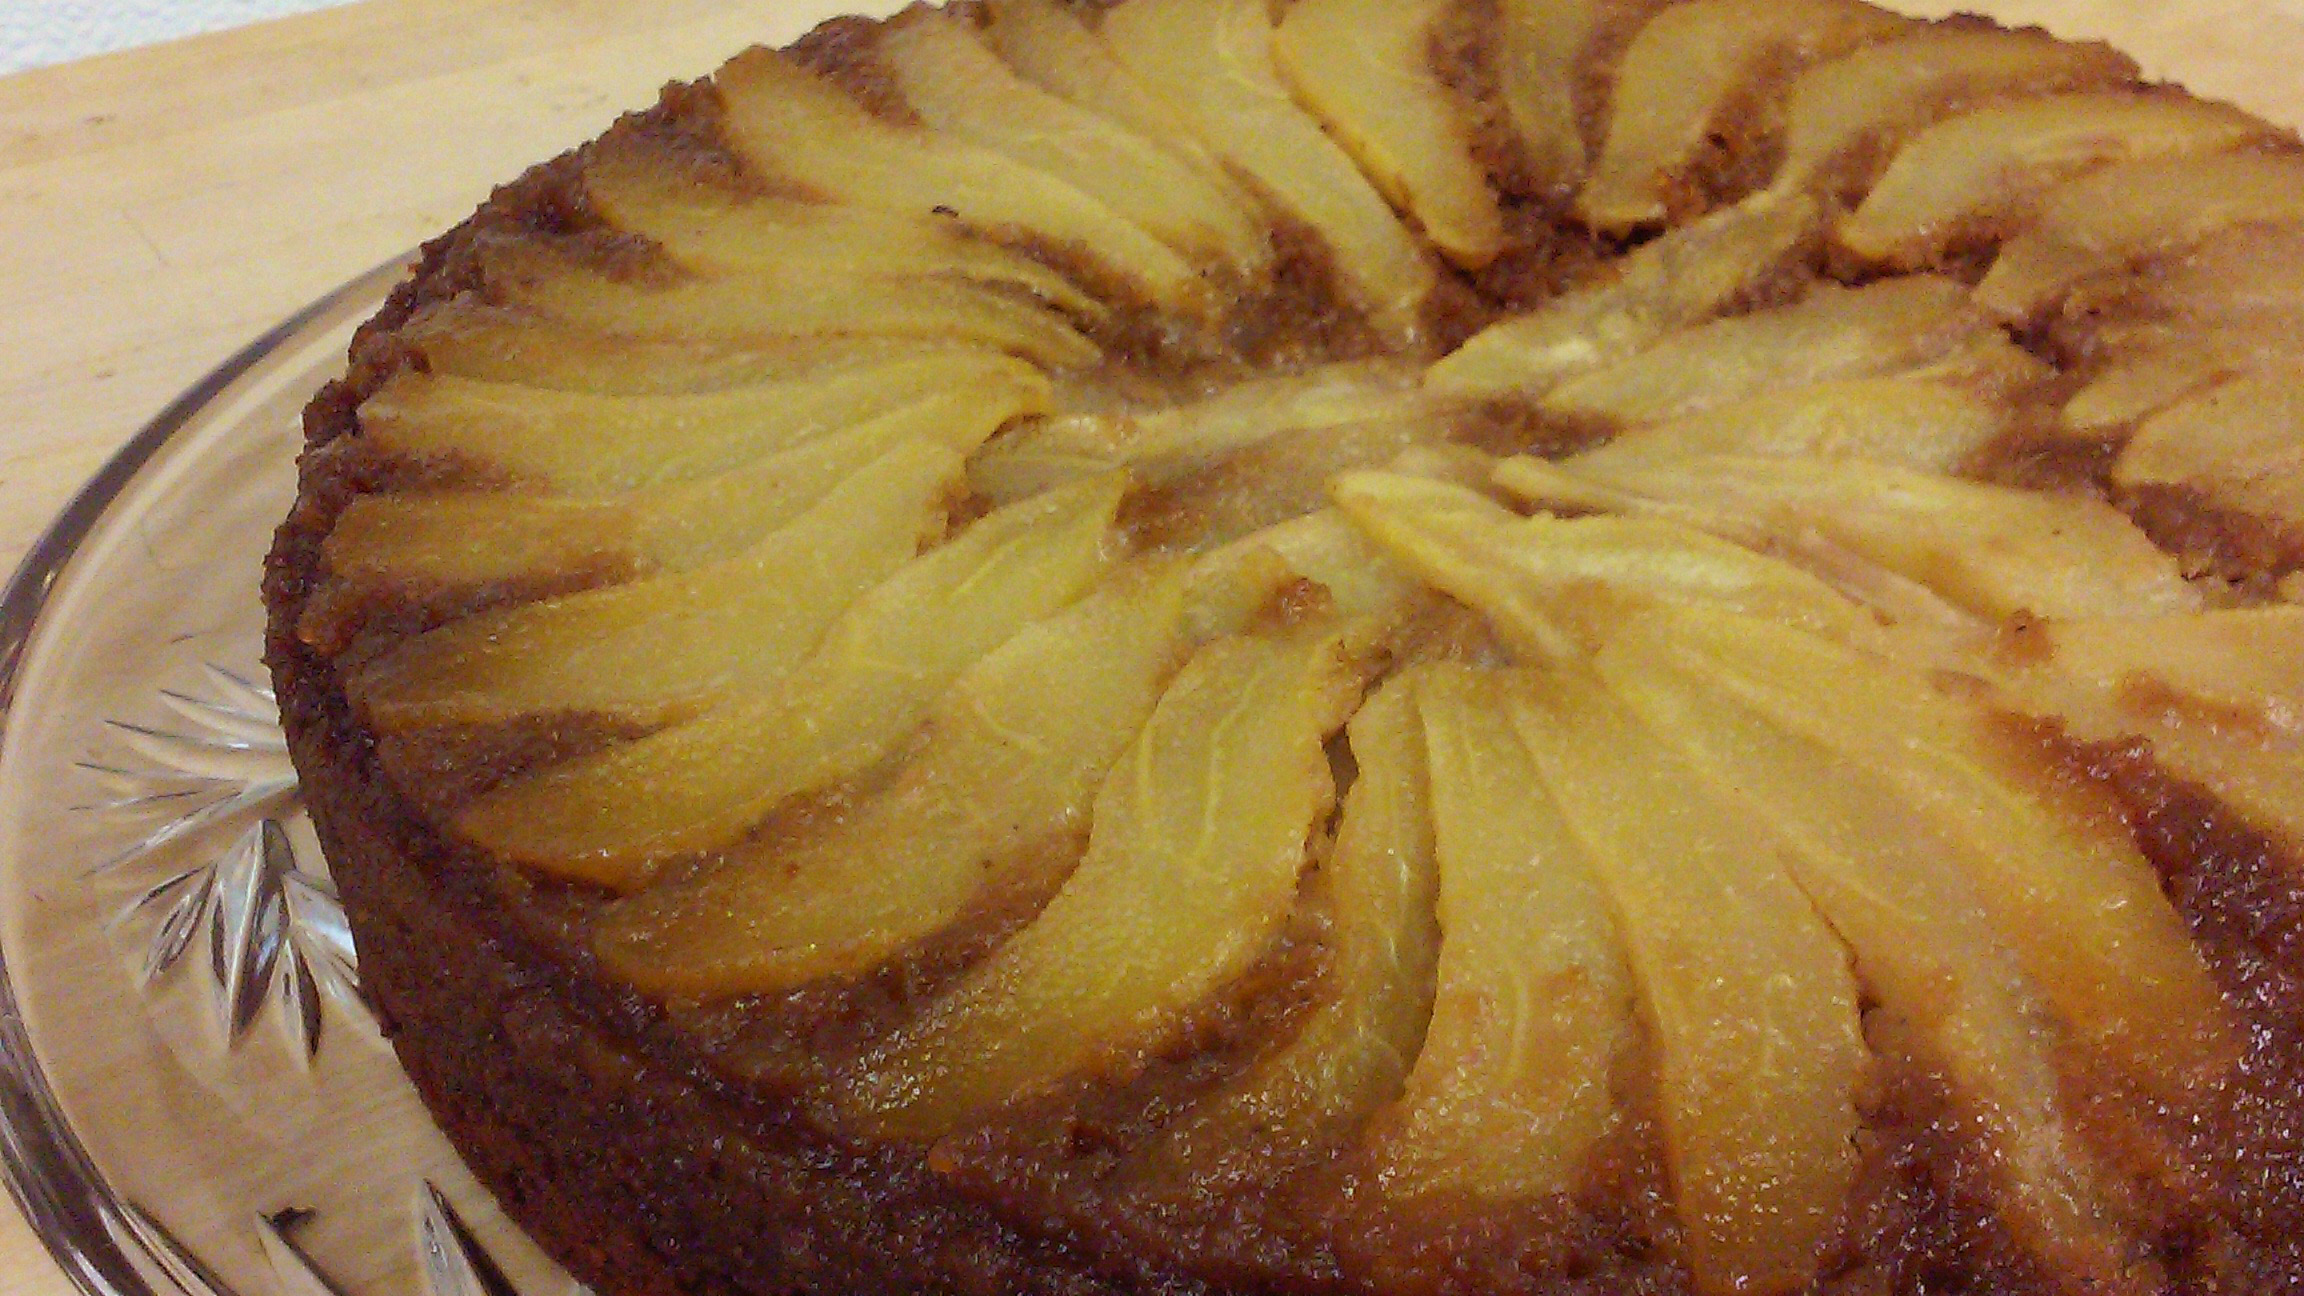
I think it’s the same for many of us at Christmas. There are certain scents that transport you directly into this season of celebration and joy. Take ginger for instance! I love baking days here at the Community — as you cross the common, in addition to the beautiful lights and wreaths and garland, the smells drifting from the kitchen put smiles on everyone’s faces. It actually seems like another way to spread the good news: Christmas is coming! Jesus is on his way, and we’re getting ready — with Ginger Cake!
Print Recipe
Votes: 0
Rating: 0
You:
Rate this recipe!
Upside Down Pear Ginger Cake
SERVINGS8 - 10people
|
COOK TIME60minutes |
PREP TIME25minutes |
READY IN1hour, 25 minutes |
Ingredients
Instructions
- Start with your ingredients at room temperature. Preheat the oven to 350°F and grease a 9" springform pan or a cake pan that's at least 2½ inches deep.
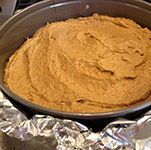
- In a small mixing bowl, combine the melted butter and brown sugar; mix well and pour the mixture into the prepared pan. Tilt the pan a little from side to side to help the mixture spread all the way to the edge.
- Arrange the sliced pears side-by-side over this brown sugar mixture, making sure that they cover the entire bottom of the pan. Set aside.
- In a large mixing bowl, combine the dry ingredients and mix well with a whisk until airy and fully combined. Set aside.
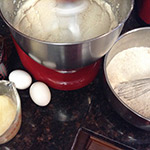
- In the bowl of your stand mixer equipped with the paddle attachment, beat the the butter and brown sugar on medium-high speed until light and fluffy, about 3 minutes.
- Add the eggs and beat again until pale and airy.
- Incorporate the apple sauce and molasses, mix until well combined, and then add the dry ingredients and mix on low speed until just incorporated, no more.
- Pour over the pears and spread all the way to the edge.
- Place a piece of aluminium foil under or around your pan to catch any eventual leakage and bake for 60 minutes or until a toothpick inserted in the center comes out clean.
- Let the cake cool for 10 to 15 minutes or until it's cool enough to be handled safely then flip it onto a rimmed cake plate.
- Serve warm, garnished with vanilla ice cream, chopped nuts and a drizzle of honey or caramel sauce, if desired.
Waking up on these cold, crisp fall mornings with frost on the ground, my alarm clock begs to be put on snooze for those last 5 minutes of shut-eye. But in Convent life, that’s not what we’re called to; instead, a quick prayer of thanks to God, and our feet hit the cool ground as we dress for Lauds. I sometimes imagine God smiling at our groans, the creaks in our bones, and the selfish moments we want to steal for ourselves before spending time with Him. I’ve recently experienced the transparent love that God has for me and I think these waking moments are no different! After Lauds, we have a silent breakfast together in our refectory. Silence is essential to our spiritual life because it allows us time to listen to God’s voice preparing us for the day, and not our own. I have to admit that I battle doing my own mental checklist during this time; fragile as we are, God smiles!
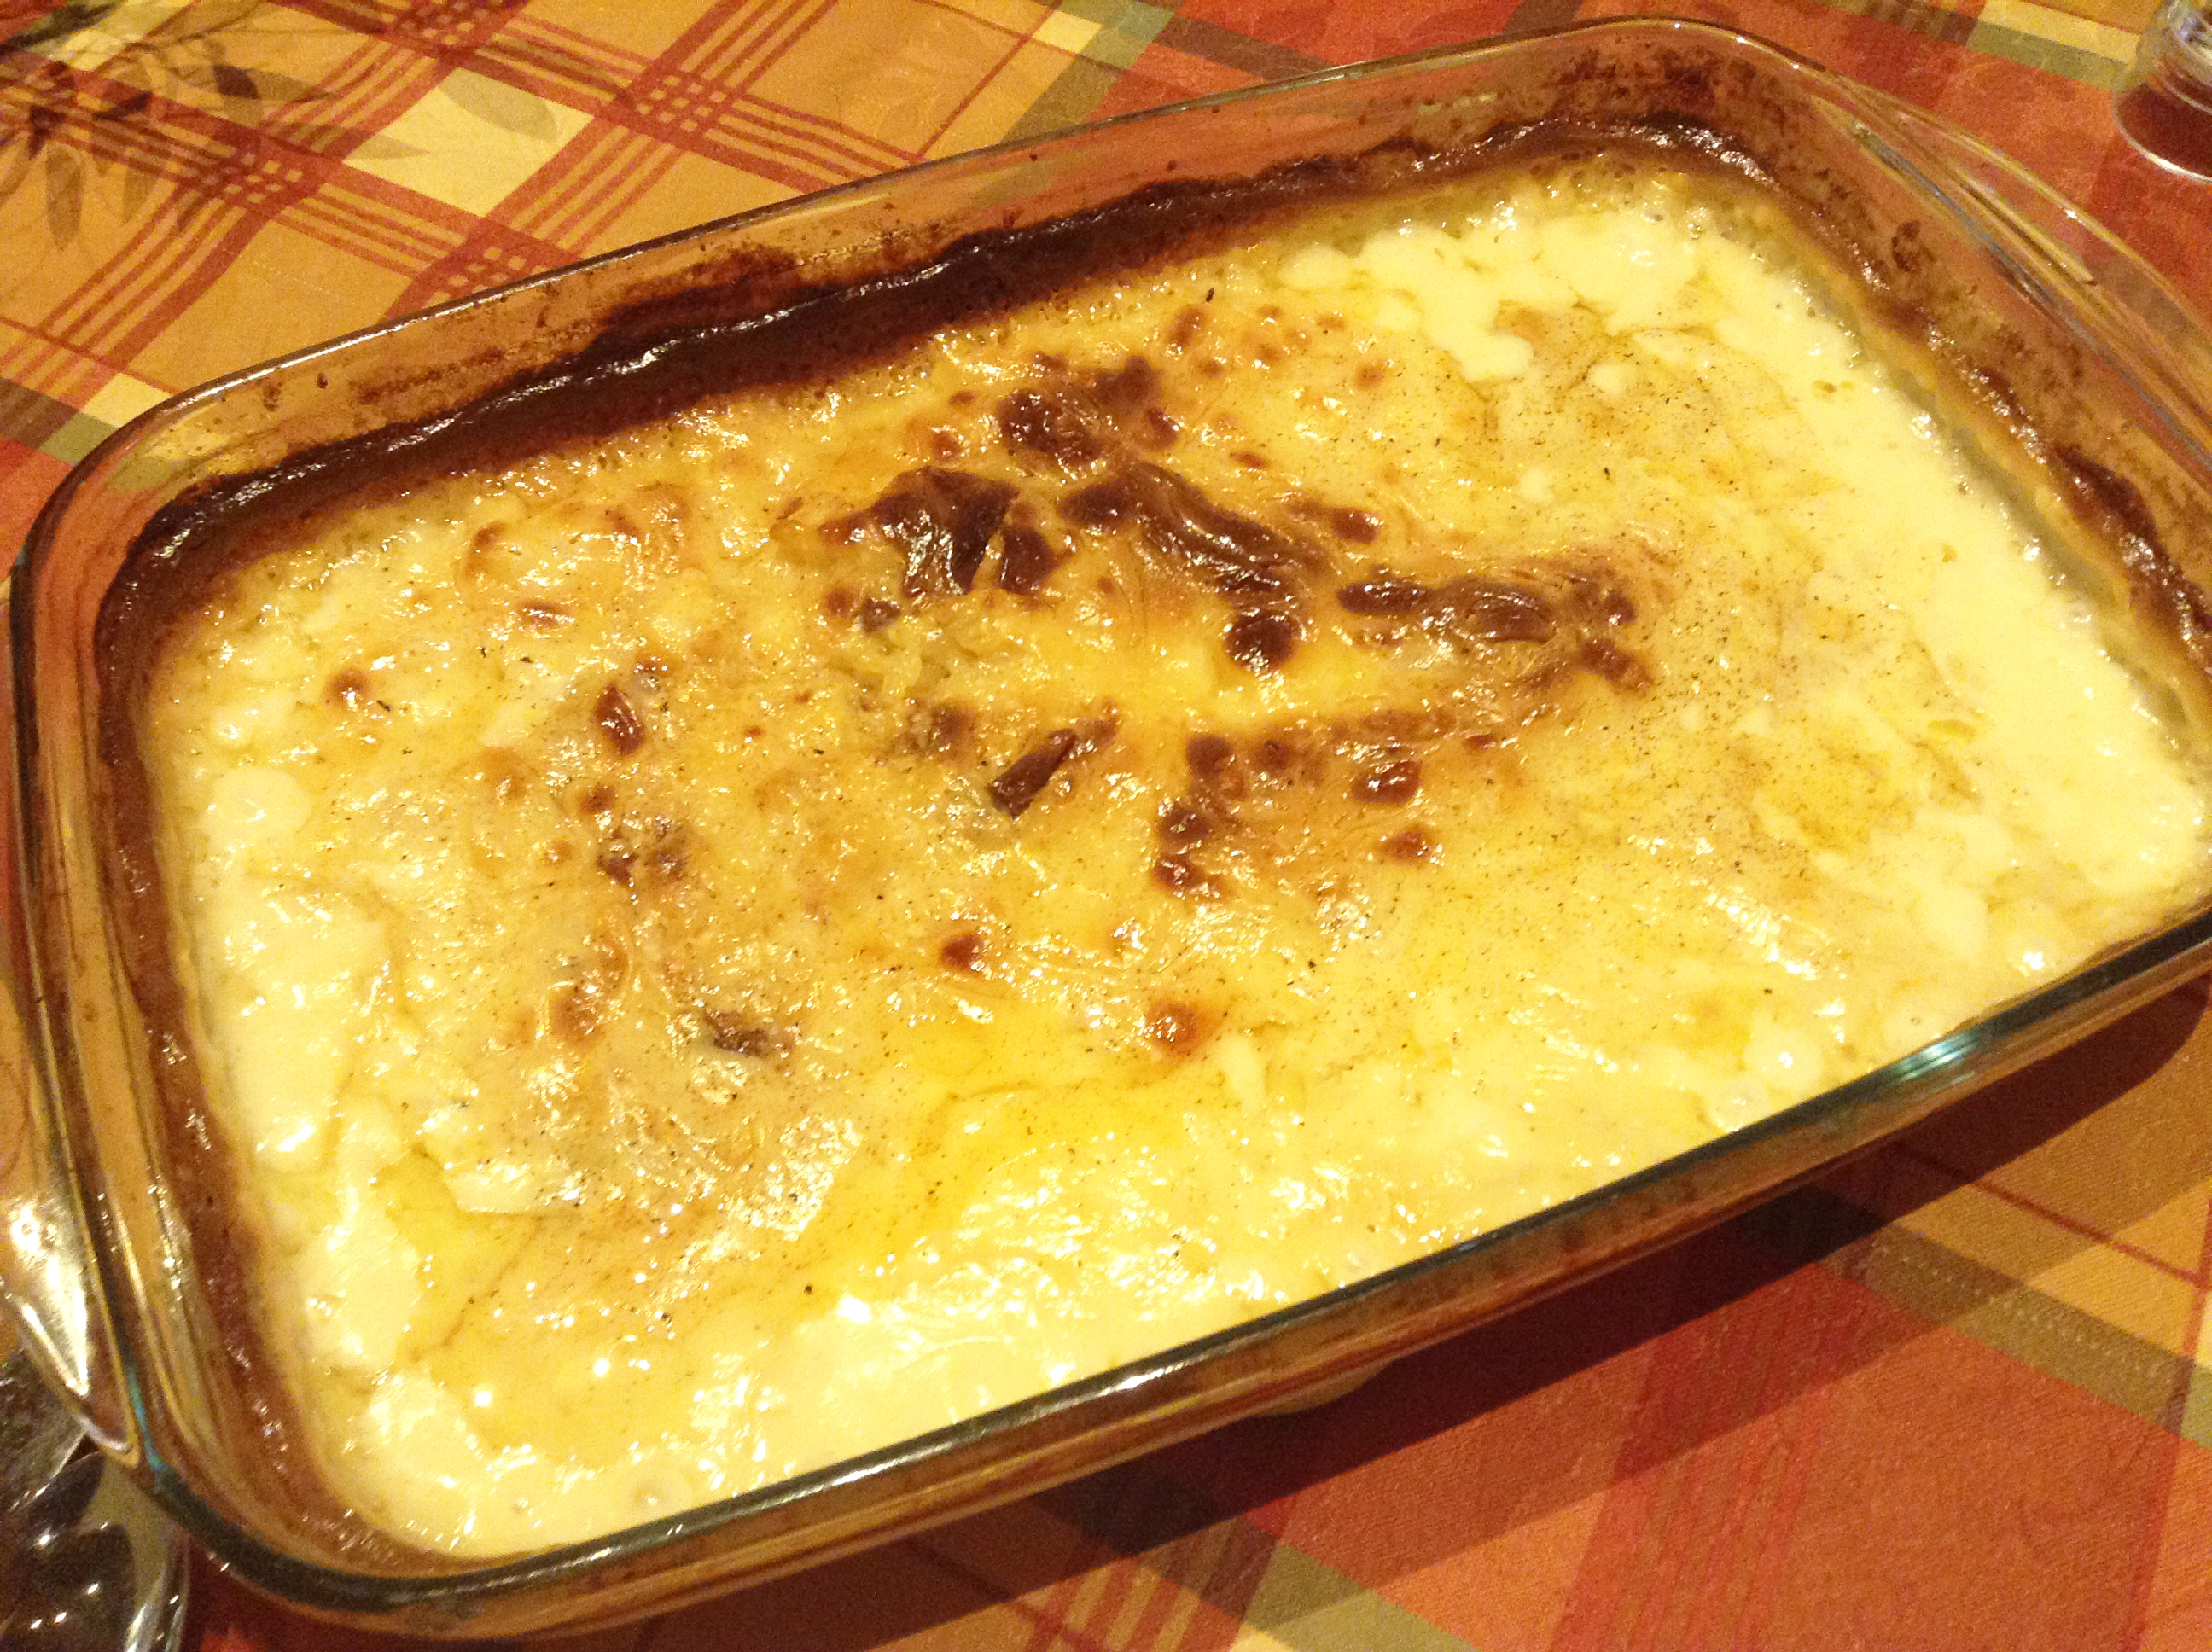
The change of season also brings its own collection of recipes, both old and new. Warm custards and puddings, soups and stews, root vegetables, apples and pears. I particularly love rice pudding, and this old fashioned recipe (so similar to the one that my grandmother used to make) is lovely to enjoy warm for breakfast or with whipped cream for a cold evening’s dessert.
Print Recipe
Votes: 9
Rating: 3.67
You:
Rate this recipe!
Old Fashioned Creamy Rice Pudding
SERVINGS6people
|
COOK TIME1-2hours |
PREP TIME15minutes |
READY IN |
Ingredients
Instructions
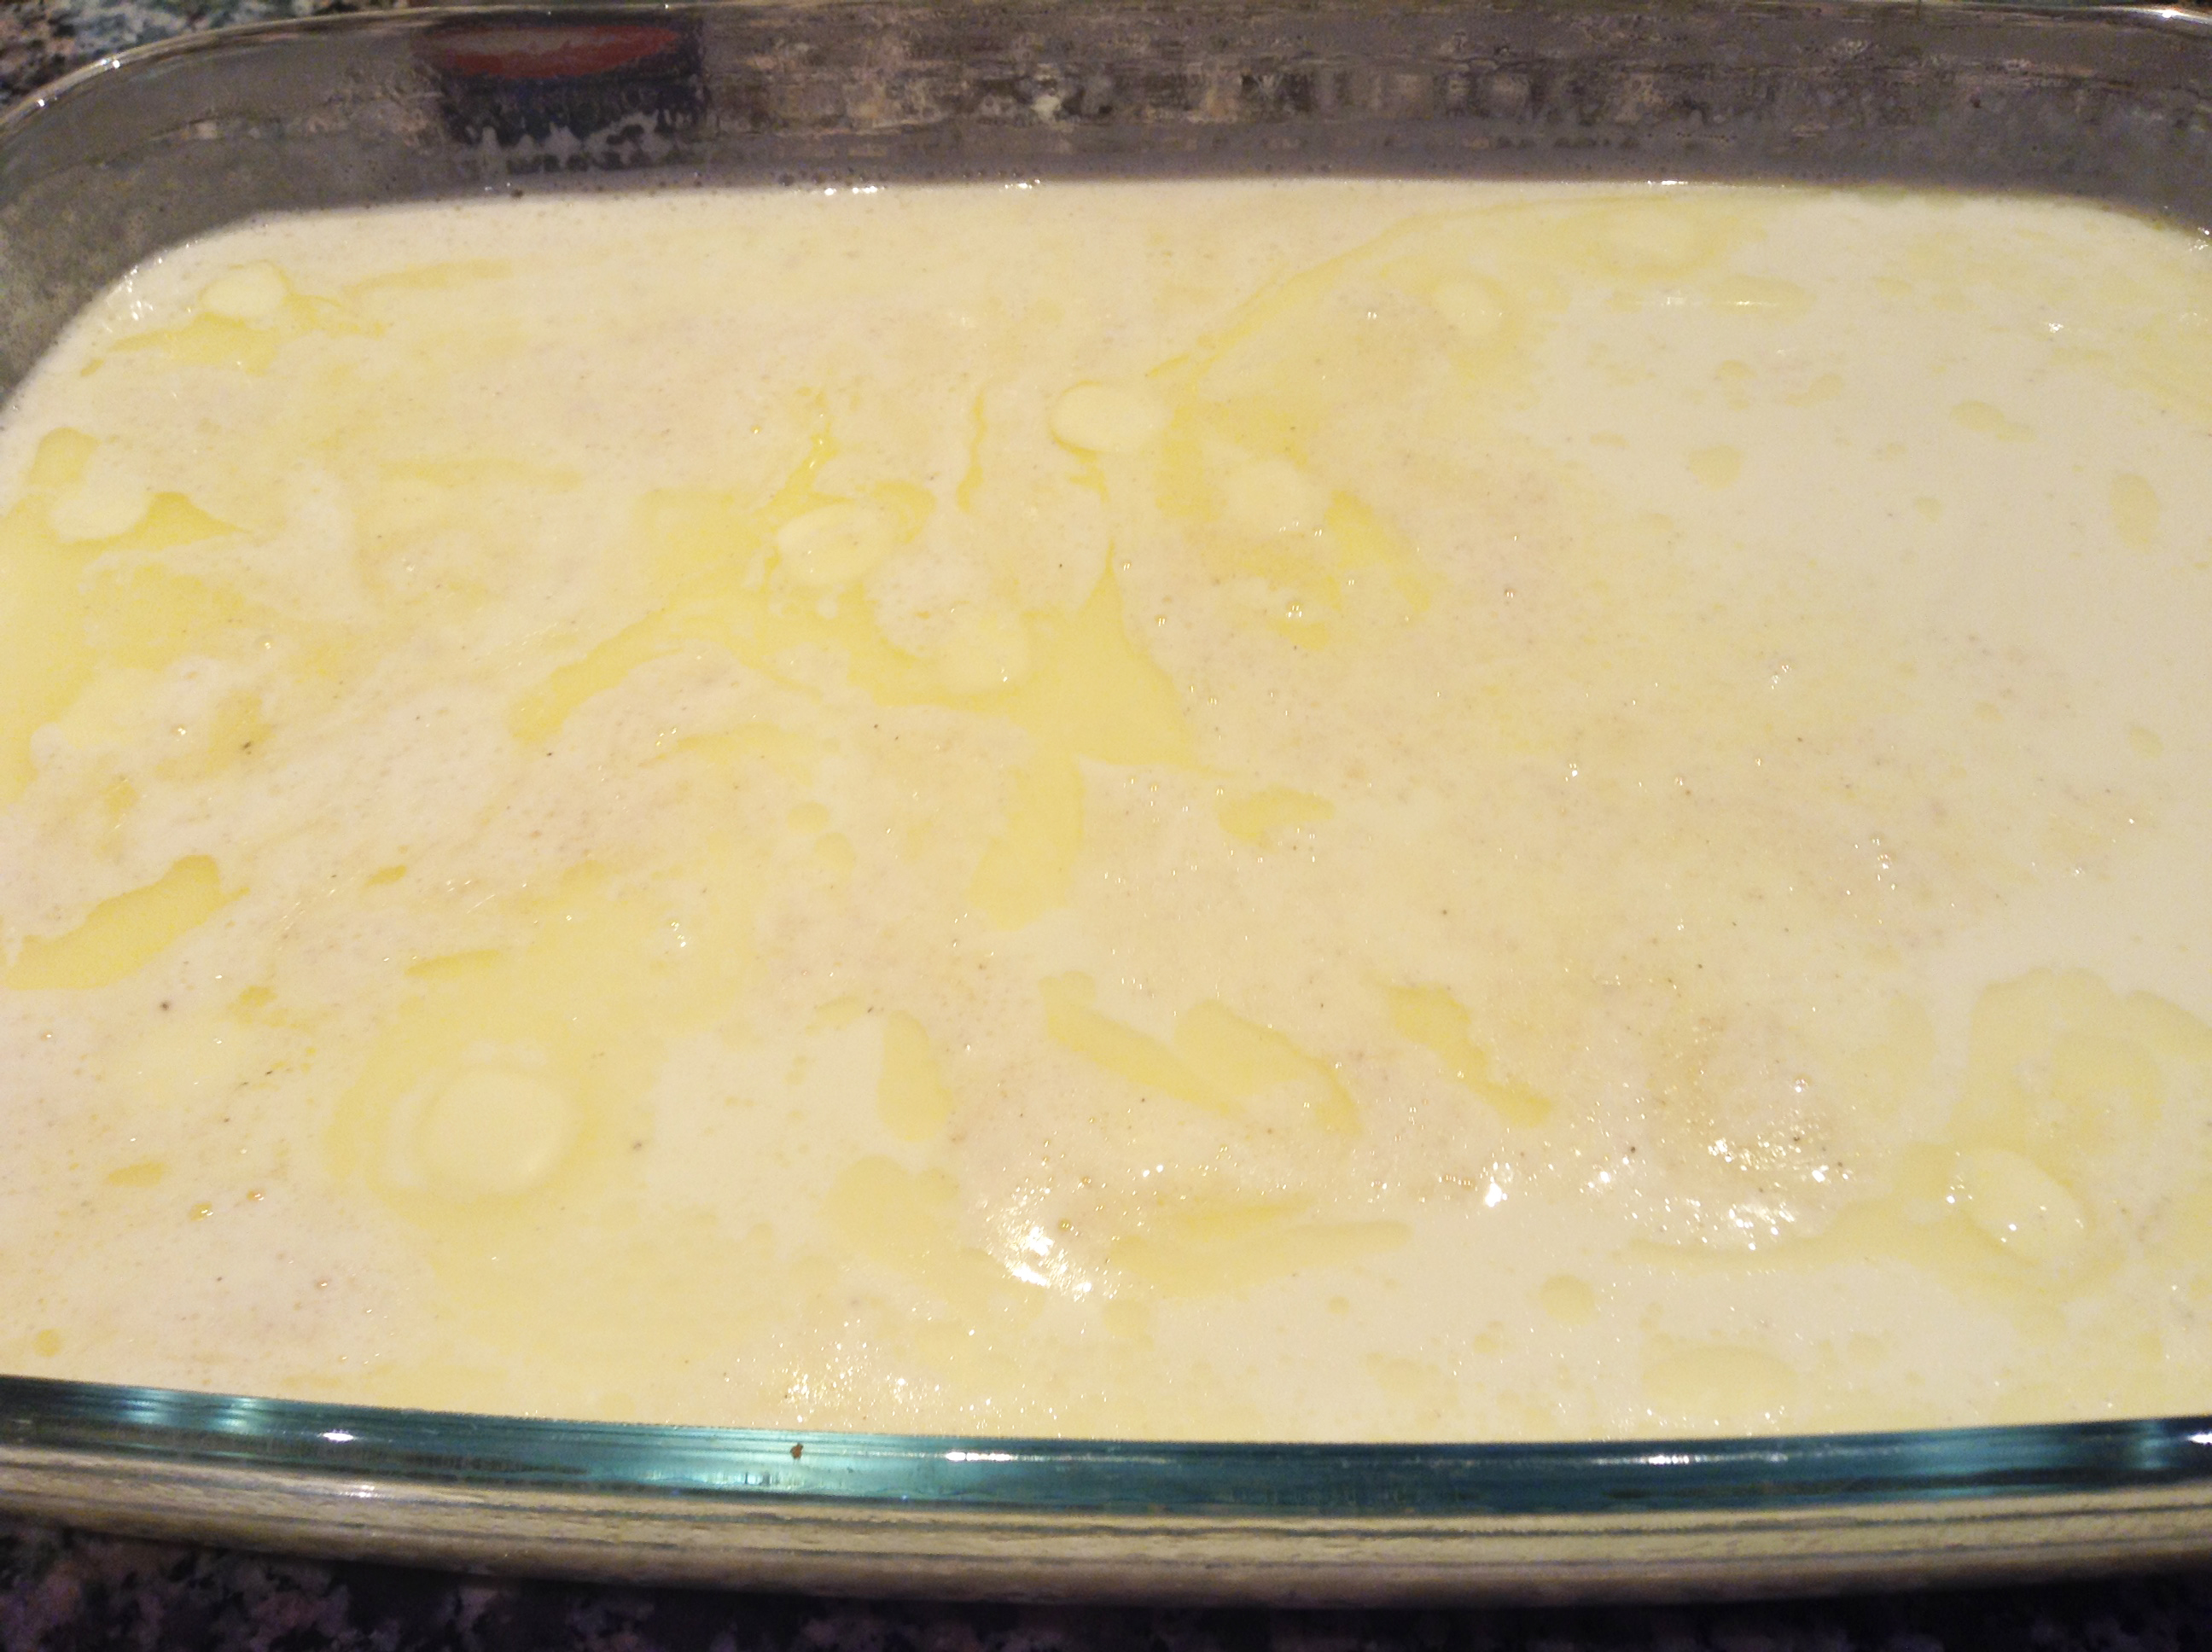
- Preheat the oven to 300 F and grease a 9x13" glass pyrex pan or 8 cup ovenproof dish with butter.
- Rinse the rice under cold water and place in the dish.
- Place the cream, milk, sugar, and a generous grating (or 1 tsp) of nutmeg in a medium saucepan. Scrape the seeds of the vanilla beans into the milk mixture (if using) or add the vanilla.
- Heat gently until almost simmering, then remove from the heat and pour over the rice, stirring well.
- Dot the butter over the top and place in the oven for 1 1/2 hrs, stirring after the first 30 min. At this stage, you can add an extra grating of nutmeg if you like.
- If the pudding still seems very runny, return to the oven, checking every 10 min., until it is loosely creamy but not runny (the rice should be cooked, but the liquid will continue to be absorbed once you take it out of the oven).
- When the pudding is golden brown on top and has a soft,creamy texture, remove from the oven and allow to rest for 10 min. before serving.