We have had a wonderful summer with food, creating a wide variety of unusual fresh salads of all sorts, interesting new chilled soups, and great ribs, chicken, burgers, and other meats from the grill. Now people are remembering the savory heartwarming dishes of cooler weather, expressing their desire for savory seasonal favorites of the Fall.
Right now I am torn between wanting to serve a great pot roast, while at the same time thinking how happy many people would be to enjoy a tasty old fashioned Shepherd’s Pie…so we do both! For today, we’ll make a great pot roast doubling the amount we would usually cook, and saving the meat for a delicious Shepherd’s Pie in a few days’ time.
Print Recipe
Votes: 0
Rating: 0
You:
Rate this recipe!
Pot Roast
SERVINGS6servings
|
COOK TIME4hrs |
PREP TIME15mins |
READY IN4 hrs15 min |
Ingredients
Instructions
- Preheat the oven to 275 degrees F
- Generously salt and pepper the chuck roast
- Heat the olive oil in large pot or Dutch oven over medium-high heat and add the halved onions to the pot, browning them on both sides. Remove the onions and set aside.
- Put the carrots into the same pot and toss them until slightly browned, about a minute, and set aside the carrots with the onions.
- Add a bit more olive oil to the pot and place the meat in the pot and sear it for about a minute on all sides until it is brown all over. Remove the meat to a plate.
- Deglaze the pot with either red wine or beef broth—about 1 cup—scraping the bottom with a whisk. Place the meat back into the pot and add enough beef stock to cover the meat halfway.
- Add the onions and the carrots, and fresh herbs.
- Cover pot and roast, about 1 hour per pound of meat. The roast is ready when it can be pulled apart with a fork.
Optional: Top with mashed potatoes and freshly steamed broccoli
- Boil 6 baking potatoes in salted water until fork tender
- Drain the potatoes and return to the pot.
- In a small bowl, mix 2 cups of sour cream, 2 cups of milk and add to the pot of boiled potatoes.
- Mash potatoes with a hand masher, hand held beater or an electric mixer
- Spread potatoes over the meat, sprinkle with Paprika and broil 5-10 minutes.
- Add steamed broccoli and serve warm.
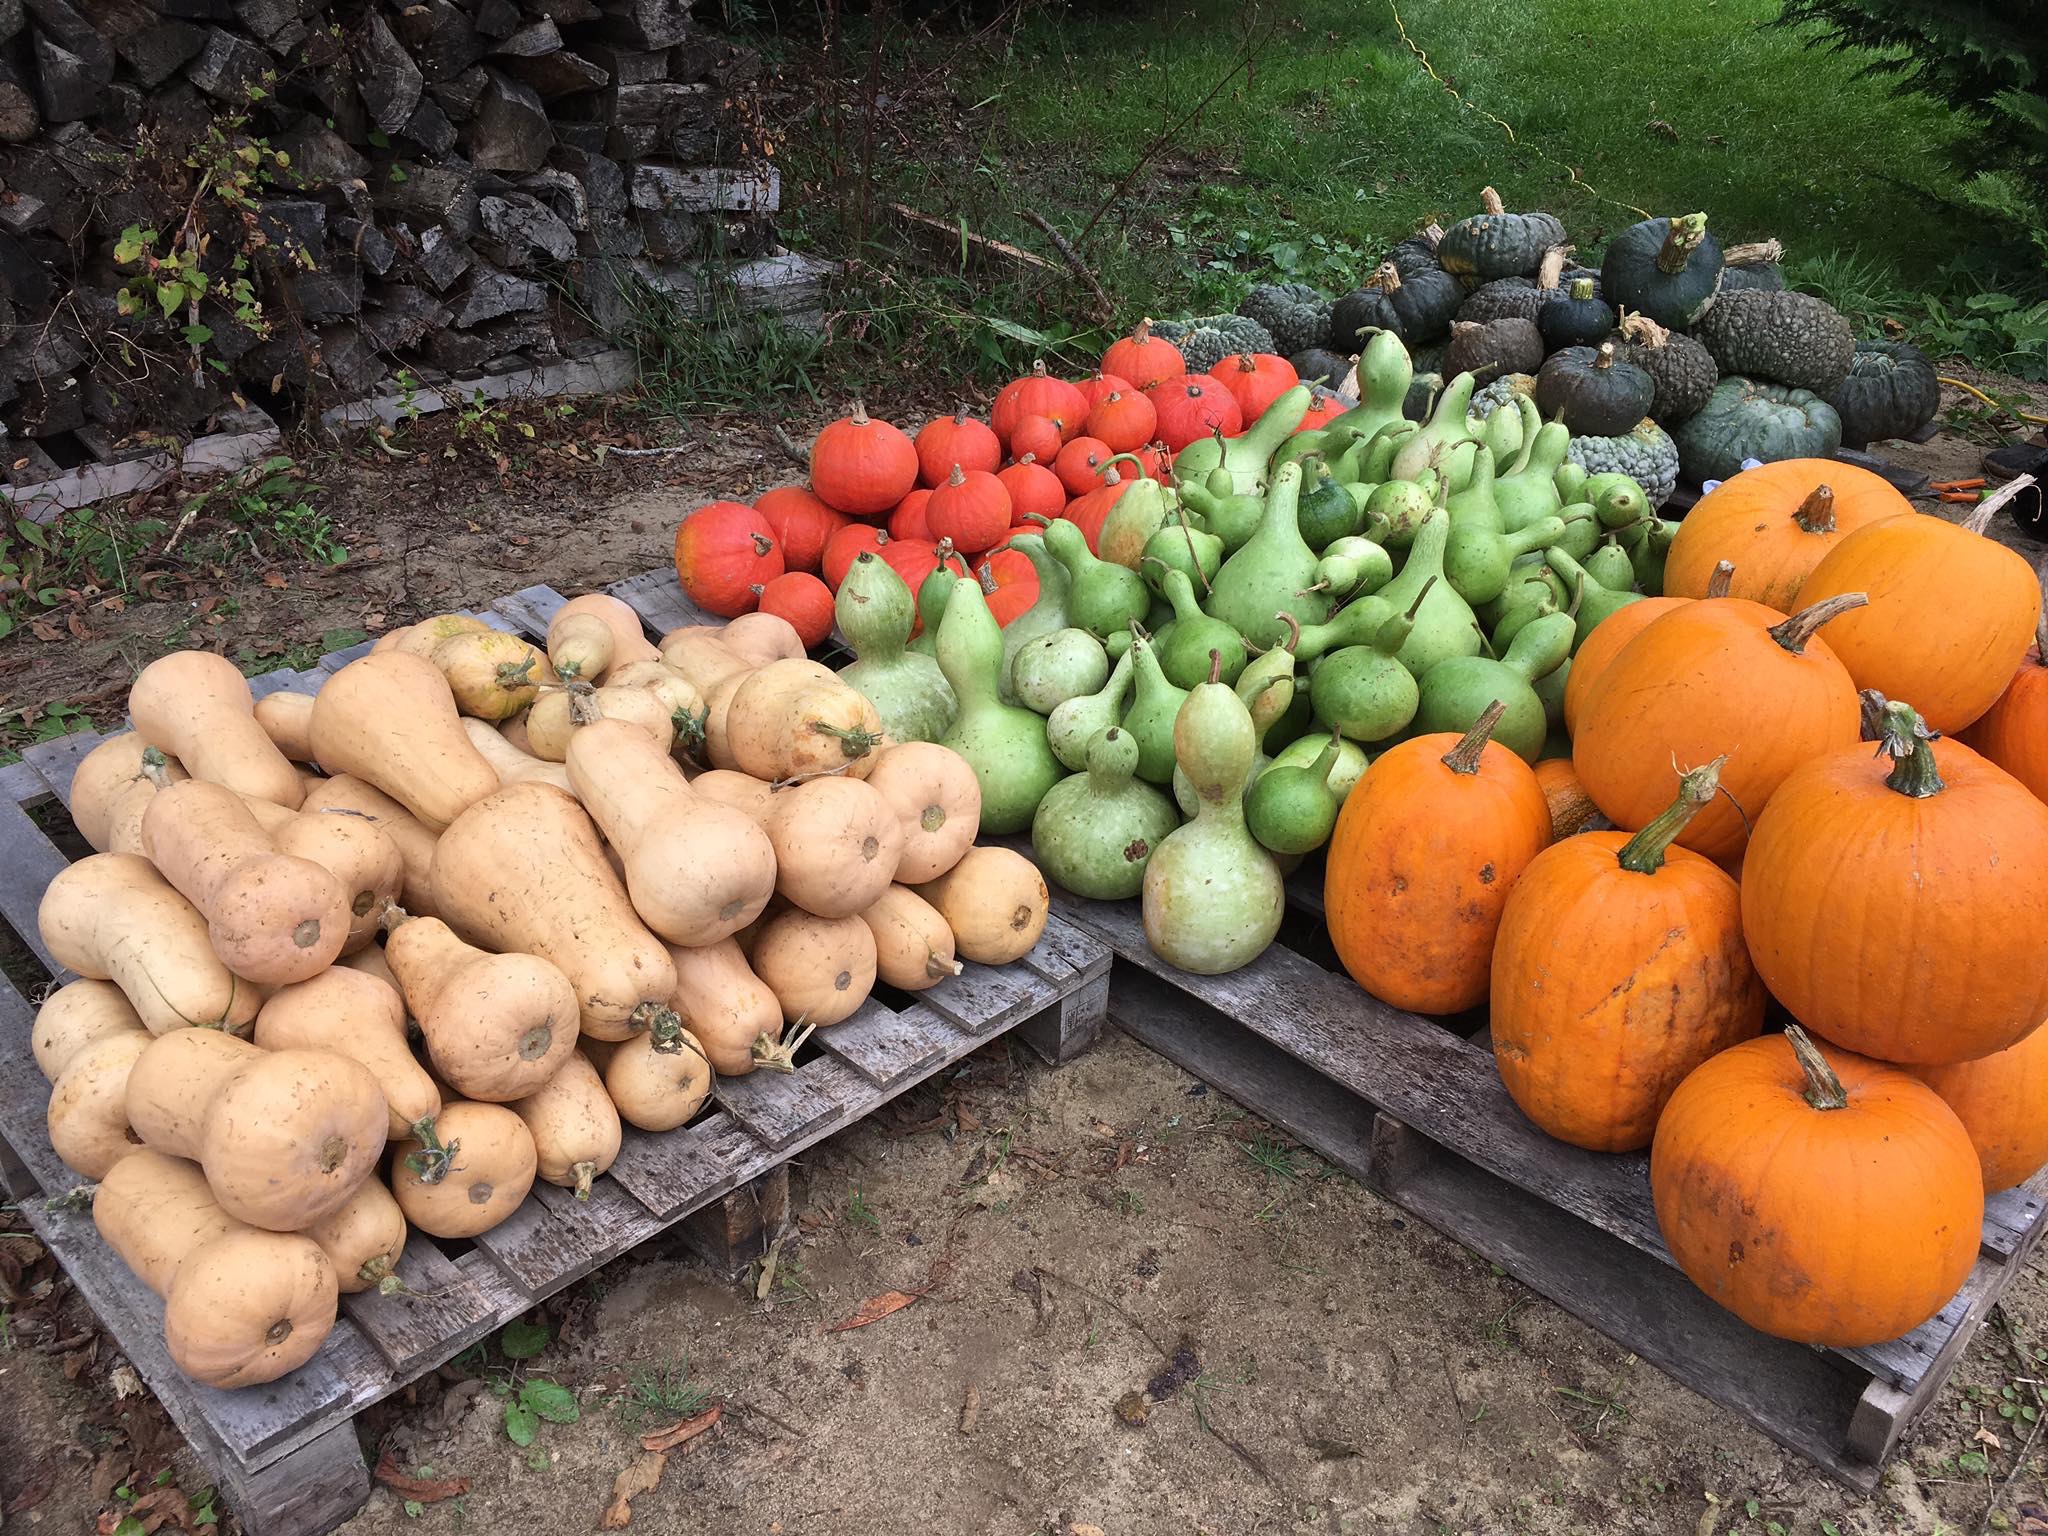
As we finished harvesting all of our winter squash for the season, it only felt appropriate to take a few inside and enjoy a lovely, warm bisque that has all the flavors of fall. By roasting the squash along with all the spices and sugar in this recipe, you’ll bring alive the essential oils buried in them and caramelizing the squash at the same time—achieving a depth of flavor you can’t get by starting this on the stove top.
We are busy bustling around and getting ready for our Arts in Celebration weekend, but remembering how important it is to balance our life with the simple pleasures that God gives us. We do hope you will consider joining us over this next week to experience beauty and the arts, as we commemorate the 500th anniversary of the Reformation.
Print Recipe
Votes: 2
Rating: 4.5
You:
Rate this recipe!
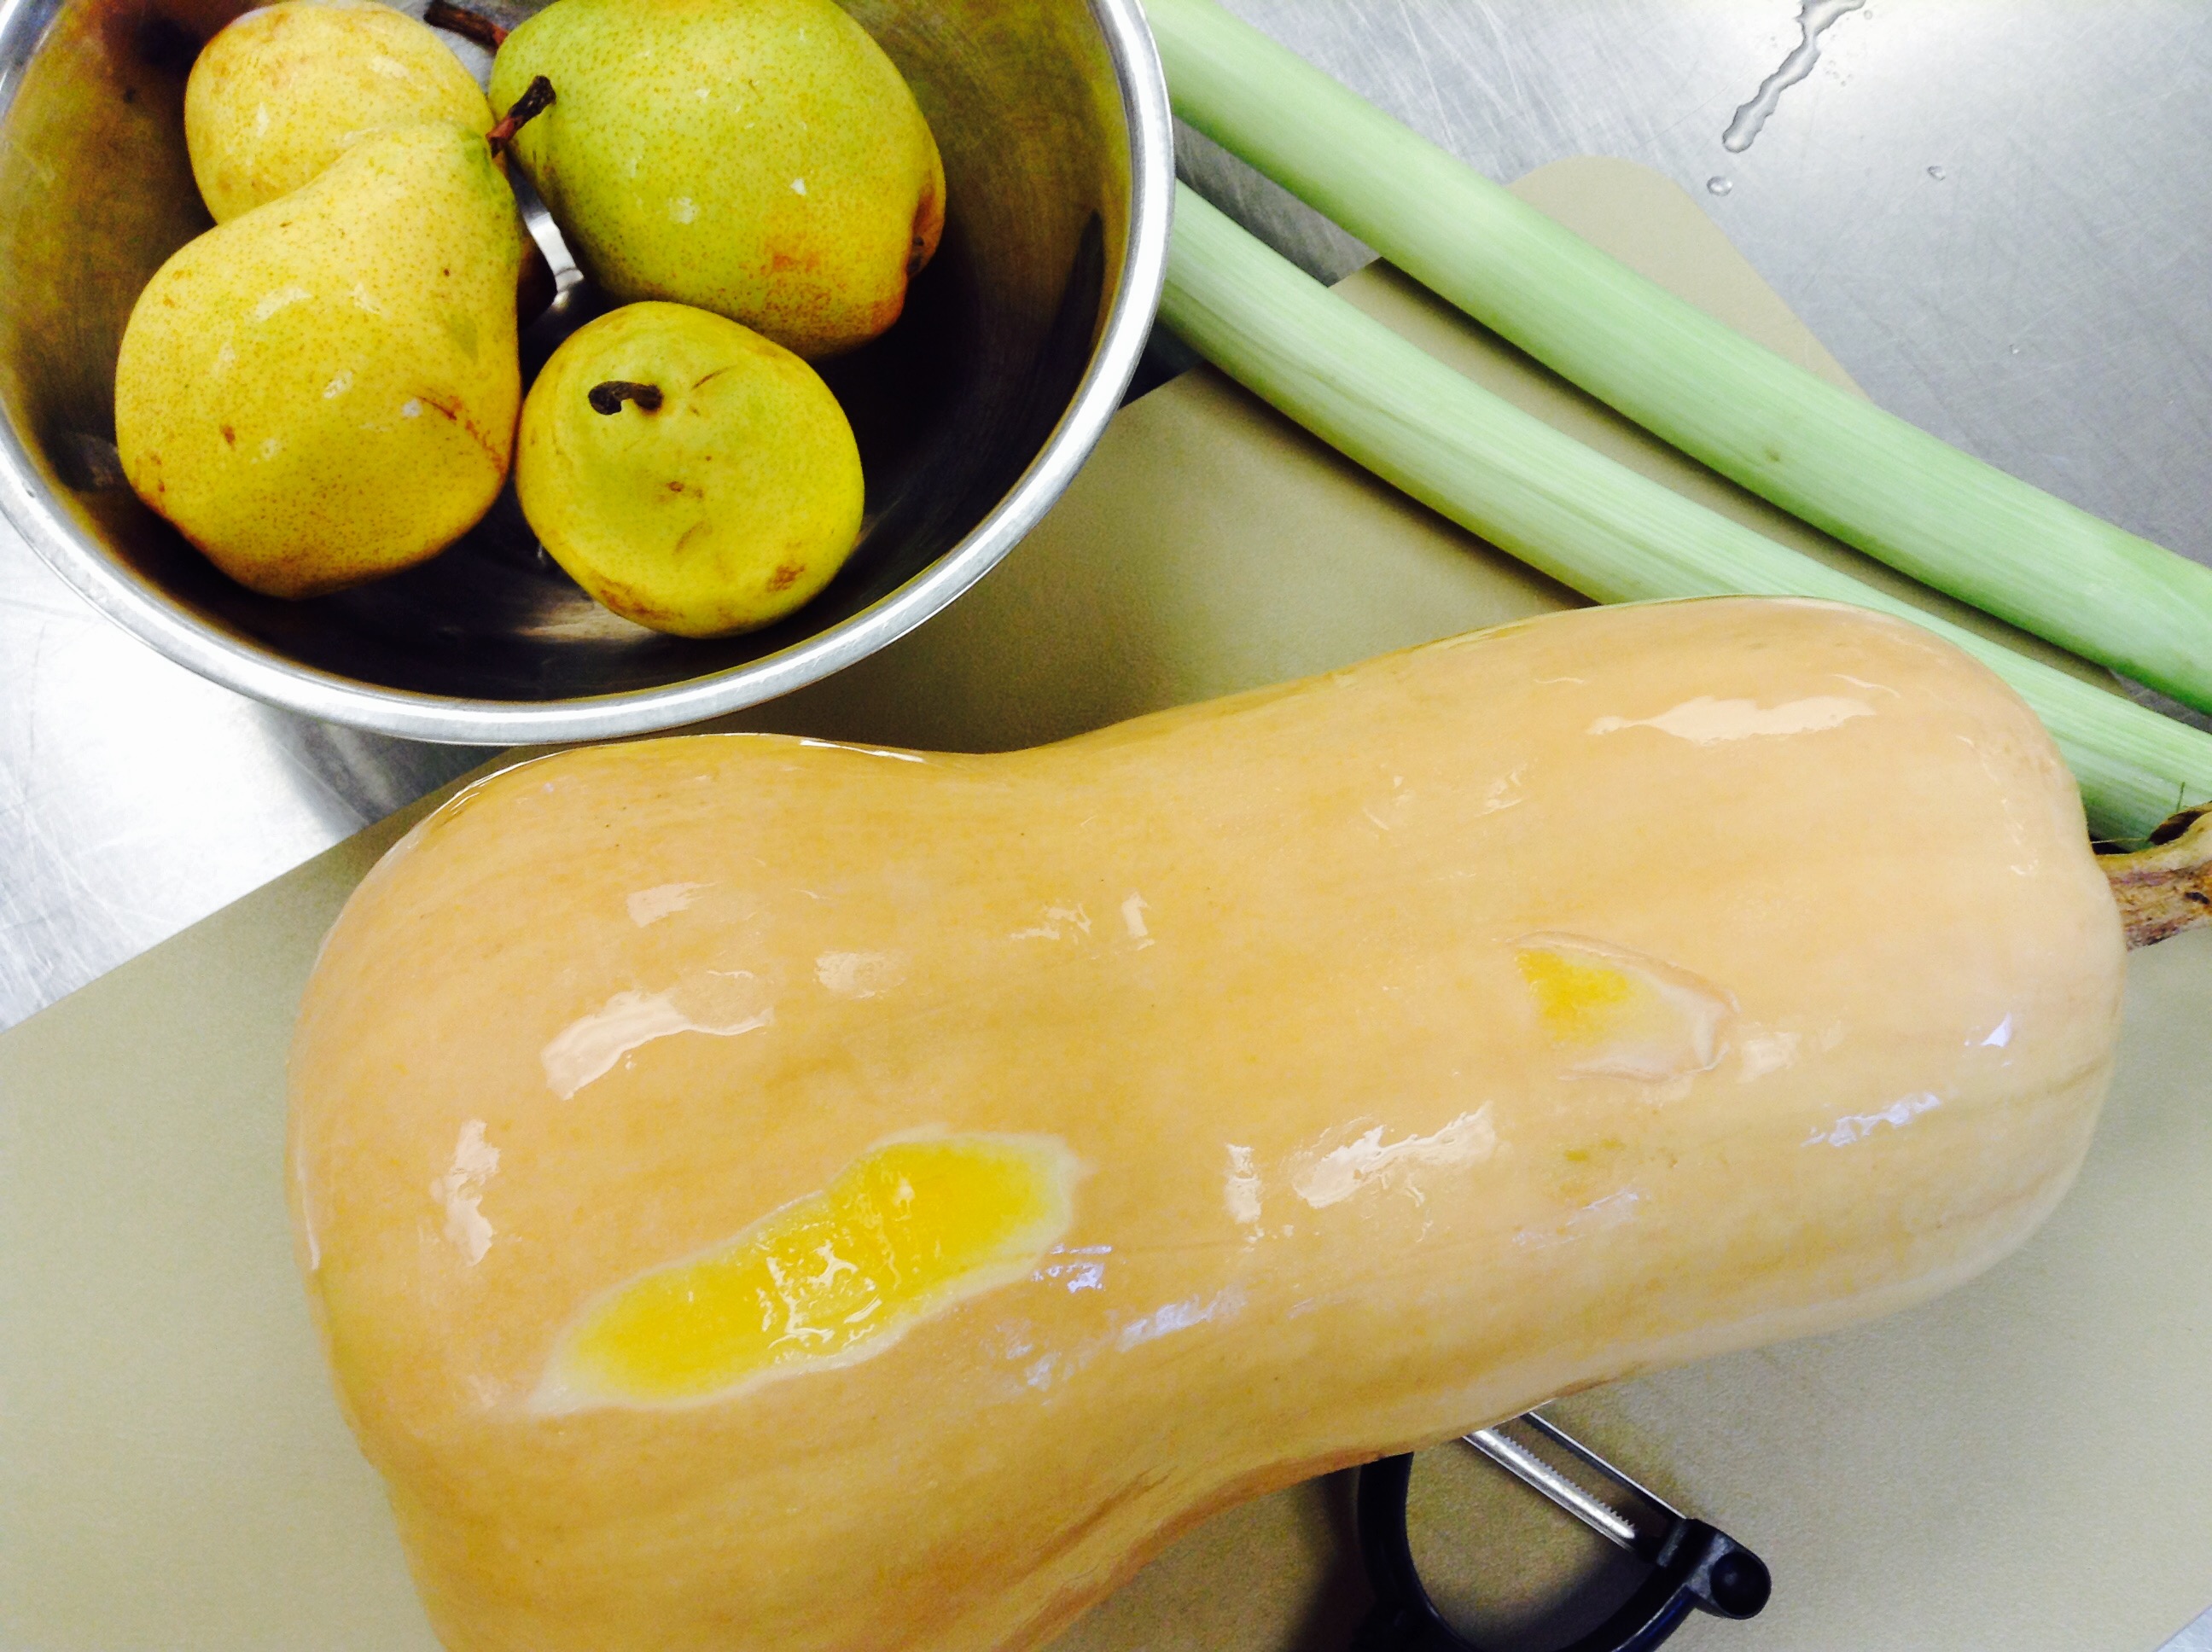
Roasted Butternut Squash and Pear Ginger Bisque
SERVINGS16cups (8 servings)
|
COOK TIME45mins |
PREP TIME15mins |
READY IN1hr |
Ingredients
Instructions
- Preheat oven to 375 degrees F.
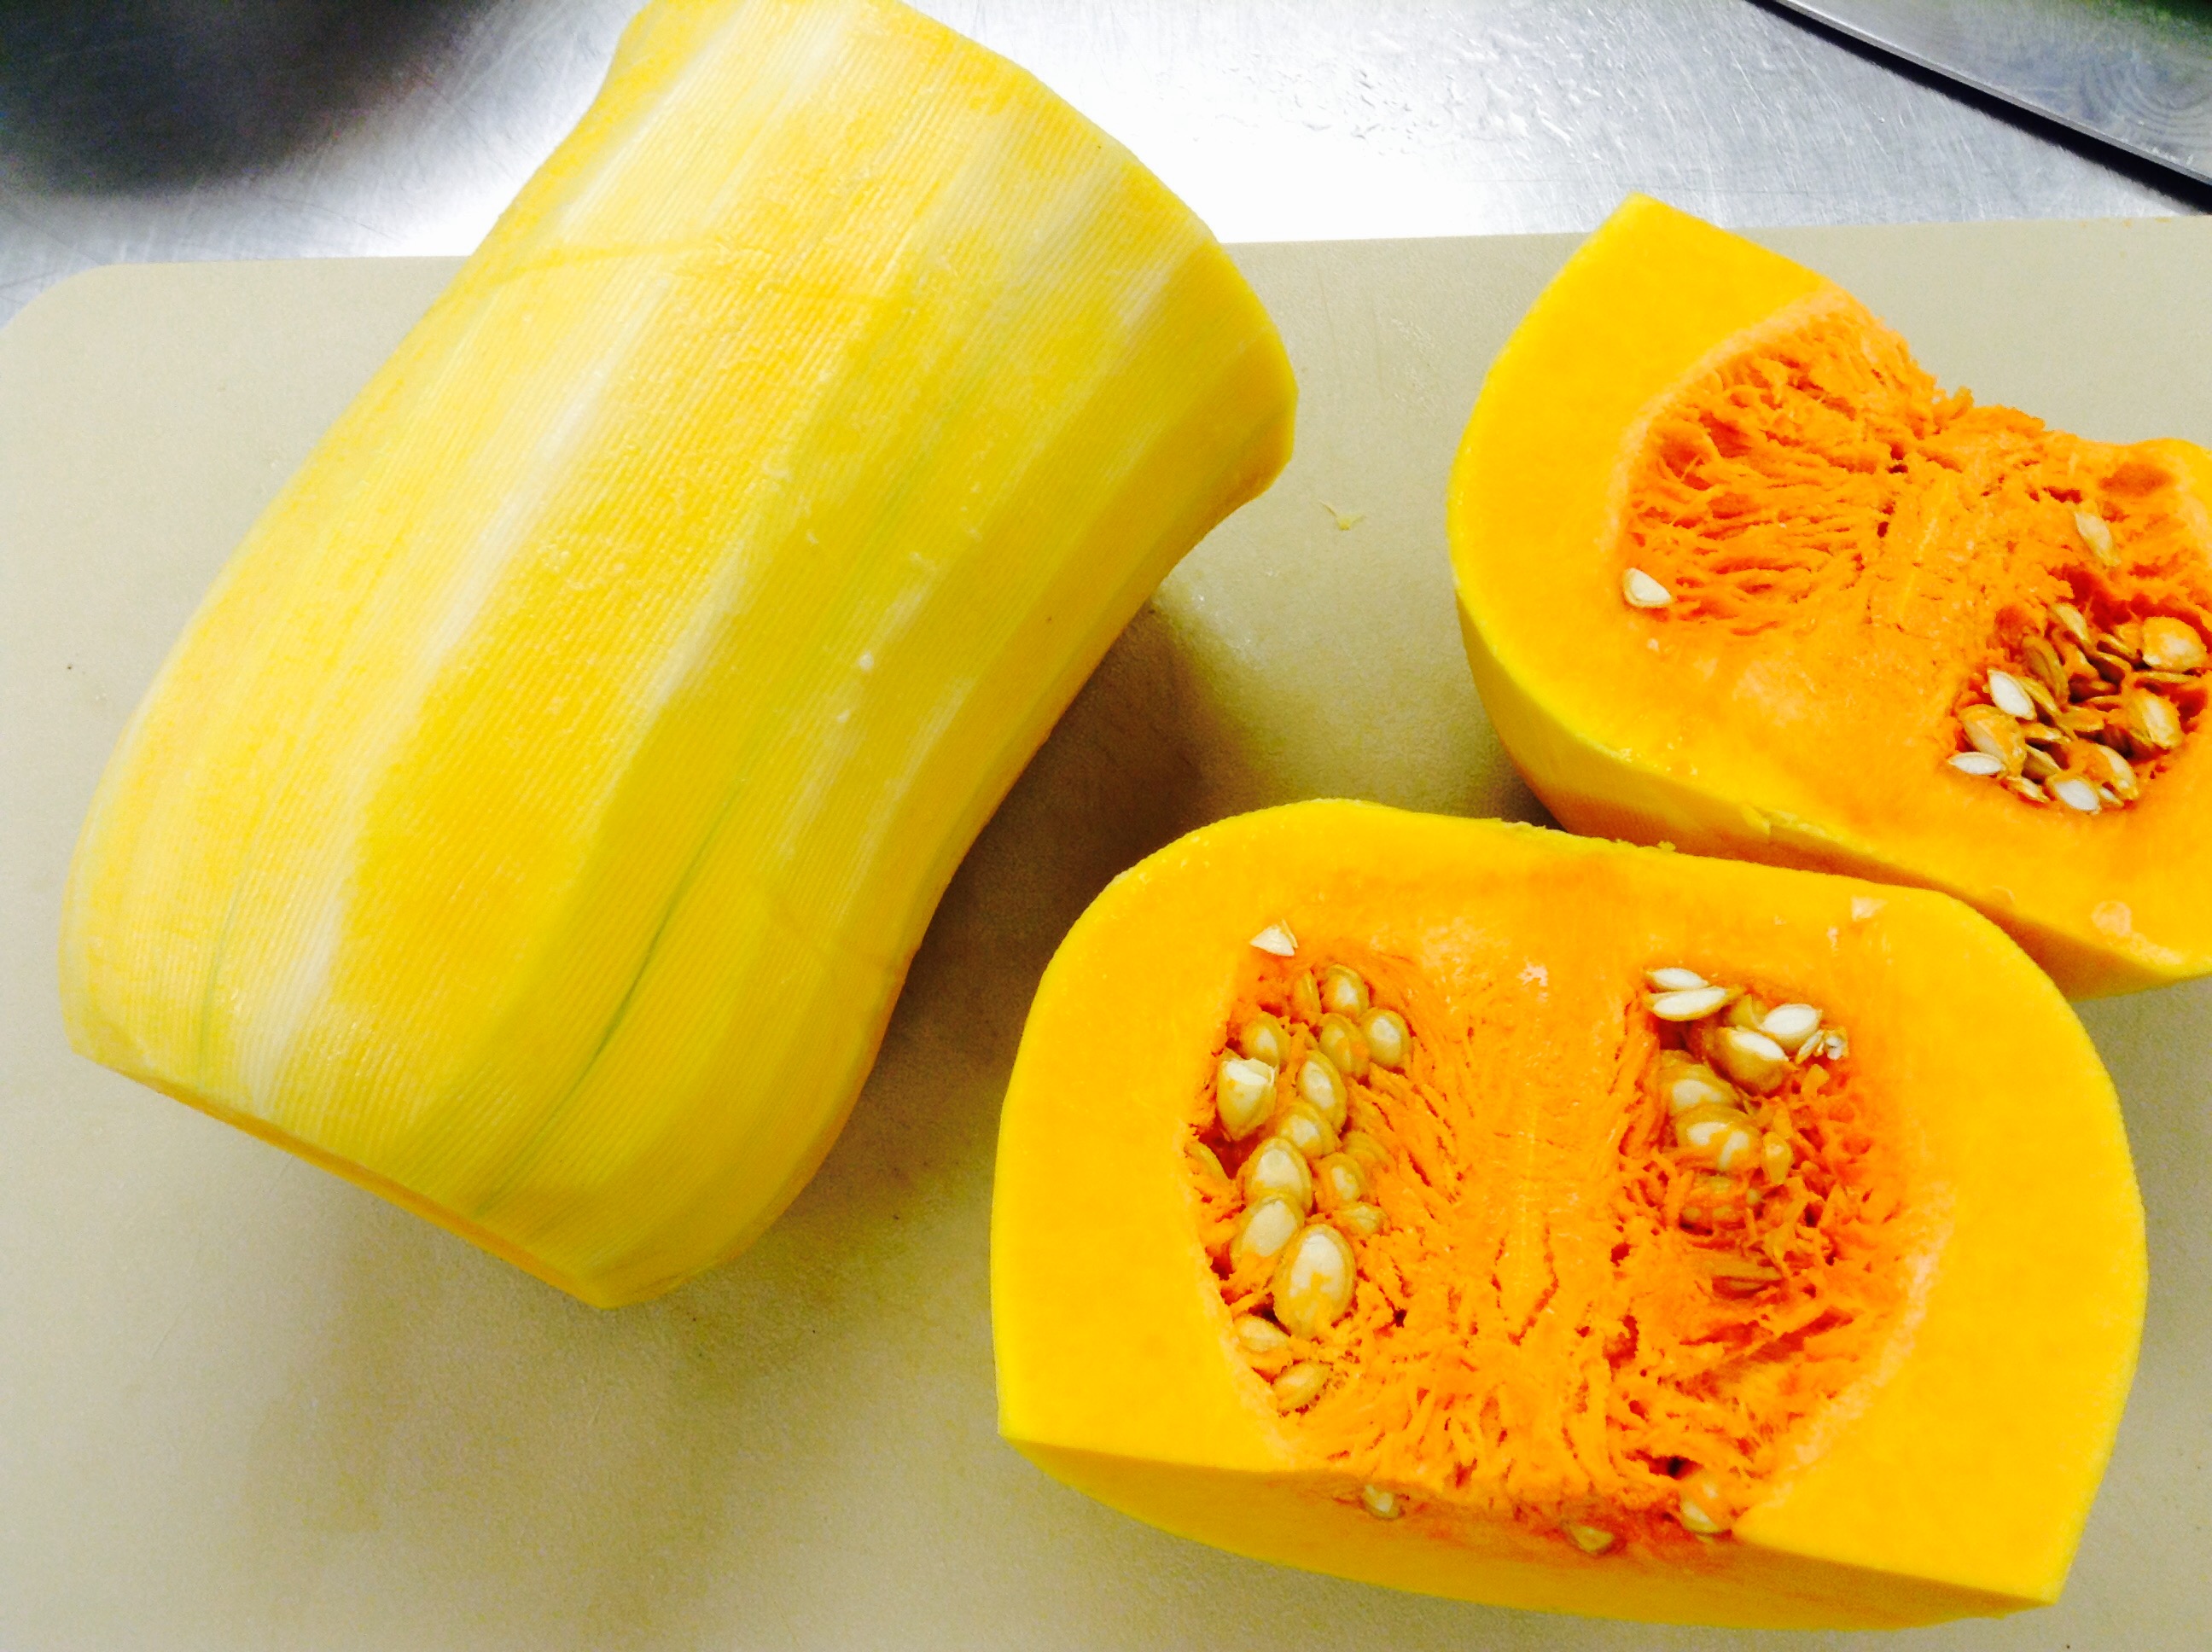
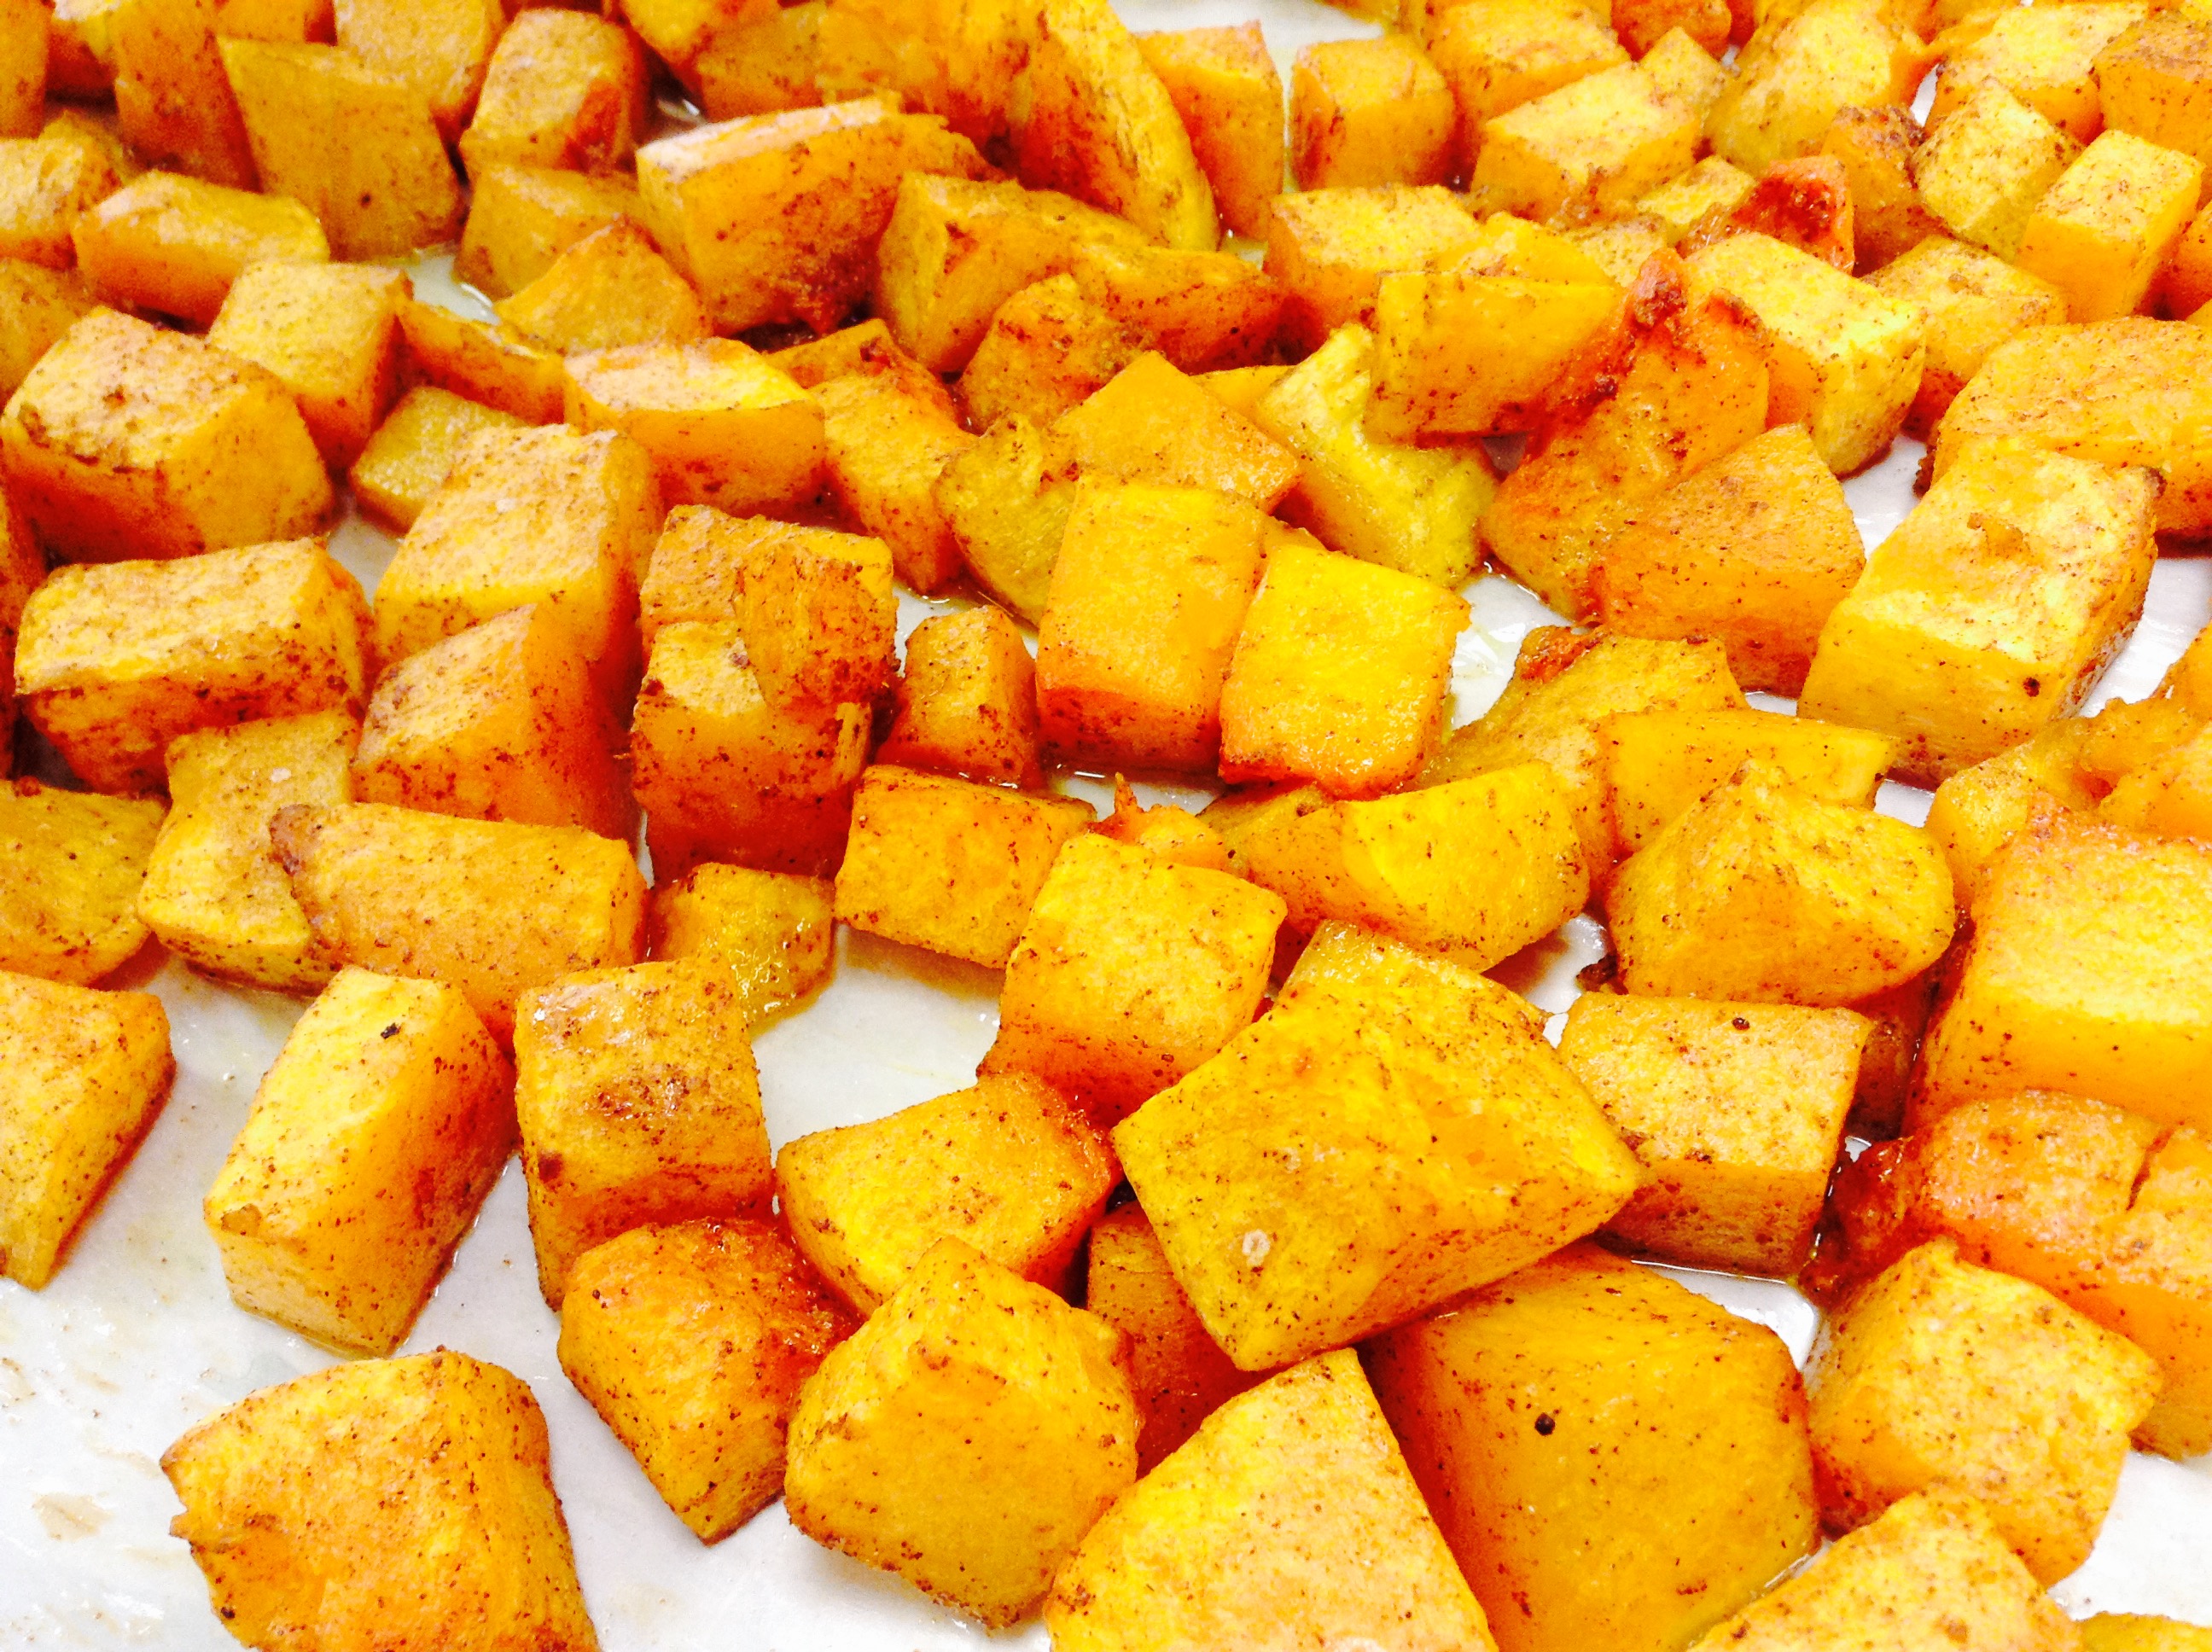
- Prepare butternut squash and toss in a bowl with 6 Tbsp. olive oil, 1 Tbsp Kosher salt, cinnamon, nutmeg, ginger and brown sugar
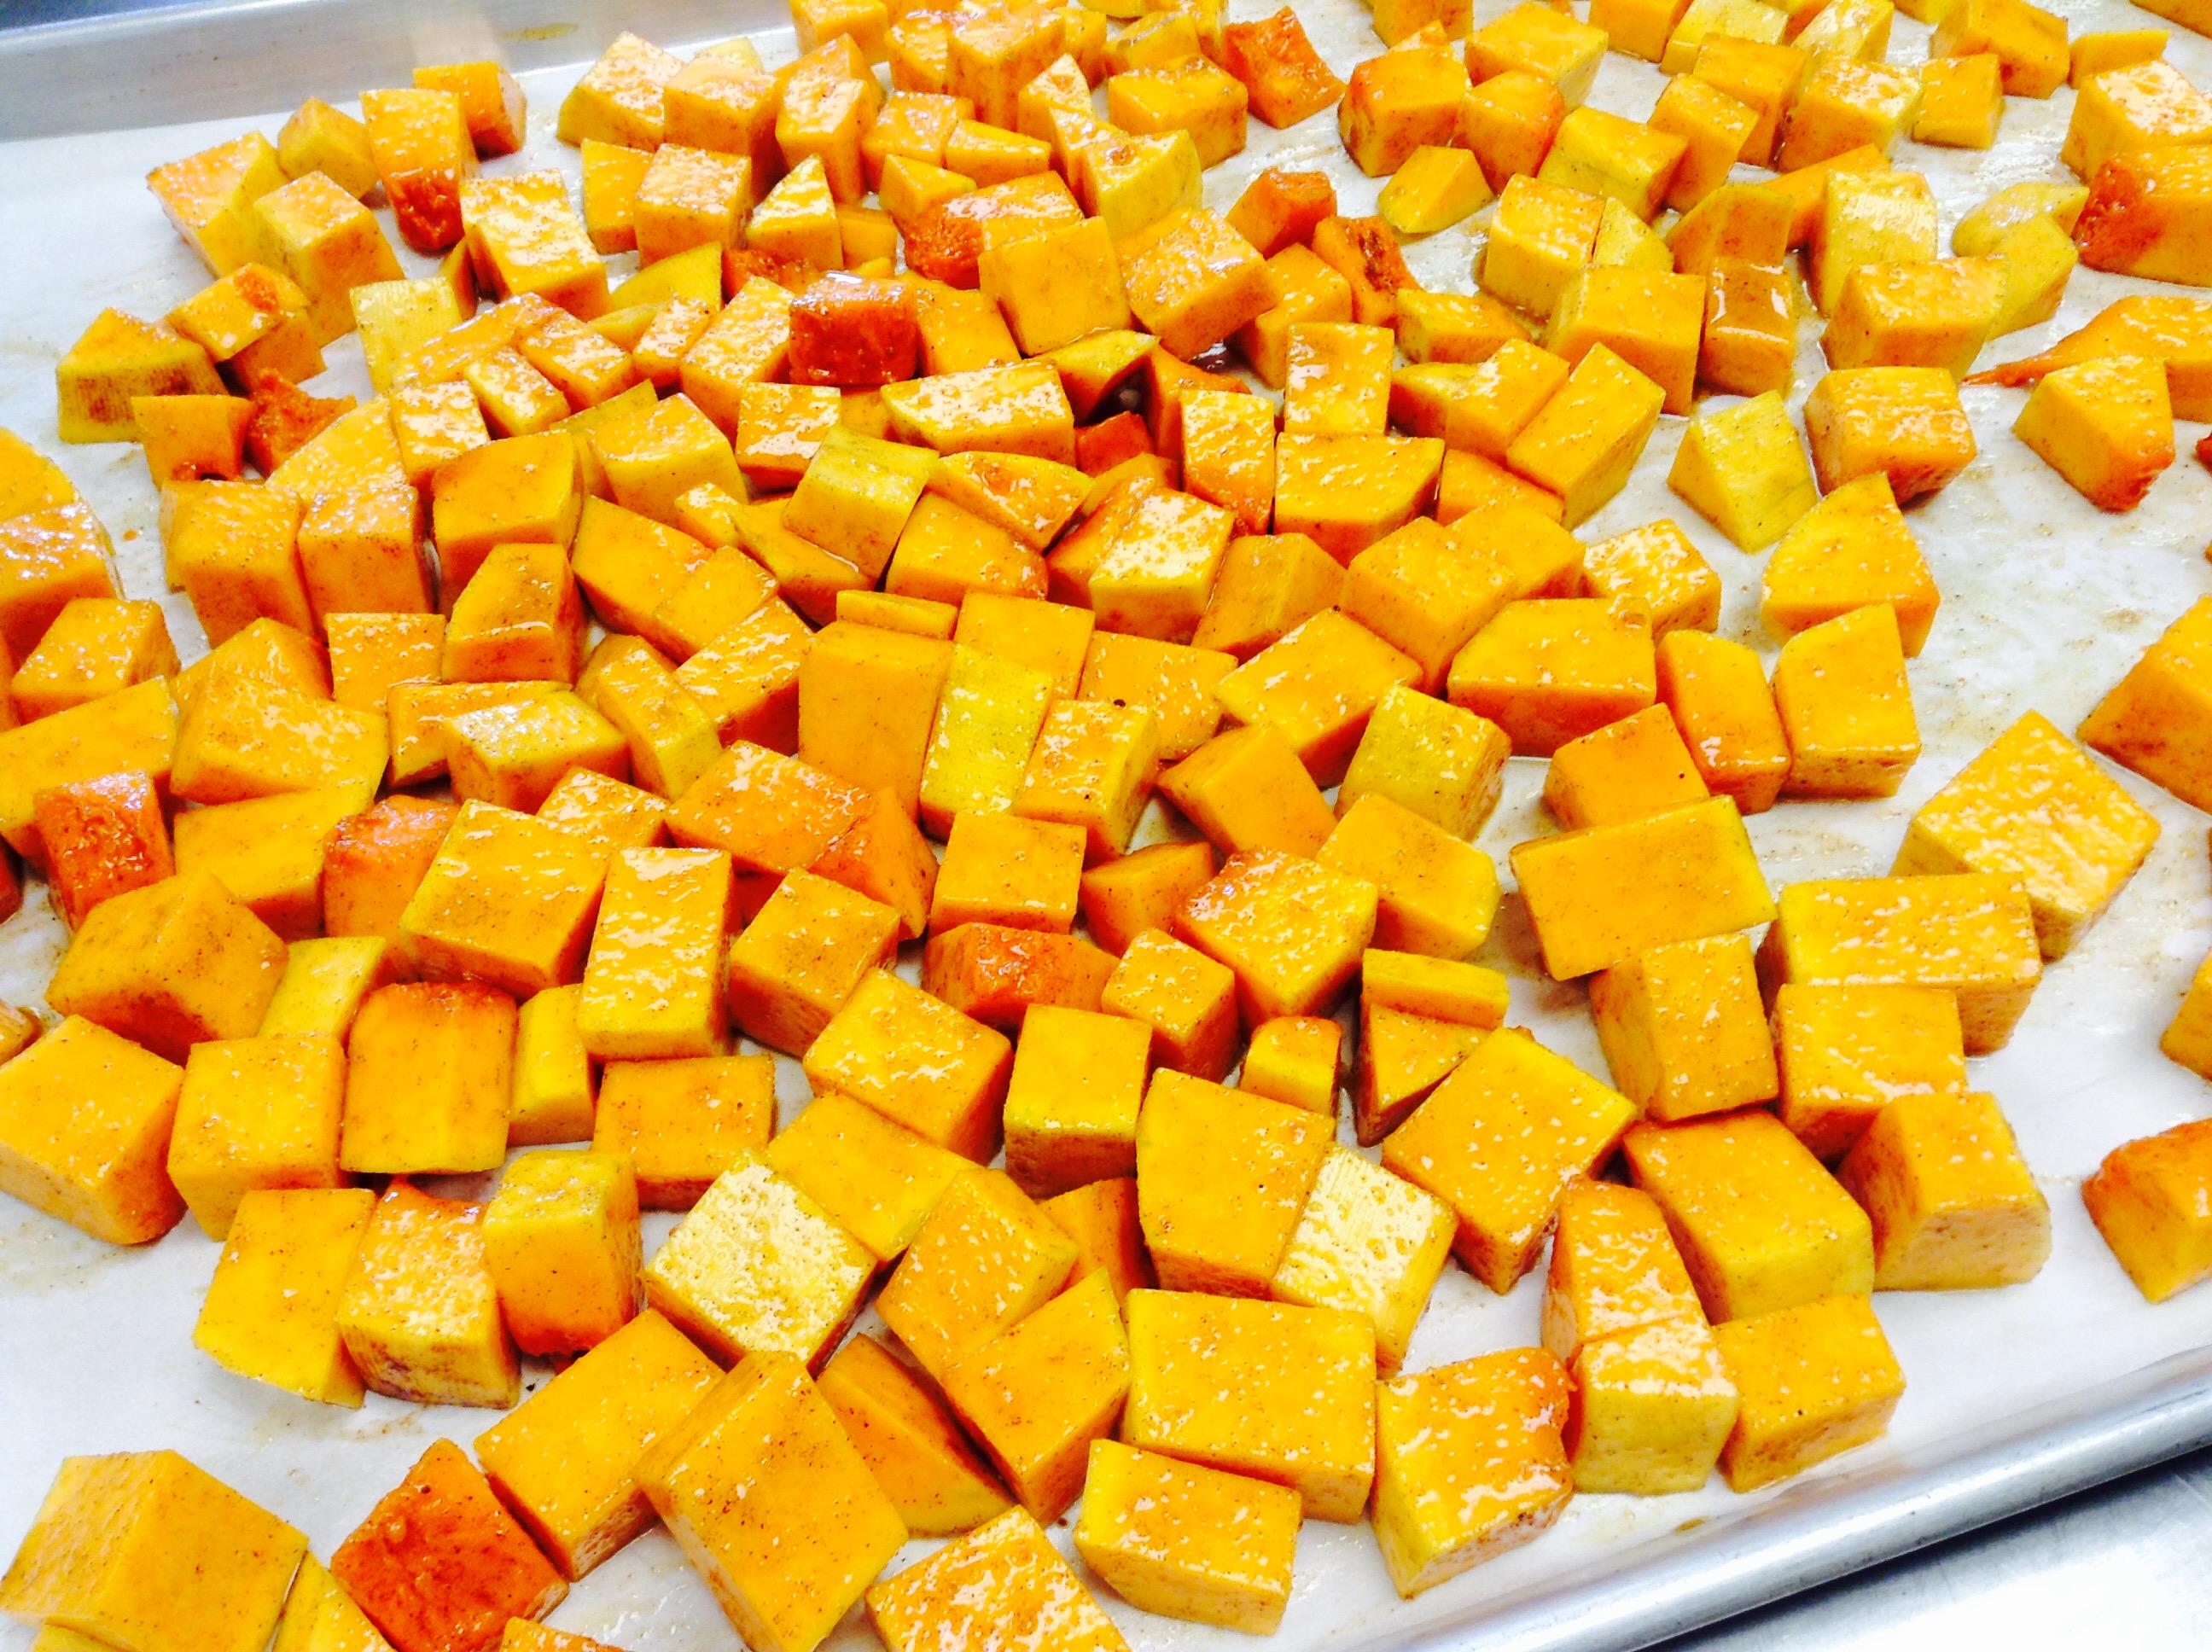
- Spread squash on two parchment or foil lined baking trays and roast in oven for 30 - 35 min. or until tender when pierced with a fork (stirring occasionally).
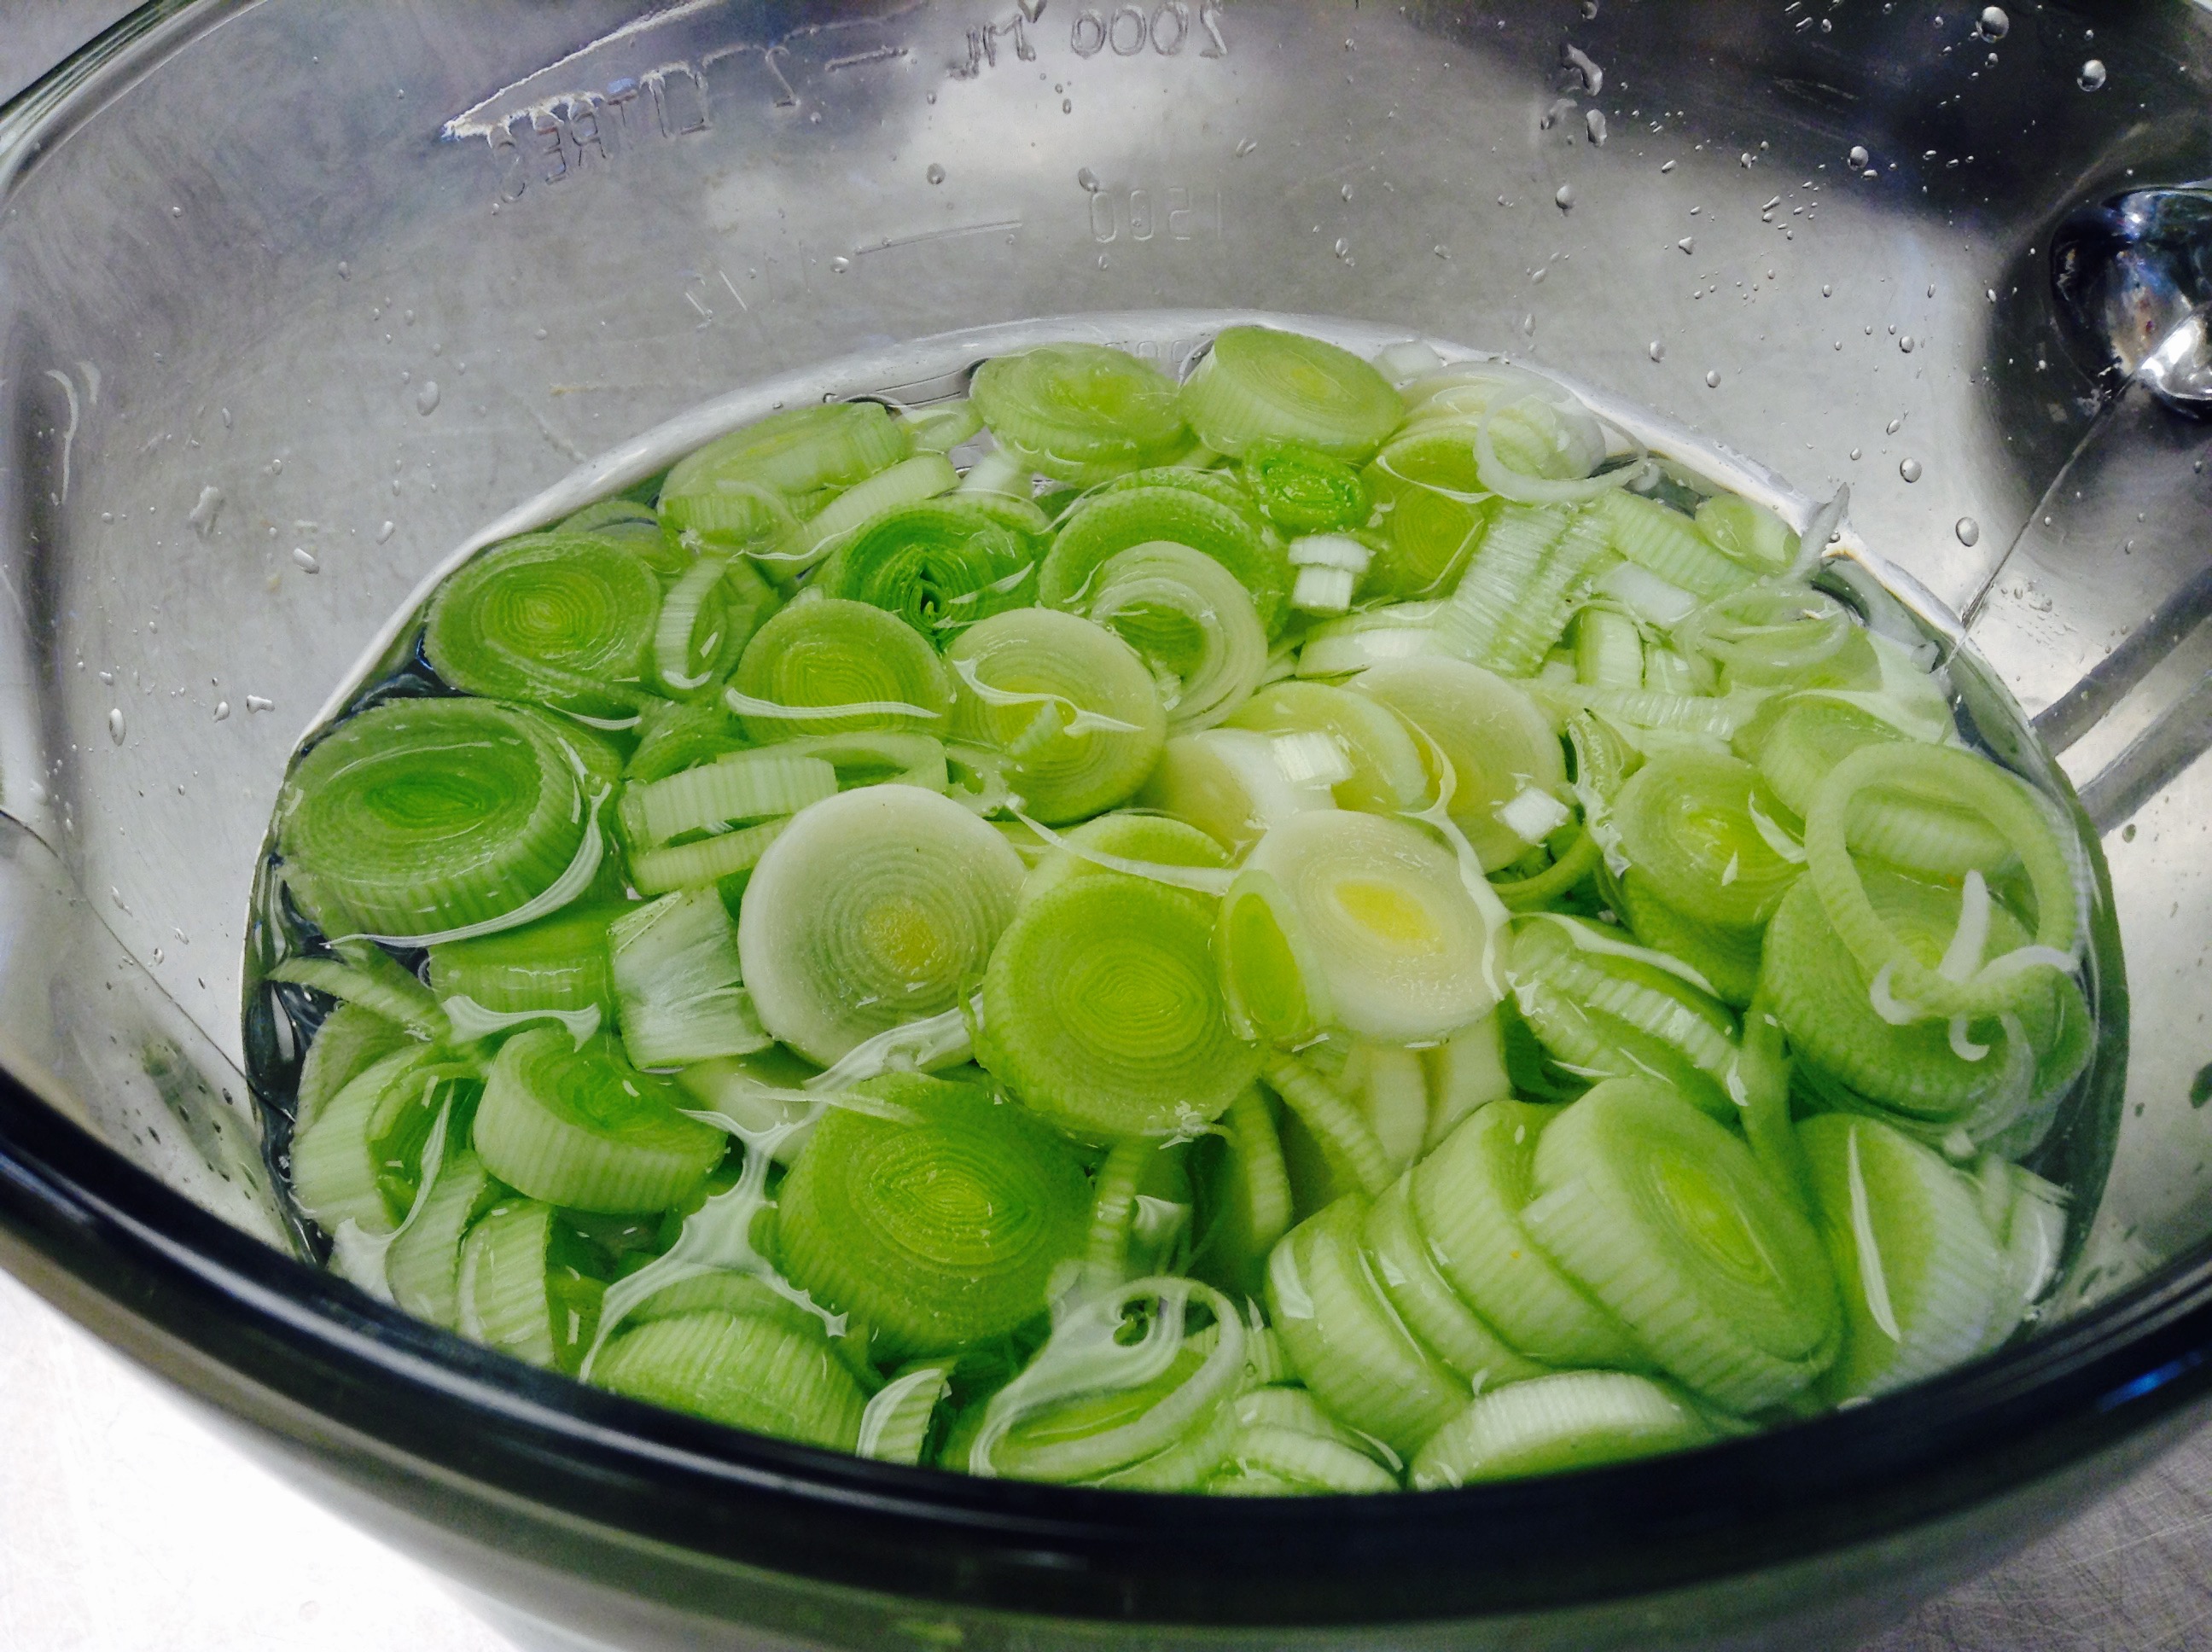
- While the squash is roasting, prepare your leeks and pears. Place the sliced leeks in a bowl of cold water to remove any excess dirt, then remove.
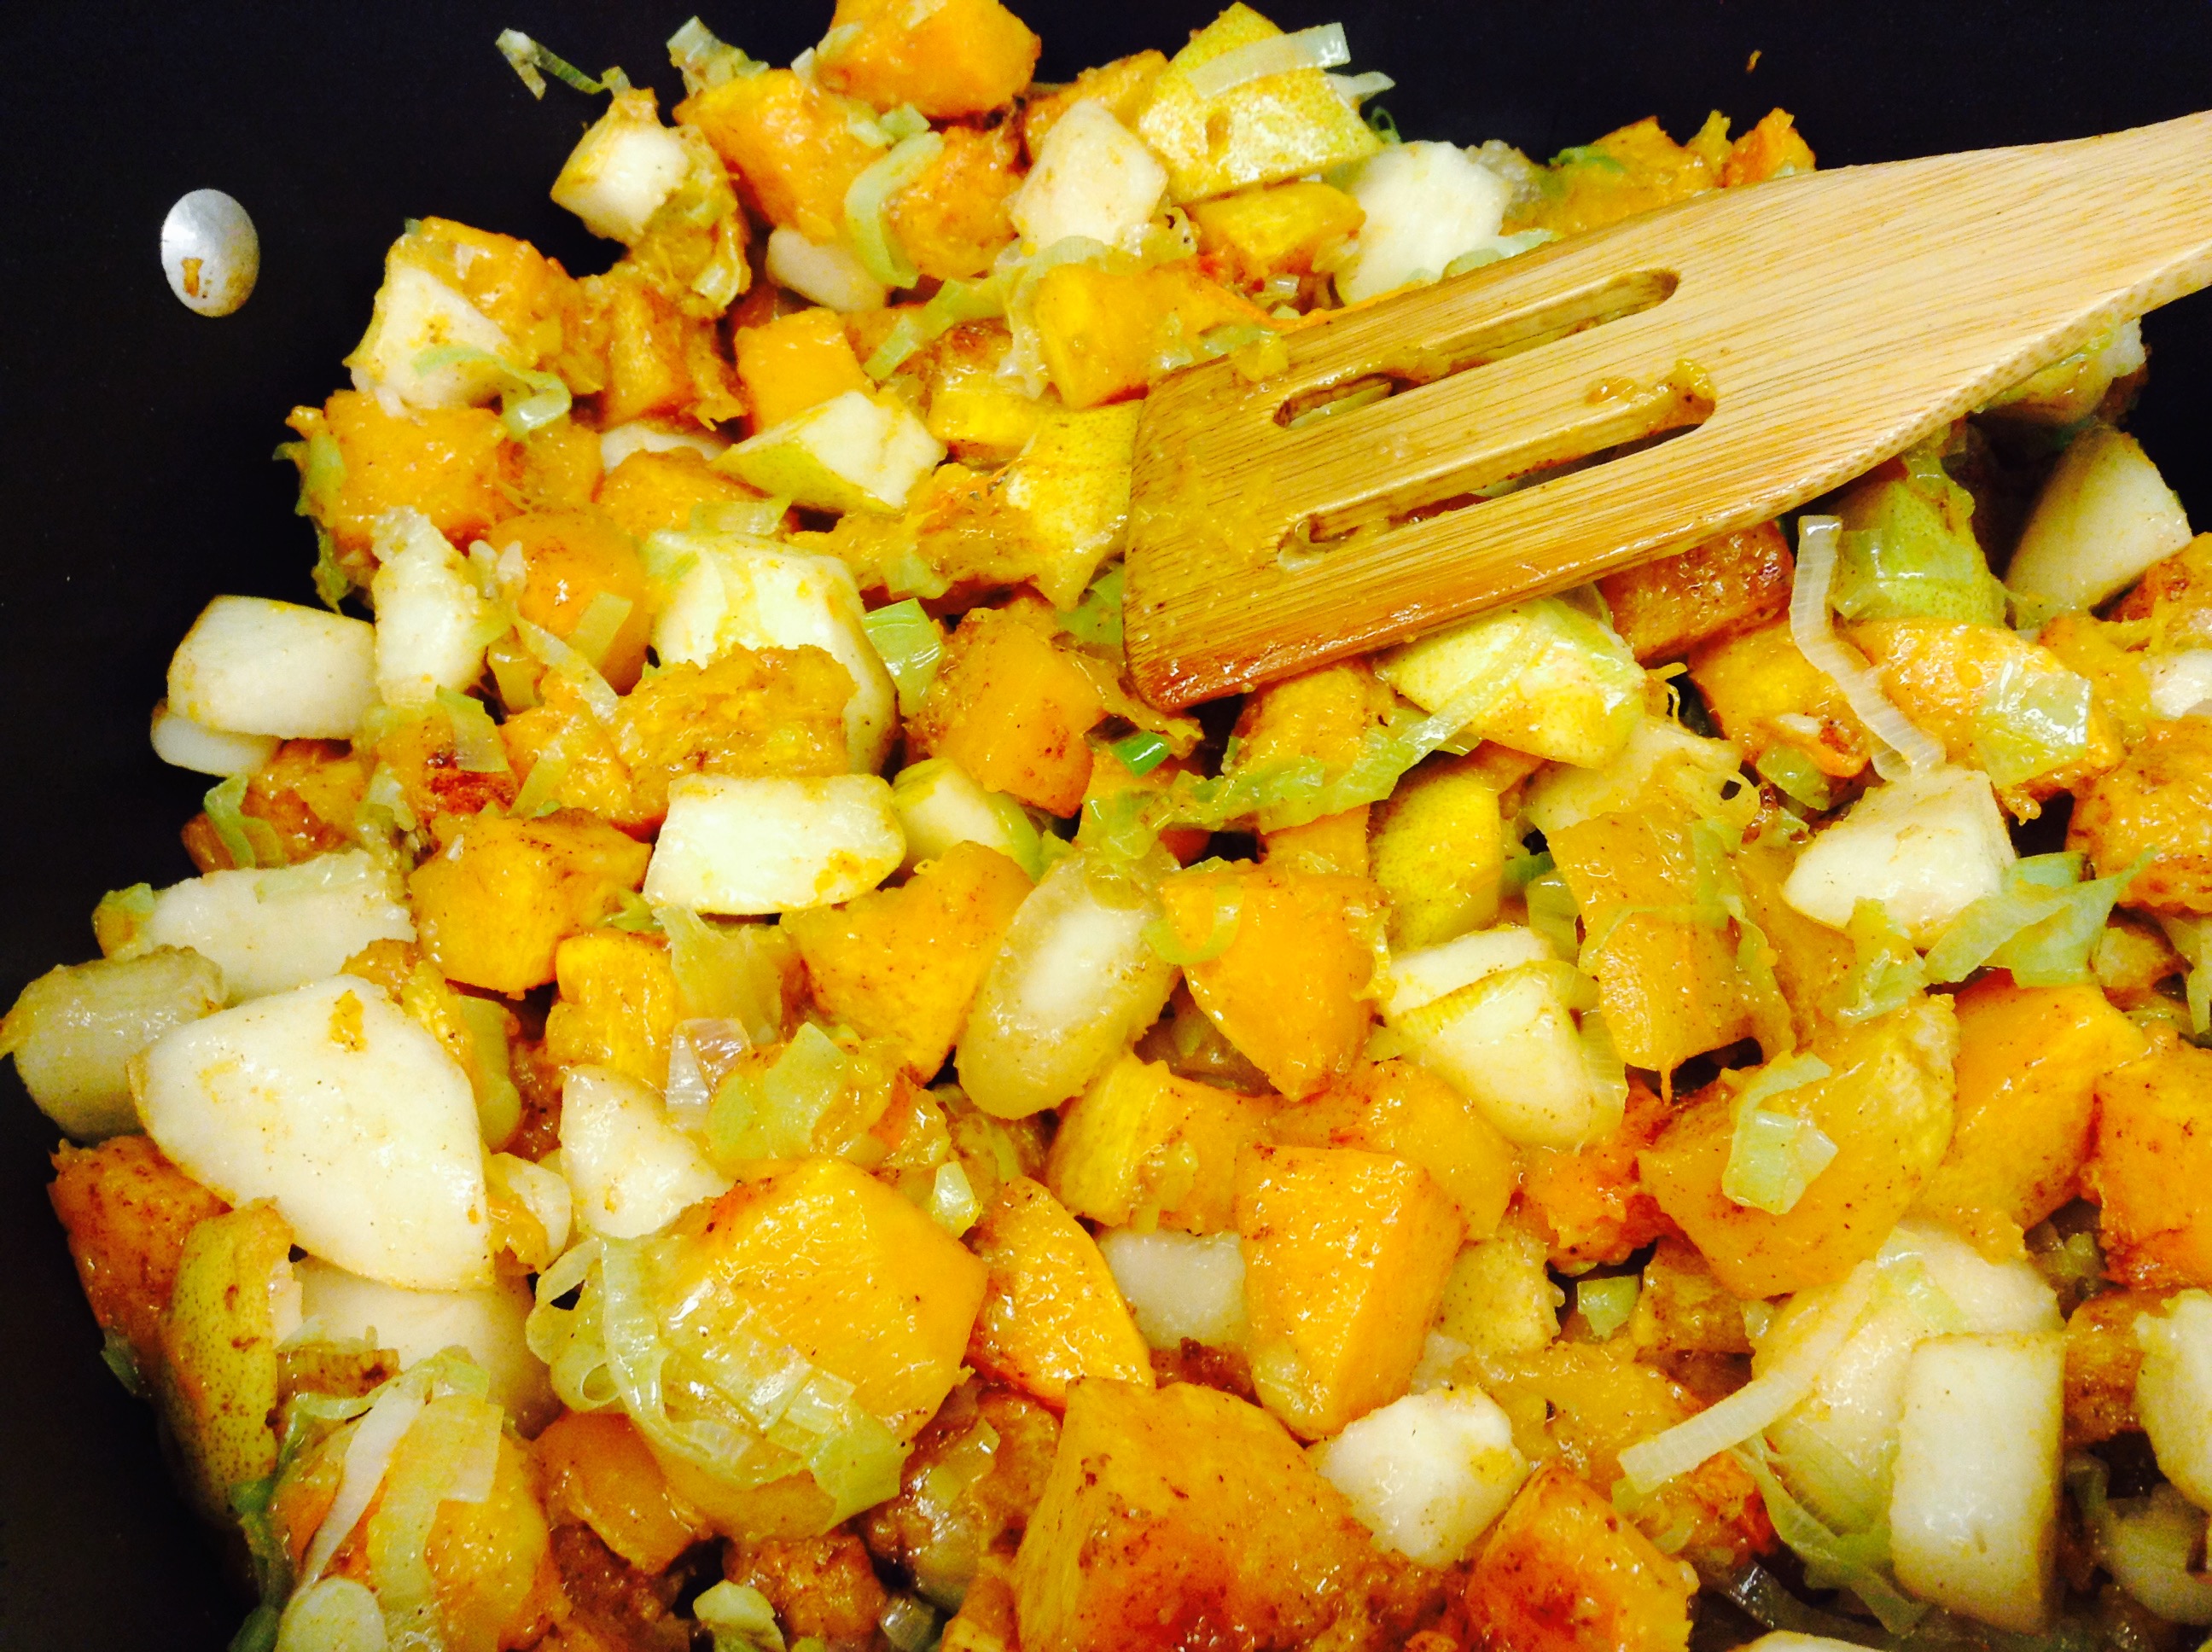
- Heat a large dutch oven with the remaining 2 Tbsp of olive oil and 1 Tbsp of butter. Saute leeks over medium heat until golden and soft. Add pears and then the roasted butternut squash, scraping all the goodness off the pan.
- Add the broth and bring to a simmer, cover and cook until all the vegetables are tender, about 10 min.
- Remove from heat, and puree with an immersion blender, until completely smooth.
- Adjust seasonings (add additional 1 tsp. salt) and cream, milk (or additional stock) to the consistency you prefer.
- Serve warm, enjoying the flavors of fall!
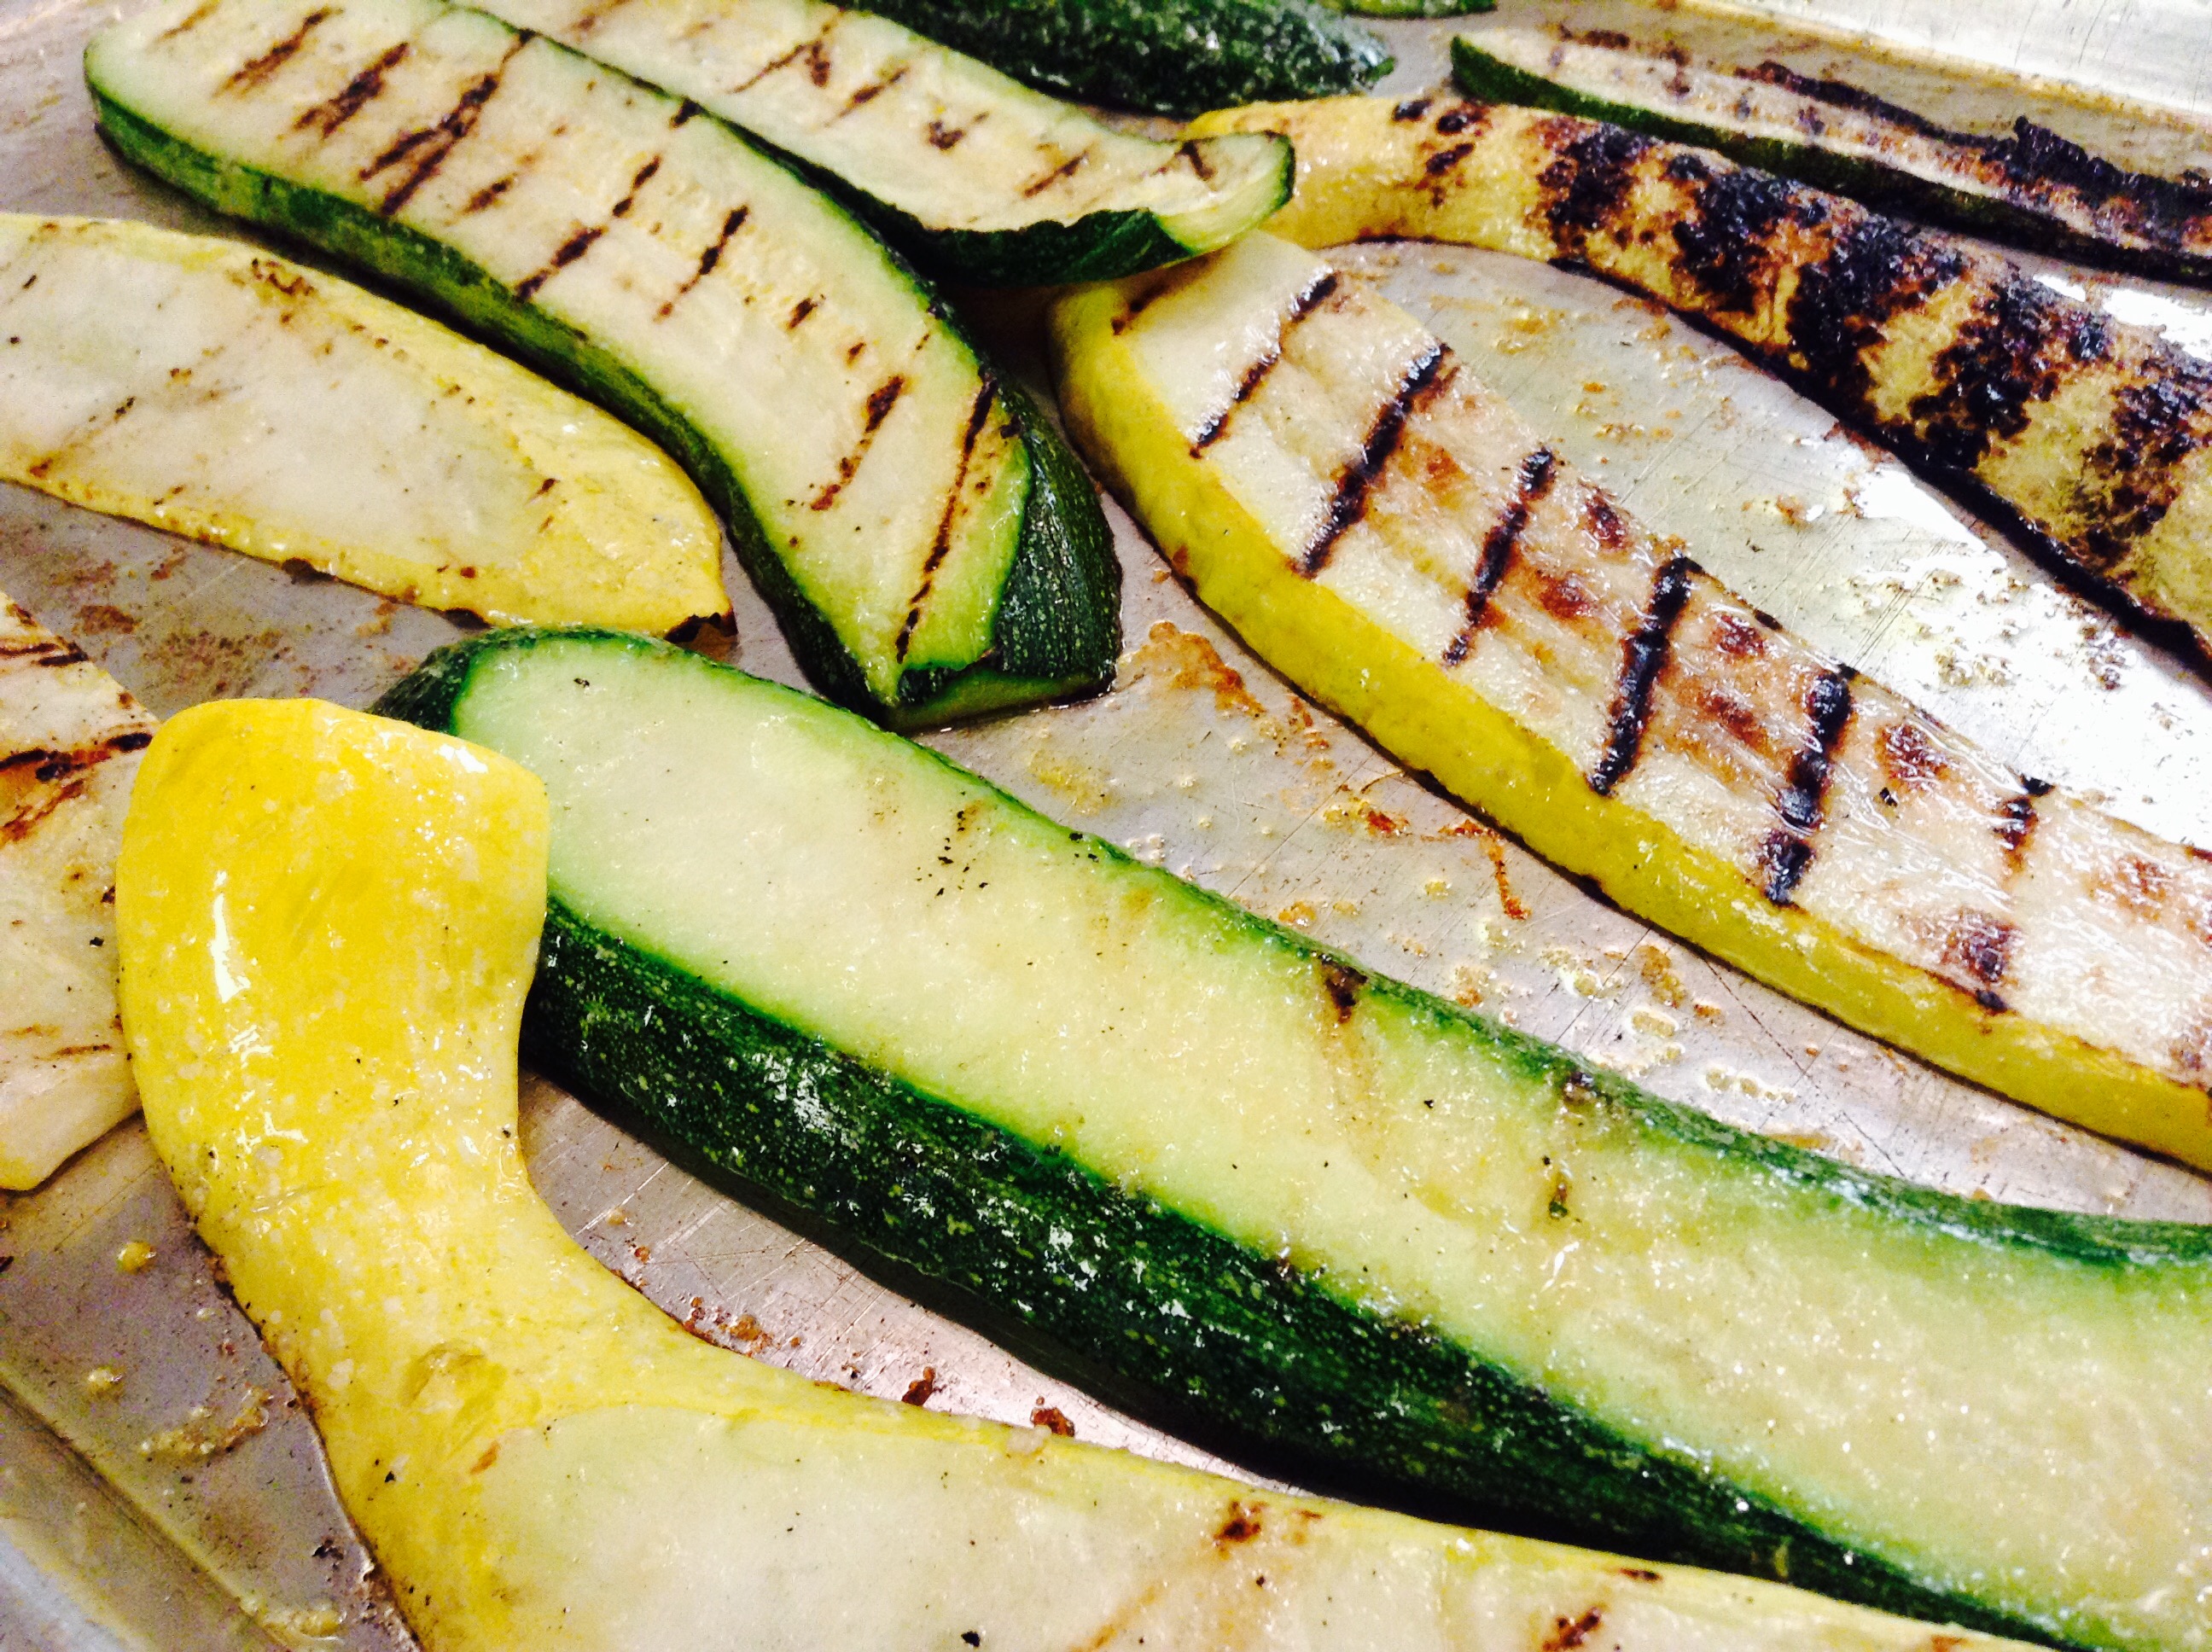
The crispness of fall is all around us. This past Monday, the Sisters rose early to put our gardens to bed for the winter. It’s always bittersweet for me, as working in the earth, getting my hands dirty and seeing the fruits of our labor and God’s creative act are moments that I treasure. We decided not to put our “chef garden” to bed, as the tomatoes, chard, beets and kale are still growing, and a late crop of peas is sprouting their heads above the earth. So, as a tribute to summer, I wanted to share this wonderful recipe with you. You can use any vegetables for grilling, so don’t feel limited by the ingredients here. If you’re anything like me, your grill stays outside until it snows! Take advantage of the beautiful fall weather and enjoy.
Print Recipe
Votes: 0
Rating: 0
You:
Rate this recipe!
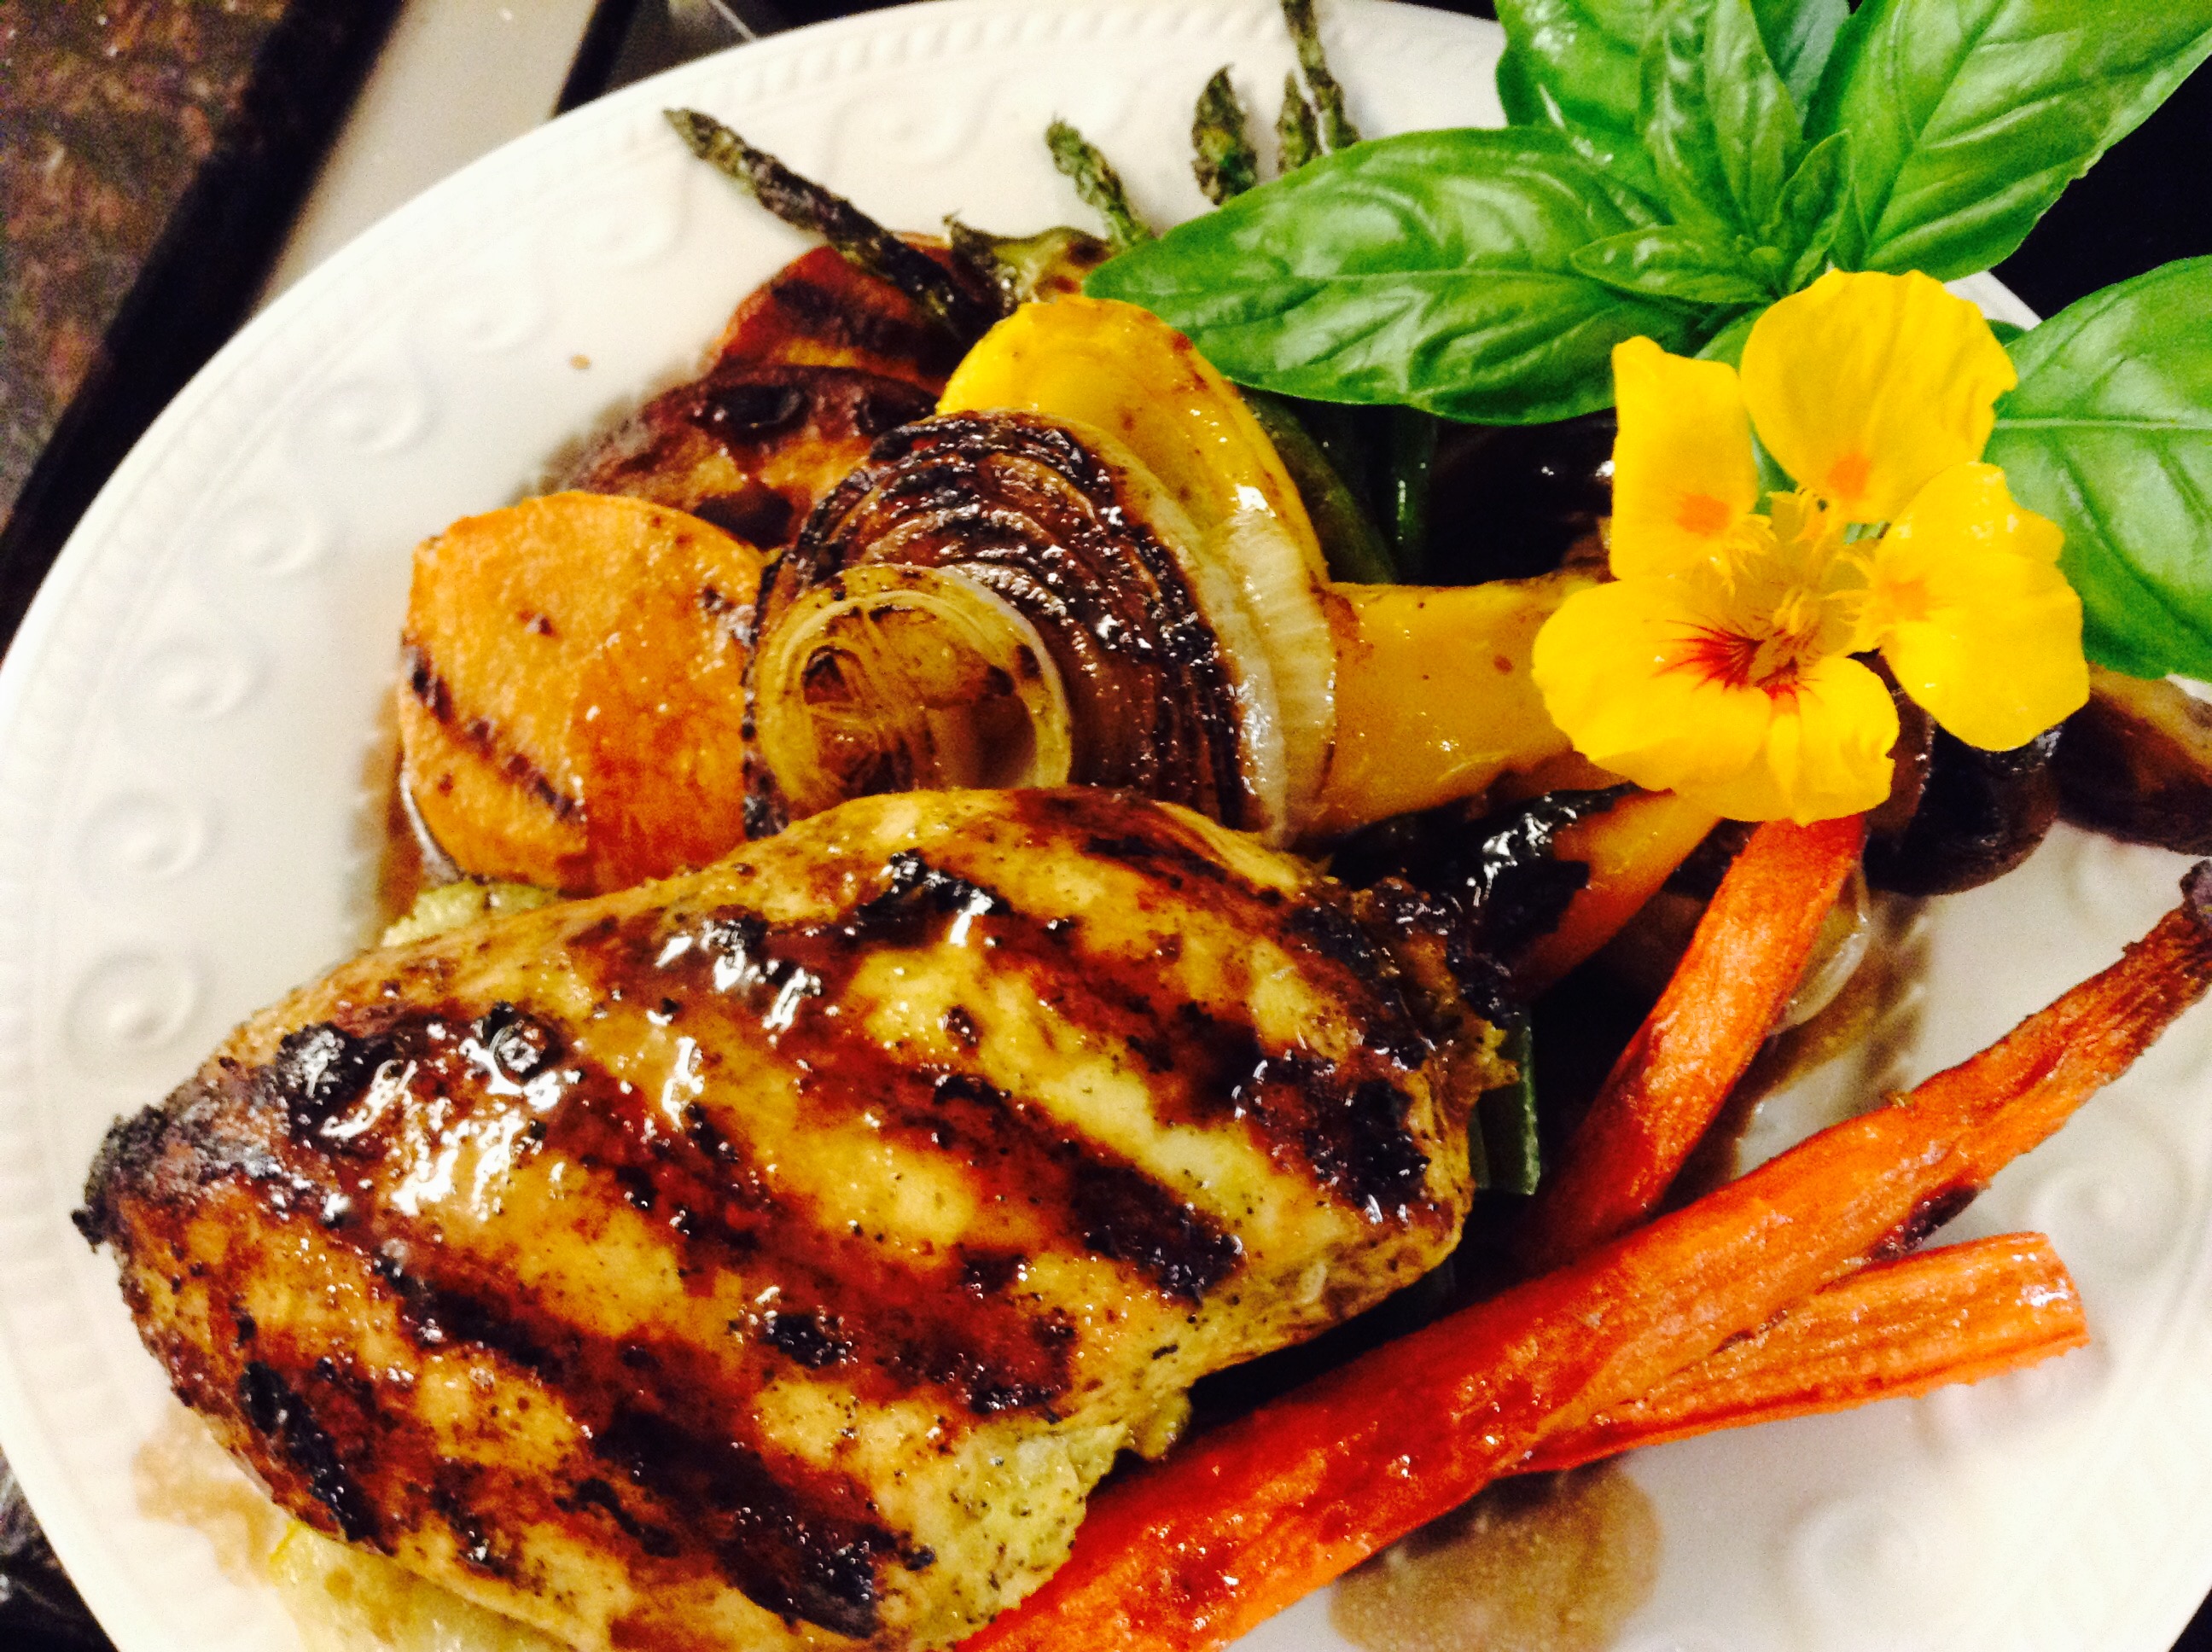
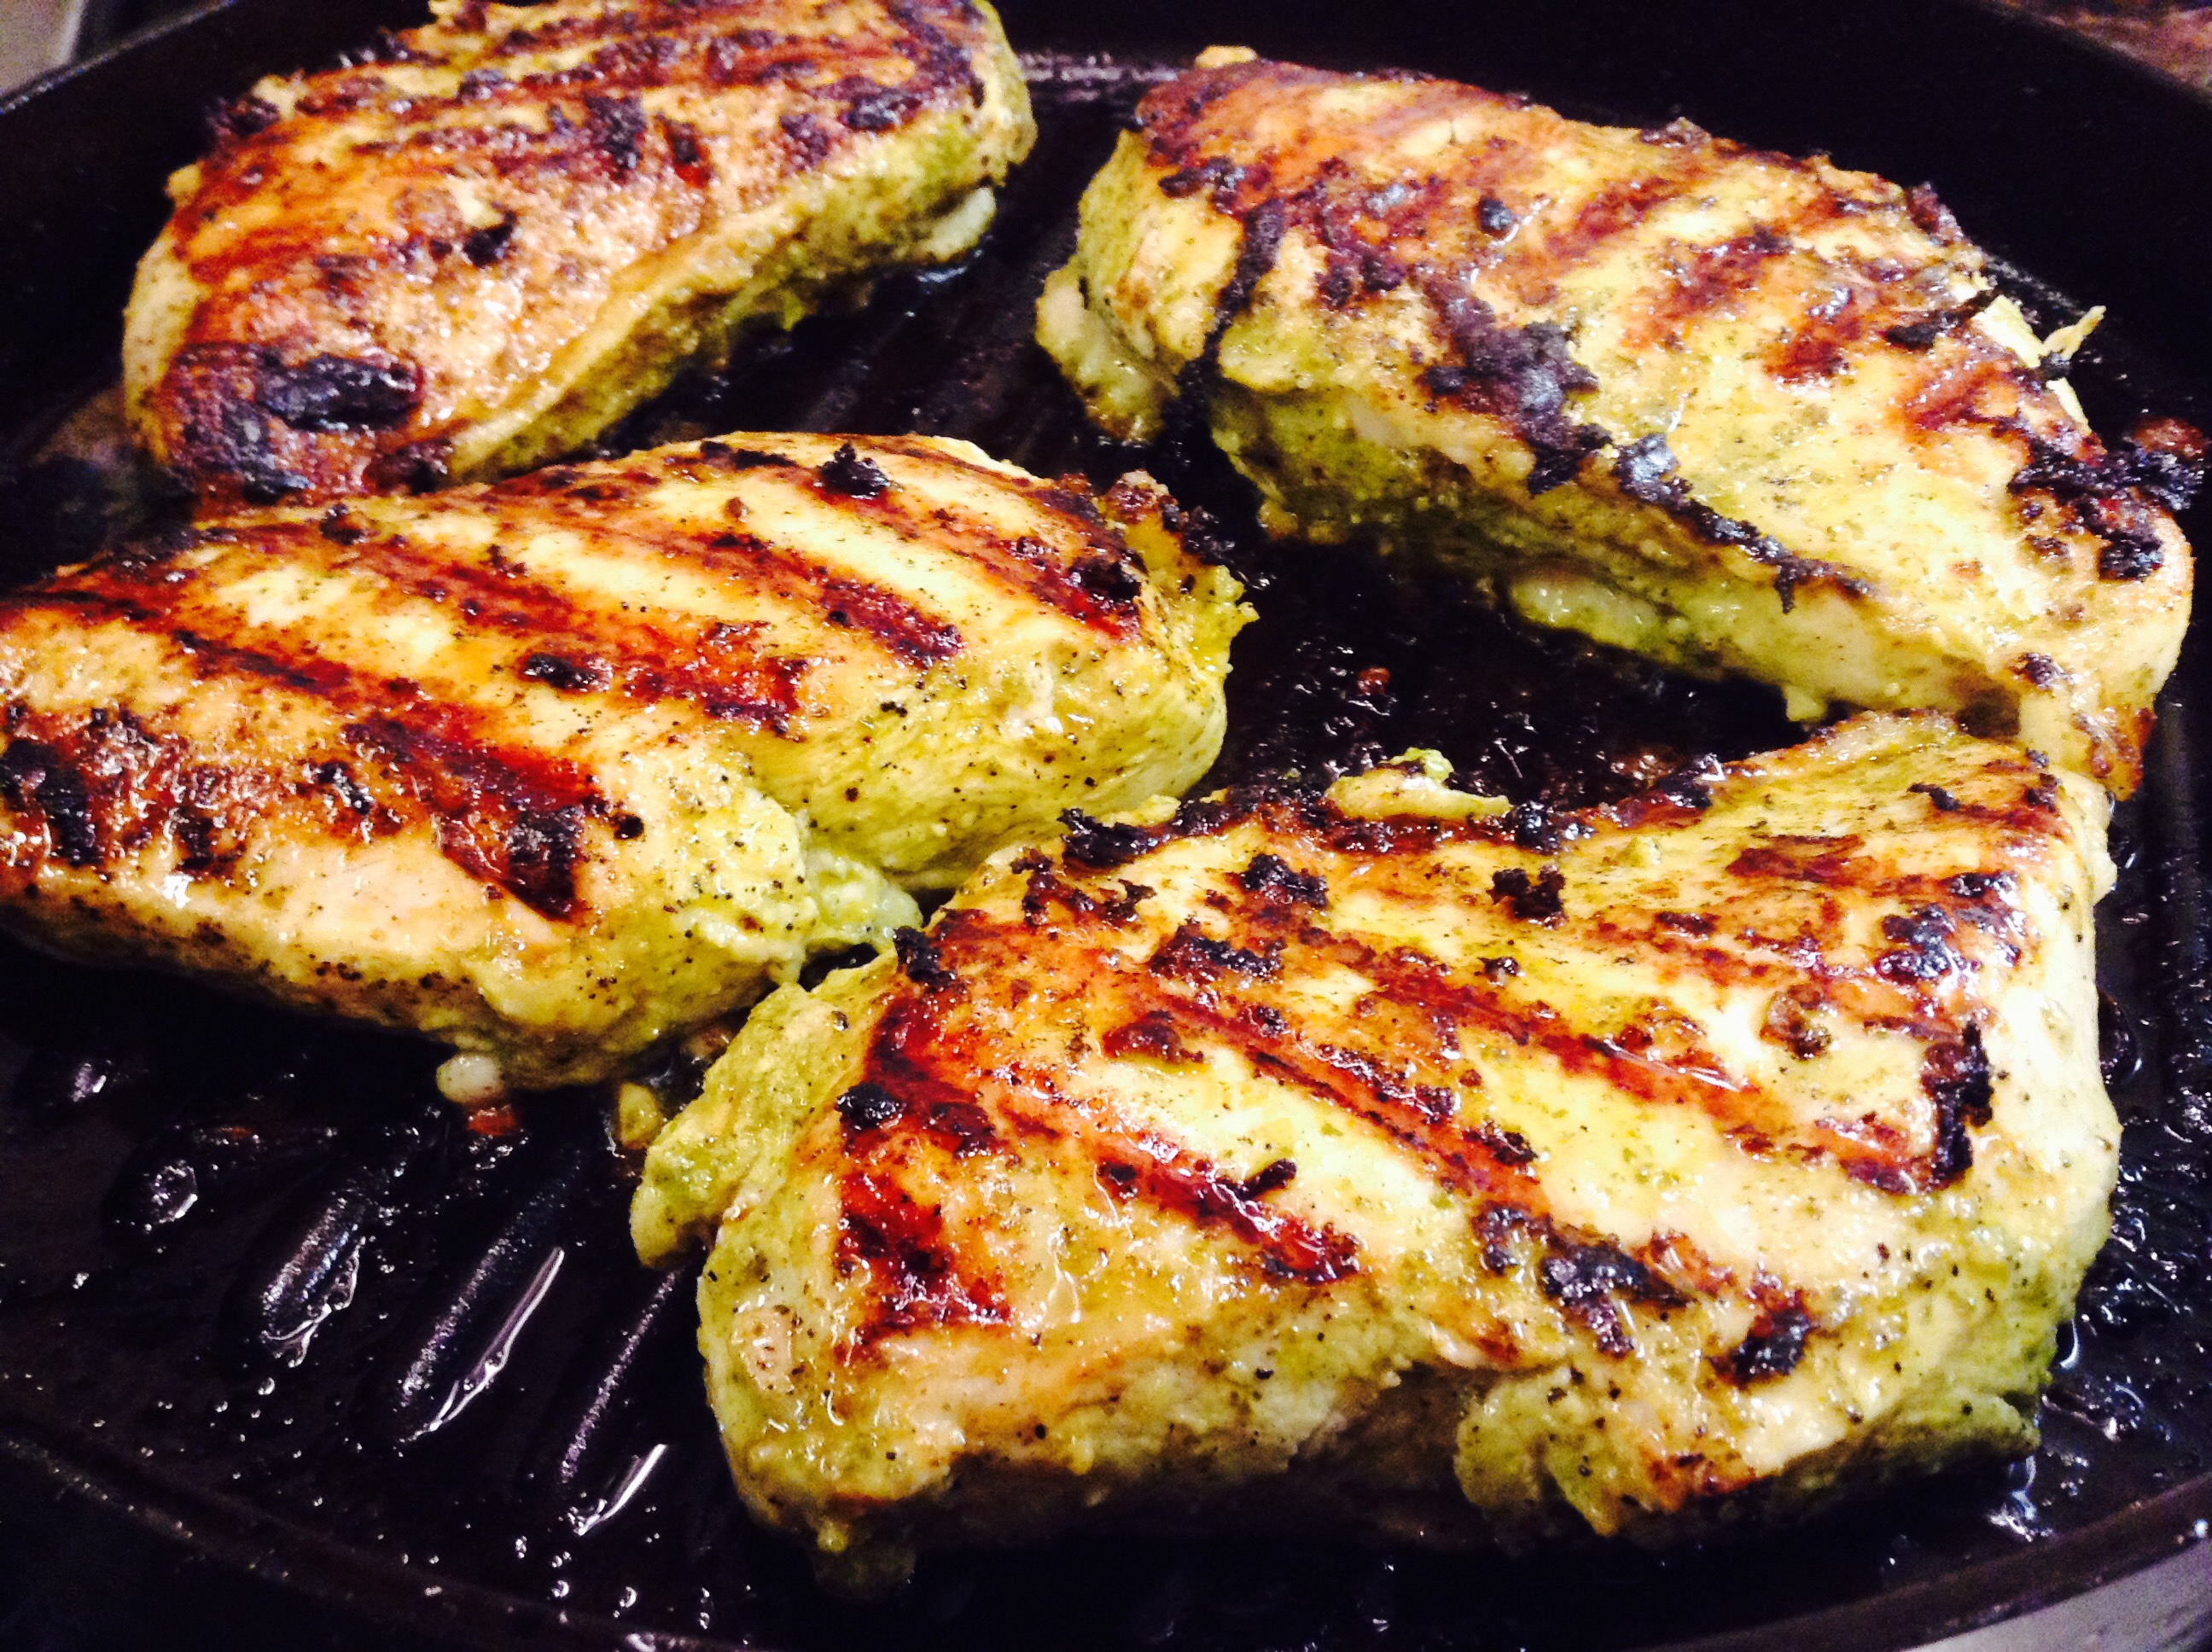
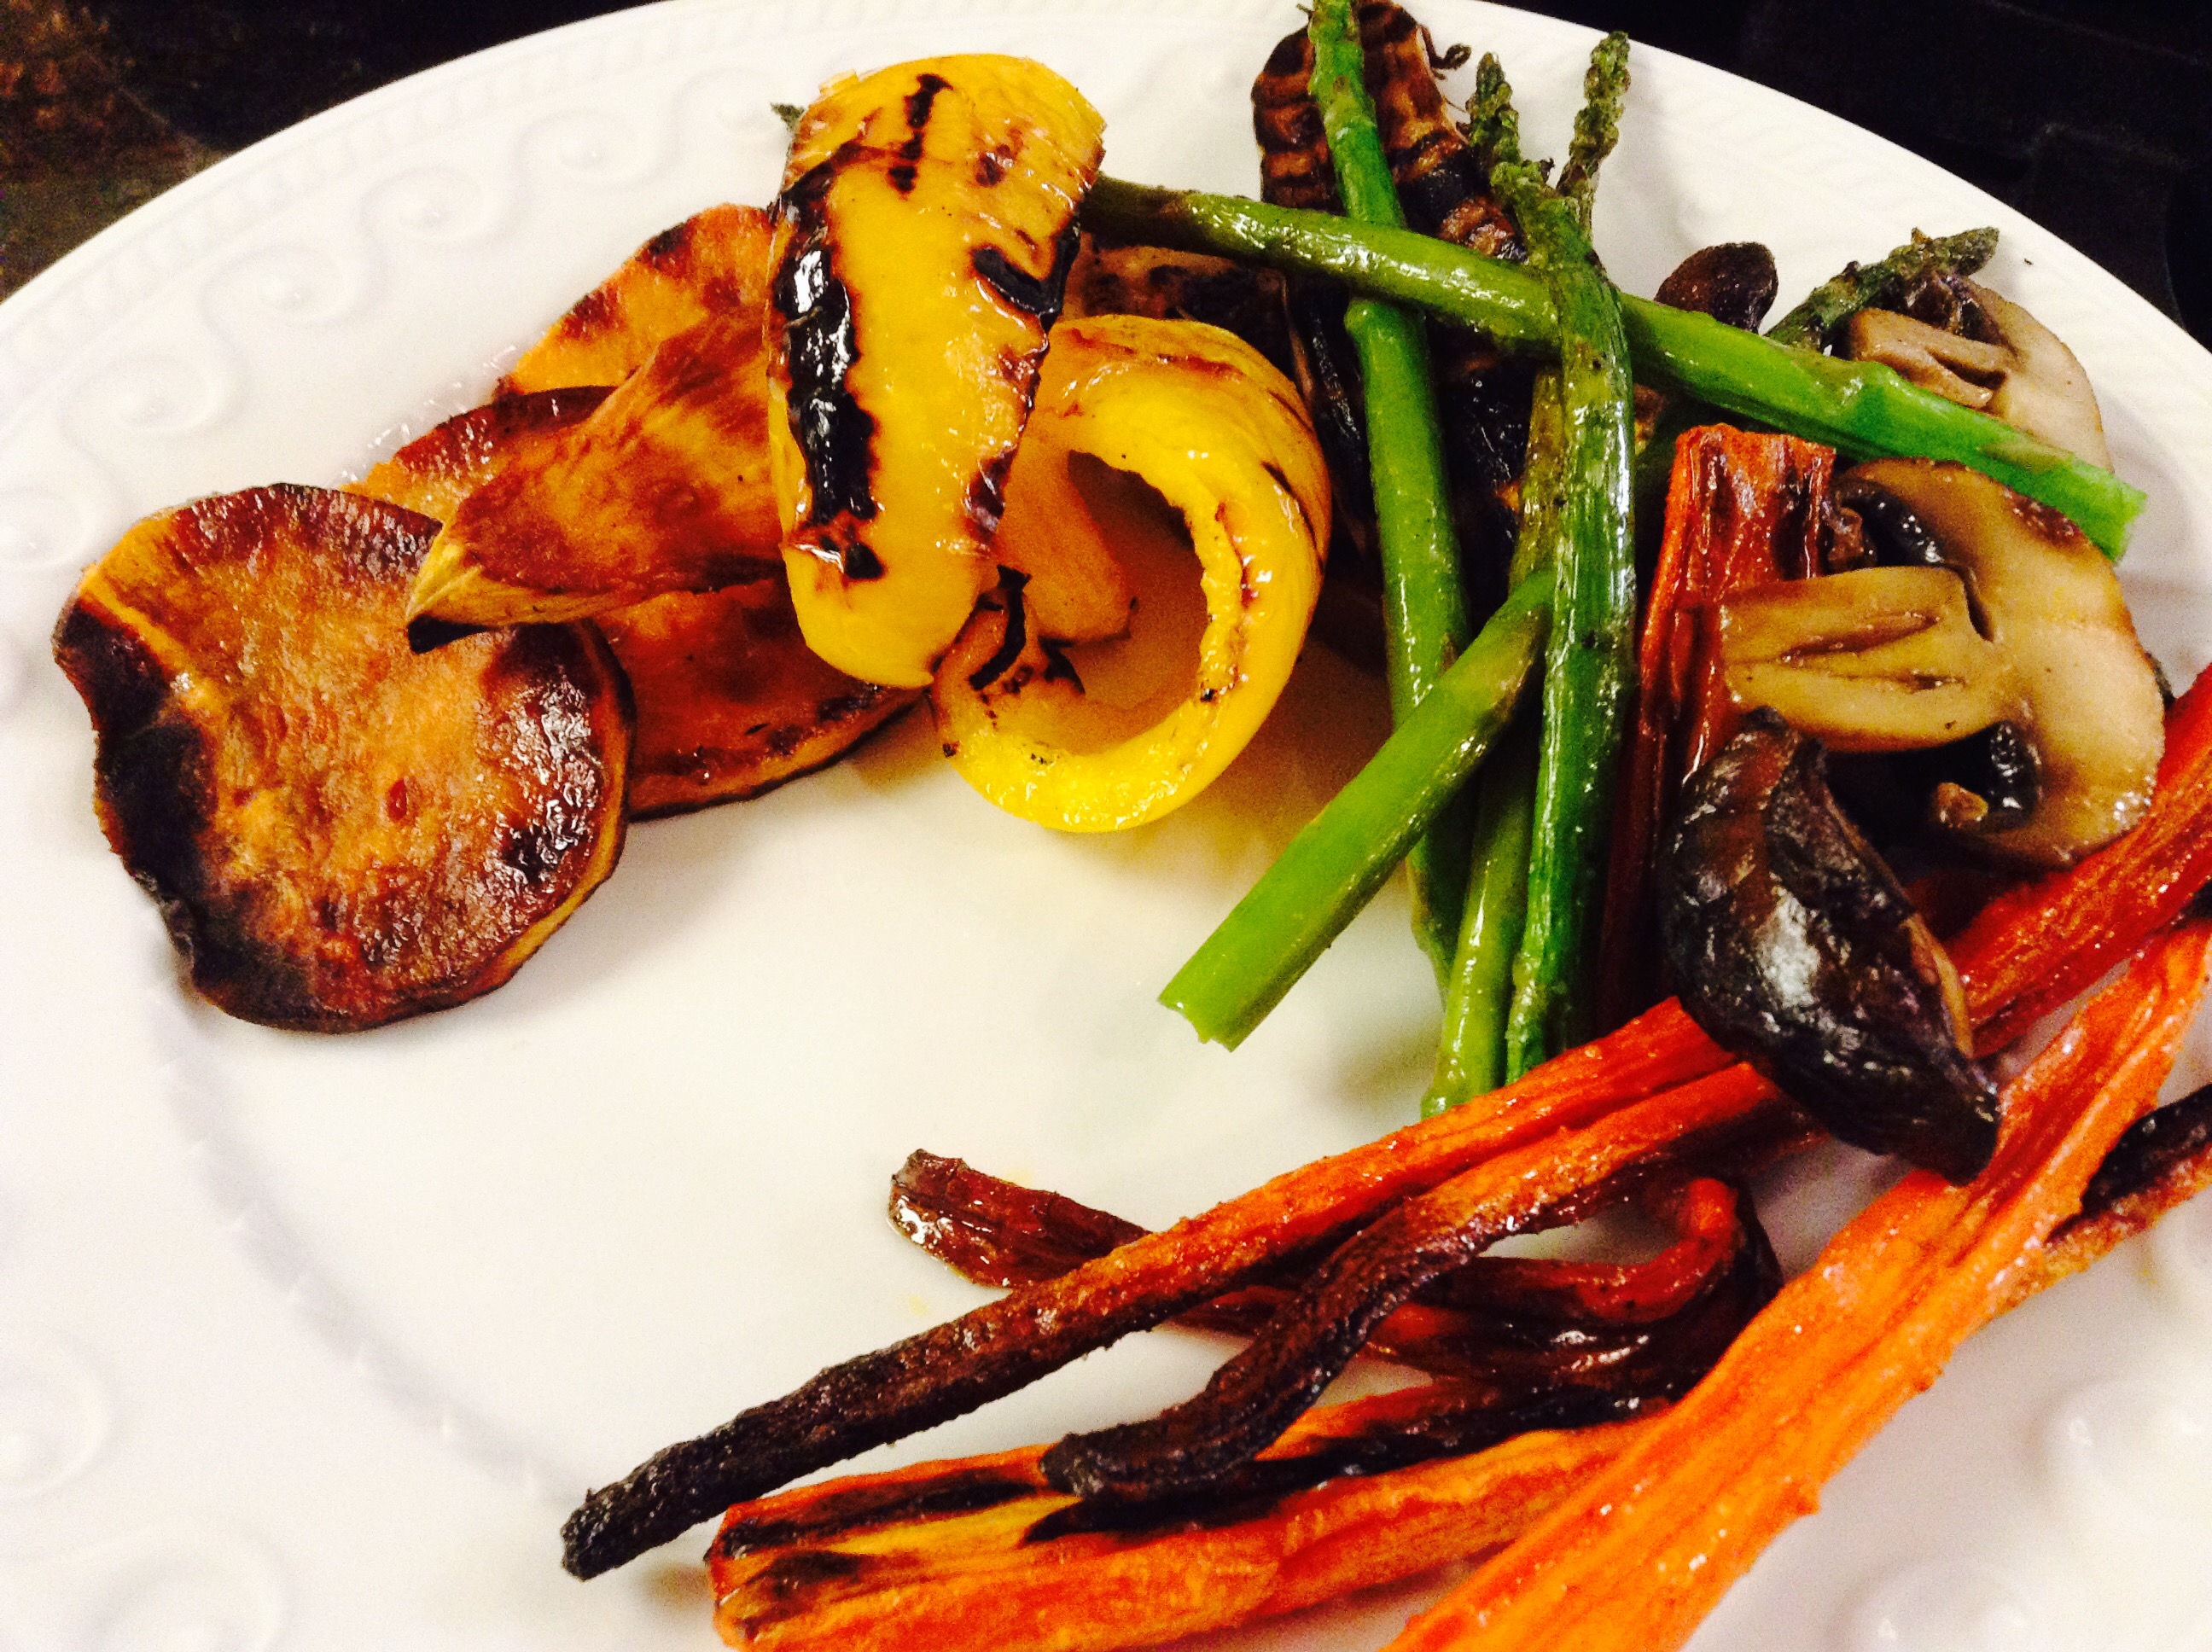
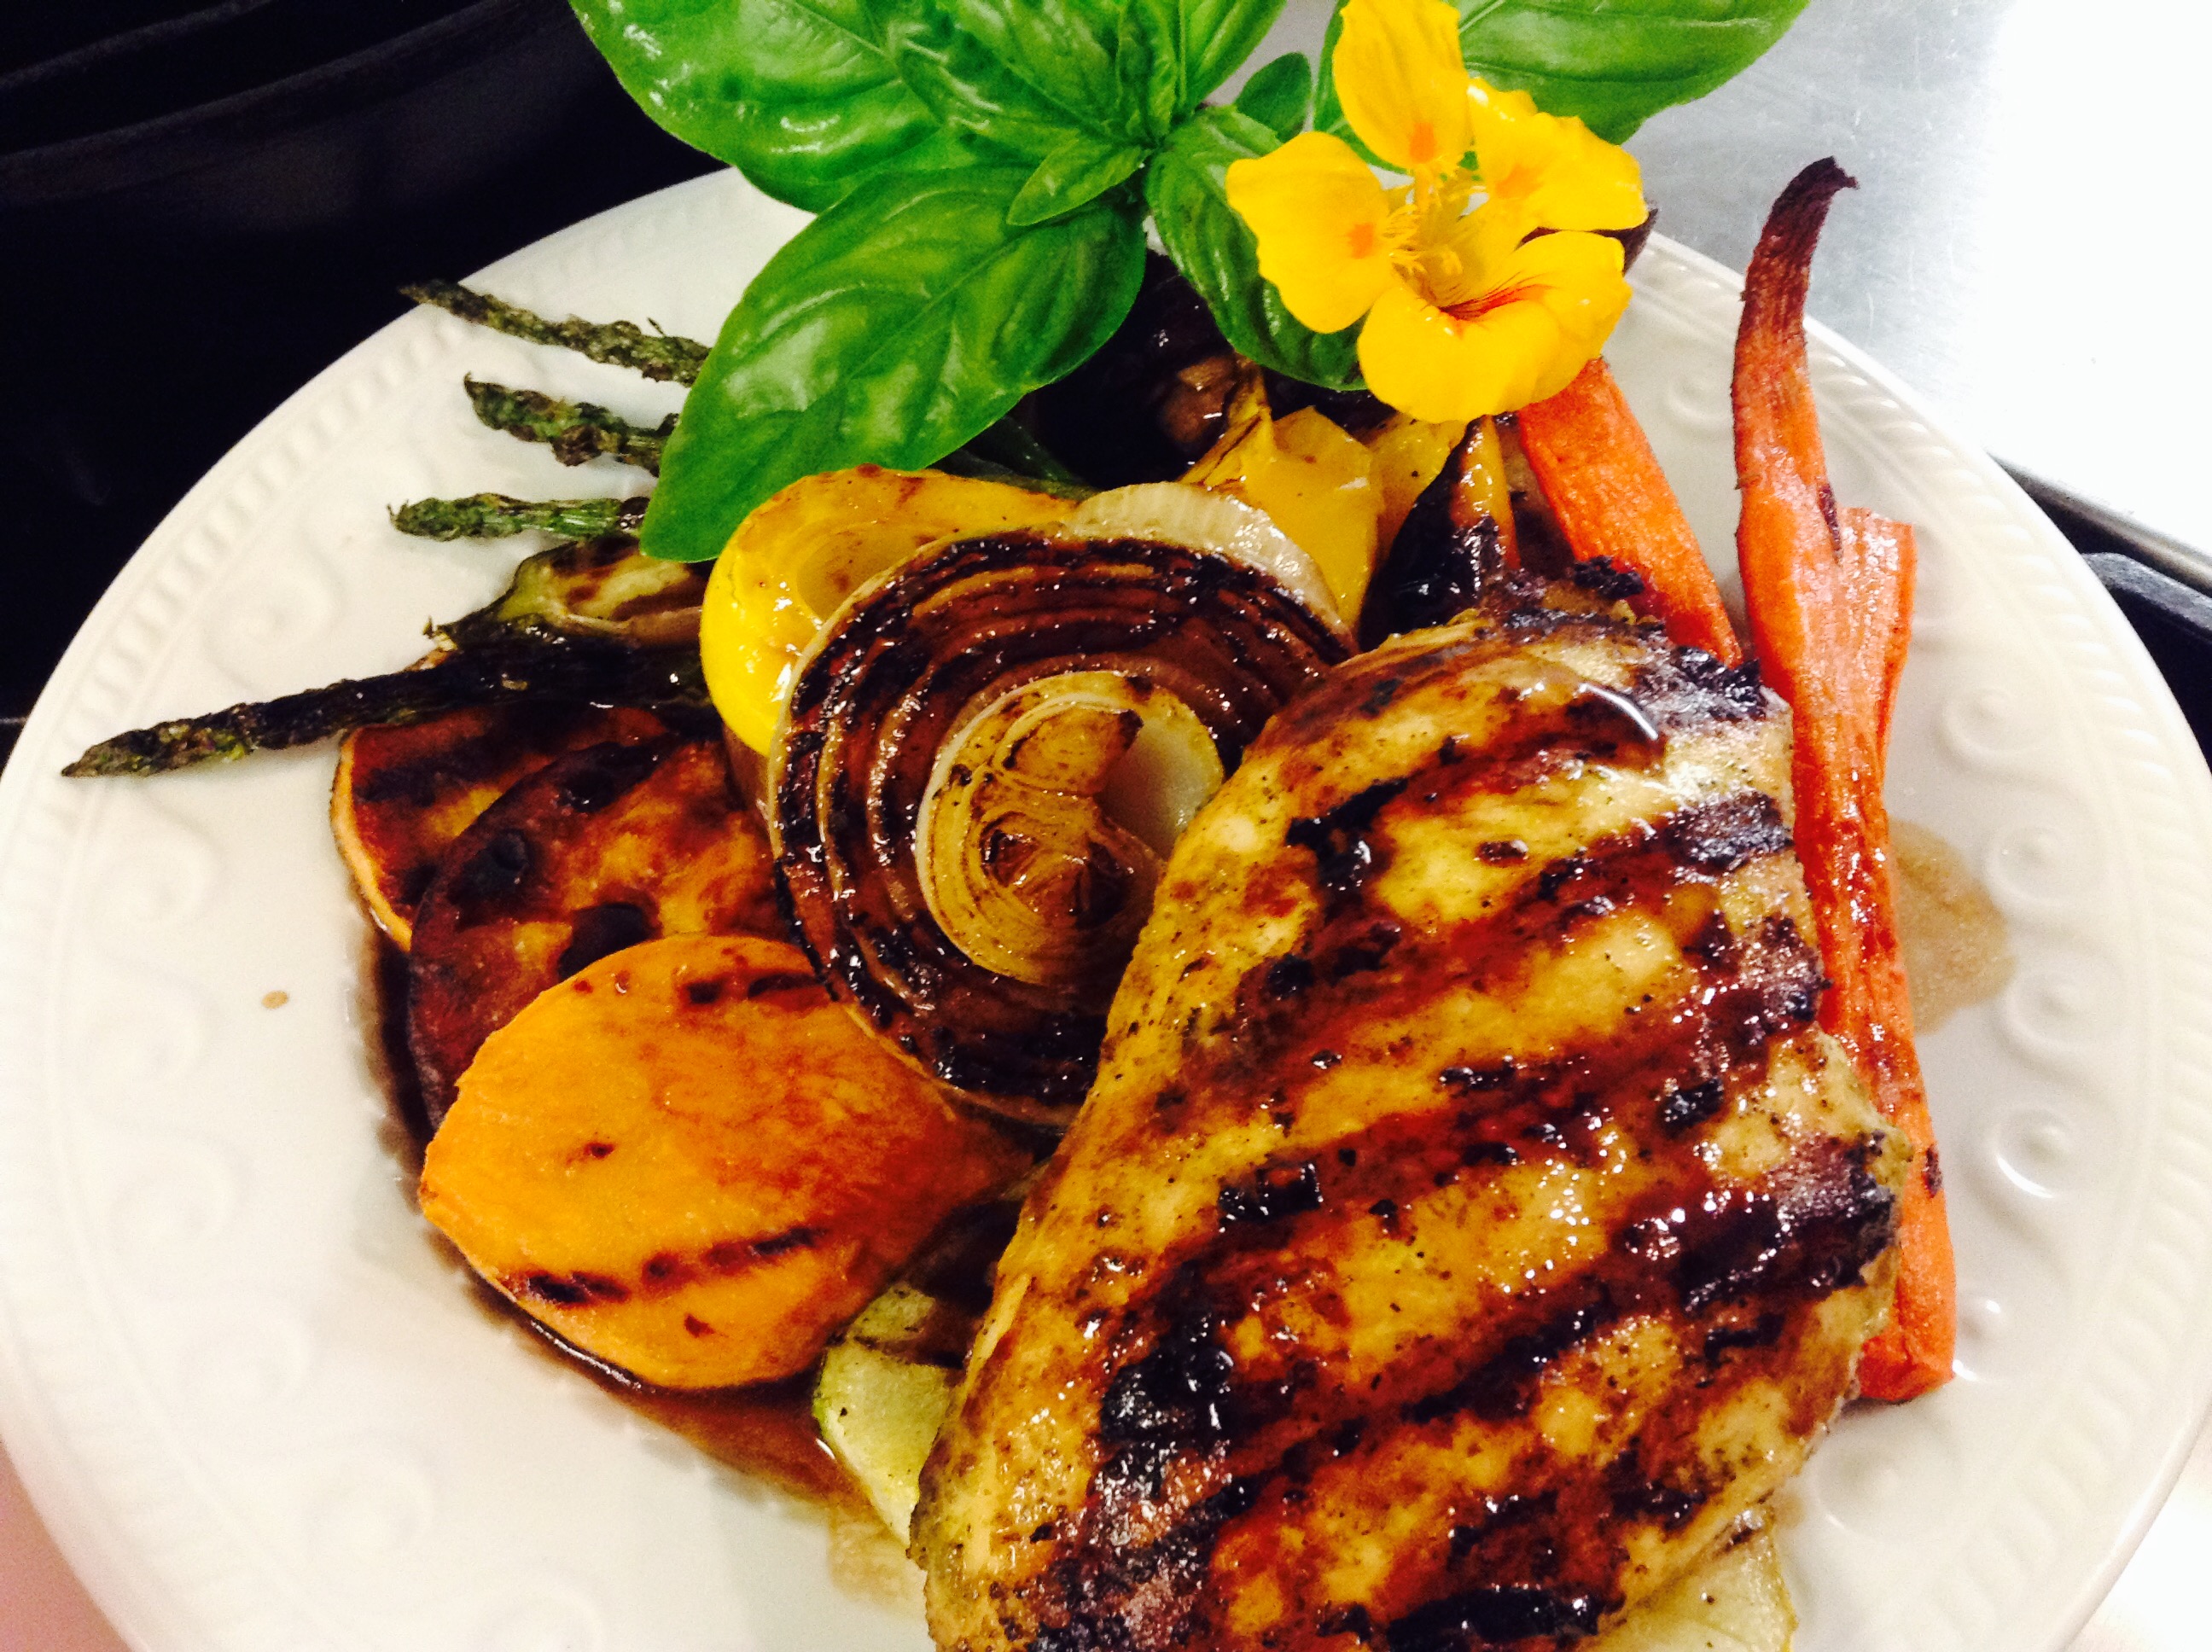
Honey Balsamic Grilled Chicken with Grilled Vegetables
SERVINGS6servings
|
COOK TIME45mins |
PREP TIME15mins |
READY IN1hr |
Ingredients
Instructions
- Marinate chicken with pesto, garlic, red pepper flakes, lime juice and 1/2 teaspoon salt at least 1 hour, or overnight for best results.
- Mix oil, balsamic vinegar, honey and 1/4 tsp salt in a small bowl.
- Heat a grill over medium-high, be sure grates are clean and well oiled to prevent sticking.
- Brush oil on each side of the vegetables and sprinkle with salt and pepper
- Put vegetables on 1 large grill tray or directly on grill, and cook, turning constantly until the vegetables are cooked and golden, about 6 to 10 minutes. Set aside on a dish.
- Put the chicken on the grill and cook about 4 to 5 minutes on each side until grill marks appear and the chicken is cooked through. If you prefer to finish them off in the oven, I suggest a grill pan or cast iron skillet - cook until the internal temperature reaches 160 degrees.
- Transfer the chicken to a platter with the vegetables and pour the balsamic dressing over everything and serve.
What is a sister to do when she is supposed to prepare a lovely meal for a special guest that is gluten free, does not eat meat and dislikes seafood? Not the easiest assignment, but if she prays and uses a little ingenuity she always comes up with not only a solution, but often a very remarkable one. Last week the sister doing Bethany guest cooking actually faced this challenge. What did she do? It was the first day of Autumn and she wanted the meal to reflect that.
She chose a plump little Cornish Hen for the star of the meal, and served it chock-full of healthy, wholesome selection of wild rice, dried fruits, and nuts. Roasted with fresh garden herbs, garlic and lemon, some butternut squash and fresh broccoli accompanied the plump little bird, and the result: great satisfaction all the way around.
PS: No need to reserve this meal for the gluten free and those who abstain from meat and fish!
Print Recipe
Votes: 0
Rating: 0
You:
Rate this recipe!
Roasted Cornish Game Hen
SERVINGS1-2servings, depending on the size of the hen
|
COOK TIME1hr |
PREP TIME10mins |
READY IN1 hr10 mins |
Ingredients
Instructions
- Preheat the oven to 350.
- Gather a small bunch fresh herbs of your choice, 1 peeled garlic clove, half a lemon and 2 tablespoons of butter. For this meal we used fresh Rosemary and Thyme from the garden.
- Place the chicken in a roasting pan and gently separate the skin from the top of the hen.
- Place a small bunch of the herbs and butter under the skin, and put the garlic clove, lemon half and another small bunch of herbs in the chicken. Lightly drizzle with oil and sprinkle with salt and pepper.
- Roast the chicken for 1 hour or until the internal temperature reaches 165 degrees. Baste occasionally with chicken broth and white wine.
- Serve on a bed of wild long grain rice with cranberries, sunflower seeds and walnuts for a festive autumn meal!
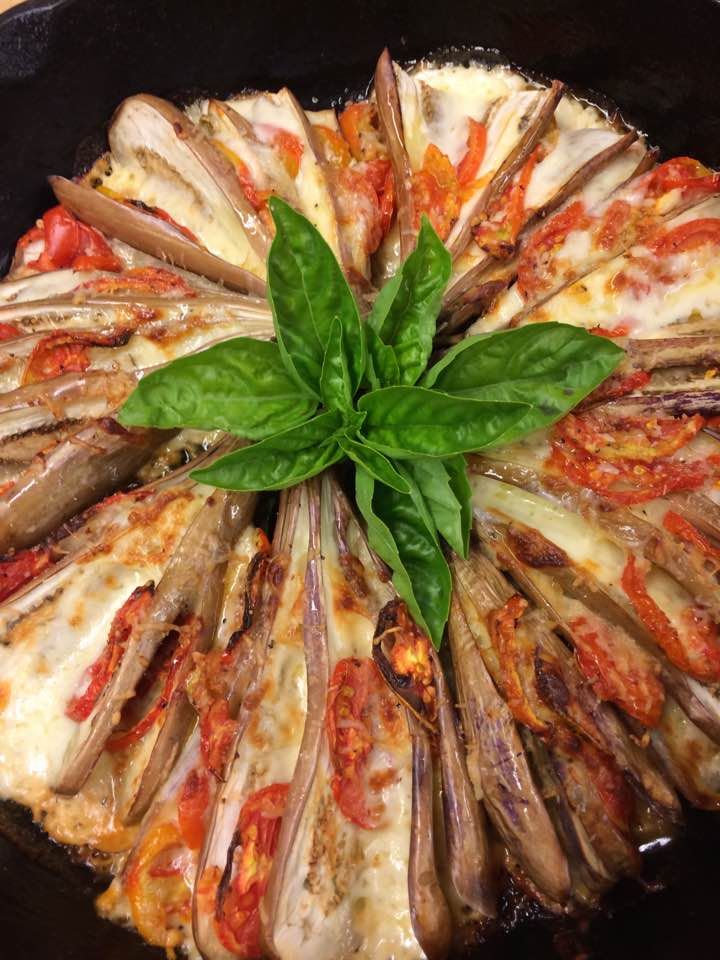
This lovely and simple dish can be made with any size of eggplant! The inspiration for this dish came from a Facebook recipe video (with Russian directions) shared on Facebook by Peter Jermihov, the conductor for the recently released All Night Vigil, a collaborative recording between our choir, Gloriæ Dei Cantores, and members of three additional choirs. Facebook and Pinterest offer a wonderful way to connect with friends and to find recipes from different countries and cultures.
At this time of year, our garden is bursting with mini eggplants. Earlier in the season at planting time we received a donation of seeds for this specialty vegetable and it has indeed been a bumper crop. This dish can be prepared with a single eggplant for a personal size serving, or in a cast iron or ovenproof dish for a family as you see below. You may enjoy watching the video below which offers three additional ways to serve eggplant. Although the directions are in Russian, the pictures are universal! Once you have made the dish, you may want to share your picture with your Facebook fans and friends!
Print Recipe
Votes: 0
Rating: 0
You:
Rate this recipe!
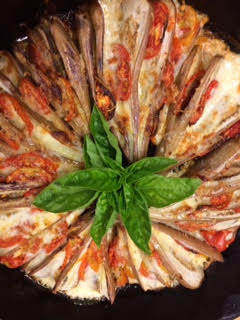
Fairy Tale Eggplant Fans
SERVINGS4servings
|
COOK TIME25mins |
PREP TIME15mins |
READY IN40mins |
Ingredients
Instructions
- Heat oven to 400 degrees F.
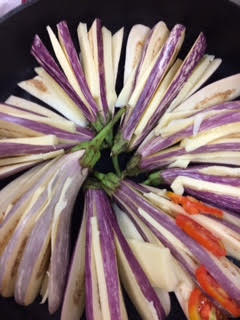
- Starting at the thin end of the eggplant, slice each eggplant into 5 or more slices, leaving the eggplant connected at the top, to make a ‘fan.’
- Place several tablespoons of oil in the bottom of the skillet or dish and arrange the eggplant in a pinwheel pattern (see photo!).
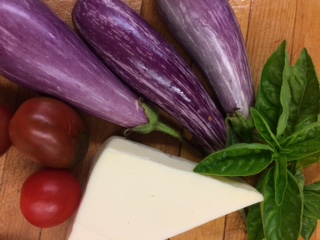
- Slice buffalo or regular mozzarella thinly and place between each eggplant slice.
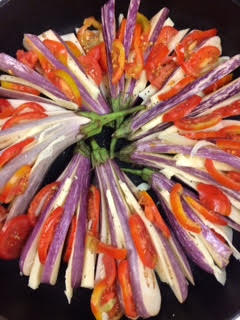
- Slice tomato thinly and add that to the mozzarella between each eggplant slice.
- Sprinkle salt and pepper over whole dish. Fresh basil (chop or chiffonade) can be added here if desired.
- Drizzle olive oil over the dish.
- Sprinkle shredded parmesan over entire dish.
- Bake at 400 for 15 - 25 minutes or until eggplant is soft and cooked through.
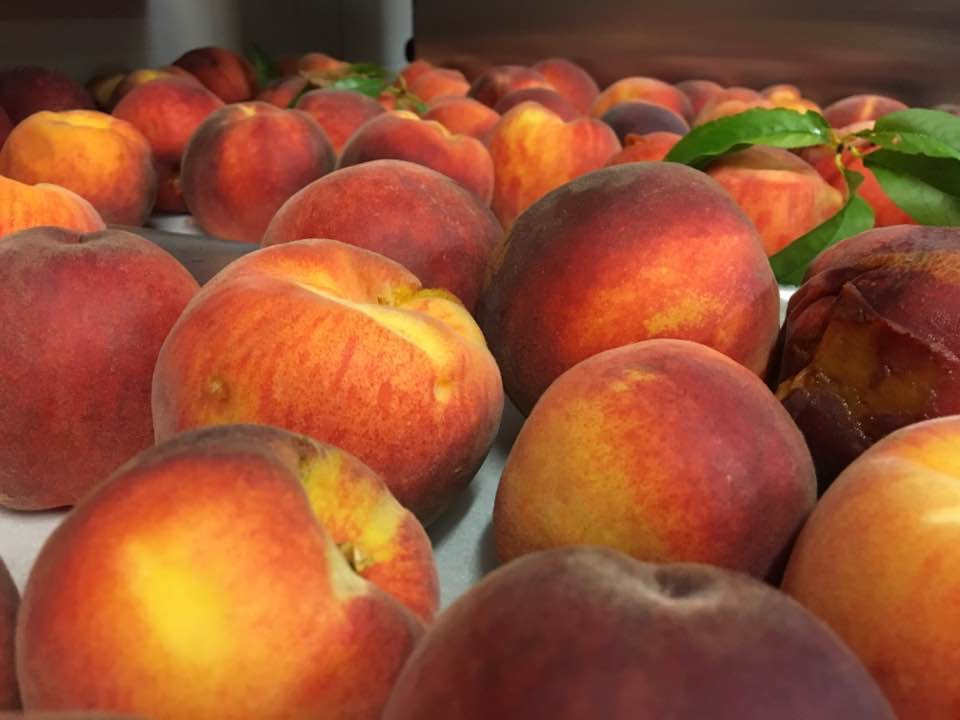
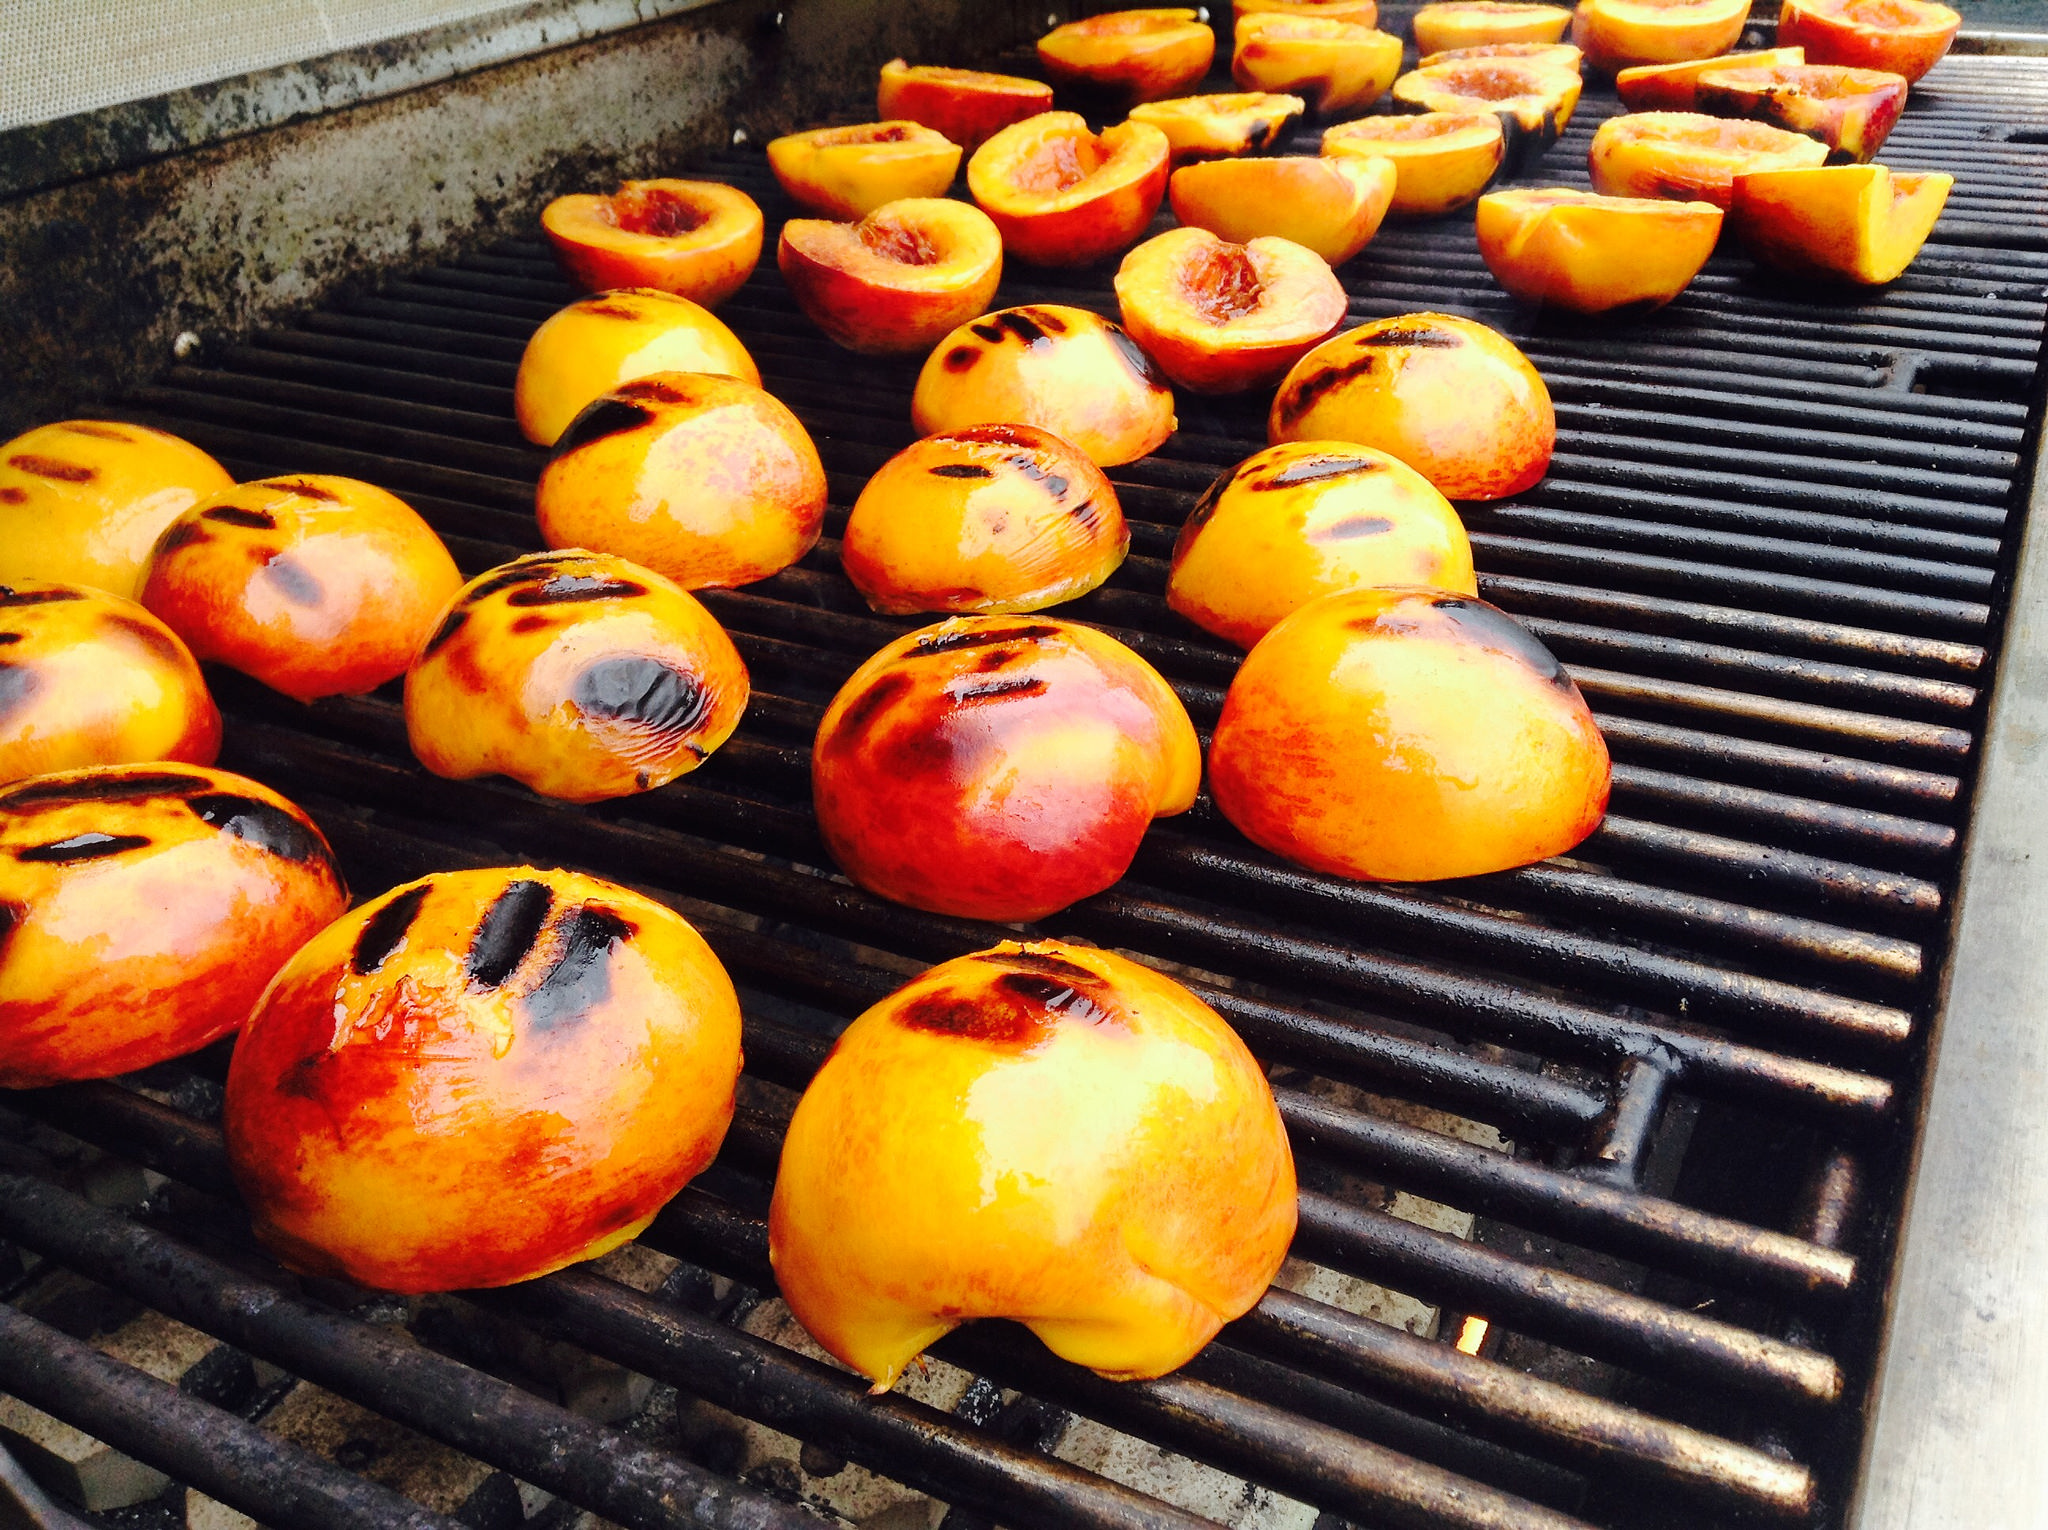
Over the last week, we’ve been enjoying plucking the nectarines and peaches off of our trees and enjoying them in a variety of ways. One of our Sisters used to own a peach orchard and enjoys turning the bruised and moldy drops into the most delicious jam. As the peachy smell wafts through the Convent, I pop down to the kitchen to dip my spoon into the bubbly pot. “Sister, this is SO delicious!” I purr, wishing I could bottle up this moment for eternity. Summer is wonderful, because the simple beauty and naturalness of fruit and vegetables can stand alone without being covered up in heavy sauces just to be palatable.
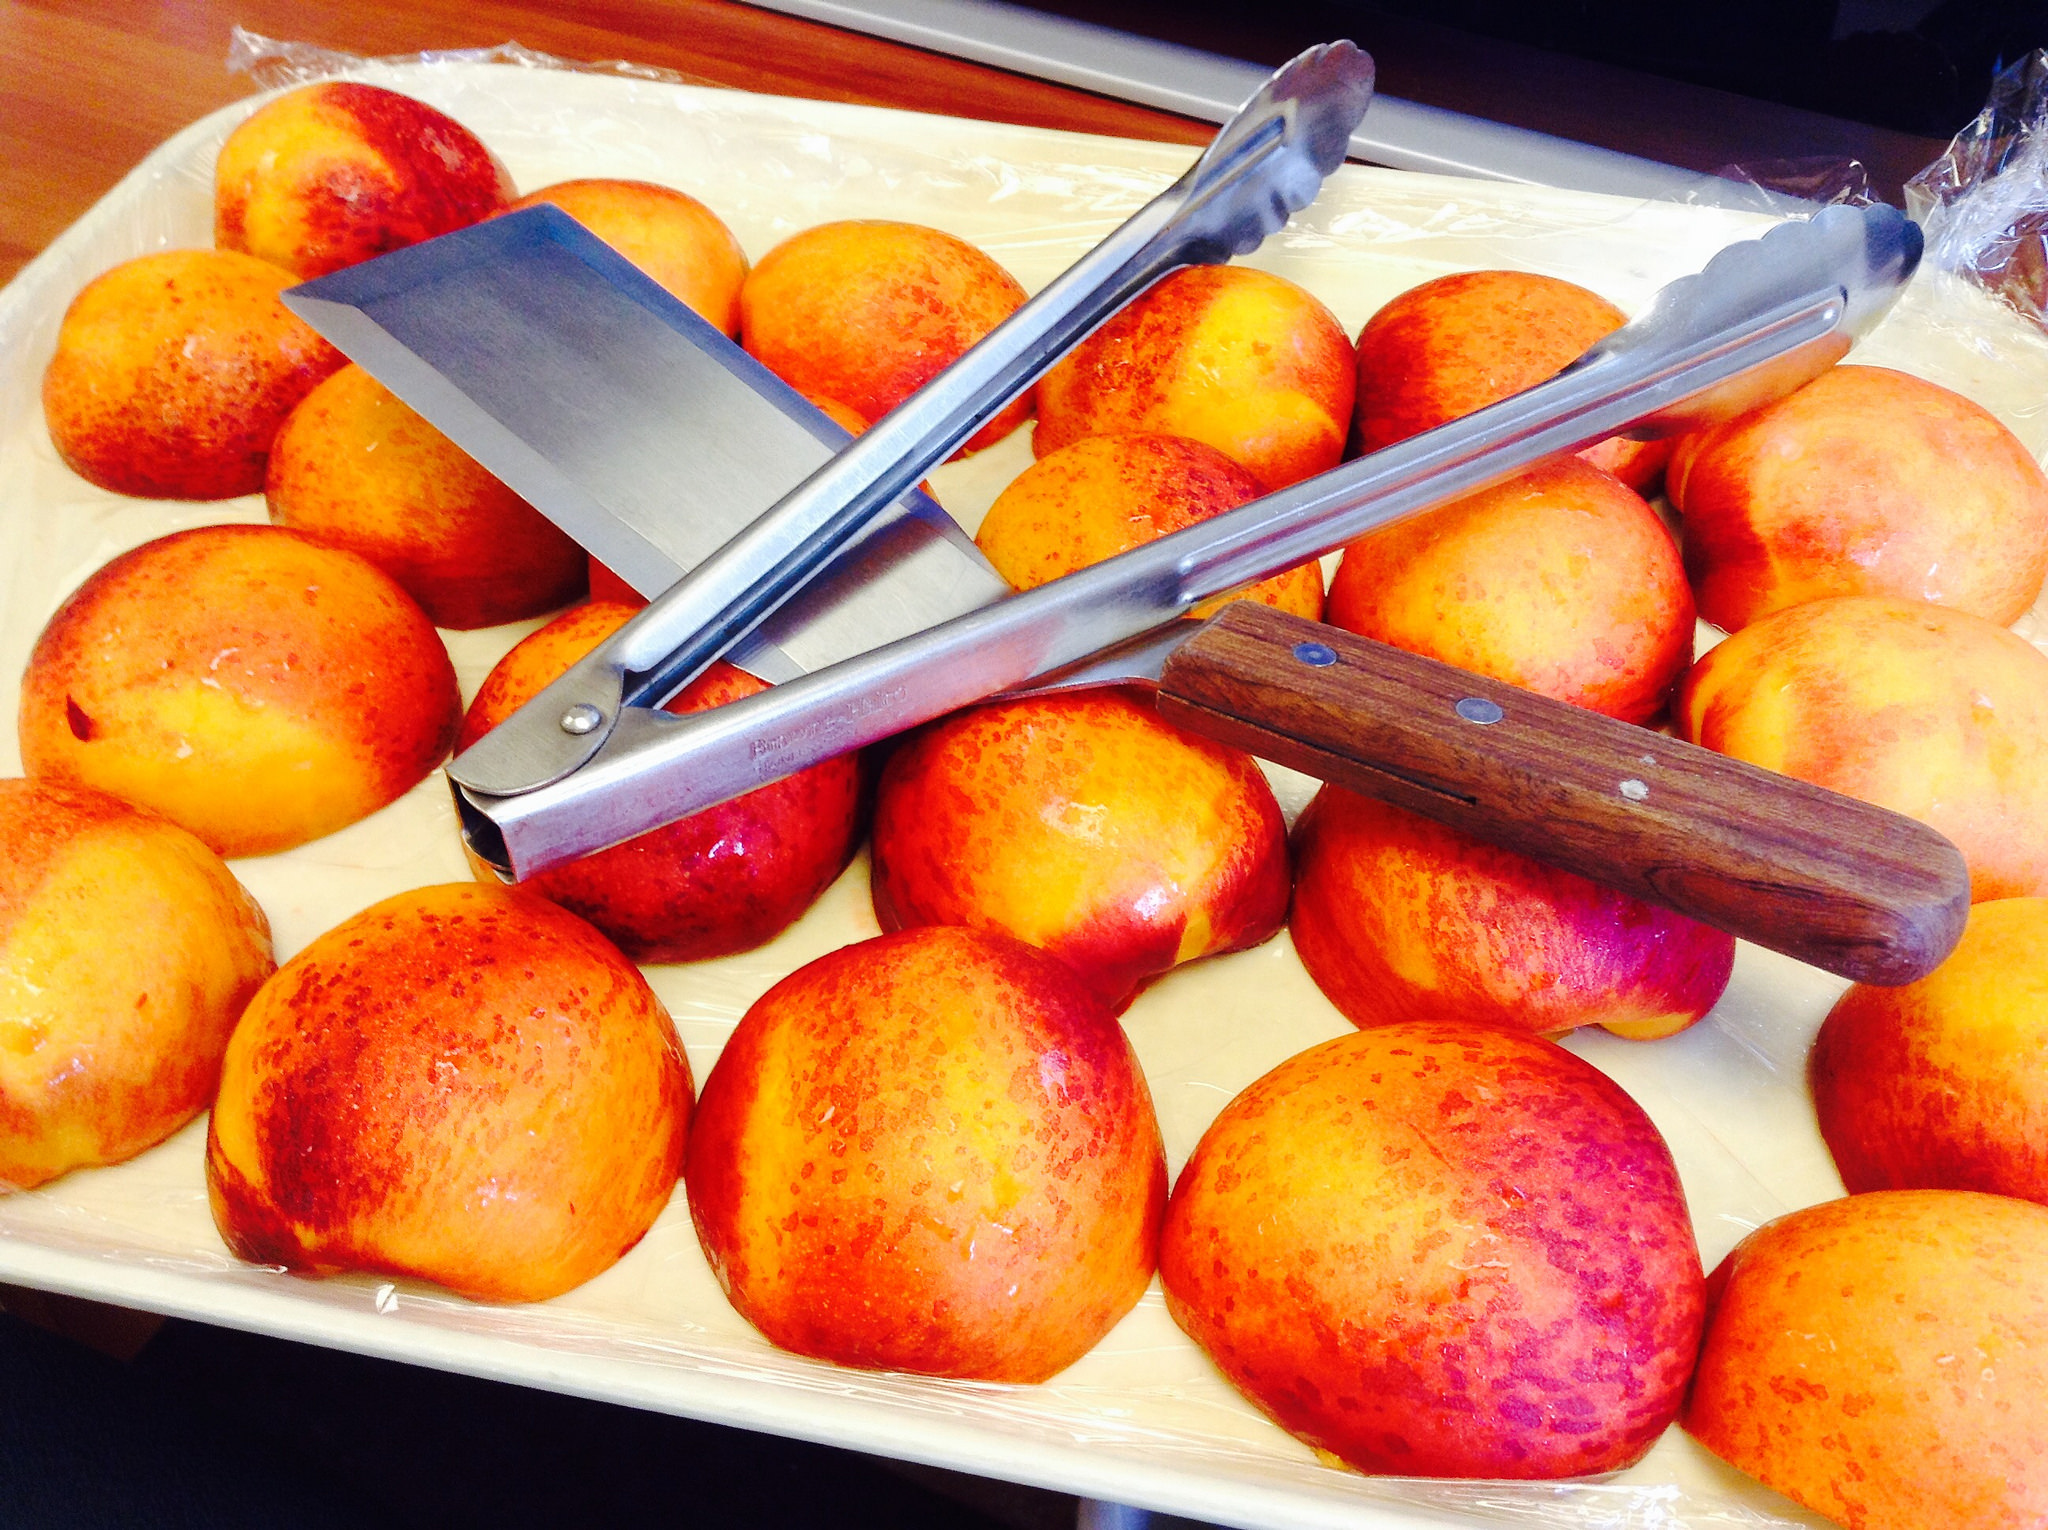
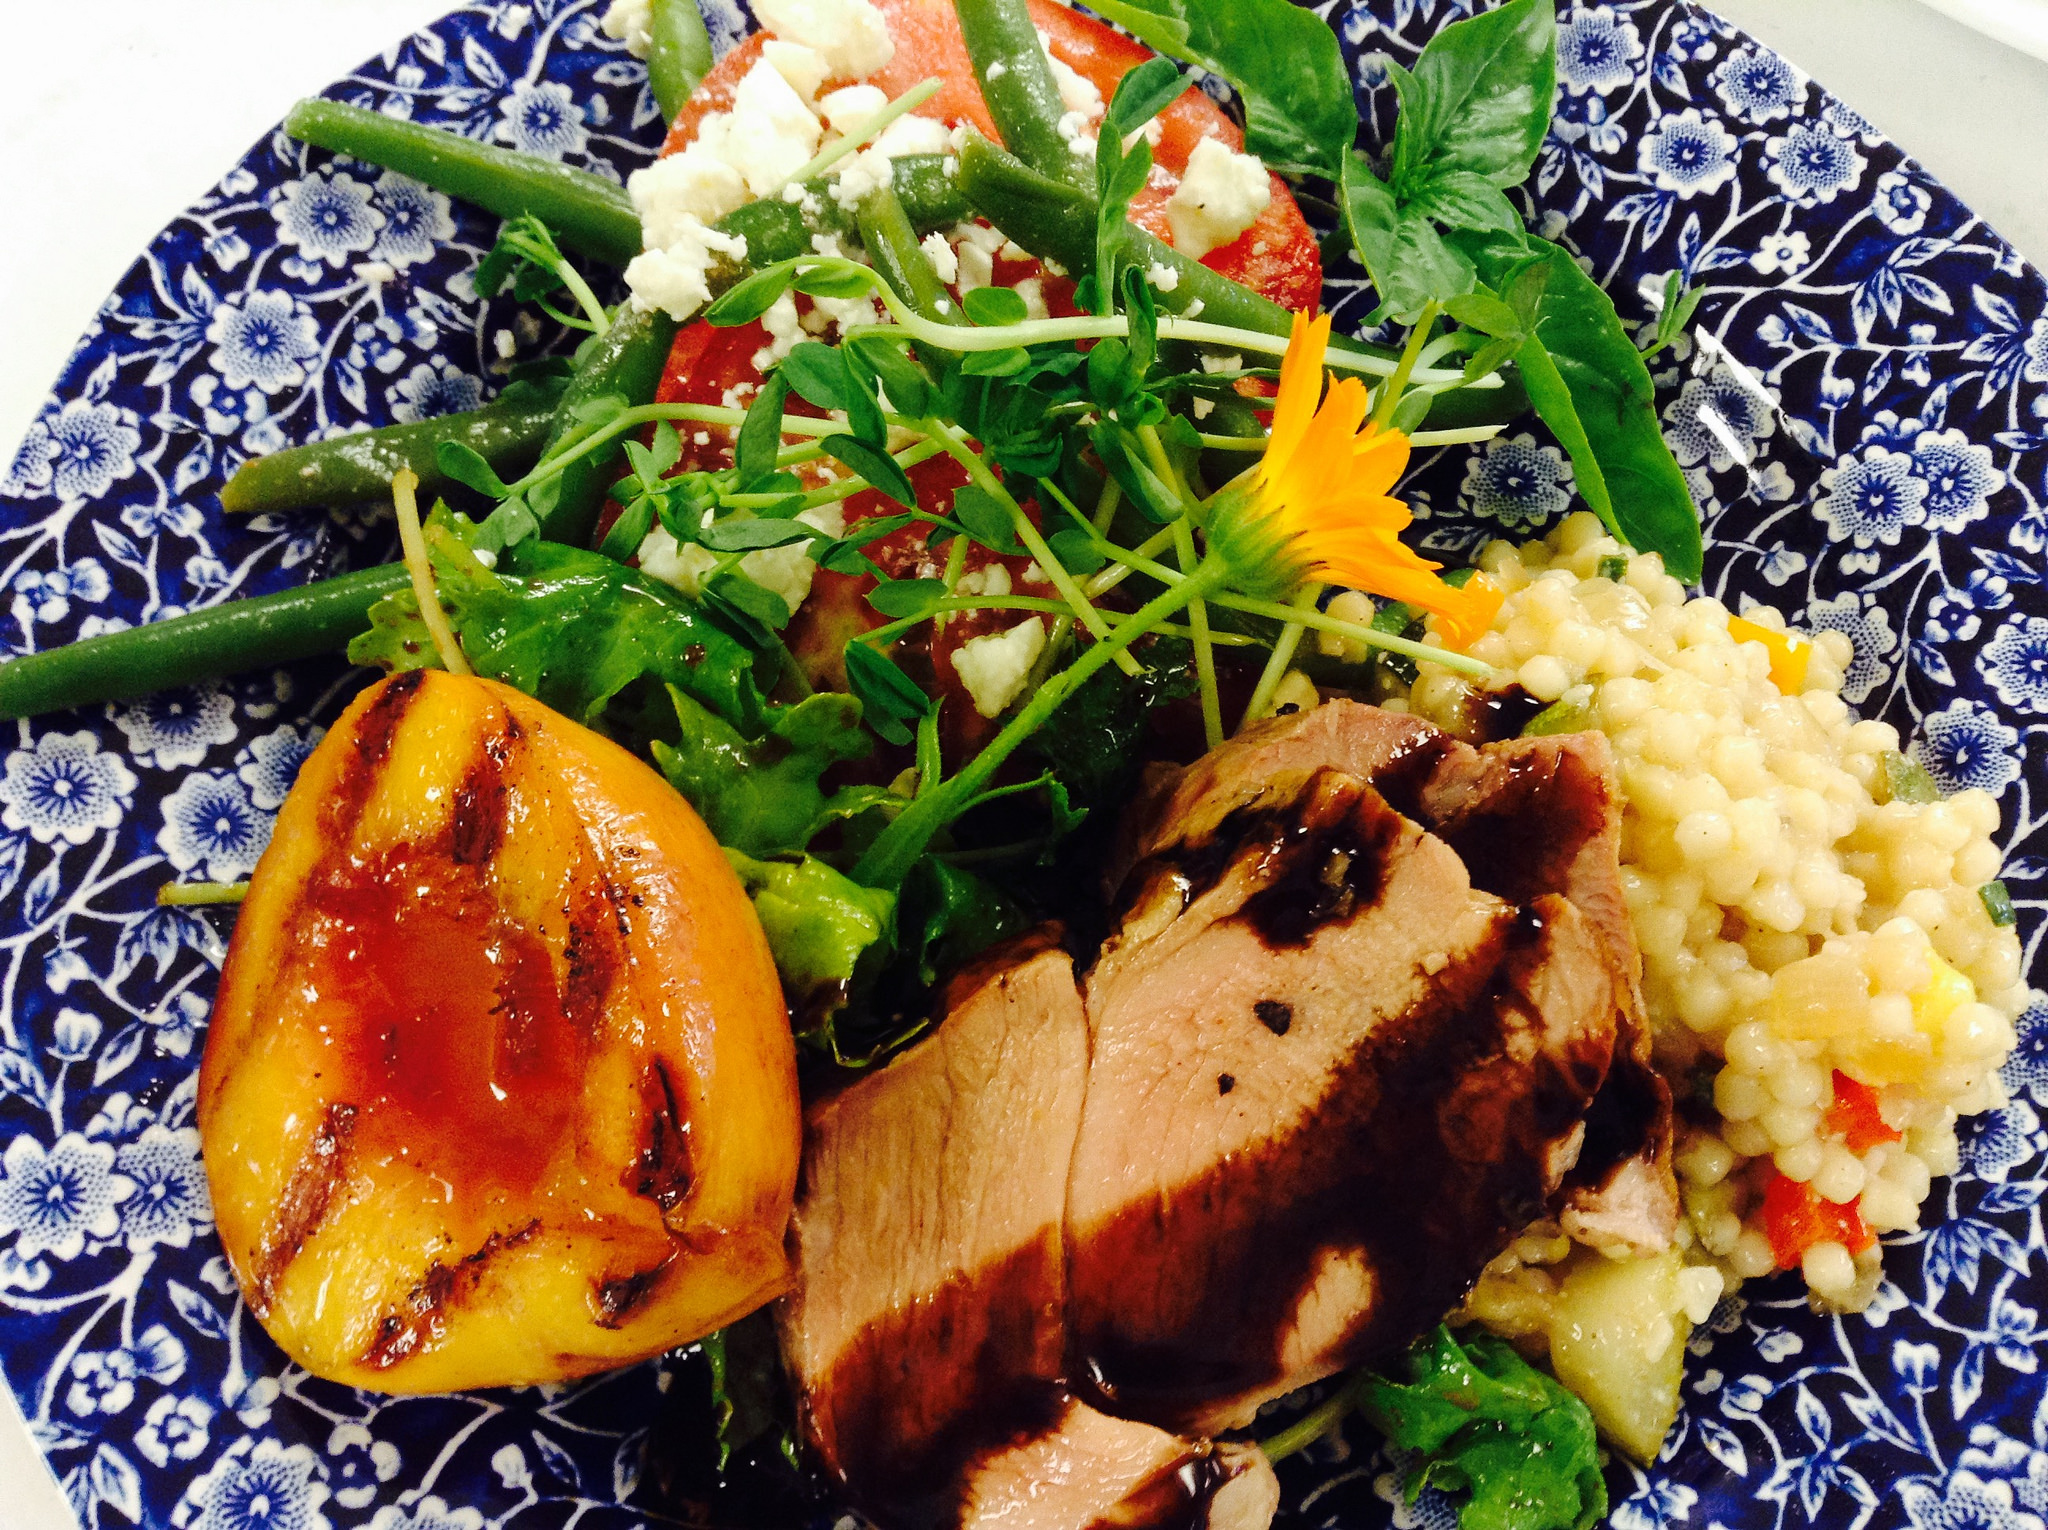
Over this past weekend, I had fun grilling nectarines to accompany an herb rubbed grilled pork tenderloin for our Dinner Theater. Follow these simple steps and add a little nectar to your next savory dish — it’s a beautiful thing!
Print Recipe
Votes: 0
Rating: 0
You:
Rate this recipe!
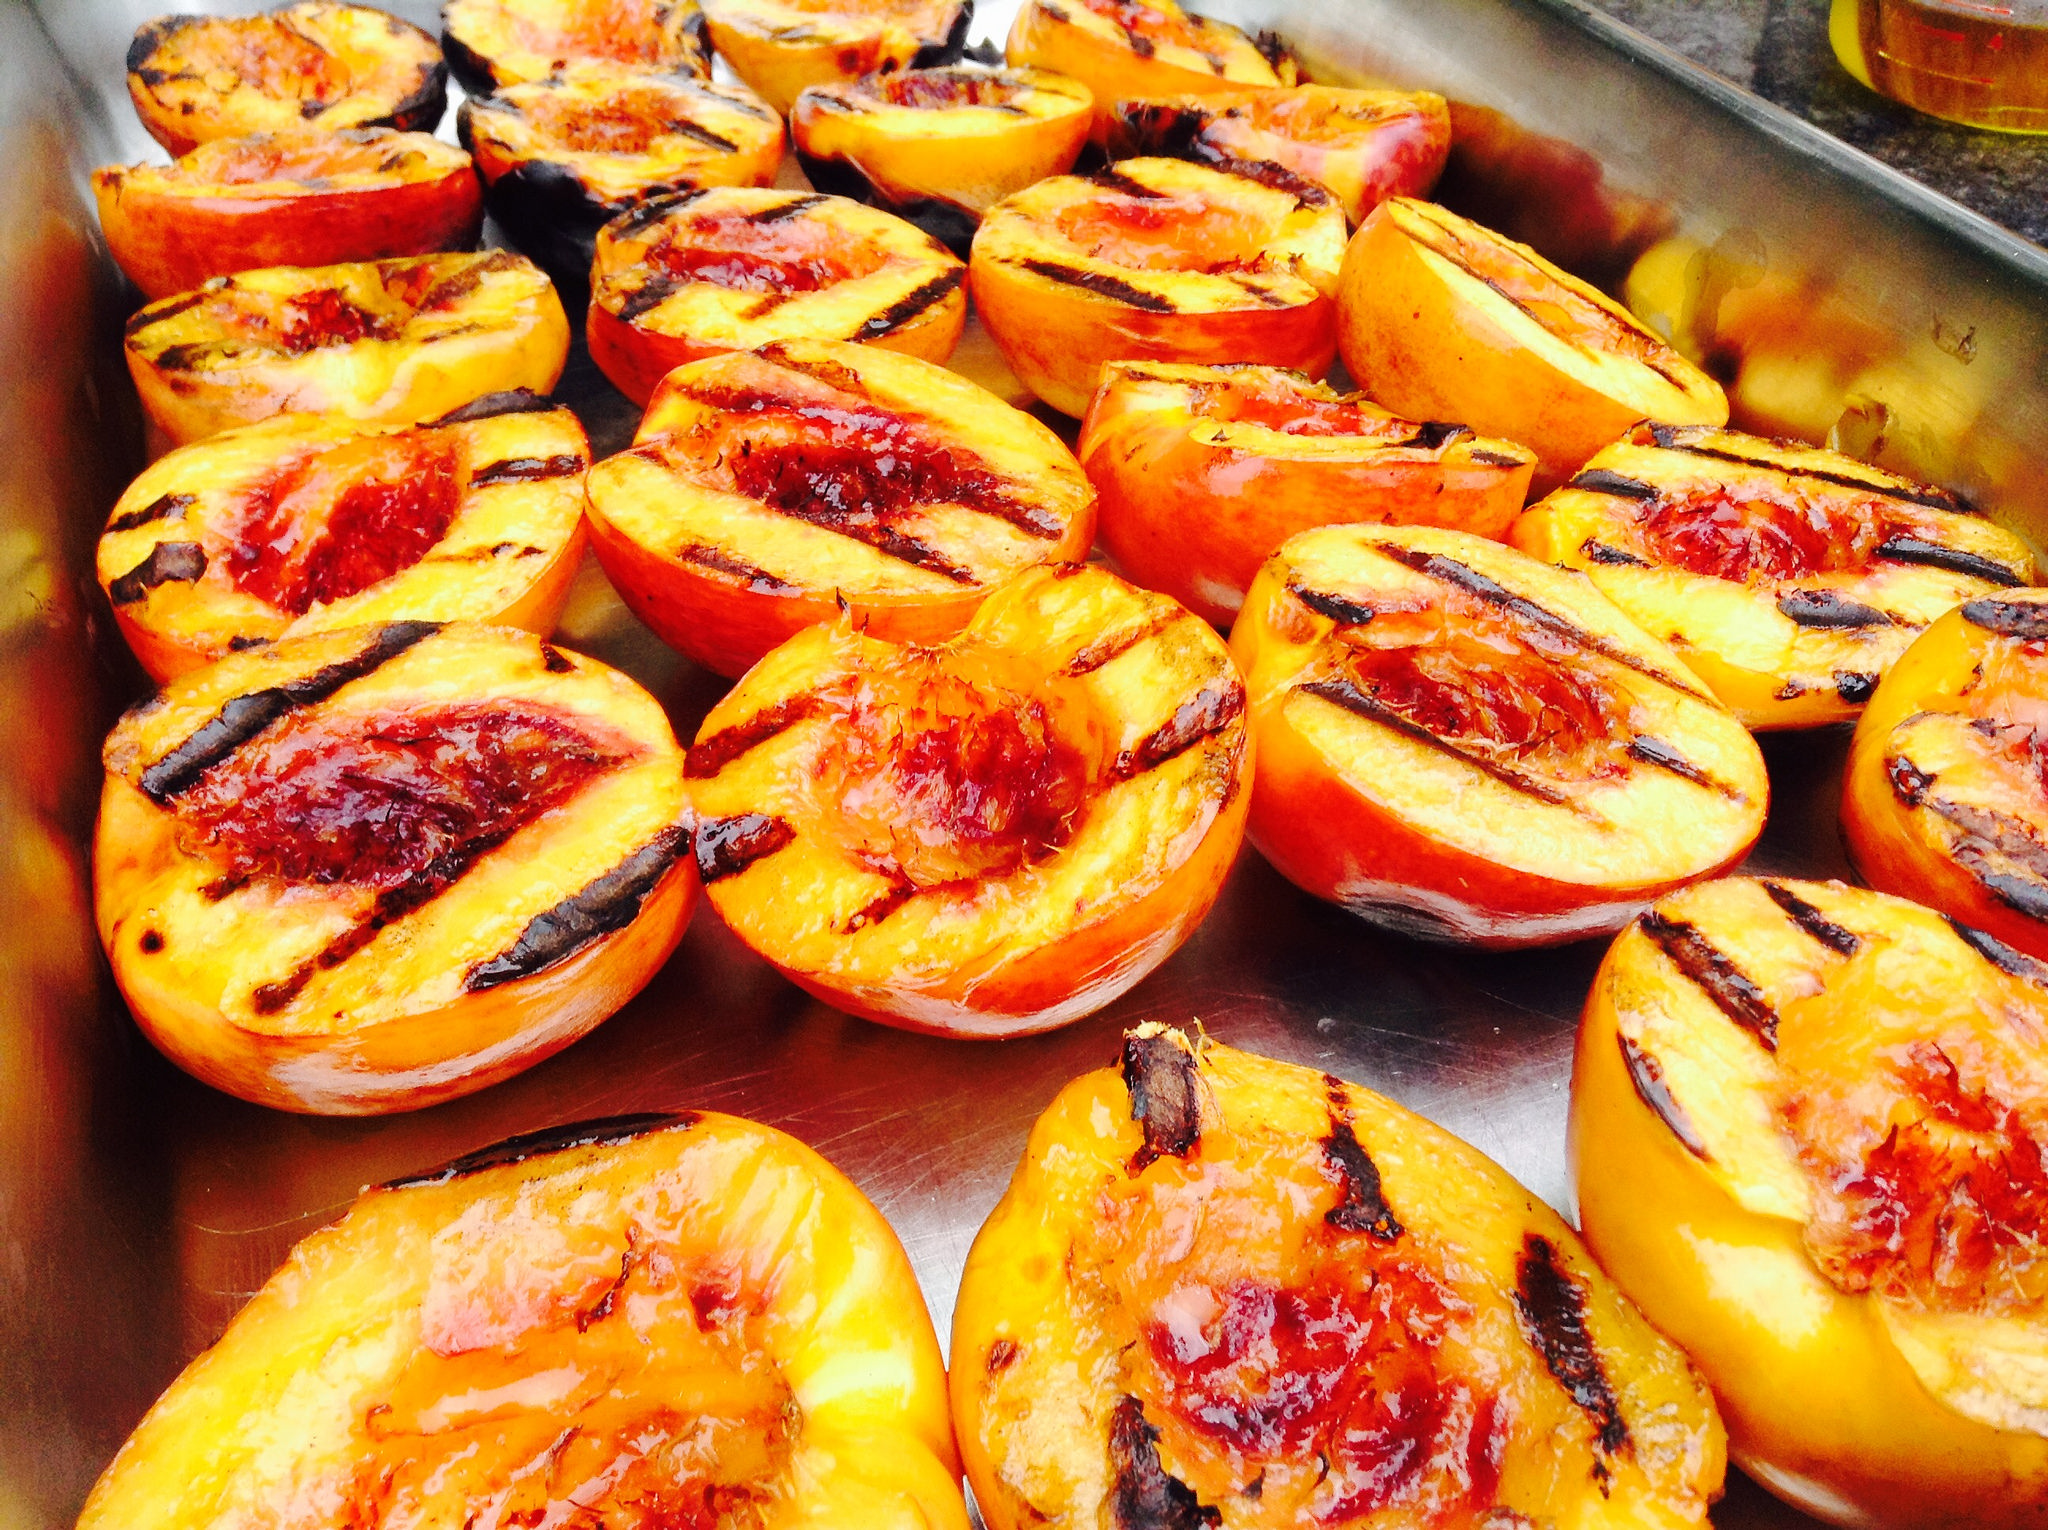
Grilled Honey Nectarines (or Peaches)
SERVINGS4servings
|
COOK TIME10mins |
PREP TIME |
READY IN10mins |
Ingredients
Instructions
- Heat grill to 400 degrees F.
- Brush nectarines with olive oil on both sides
- Place nectarines face side down on grill
- Wait about 4-5 min, or until the nectarines "release" on their own from the grill and carefully turn over with tongs or long handled spatula
- Grill on the opposite side
- Remove from the grill and drizzle with honey and sprinkle with kosher salt
- Serve as a side to chicken, pork, turkey or with a spoonful of greek yogurt or vanilla ice cream for dessert