In many European countries Epiphany is celebrated as a National Holiday. Last year, I was blessed to be serving at Via Sacra in Italy where I learned about the magical Christian legend of La Befana, an important character in the Christmas festivities. The story of La Befana has been in Italian tradition since the XIII century. The legend tells that la Befana was approached by the Three Wise Men who asked her to lead them to the stable where the baby Jesus lay in a manger. La Befana was too busy sweeping her house, so she declined the offer to go with them. Soon she realized that she had made a mistake, so she gathered up a bag full of gifts and set off alone, flying on her broom in search of the baby Jesus. Though she followed the same star as the Magi, she was unable to find the stable. Undaunted, la Befana continues to travel the world to this day, searching every house for the Christ child, leaving gifts. On January 6, the first day of Epiphany, Italian children search their stockings for gifts from La Befana as a sign that they have been good that year.
Celebrate Epiphany with us by baking Dreikönigskuchen (A Cake for Three Kings) a specialty sweet roll found in bakeries all over Liechtenstein at this time of year!
Print Recipe
Votes: 0
Rating: 0
You:
Rate this recipe!
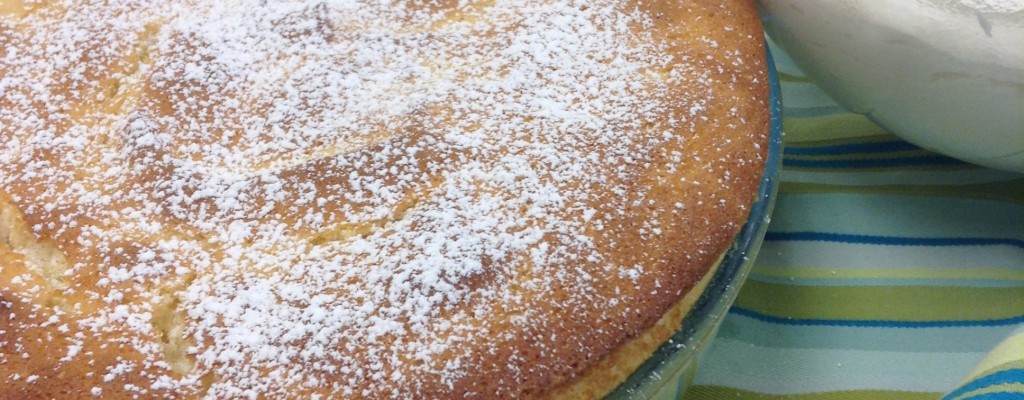
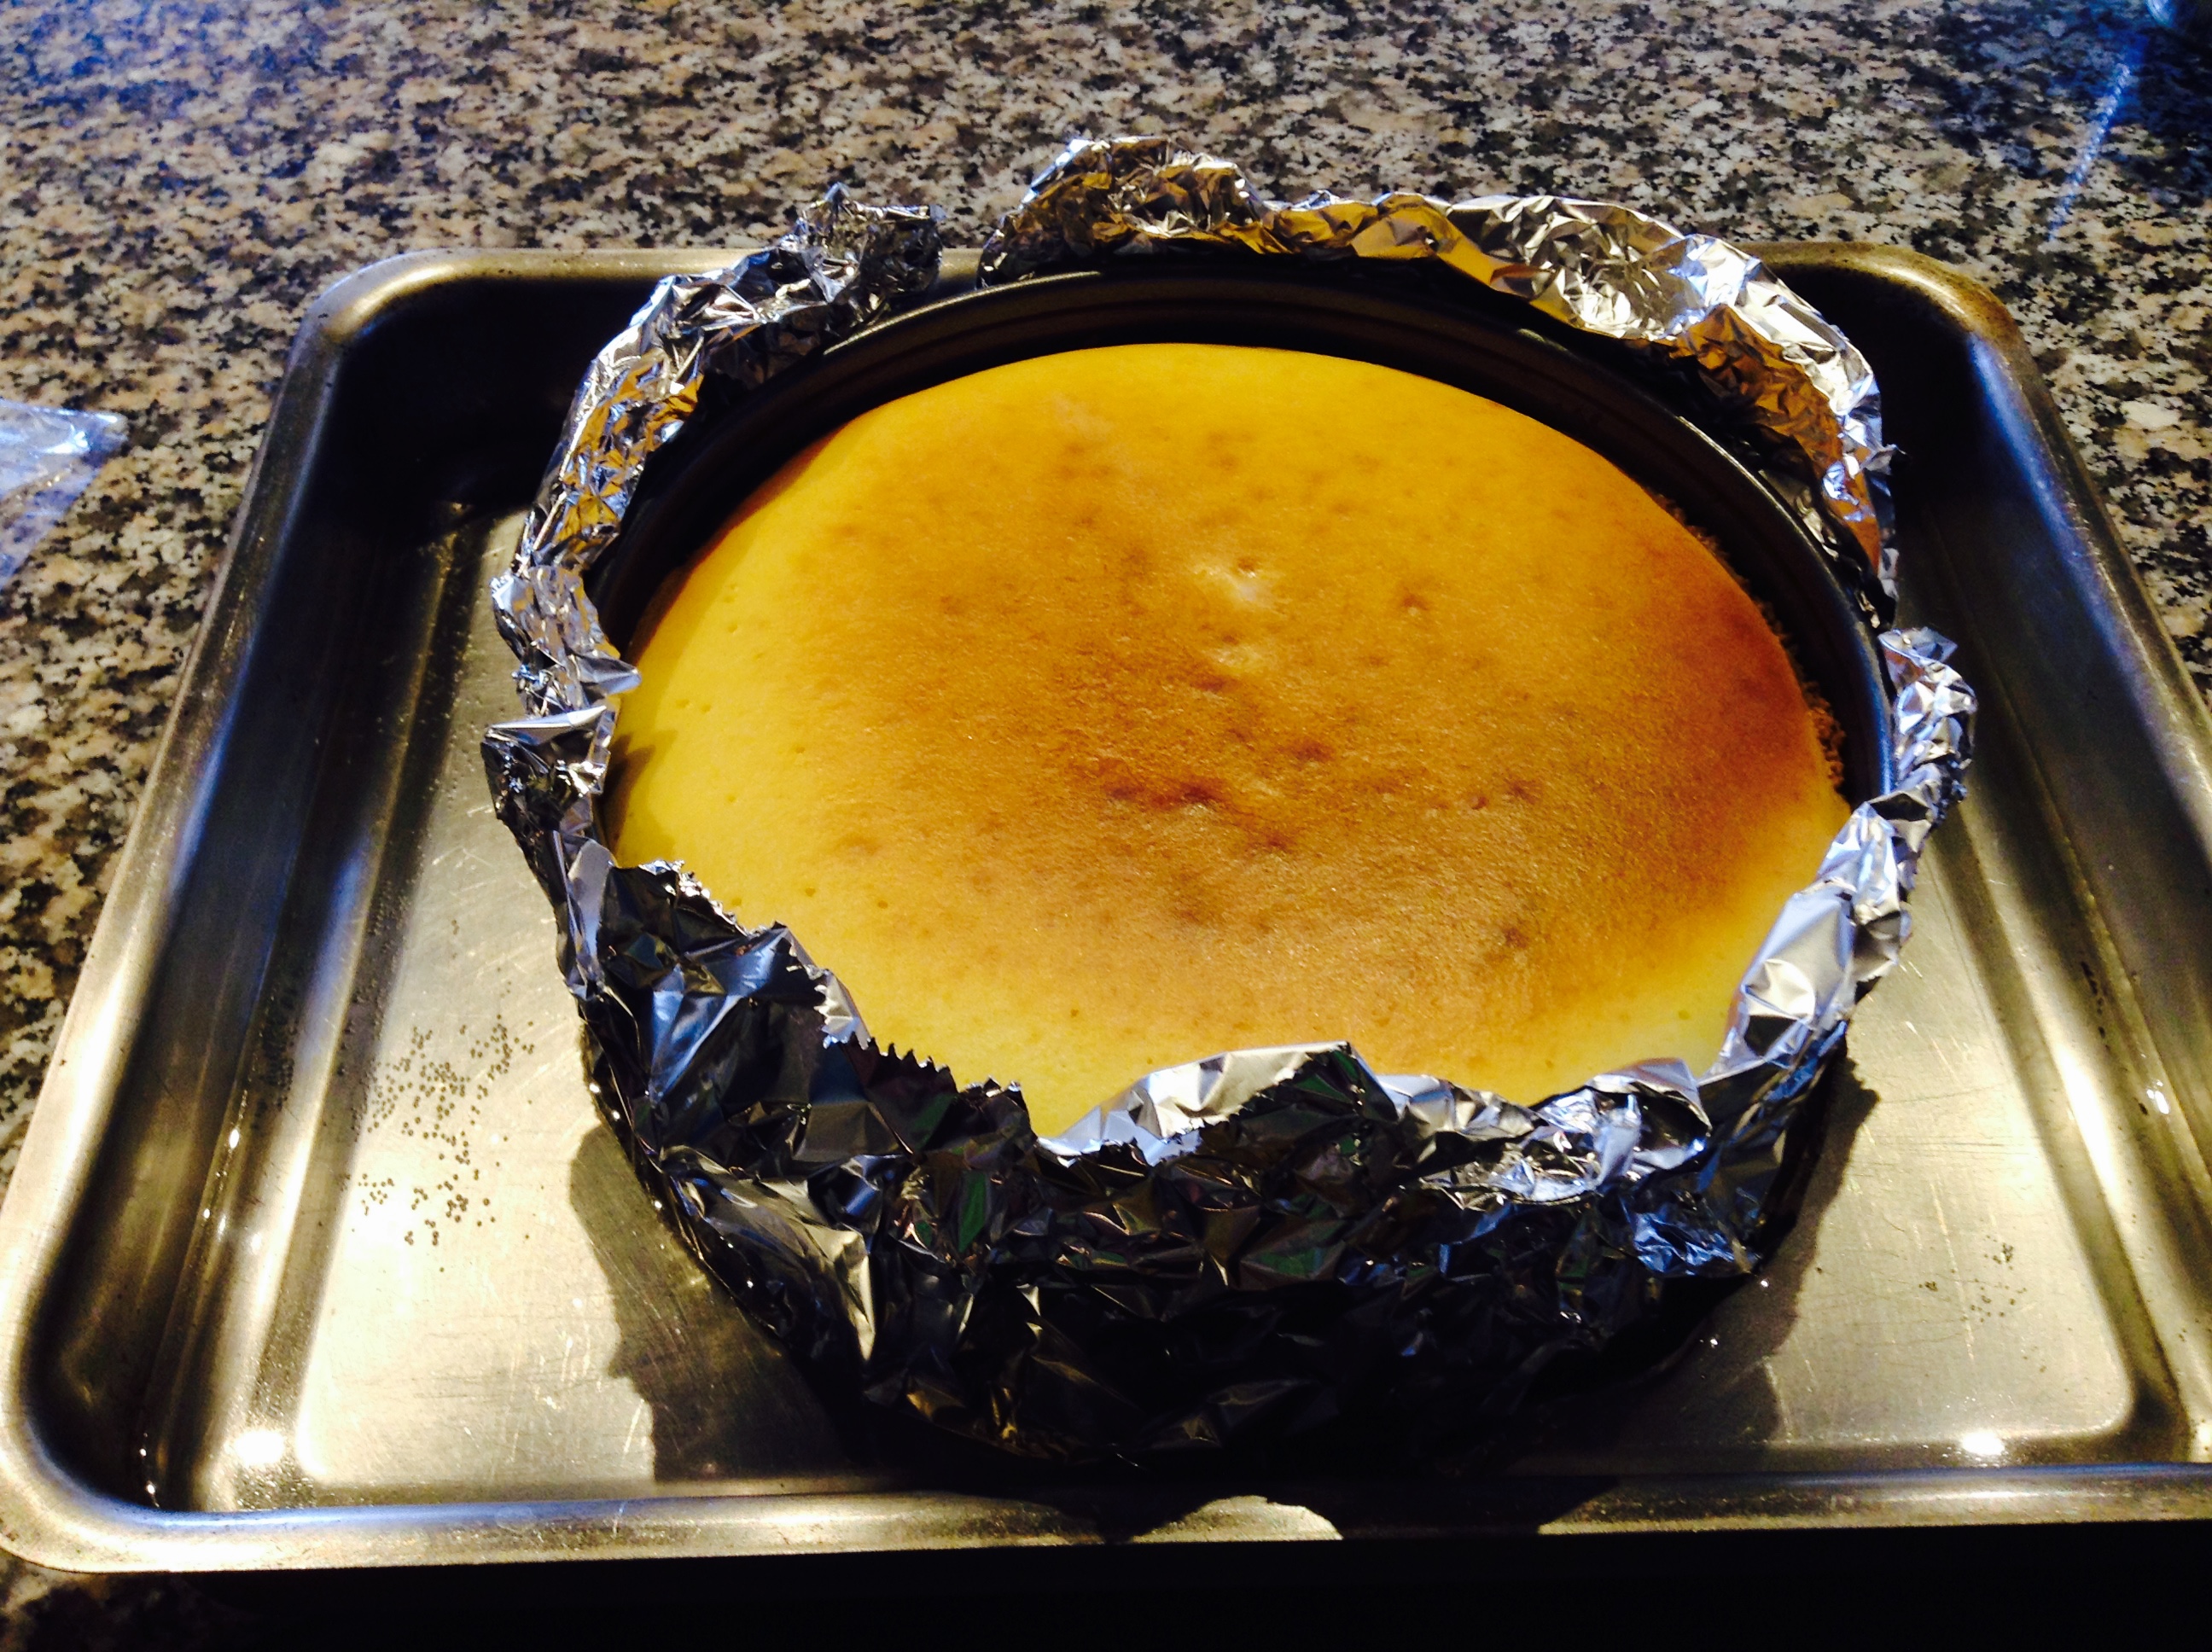
Dreikönigskuchen (A Cake for Three Kings)
SERVINGS8people
|
COOK TIME30-40mins |
PREP TIME3hrs |
READY IN4hrs |
Ingredients
Instructions
- In the bowl of a standing mixer, dissolve the yeast in the warm milk and add sugar – wait about 5 min until the yeast starts to work. Add the rest of the ingredients, starting with the liquids and going to solid, adding the flour last. Add the flour 1 cup at a time until the dough pulls away from the side of the bowl and it springs back to the touch. You may not need all the flour.
- Once a soft, smooth ball forms, set it aside to rise until doubled in bulk, about 2 1/2 hours. Be sure to cover it and place in a warm spot.
- Divide the dough into 8 Pieces, one a little larger than the rest.
- Roll each piece into a ball and arrange the 7 smaller balls around the slightly larger one on a sheet pan, forming a flower. Poke an almond into the bottom of one of the rolls. Let rise another 30 minutes, then brush with the egg wash.
- Meanwhile, preheat the oven to 375 F. Prepare the glaze by mixing the apricot jelly with a tablespoon of hot water.
- Bake the rolls for 30-40 minutes, or until deep golden brown. Brush with several coats of apricot glaze and sprinkle with the coarse sugar. It’ll sparkle in the sunlight, like a beautiful jewel
- Next, add a real crown. You can make one out of a brown paper bag or, if you happen to have one of these laying around…
- Let a lucky someone find the almond and be royalty for the day! Serve it with a big cup of tea or coffee and … an epiphany or two.
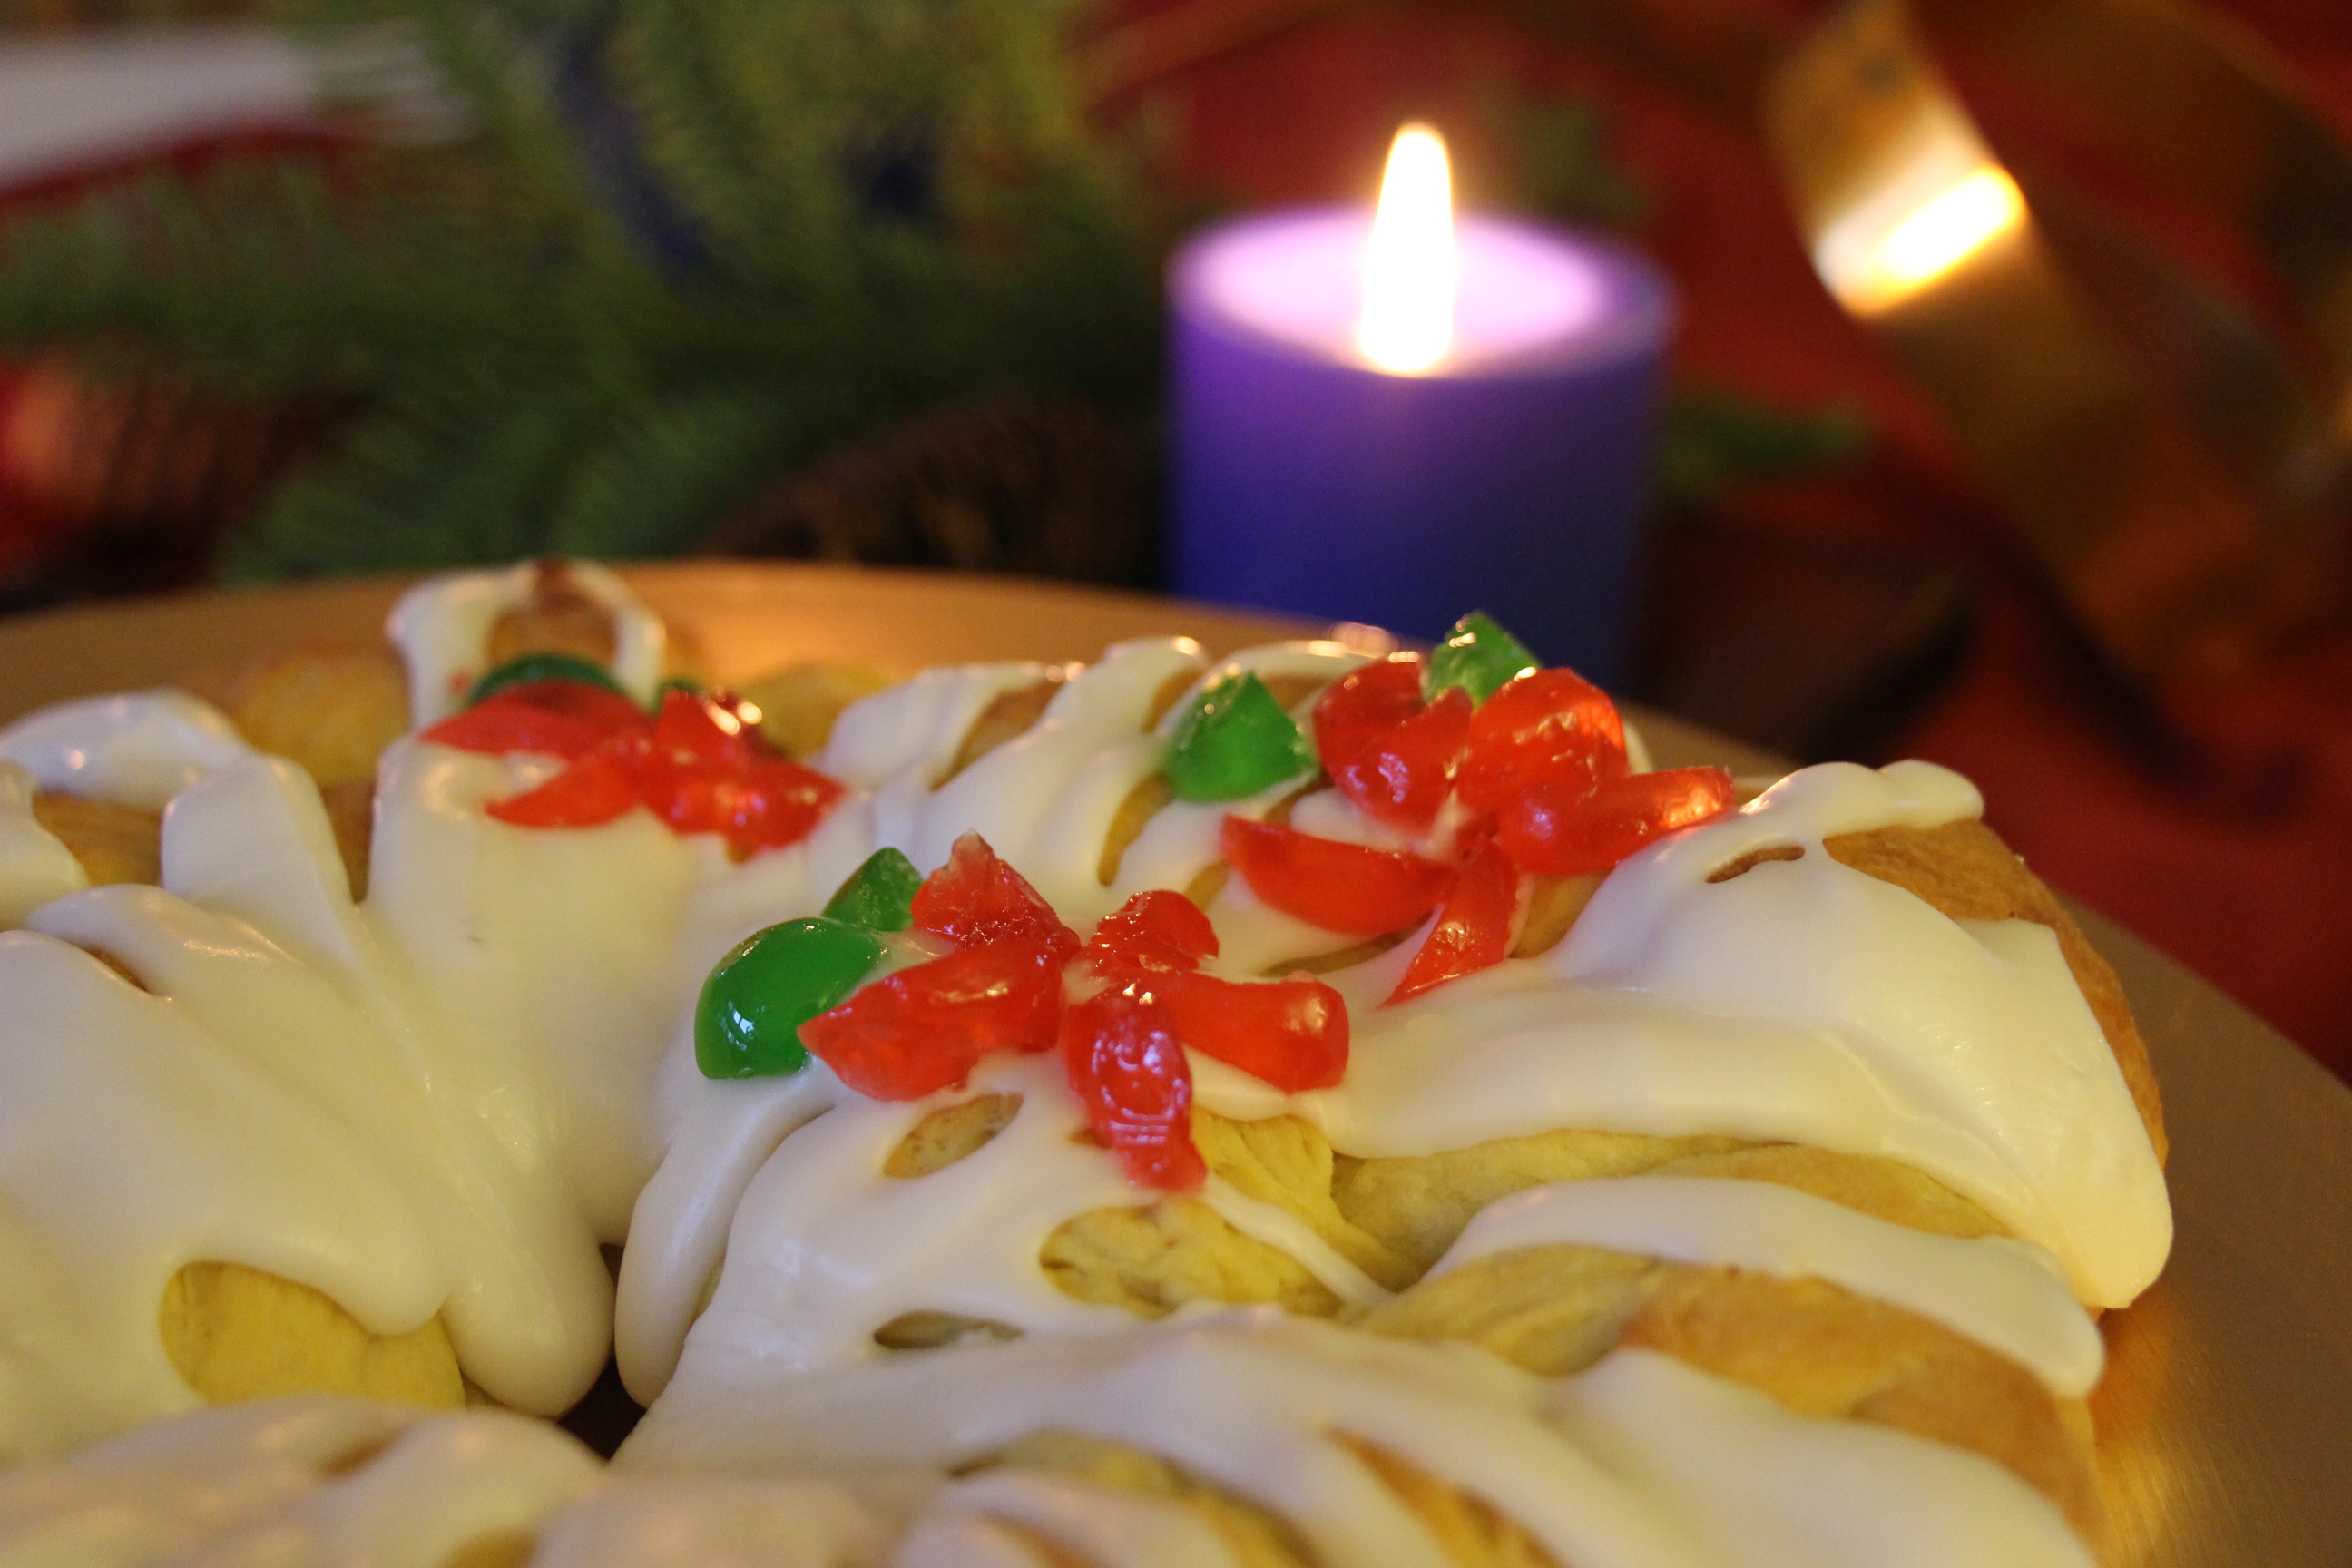
Our Monastic Bake Shop opens for Advent, just in time for people to select delicious home-baked goods for their Christmas table. One of the favorite sweet breads that people return for is the lovely St. Lucia Bread. A rich, dense dough filled with citron, saffron and almonds, and decorated like a wreath, has been a long-standing tradition for our Bakeshop, started by one of our own Sisters, Sr. Lucia.
Traditionally, when we make our first profession as Sisters, we also take on a new name – symbolizing our new life wedded to Christ. Sr. Lucia became a novice in early December. When she was preparing to take her vows, she prayed about what her new name should be. One of the Sisters told her that she had an idea of a name for her. The Sister next to her said, “Now don’t overwhelm our new novice with another big decision!” But she couldn’t bear the suspense, and she told her the name: Lucia. A bit later, a different Sister mentioned that she had received a name for her, and it was the same one! She decided to learn more about who St Lucia was, only to discover that her feast day was celebrated on December 13th — the exact day that the name had been suggested to her! She couldn’t deny that God was speaking. It turns out that her middle name had been Lucille after her maternal grandmother, and years later it was discovered that her actual given name had been Lucia!
Print Recipe
Votes: 0
Rating: 0
You:
Rate this recipe!
Saint Lucia Bread
SERVINGS2loaves
|
COOK TIME20-25mins |
PREP TIME30mins |
READY IN2-3hrs |
Ingredients
Instructions
- In a large mixer, soften the yeast in the warm water
- Heat the milk until warm. Add the oil and sugar and stir to dissolve.
- Add this mixture to the yeast mixture in the mixer
- Add salt and saffron
- Add the 3 slightly beaten eggs and mix with dough hook.
- Add the lemon zest, citron and almonds and continue mixing
- One cup at a time, add the flour and mix well after each addition. Stop adding the flour when the dough starts pulling away from the side of the bowl. Adding more flour if necessary.
- Turn the dough out onto a floured board and knead for 5 min, or until dough becomes smooth and elastic; adding flour as necessary.
- Place the dough in a greased bowl, cover, and let rise in a warm place until almost doubled in size, about 1 hr. (At this point, you can refrigerate the dough, if you want to work with it later).
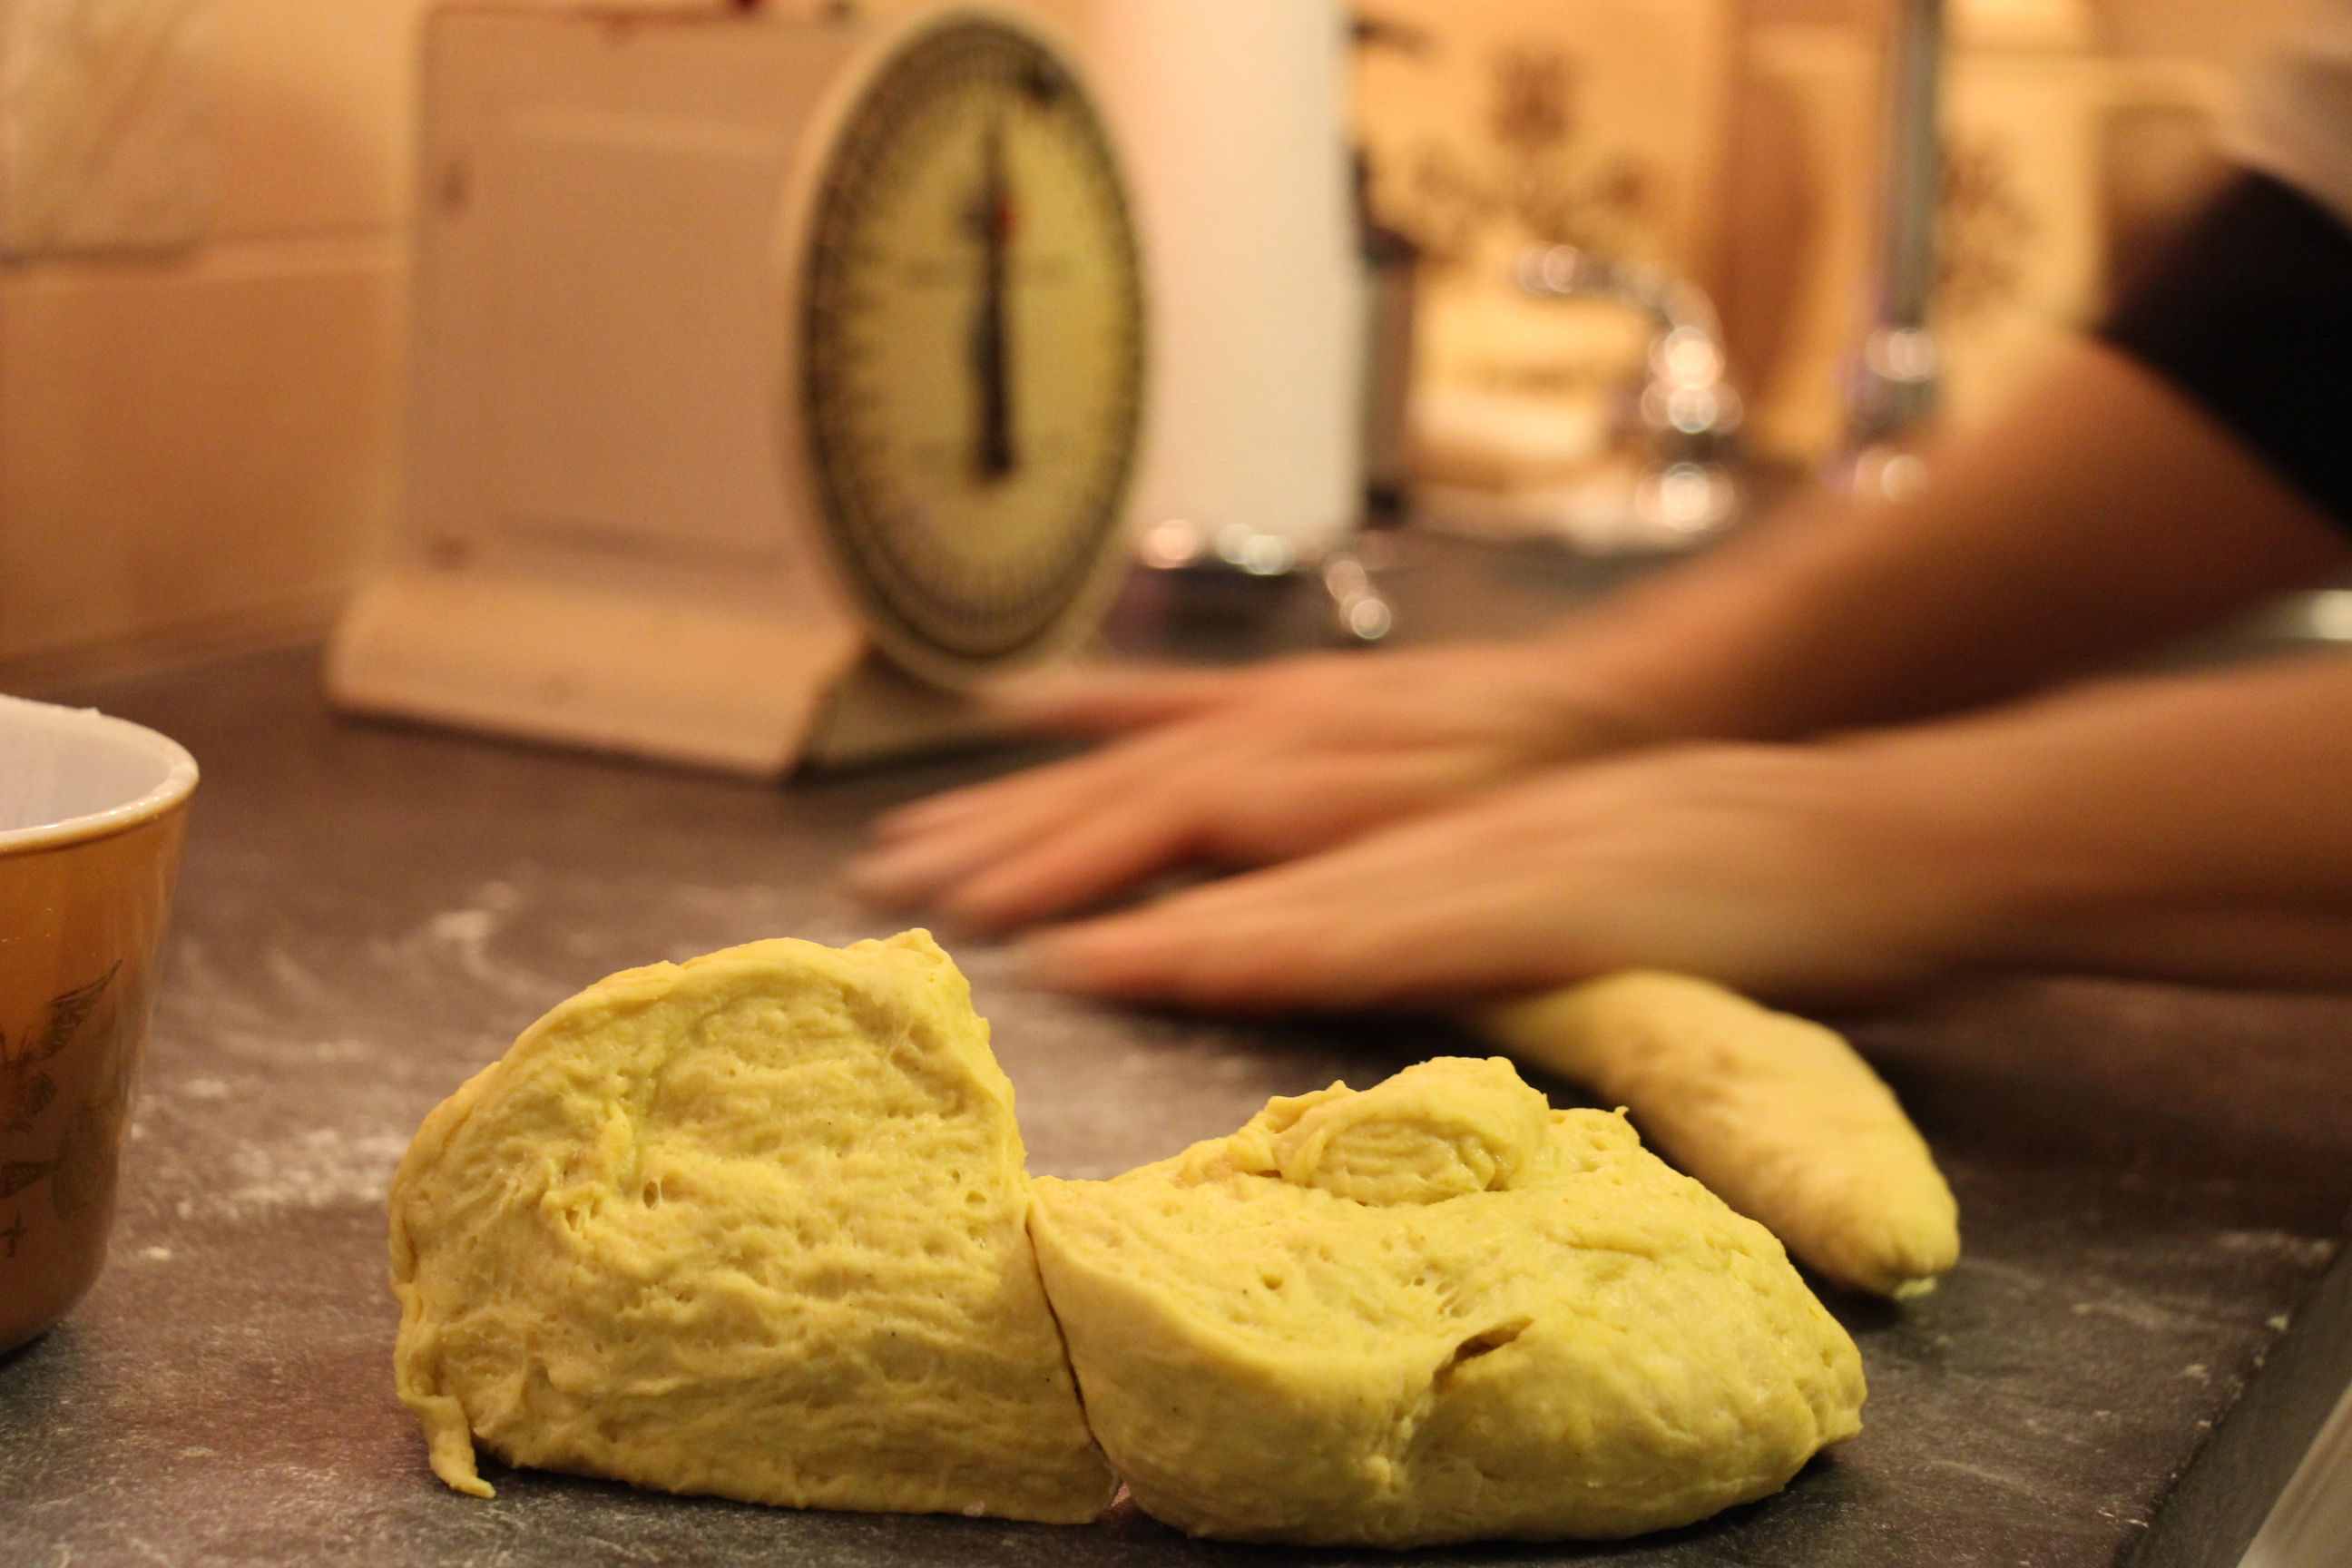
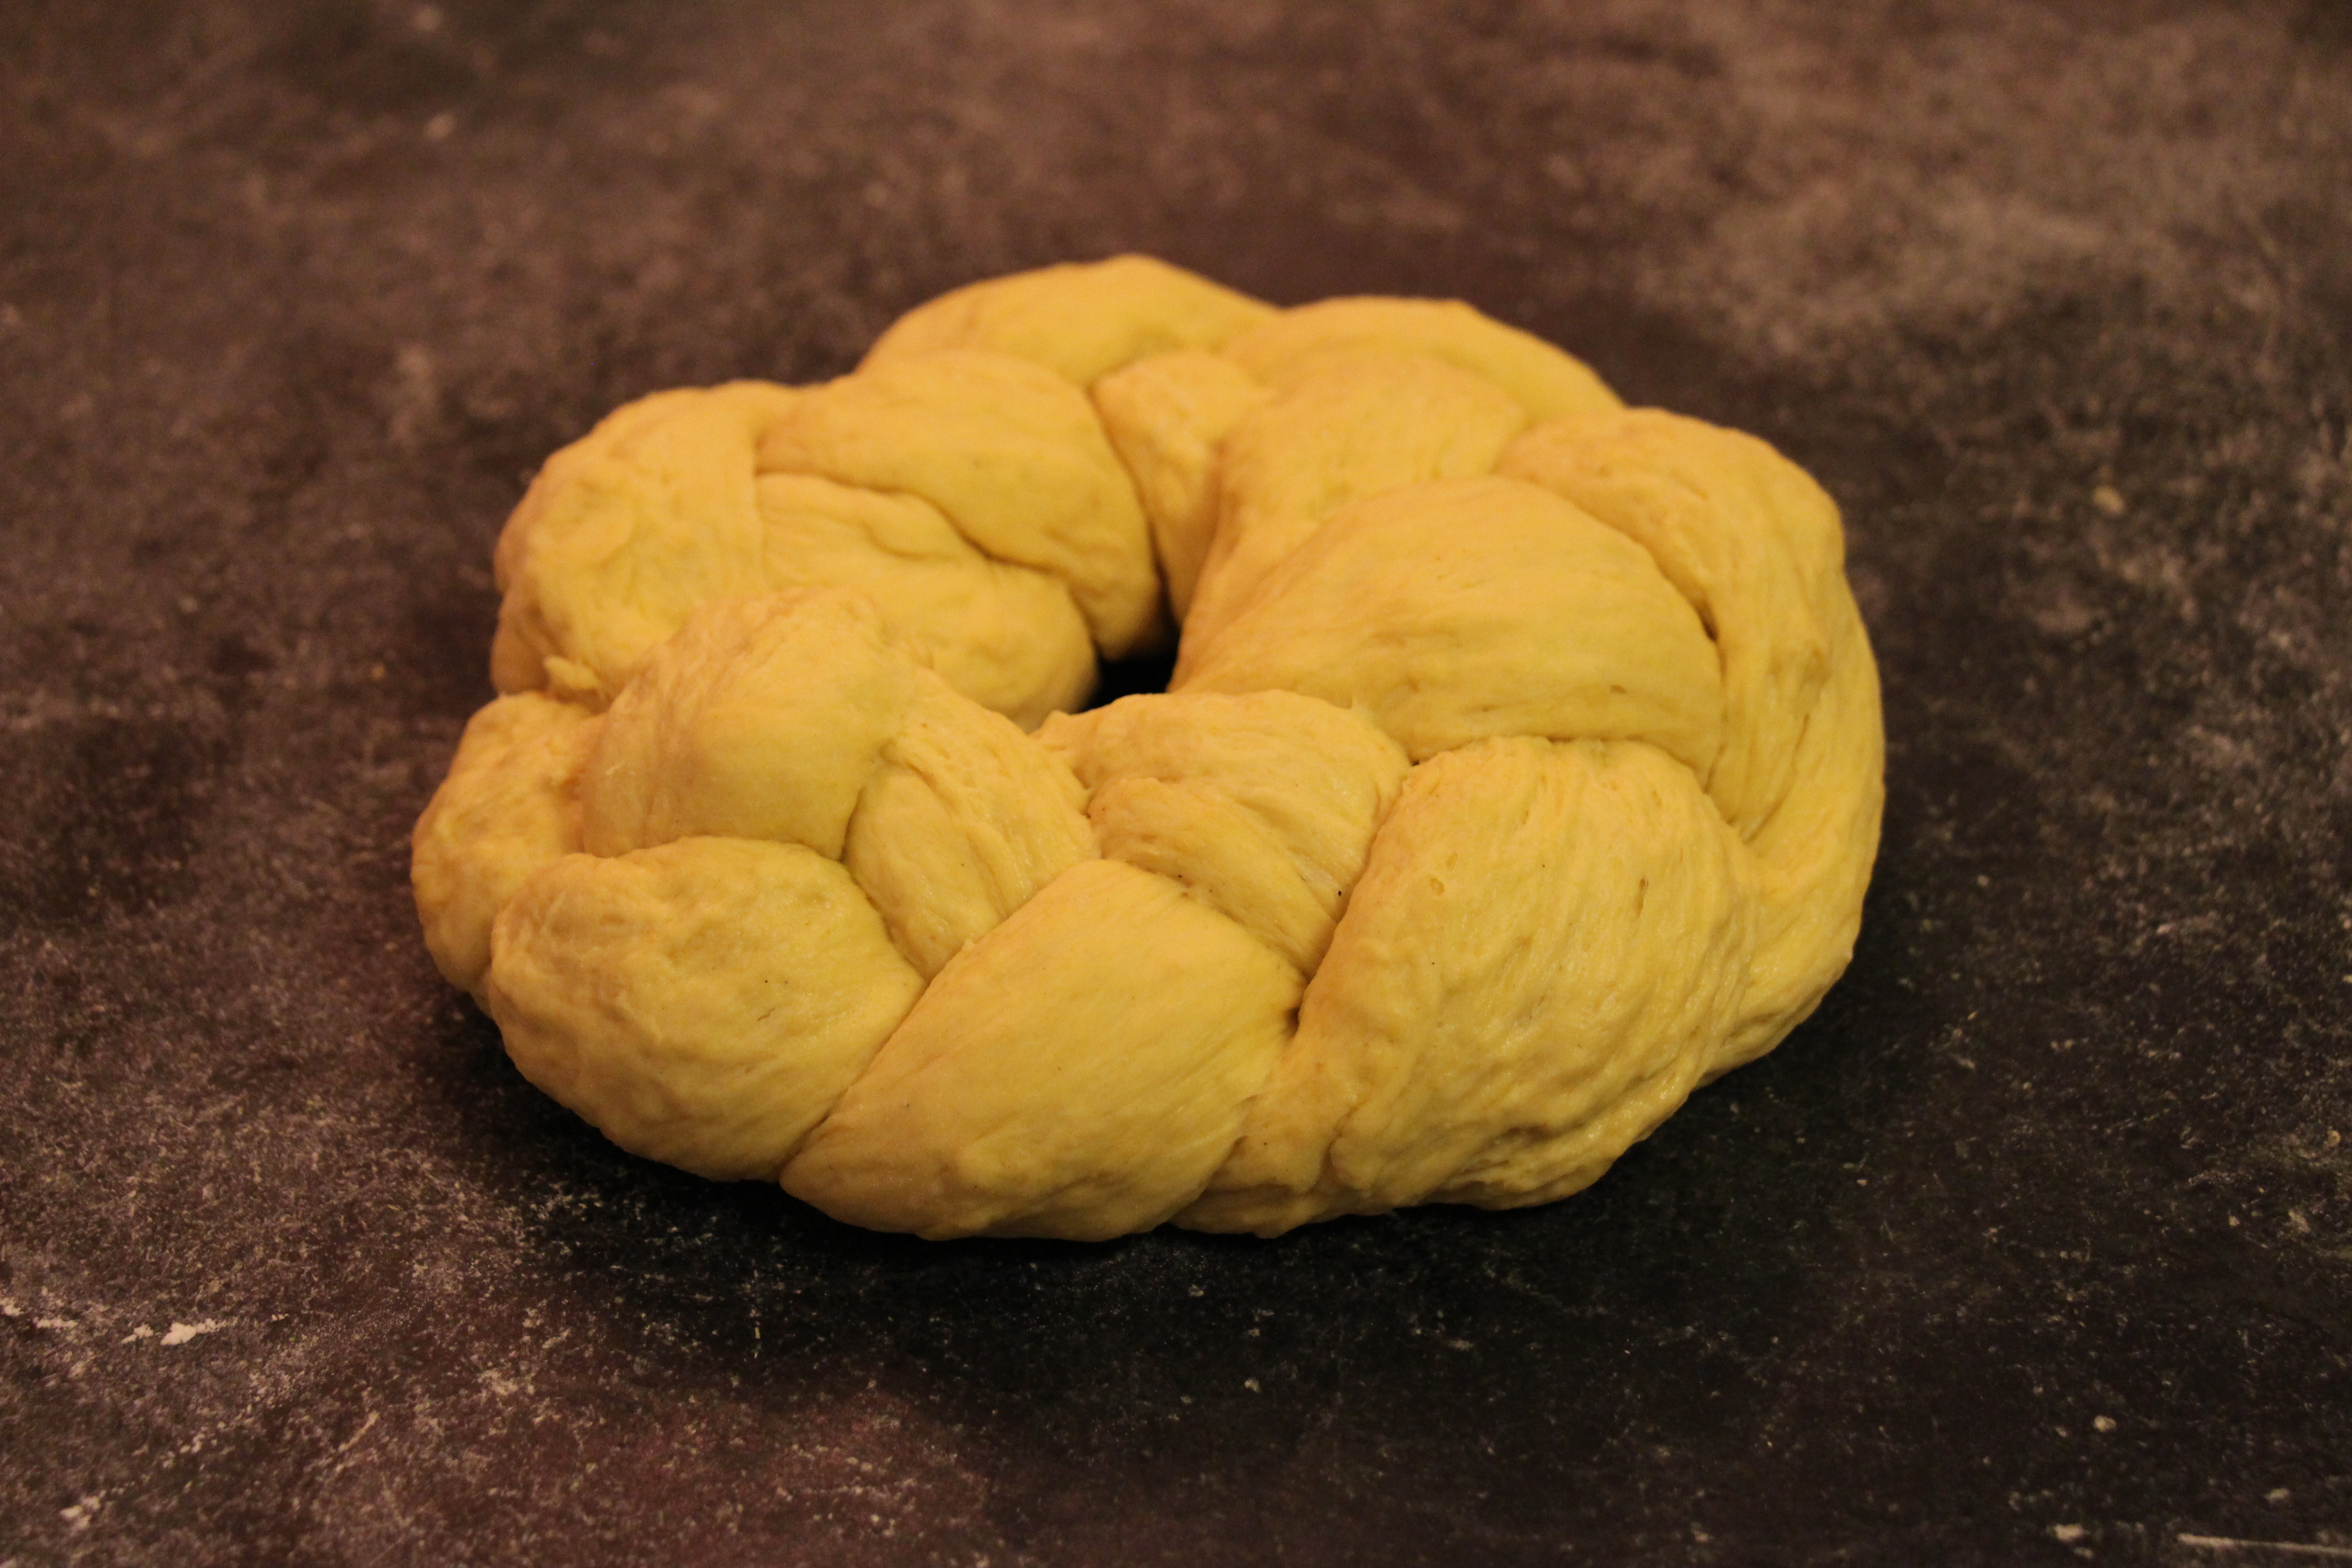
- Divide the dough into six equal balls and roll into large ropes and then braid three together, making two braids.
- Pinch the two ends together and tuck under, forming two circular loaves.
- Preheat oven to 325 degrees. Line two sheet pans with baking paper, or grease, and put a braided loaf on each pan.
- Cover and let rise in a warm place, until doubled.
- Combine the remaining egg with a tablespoon of water to make an egg wash, and brush on the braids.
- Bake for about 20-25 min or until the loaf feels firm to the touch. If you would like to use a thermometer, the internal temperature should read about 190 degrees.
- While the bread is baking, prepare your frosting, mixing all ingredients until smooth and on the thicker side. Cut your cherries in half.
- Remove bread from the oven and cool slightly, then decorate, using the green cherries as leaves, and the red as berries.
We have just entered Advent, celebrated Thanksgiving, and are now headed into the holiday season with all our favorite foods ahead of us. So we want to keep our menus tasty but also healthy without including too many rich heavy dishes at this time.
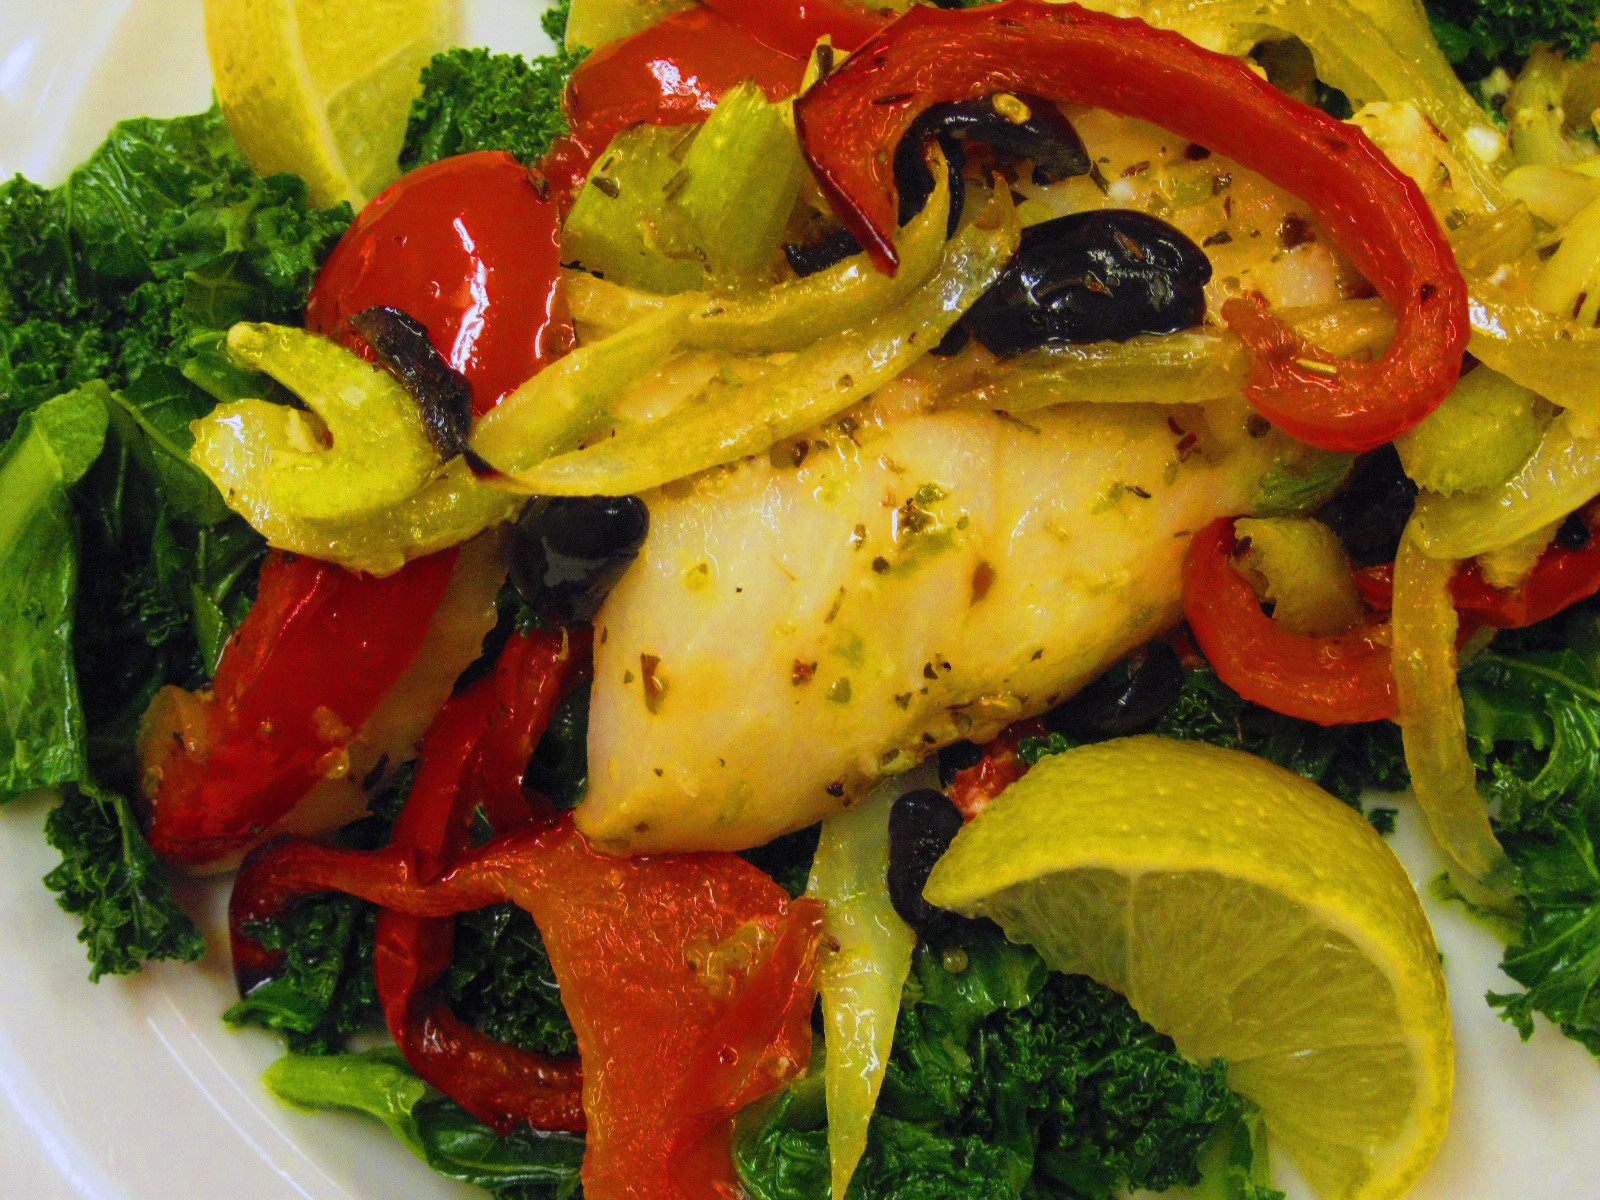
Fish is perfect for right now. Not only because of its nutritional value but also because it’s so convenient, fast and easy to cook during these busy days when time is at premium. Here at the convent we include fish weekly in our meal planning and prepared in this Mediterranean way it appeals to many. We often serve it with fresh kale which is still growing in our garden and continues to provide us with many healthy benefits through the winter months.
Print Recipe
Votes: 1
Rating: 5
You:
Rate this recipe!
Baked Mediterranean Fish
SERVINGS2people
|
COOK TIME10-20mins |
PREP TIME20mins |
READY IN30-40 mins |
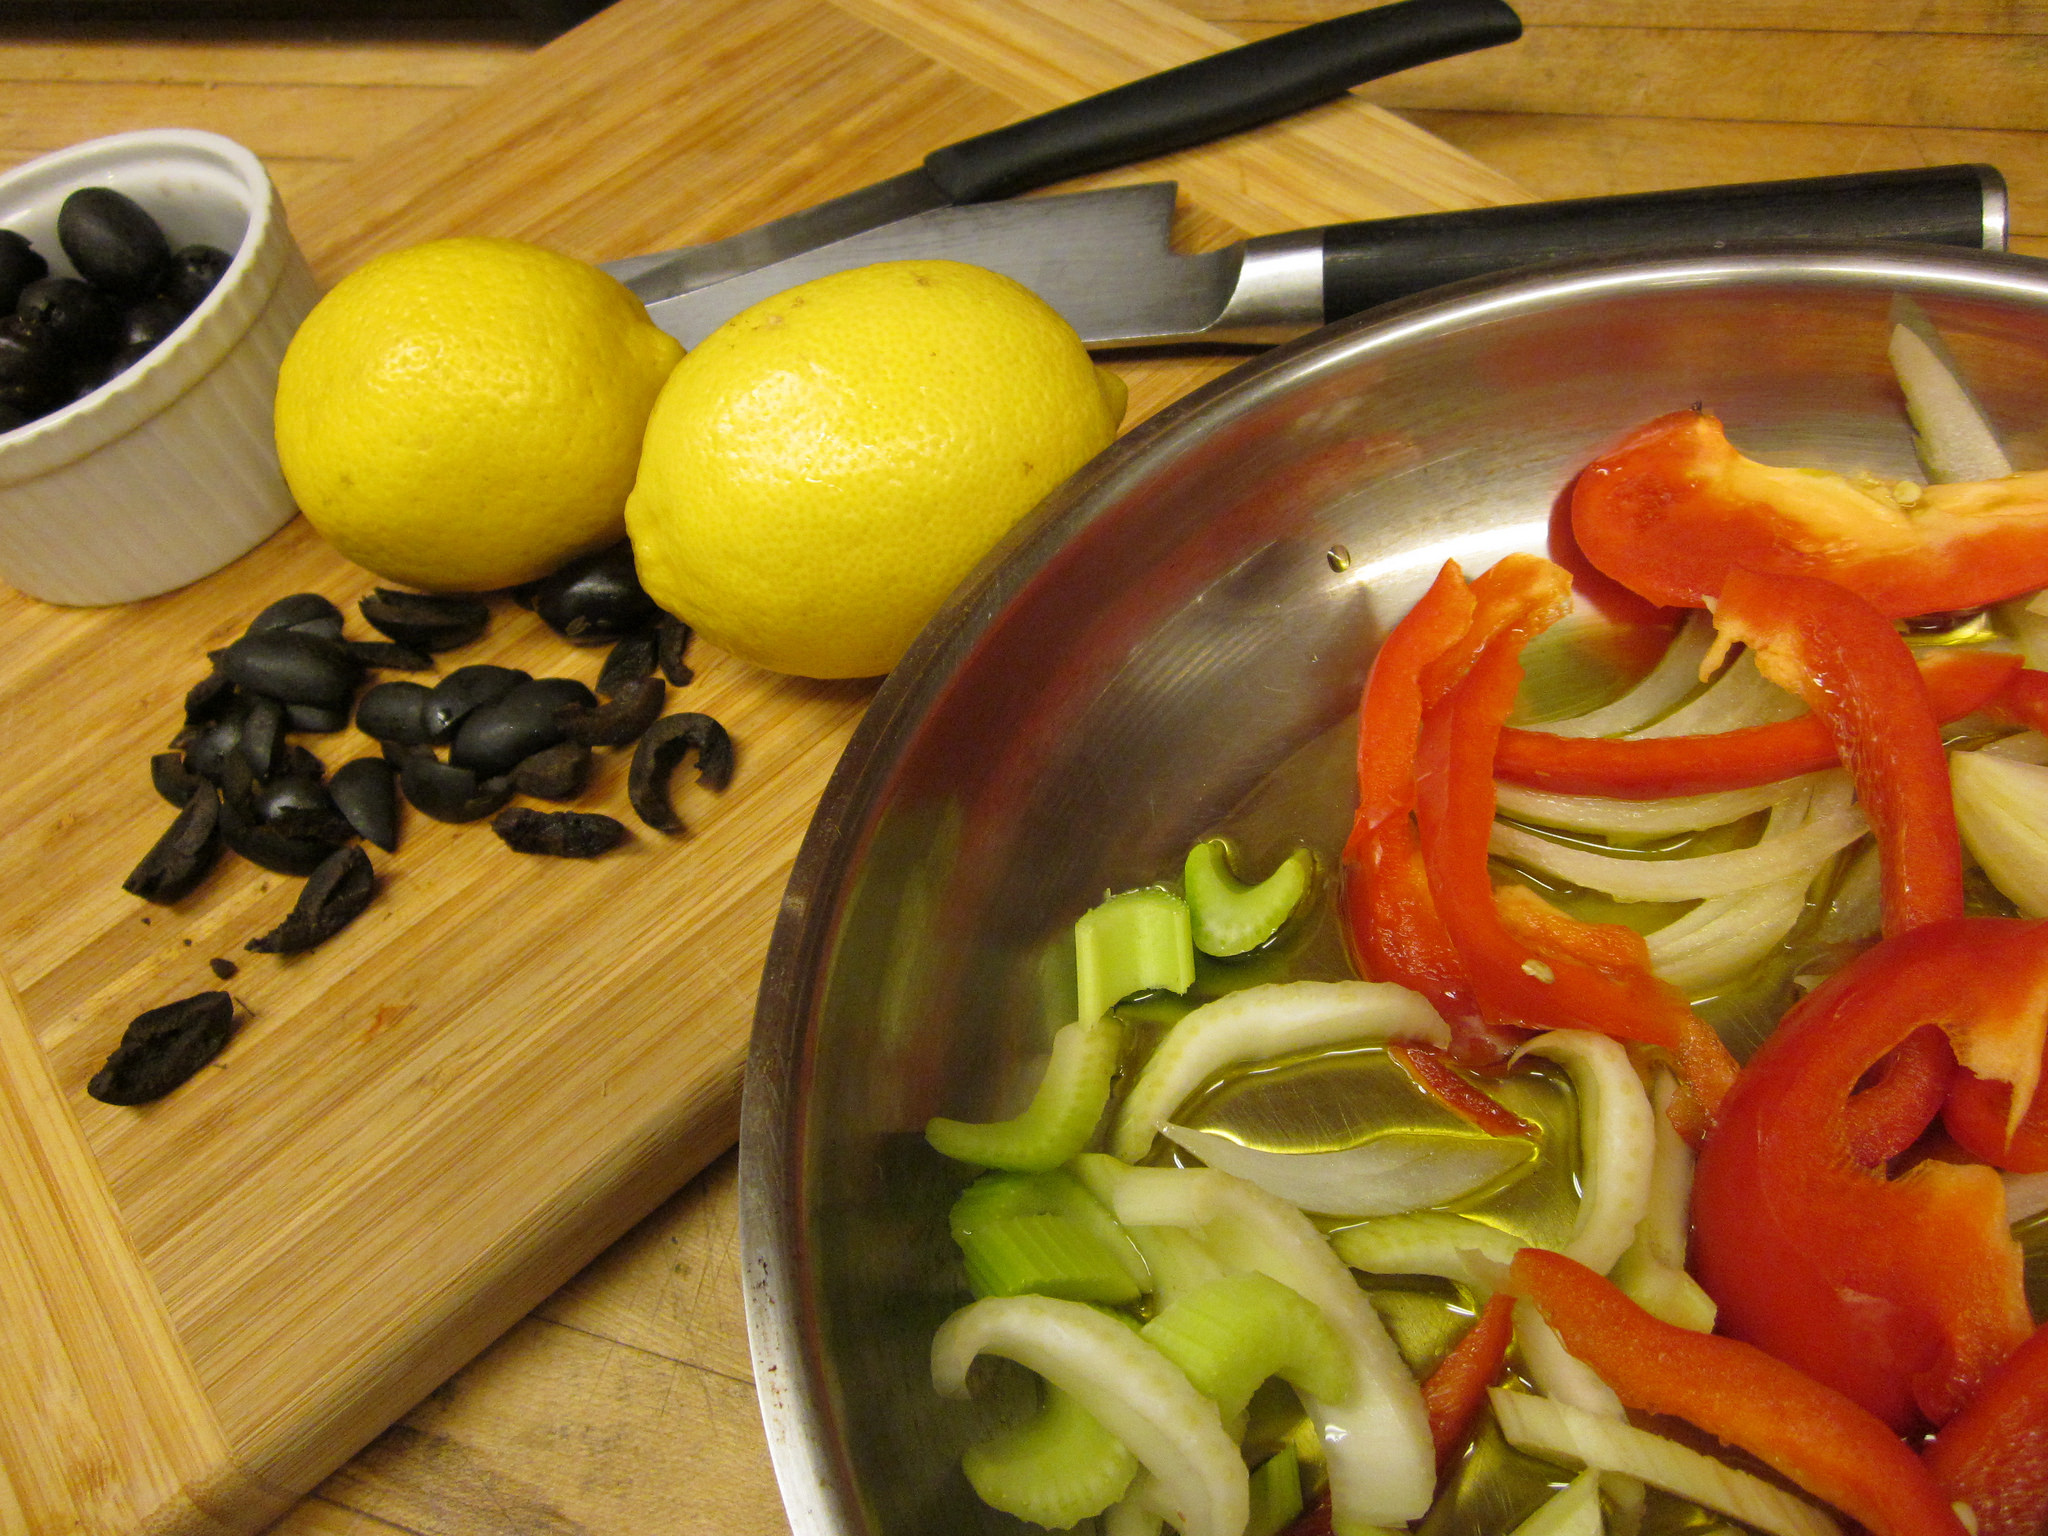
Ingredients
Instructions
- Preheat oven to 450 degrees Fahrenheit.
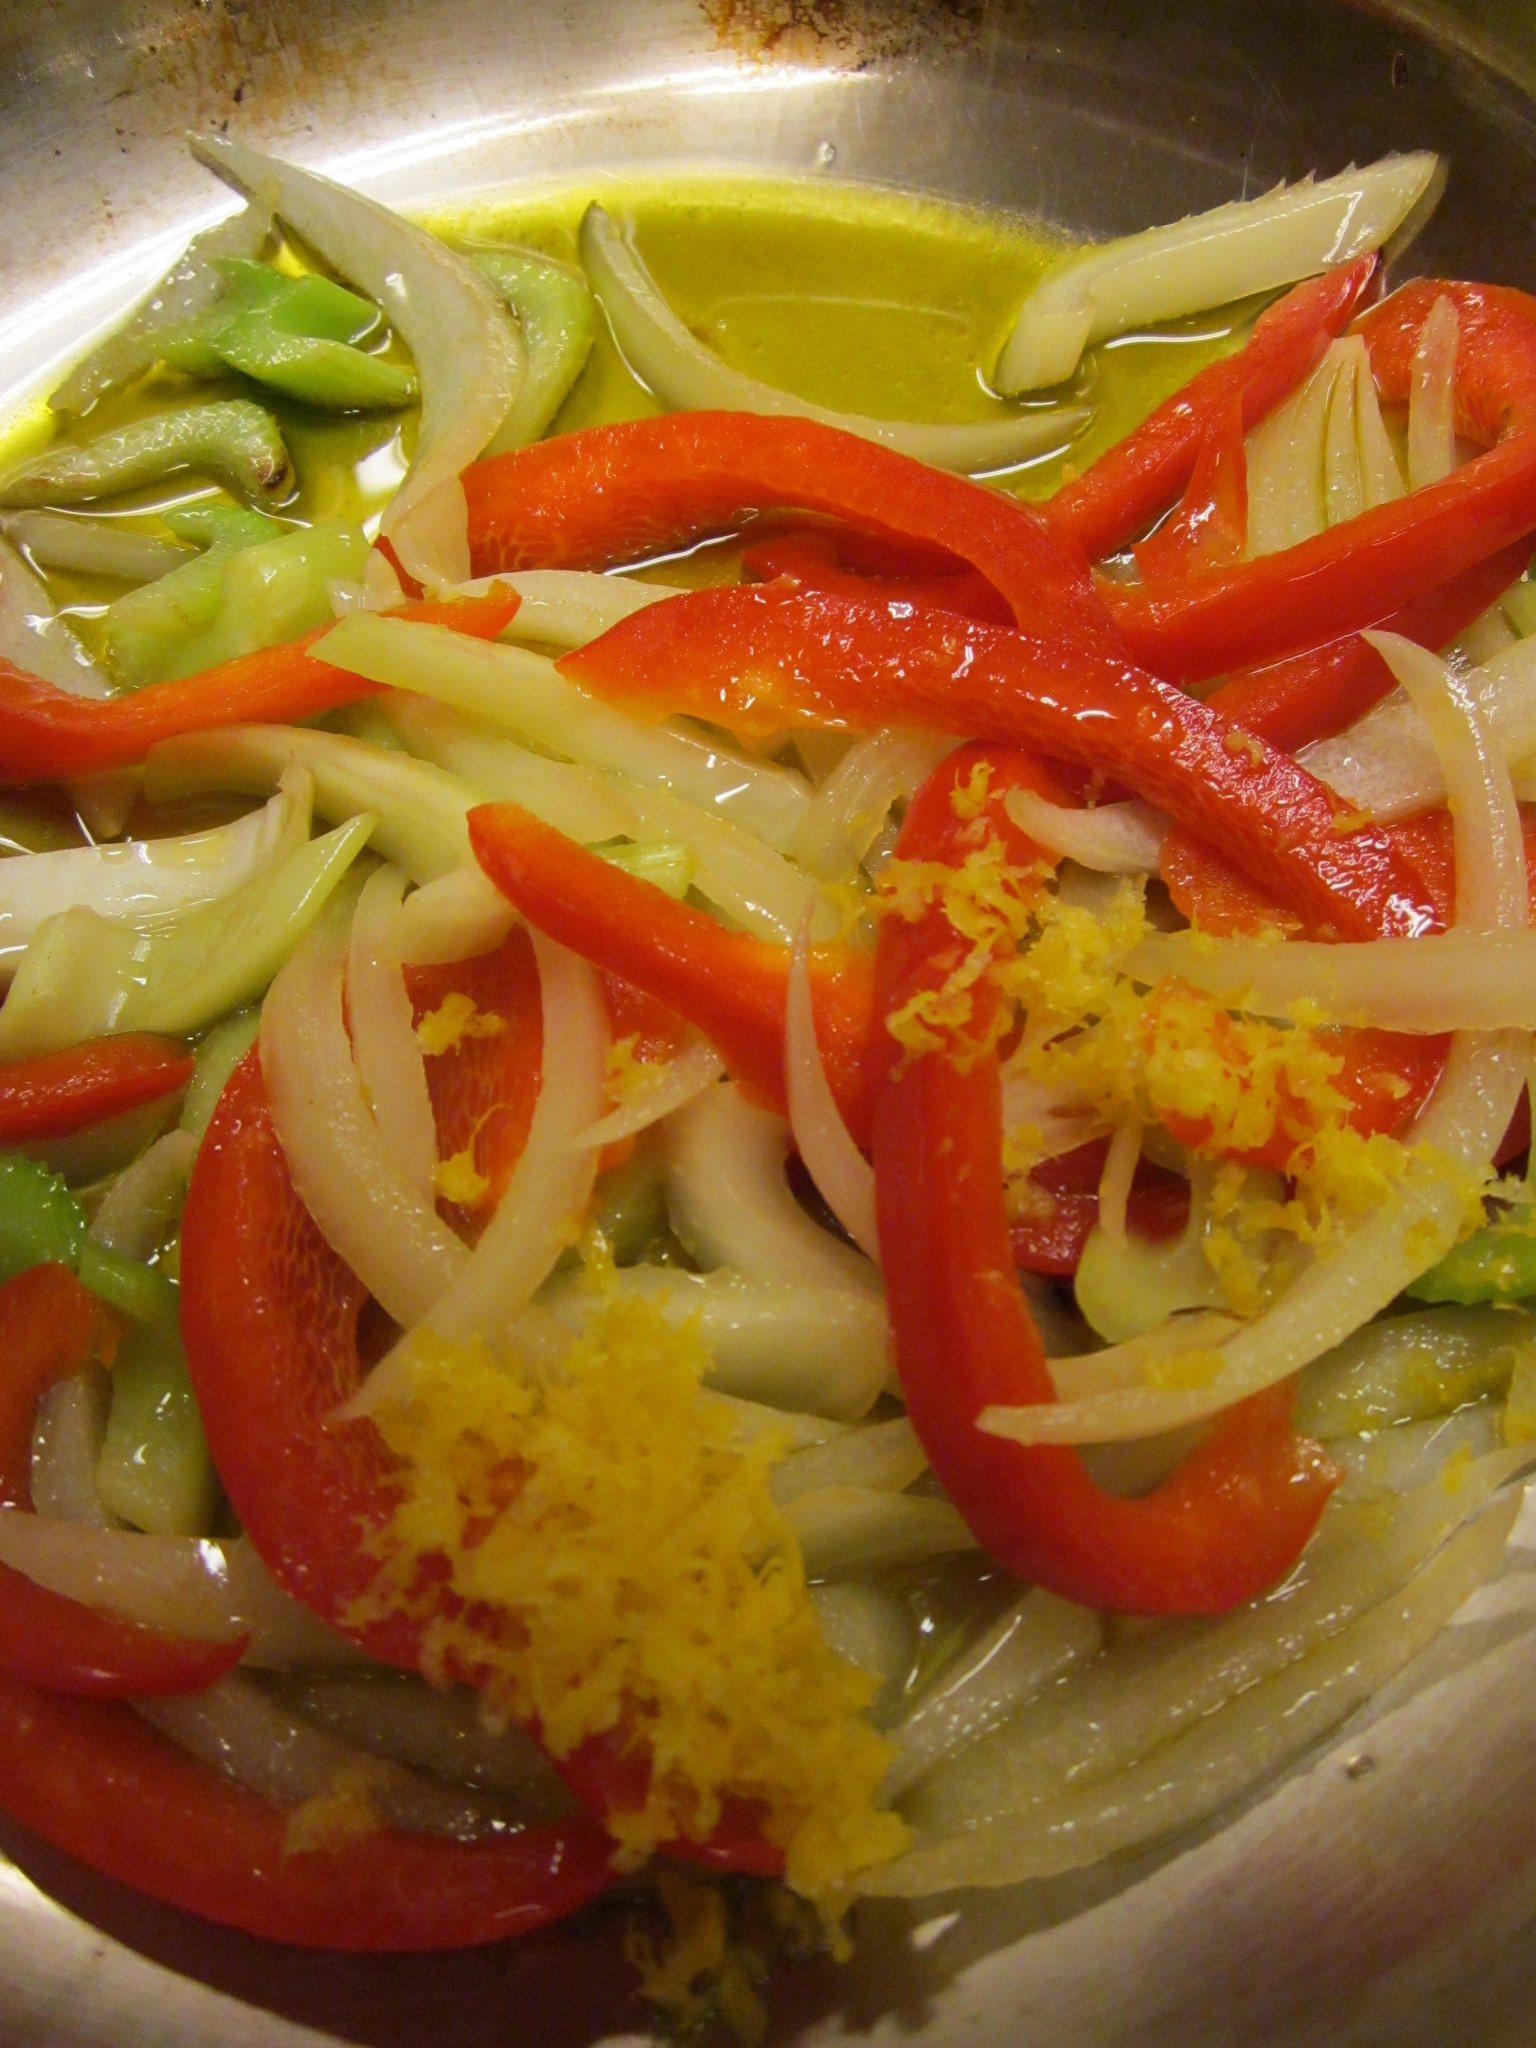
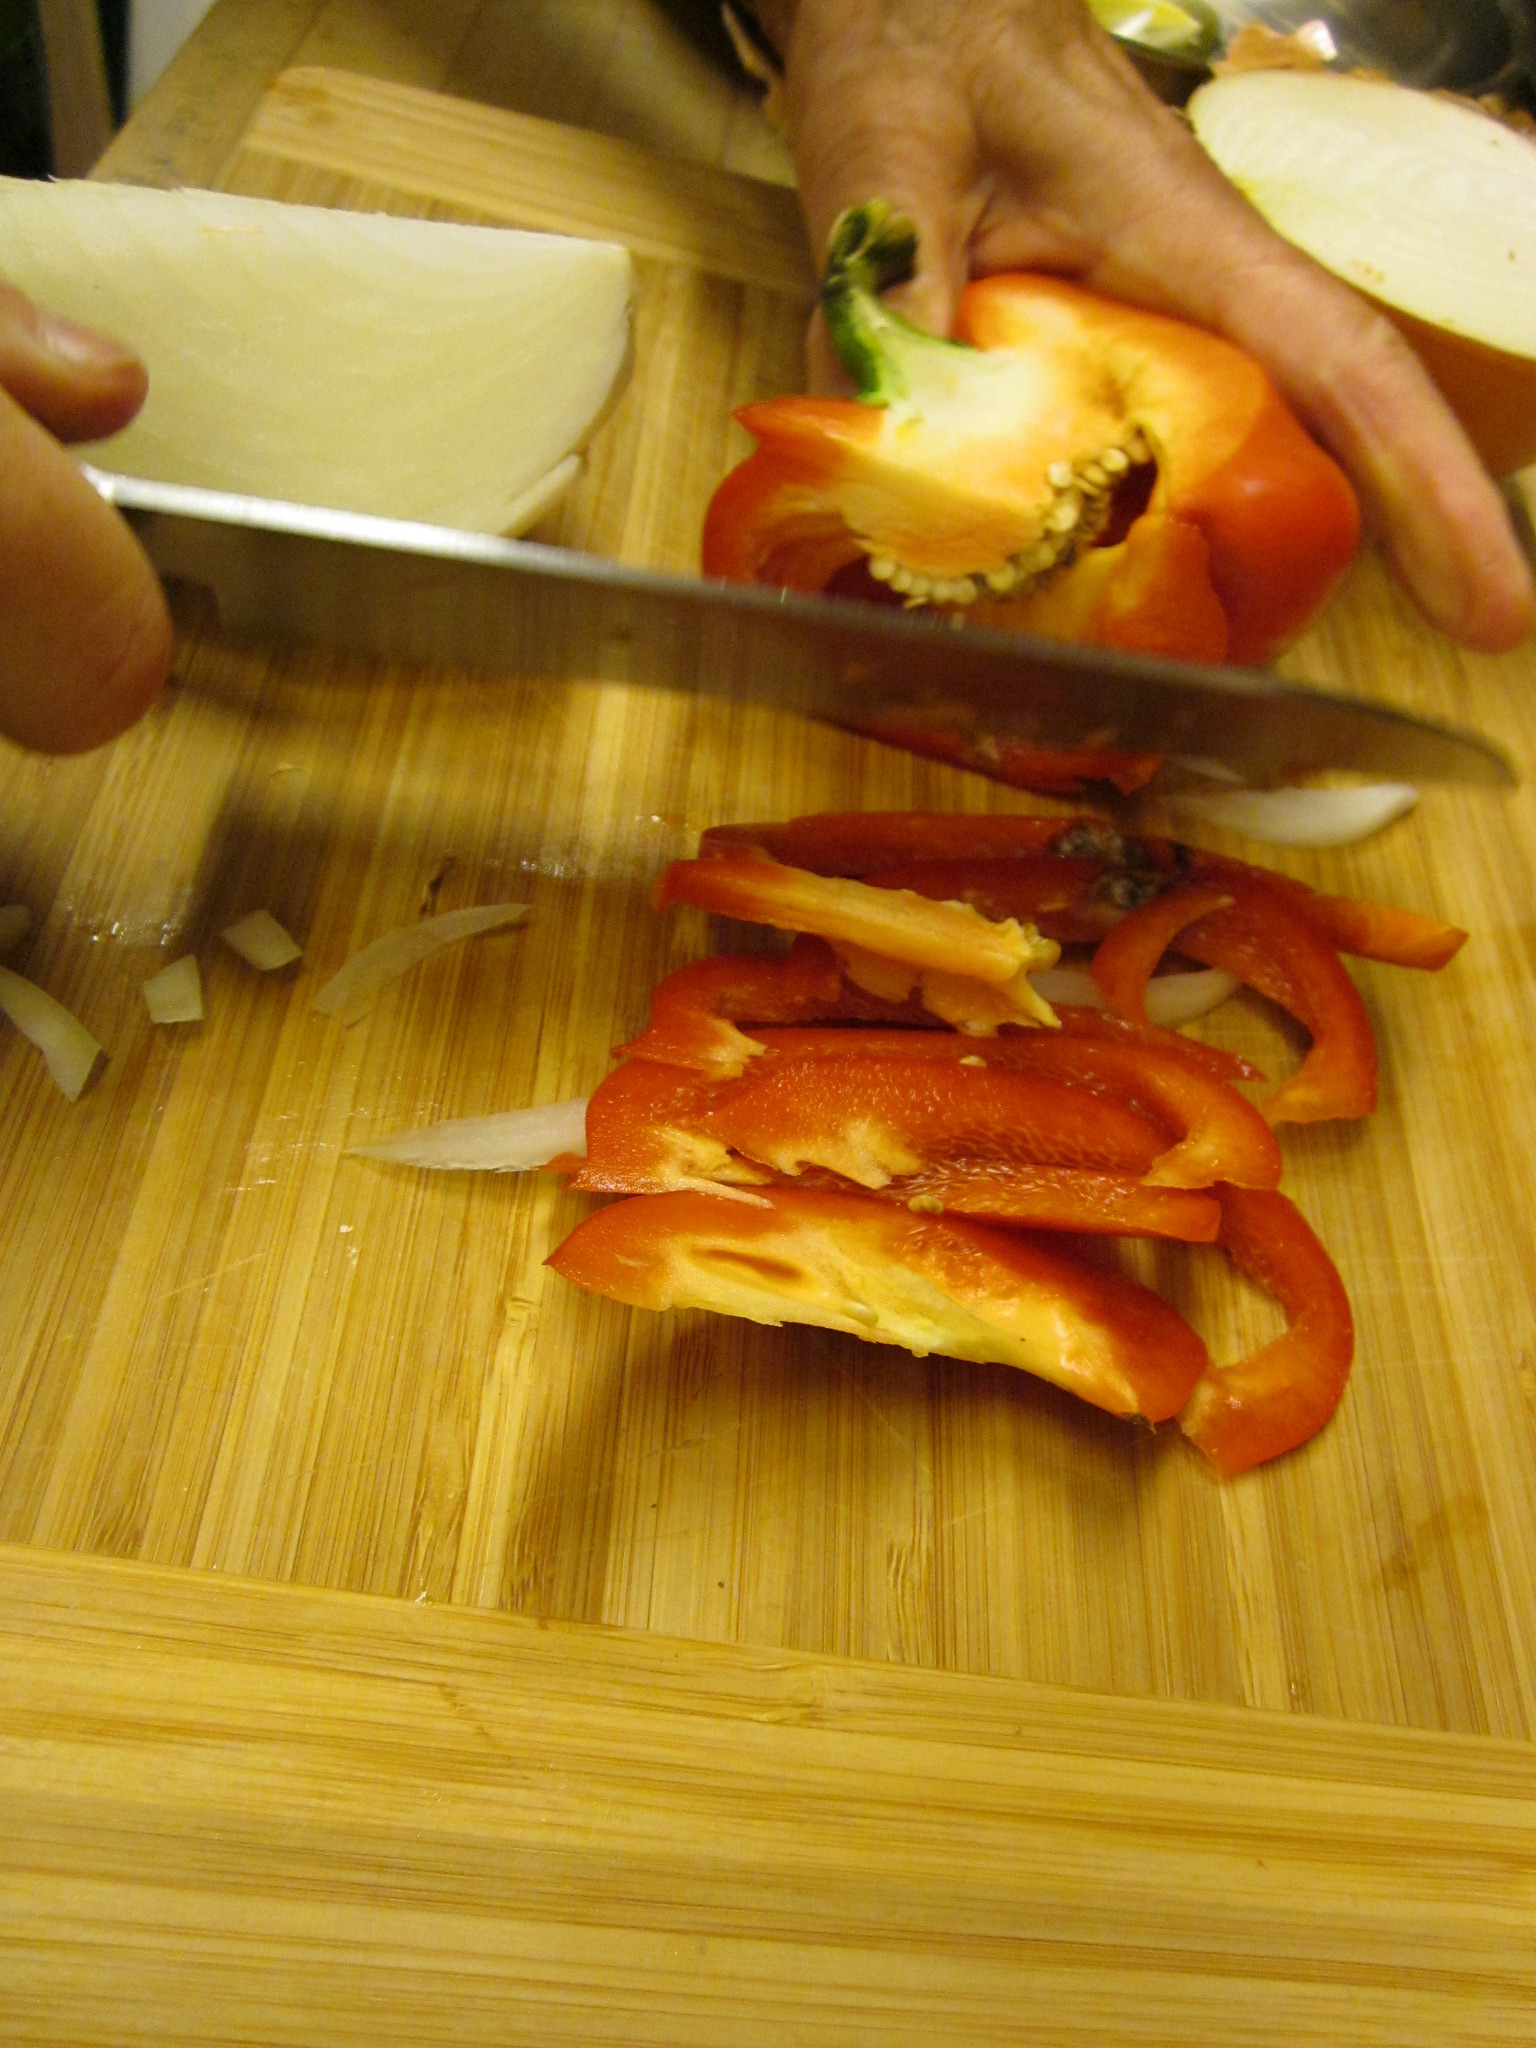
- Heat oil in medium skillet over medium-high heat. Add onion, red pepper, celery and anchovies. Cook stirring often, until lightly browned.
- Add wine and garlic and simmer for 30 seconds. Stir in olives, oregano and lemon zest.
- Season with 1/8 teaspoon salt, 1/8 teaspoon pepper and capers. Season fish with the remaining salt and pepper.
- Arrange the fish in a single layer in a pie pan or baking dish. Spoon the vegetable mixture over the fish and give a light sprinkle of red pepper flakes. Bake uncovered, until the fish is just cooked through, 10 to 20 minutes.
- Divide the fish into 2 portions and top with vegetables and their juices.